
Many of you have at your disposal a workshop, and possibly various machines like a milling or circular saw. Often the task arises of accurately setting the height of the blade or cutter.
In this article, the author of the thosa YouTube channel will tell you how to make the simplest altimeter for machine tools.
Materials
- sheet plywood
- Sandpaper
- PVA glue
- M6 bolts, wing nuts, washers, wood screws.
Instruments, used by the author.
—
- Vise, ruler, square, pencil, wrench, rasp
- A circular saw
—
- Marking planer
—
—
—
- Orbital sander.
Manufacturing process.
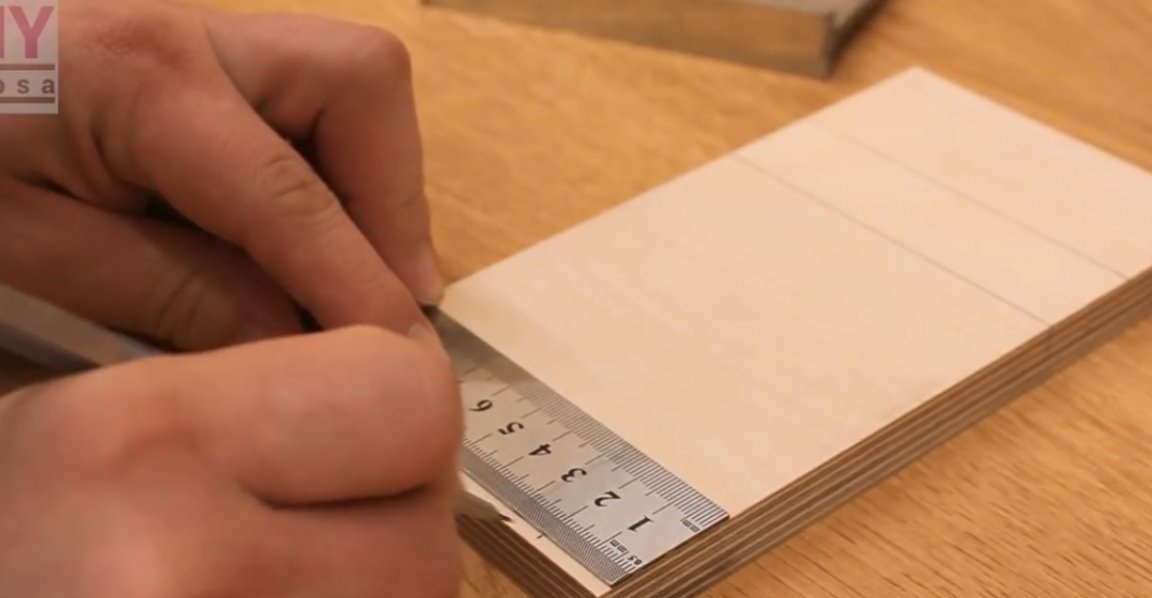
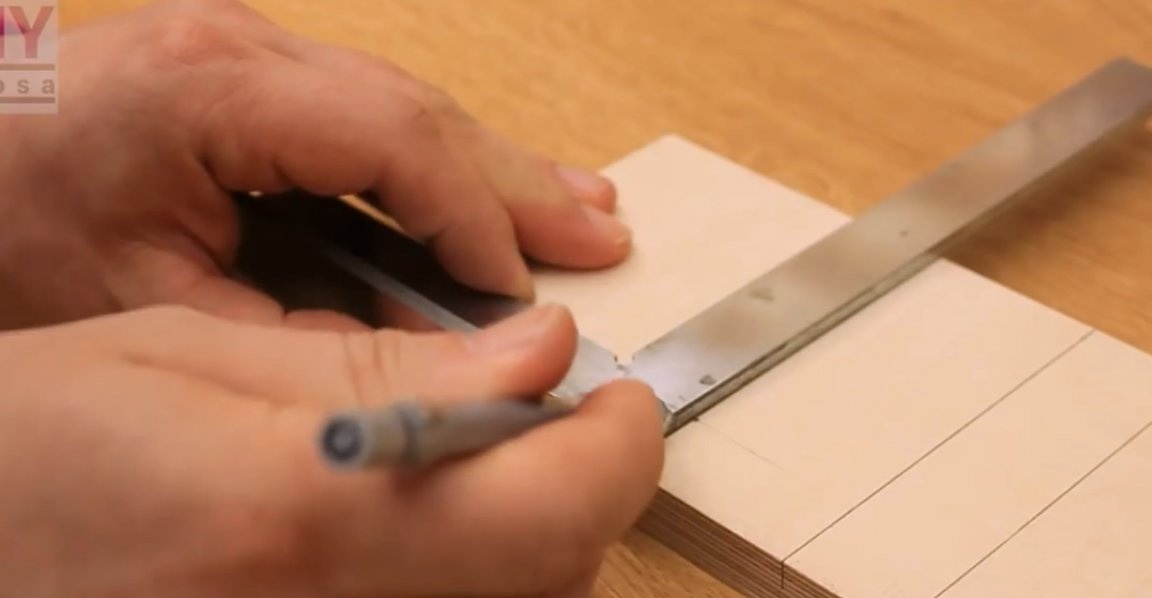
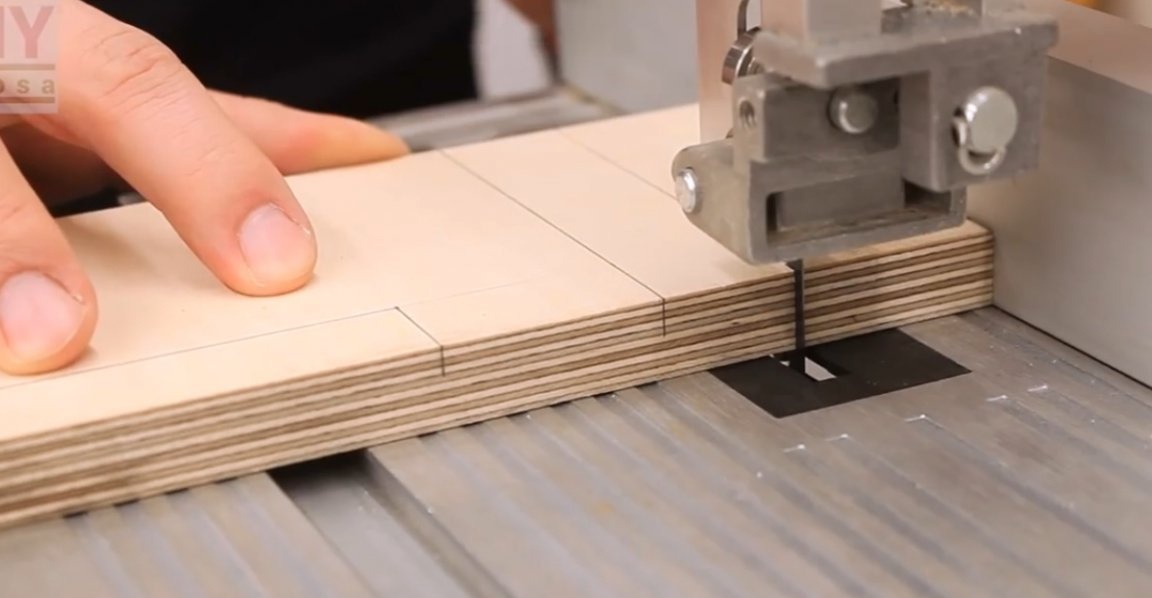
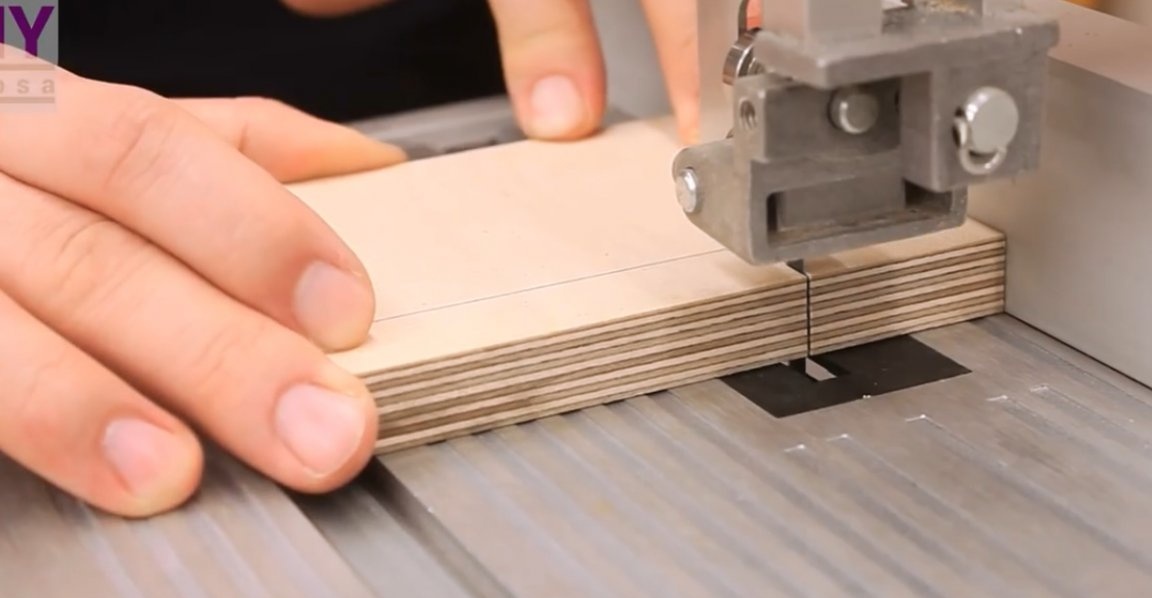
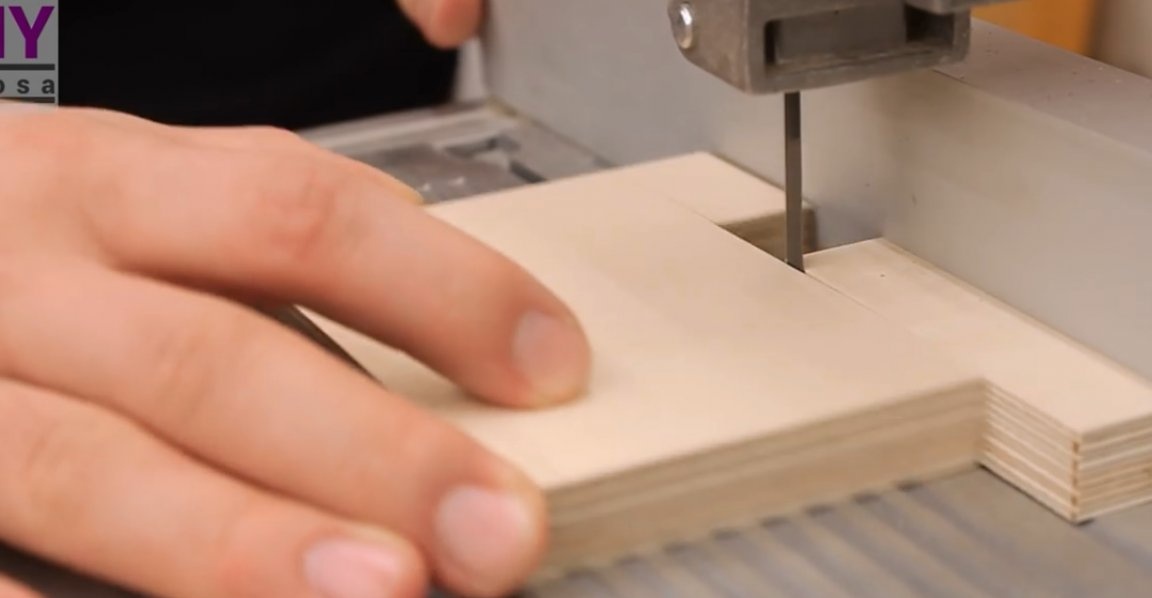
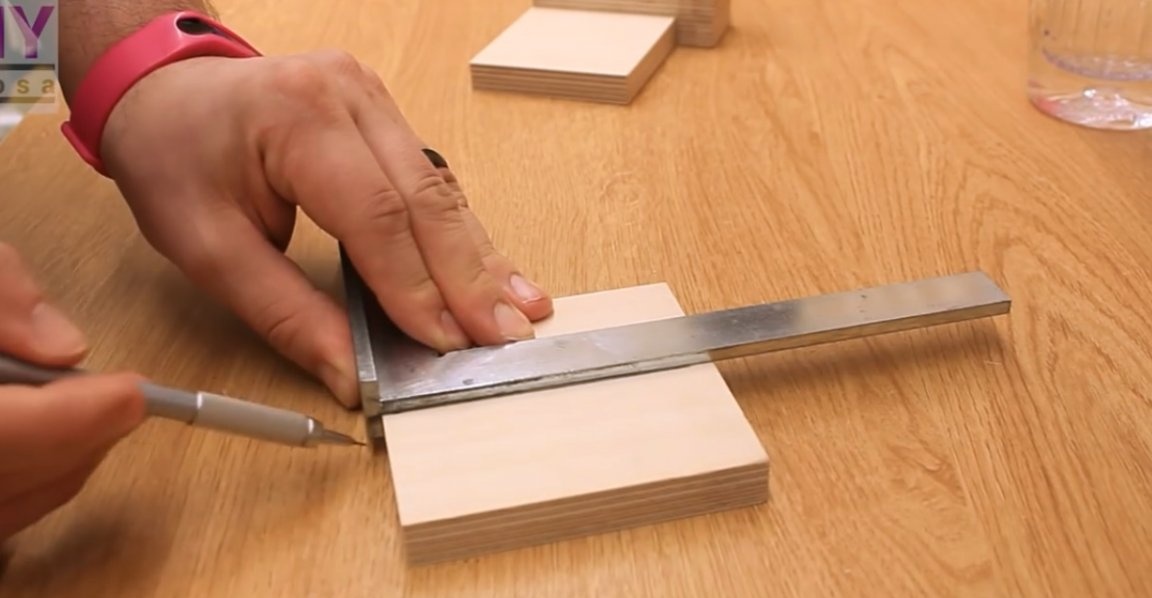
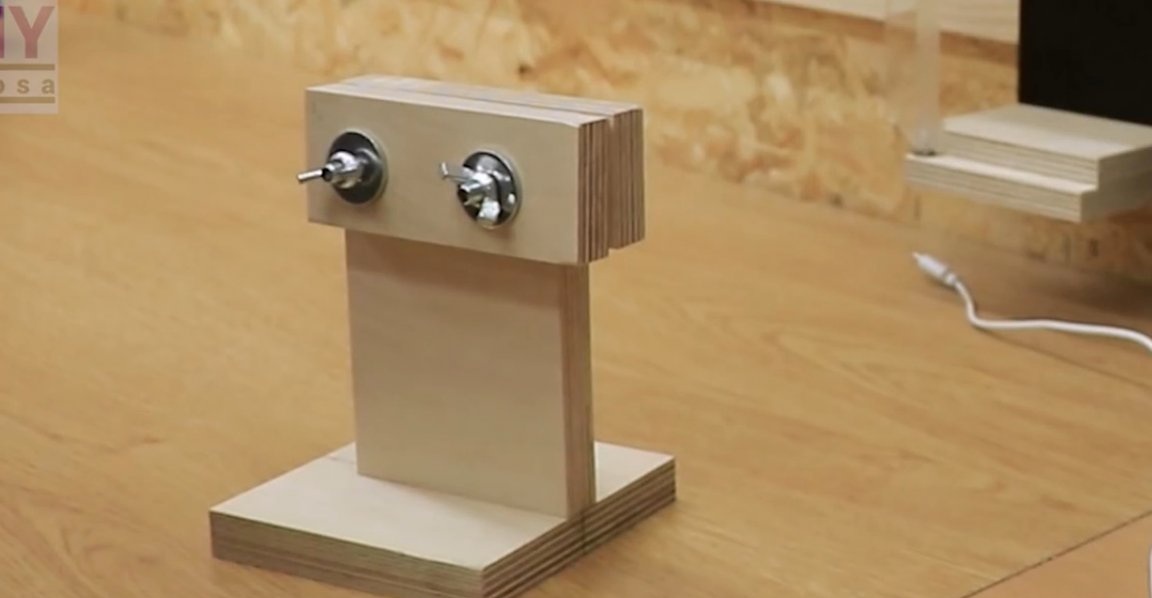
To begin with, the master cut out a blank from sheet plywood, and marked out future details.
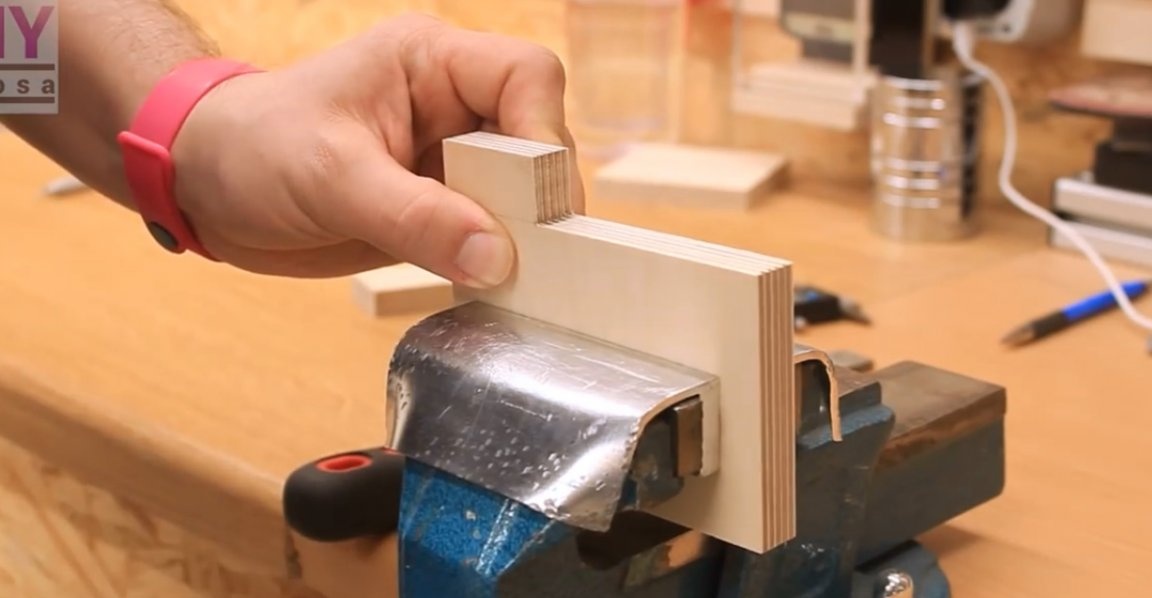
Using a band saw, I cut out the base, stand, and clip.
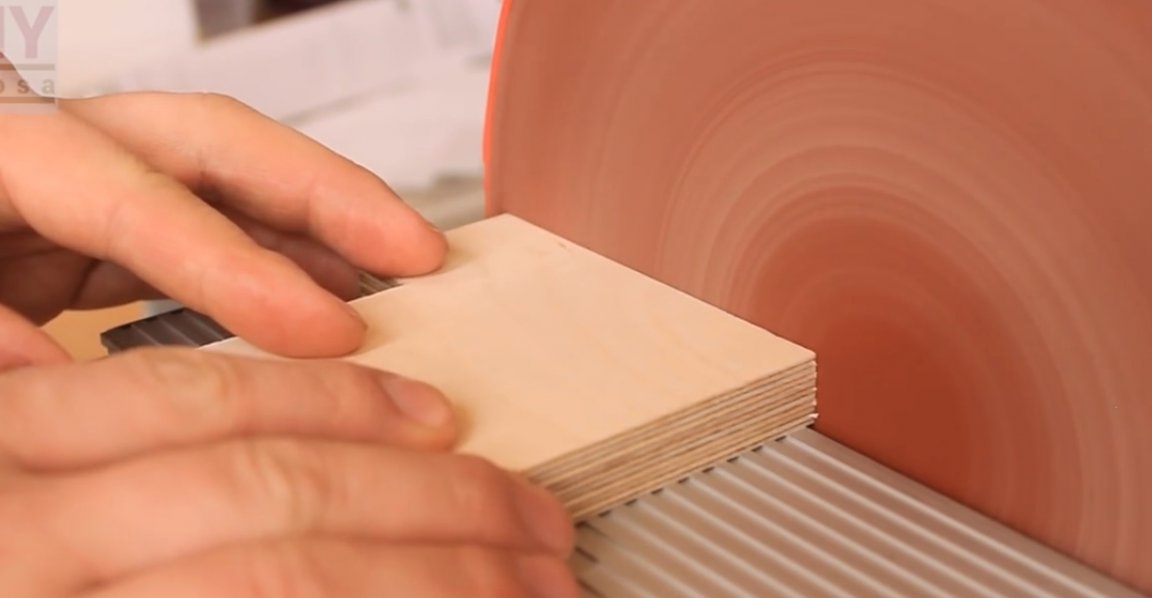
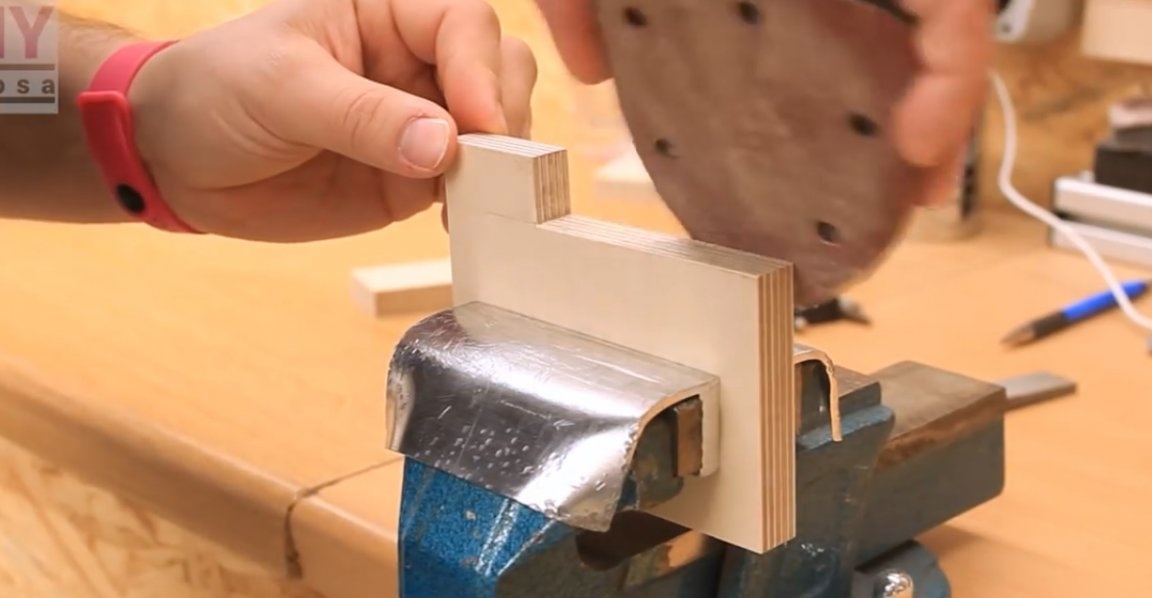
Then the edges of the parts are polished on an orbital machine.
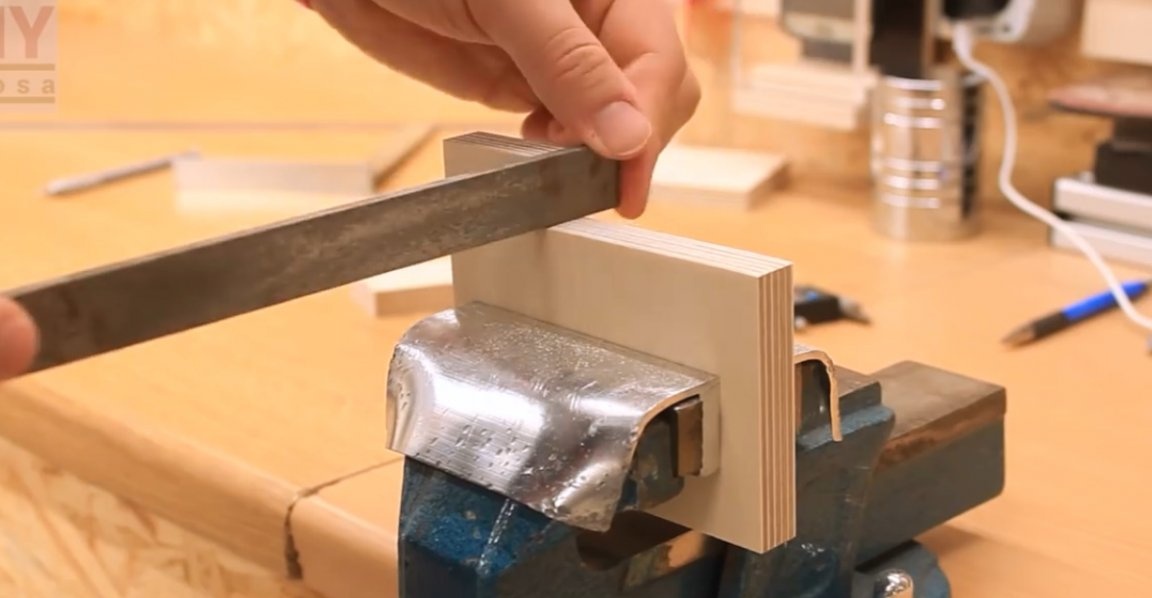
I fixed the stand in a vice, and additionally processed it with a rasp manually, and polished the edges with sandpaper.
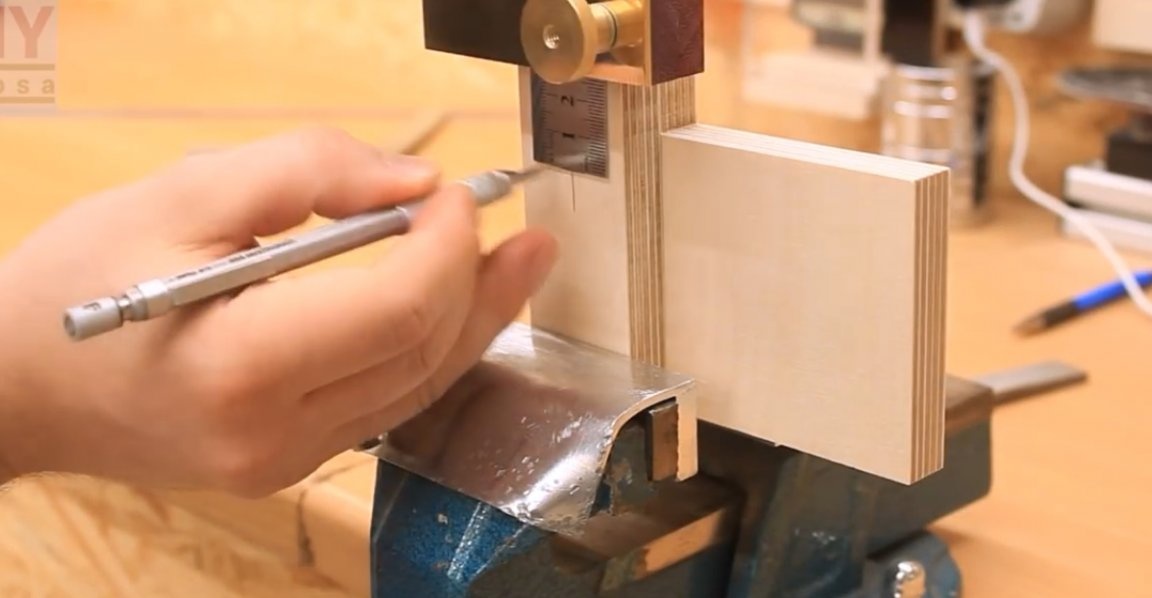
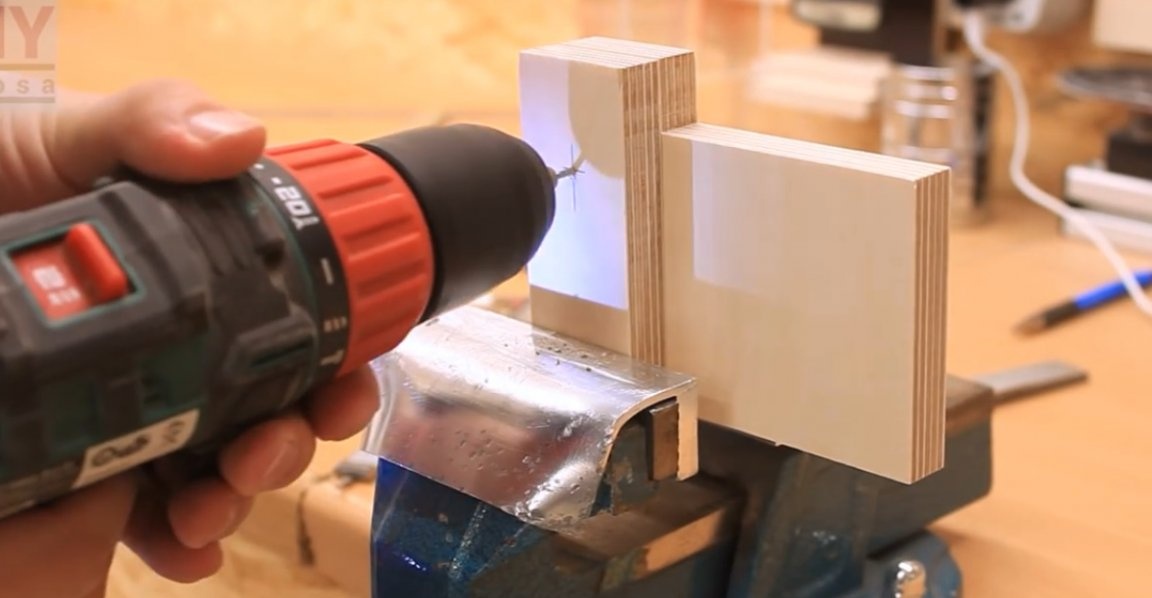
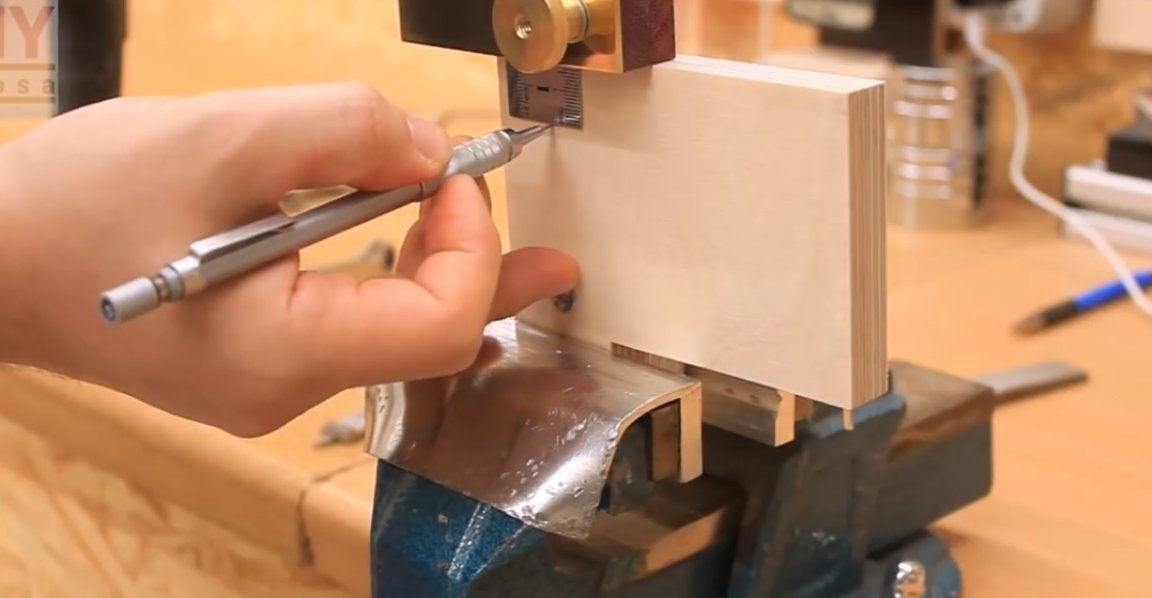
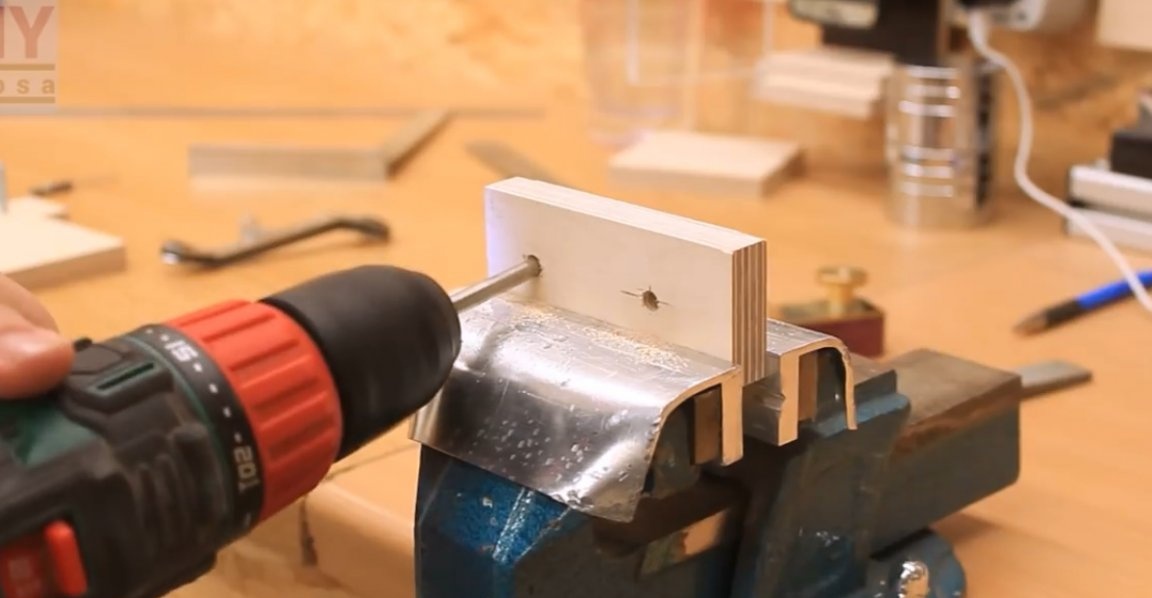
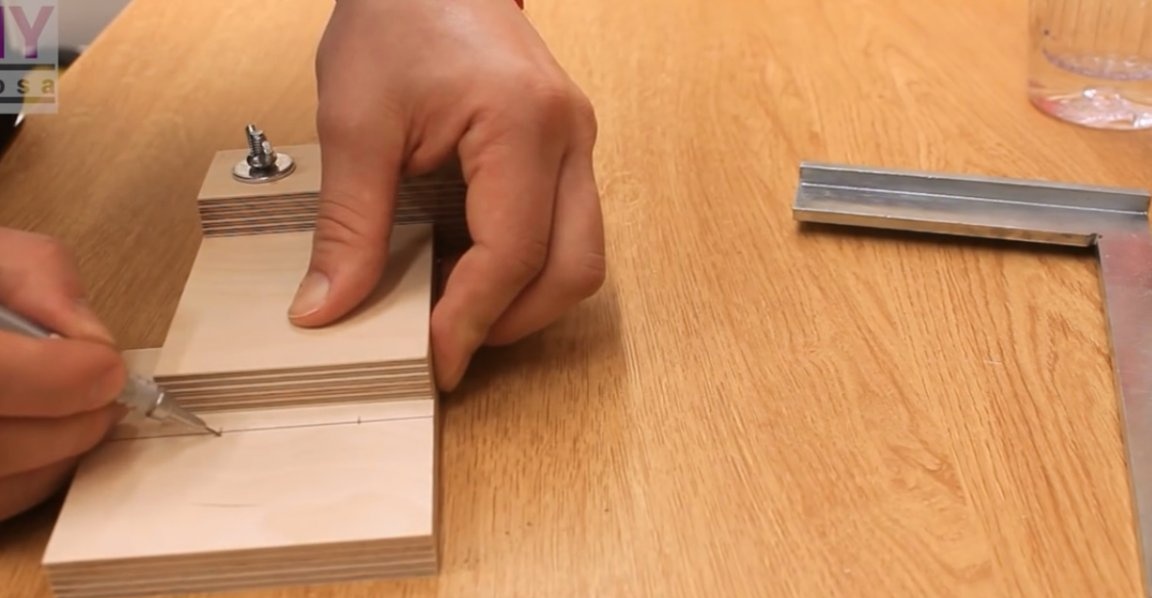
Now he has fixed a clamp and a stand in a vice, the center noted, using a marking surface gage. About the manufacture of this tool can be found in this article.
Drilled a pilot hole with a thin drill.
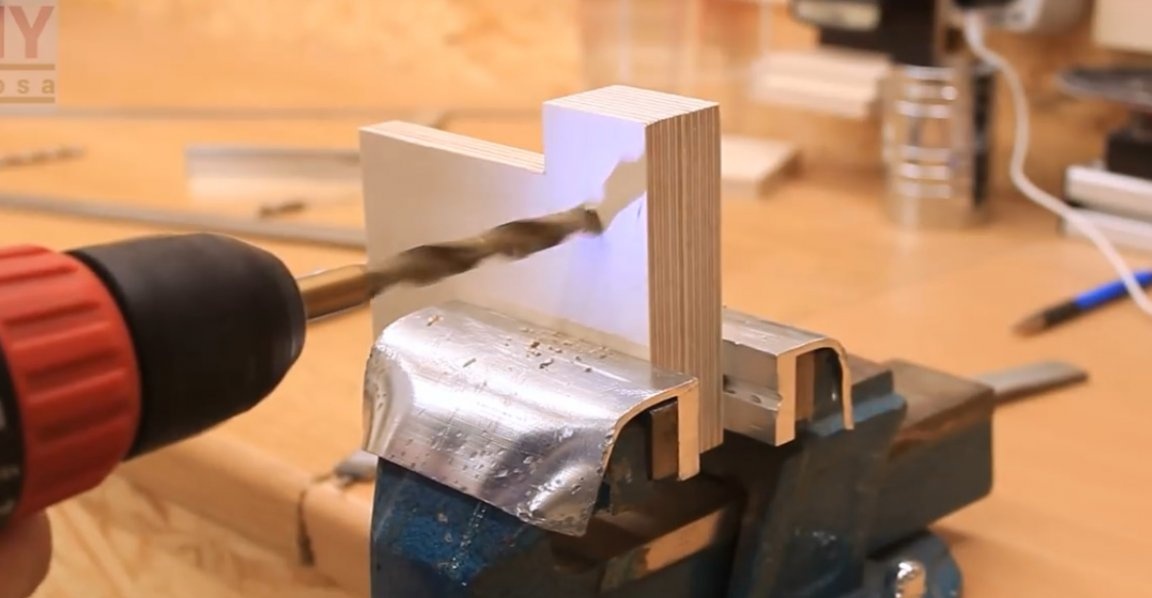
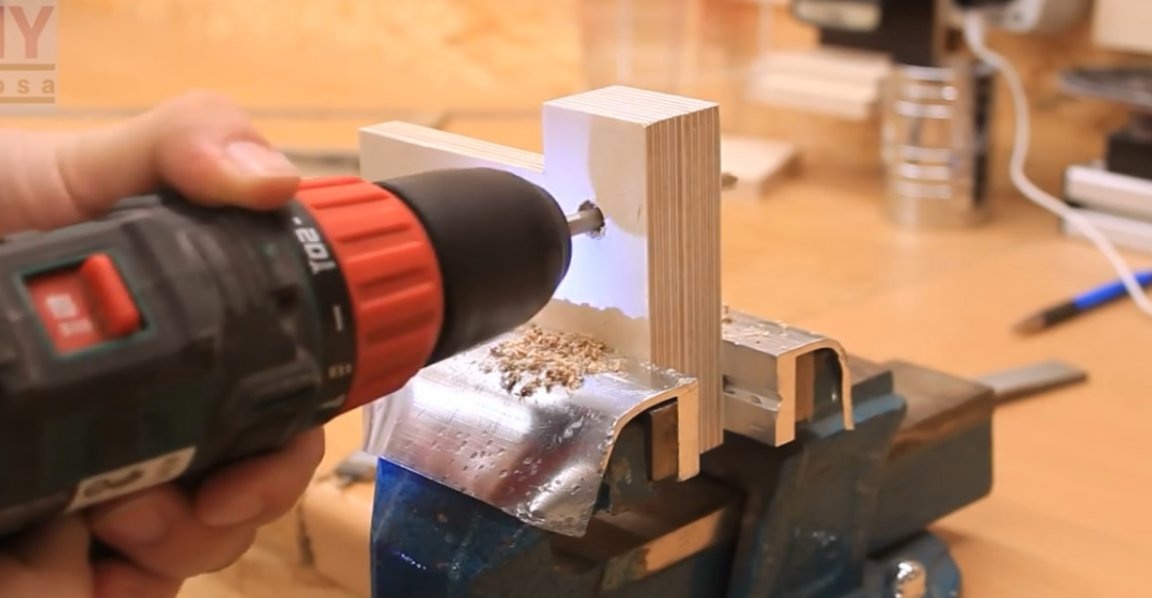
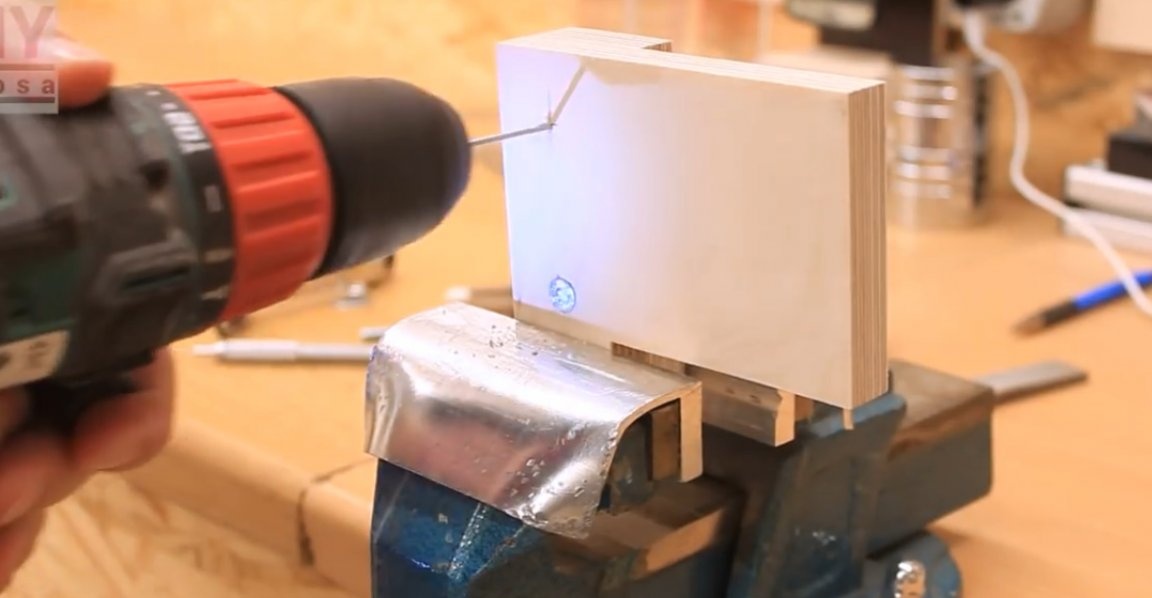
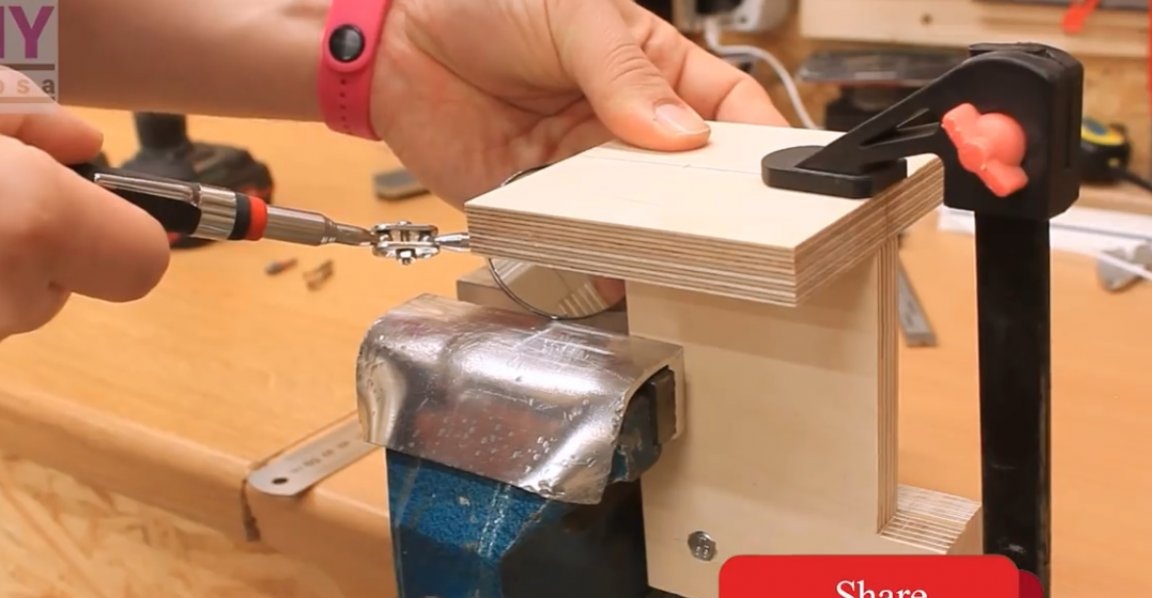
Now the master drilled a blind hole for the bolt head in the rack, and a through hole for the bolt shaft.
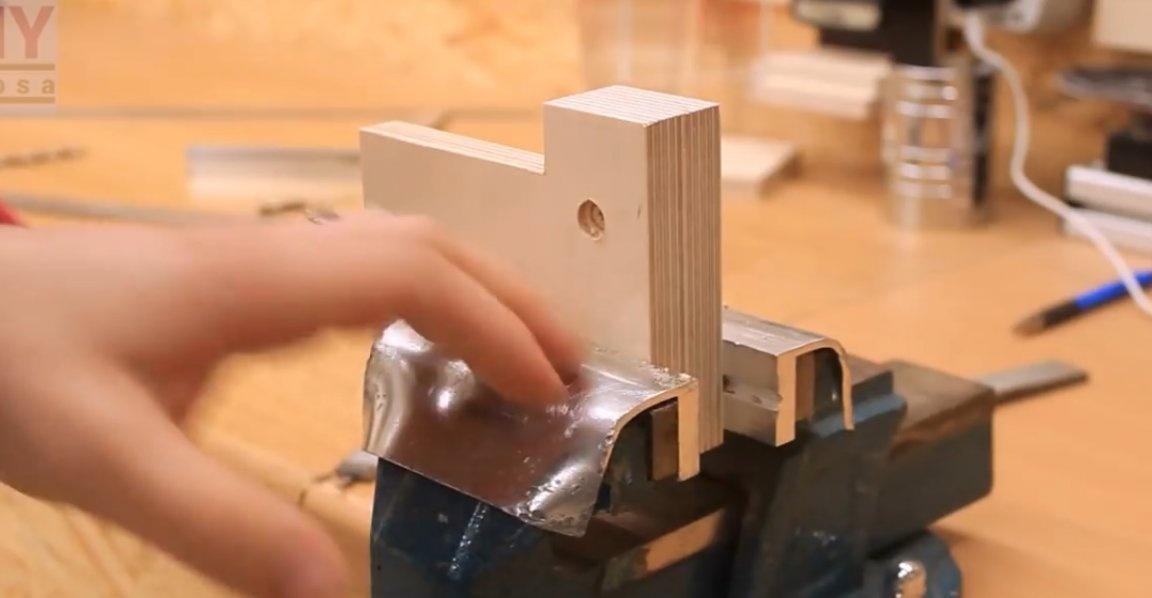
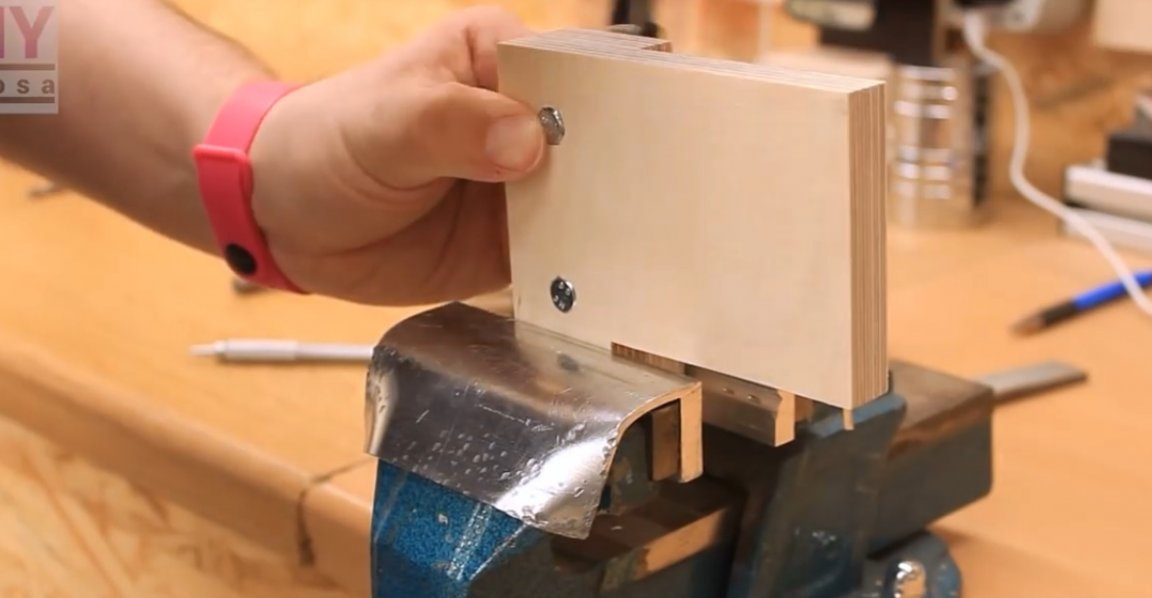
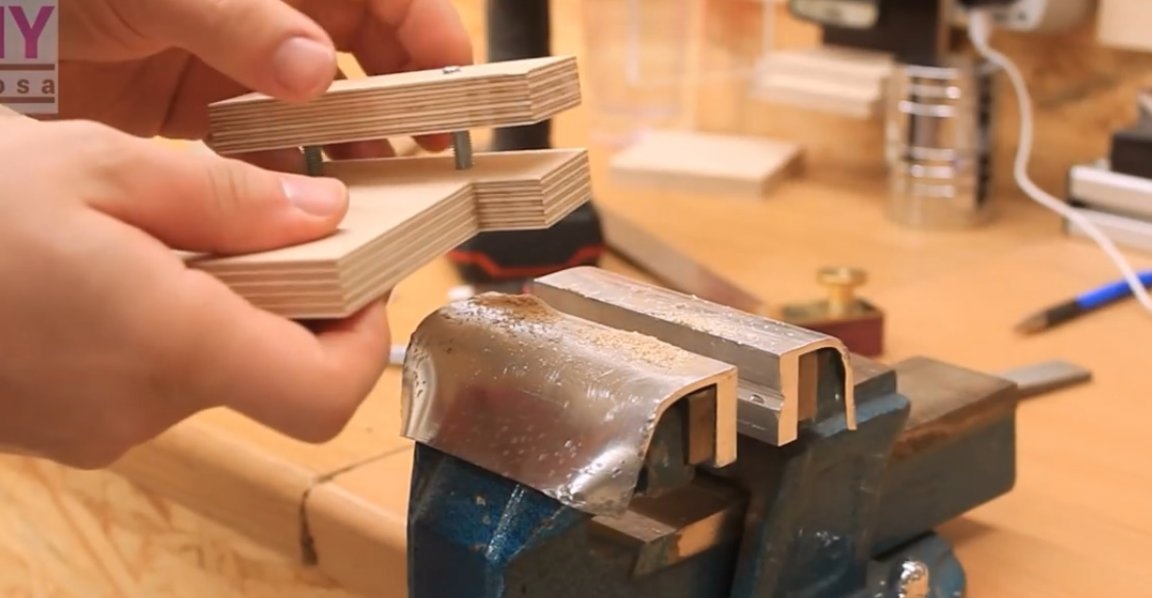
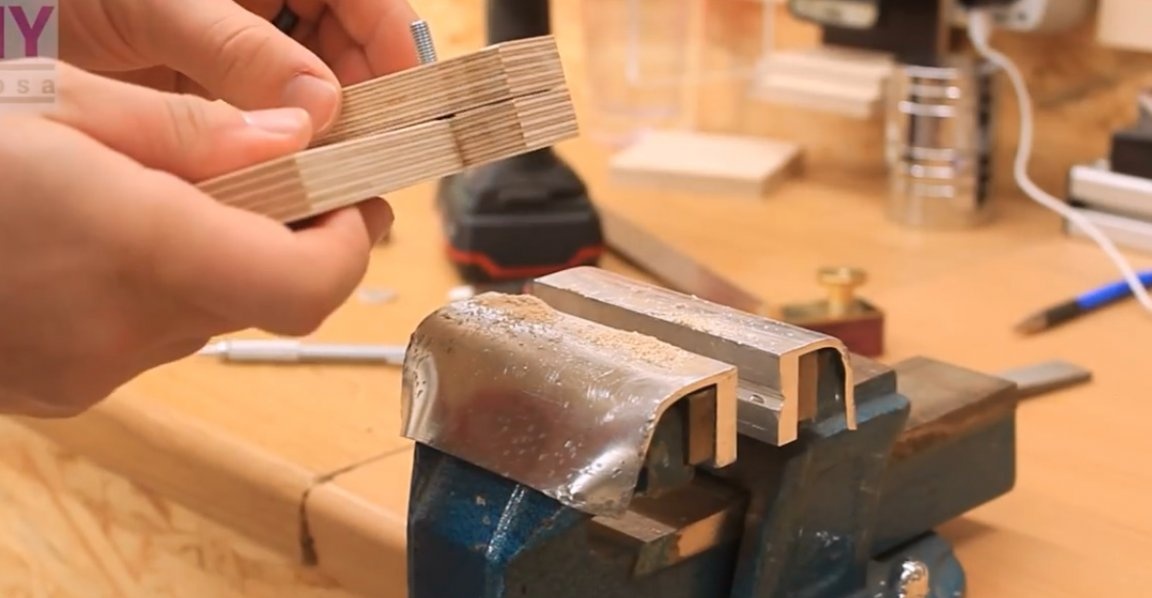
Then he inserted a bolt, put on the washer and nut on the other side, tightened them until the head was completely sunk with a wrench.
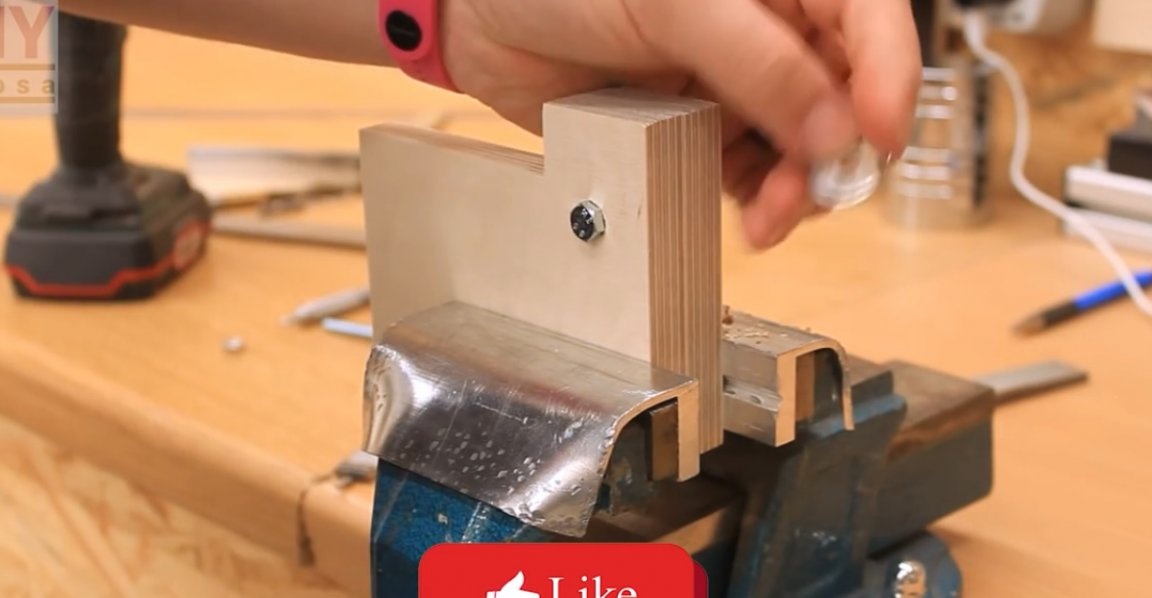

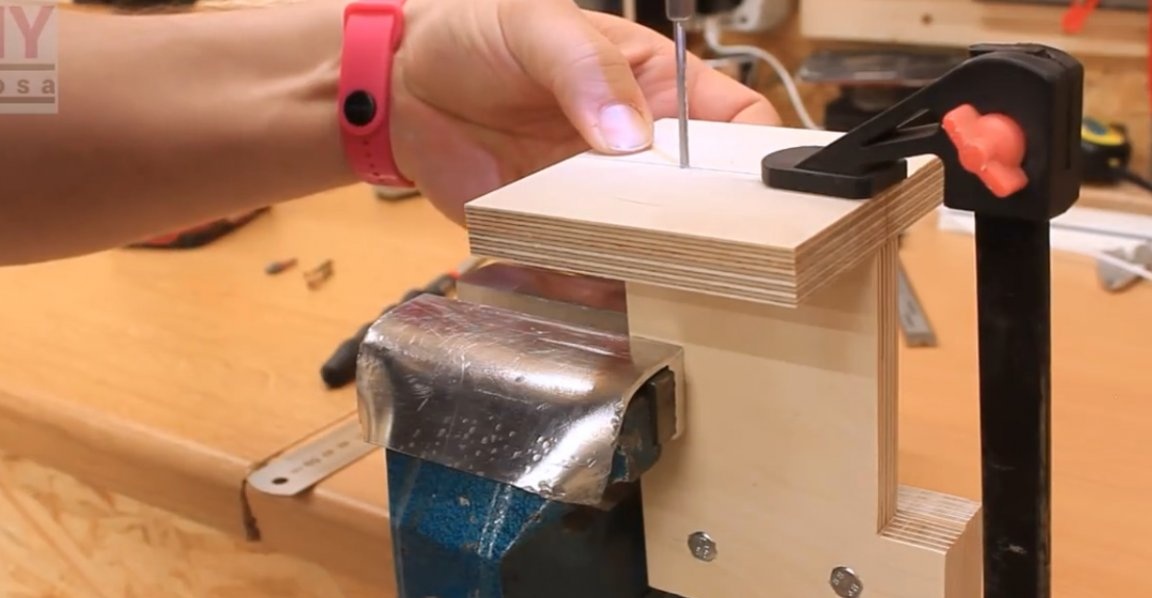
For the second bolt, all actions are repeated.
Holes had to be expanded a little in a clamping level. Then the strap is loose on the bolts.
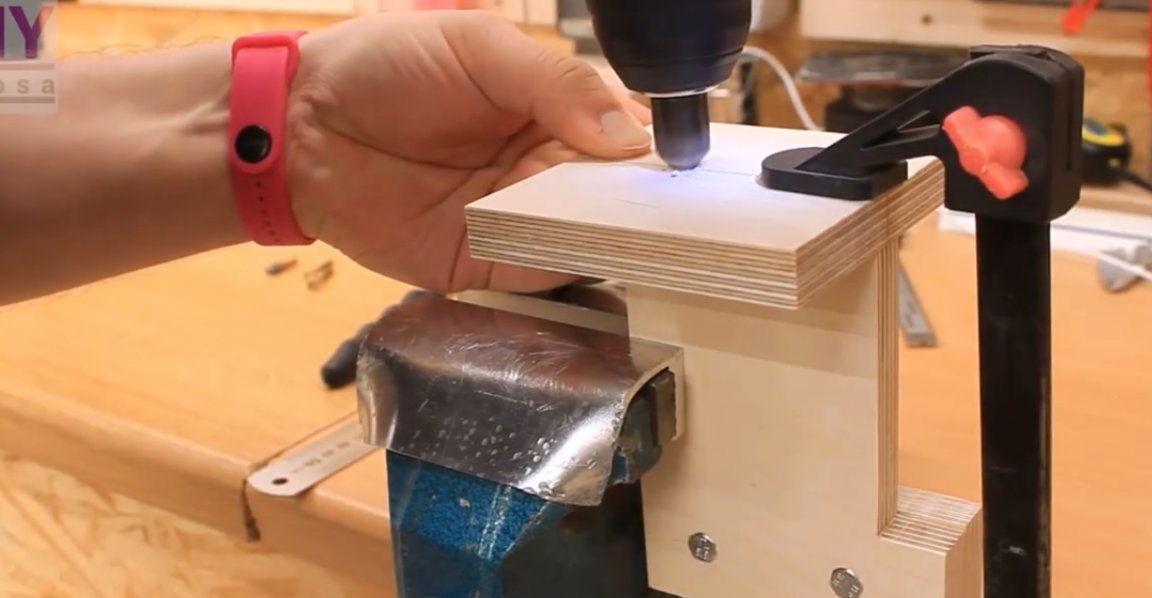
Now the master has marked the mounting points of the base to the rack.
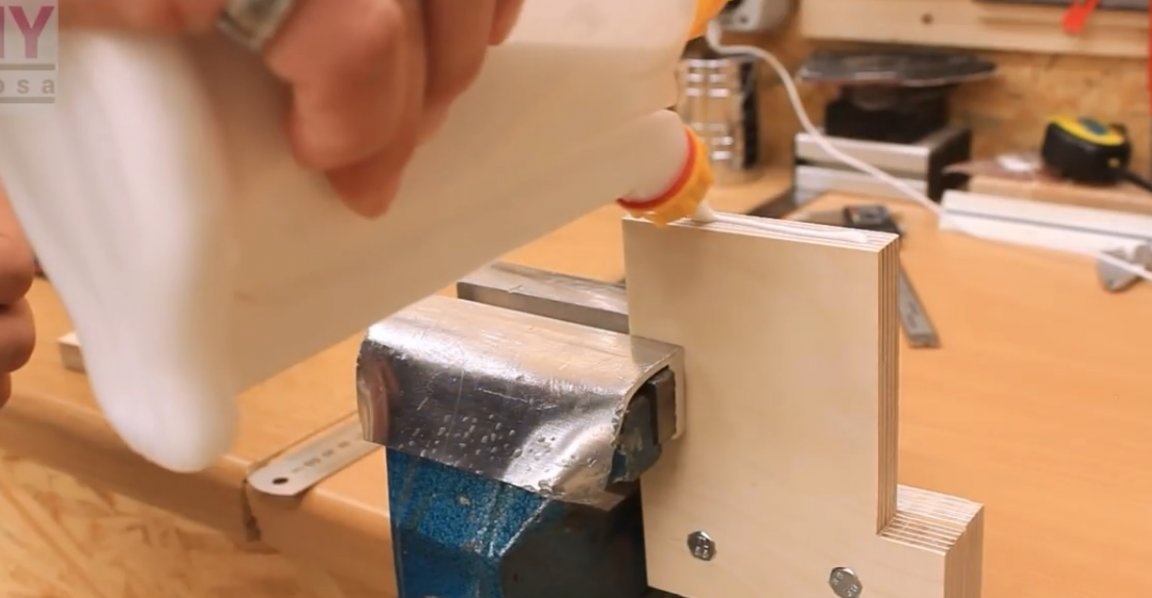
He fixed it in a vice, and pressed the base with a clamp. I drilled holes according to the marking, and countered them.
It remains to grease the connection with glue, and tighten the screws.

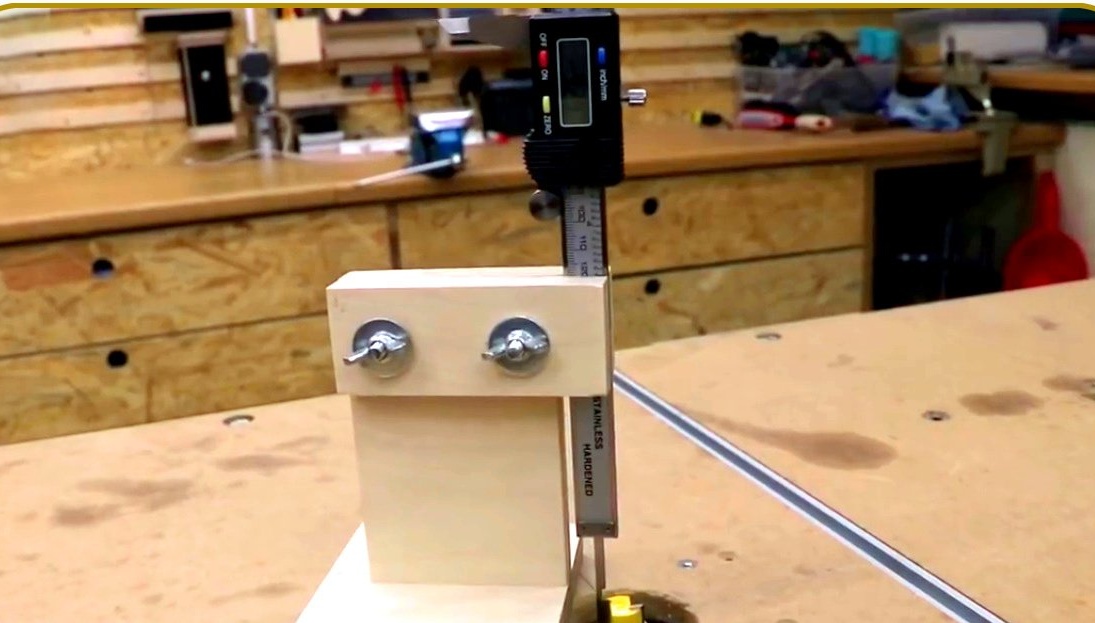
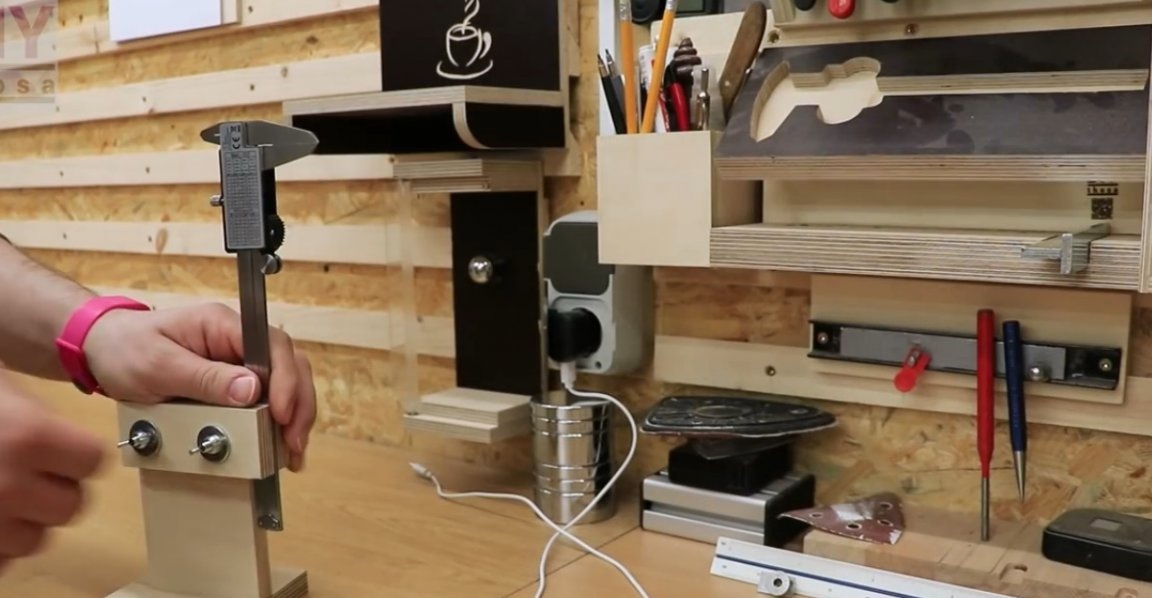
The master fixed the digital caliper with a clamp, lowered the depth gauge to the level of the table, and reset his readings.
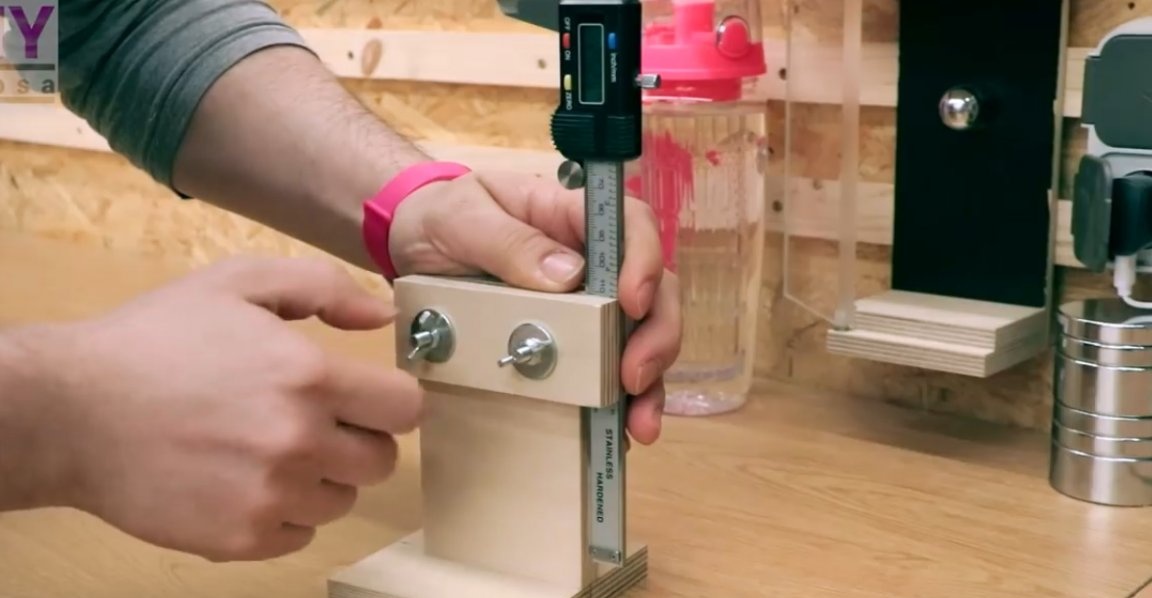
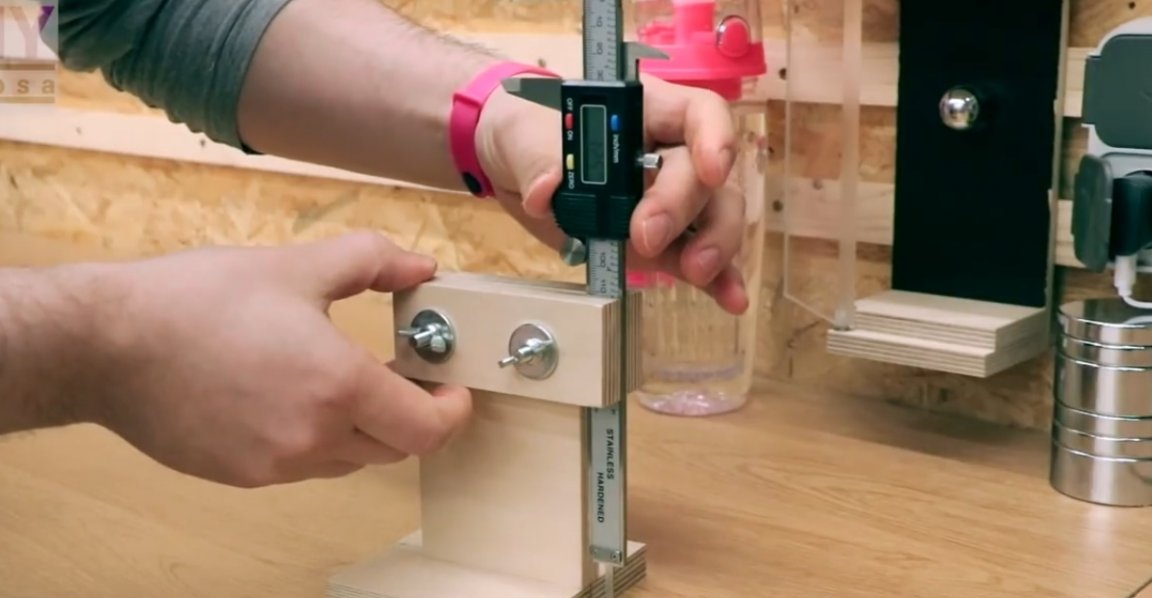
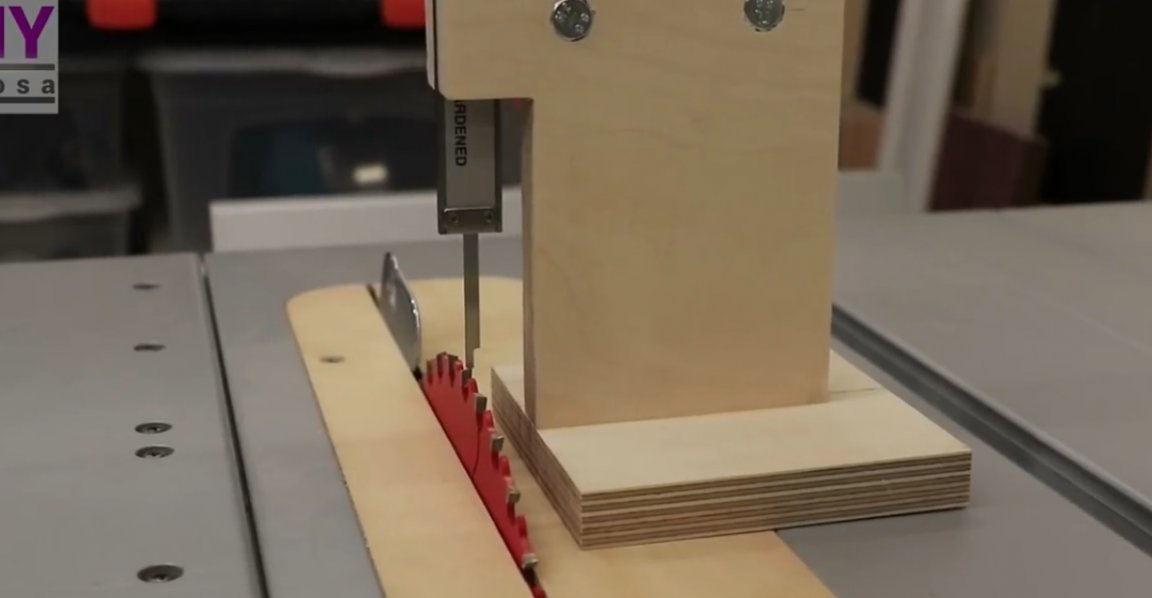
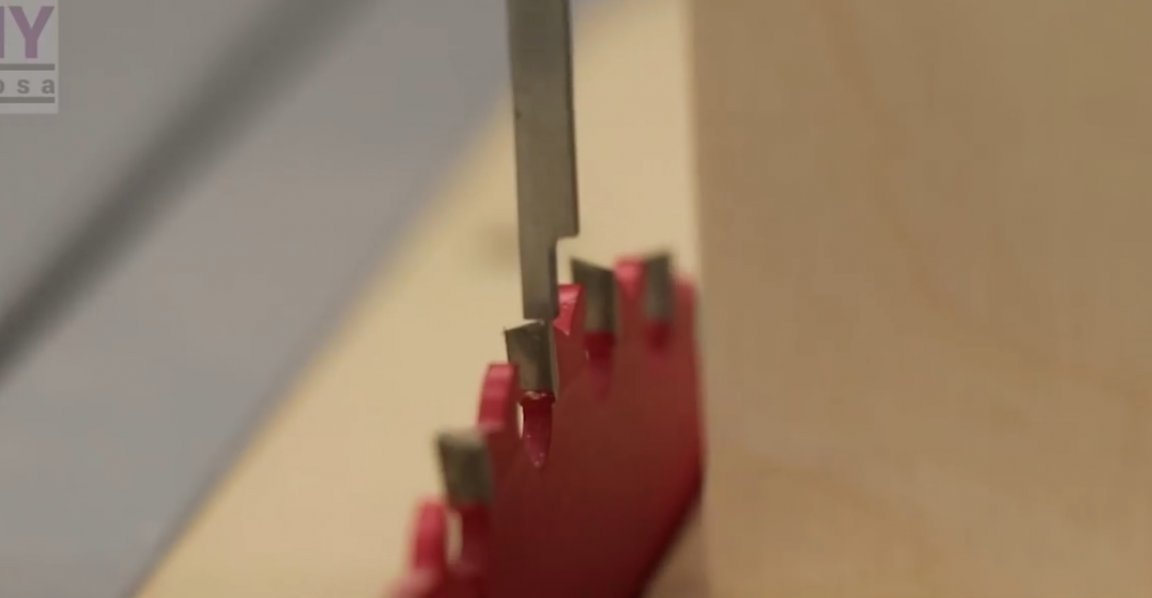
Now you can begin to measure. The accuracy of this is 0.01 mm. The author measured the height of the cutter above the table.Indications on the display will be displayed with a minus sign.

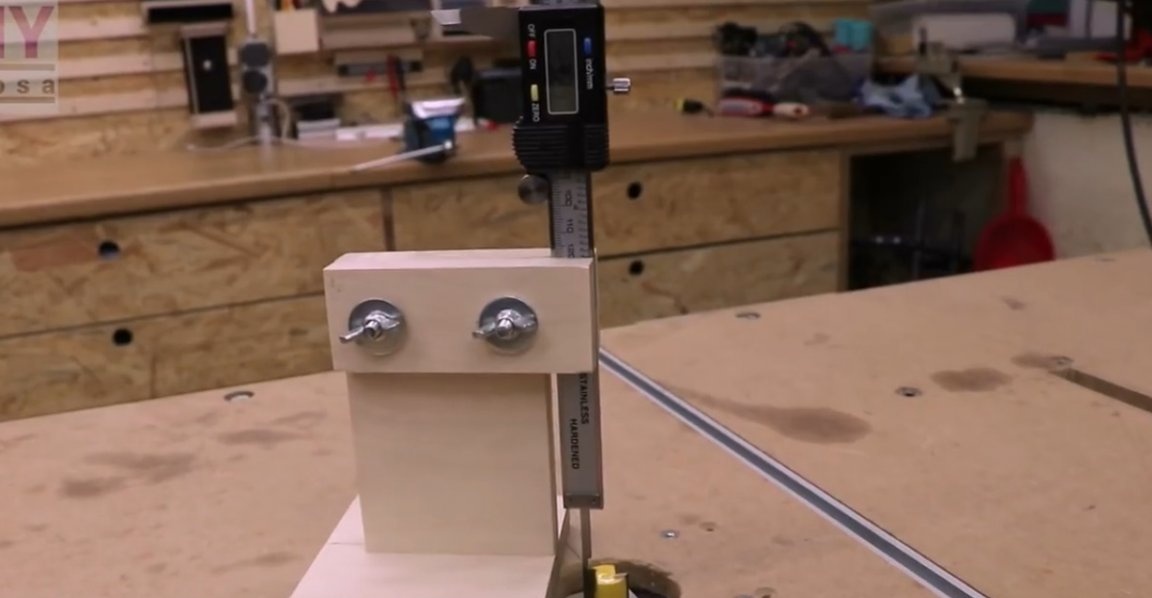

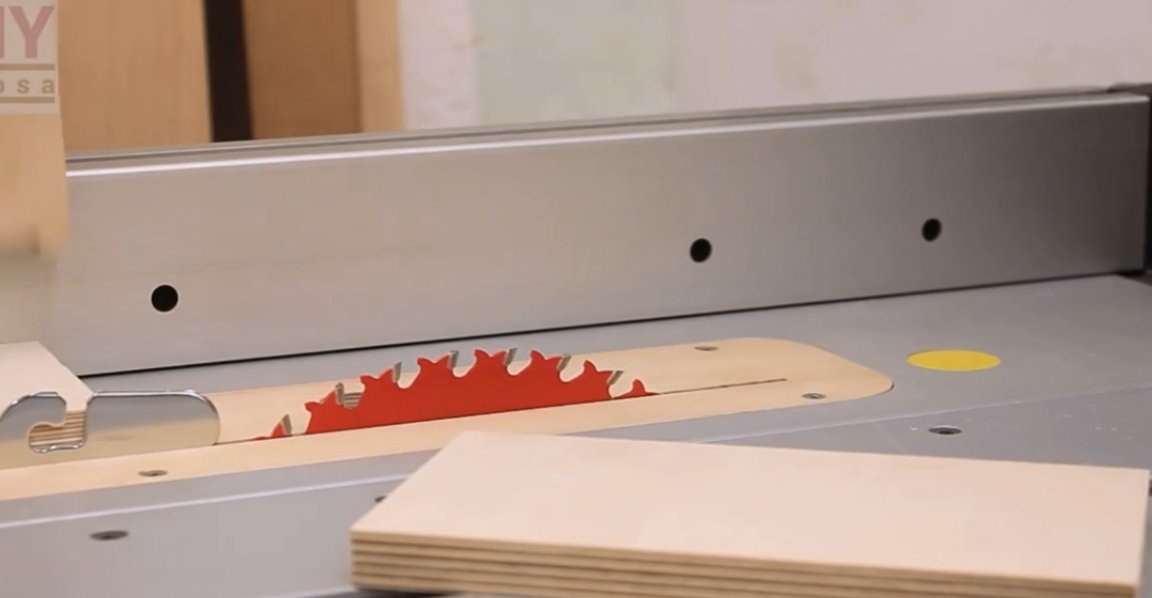
In the same way, the height of the circular saw blade can be adjusted.
After completion of work, the caliper is easily removed from fixtures, and can be used for other works.
Thanks to the author for the idea of a simple but useful tool for the workshop!
All good mood, good luck, and interesting ideas!
Author video can be found here.