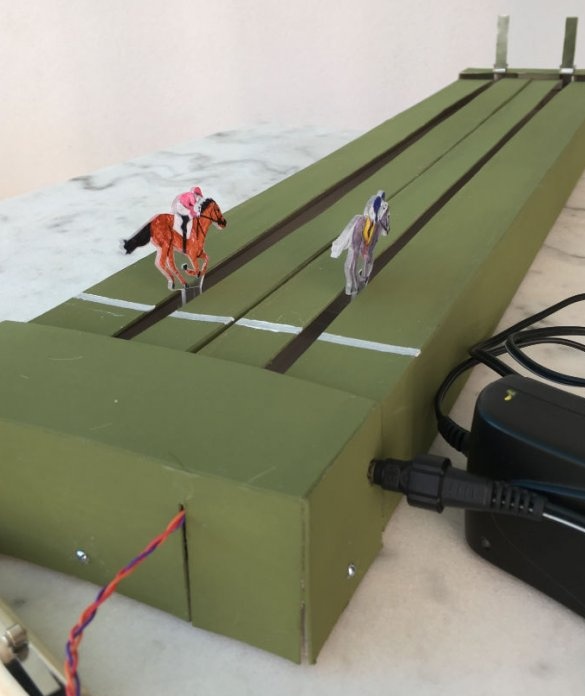
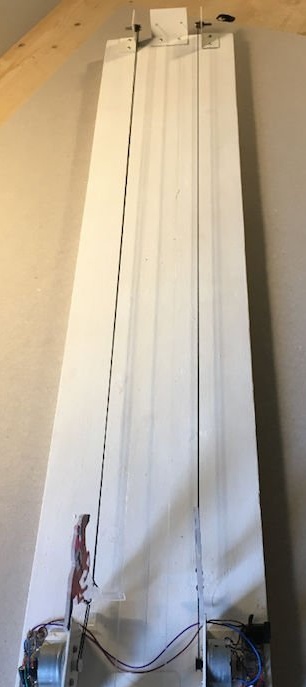
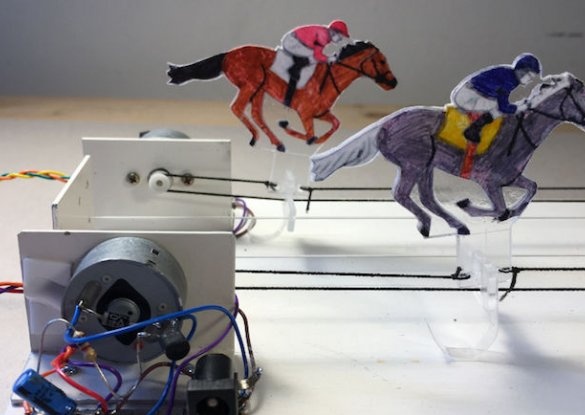
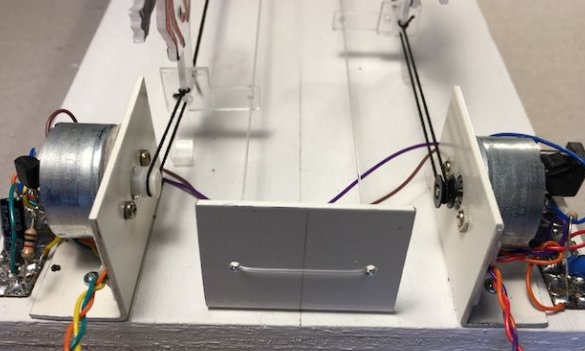
At one time, a computer game was popular, where you had to click on the mouse button with the highest possible frequency. A lot was broken in the mice of microswitches, and then the popularity of the game came to naught. Now, thanks to the efforts of the author of Instructables under the nickname Alex Kov, she is returning in an electromechanical form. Which of the two players presses the button with greater frequency, the horse will reach the finish faster. As can be seen from the following photos, horse figures are moved by electric motors through mechanisms similar to the vernier radio sets. Engines, in turn, are controlled by certain electronic boards:
Well, it's time to get acquainted with the secret of these boards. On each of them - according to this scheme:
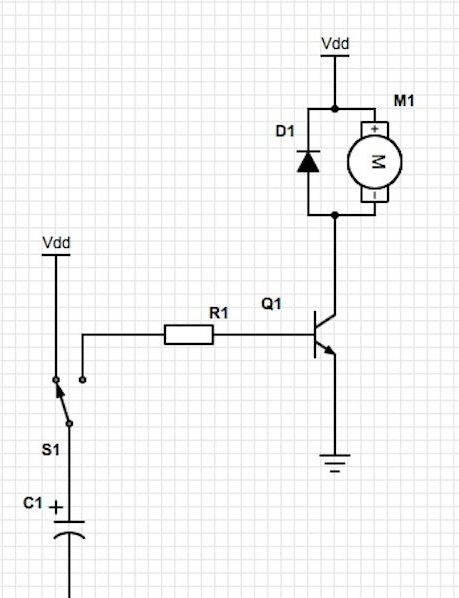
When the button is depressed, the capacitor is charged from the power source, when pressed, it is discharged through the resistor to the base-emitter junction of the transistor, which is why it opens, the electric motor turns on for as long as the capacitor is charged, the horse walks a short distance and stops. In order for it to advance even the same distance, you need to press the button, allowing the capacitor to charge, and press again.
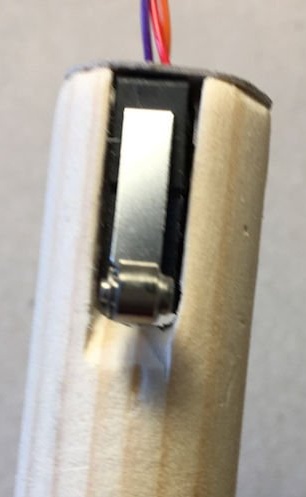
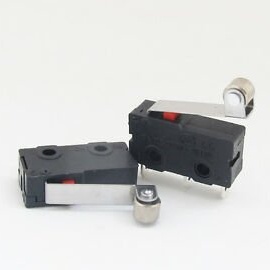
Of course, micro-switches for buttons should be taken more durable than in mice. For example, such:
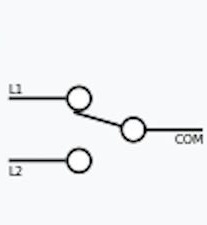
Their internal circuitry is the same as that of most other microswitches - one switching group of contacts:
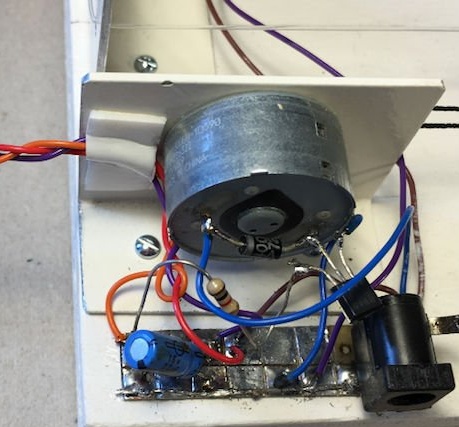
Boards are made according to a very old "accumulated" technology - with cutting a gap between the tracks with a knife. Protective diodes connected in reverse polarity are located directly on the terminals of each of the two electric motors. The boards are parallelized in terms of power, so the power supply connector is located on only one of them. PSU in the author's version is taken at 4.5 V, but better at 3, since the electric motors are used from cassette players. You can also install a three-volt stabilizer, then modern standard PSUs with a five-volt output will do.
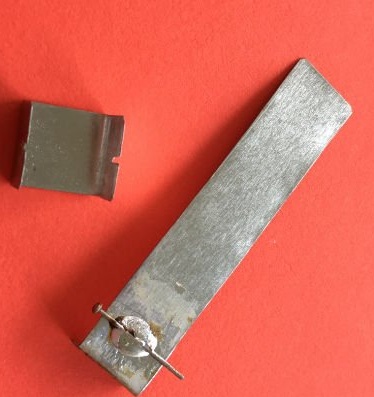
Work on homemade the master begins with the manufacture of metal corners.These will be located on the board from the start side, electric motors with pulleys on the shafts are mounted on them, everything is clear from the previous photos:
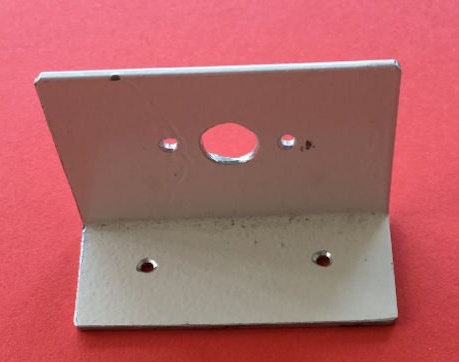
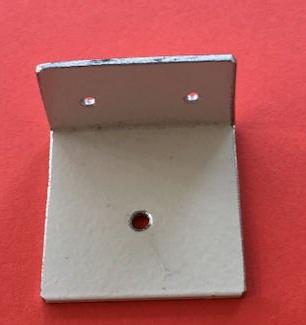
And these are from the finish:
The pulleys on the finish side will be held on the following screws:
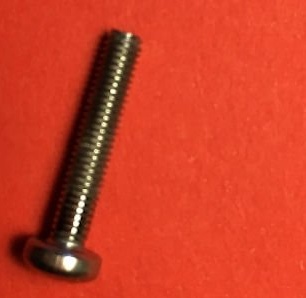
Like this:
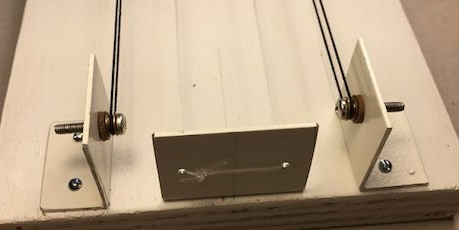
Closer:
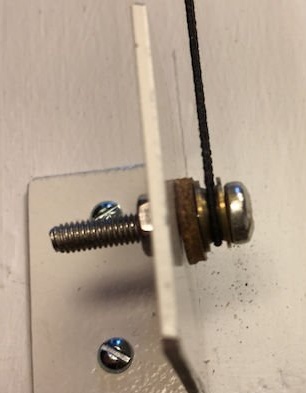
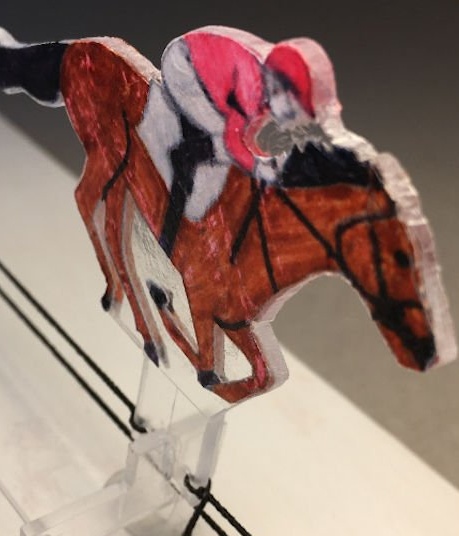
Figures of horses with jockeys the master cuts out of plexiglass, sticks prints with a picture on them and paints them, attaches the cables of the "verniers" (elastic, with a diameter of 0.6 mm):
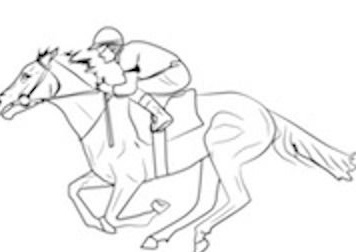
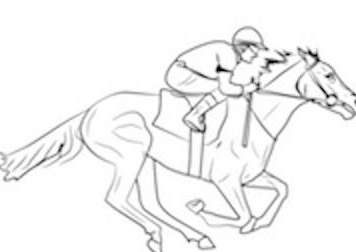
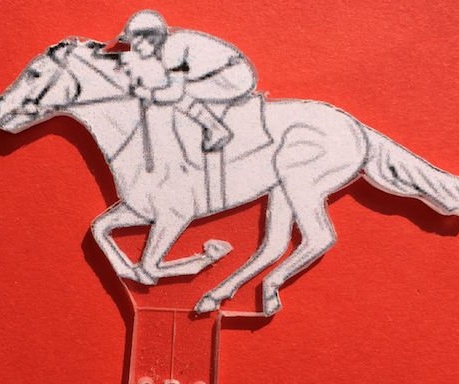
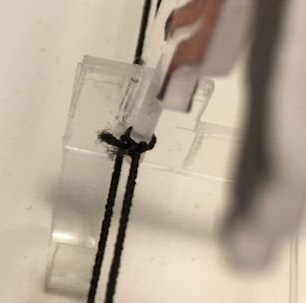
And that corner, which is in the middle in this photo:
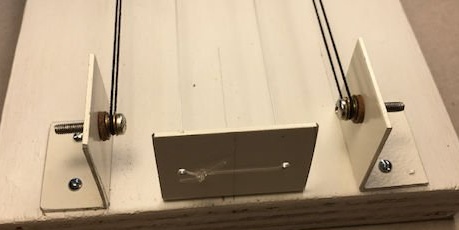
Holds a stretched fishing line with a diameter of 0.8 mm, thanks to which the figures of horses are supported in an upright position. From the start side, the fishing line holds the same corner.
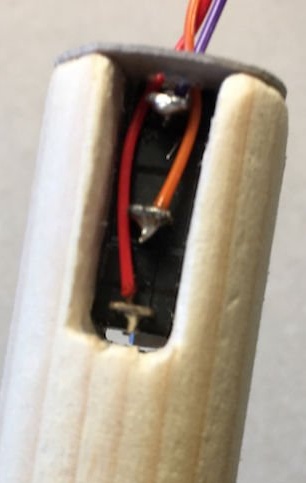
The master makes one-button game controllers from wooden cylinders in which slots are made to accommodate microswitches:
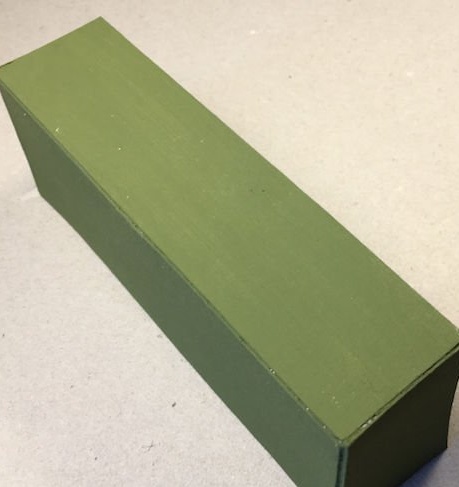
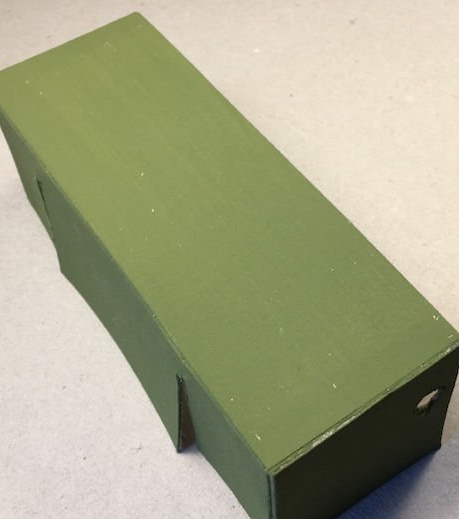
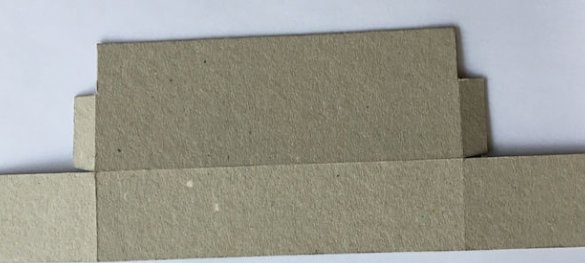
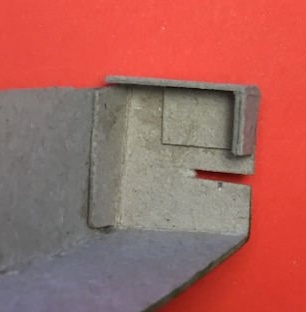
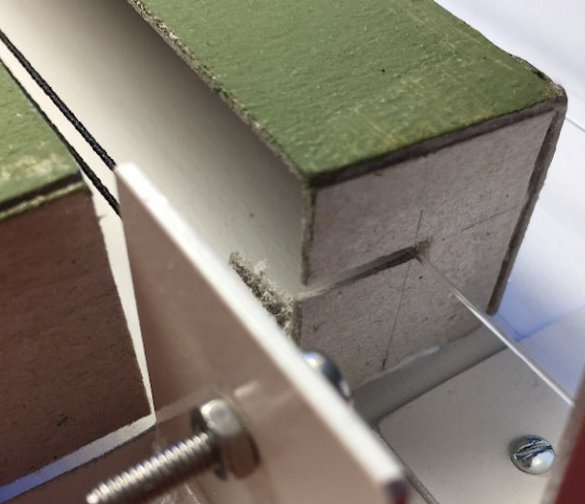
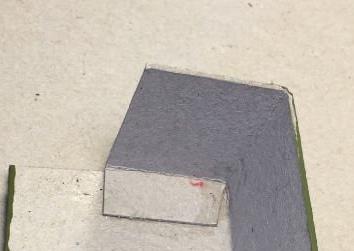
After the manufacture of the mechanical part, the master takes on the body of cardboard (not corrugated) 1 mm thick. It consists of several parts, one covering the middle, sides, parts of the mechanism from the start and finish sides. So that fishing line and cables can pass between parts of the body, slots are made in appropriate places.
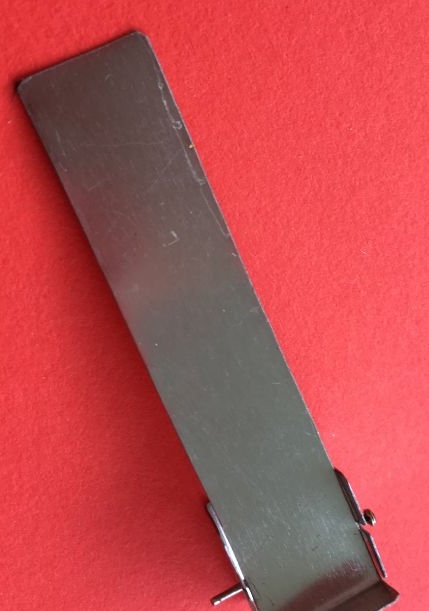
Flags falling when they are touched by figures of horses, the master makes of tin plates, to which the screws are screwed. They hold on again at the corners:
The video shows the game in action:

