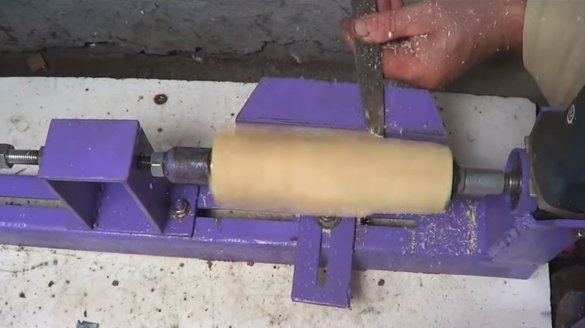
Hello to all fans of craftsmen, today we will consider how to make a small lathe from a grinder. Of course, the grinder is not very suitable for such purposes due to the huge revolutions that will cause strong vibrations. But no one forbids you to turn on the grinder through and adjust the speed. With such a small lathe, tool handles and other small parts can be turned. Tools and parts for homemade we need not very rare ones, so assembling a machine should not be difficult. If you are interested in the project, I propose to study it in more detail!
Materials and tools used by the author:
Material List:
- sheet metal;
- a piece of pipe;
- bolts and nuts;
- profile pipe or channel;
- bearings for the tailstock;
- threaded rod;
- paint for metal.
Tool List:
- grinder;
- welding machine;
- drill or drilling machine;
- roulette;
- marker;
- vernier caliper;
- vise;
- ;
- grinder.
Homemade manufacturing process:
Step one. Fasteners for grinders
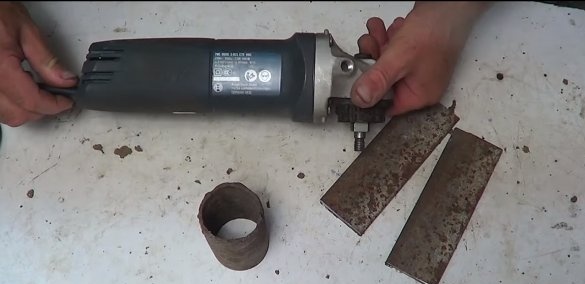
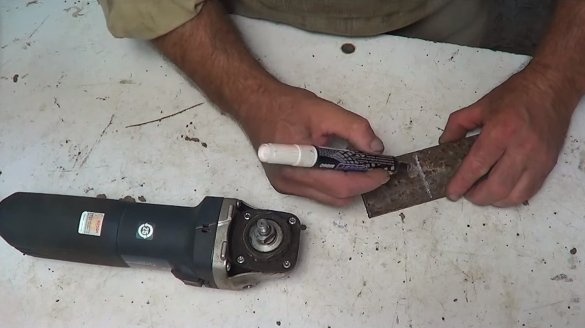
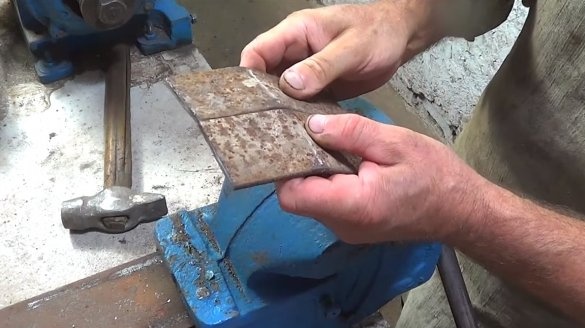
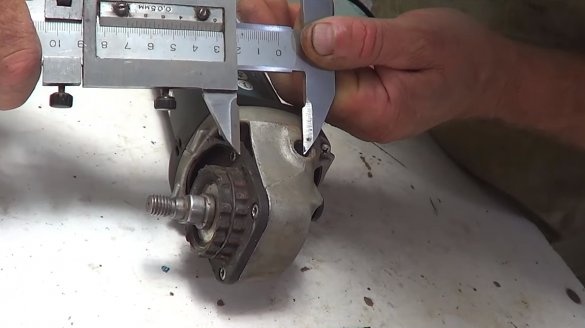
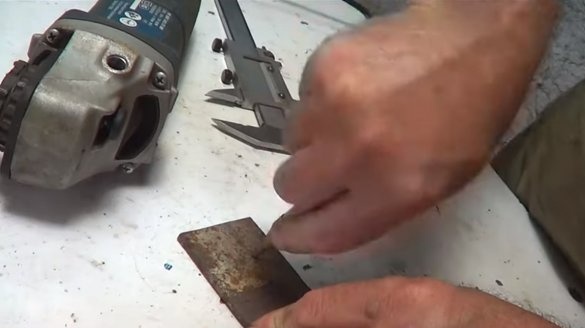
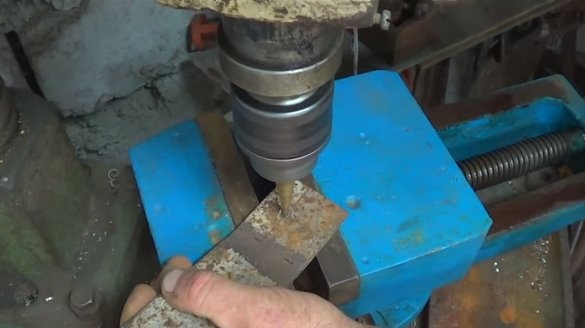
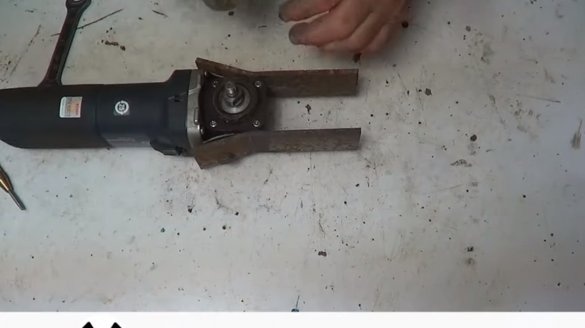
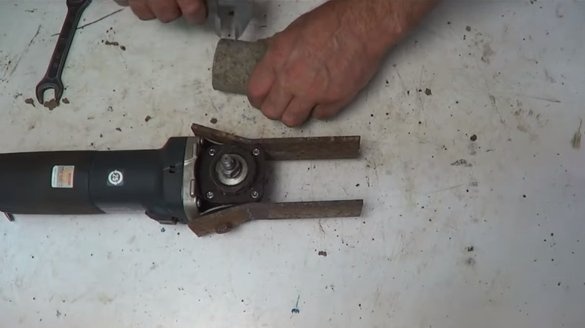
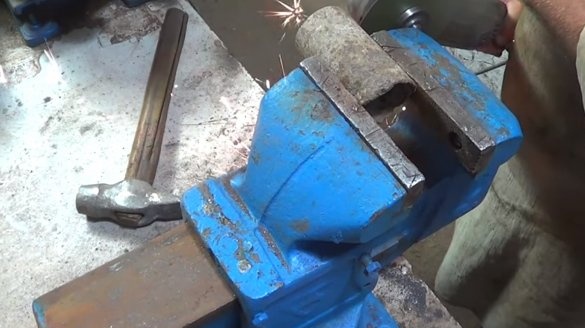
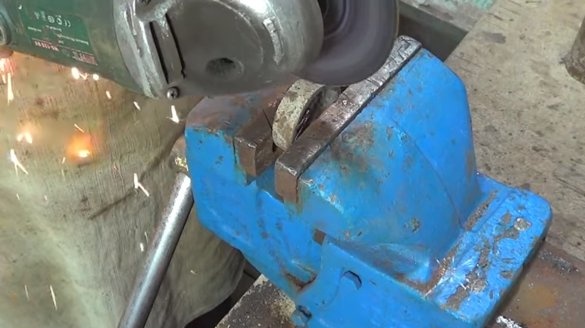
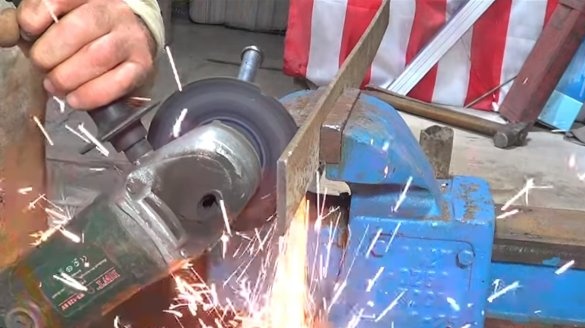
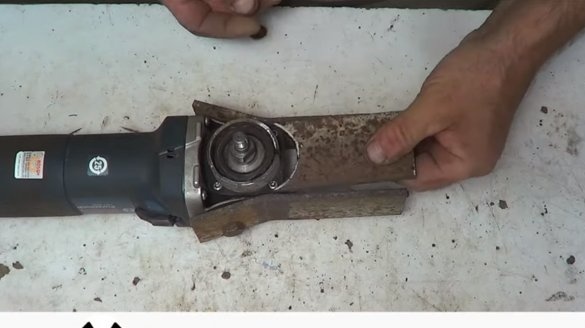
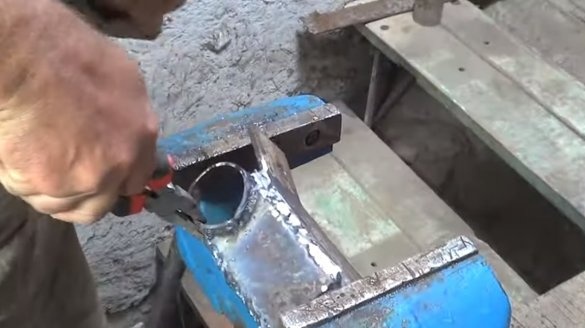
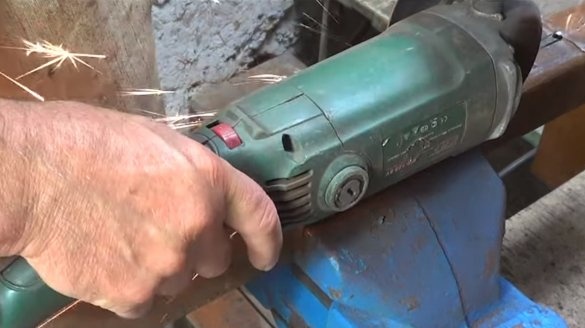
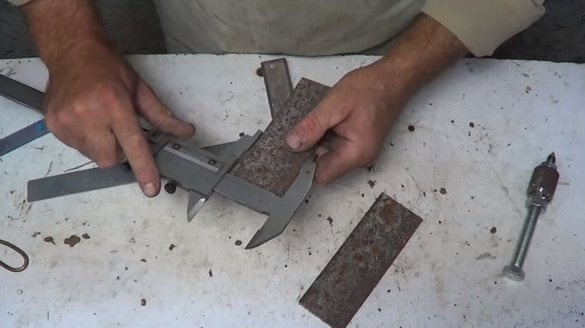
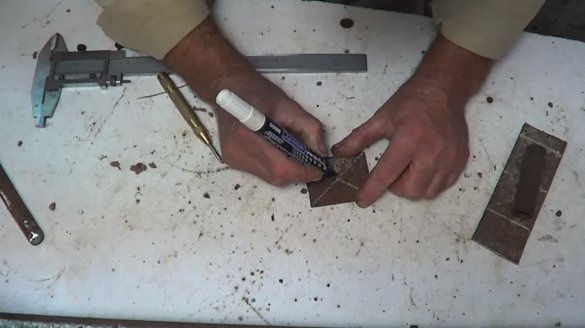
First of all, we will manufacture fasteners for the grinder, the device must be fixed on the frame very reliably. To begin with, we look for iron plates, we cut and bend. We need to drill two holes in the plates so that the grinder can be bolted. We also need a piece of a round pipe, that part of the grinder on which the protective shield is installed will go into it. To reduce the diameter of the pipe, it can be cut lengthwise, squeezed and welded, or even better, make a clamp on a bolt with a nut.
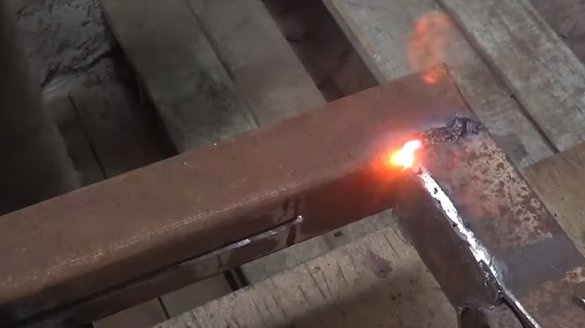
We securely weld the entire structure and now we have the fasteners ready.
Step Two Bed
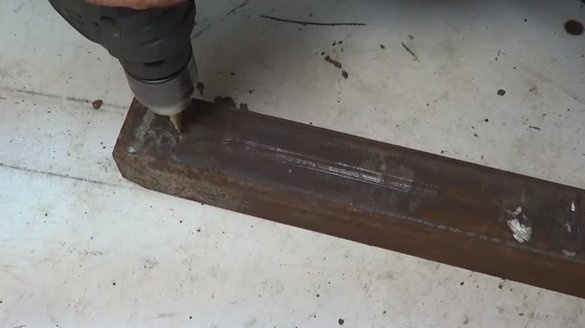
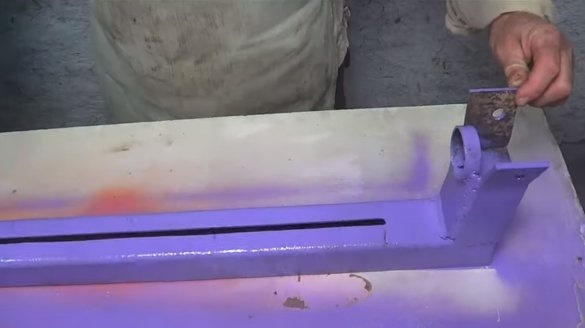
Let's make a bed for the lathe. A piece of a channel is best suited for such purposes, this material is durable and heavy. Alternatively, you can use a piece of a profile pipe.
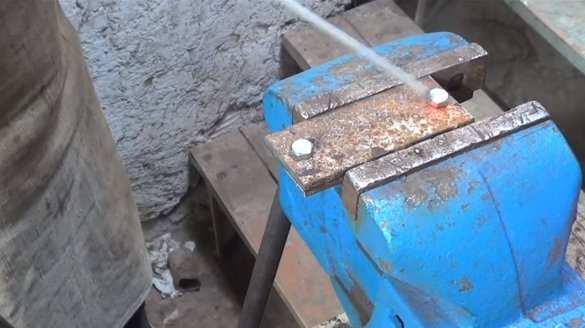
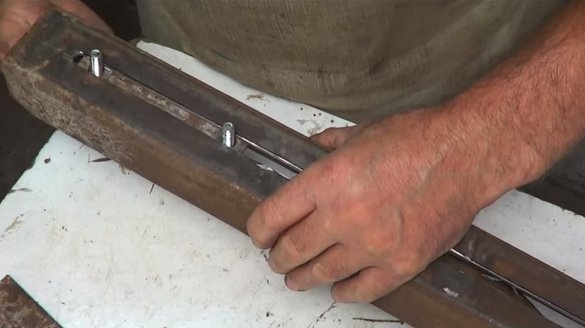
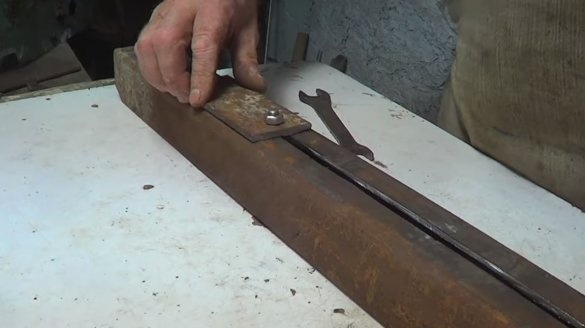
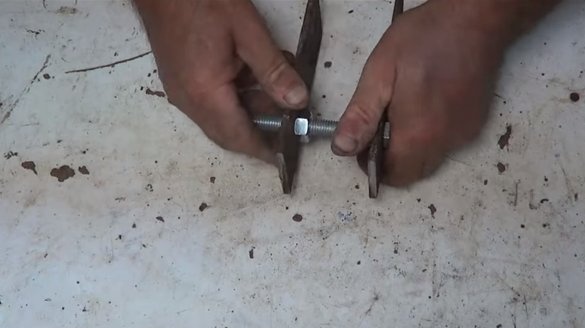
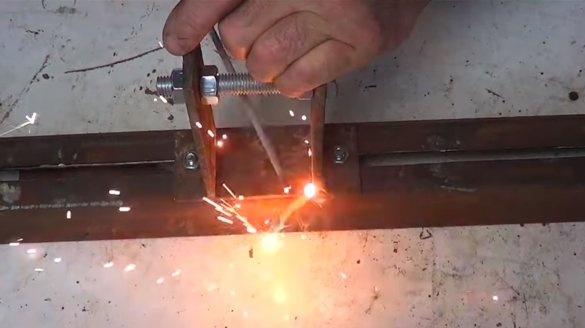
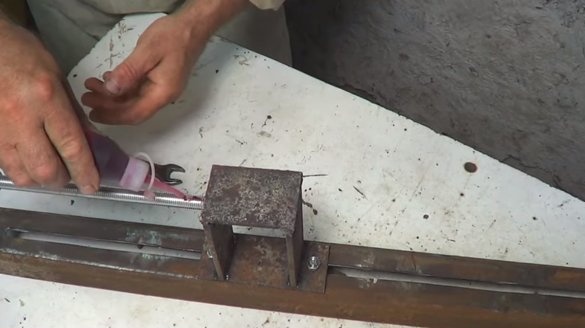
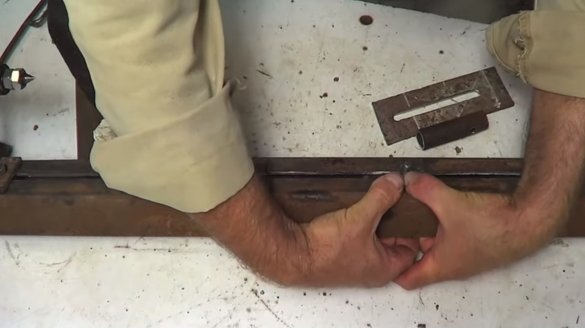
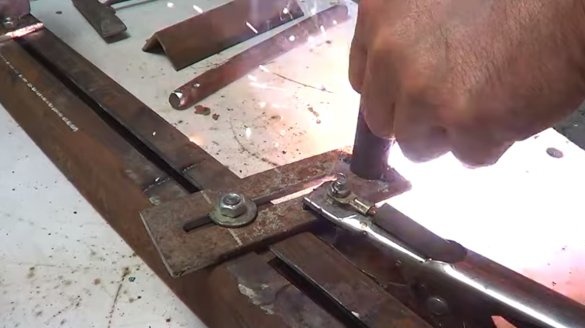
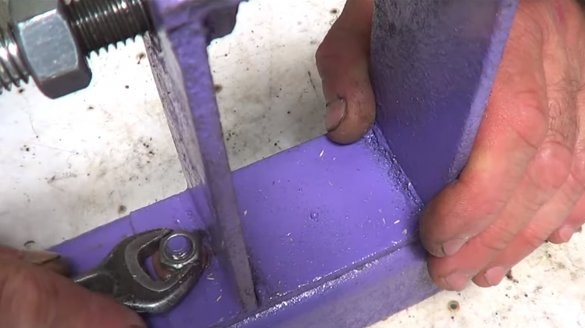
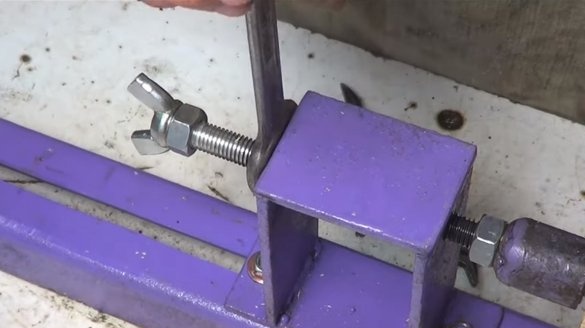
We cut a gap along the bed with a grinder, it is needed to move the tailstock. The platform for the tailstock is made of iron plates and bolts with nuts, as a result, the tailstock can be moved and securely fixed.
To the frame at a right angle we weld the fasteners for the grinder, made earlier.
Step Three Tailstock
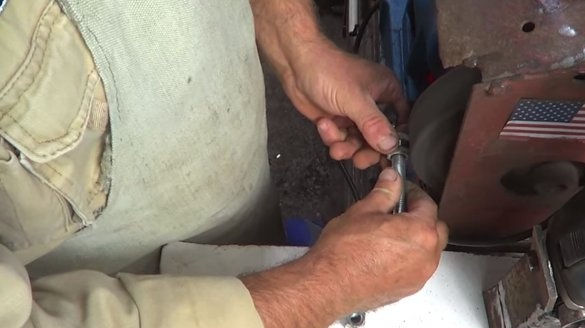
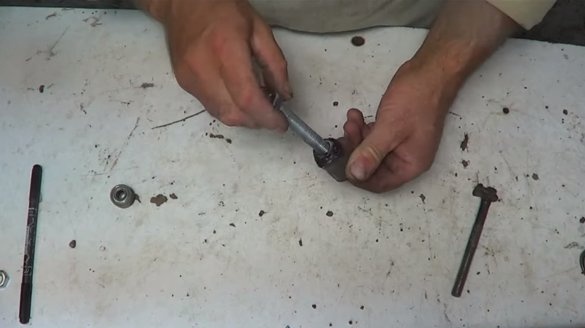
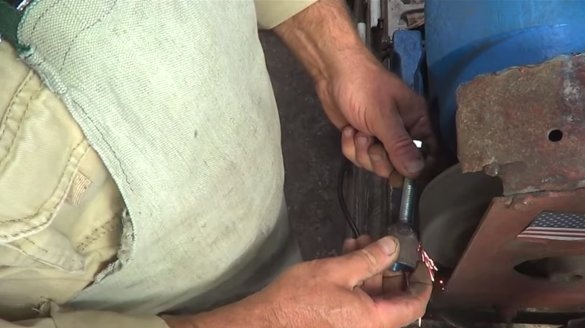
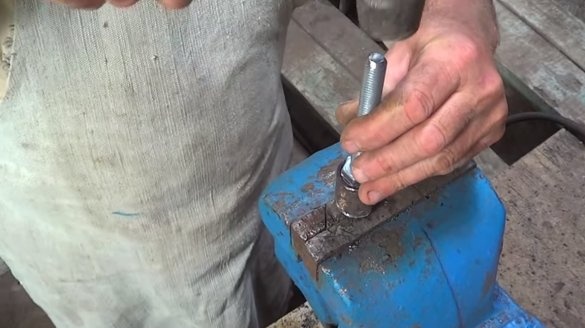
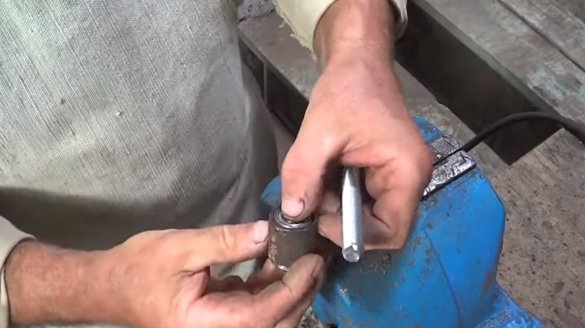
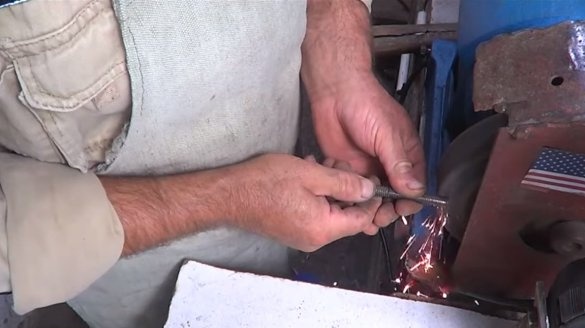
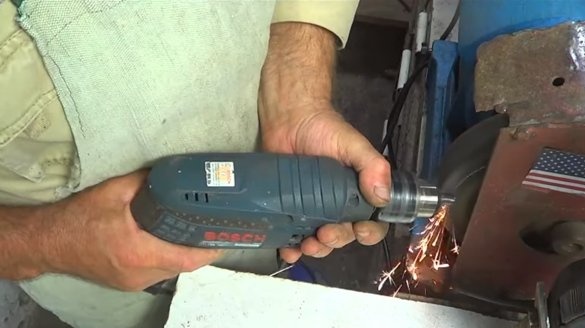
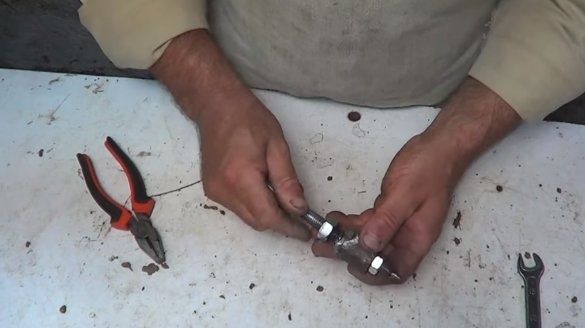
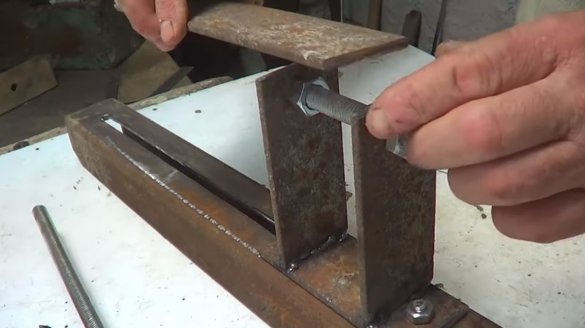
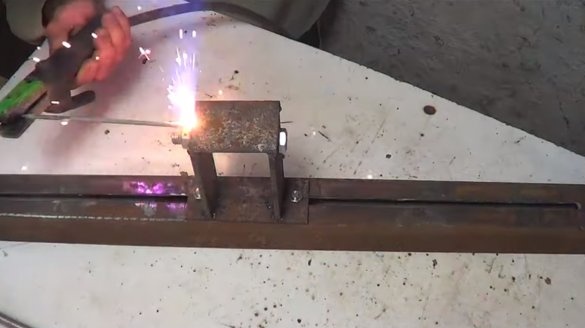
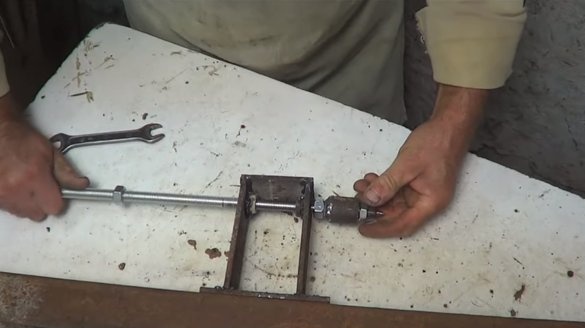
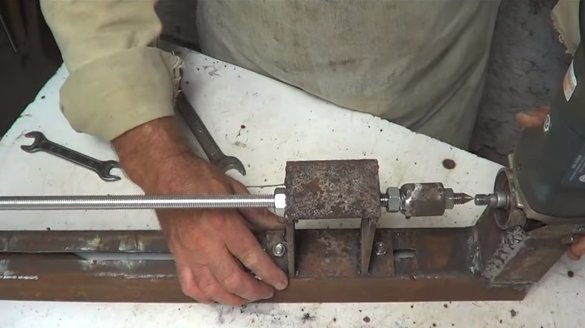
The author welded a tailstock from iron plates and welded to a movable base. We also need to make an axis for the tailstock, a threaded rod was used as the axis, and the axis rotates on the bearings. A piece of iron pipe of suitable diameter acts as a housing for bearings. We sharpen the end of the threaded rod, the author used a drill and a grinding machine for this.
Step Four Emphasis
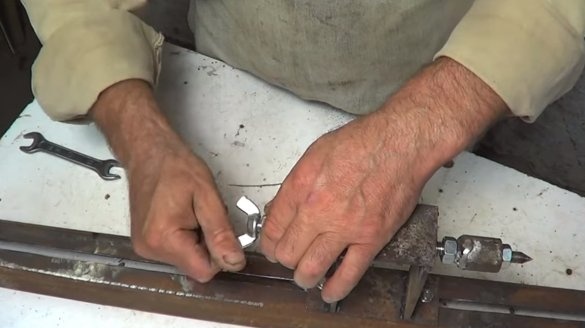
Similarly, we focus on the lathe, we use sheet metal or other similar materials for this. Of course, the emphasis should be adjustable.
Step Five Painting
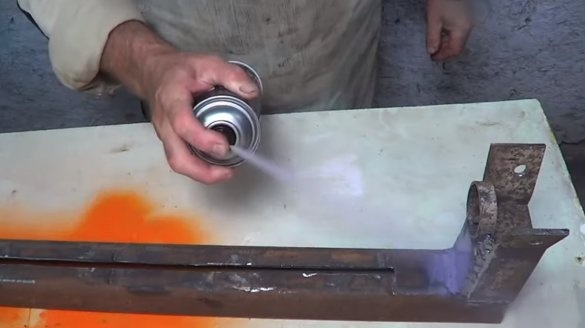
We paint all the iron parts, having previously cleaned the metal. Thanks to the paint, the machine will look great, and it will not rust for a long time. The easiest way to use spray paint.
Step Six Assembly and testing
We assemble the machine, fasten the grinder with two bolts to the bed. We also install a part on the grinder shaft that will fix the workpiece. Such a holder can be made of an elongated nut, a thick washer, and nails.
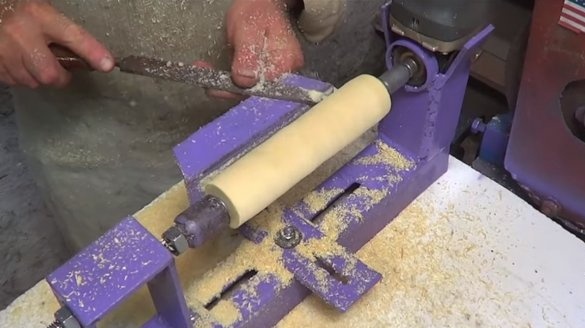
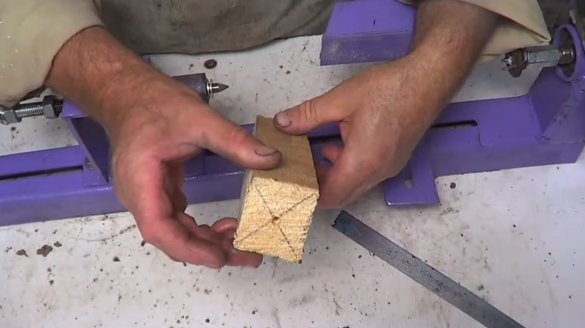
That's all, now the machine is ready, the author as an experiment clamps a wooden block in the machine. The first launch must be done at low speeds in order to understand how strong the vibrations will be. As you process, you can increase the speed, because the product will be balanced. To adjust the speed, you can use it if the grinder does not have an adjustment function.
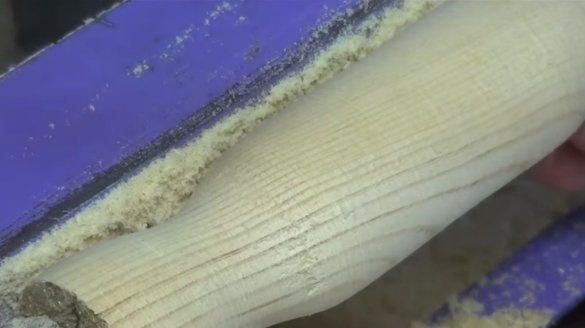
In general, the machine copes with the work, the author gets an excellent handle for the tool. The question is only in the safety of the device, namely, in the speed control. That's all, this project can be considered successfully completed, I hope you liked the homemade work, and you found useful thoughts for yourself. Good luck and creative inspiration, if you decide to repeat this, do not forget to share your ideas and homemade things with us!

