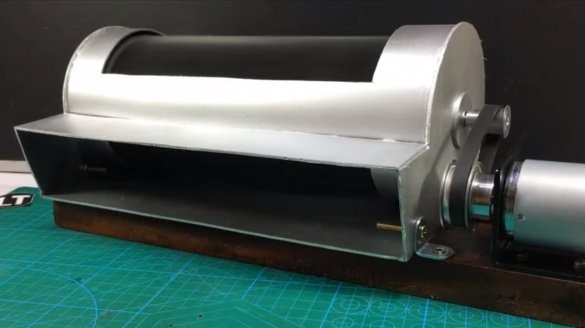
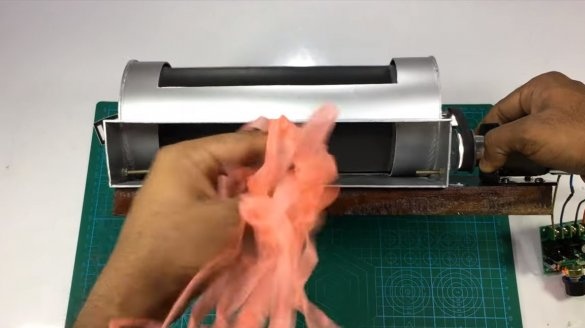
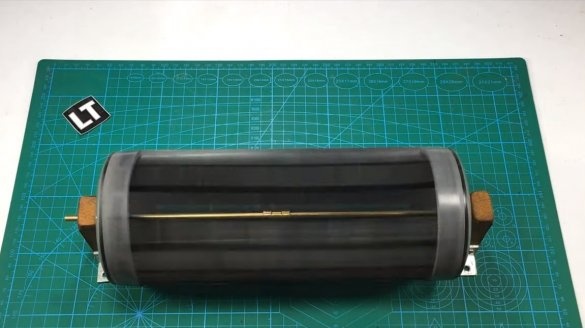
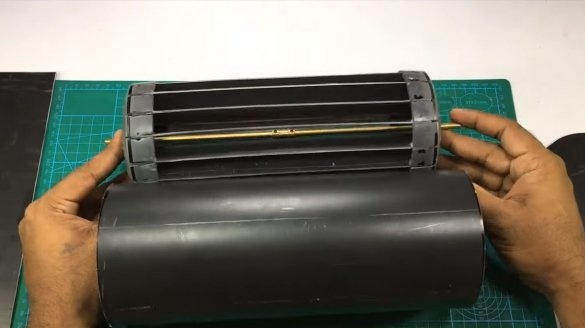
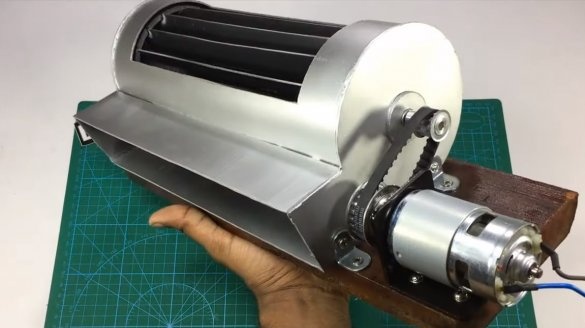
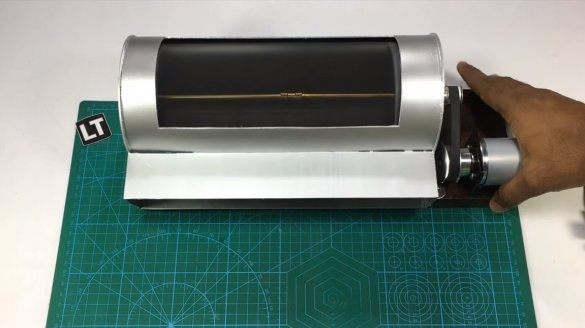
I welcome all fans to craft, today we will consider how to make a powerful transverse fan for 12V. Although the summer is coming to an end, there are still a lot of hot days, and next year homemade may be helpful. In addition, this design can be easily used as a hood. The device is assembled, which, due to an increasing belt drive, spins the turbine to high revolutions. The turbine and housing are made of plastic plumbing pipes. If you are interested in the project, I propose to study it in more detail!
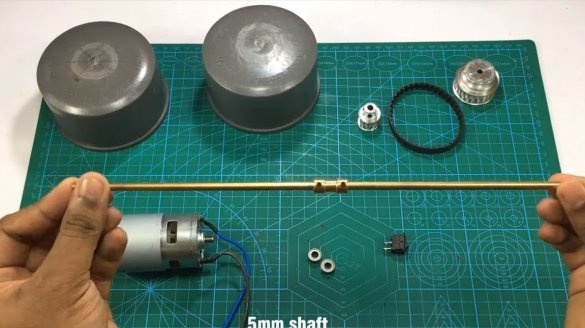
Materials and tools used by the author:
Material List:
- plumbing pipes;
- brass rods and coupling (for shaft);
- caps for pipes;
- or ;
- mounting bracket for the 775 engine;
- speed control for the engine;
- raising belt drive;
- board for the base;
- fixing corners;
- sheet metal;
- bearings under an axis of 5 mm;
- paint;
- glue.
Tool List:
- drill;
- a hacksaw for metal;
- soldering iron;
- drill;
- marker;
- roulette;
- stationery knife;
- scissors for metal.
Homemade manufacturing process:
Step one. Turbine
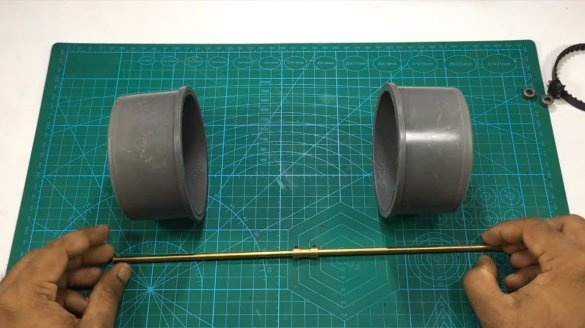
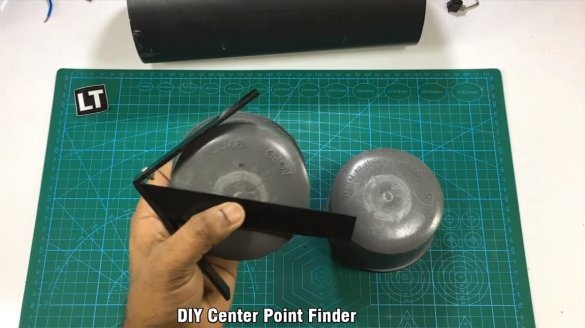
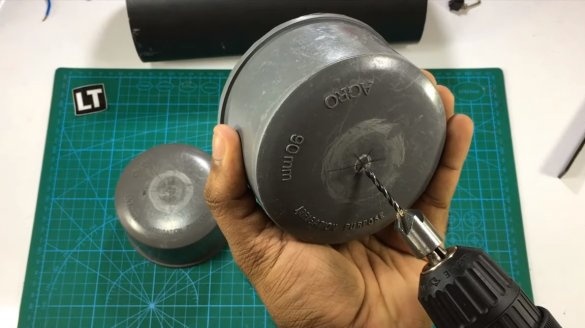
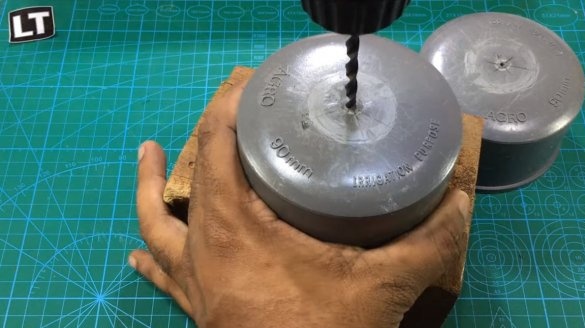
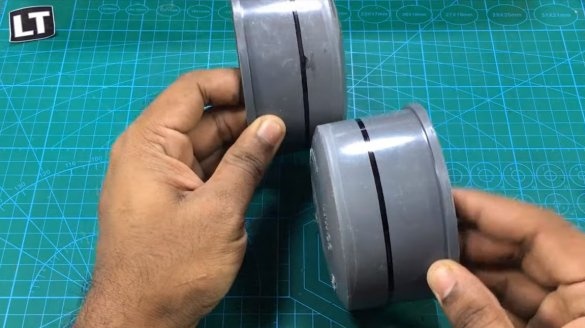
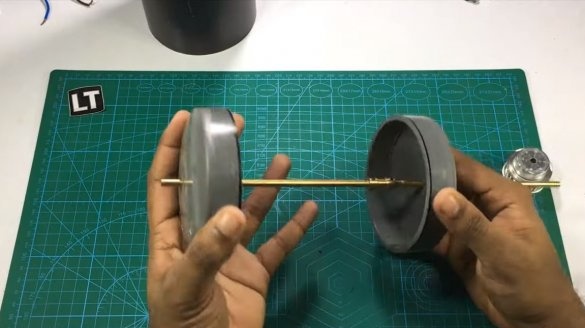
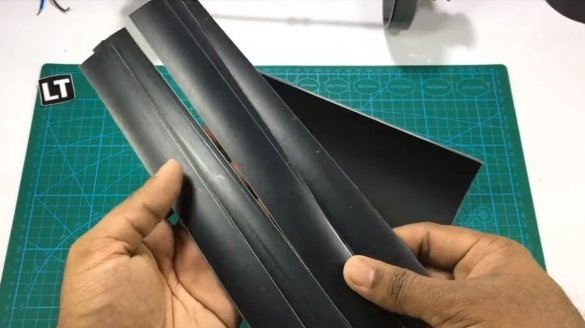
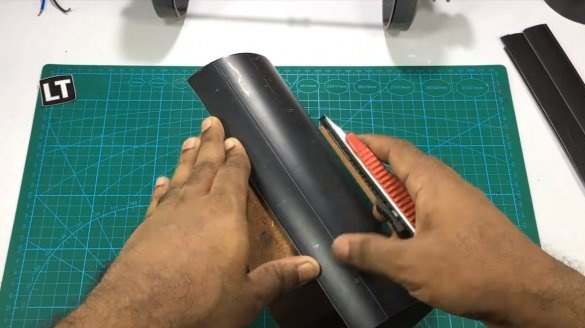
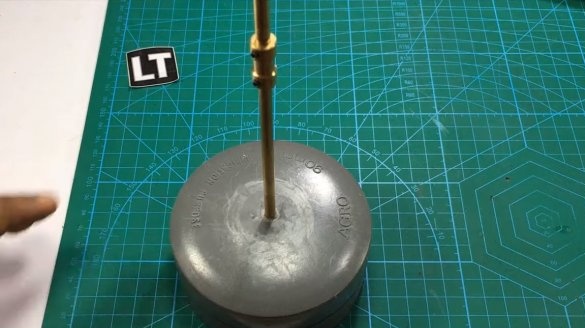
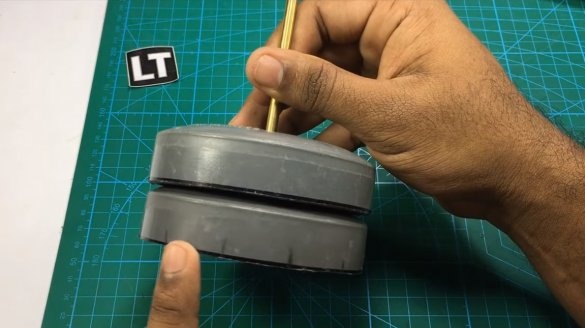
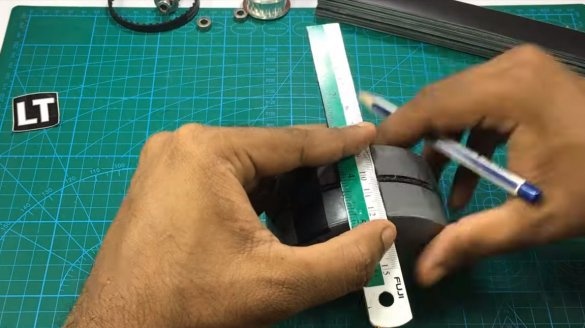
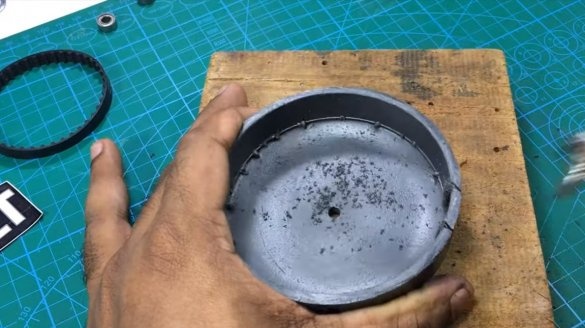
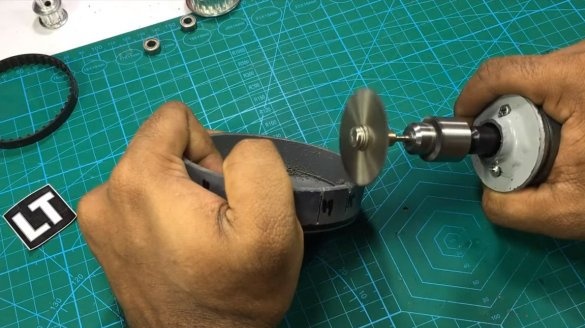
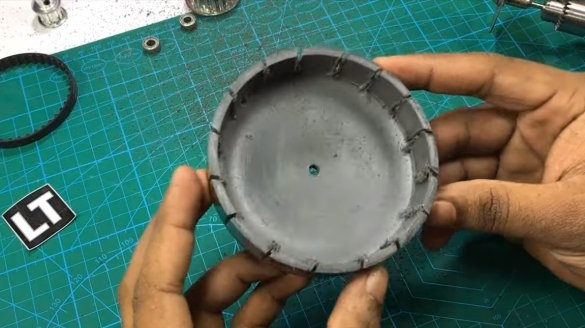
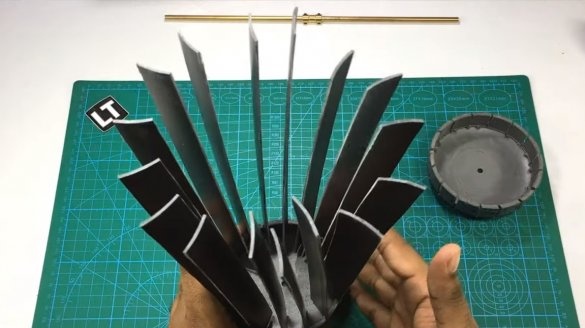
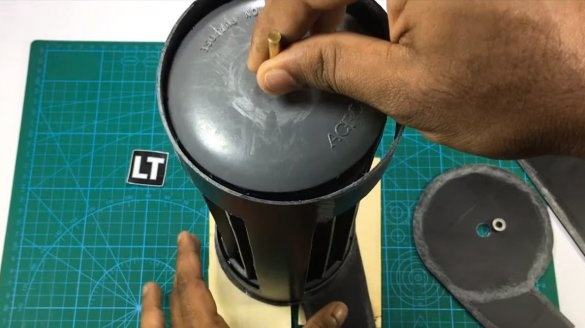
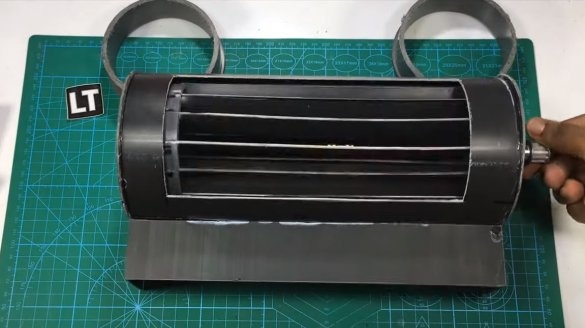
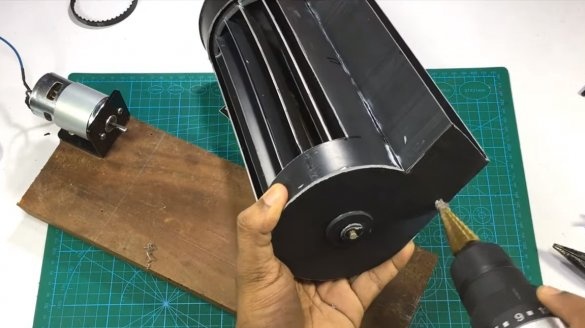
First of all, we will make a turbine, we will start with plugs for pipes, which will serve as parts to which the blades are attached. In the plugs, we drill holes for the brass shaft by 5 mm, and we also make markings and cut slots at an angle for the blades. As for the blades, their author cut from the sewer pipe. We install the blades in the grooves and glue with superglue.
Step Two Housing
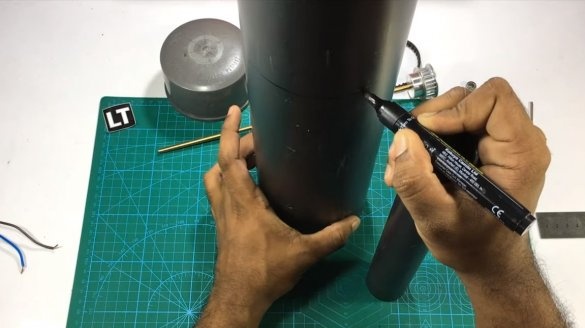
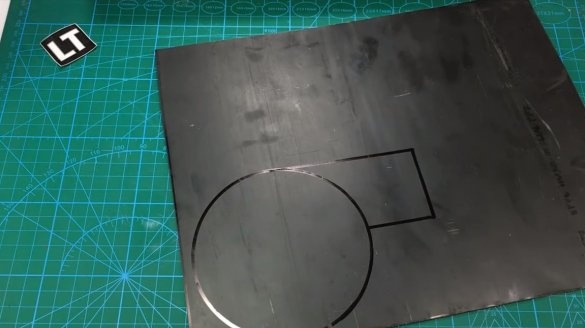
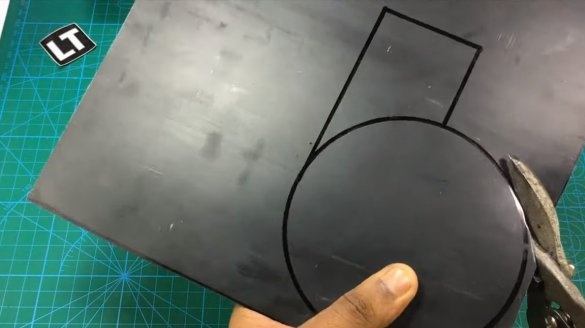
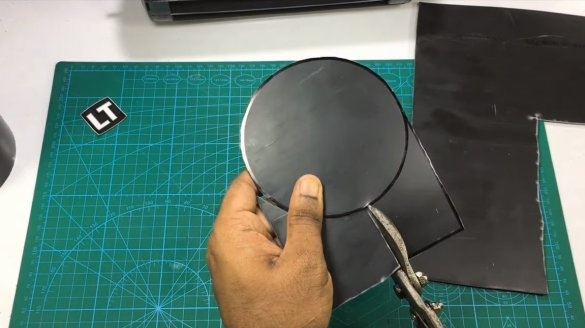
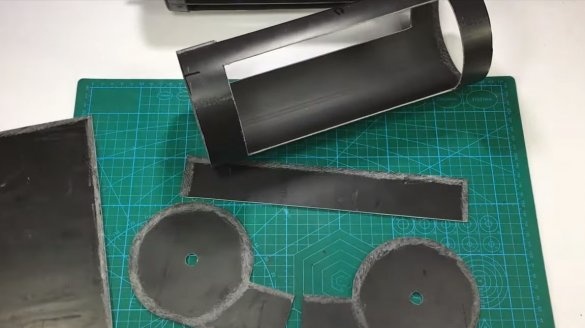
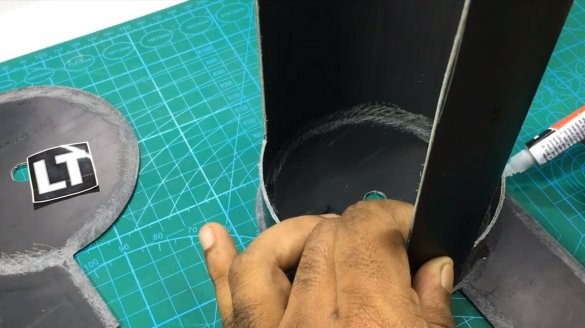
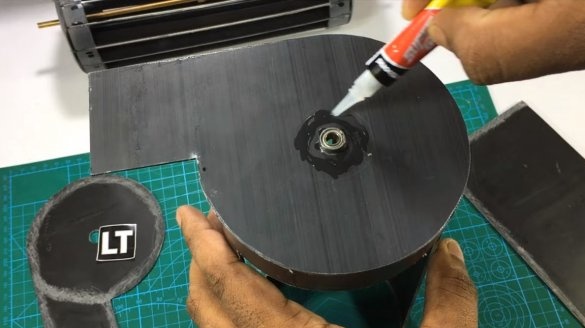
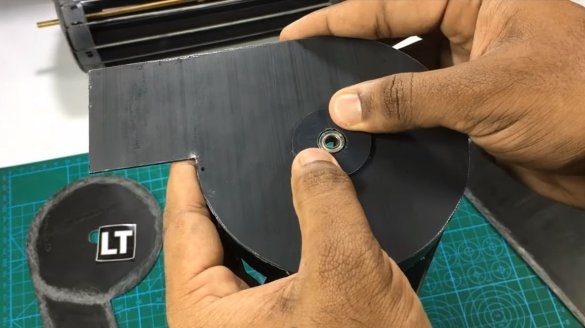
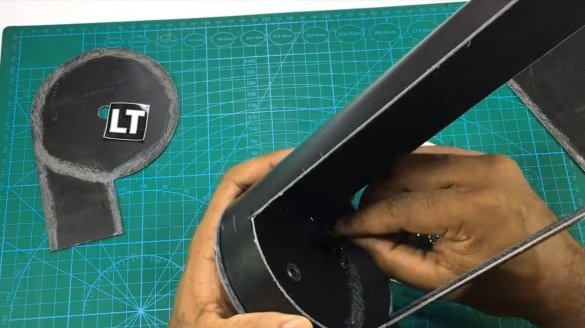
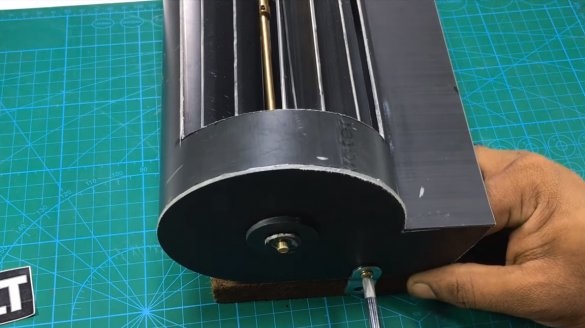
We assemble the case for the fan, for a start we will manufacture the side parts in which the bearings will be installed. They can be cut from sheet metal or plastic. We drill holes for bearings, to fix the bearings, the author cut out additional washers. We glue bearings and washers to the base with superglue or special glue for pipes.
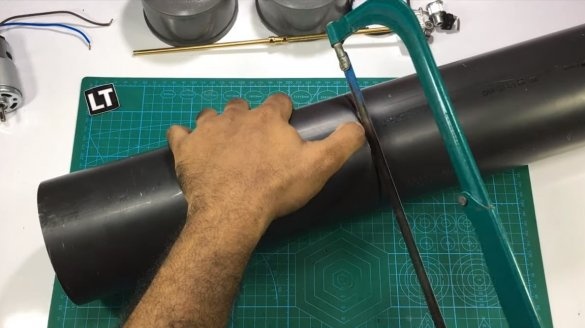
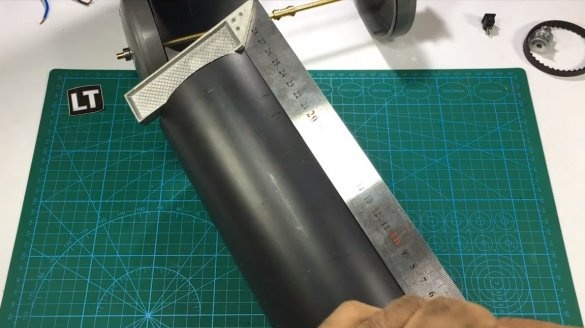
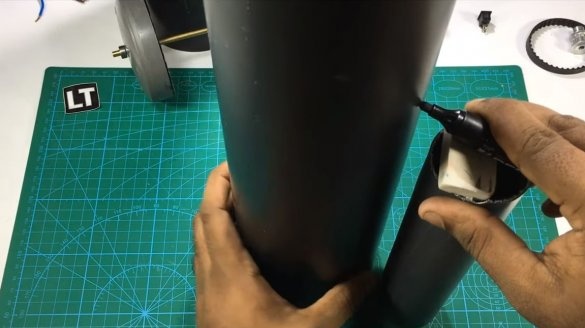
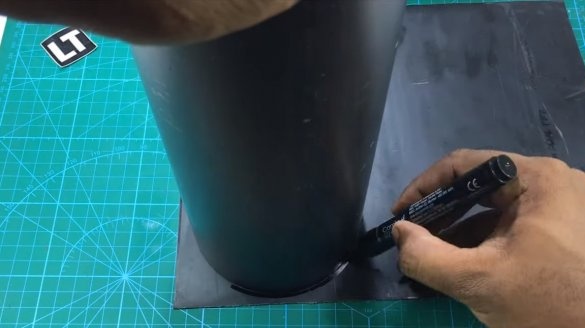
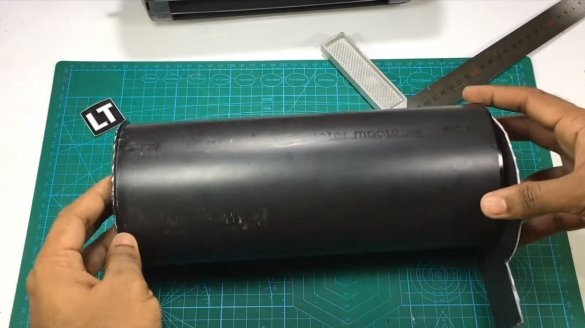
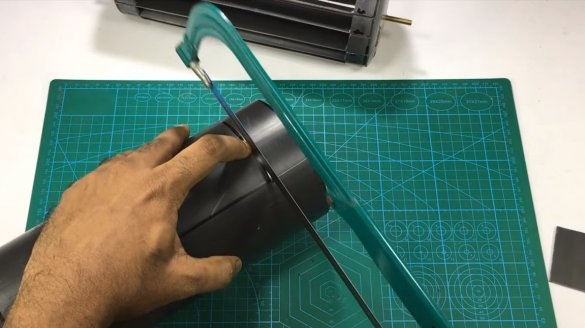
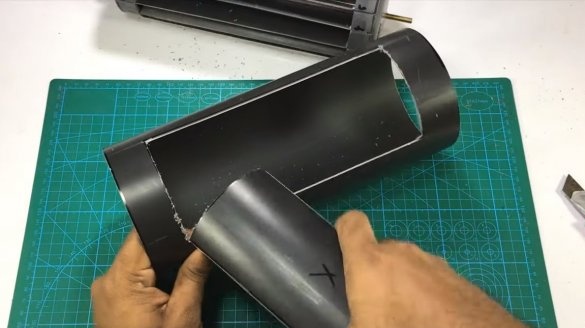
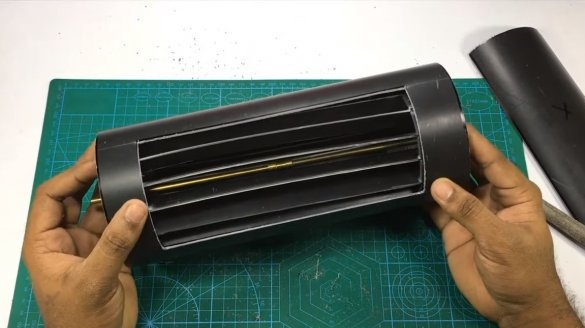
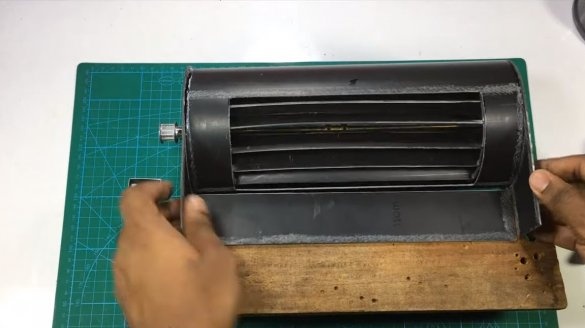
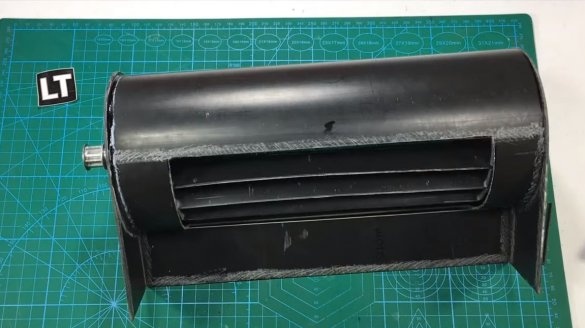
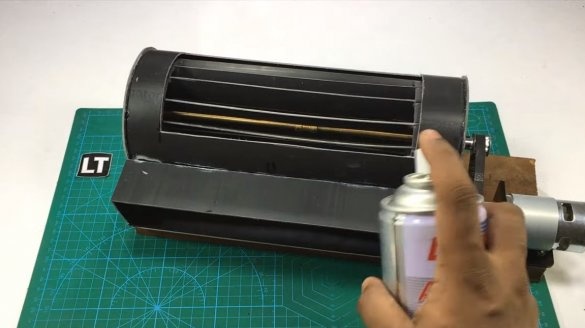
We also need to cut out the part inside which the turbine will rotate, for this we need a piece of pipe of a larger diameter than the turbine. We cut out windows in it through which air will enter and exit.The suction window is located on top, and the blower is located below and the air leaves it through the sleeve. For the sleeve, we also cut parts from plastic or sheet metal. We securely glue the whole structure, after superglue it would be good to use epoxy glue.
Step Three Assembly
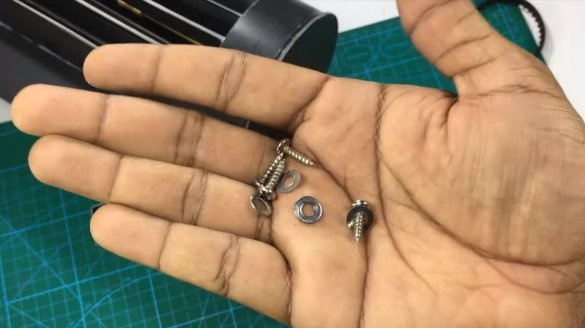
We assemble the car, we attach the fan casing to the base, which is a thick board. We fix everything with screws and fixing angles.
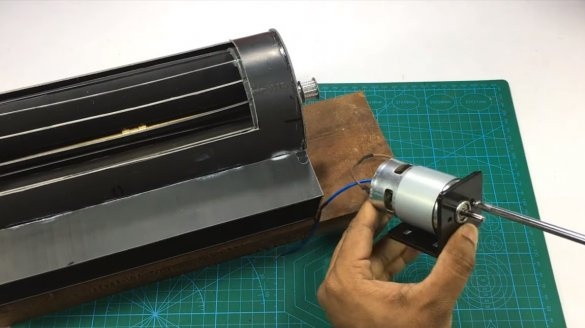
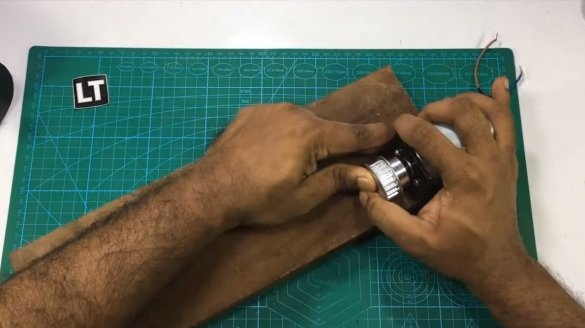
We also install the engine on the base, for this we use fasteners in the form of a corner. We install pulleys and a belt, for the machine to work properly, the speed on the turbine should increase, so we put a larger pulley on the axis of the turbine than on the motor shaft.
Step Four Painting and testing
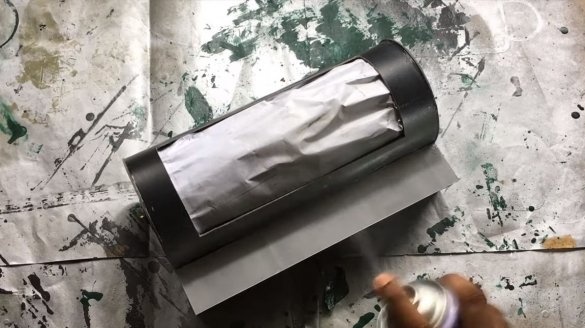
We paint everything with a silver paint to match the color of the metal, we assemble and can be tested. The author connects the homemade product through the speed control, as a result, you can conveniently control the air flow. Everything works fine, the fan blows pretty hard. The project is completed on this, I hope you liked the homemade work, and you found useful thoughts for yourself. Good luck and creative inspiration, if you decide to repeat this. Do not forget to share your ideas and homemade things with us!

