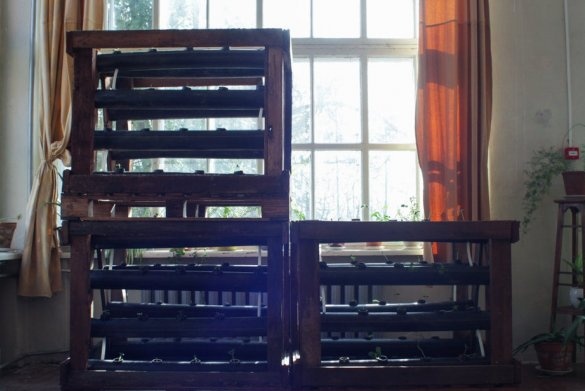
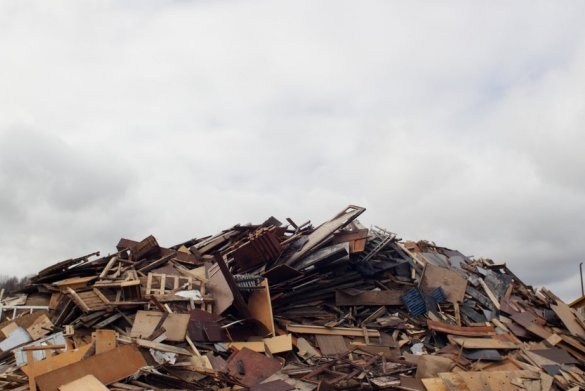
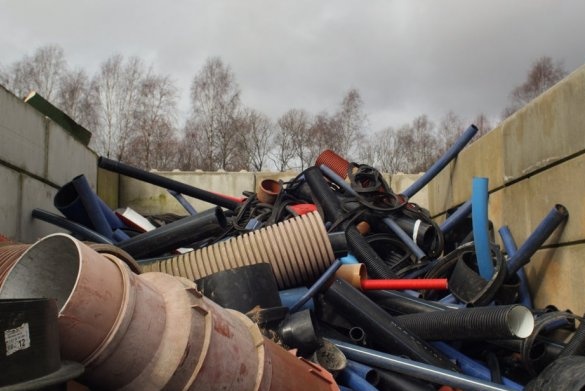
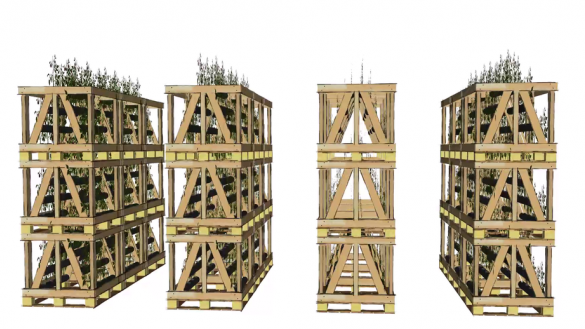
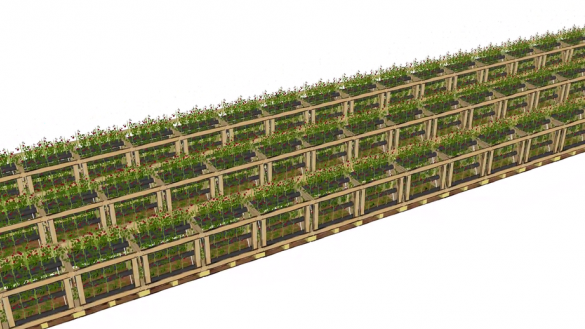
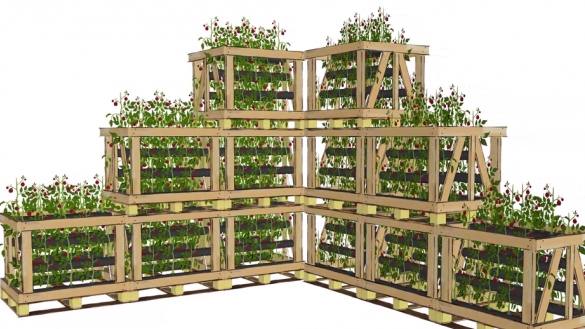
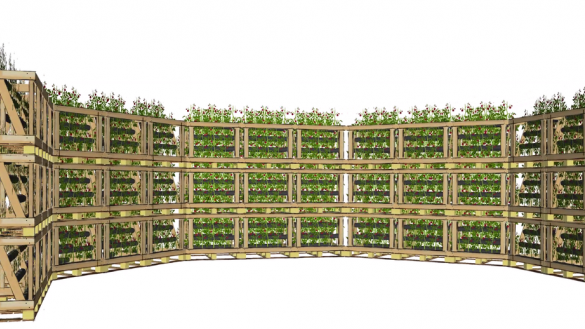
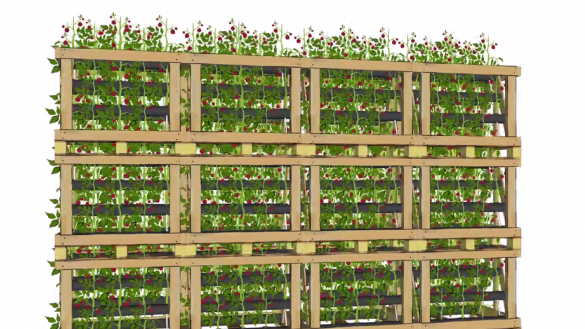
CubeFarm is an open-source, modular, mobile, agricultural system that reduces waste when growing food. FarmCubes can be stacked in rows if space permits, and can be stacked up to three cubes in height to make maximum use of the space. The CubeFarm system reuses waste such as shipping pallets, wood waste and PVC pipes. In this article, you will learn how to build your own farm cubes and adapt them to the needs of your local environment, including how to build a CubeFarm module, install a semi-hydroponic system, build LED lighting for growing, assemble a wind turbine and make compost to fertilize your CubeFarm.
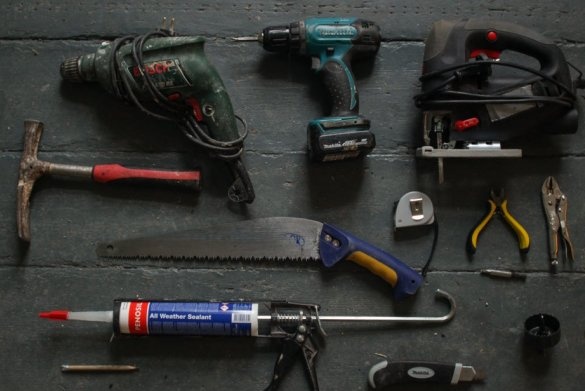
Tools and materials:
-Roulette;
-Hacksaw;
-A screwdriver;
-Drill;
-Eletrolobzik;
-Clips;
-Hammer;
-Glue gun;
-Soldering accessories;
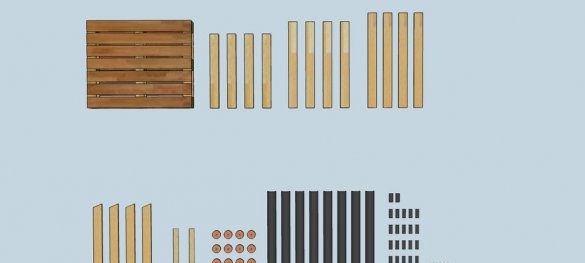
-1x shipping pallet: 100cm x 120cm;
-Boards
4 pcs - 86cm x 5cm x 10cm
4 pcs - 100cm x 5cm x 10cm
4 pcs - 110 cm x 2 cm x 10 cm
4 pcs - angle supports: 91.5 cm x 2 cm x 10 cm, angle 22.5 °
2 pcs - 62 cm x 4 cm x 6 cm
16 pcs wooden discs, diameter 9.5 cm, thickness 2 cm;
PVC pipes
8 pcs - length 106 cm, diameter 10 cm
32 pcs - 10 cm in length and 5 cm in diameter
6 pcs - 20 cm in length and 1.5 cm in diameter;
-36 red LEDs (3 by 12 light bulbs);
-12 blue LEDs (1 to 12 lamps);
-Printed circuit board;
-Wire;
-Red and black wire;
-Silicone;
-DC motor;
- Wood screws (4X60 mm (5/32 ”X2-3 / 8”) -100 pcs;
- Wood screws (4X20 mm (5/32 ”X13 / 16”) -32 pcs;
Step One: Material Preparation
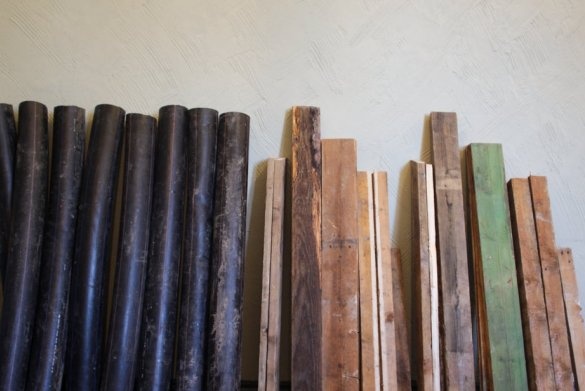
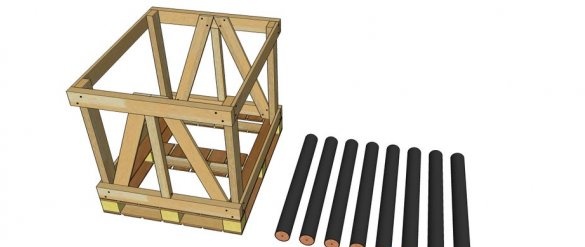
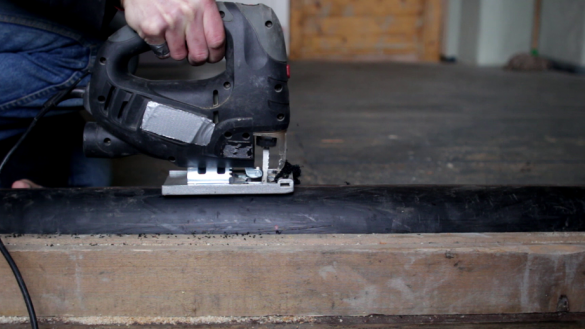
To create one cube farm, you need to start by cutting wood and PVC in size. Having prepared the material, you can quickly assemble the farm cube, and, after making several cubes, assemble them together to create the cube farm-)))
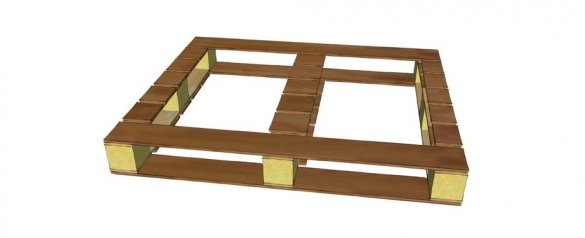
It is necessary to dismantle the boards from the pallet without touching the edges and the middle.
Step Two: Build a Cube
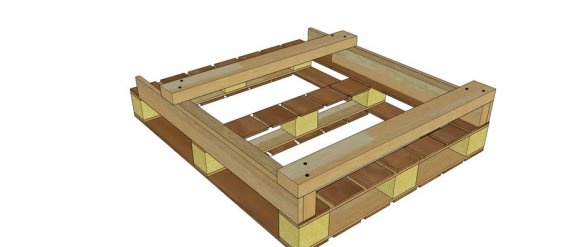
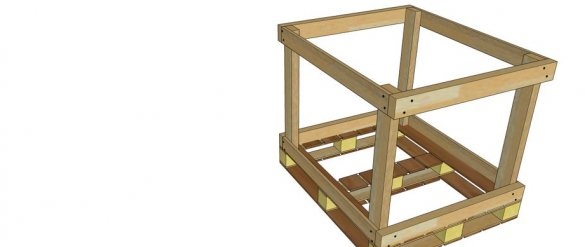
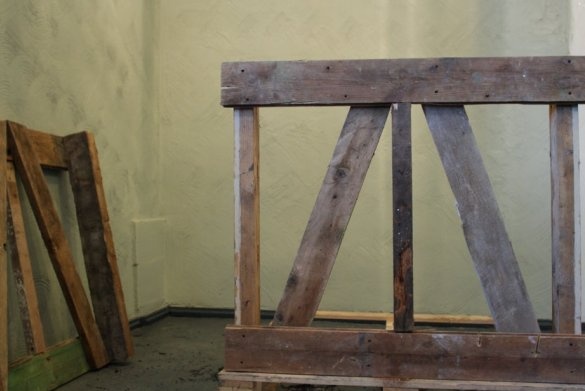
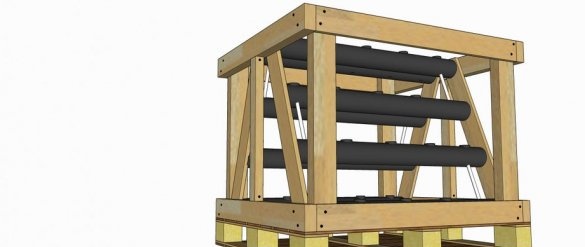
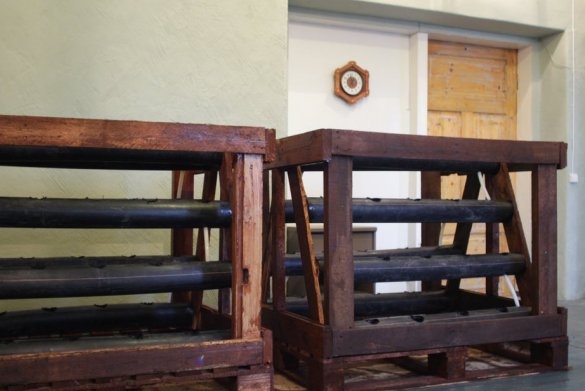
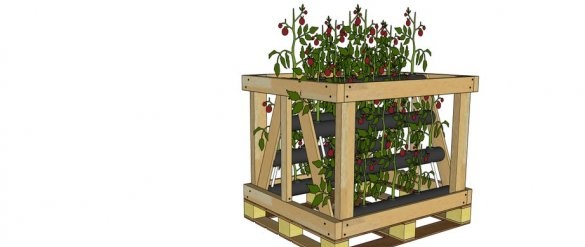
Now you can assemble the cube. Two boards are attached to the pallet. Four vertical posts are attached to them. In the upper part of the rack are fastened with a board around the perimeter. Further on two opposite sides you need to install, one vertical and two oblique, struts.
Step Three: Hydroponics
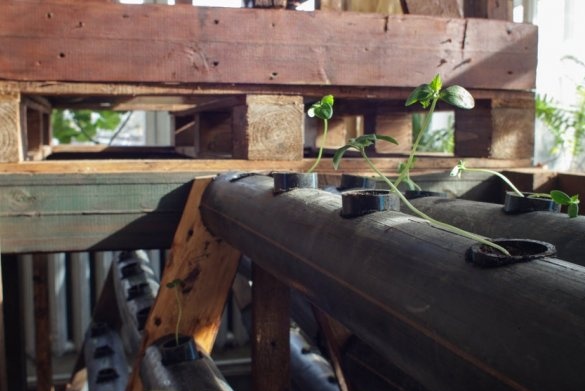
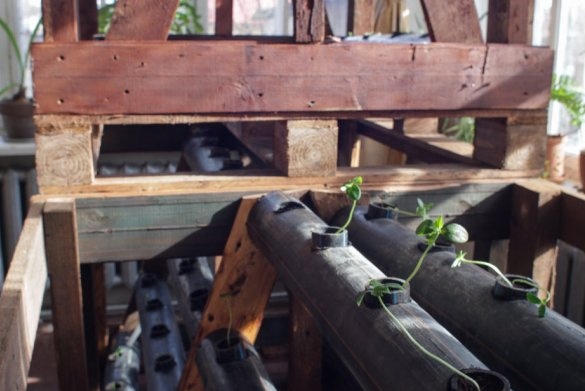
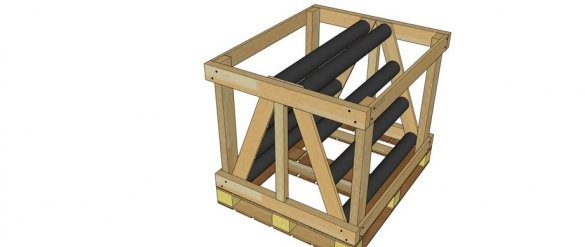
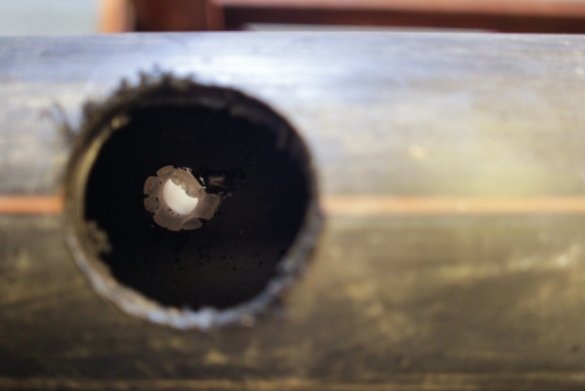
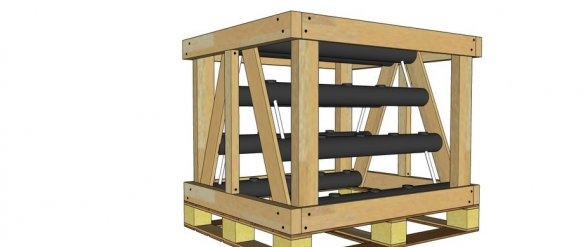
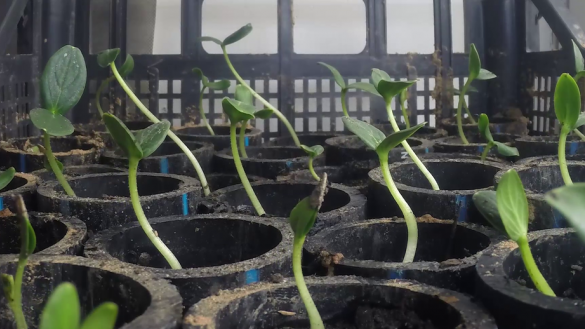
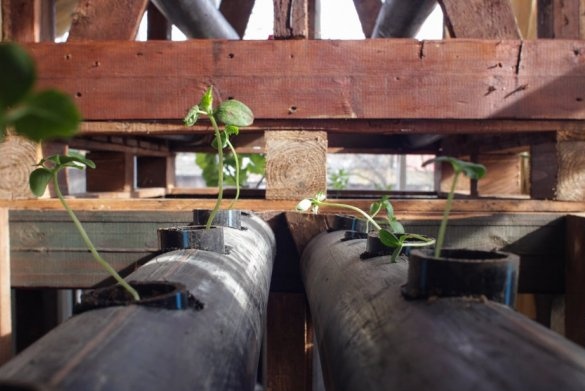
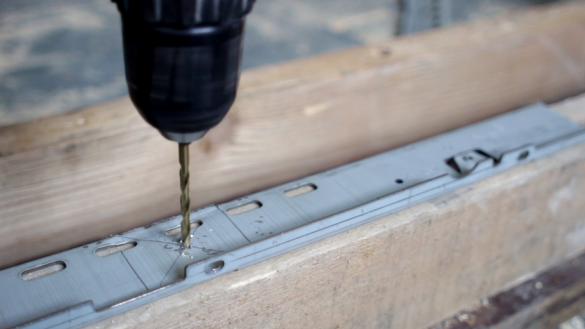
Install the wooden plugs at the ends of the PVC pipes. Apply sealant before installing plugs. Screw the plugs with screws. Eight pipes are installed in each cube, four on each side. Each pipe is installed approximately 15 cm from the previous one in ascending and with a slight slope.Then in each of the pipes in line, at the top, five holes for the plants are drilled. All pipes are interconnected by tubes for circulation of the solution.
A pump will be installed in the lower part of the cube, which will pump water from the lower pipes to the upper ones.
Step Four: Solution Preparation
For a nutrient solution, you need a well-composted material, without admixture of animal manure.
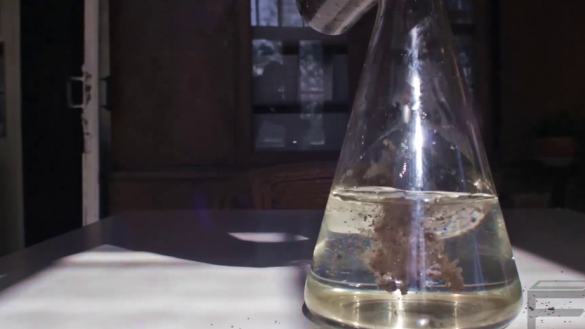
Fill the container with 1 part of compost and 4 parts of dechlorinated water, and even better rainwater.
If desired, you can add something sweet to the mix, molasses, maple, cane syrup or fruit juice to help bacteria grow in the compost solution.
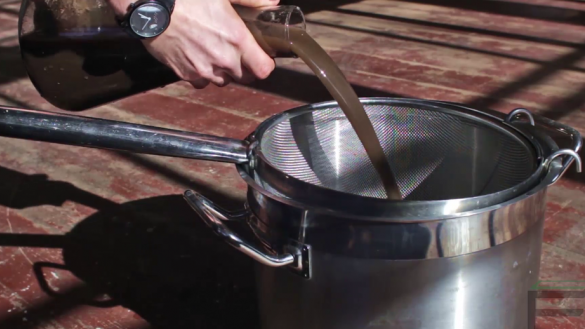
Using an aquarium compressor, the solution must be saturated with oxygen. Thus, the solution is prepared 1-3 days without direct sunlight. After the mixture is prepared, the solution must be filtered and used as intended.
Step Five: Phytolamp
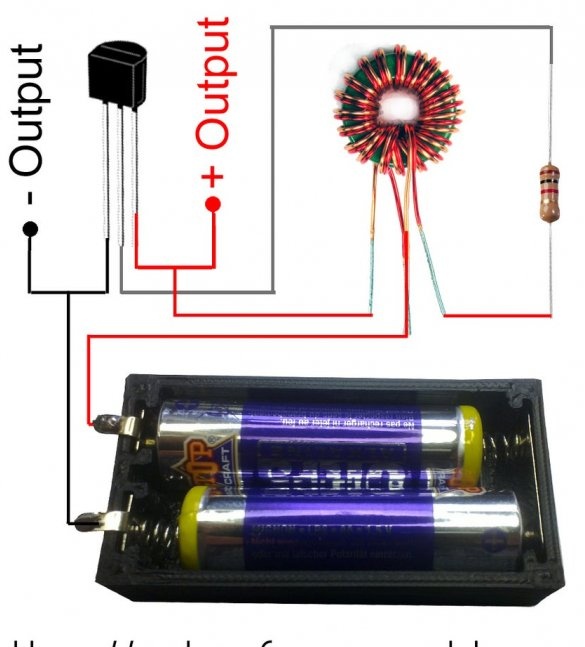
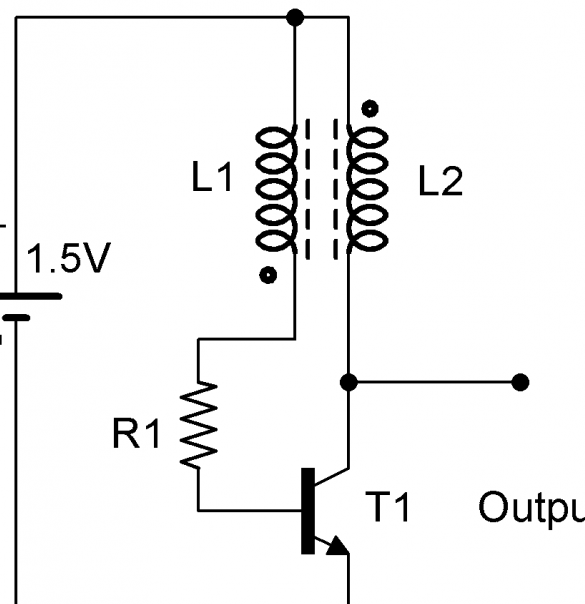
The phytolamp is mounted according to the diagram below. One cube needs four lamps.
Step Six: Power
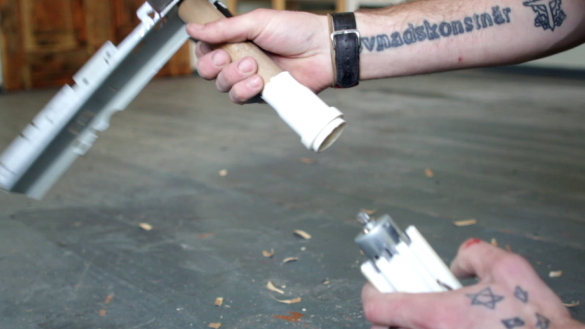
The lamps are powered by a 5V USB connector or 3V batteries. This voltage is not enough and the master collects a boost converter.
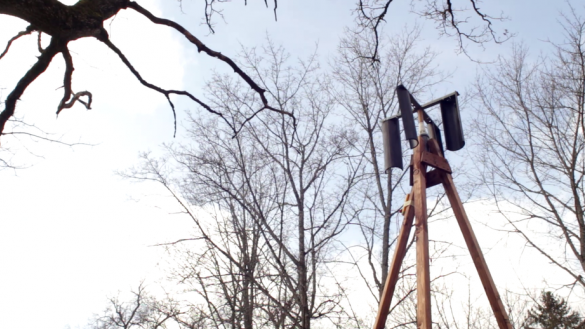
You can also build a wind turbine to power the lamps.
All is ready. When the first cube is made, the manufacture of the following will not cause difficulties. You can make countless cubes and install them in various configurations. Because farm cubes are built on shipping pallets, two people can easily carry them, or they can be moved with a forklift.


