
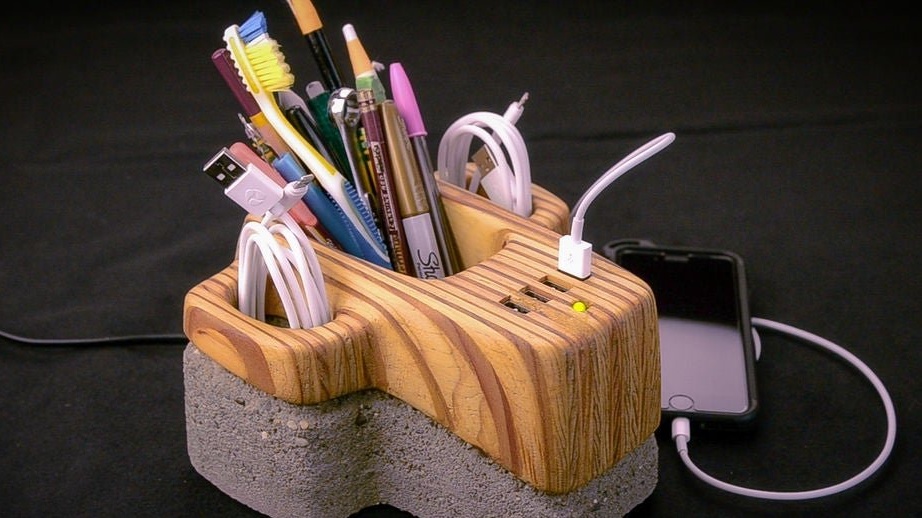
In this article, the Wizard will tell us how to make a stylish organizer for any clerical and not only small things, and build a charger for gadgets in it. The lower massive part of the organizer is made of concrete, and the upper one is made of wood.
So, for the manufacture of the organizer, the master used the following
Tools and materials:
-USB charger;
-Cords;
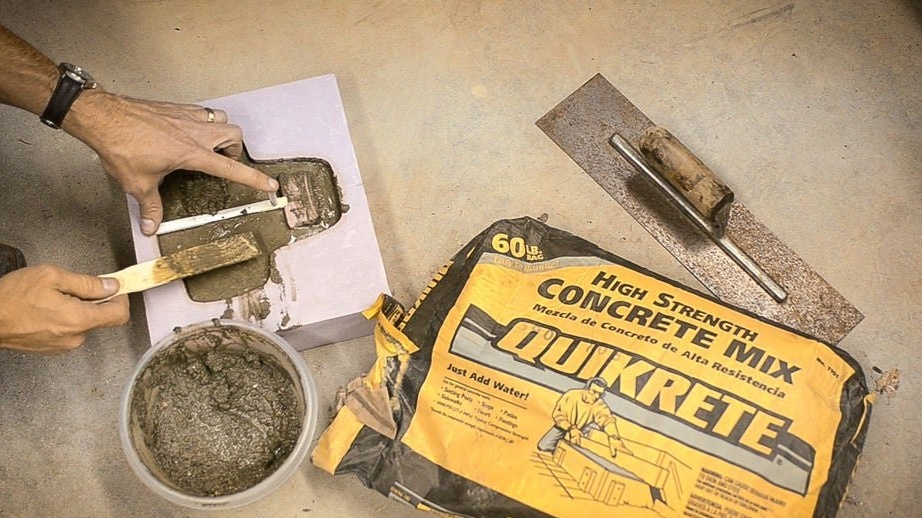
- Concrete mixture Quikrete;
-Plywood;
-Drill;
Milling cutter;
Expanded polystyrene;
-Band-saw;
-Knife;
-Super glue;
- Joiner's glue;
-Computer with software;
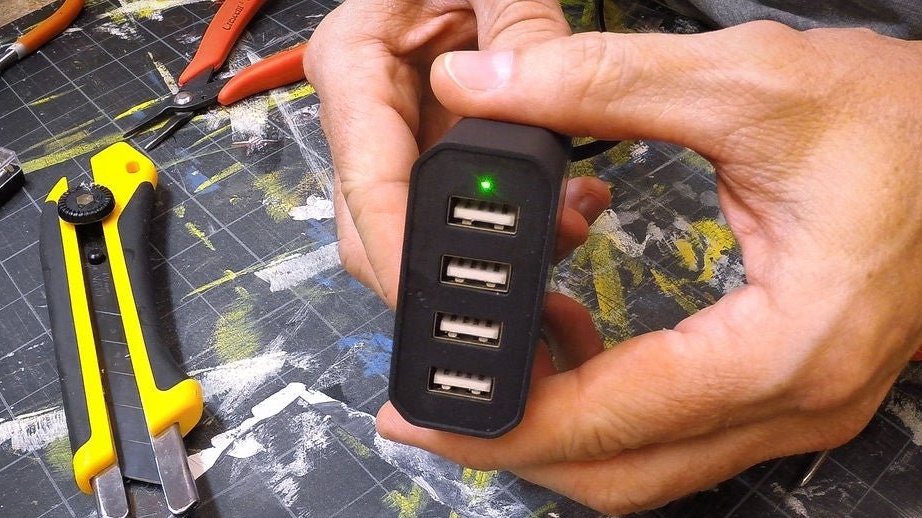
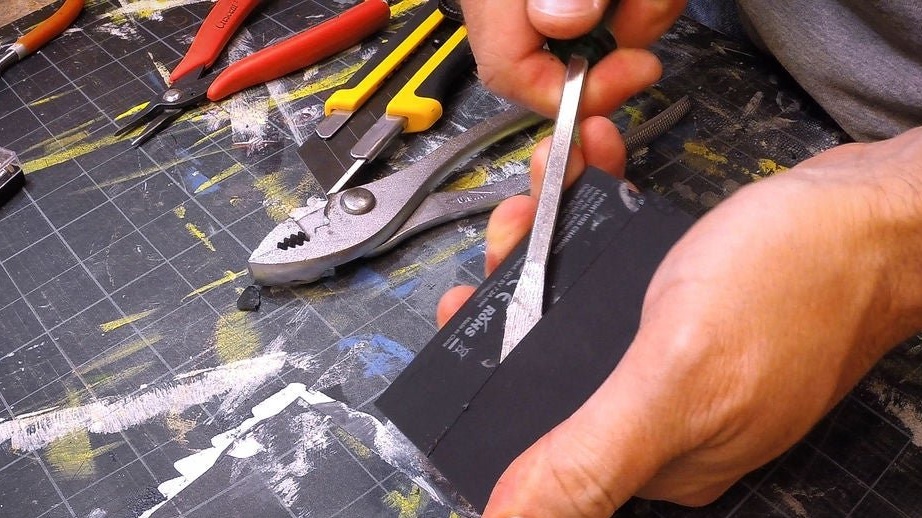
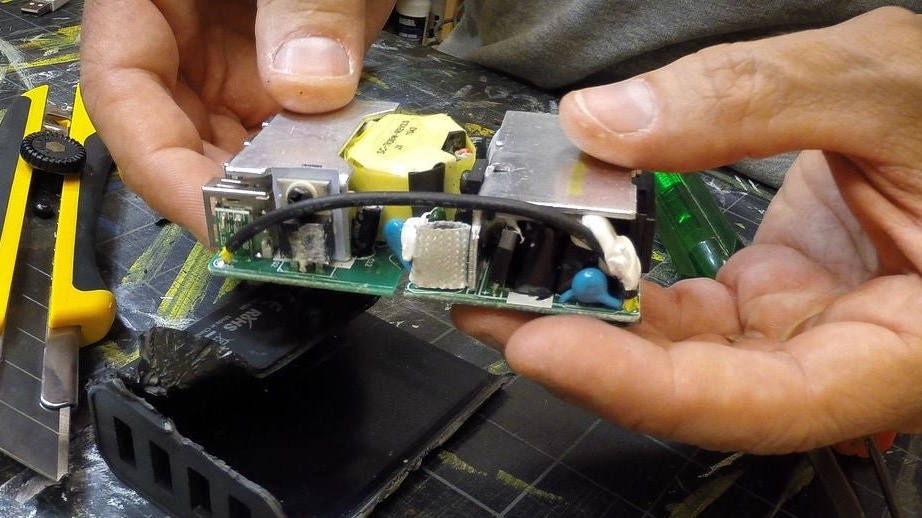
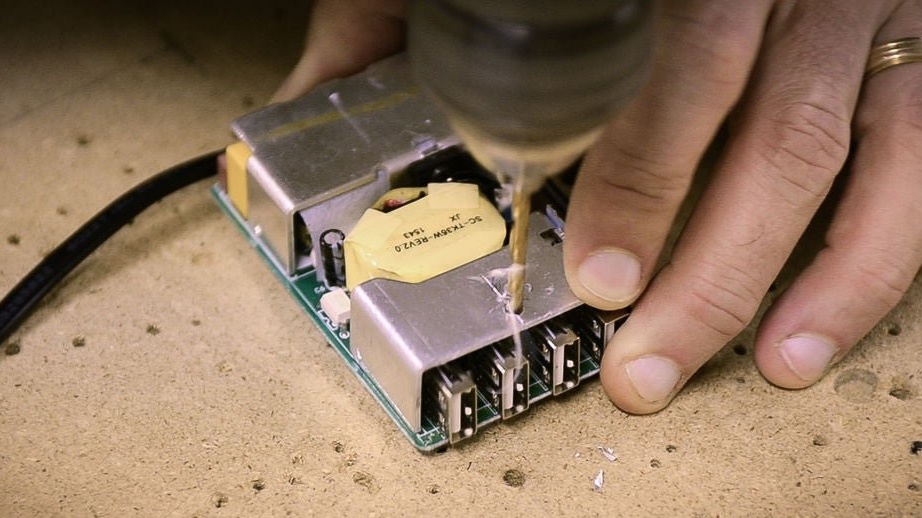
Step one: disassemble the USB hub
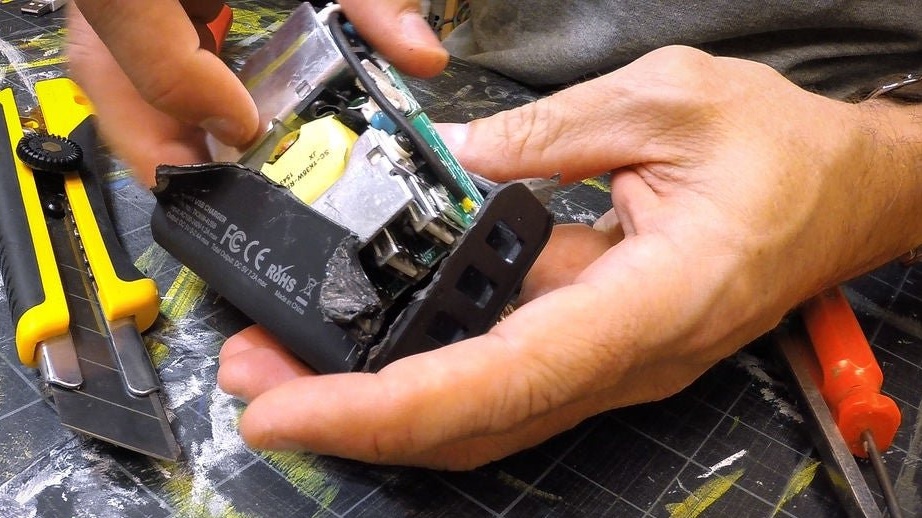
First, the wizard dismantles the case of the USB hub and removes the board with ports.
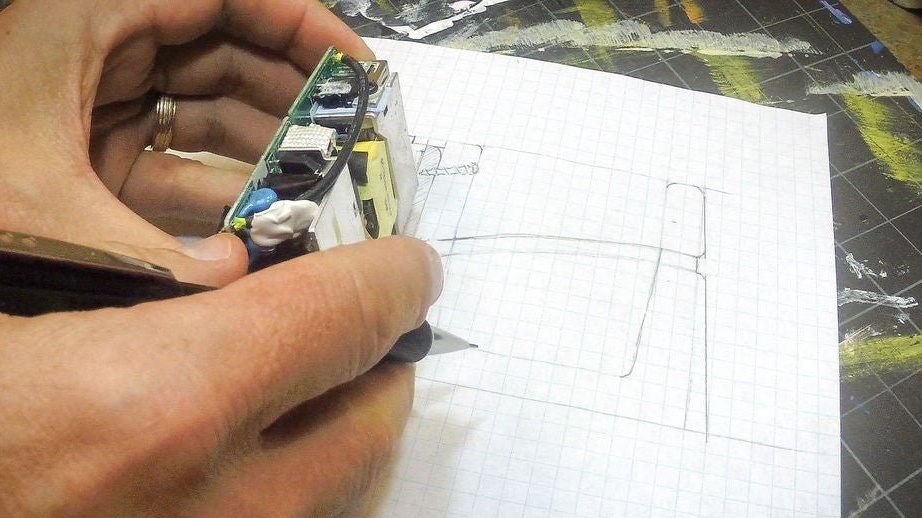
Step Two: Sketch
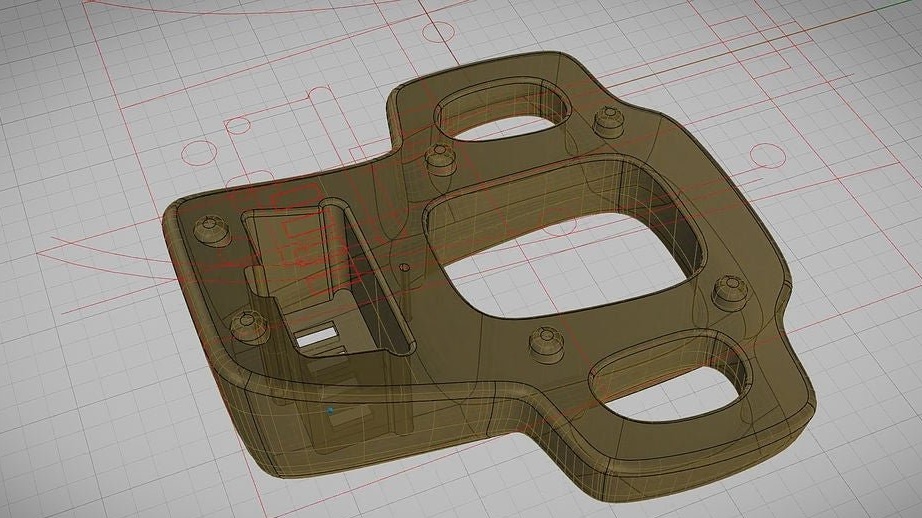
Now you need to measure the dimensions of the board and, according to the sizes, draw a sketch of the organizer.

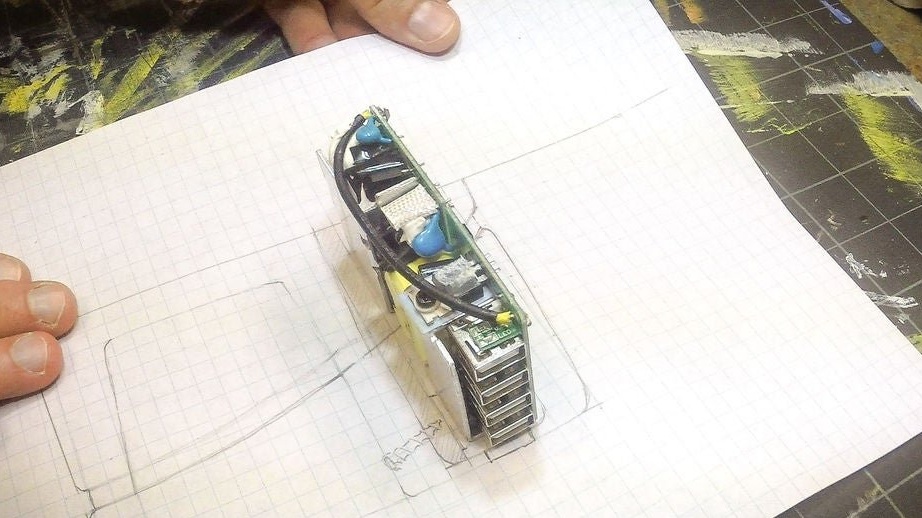

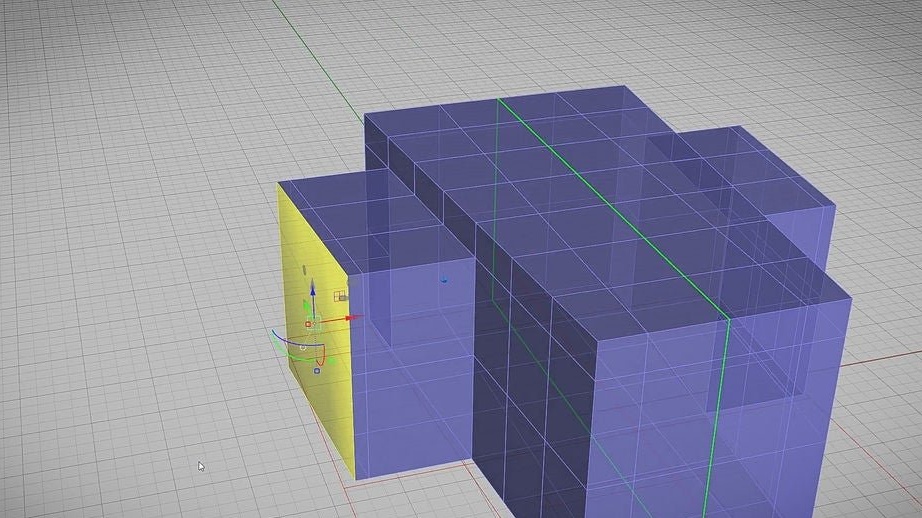
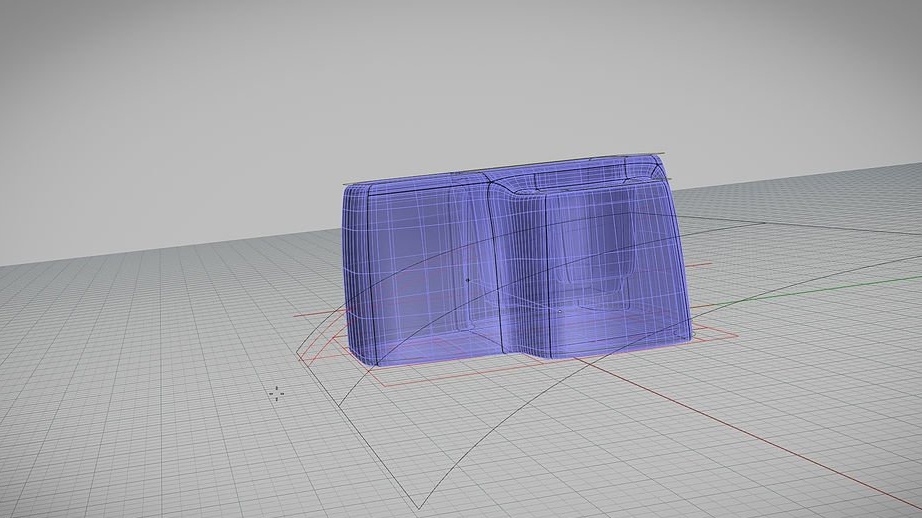
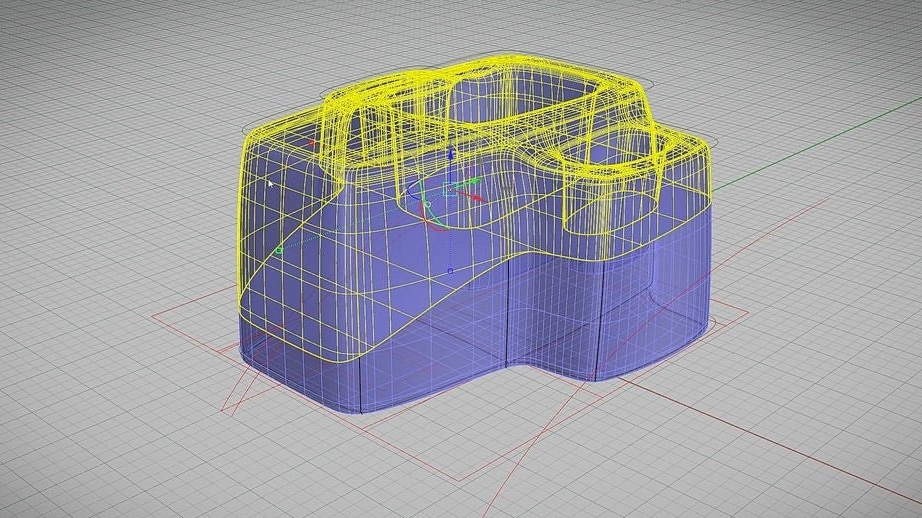
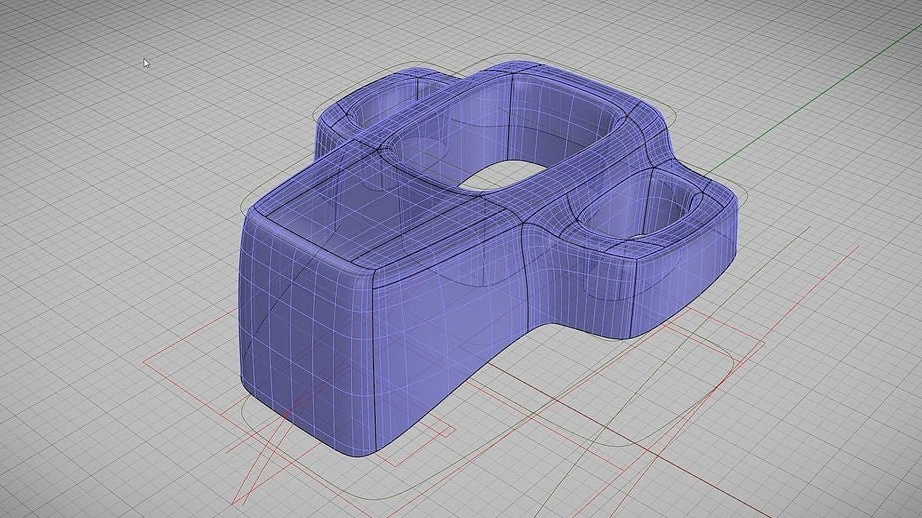
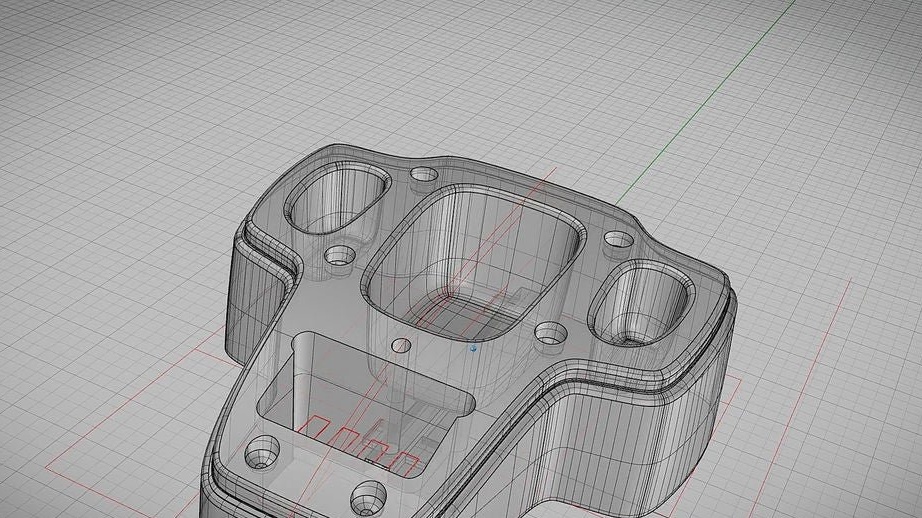
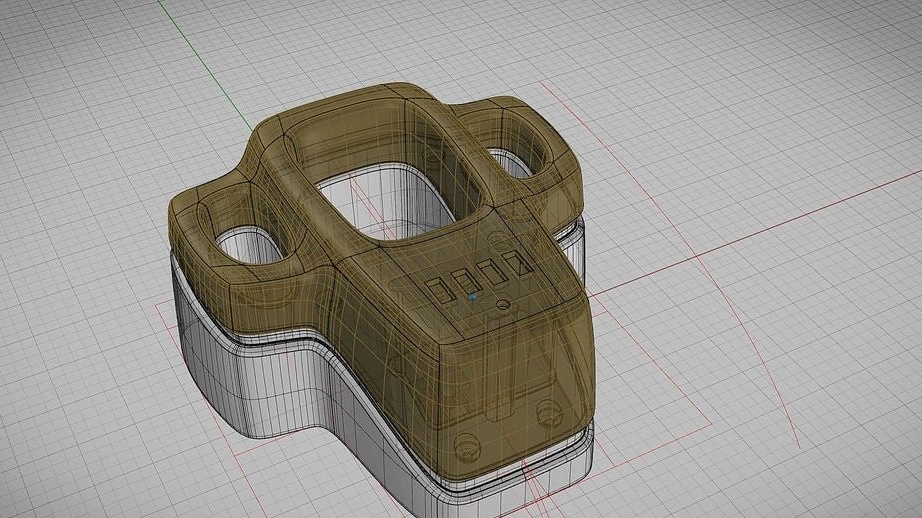
Having understood the general concept, the master proceeds to the development of the project in the CAD program.

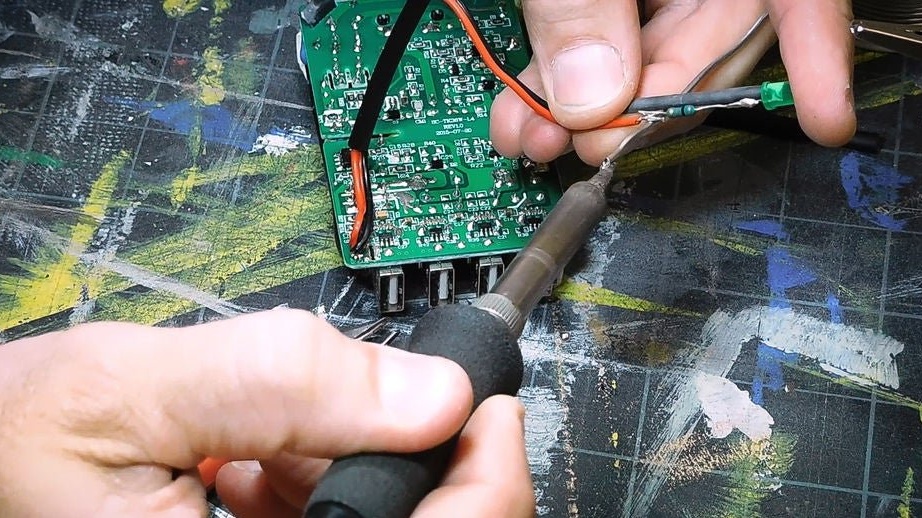
Step Three: Nutrition
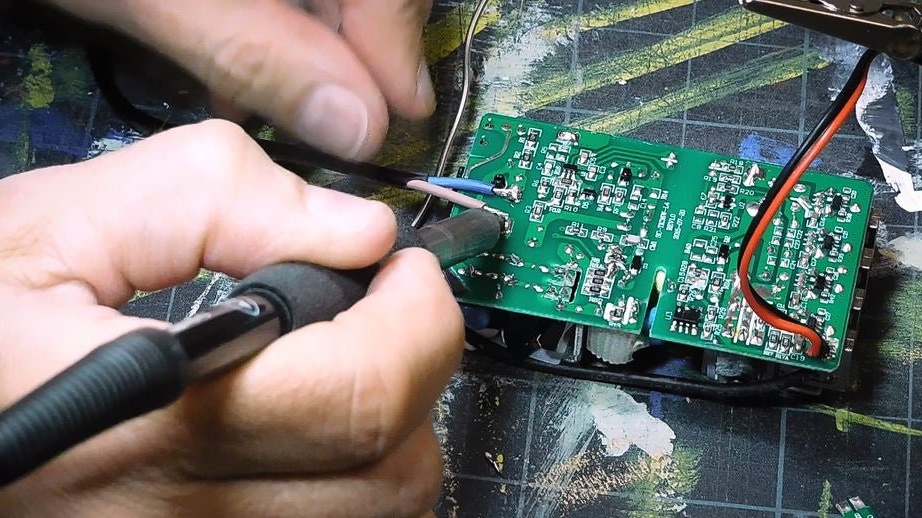
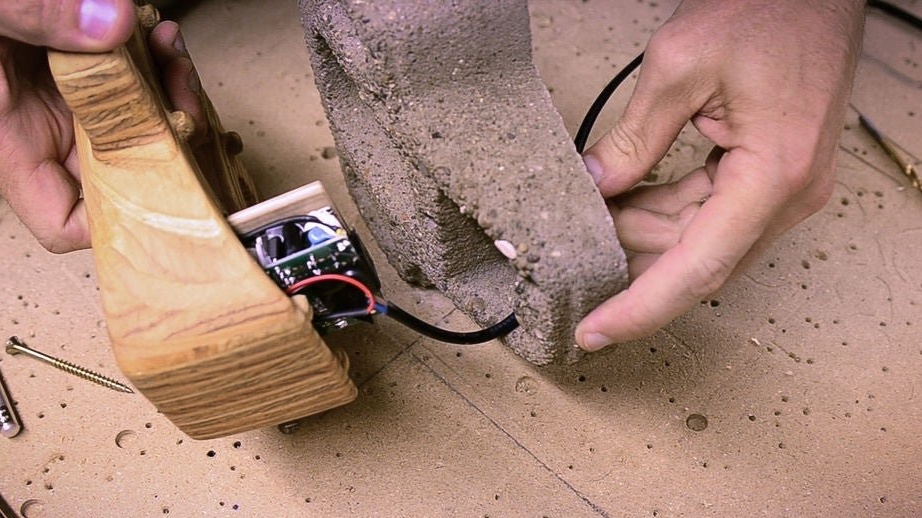
The standard device has a removable power cord. The master cuts the end with a plug and solders the cord straight to the board.
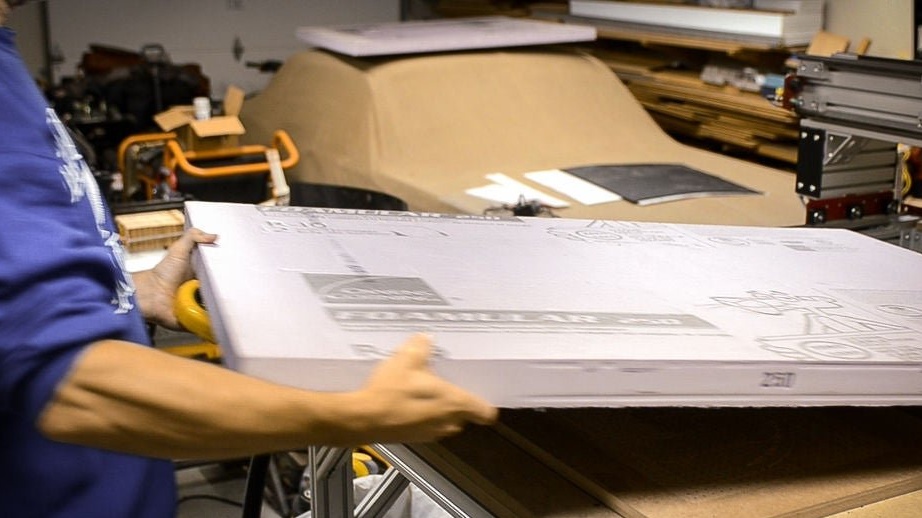
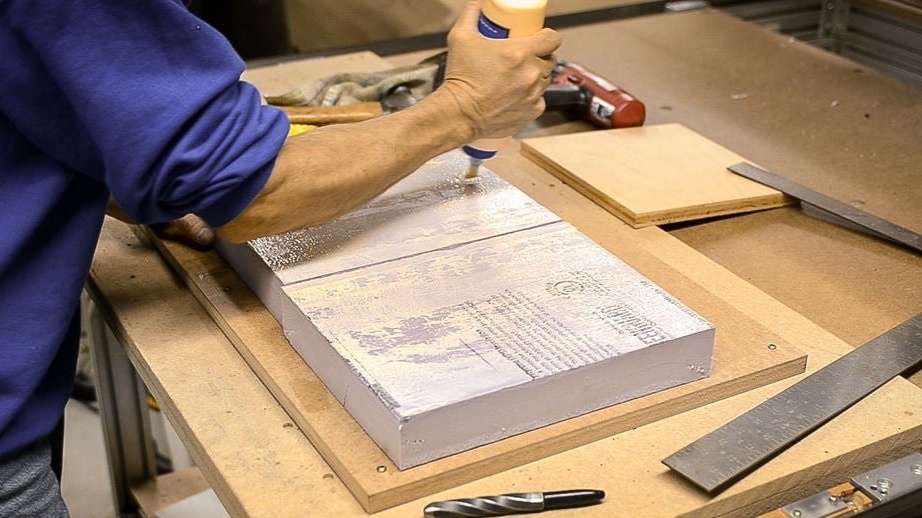
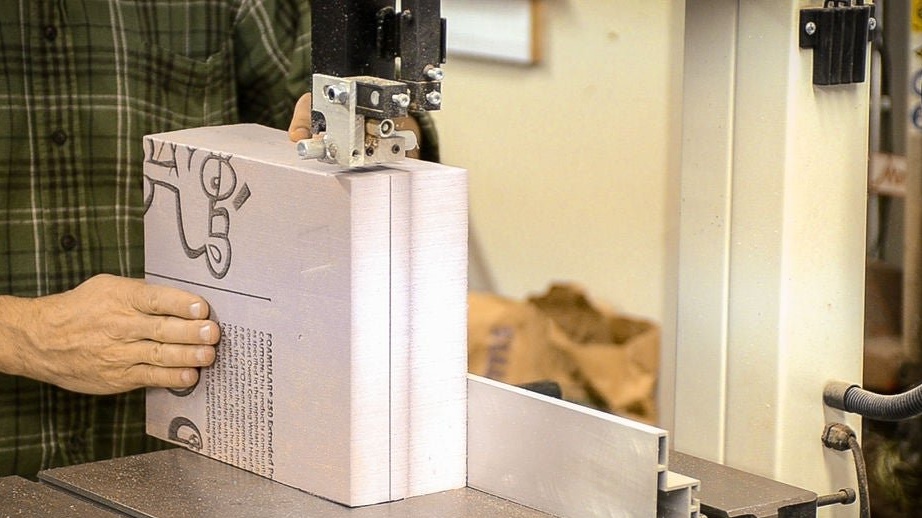
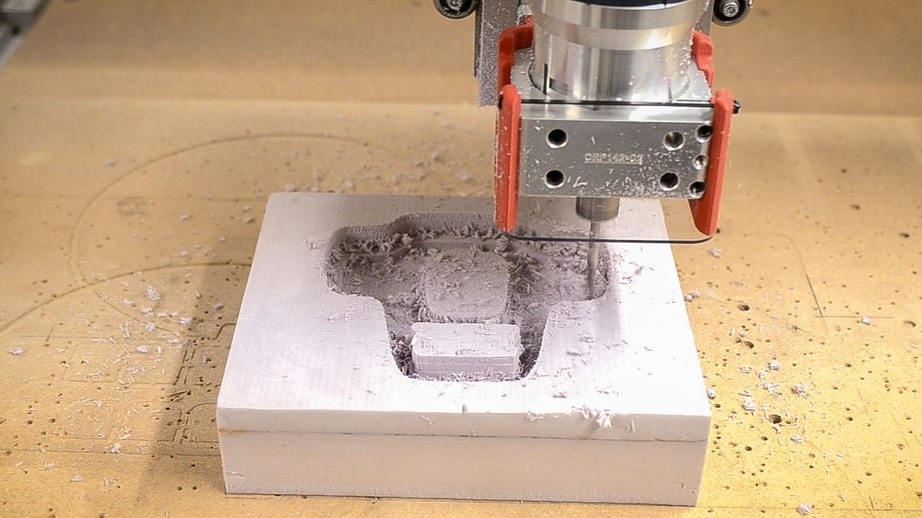
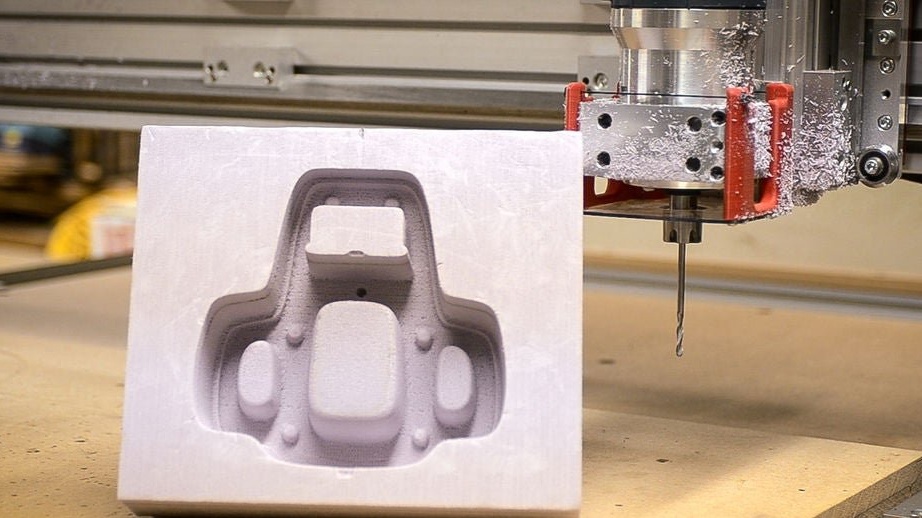
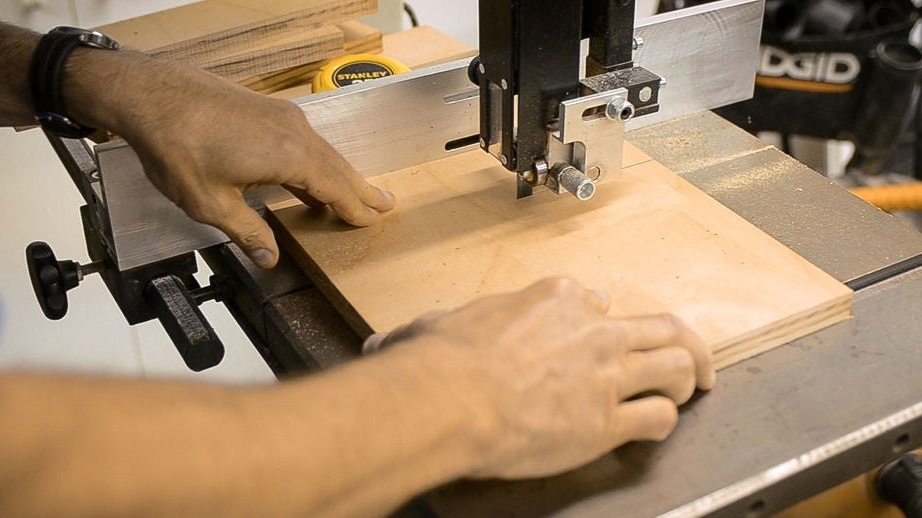
Step Four: Form
The master made a filling mold from polystyrene foam. I glued two tiles together and cut them out using a band saw and a milling cutter.
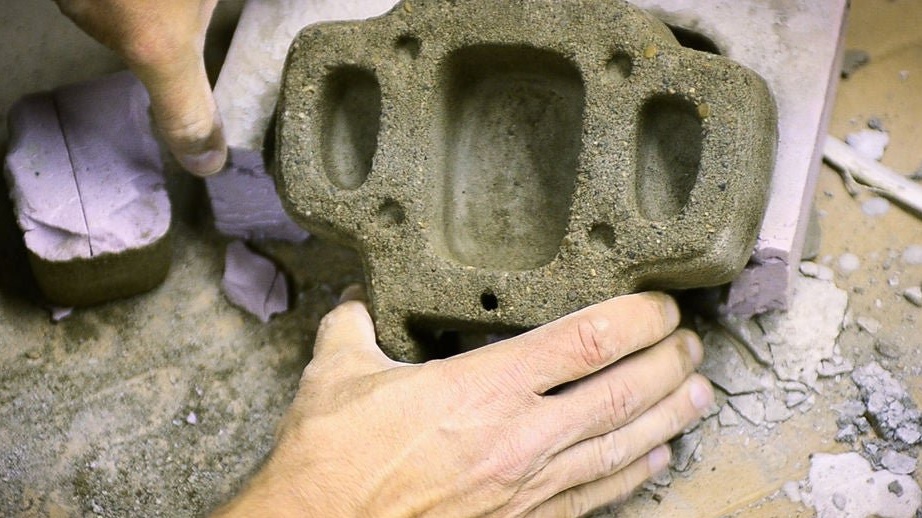
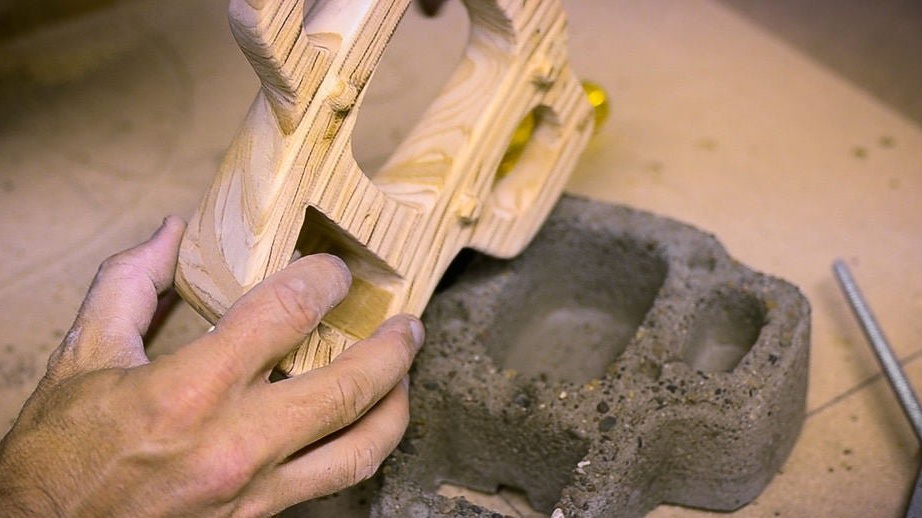
Step Five: Fill
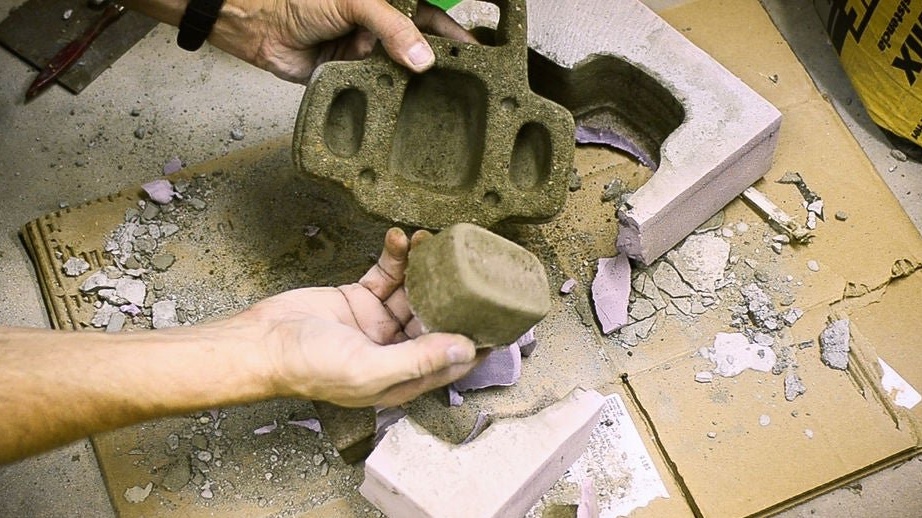
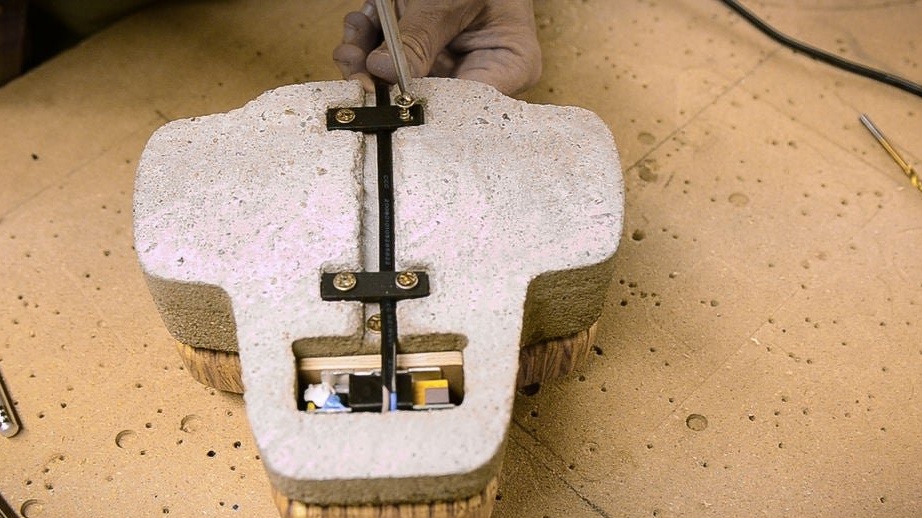
Knead concrete according to instructions and add fine gravel. Pours the mixture into the mold. In the place where the power cord will pass, it inserts a folded piece of paper. Fixing plate with screws also sets into shape. After the concrete hardens, removes it from the mold.


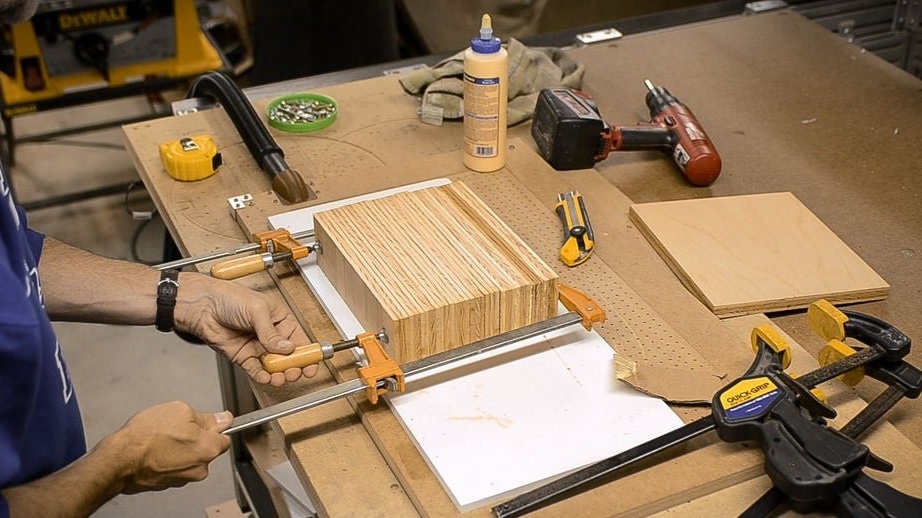
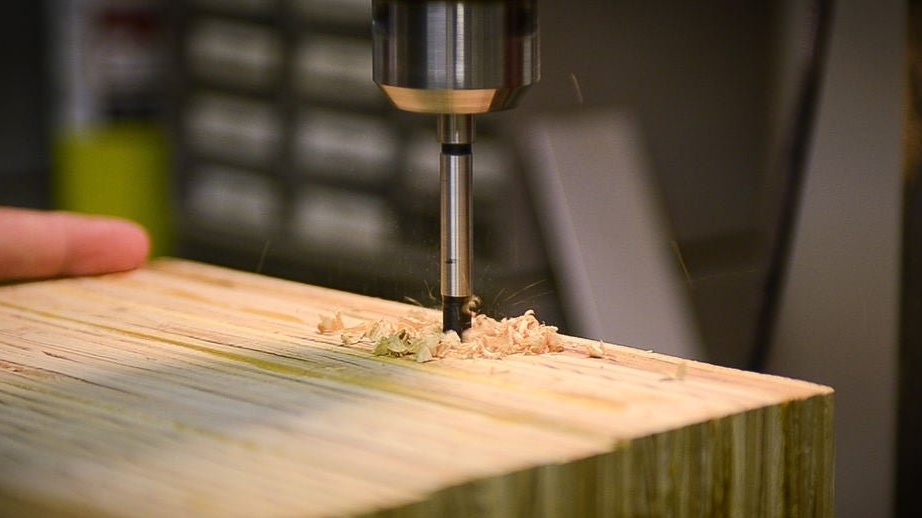
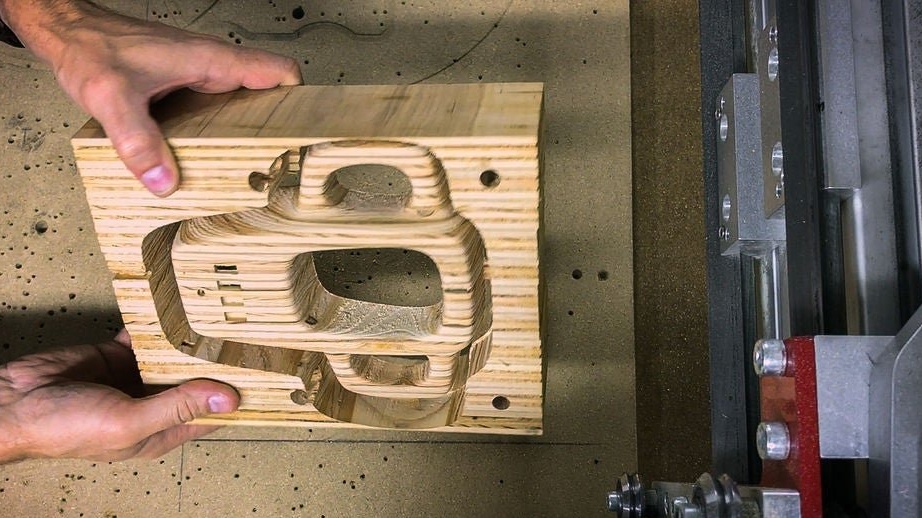
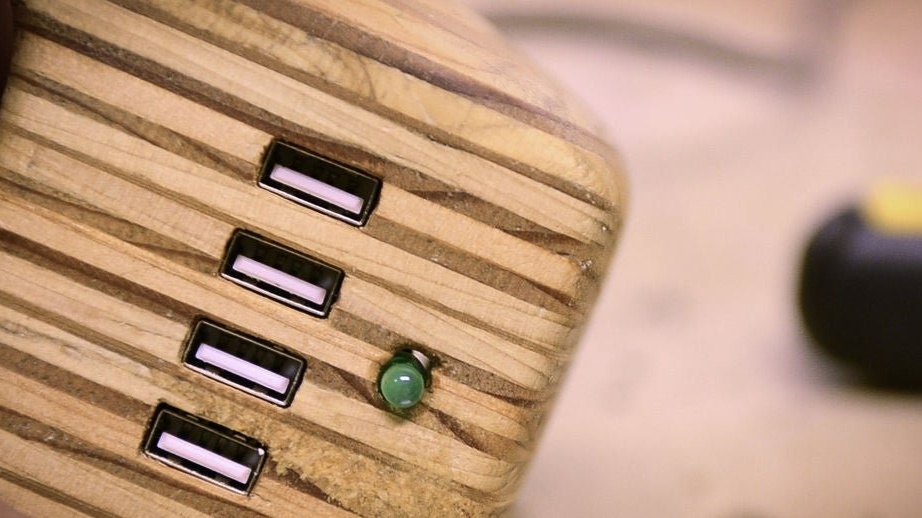
Step Six: Top
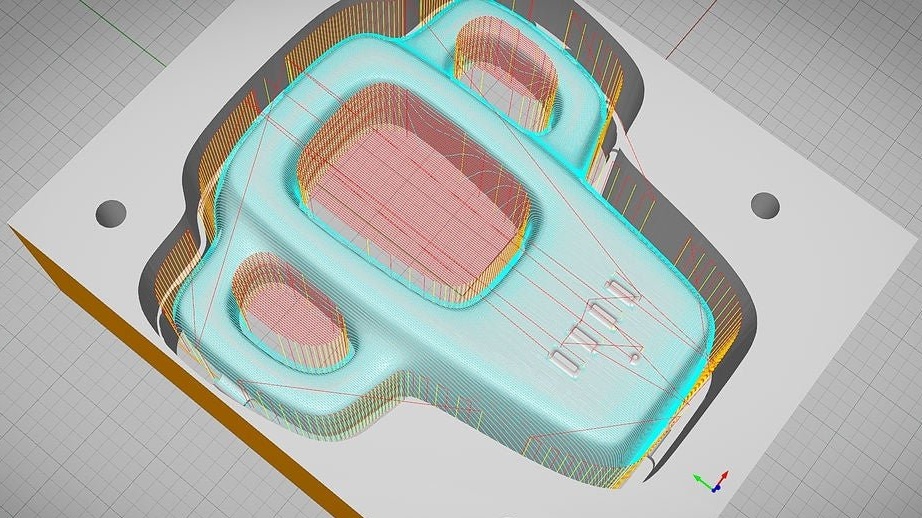
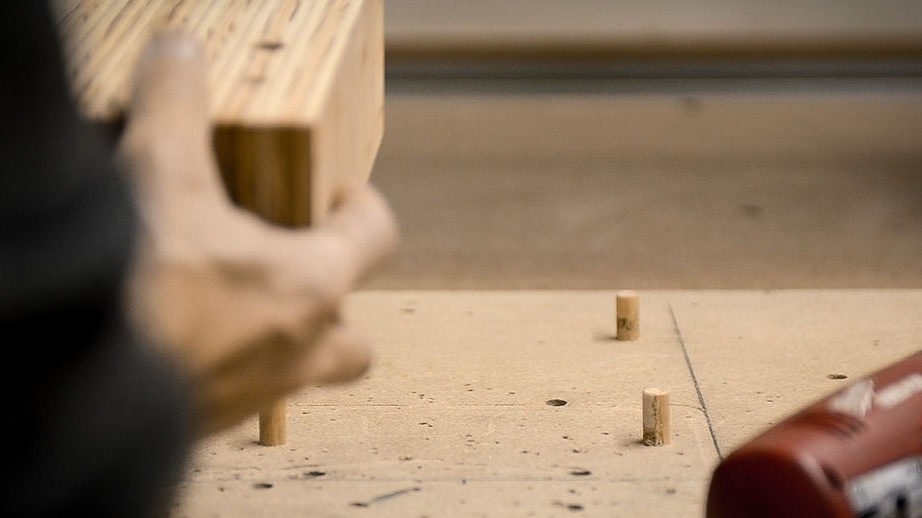
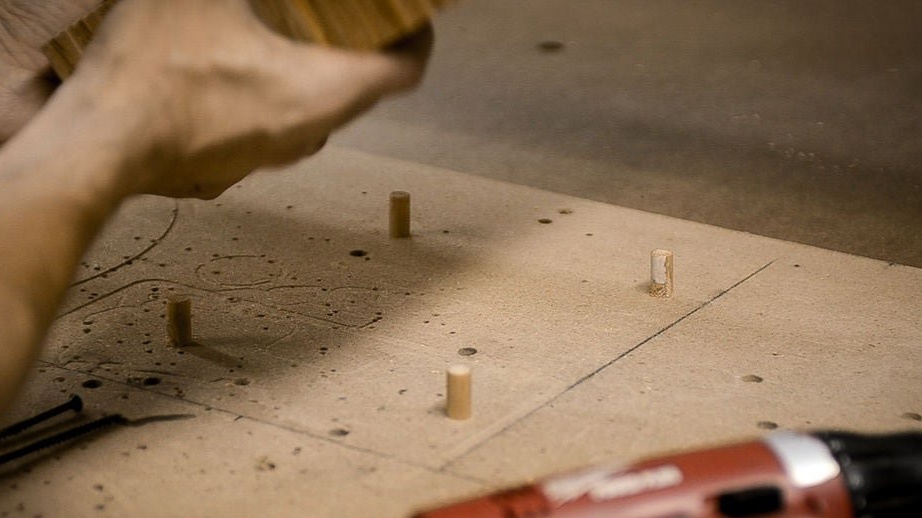
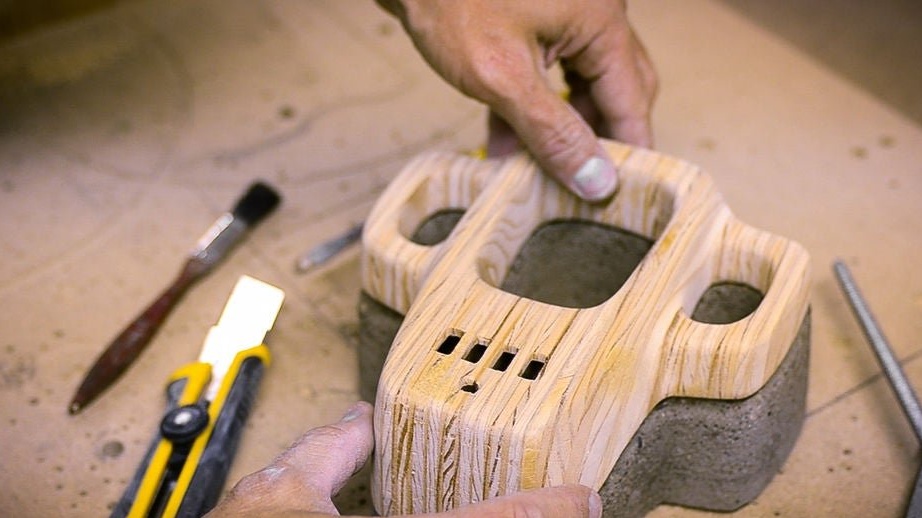
Now you can begin to manufacture the upper part. It is made of several glued pieces of plywood. In the workpiece, the master drills pattern holes, they will help to set the workpiece correctly on the CNC machine table, from two sides.

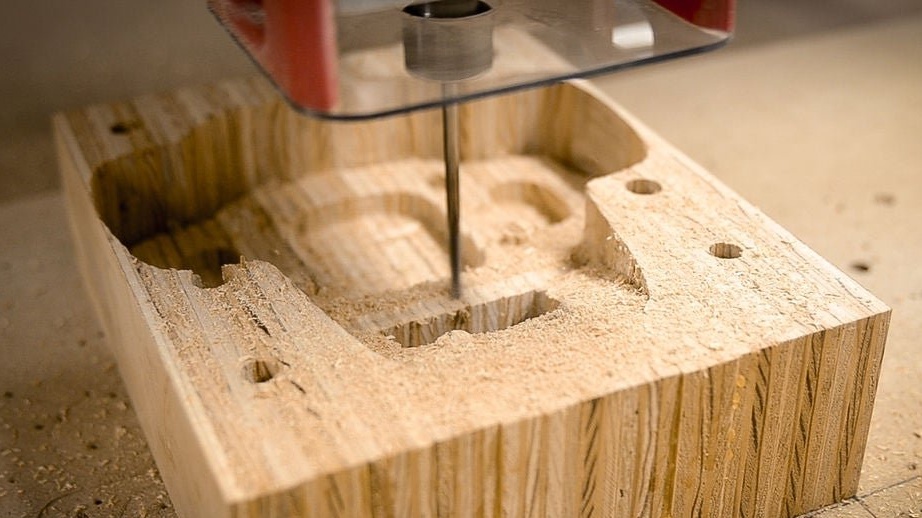
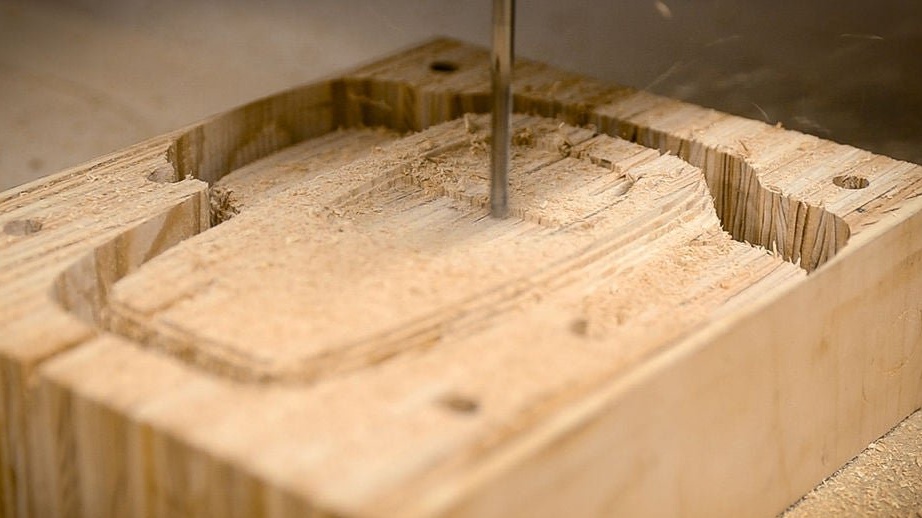
Now you need to process the workpiece with a mill.
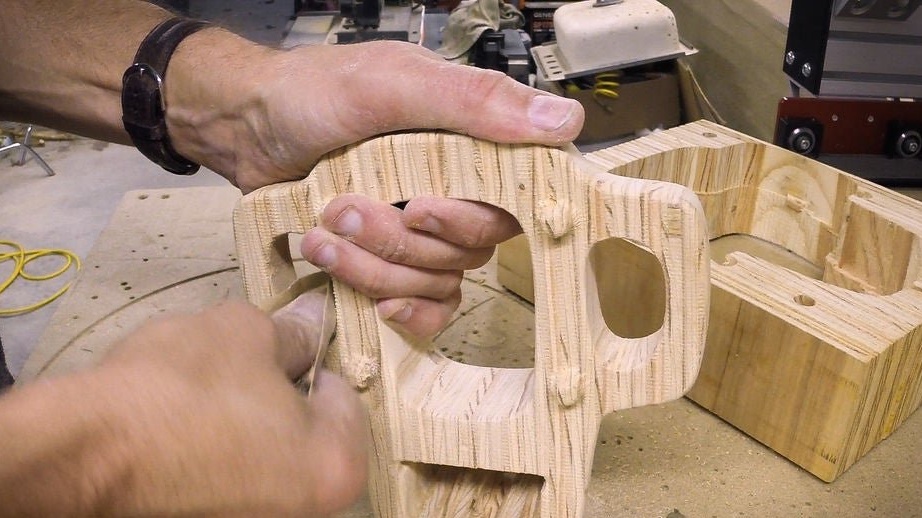
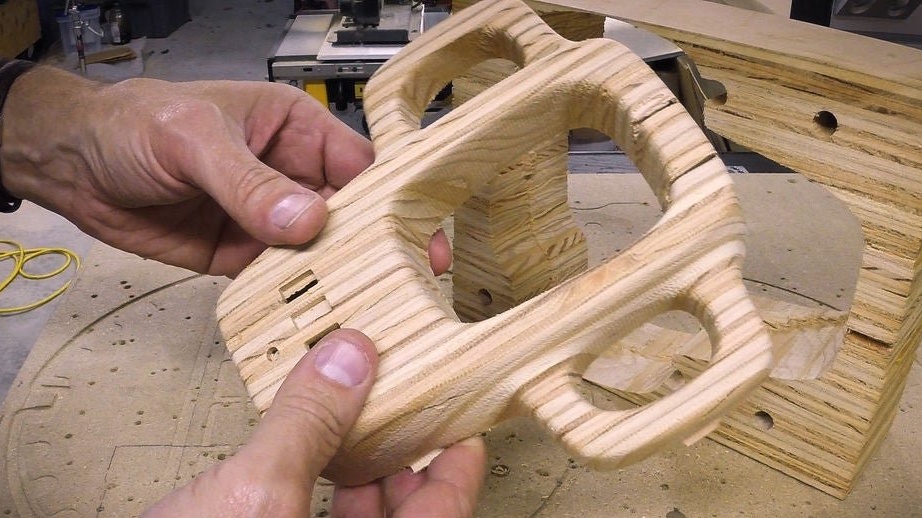
After the part is cut out, the master tries to install it on the base.
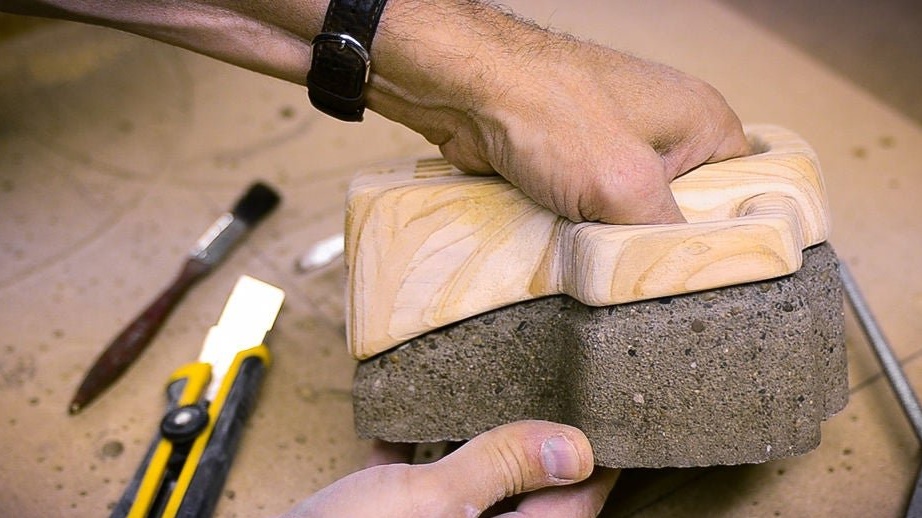
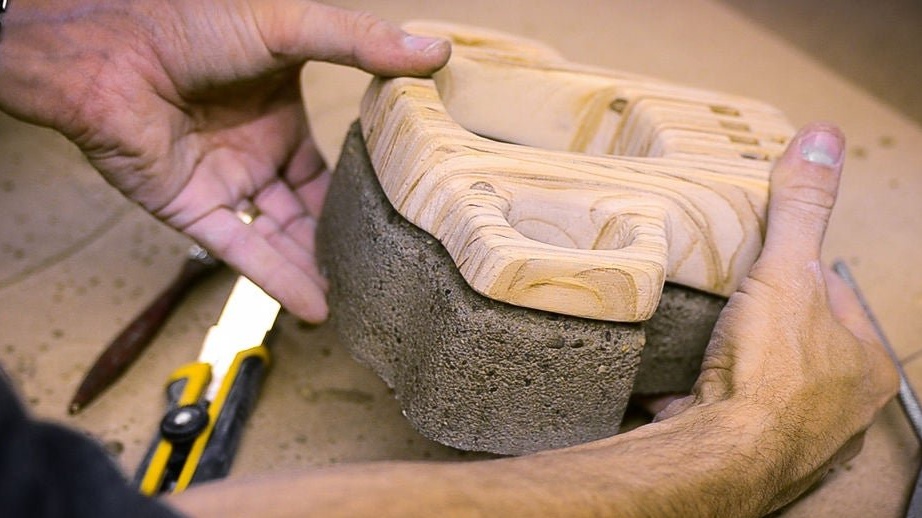
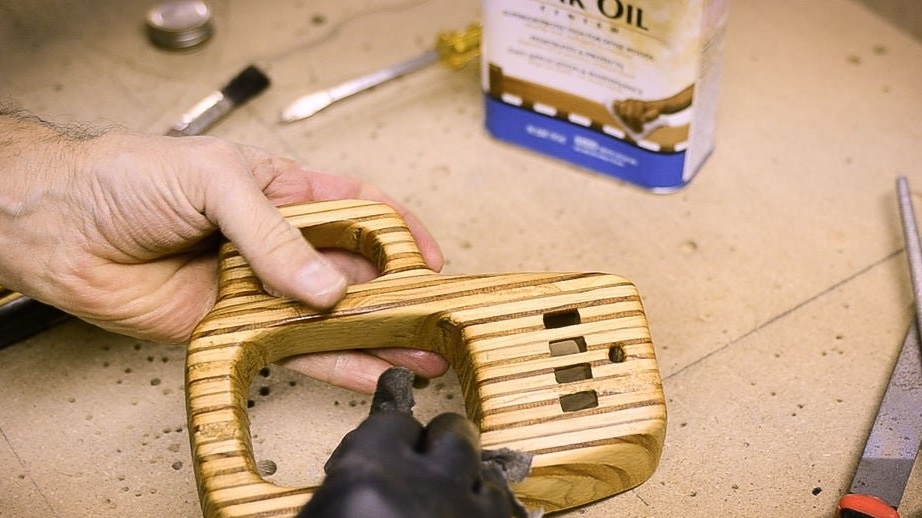
Everything is fine and you can cover it with oil.

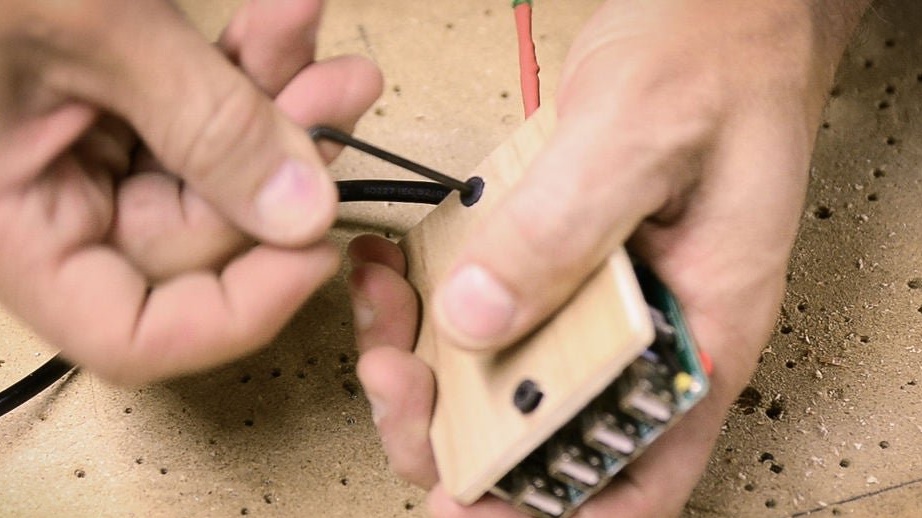
Seventh step: assembly
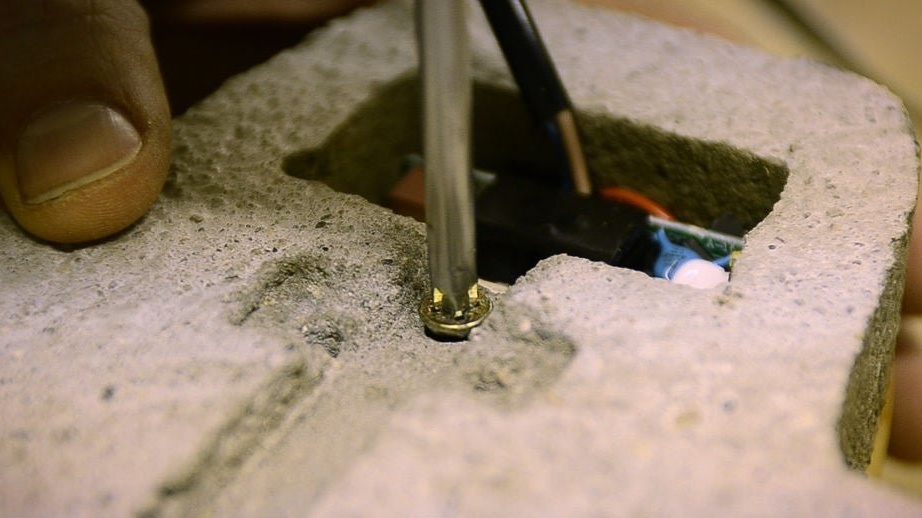
The wizard drills two holes and secures the USB hub.
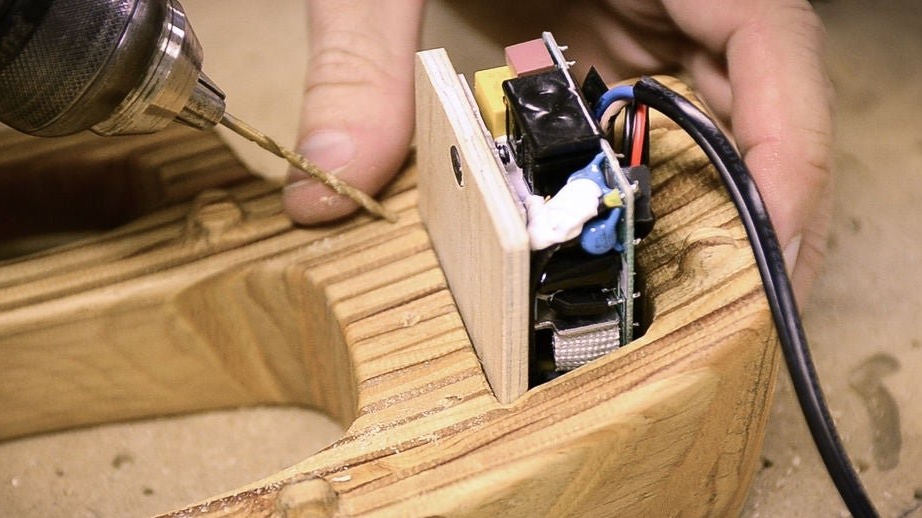
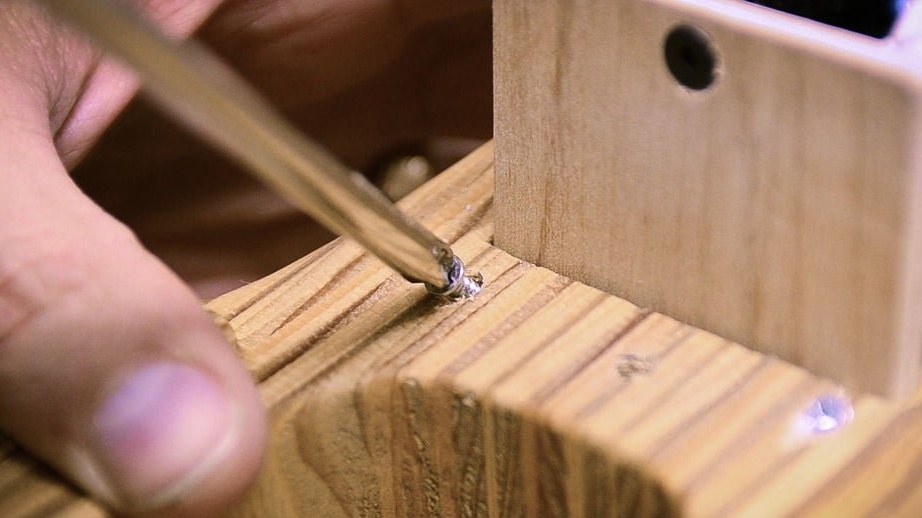
Installs a wooden top on the supporting part. Glues rubber legs to the supporting part.

All is ready.

The whole process of manufacturing such an organizer can be seen in the video.