Is it possible to create a real masterpiece from carpentry debris? The answer is yes! The manufacture of wooden products using functional modern tools and materials is, of course, the ultimate dream. However, a true master can work miracles from what is at hand.
The author of this workshop made a retro-style mailbox from the remains of plywood, wood scraps and rusty metal. The smallest nuances of work he shared in his video.
The case of the box consists of plywood, while the facing elements are made of natural wood and even MDF! All this is covered with a layer of thick alkyd paint, which will protect materials from the harmful effects of moisture.
To make a similar retro-style inbox do it yourself you will need:
Materials:
- plywood with a thickness of at least 10 mm, so that it is possible to join parts joint to joint;
- trim rails and slats for the manufacture of decorative elements;
- a small piece of veneer or any other thin material for application;
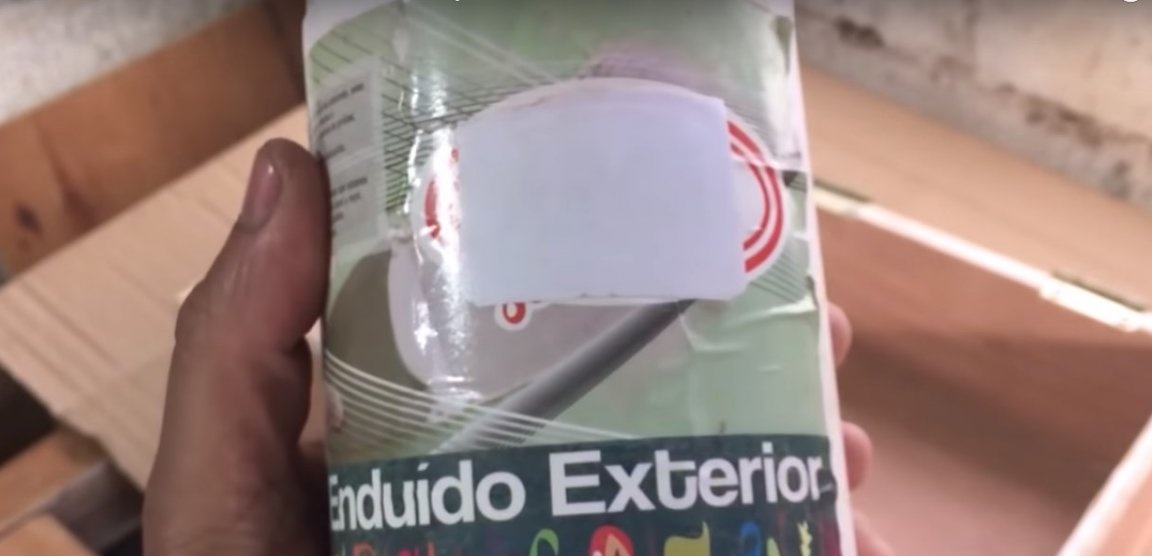
- Alkyd paint or the like - weatherproof with a dense dense texture;
- metal paint for processing metal elements;
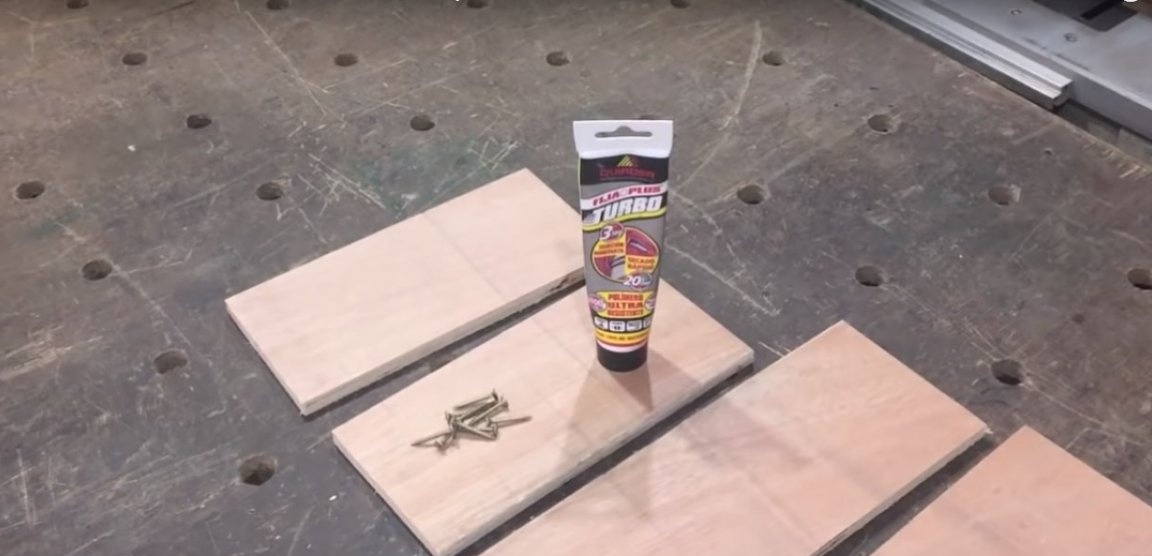
- PVA glue universal or joiner's;
- putty on wood;
- screws, nails;
- pins with rivets;
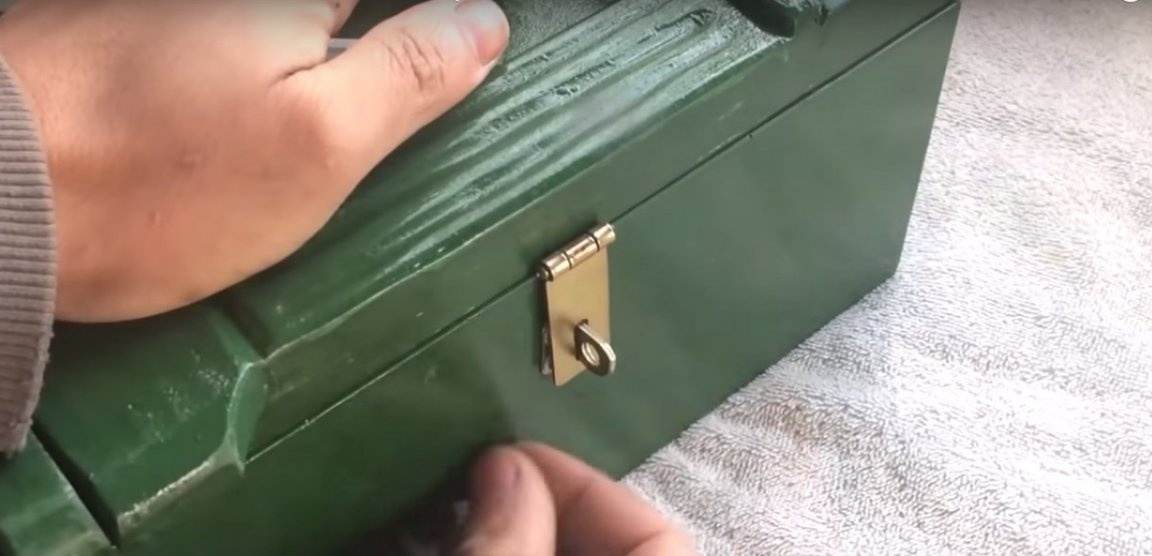
- metal hinges, as well as curtains for padlocks;
- masking tape.
Instruments:
- circular;
- jigsaw;
- electric drill with drills for wood and metal;
- manual frezer;
- a grinder and a cutting disc for metal;
- belt sander, fixed stationary or grinding machine;
- screwdriver;
- hammer;
- flat chisel and chisel for curly cutting;
- a knife for woodcarving, can be of high quality clerical;
- rasp;
- clamps;
- device for the manufacture of rivets;
- a manual jigsaw with a canvas on wood;
- sanding paper for processing small decorative elements;
- narrow spatula;
- construction tape measure, square, marker.
Manufacturing process:
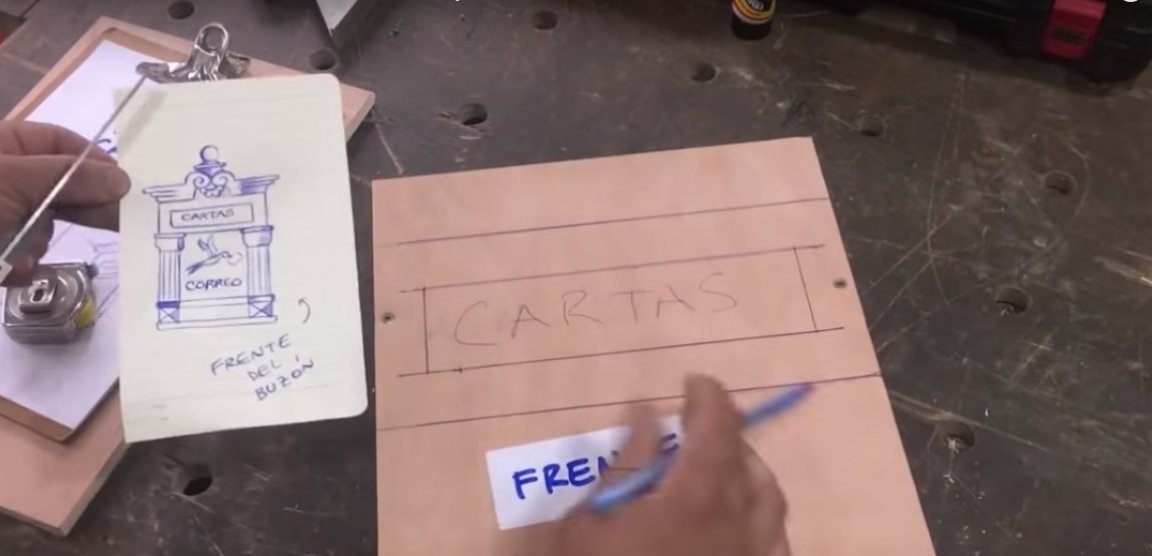
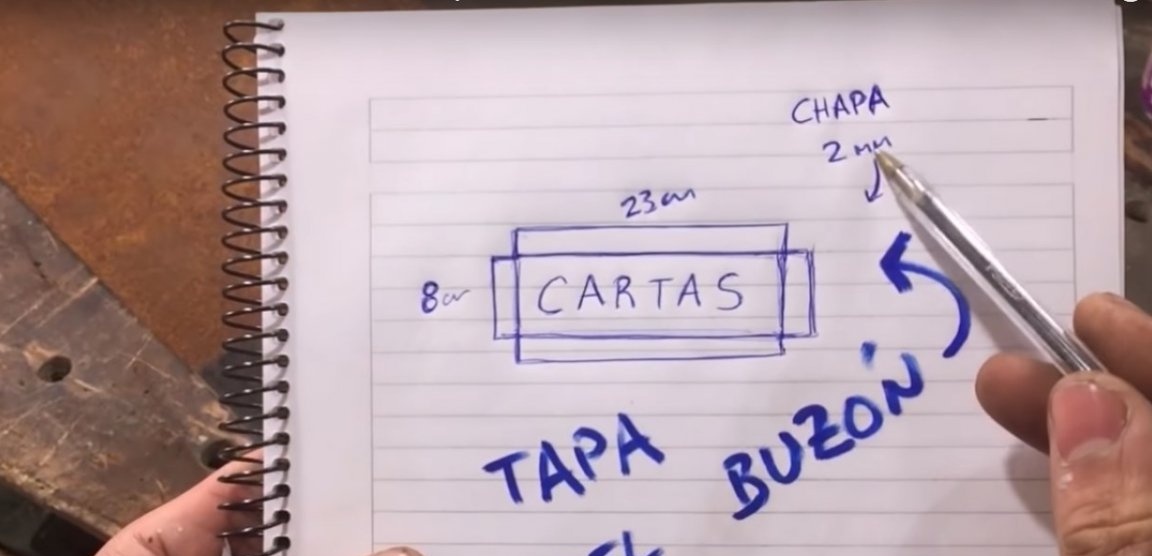
Step one: preparing a sketch and cutting frame details
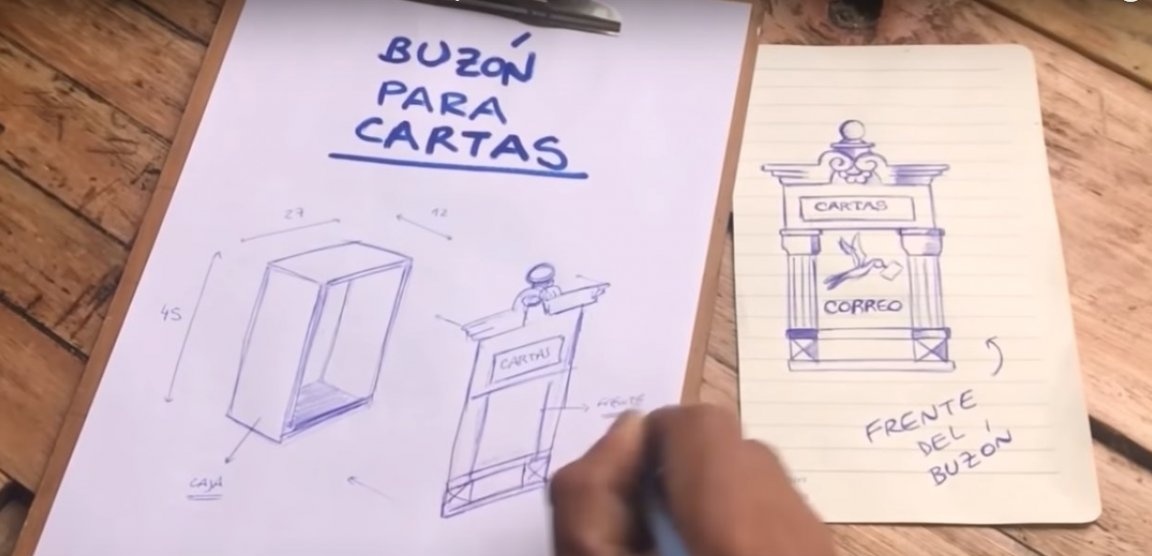
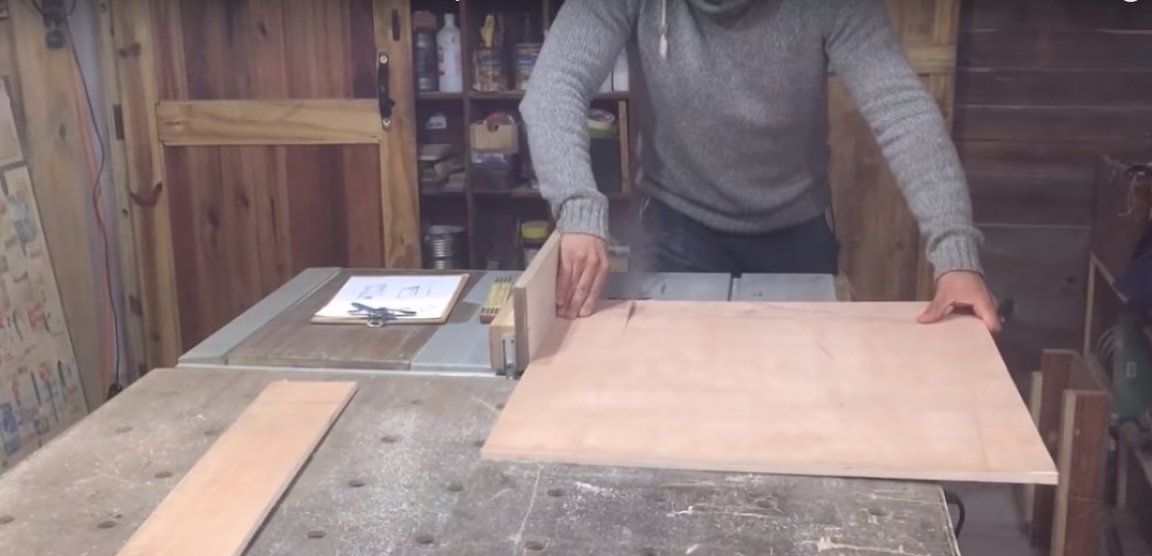
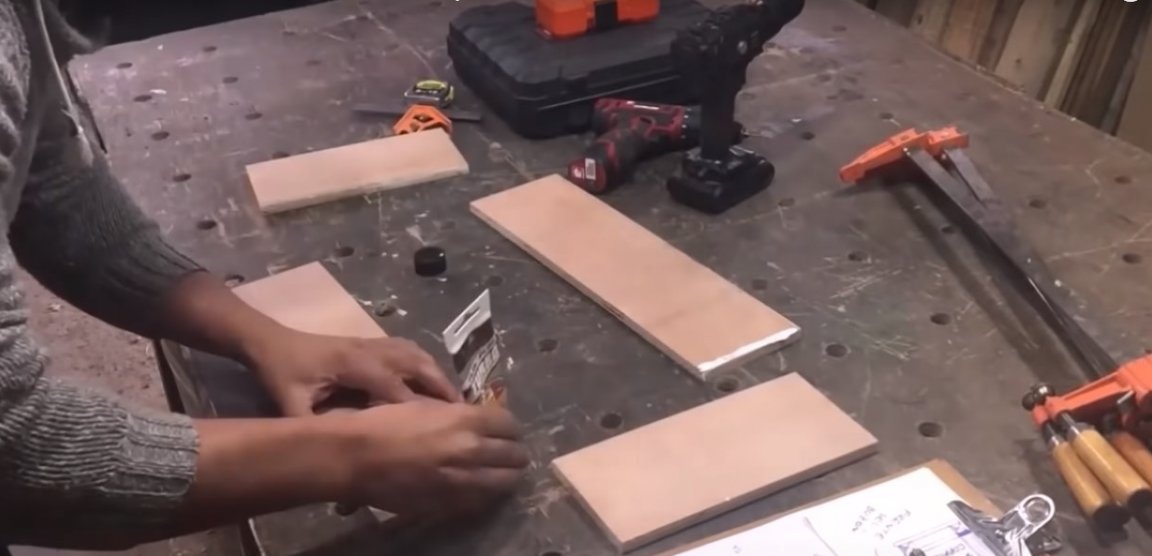
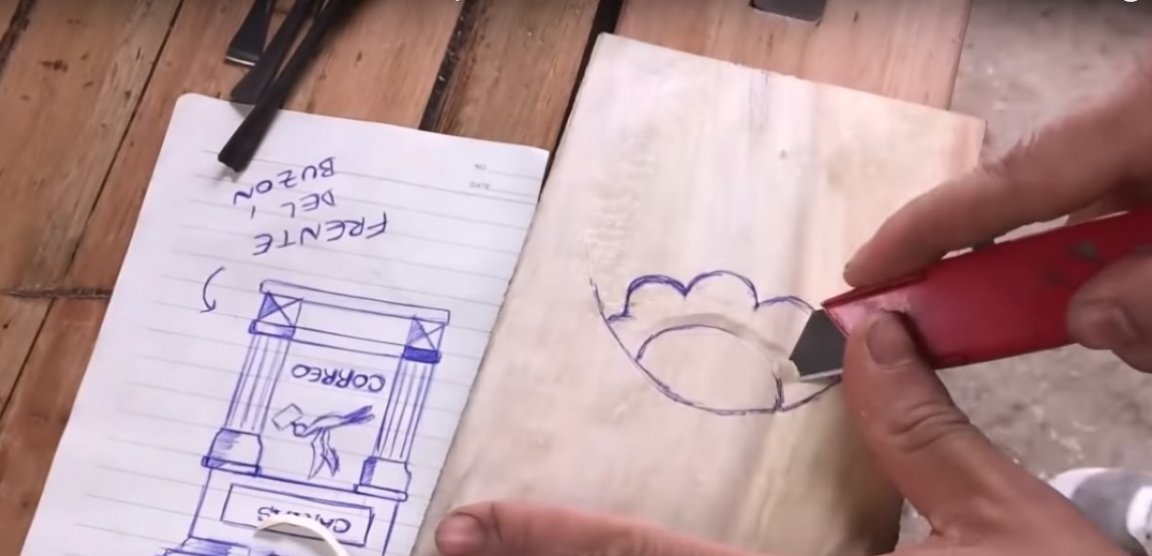
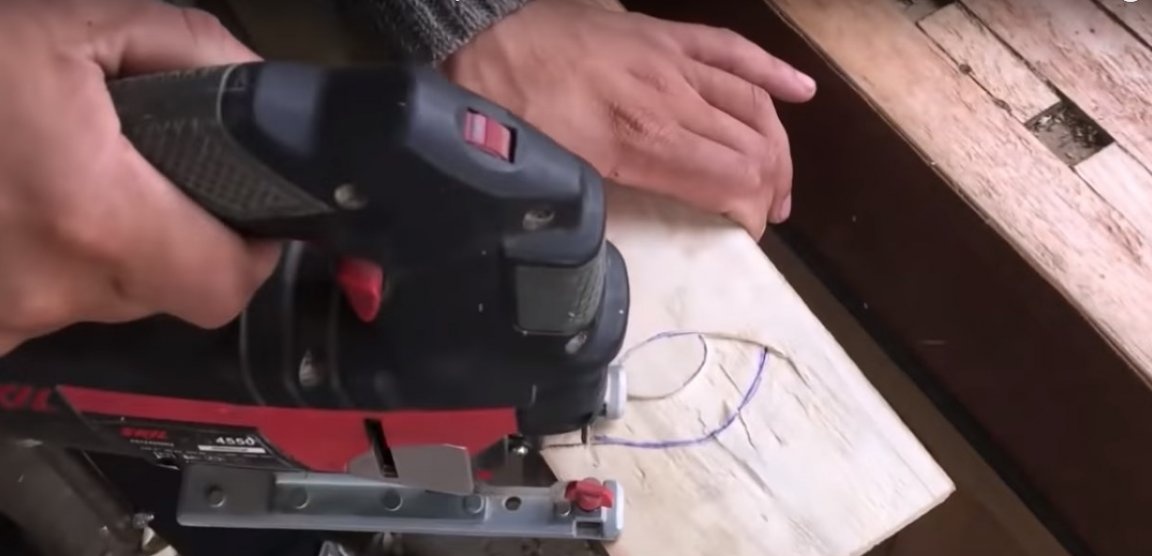
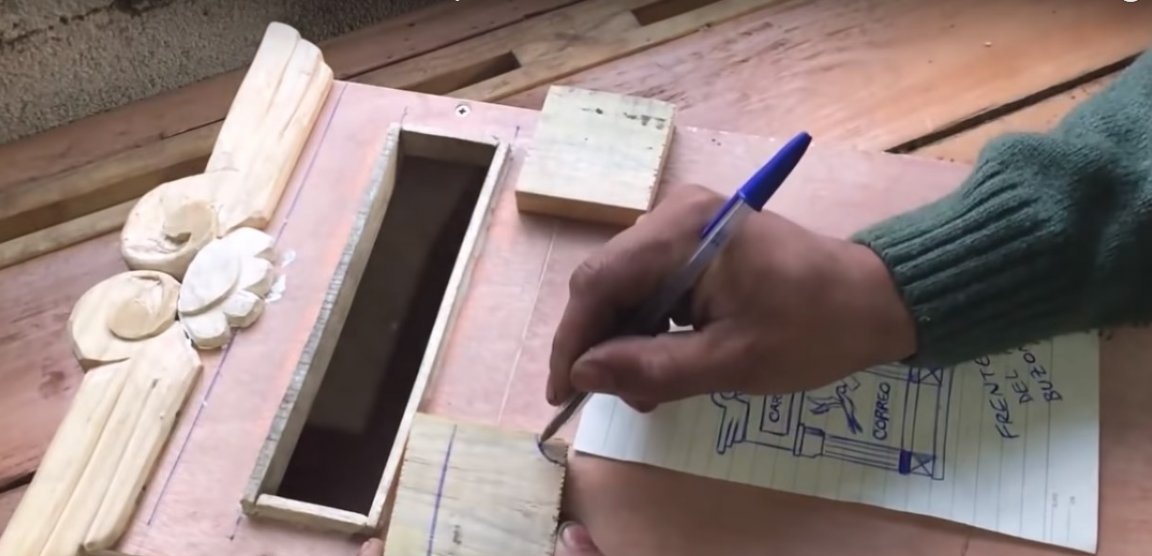
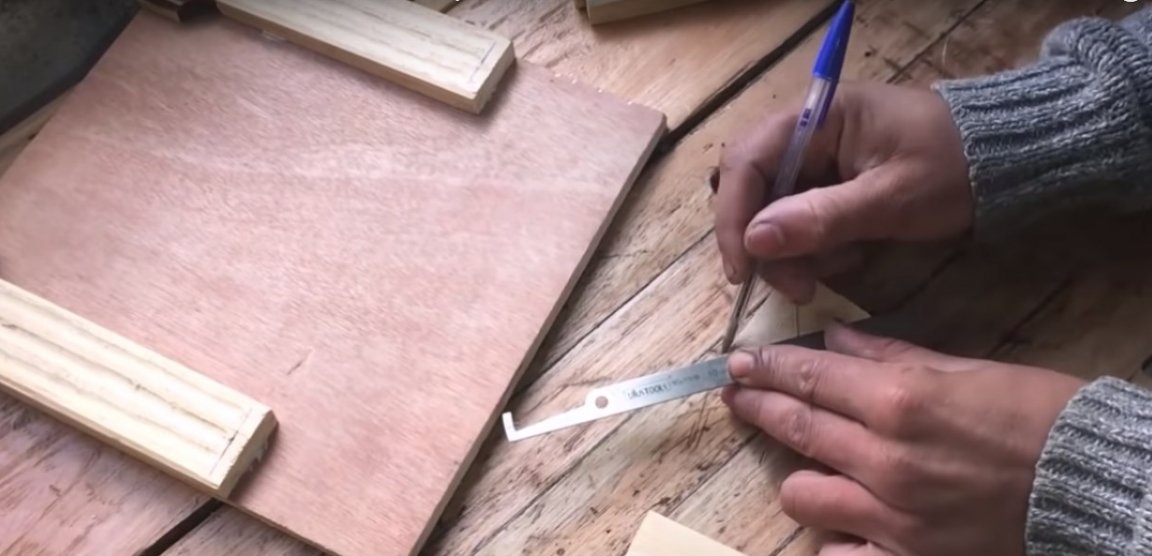
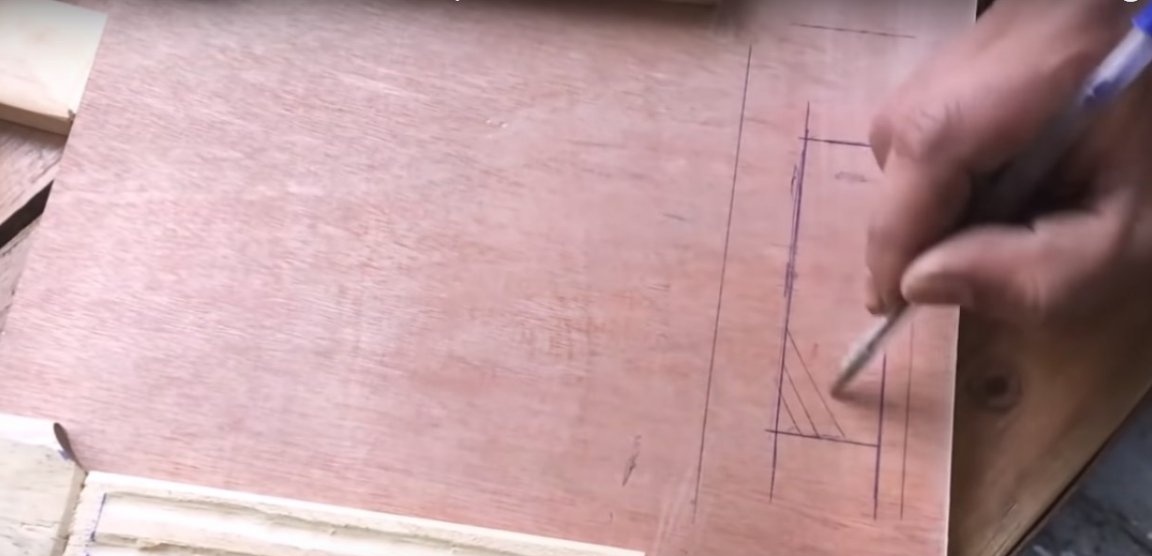
Before starting work, the author outlined a sketch of a mailbox with all the decorative elements. The main body consists of plywood, so to get started, mark the frame parts and cut the plywood into blanks of the required size. The author uses a jigsaw for this. Sand the edges manually.
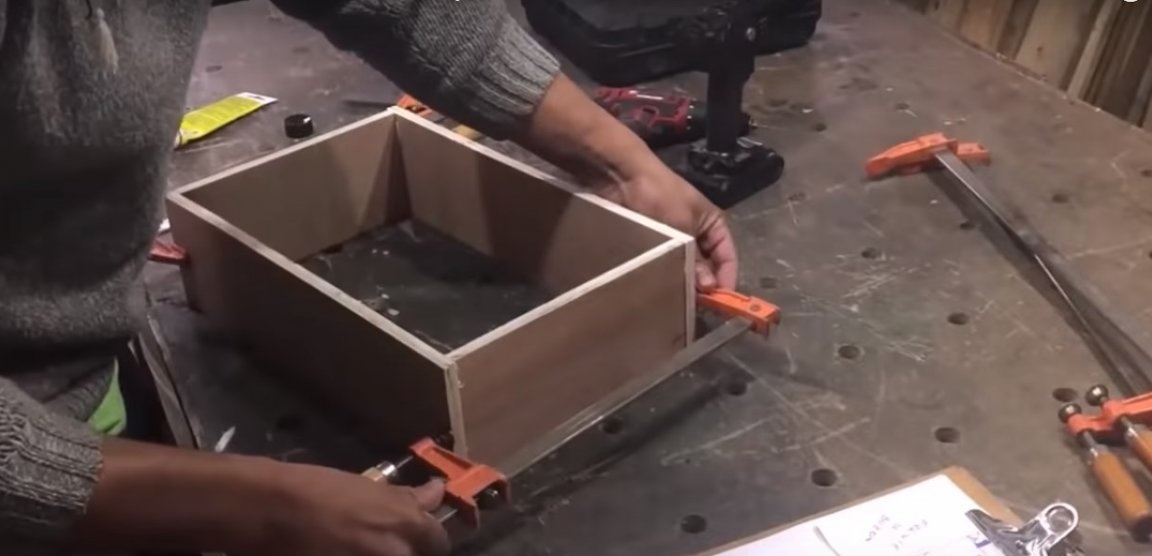
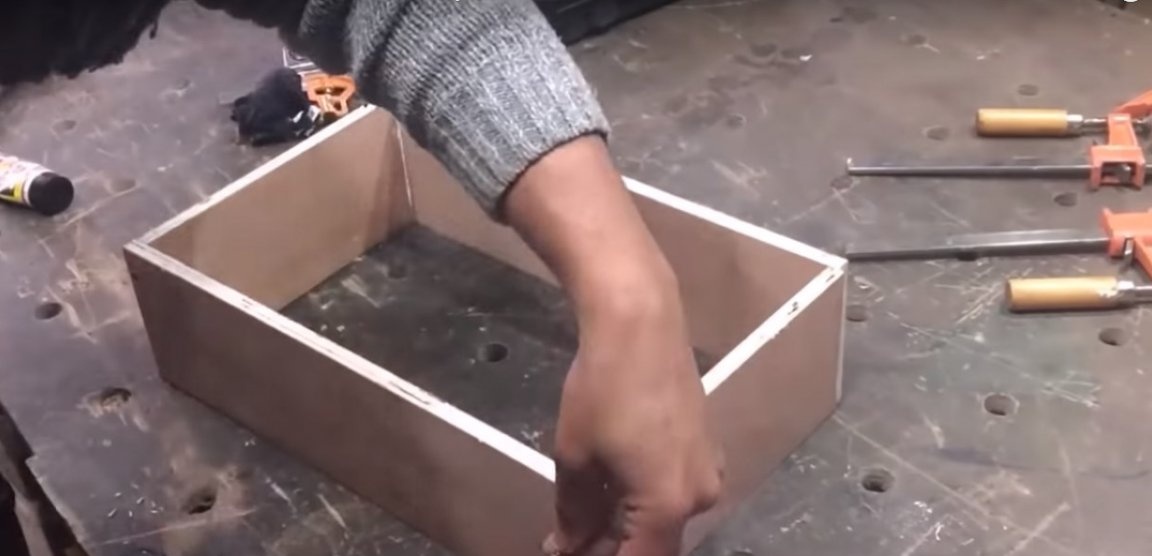
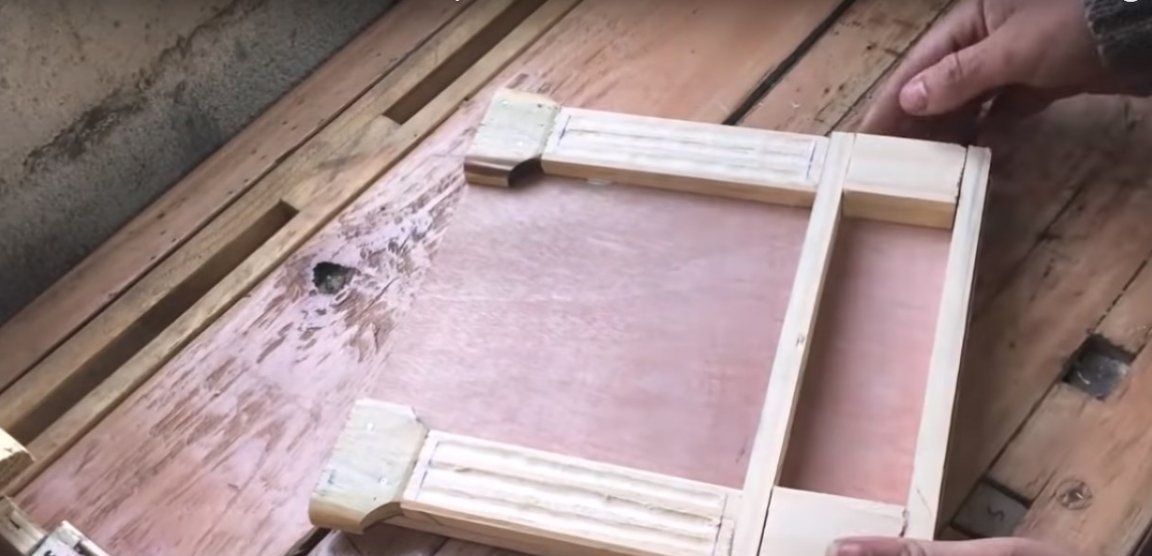
Step Two: Frame Assembly
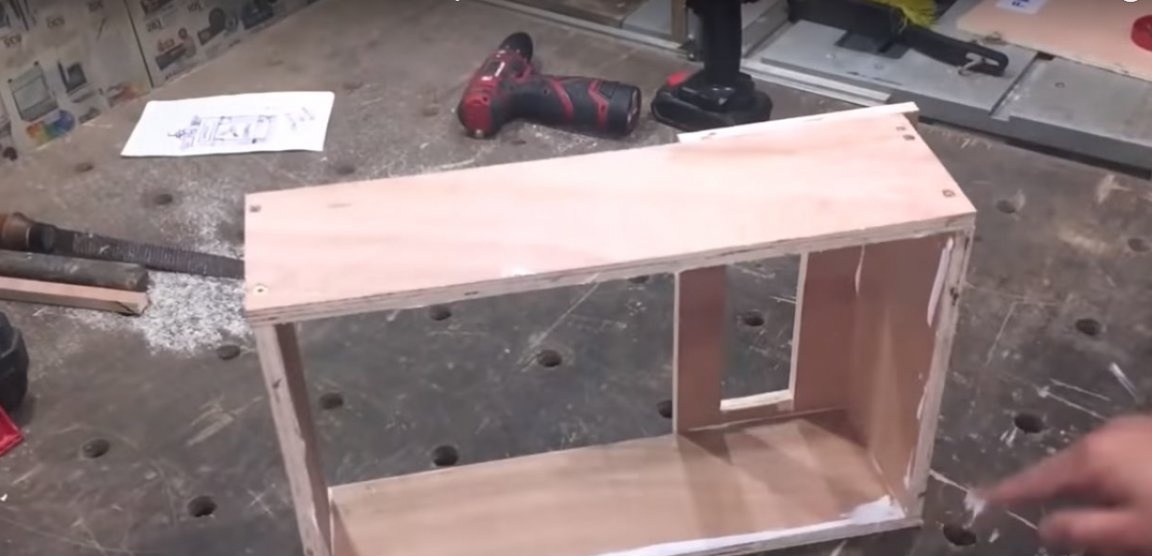
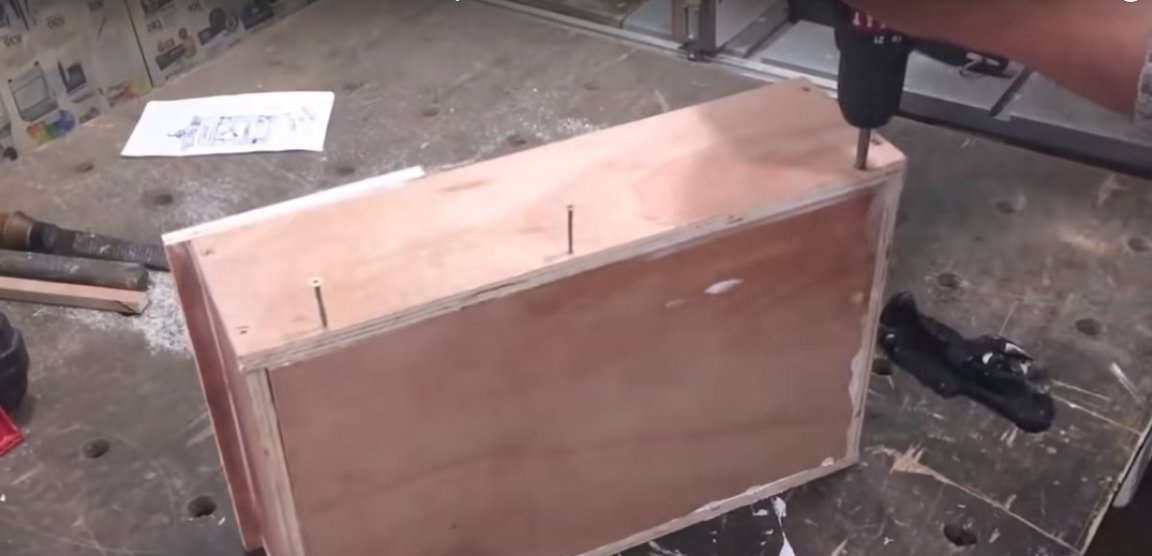
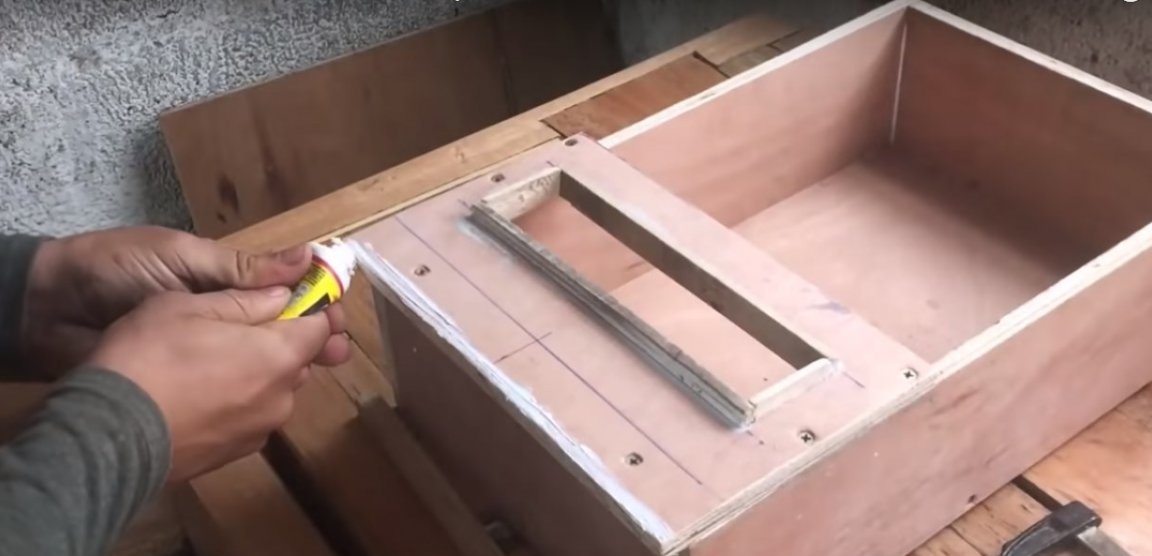
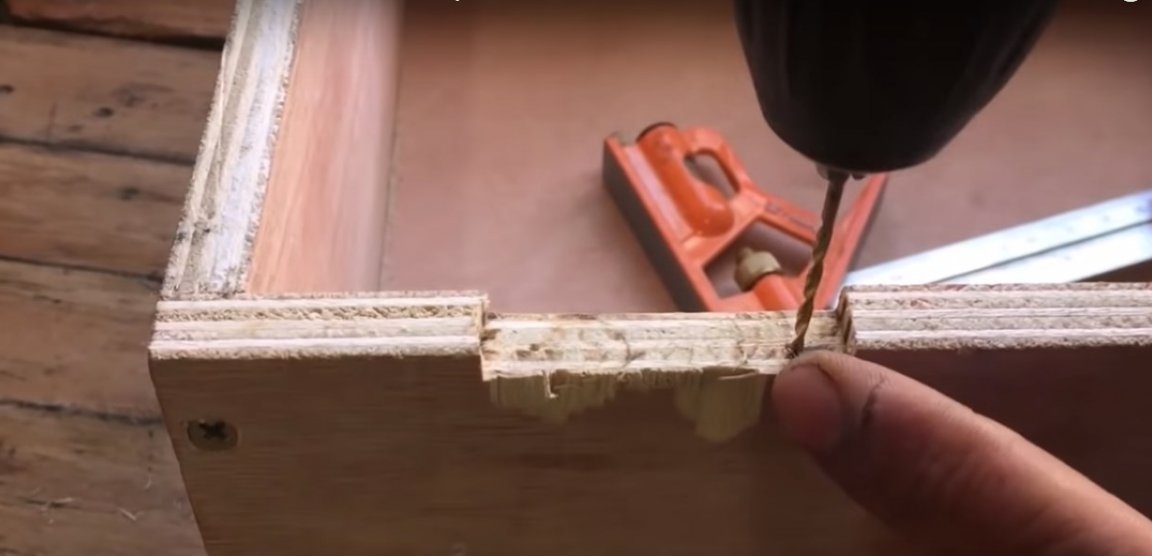
Connect the perimeter of the box using glue. Leave the workpiece in a vise until the glue completely hardens. At the joints of the parts, drill holes and fix the structure with self-tapping screws.
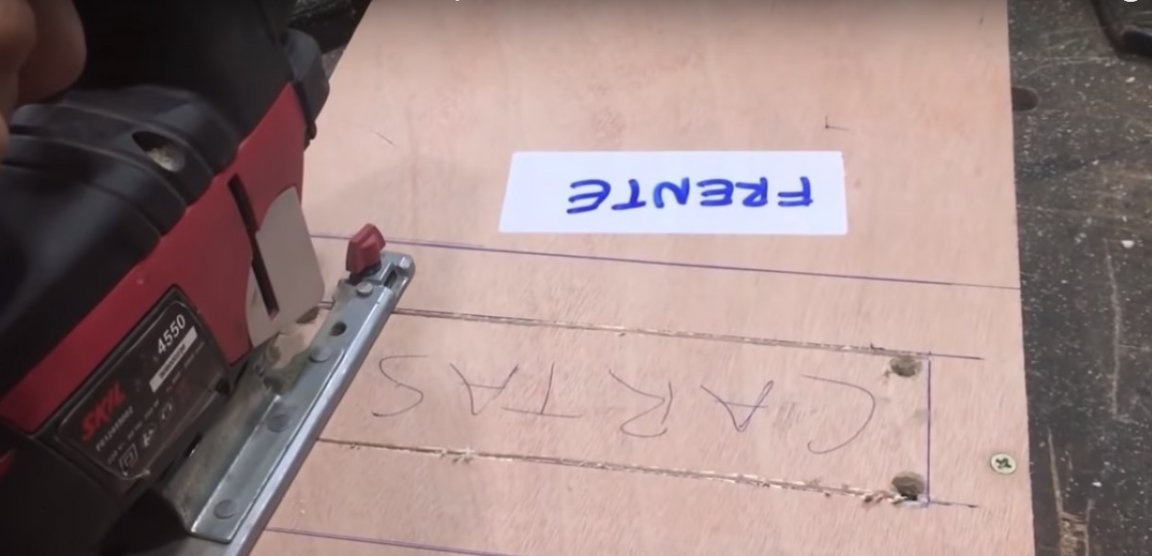
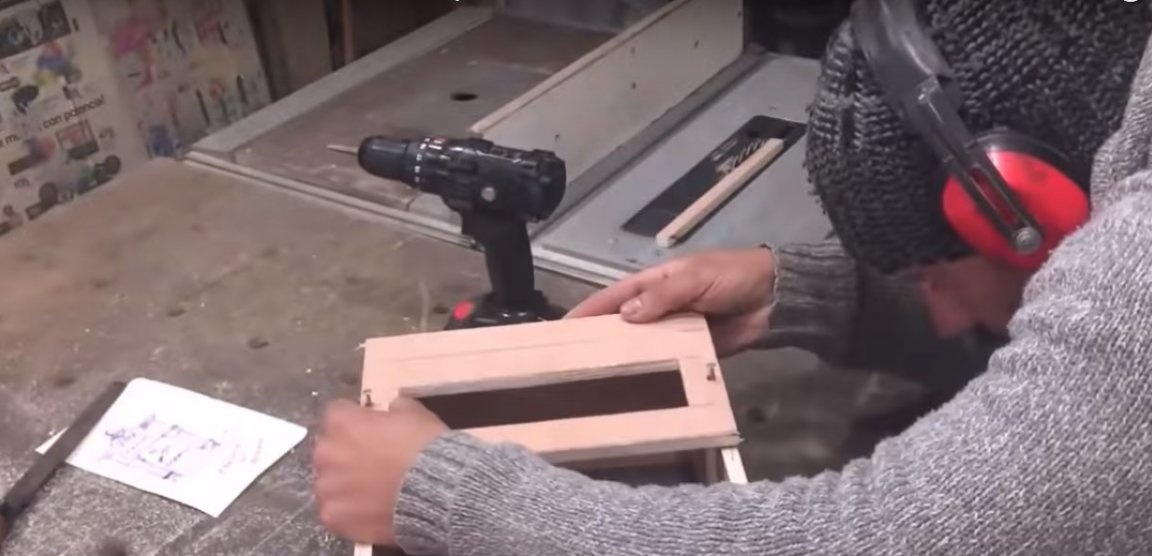
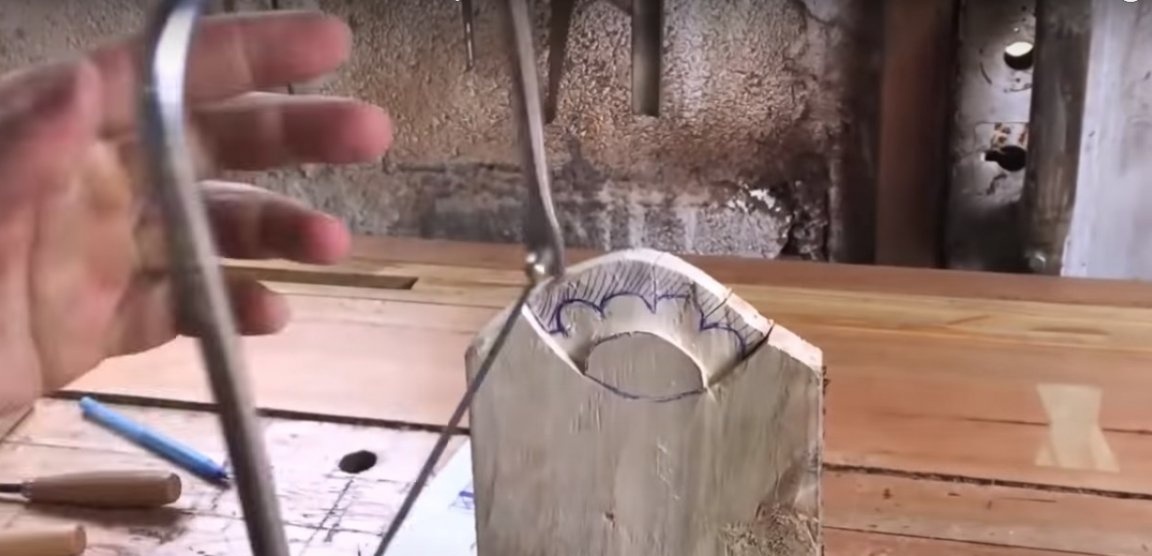
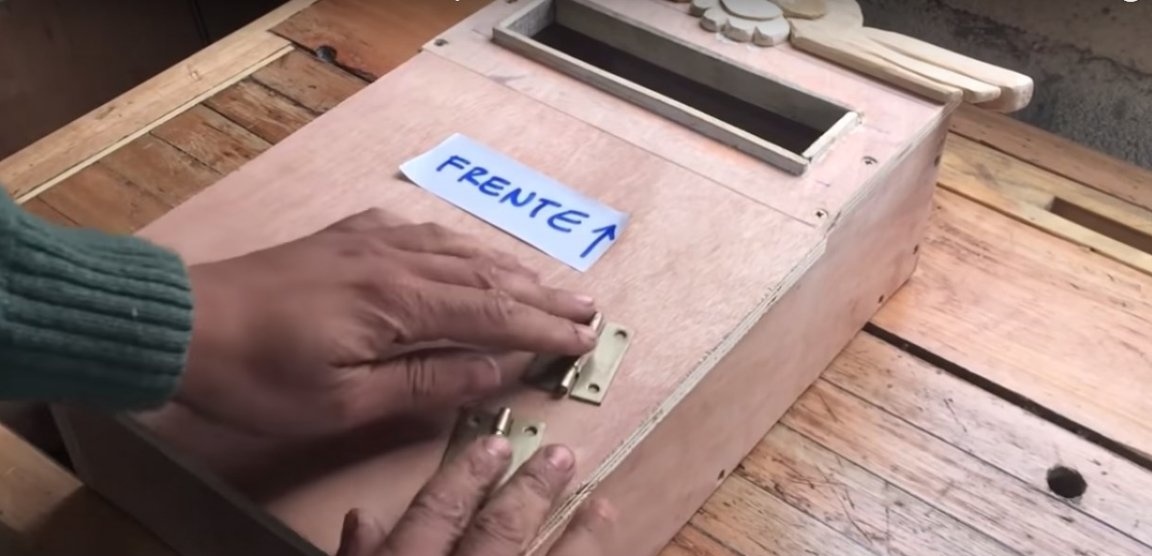
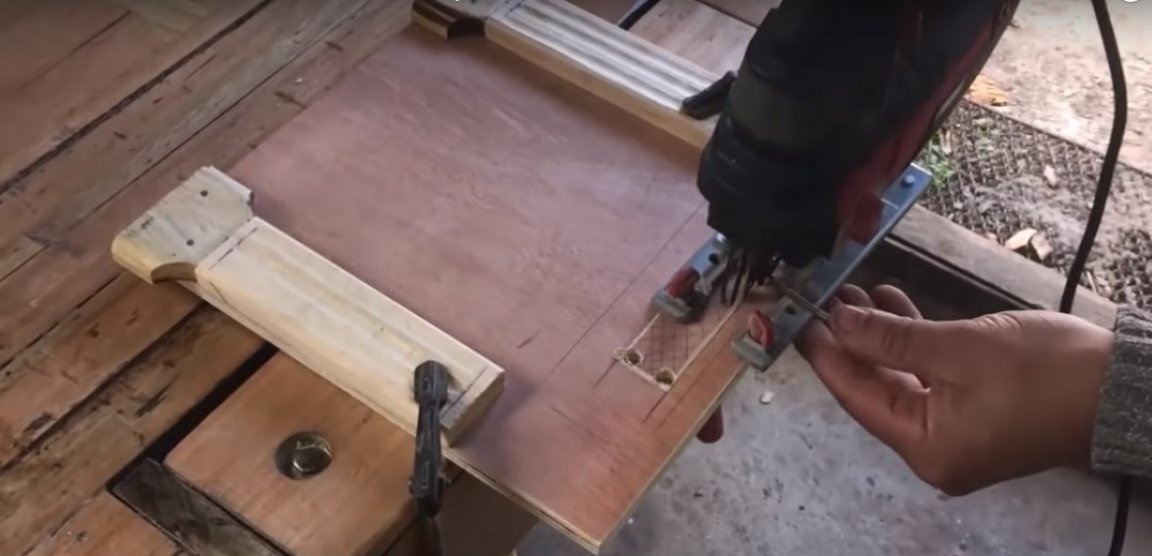
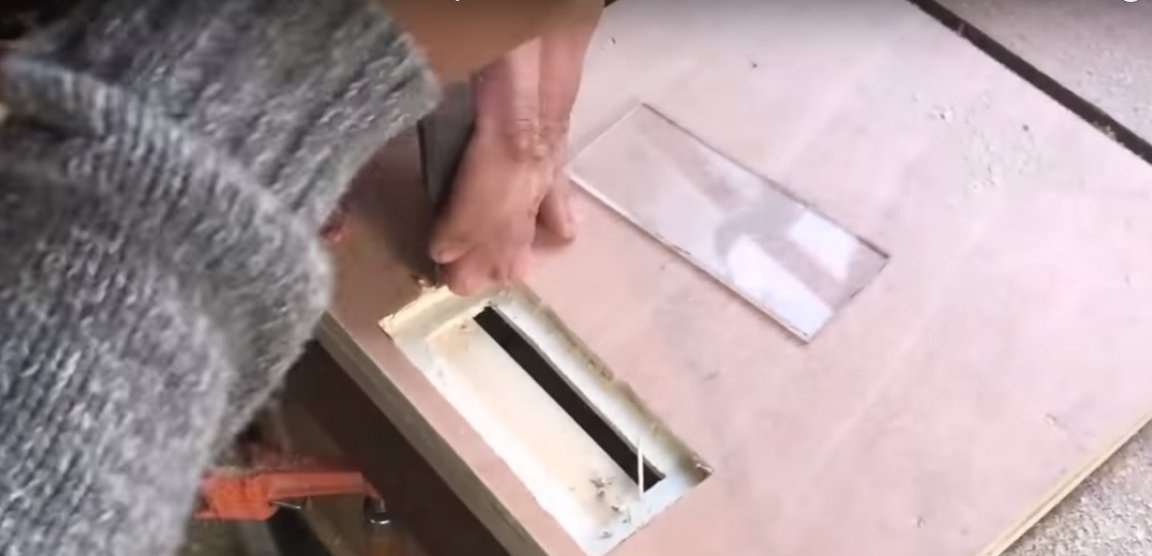
Mark the hole for mail. In the corners, drill holes for a jigsaw file and make a hole of a rectangular shape.
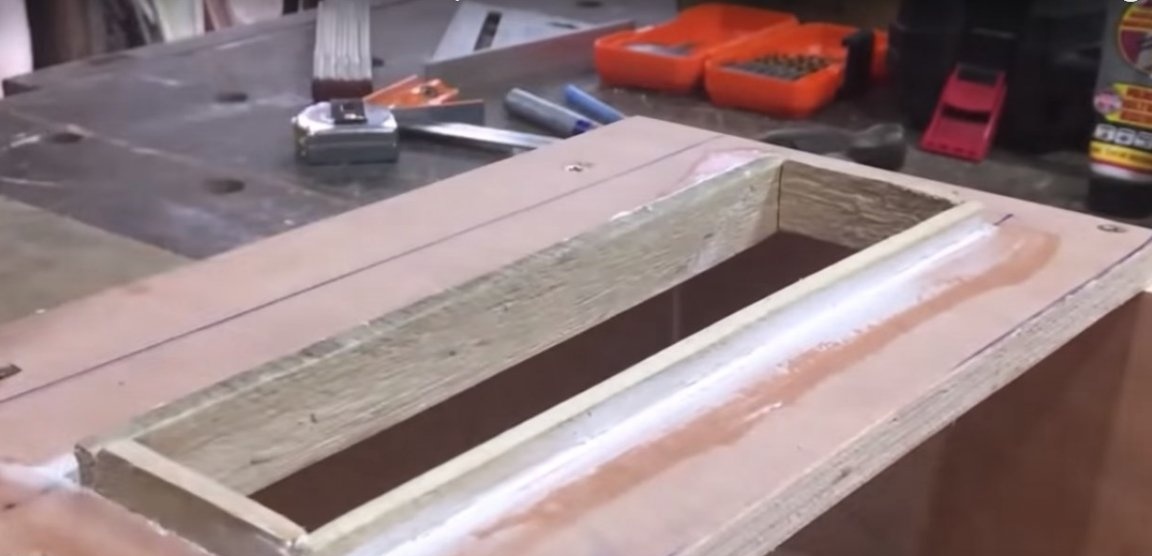
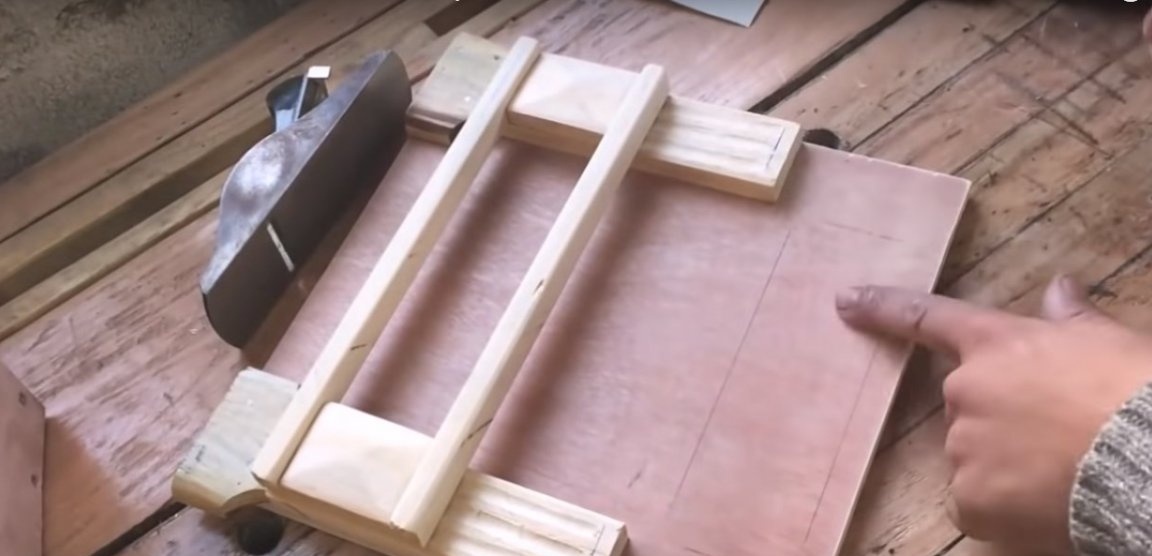
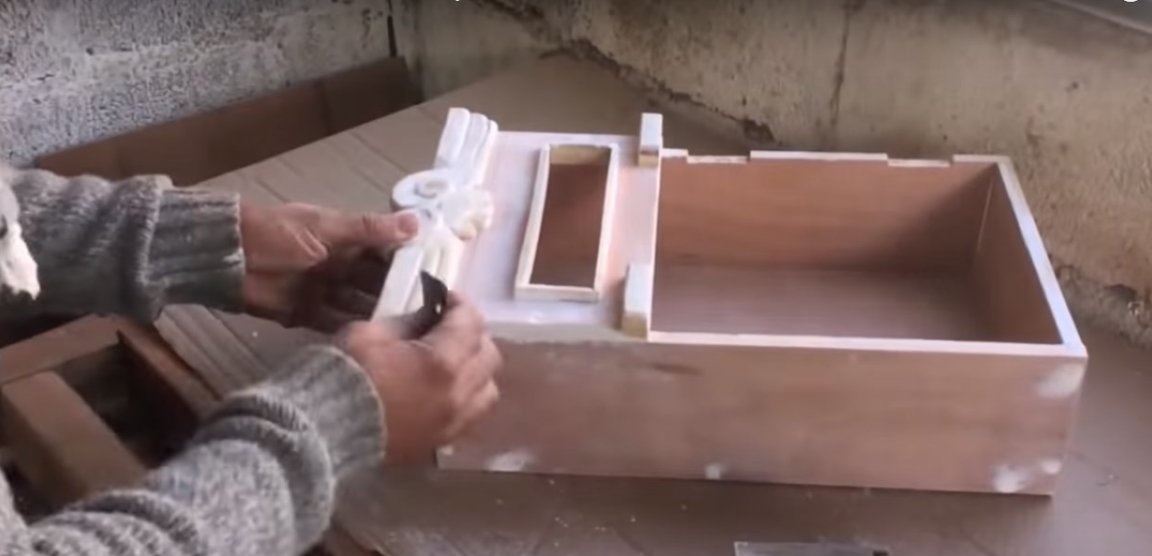
Connect the front panel with the hole to the frame using glue and screws. Screw the back of the mailbox as well. Cover the hole with a wooden plank as shown in the photo.
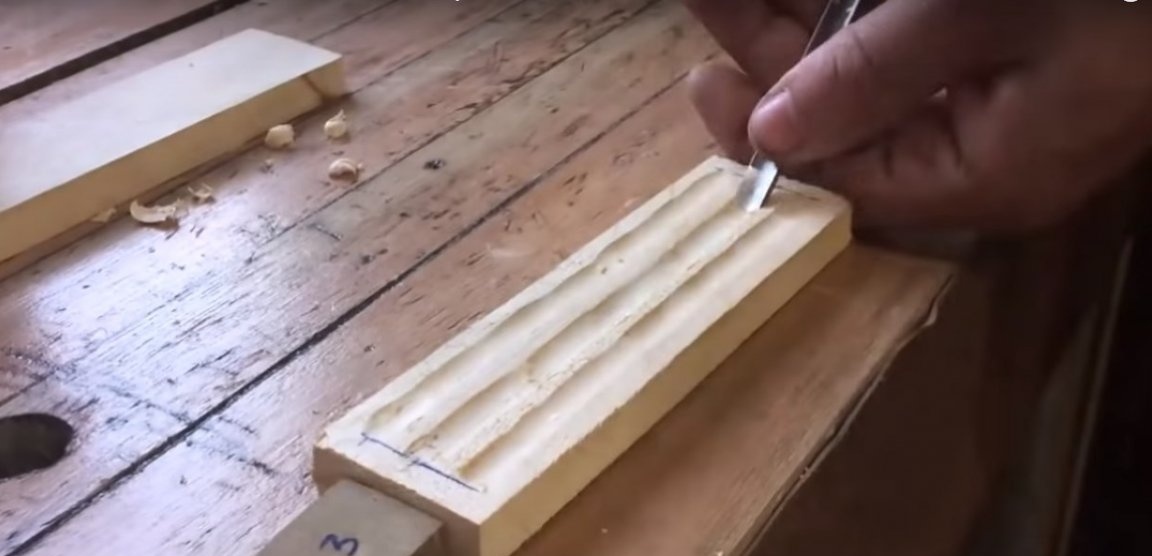
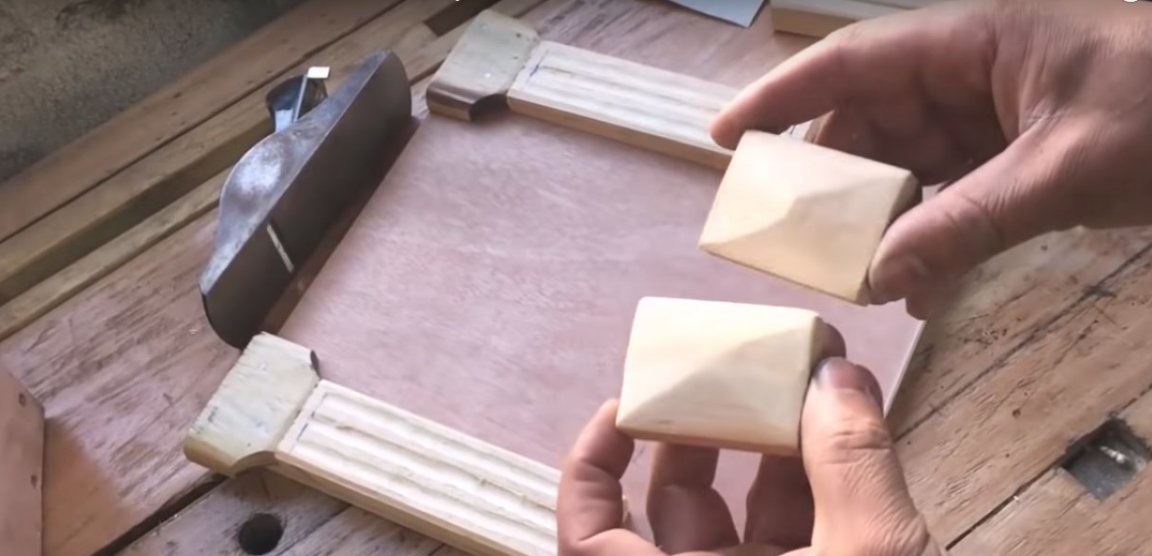
Step three: the manufacture of decorative elements of the main body
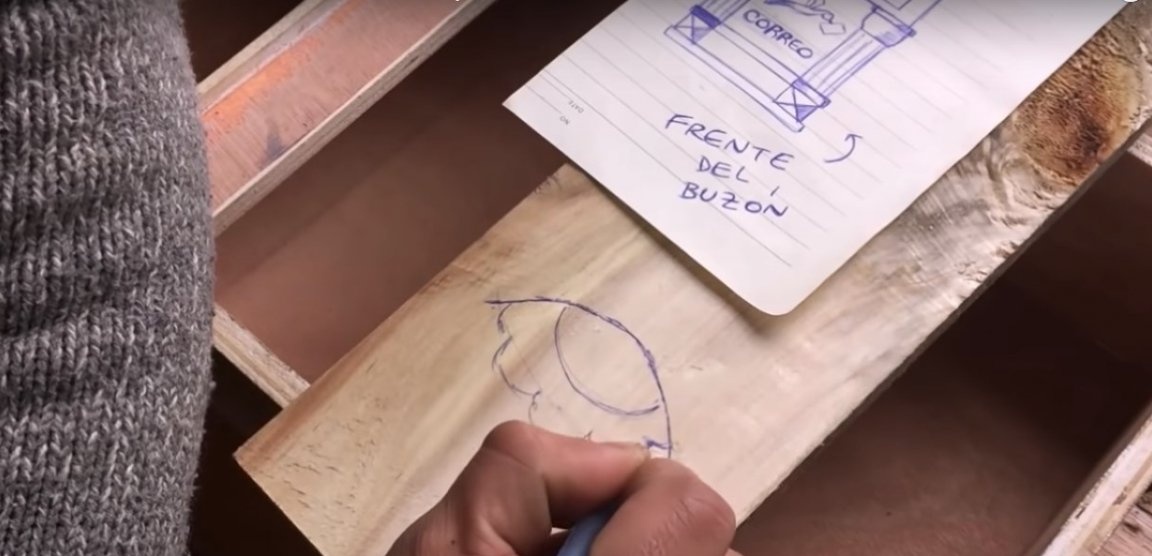
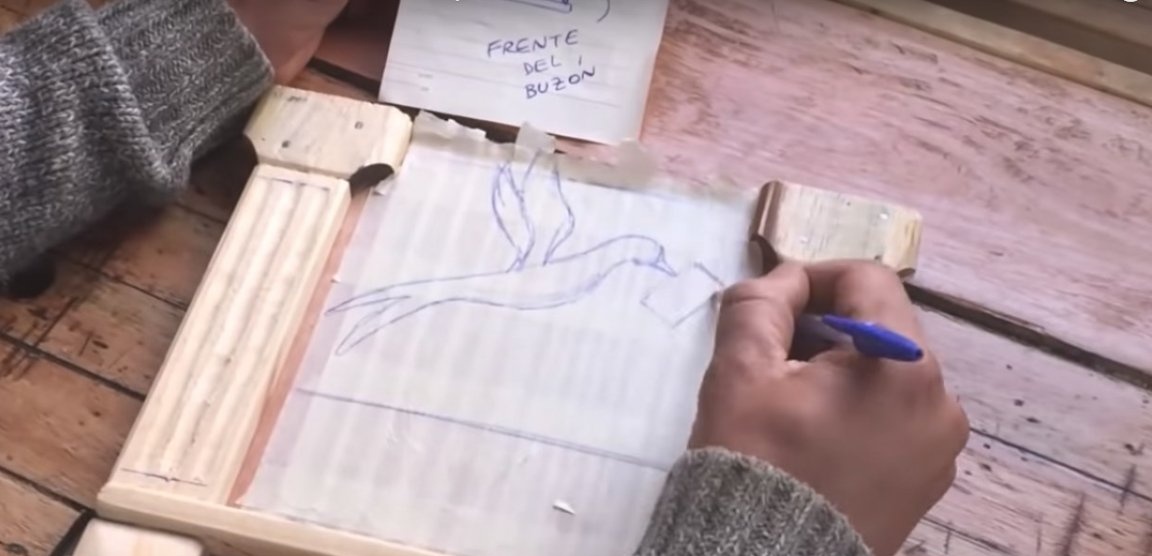
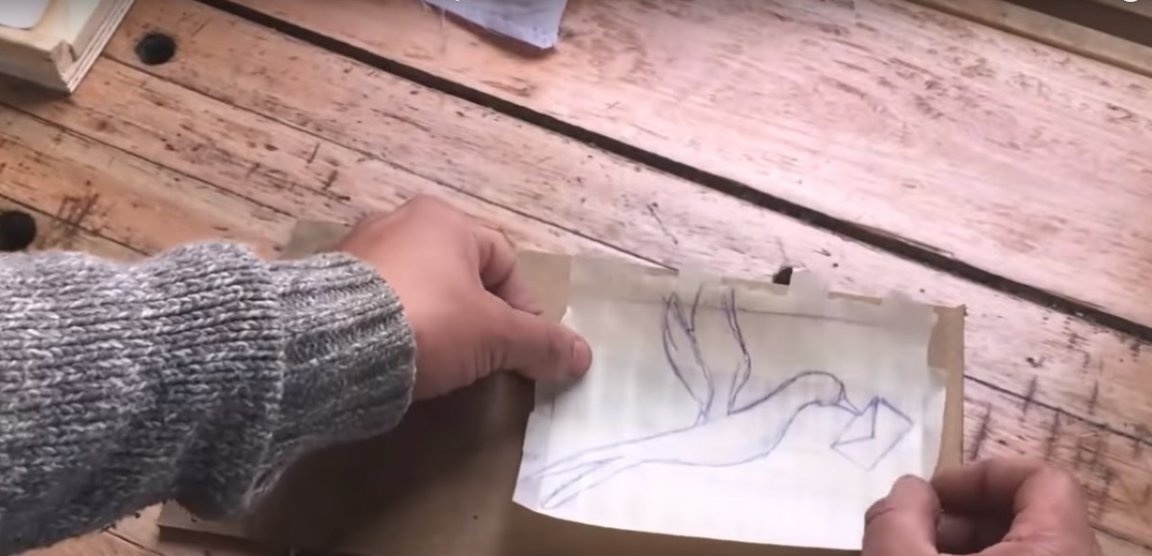
Almost all the decor is made of natural wood, with the exception of the mail swan on the doors according to the author's sketches.
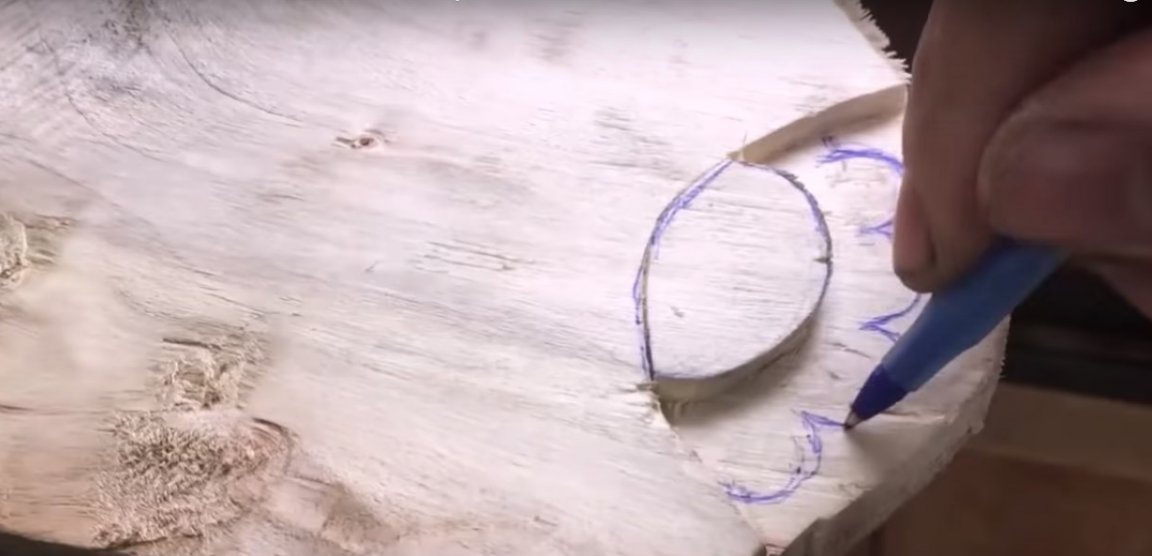
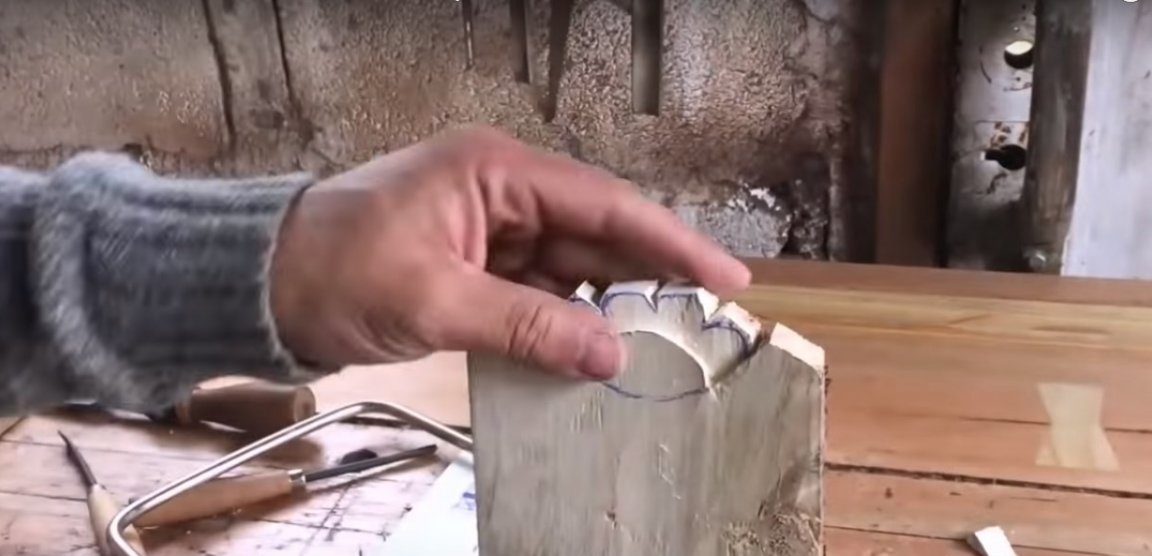
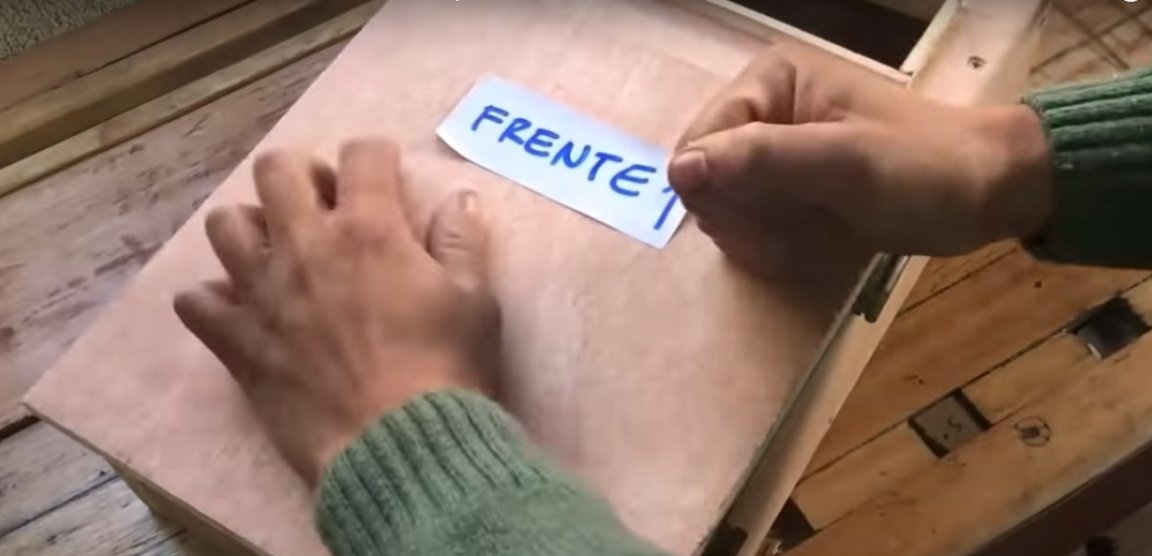
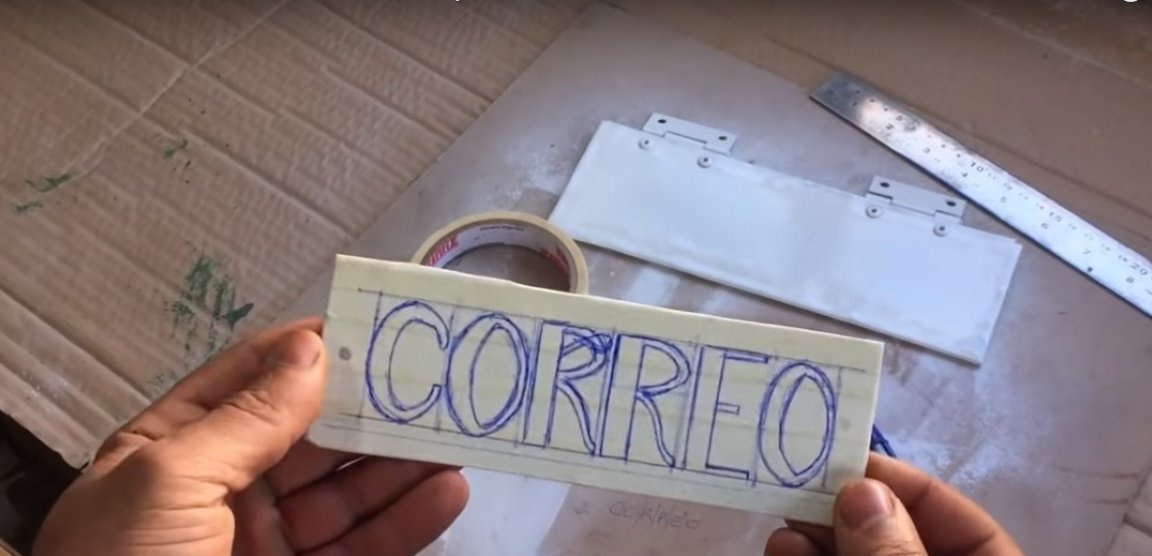
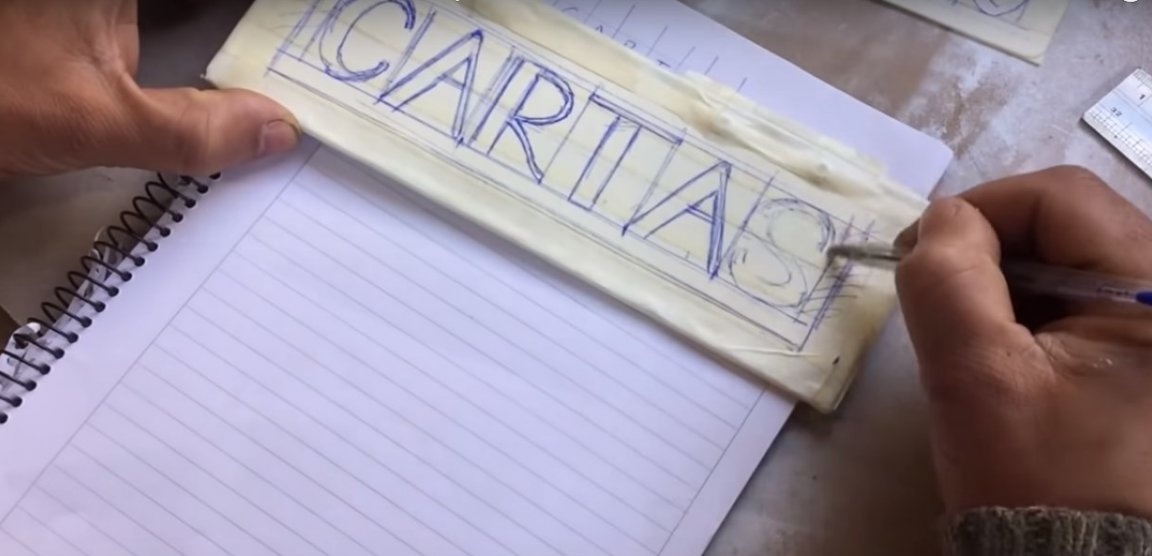
Start by making patterns on paper. Cut the finished patterns and mark on wooden planks.


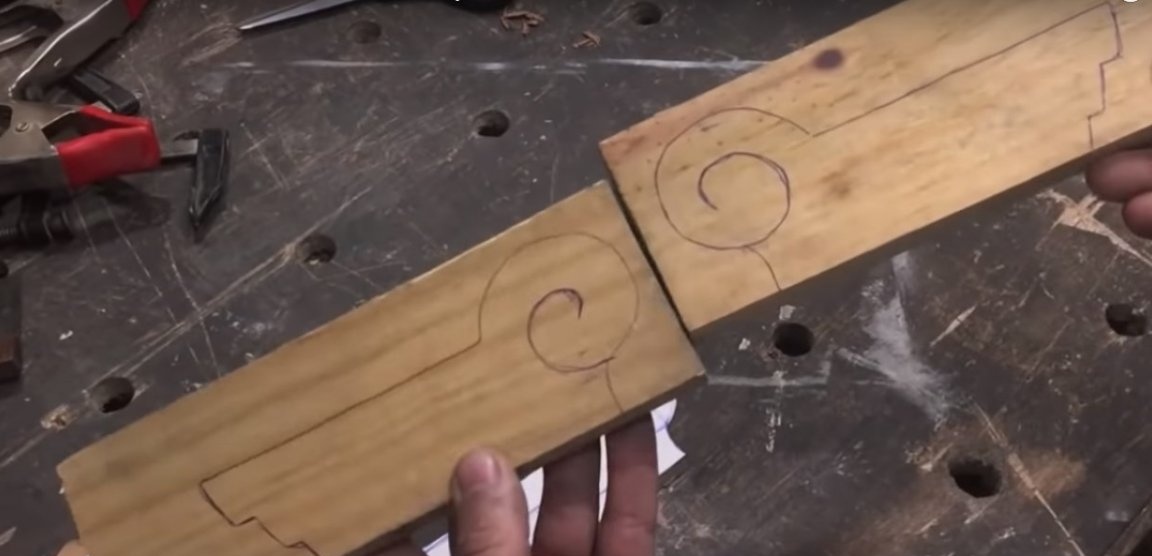
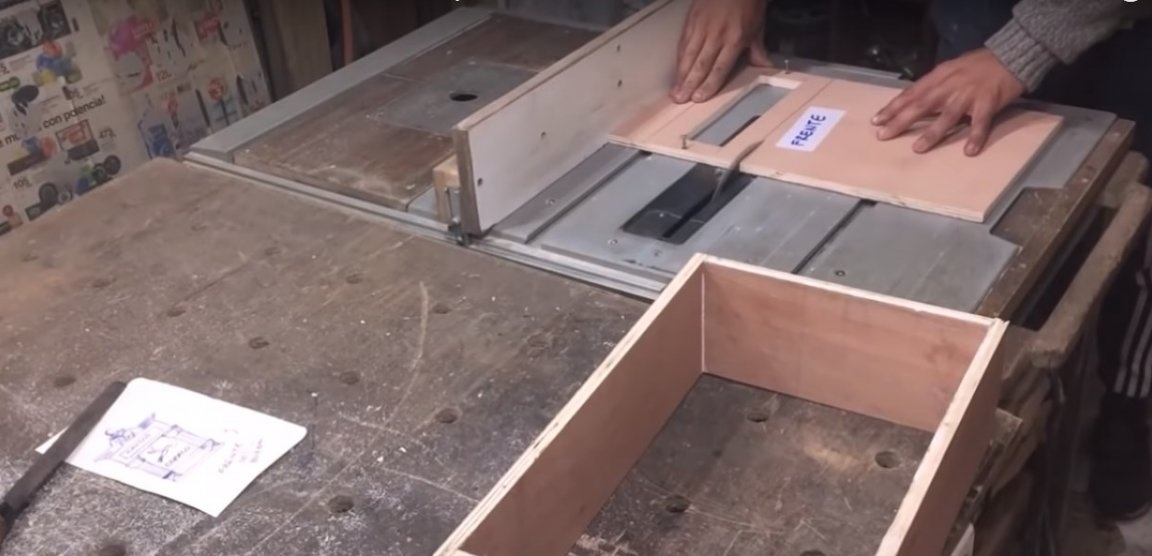
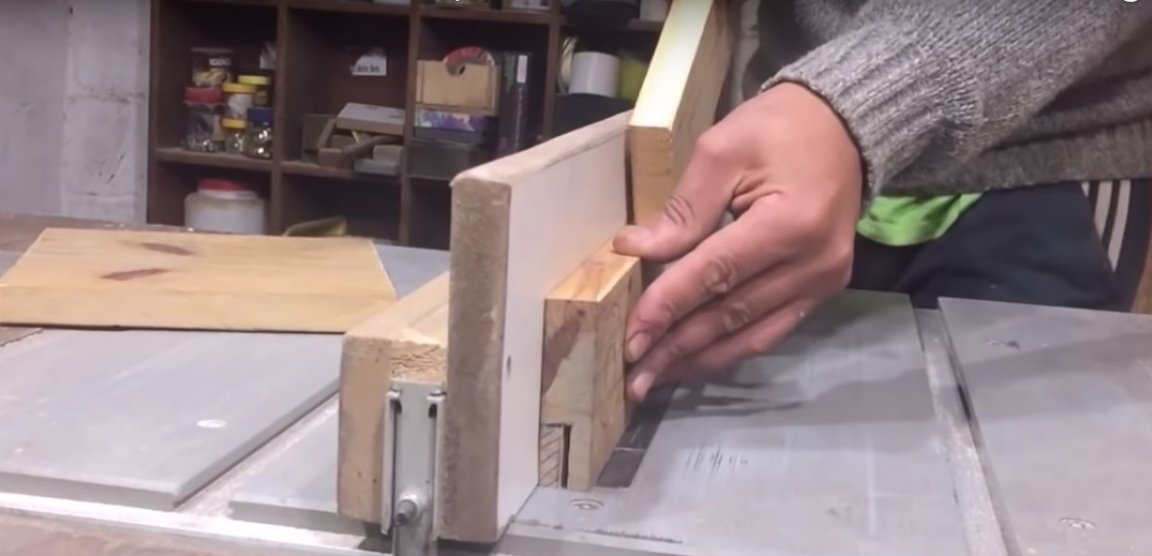
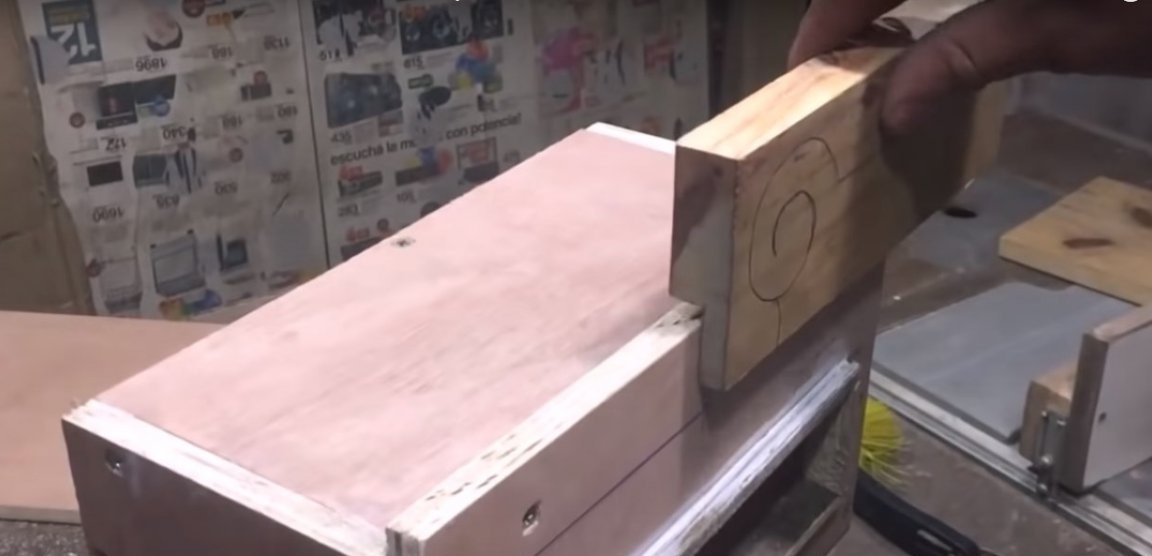
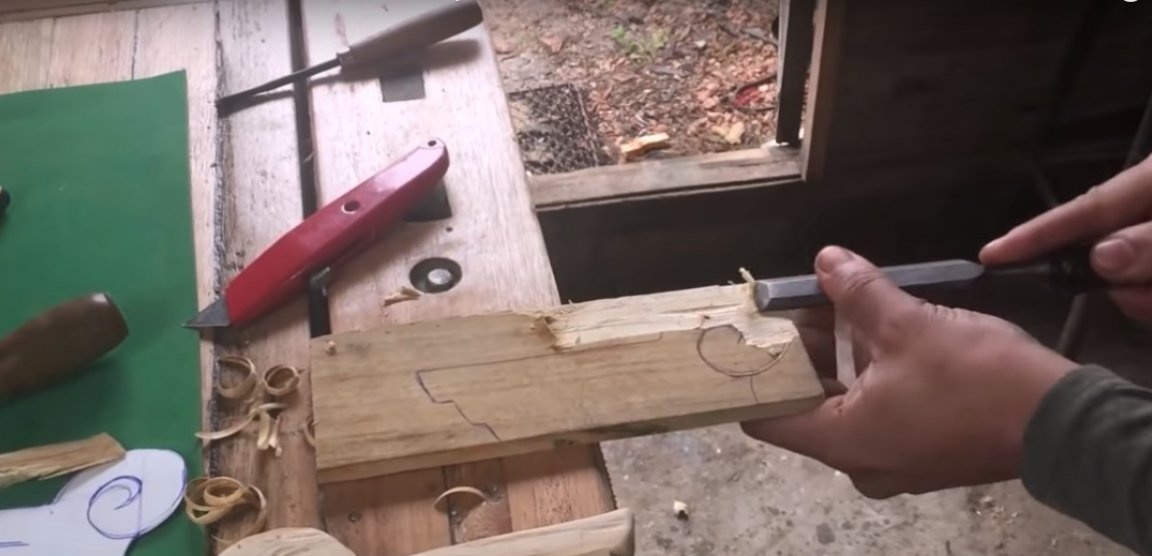
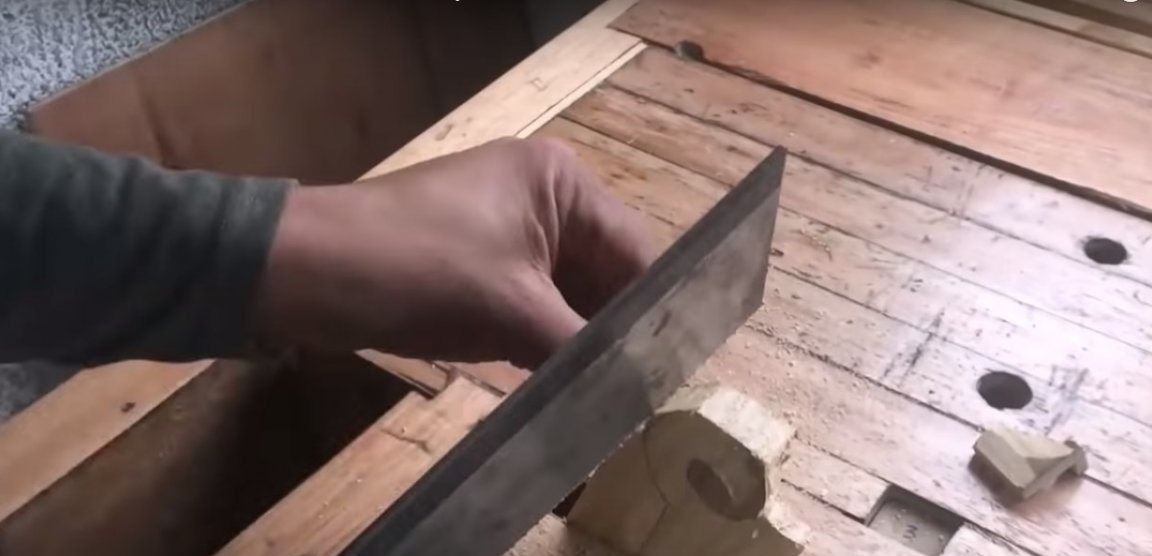
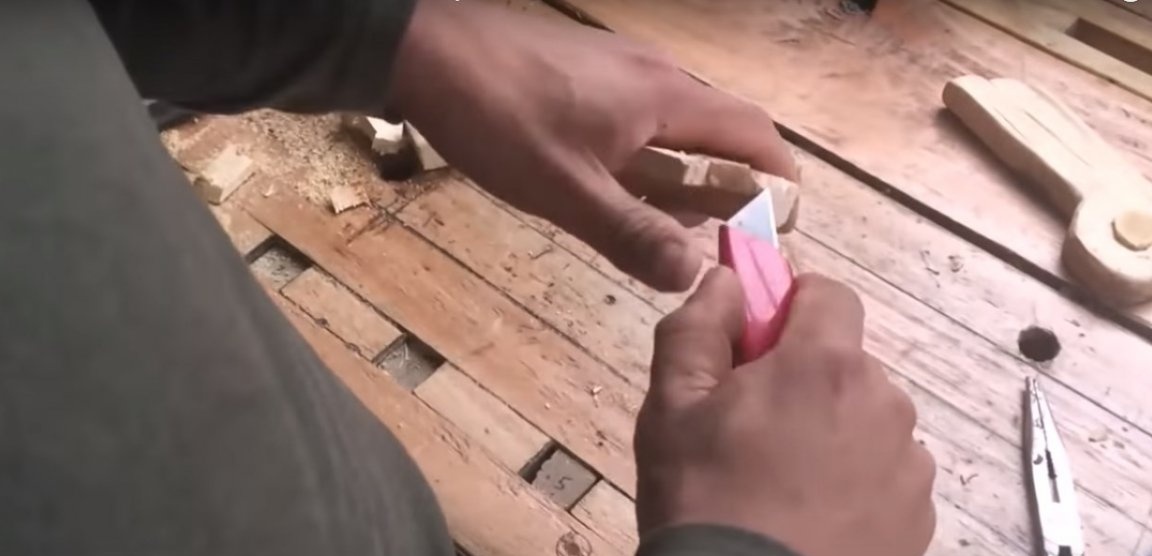
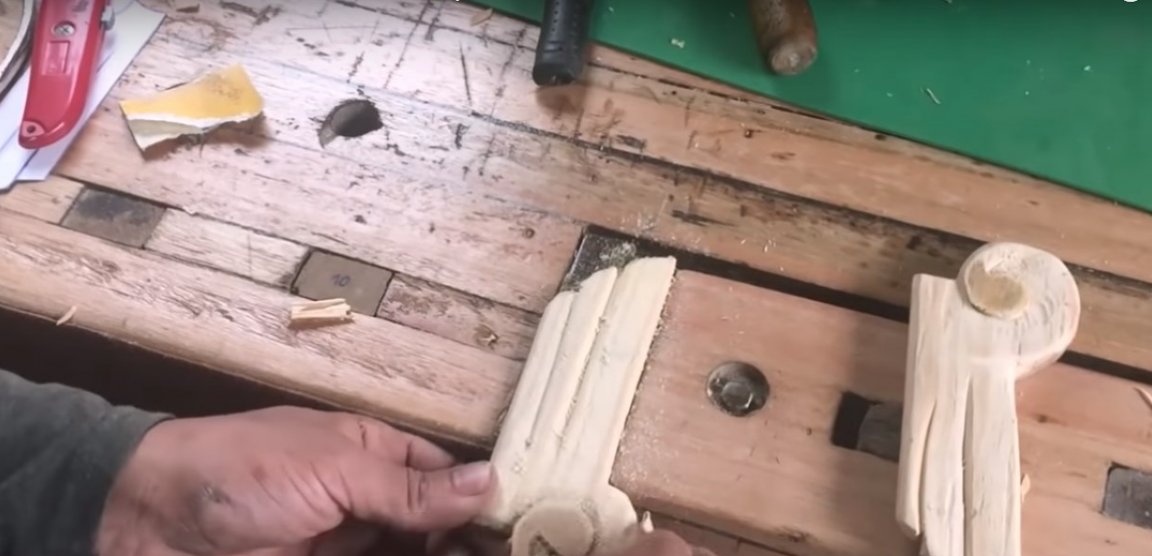
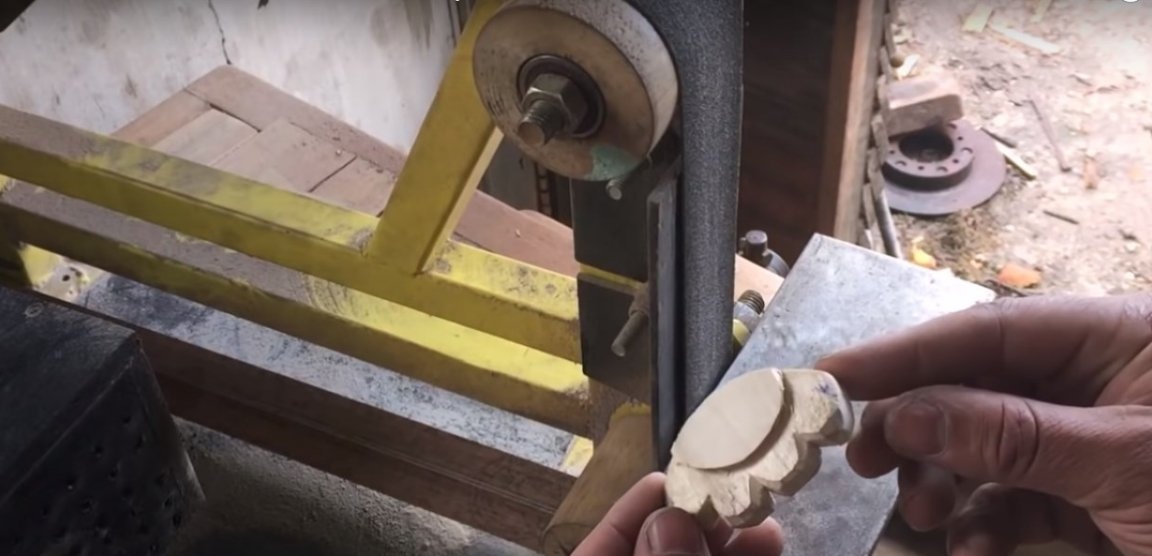
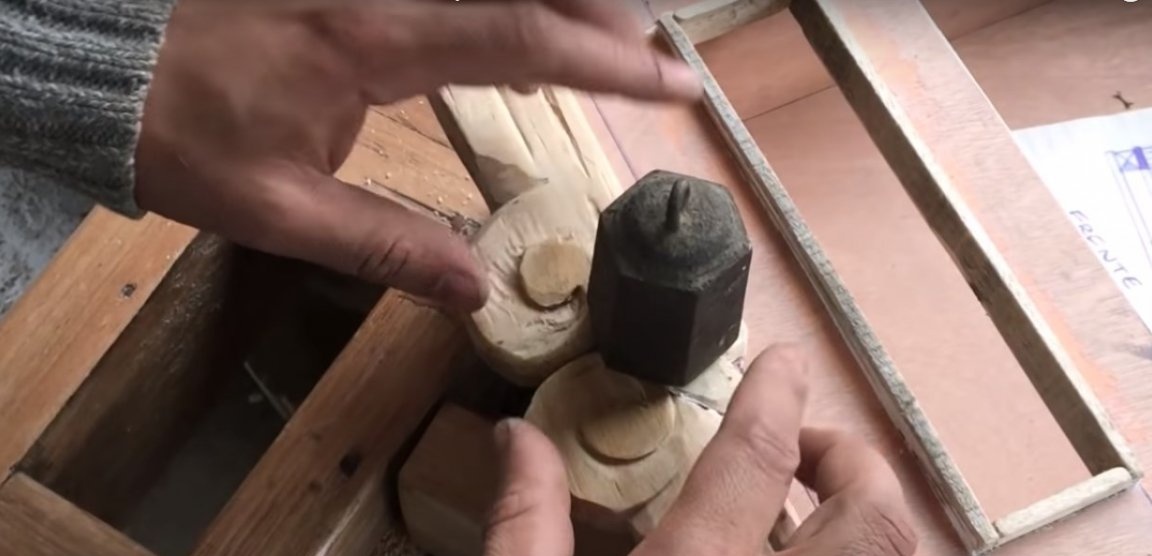
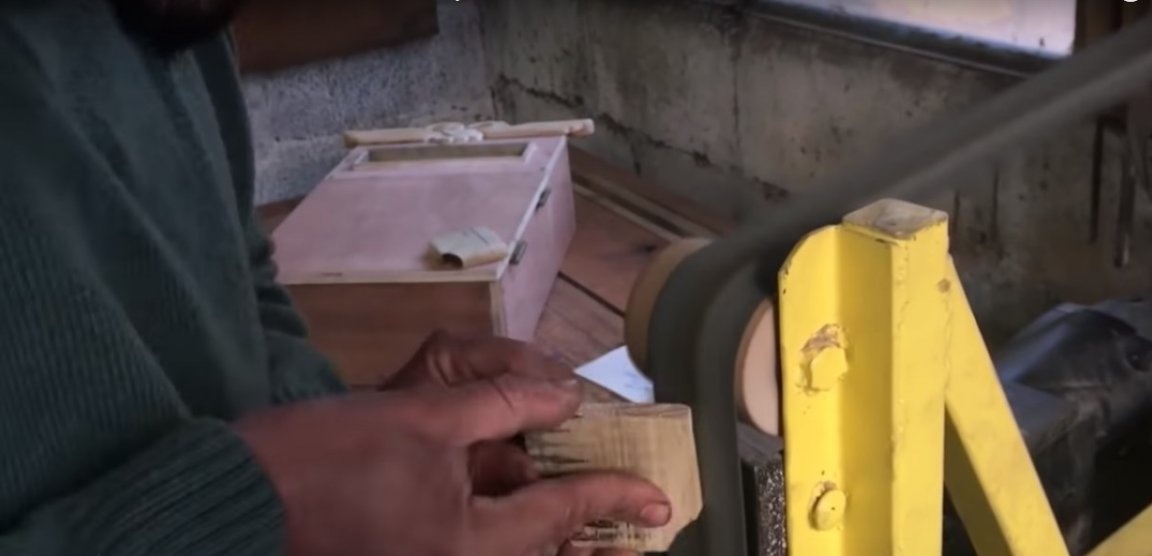
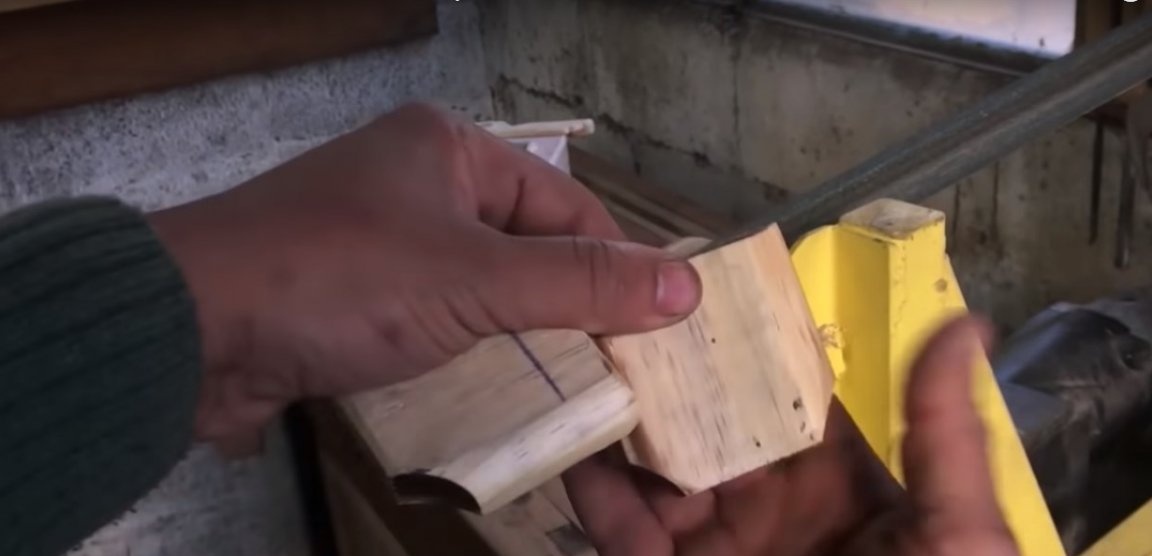
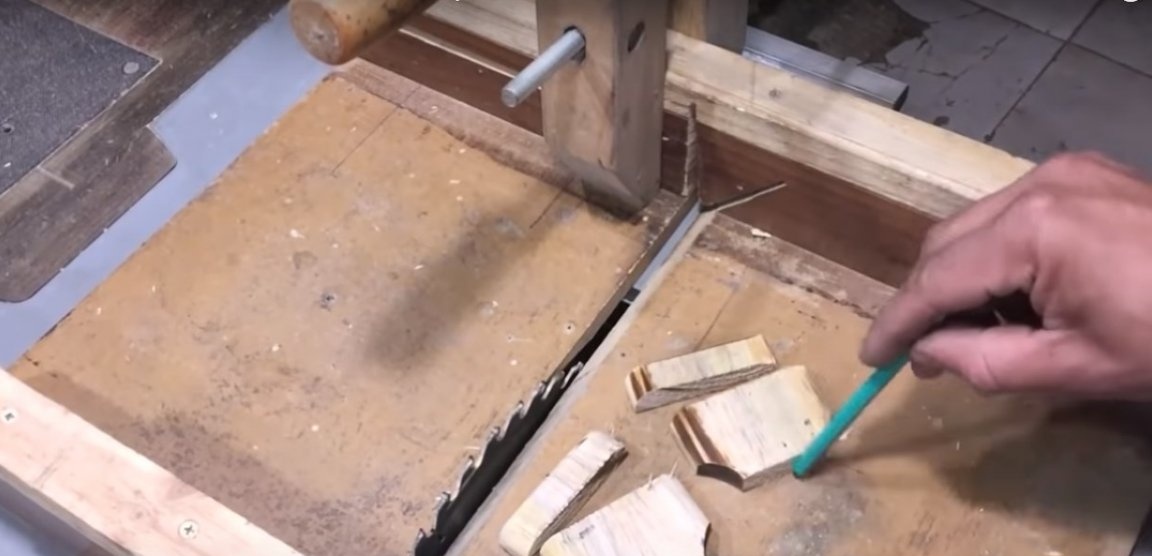
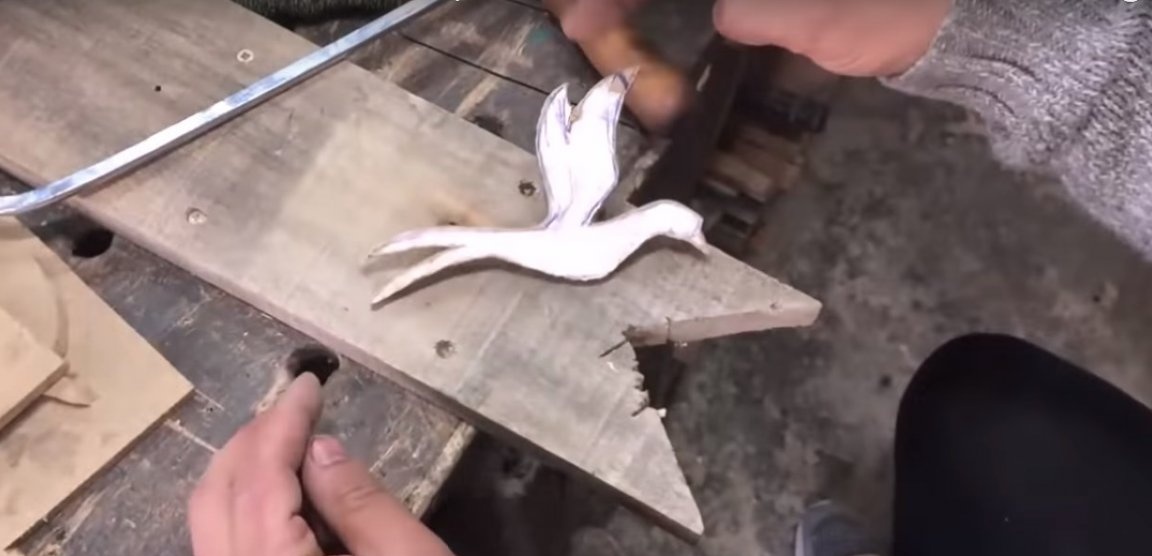
In paired upper elements, the author chose a quarter on a circular. He gave the form to the details with a hand jigsaw and jigsaw. The relief is made with a flat chisel, clerical knife, as well as a chisel for curly cutting. The surface of the parts is sanded by sandpaper manually.
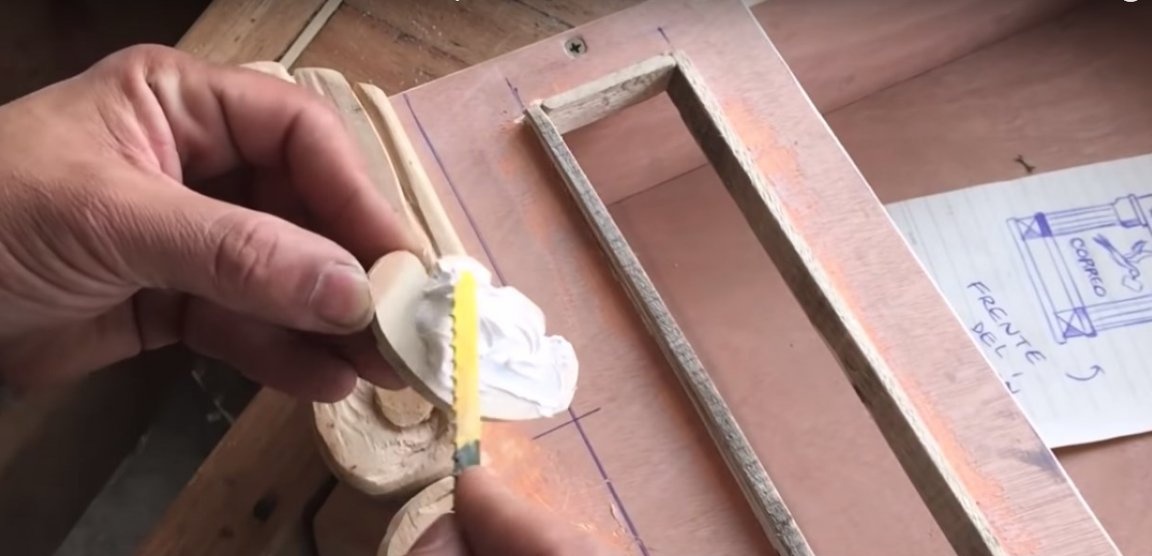
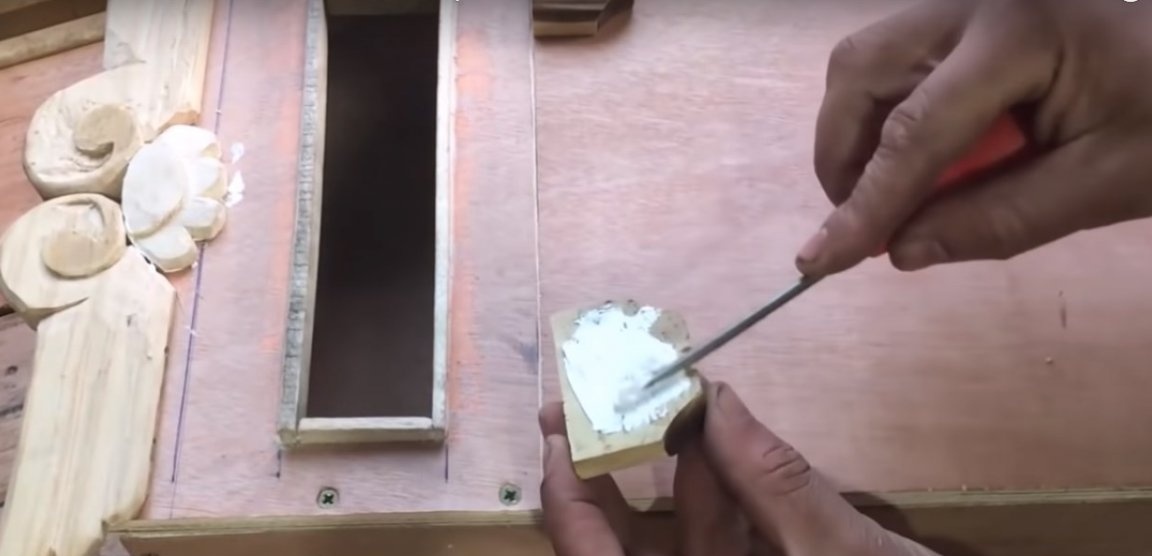
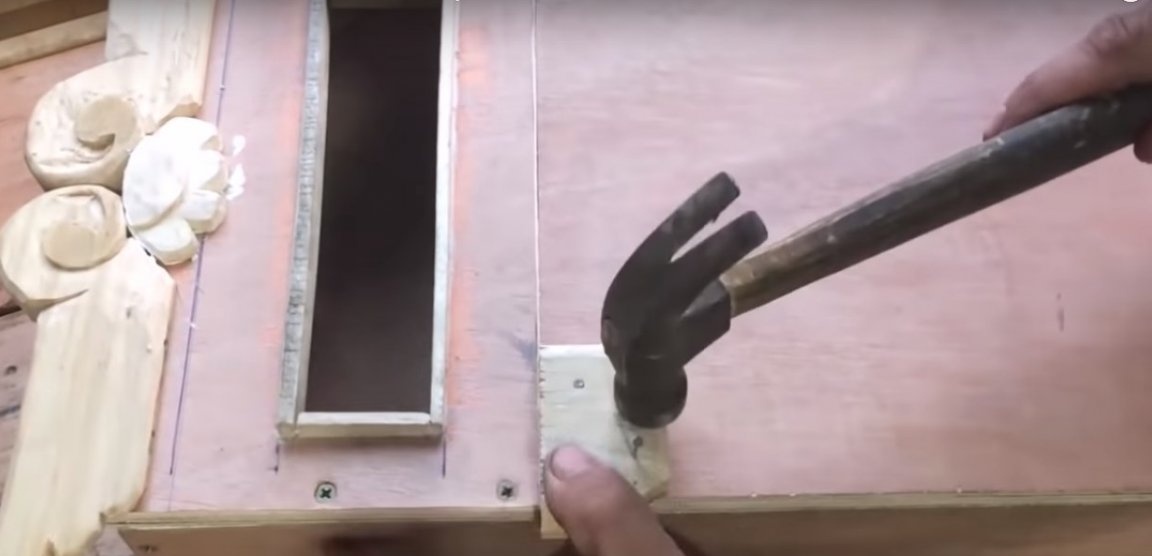
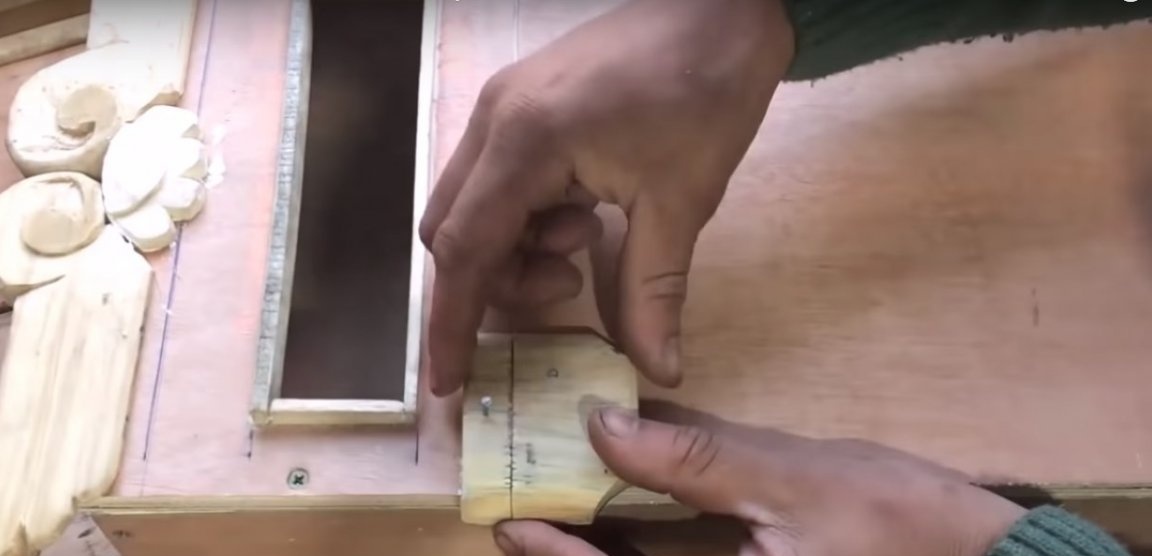
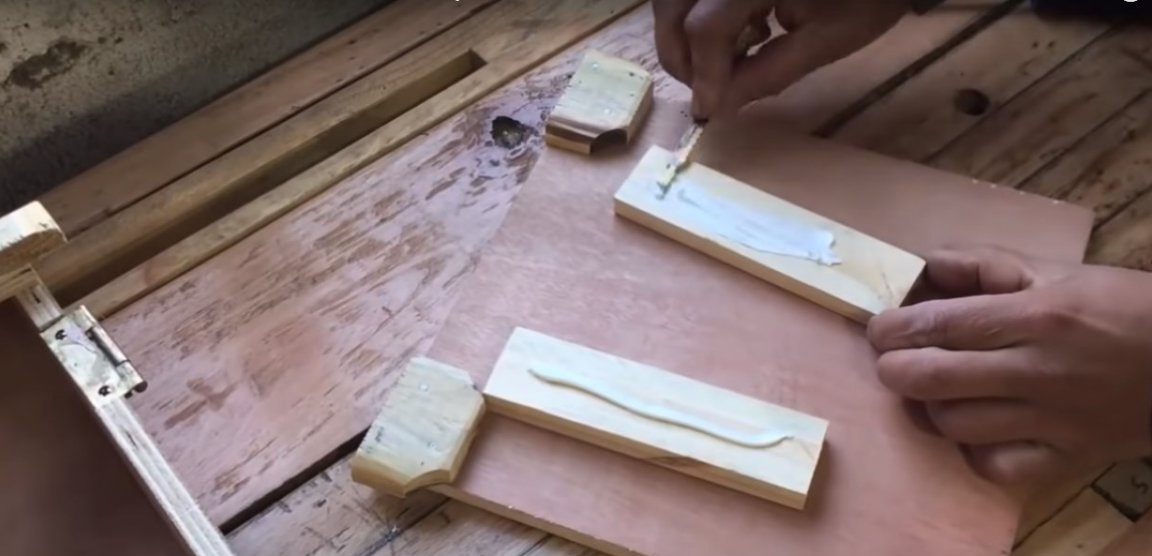
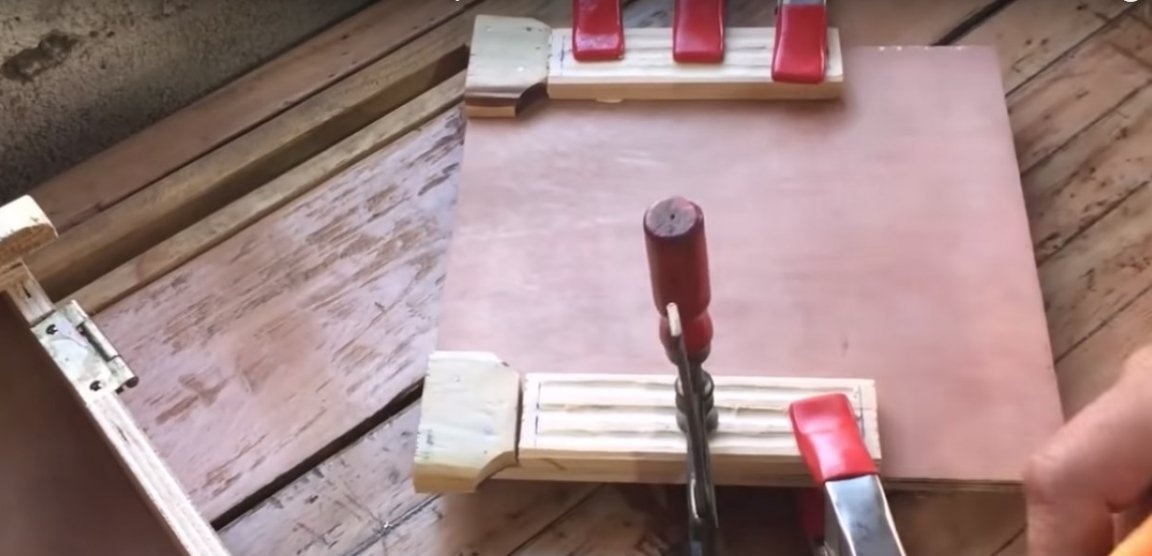
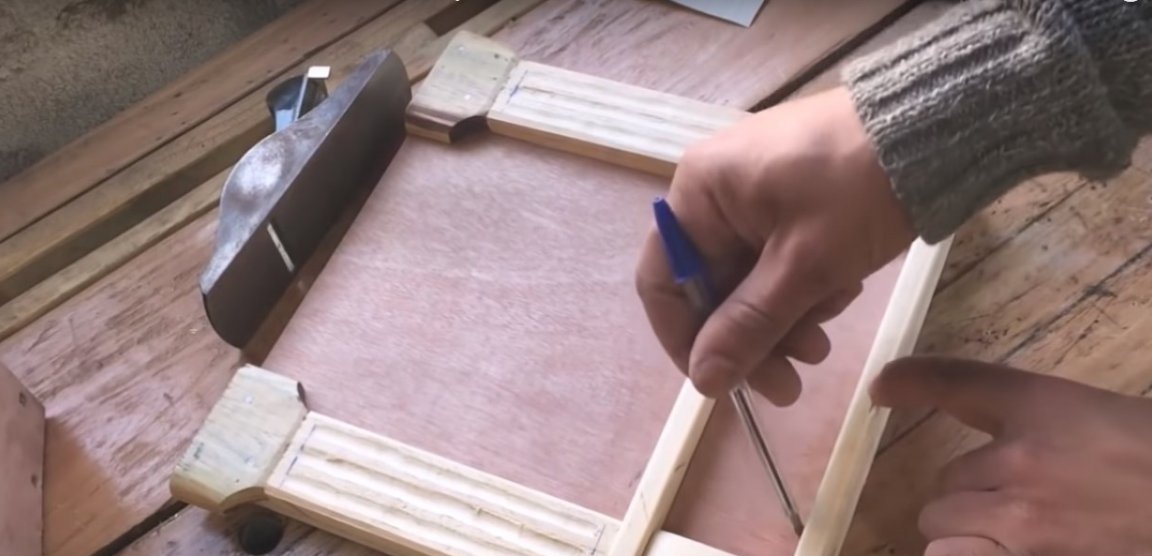
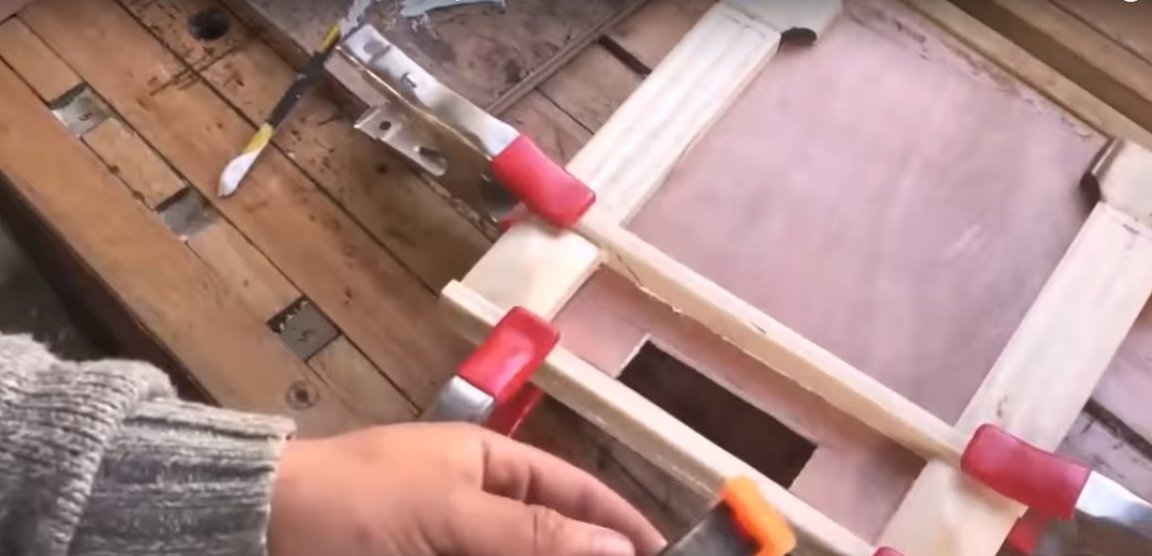
The decor is fixed to the plywood base with glue and small nails. Use clamps to fix during curing.


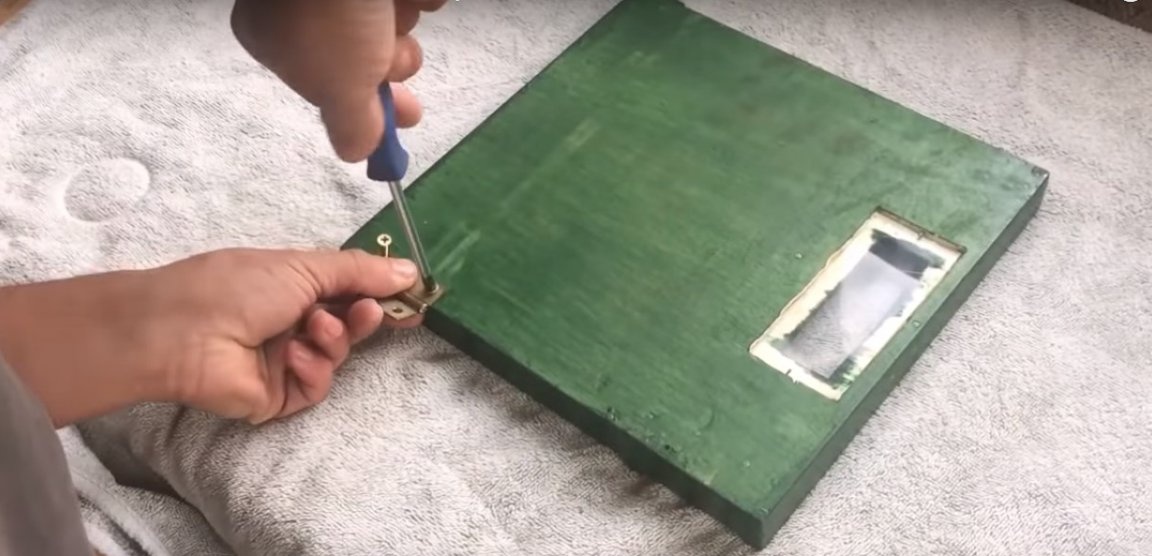
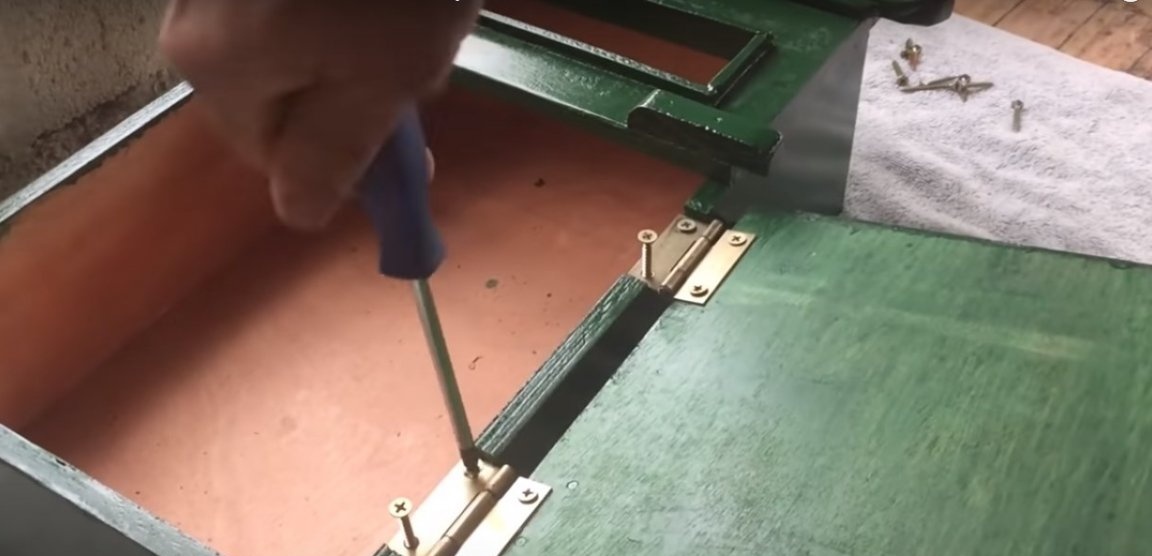
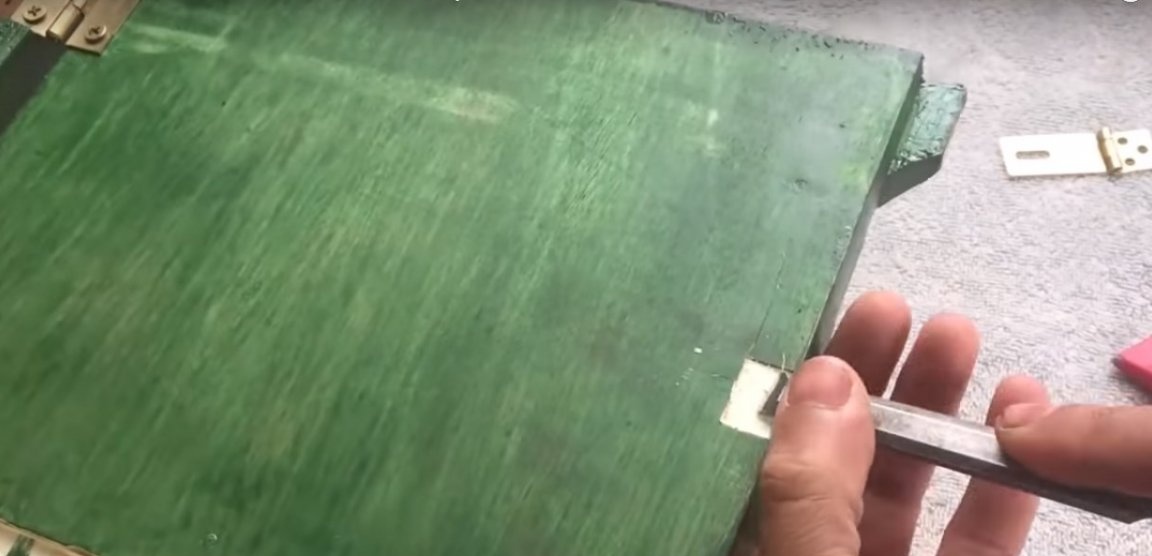
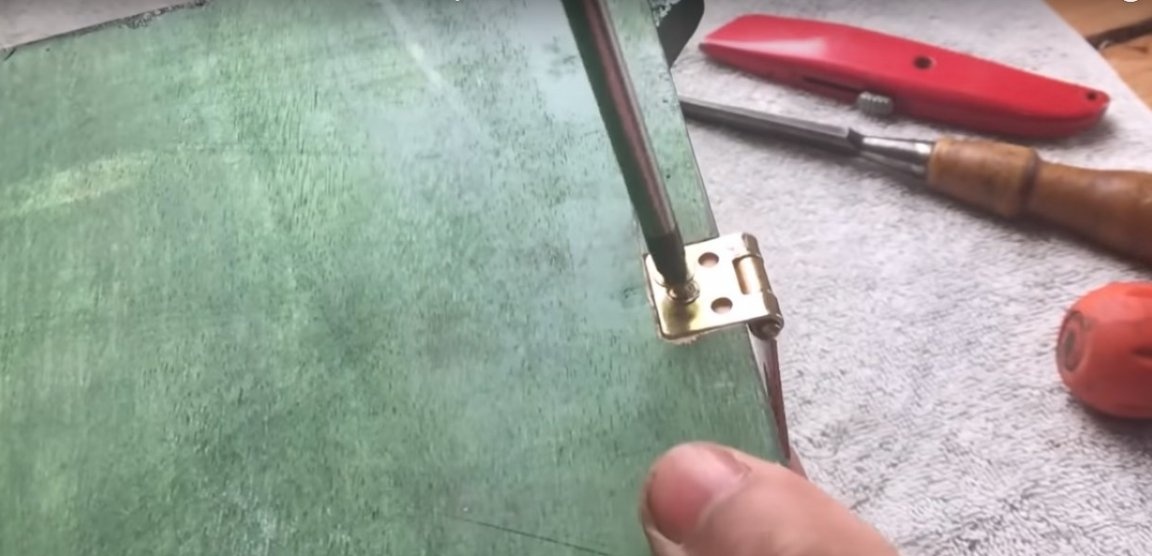
Step Four: Door Preset
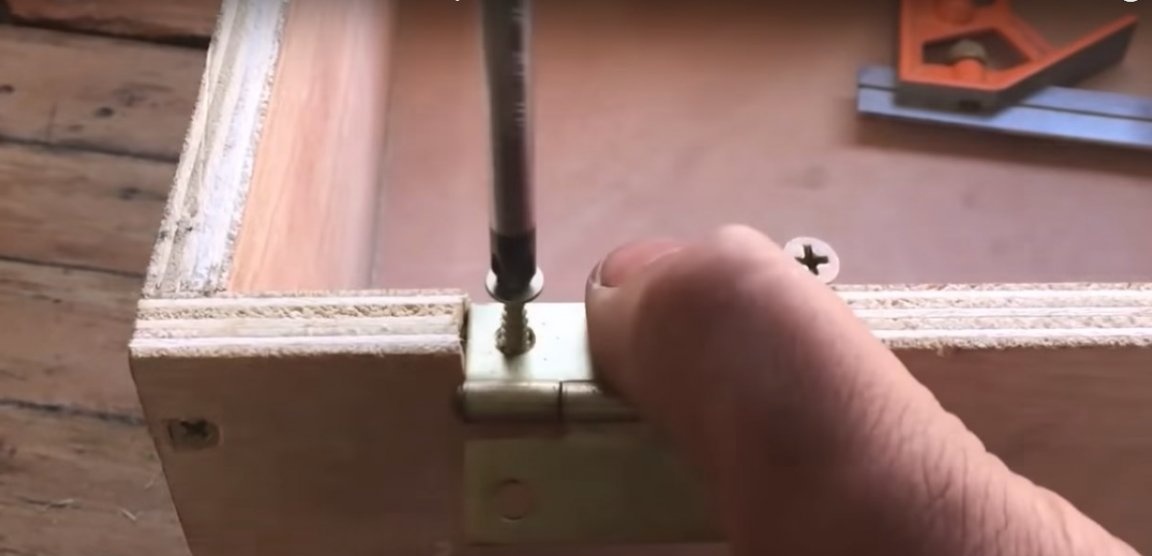
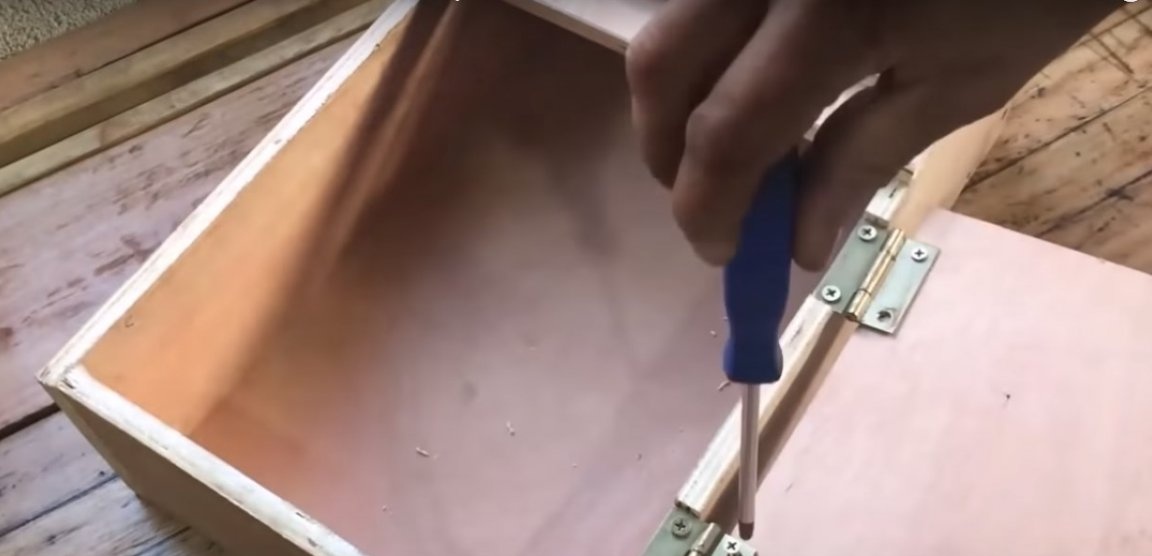
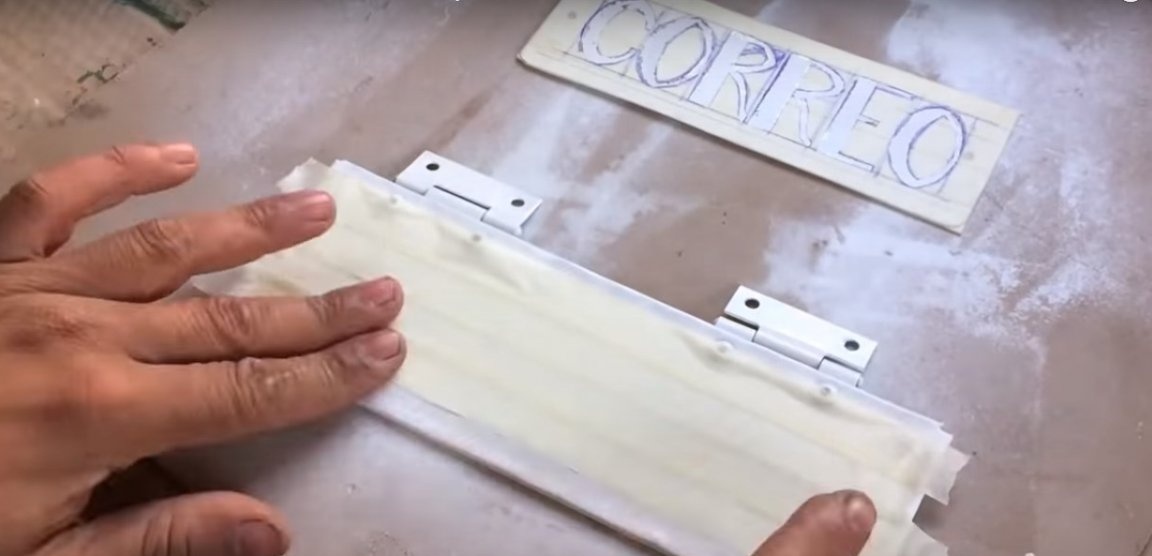
Before proceeding with painting, it is necessary to install a door. As accessories, the author uses the most ordinary metal loops for self-tapping screws.
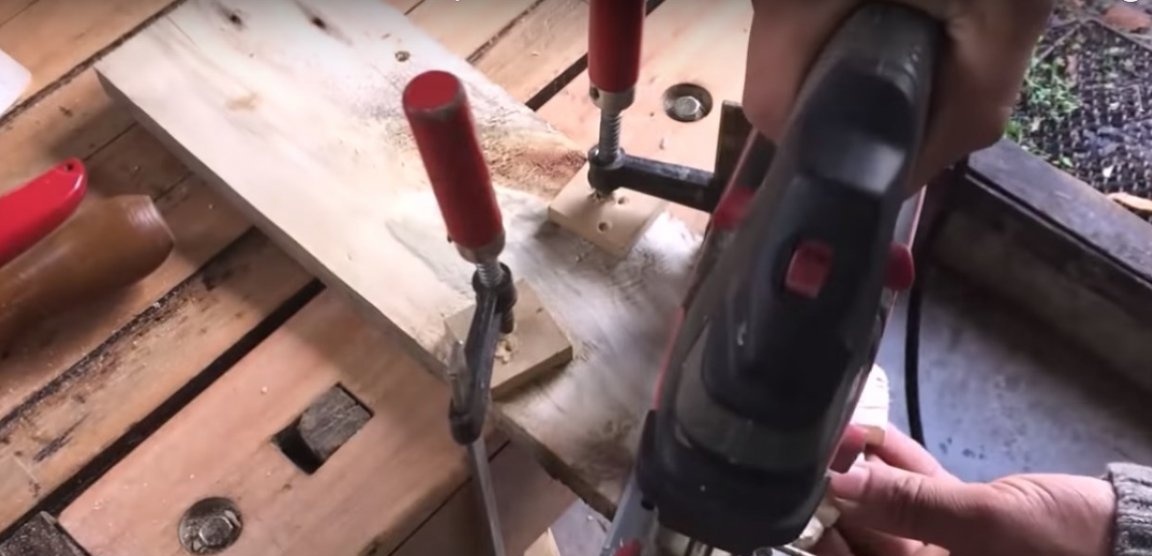
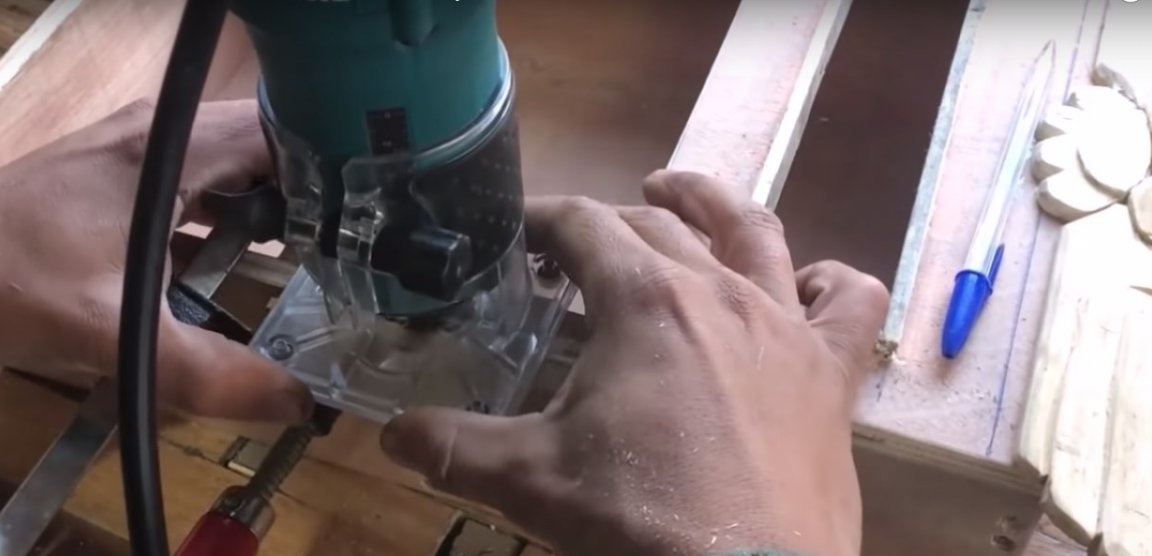
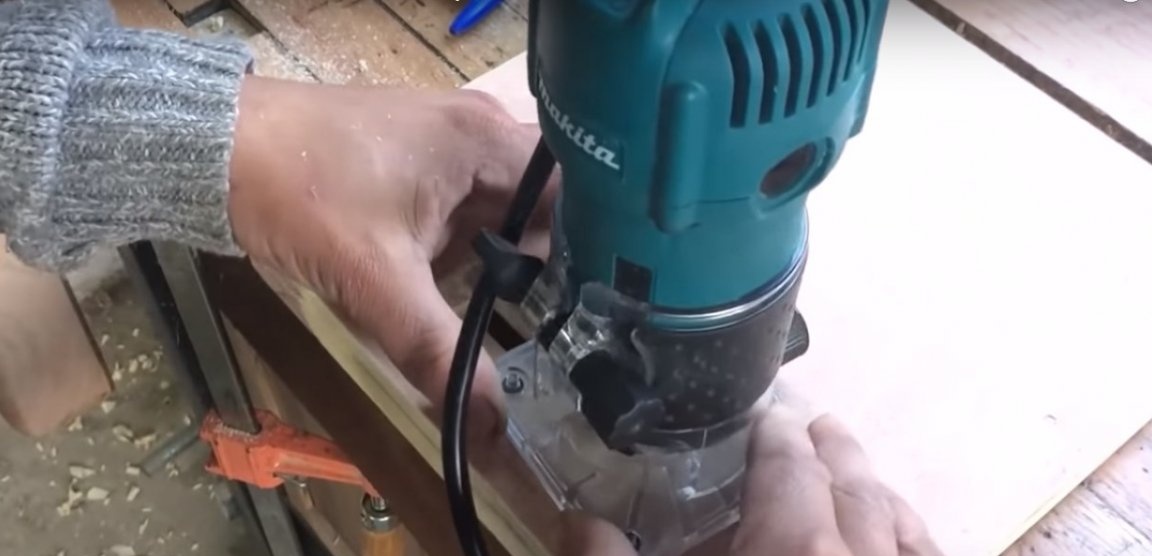
Mark the place of fastening the loops. The author cut a seat under the hinges with a manual milling cutter. In order to prevent the plywood edges from chipping during processing, he secured two planks on both sides of the edge with clamps, since the first attempt was not very successful.
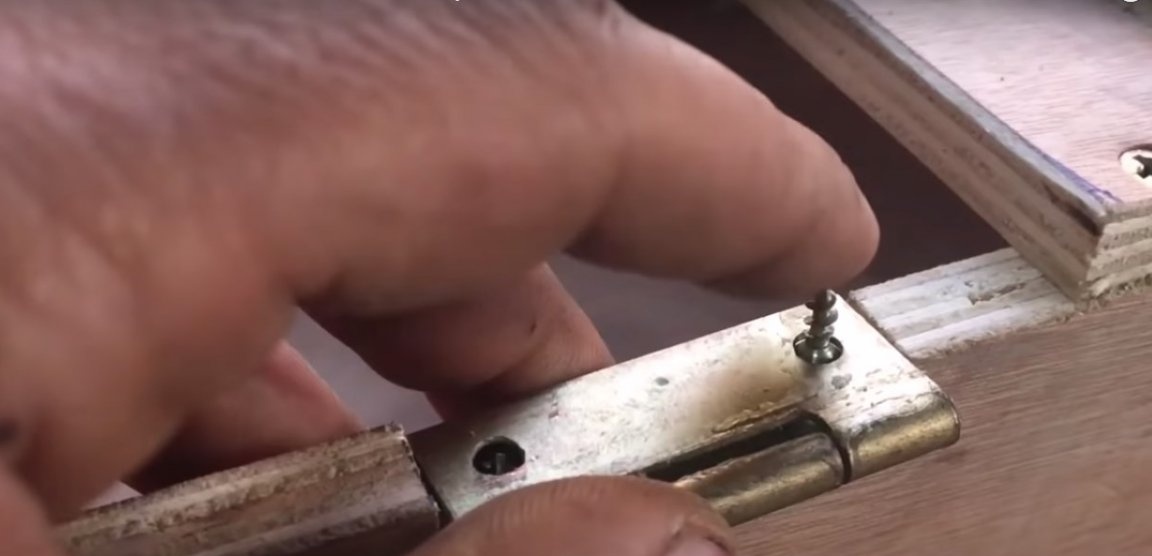
Install the hinges on the mailbox body, turn them to the closed position, insert the screws on the back. Lay the door blank on top and firmly press it so that the sharp screws leave marks in the attachment points. Screw the hinges to the door according to the marks.

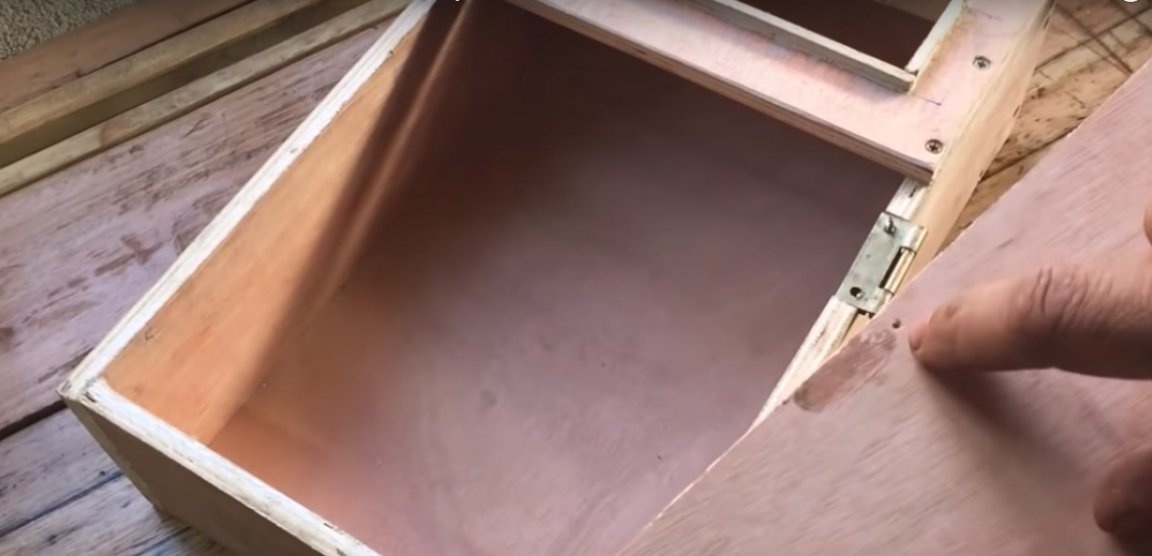
Step Five: Making Door Decorative Elements
The door decor is made on the same principle as all other decor. The upper elements are composite and are mounted both on the drawer body and on the door.

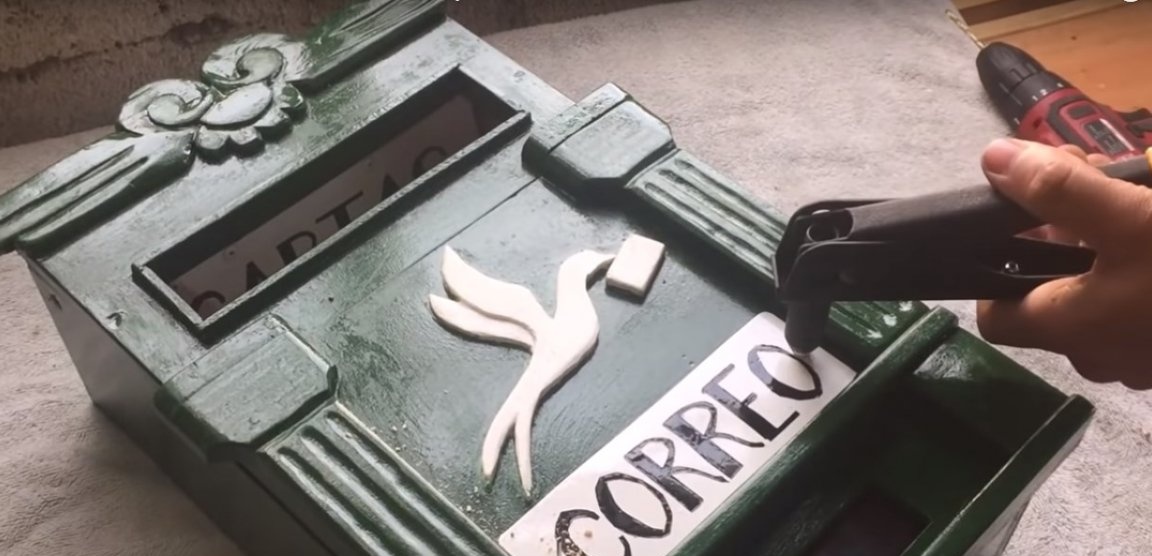
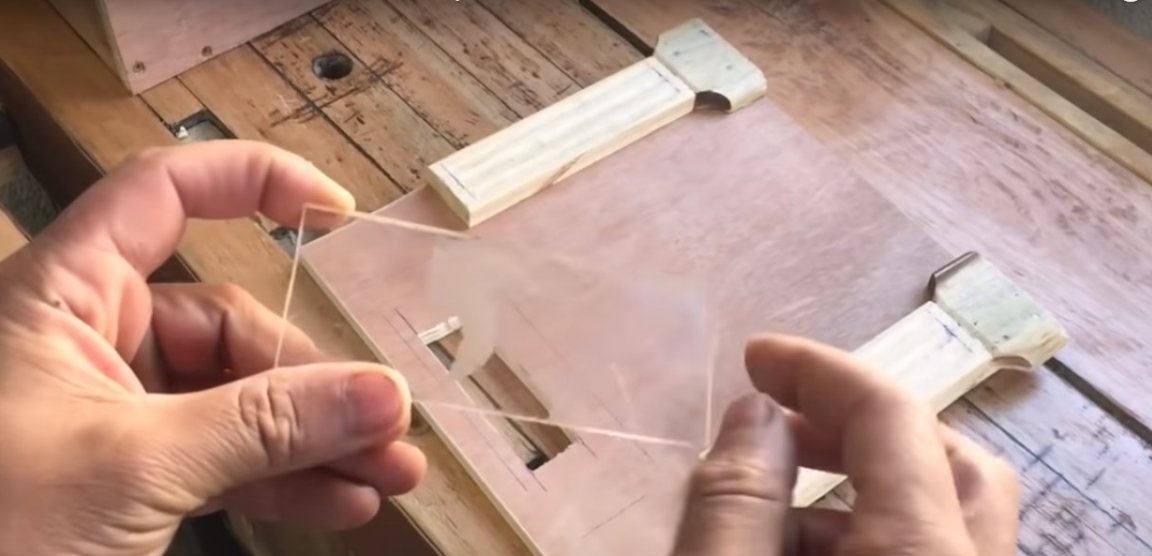
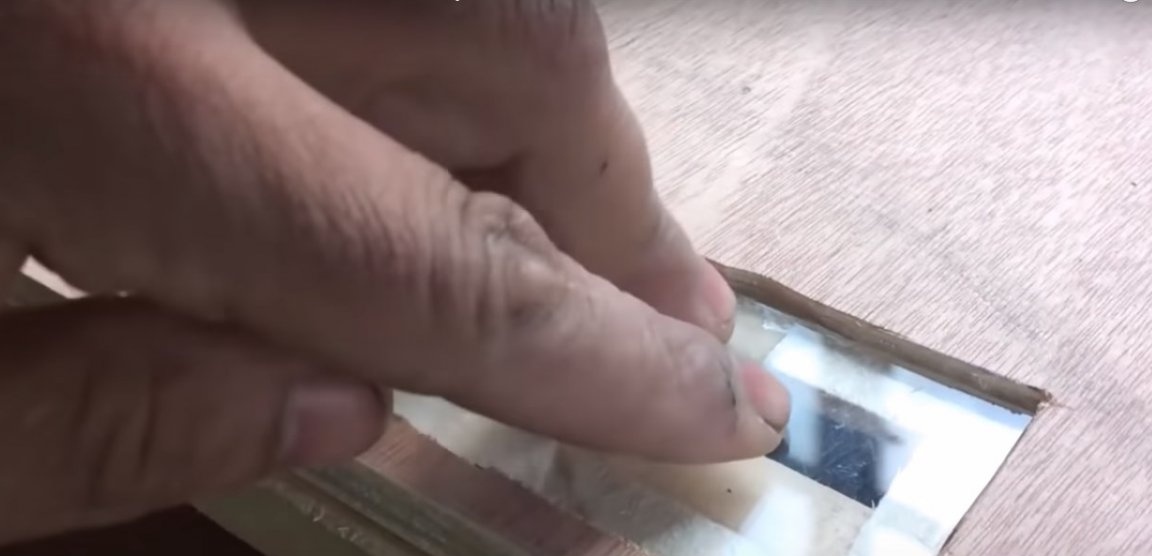
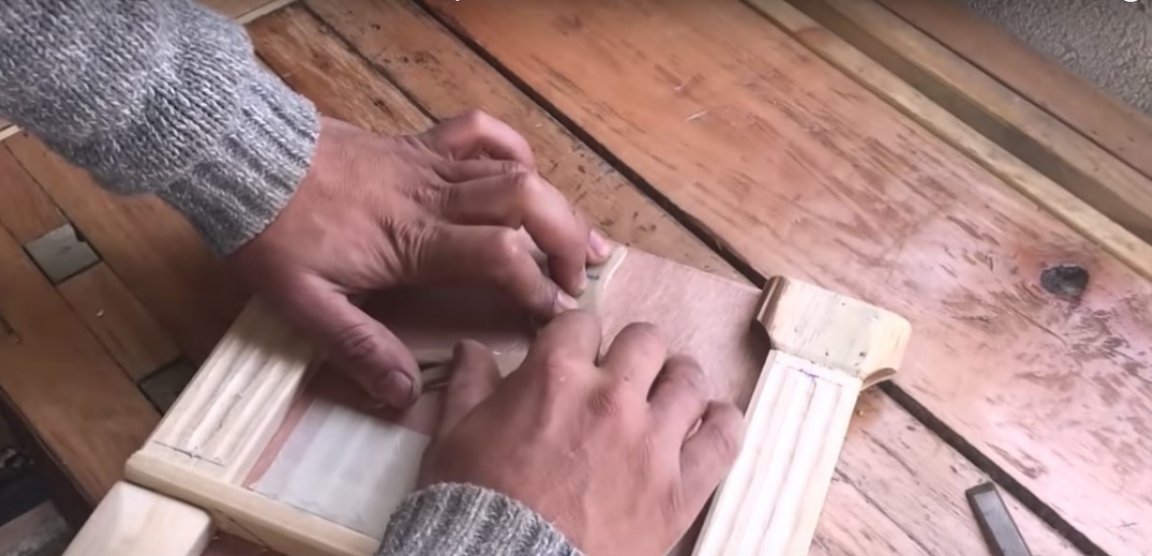
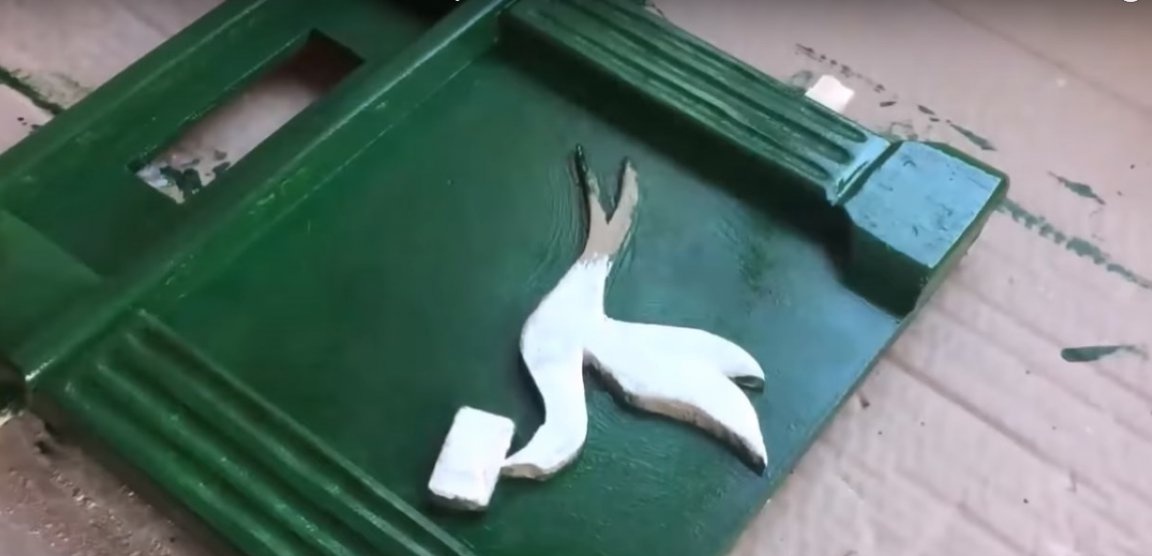
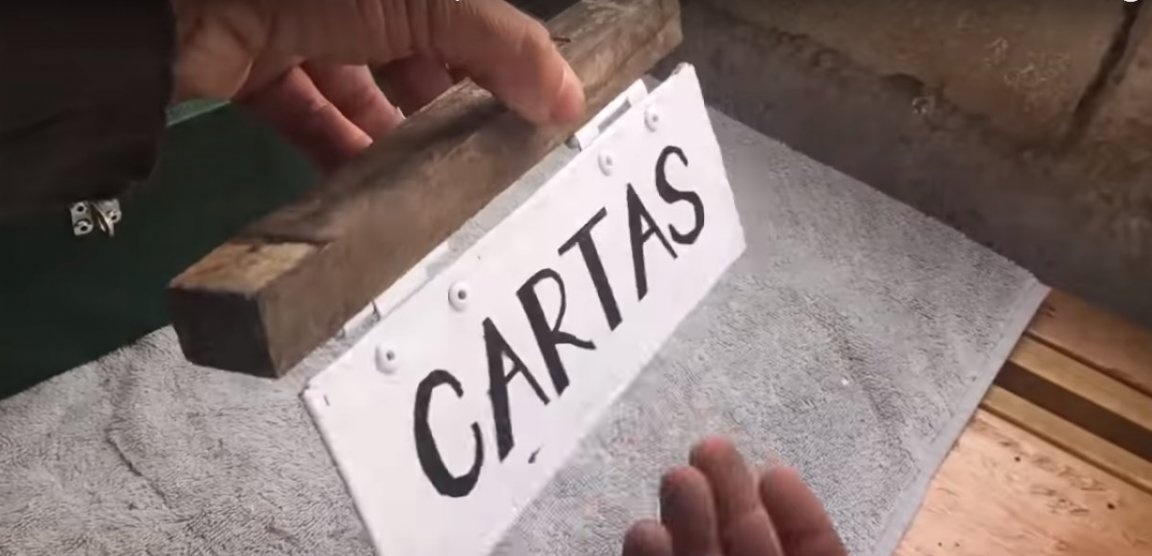
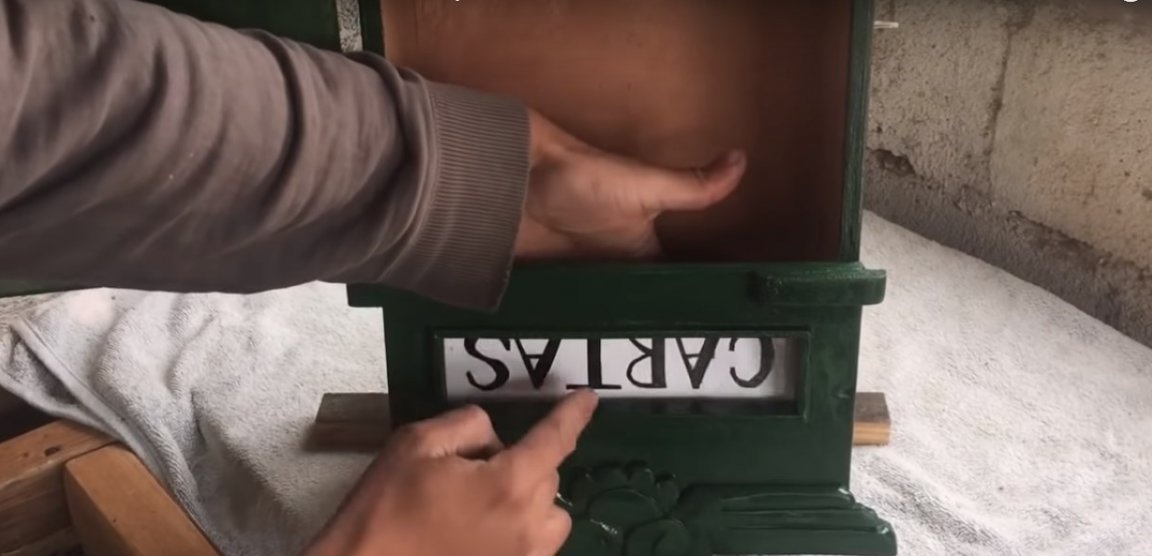
At the bottom of the door, the author installed transparent acrylic glass through which the fullness of the box will be visible. He cut out a landing nest with a hand mill.


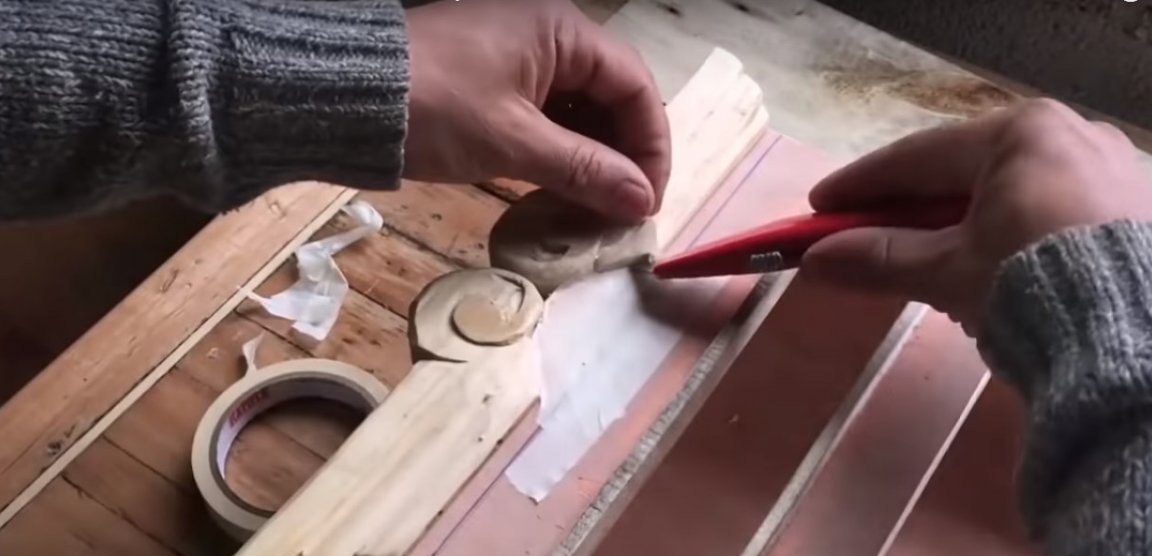
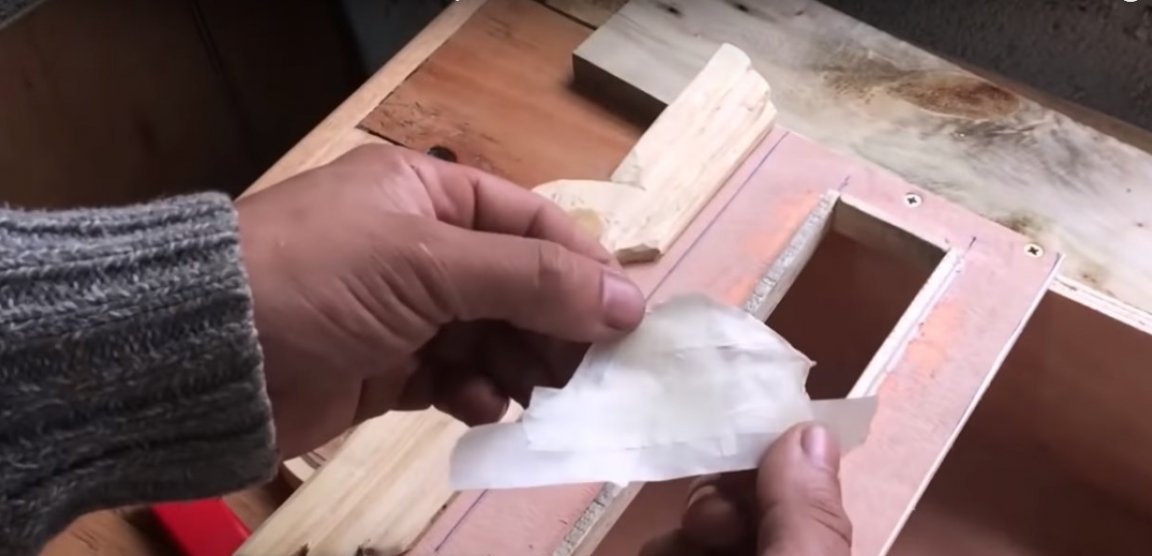
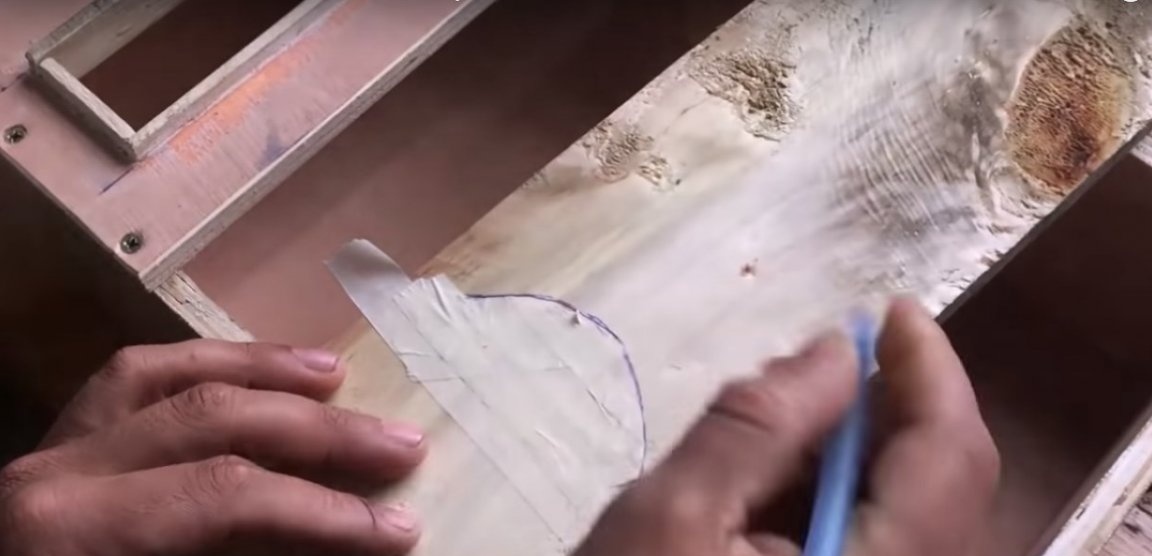
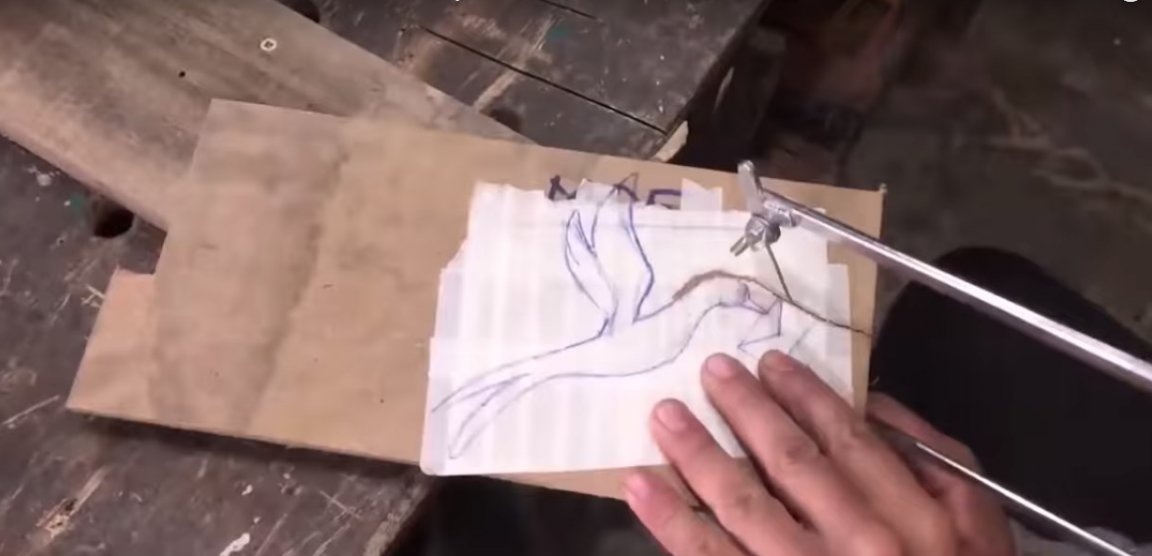
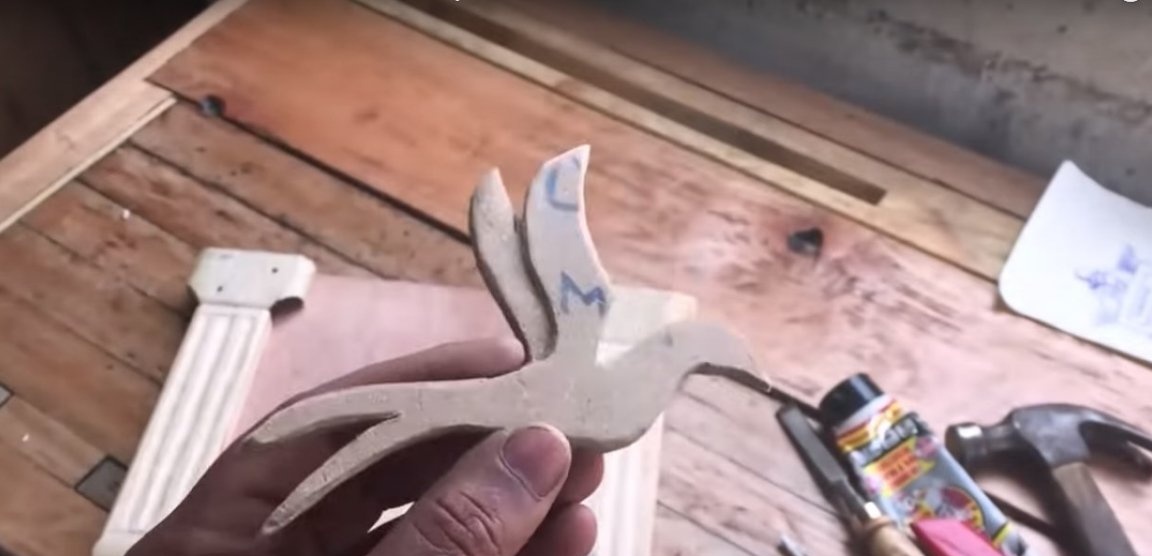
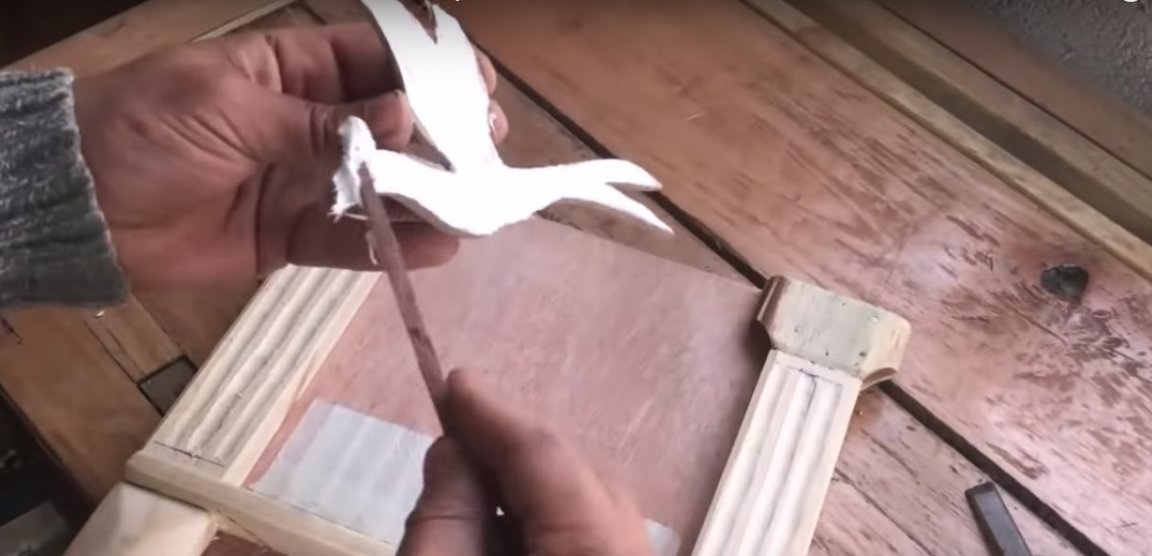
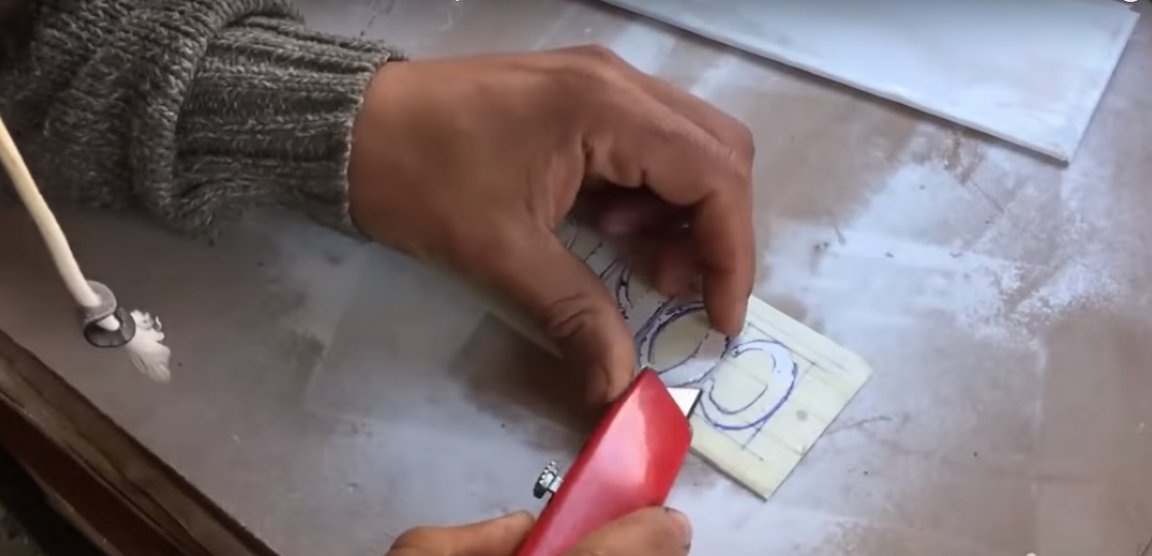
For the manufacture of the carrier pigeon, the author used material such as non-laminated MDF. The sketch was drawn simply on the door pasted with masking tape, after which it was transferred to the material and cut out with a hand jigsaw.
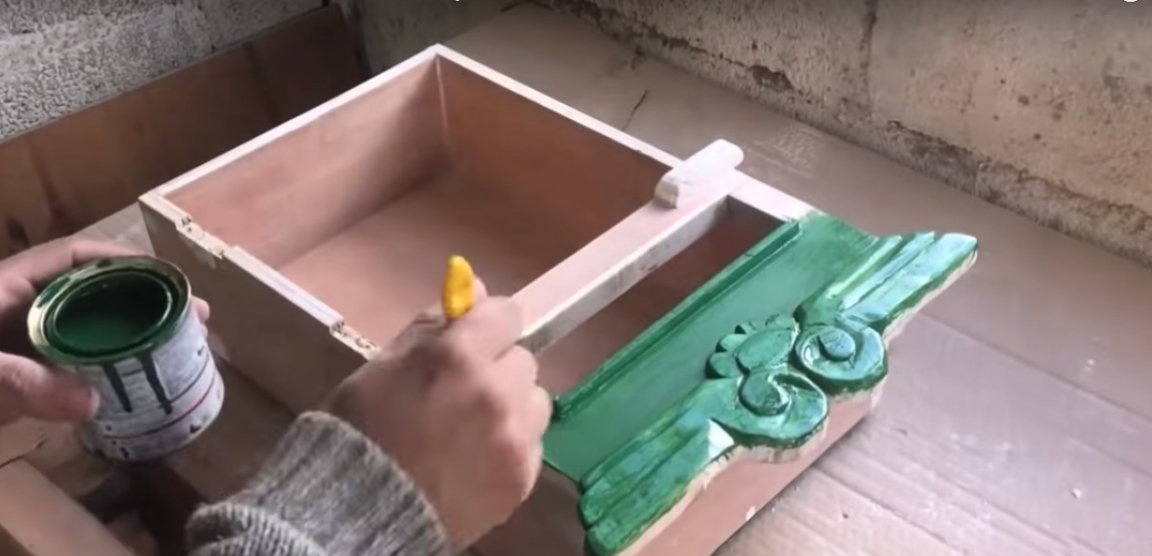
Step Six: Paint Preparation and Paintwork
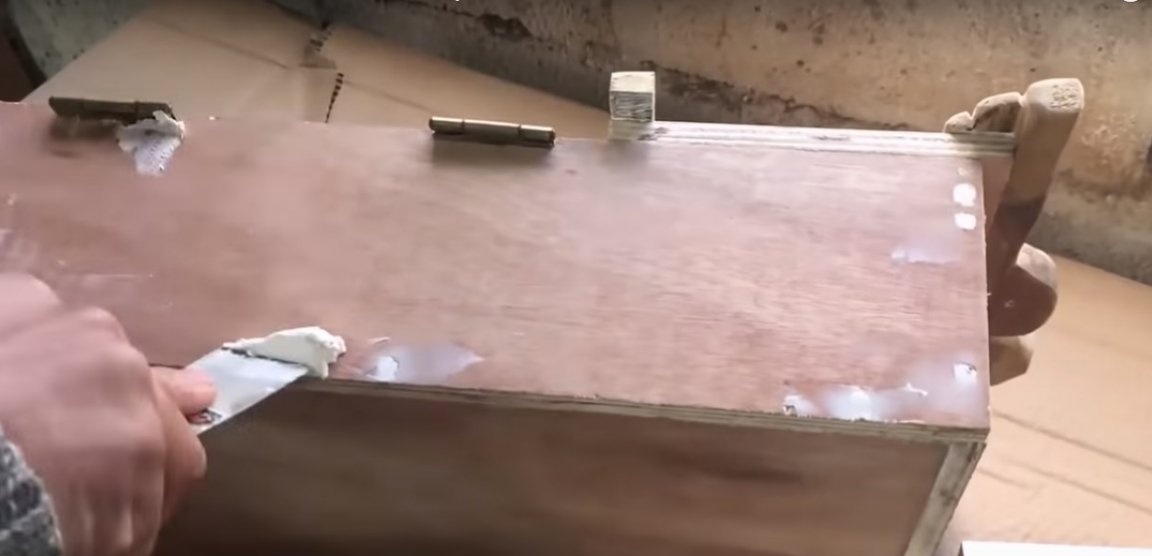
Before painting, all joints, places for self-tapping screws, plywood edges and other defects should be treated with putty and sanded thoroughly after the painting has completely hardened and dried.
Among all possible paint materials, the author chose alkyd paint. Firstly, it was such paints that were used several decades ago, so the box will look authentic. Secondly, alkyd paint has a thick texture and will hide all minor processing errors, as well as mask used materials, which should not be in such products. And finally, thirdly, it is a weather-resistant paint that dries relatively quickly under favorable conditions. Such a coating lasts a long time and can be re-painted with a new layer of alkyd paint, if necessary.
Seventh step: manufacturing and installation of metal elements
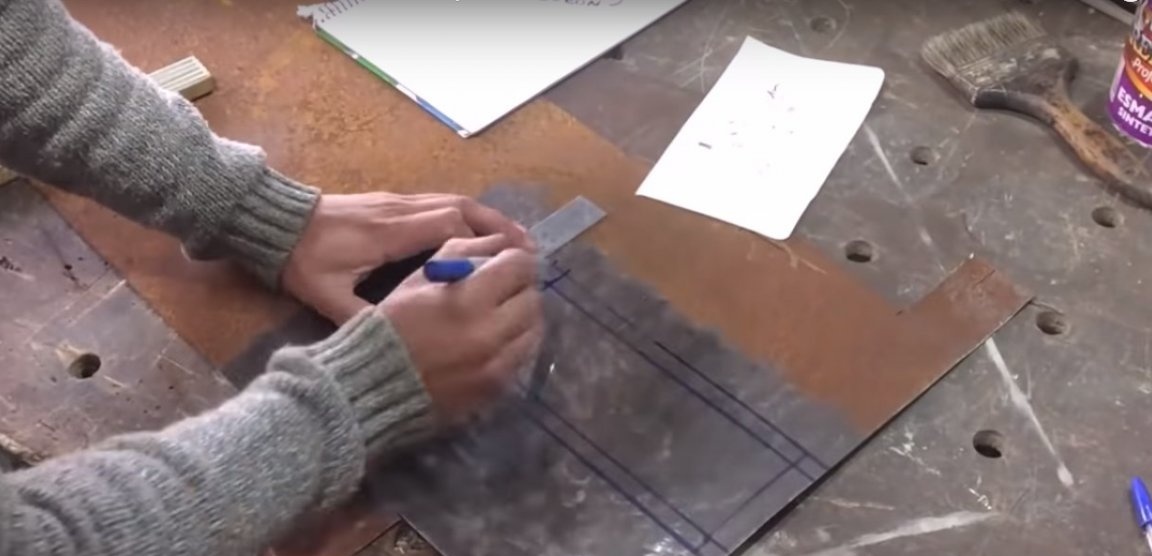
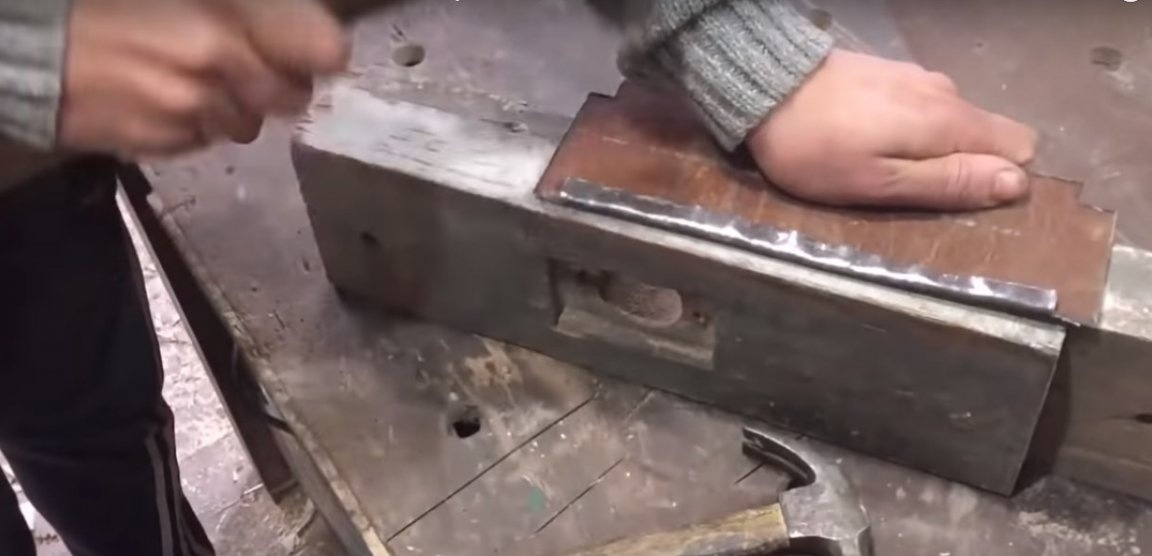
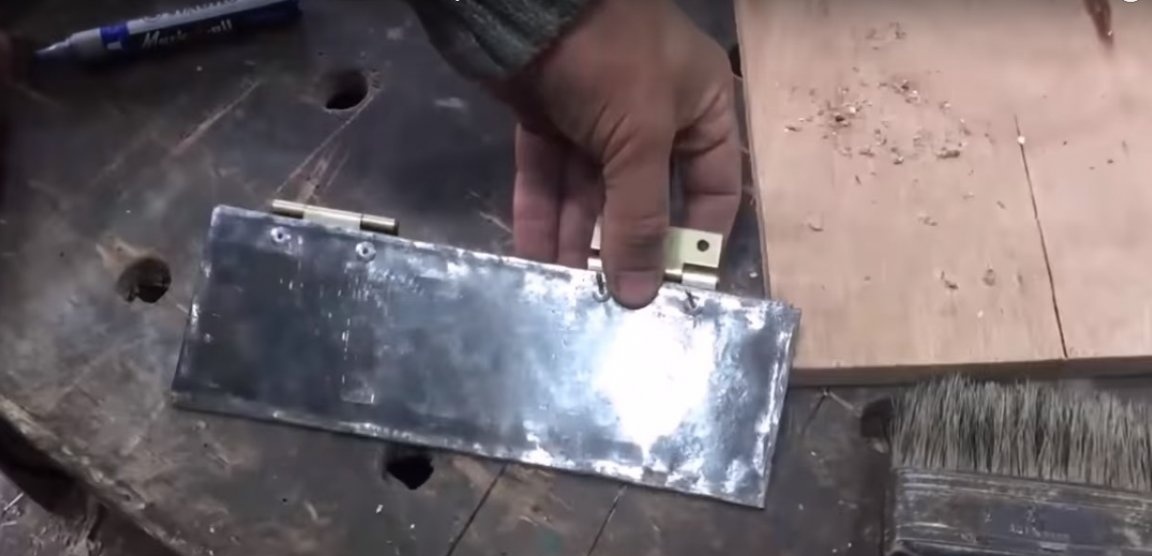
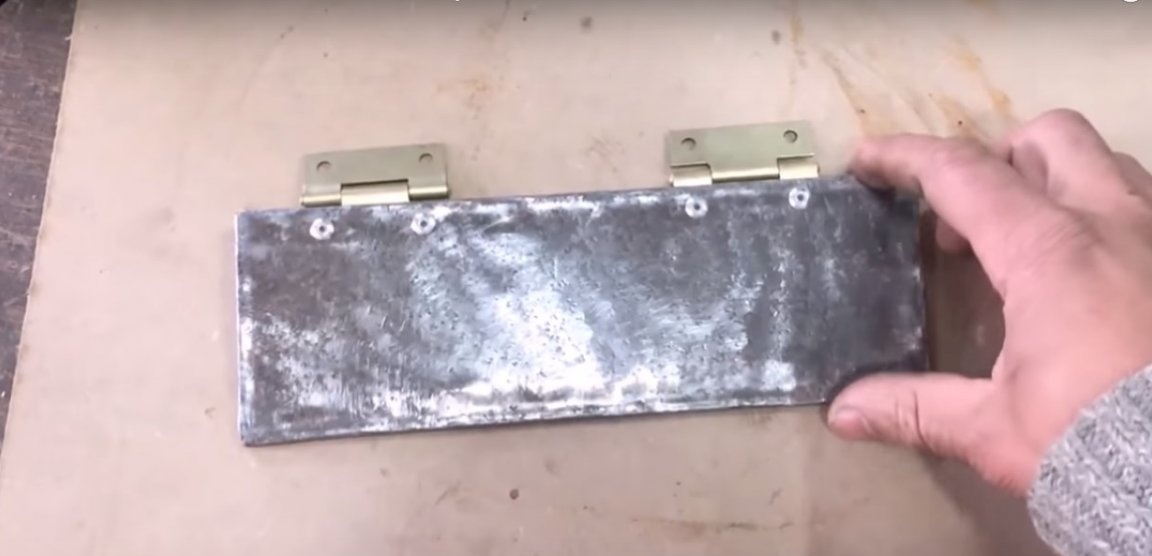
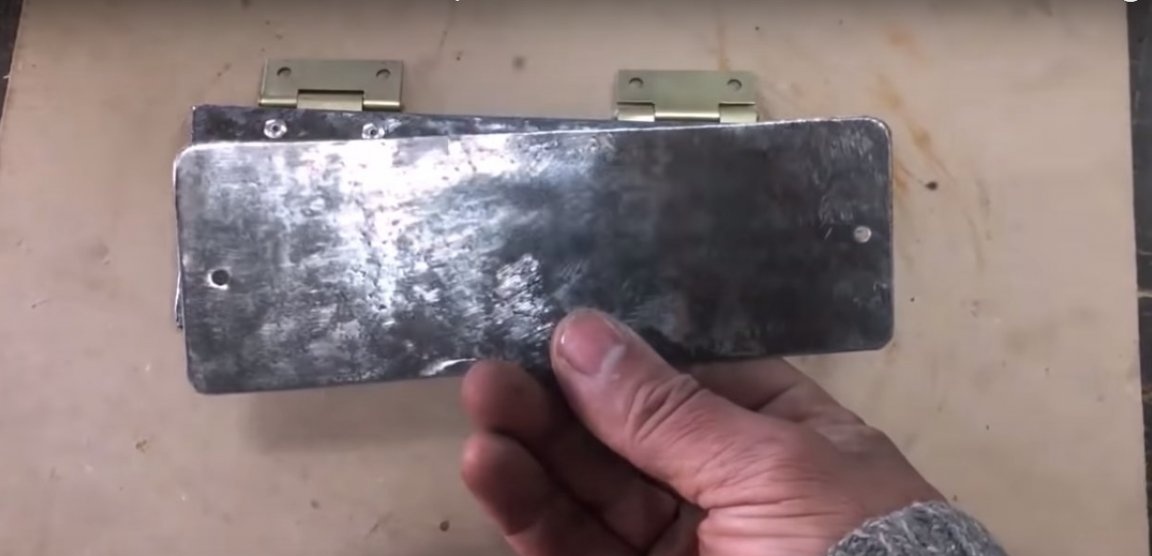
The box lid and plate are made of a sheet of rusty metal, which the author previously cleaned with a grinder.
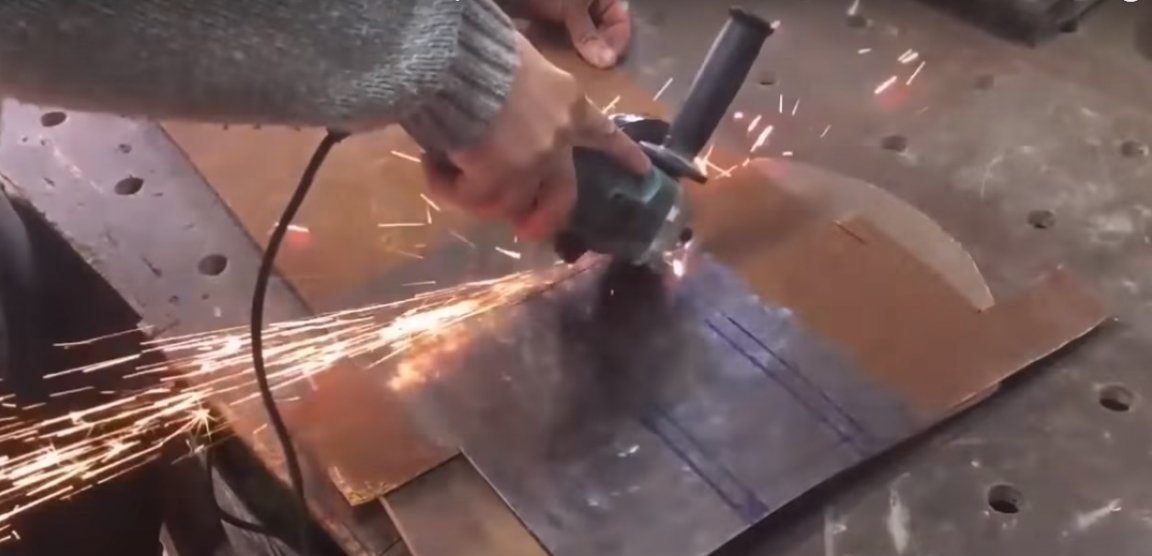
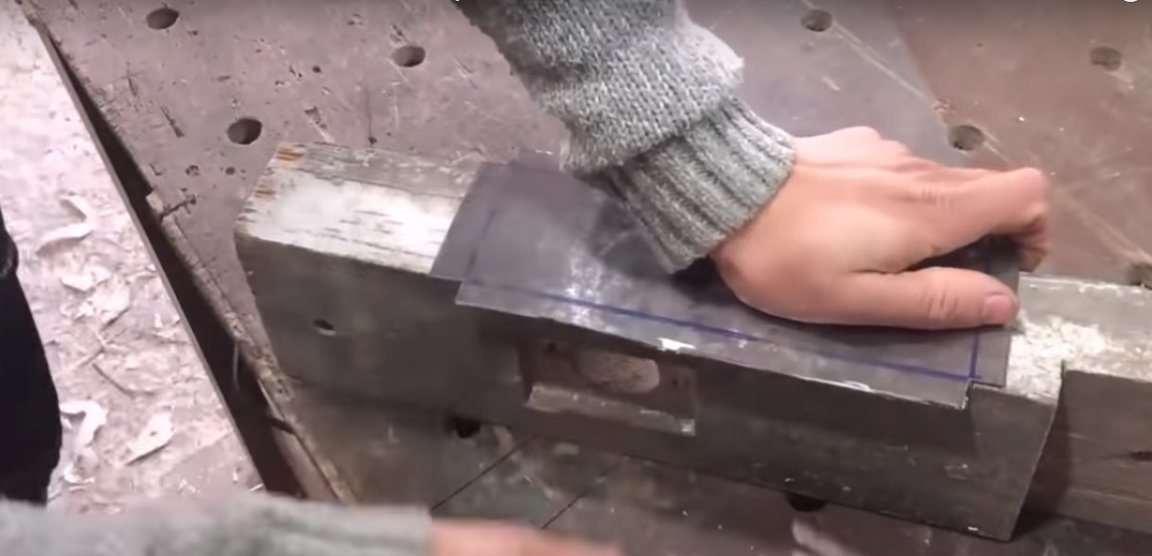
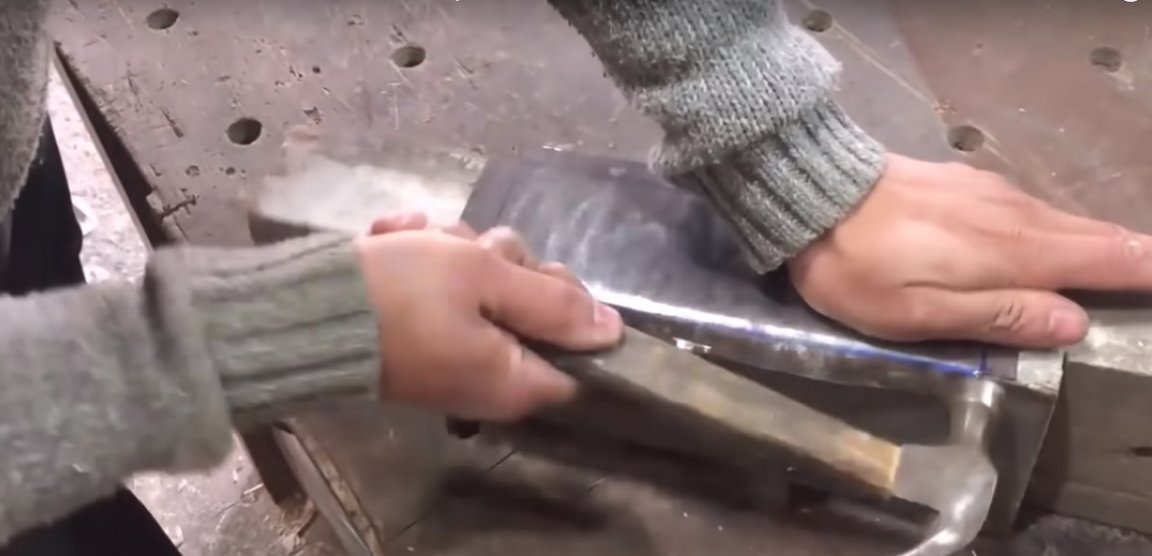
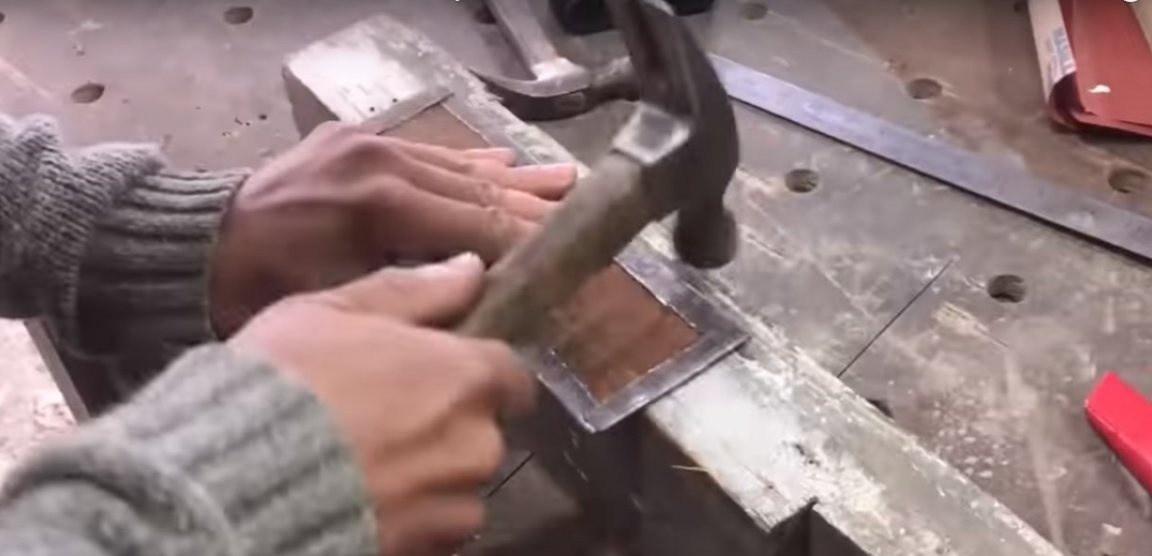
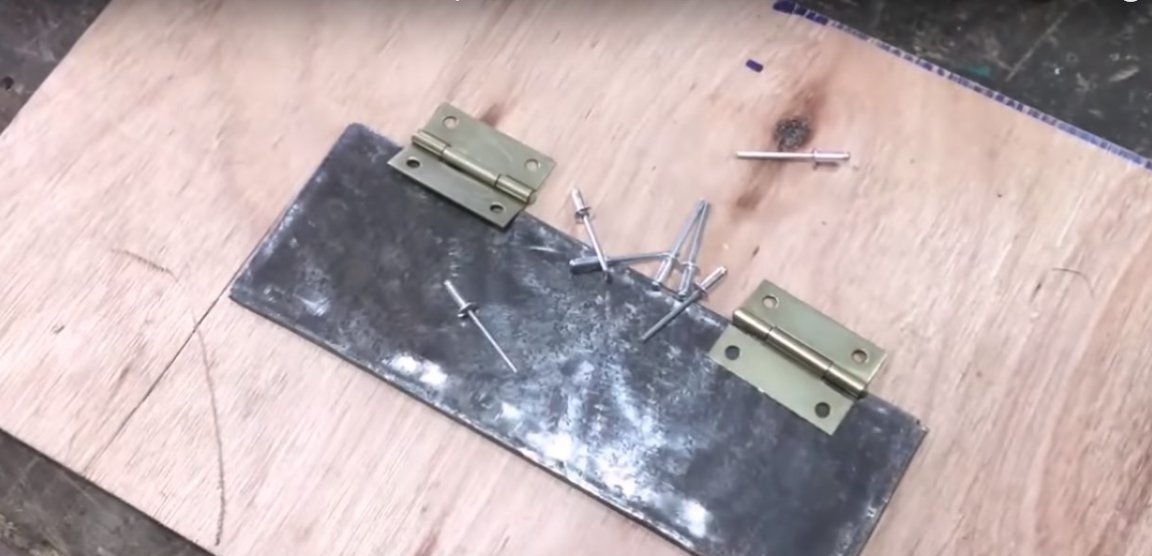
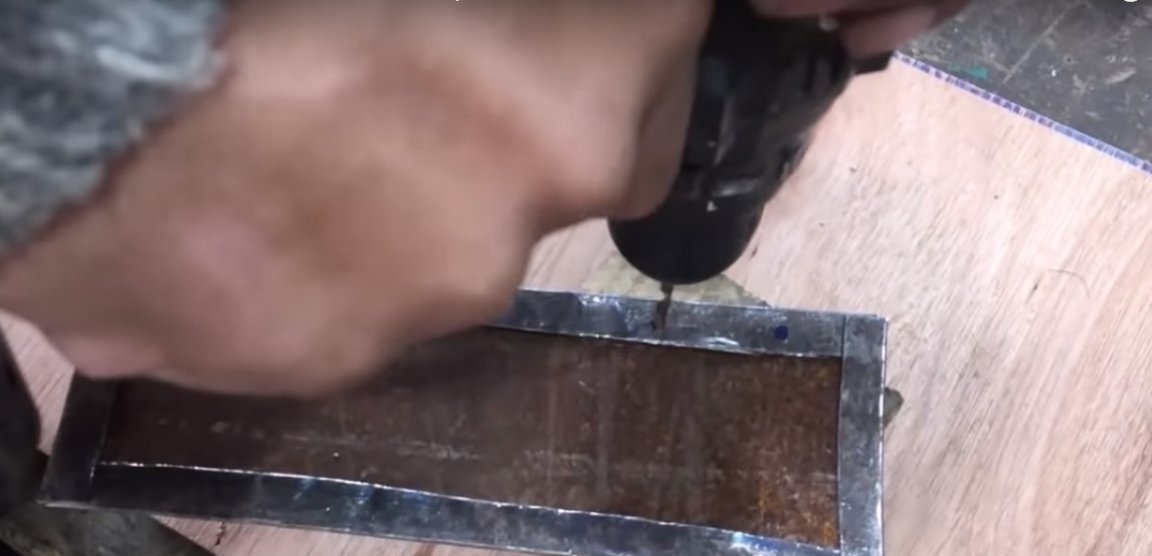
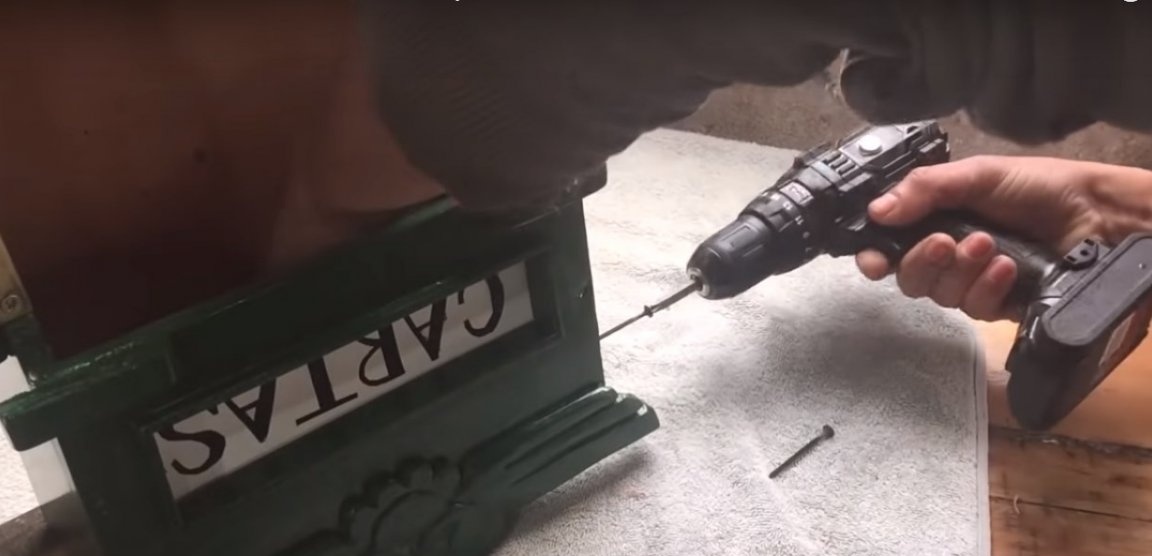
The plate has a simple design with two holes for self-tapping screws. The cover is cut with allowances for curved edges.At the top, holes were drilled for the hinges, and the hinges themselves were fixed with metal rivets. The lid is screwed to a piece of wooden block, which the author inserted into the case and secured it with screws on the outside.

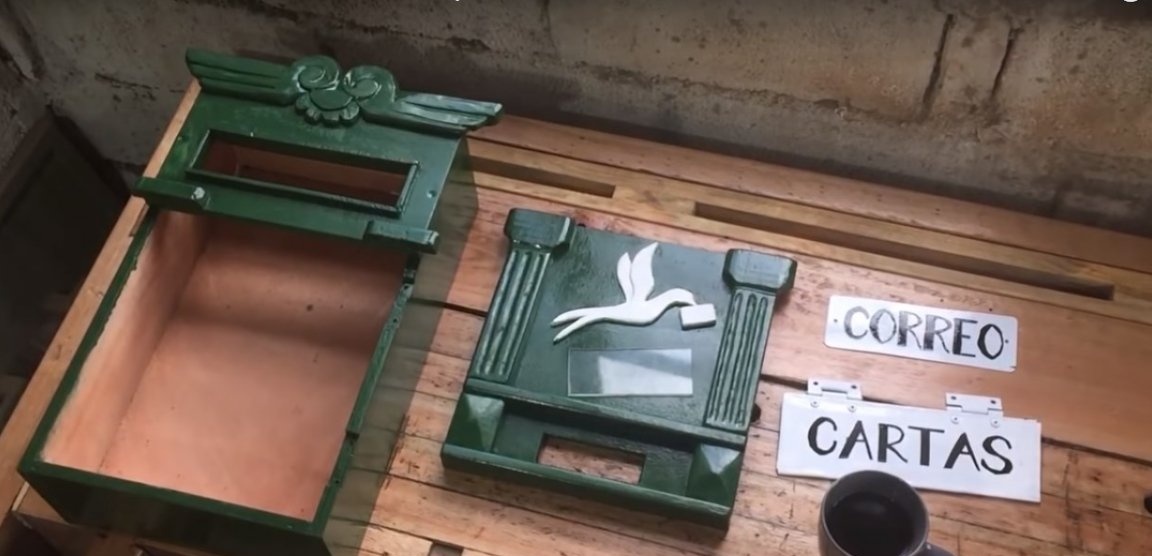

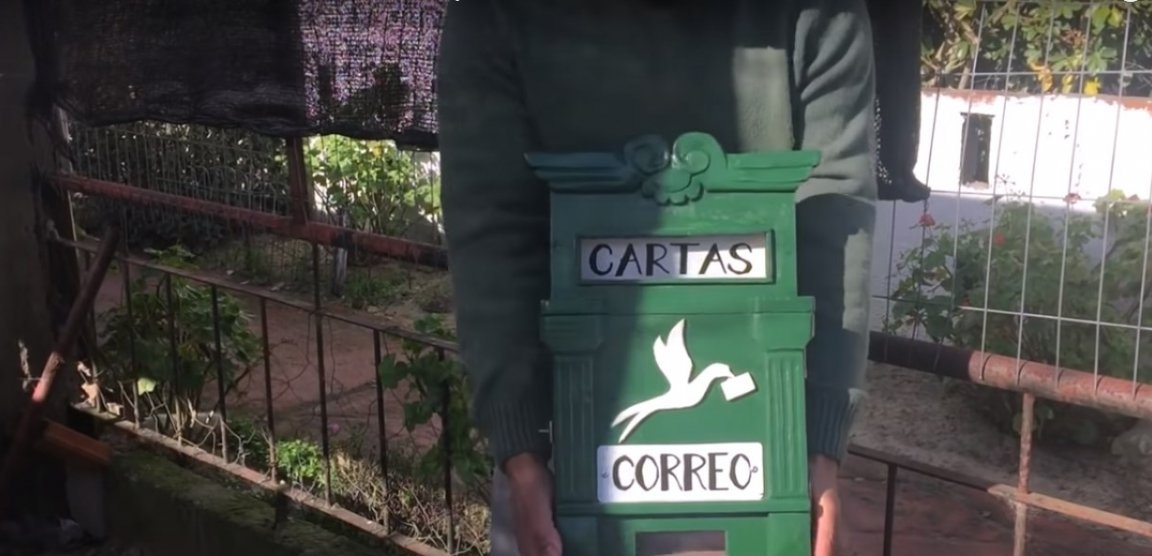
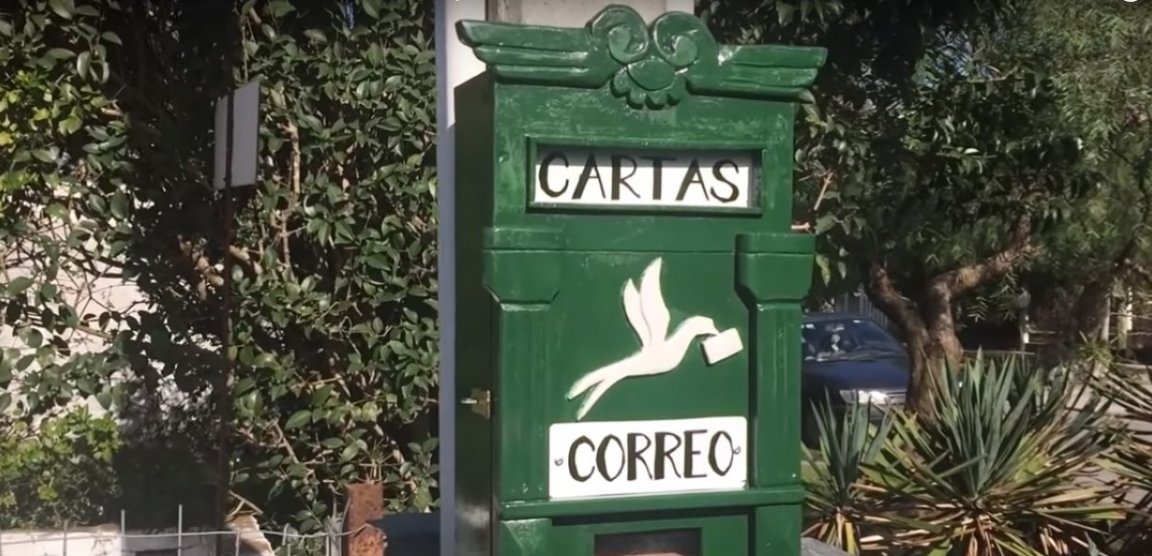
It remains to install the door on the hinges after painting and the retro mailbox is ready!