
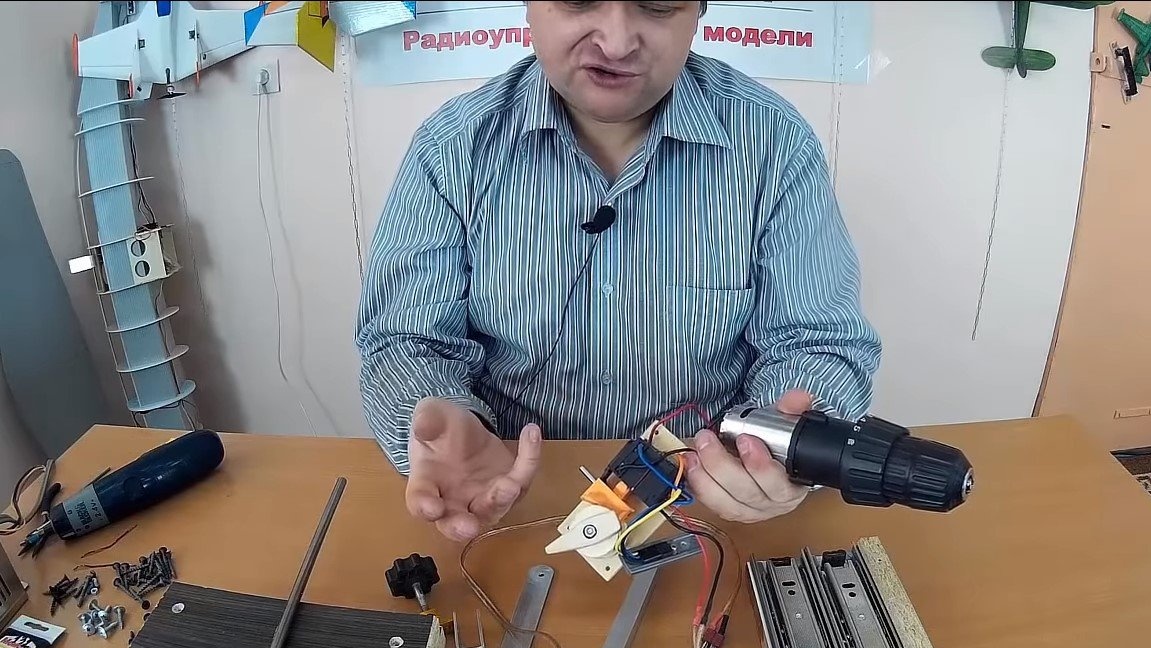
I welcome all fans to craft, I propose to consider instructions for the manufacture of a drilling machine from a motor from a screwdriver. Of course, the design turned out to be a little tricky, but there is a function for adjusting the drill assembly in height, and the author made an interesting switch that allows you to adjust the speed. If you will use a 12V screwdriver, then power homemade You can use a car battery or a suitable power supply.
Materials and tools used by the author:
Material List:
- motor from a screwdriver;
- Power Supply;
-
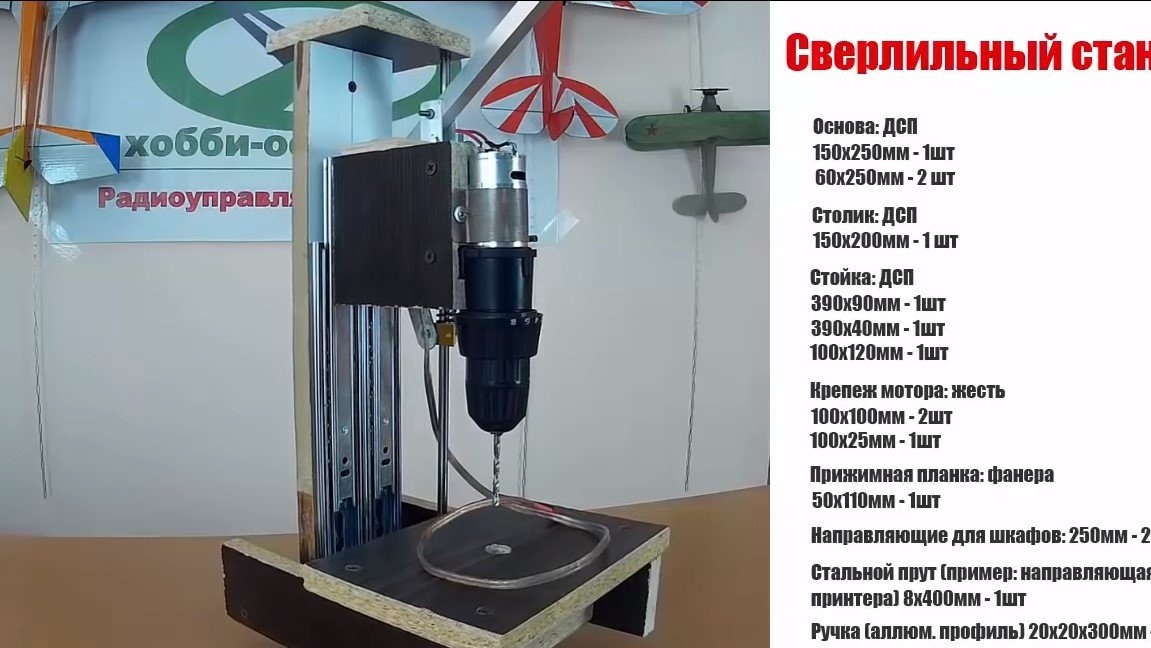

Tool List:
- a circular saw, jigsaw or other tool for cutting chipboard;
- drill;
- screwdriver;
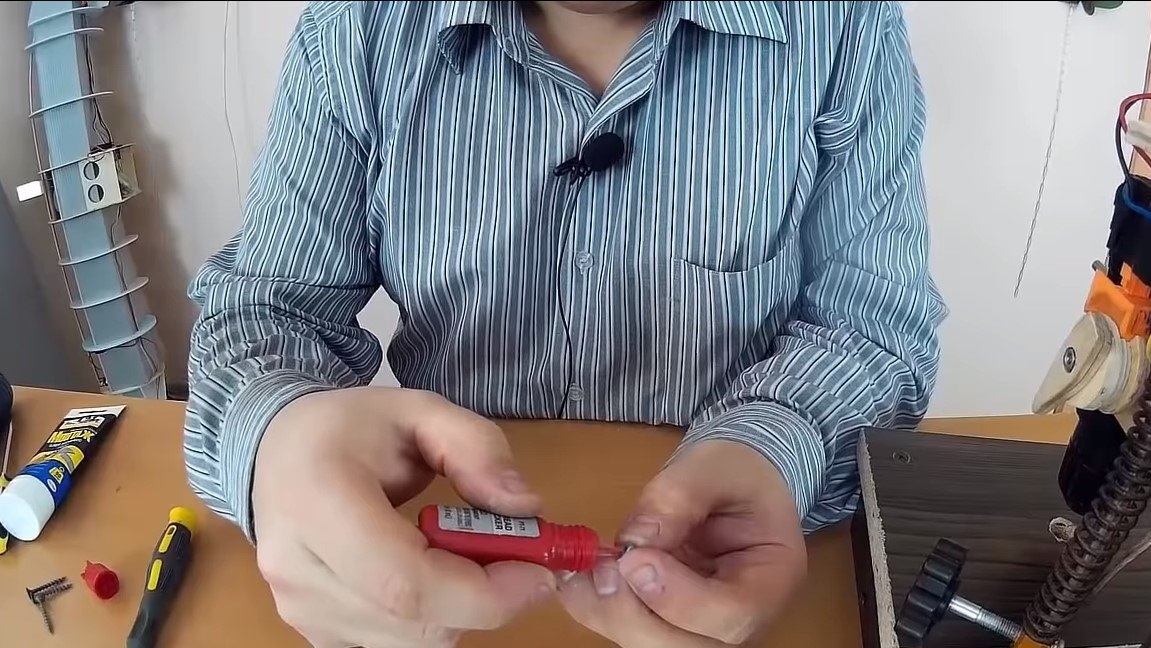
- carpentry glue;
- square;
- soldering iron.
Homemade manufacturing process:
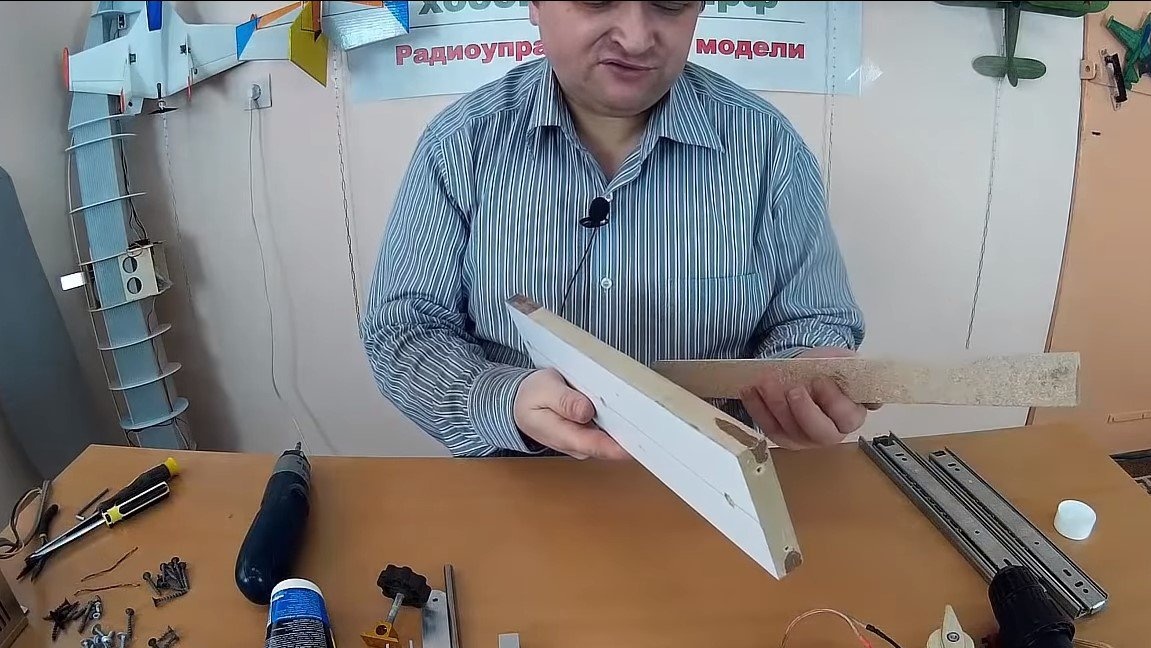
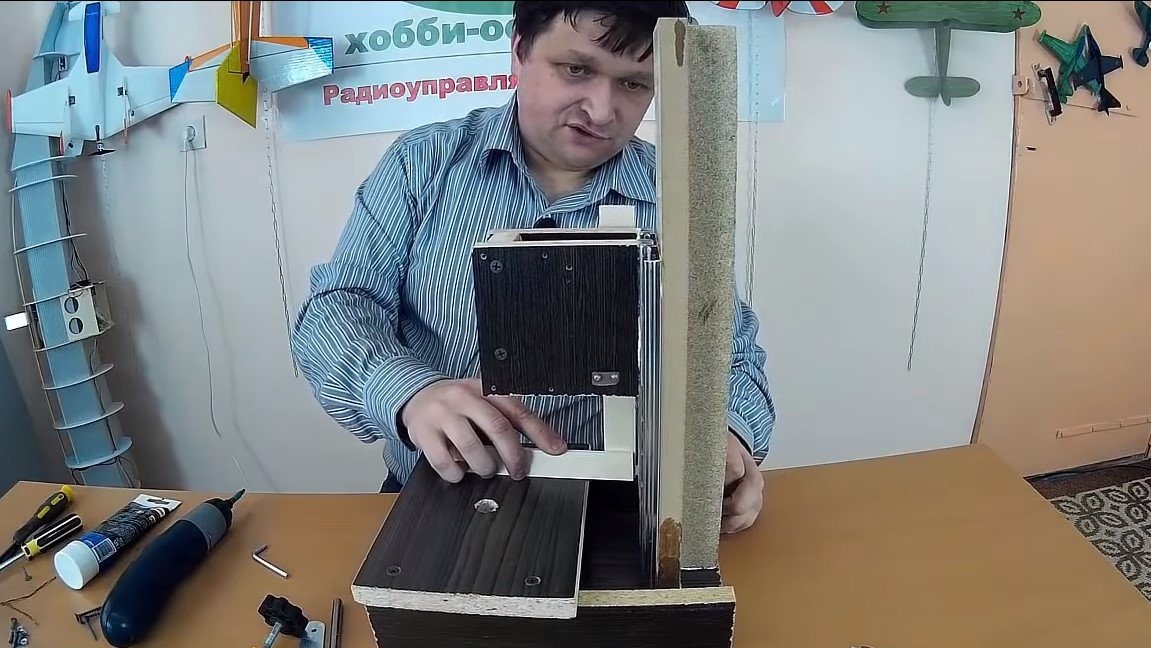
Step one. Rack
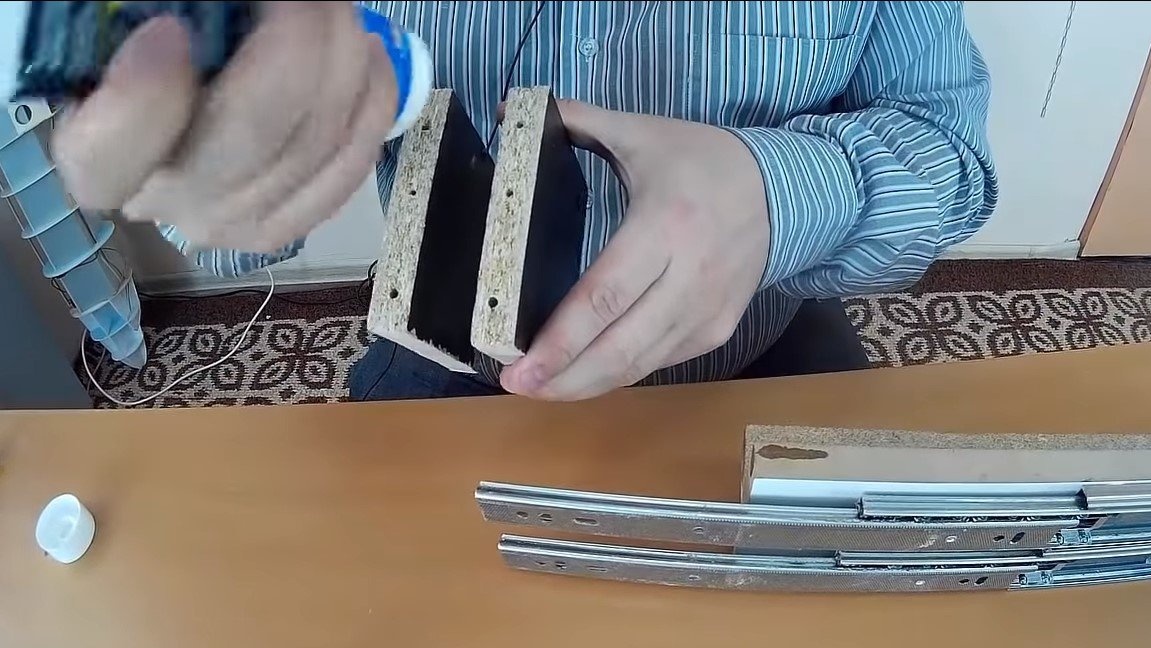
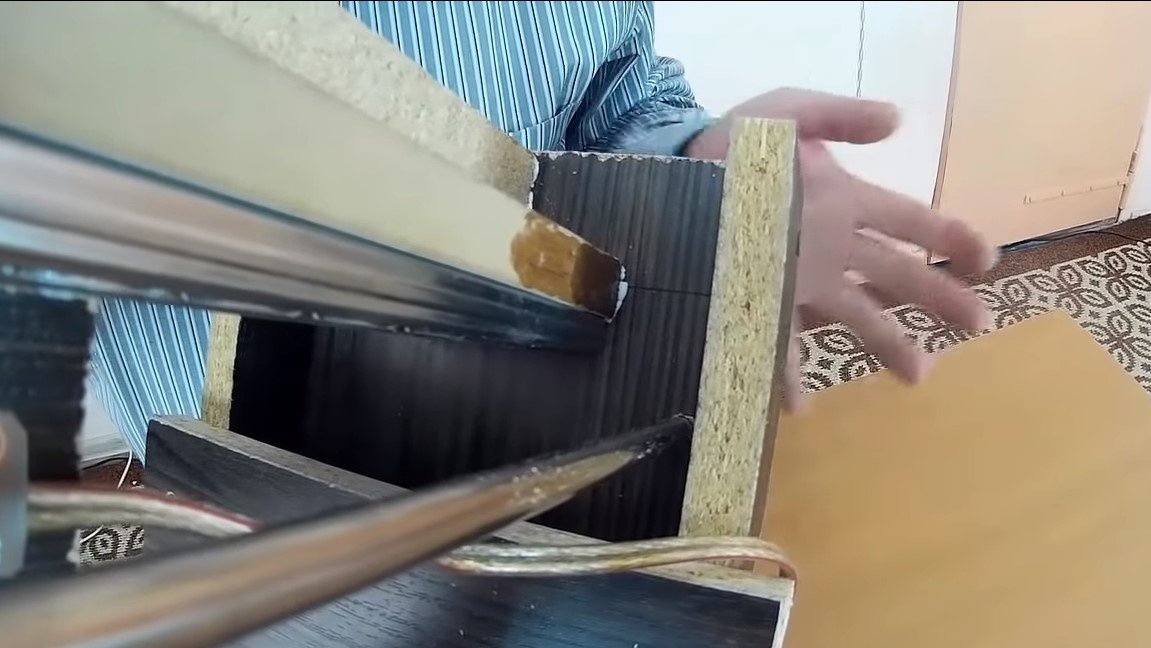
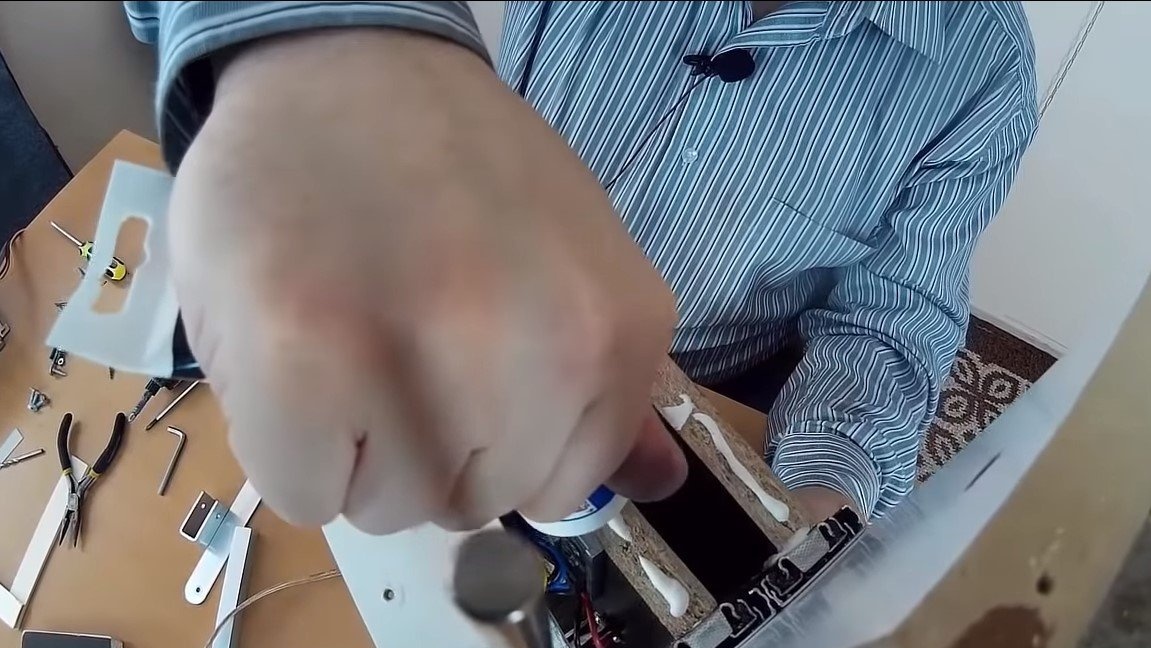
First of all, we will make a rack along which the carriage with the motor will ride. The main requirement for a rack is its rigidity. To achieve the necessary stiffness, the author screwed a stiffener to the rack. As a material, you can use boards and chipboards, but chipboard is very unpleasant in processing. It is better to place all joined structural parts on carpentry glue so that the entire structure is as rigid as possible and does not play.
Another important parameter is the flat base of the rack, it must be cut clearly at a right angle. Otherwise, attaching an even stand to the base will fail.

Step Two Sliders and block
We install furniture sliders on the rack, it is better to choose them wider with good metal, then the sliders will work for a long time without play. We fasten the sliders with self-tapping screws and additionally glue them so that the guides are fixed rigidly and do not float.
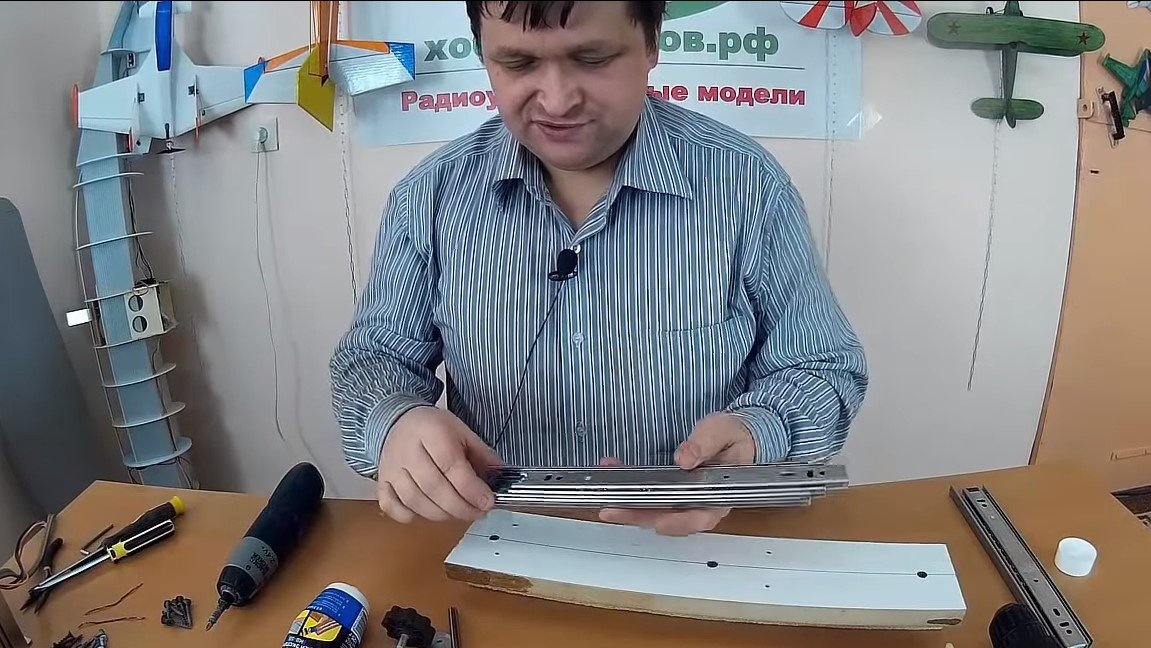

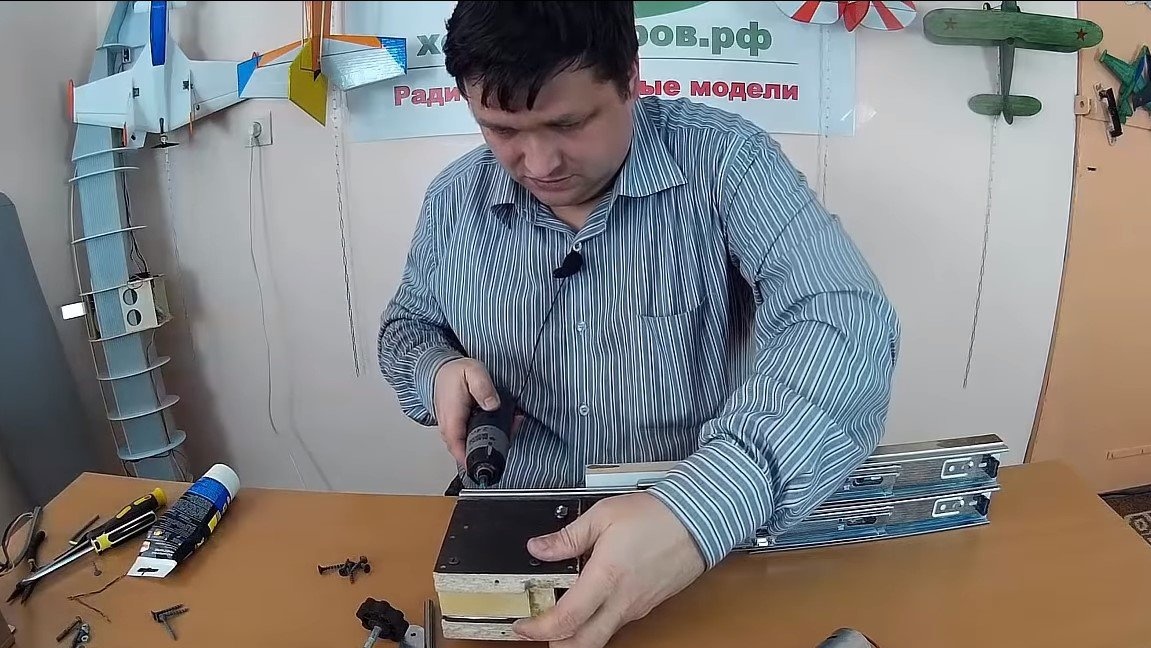
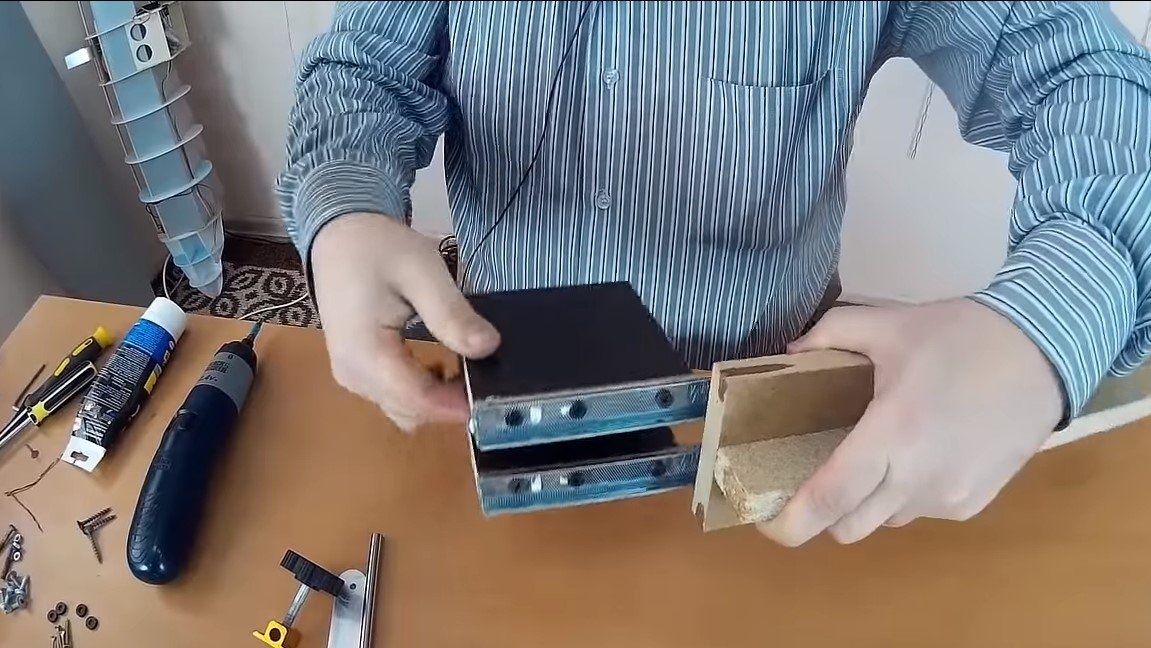
As for the block to which the motor will be mounted, it can also be assembled from chipboard or boards, and it is best to do everything from plywood. It is also extremely important here that the unit is attached to the sliders strictly in parallel, the motor will also have to be fixed in the same way. We fasten the block to the moving part of the sliders with self-tapping screws and in addition you can use a thin layer of glue.
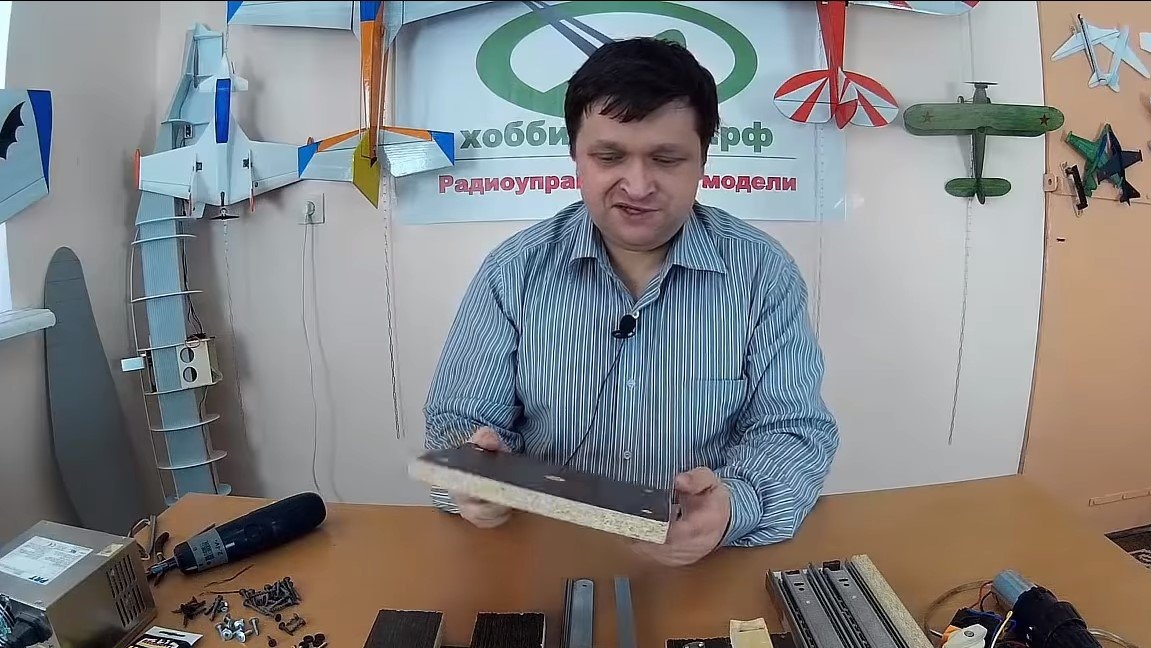
Step Three The foundation
We collect the base from wood, the author is chipboard. Now we face a crucial task - we need to fix the rack on the base exactly at right angles. We try on everything and in which case we align the base of the rack. Well, then the stand is screwed to the base with good wood screws and we additionally use glue.If you are not sure about the connection, you can make additional stops of wood.


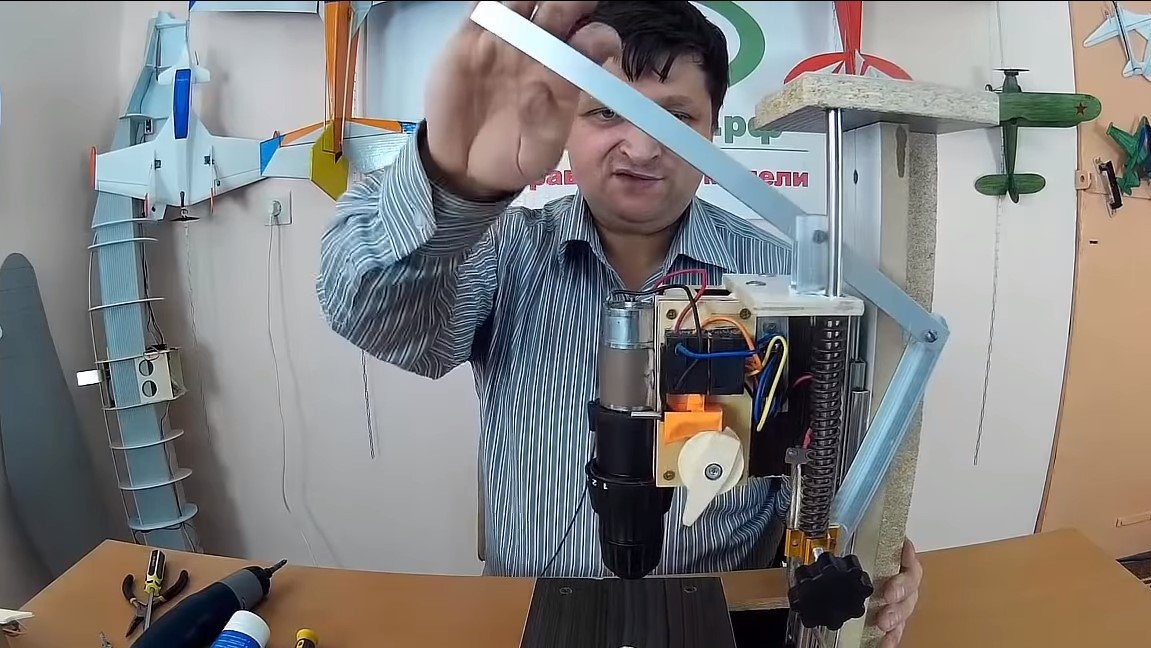
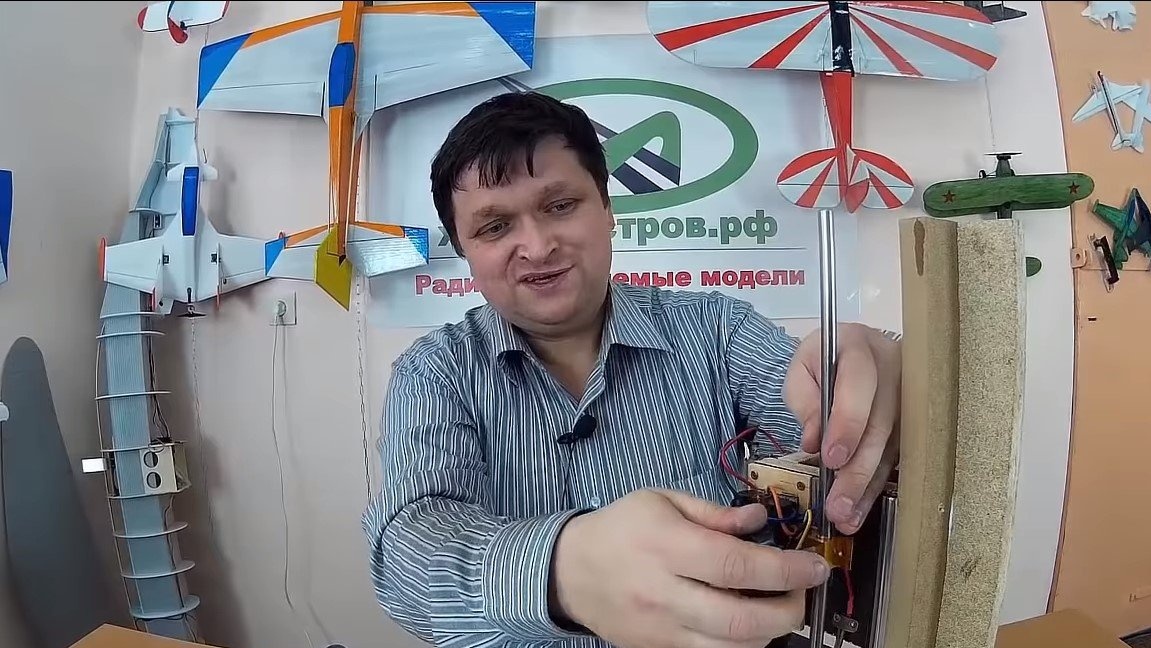
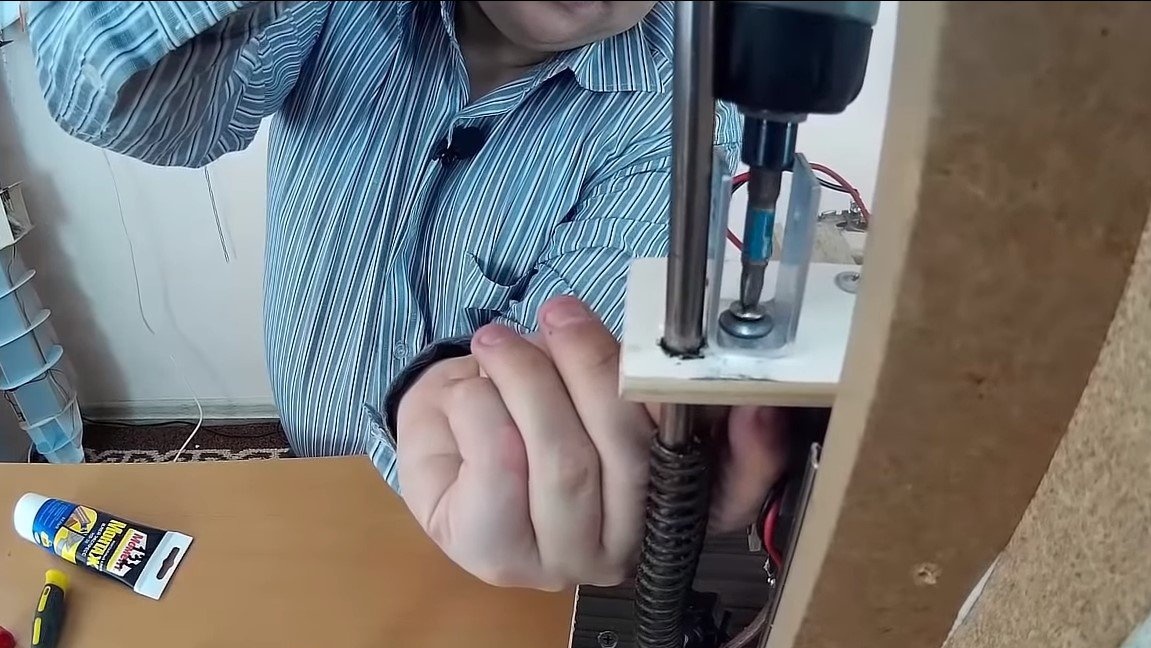
Step Four Motor and switch
We install the engine on the carriage, the author attached it with a metal clamp. We fasten the motor so that the drill looks into the base clearly at a right angle. If there is curvature, you can solder the ears to the motor housing and, in addition, tighten everything with self-tapping screws after alignment. Note that the axles in the chucks of old screwdrivers often hang out a lot.


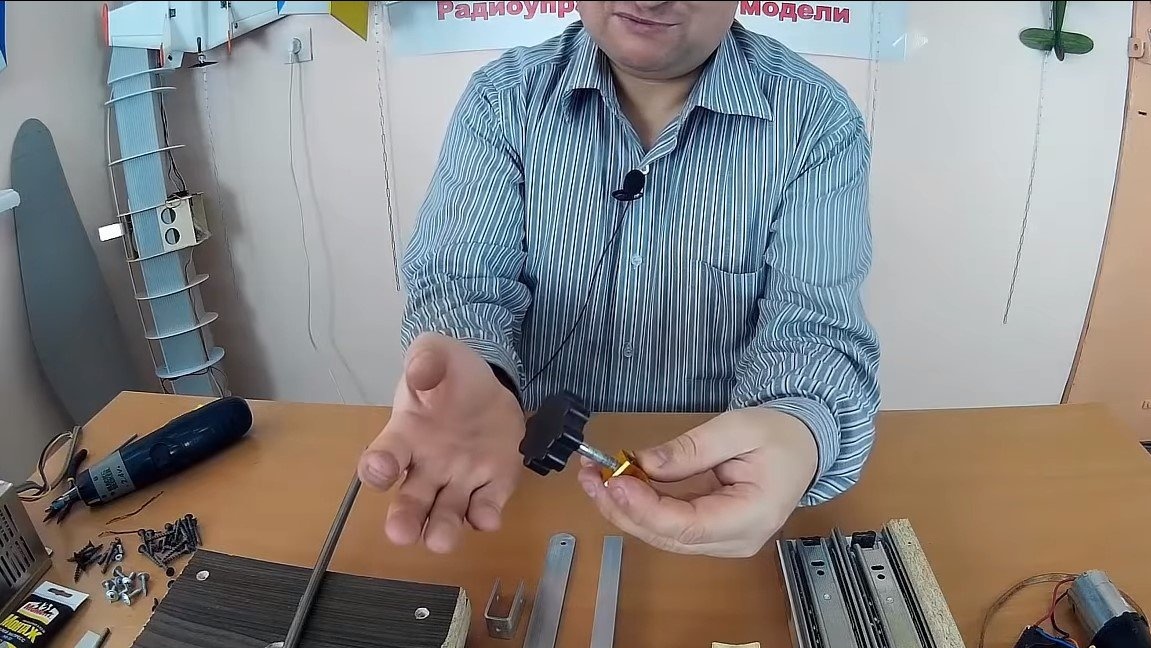
We also install a switch on the carriage. The author used the "trigger" from a screwdriver, adjusting a wooden handle with an eccentric under it. Thanks to this design, you can gently pull the "trigger", thereby controlling the speed of the motor. But it’s easier to just install an inexpensive dimmer with stepless speed control from China.
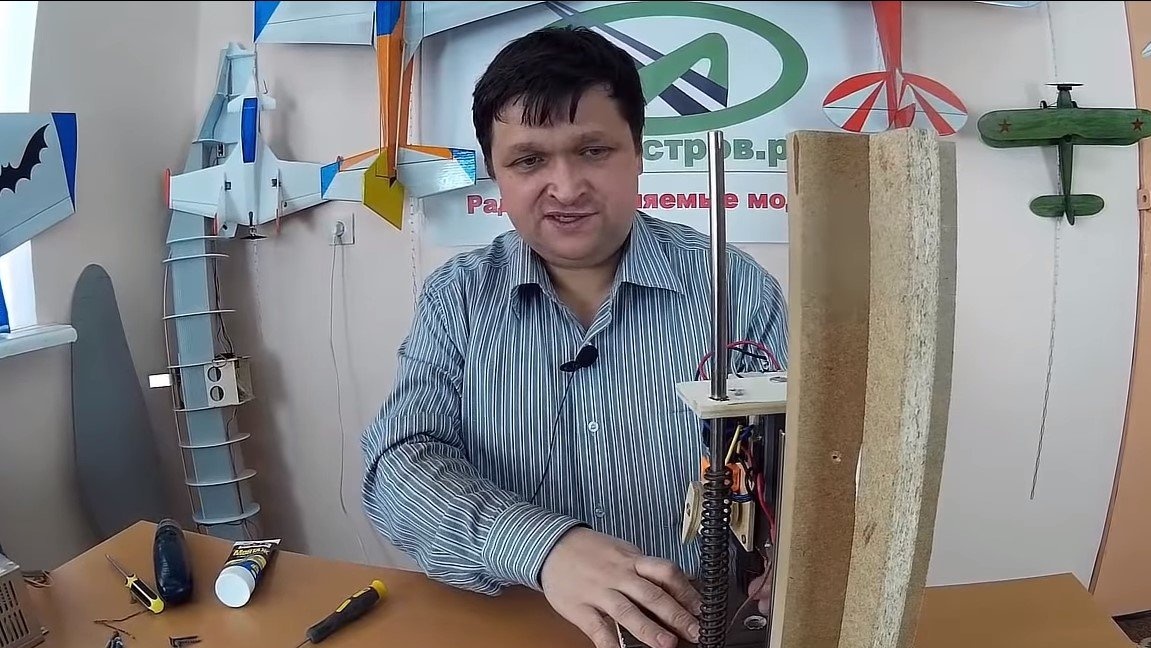
Step Five Spring
We install a steel axis on the base, which can be the axis from the printer. A spring is installed on this axis, and you also need an emphasis that is tightened anywhere on the axis. Thanks to this design, it is possible to raise or lower the spring, thereby adjusting the machine height. In the upper part we also install a guide from plywood, in which the spring will abut, pushing the carriage up.

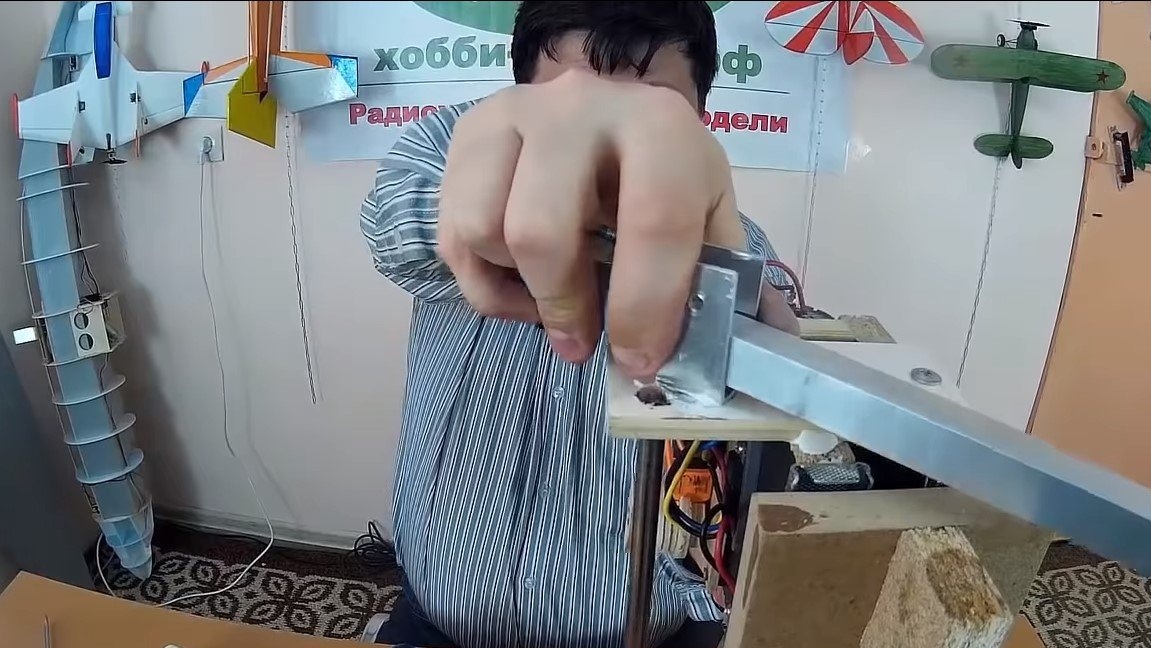
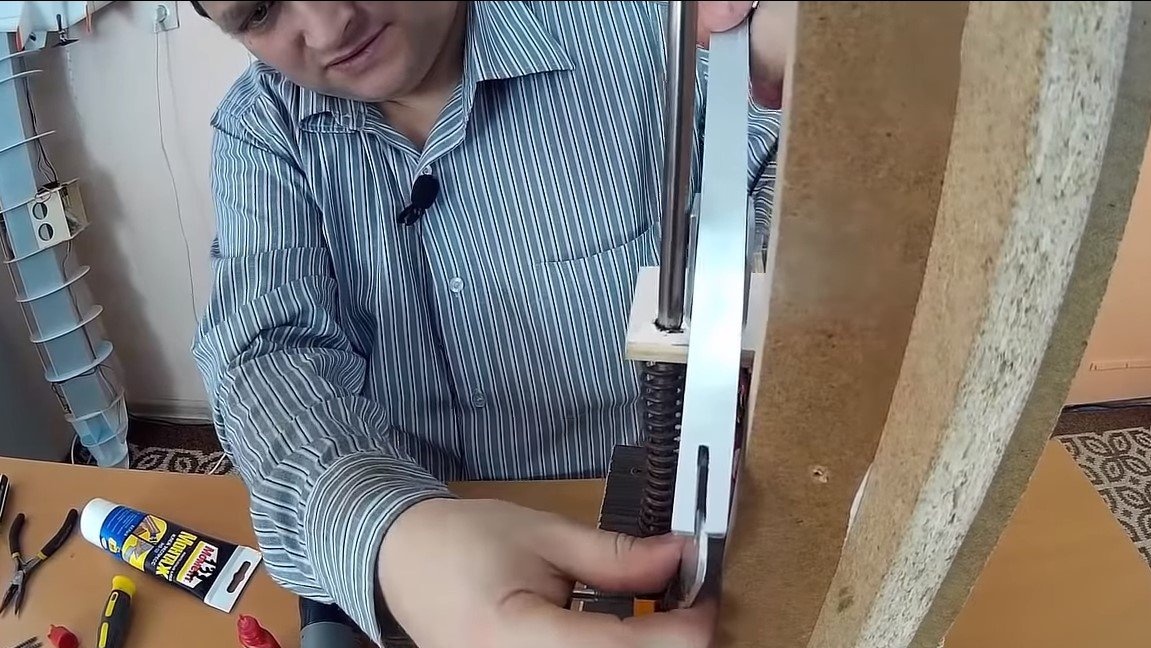
Step Six Make a lever
We make the lever with which we will lower the carriage. As a material, square aluminum pipes are suitable. You can also fully adapt the aluminum tubes that were previously on the ledges. The plug can also be made of sheet aluminum, or you can use the mounting corners from a hardware store.

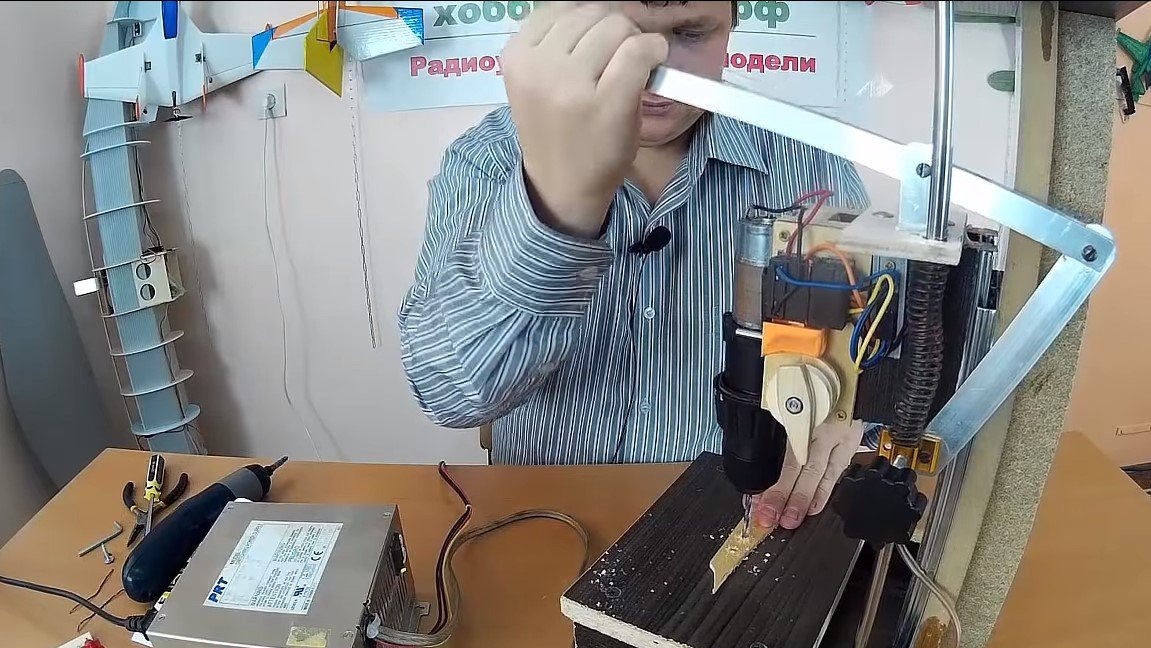
Now the machine is ready, you can connect power and check. It is important to make the correct polarity so that the drill rotates in the right direction. It is useful to equip the machine with a reverse so that you can screw in / out screws and self-tapping screws if necessary. As a result, the homemade turned out to be quite convenient and useful. This is the end of the project, I hope you liked the homemade work, and you found useful thoughts for yourself. Good luck and creative inspiration, if you decide to repeat this, do not forget to share your ideas and homemade things with us!