» Joiner »Drilling machine from a drill

Drill Machine

Drill Stand - Stationary device, which facilitates the work of the master-, allows you to work with solid materials, correctly center and make holes at different angles. The main operations are drilling, grinding, polishing, deburring, semicircle sampling. You can make the device yourself. An unprofessional master will cope with the task in a few hours.


for the manufacture of racks: timber 45x90 and 50x50, plywood 10 mm thick, furniture ball guides 30 cm long, tension spring.

Step-by-step instructions on how to make a stand for a drill do it yourself

1. The manufacture of the machine frame


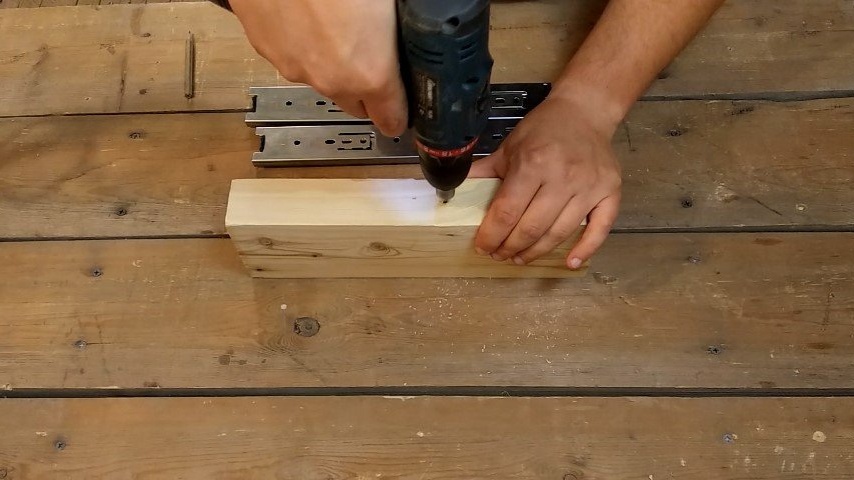
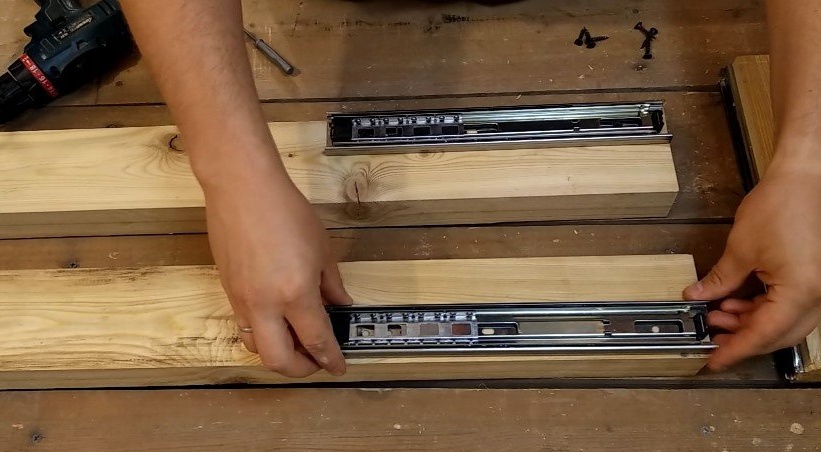
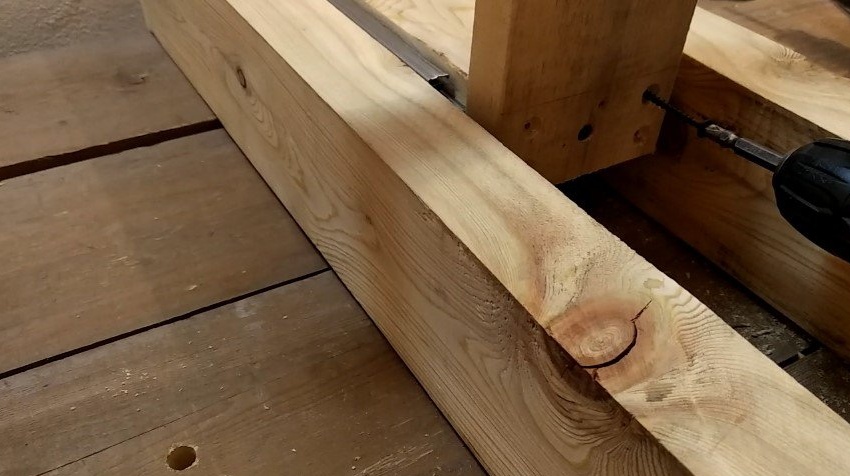
Attach the guide to the bar 45x90x300 mm, mark with a pencil the places for drilling holes. Turn the segment 180 degrees, repeat. Drill two holes on each side.

Try on guides, check, connect parts with self-tapping screws. Repeat for the other side. After we have disconnected the parts of the rails, they must be additionally secured with a third self-tapping screw.

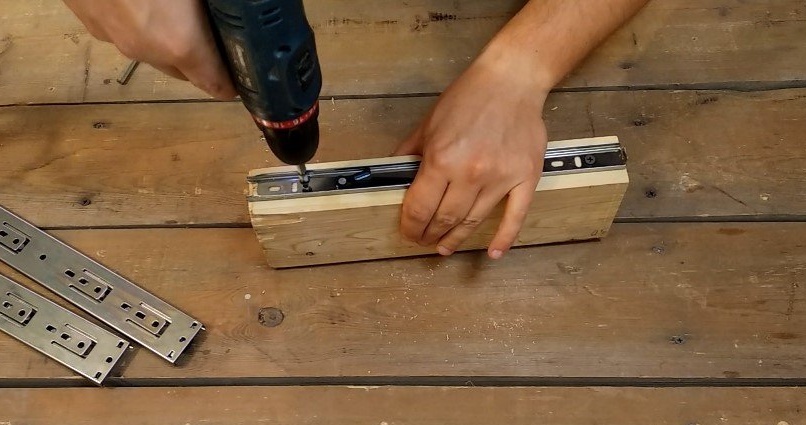
Got the base of the drilling carriage.
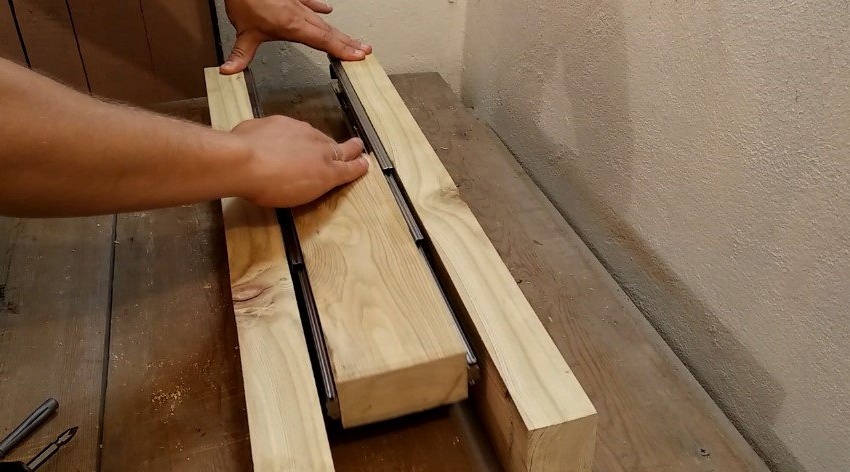
We try on and mount the carriage to two pieces of timber with a length of 700 mm.

We try the design in motion.

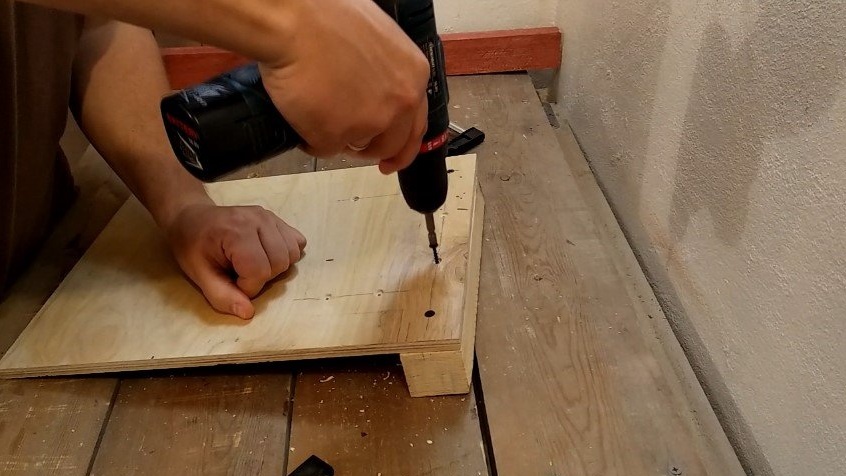
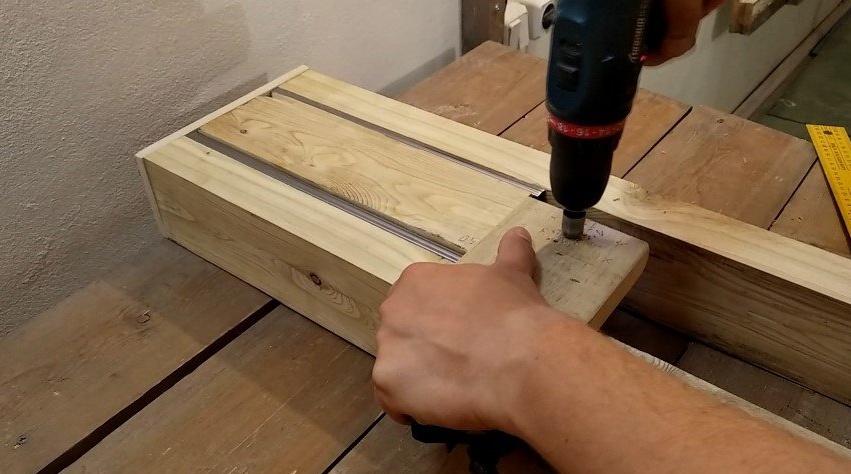
Try on the lower beam cross member 50x50 mm (it is needed to increase the rigidity of the structure), apply a plywood base, draw a pencil around the connection with the ends of the racks.

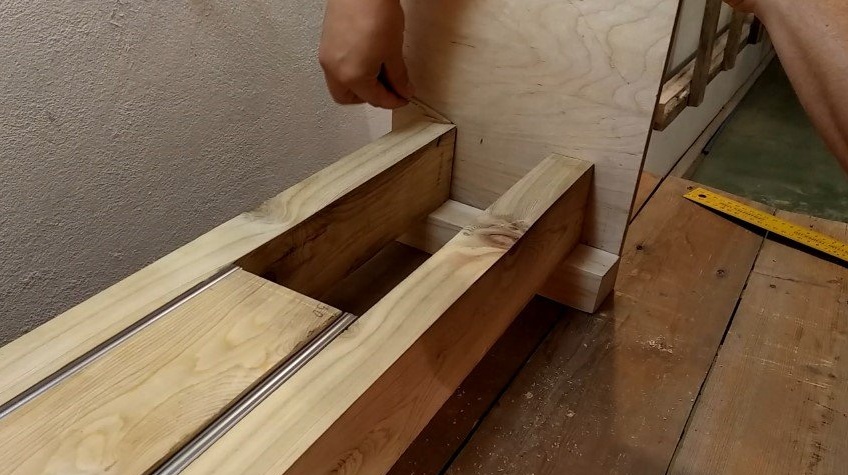
Mark future holes for fasteners. Drill holes at the intersection points of the verticals and horizontals.

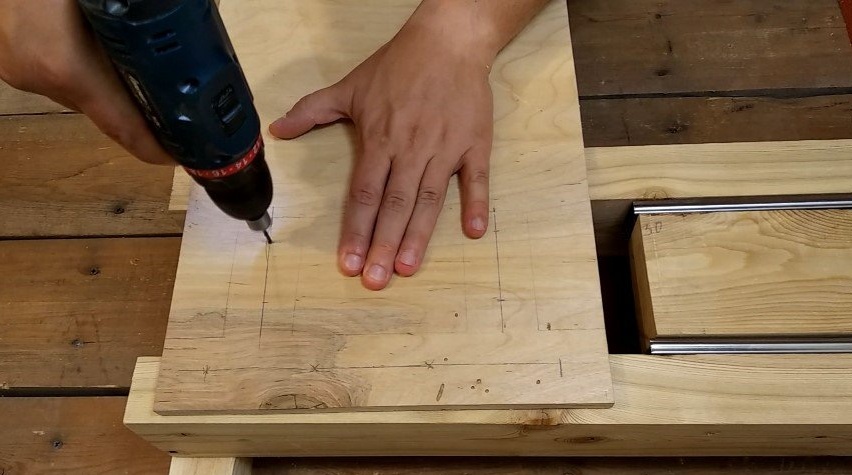
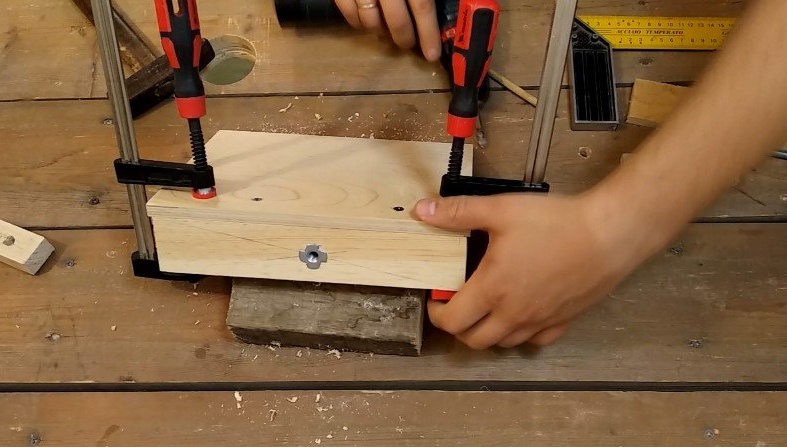
Attach a cross member to the plywood base, secure with clamps. In the designated places, drill holes and fasten with wood screws. It turned out the basis.

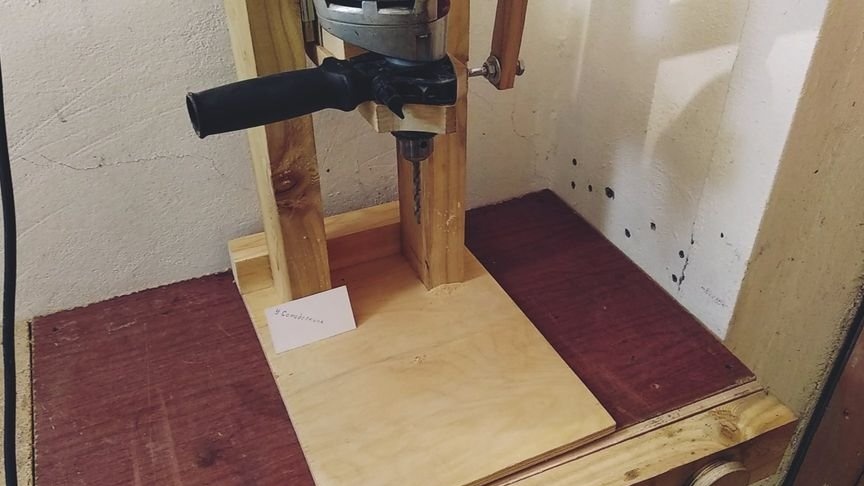
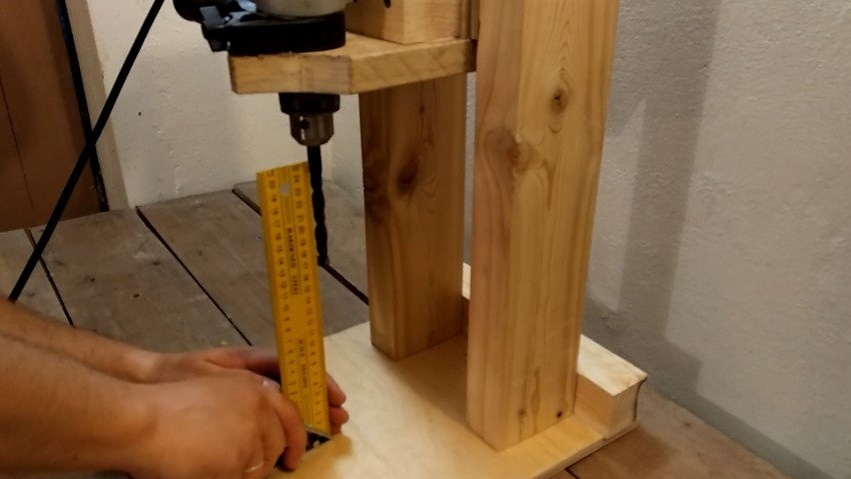
Mount the rack on the base.


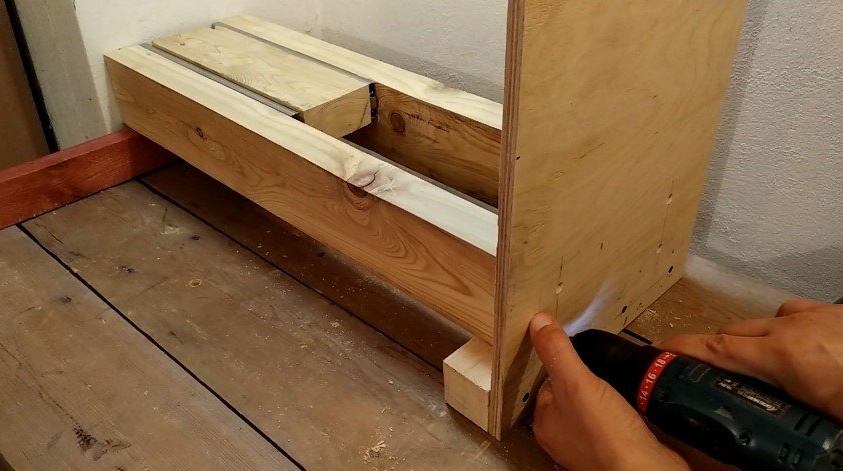
Reinforce the bed at the top with a plywood strip for rigidity. Check for smooth running.


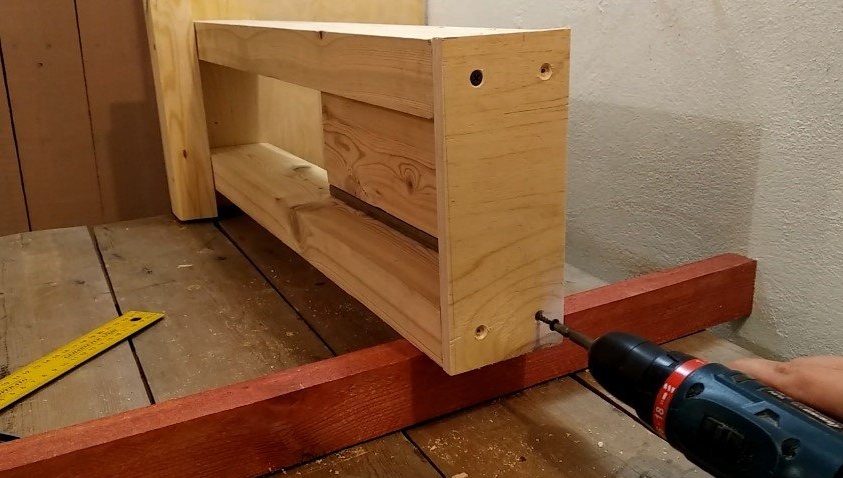
The frame is finished.


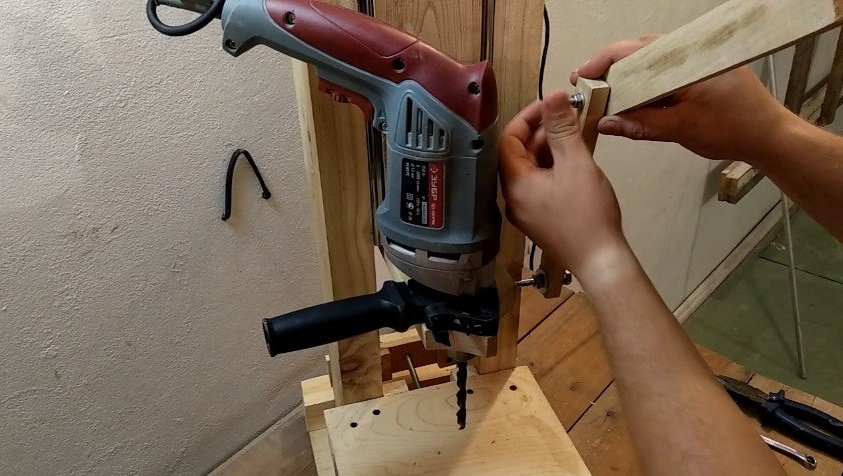
2. Manufacture of a drill holder
I don’t know where the handle from the drill (not native) was lying around, I decided to use it to fix the drill. Let's continue.
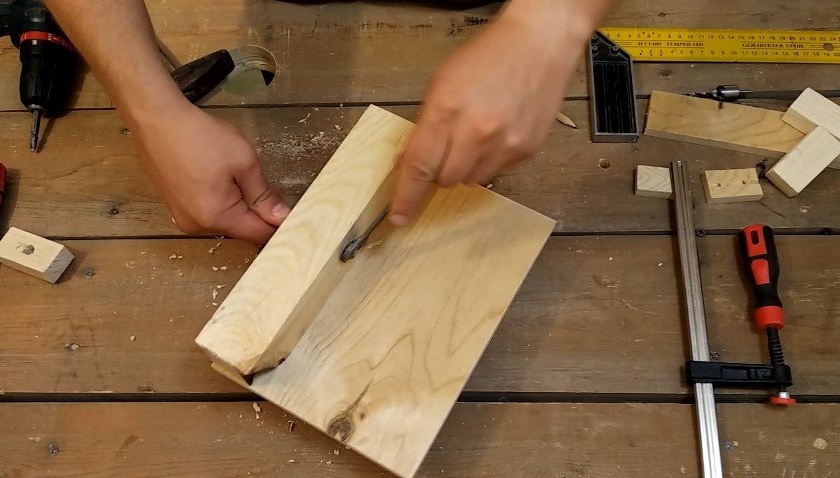
Put the handle on a piece of board 20x90 mm 30 cm long.


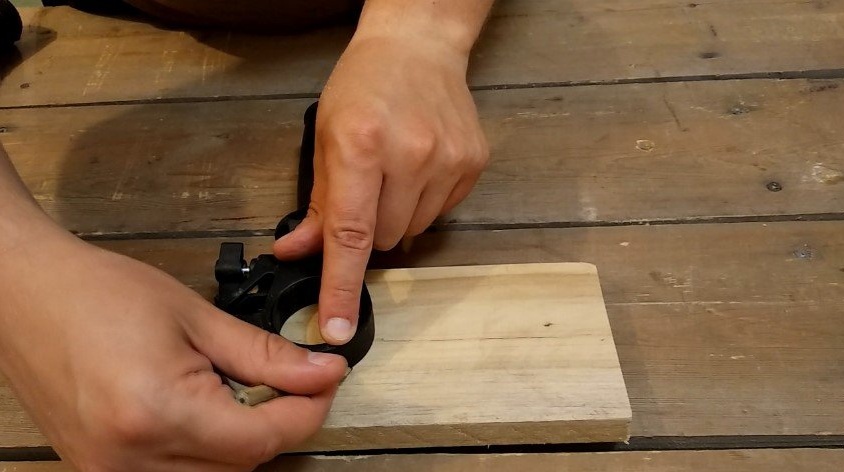
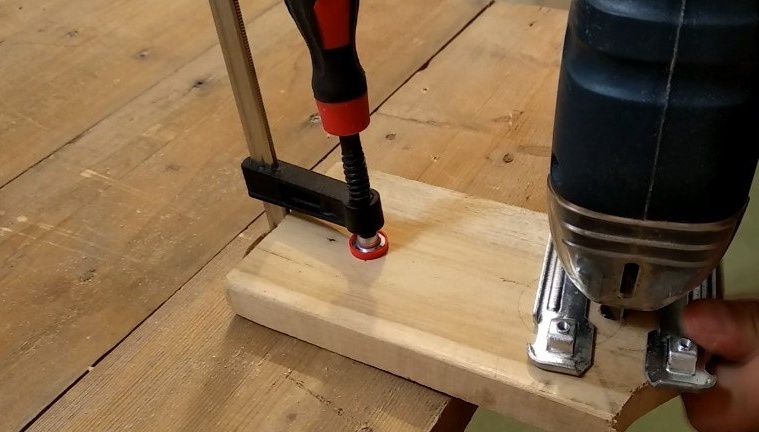
Circle the outer contour and hole with a pencil.Use a jigsaw to cut the contour and the seat.


Attach the handle to the board with self-tapping screws.


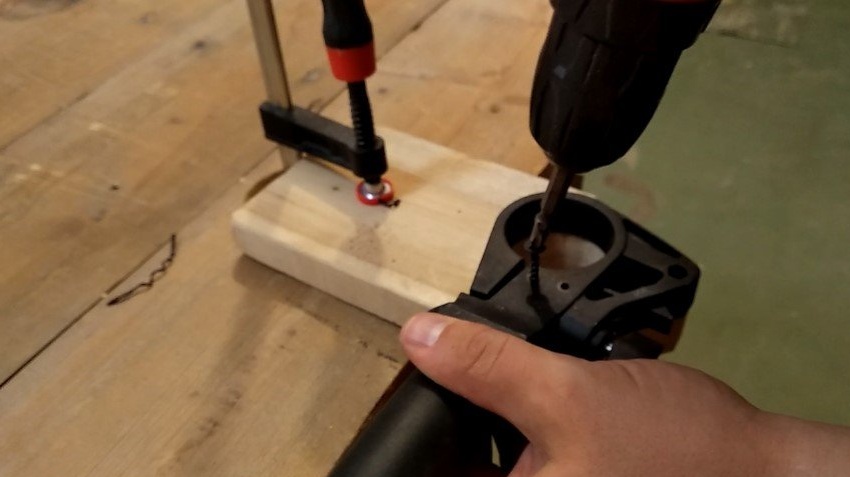
Mark and drill holes in the bottom of the board.


Attach the board to the central carriage, check the ease of movement.


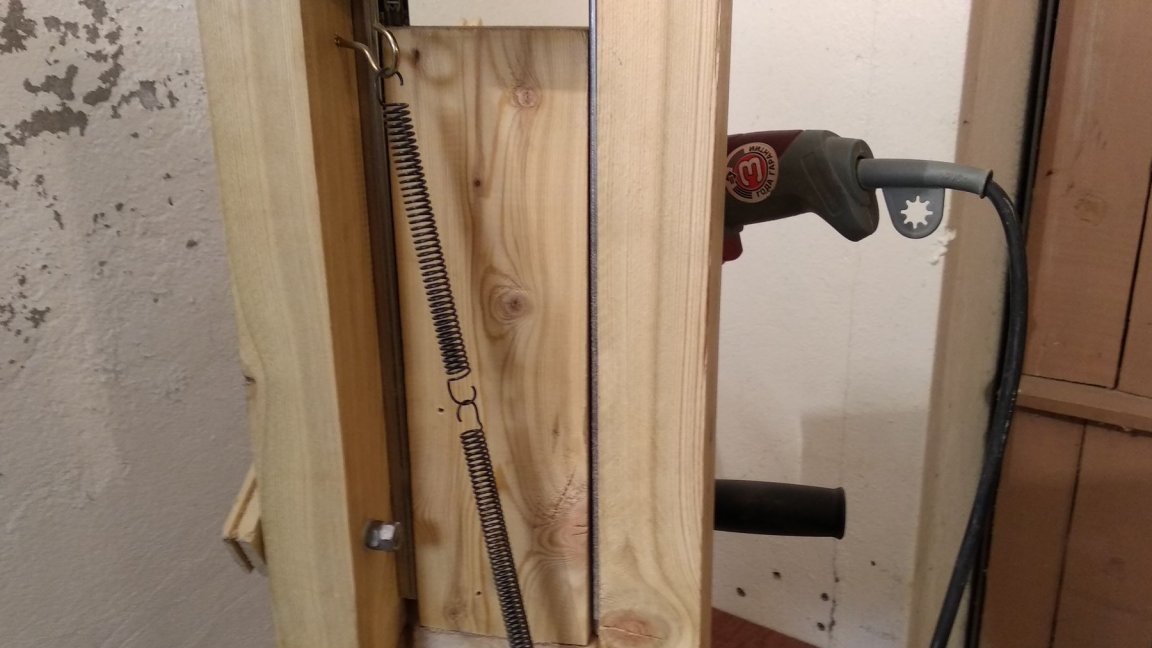
On the rear side of the structure, drill holes for the hooks for the springs, assemble.


To increase the rigidity of the structure by the force of its bar 50x50x90 mm. Attach a segment to the drill holder, strengthen the structure from above and below with self-tapping screws.


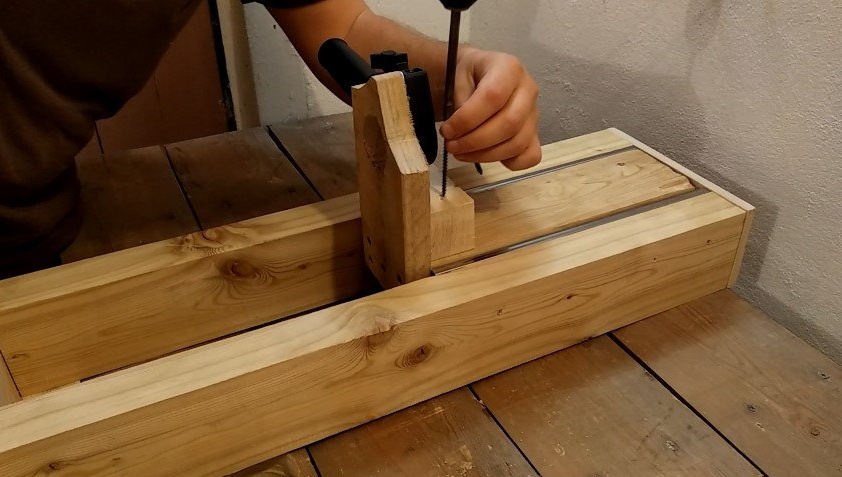
Use a clamp if necessary. Check the vertical axis of the drill stand.


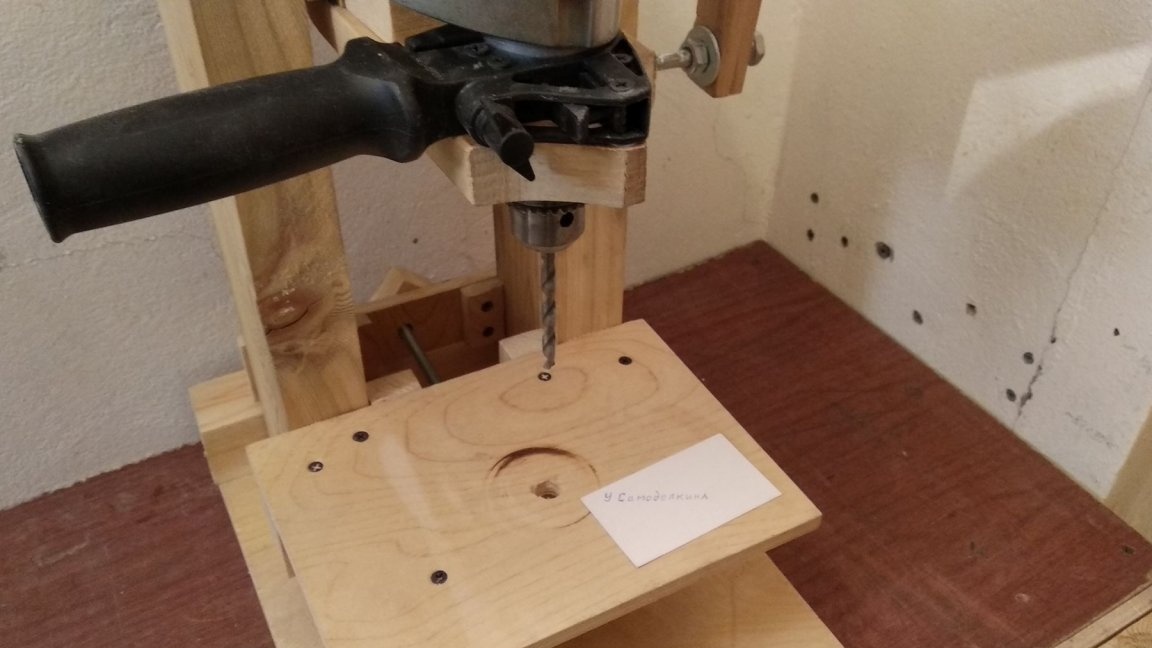
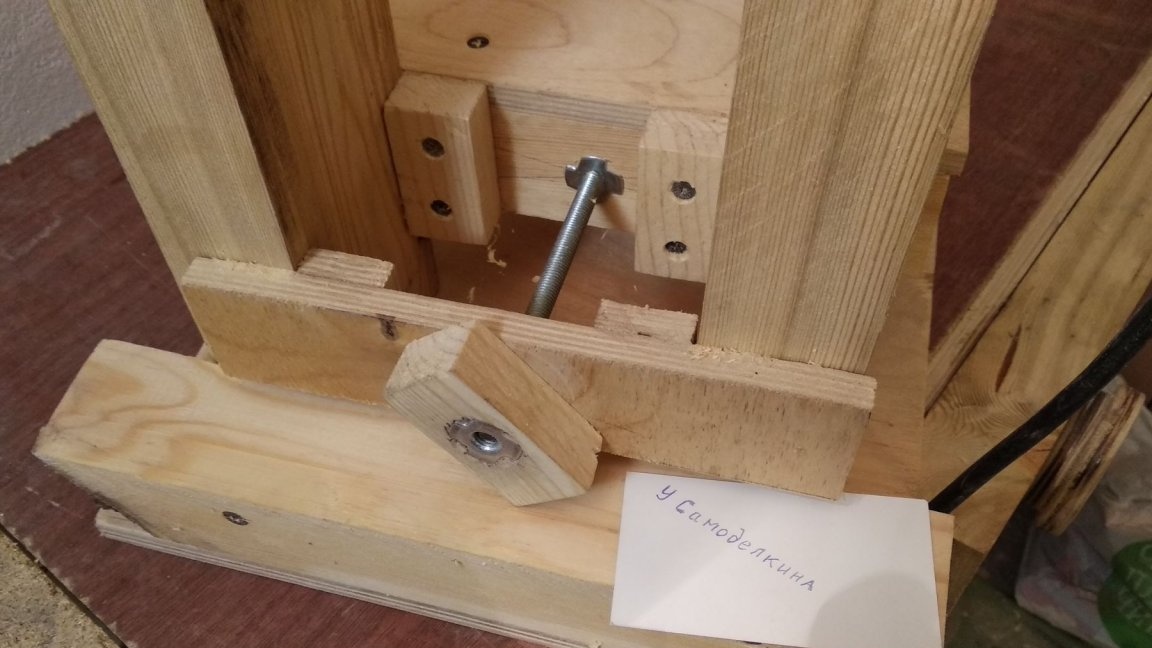
3. Production of height-adjustable table
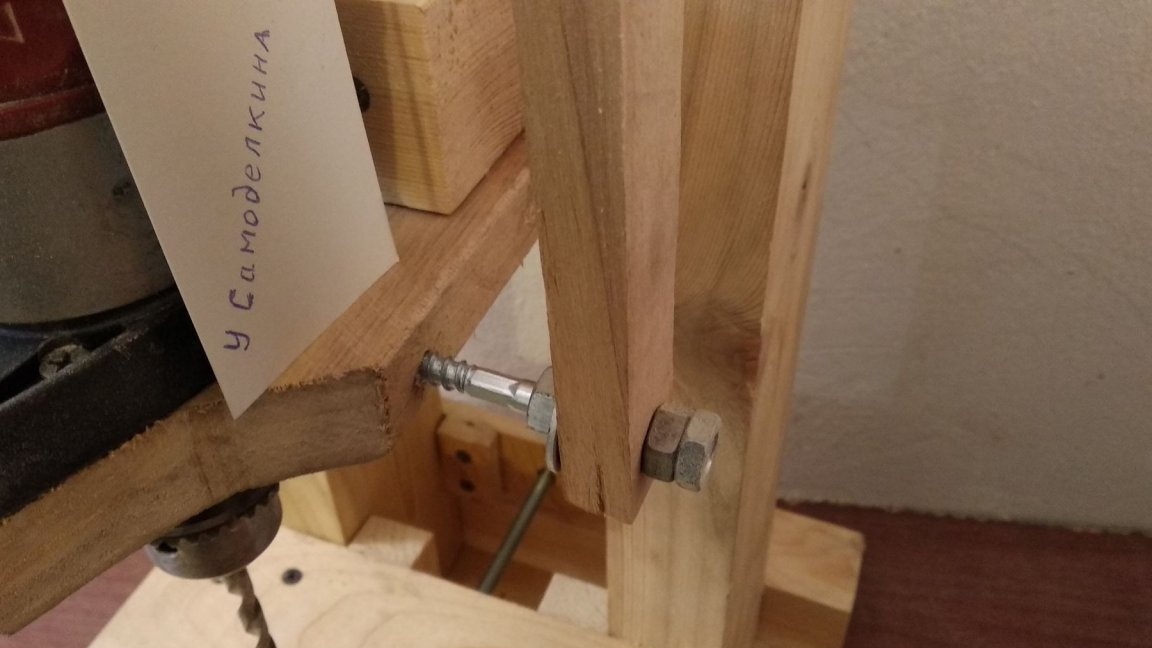
Make a wing nut from a piece of a slat - draw diagonals, find the center, drill. Install the M8 mortise nut, drive inward with a hammer.


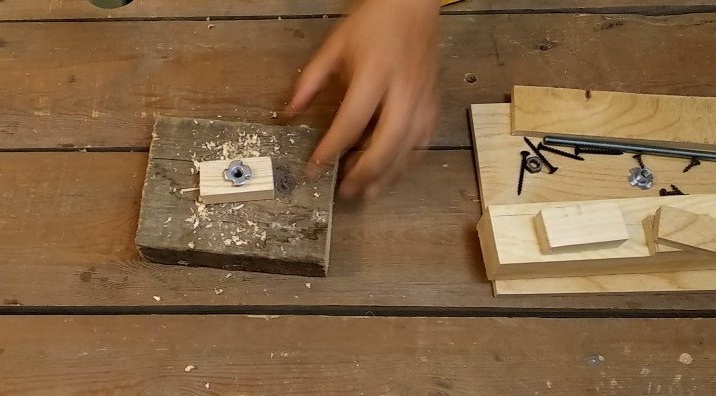
Also, using a mortise nut and an M8 hairpin, we make the base of an adjustable table.


Tighten the connection with a wrench.


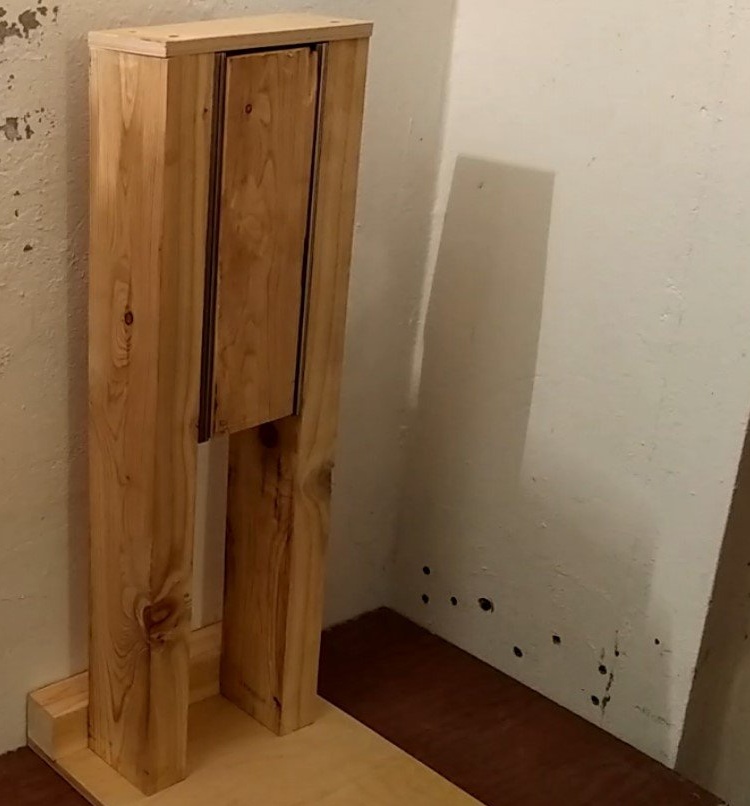
From the remnants of plywood, make the back plate, put it in place, connect it.
Mark the places where the stand adjoins the walls. Make stops, fasten with screws.

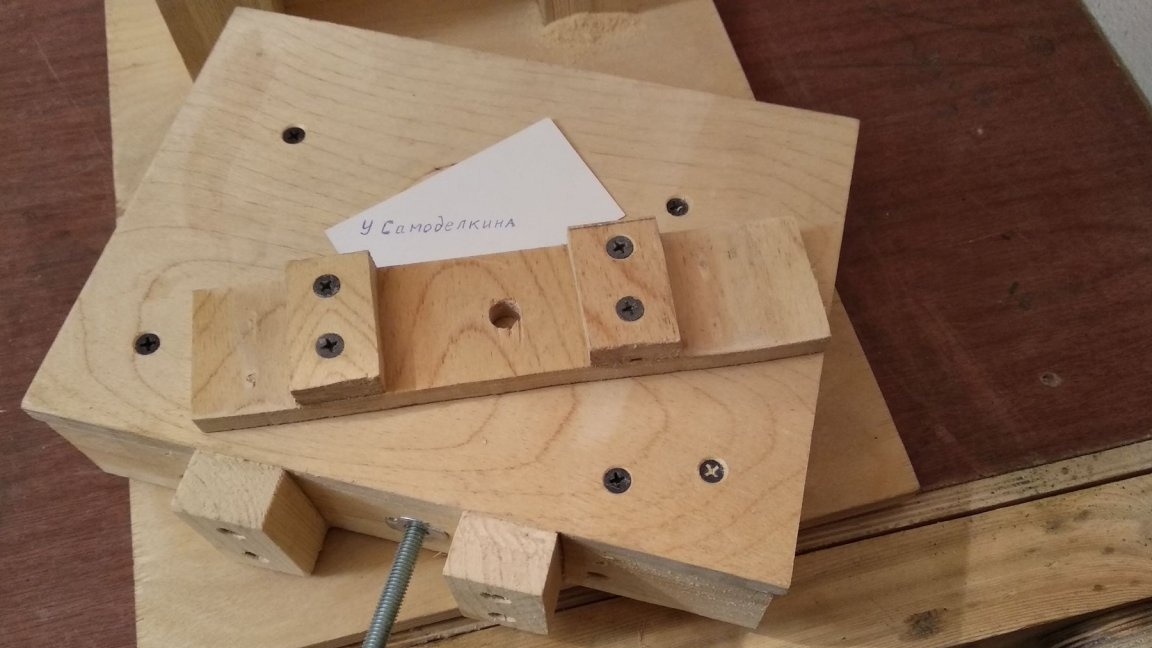
Secure the table to the counter.


4. Lever
The lever is made of battens and fasteners, which was at hand.


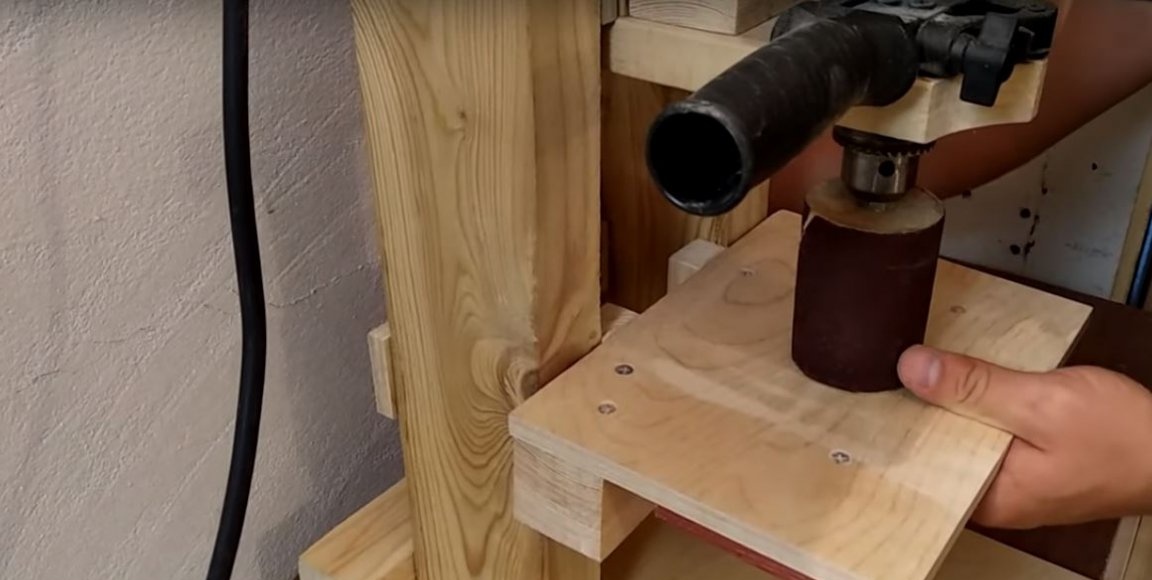
If there are scraps of timber and sandpaper, you can make a device for grinding (homemade grinding drum).


The detailed manufacturing process of the lever and the drilling machine as a whole can be seen in the video:

Now are you convinced that making a stand for a drill is not so difficult?
9.4
8.7
9.1

Add a comment

    • smilesmilesxaxaokdontknowyahoonea
      bossscratchfoolyesyes-yesaggressivesecret
      sorrydancedance2dance3pardonhelpdrinks
      stopfriendsgoodgoodgoodwhistleswoontongue
      smokeclappingcraydeclarederisivedon-t_mentiondownload
      heatirefullaugh1mdameetingmoskingnegative
      not_ipopcornpunishreadscarescaressearch
      tauntthank_youthisto_clueumnikacuteagree
      badbeeeblack_eyeblum3blushboastboredom
      censoredpleasantrysecret2threatenvictoryyusun_bespectacled
      shokrespektlolprevedwelcomekrutoyya_za
      ya_dobryihelperne_huliganne_othodifludbanclose
8 comments
Author
There are no backlashes - ball guides quite accurately extend. The metal there is really thin (about 1.0 ... 1.5 mm per vskidka), but apparently due to the cunning form of stamping they withstand high loads - the guides are designed for 45 kg bending force, which is enough for my tasks
Author
The base on the verge - when I press hard on the lever, it really bends a little. Next time I would make 20 mm of plywood, even without stiffeners
I did not consider them ... It was just "superficially" that such an opinion that painfully thin metal in them aroused such an opinion. And whether it is compensated structurally - I do not know ..
20 years later, maybe ... but soon, definitely not, quite a reliable thing. There are all "pretensioners", so there are no backlashes, they are self-destructing
And by design ... You need to be sure of a good drying of the material ...))) And then keep it dry)))) (This is a joke)
I would do more takeaways. Often you have to drill holes not only from the edge of the workpiece ...
And furniture rails are an interesting "know-how" .. I just don’t know, again, are they not going to get loose? Will there be any backlash ....
The base is not too thin ??? In my own way, I made 20 mm laminated plywood ... When I “stuck” it well (large diameter drill, thick metal), it “played”. Plywood bent a little True, it was at the stage of creation. Then I made a “box” of the same plywood around the table (I raised the table by 50 millimeters on the sides) And then the stiffness appeared already necessary ...
True, I have a large forward take-out and a heavy mixer instead of a drill ...
Author
Yes, I agree that I went too far - the formulation, to put it mildly, is inaccurate ...

It was meant that working on a drilling machine is more convenient (compared to a hand drill) when working with metal, it allows you to make holes exactly at right angles, and having extra. fixtures for the table (for example, a conductor) to carry out what is written)))

PS: editors, if there is a possibility, please delete delete the part of the sentence quoted by Korolev
allows you to work with solid materials, properly center and make holes at different angles.
I would like more details ... scratch

We advise you to read:

Hand it for the smartphone ...