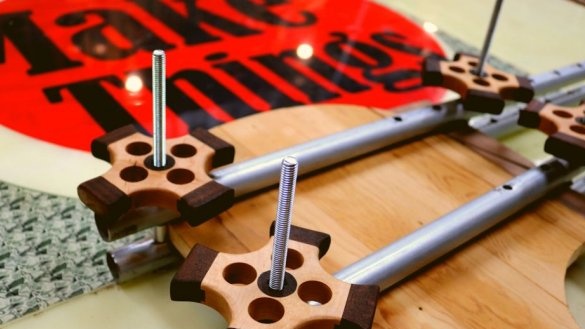
For fixing, when gluing parts, the master used water bottles, ropes, clamps, etc. Finally he was tired of it, and he decided to make a clamp for these purposes.
Tools and materials:
-A tube;
-Bar;
-Plywood;
-Board;
-Bolts;
-Roulette;
-Vise;
-USHM;
-Sandpaper;
-Tape grinding machine;
-Marker;
-Hammer;
-Beard;
-A circular saw;
-Drilling machine;
-Miter saw;
-A screwdriver;
- Reysmus;
- Adjustable wrench;
-Clamp;
-Metal sleeve;
Step One: Cutting Pipes to Size
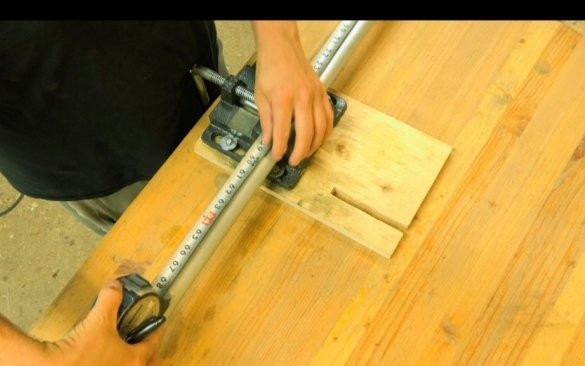
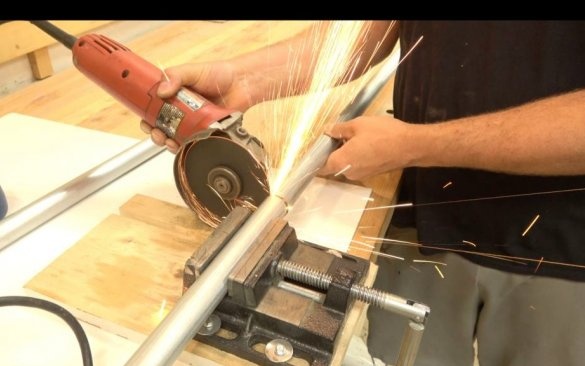
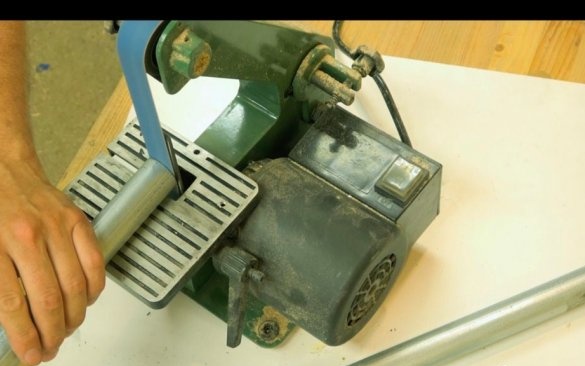
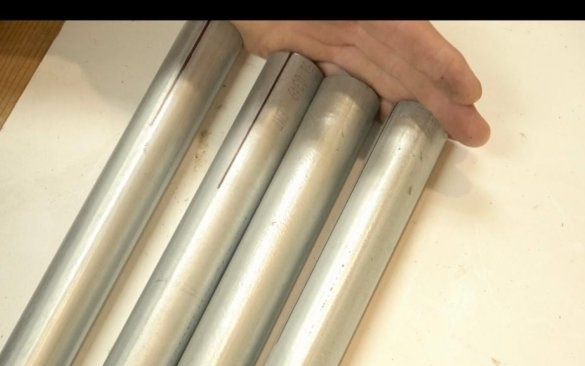
In the first step, the master cuts off four pieces of pipe of equal length. Four, because the master will make two clamps, on one clamp - two tubes.
Step Two: Markup
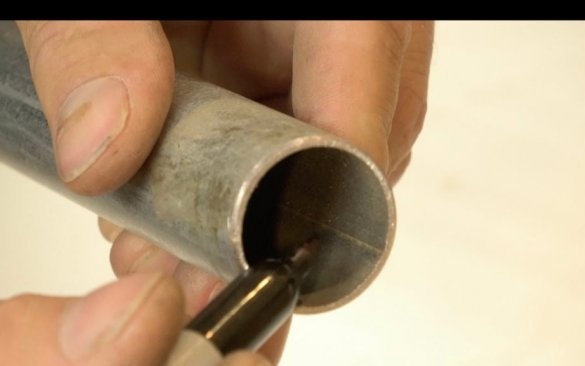
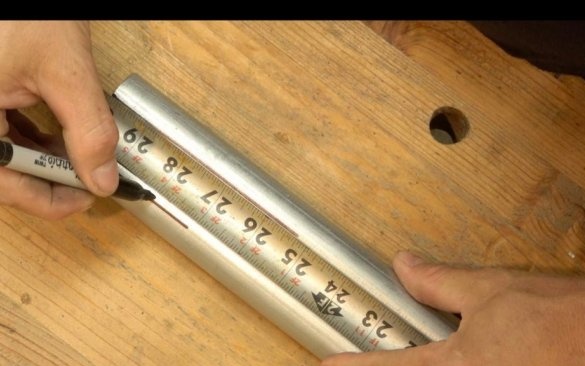
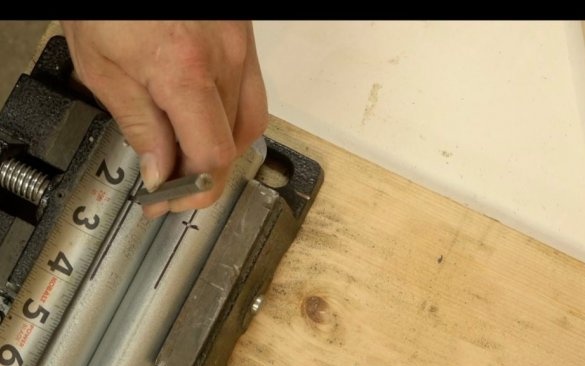
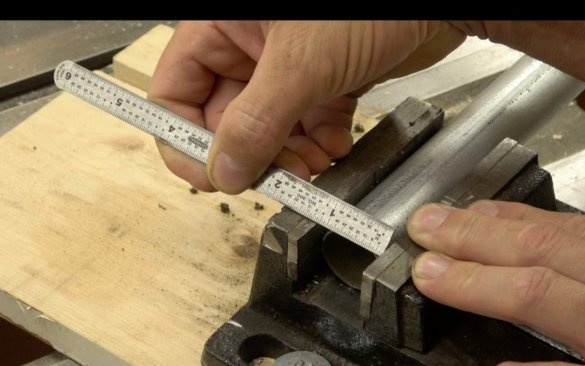
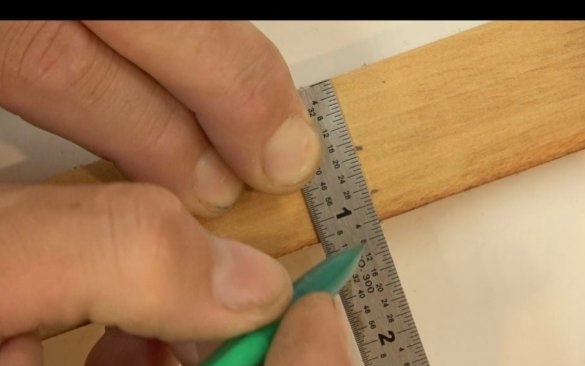
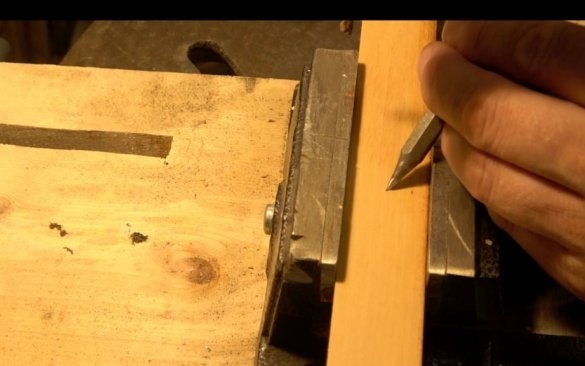
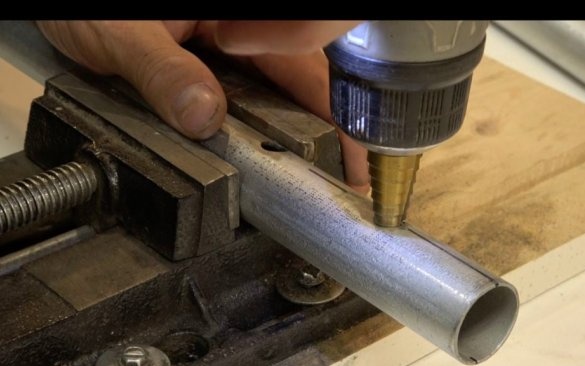
Now you need to mark the drilling site. There is a seam inside each tube. The master, focusing on the inner seam, makes a mark on the outside of the tube. Such marks must be made on each side of the tube. Now, having attached the ruler to the tube, the master marks on each side a distance of 5 centimeters.
Step Three: Extreme Holes
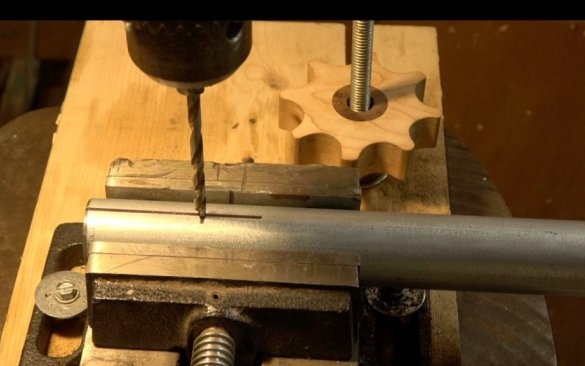
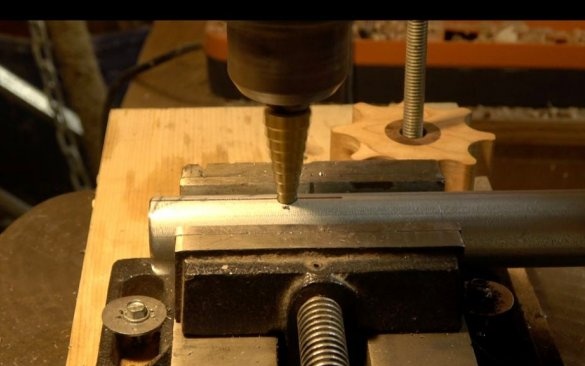
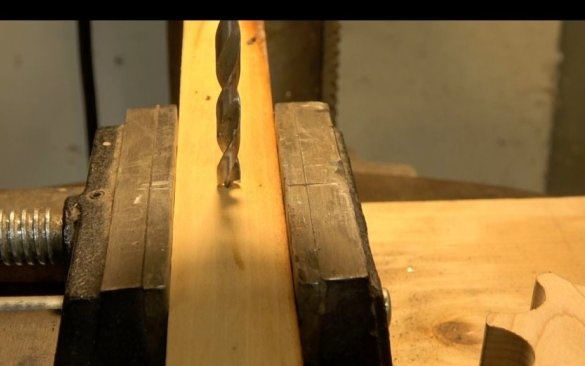
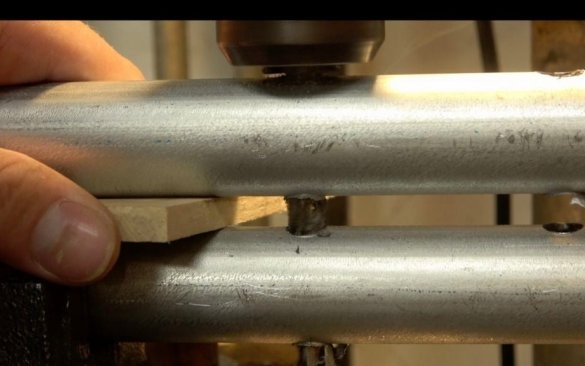
Now you can drill holes.
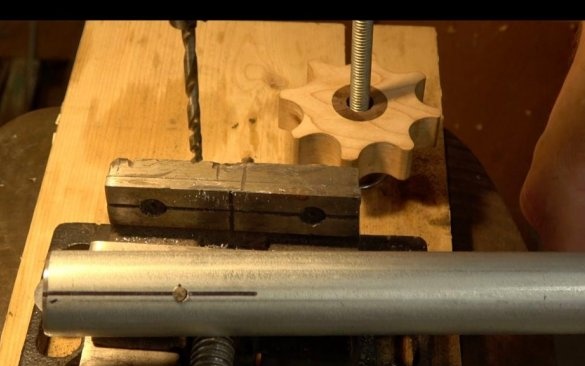
The holes are drilled and the master checks their alignment.
Step Four: Template
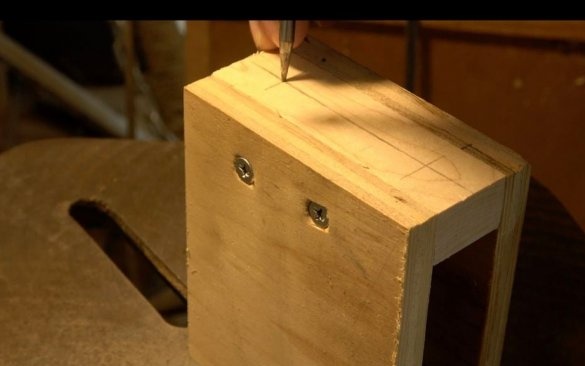
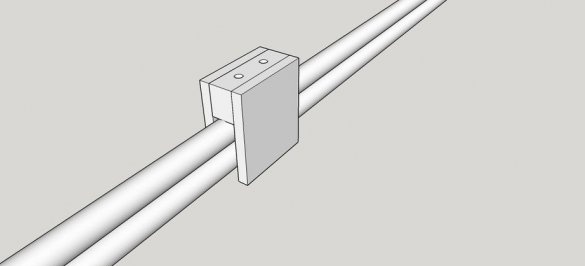
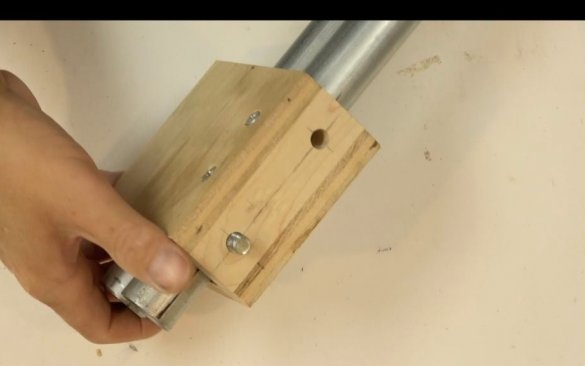
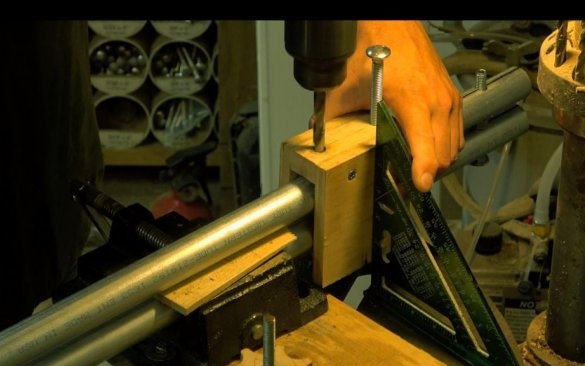
The width of the clamped blanks can be different and the clamp must be adjustable. It is necessary to drill a few more coaxial holes into the tube. To maintain alignment, the master makes a template.
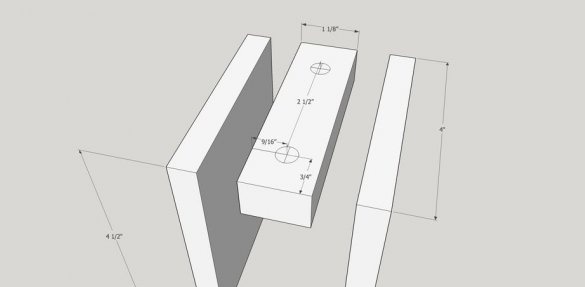
Slices a bar. The width of the bar is equal to the diameter of the tube.
On the edges of the bar drills two holes at an equal distance. To the side of the bar, on both sides, nails the plywood.
Step Five: A series of holes
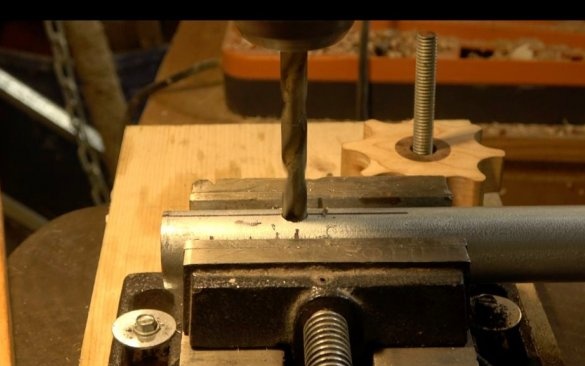
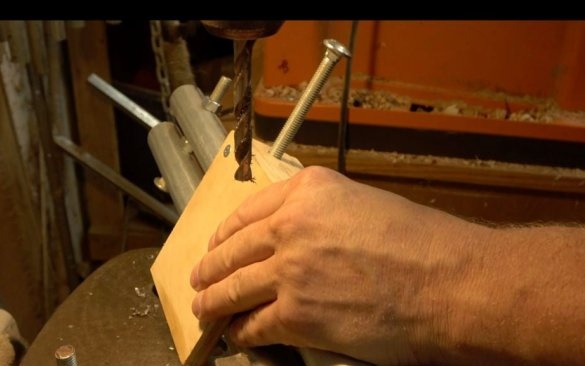
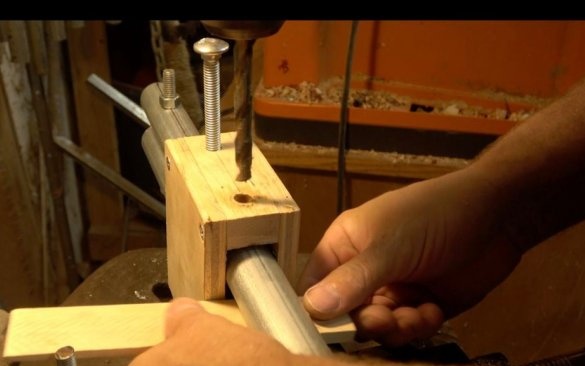
Drills holes according to the pattern.
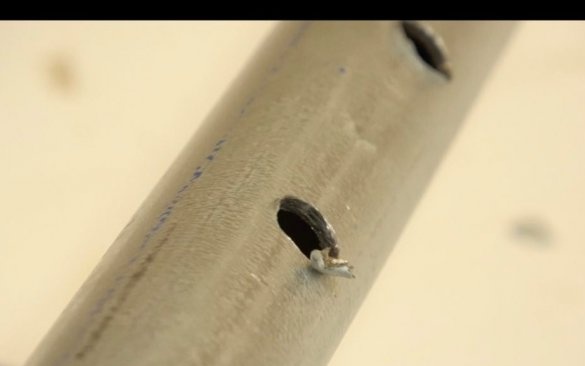
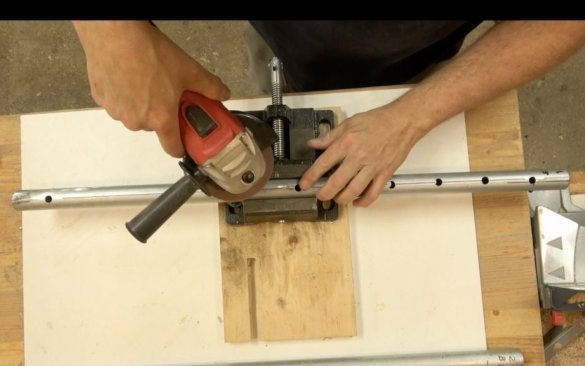
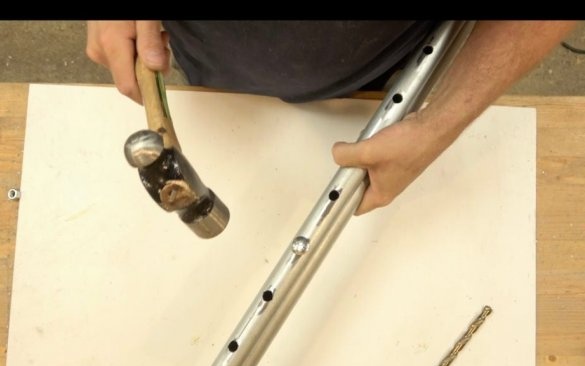
Cleans barbs and checks alignment of holes.
Sixth step: wing screw and spacers
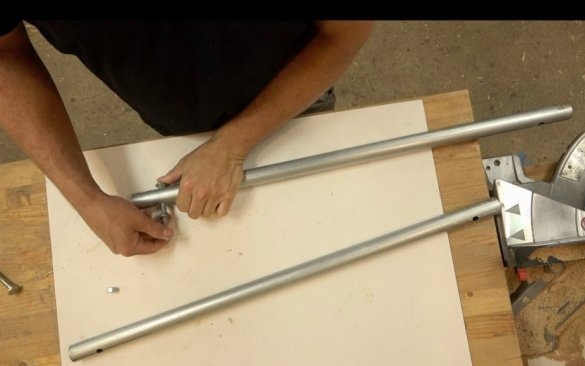
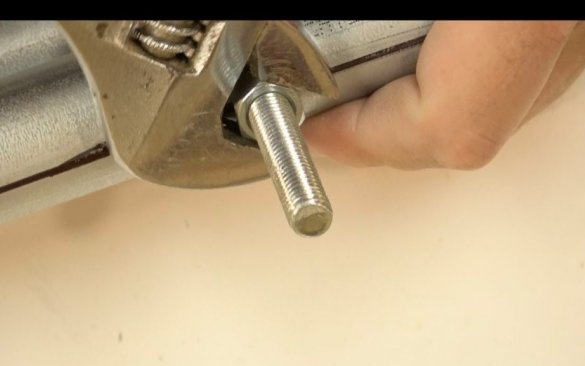
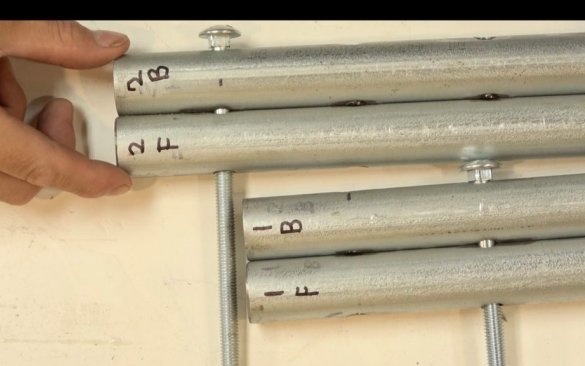
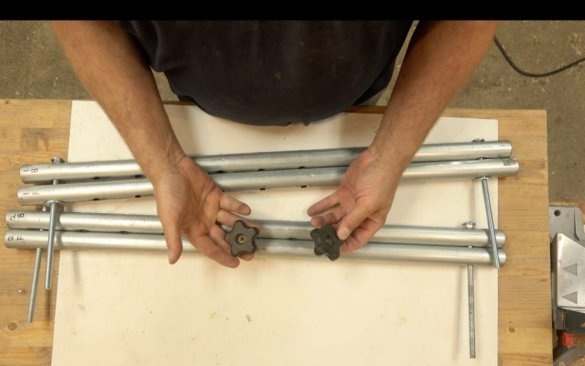
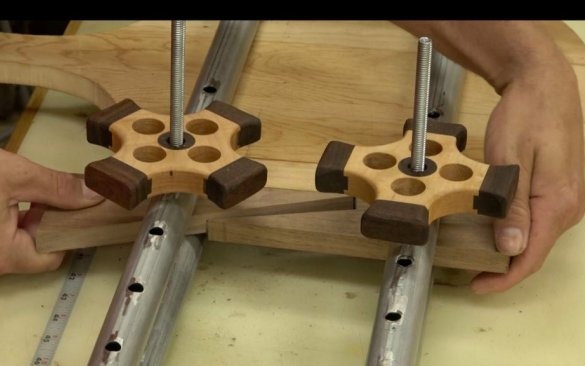
You can buy a lamb, but you can make another. Two clips are needed for each clip.
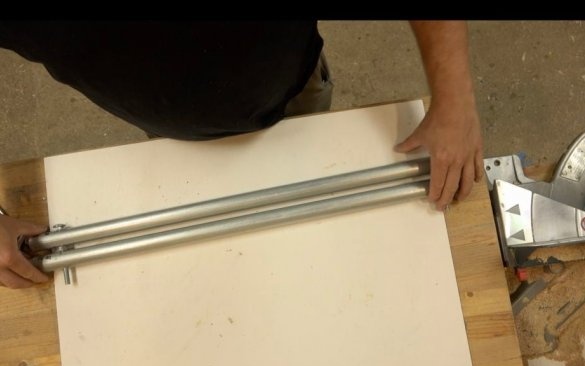
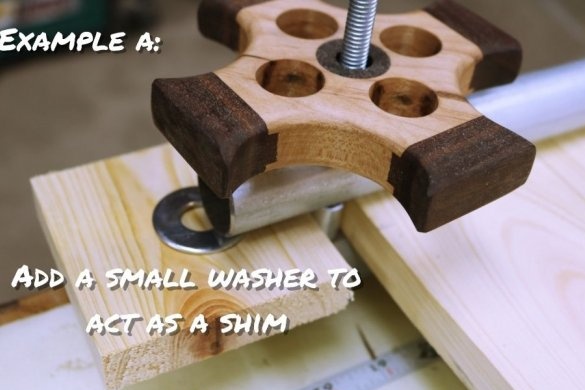
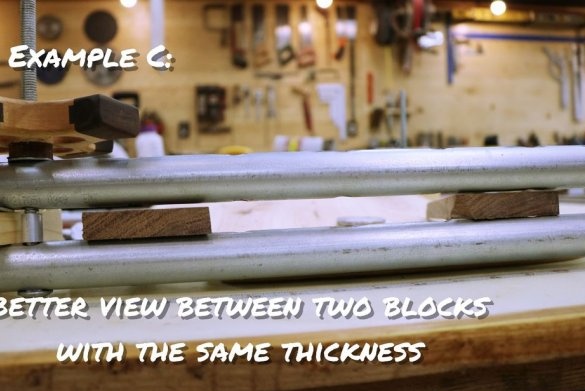
Also, the master installs spacers between the tubes of an aluminum tube.
Also spacers can be made of wood.
All is ready.
The entire clamp manufacturing process can be seen in the video.

