
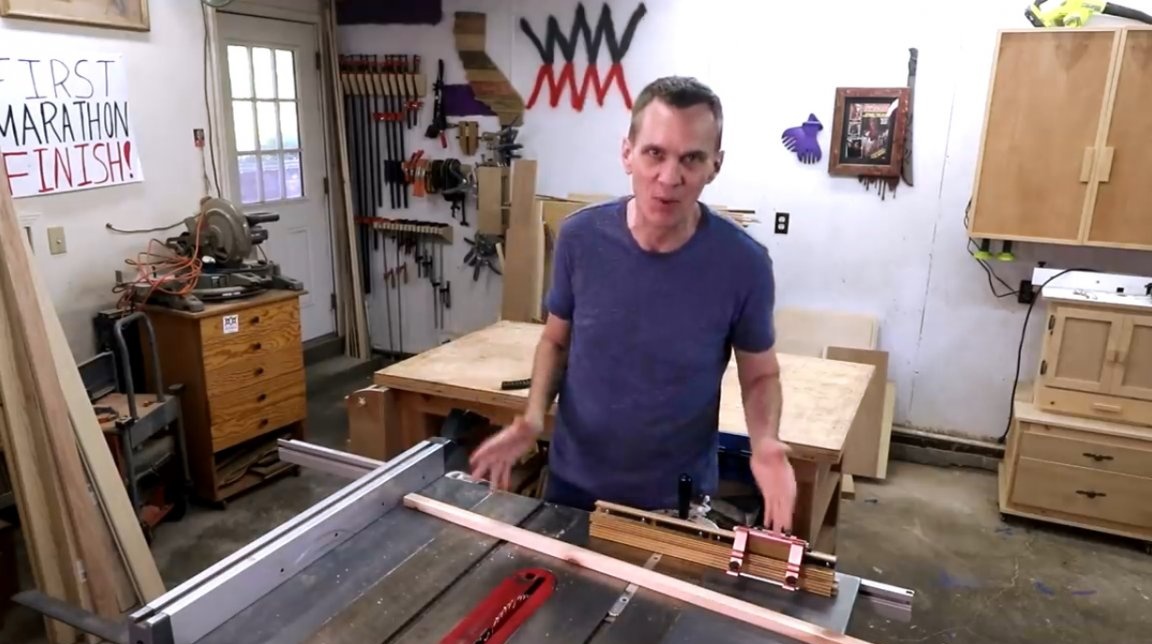
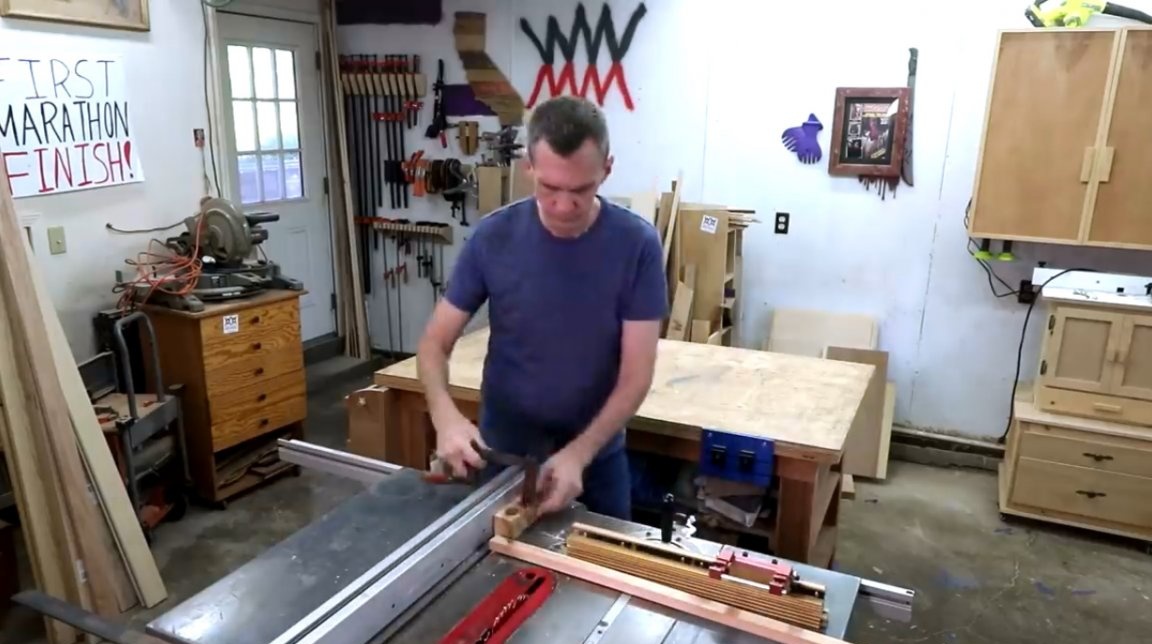
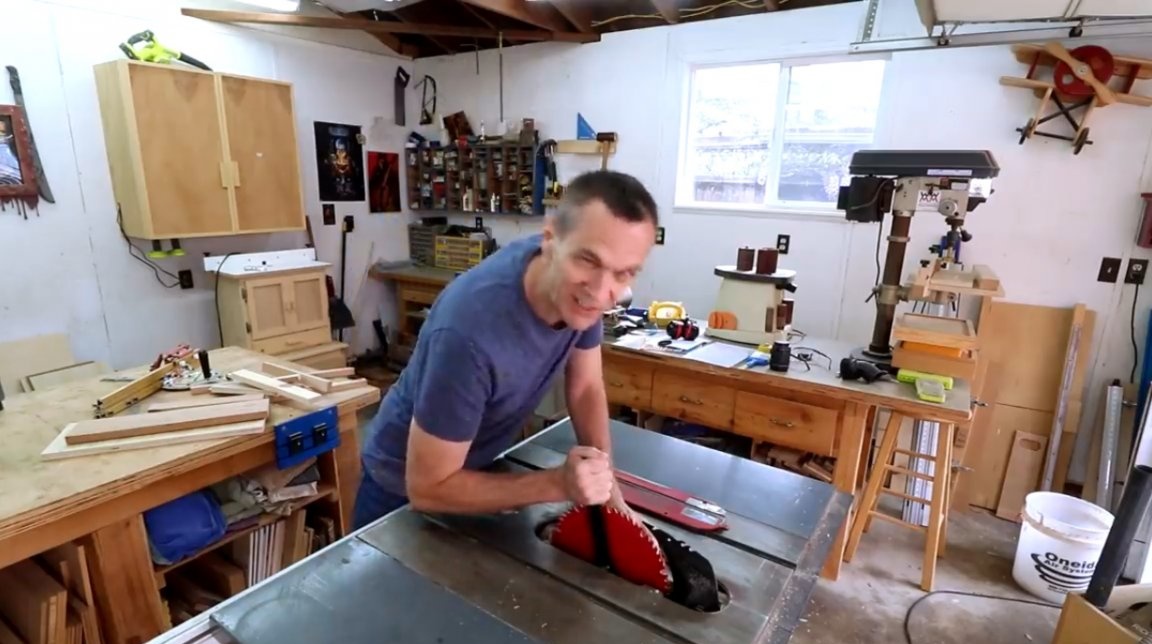
In this article, Steve, the author of the YouTube channel Steve Ramsey - Woodworking for Mere Mortals, will analyze the most popular mistakes made by amateur beginners when working on a circular saw. Even experienced craftsmen sometimes forget about safety, hoping for their experience. After reading the article, you can adjust your actions, get cleaner cuts and get the keys to safer operation of the circular saw.
Materials
- Boards
- Sheet plywood.
Instruments, used by the author.
—
- A circular saw
—
— .
Manufacturing process.
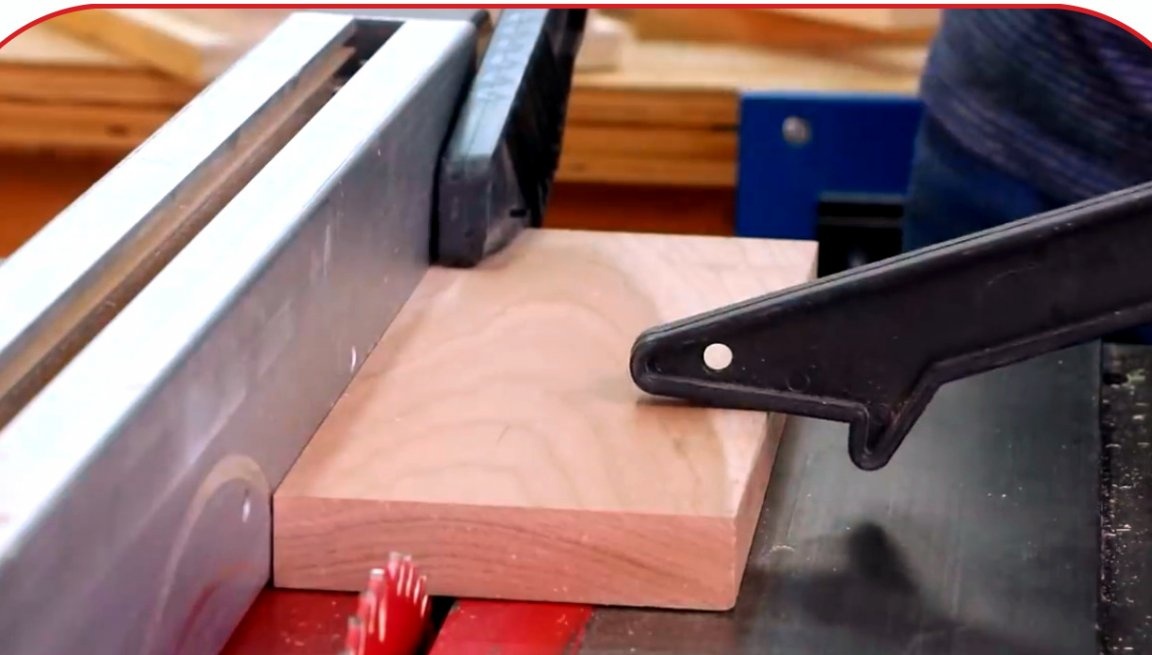
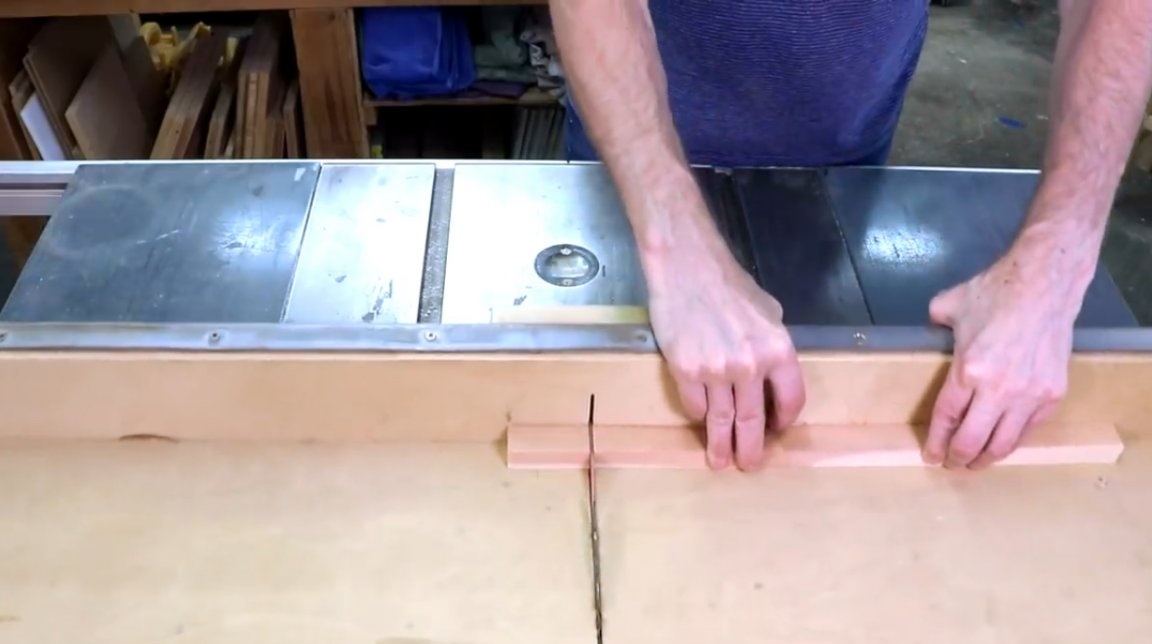
Error No. 1: Incorrect use of stops when making transverse cuts.
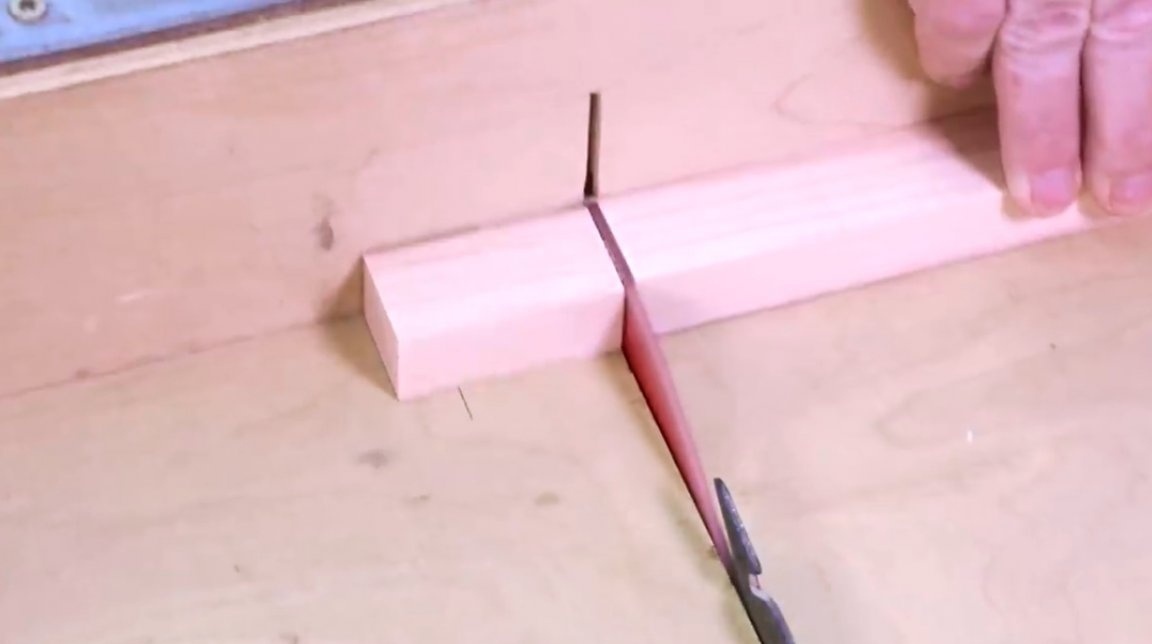
When you make a cut, it is important to determine the difference between the workpiece and the material being cut, as well as the need to support one or another part of the timber. Usually there is a desire to find a support for the workpiece itself - that part of the board or bar that you measured for the project, while the part to be cut is not fixed.

What does this lead to? When you make a transverse cut, the loose side at some point stops moving through the saw blade, and the cut is uneven, often with a chip.

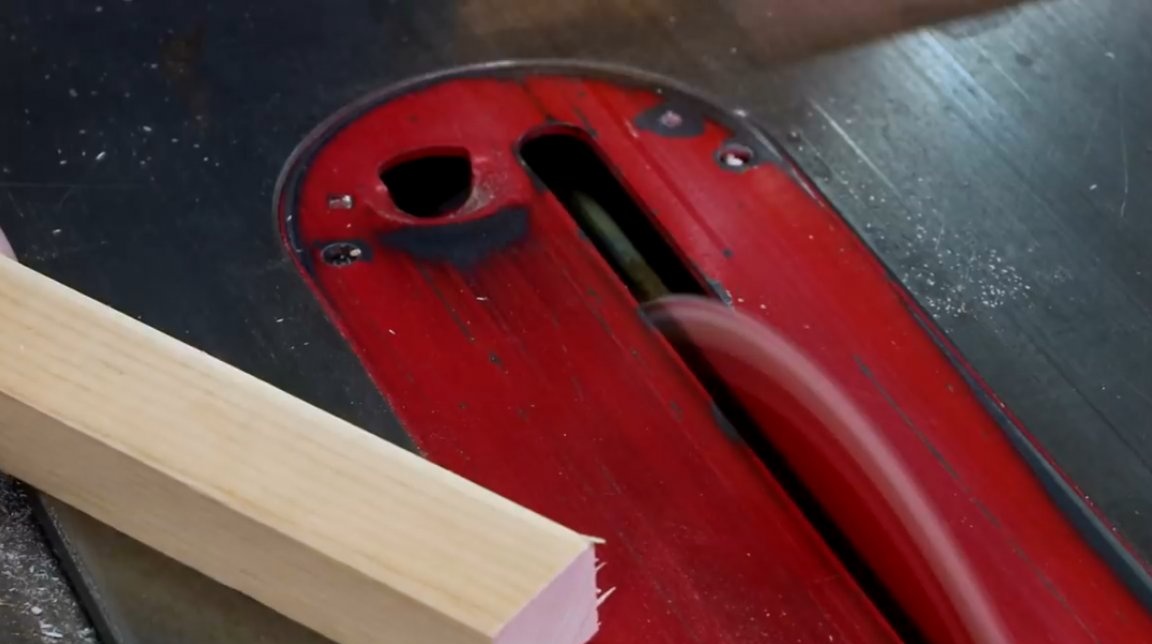
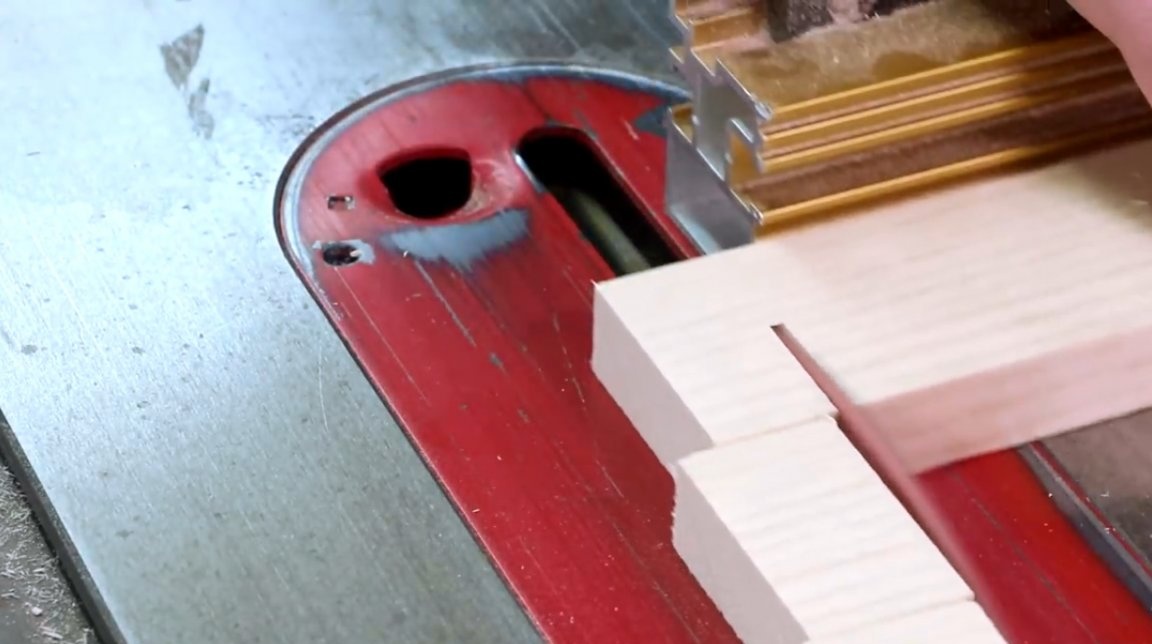


An exception is if you attach the stopper to the longitudinal stop in order to make a series of short segments. Here you support the cropped side. It’s not a big deal if you then have to clean the edges a bit by removing chips from them.
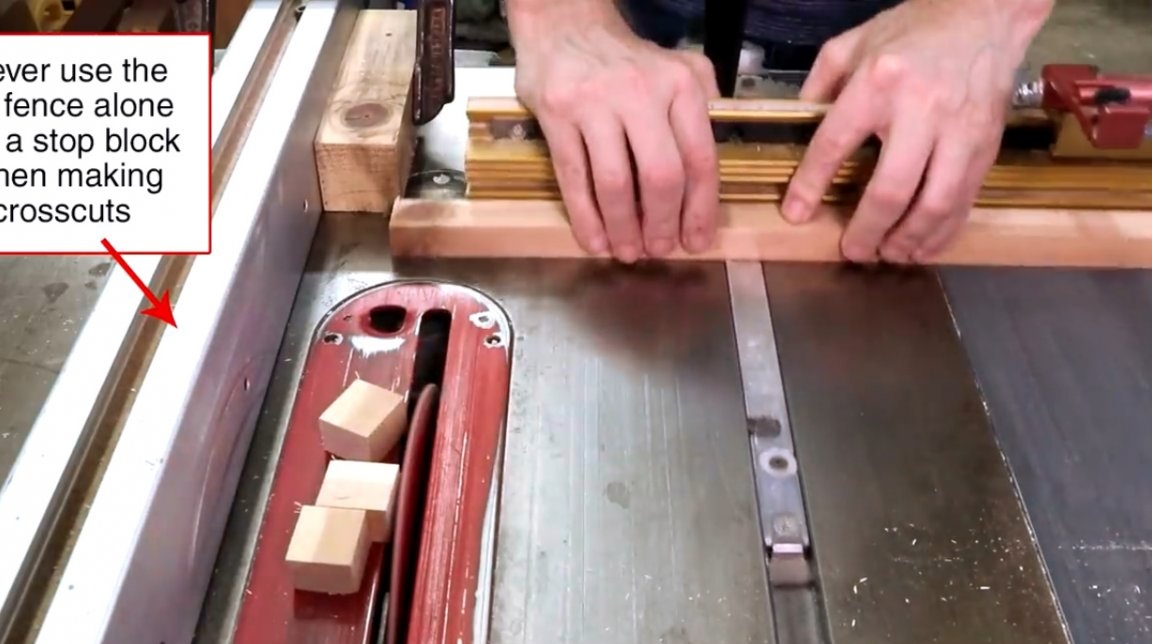
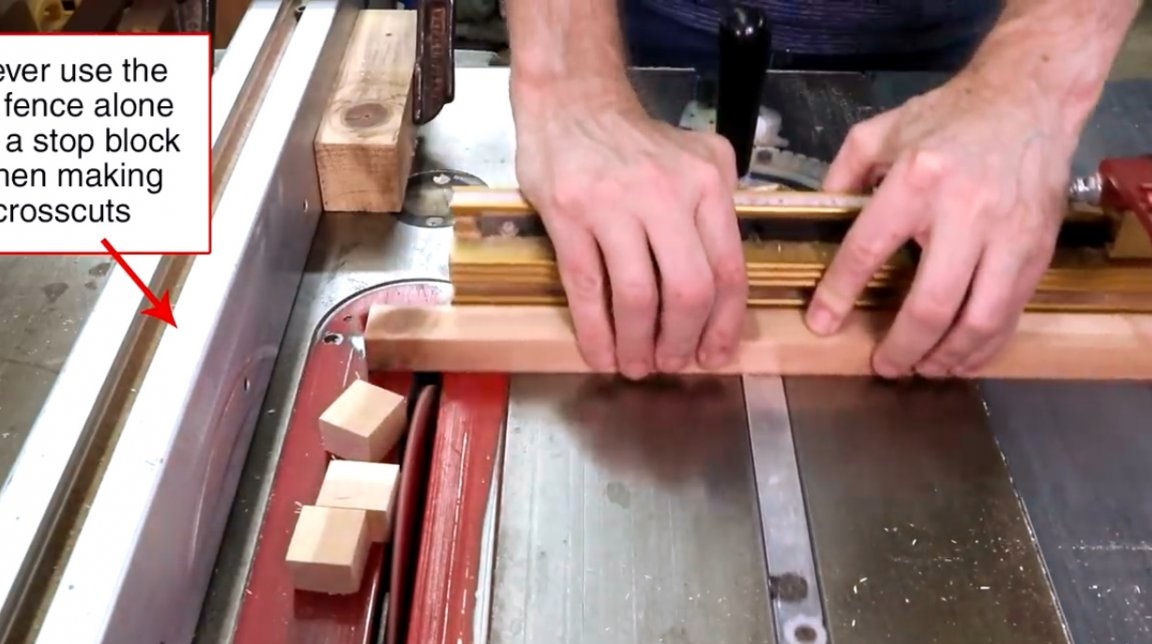
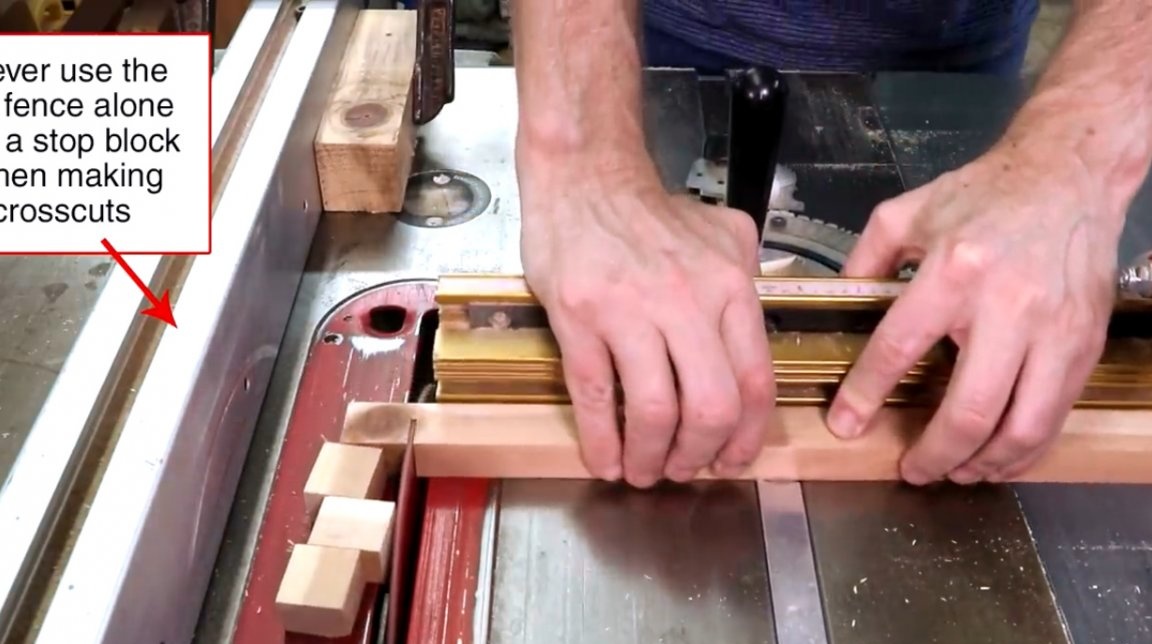

Rule number 1: When making a cross-section, never use the stop itself as a limit block.
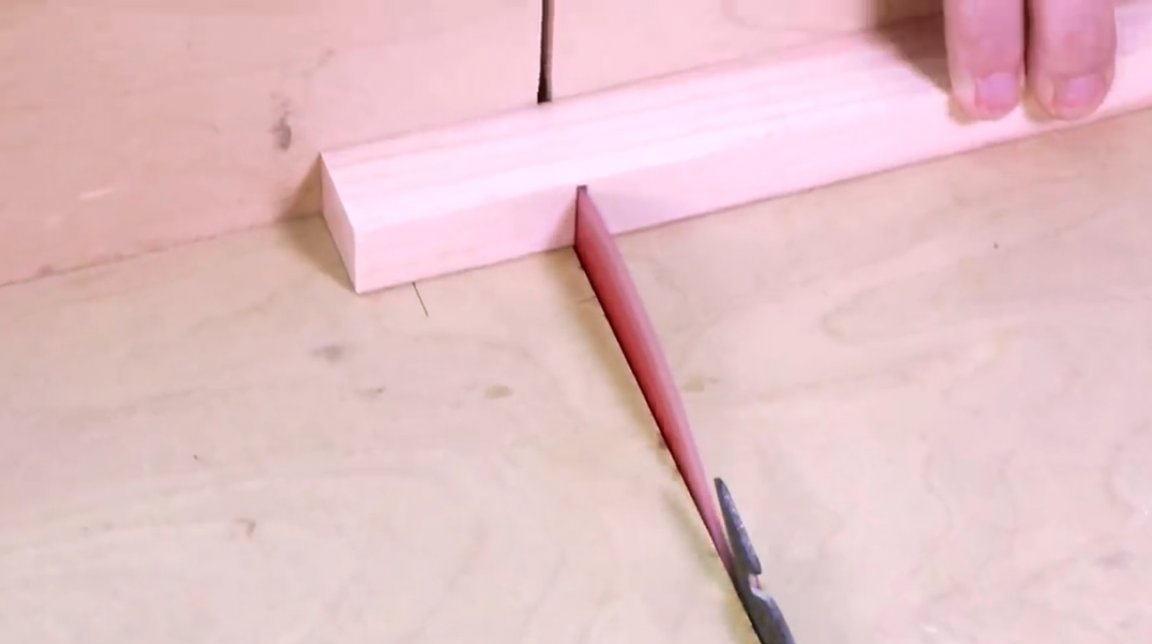
And of course, cutting off the short parts of the board, you should not put the limiter in the short segment. In this case, the remaining long part of the board, not being fixed, will begin to deviate, placing your fingers in a dangerous proximity with the saw blade.
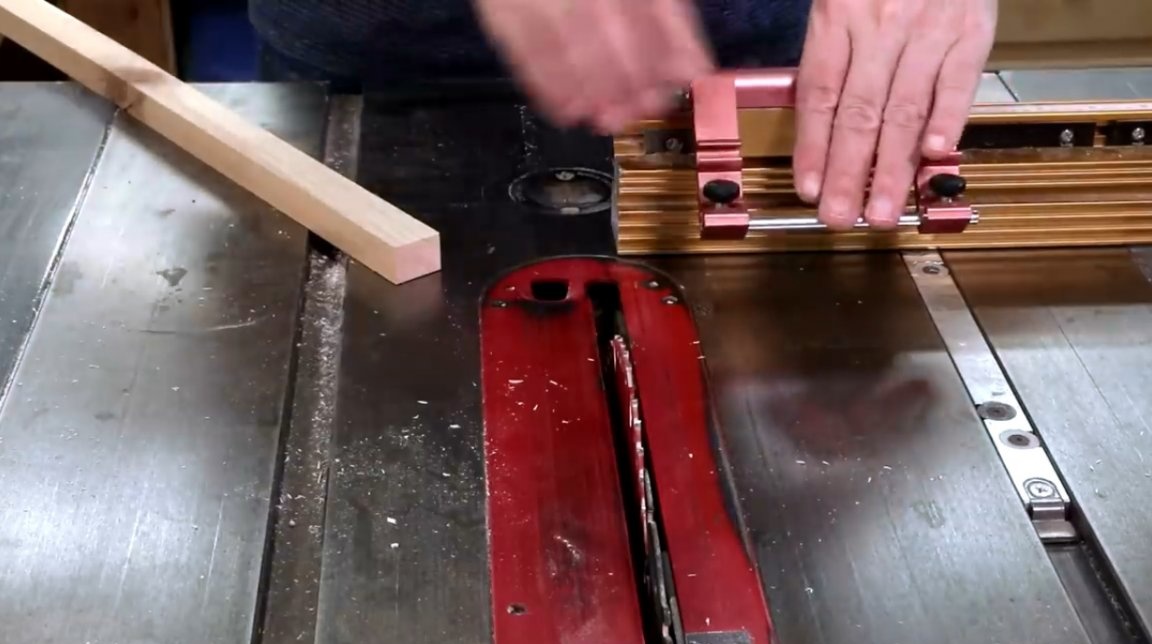
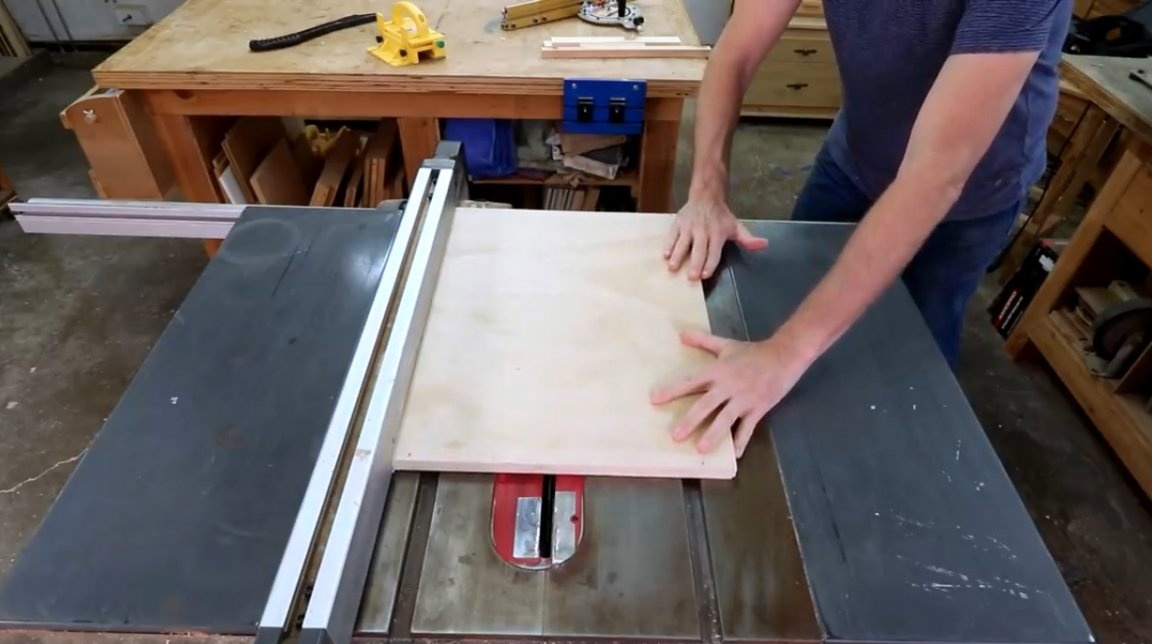
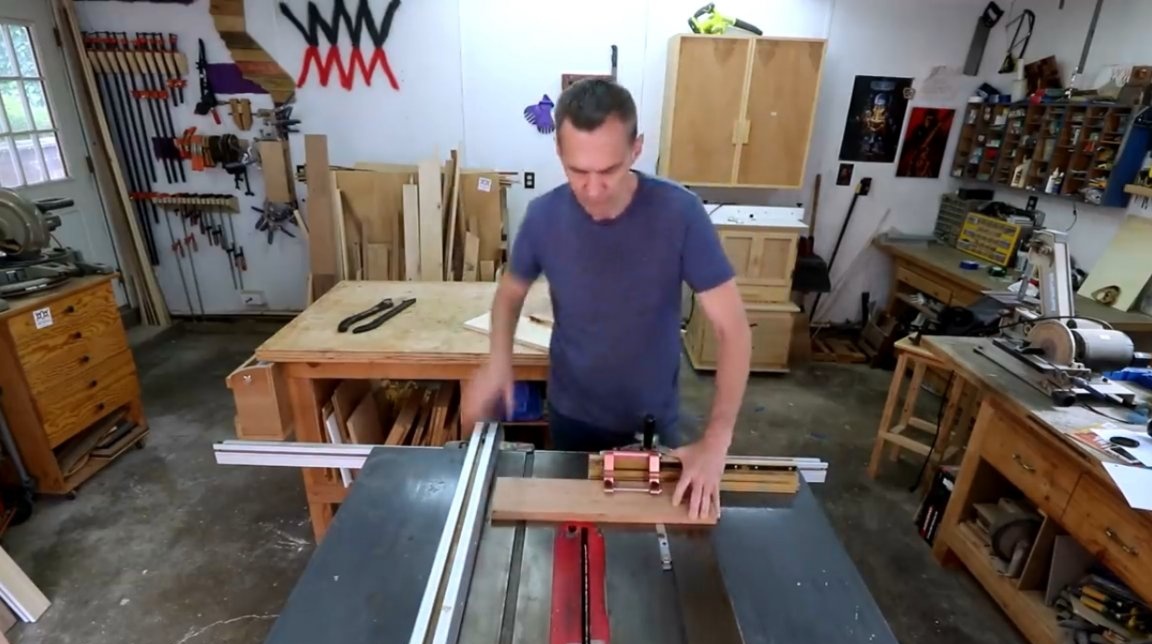
The best solution here is to use a movable carriage. It will give an even and accurate cut, because both sides of the wood will be fixed.


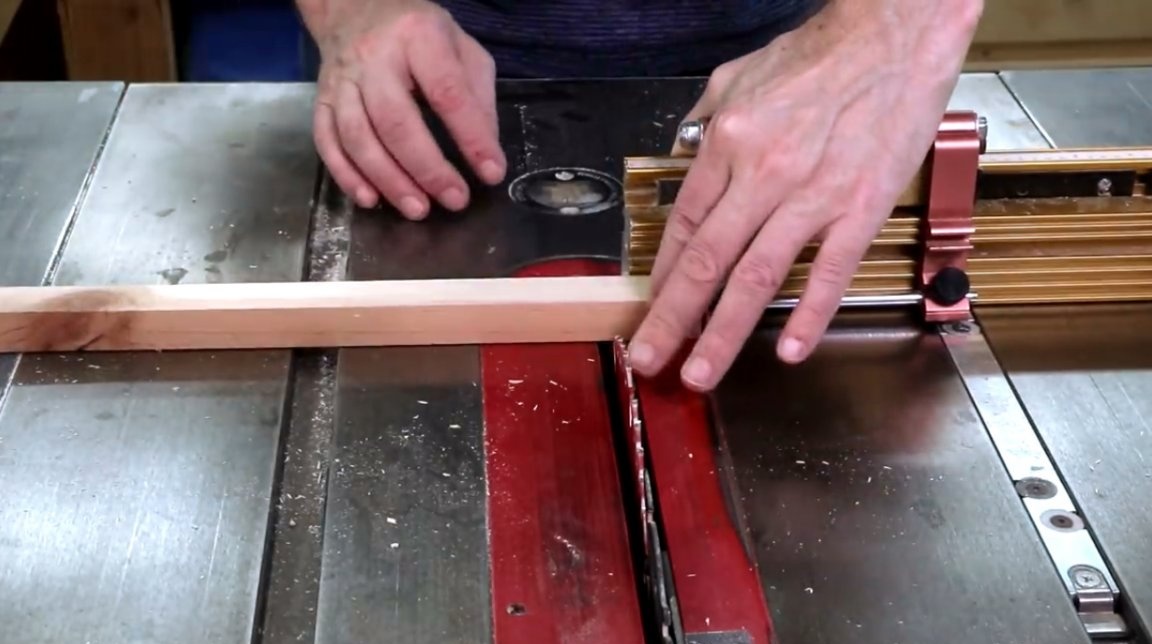
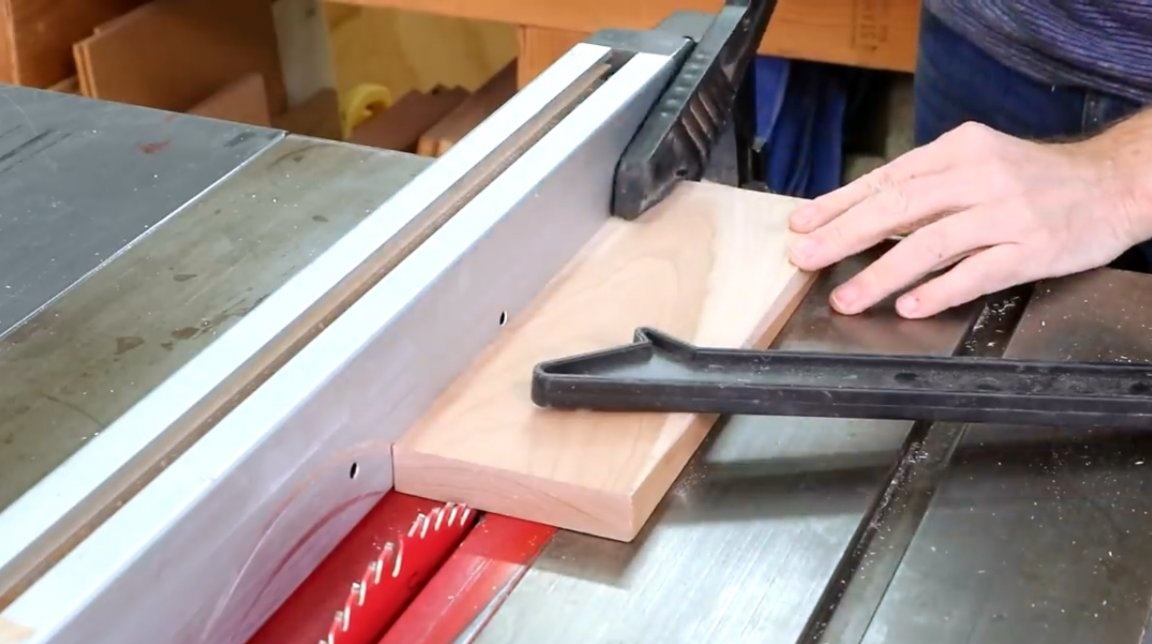
Mistake number 2: Pressing to the saw blade.
When you use the stop to cut wide boards, you almost always place the part to be machined between the saw blade and the stop. In this position, it is tempting to direct the sheet from the side of the cut part of the board.But, as soon as the slot appears, you begin to exert lateral pressure on the saw blade itself, and not on the stop. This can provoke compression of the workpiece at the point of cut, and as a result, your cut will not be at right angles.

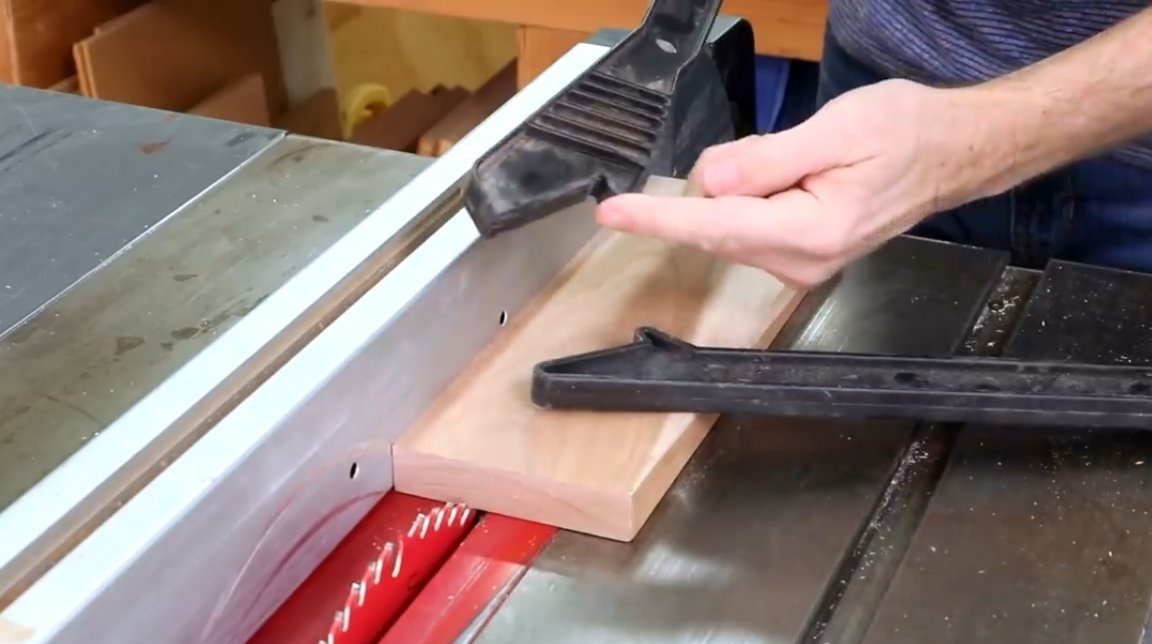
Rule number 2: Support the machined part of the board itself and put pressure on the stop.
The use of such a pusher will ensure perfect cutting of the workpiece.

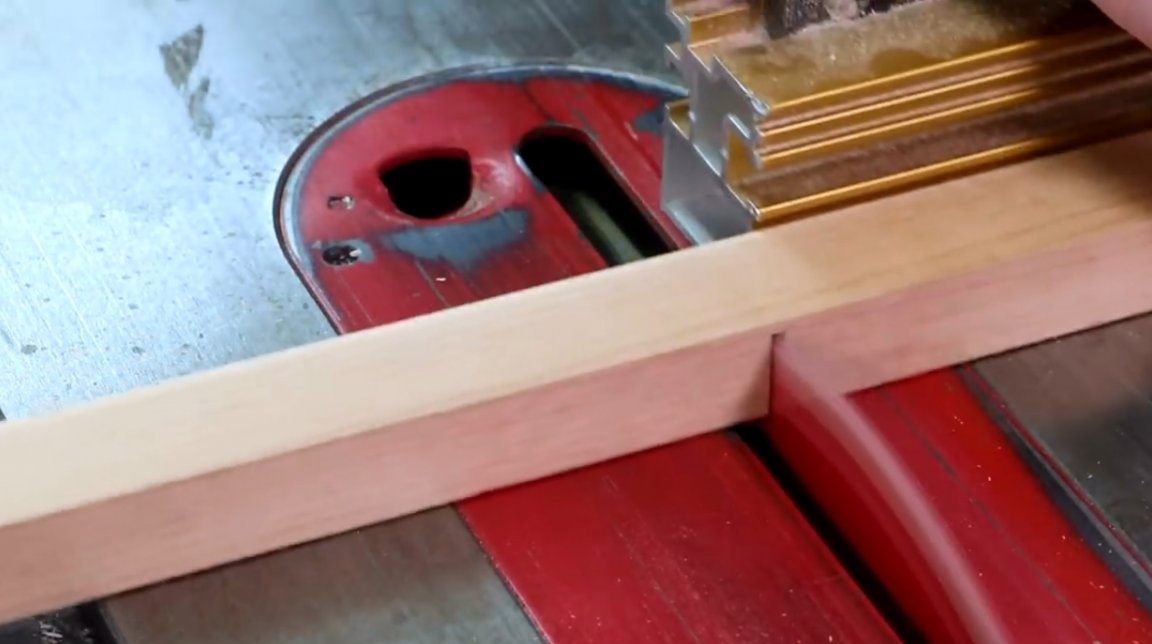
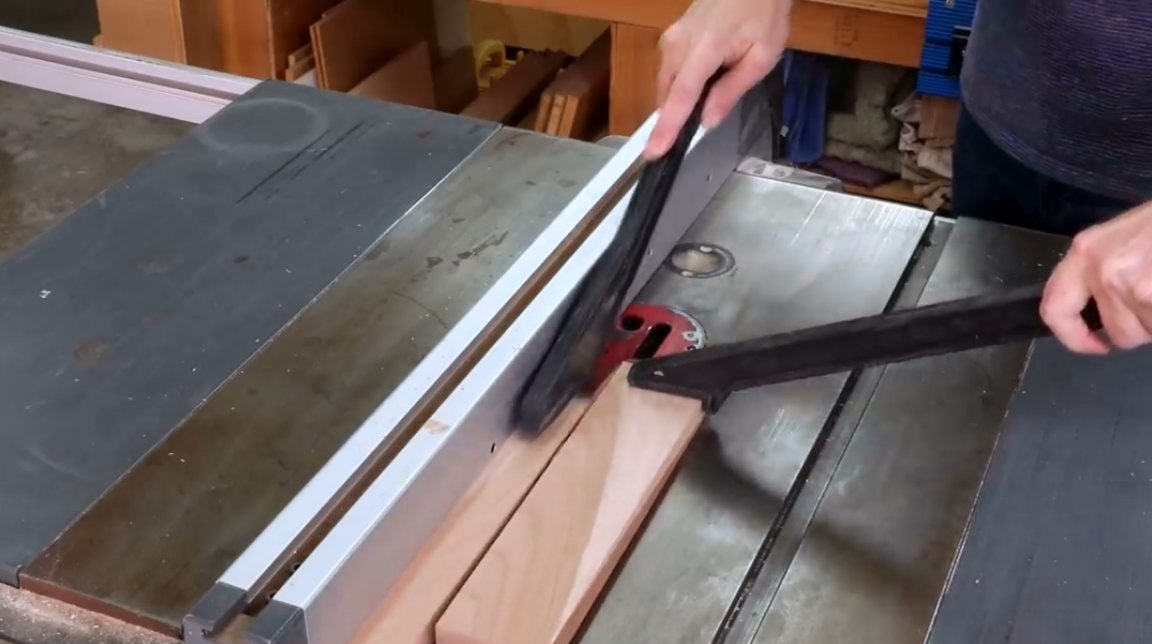
Error No. 3: Incorrect pressure distribution when pushing timber through the saw blade.
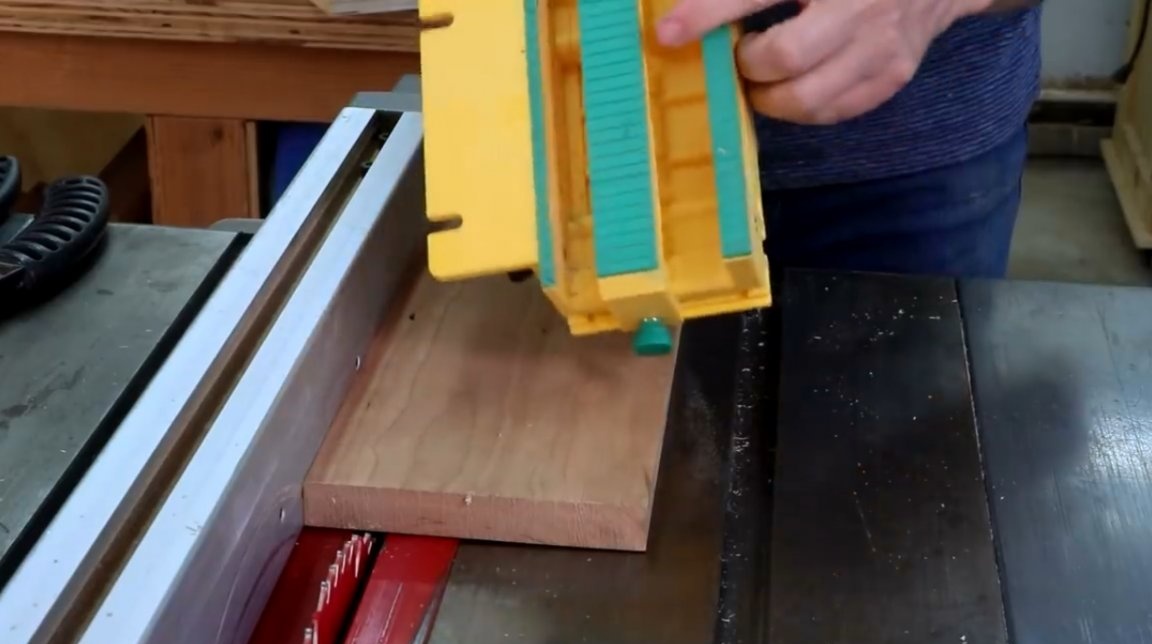
Any carpenter knows that pushing wood through the saw blade should not be done with fingers, but with special devices called pushers, which come in a wide variety of shapes and from a wide variety of materials, from wood to plastic. But many people use them incorrectly.
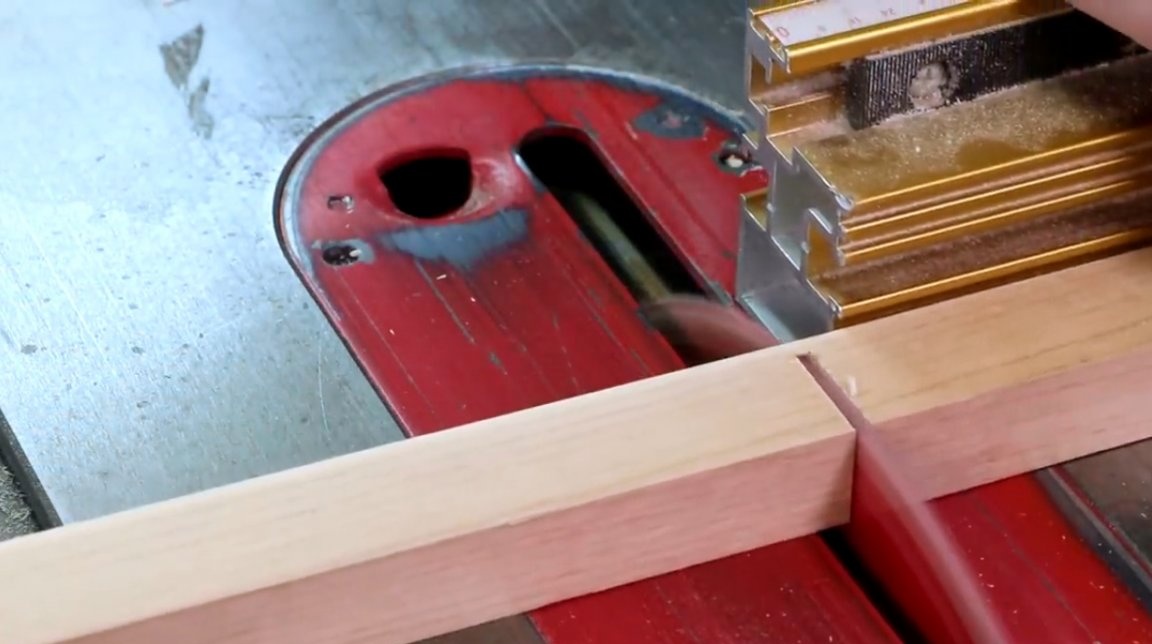
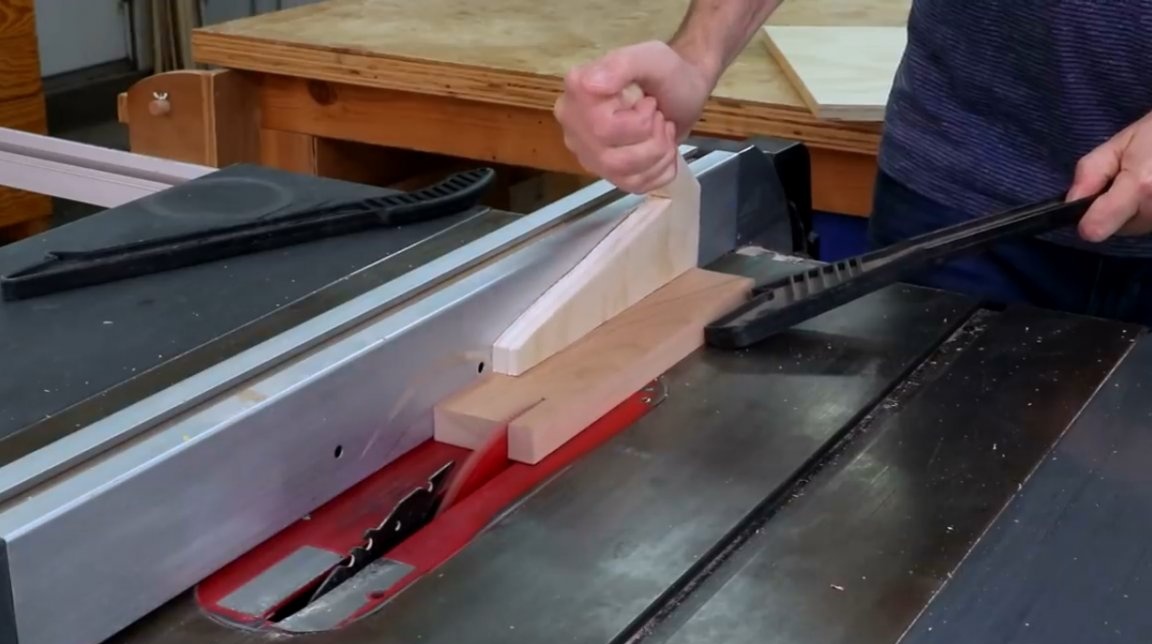
Rule number 3: Firstly, one pusher is not enough, it takes two! With one, you push the timber forward along the saw blade, and with the other, push the board down and to the stop, in two directions at once. Only three points of pressure, and this is done simultaneously.
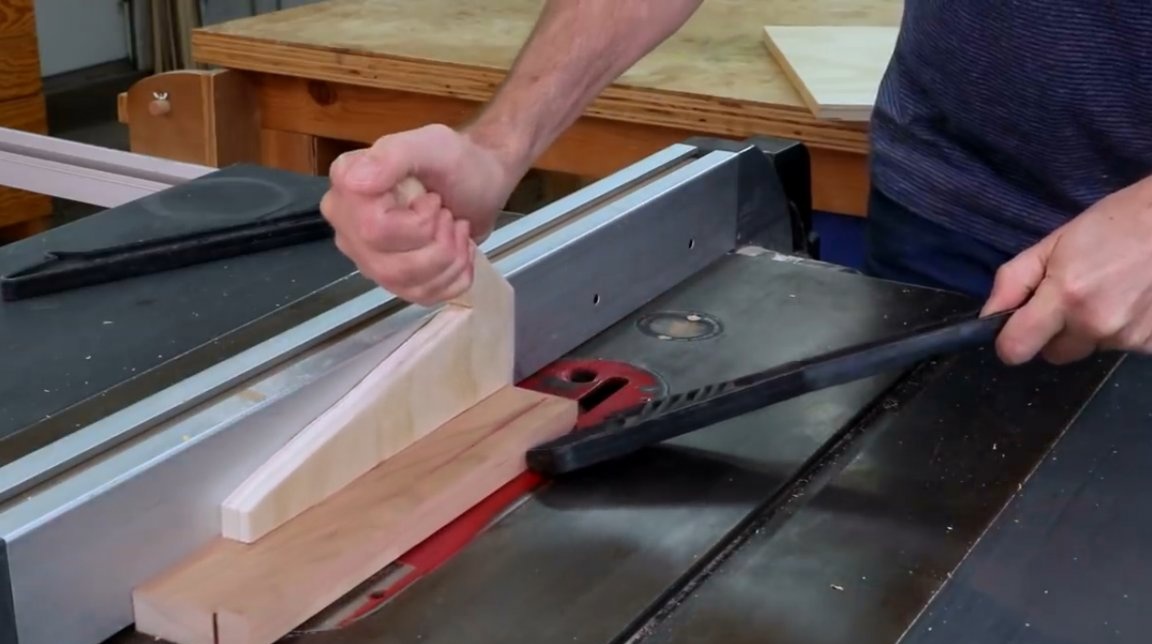
The board is captured by these wedges and pressed forward, down and inward, to the stop. And you need to do this only from the back of the workpiece. The lateral pusher should not be at the level of the cut, it must be gradually shifted back. As soon as the cut is made, stop the pressure in the direction of the stop.


Pushers of such a pattern can become a good improvement; it is easier for them to exert pressure downward. But they do not eliminate the need to use a second pusher that would press the board against the stop.

Only such a distribution of forces will lead to a neat cut.
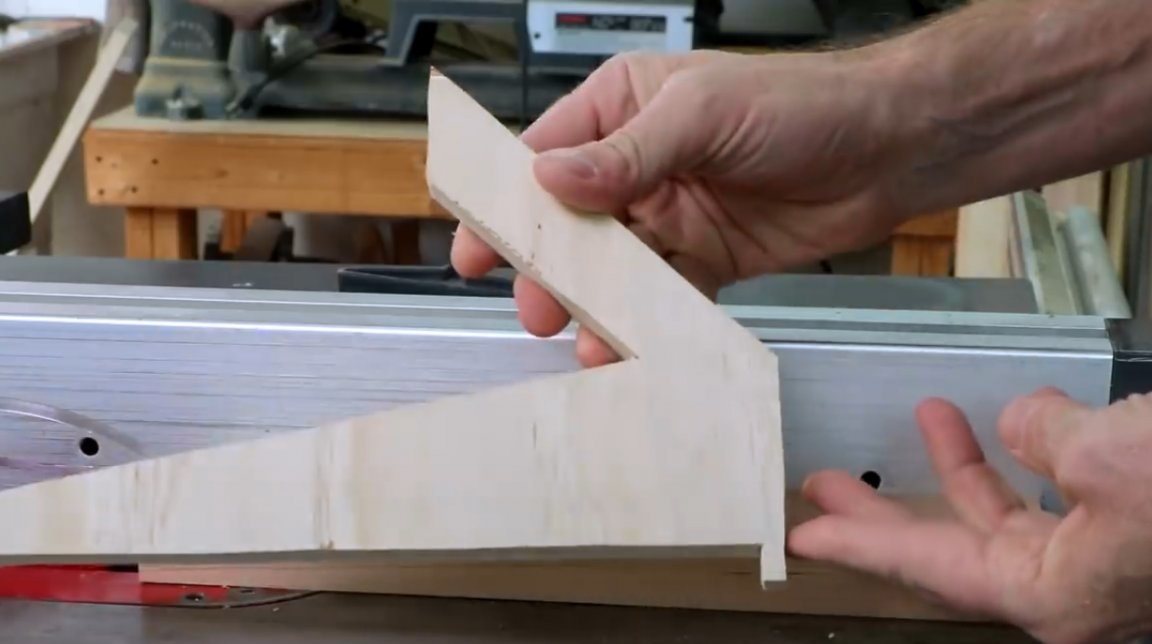
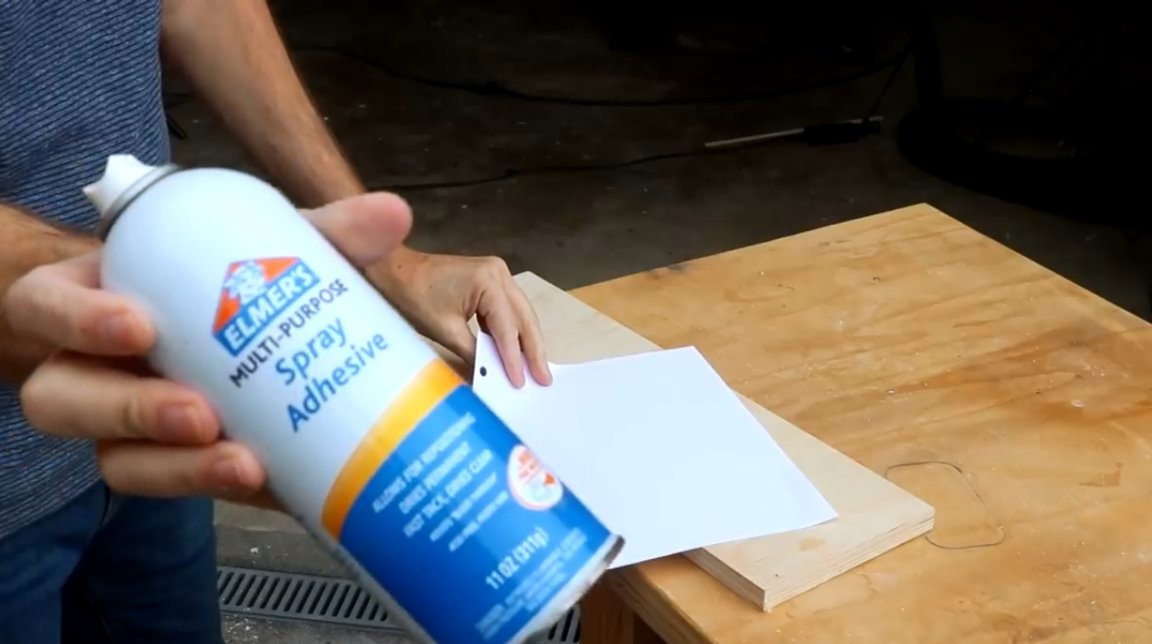
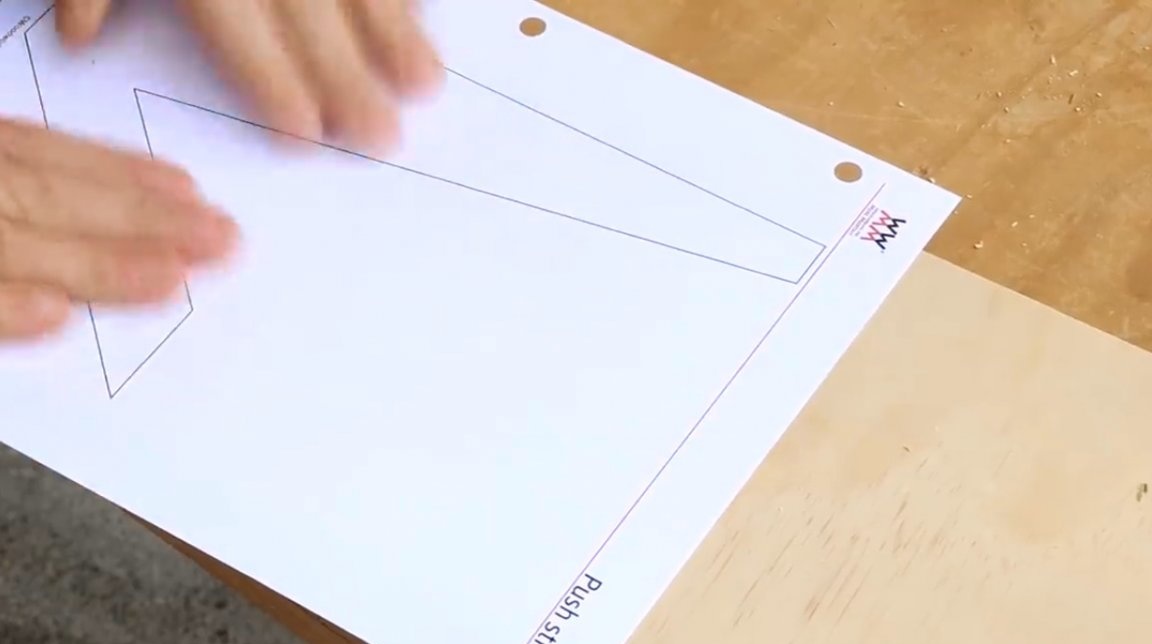
Such a pusher can be made from a regular piece of plywood, having previously cut out the template. (Link to template here, and in the description for the video).
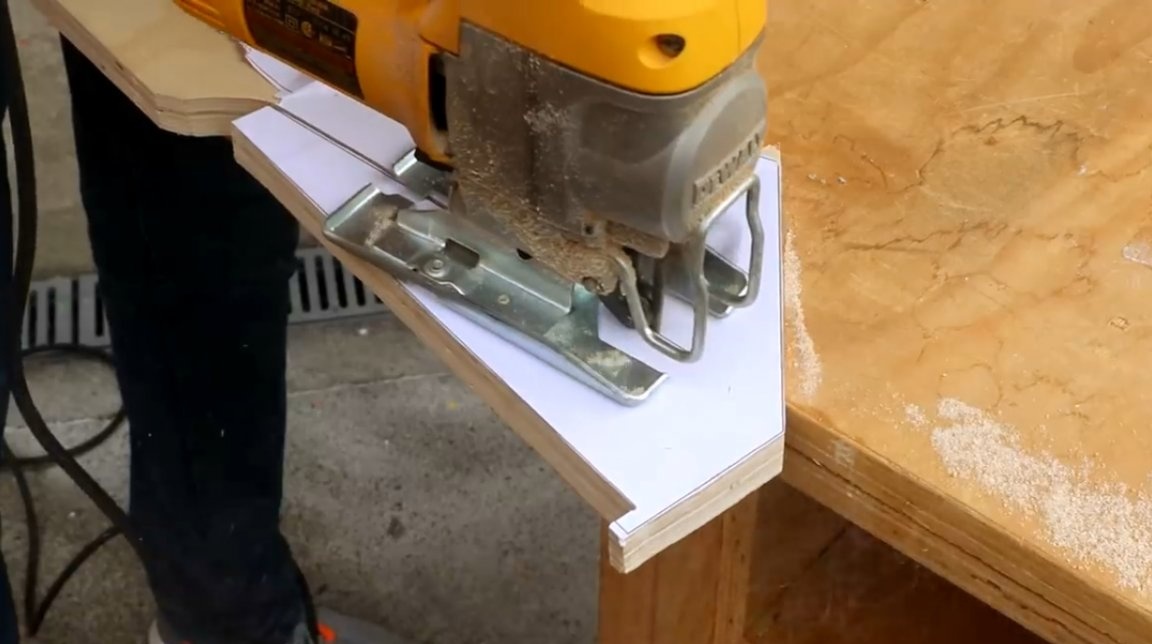
Download the template, print it, glue it to a sheet of plywood with a minimum of 18 mm thickness, and cut it with a jigsaw according to the drawing.

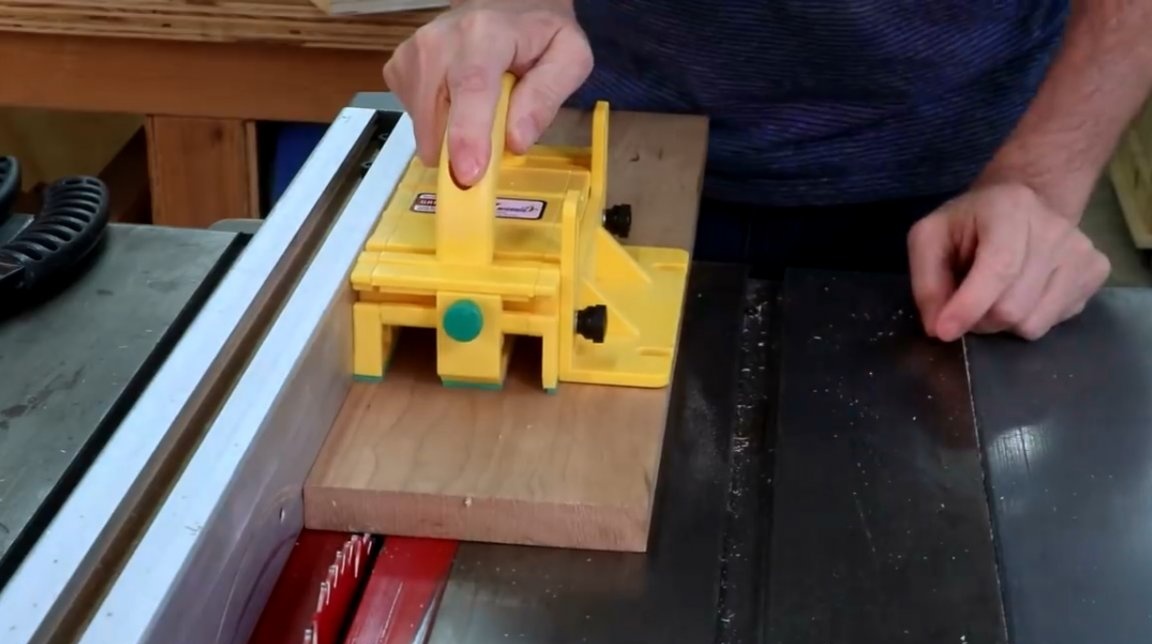
But, of course, this type is the best. It allows you to easily press the board in all three directions at the same time. It can also be an excellent support for the trimmed part of the board.
Its bottom surface holds the workpiece very well and prevents it from slipping. The central part can be shifted left or right, depending on the need. There is also vertical adjustment.
In addition, this clamp can be used when working with a milling table, and other woodworking tools.

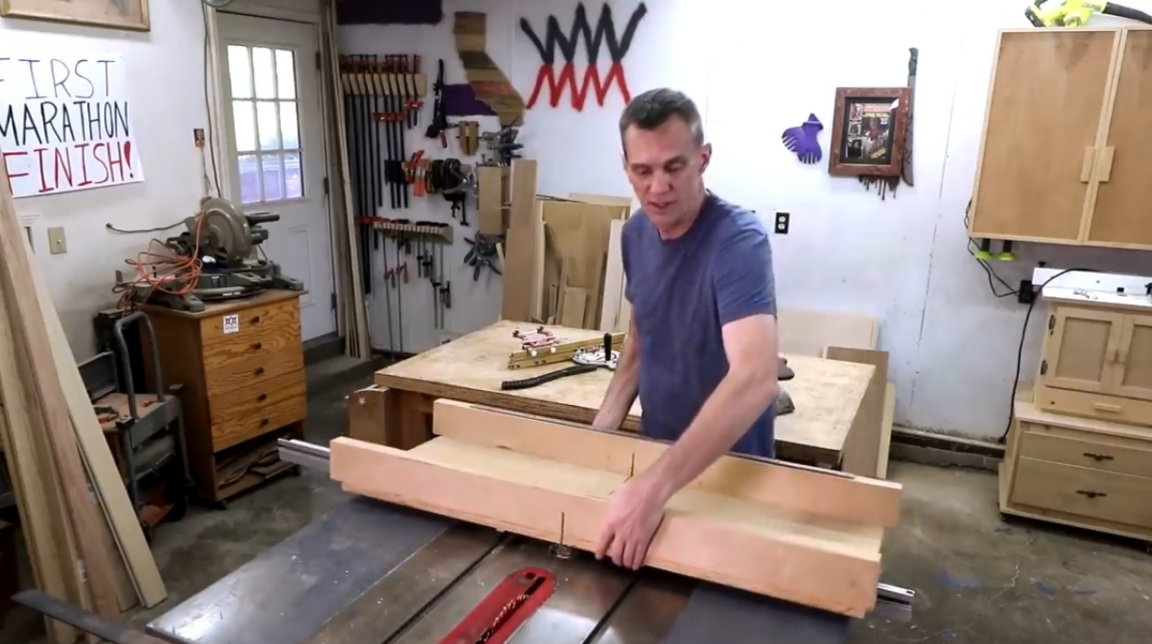
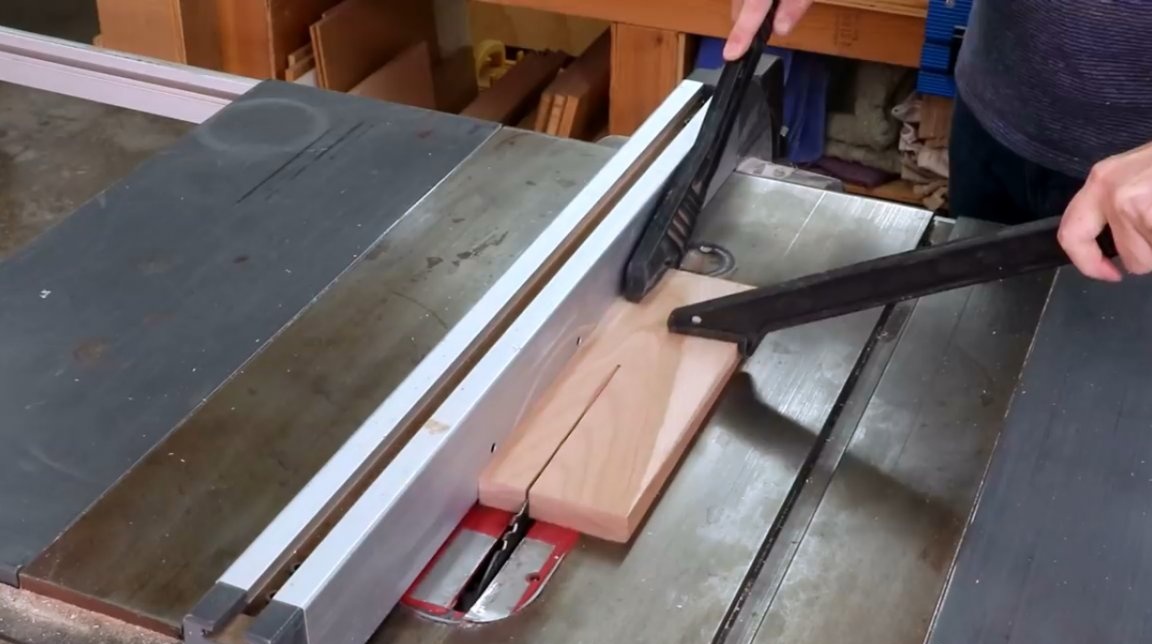
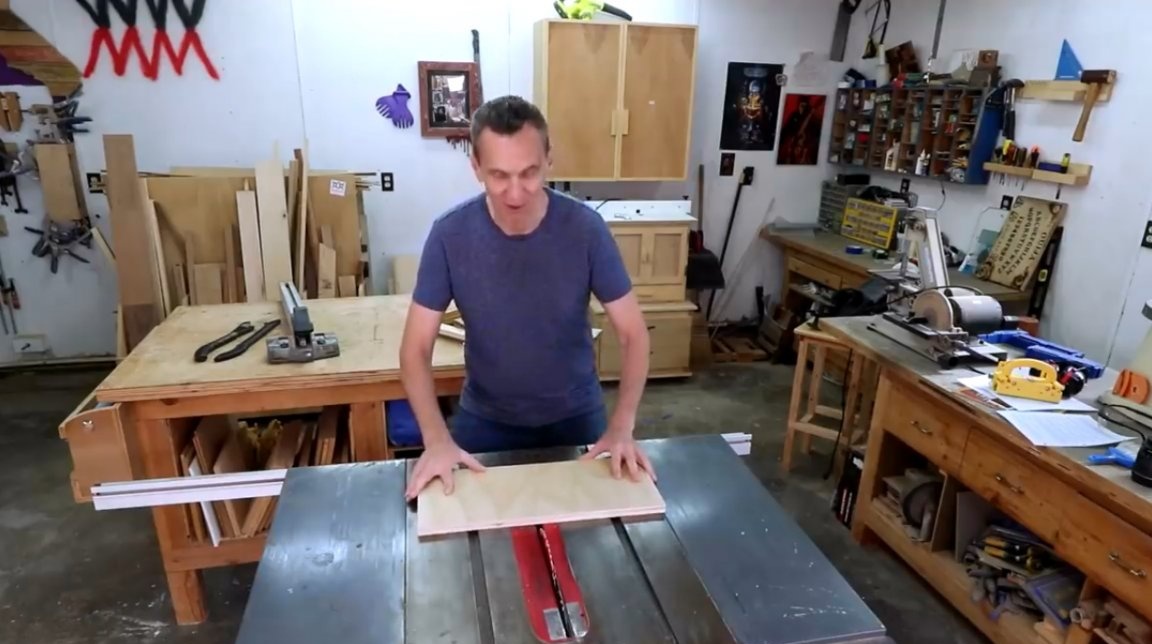
Mistake number 4: Manual cutting, without the use of a carriage, stops and pushers.
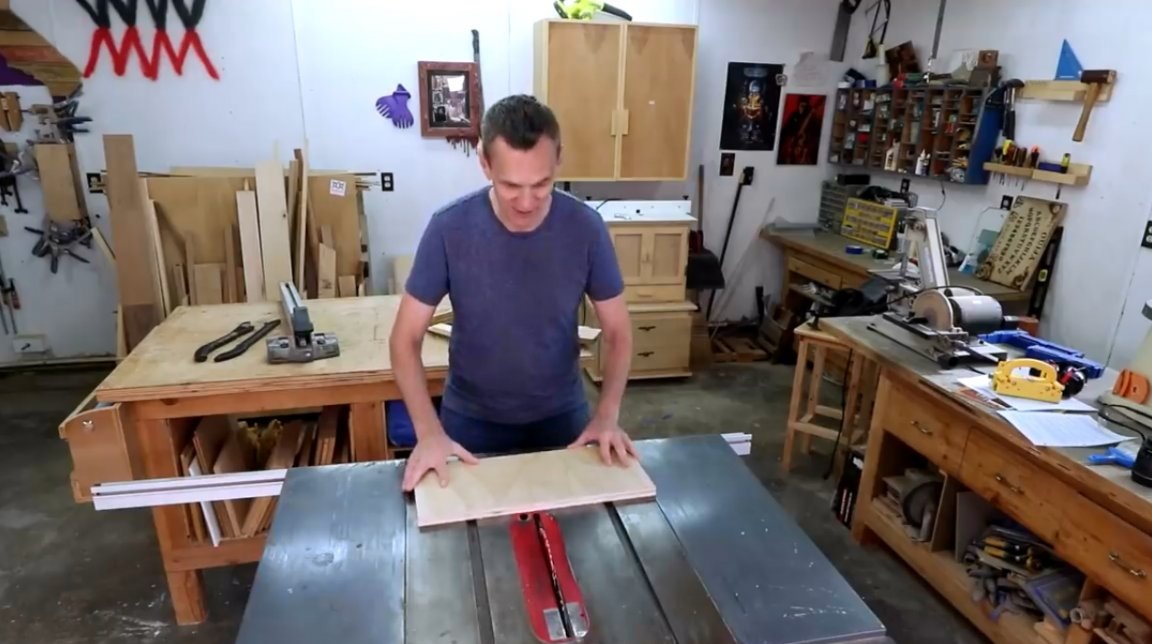
Rule number 4: Don’t even try, at best, you’ll be left without a couple of fingers!
Mistake number 5: Tighten the clamping nut when replacing the disc.
Suppose you did everything right - changed the disk, screwed the nut onto the spindle, and then you begin to tighten it to the limit, well, yes, you don’t want the blade to loose, or to break, God forbid.
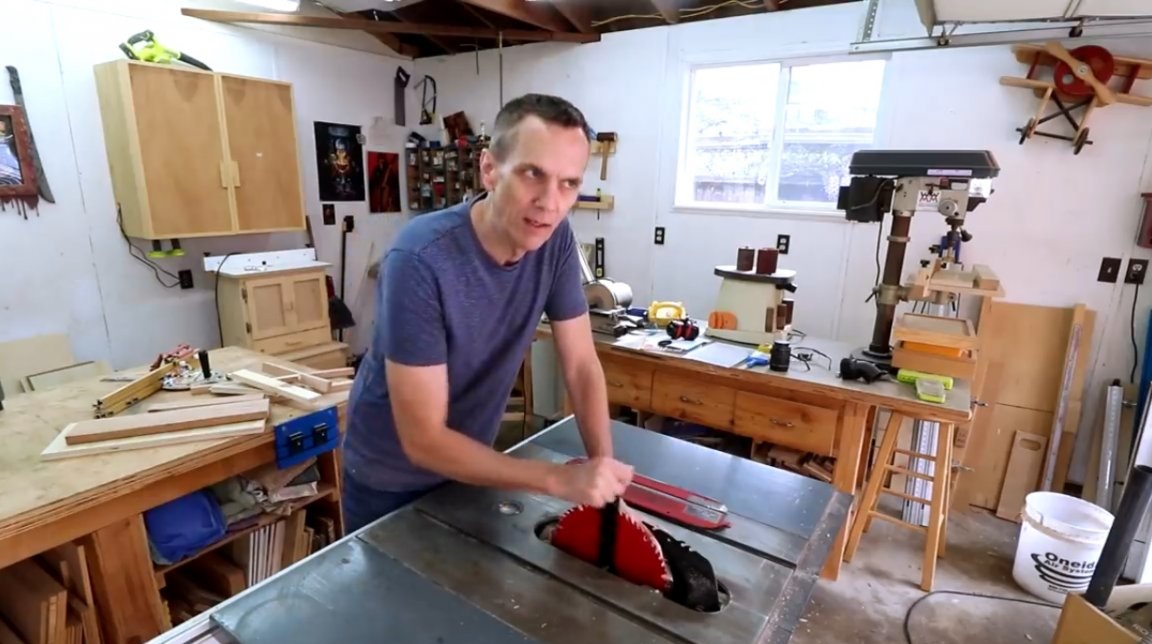
What happens next?
Then one fine day you will want to replace the disk, and remove this nut. In this case, you will begin to make incredible efforts to unscrew it. You pull with all your might and, finally, the nut breaks abruptly, and your fingers inevitably turn right on the edge of the disk. This will not deprive you of your fingers, but will leave a few deep and painful scratches.


Rule number 5:
When installing the disc, tighten the nut until it stops turning, do not apply much force, do not pinch it. The disk will not go anywhere - it rotates in the opposite direction from the nut thread. Thus, the nut, as on the grinder, is self-tightening.
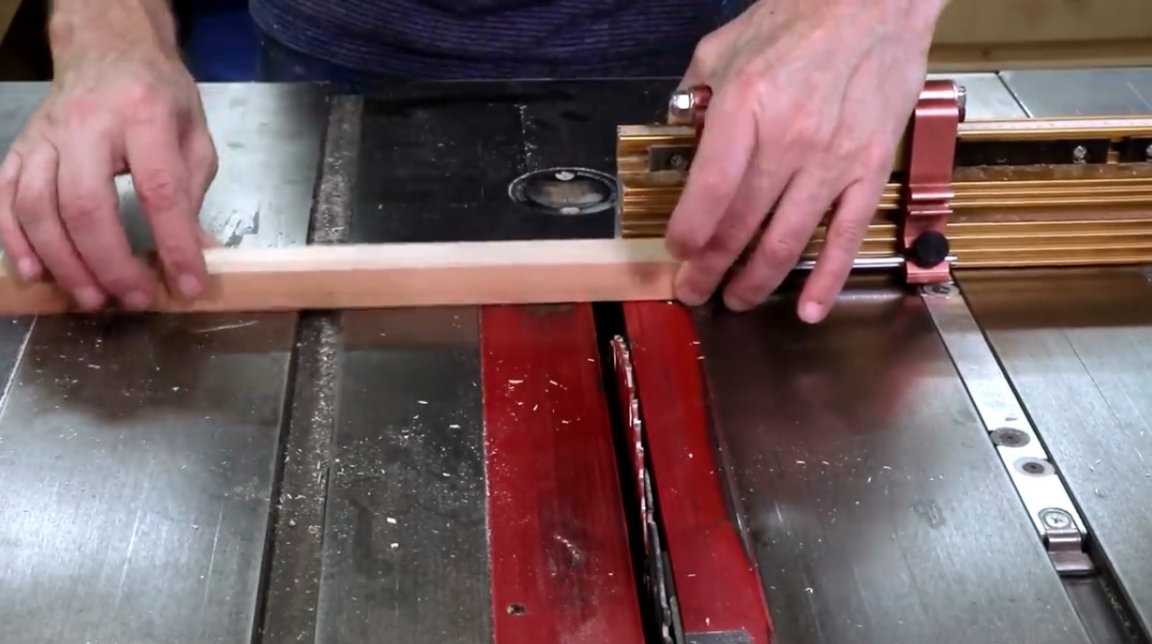
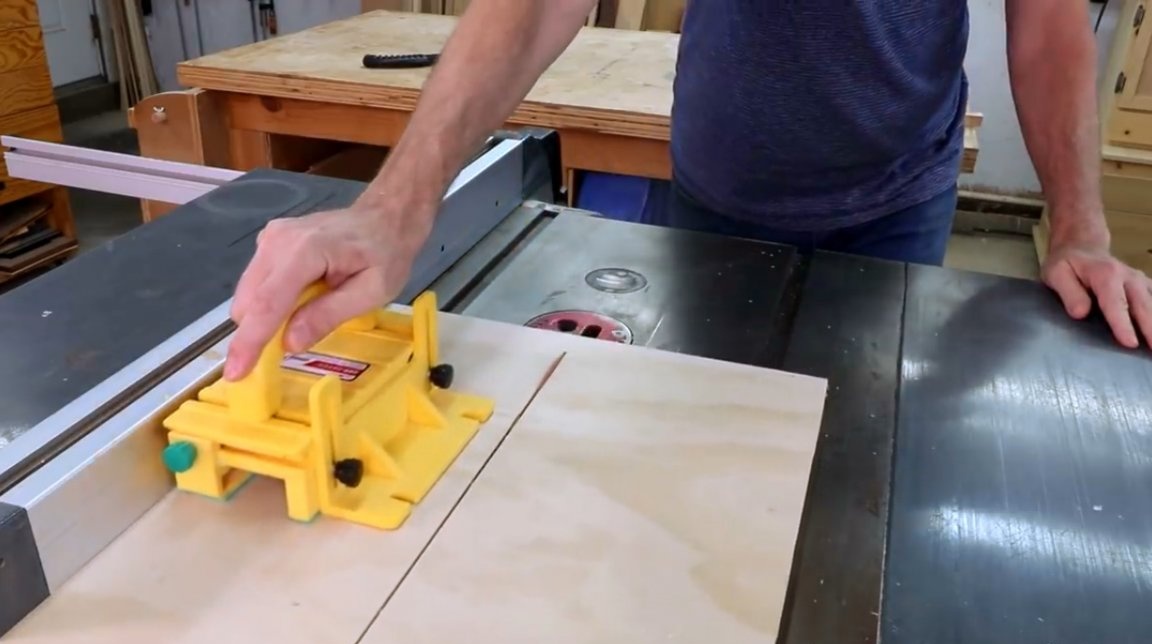
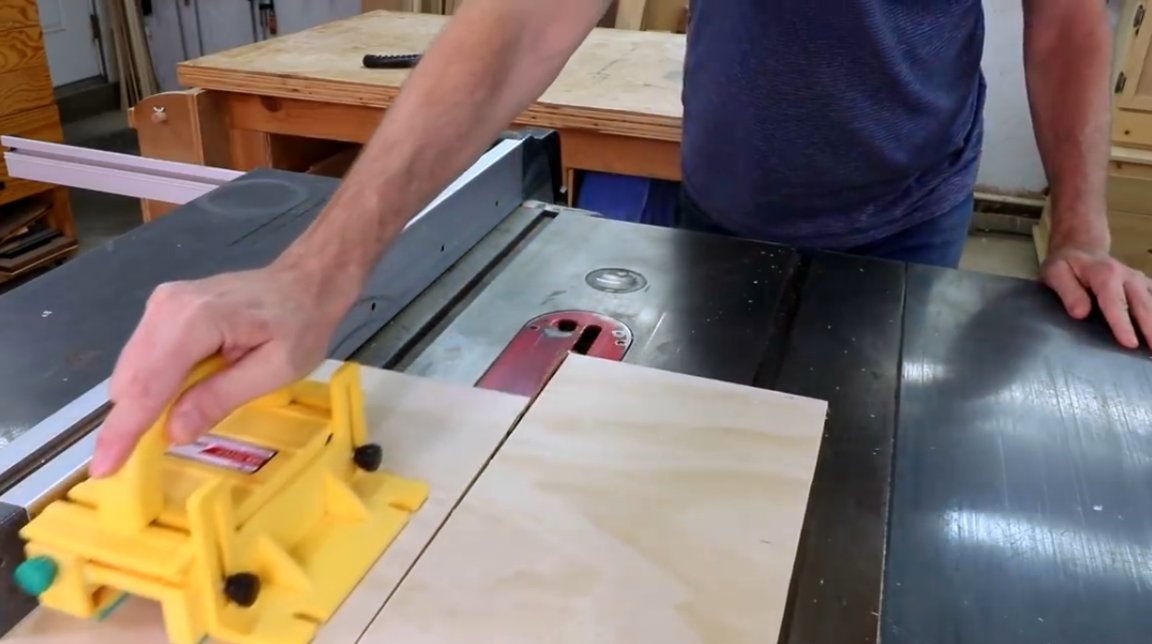
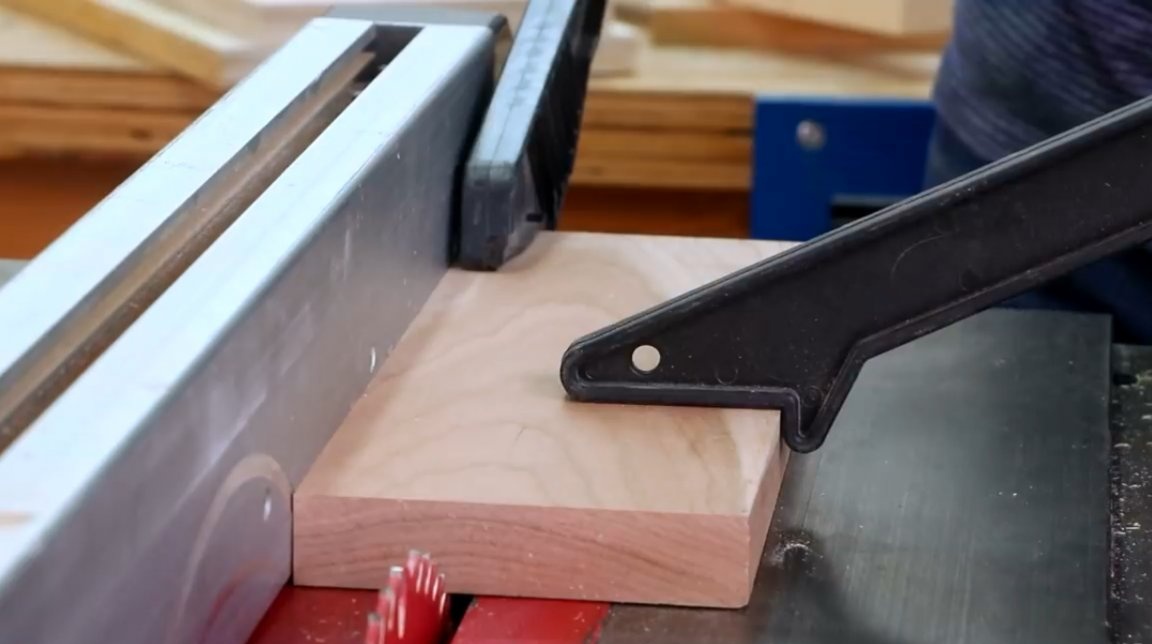
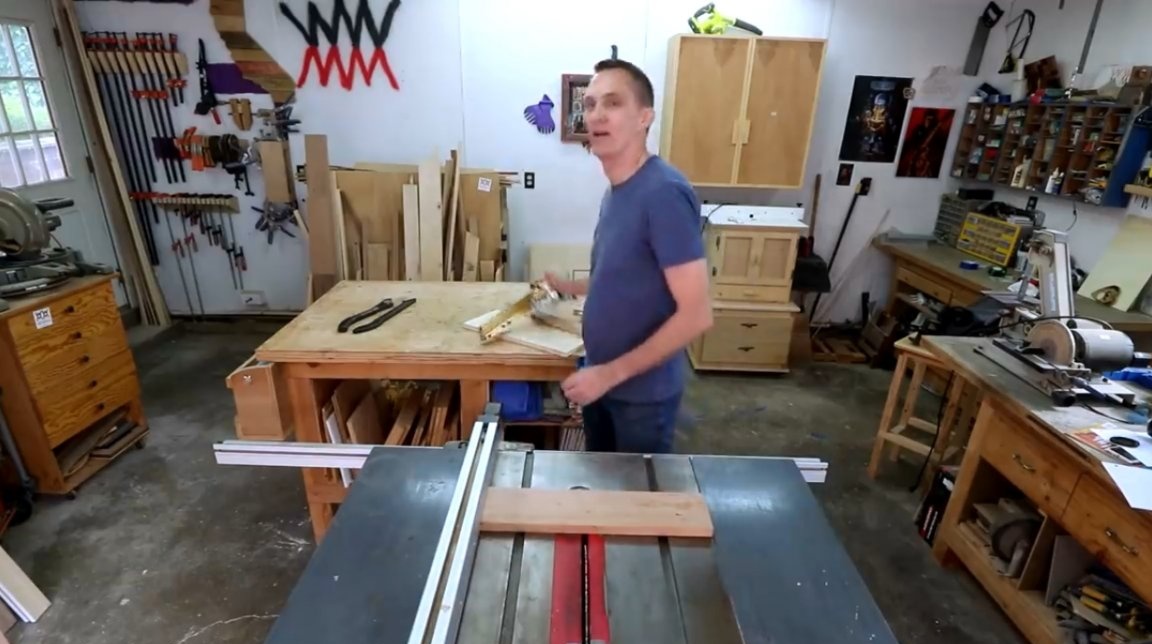
Mistake number 6: Use of a longitudinal emphasis for transverse cuts.

Rule number 6: The basic rule here is to keep the long side of the board, not the short one.The workpiece may begin to fidget, wag, it is better to use a longitudinal movable emphasis. Otherwise, you may get a chamfered cut, or, much worse and more dangerous, the disk may hit the skewed workpiece, and it will fly away in your direction.
I thank the author for simple, but very important tips on the technique of safe work with a circular saw! Believe me, sometimes even experienced masters break them!
All good mood, good luck, and interesting ideas!
Author video can be found here.