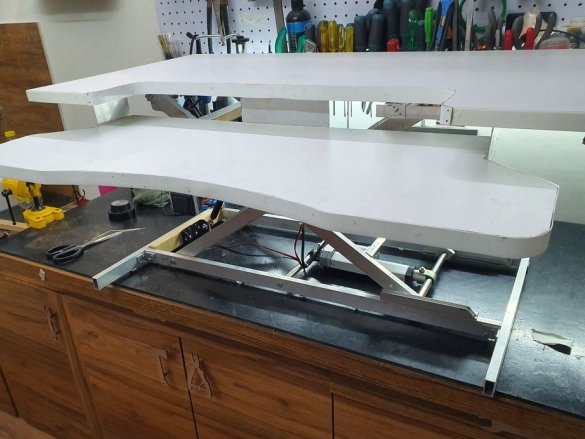
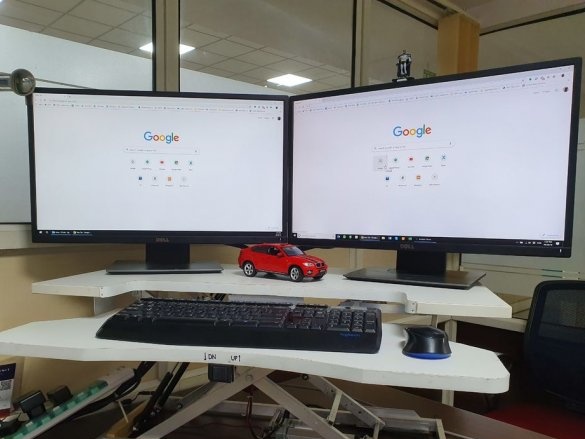
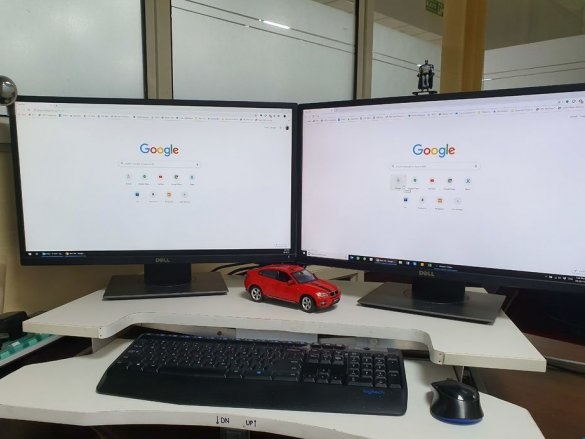
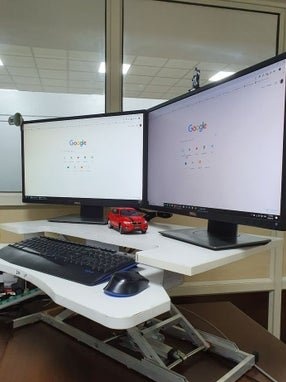
Working at the table can hurt your back. Many people offered to work while standing, and not sit for hours on a chair. The master decided to follow the advice and purchase a special table that can be installed on the table. Having looked at the prices of such products, he decided to make such a table on his own. The size of the additional table is 78.74 x 50.8 x 12.7 centimeters. The table has an electric drive and is adjustable in height.
Tools and materials:
-Aluminum profile;
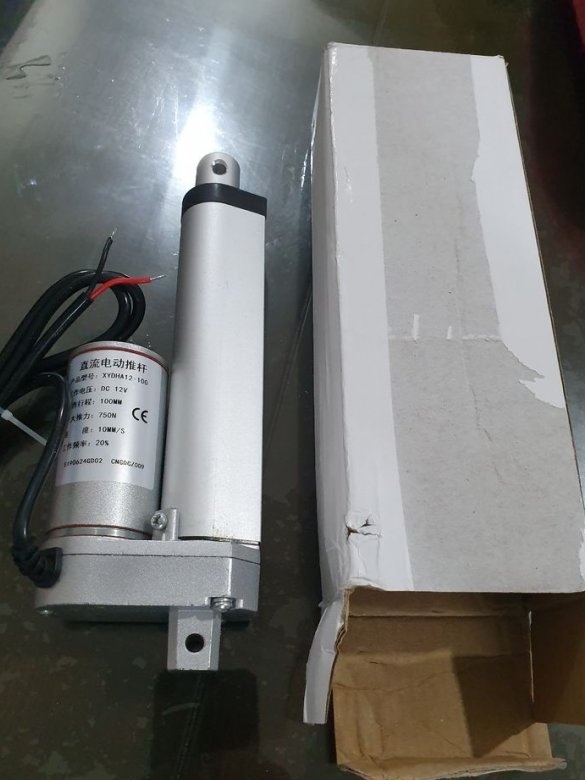
-Linear drive;
-Laminated chipboard;
-Dampers furniture;
-Fasteners;
-Bearings;
- Power supply 12 V 2 A DC;
-Wires and connectors;
-DPDT switch;
-Electric drill;
-Drill;
-Screwdriver;
-A circular saw;
- Hacksaw for metal;
- Files;
- Electric jigsaw;
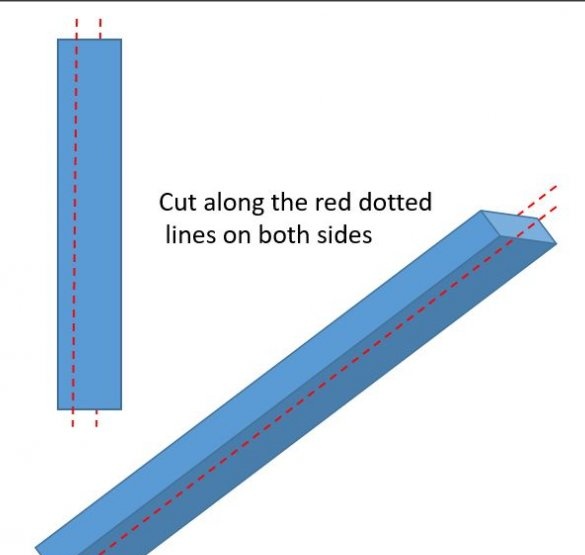
Step One: Cutting Your Profile
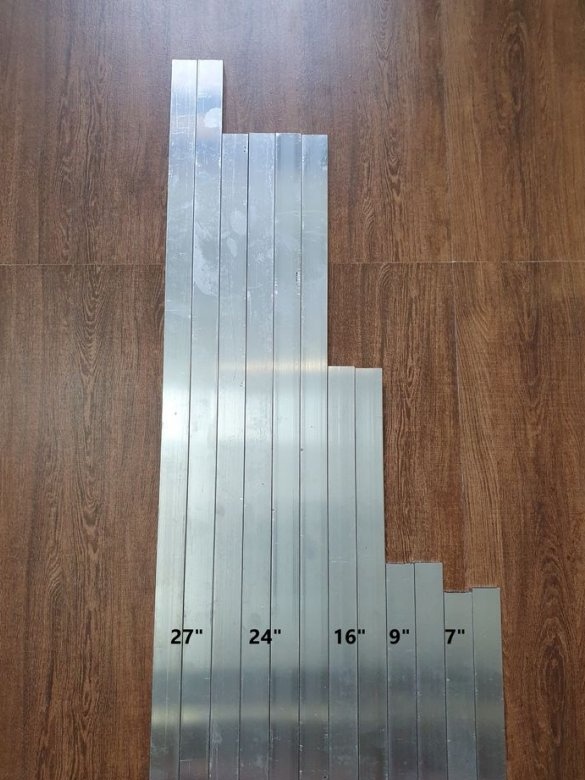
First you need to cut the aluminum profile according to the dimensions. Dimensions are in inches.
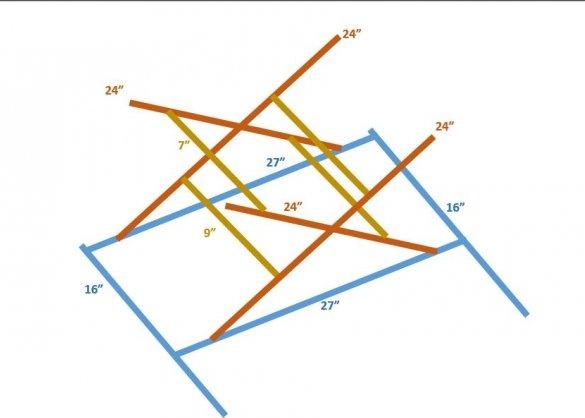
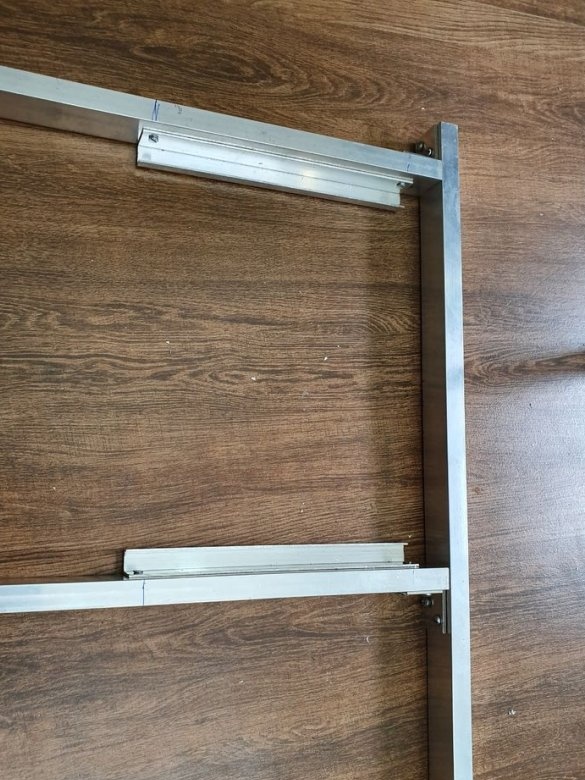
Step Two: Frame Assembly
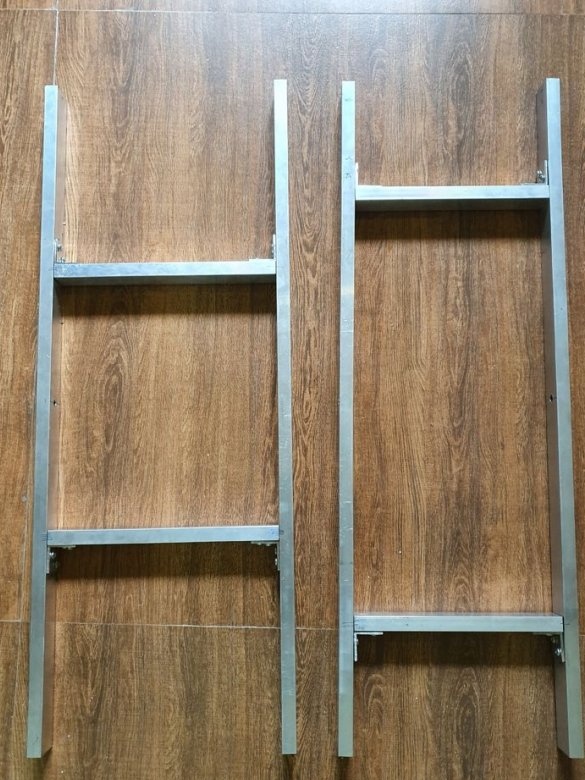
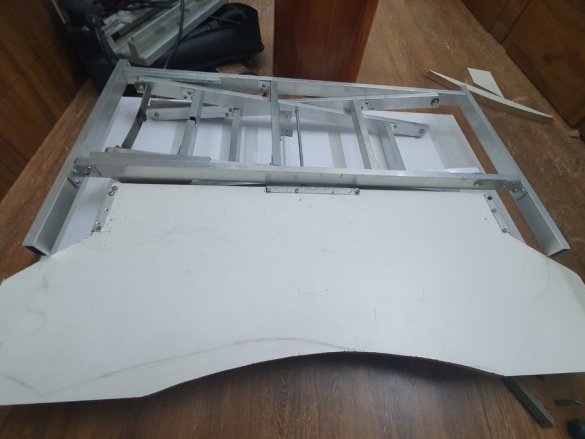
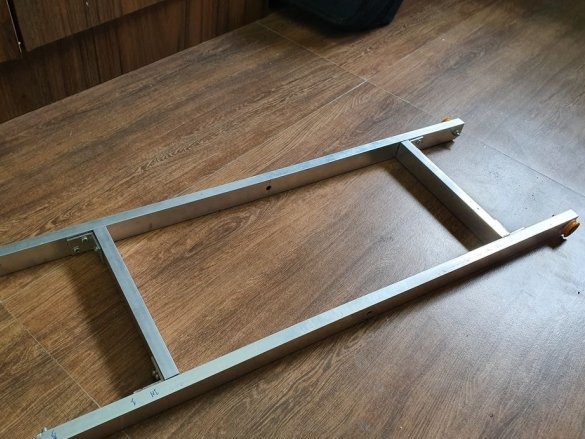
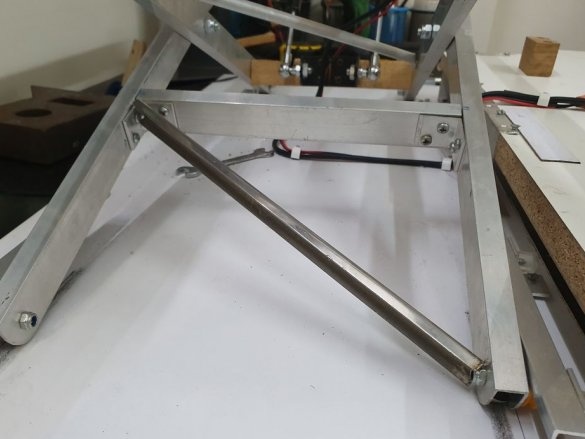
The frame is assembled as in a sketch.
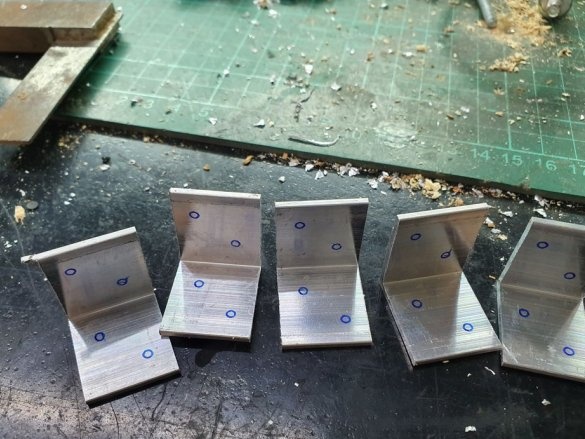
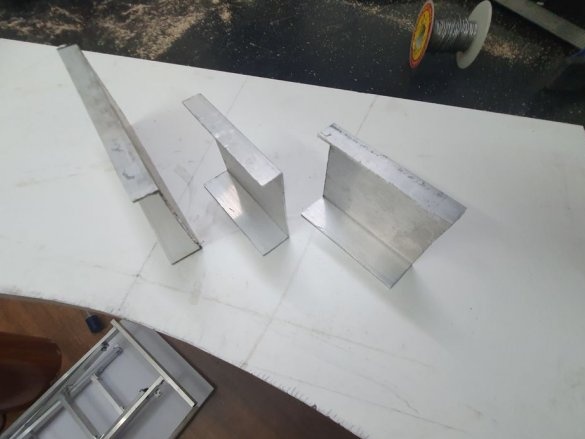
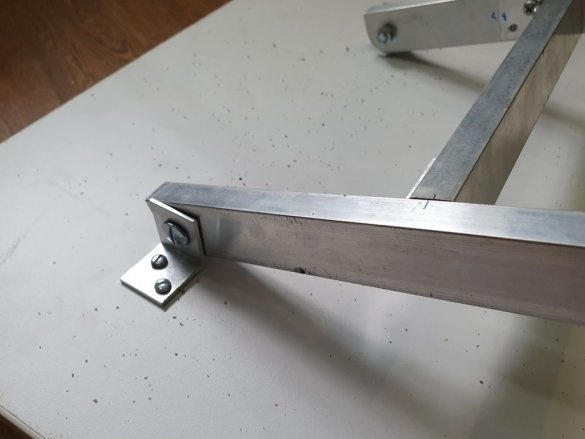
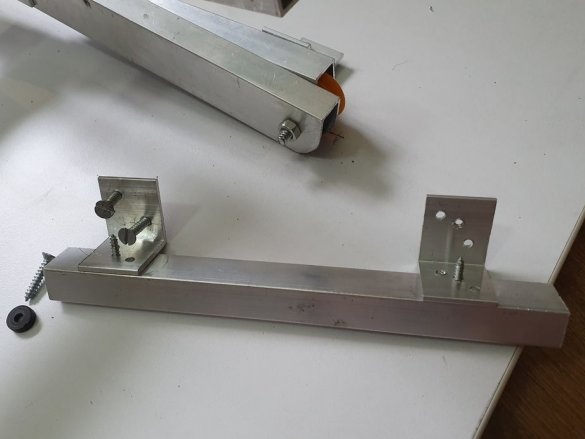
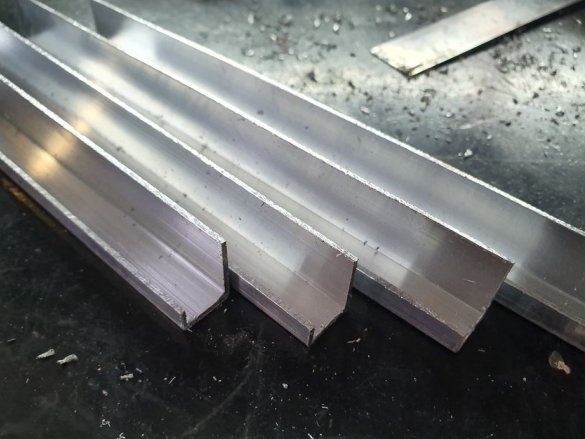
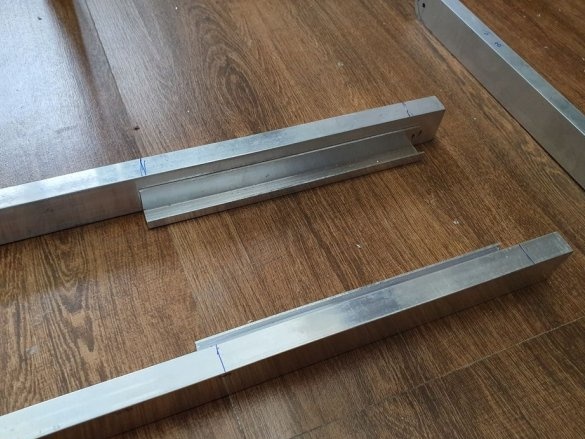
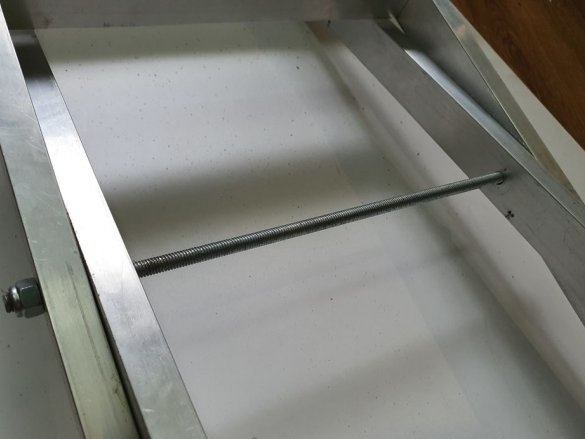
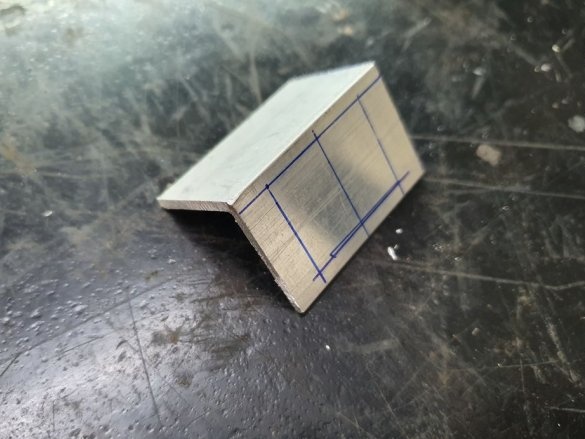
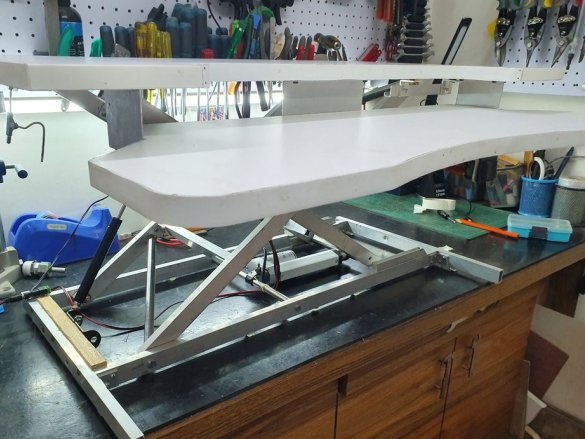
To fix the frame, the master, from an aluminum profile, made 24 angles and drilled fixing holes in them. Having made the corners, the master collects three frames.
Step Three: Countertop
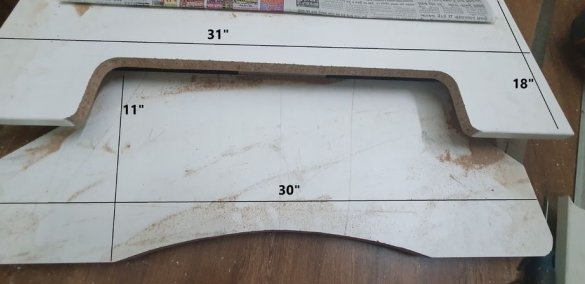
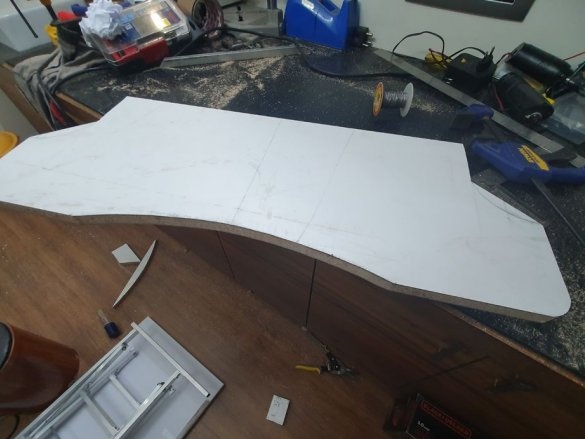
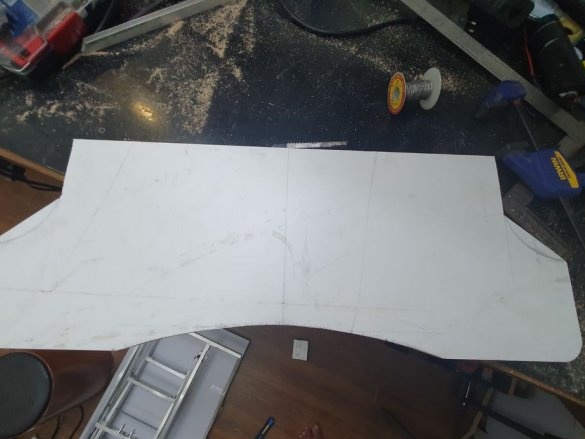
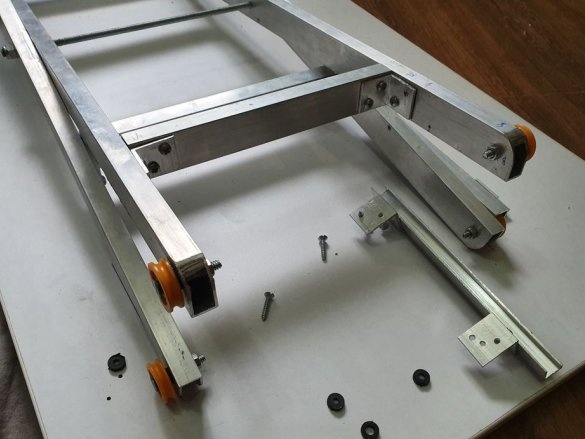
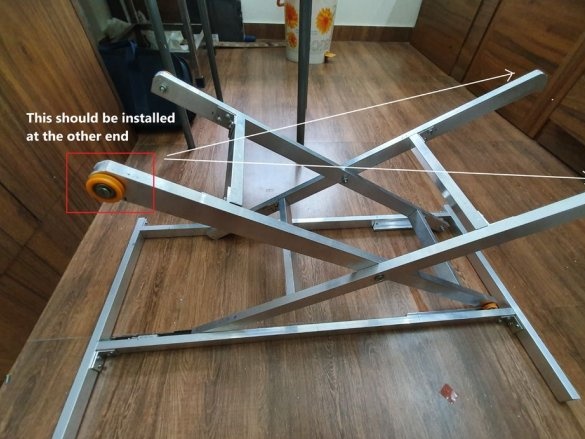
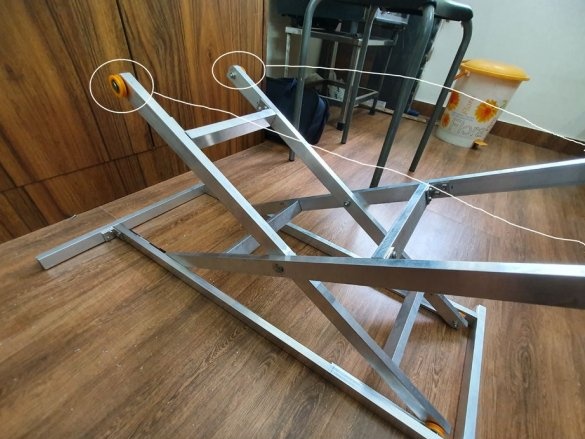
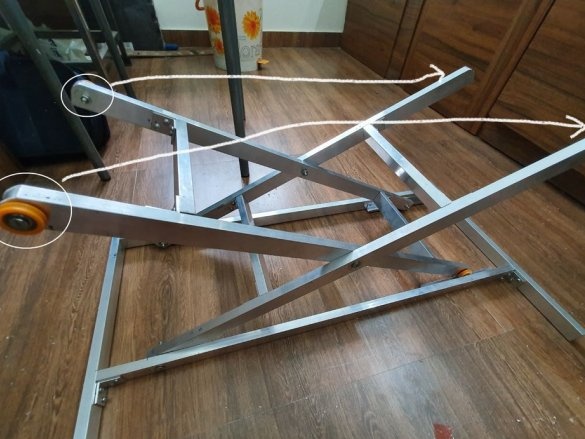
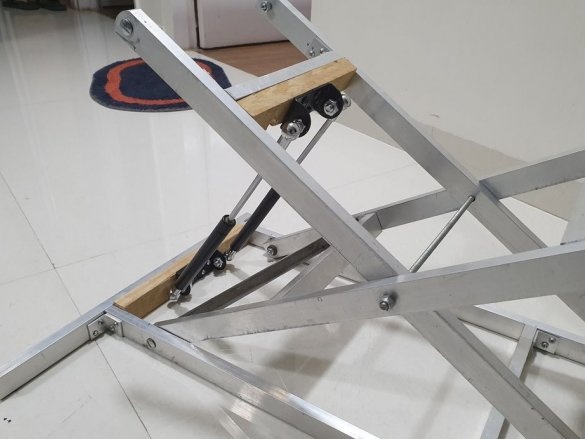
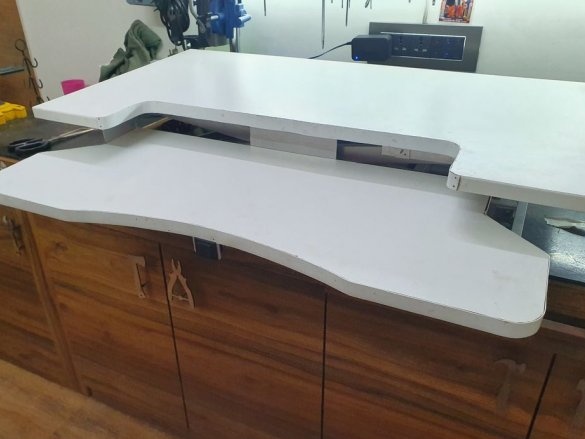
The master makes the countertop two-tier, monitors are installed on the upper tier, and on the lower keyboard. The craftsman makes the countertop from laminated particleboard. Two frames are attached, through a movable connection, to each other. One end of the frame is attached to a fixed base frame, and a countertop is attached to the second end.
Step Four: Guides
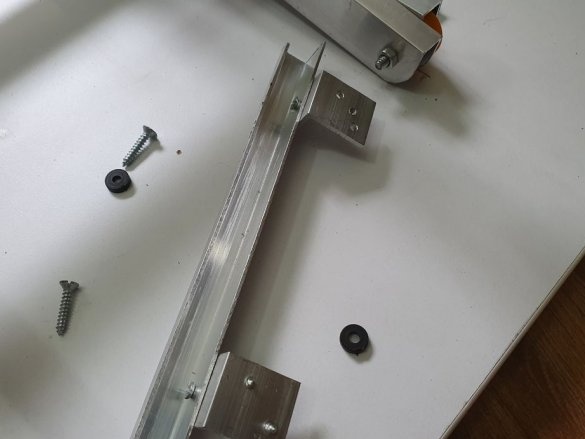
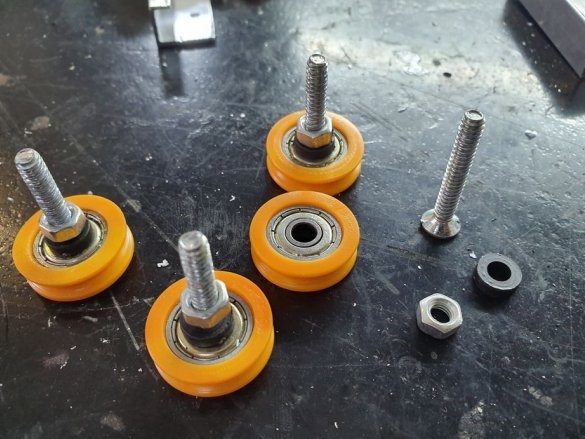
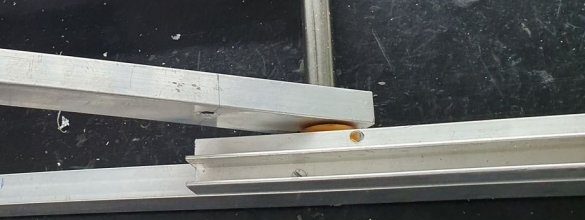
At the ends of the moving frames, the master installs plastic wheels with bearings. The profile is screwed to the countertop. The guides made from the profile are screwed to the profile and the fixed frame.
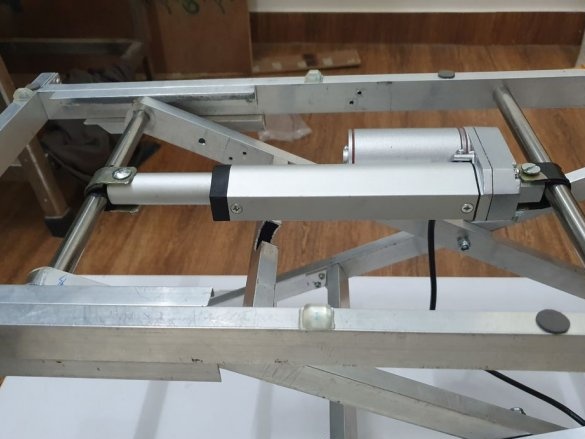
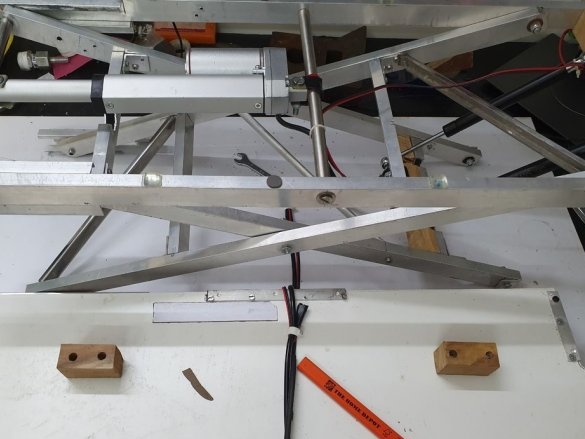
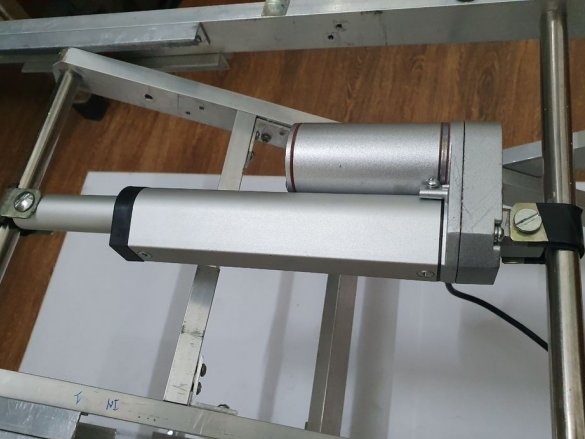
Step Five: Install Shock Absorber and Linear Drive
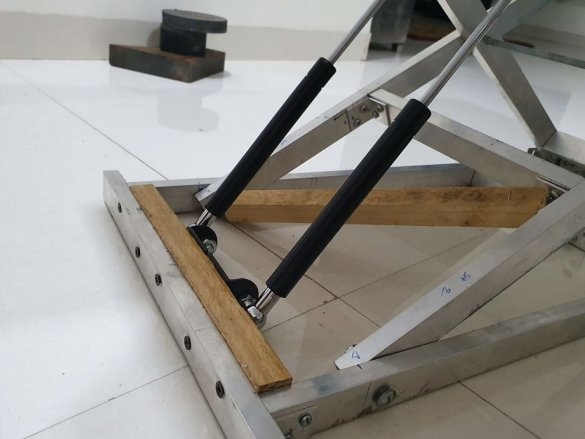
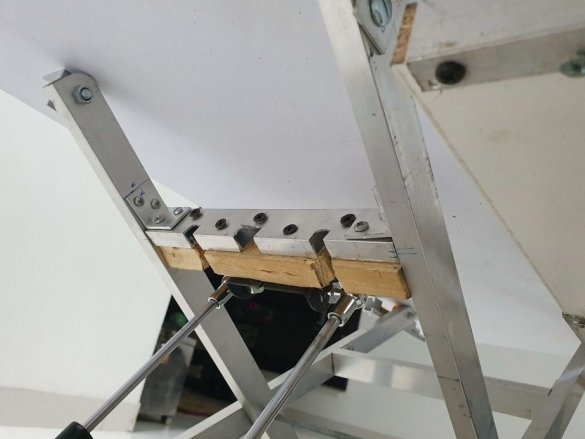
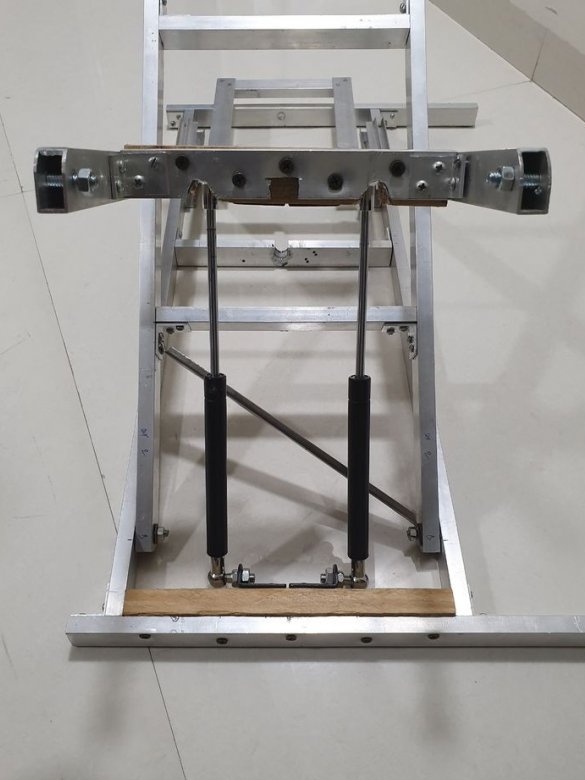
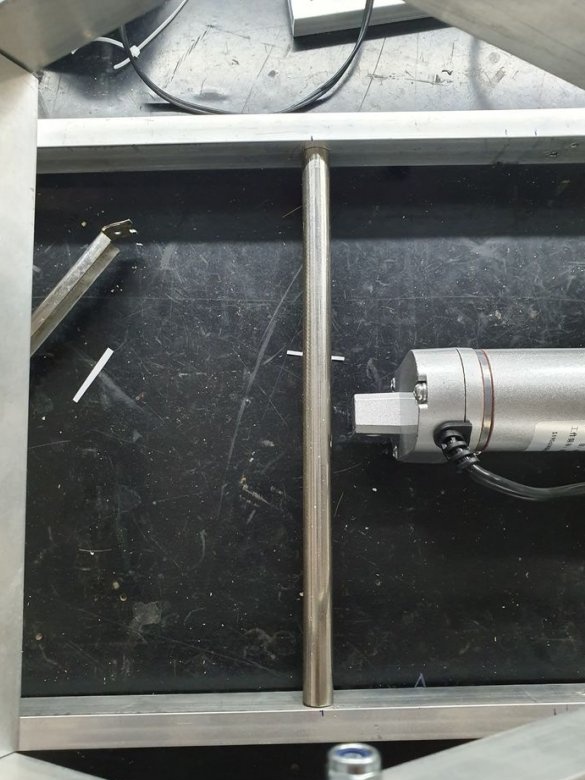
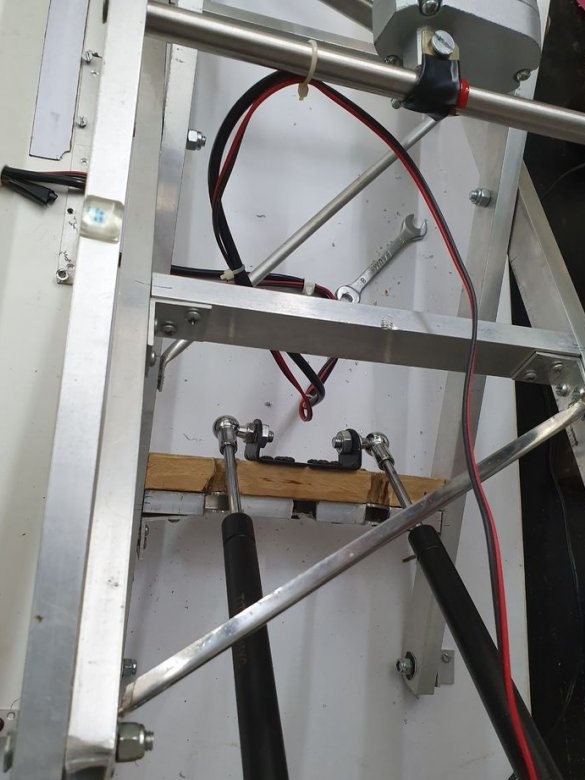
The master screws a wooden block to the aluminum frame, and attaches shock absorbers to the block. Installing shock absorbers will unload the linear drive, which is installed in the lower part of the frame.
Step Six: Electrician
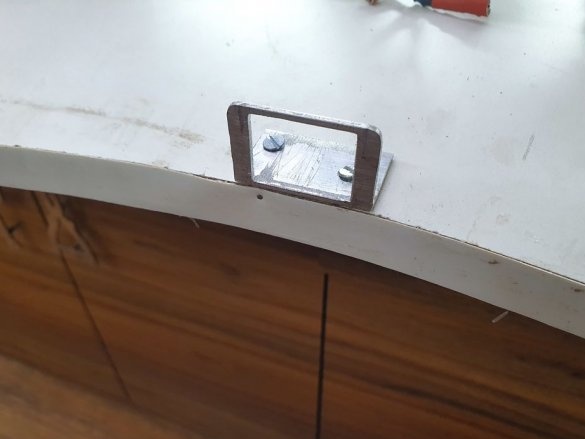
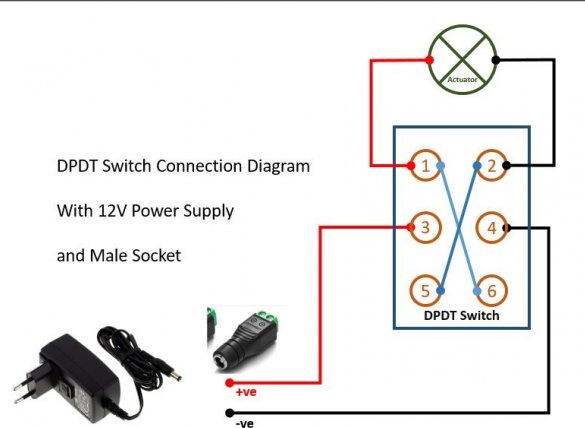
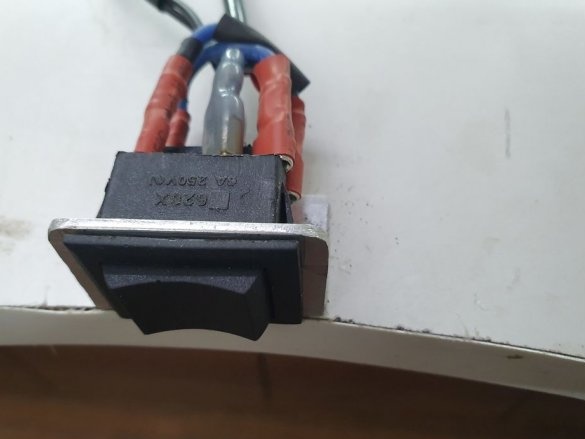
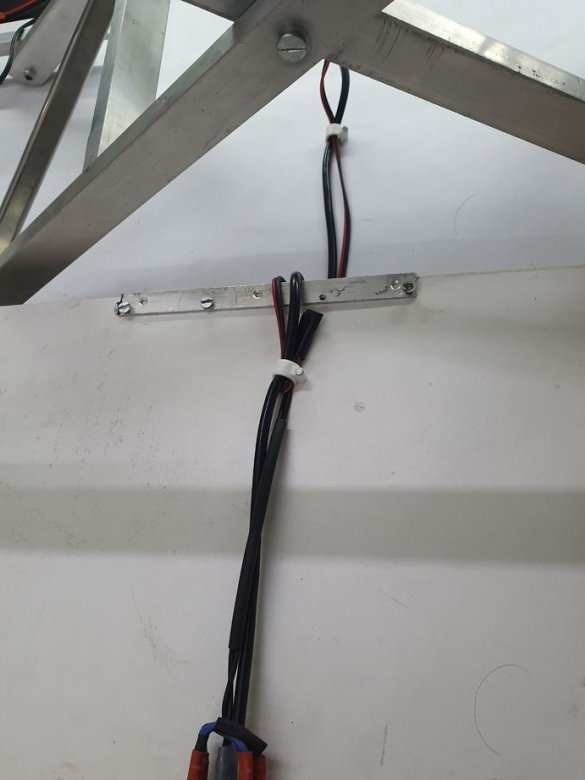
Now it remains to connect the drive and install the button. The master made the mount for the button from the profile.
All is ready.

