
Everyone who deals with tools knows that they will serve reliably and for a long time only if they are stored properly. For example, in order to keep the chisels sharp, they need a special holder. You can buy it, but you can do it yourself. After all, the tools in your home are not for beauty?
Step # 1: Materials and Tools
• Trimming wood: you will need two pieces of 10 x 17.5 cm;
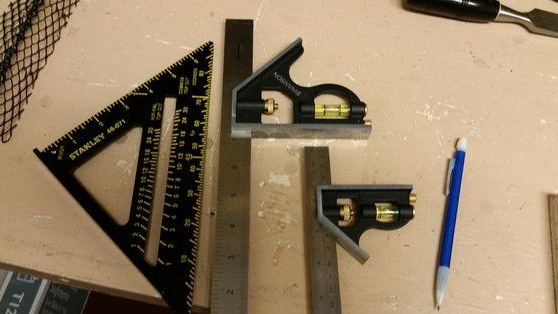
• Level;
• Joiner's glue;
• Ruler;
• clamps;
• wire;
• Nails
Step # 2: Plan
The proposed design is just a launching pad, starting from which, you can make the holder to your liking.
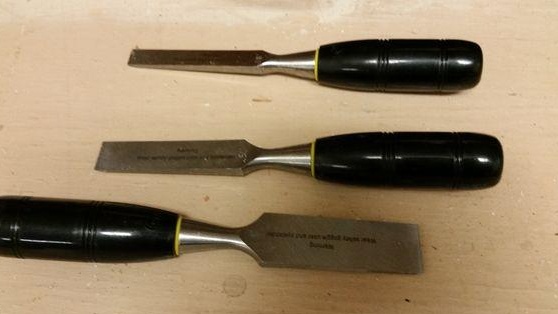
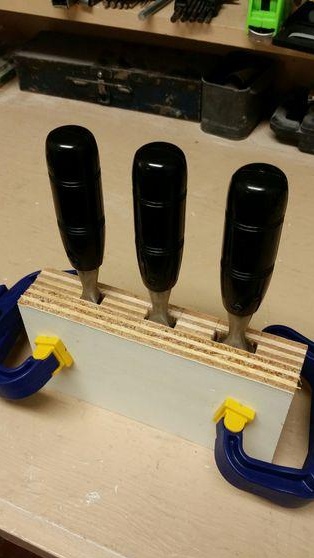
This holder is designed for three chisels, if necessary, the number of tool sockets can be increased.
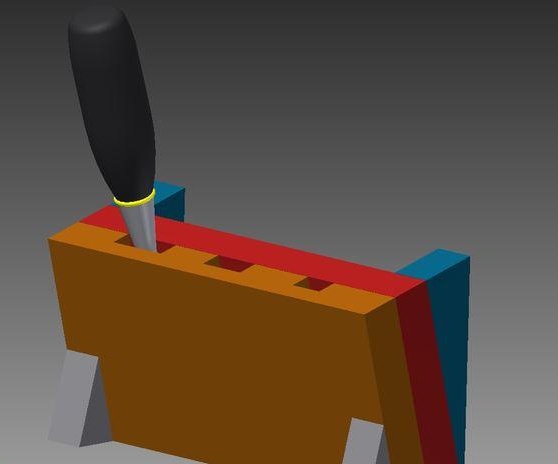
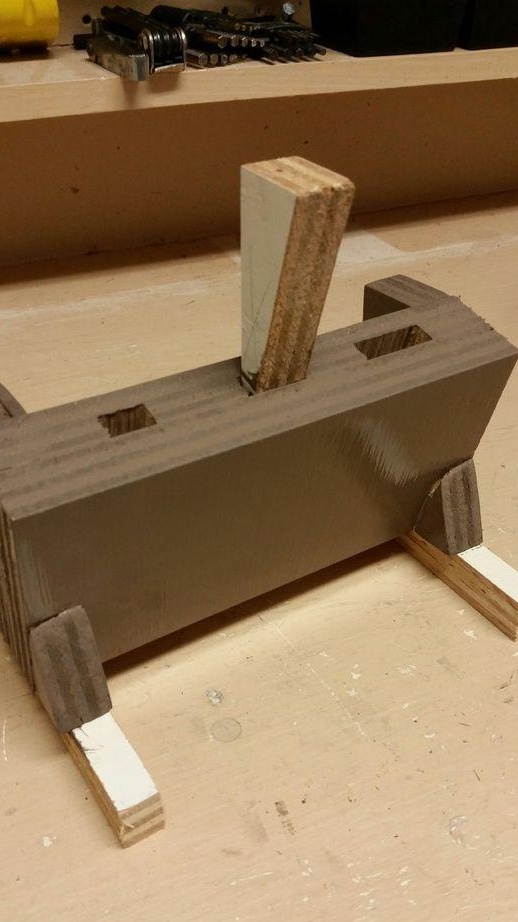
Model the holder consists of two parts, in one the cells are cut out for each tool, the other serves as a cover. He can hang on the wall or stand on the table (in this case you will need legs). To make it easy to remove the chisels, the holder must be hung (or placed) at an angle of approximately 15 °.
The 3-D model allows you to visually see how the finished design will look. It will be painted as follows: in front of it is dark orange, on the reverse side it is red, the wall mount will be painted blue, and the legs on the table will be gray.
Step # 3: Layout
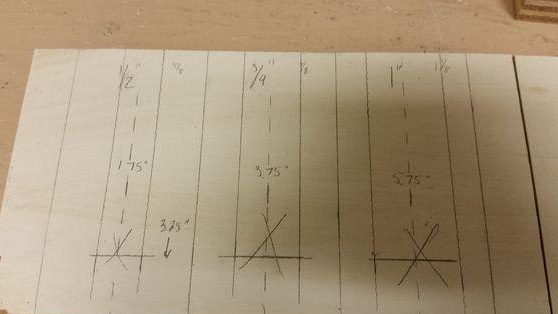
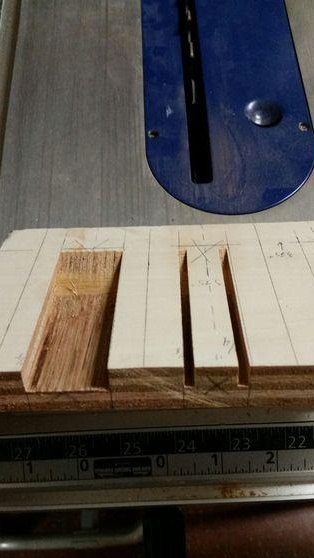
A drawing with dimensions is visible in the photo, you can stick to them or take your own - everyone's personal business. The drawing shows that the future cells for the chisels are schematically depicted - based on their width. The cells will be made and deepened gradually until each instrument sits in its own nest quite conveniently.
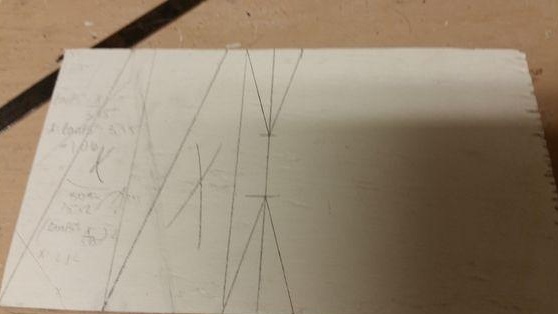
In order to fix the holder on the wall, you need two triangles, the calculations for their manufacture are visible in the photo. And also need small triangles for legs on the table.
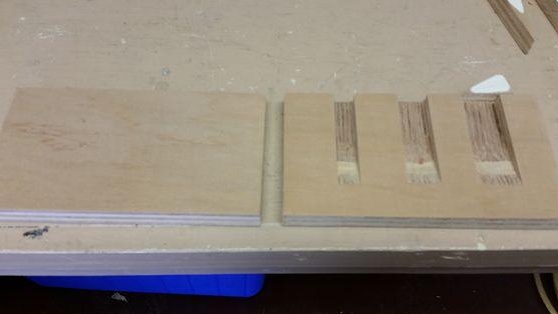
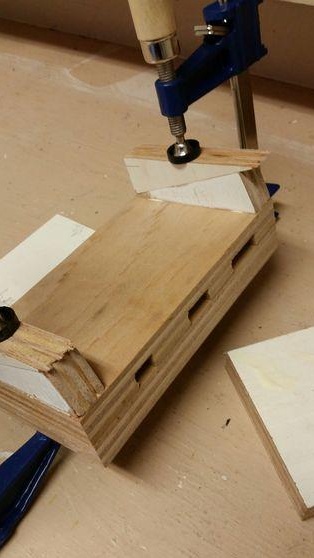
Step # 4: Cut into Slices
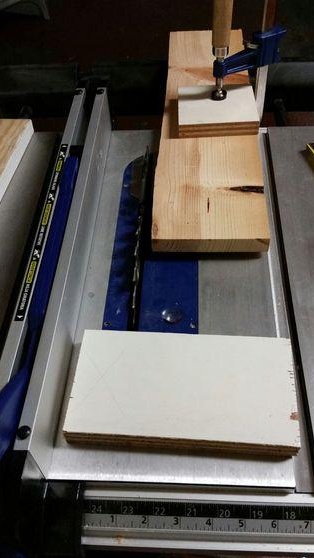
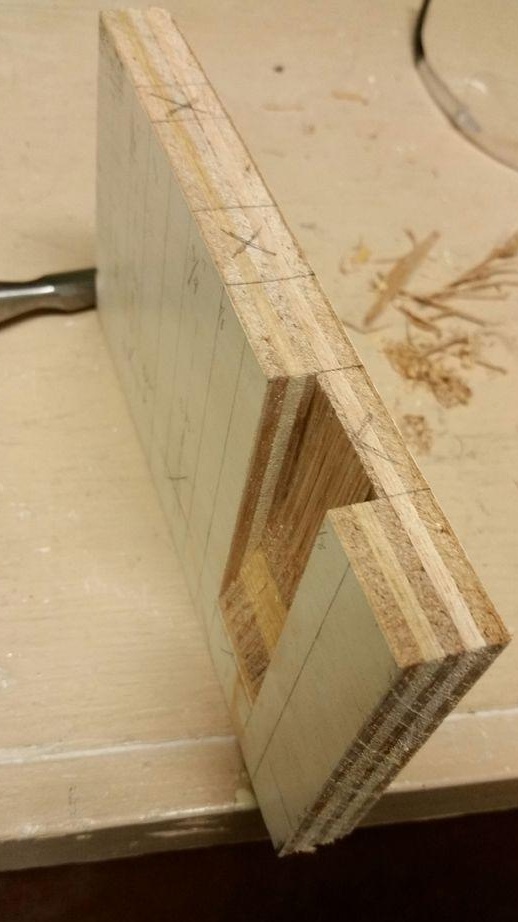
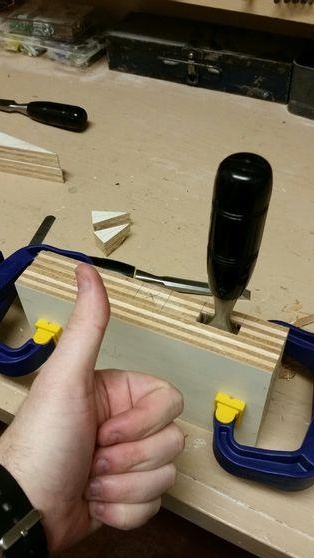
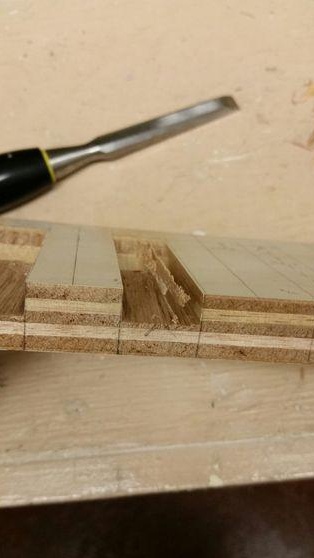
Transfer the drawing from paper to wood and make cuts for each tool. After that, we cut out the triangles for fastening. We clean each slot to make the surface smooth.
Each chisel should fit snugly and carefully into its nest.If everything worked out, you can start assembling.
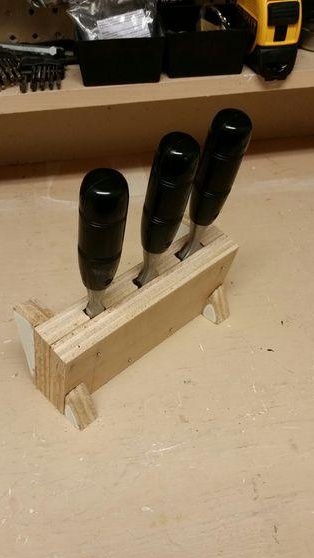
Step # 5: Build
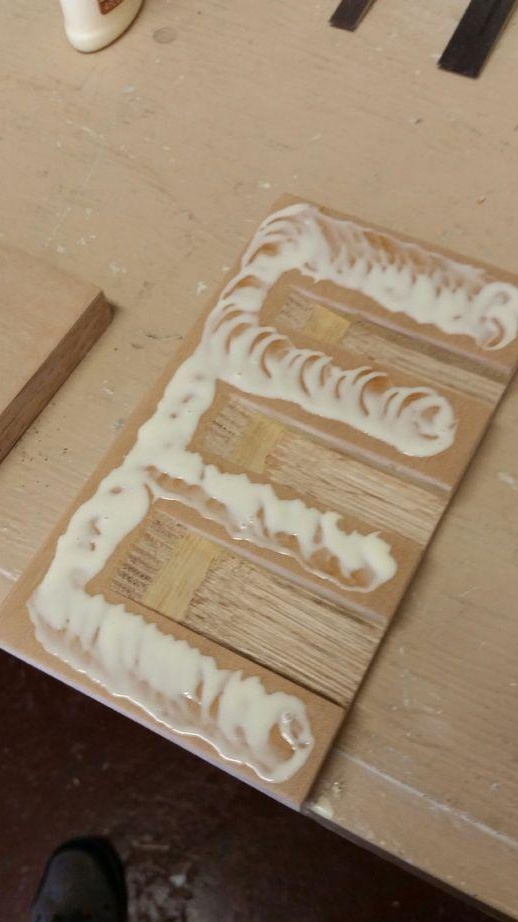
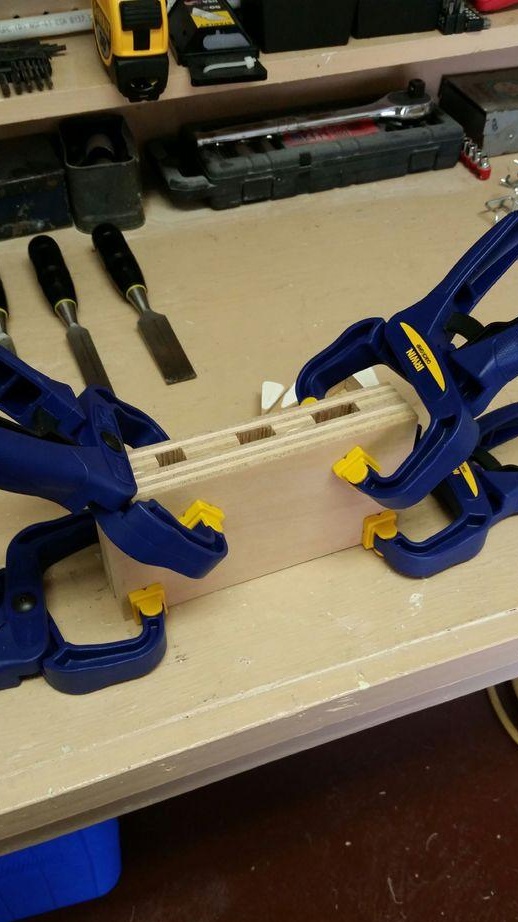
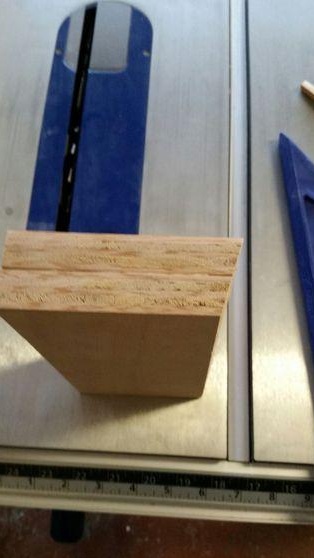
All details must be carefully sanded, and then connected to each other. The part in which we grooved the grooves will be at the back, the front cover will be fastened to it with wood glue. Then the back triangle is glued and after it dries, we glue the legs-triangles.
Step 6: Finishing
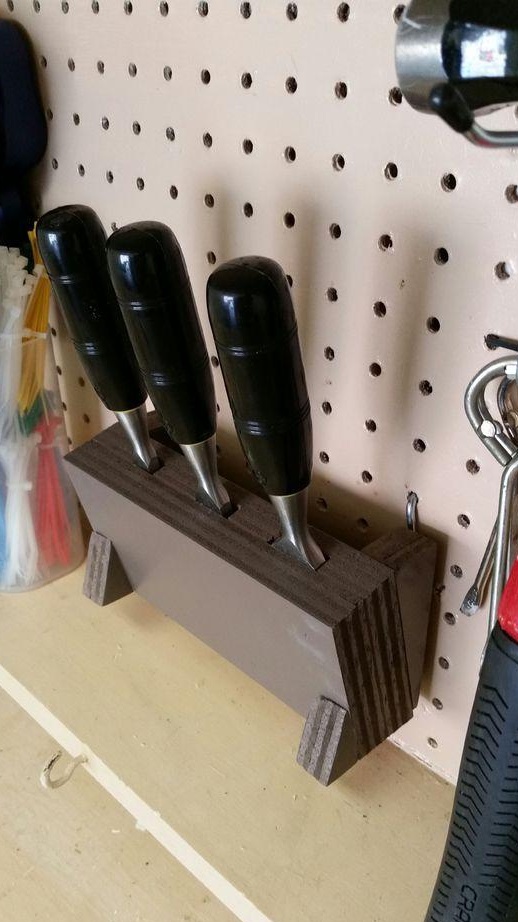
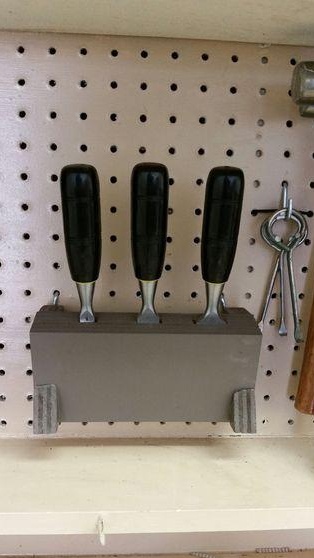
The holder is ready, it can be painted or painted with wood paint, and then fixed to the wall and enjoy how comfortable your workplace has become.