
This article will focus on a tool that will definitely be useful to people involved in woodworking. Similar fixtures of course are available, but the price is pretty high.
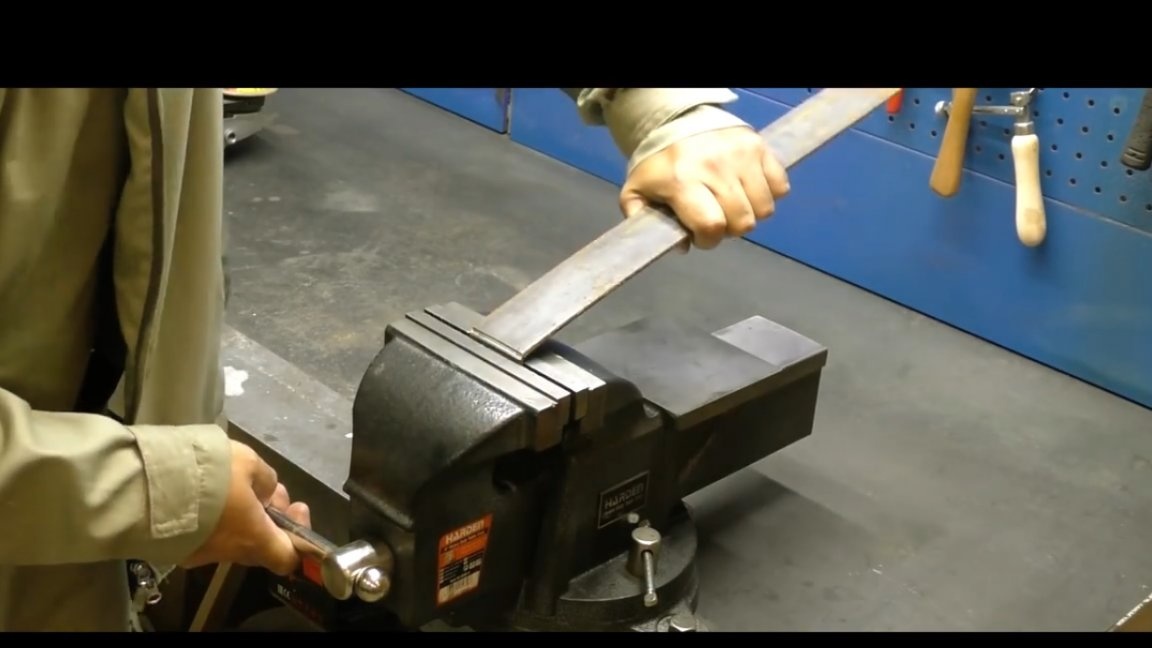
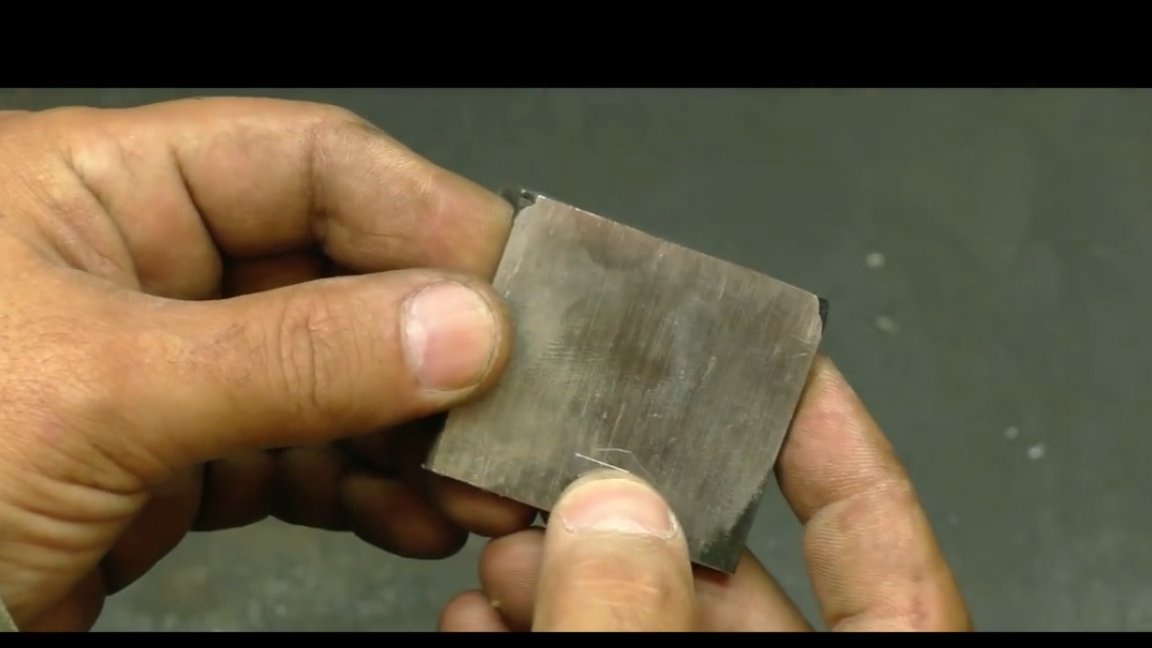
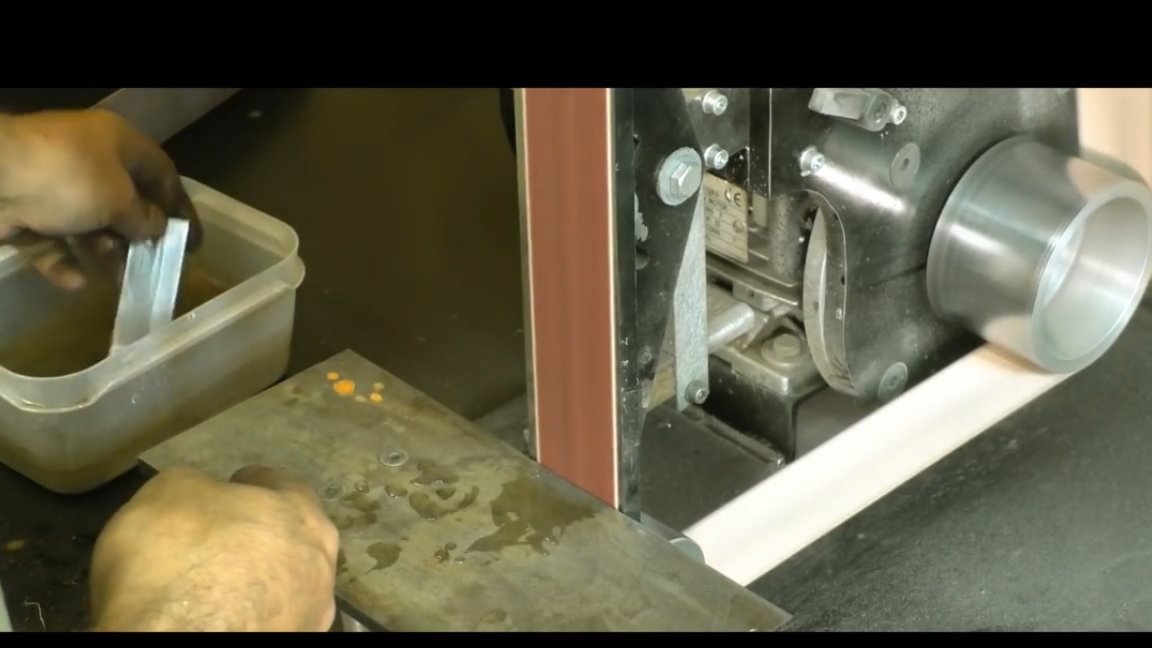
The following instructions are taken from the YouTube channel "Good Master". First we need a steel strip 40 mm wide.
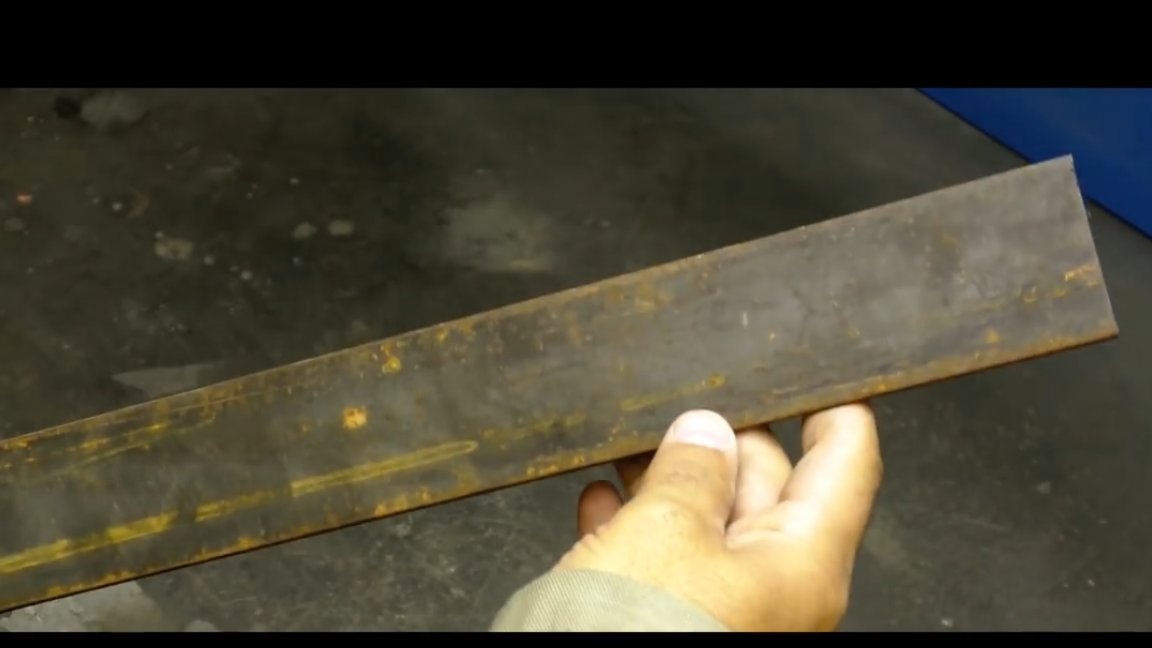
This piece of metal will make an excellent body for the future tool. The first thing, as always, is the markup. will be an excellent assistant in this matter.
Then you need to make small cuts with.
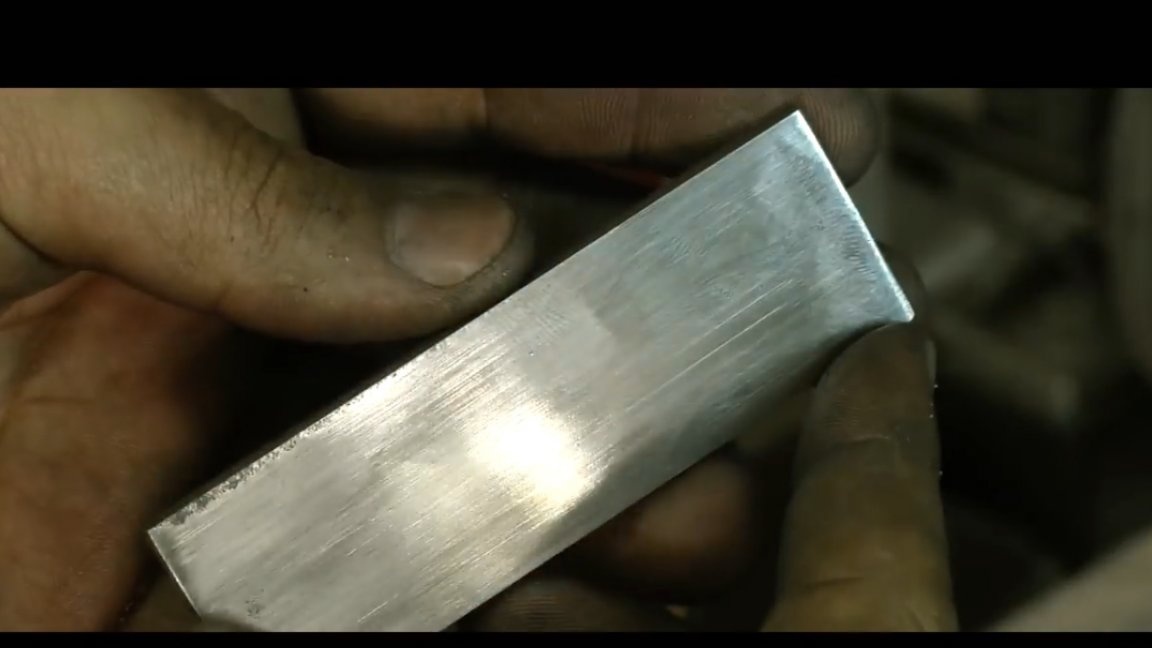
This will help us bend a flat corner in the right places. In the future, we bend the bending place semiautomatically. Repeat the operation one more time and you can cut off the excess.
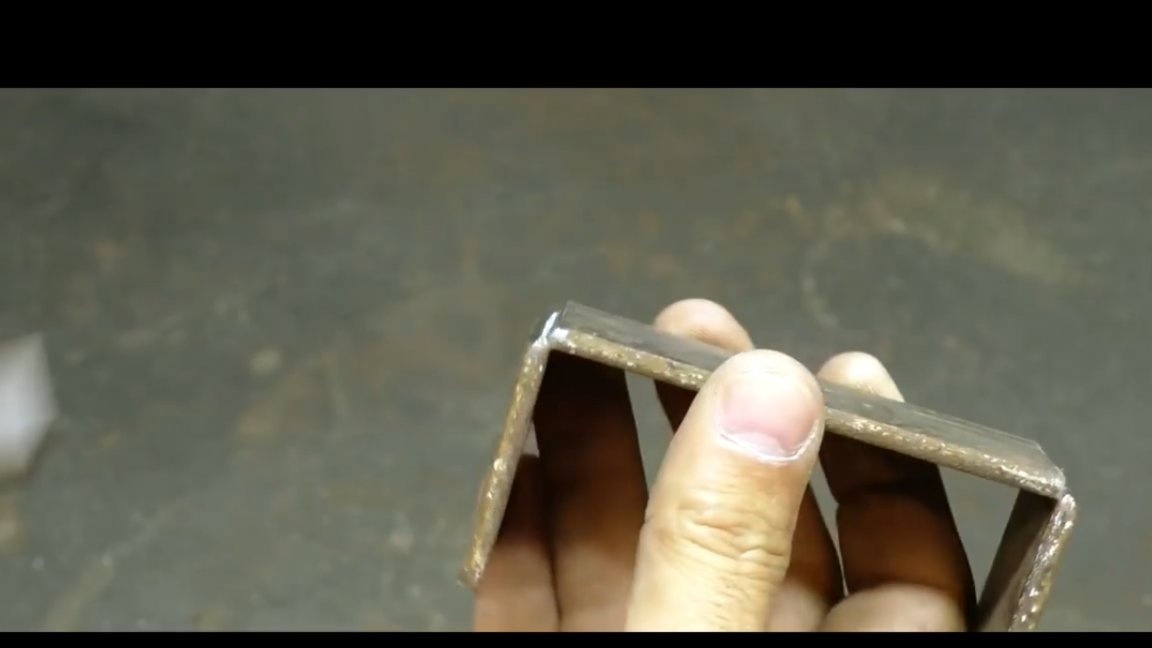
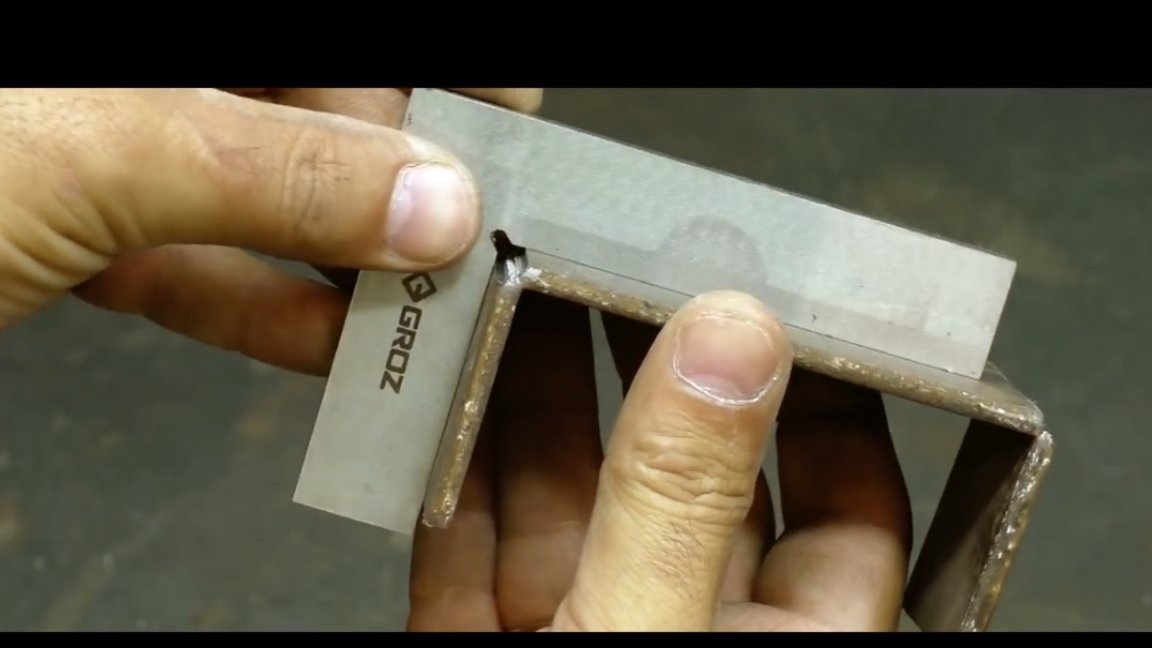
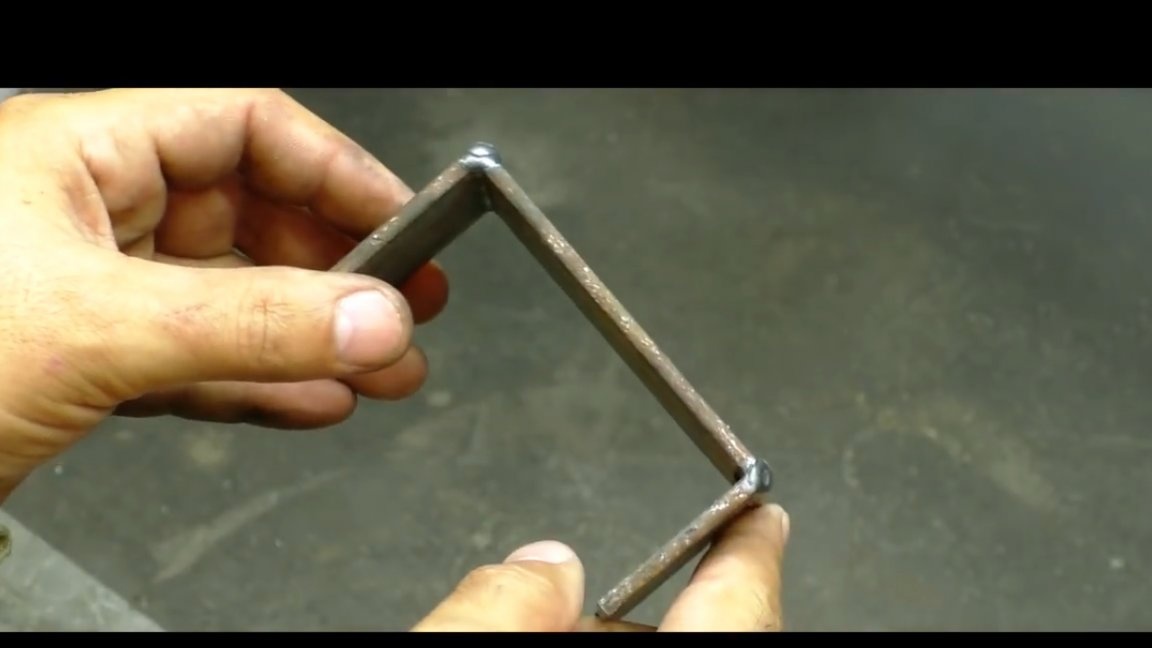
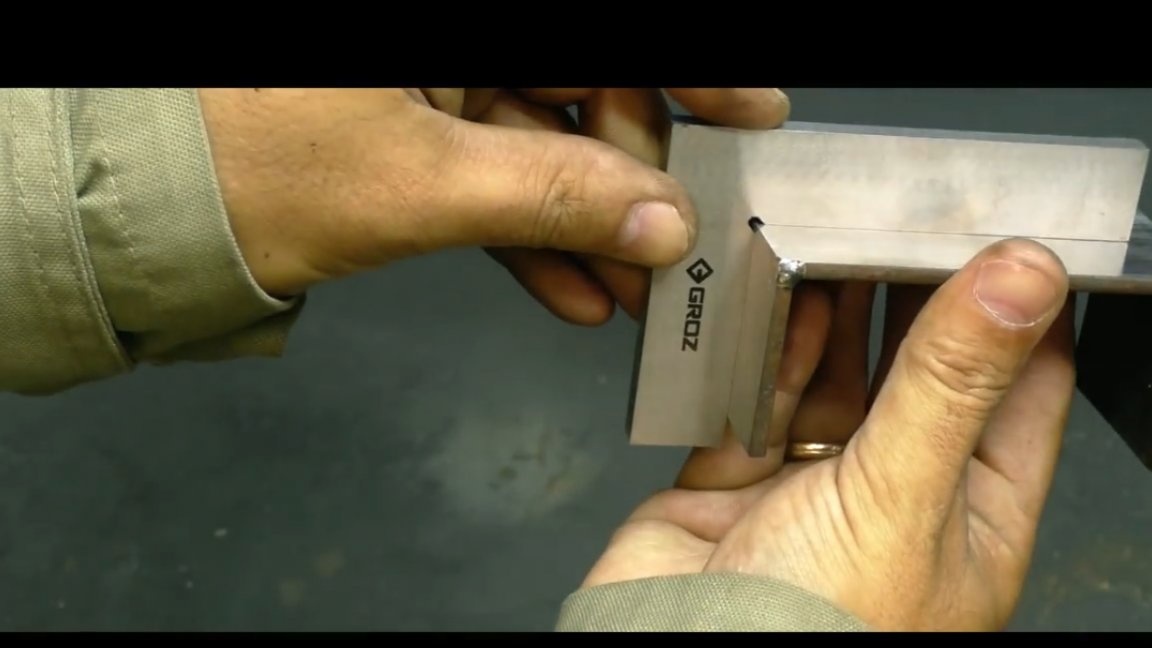
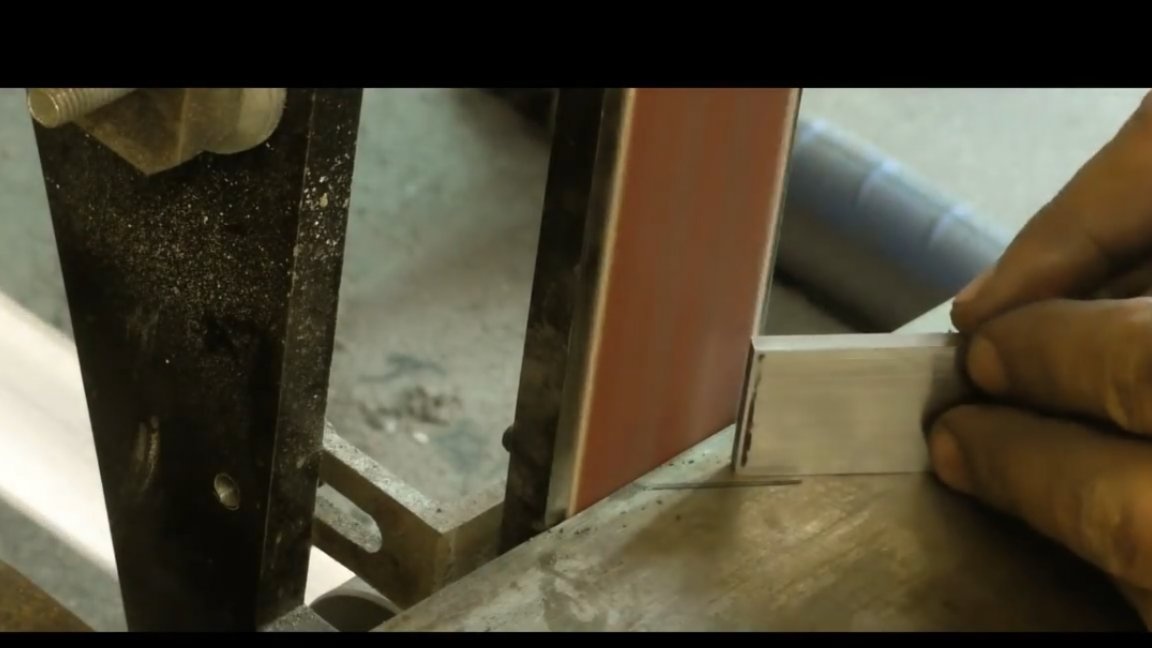
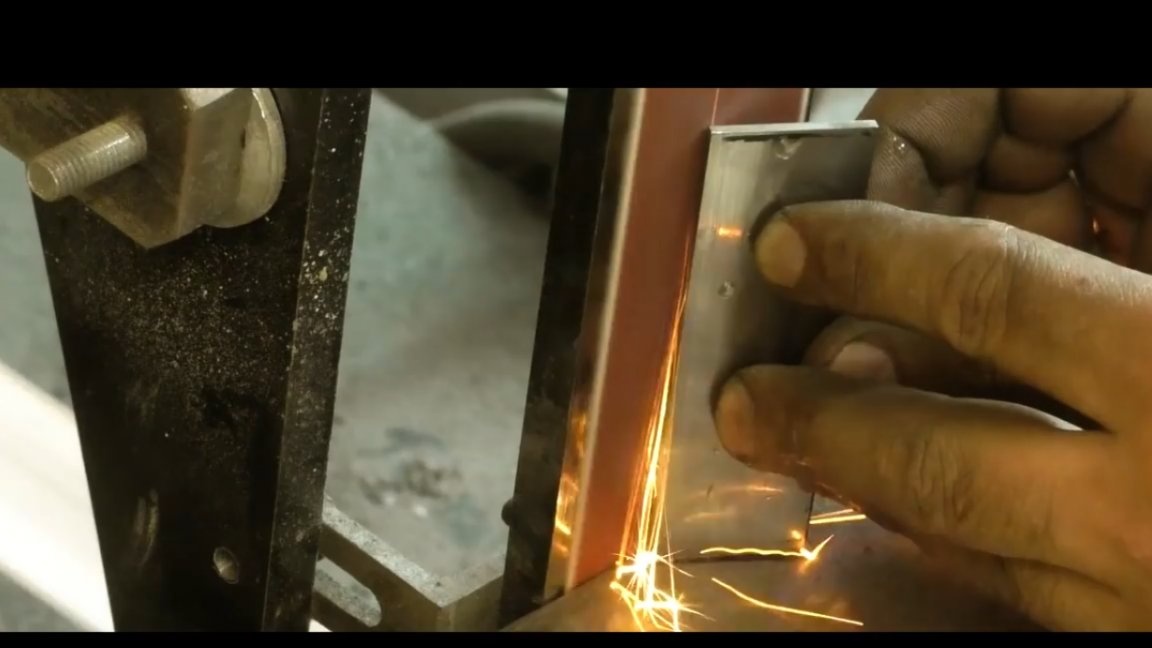
Before you start welding, you need to make sure that all angles are 90 degrees straight. This is easiest to do with an ordinary square.
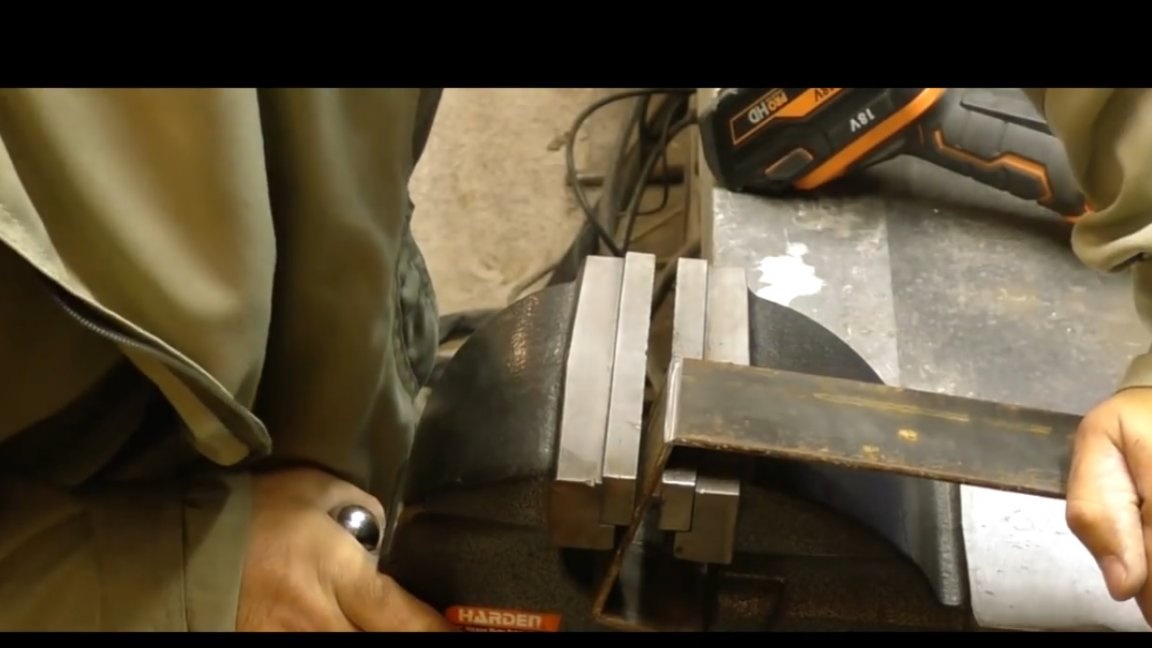
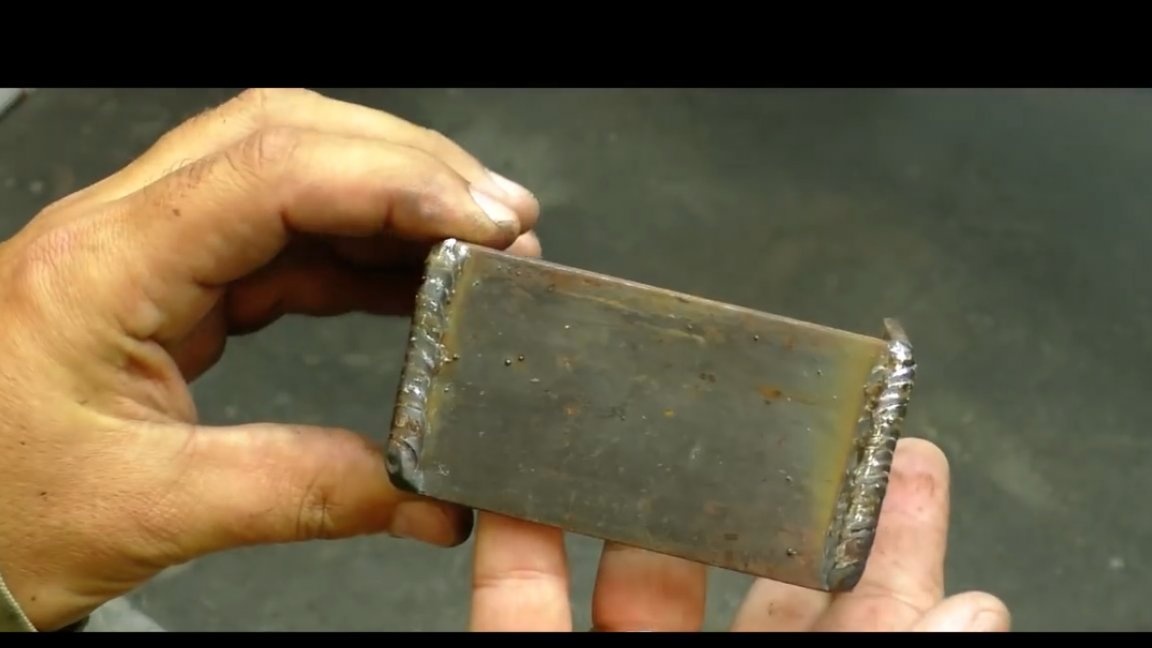
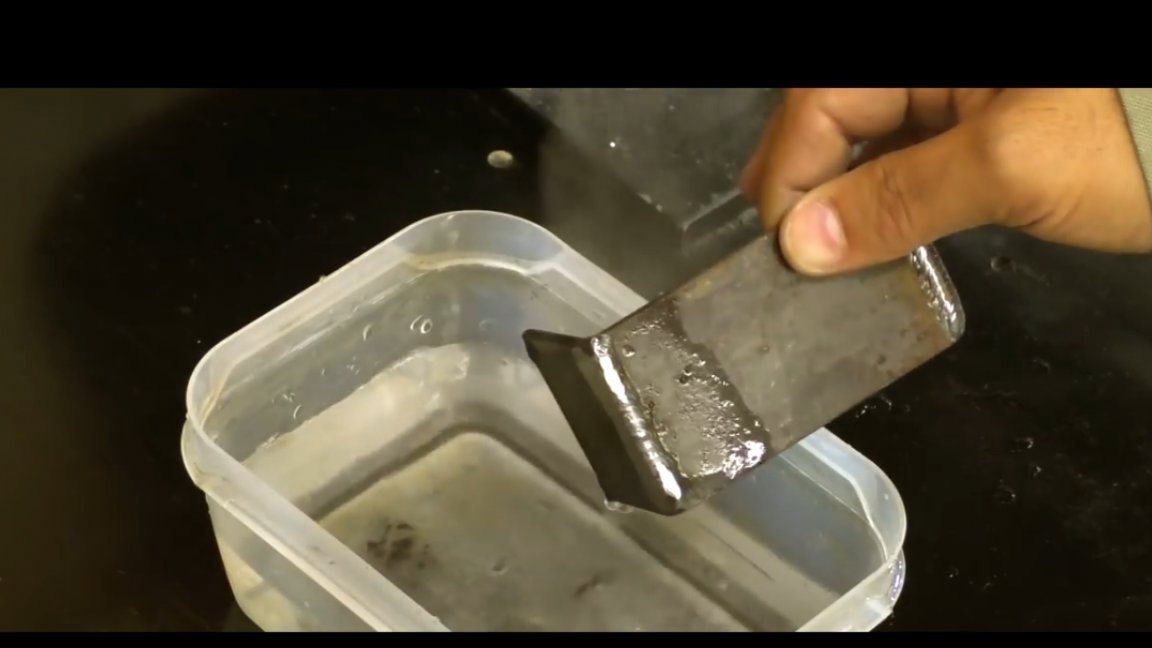
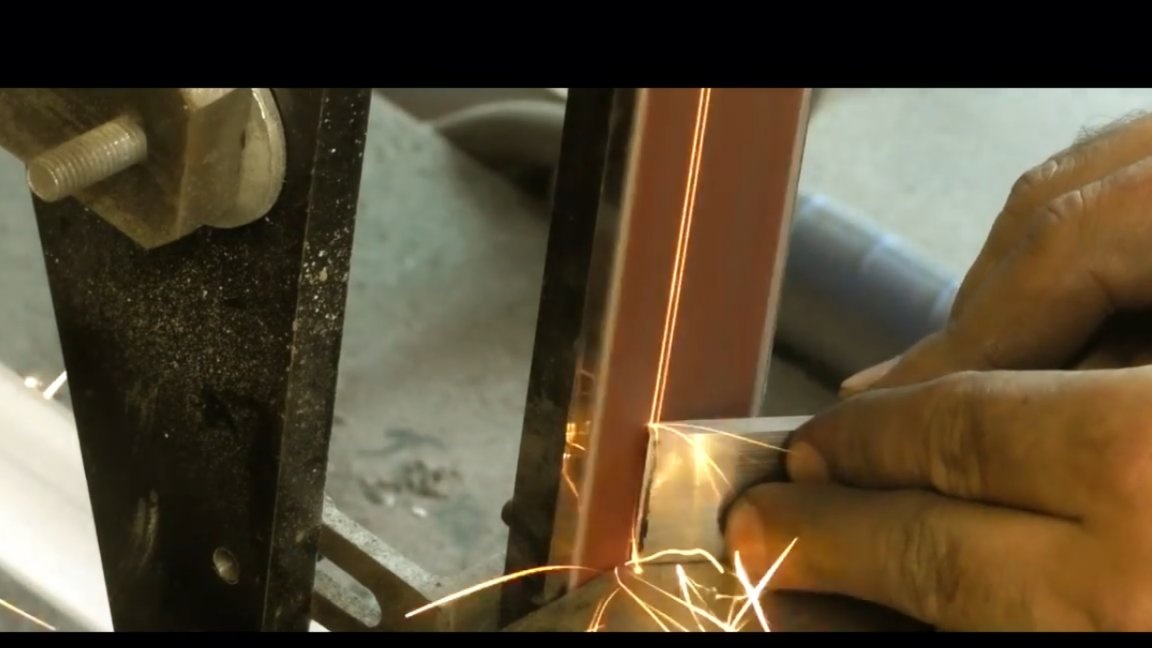
Then we fix the workpiece and cook.
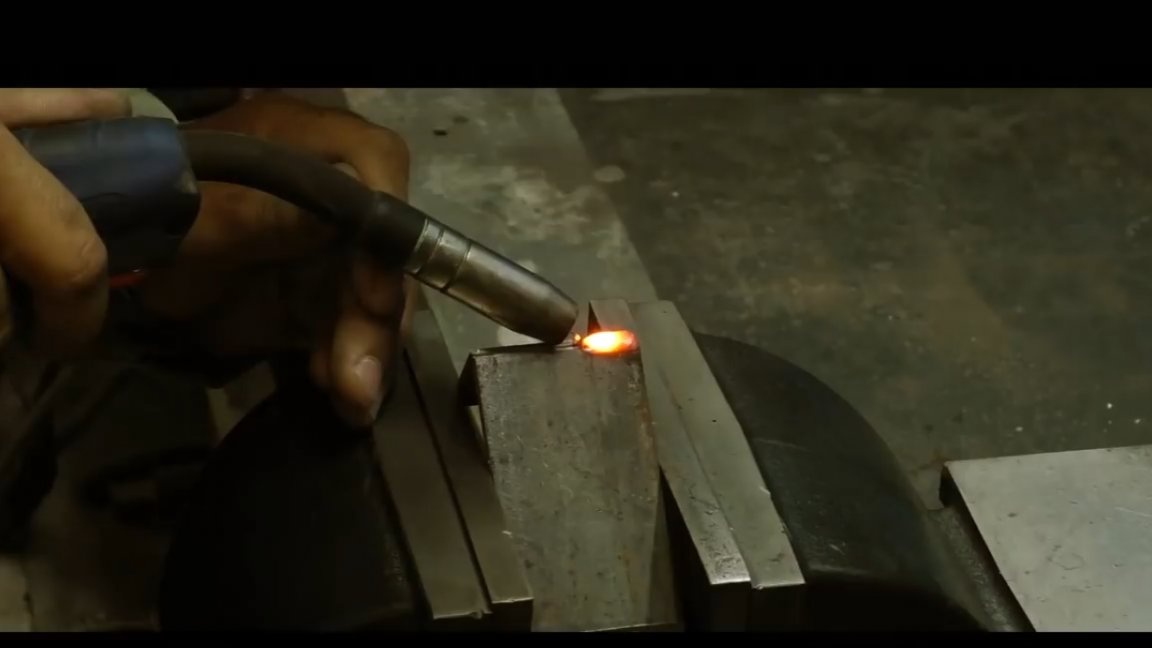
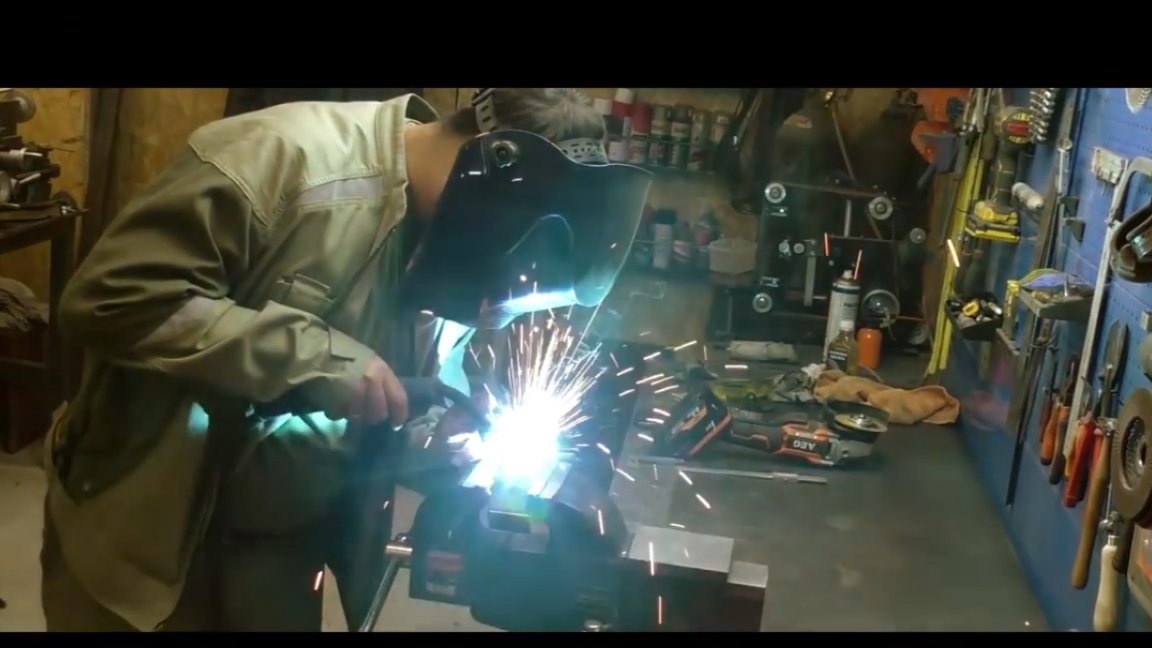
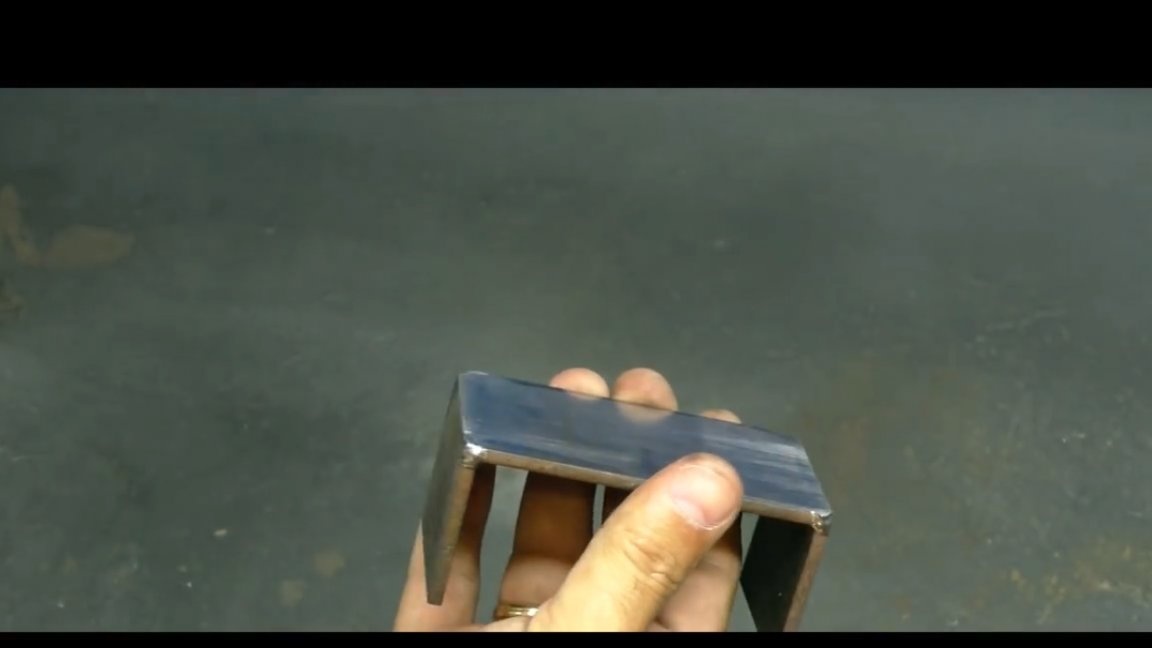
The blank can be clamped in an ordinary vice, it will be more convenient and easiest. The welding seam will be double, so we will maintain a right angle. Here is what ended up at this stage:
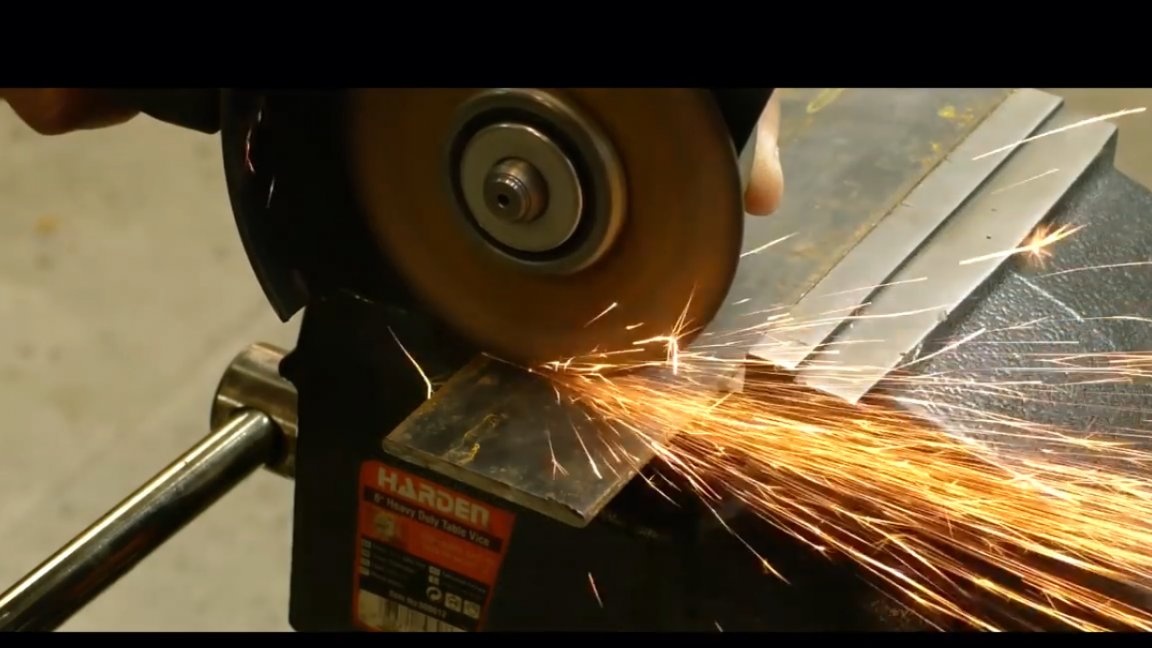
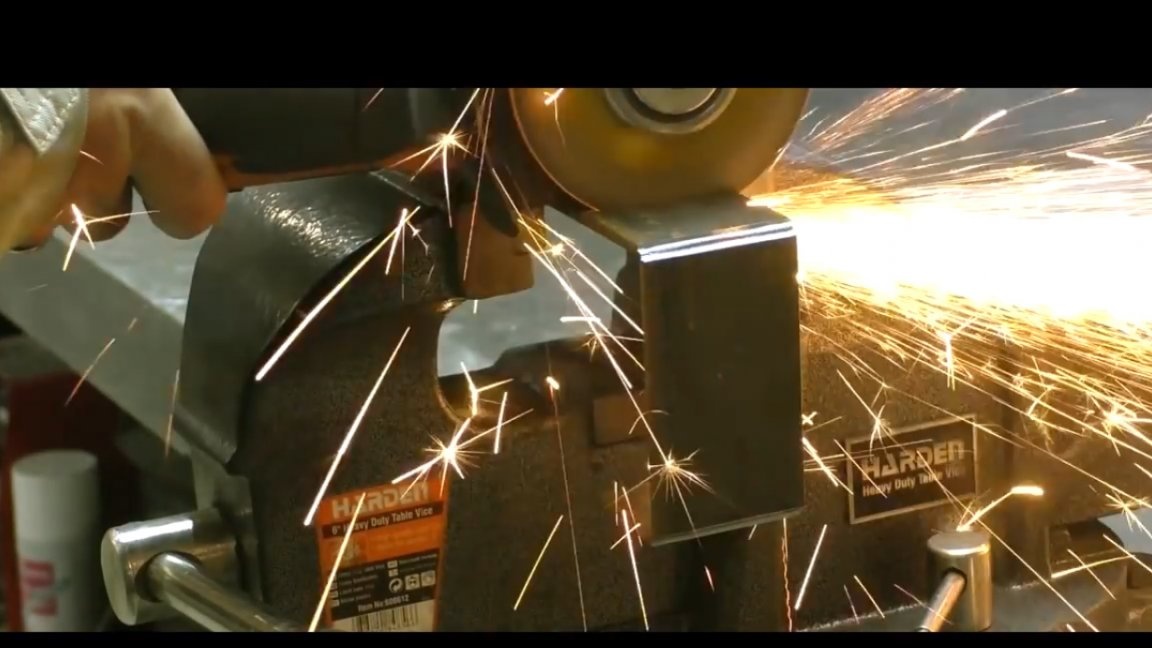
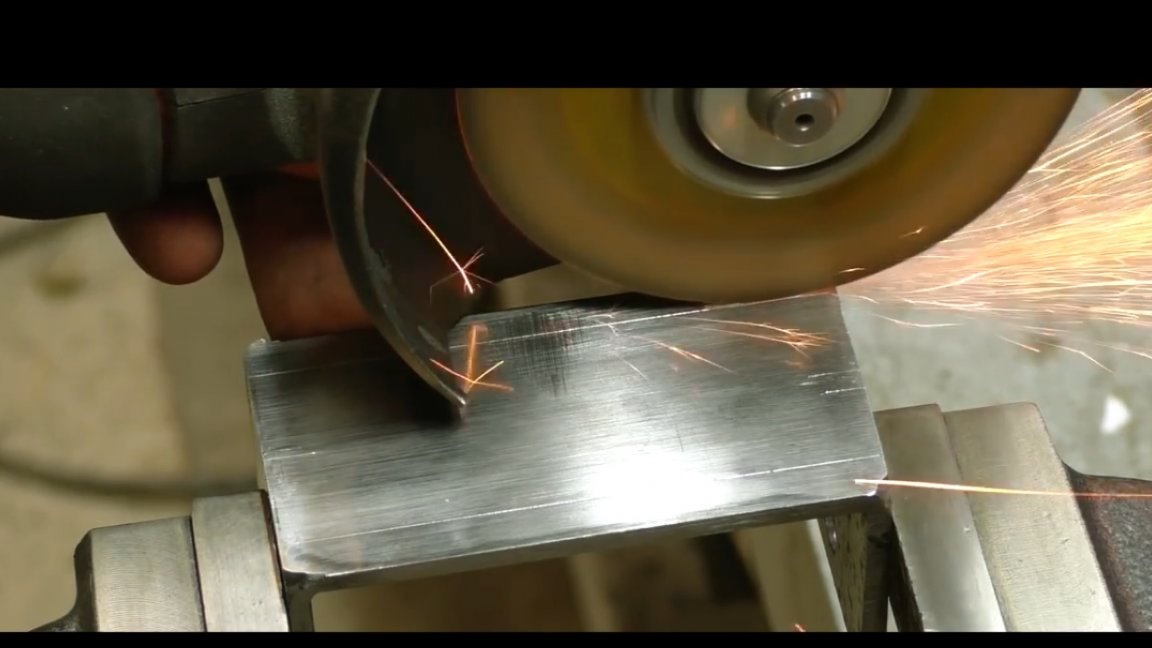
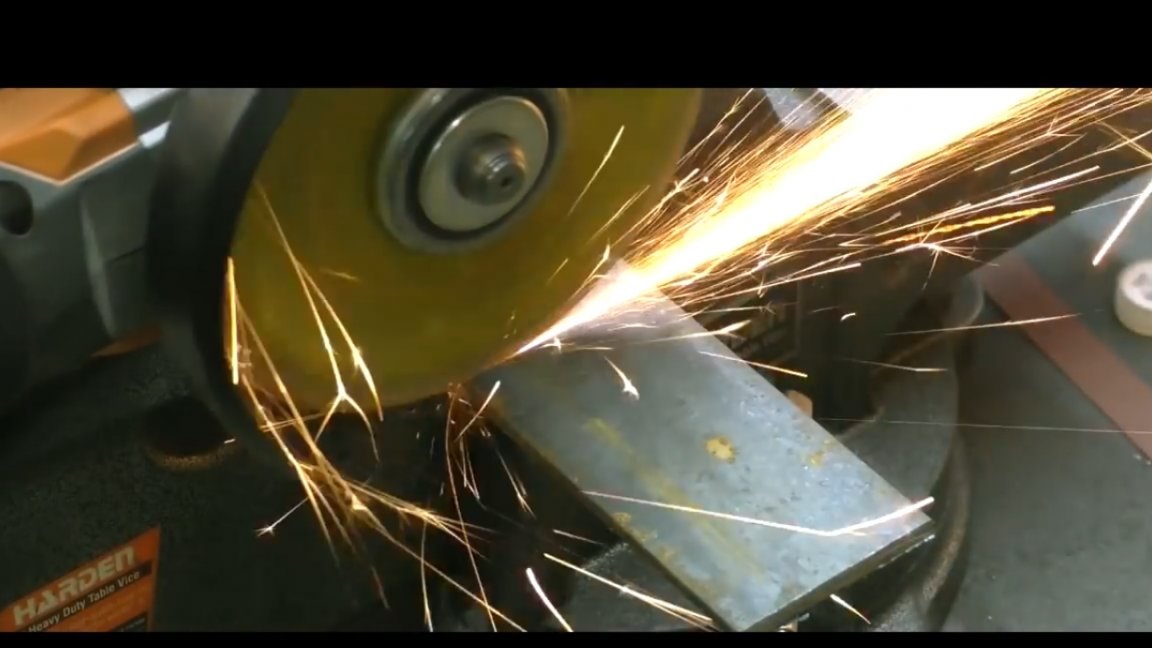
Now the resulting workpiece must be processed. To do this, you can resort to the same help, but since the author has a home-made grinder, he decided to perform this procedure on it periodically cooling the part.
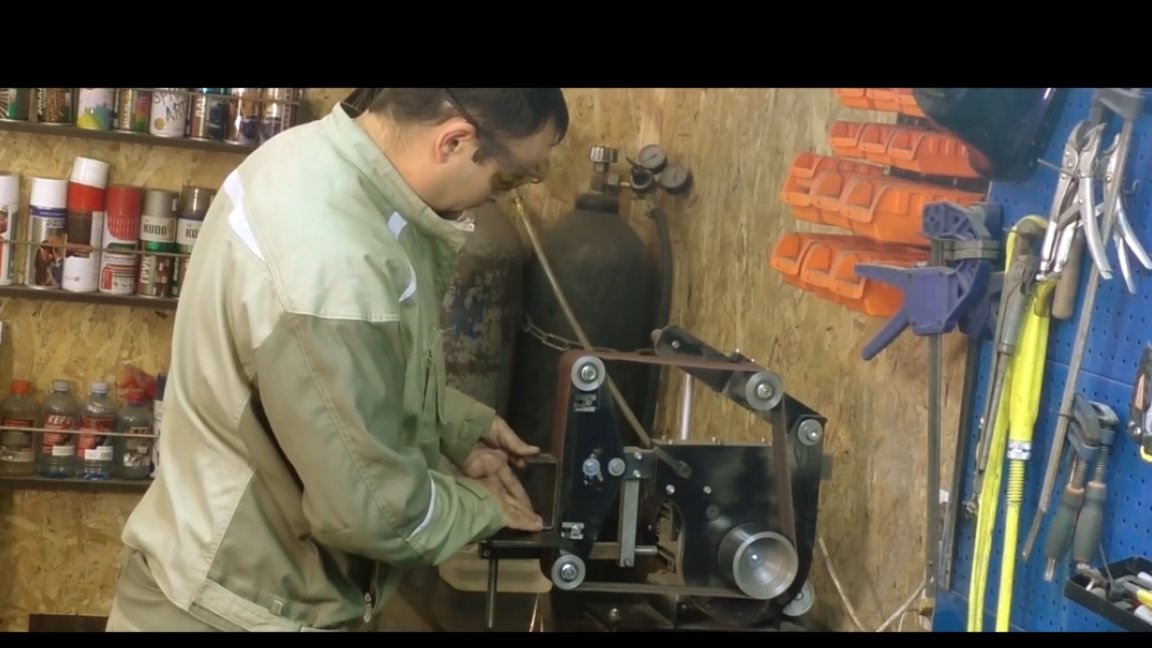
With the help of a grinder, this work can be done faster and better. After literally 5 minutes of “dancing” near the machine, and we get a fully machined part with ideal angles.
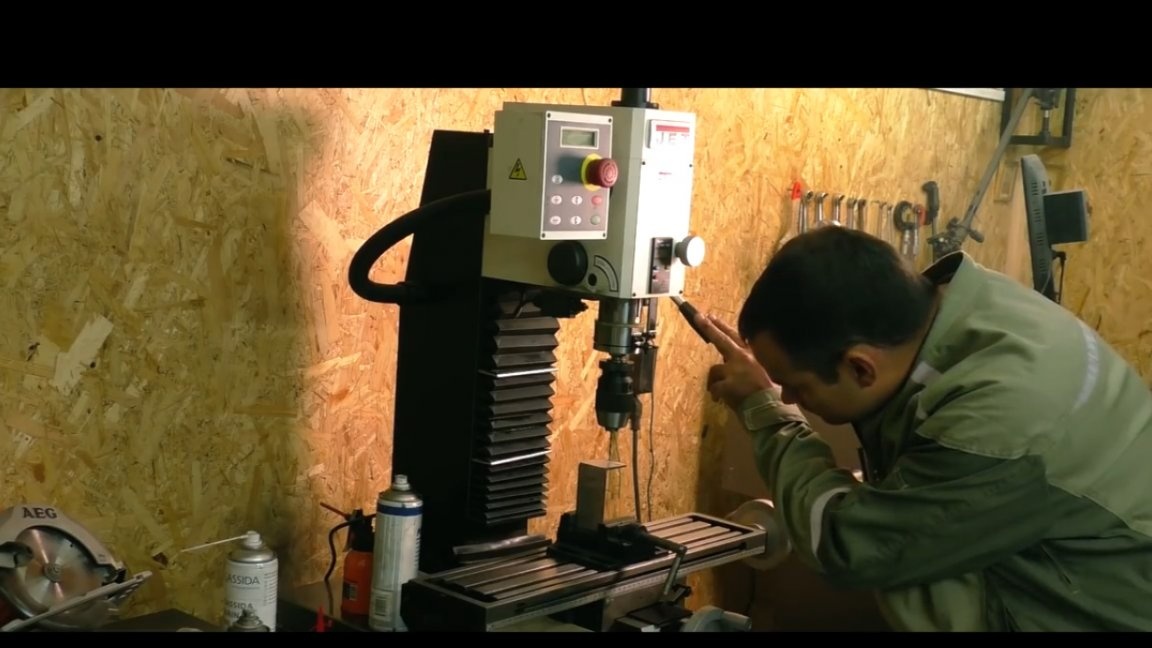
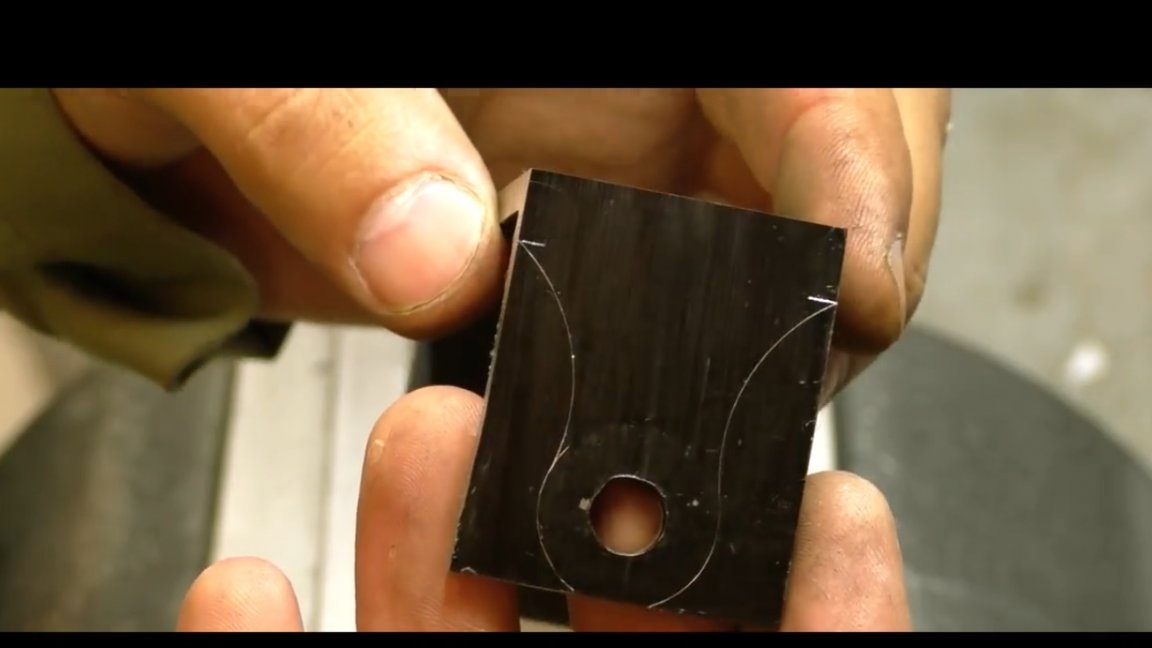
The next step is to make markings that will help determine the holes.
The holes should be coaxial, the shaft, which will subsequently be installed here, should be completely parallel to the upper platform of the housing.
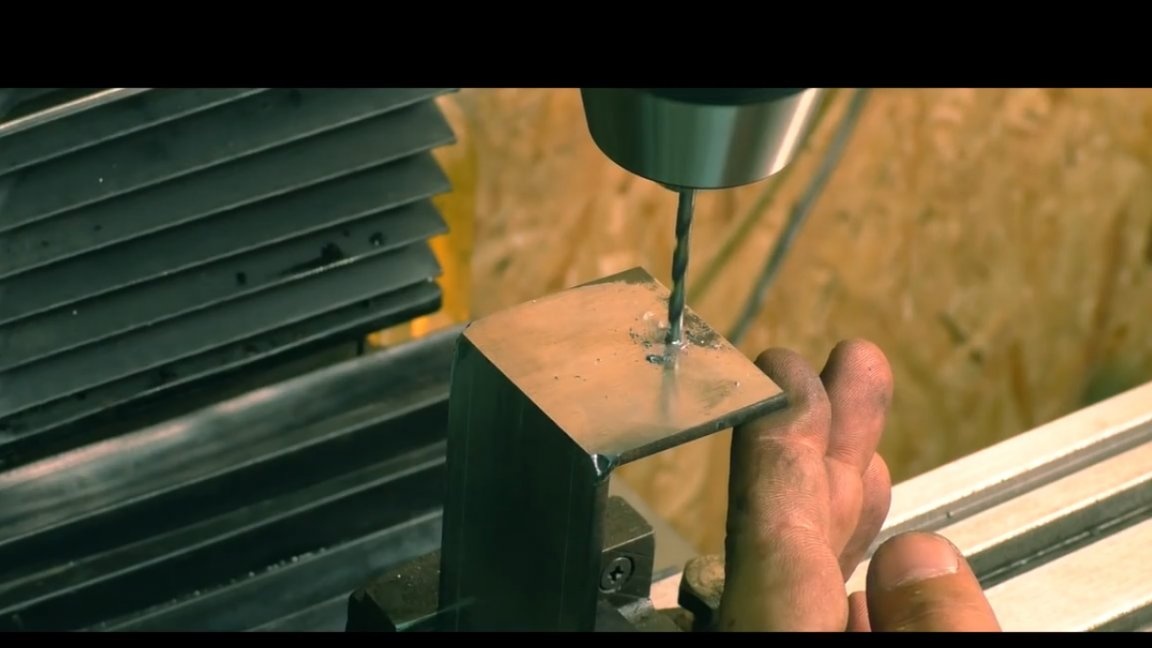
The holes are drilled, now you can cut off all the excess parts.
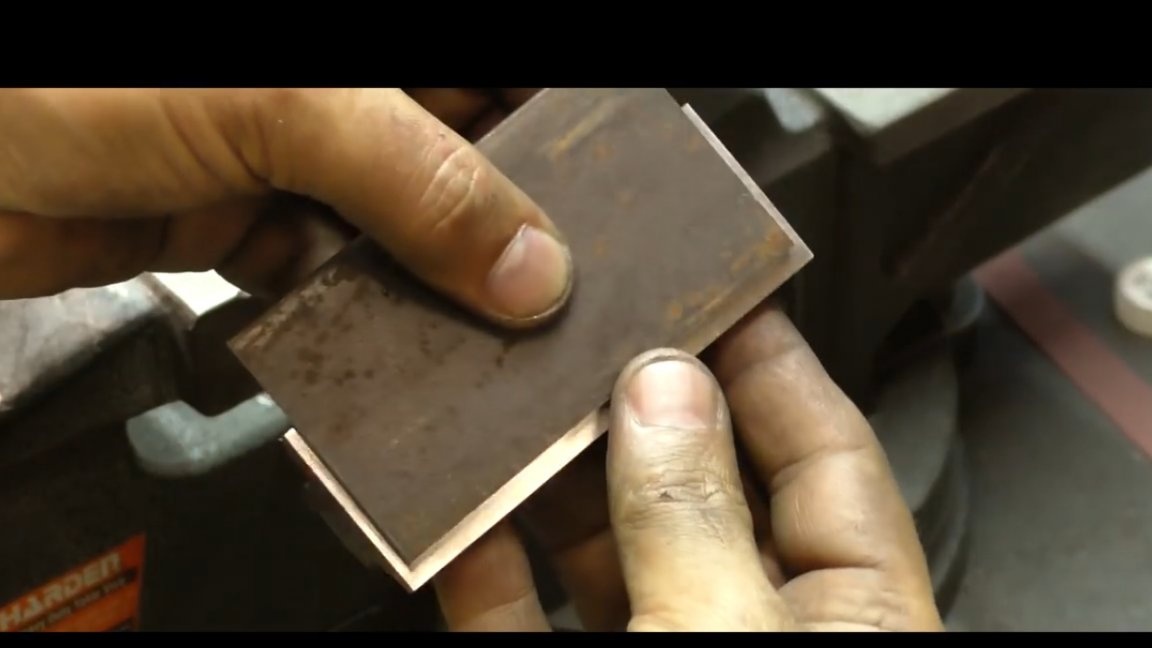
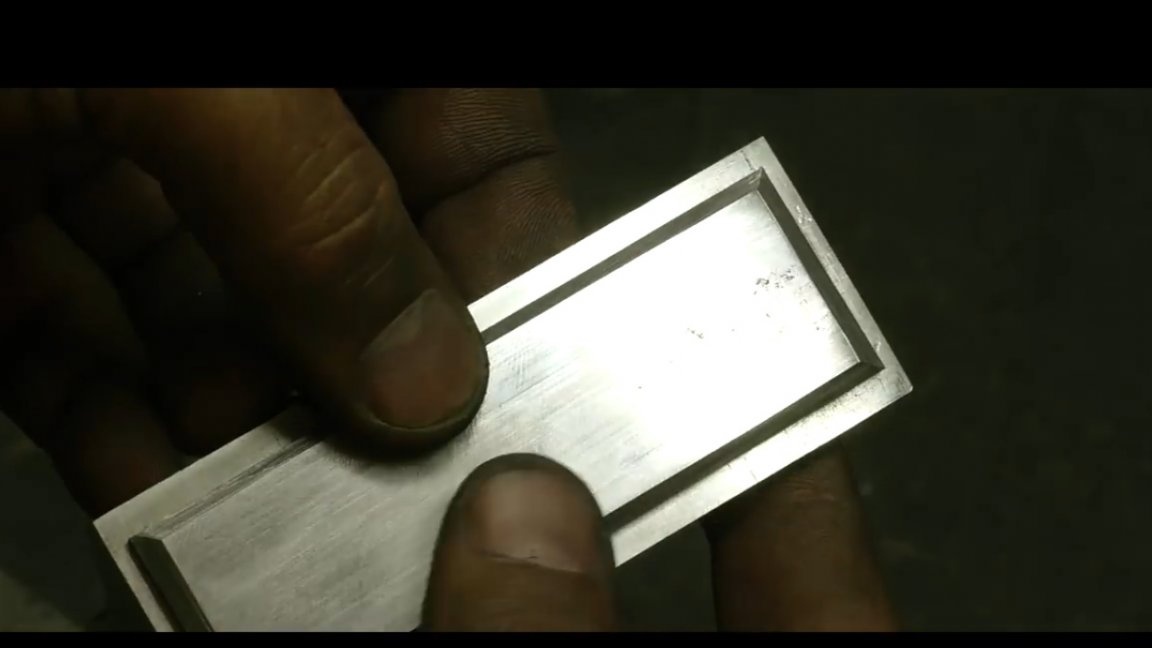
The case of the future device can be left as such, but you can still work a little and thereby make it more beautiful.This is how it will look much better.
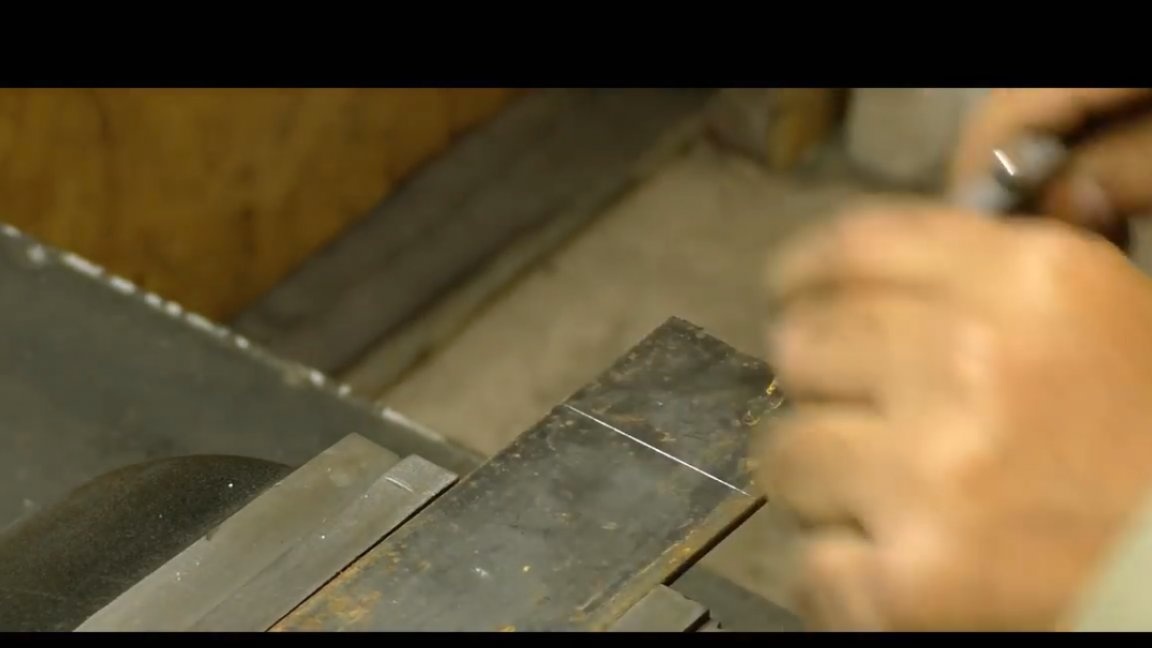
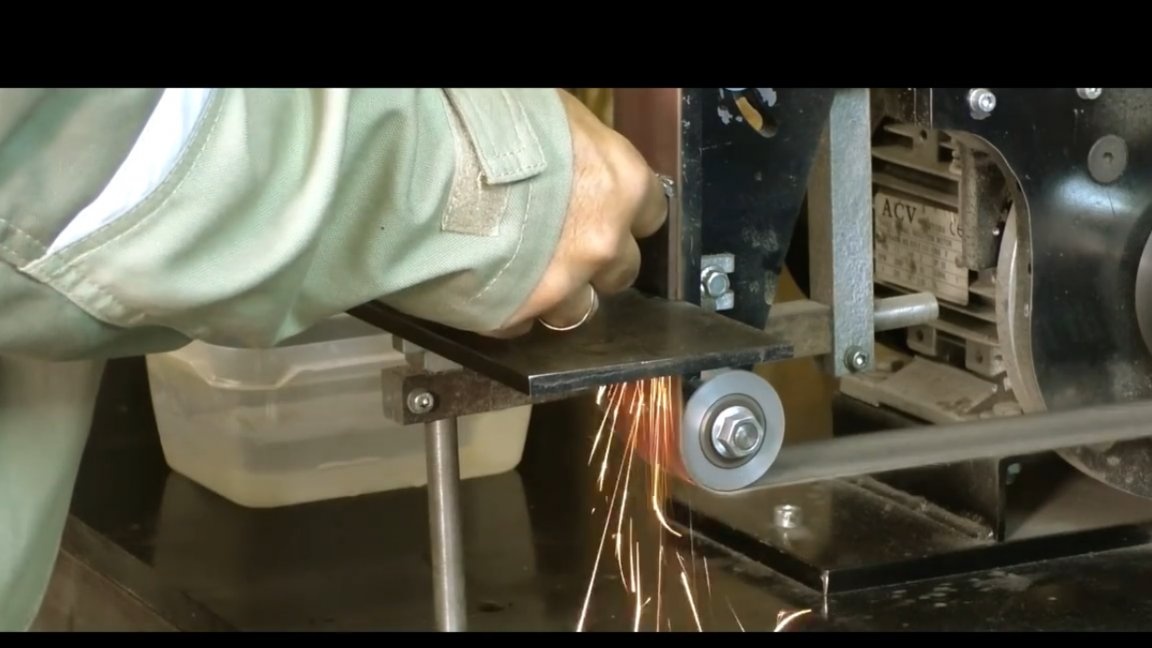
We cut off the main part of the metal, this is one of the fastest ways. In this case, a little skill is required and it is possible to fit almost to the ideal.

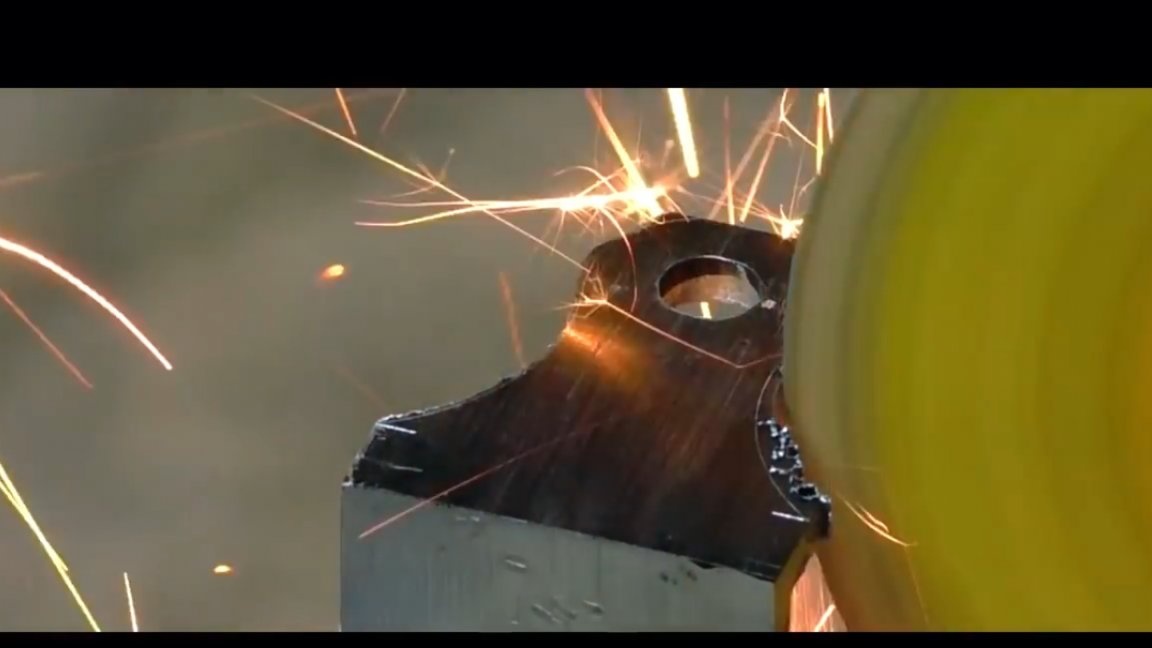
Then the author launched. With its help, we will bring the processing up to the marking line.
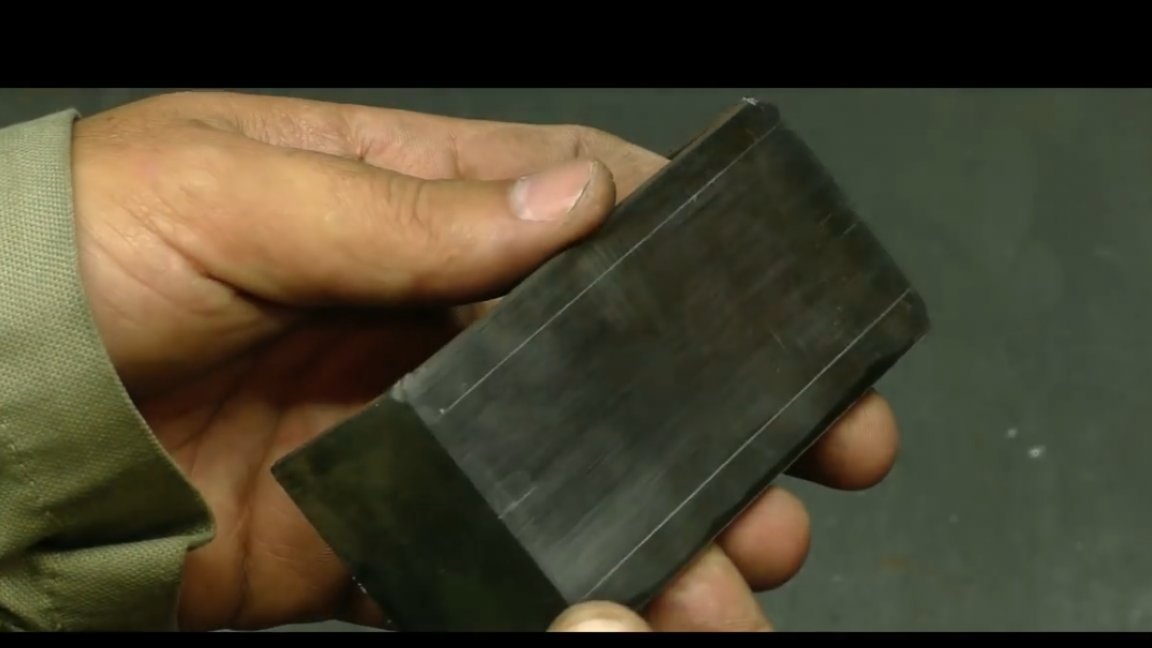
After the manipulations done, this is the detail we got.
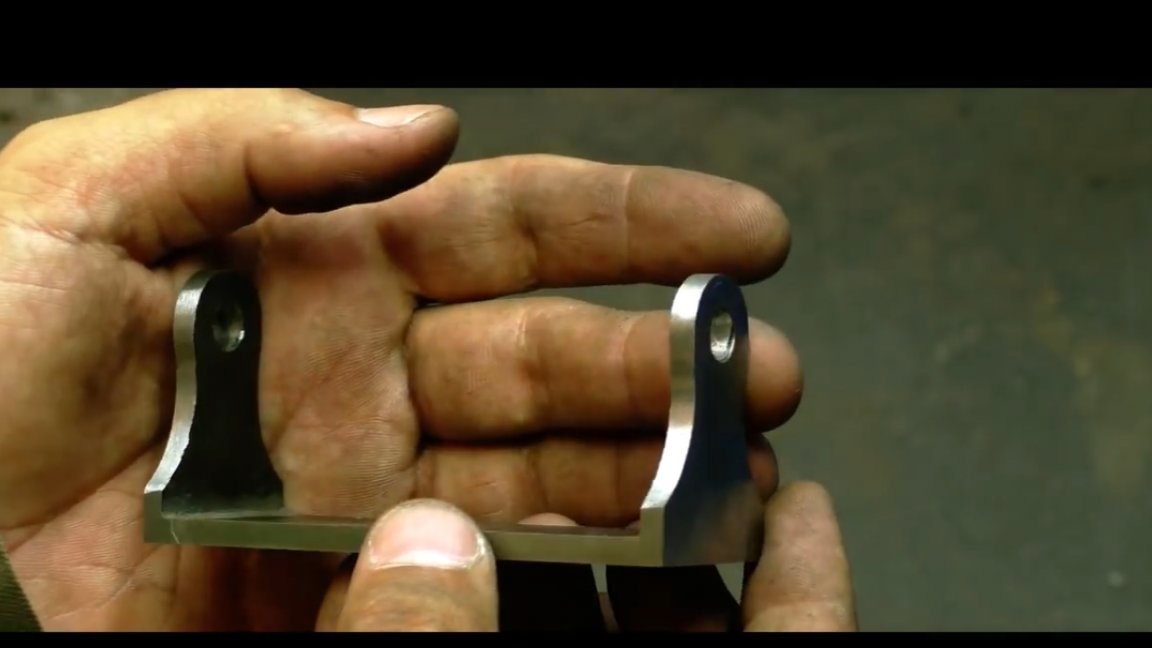
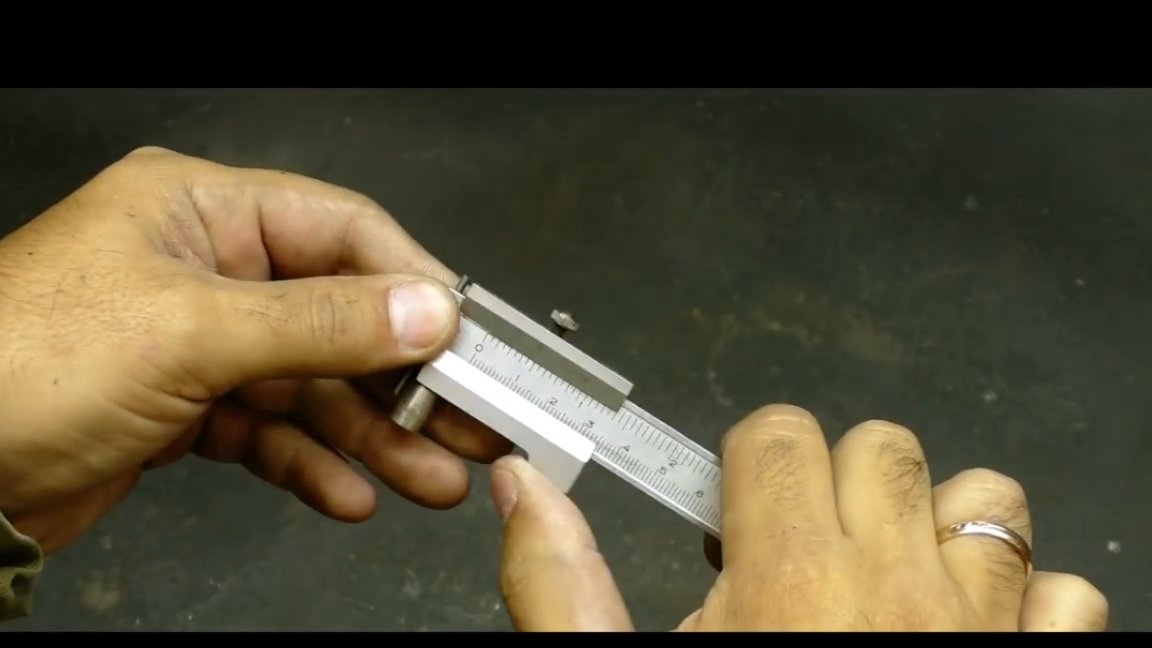
From the same strip 40 mm wide we will make a clip. It will be mounted on top of the body and fix the cutting tool. The clamp must be made 5mm shorter than the body. Also, reduce the width of the workpiece, and of course, align the sides on the grinder.
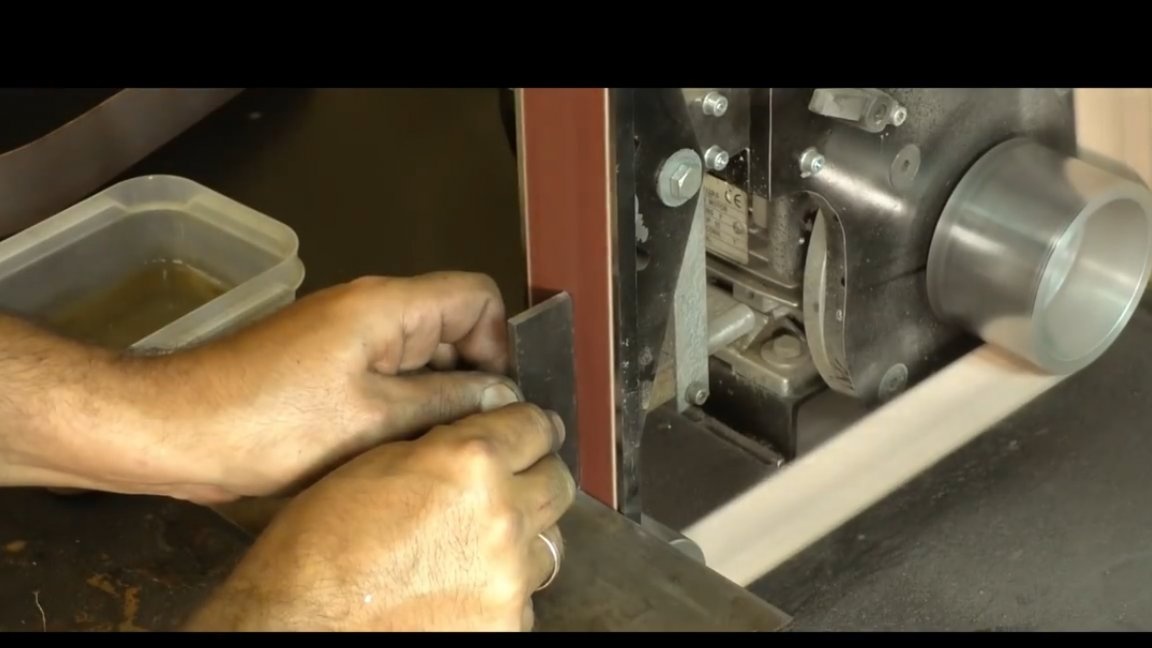

Then, on the same machine, we will grind the flat sides of the workpiece. During processing, the metal heats up quite strongly, so do not forget to cool it in a timely manner.
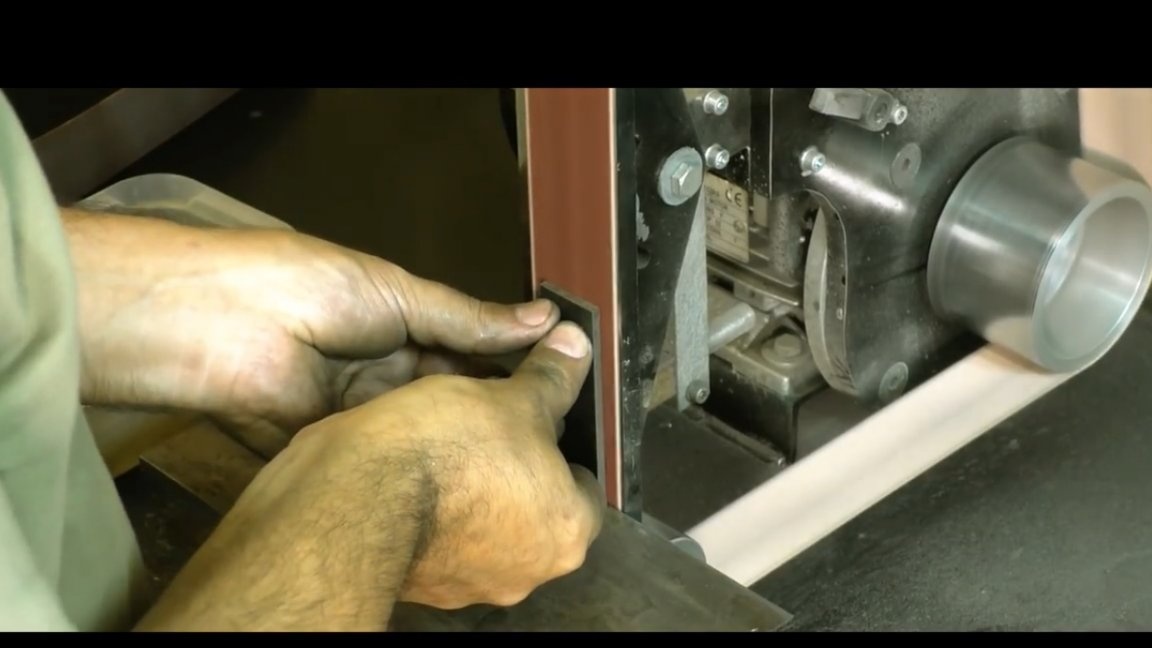
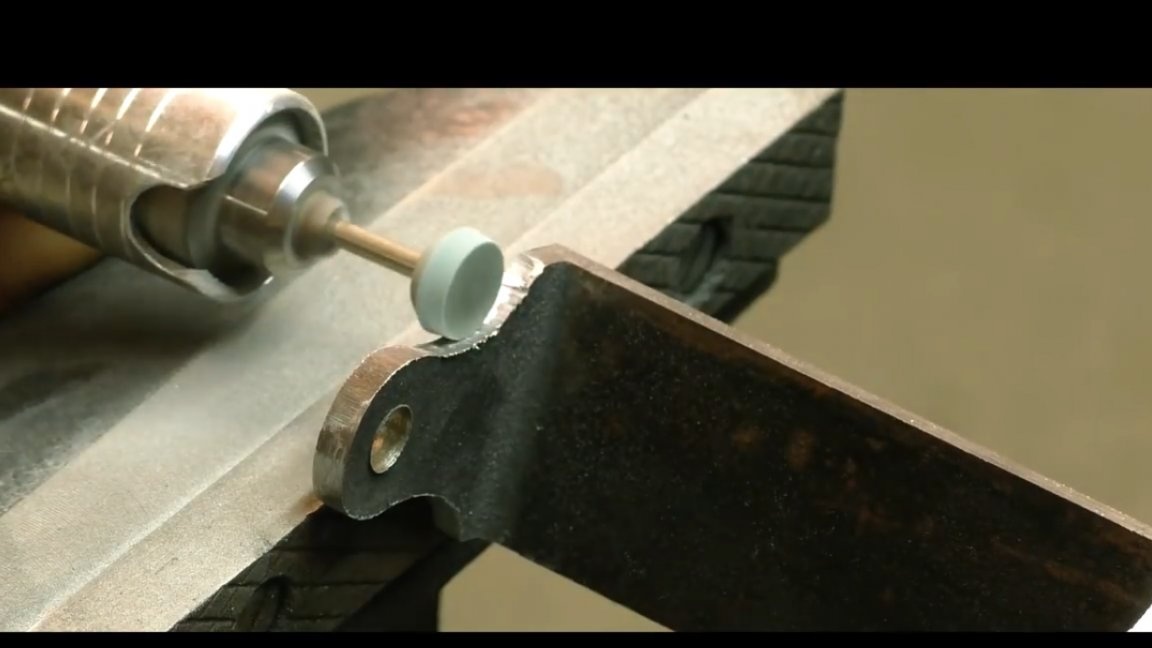
The surface even after rough processing looks amazing. Next, we get rid of sharp corners from the upper side. We just grind them. To do this, use an ordinary mark on the base table.
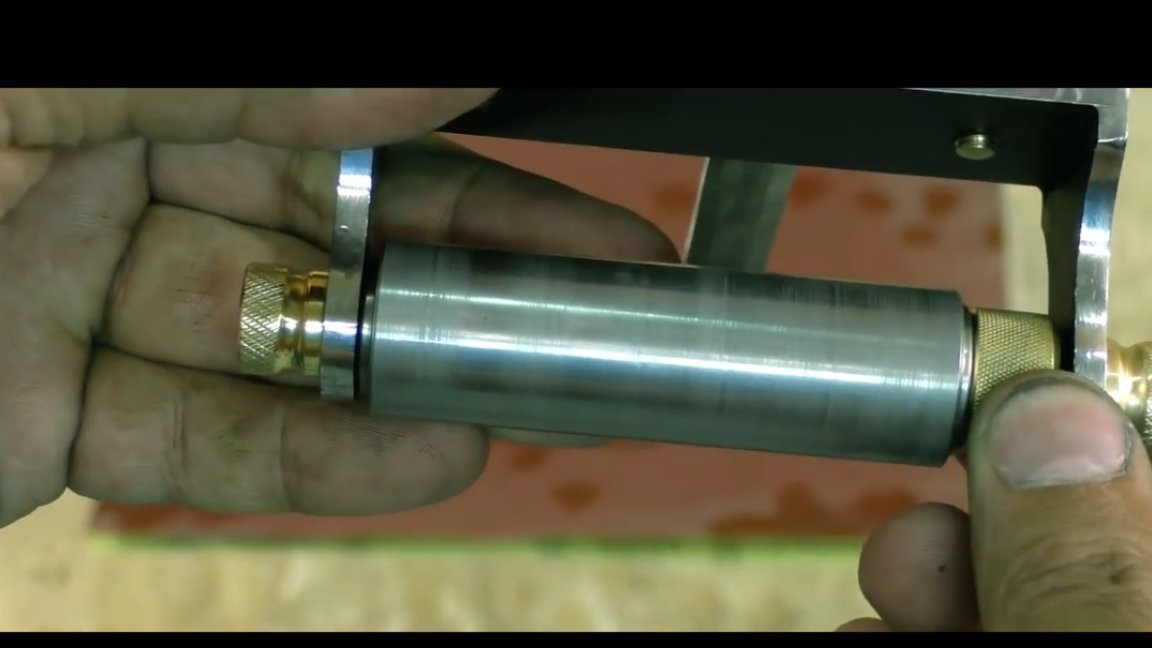
It turned out pretty well. In the bins here was found such a sleeve:
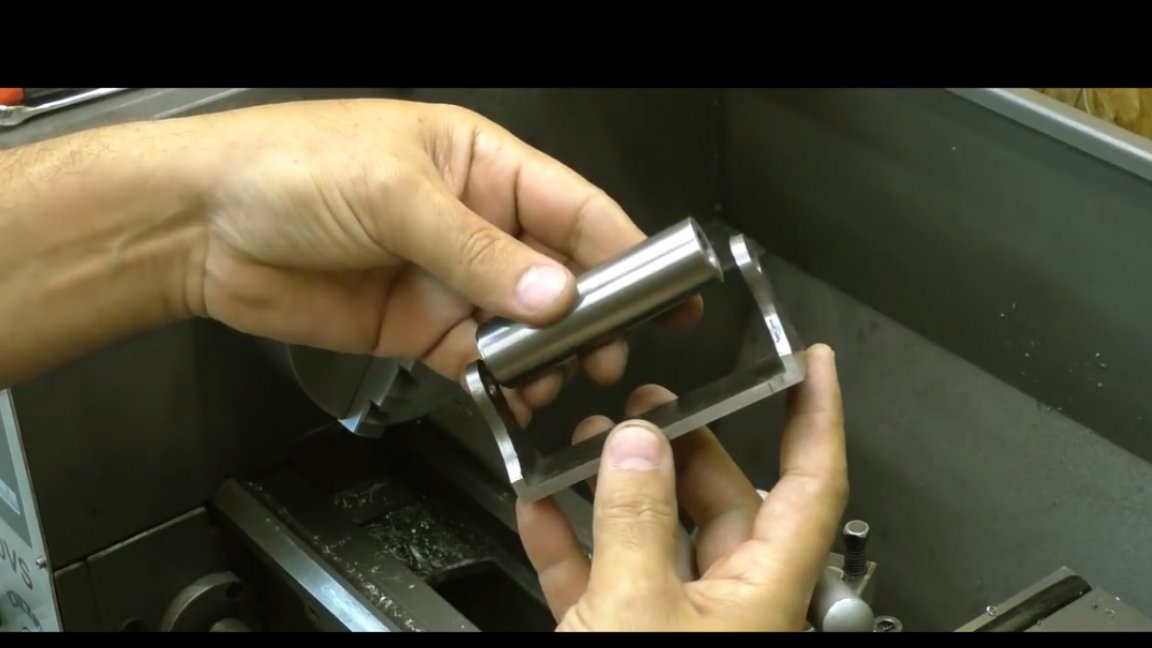
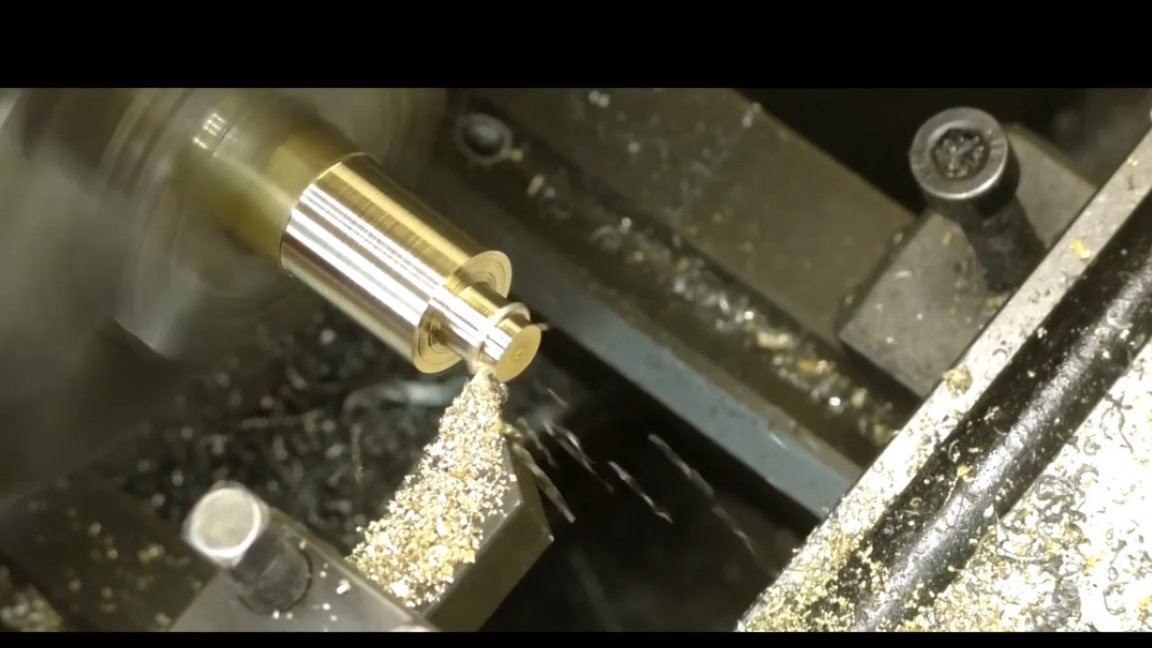
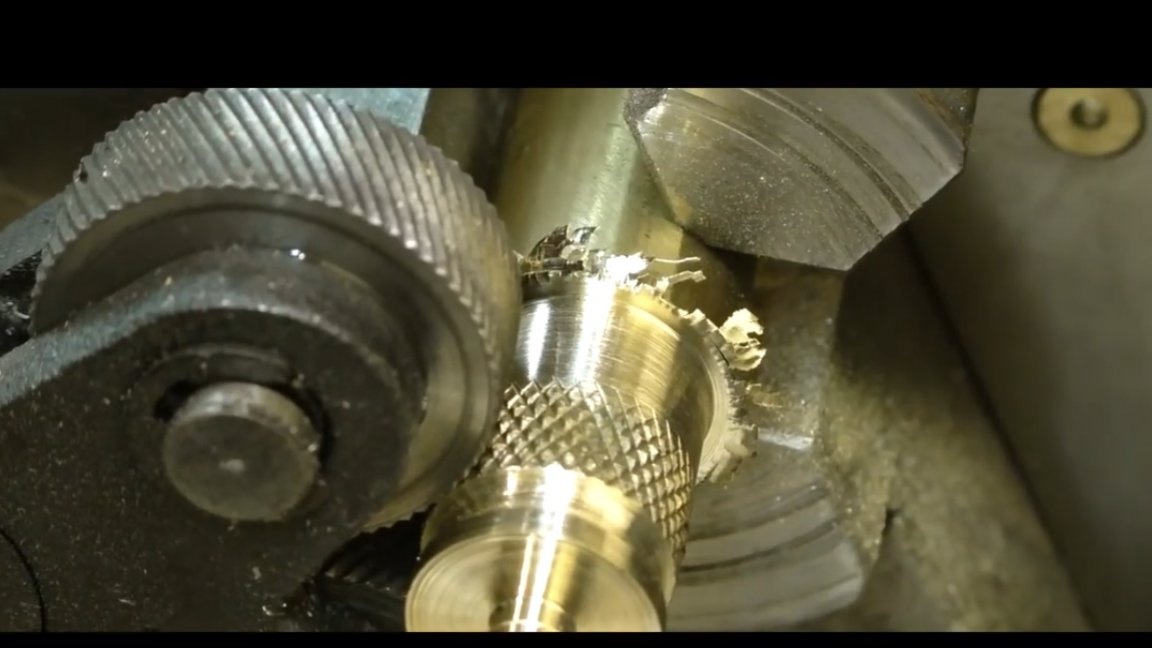
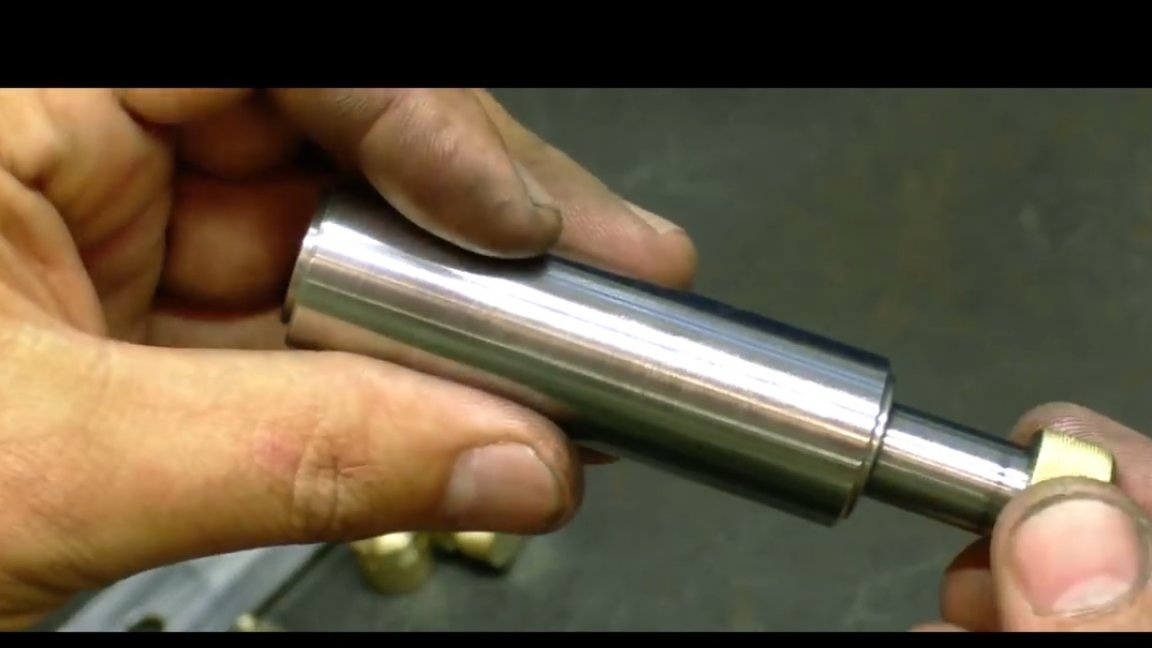
We will use it as a roller, and we will grind the axis with the eccentric on the machine. Next, we have loved by many turners. We grind the entire axis to the desired size, after which we deploy the workpiece and make a lining for one of the cams of the turning chuck. This will help us shift the center of our workpiece, and why you will need it, you will understand a little later.
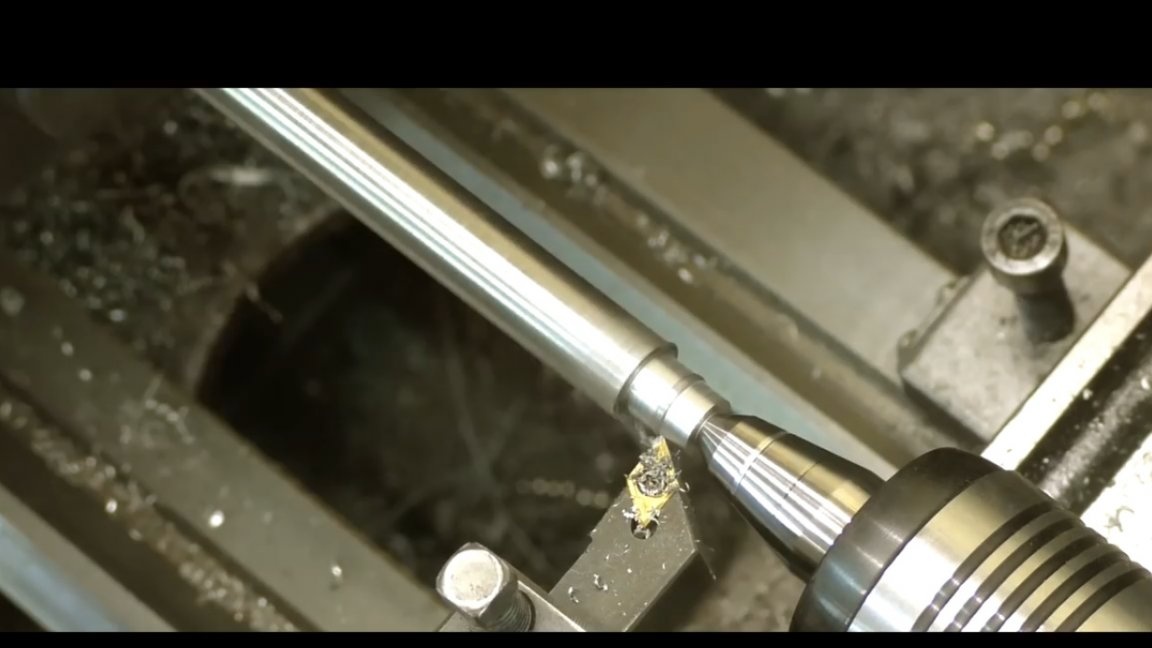
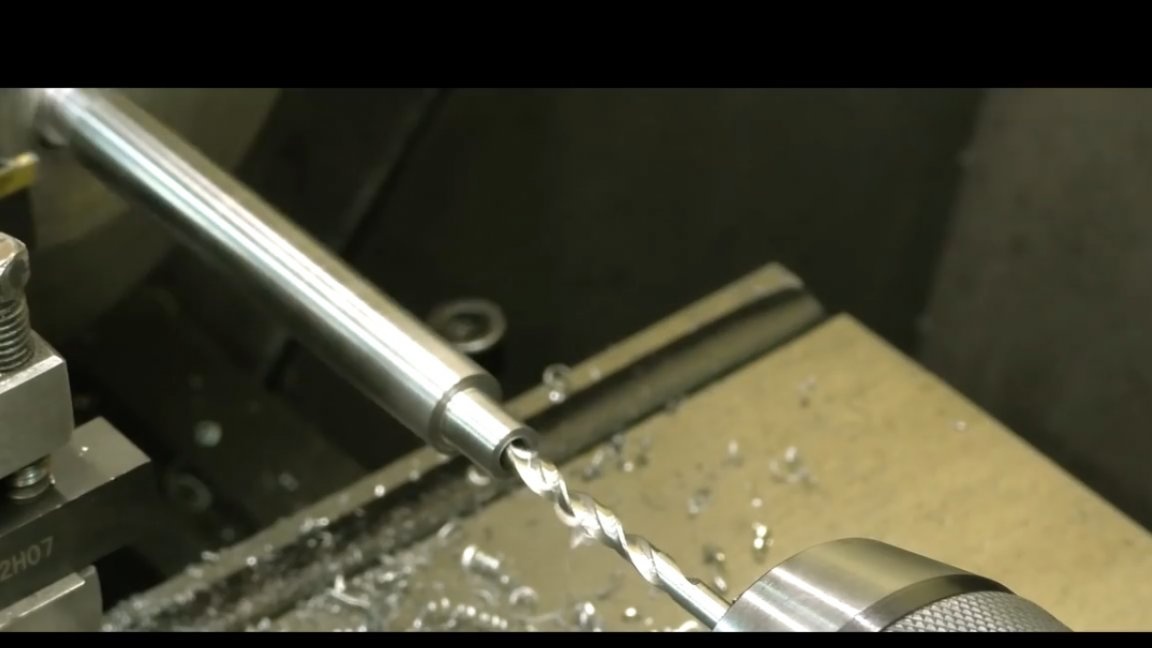
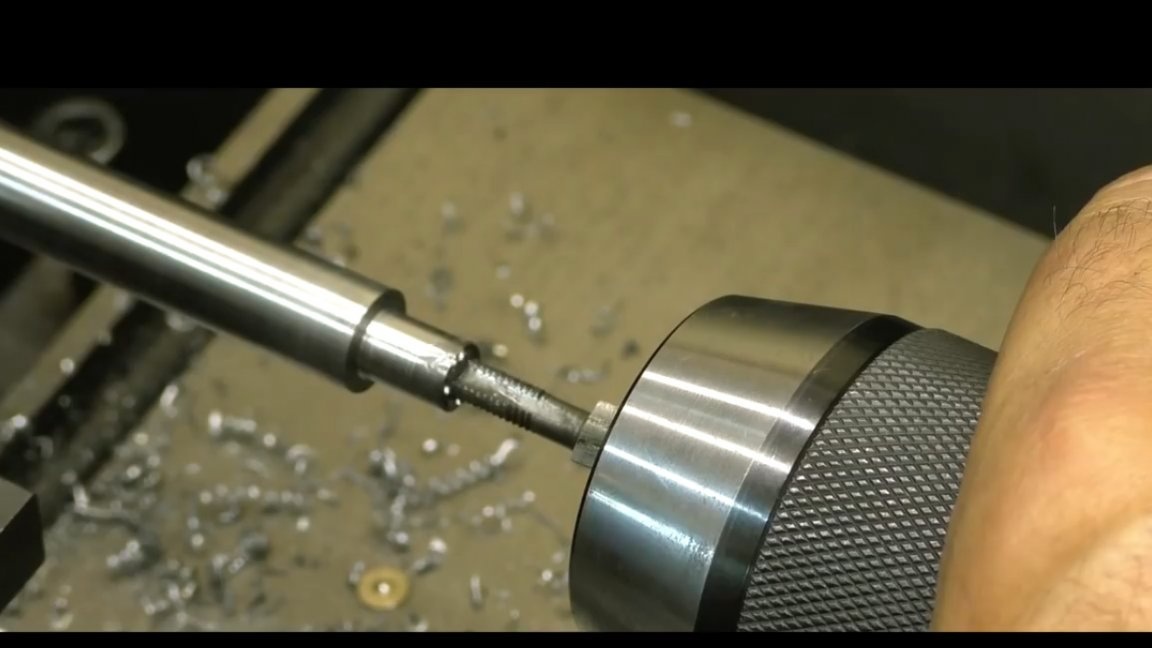
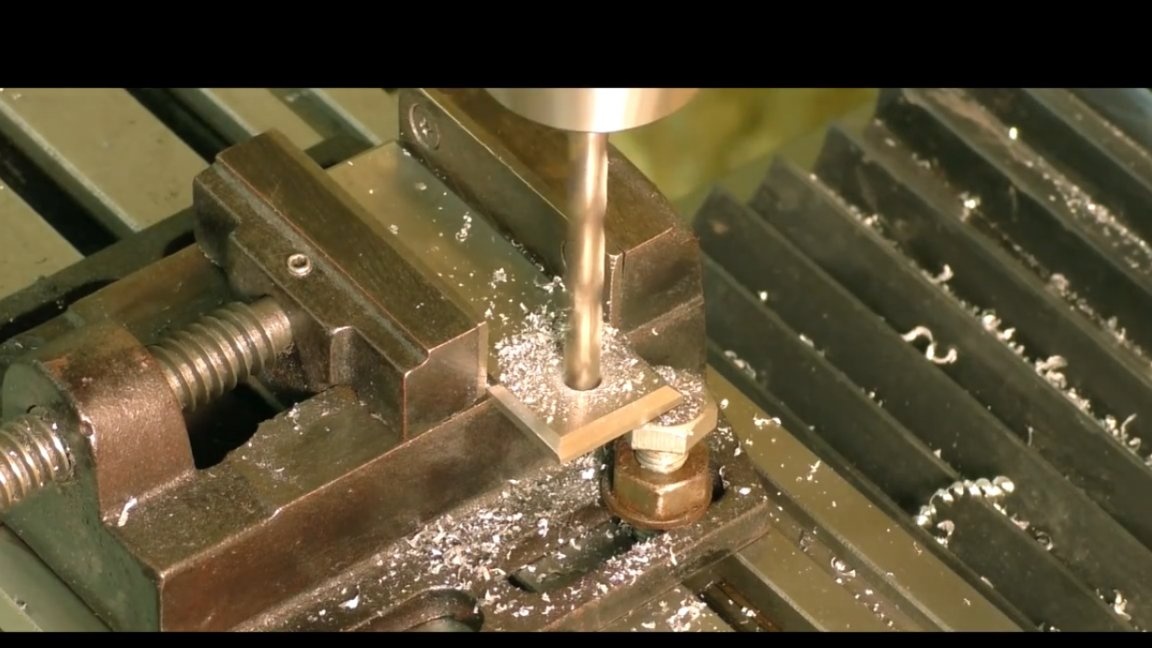
Further, it is necessary to drill holes in the ends of the resulting workpiece and cut the m5 thread.
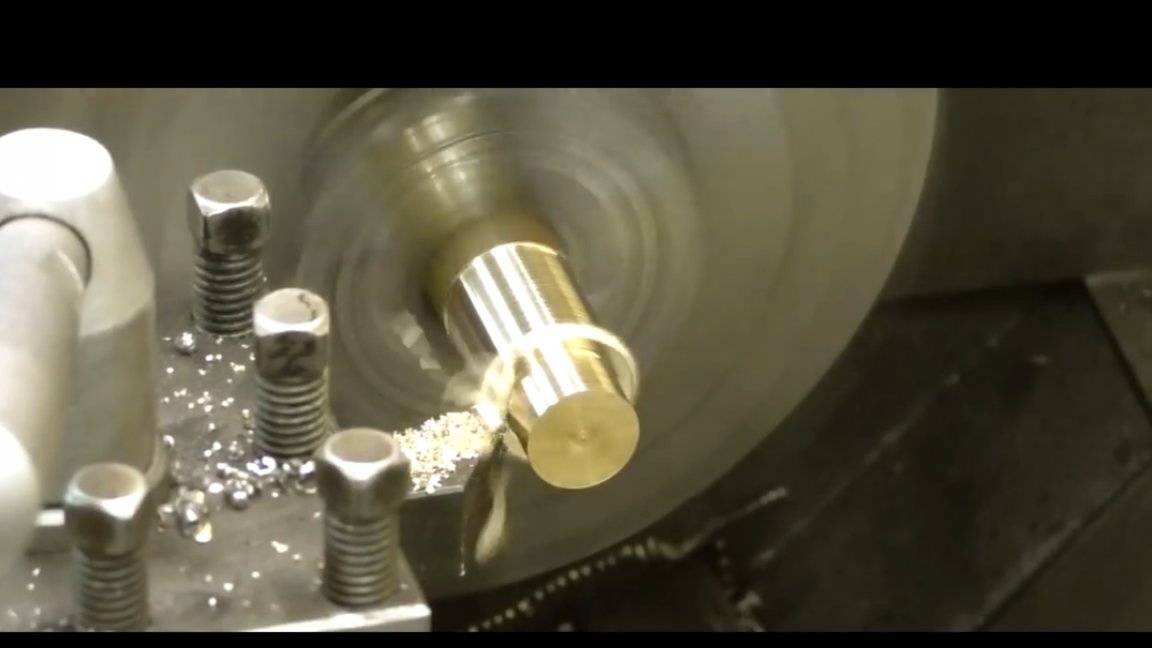
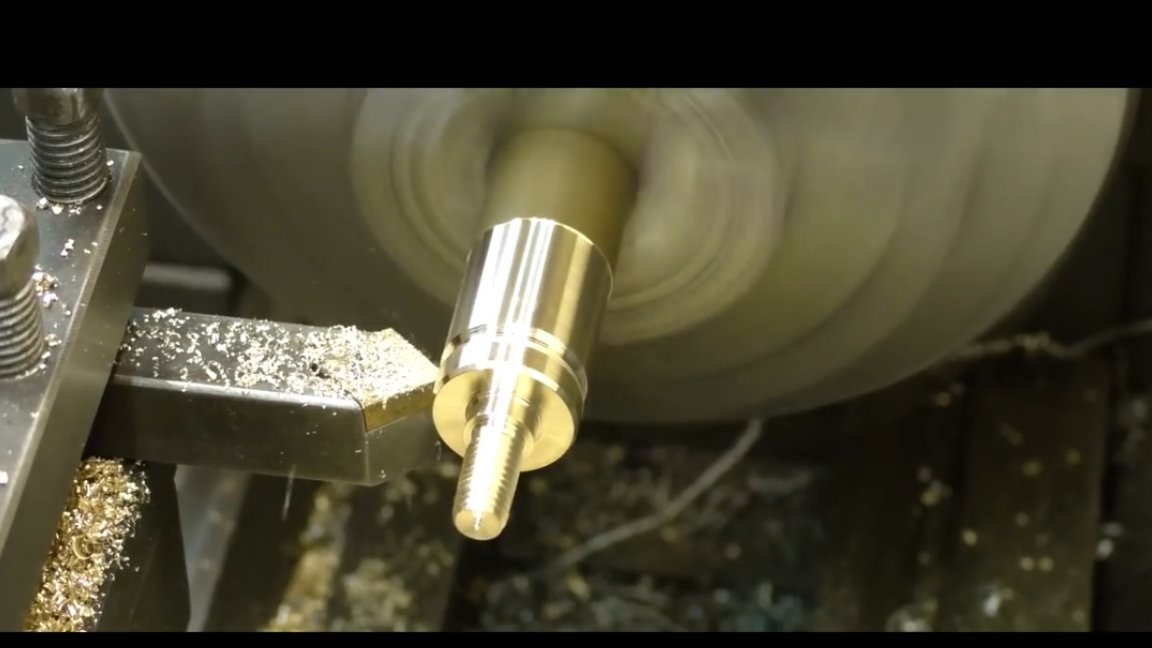
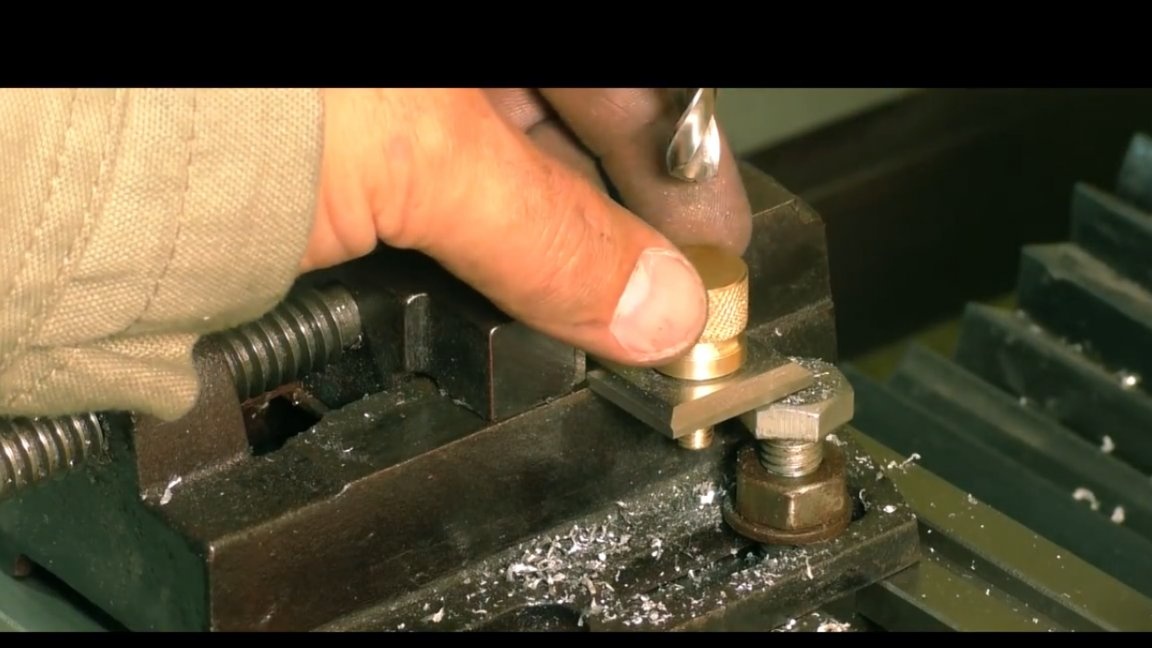
The next step is turning again. It is necessary to turn the bolts for our tool. Bolts will be made of brass, they are necessary for fixing the axis with an eccentric in the tool body. All these bolts need to make two pieces.
Now it remains to make a couple more bolts. They are gentle for attaching the clip to the body. These bolts will be slightly larger than the previous ones with a 6mm thread.
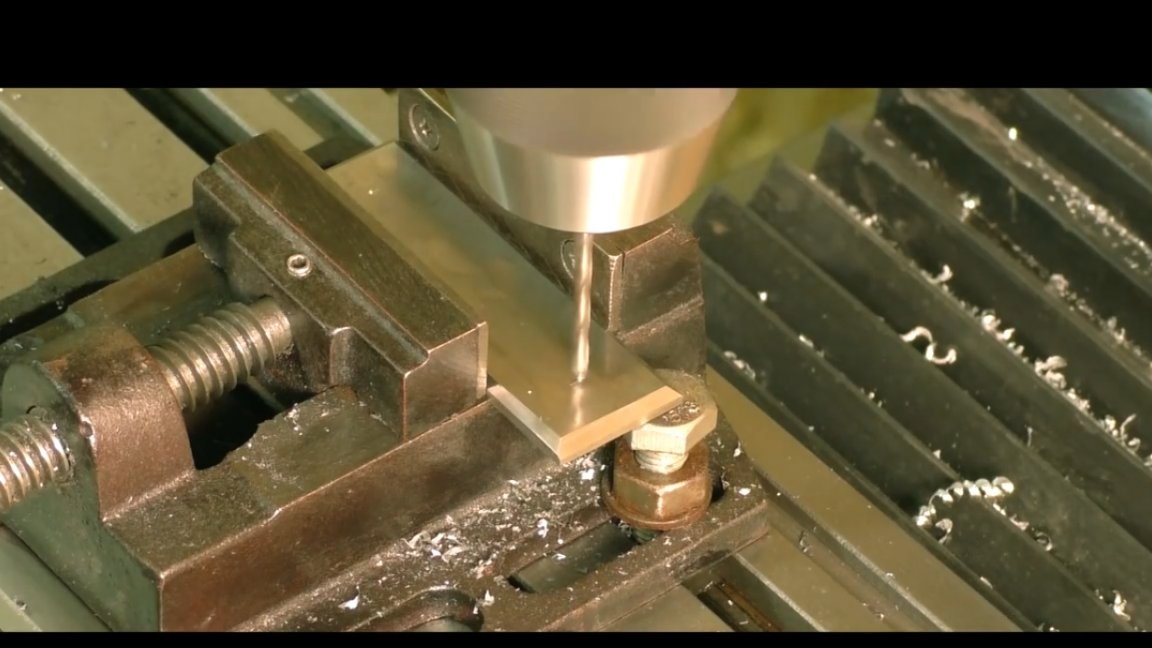
So, all the necessary bolts and fasteners are ready, proceed to the last strokes, so to speak, drill a hole and cut the m6 thread. First we pass a thin drill, and then we drill with a drill with the diameter we need.
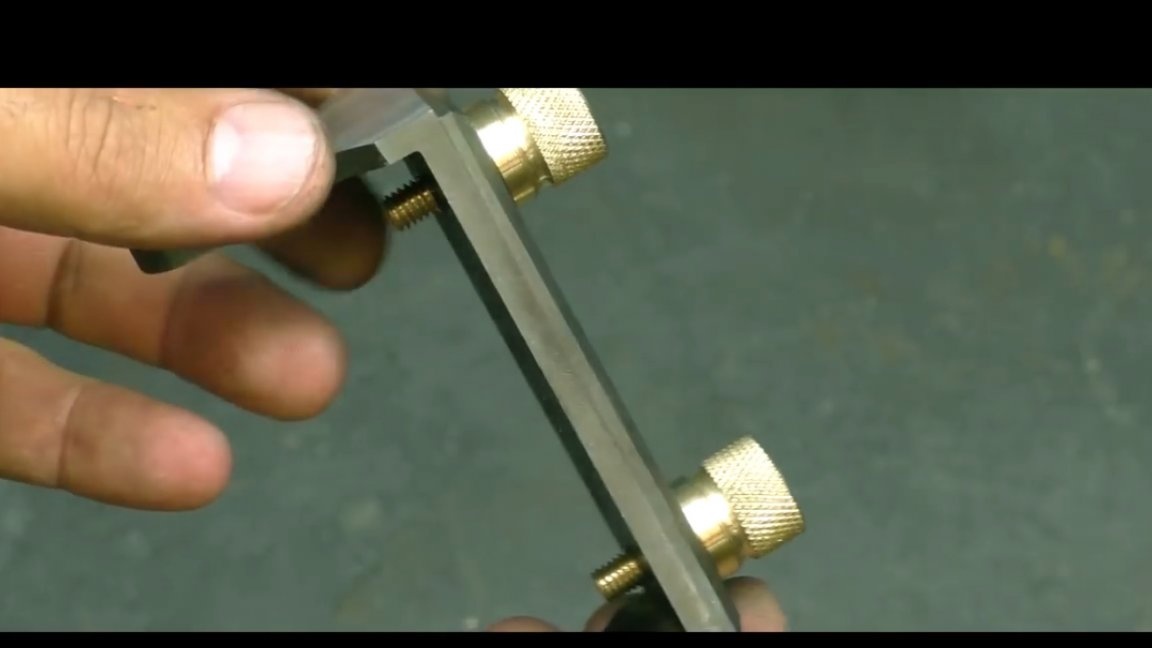
Then try on in place and continue on.
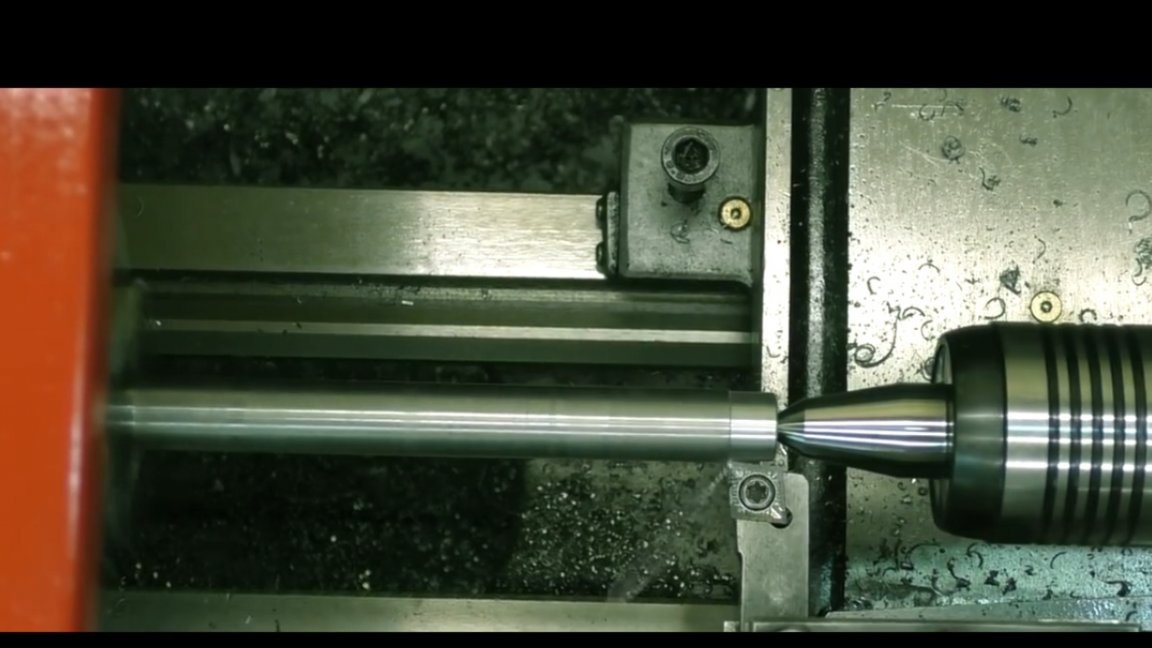
The next step is to grind the sleeve onto an axis with an eccentric.
The next step is polishing the finished parts.

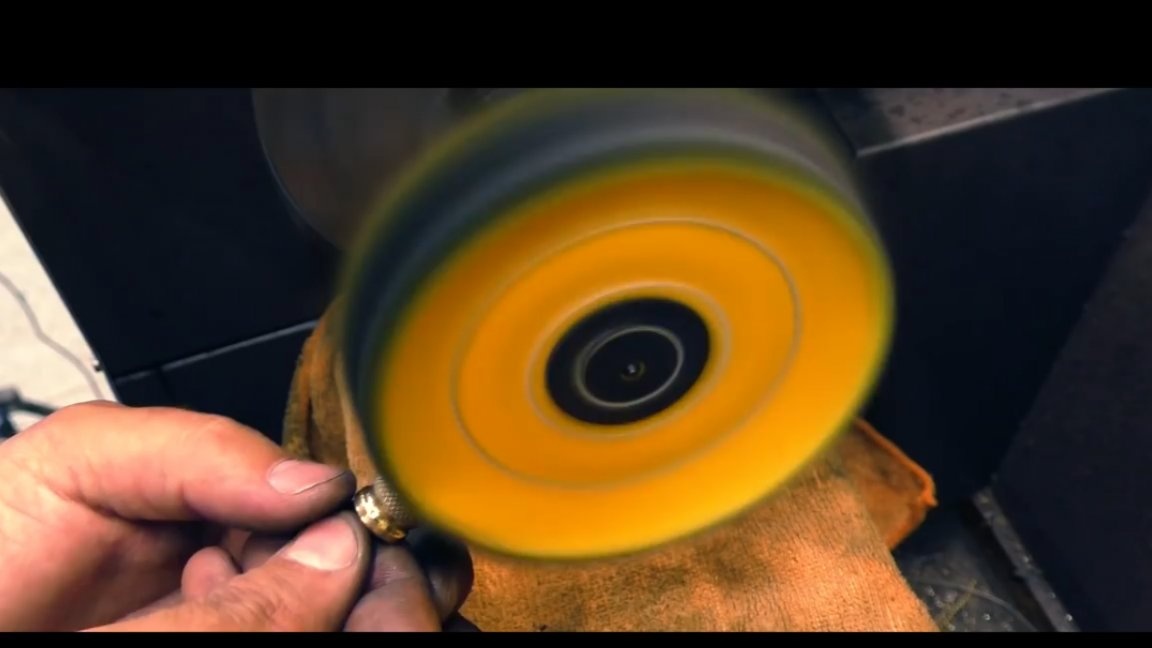
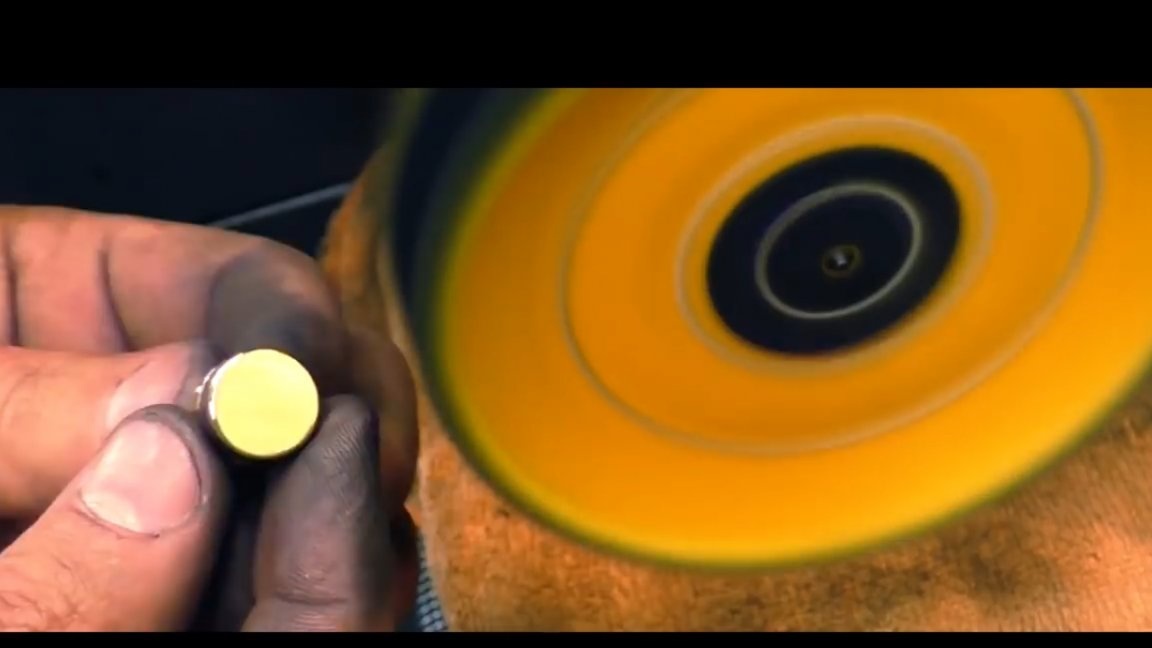
Such an author acquired in China. The paste was purchased at a jewelry tool store, so there will be no link here.
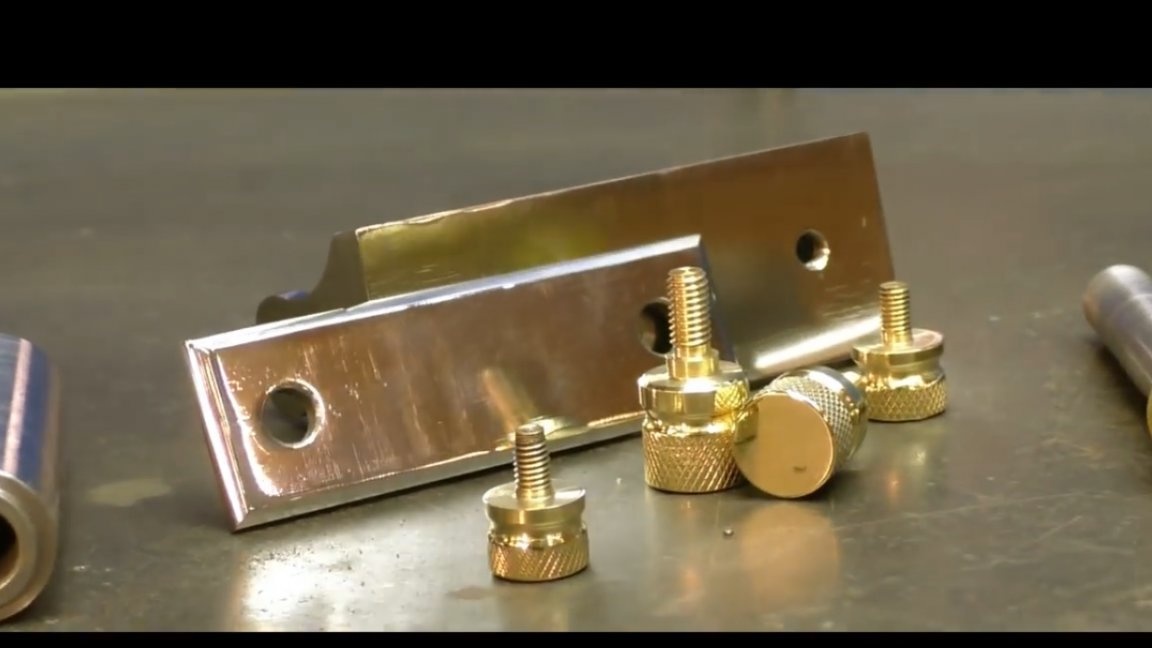
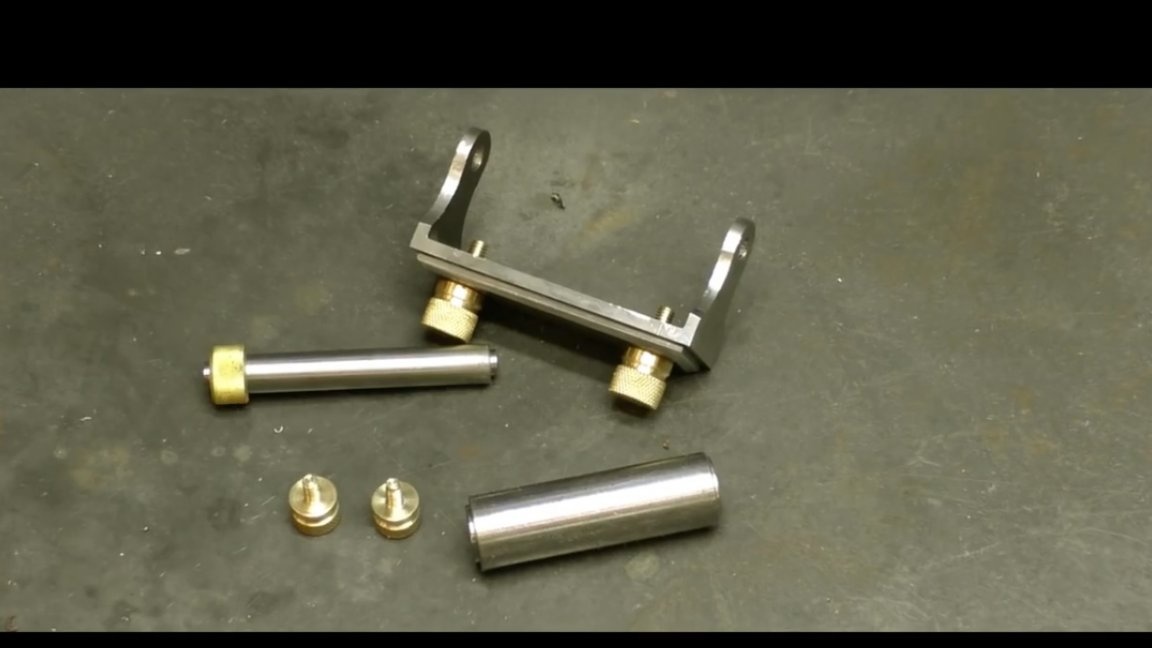
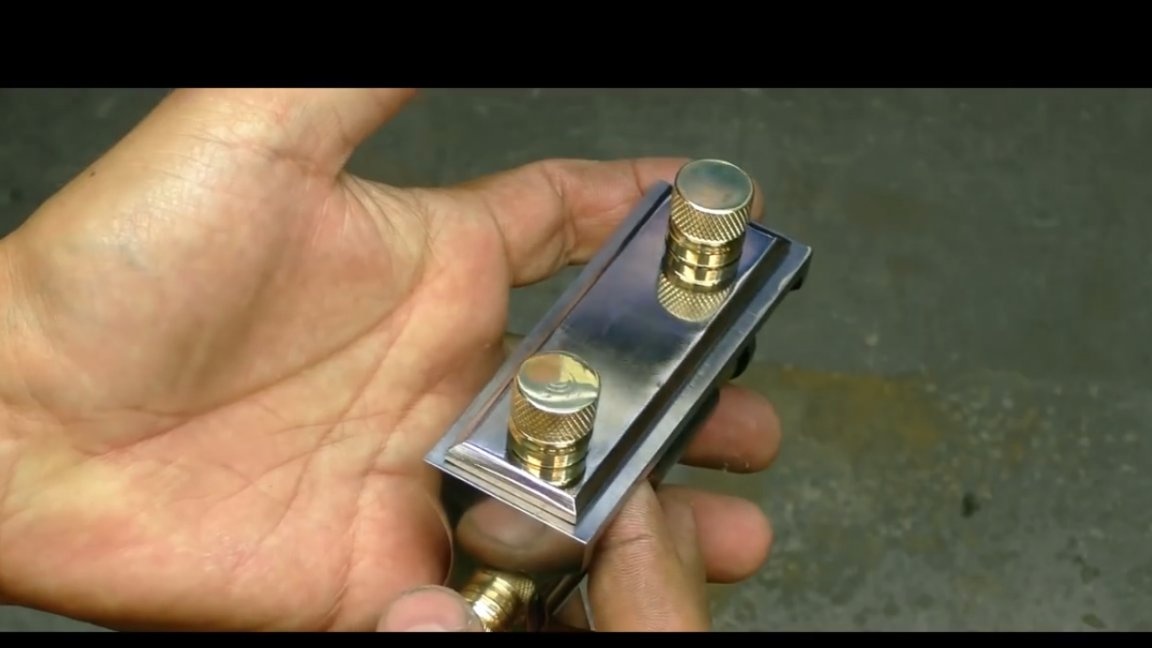
And finally, all the details are ready. How great brass shines after polishing.
Now we begin the assembly process, it is quite simple and does not take much time. The main thing here is to grease a large roller with oil.

The assembly is completed and you see the whole assembly.
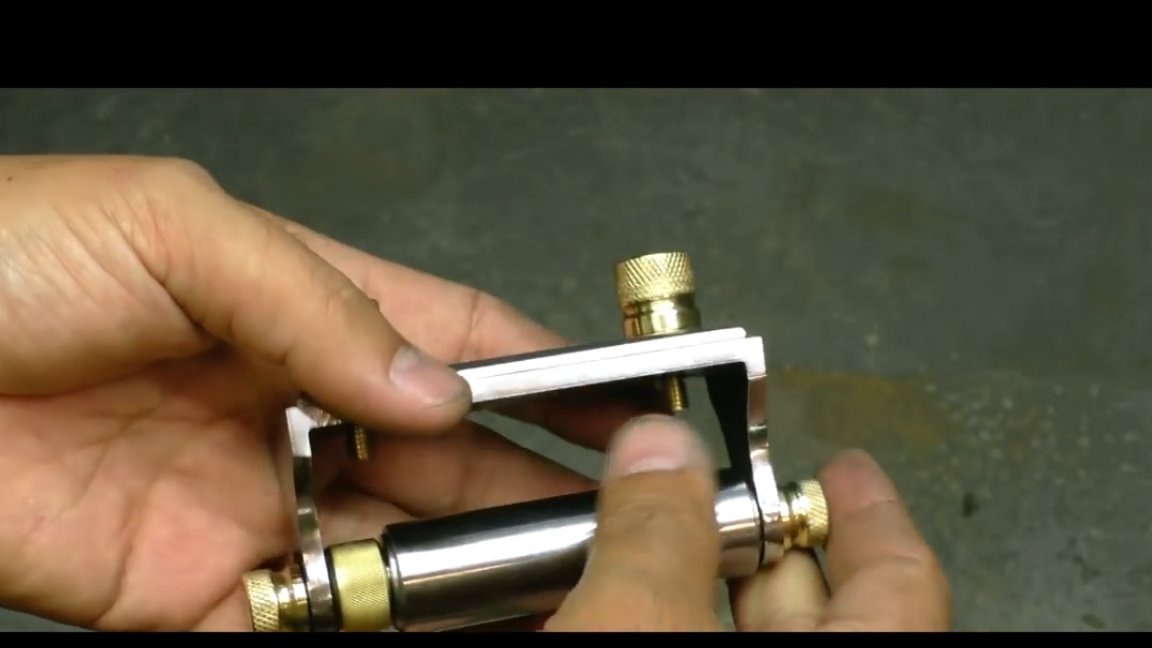
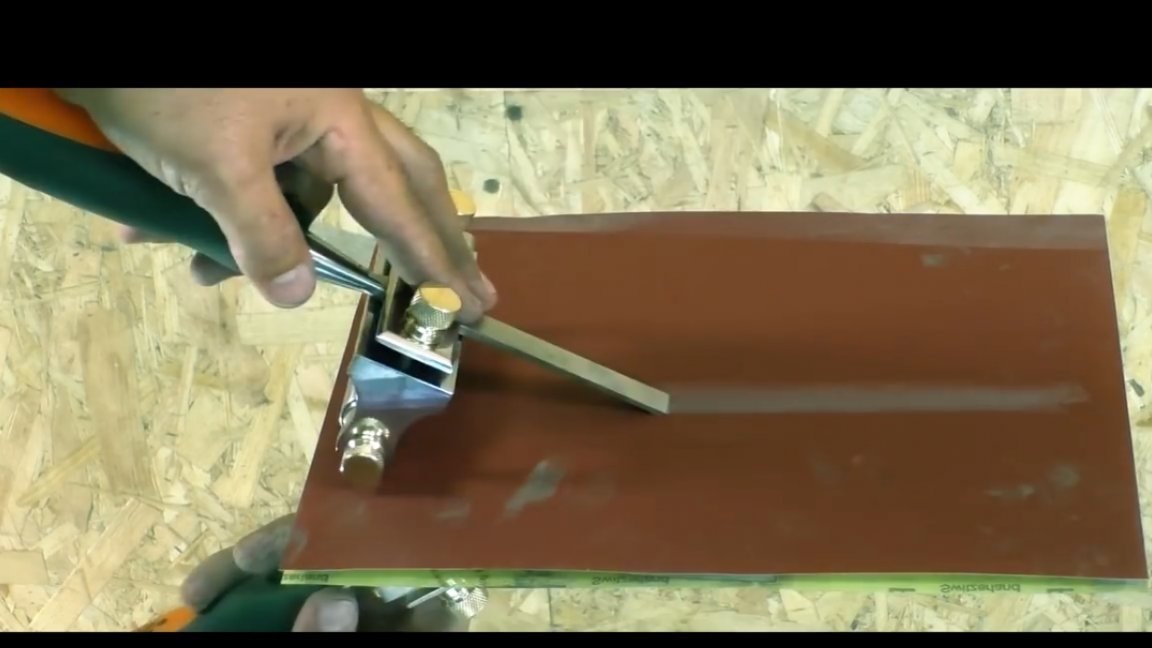
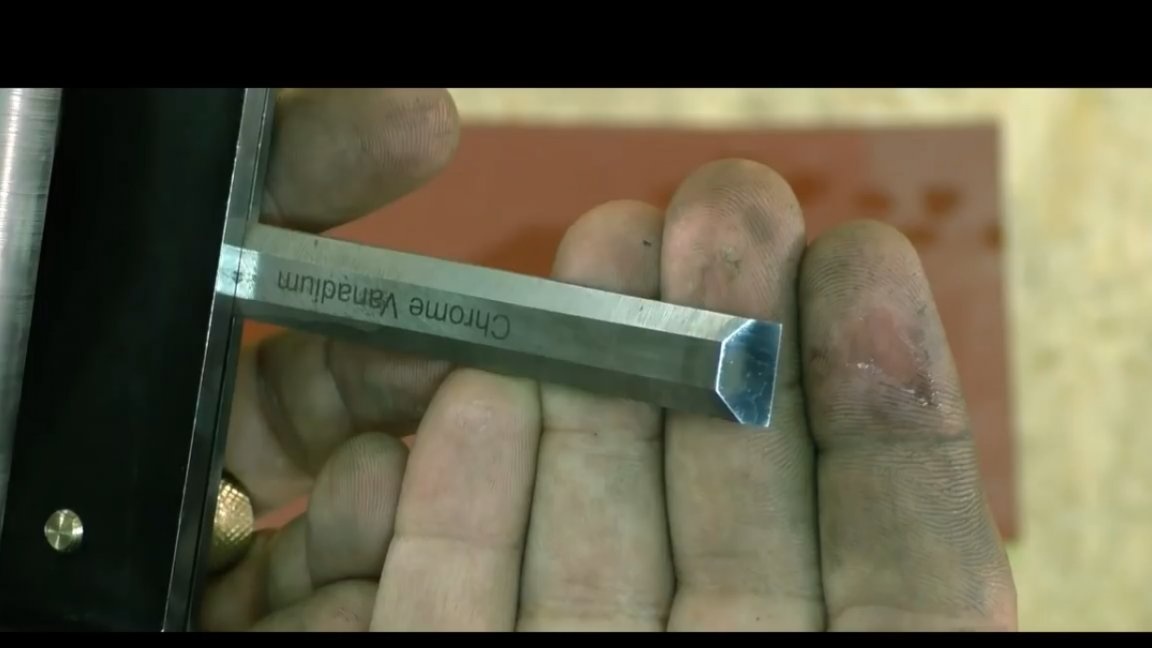
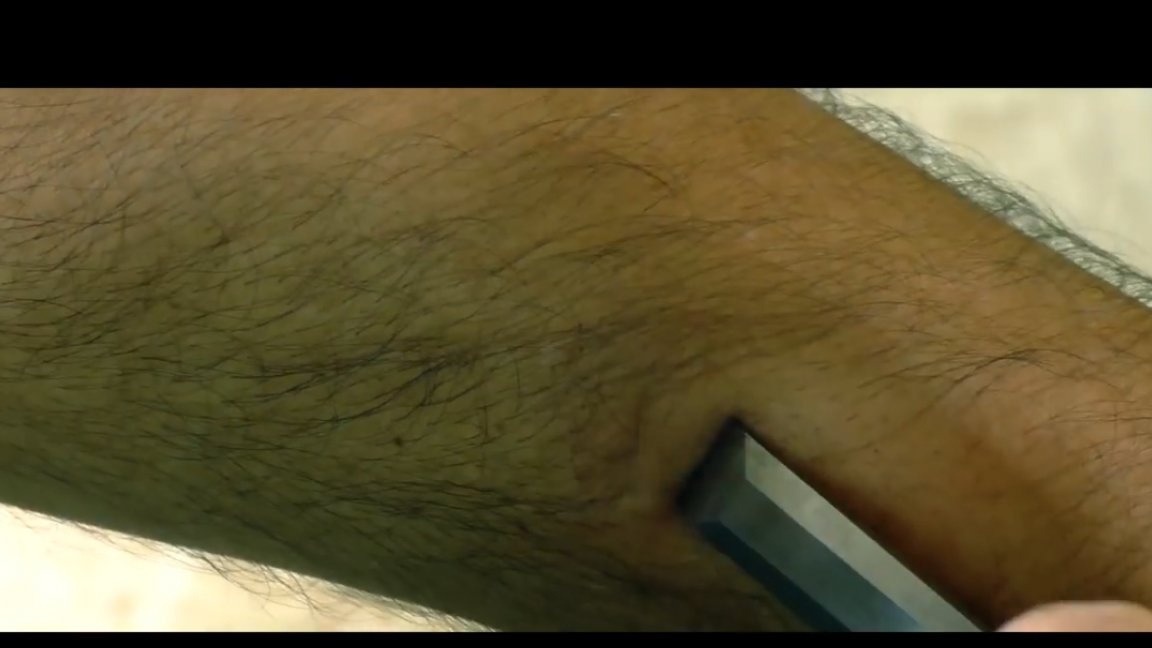
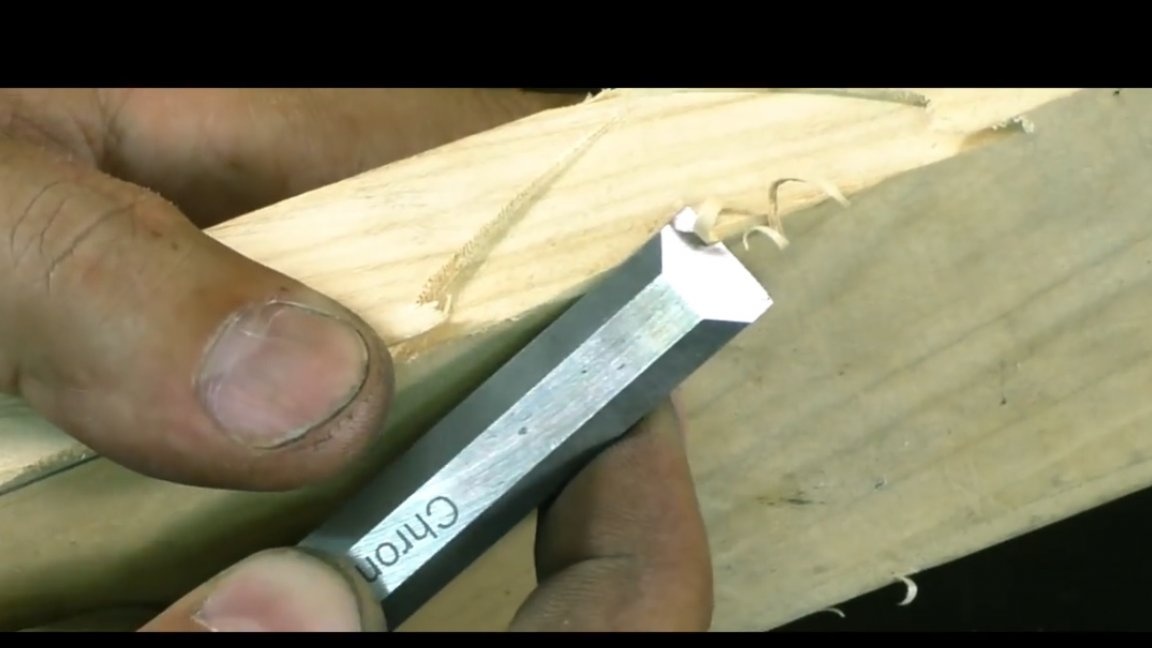
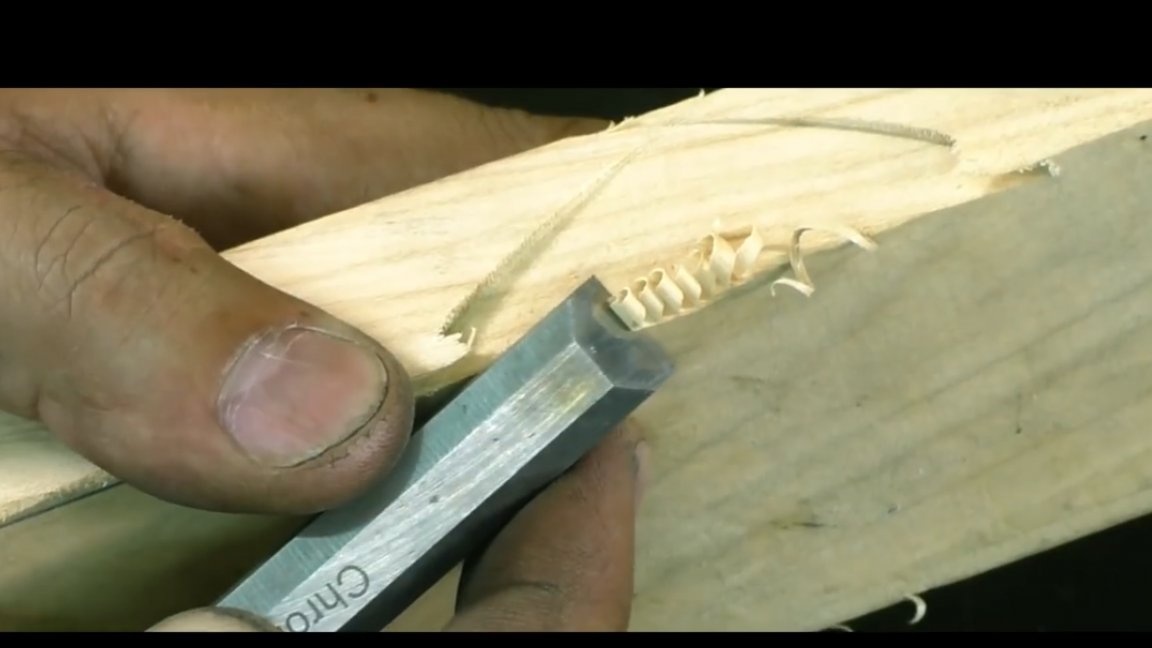
It looks like this combination of metals is not bad, let's start testing the resulting device. For testing, take a cheap chisel, its author acquired a year ago in one copy.

It is worth noting that she still has a sharpening, that is, no. So let's try to bring it to mind with the help of this homemade baby.
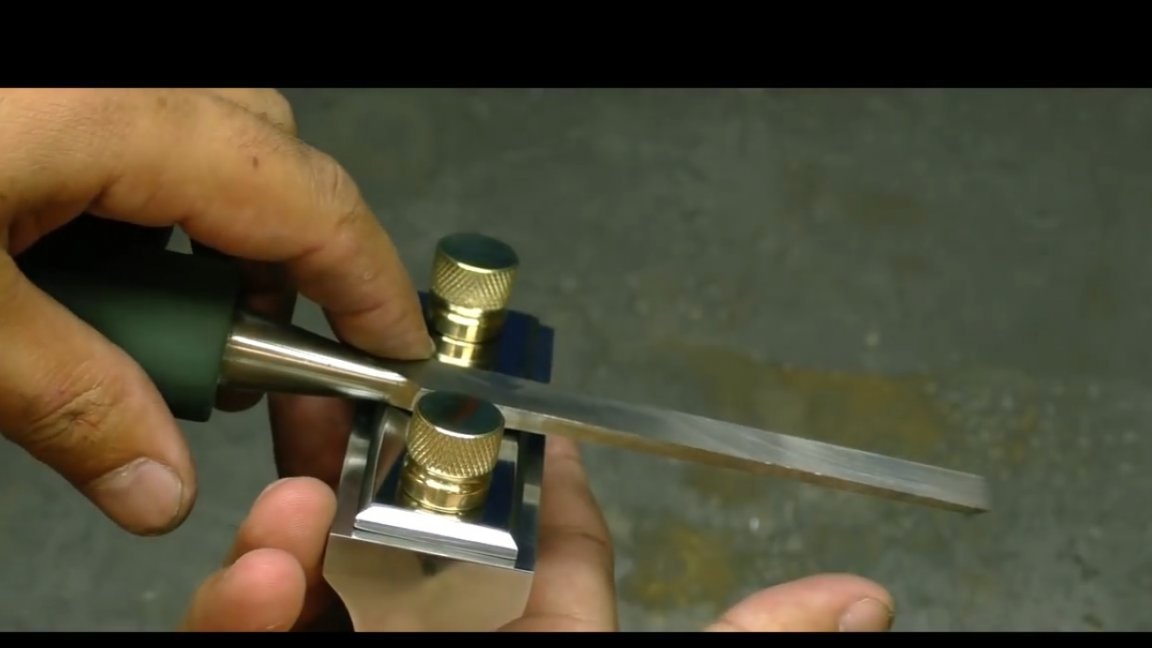
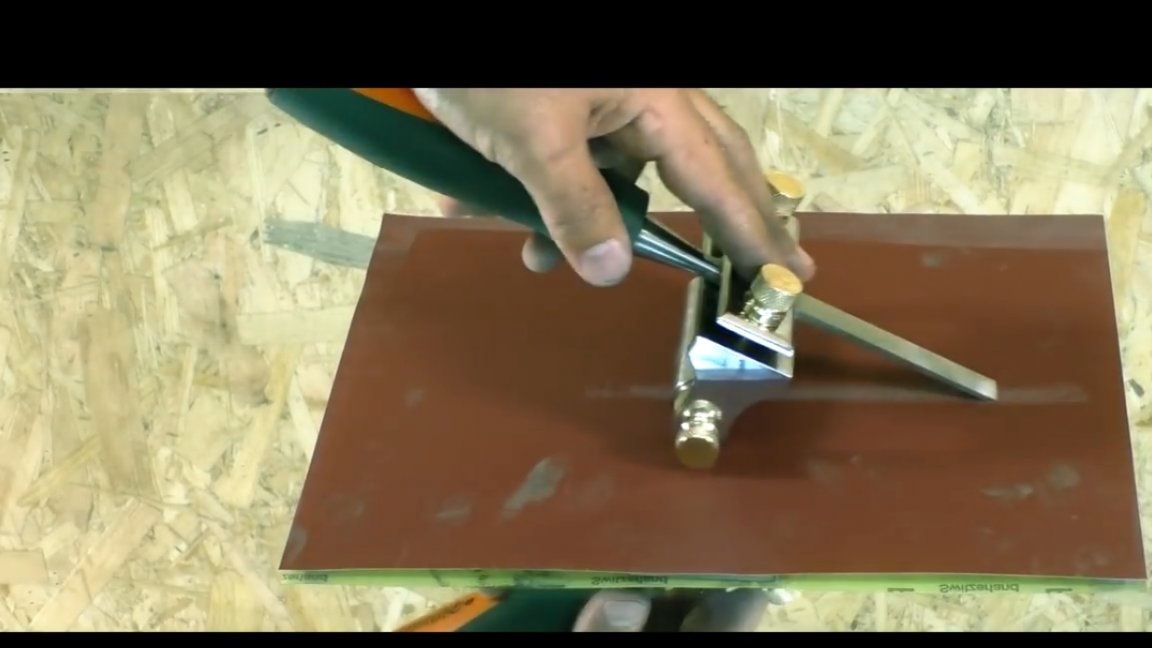
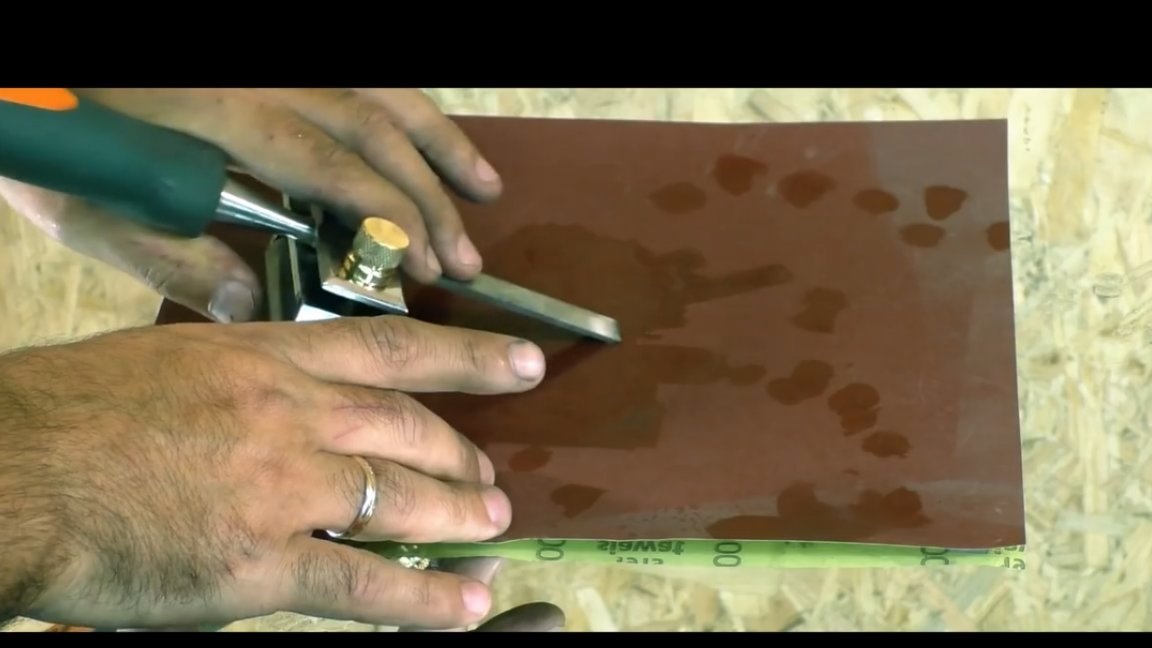
The author did not have a suitable grinding stone, so the chisel was sharpened on glass with sandpaper. IT IS IMPORTANT! The eccentric axis must be shifted up during initial sharpening.
Reciprocating movements begin to sharpen. The first 600 grit paper. After all traces from the previous sharpening have been removed, you can switch to sandpaper with finer grain size and so on up to 2000.

Next, the cam must be set to the lower position. Thus, we change the angle of sharpening, this allows us to get a micro bevel for the cutting tool.
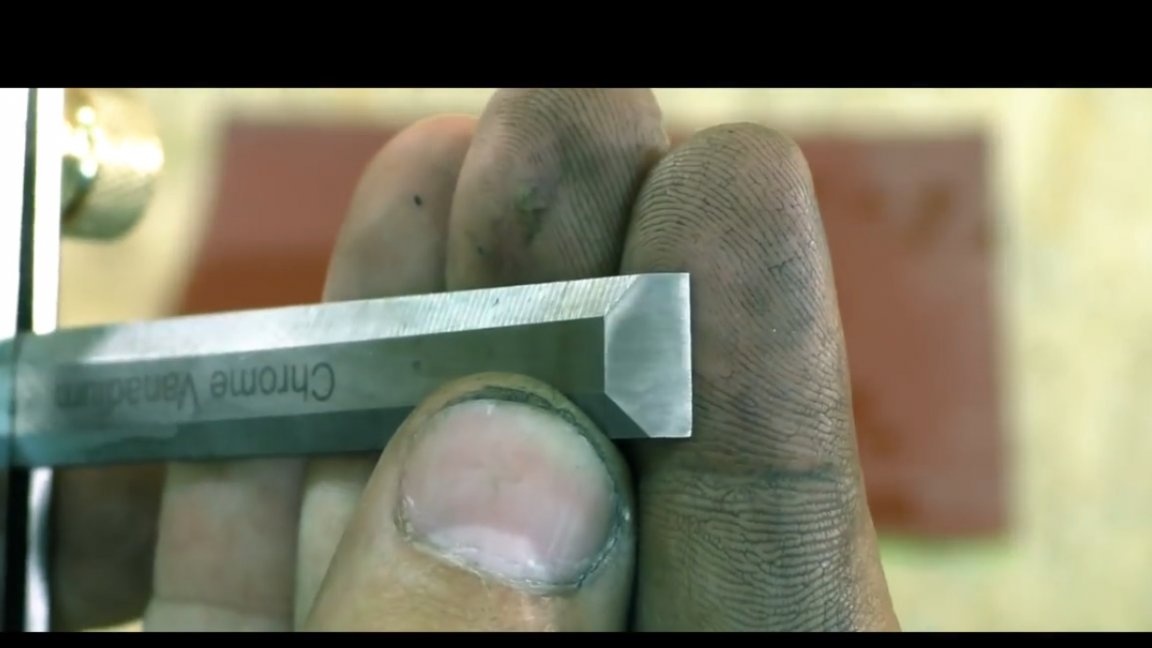
There are enough just a few movements and you're done. As a result, the sharpening turned out to be razor proof, which proves the test on the hand.
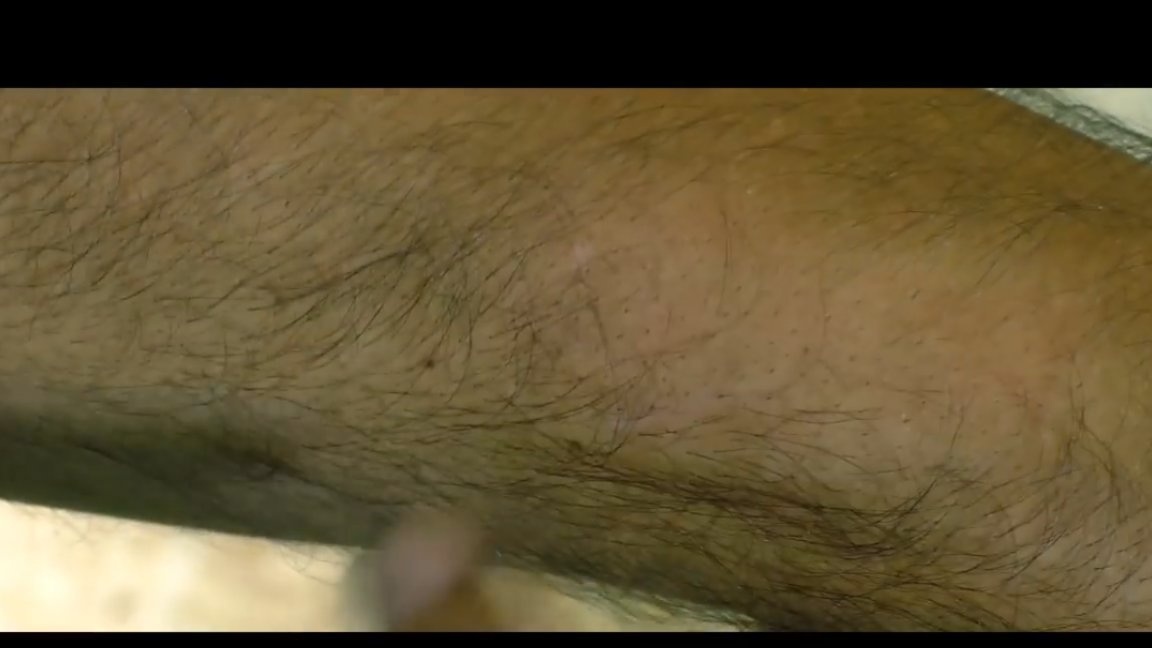
And working with a tree with this tool, according to the author, is now a pleasure.
That's all. Thank you for attention. See you soon!
Author's video: