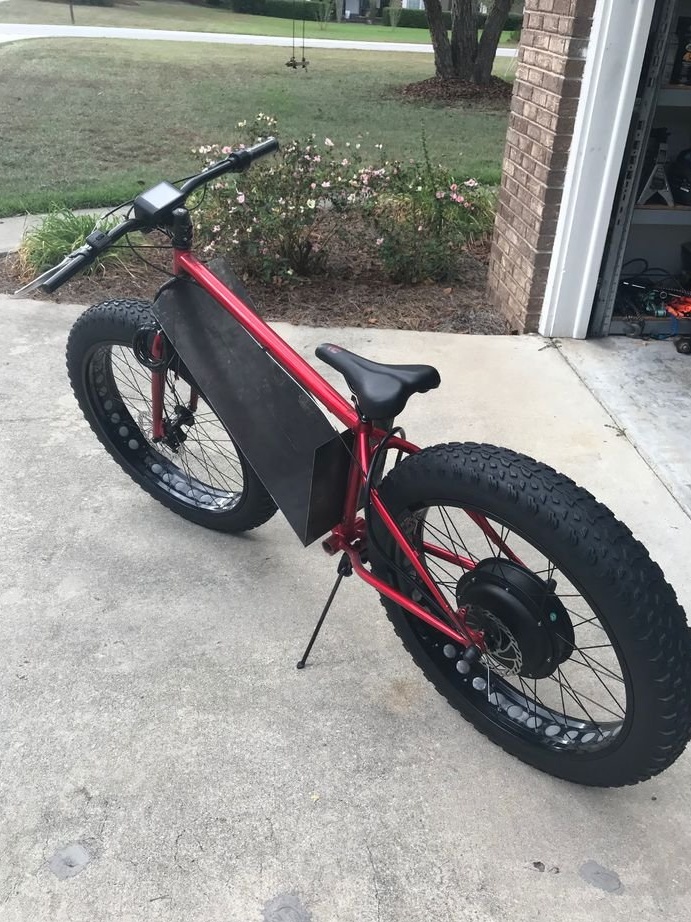
In this article, the Master will present his version of making an electric bike. The goal before him was to create a reliable, fast and electric bike, and at a price lower than industrial designs.
Tools and materials:
-Bike;
-Motor for electric bike;
-Controller;
-Sheet metal;
-USHM;
-Welding machine;
-Drill;
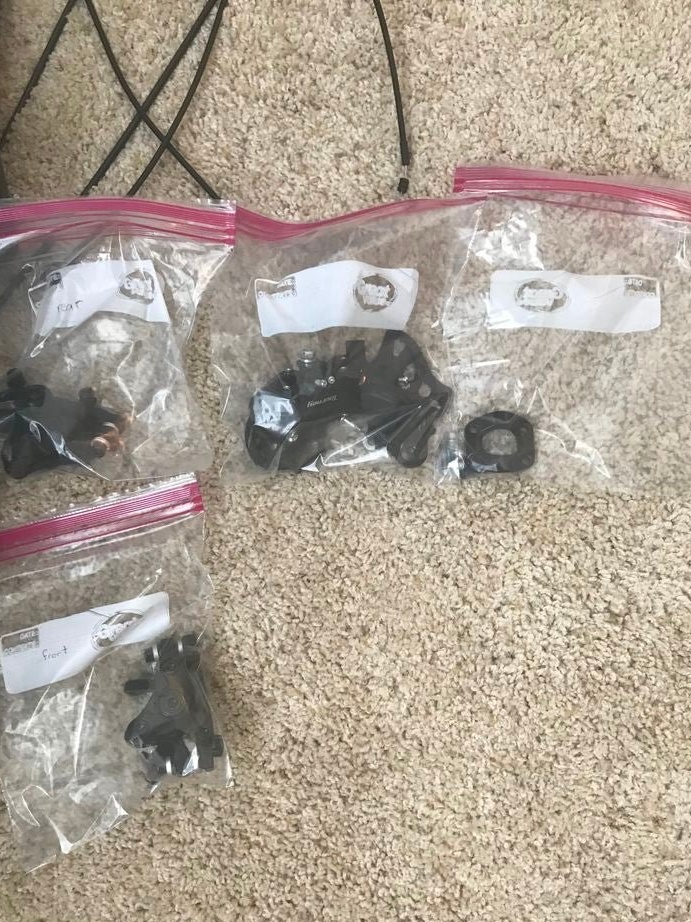
-Fasteners;
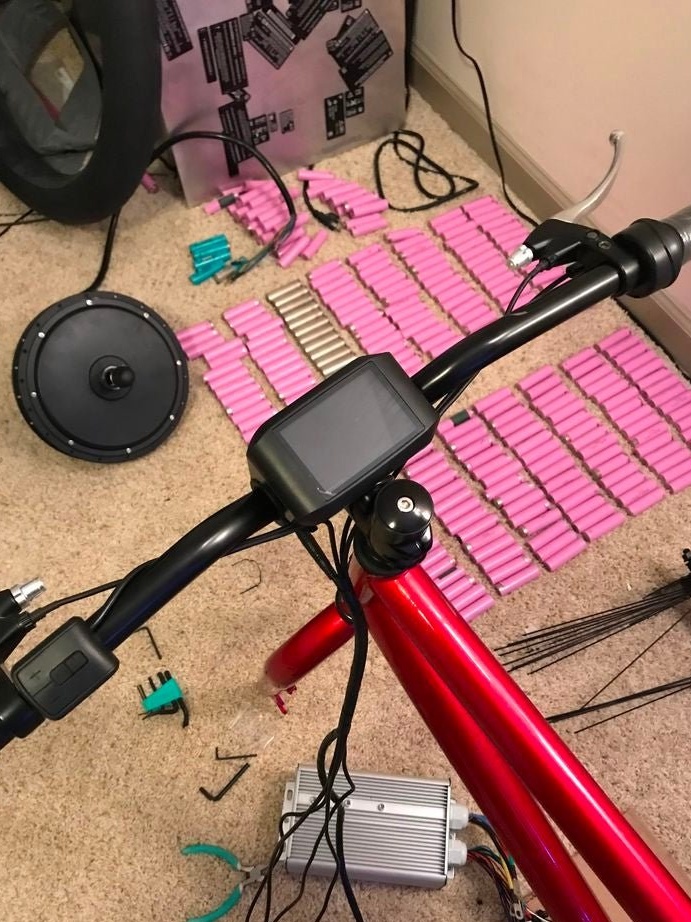
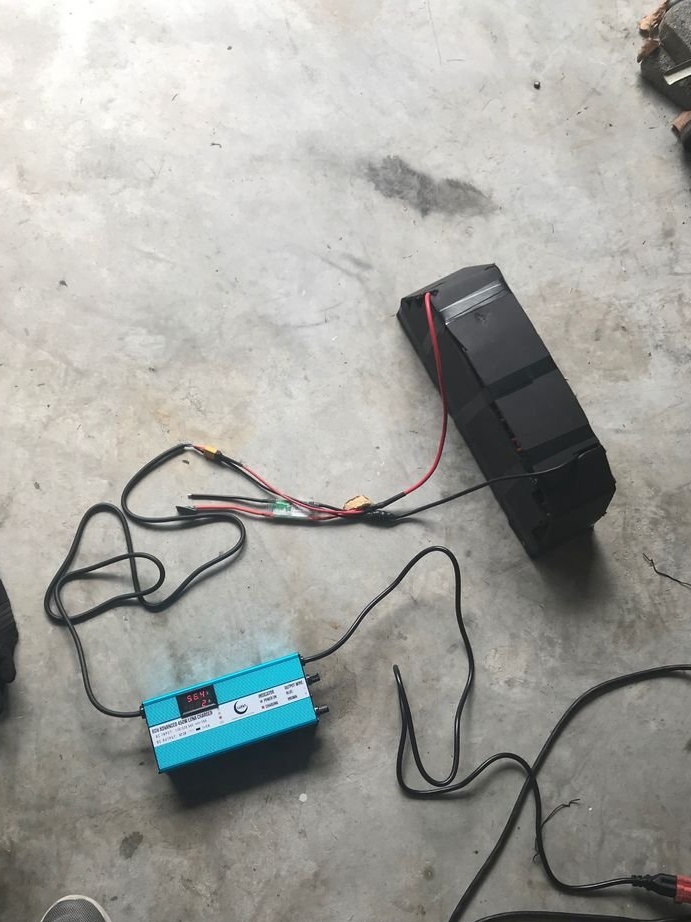
-Batteries;
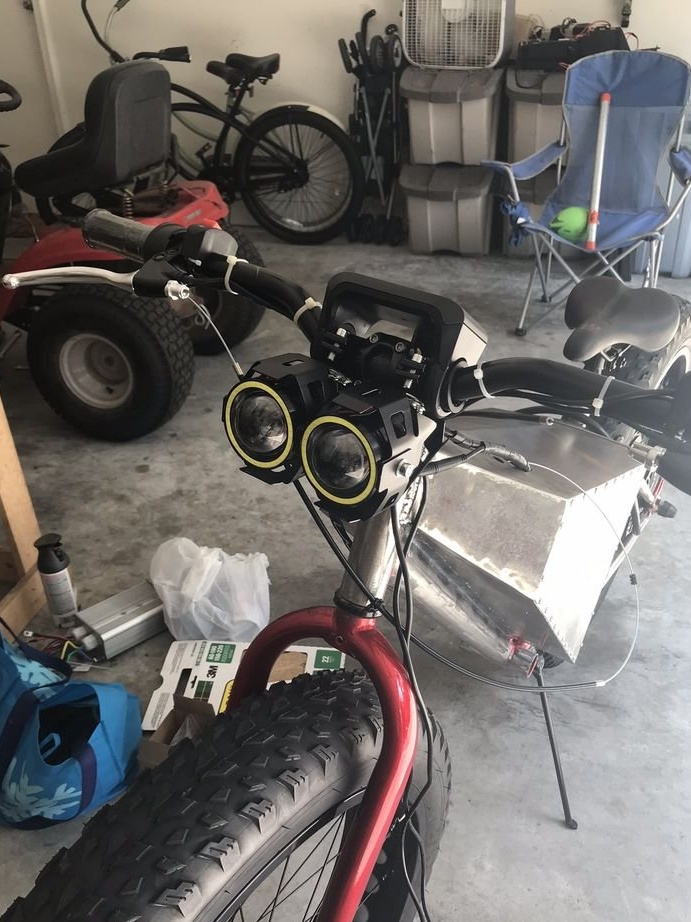
Headlights and taillights;
-Power button;
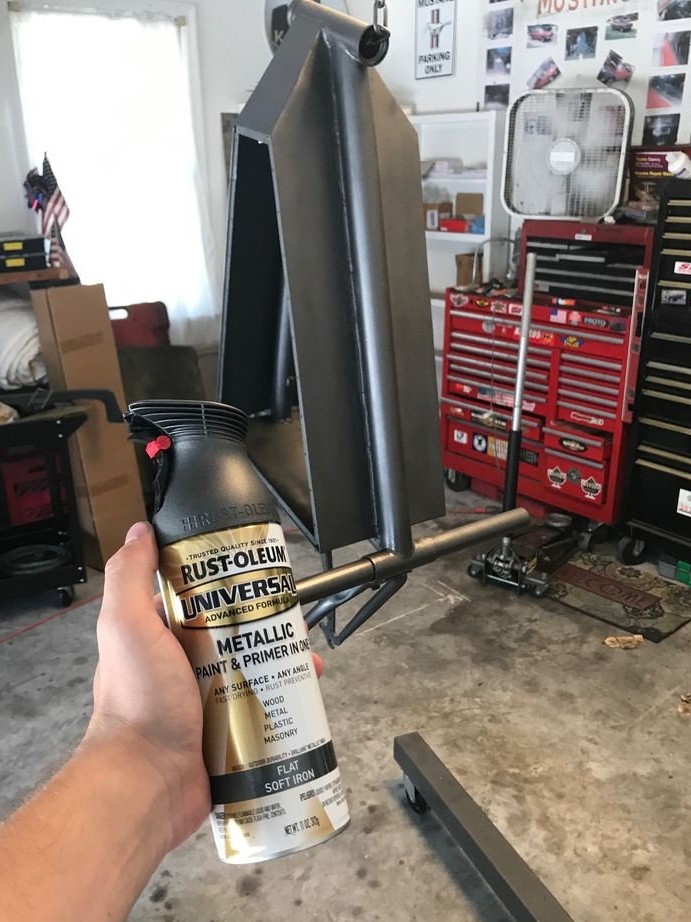
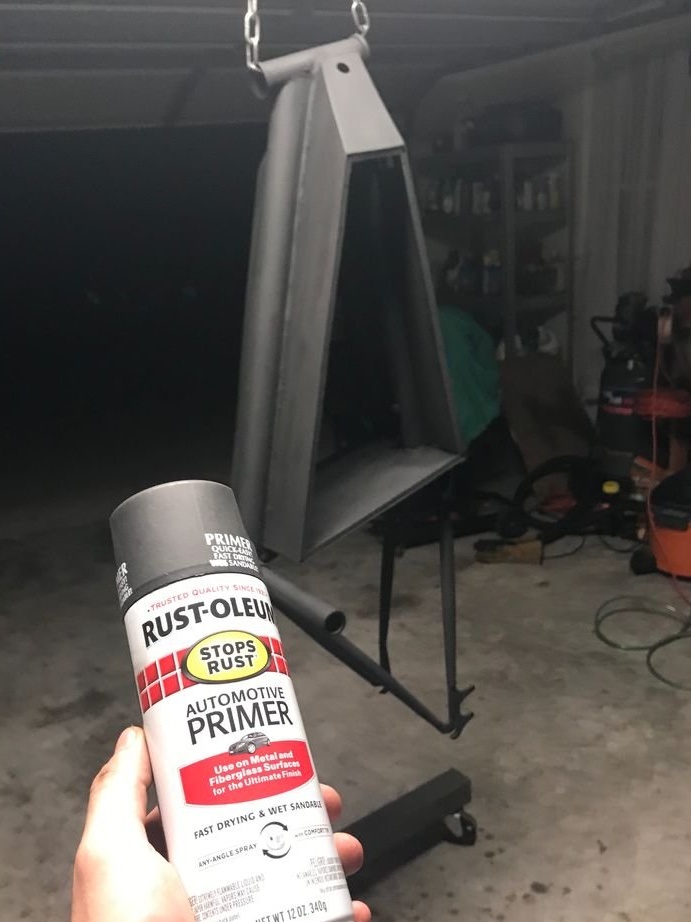
- Spray can with primer and paint;
-XT60 connectors;
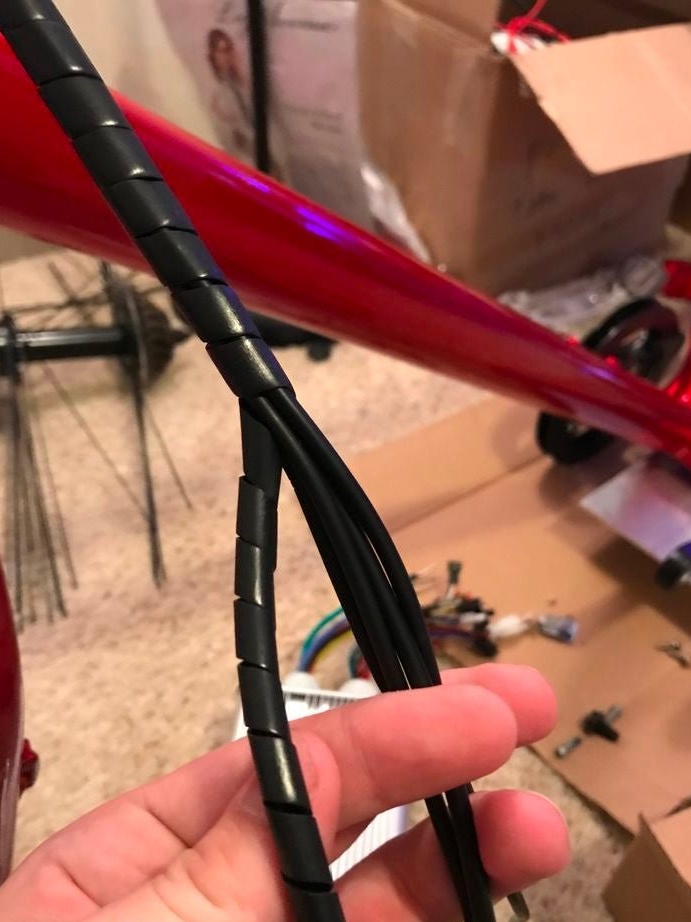
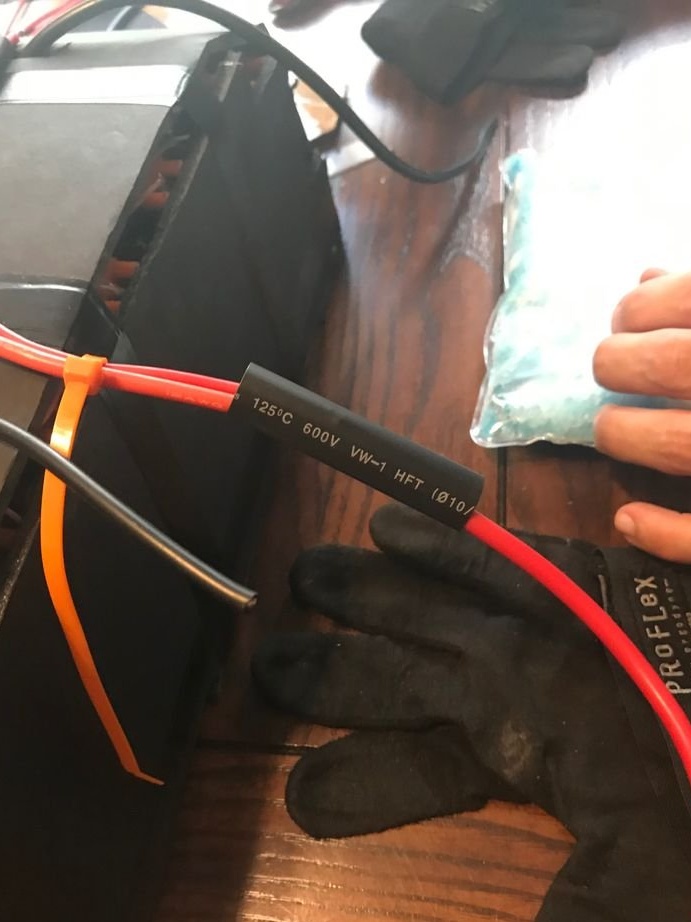
-Heat-shrink tubing;
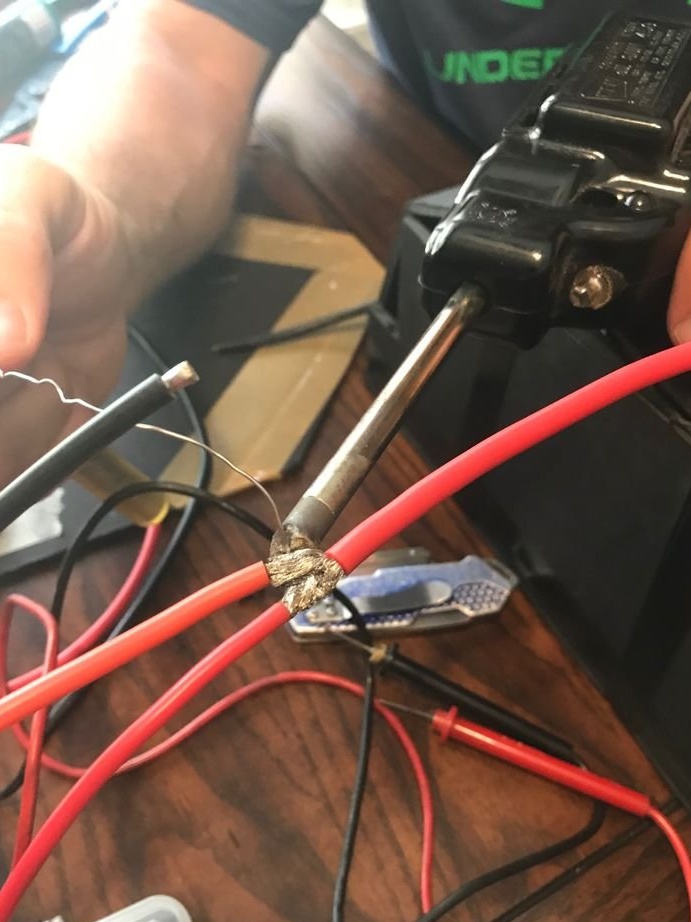
-Soldering accessories;
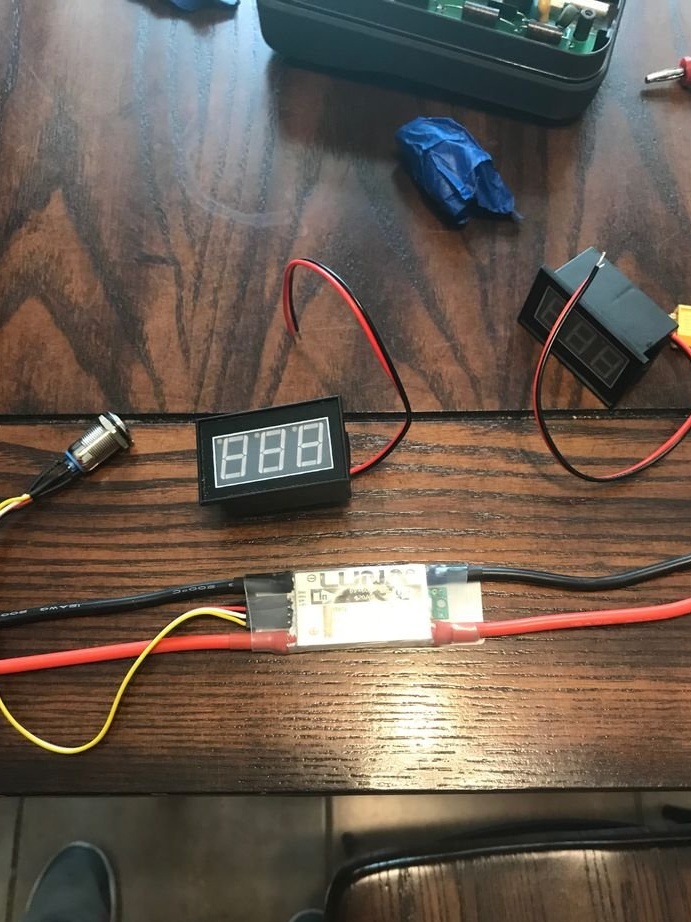
-Tester;
-Cardboard;
-Wire;
-Screwdriver;
- Metalwork keys;
Step One: Choosing Materials
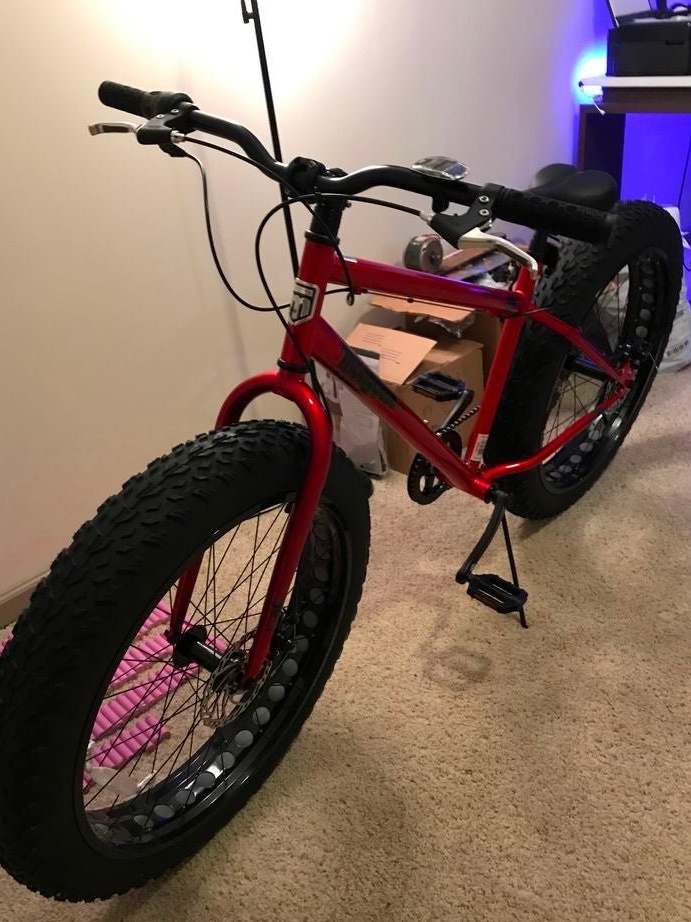
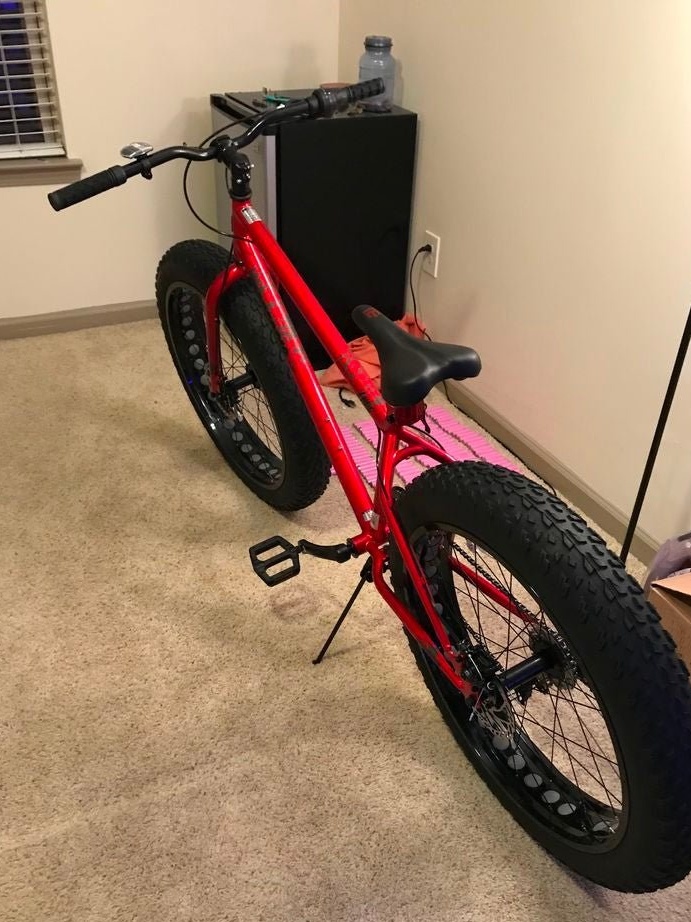
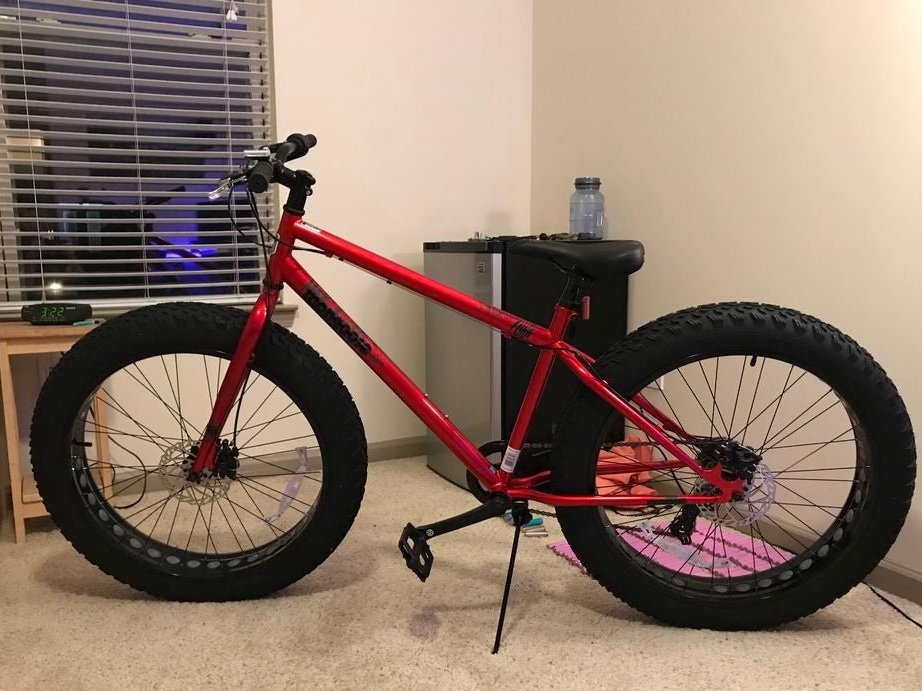
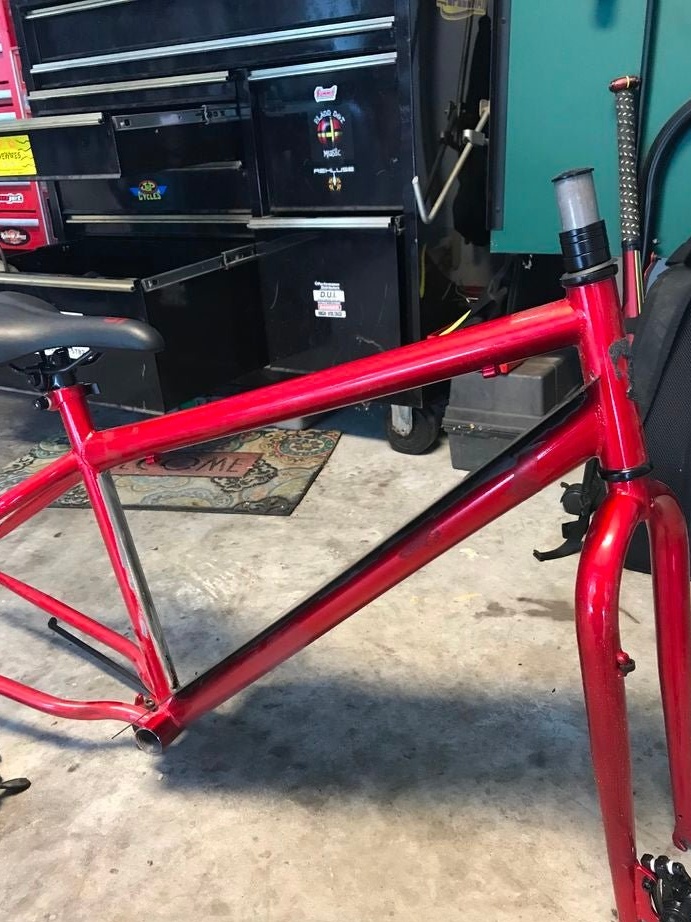
For his homemade the master purchased a bicycle with a steel frame and thick tires. The steel frame is cheaper than aluminum, and it’s easier to fix the battery compartment on it.
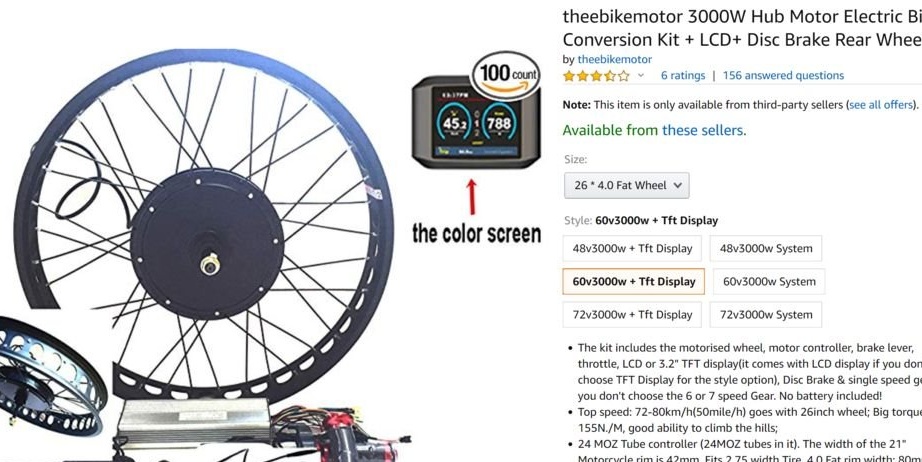
Motor master acquired. The master advises to purchase a motor complete with a controller, this is a guarantee of compatibility of parts. The set drives the motor itself, the controller, the throttle, LCD - display.
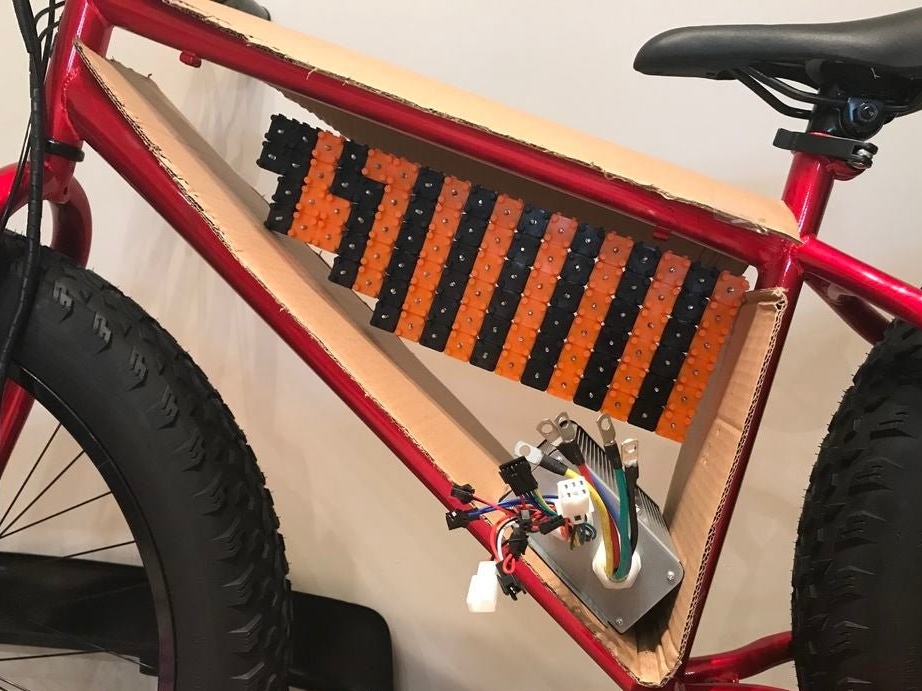
The battery can be bought ready-made face value, or assemble from individual elements. Making the battery is another article of the wizard.
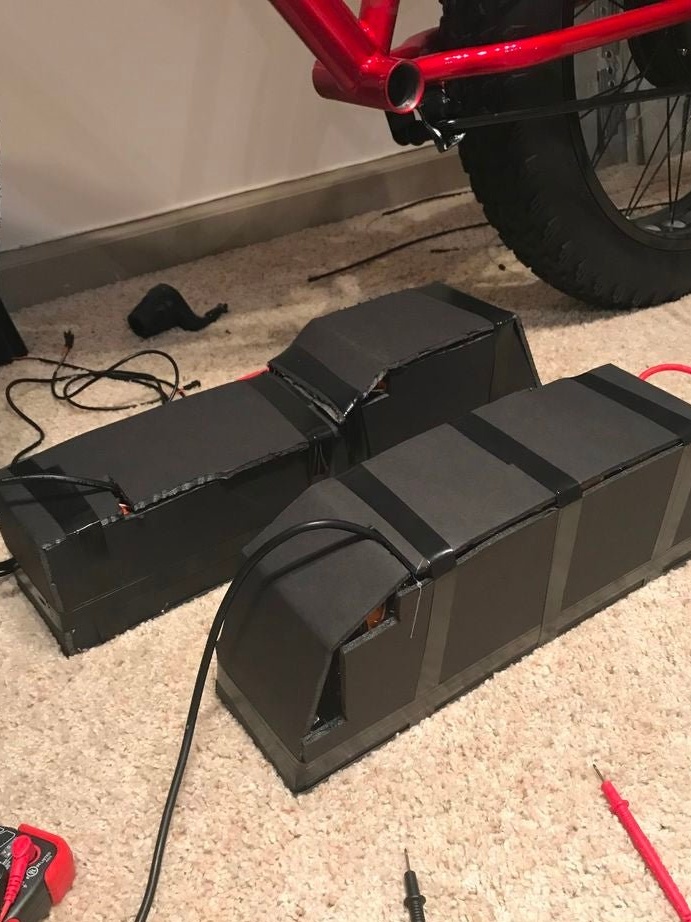
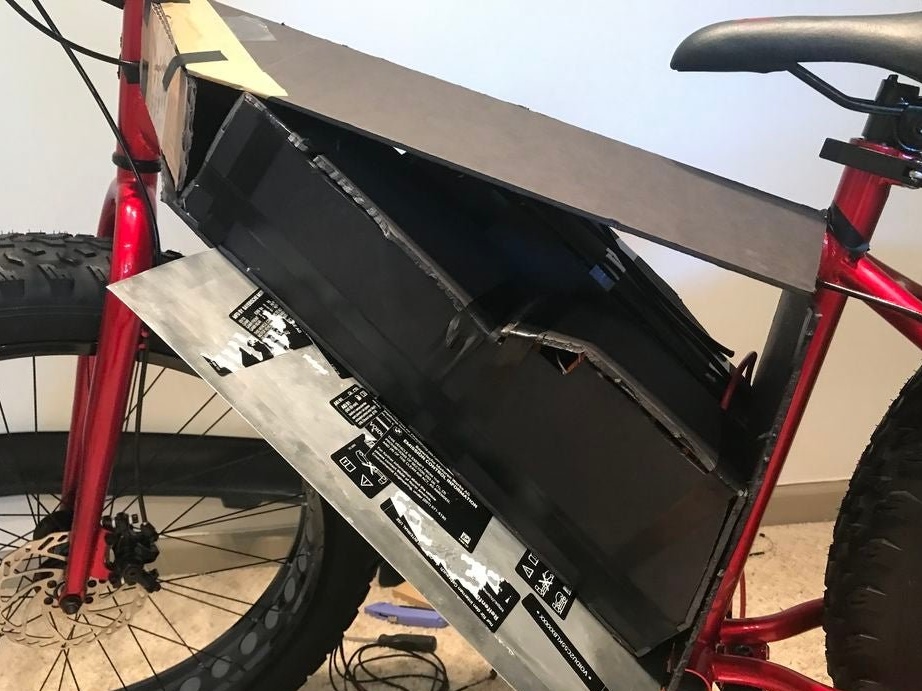
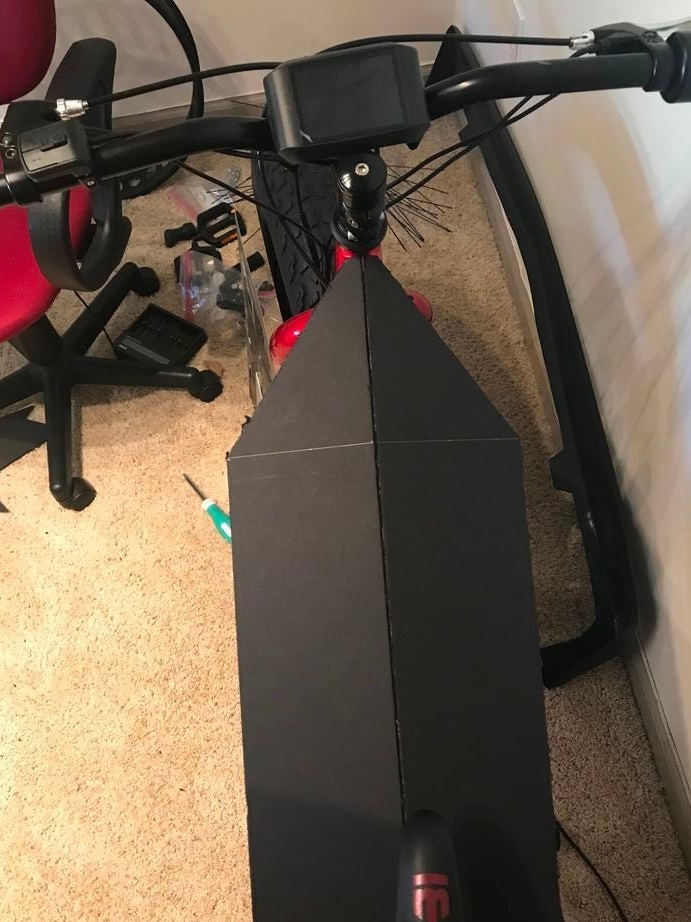
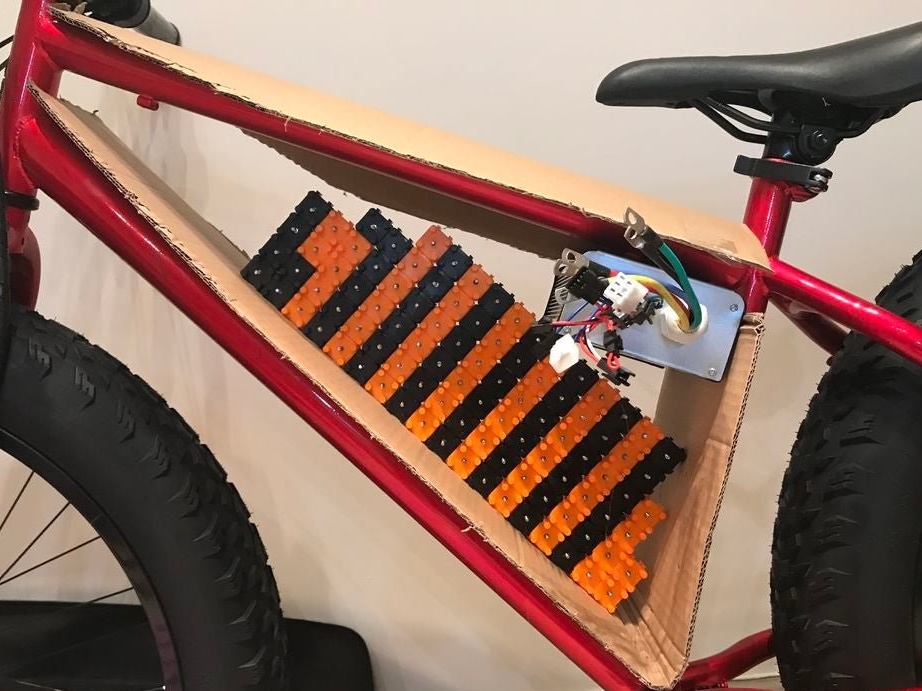
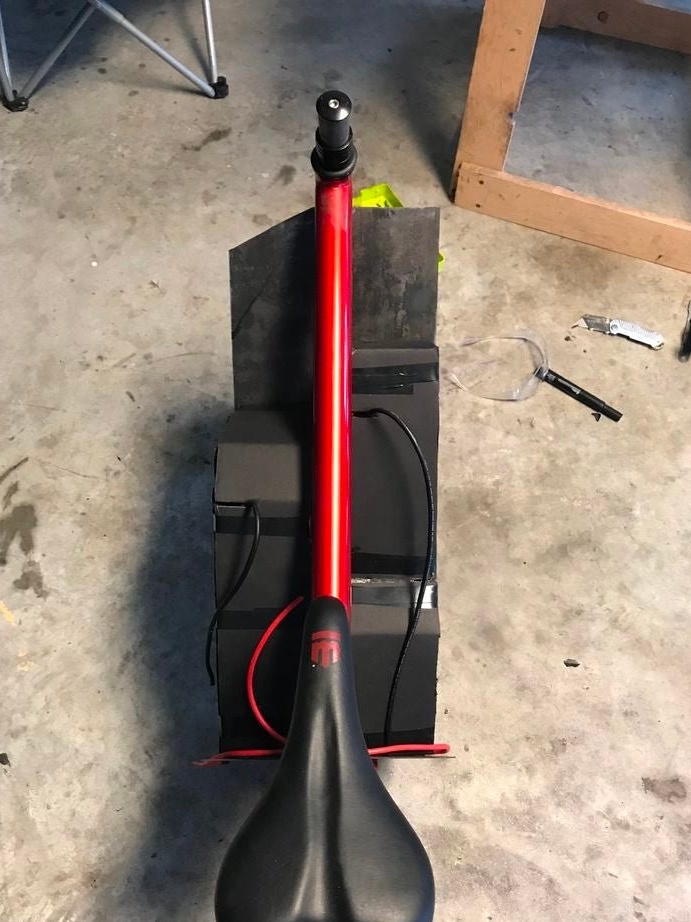
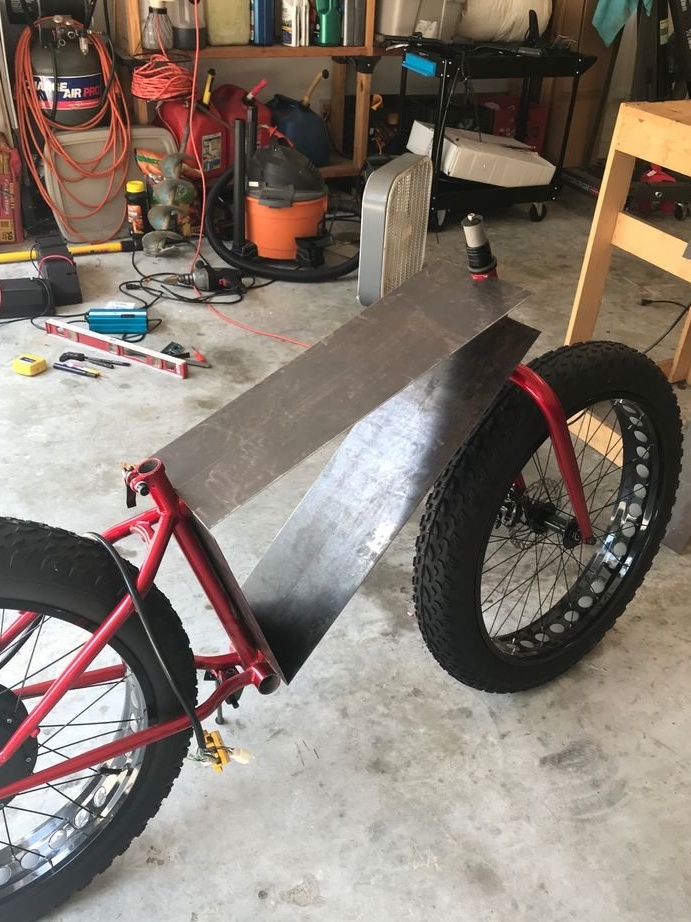
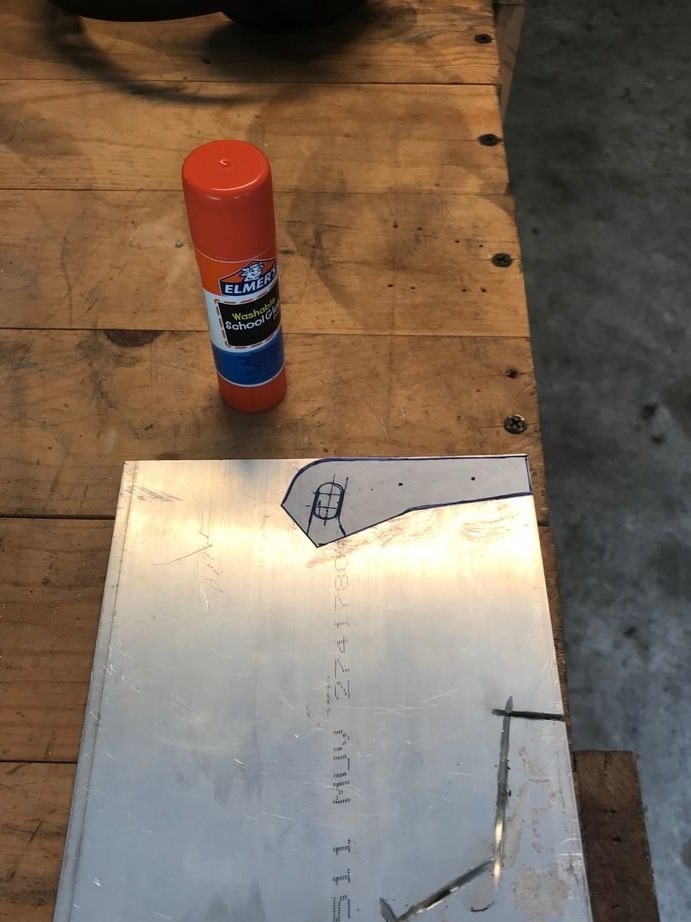
Step two: battery compartment design
The battery compartment will be made of metal and attached to the frame. Master does model Cardboard battery compartment. At production, the dimensions of the battery are taken into account. The wizard uses Lego to simulate batteries.


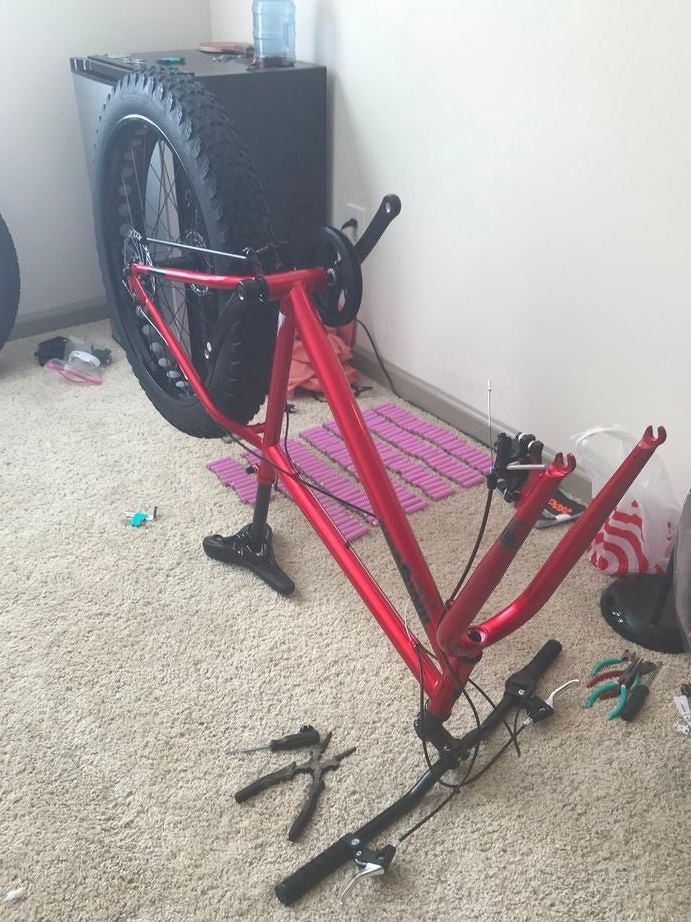
Step Three: Dismantling the Bicycle
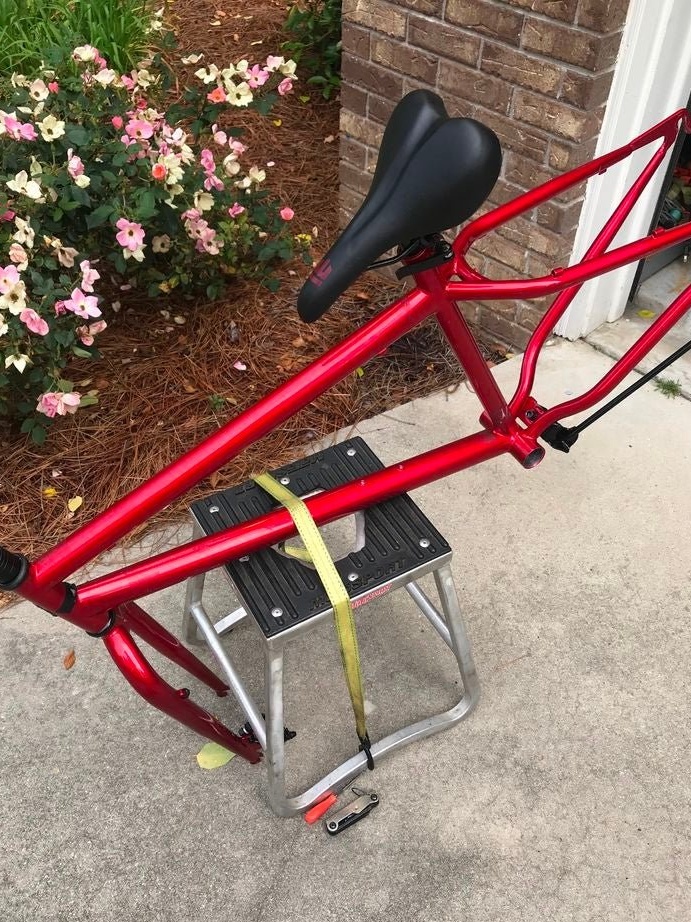
The master takes the bike apart. So it will be more convenient to do further work.
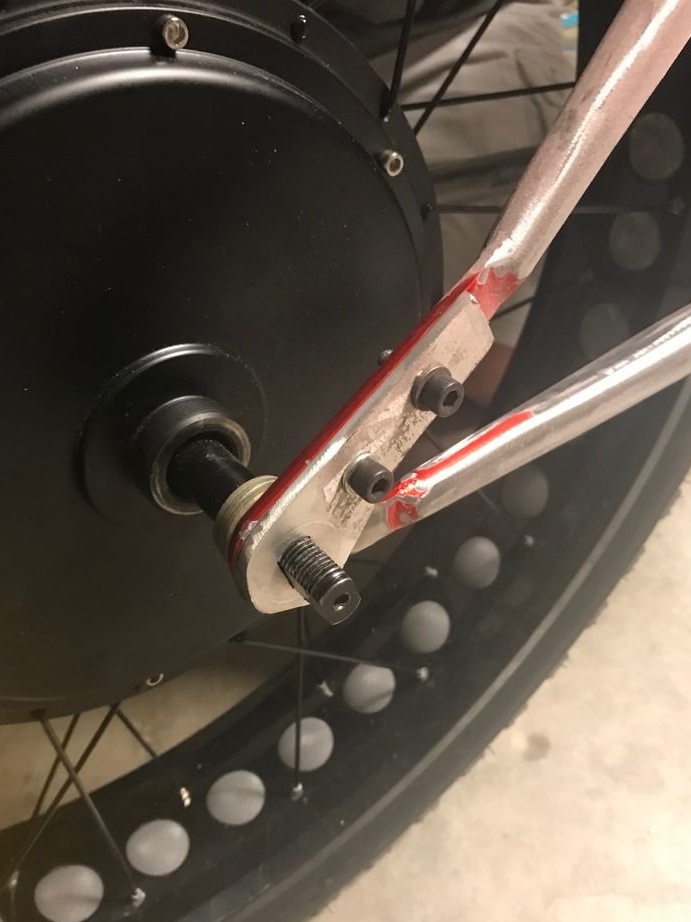
Step Four: Engine Installation
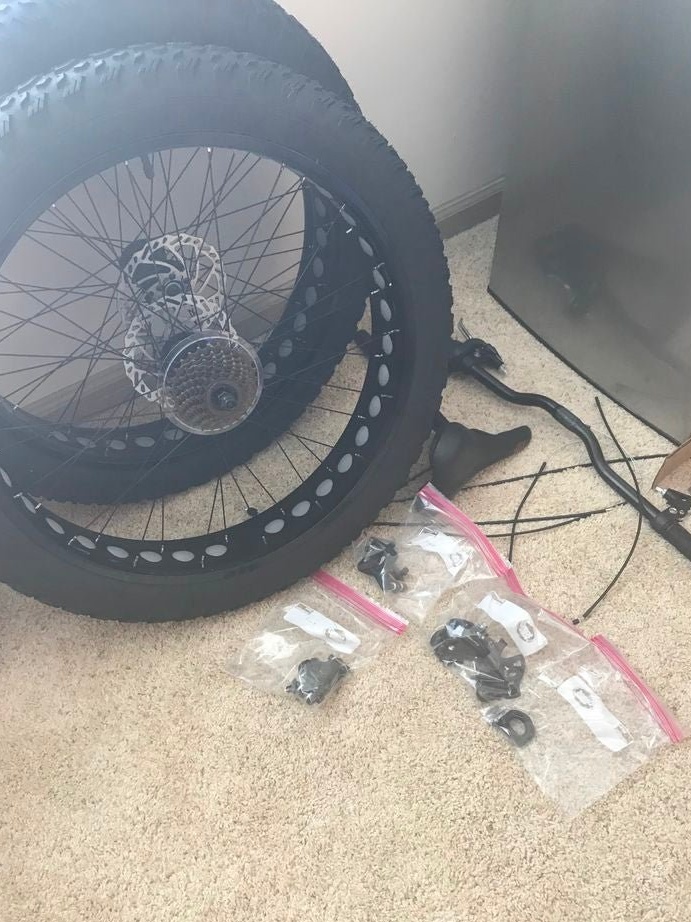
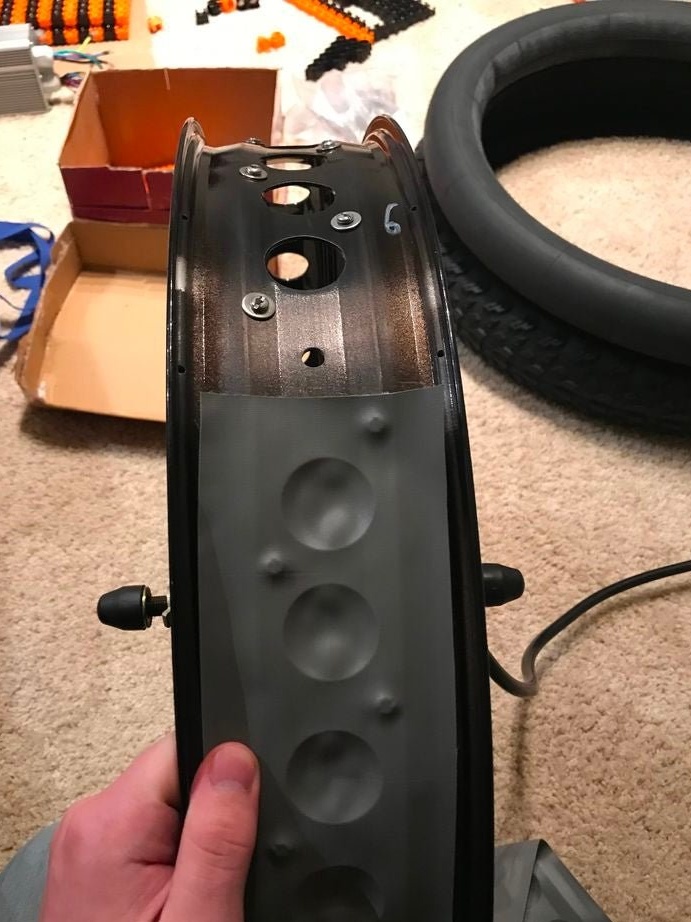
The motor wheel that the master ordered was already than on a purchased bike. The decision was to rearrange the motor on the bicycle wheel. The master dismantles the motor from the wheel.
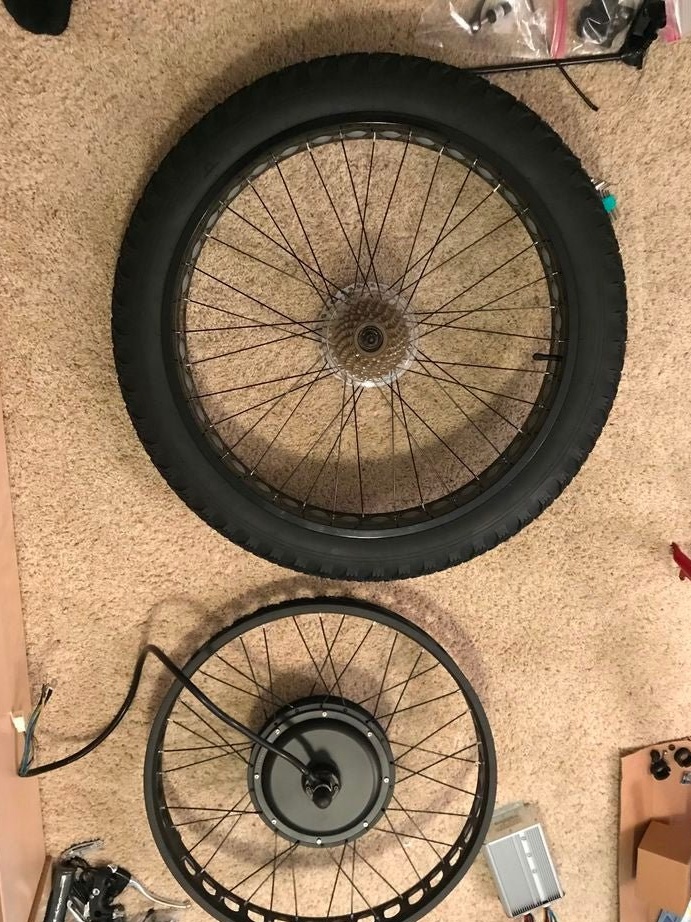
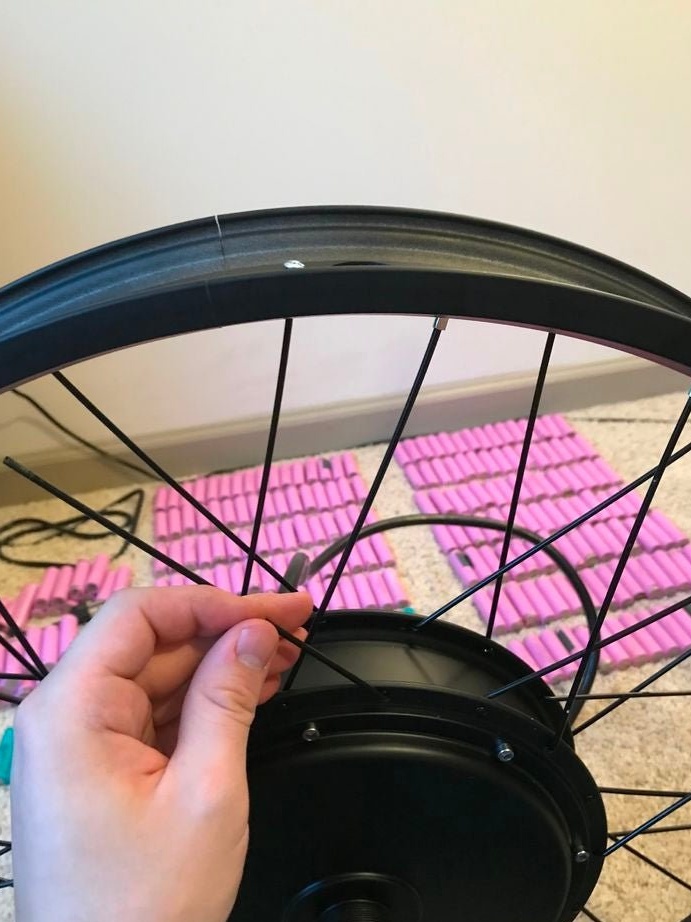
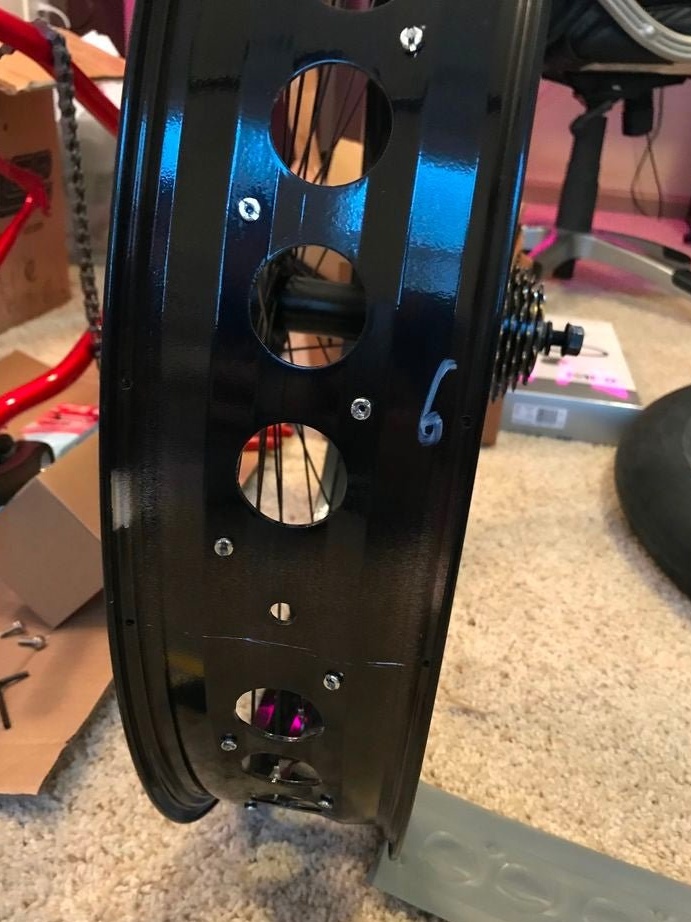
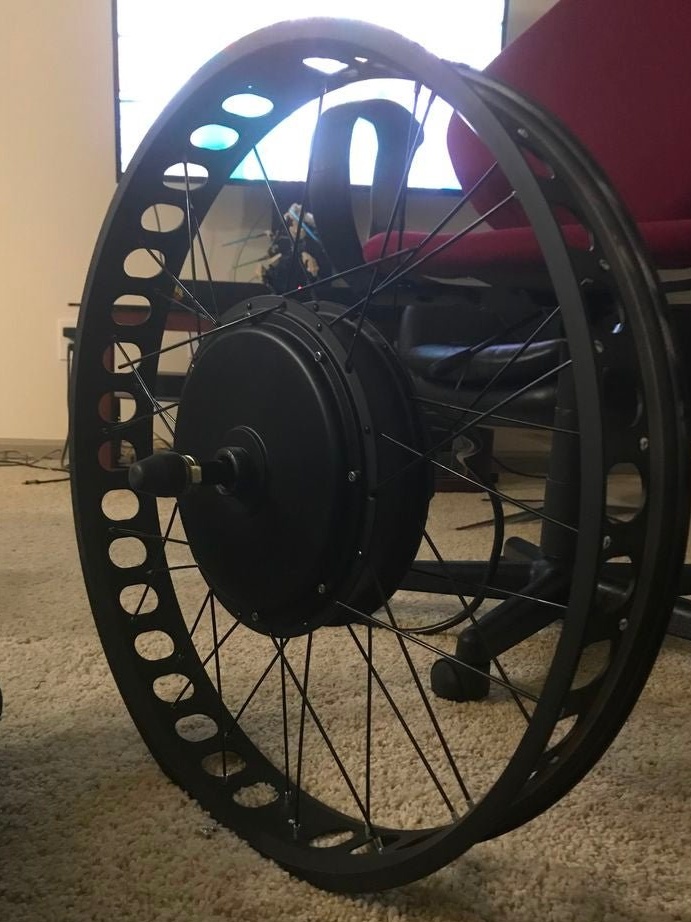
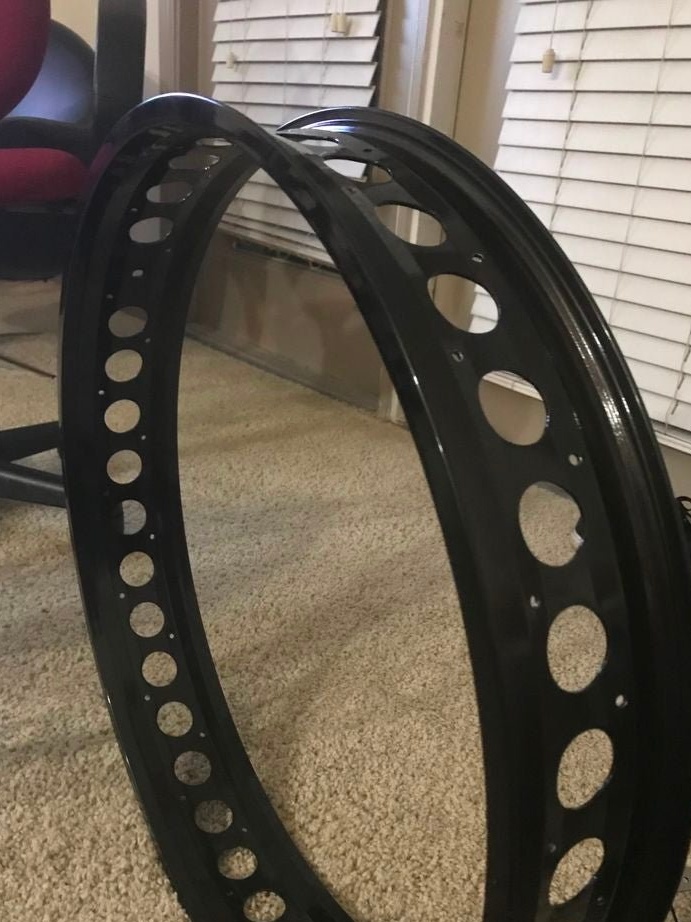
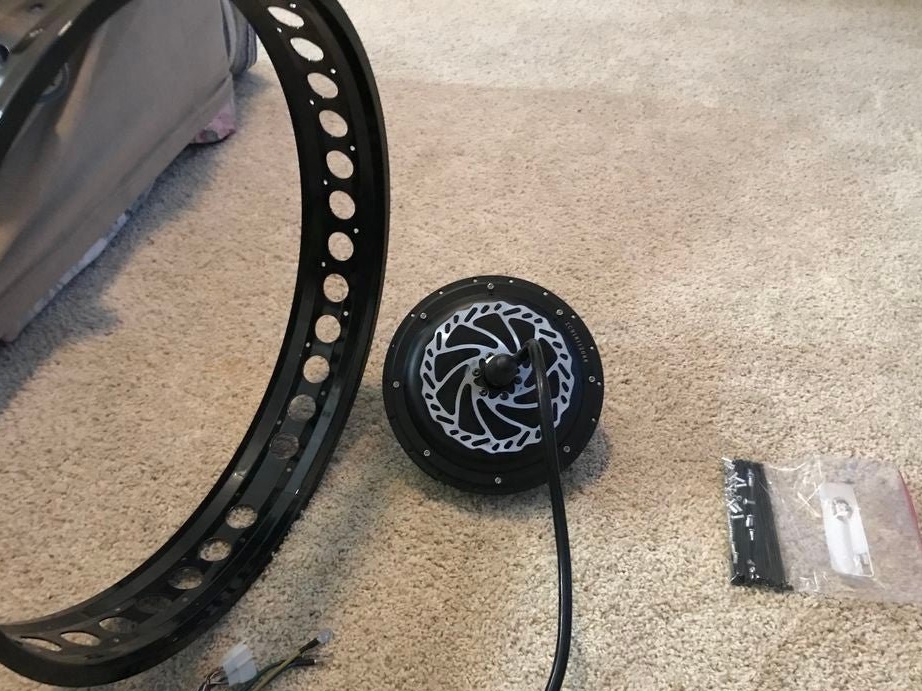
Mounts the motor on a bicycle wheel.
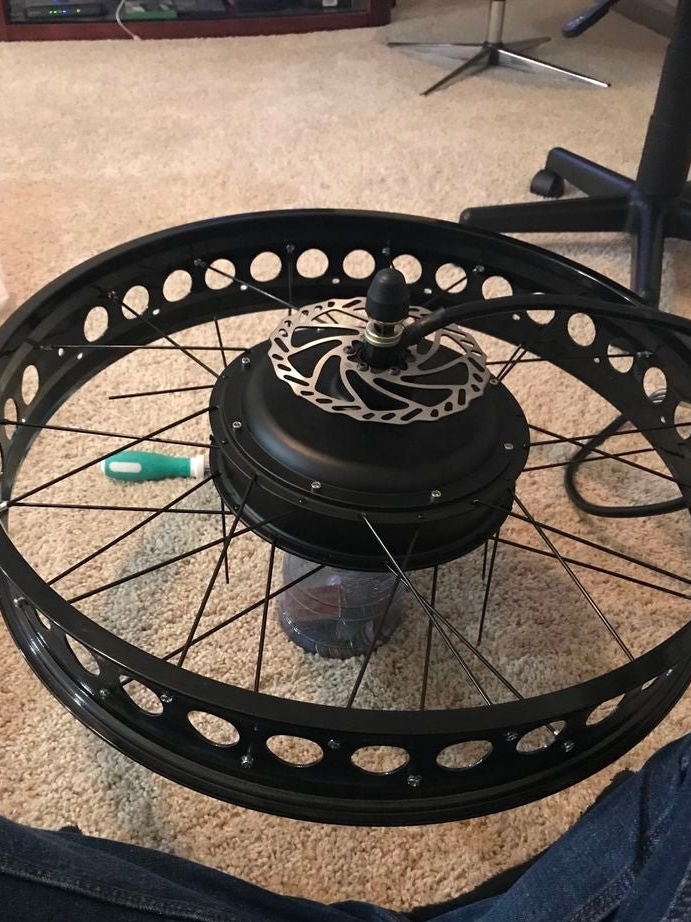
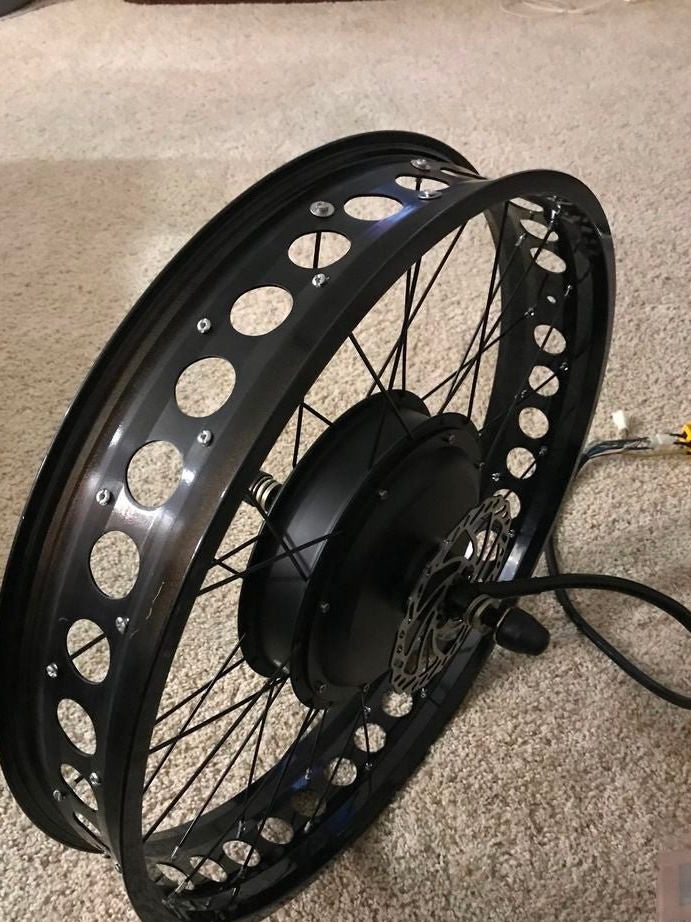
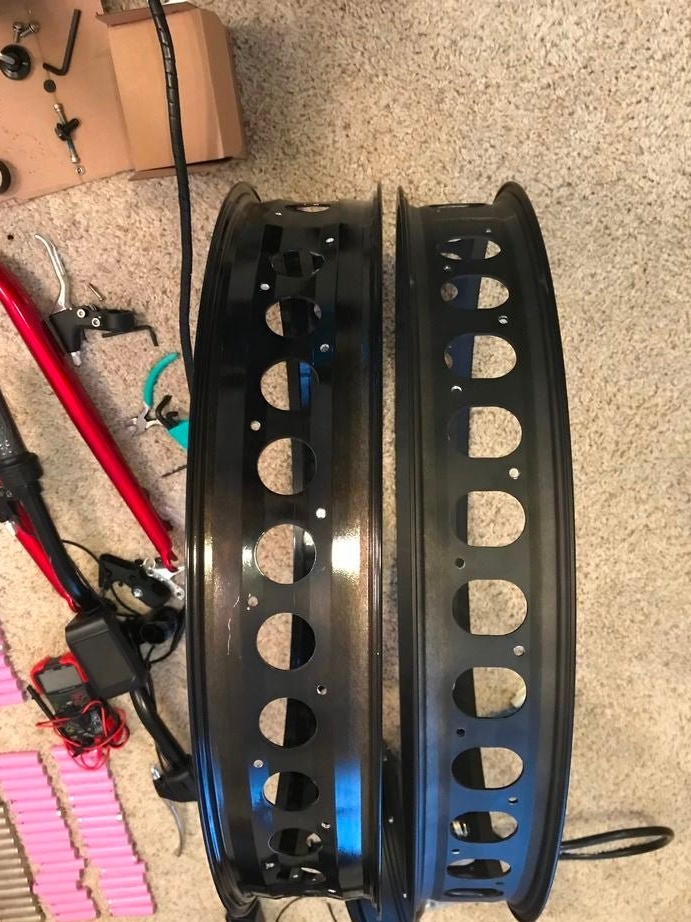
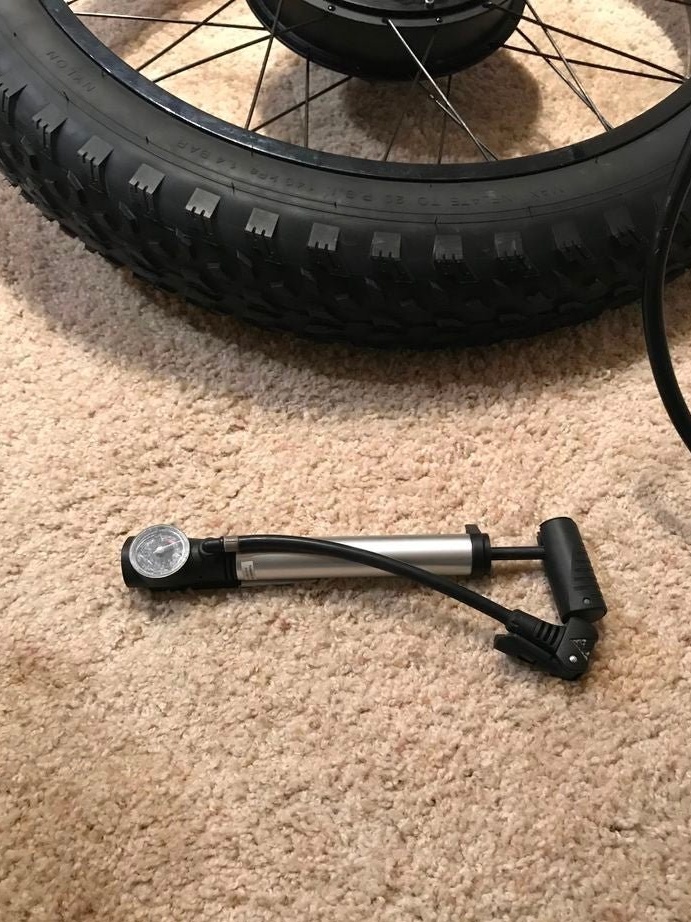
Installs the camera and bus.
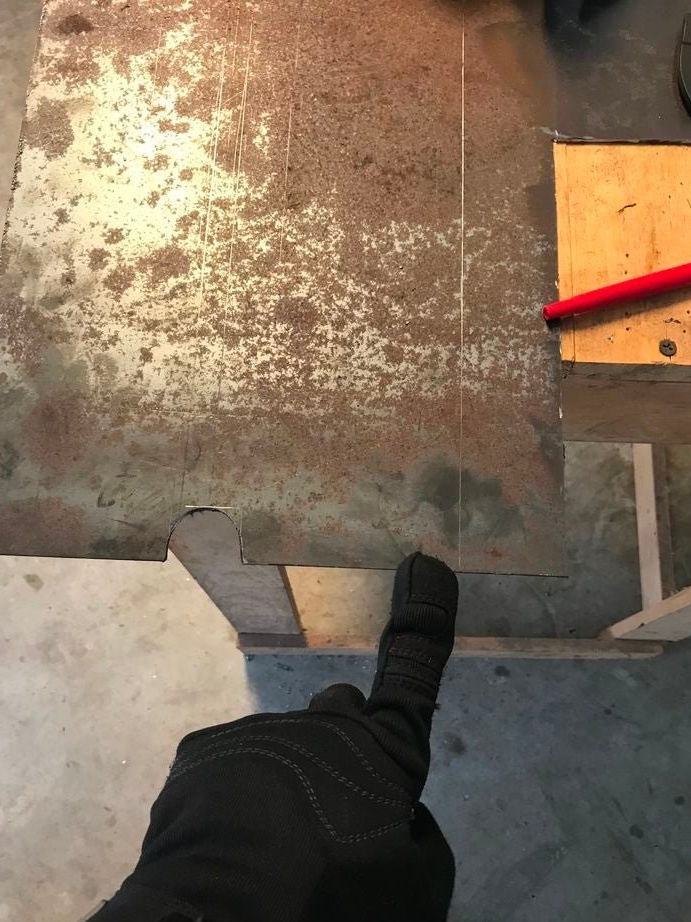
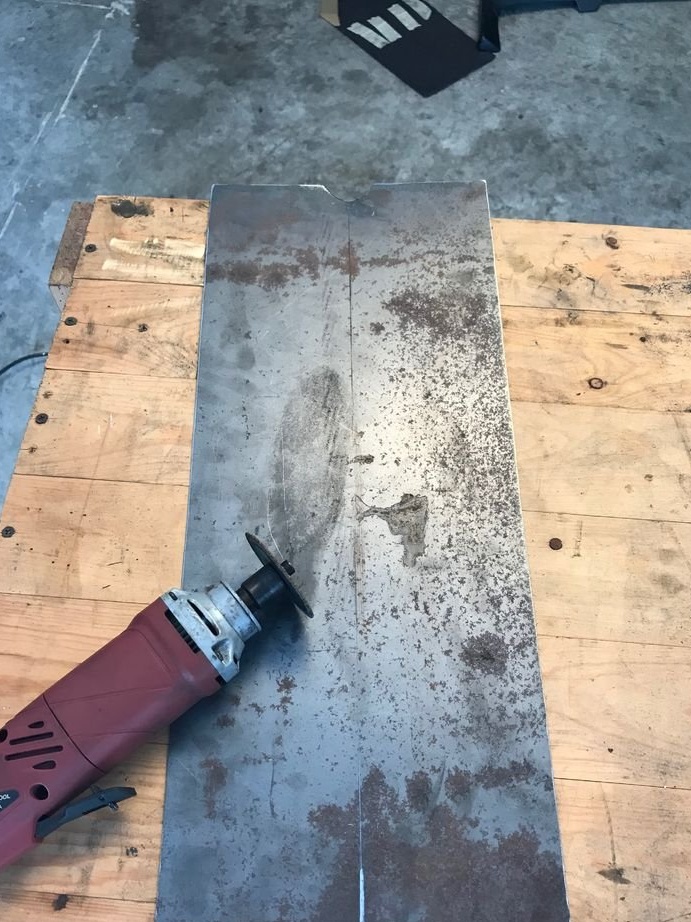
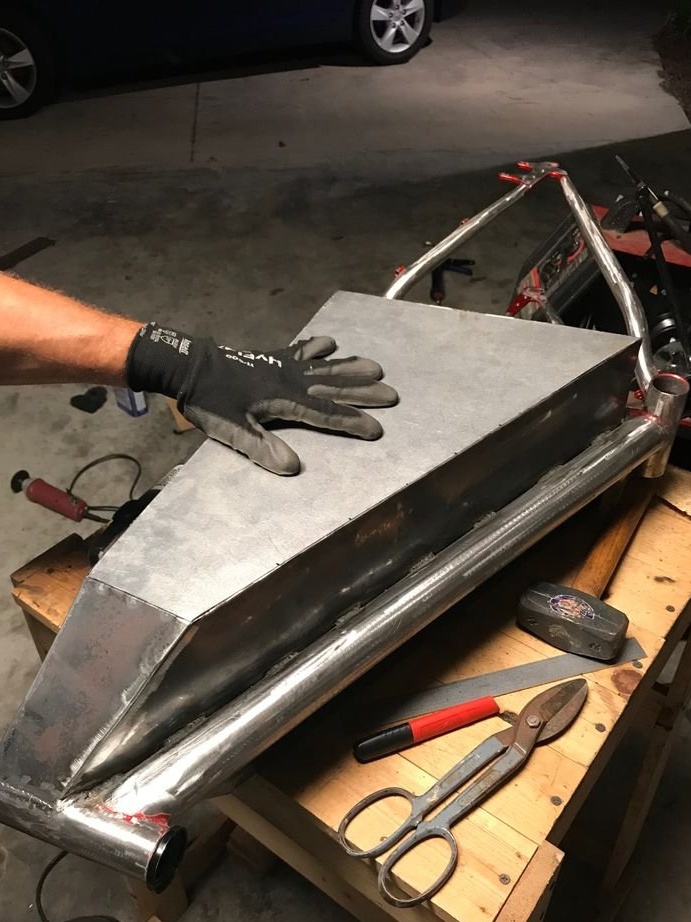
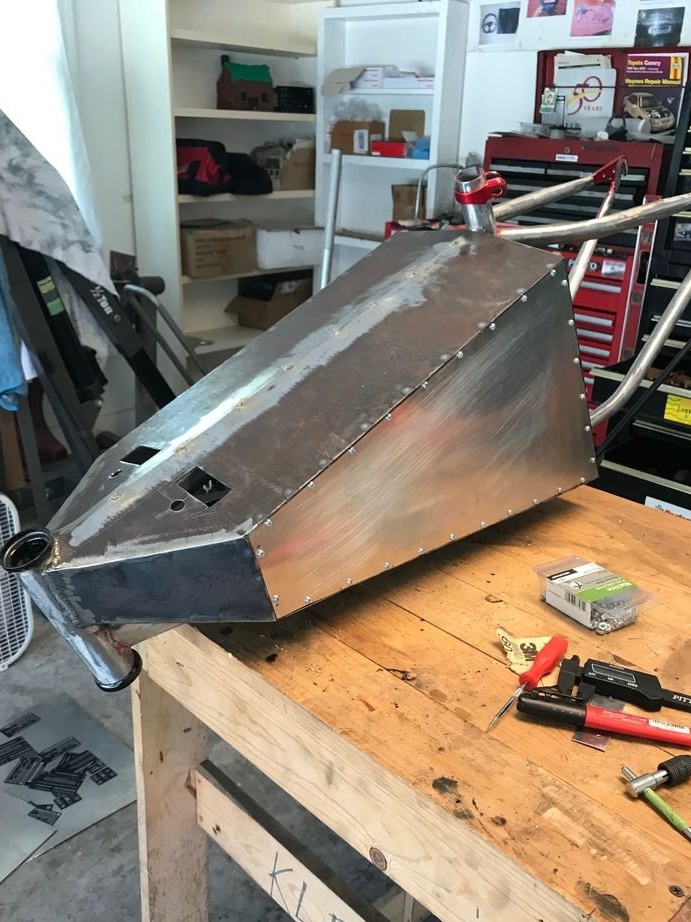
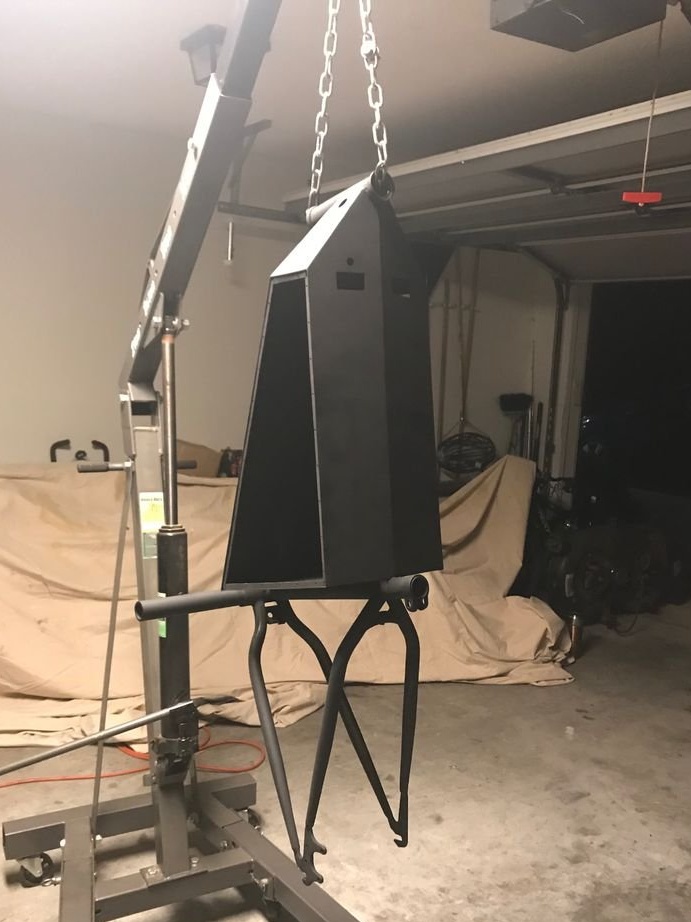
Step Five: Battery Compartment
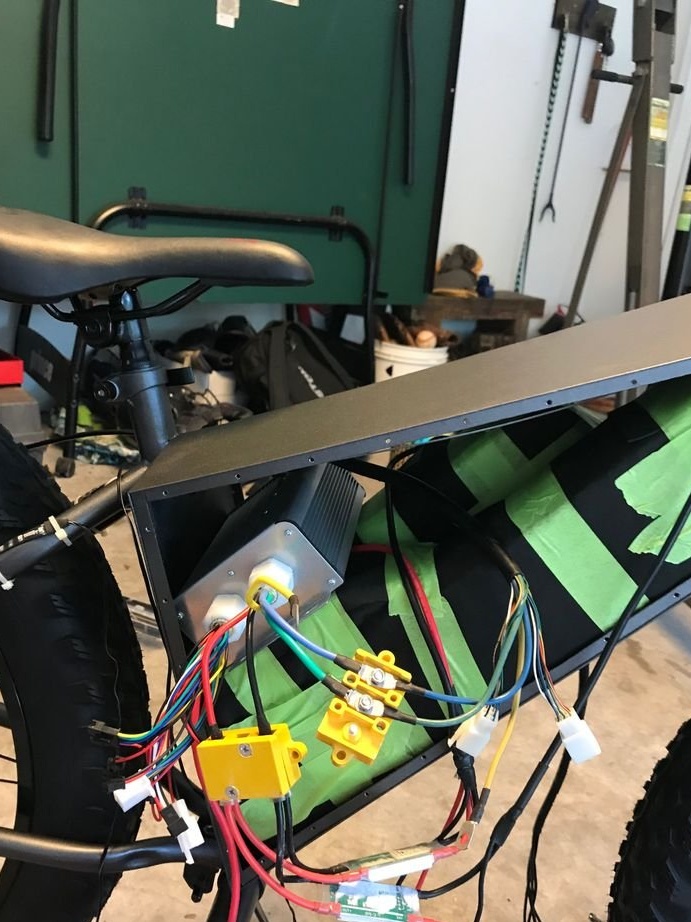
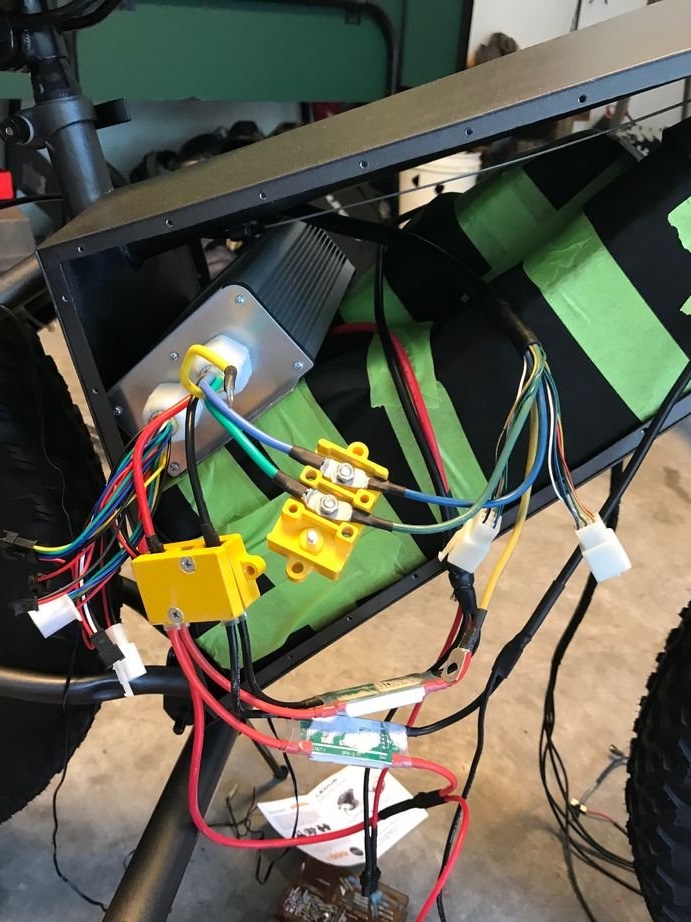
In this step, the master makes a battery compartment in which the batteries, controller, wires will be installed.
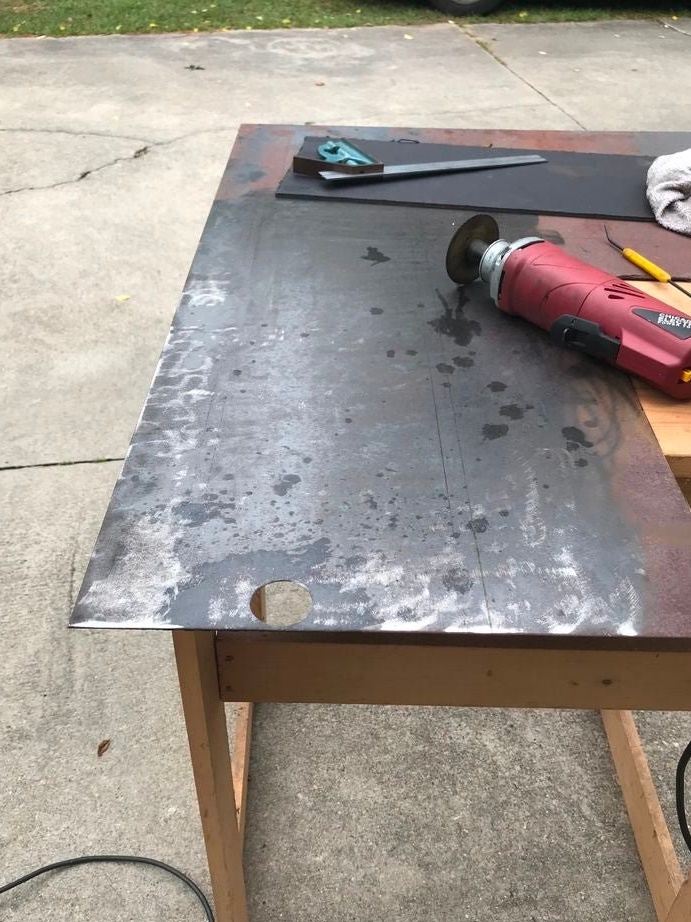
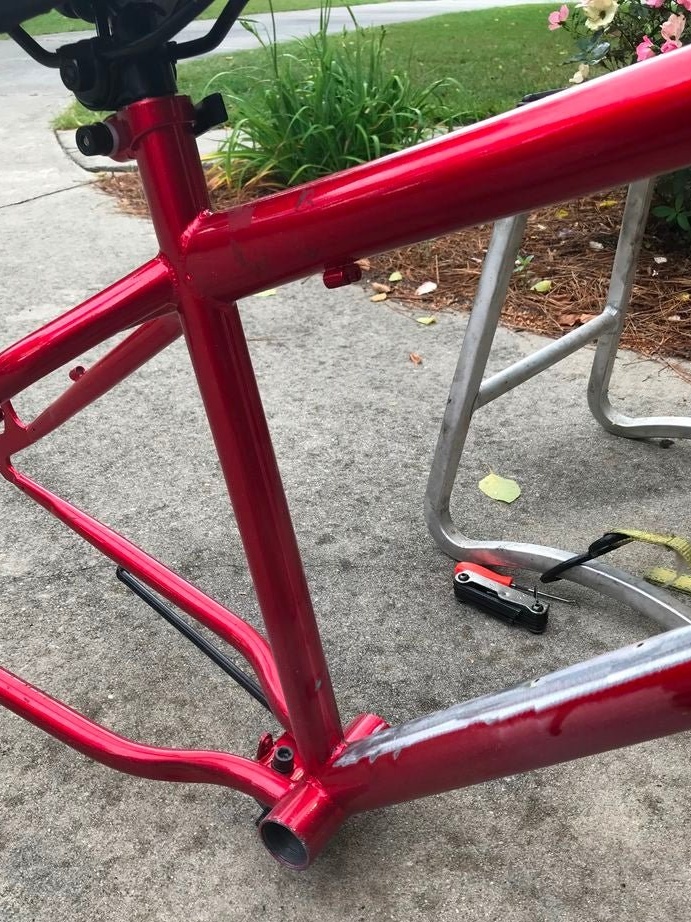
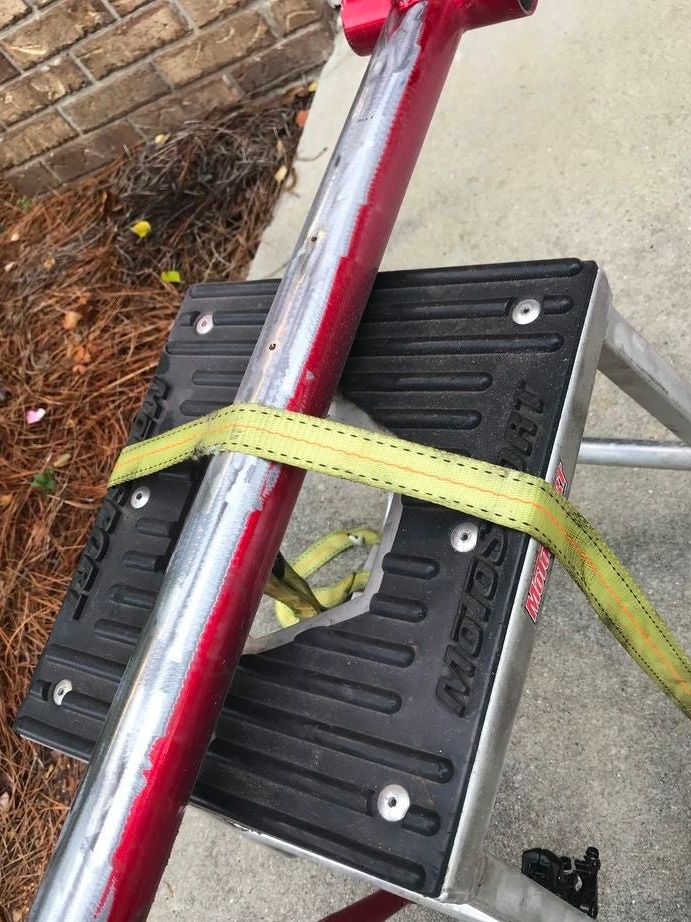
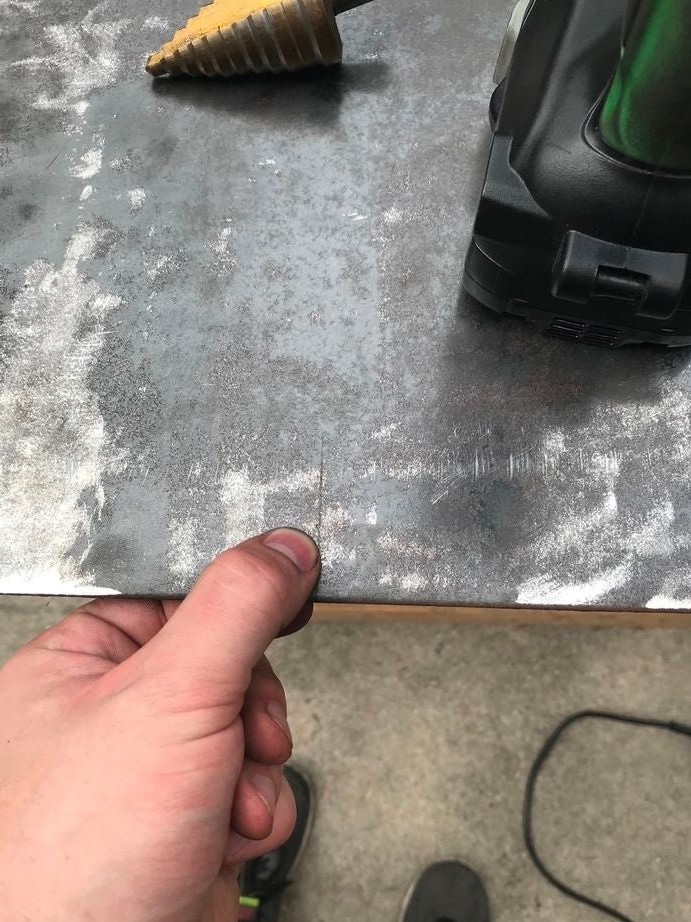
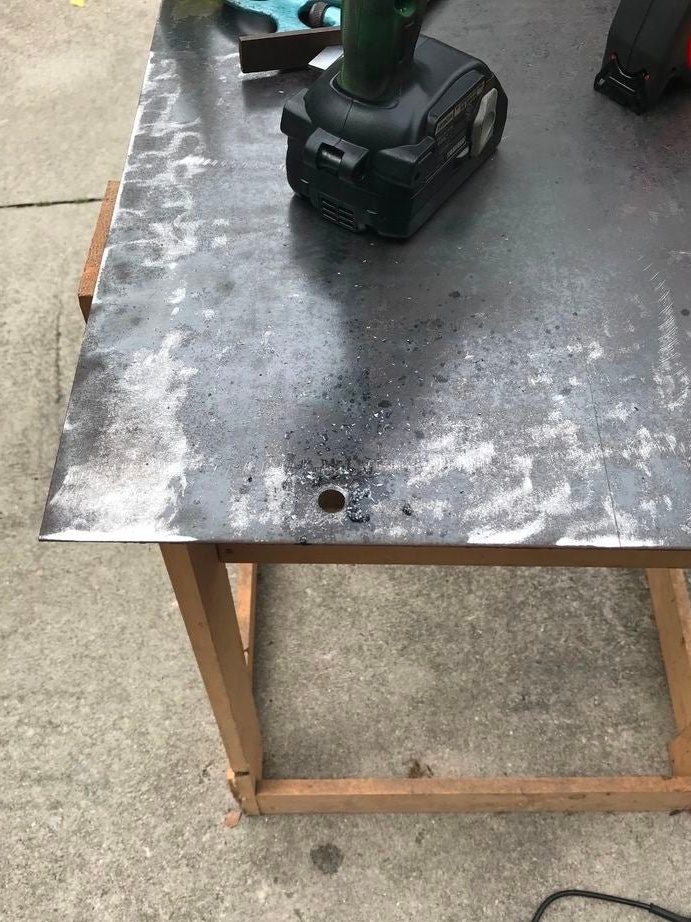
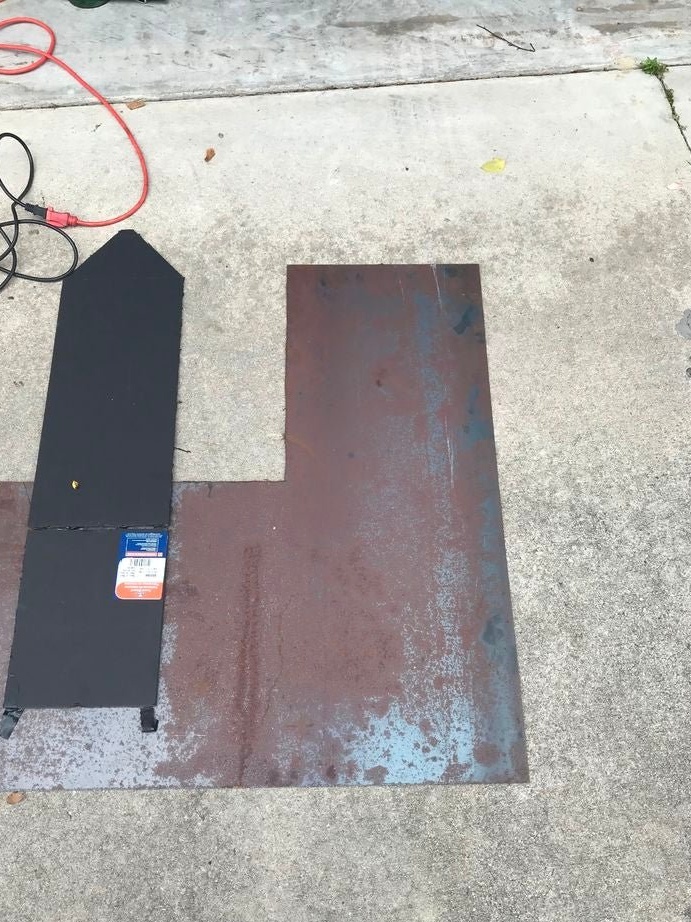
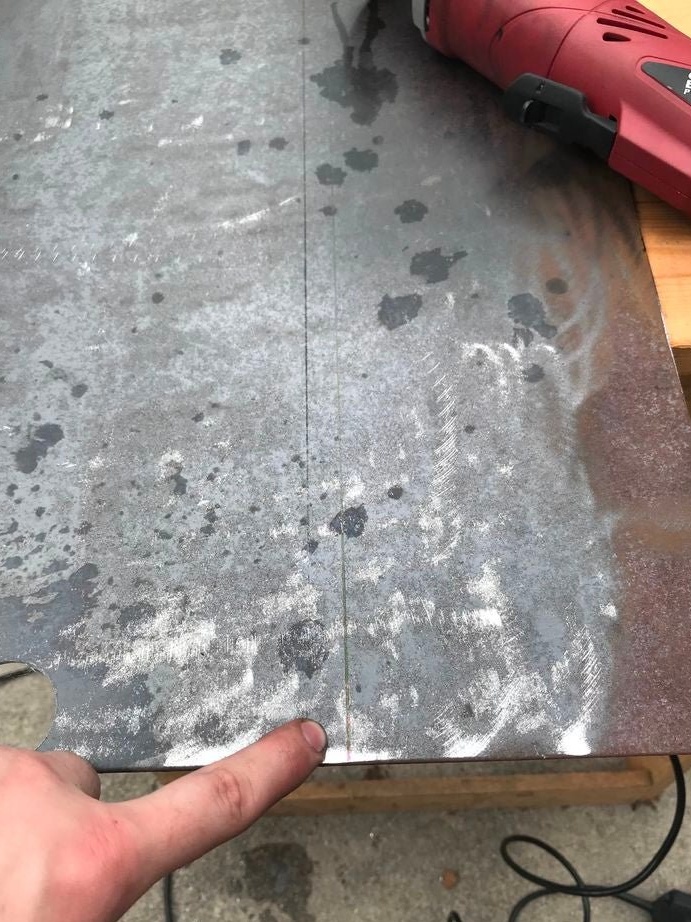
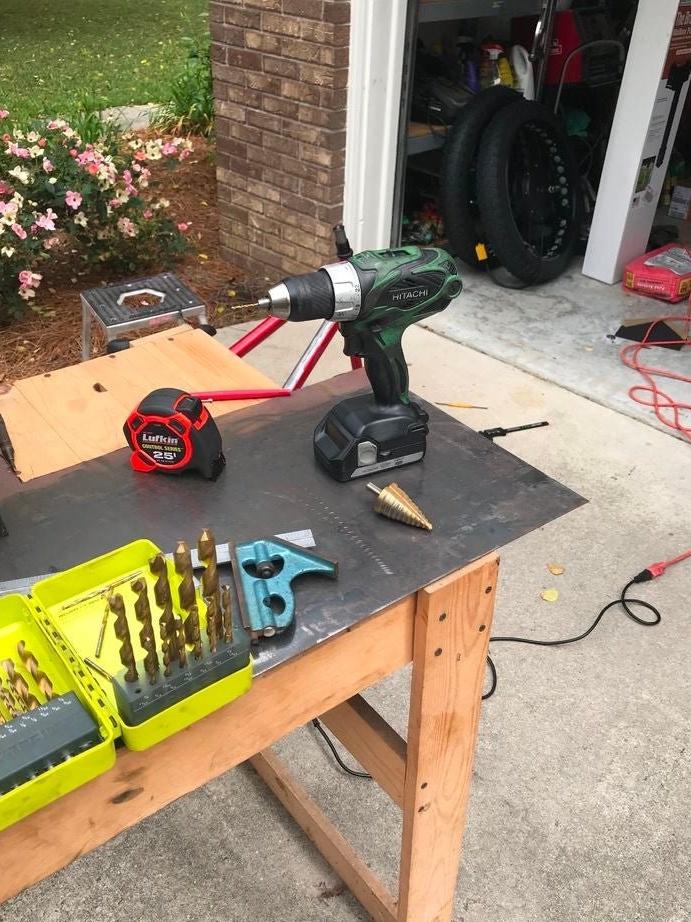
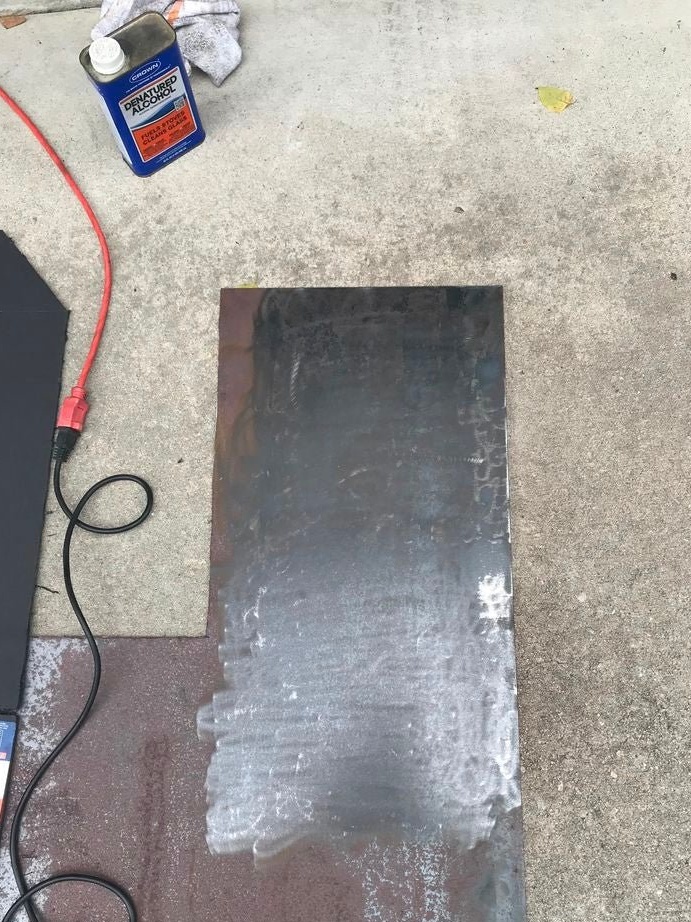
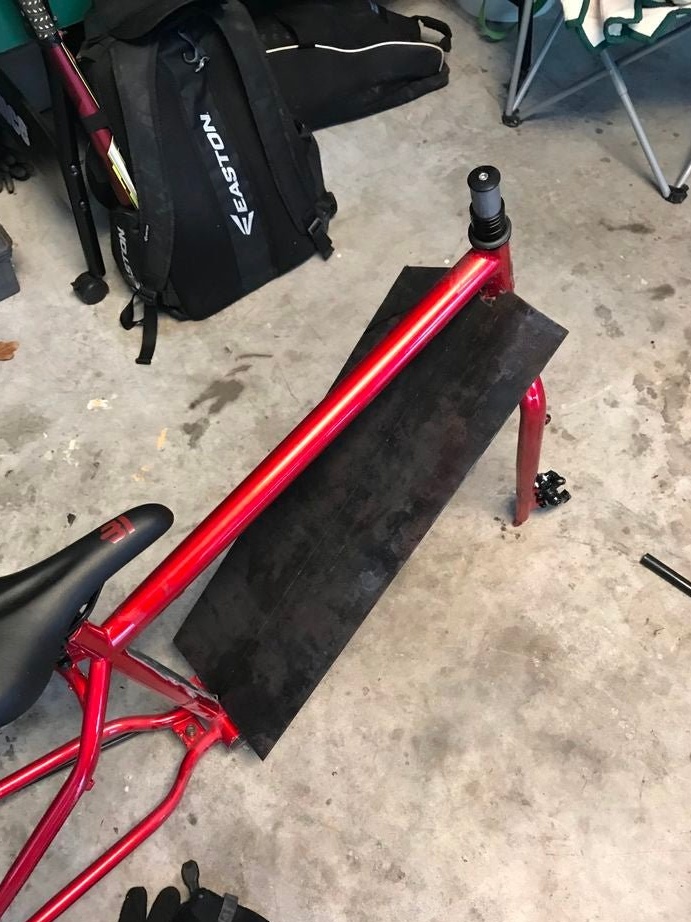
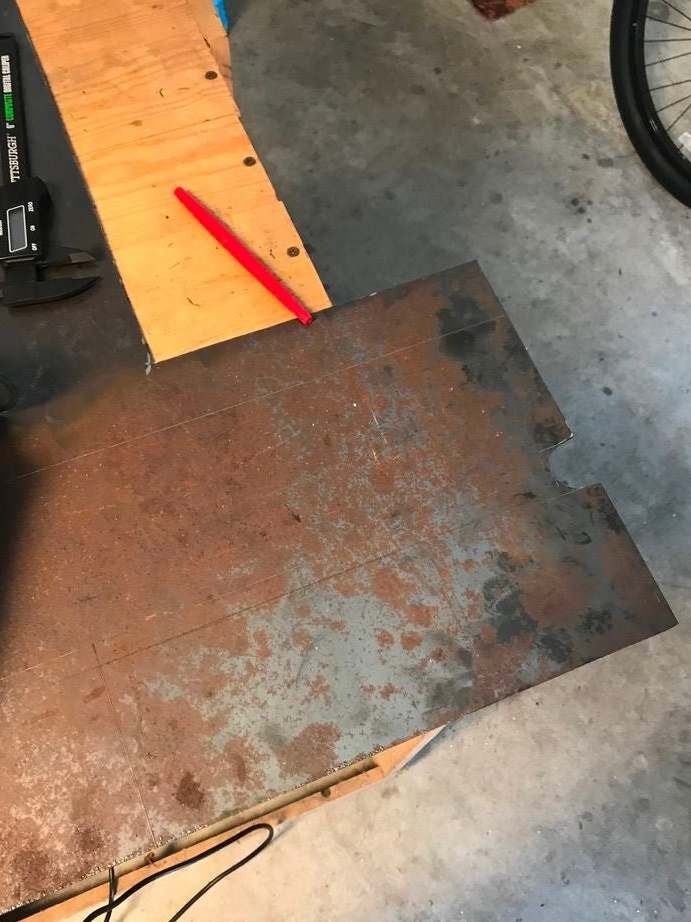
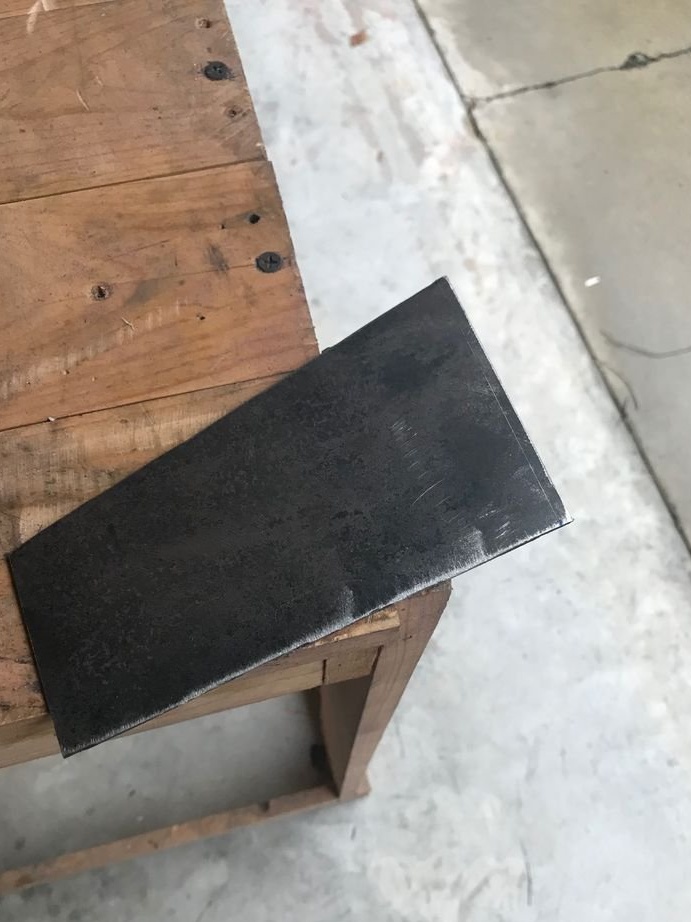
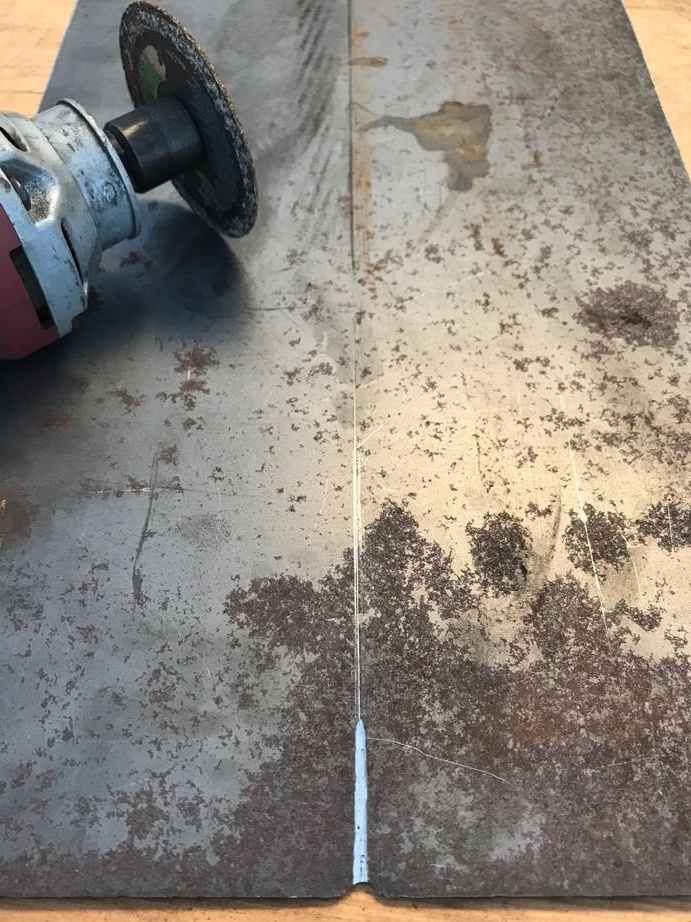
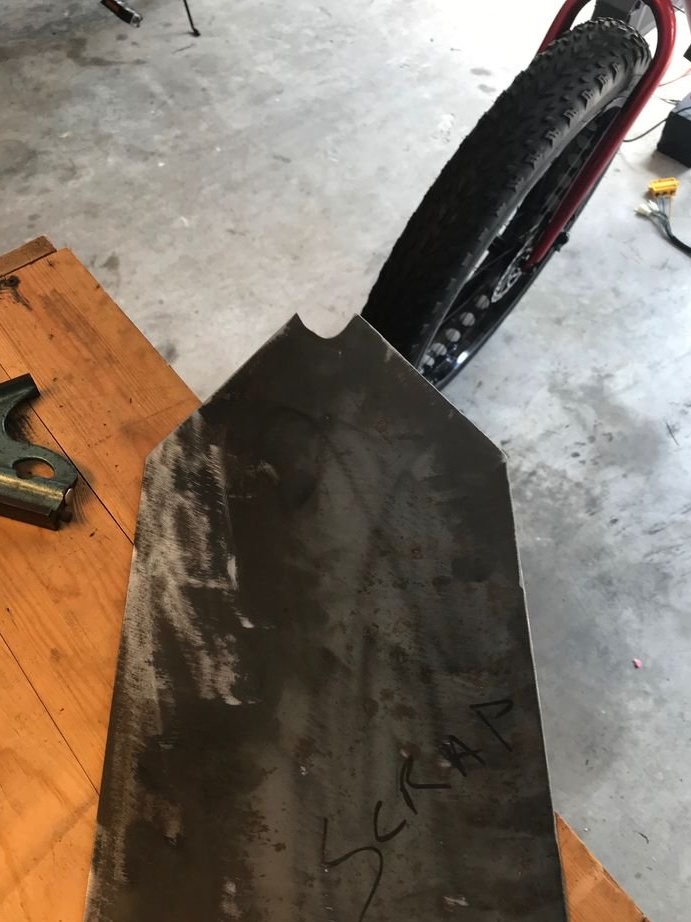
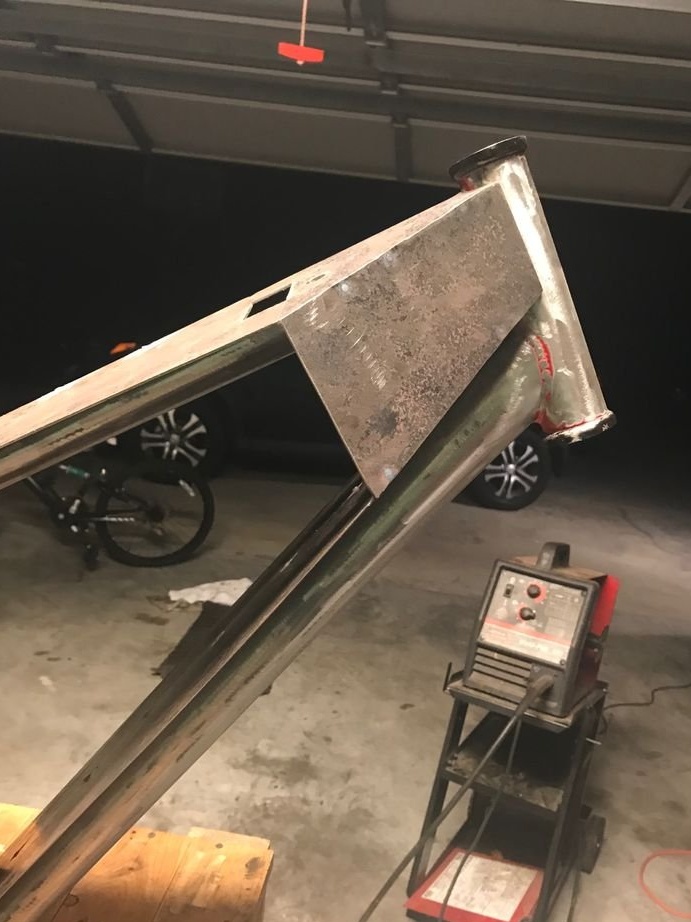
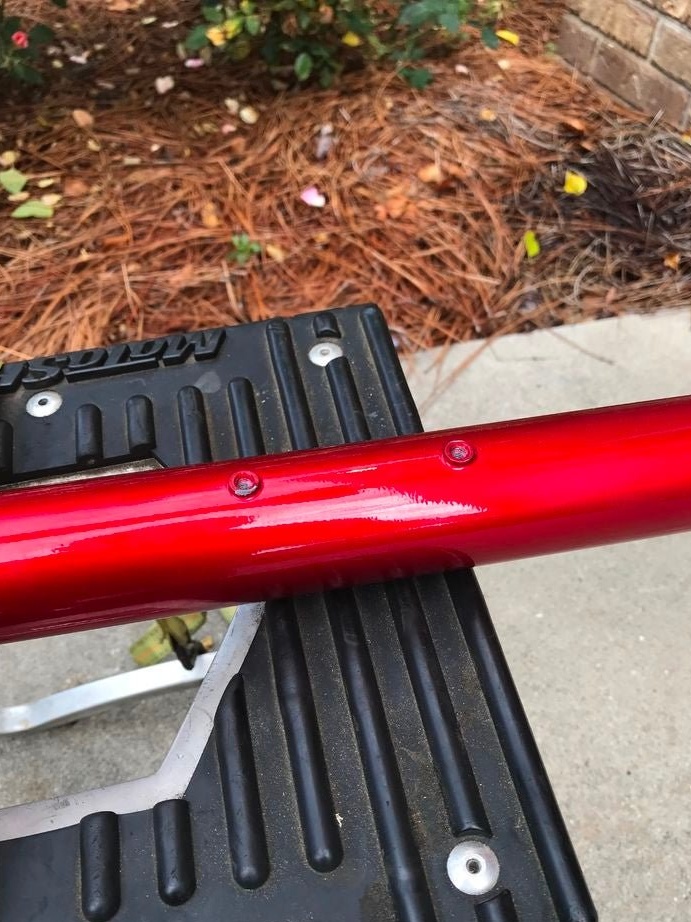
First, the master cleans the frame from paint and fixes the profile on it. The metal sheet cuts according to the templates.

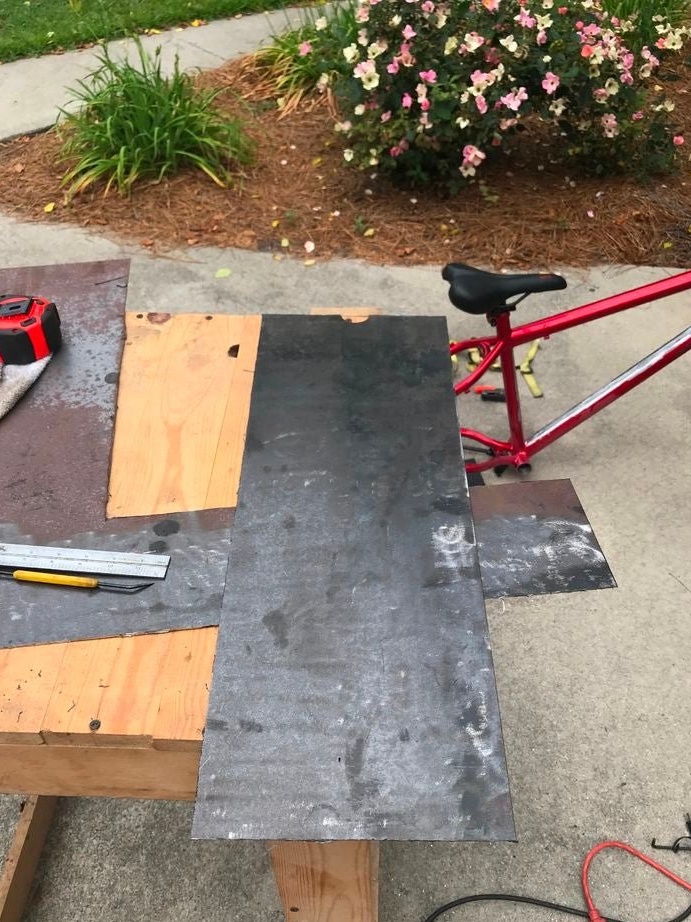
Next, the wizard installs the bottom of the compartment and checks the location of the batteries.
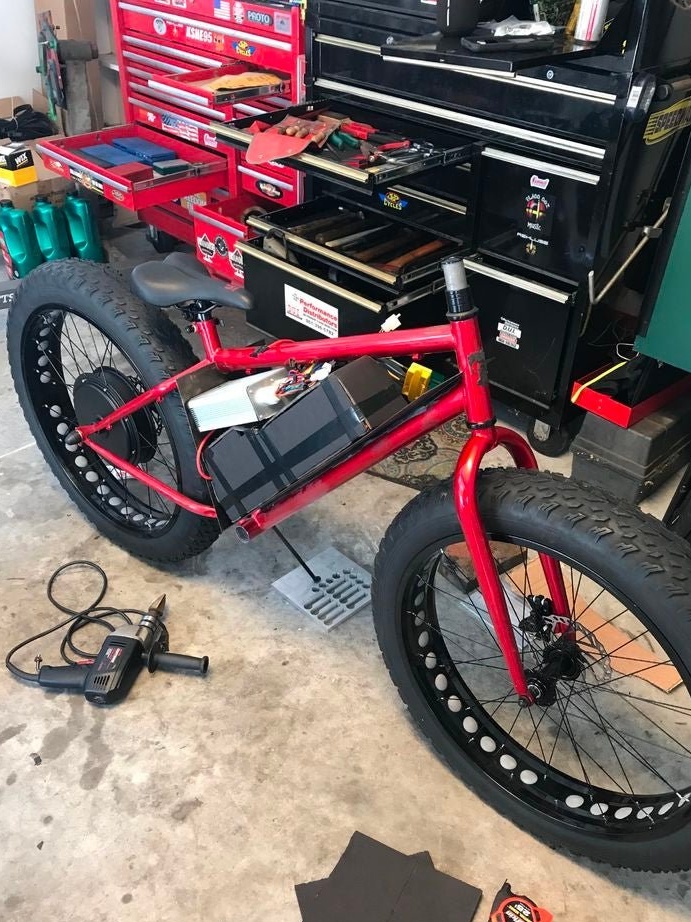

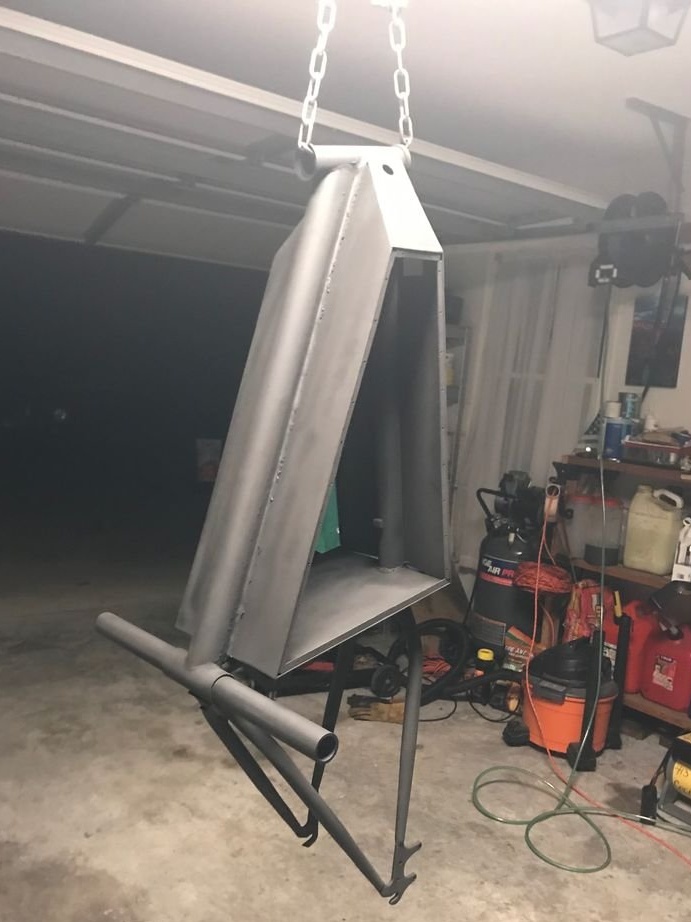
Welds compartment.
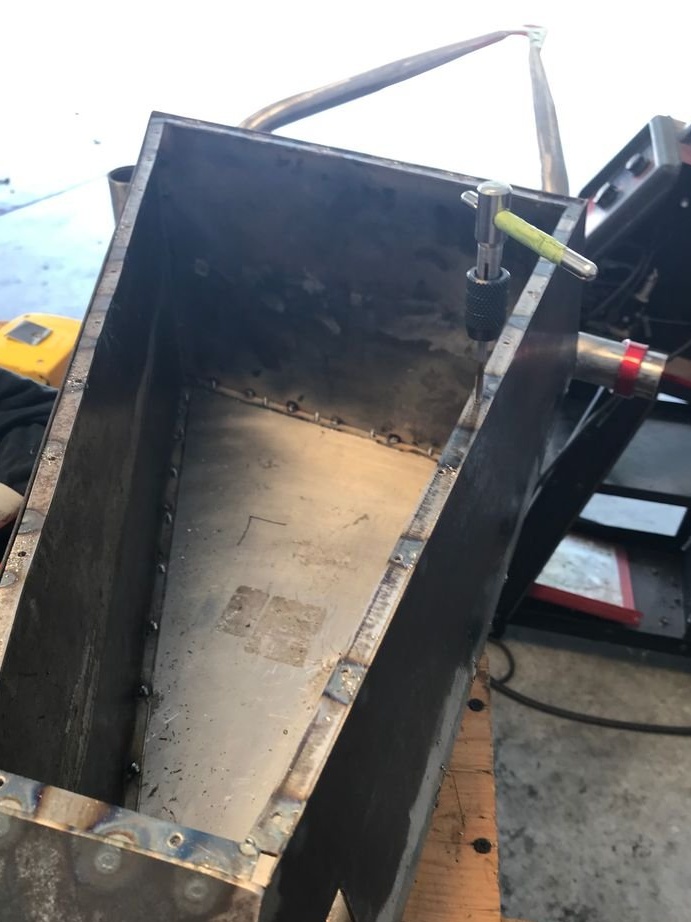

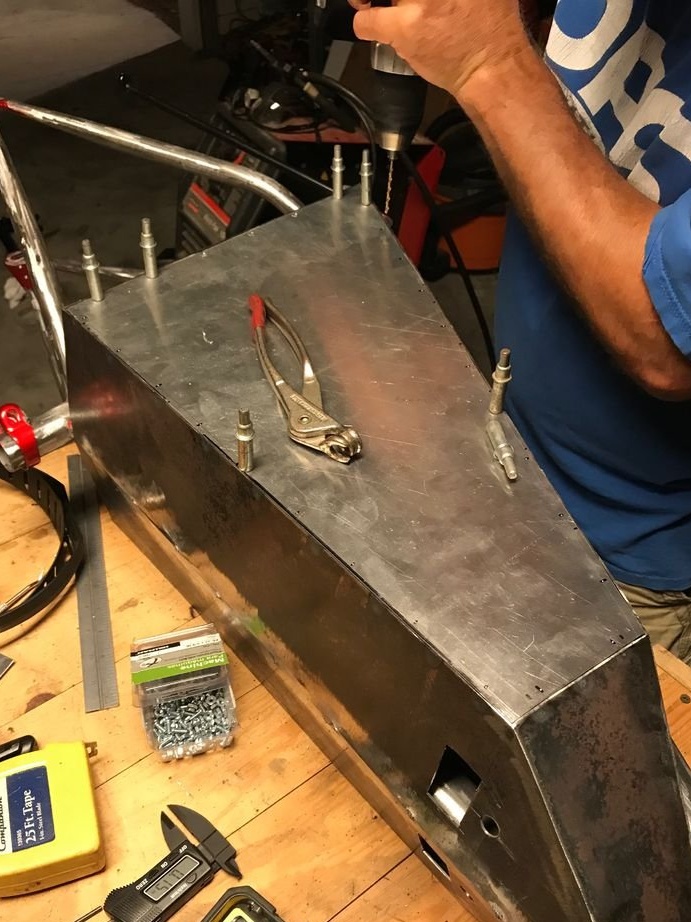
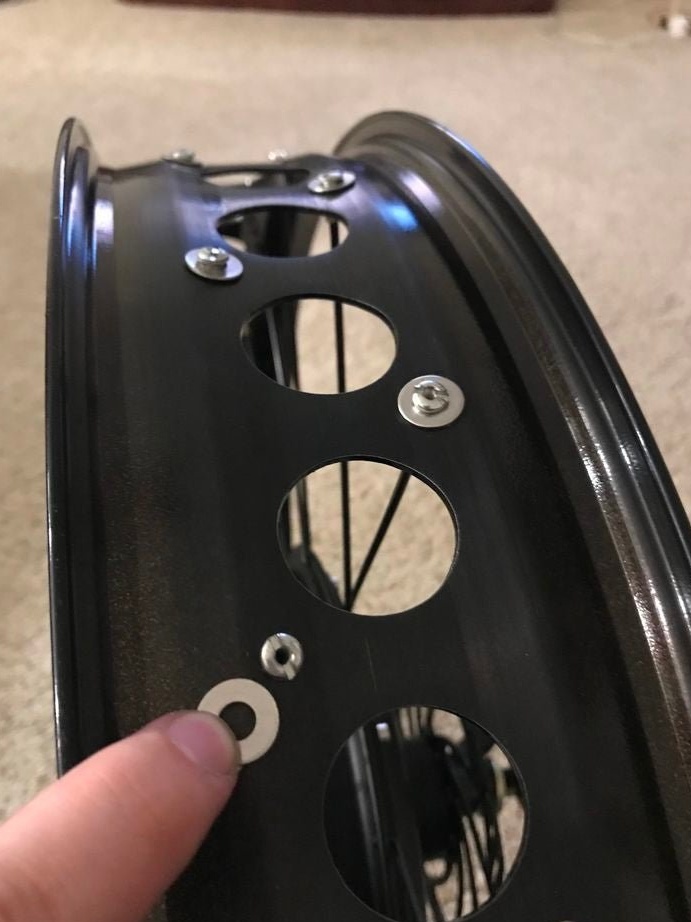
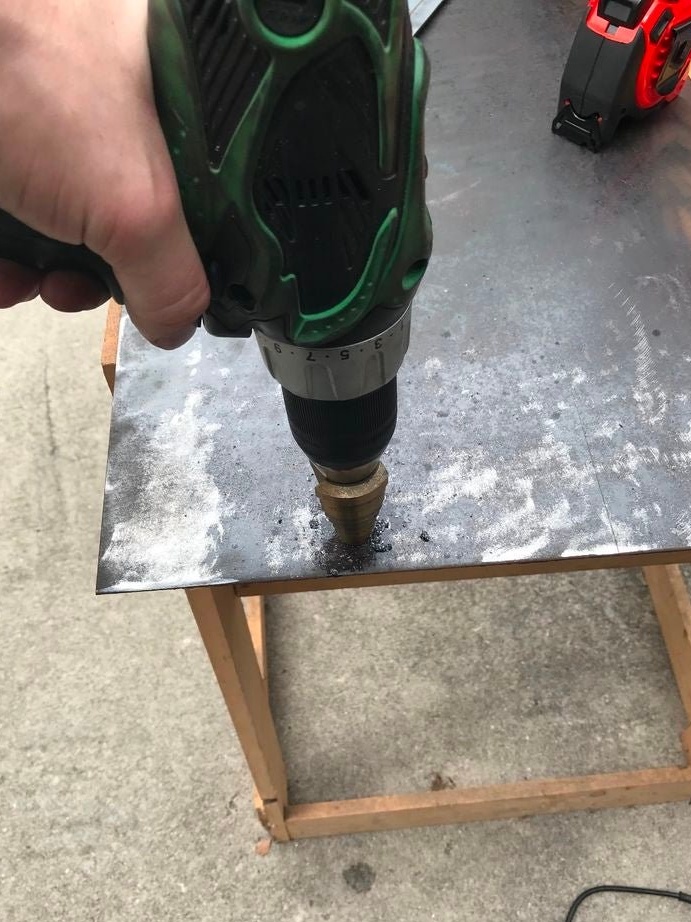
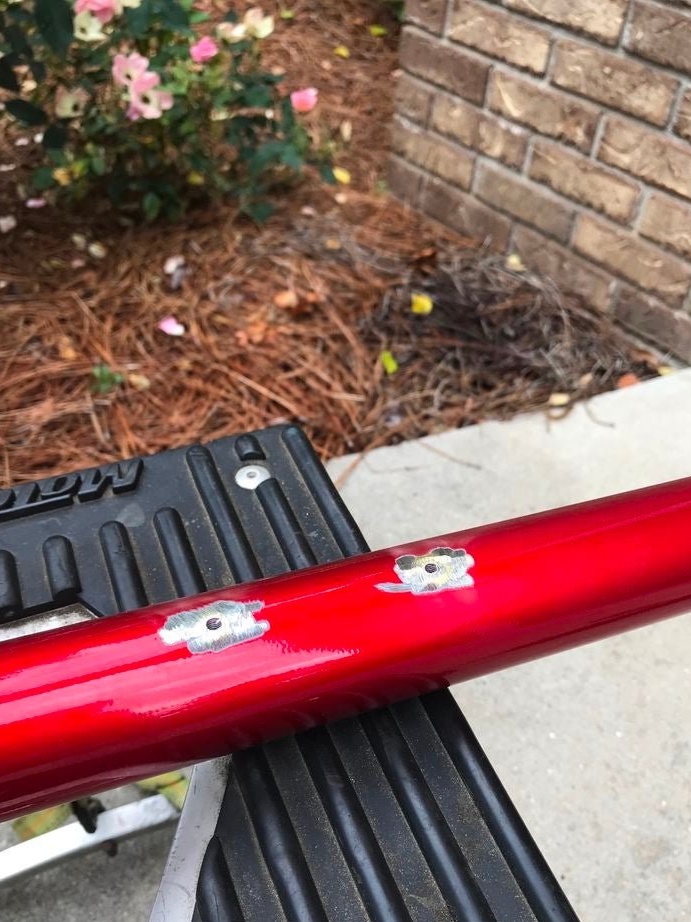
Drills mounting holes for installing the battery compartment.
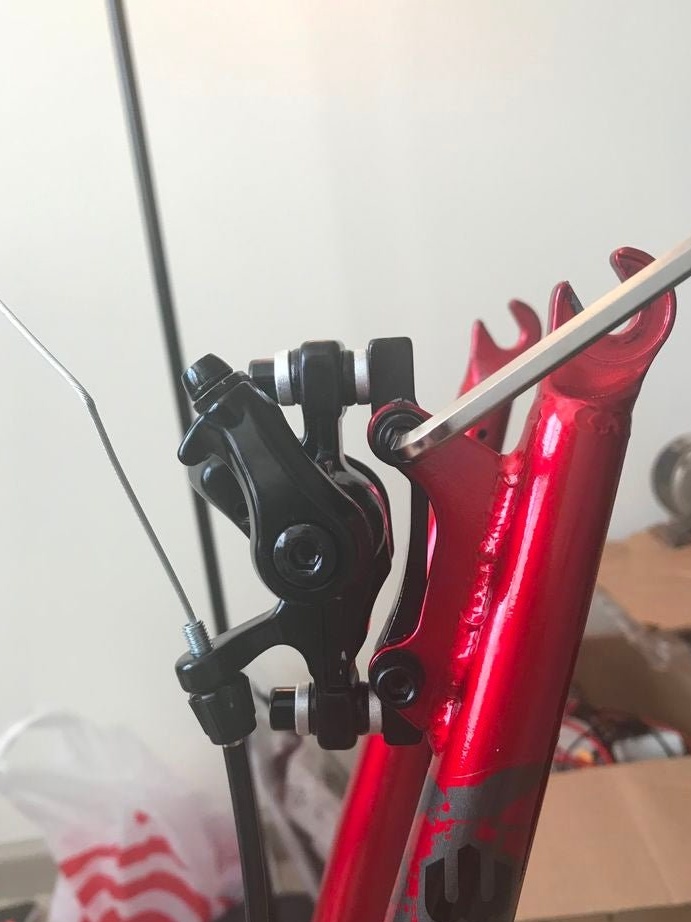
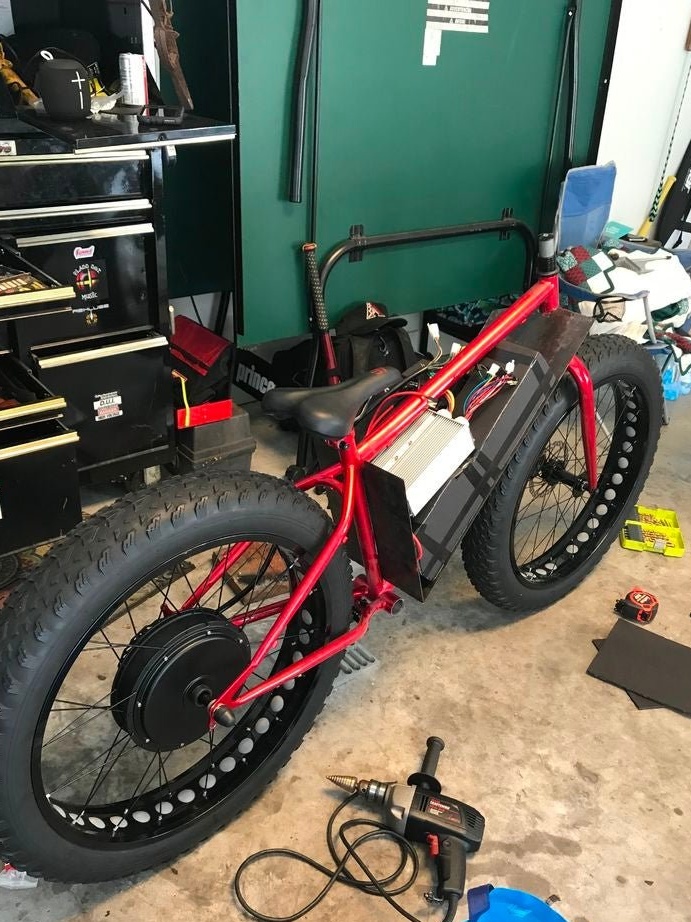
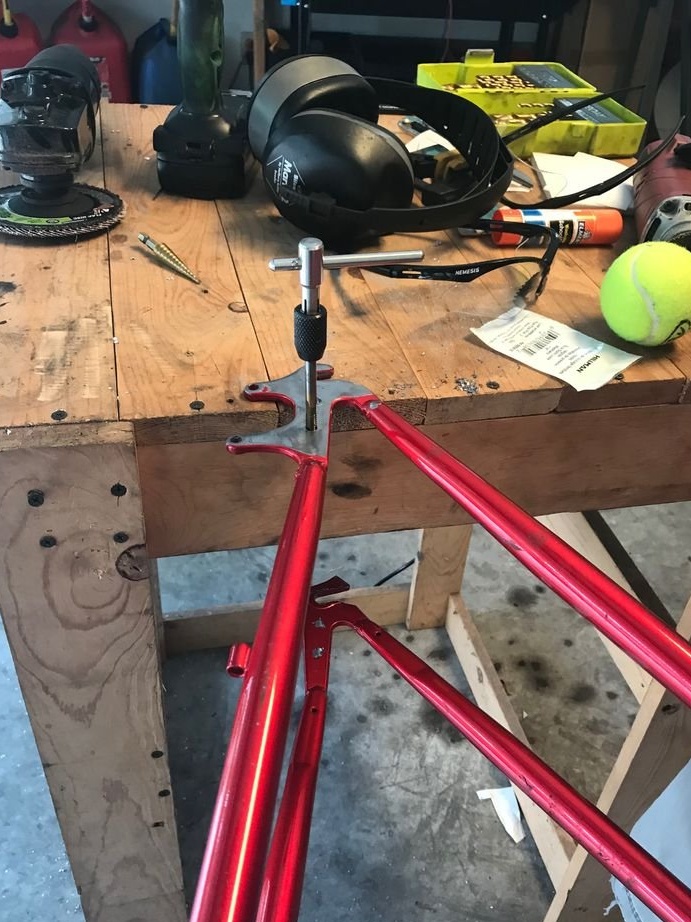
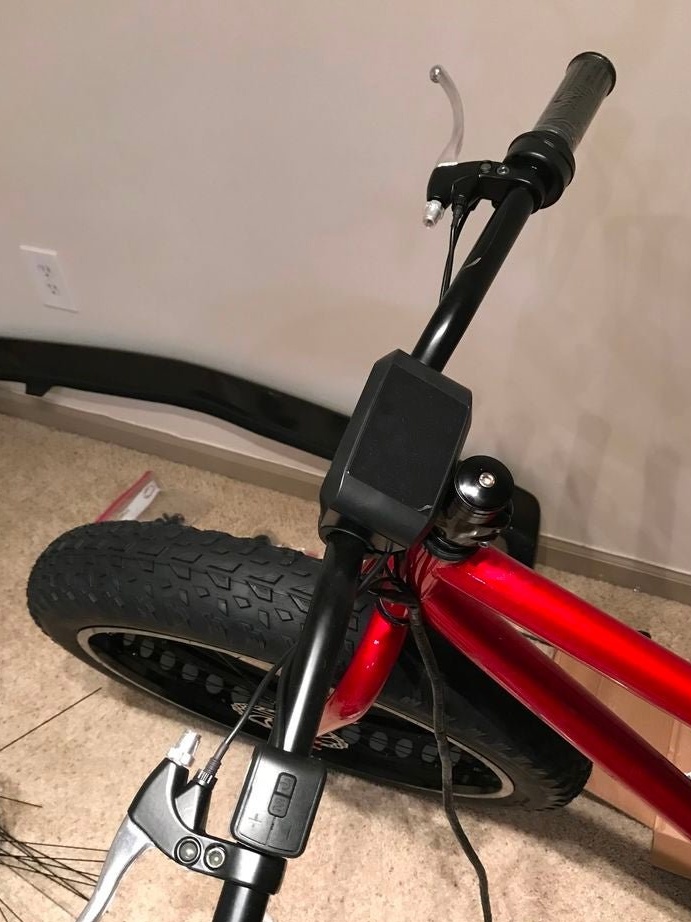
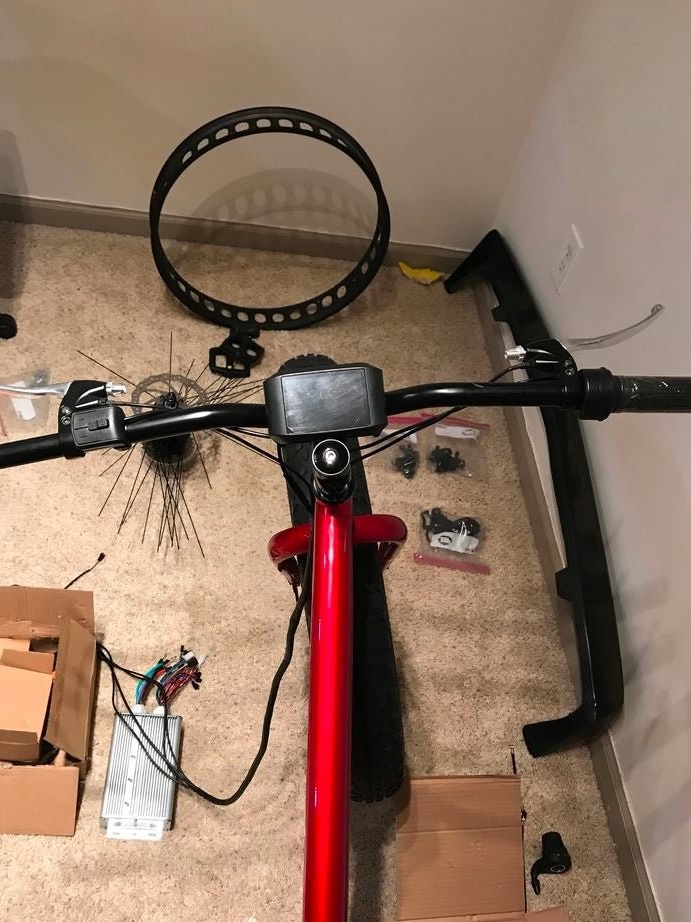
Step Six: Rear Fork and Handles
Strengthens the rear fork.
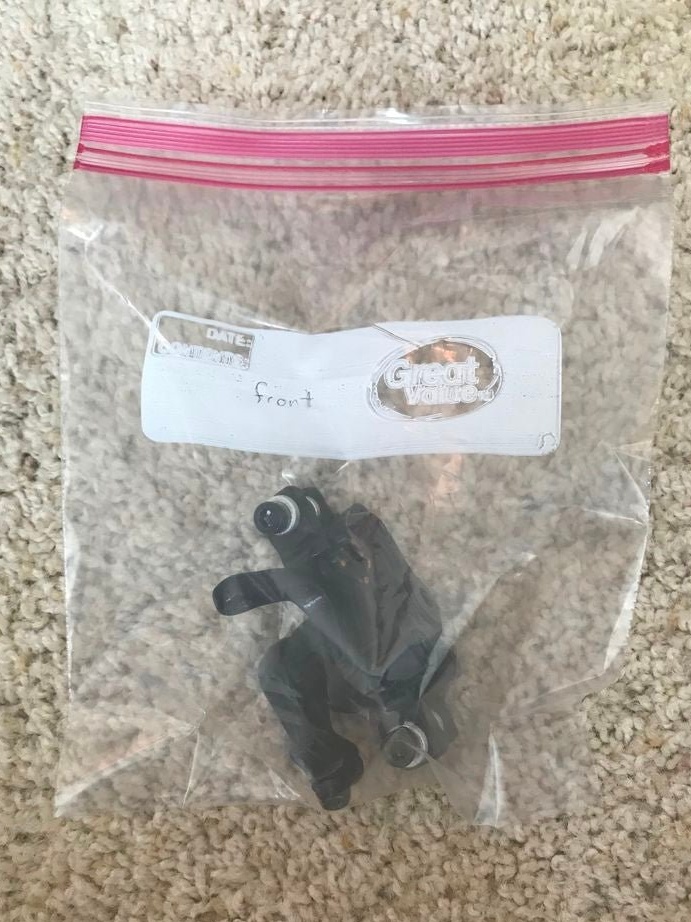
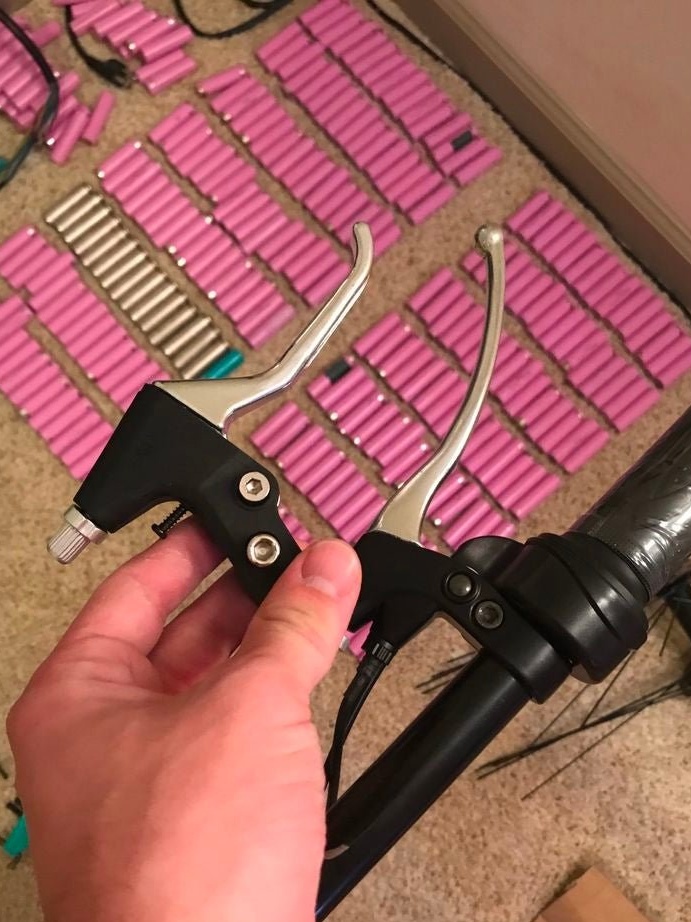
Installs brake and throttle handles.
Seventh step: painting
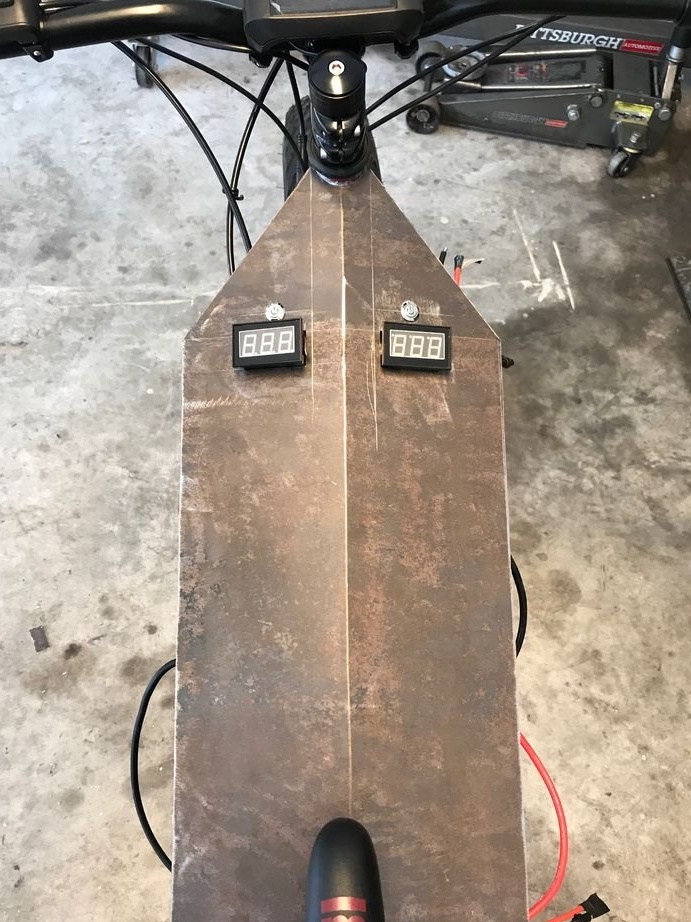
Further, the master completely cleans the frame from the factory paint, and paints it and the battery compartment in black.

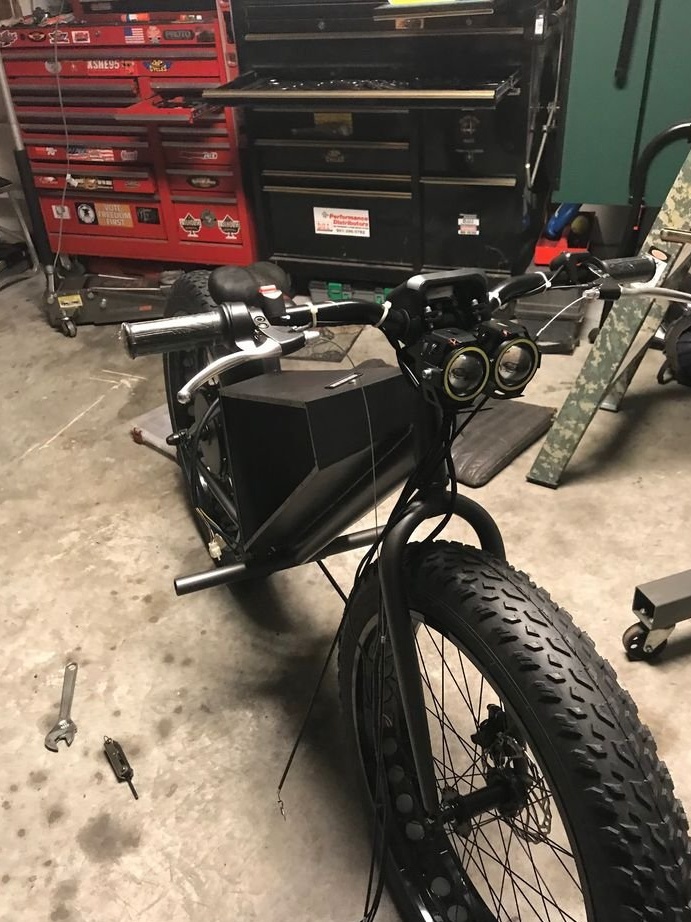
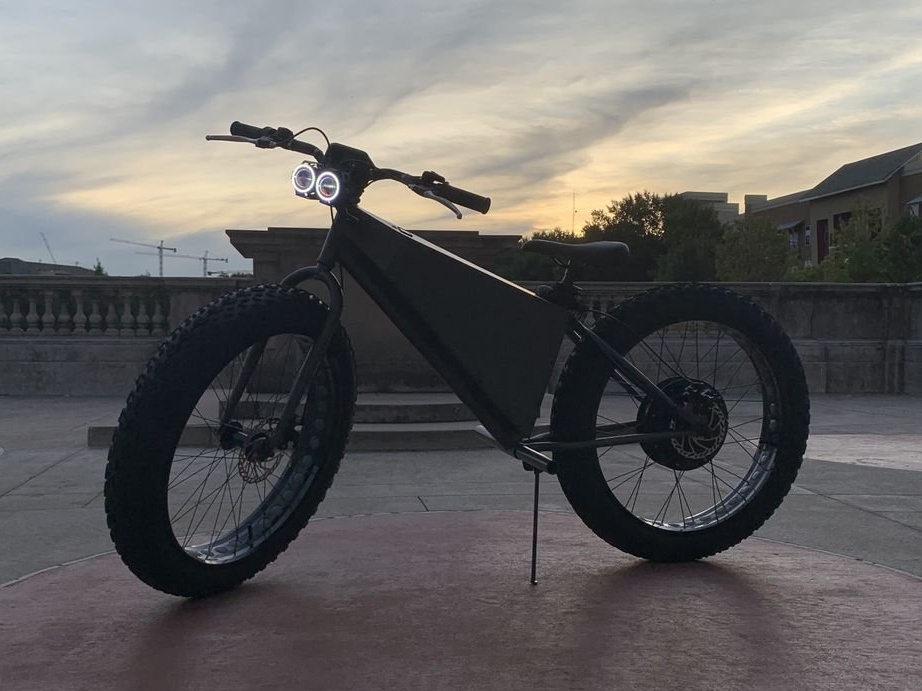
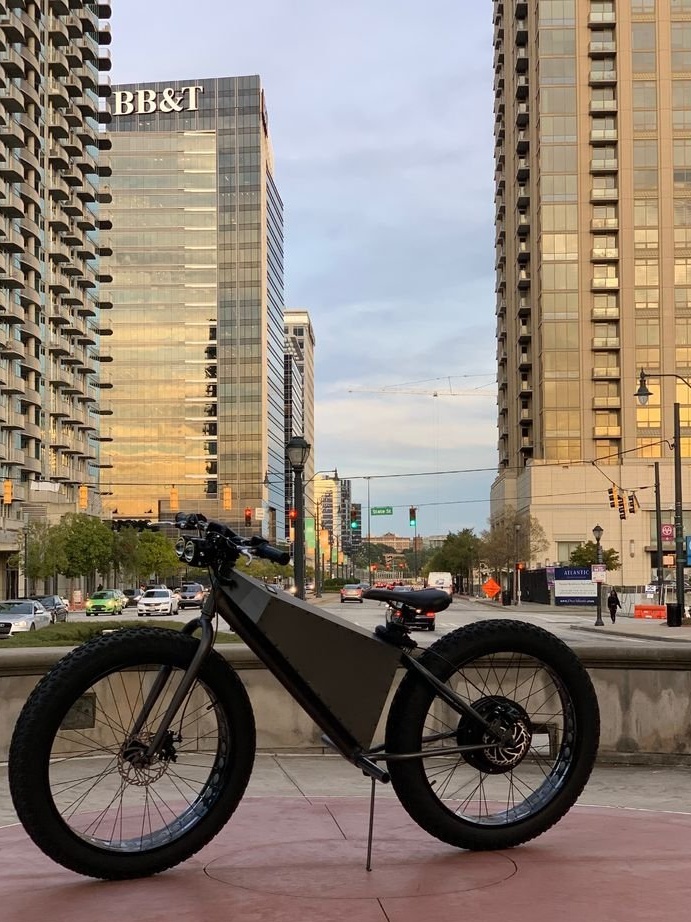
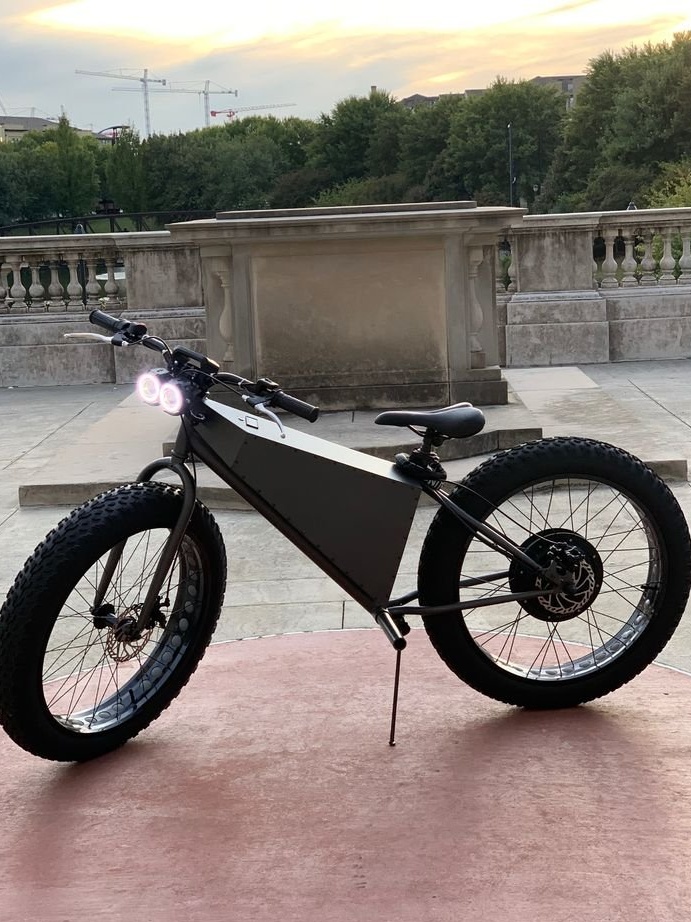
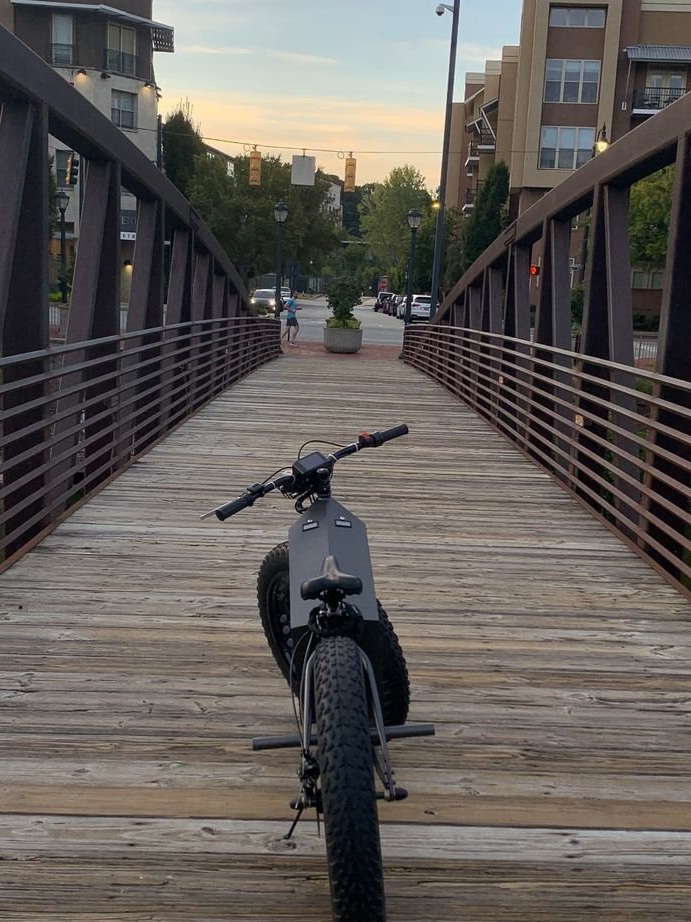
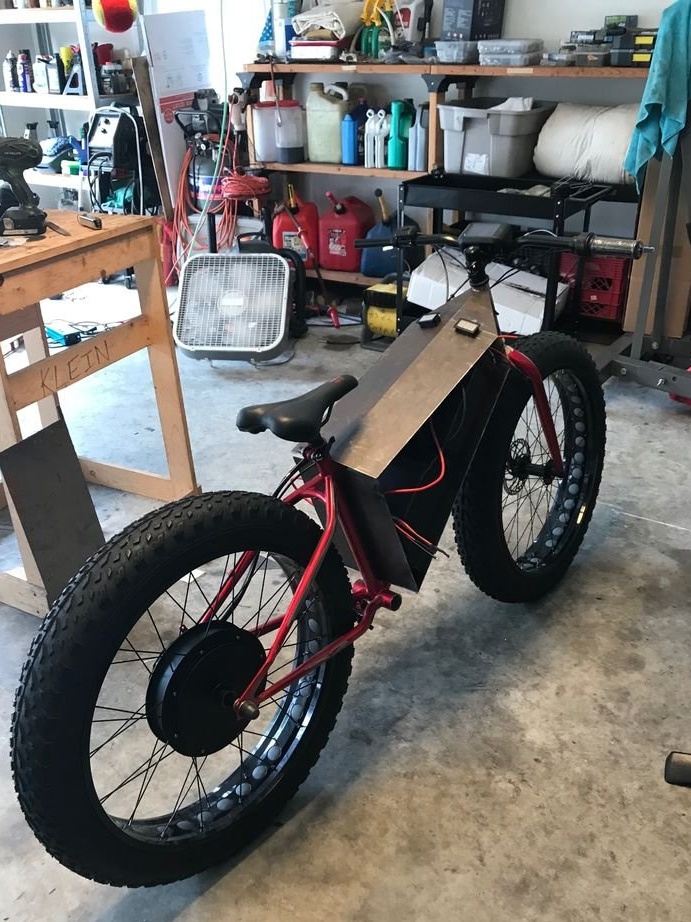
Now it remains to assemble the bike, secure the battery compartment, install the batteries and controller. Install the wheels. Install headlights and brake light.
All is ready.