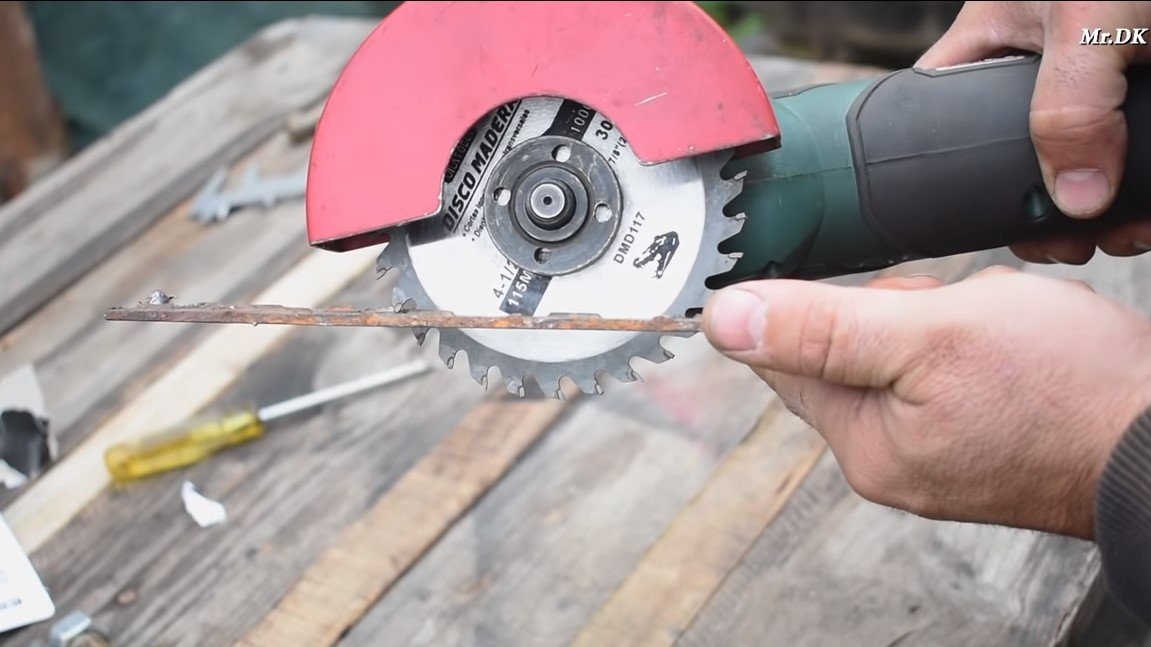
Greetings to all fans to craft. In this article, we will look at how to make a very simple stand for a grinder, which will allow you to put a circular saw blade on a grinder. With this tool you can cut boards, sticks and other types of material. The main essence of the design is that the operation of a grinder with a circular disk is safe, this applies to cases when the disk is jammed. The author uses a battery grinder, its main advantage can be considered the ability to adjust the speed, which will make the work process even more convenient and safe. If the project interests you, I propose to study it in more detail!
Materials and tools used by the author:
Material List:
- a piece of steel plate for the base;
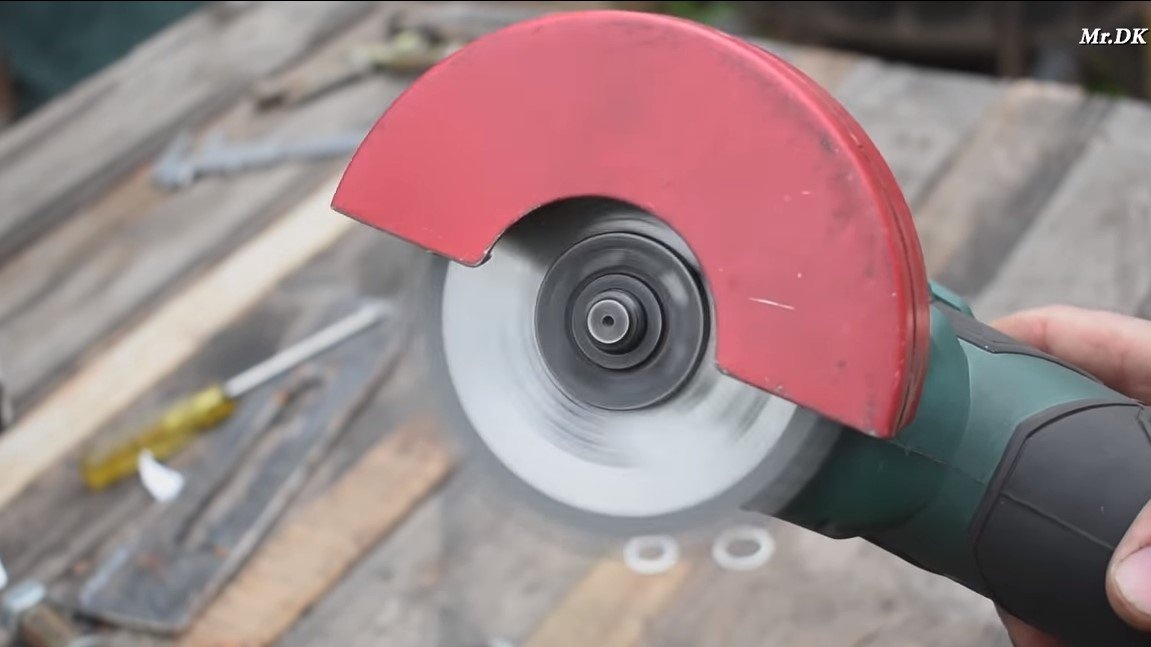
- a disk for a circular on 115 mm;
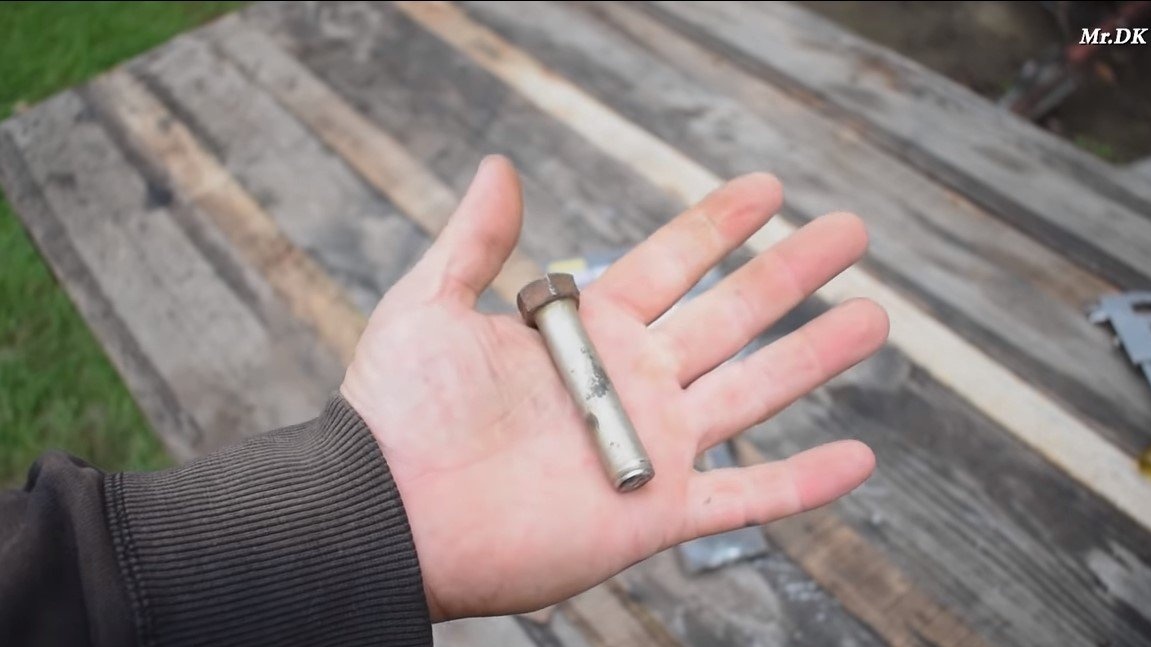
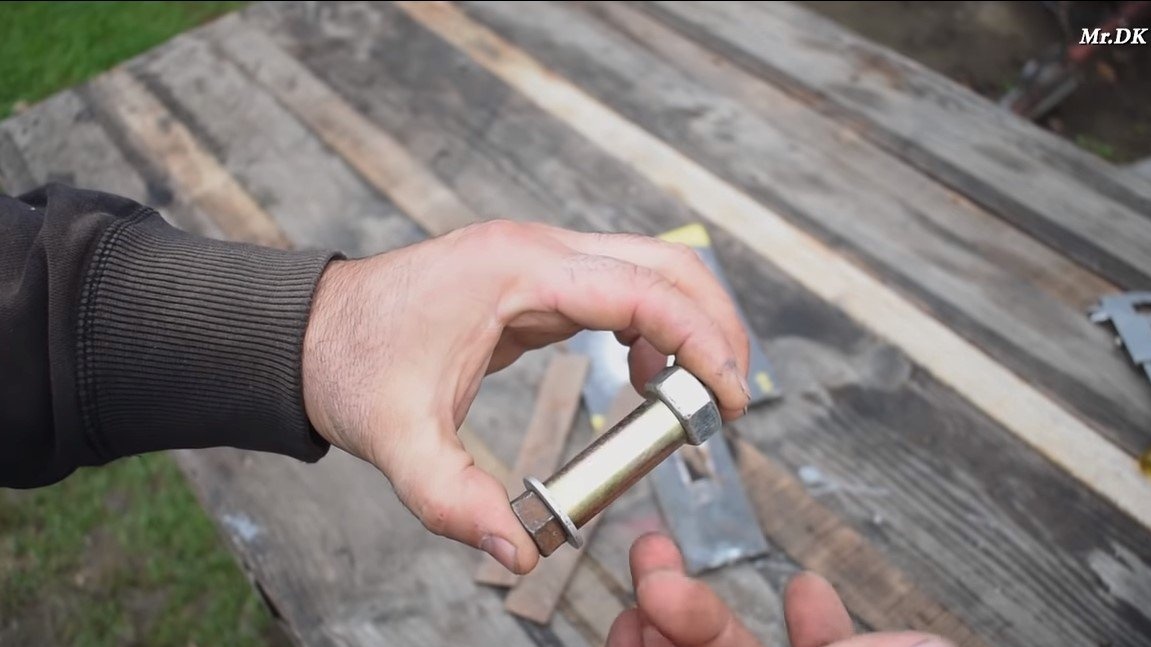
- a bolt, washers, nut and a piece of tube (or you can use the door hinge);
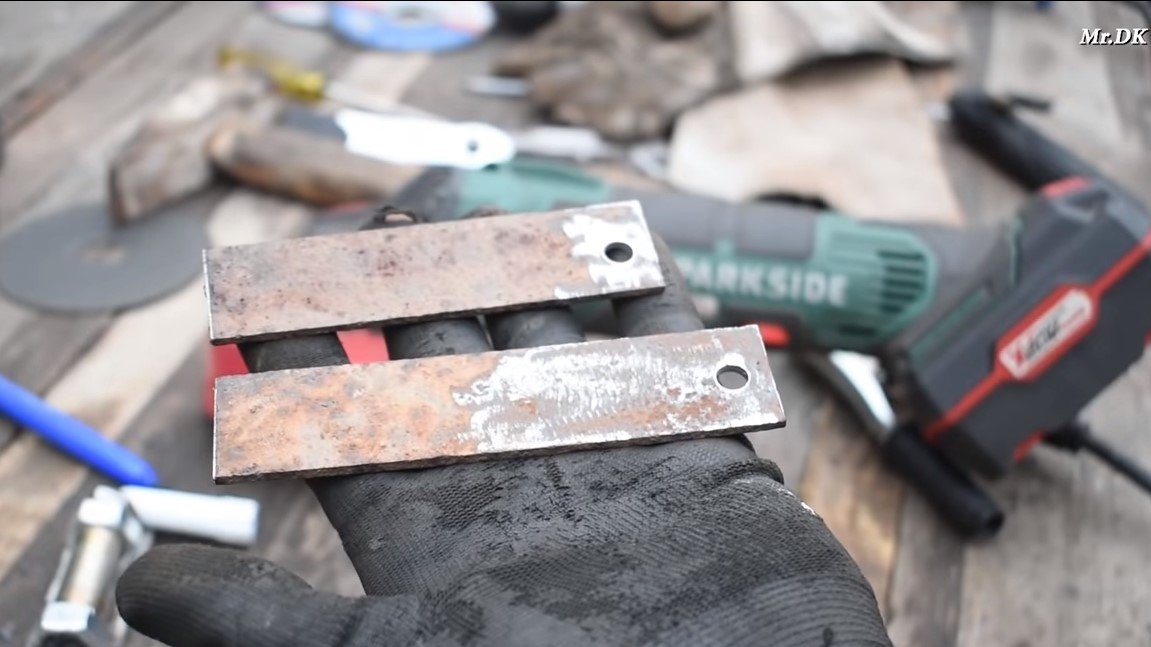
- steel plates;
- paint for metal.

Tool List:
- grinder;
- welding machine;
- marker, tape measure.
Manufacturing process homemade:
Step one. The foundation
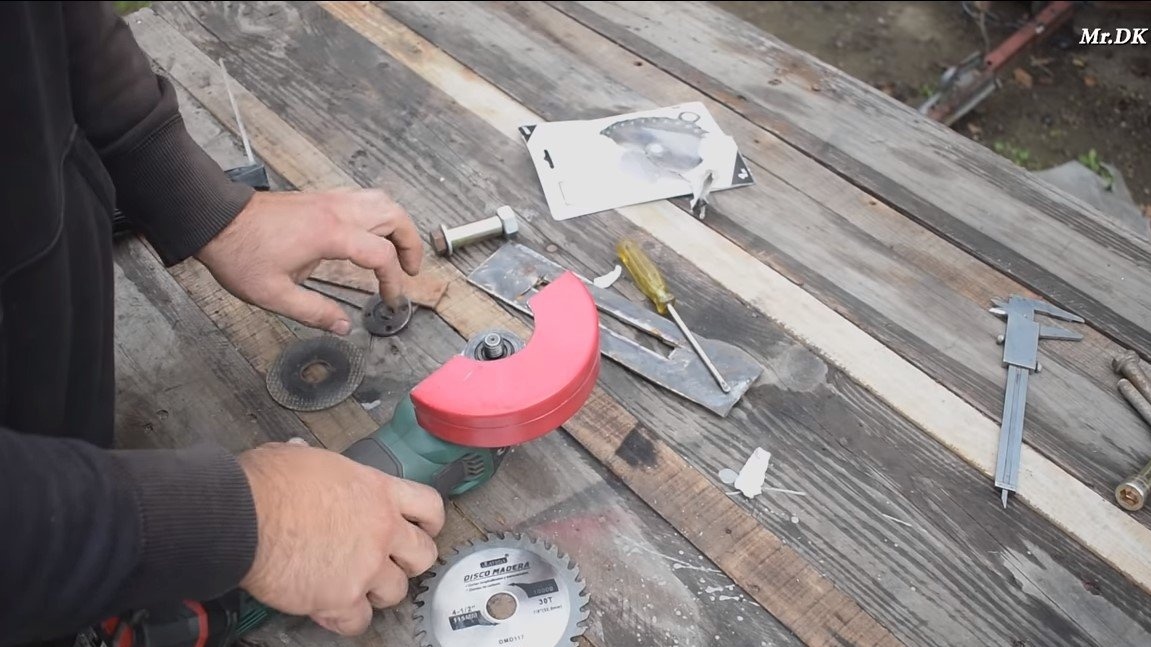
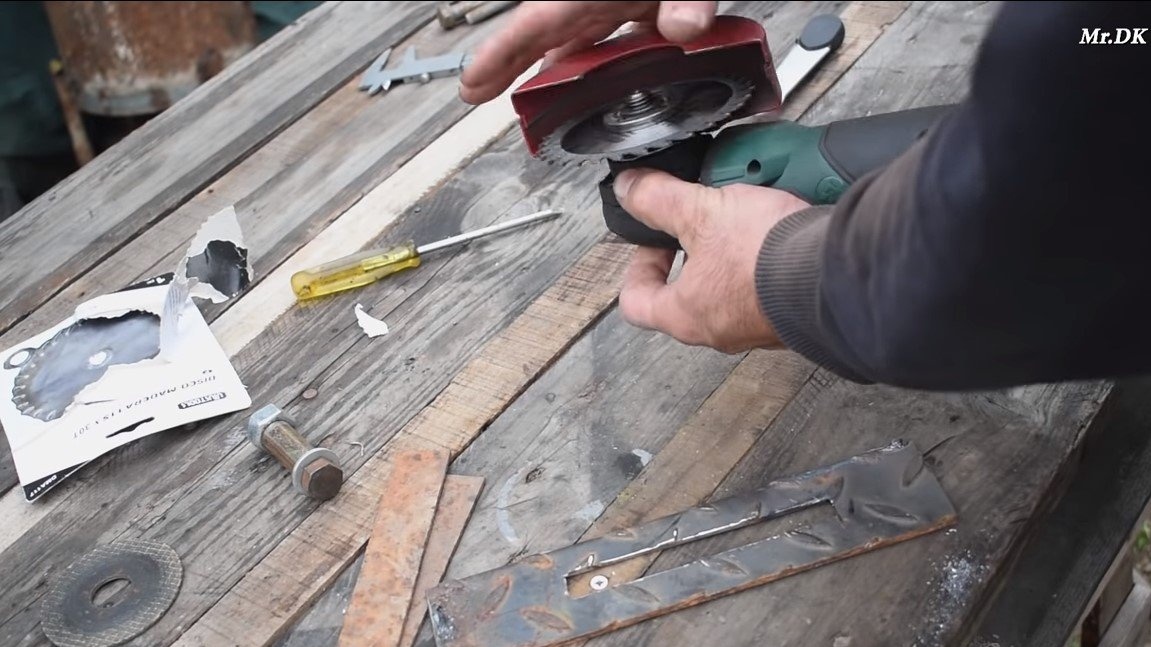
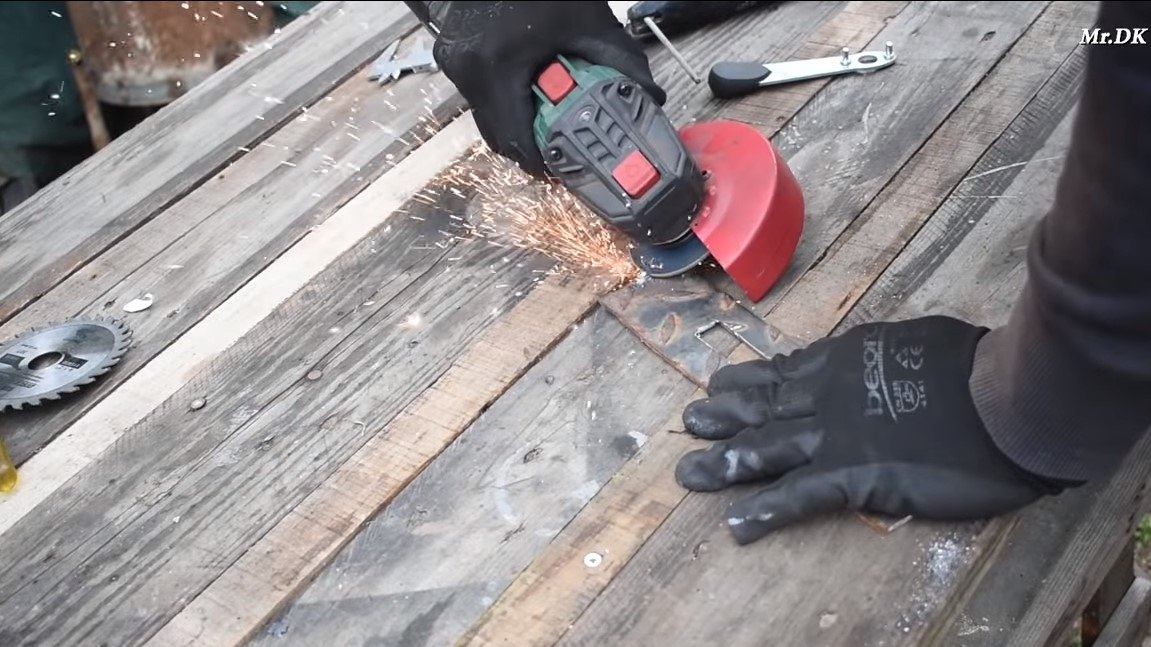
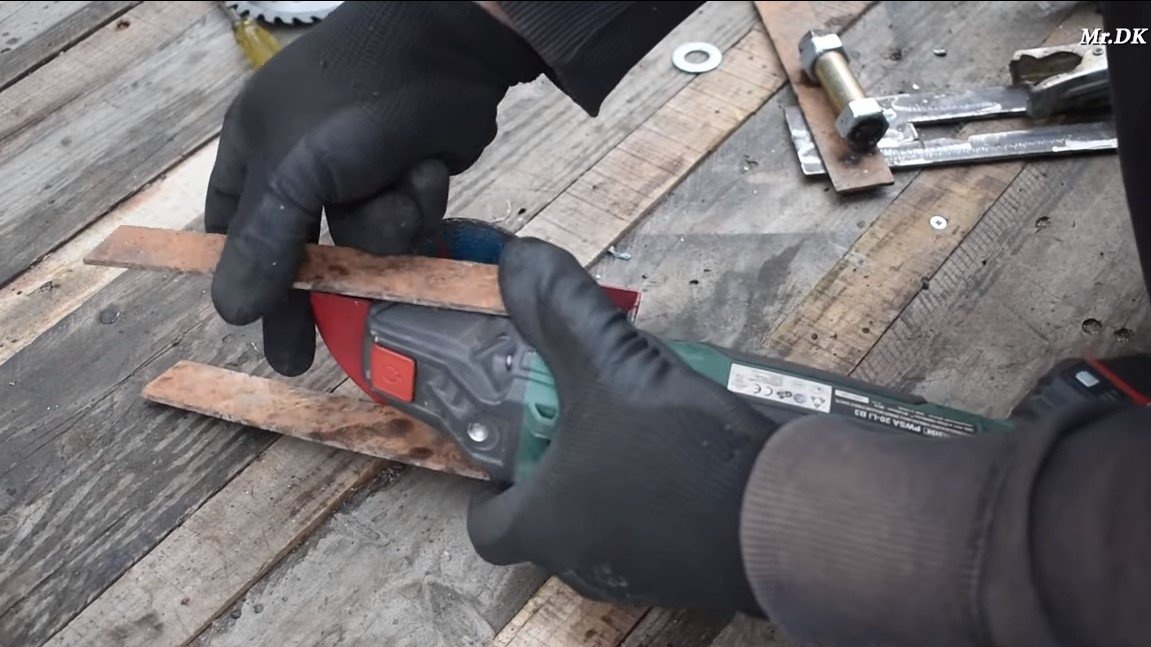
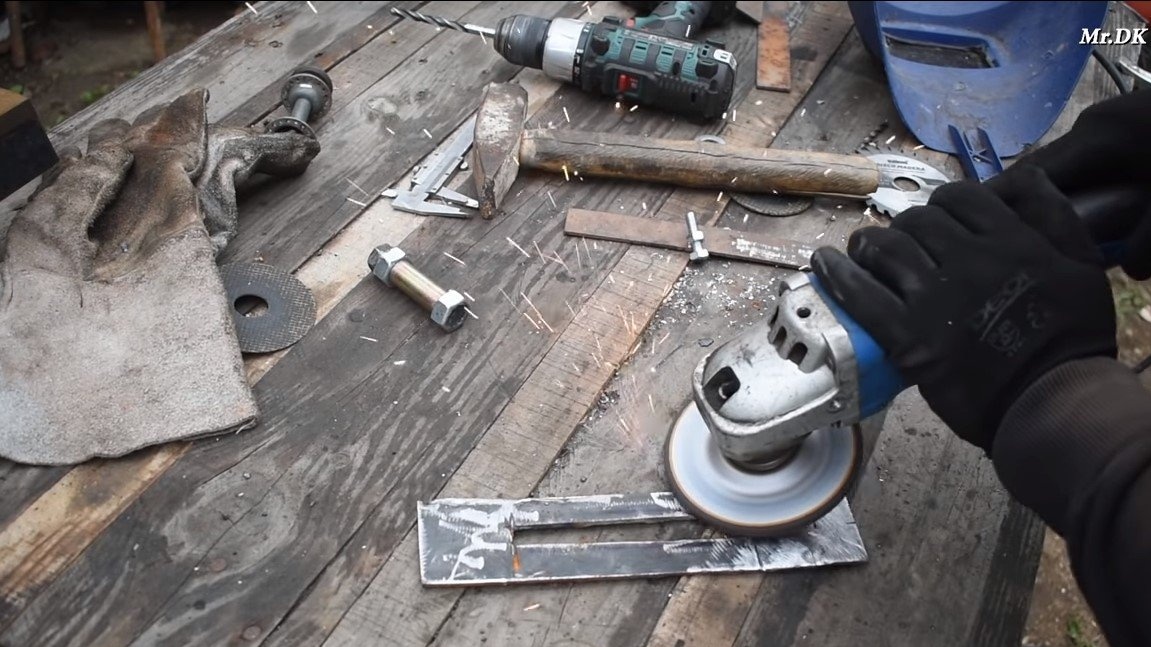
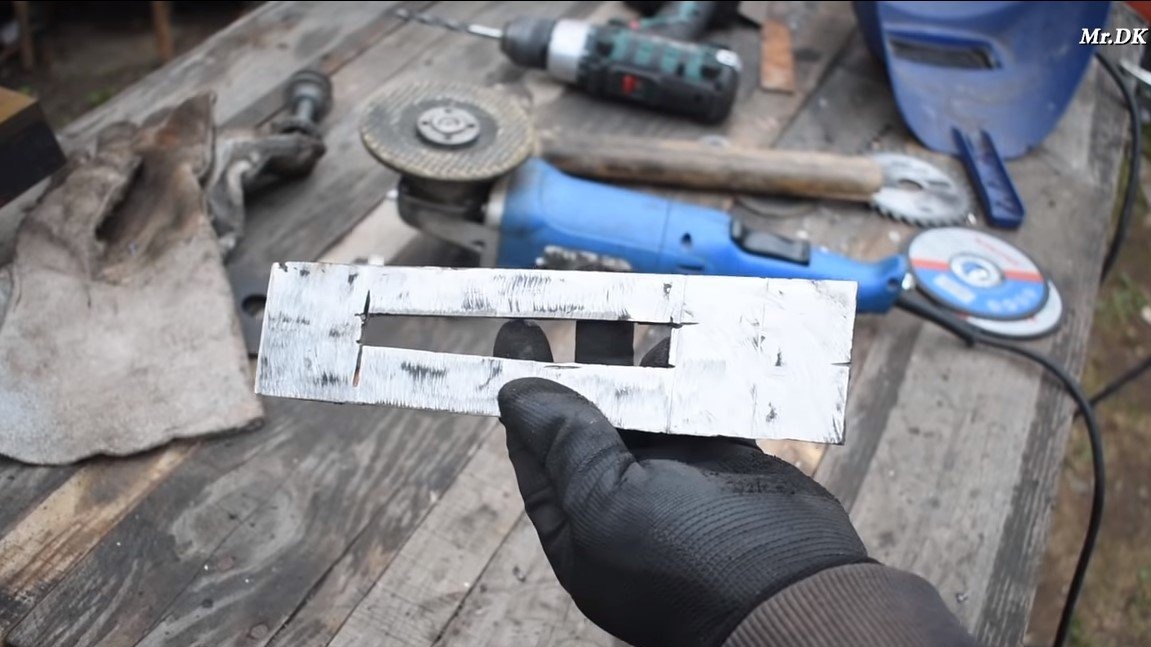
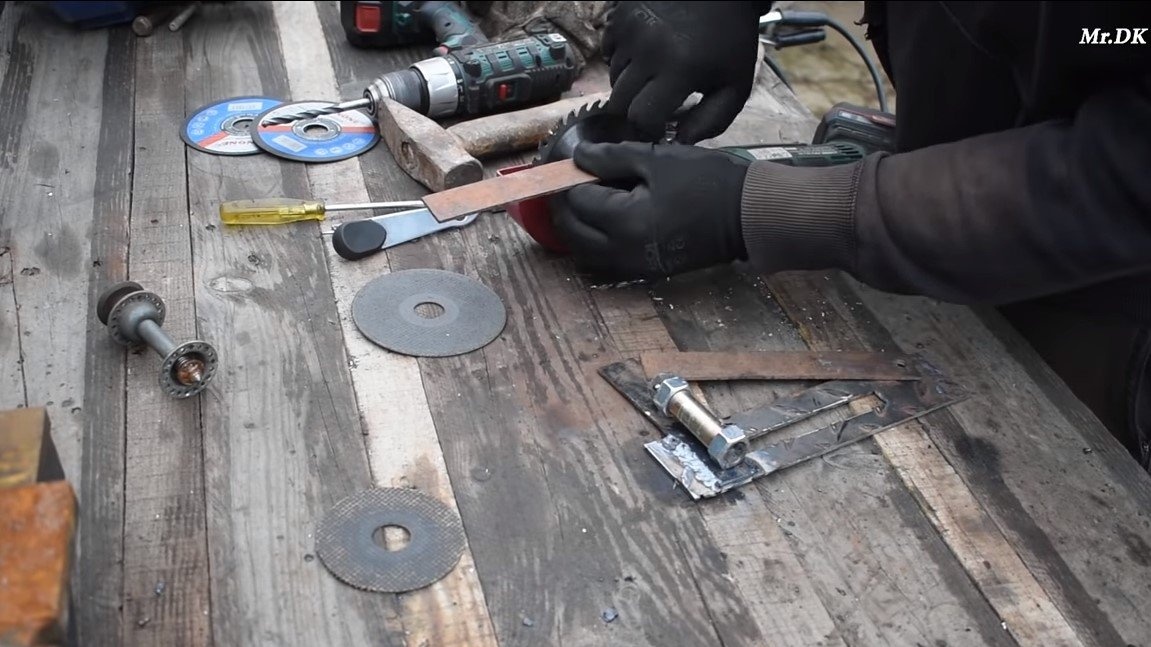
First of all, we will make the basis for the nozzle, for this you will need a piece of a thick and strong steel plate. We clean the plate from rust and cut a hole in the center along the width of the used cutting disc, and it is better to do everything with a margin so that the disc does not touch the metal.
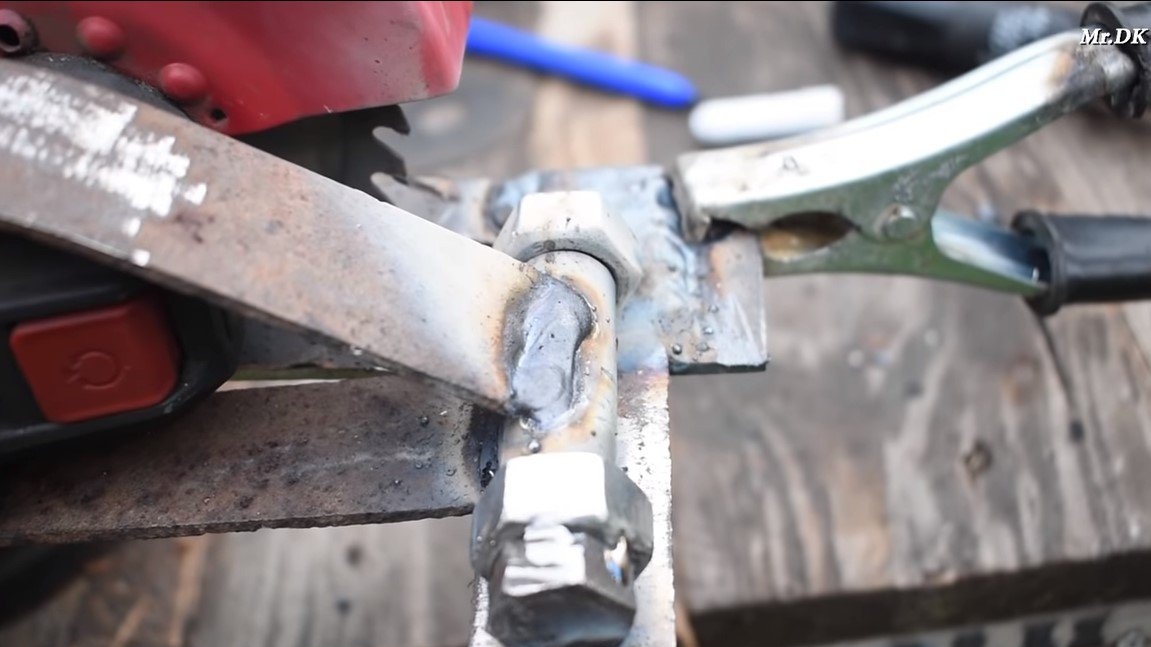
Step Two Hinge
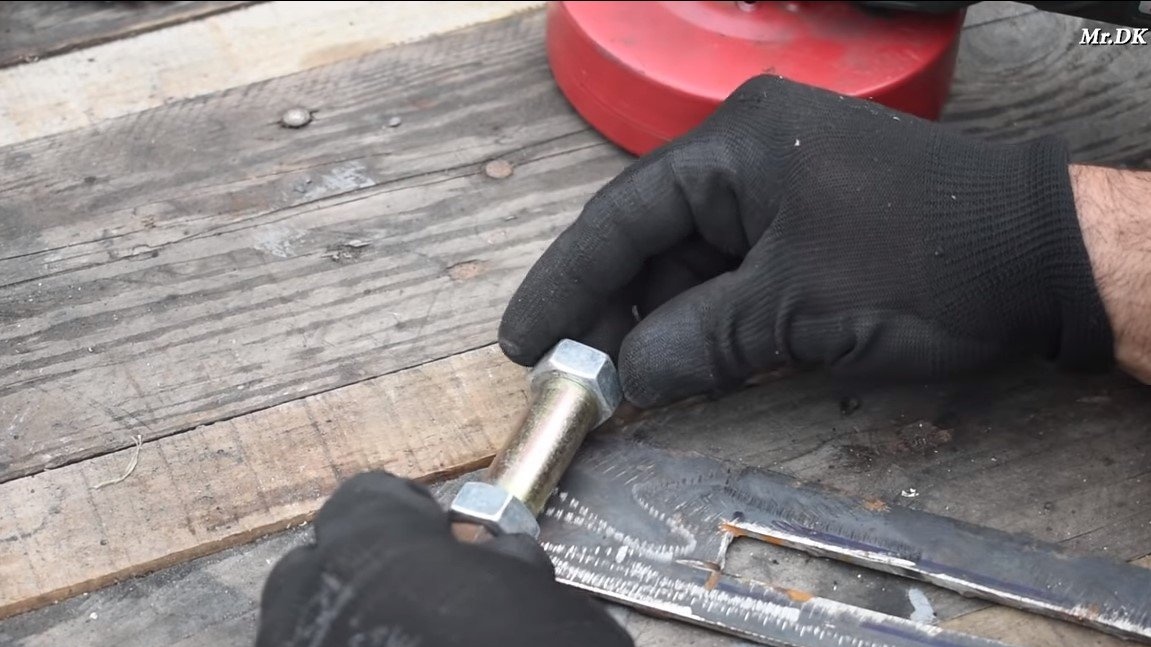
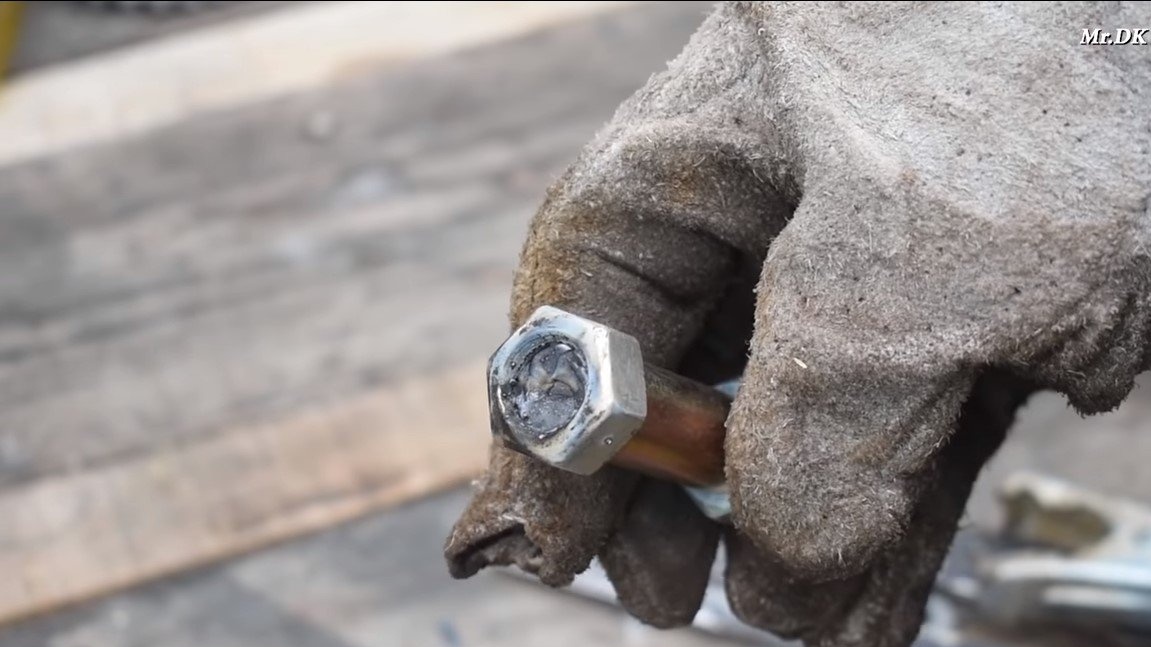
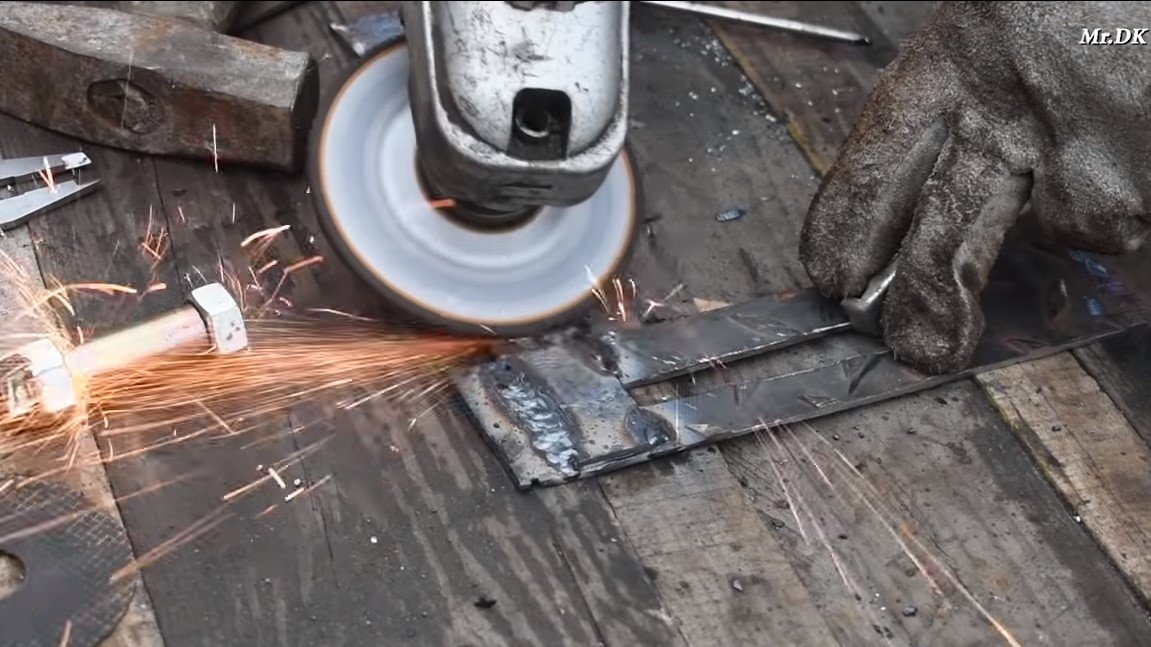
We assemble the hinge, the author simply used a piece of bolt and a tube of suitable diameter. Of course, there will be large backlashes, but this is not a miter saw, but just a tool for cutting material. As a stop we use a washer and weld a nut. The resulting hinge is welded to the base.
A more reliable option would be to use a door hinge, it can be pushed with a bolt and nut, welding the nut to the base.

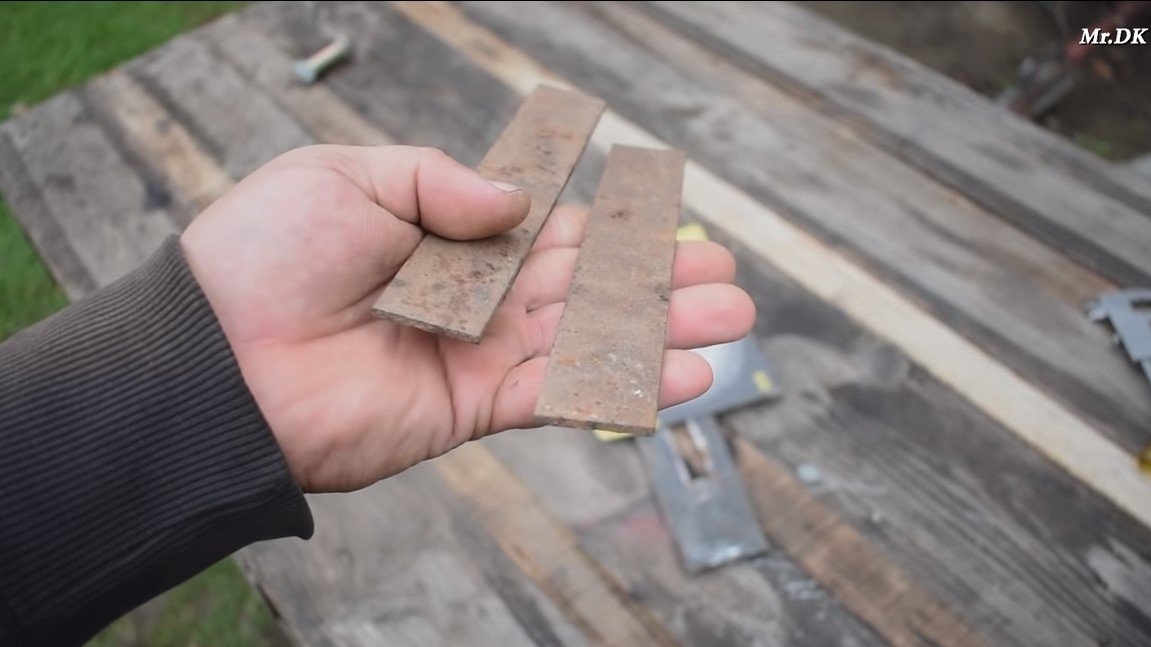
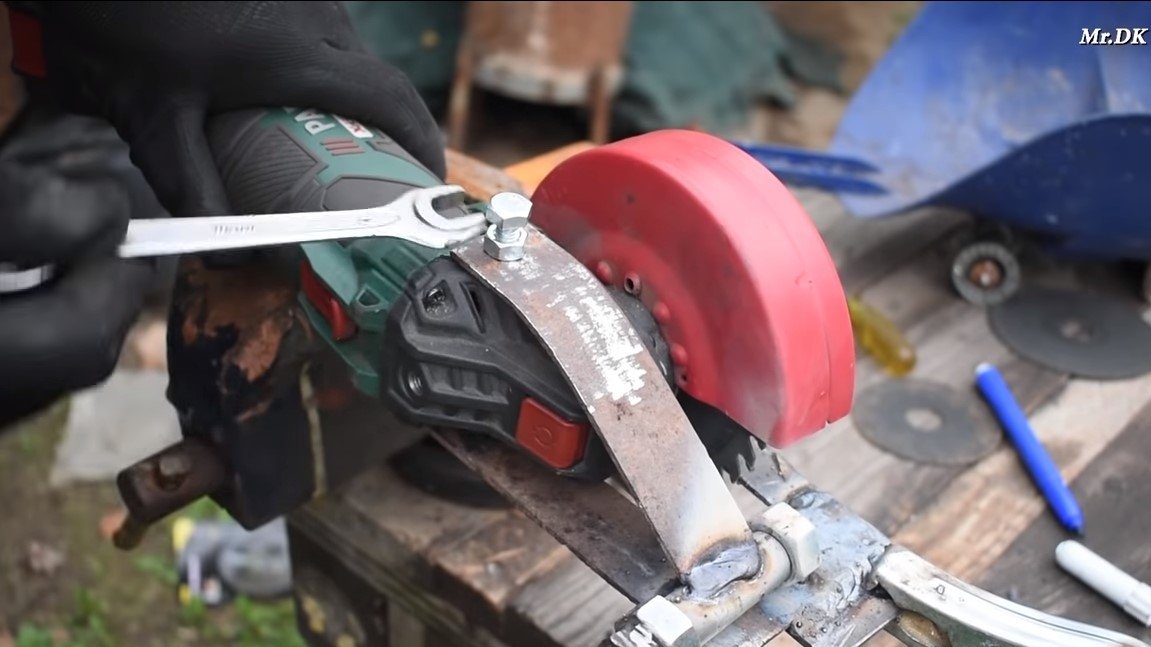
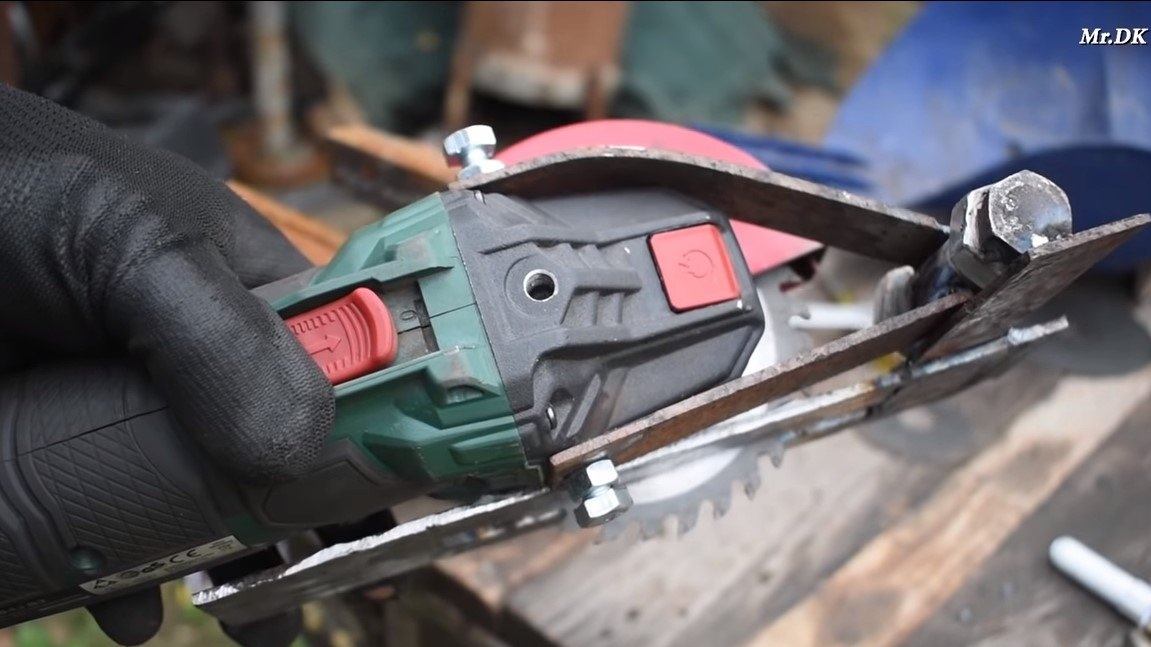
Step Three Fasteners for grinders
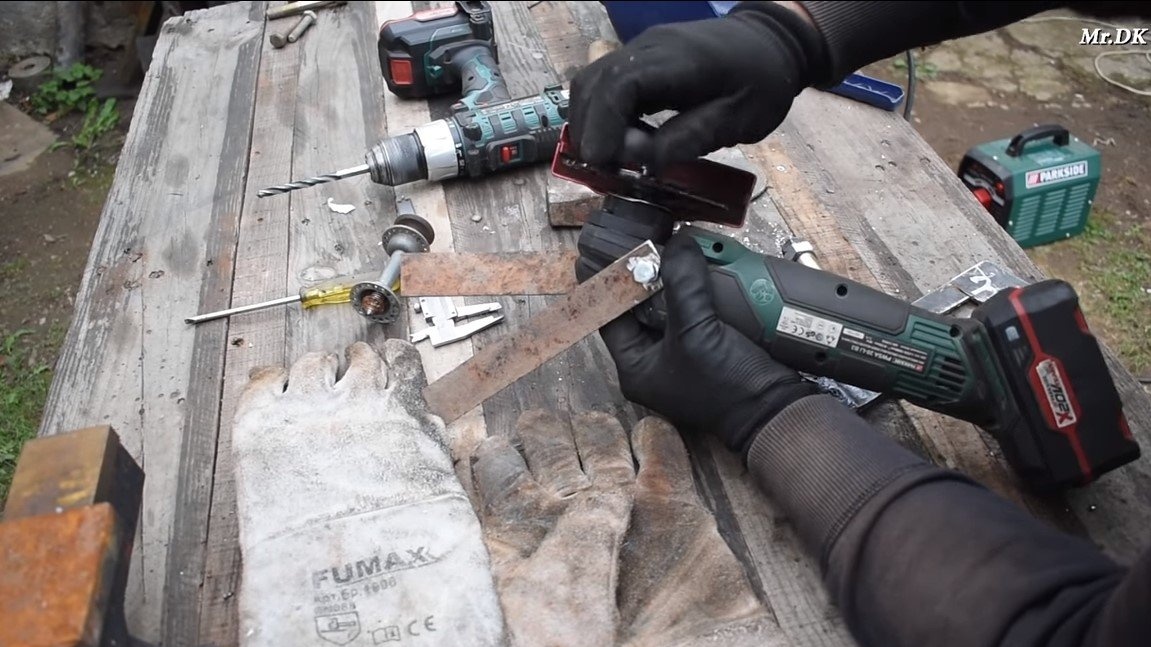
We make fasteners for the grinder, the author used steel plates for such purposes. We bend the plates in the shape of the grinder body and weld to the hinge, that is, the tube.For fastening the grinder, we use threaded holes for installing handles and bolts.


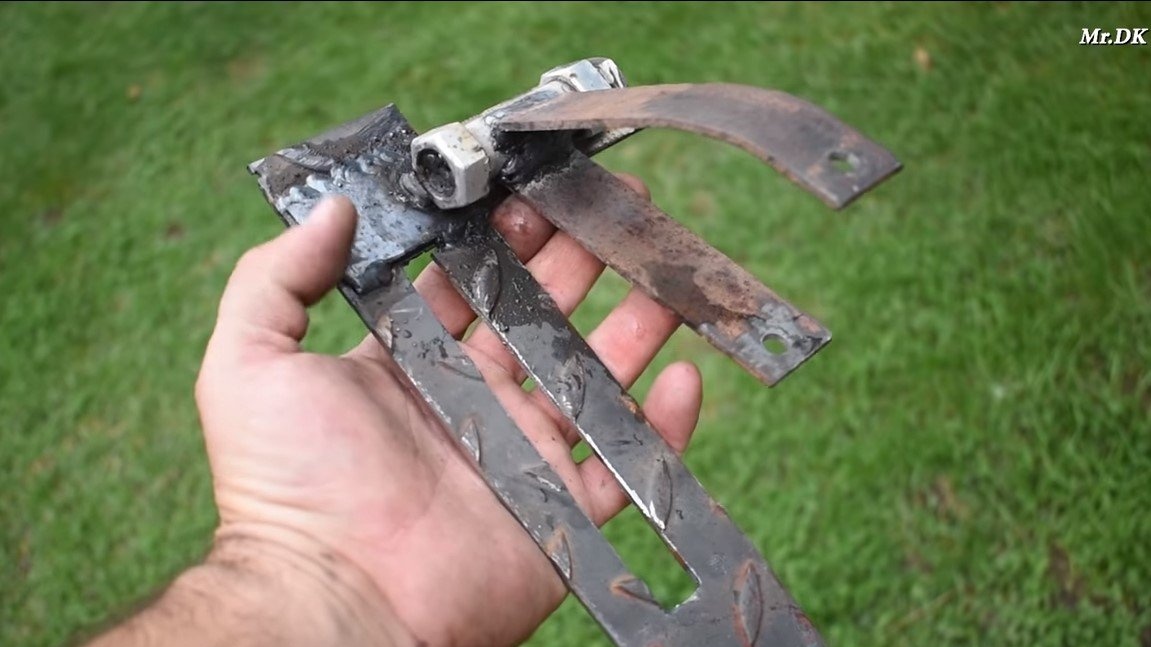
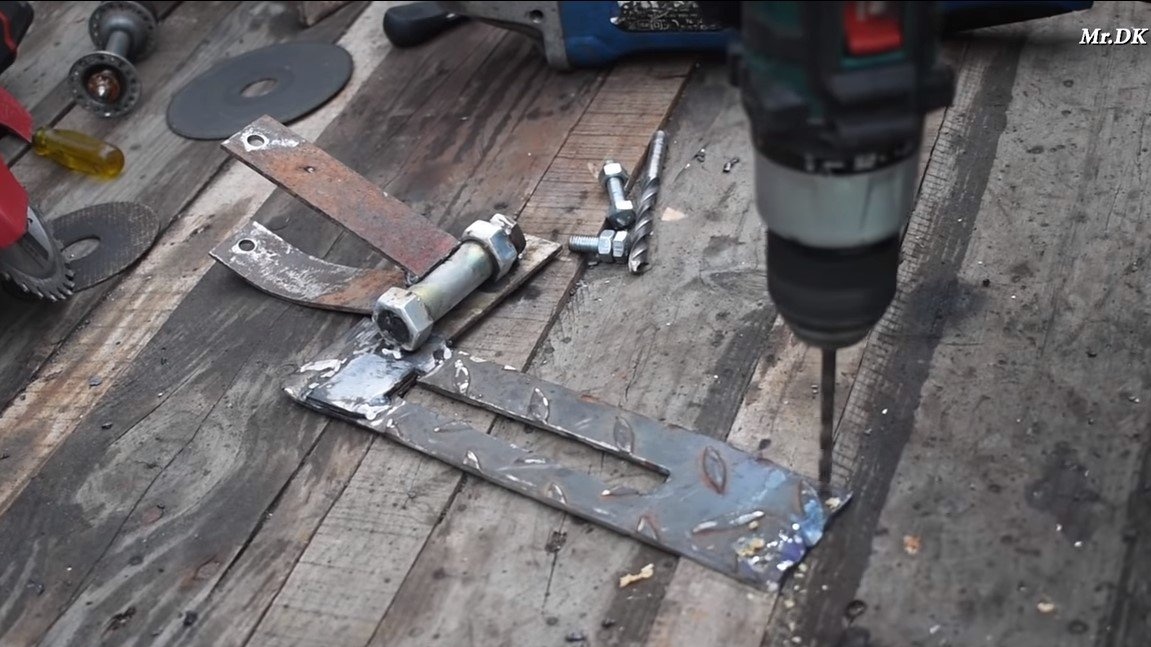
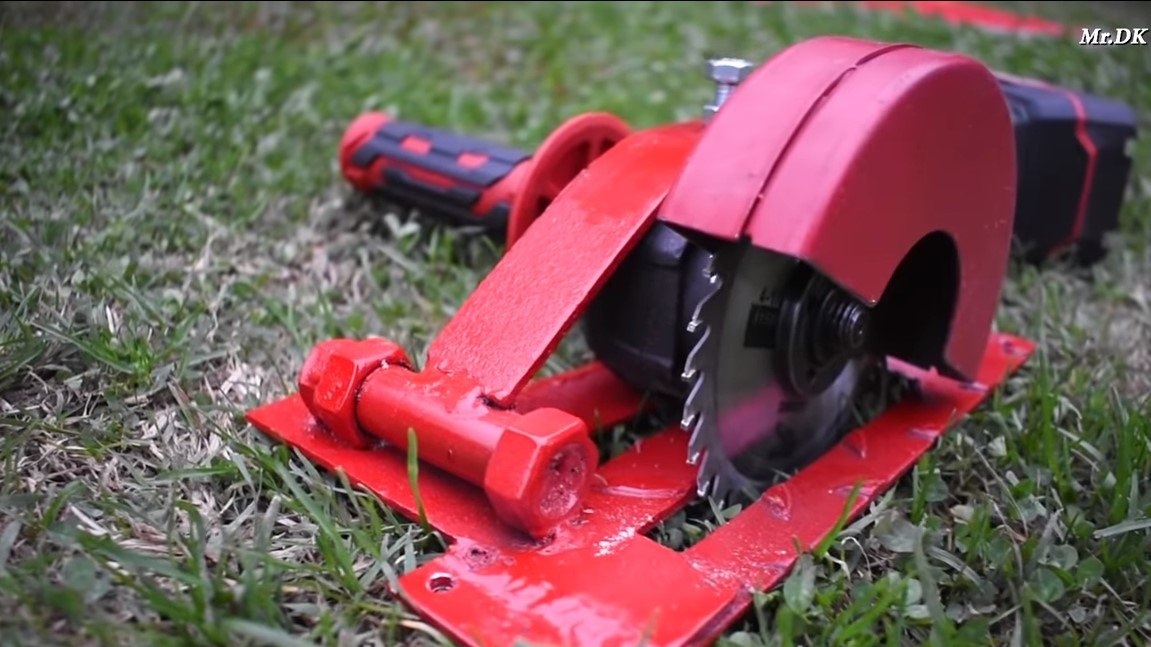
Step Four Final touches and tests
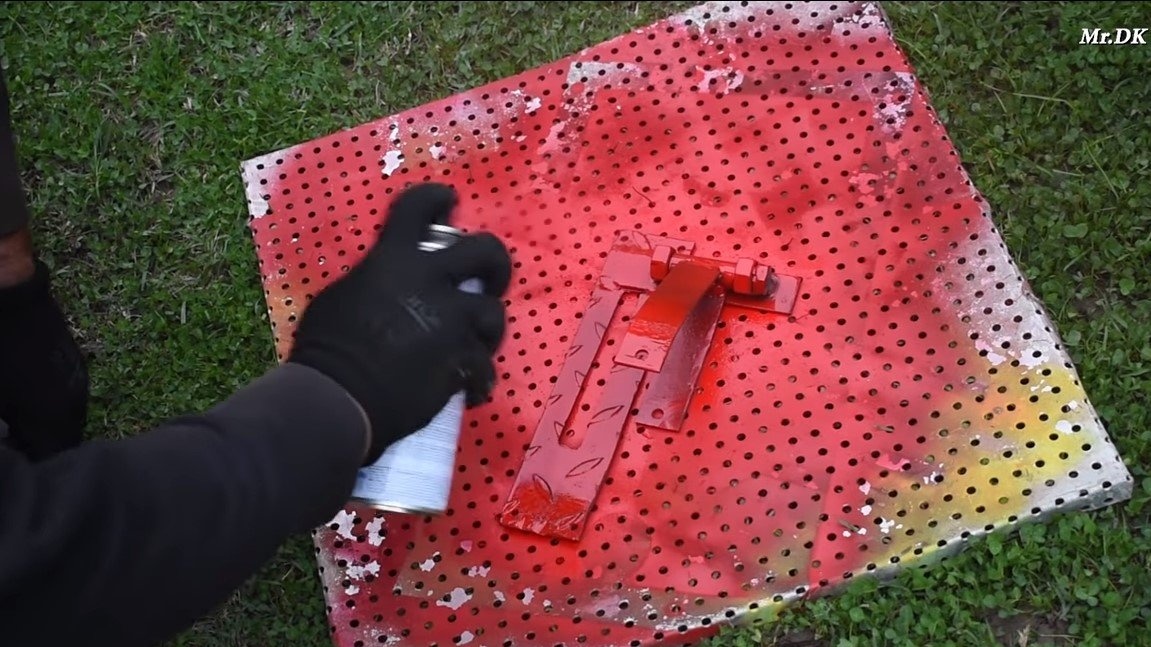
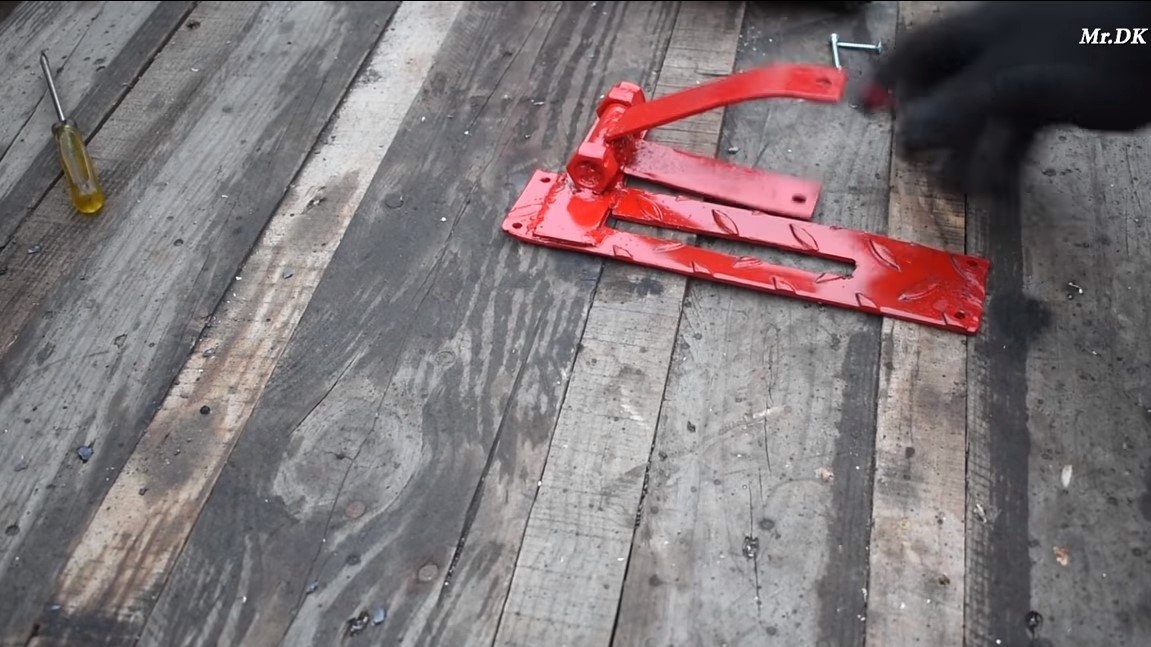
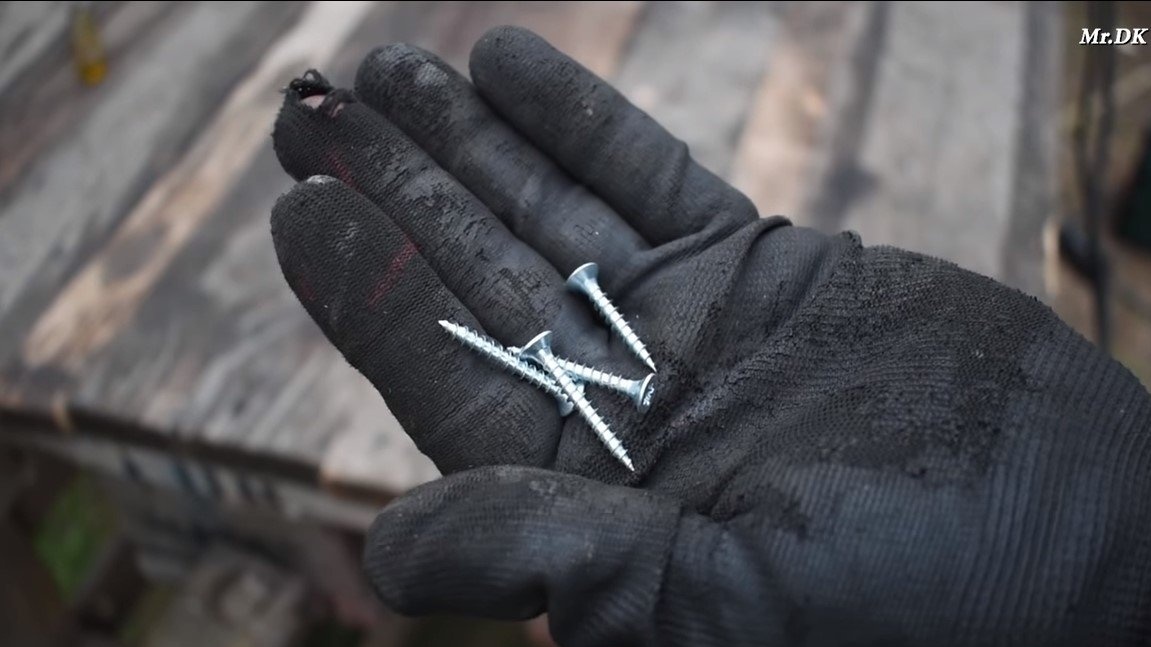
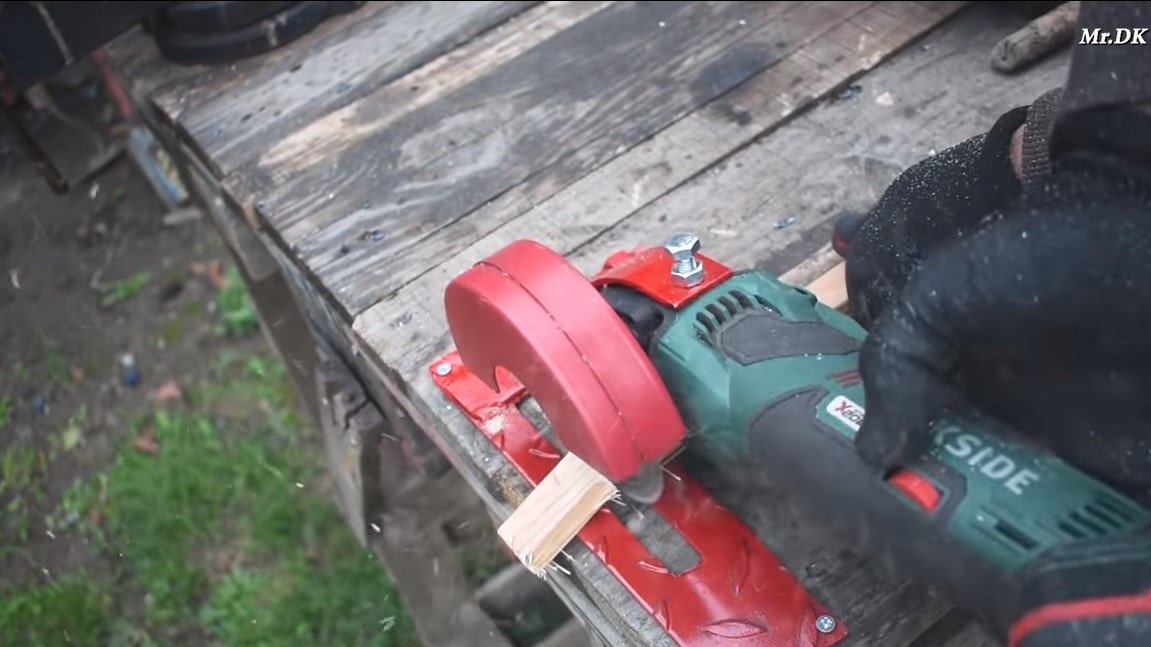
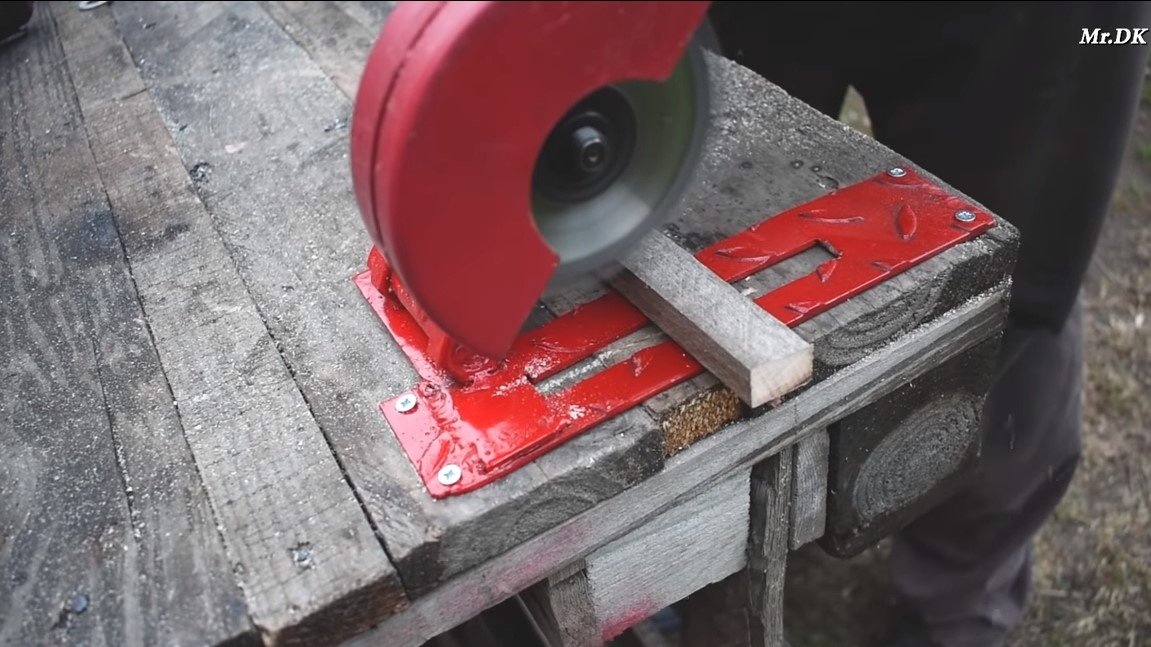
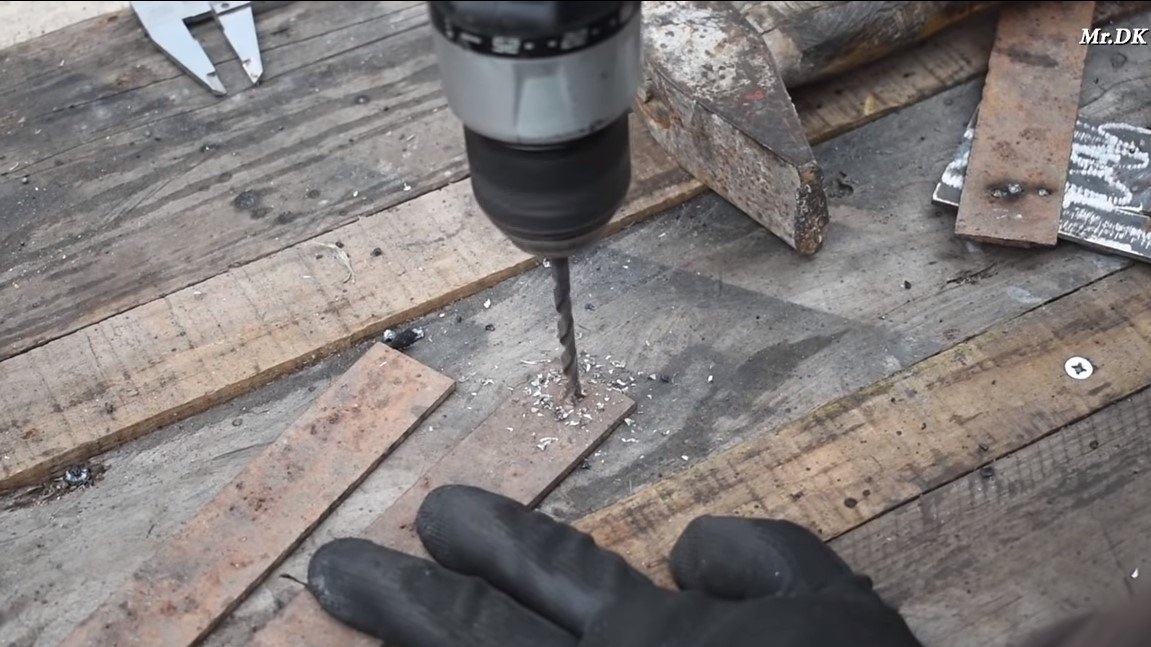
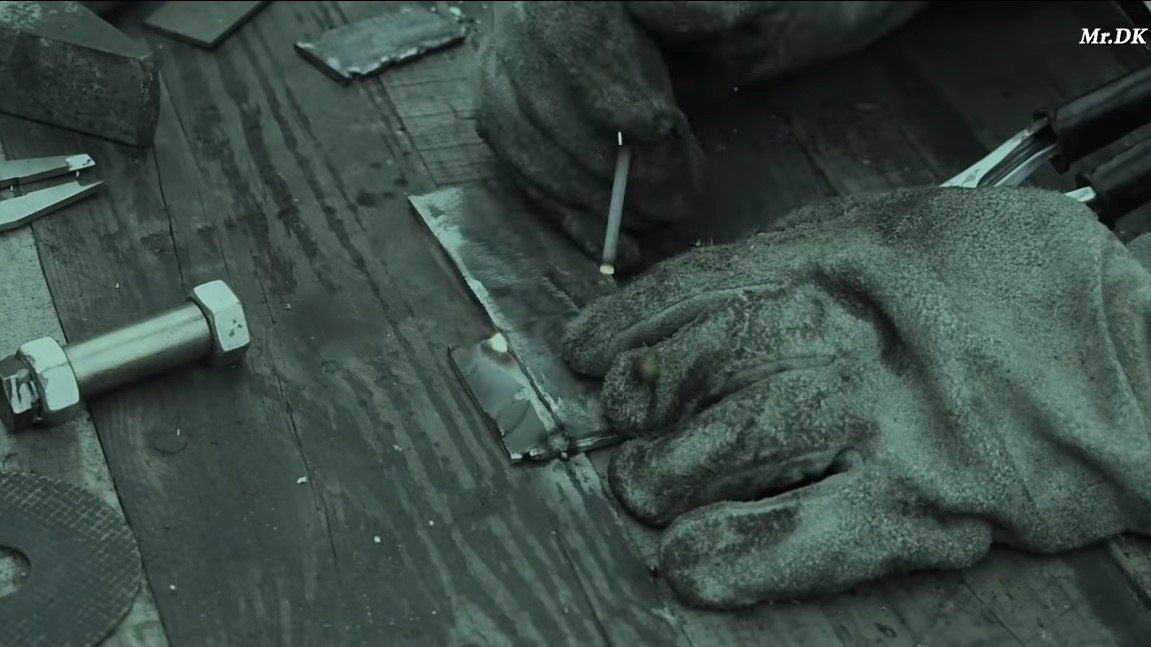
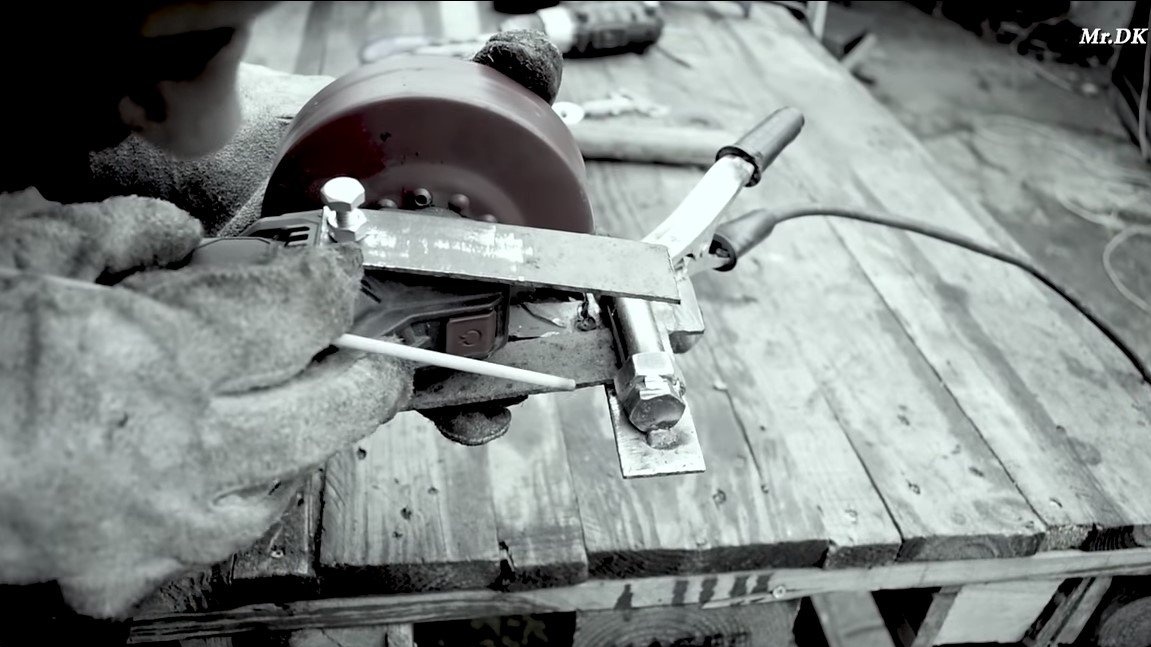
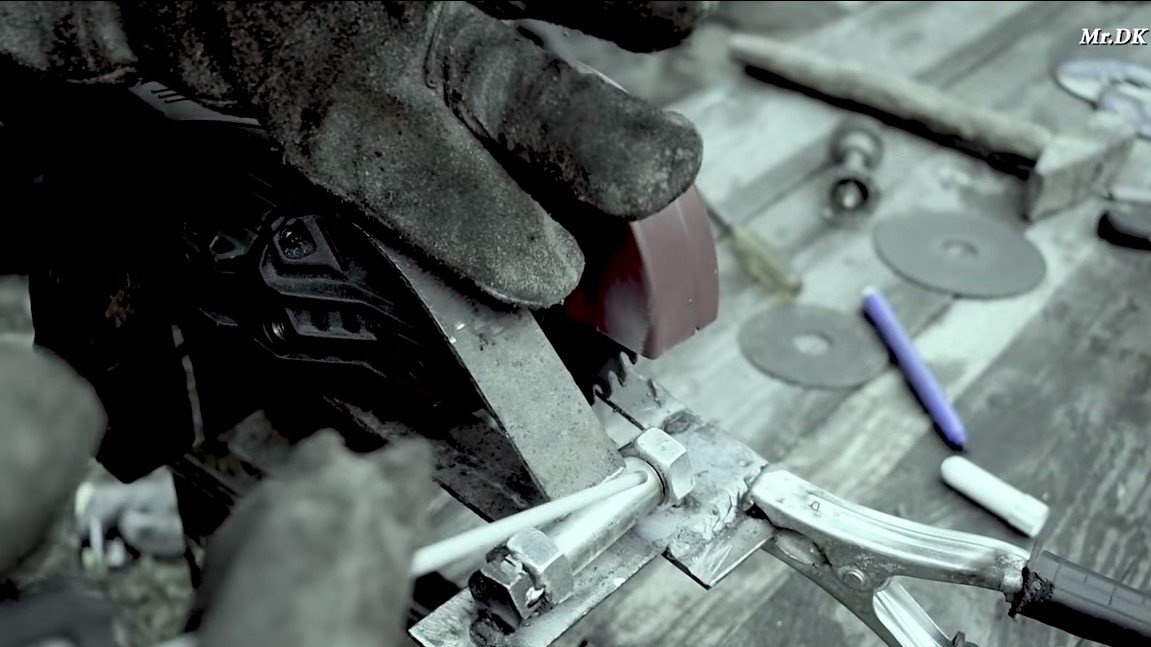
In the end, we drill holes at the base, they will be needed so that the bed can be screwed to the table with screws. The homemade product is ready, we clean everything and paint from the spray can with metal paint. You can proceed to the tests, the author screws the bed to the table with the help of screws.
You can start cutting strips, boards, plastic pipes and other materials. Homemade, of course, is not very convenient, since there is no return spring, but everything is assembled from trash and you can work. To minimize risks, it is better to work at low speeds, if the grinder does not have a speed control, you can work through a dimmer with a good power reserve. The project is completed on this, I hope you liked the homemade work, and you found useful thoughts. Good luck and creative inspiration, if you decide to repeat this, do not forget to share your ideas and homemade things with us!