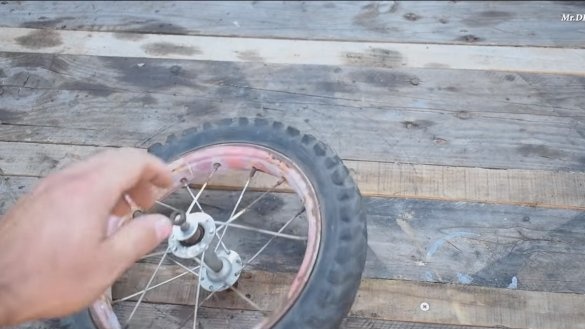
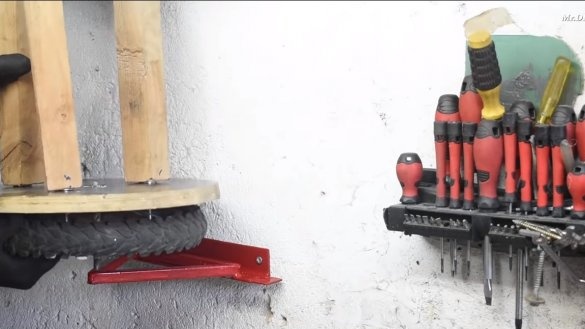
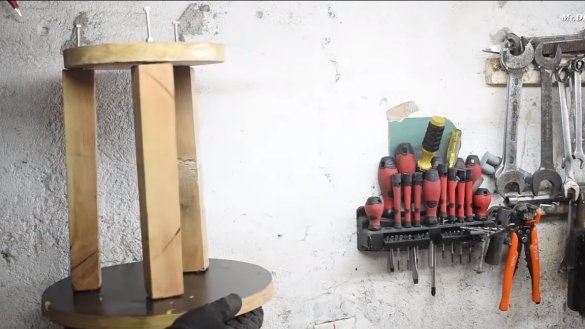
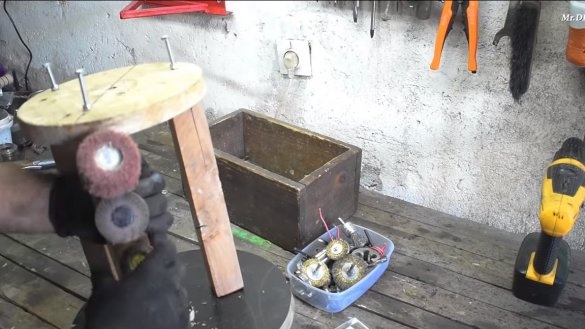
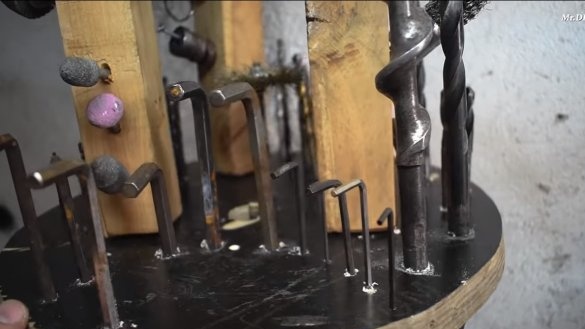
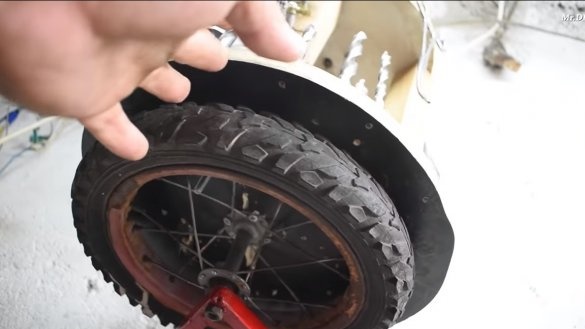
Hello everyone, I propose to consider homemade, which will allow you to restore order in the workshop. We are talking about a small rotating stand, and it is convenient in that it takes up little space, due to the rotation you can quickly find the bit you need, a screwdriver, a key, and so on. Homemade assembled almost from trash, everything rotates due to the old cycling wheels. If you wish, you will be able to screw neodymium magnets from the hard drives to the stand to attach various little things. Everything is going to be simple, but homemade work is useful if the project interests you, I suggest studying it in more detail!
Materials and tools used by the author:
Material List:
- bicycle wheel;
- plywood, chipboard or similar material;
- wooden block;
- self-tapping screws;
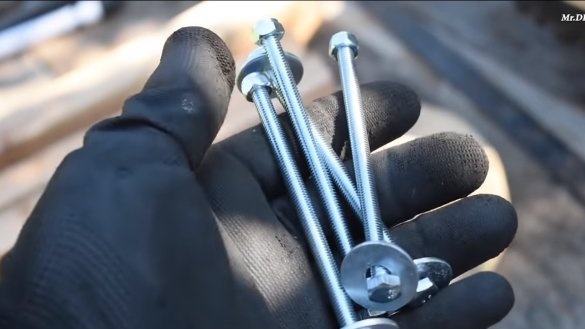
- bolts, washers and nuts;
- square pipes and corner;
- paint for metal.
Tool List:
- grinder;
- a hacksaw or circular saw;
- drill;
- screwdriver;
- welding machine;
- tape measure, marker.
Homemade manufacturing process:
Step one. Preparation of materials
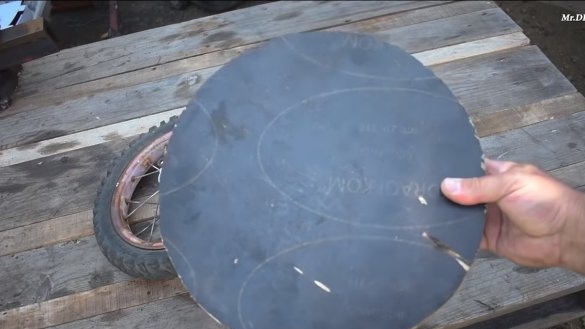
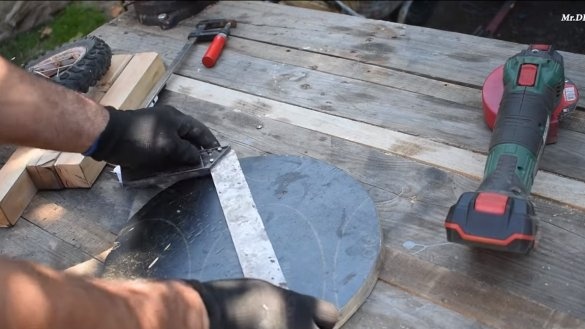
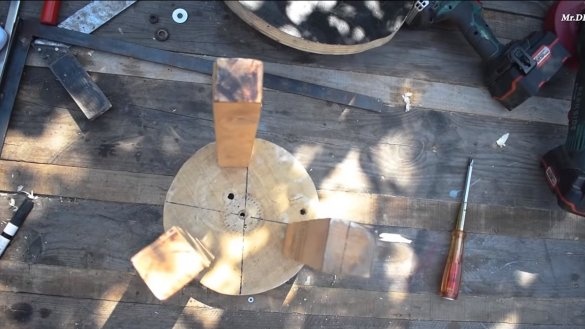
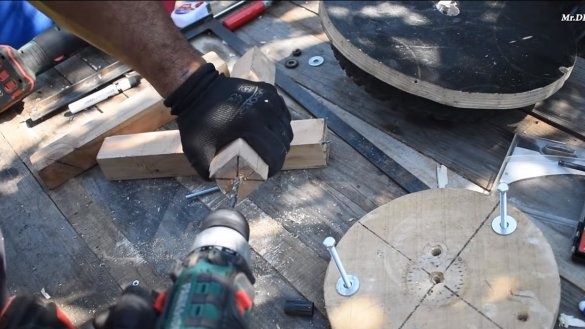
As materials, we need to cut two disks out of wood, chipboard, plywood are suitable, in extreme cases, it is possible to assemble boards from boards.
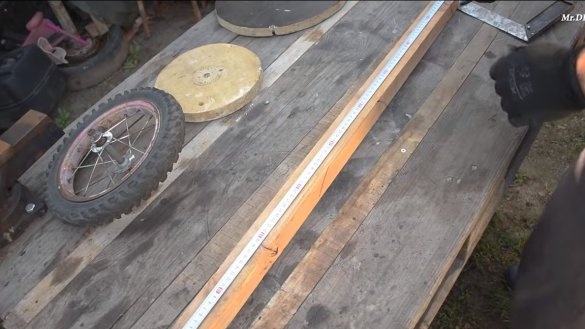
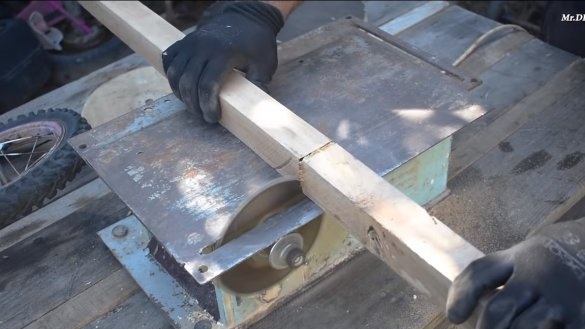
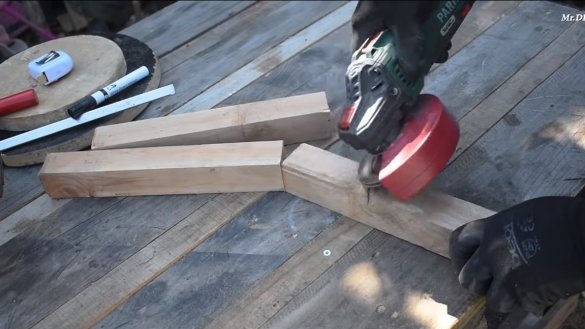
You will also need to make three racks, the author uses a bar, cut three pieces of the same length.
Step Two Wheel
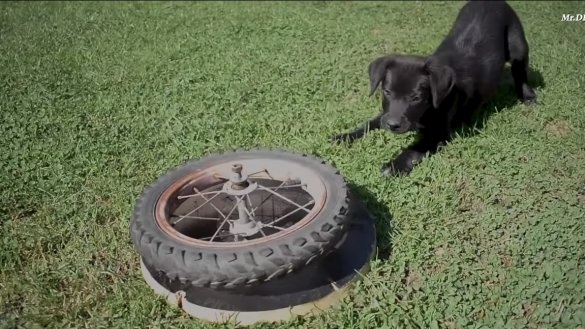
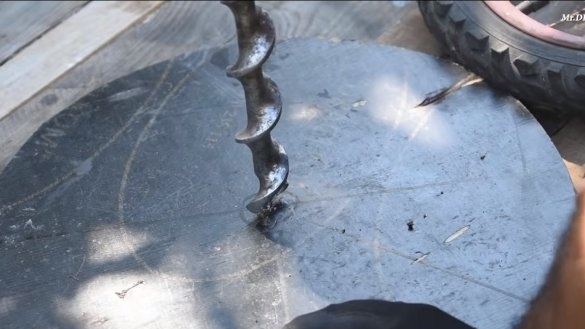
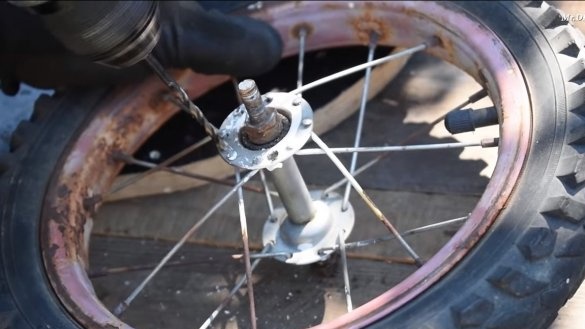
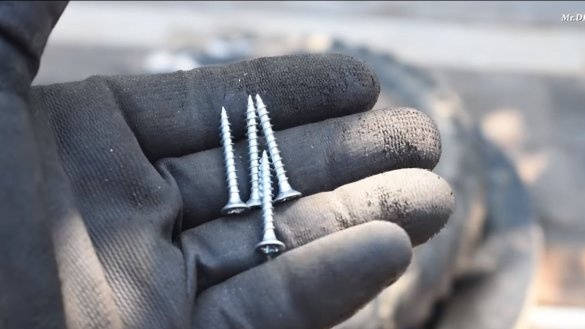
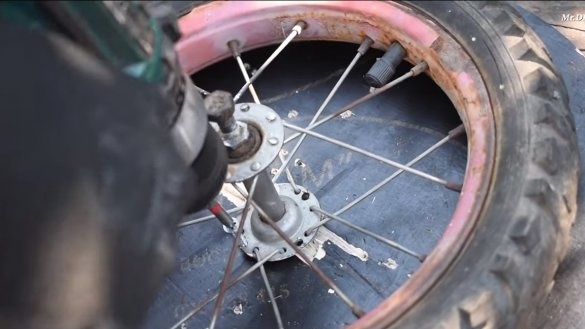
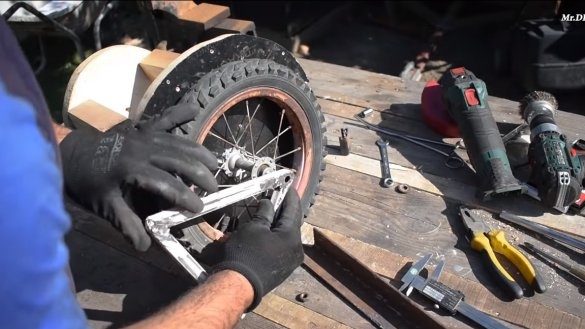
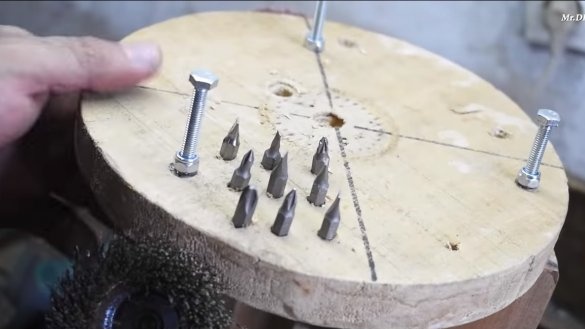
You need to install one of the wooden discs on the wheel, for a start, in the center of the disc we drill a hole of such a diameter so that the bicycle axle and nuts enter it. We also drill holes with a drill in the part of the wheel hub where the spokes are mounted. Well, then we fasten the wheel to the round with the help of self-tapping screws.
Step Three We fasten racks
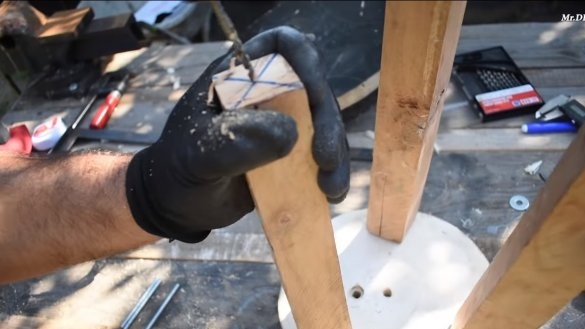
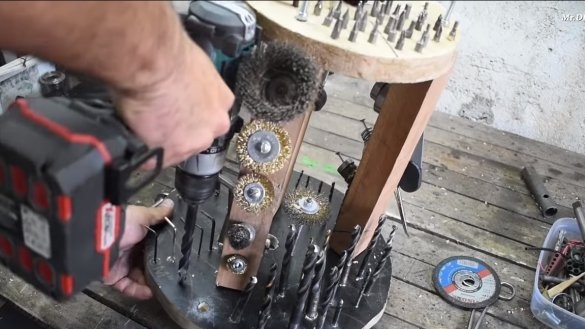
We fasten the racks of timber to the second disk, according to the author’s idea, even the racks in the structure rotate. At the end of the racks we drill a hole, here bolts will come in, which will act as axles. If you wish, you can assemble everything and simply screw it, so everything will hold on very tightly.
Step Four Fasteners
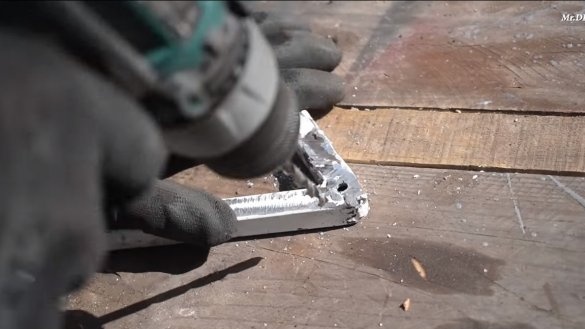
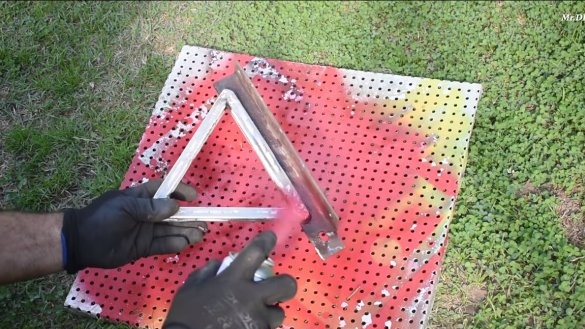
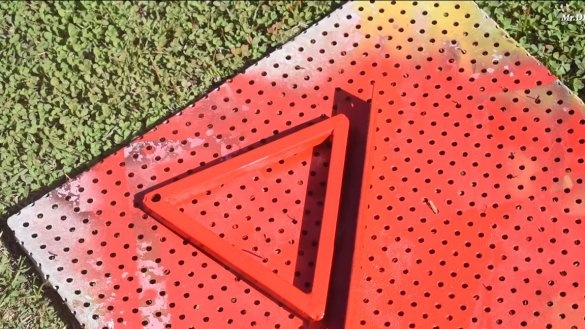
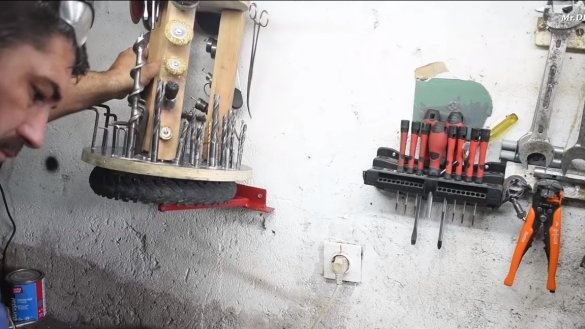
We make fasteners for the wheel, which will fix the stand on the wall.The author assembled a frame from a square pipe by welding a triangle. For fastening to the wall, we weld a corner to the triangle and drill holes for the screws.
We also drill a hole under the wheel axle in the frame. We paint the resulting design from a spray can, so that it looks good and does not rust.
Step Five Assembly
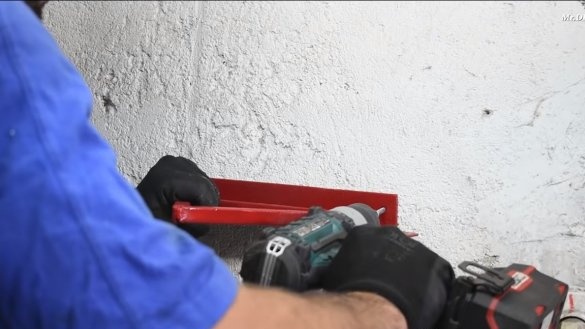
In the wall we drill holes and hammer dowels, securely fasten the wheel bracket with long screws. Well, then you can install the wheel, and completely assemble the stand.
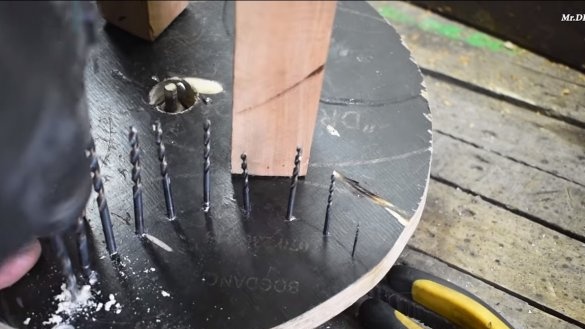
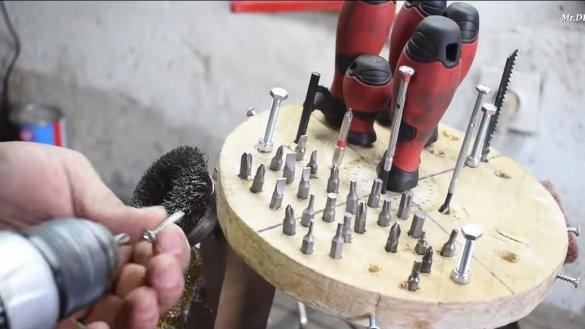
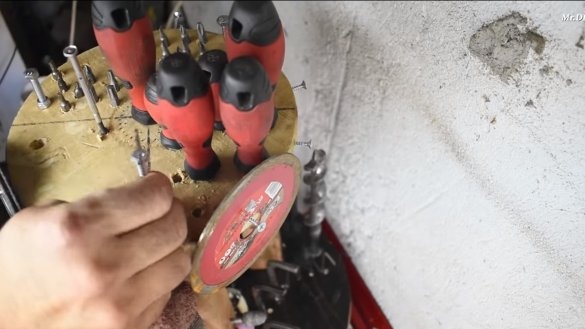
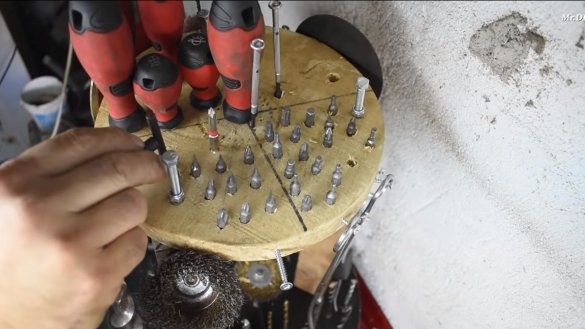
To install bits, screwdrivers, wrenches, drills and other tools on the stand, we drill holes of the corresponding diameter. So that you can quickly take the right drill or bit, you can number everything.
The author climbed onto the stand quite a lot of tools, nozzles for drills, grinders, screwdrivers and other tools fit here. To find the right tool, the stand can be easily rotated with one hand. That's all, now the homemade product is ready, of course, everything could be done more beautifully and accurately, but the author did everything whipped up from the point of view of practicality. I hope you enjoyed your homemade work and found useful thoughts for yourself. Good luck and creative inspiration, if you decide to repeat this. Do not forget to share your ideas and homemade things with us!


