Today we will make a tool organizer for the sofa.
It all started with the fact that for a certain period of time I have accumulated a large number of various tools (from a torch to a screwdriver), which I use constantly. They are lying in my drawer next to the table (in an ordinary office bedside table), which makes them very difficult to get out of, because the wires are tangled, small screwdrivers are lost, etc. In short, one disappointment! And so I decided to make myself a convenient organizer for basic tools.
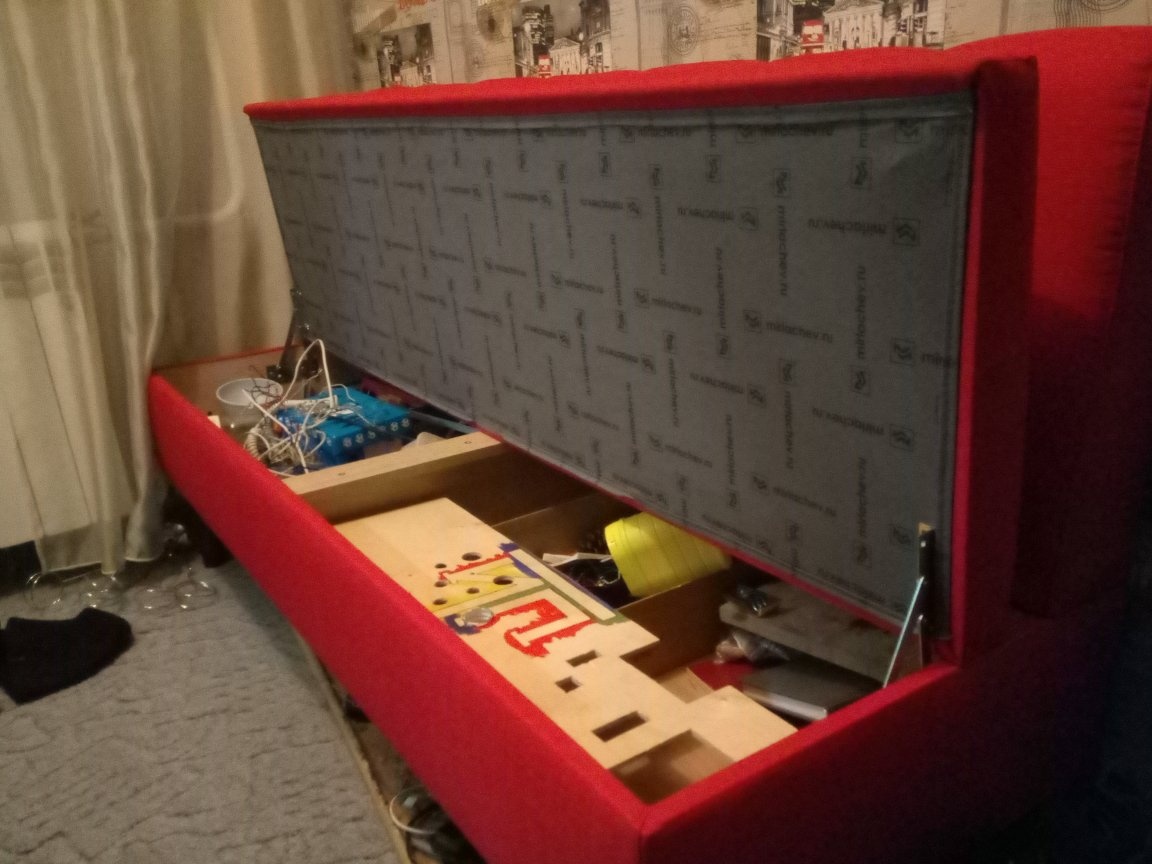
The choice was not great: either make in the nightstand, or in the closet, or in a shallow sofa, which is filled with all kinds of trash.
The choice fell on the sofa with a depth of only 18 cm. So I have to sweat to fit all my tools into it.
And so we need:
1. Materials
- 6mm plywood (preferably thicker than mine)
- short screws
- paint (you can use ordinary gouache)
- corners (for fixing the legs)
- glue
2. Instruments
- screwdriver
- files
- file
- drills and bits
- hacksaw
- a manual fret saw
- brush
1 step
Decide on the size of the organizer, it all depends on your tools and the place for which you make your organizer. But I use popular tools that not everyone can, but many definitely have.
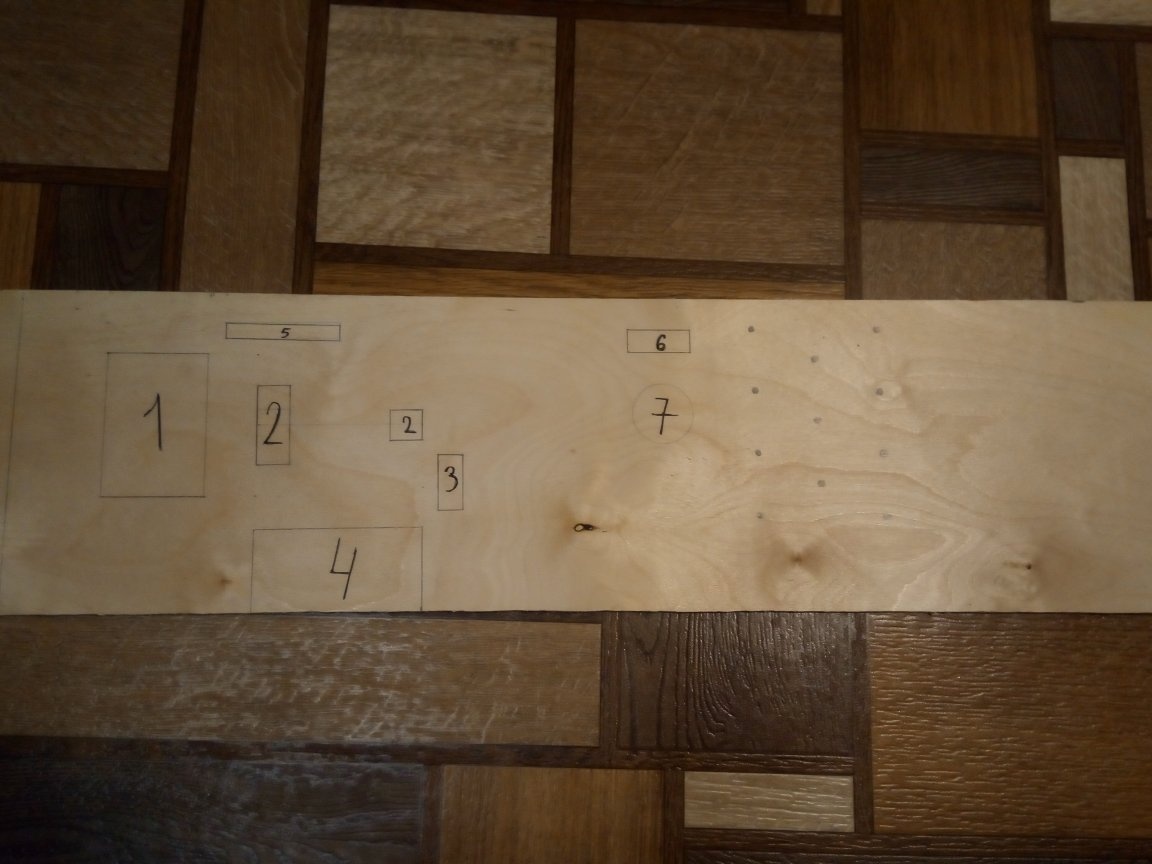
In my case, I decided on a length of 75 cm, a height of 12 cm (out of 18 cm possible) and a width of 20 cm.
It seems to me that this will be enough. In addition, I took a bit with a margin so that in the future, if new tools appeared, I would not have to redo everything all over again (then I will talk about how I installed each tool).
2 step
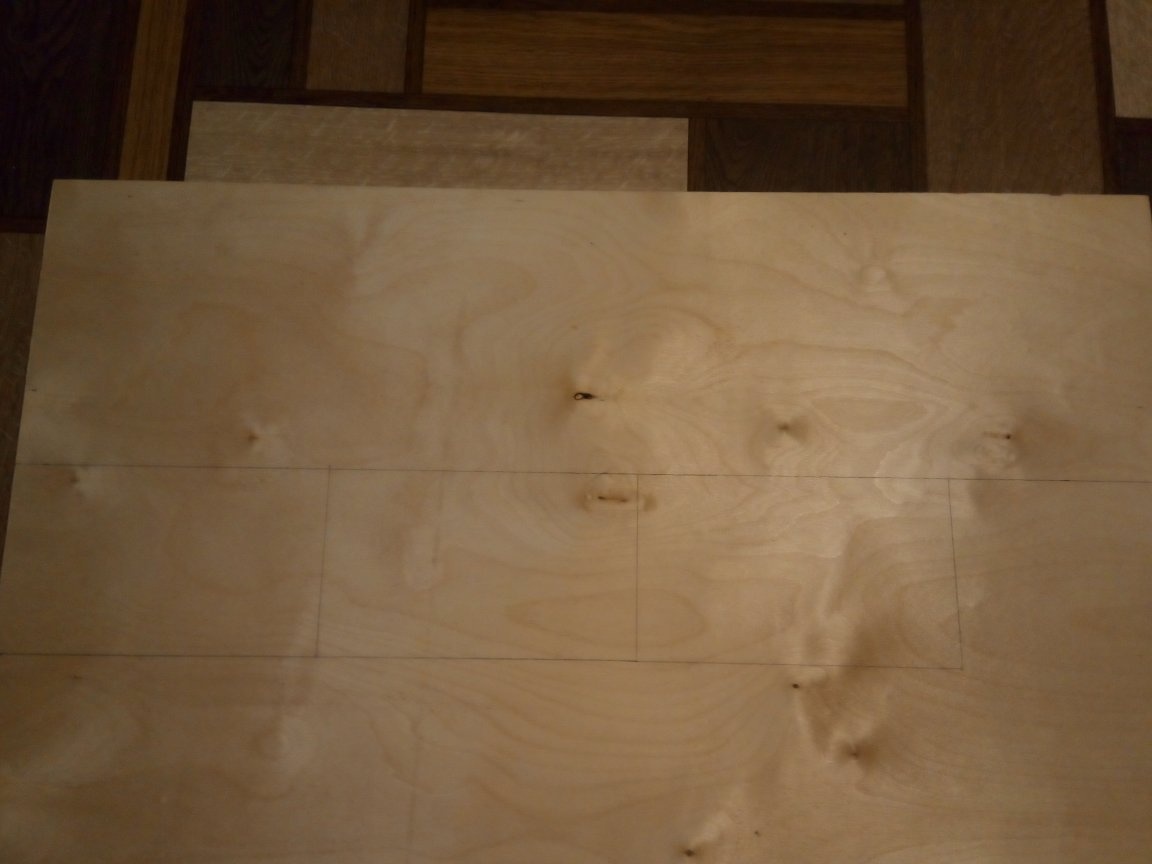
Now, having learned the sizes, we draw everything on plywood. I advise you to make 3 legs, if the length of your organizer is more than 50 cm. All the same, the tools are not made of cotton and with a large number of them the plywood, if it does not break, will be unpleasant to sag.
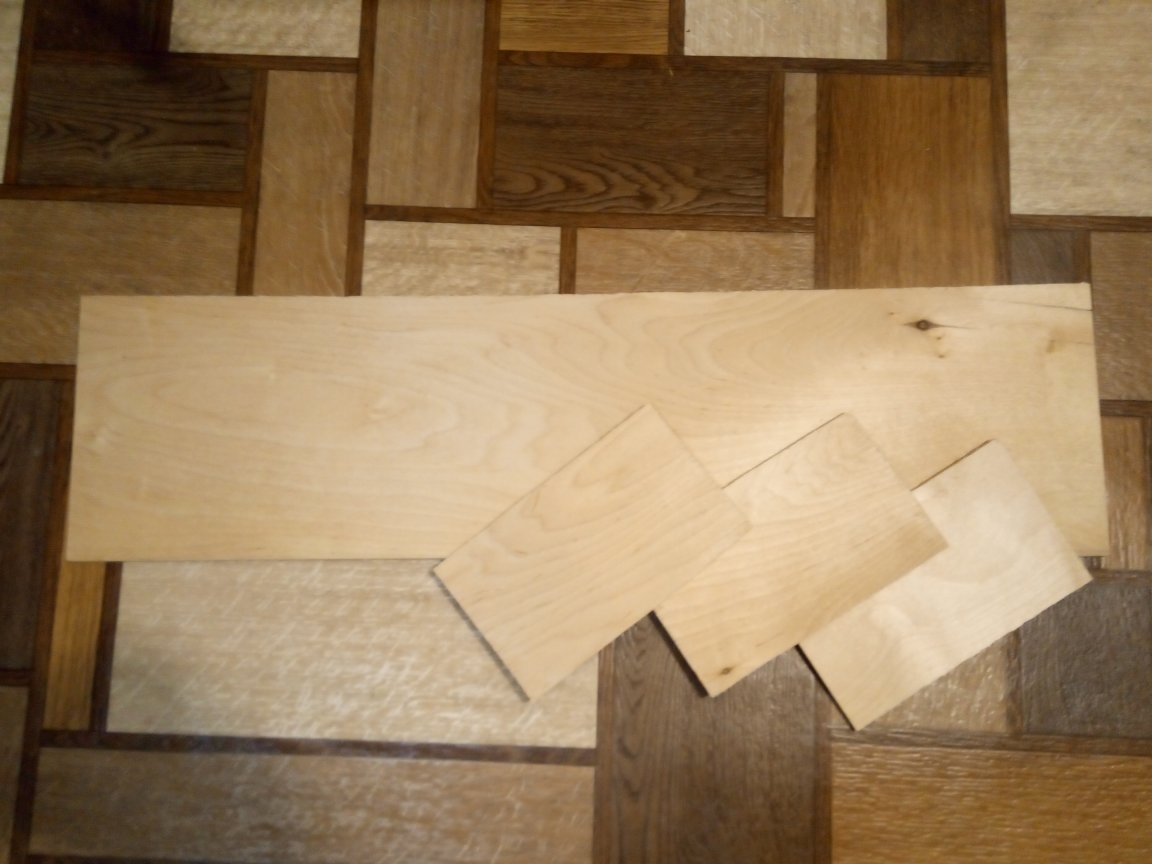
3 step
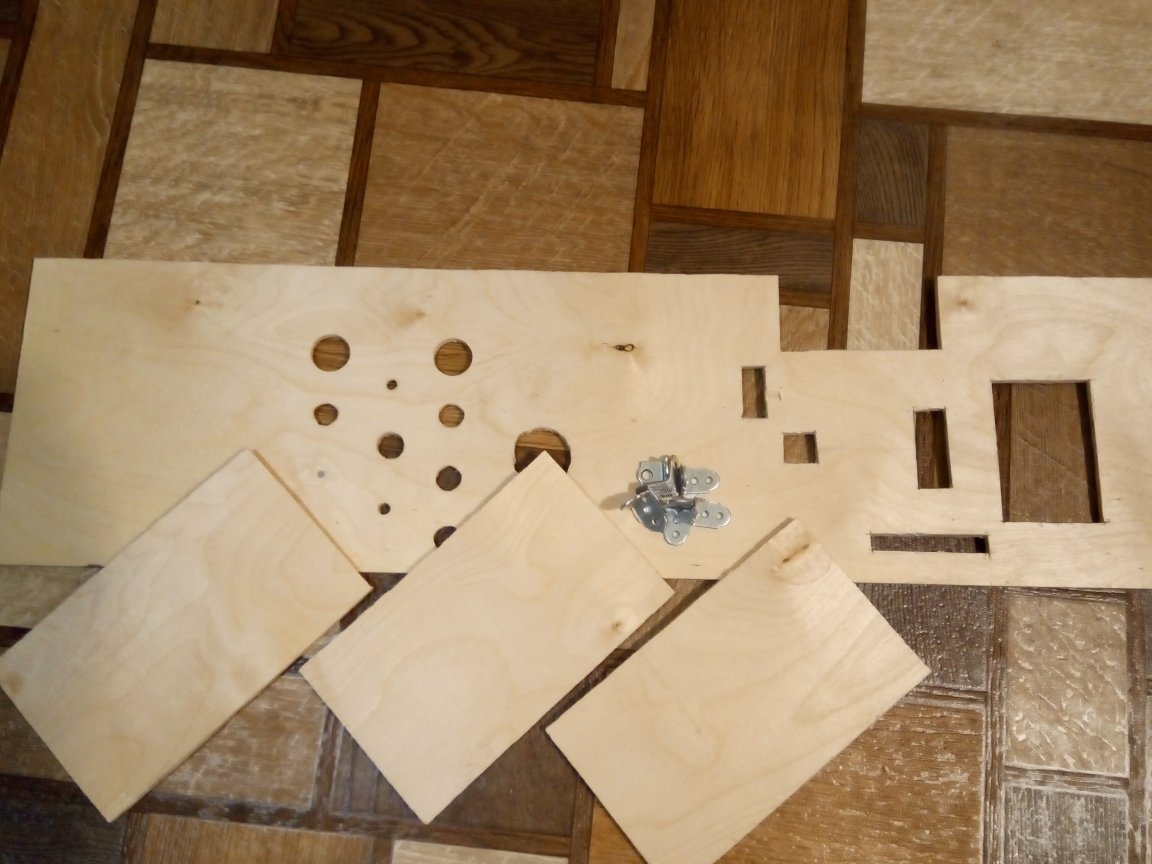
Next we cut the workpiece and legs. To be honest, I don’t know how to cut plywood so that chips do not appear on the back side (Who knows, tell me please). Sawed with a hand jigsaw, chips do not appear from it, but it is impossible for them to cut materials longer than 20 cm. I sawed everything else with a regular hacksaw, it creates very large chips that frighten me to tears. But there is nothing to worry about, they will all be on the reverse side and they will not be visible. So it doesn’t matter!
4 step
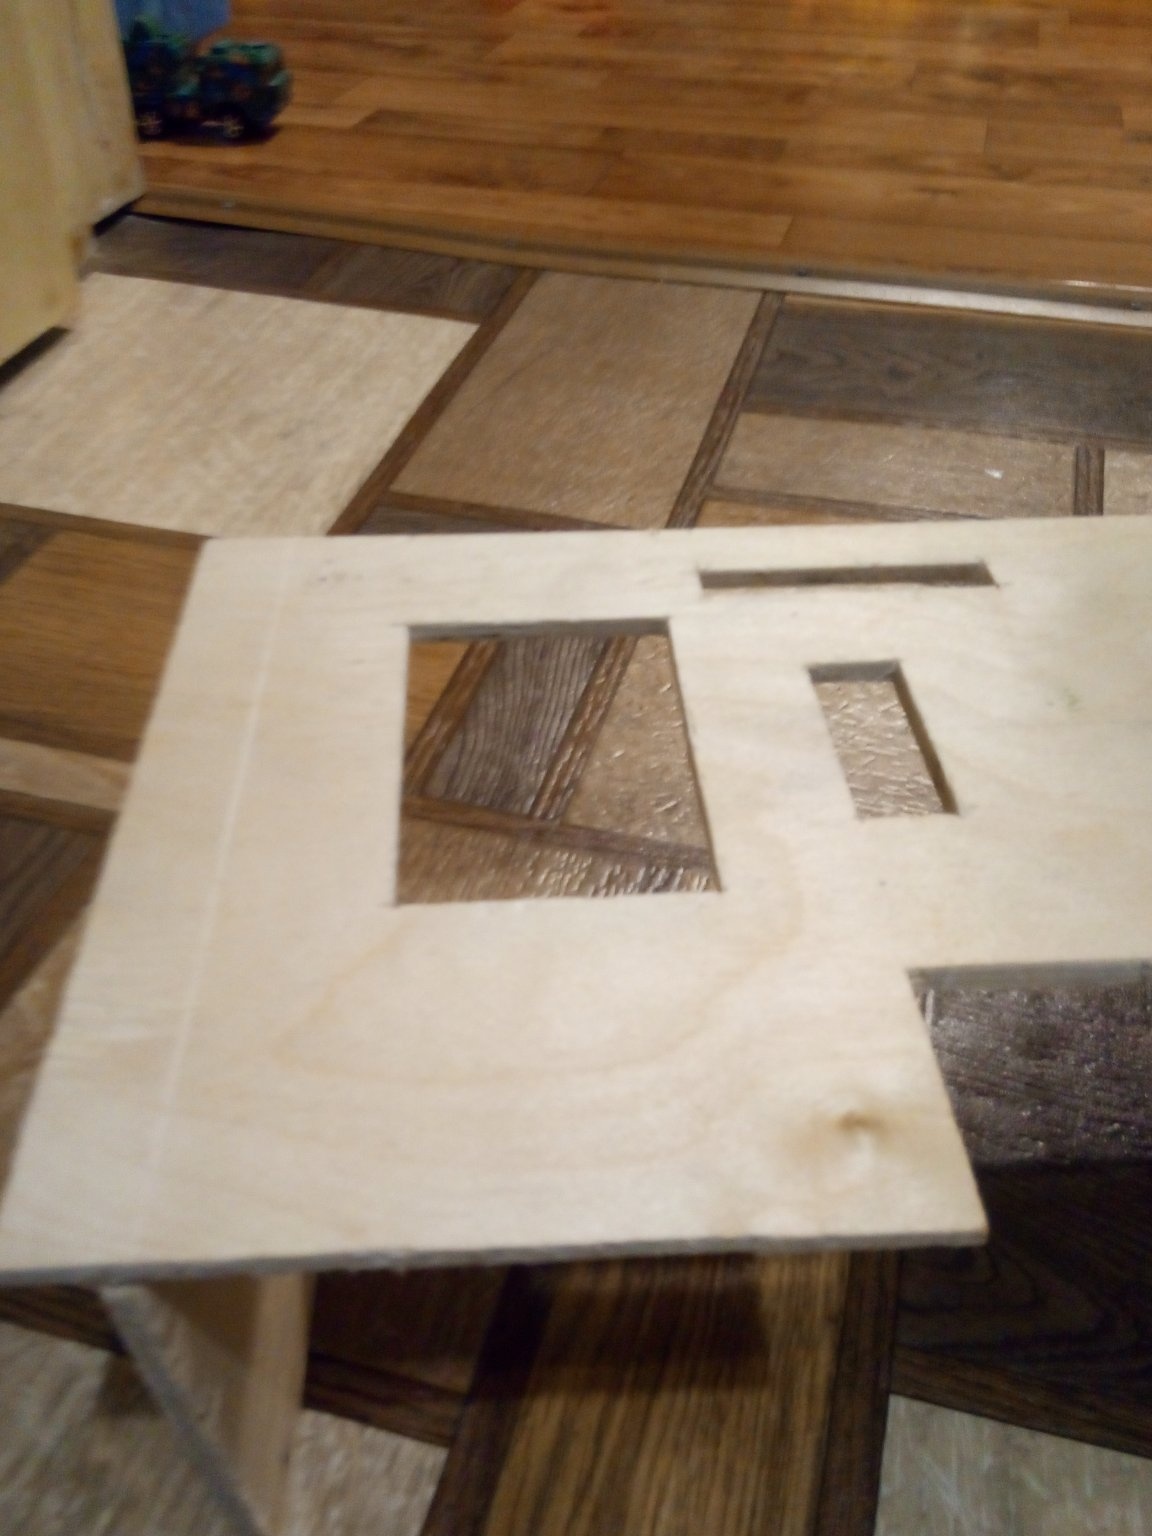
Next, cut out all the other holes for the tools.
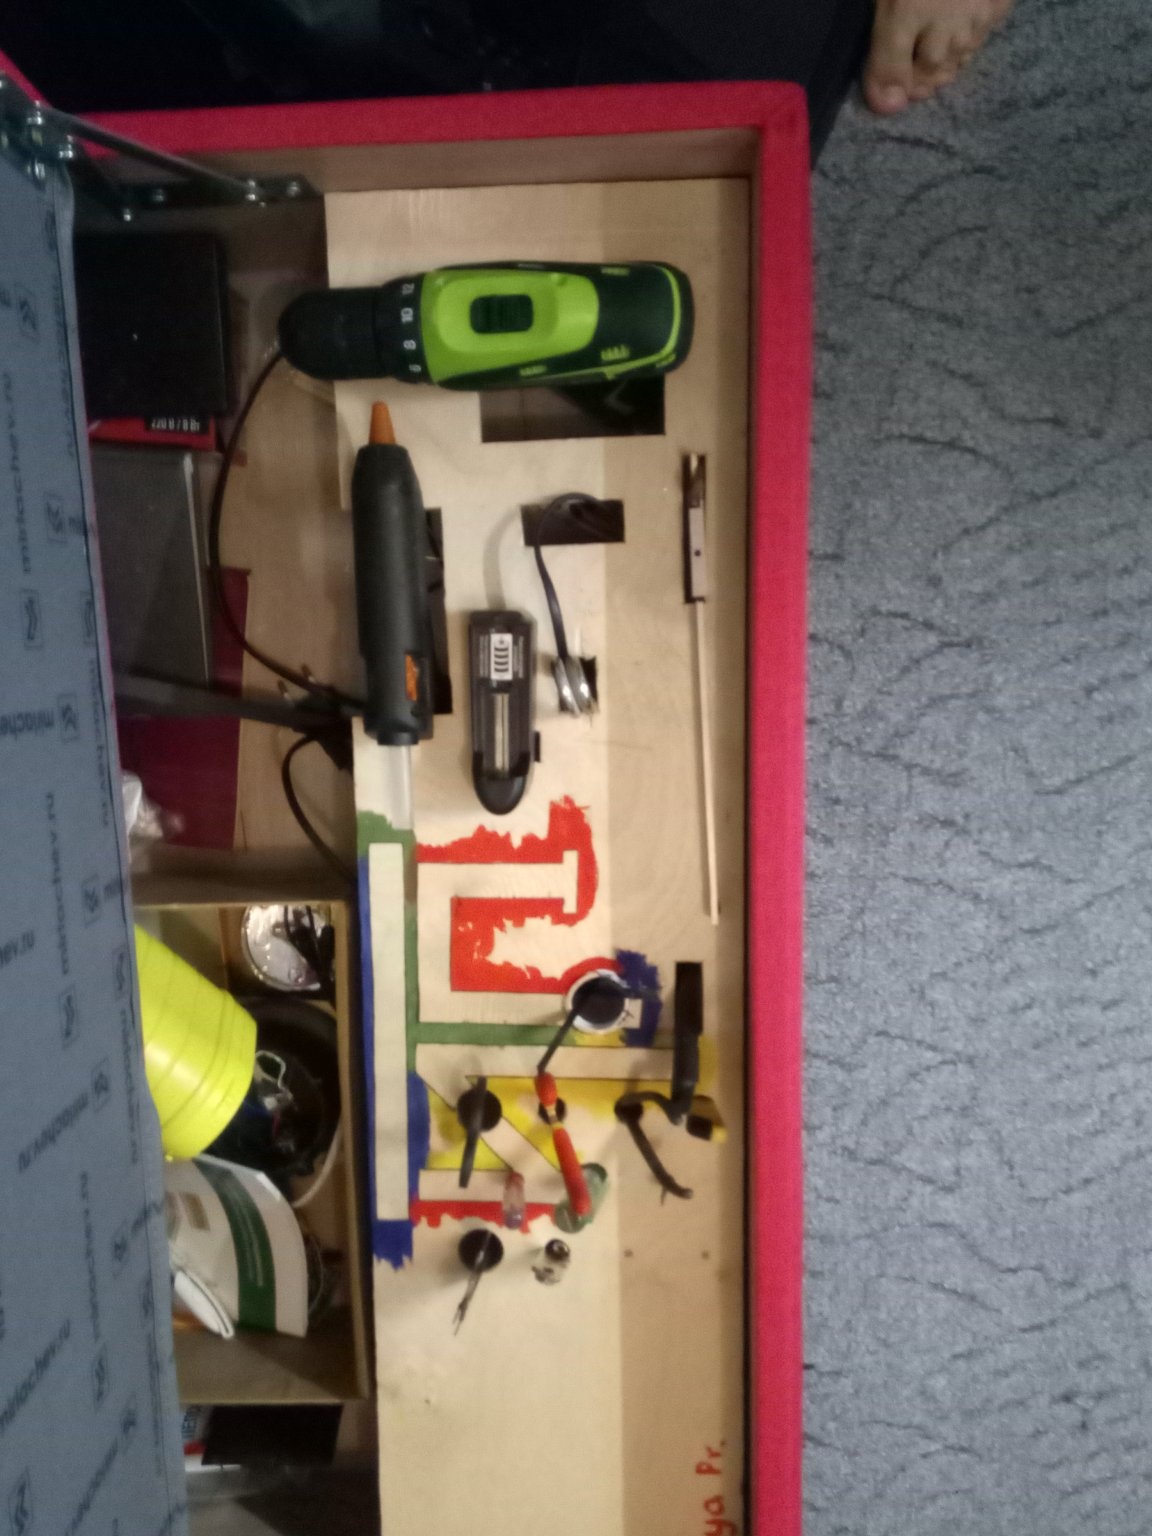
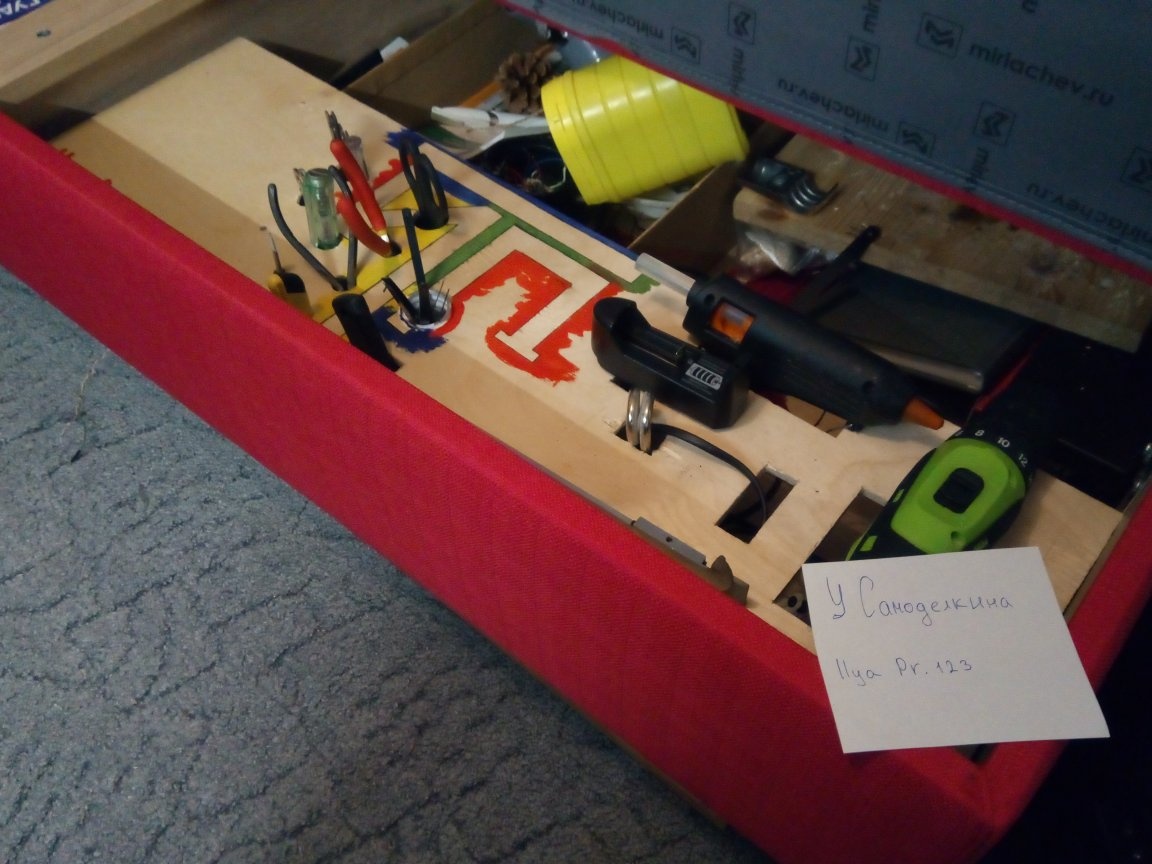
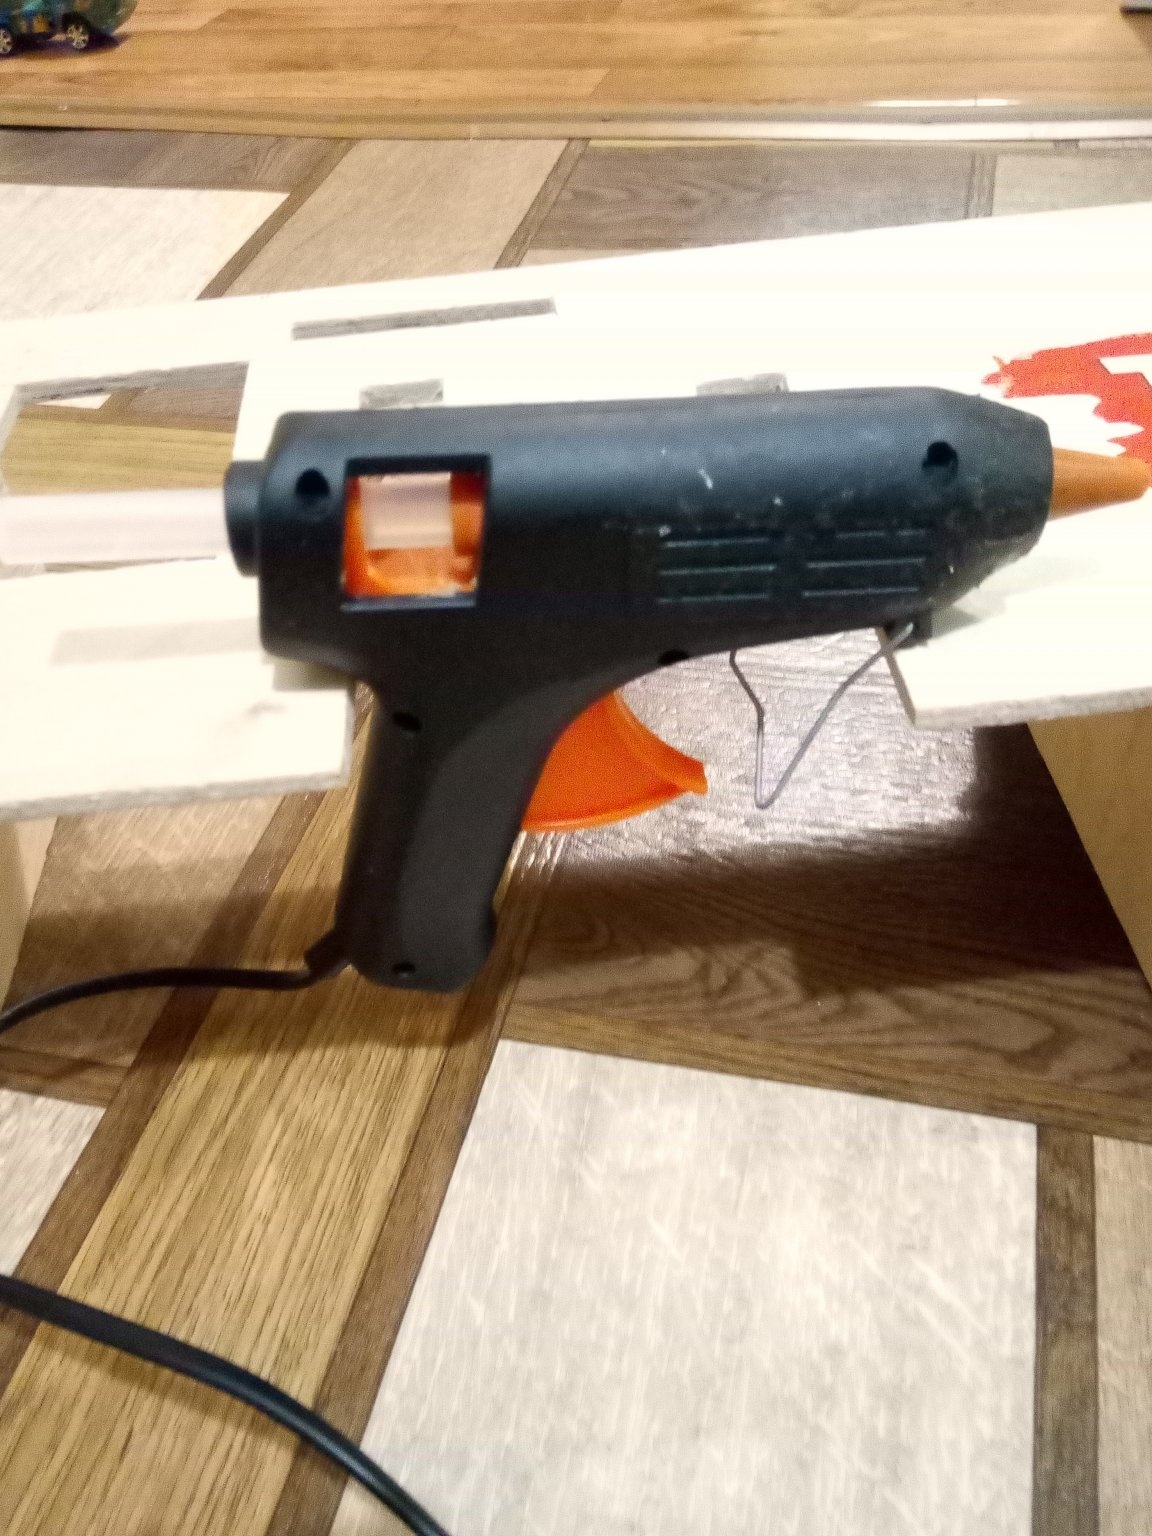
We make a rectangular cut on the side 10cm * 5 cm.It is intended for a hot gun (hot glue). It seems to me that it will be convenient to insert hot glue from the end, and the wire will hang quietly for itself and will not get confused with anything.
5 step
I often use the caliper and therefore it has earned a place of honor in my organizer.
Because its length exceeds 18 cm, I can’t just put it on, so I have to place it lying down. Cut a hole under the protruding part of his head measuring 7cm * 1cm. He lies quite confidently and will not go anywhere.

6 step
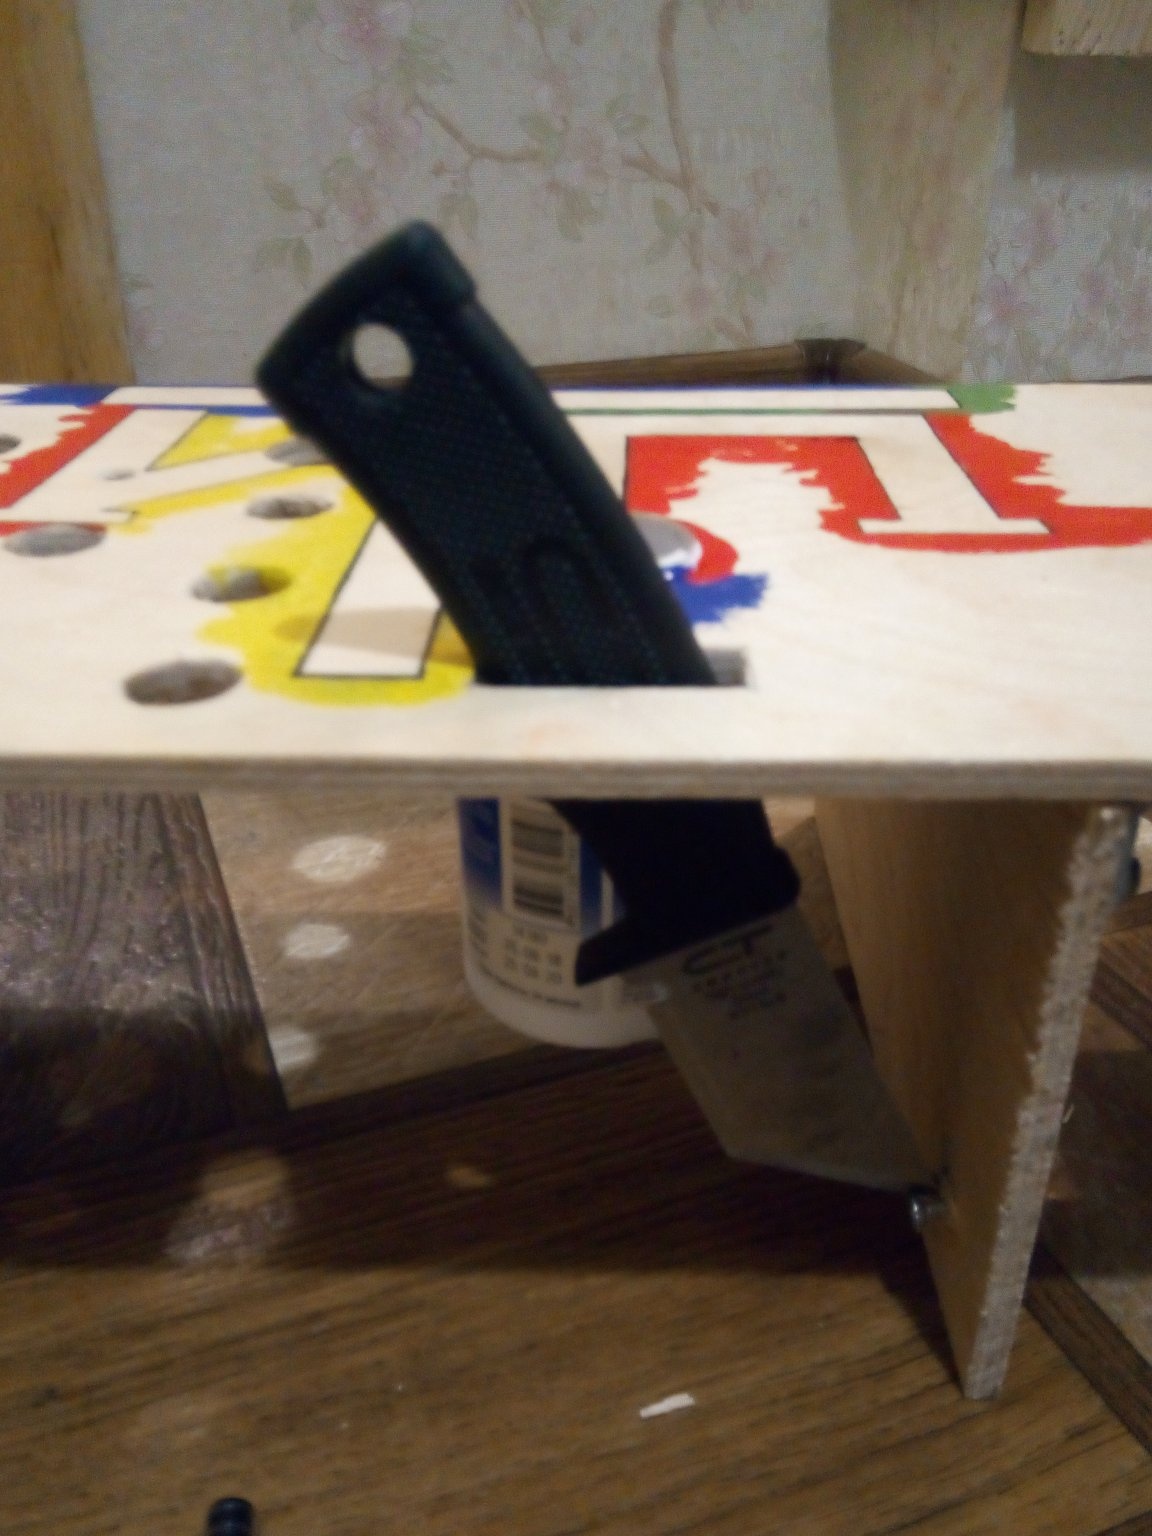
Another important tool is the linoleum knife (it is very convenient for them to open all sorts of glued cases or just pick something, because it is very durable).
Cut a hole 4cm * 1.5cm in size. Since he has nothing to catch on the edge, we place the knife near the leg, so that it is at its end
took her out. At this height, close to each other, we screw two screws, forming a step that will not allow the knife to fall down.
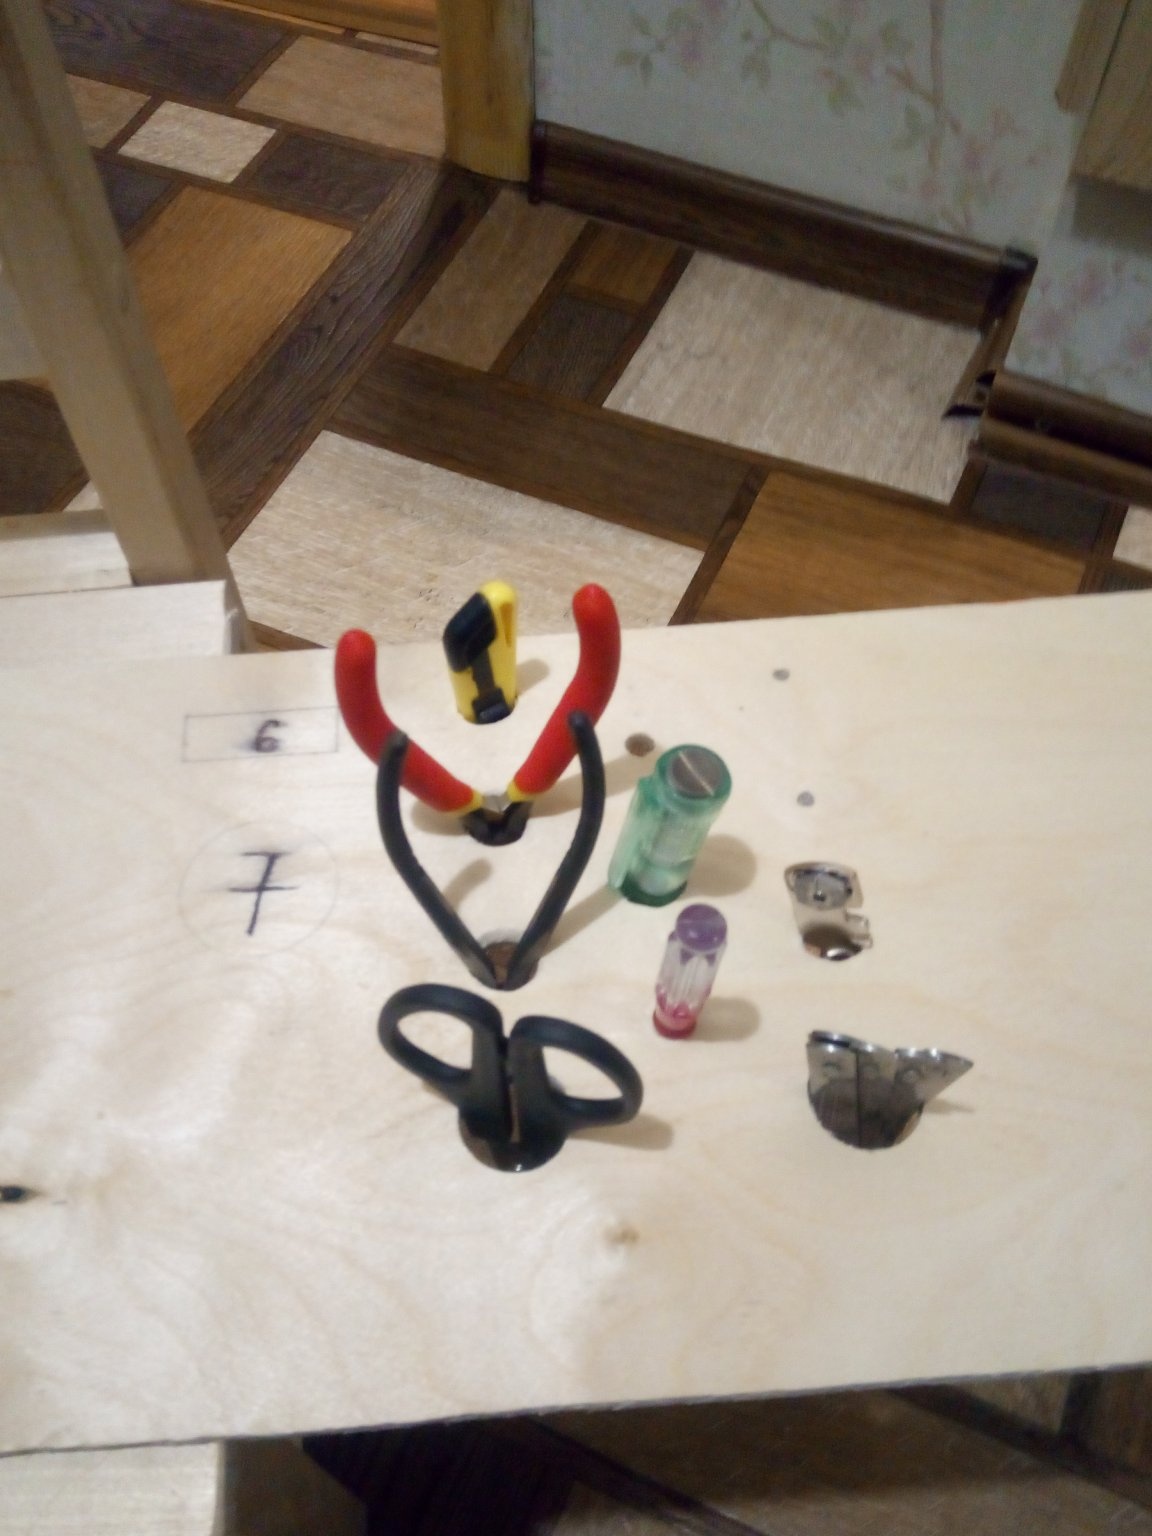
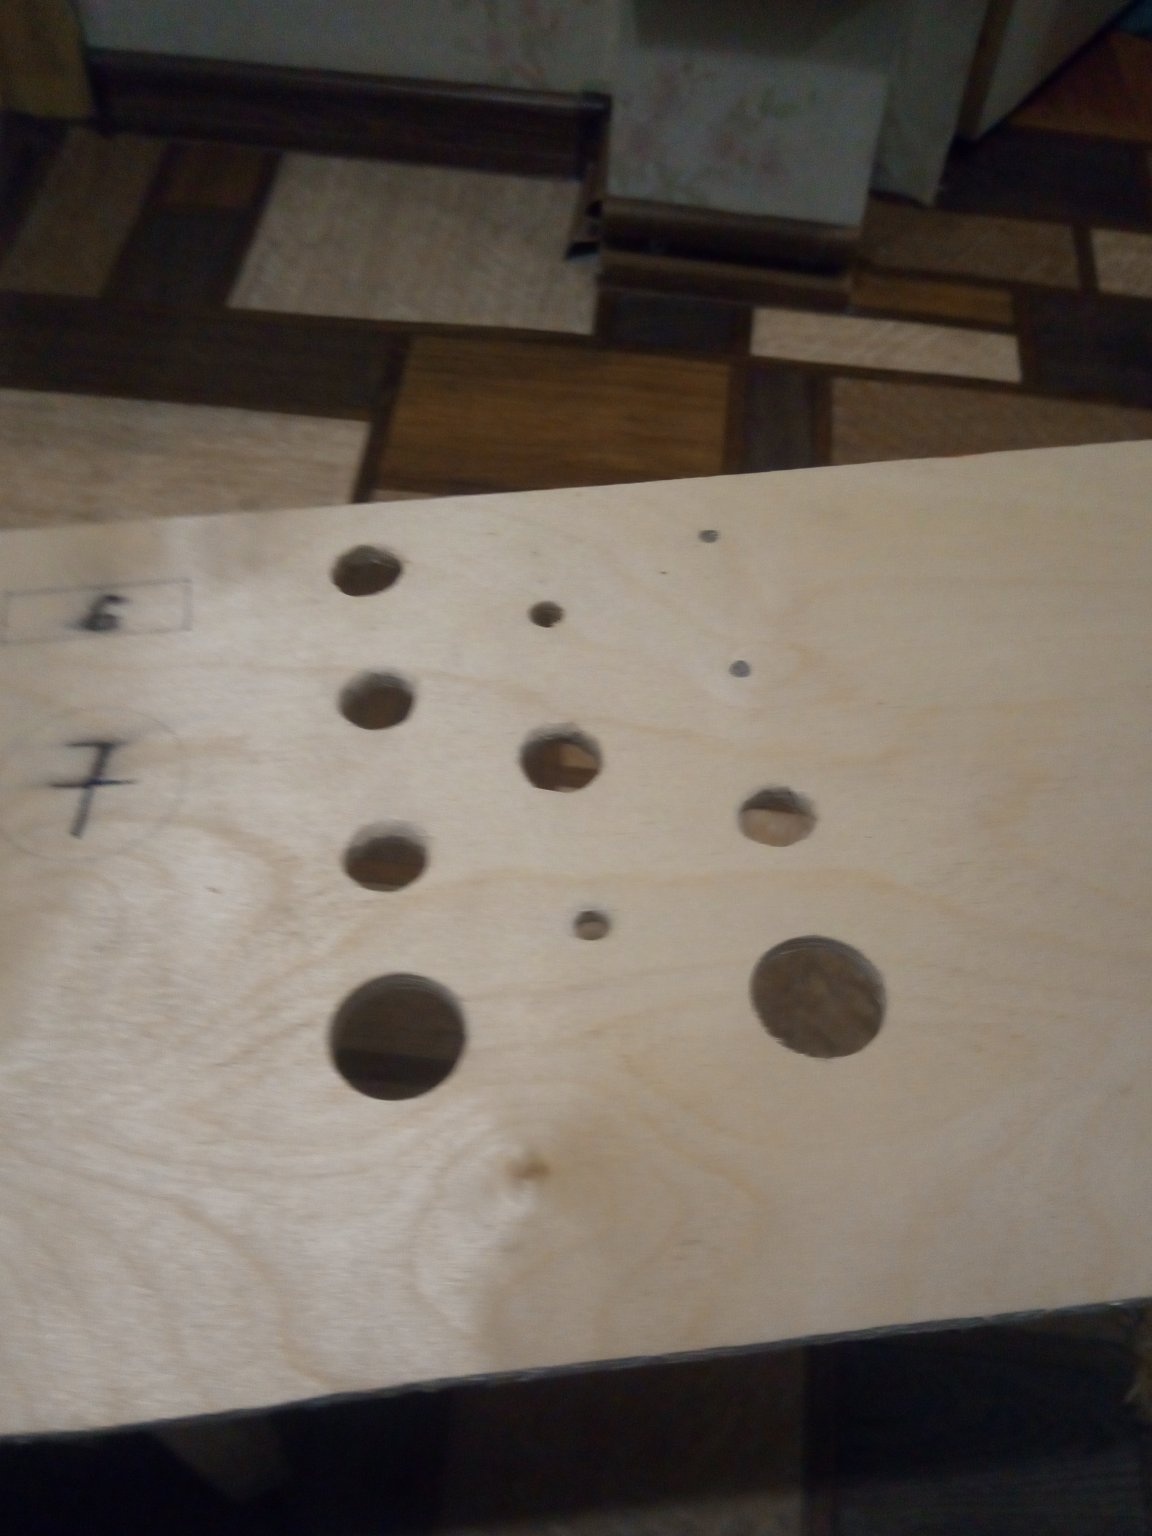
7 Step
Let's place small tools such as a cutter, two screwdrivers, a glass cutter, small wire cutters and a pair of pliers, a file and scissors. Well, everything is simple: we drill a grid of holes in increments of 3 cm - 4 cm for each tool so that they get stuck in a certain part.
8 Step
I was very lucky, since the height of the screwdriver is exactly 18 cm and I made a hole so that the screwdriver does not fall and put it on the bottom of the sofa. Hole size 9cm * 6cm.
9 Step
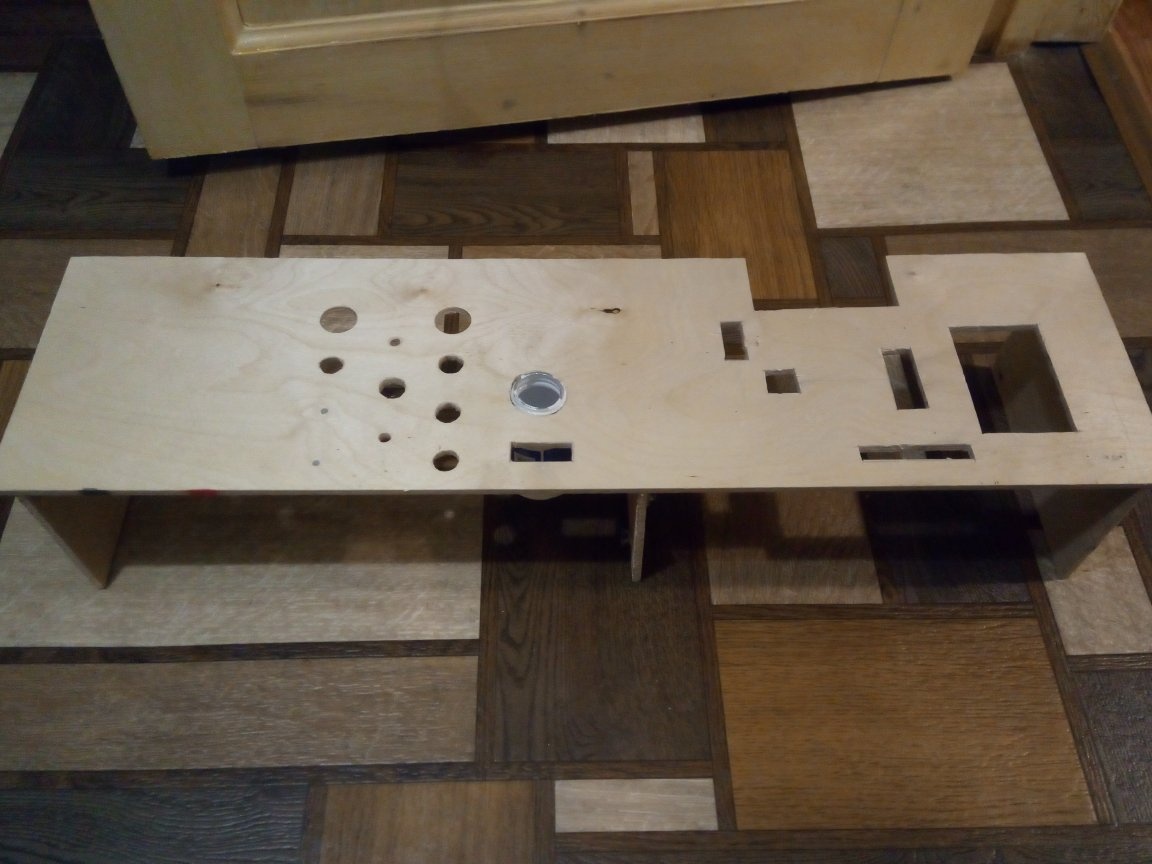
Under the blades of a manual jigsaw and other small things, I pasted a jar of vitamins into the organizer.
10 step
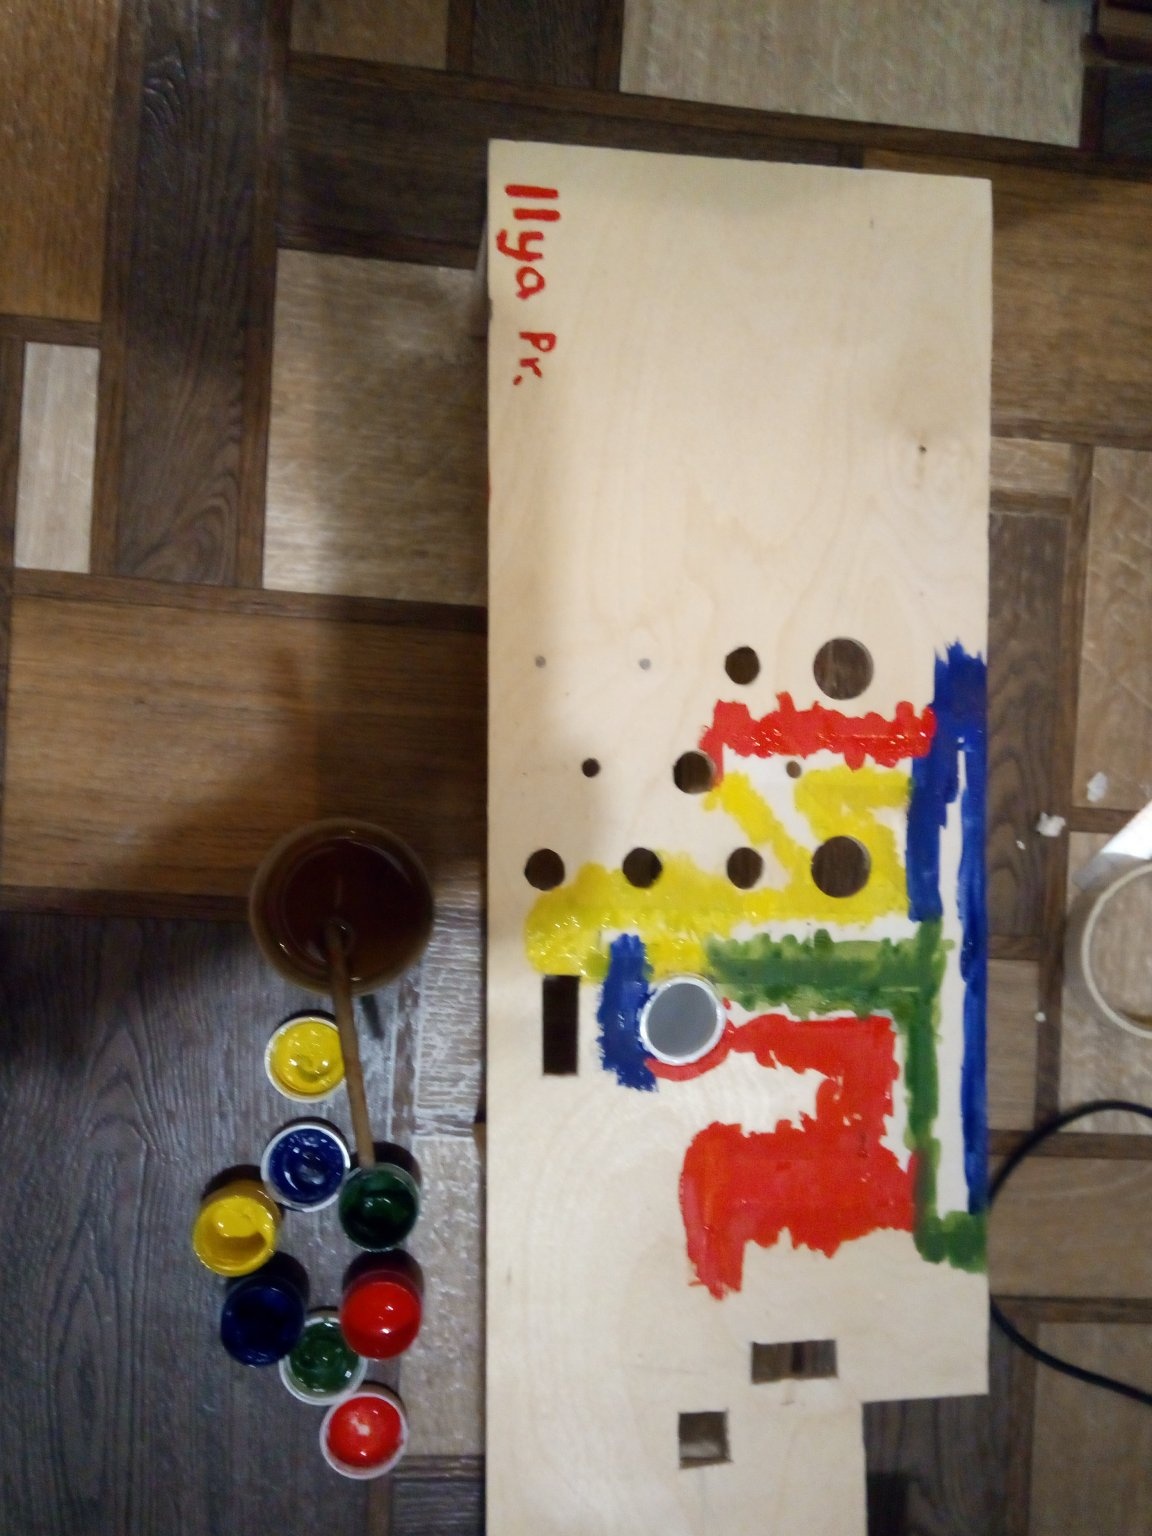
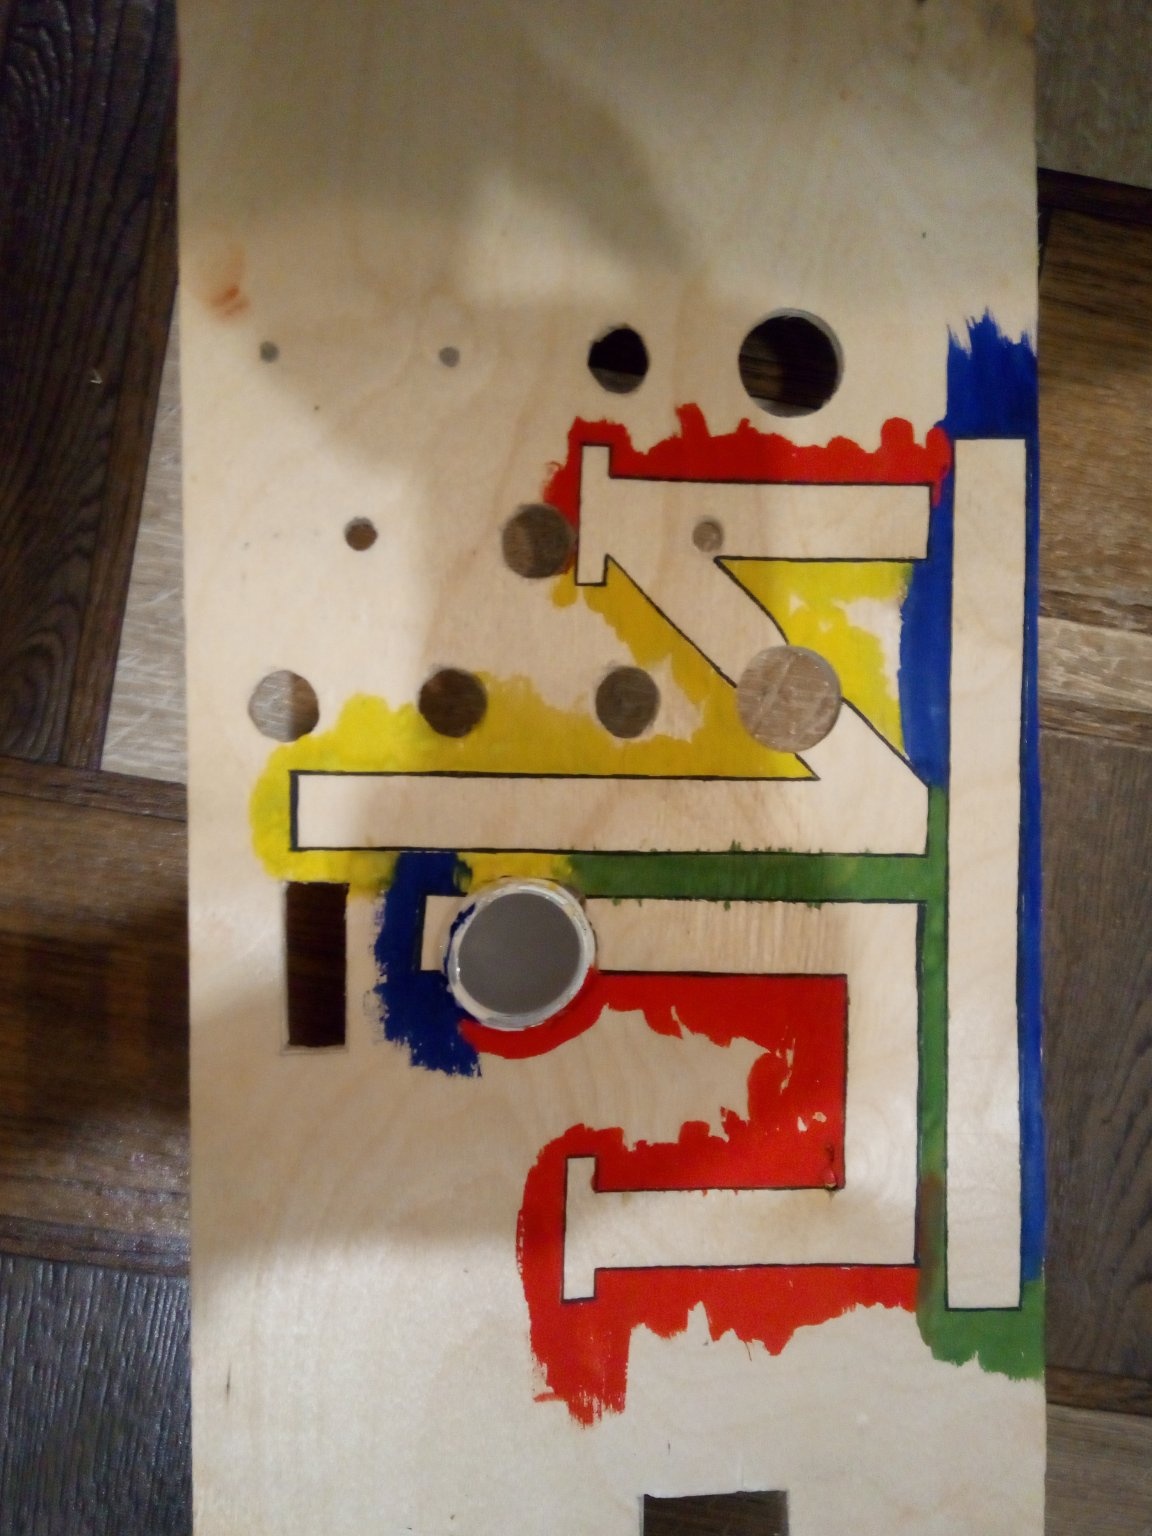
In fact, the organizer is ready, but I wanted to decorate it, add a twist and paint over the places where I was a little mistaken. I drew my logo, which I immediately invented.
11 Step
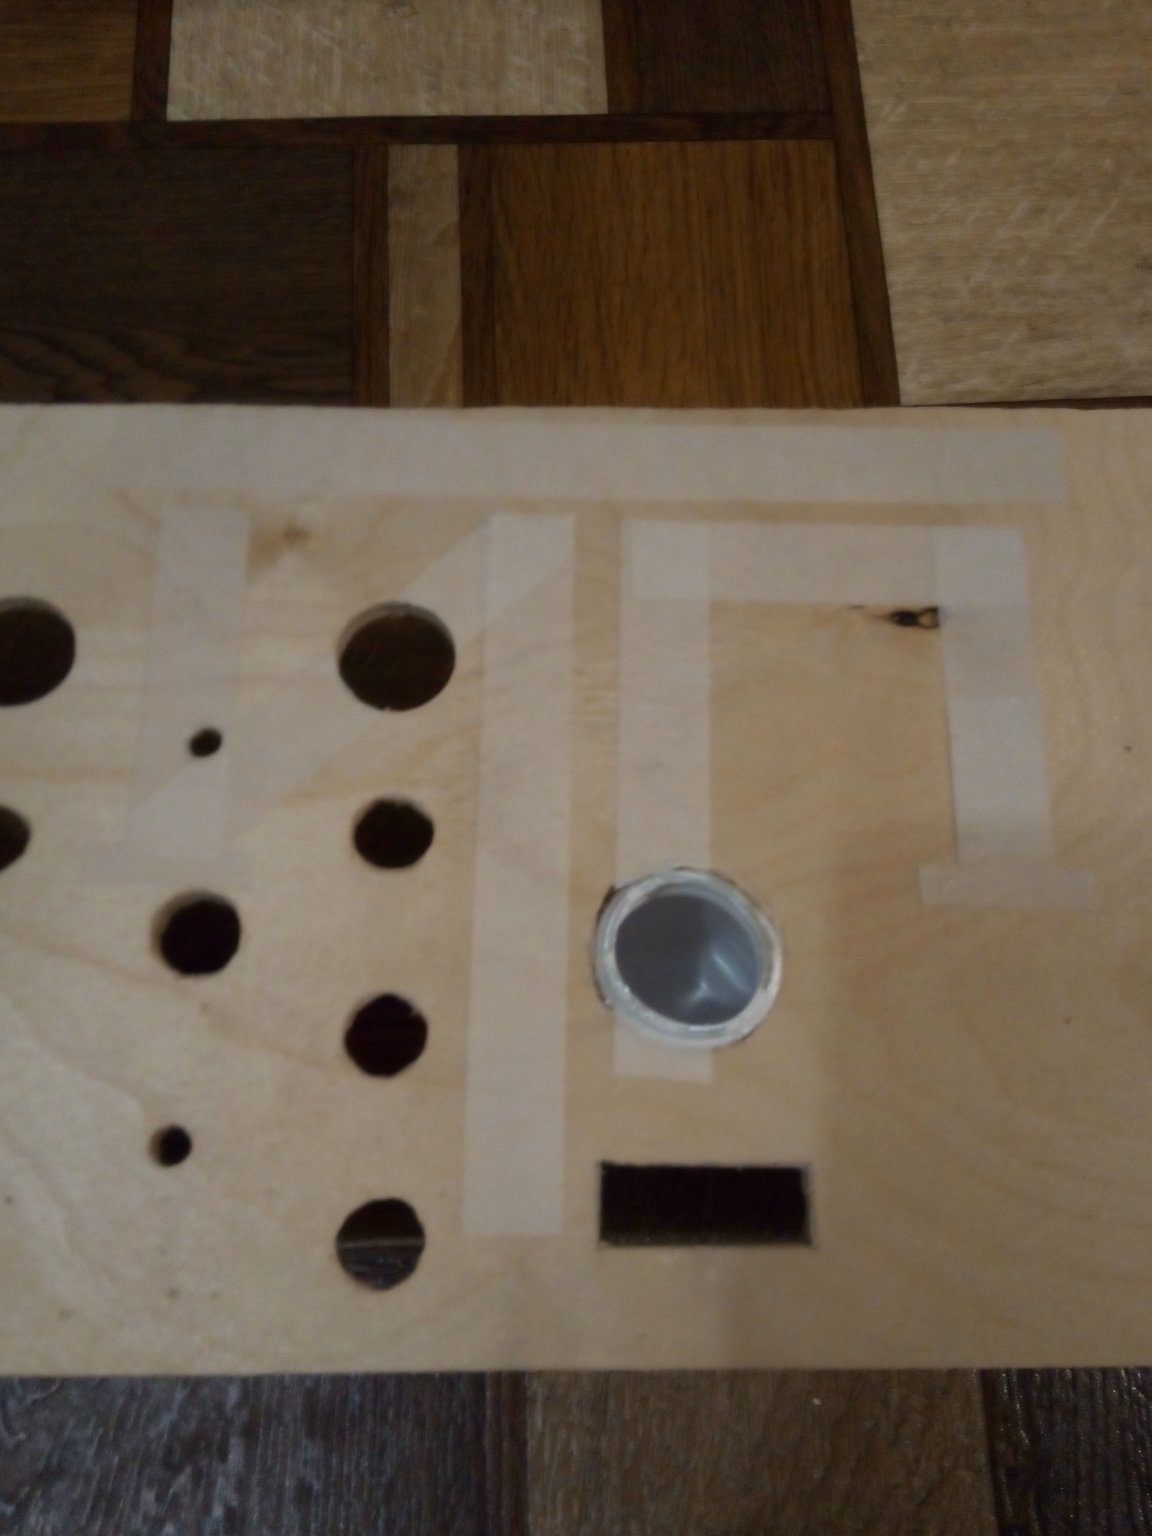
We stick our drawing with molar tape, observing the proportions as much as possible.
If you have a large drawing, let it go into the holes. So even more interesting!
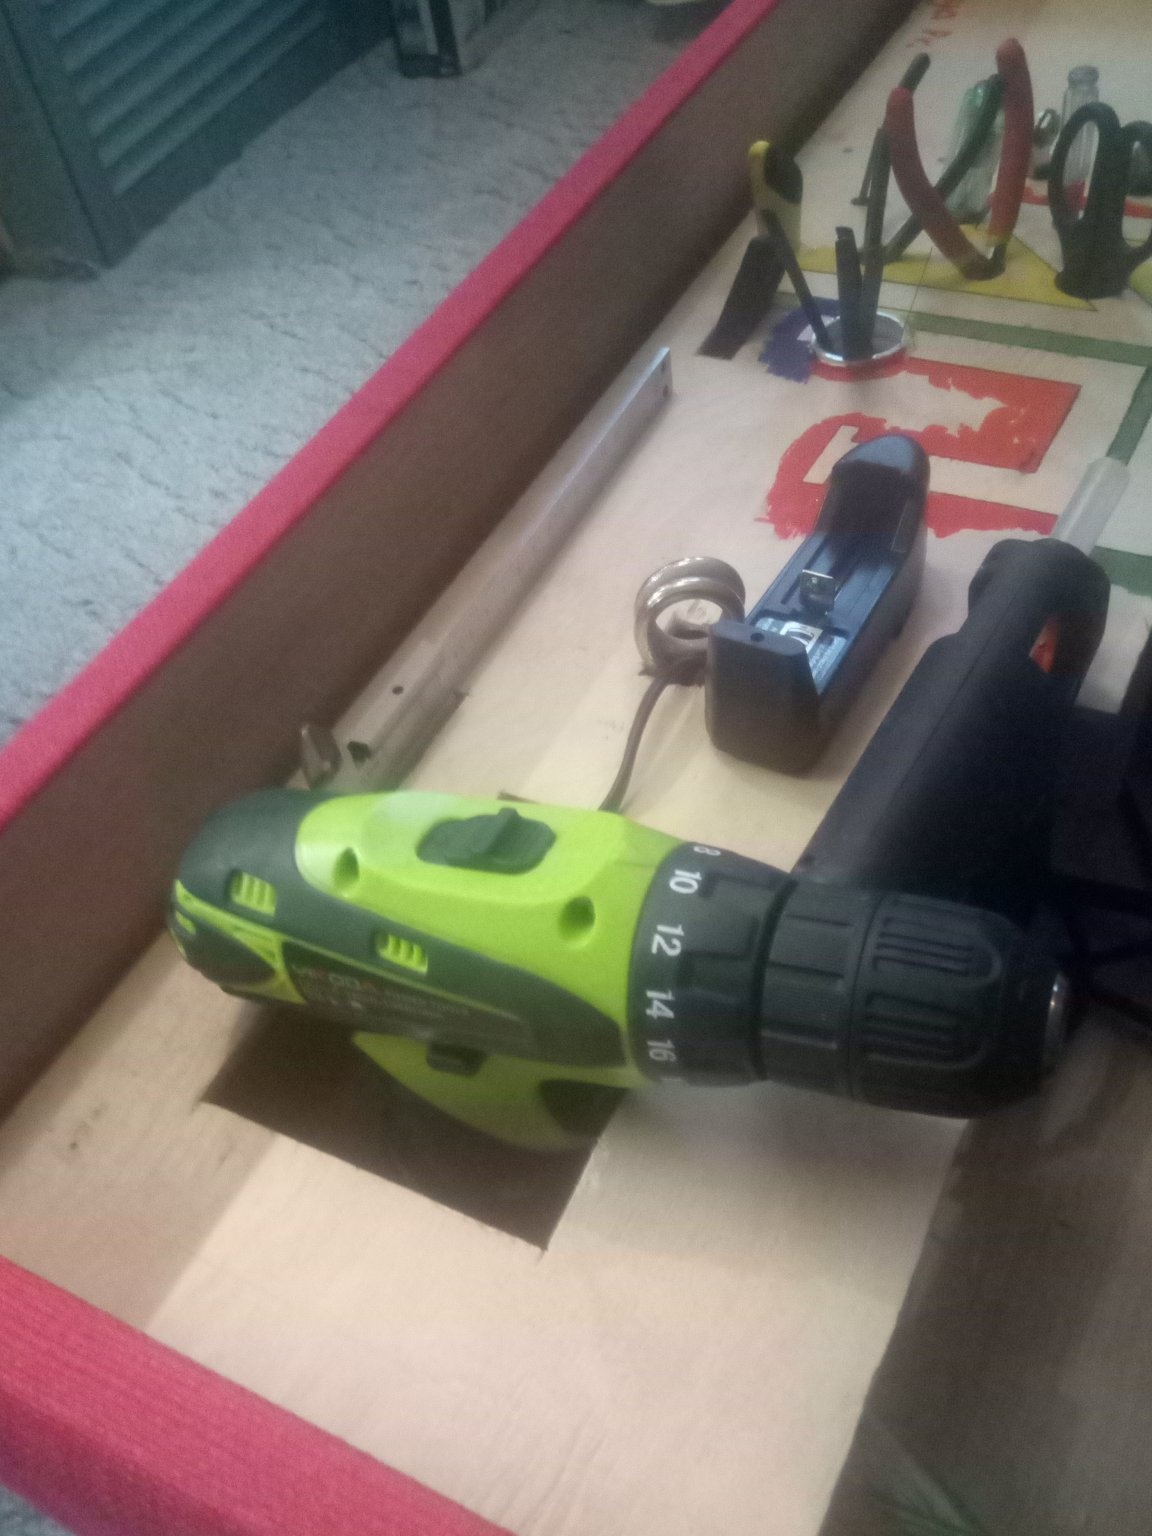
12 Step
Then we take ordinary gouache and a brush. (Gouache can be used only if you have plywood or a regular board, otherwise the paint will not last long). And now, not sparing paint, so that the tree does not shine through, paint the logo with different colors, specially going over the edges, so that after removing the adhesive tape a nice mark remains. You can also circle the pattern itself in black so that it can be better seen.
Now it’s all! Organizer for basic tools in the sofa is ready.
This was my limited height organizer. I hope that at least some of my ideas on placing tools will come in handy and help in creating your own organizer.
Good luck