Hello dear aircraft modellers.
There was a free day from chores, and I decided to do my favorite aircraft models. All started models have already been made, and I wanted to dream a little. It occurred to me to make a small model for flying on my site in the village.
I didn’t want to make a classic either, and the first thing that came to my mind was the most favorite scheme by modelers - the delta. So I decided to make a small delta and call it “Fantasy”.
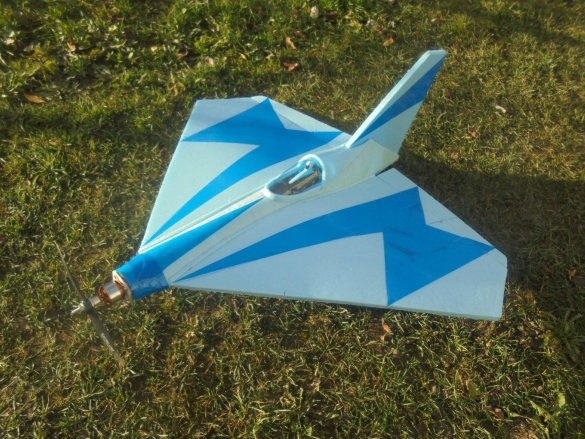
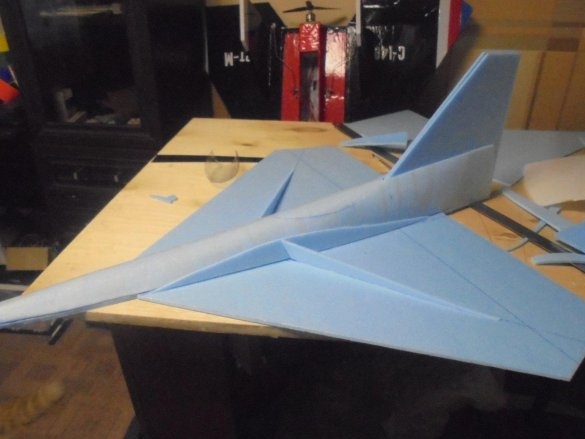
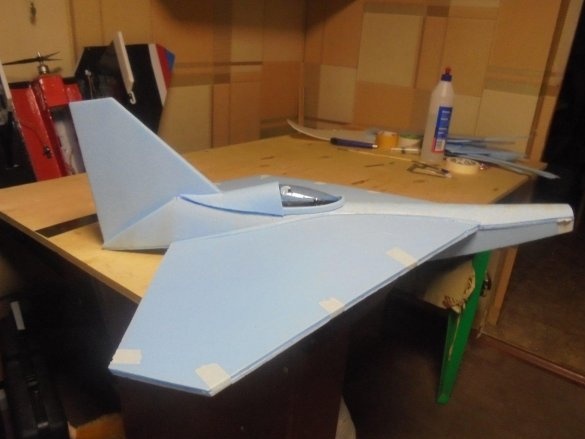
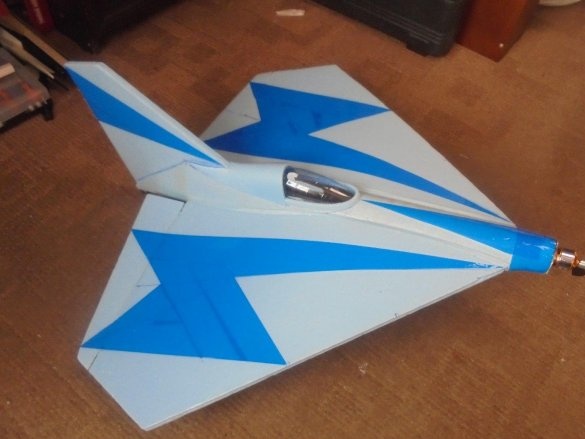
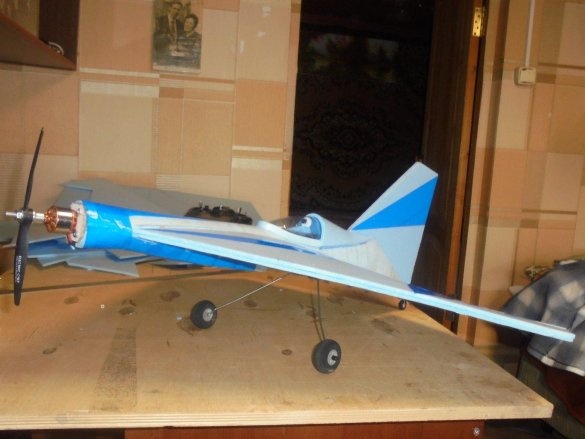
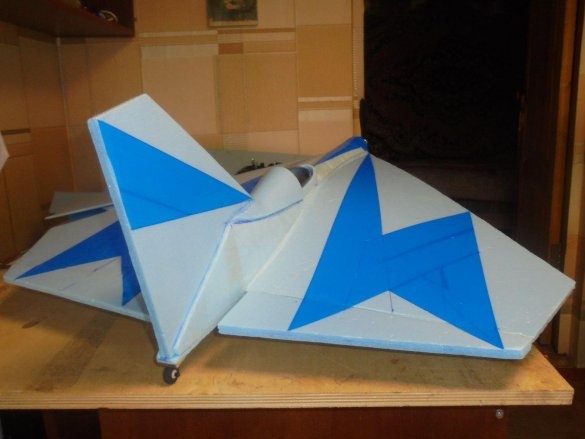
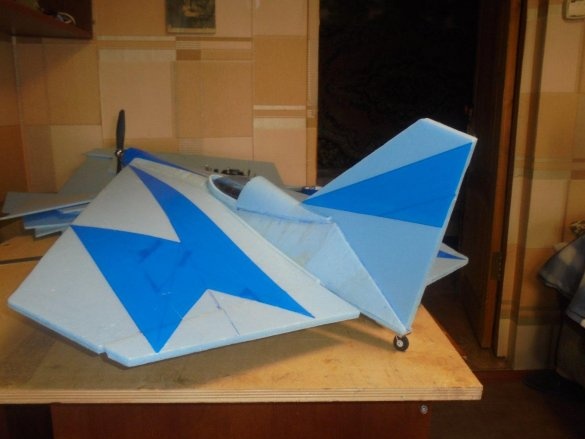
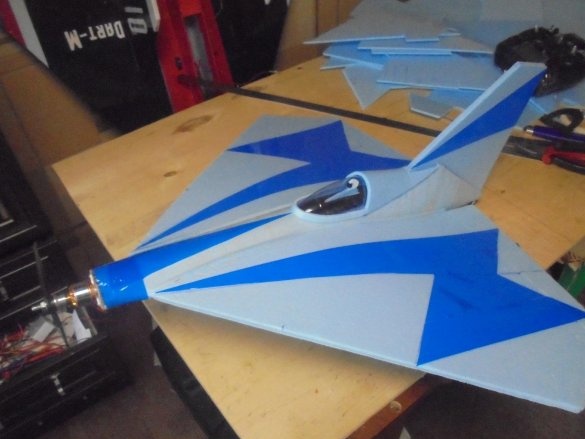
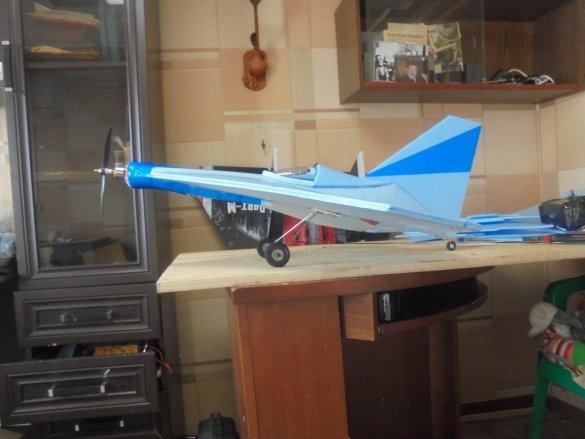
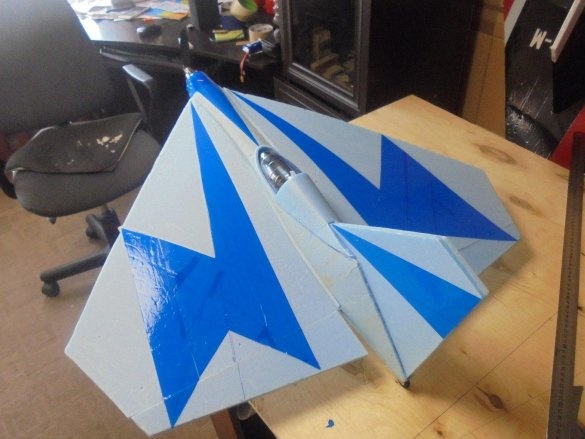
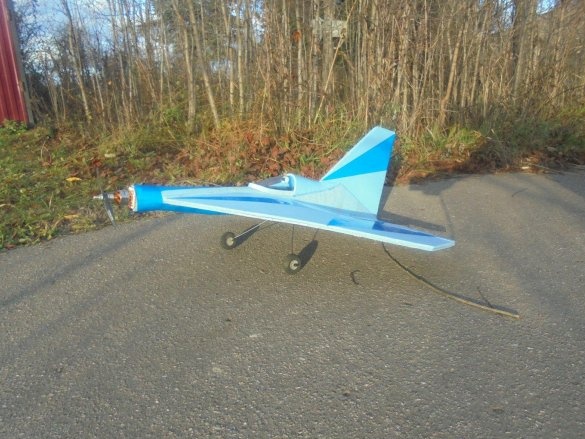
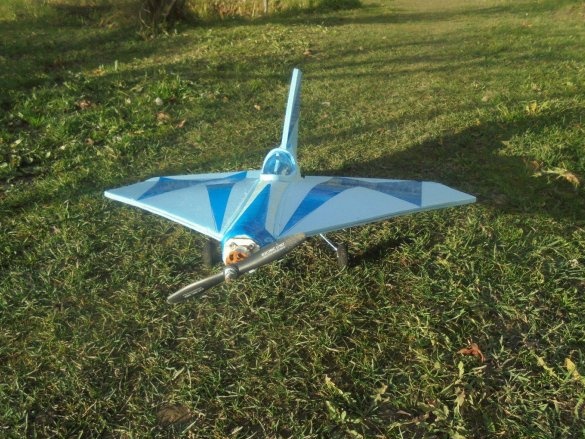
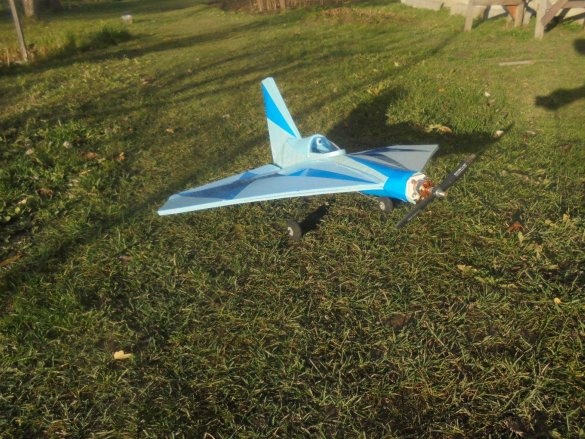
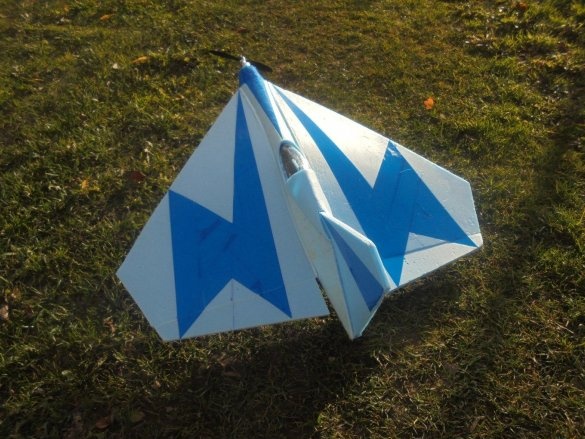
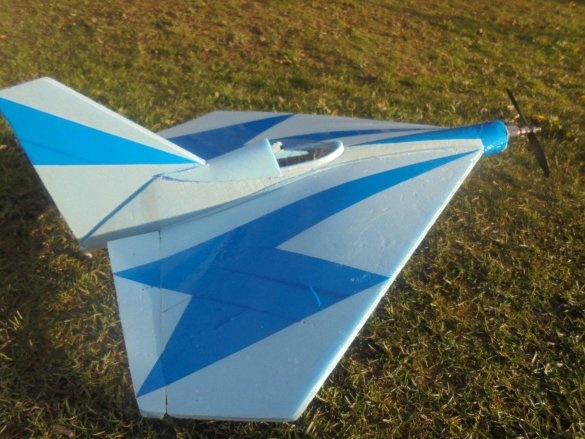
That's what came out of it.
A few words about materials and electronics.
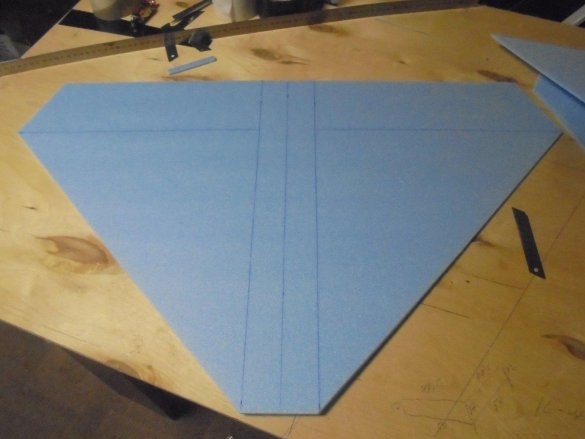
As always i do model from a simple, sheet substrate for a laminate with a size of 1000 x 500 X 5 mm.
Glue, I also use, as always, waterproof, universal "CIN".
I bring beauty color tape.
Motor - 2826/6 2200KV.
Screw - 7 X 4.
The battery is 3S 1200.
Servos - MG90S.
The regulator is 30A.
Model dimensions ... - how it goes.
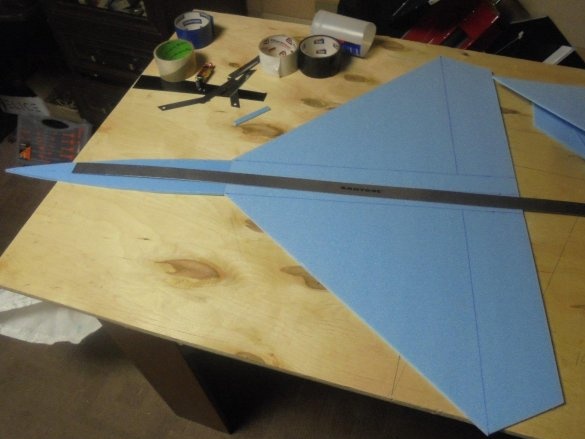
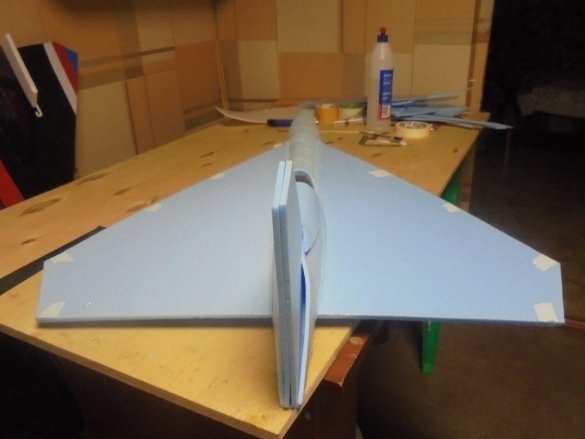
I decided to make the wing length of the model based on the width of the substrate sheet - 500 mm.
And I got a span of 750 mm.
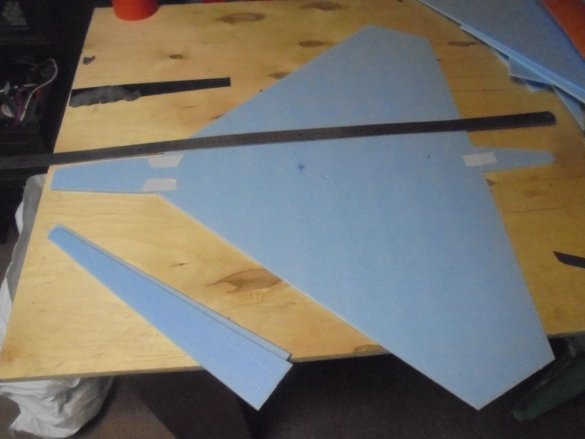
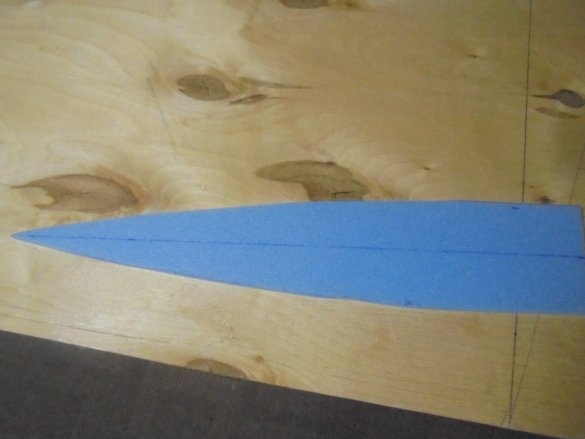
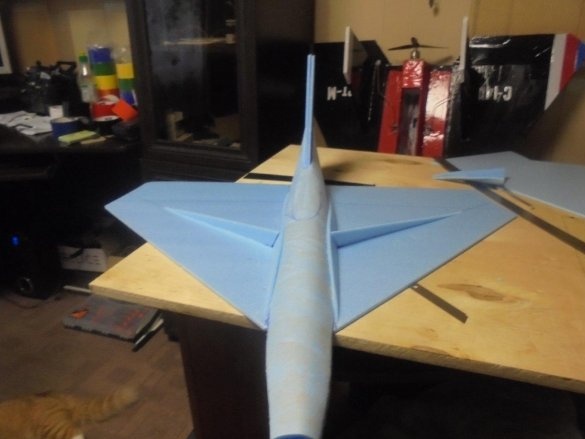
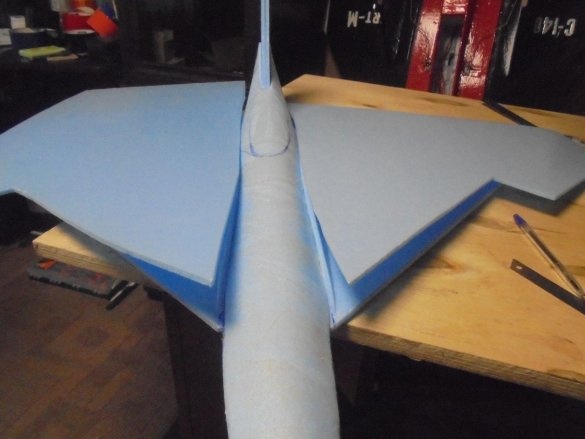
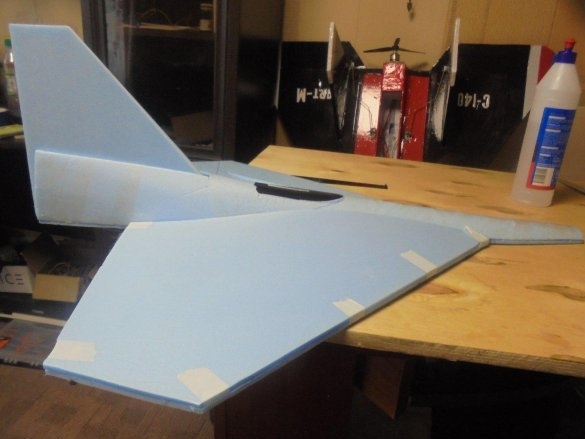
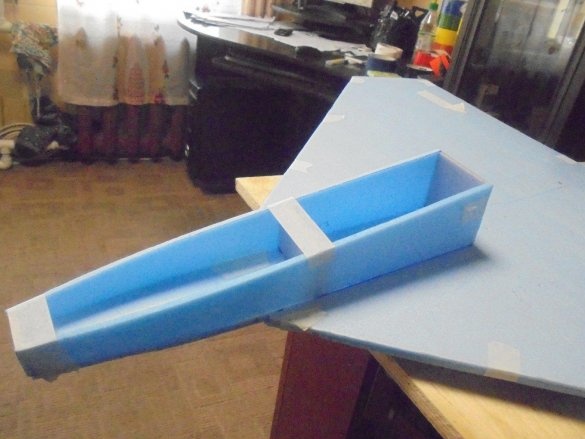
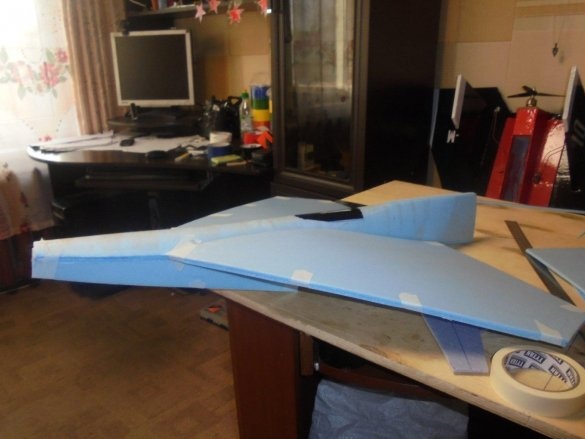
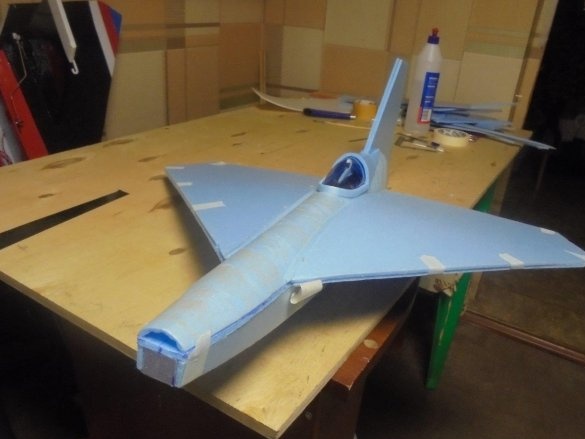
From the bow and from the tail glued small pieces of the substrate, it turned out the basis for the fuselage.
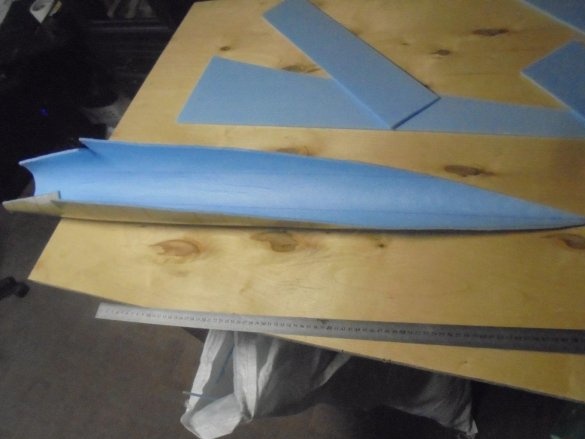
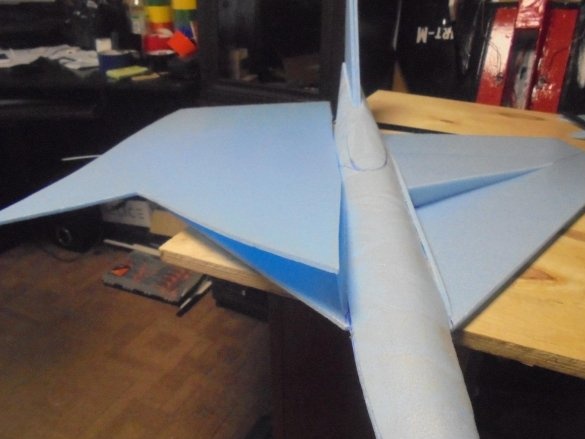
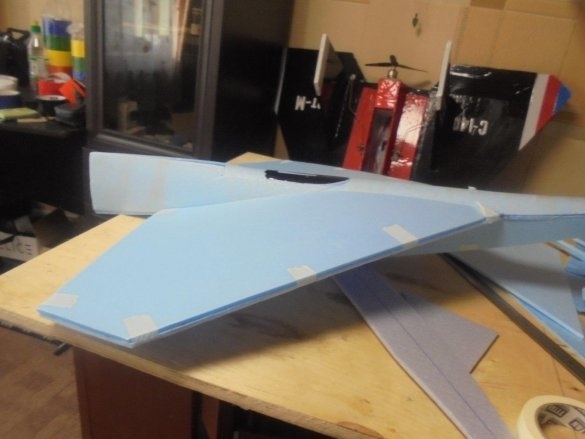
He cut out the fuselage and covered it with tape so that the substrate would not burst, bent it to the shape I needed.
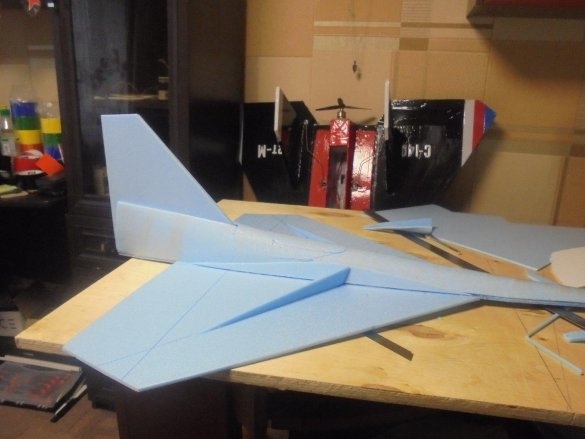
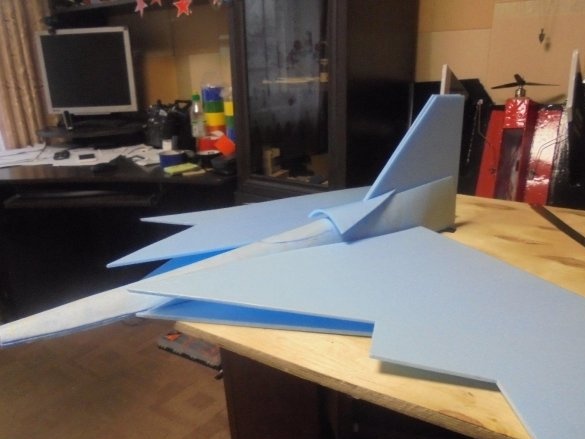
I cut a keel from two layers of the substrate.
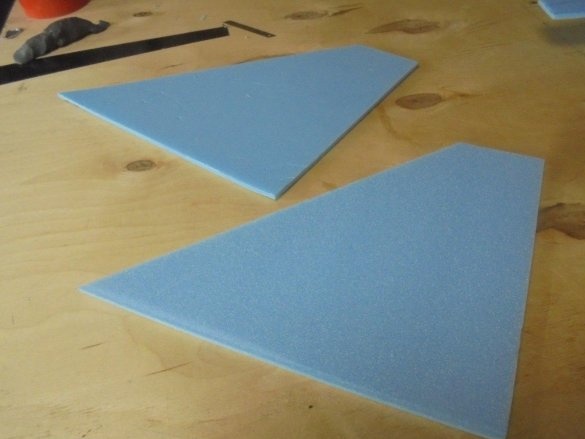
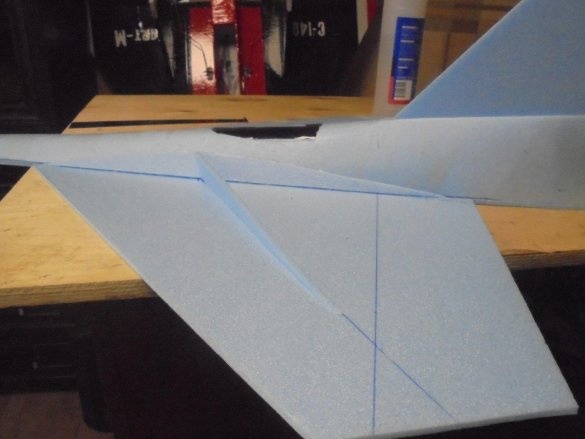
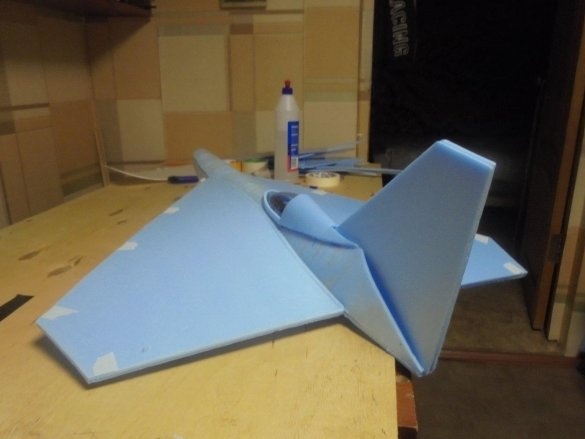
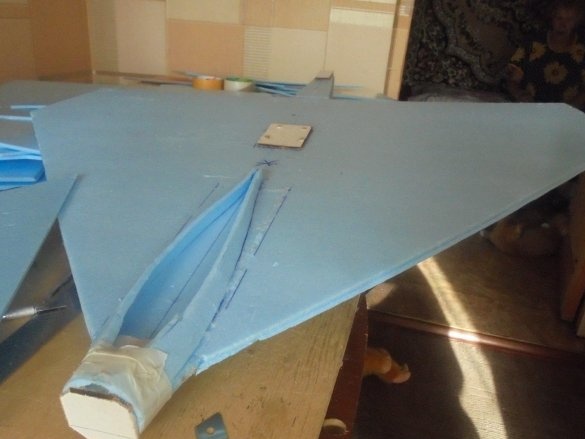
Glued the fuselage blank into place and tried on a keel. At the same time, he tried on cut stiffeners for the wing and root ribs, which will provide the necessary wing profile.
Glued blanks into place.
Marked the upper wing trim.
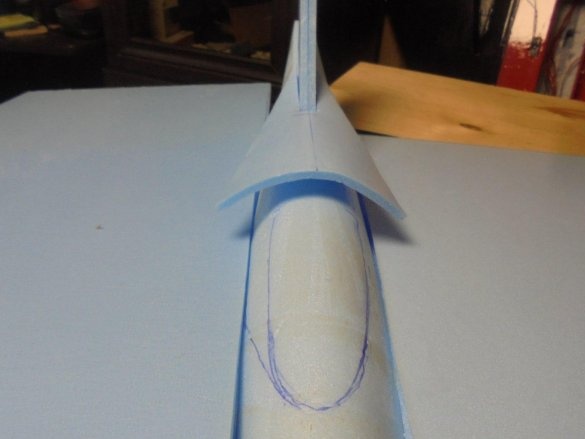
Decided on the location of the cabin.
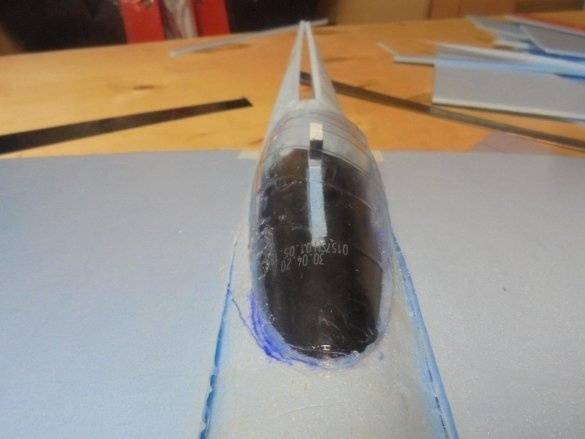
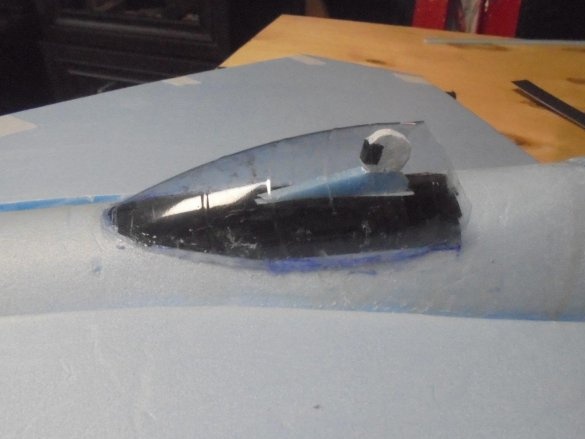
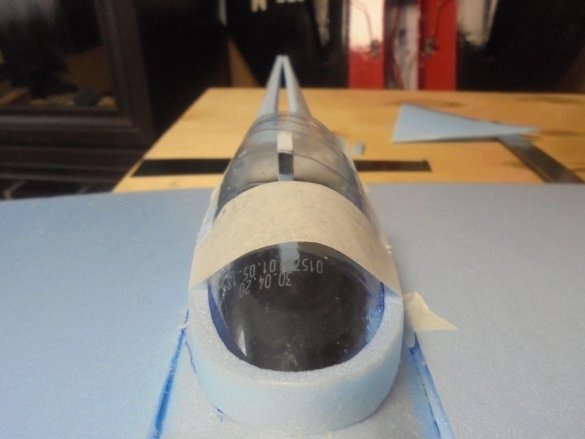
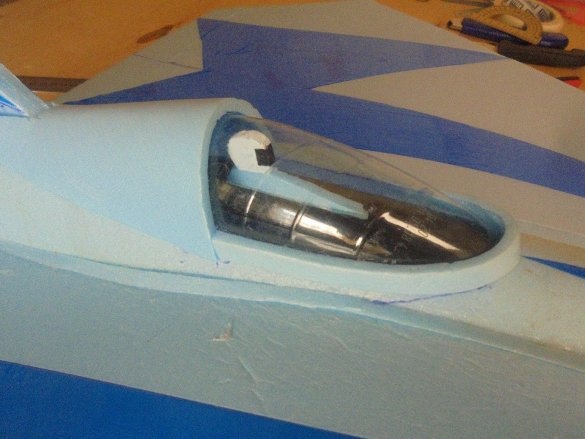
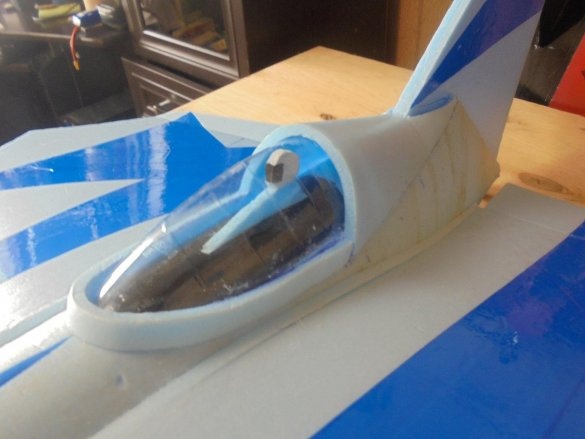
He made markings, cut out a lantern for the cabin from a plastic bottle and the conical tip of the cabin from the substrate.
The place for the cabin was covered with black tape.
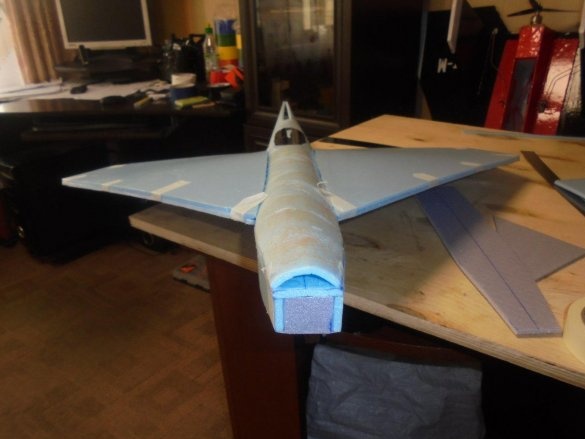
Glued the side walls of the lower, bow of the fuselage. The original idea was to make it rectangular.
I cut out the pilot’s figure from the substrate, painted the helmet with an emulsion white, and made a light-protective filter with a piece of black tape.
After landing the pilot, mounted the entire cockpit.
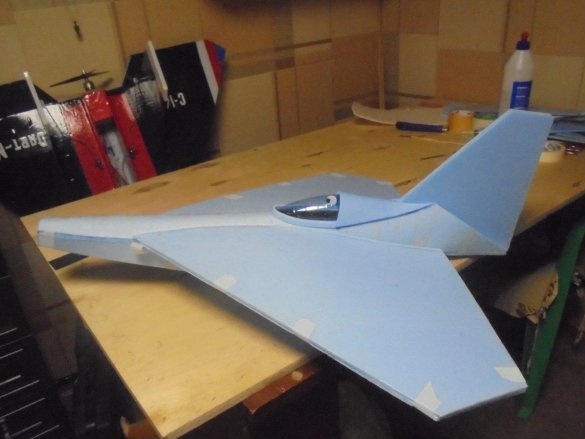
The main outlines of the model have appeared.
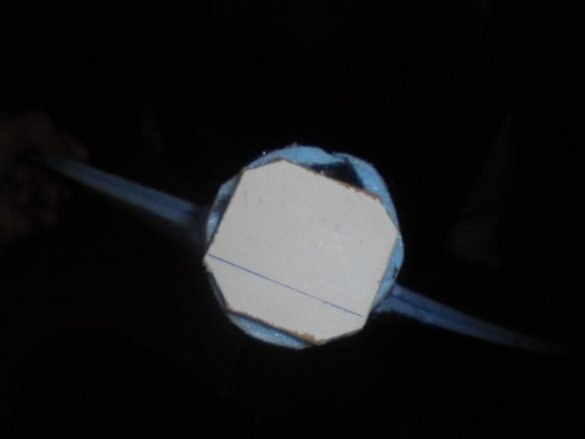
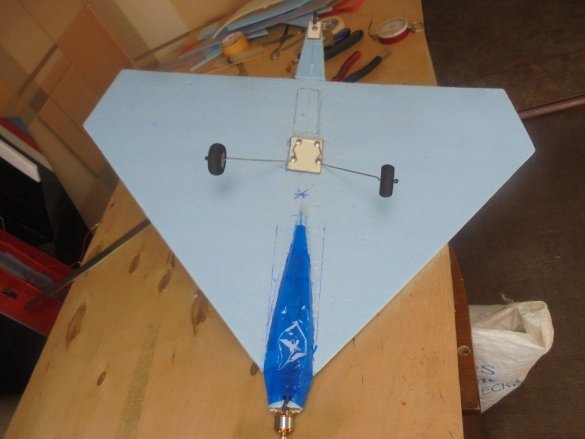
A piece of Penoplex insulation was pasted into the nose of the fuselage, a hardboard (fiberboard) will be glued to it to fix the motor.
Glued a keel in its place.
In search of the correct alignment of the model for the third time, he cut off the nose of the fuselage and again pasted the engine mount.
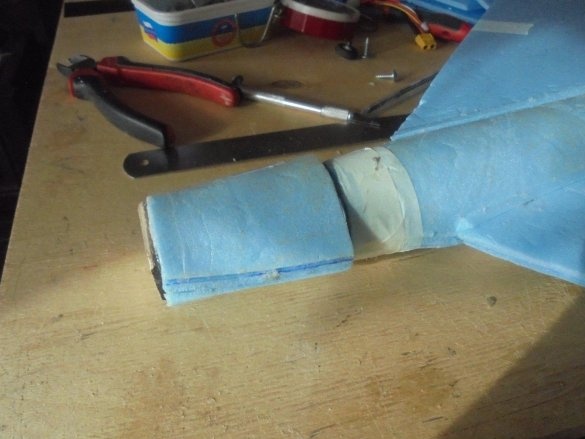
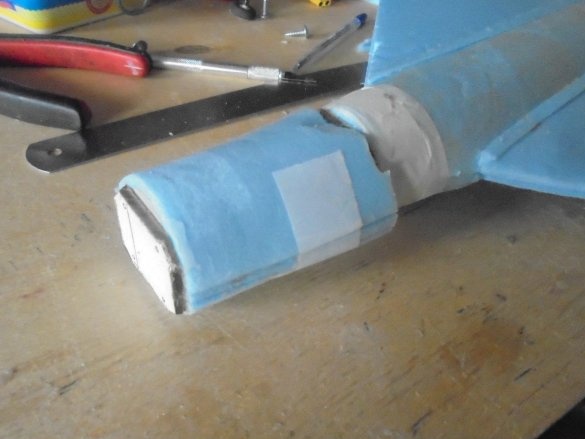
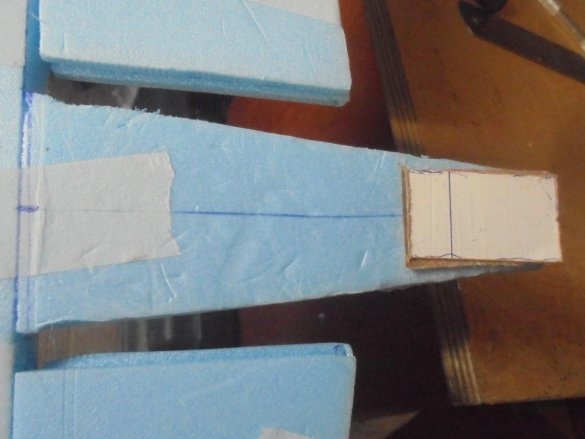
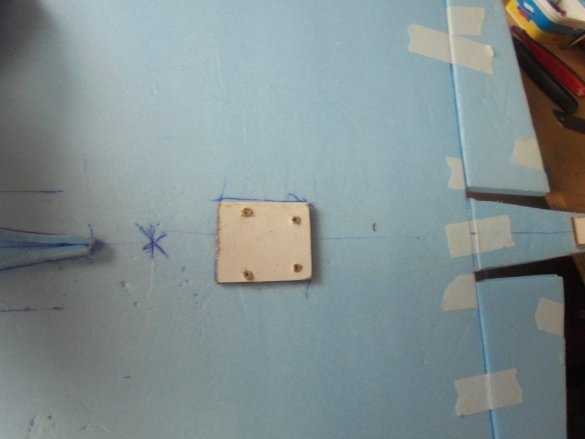
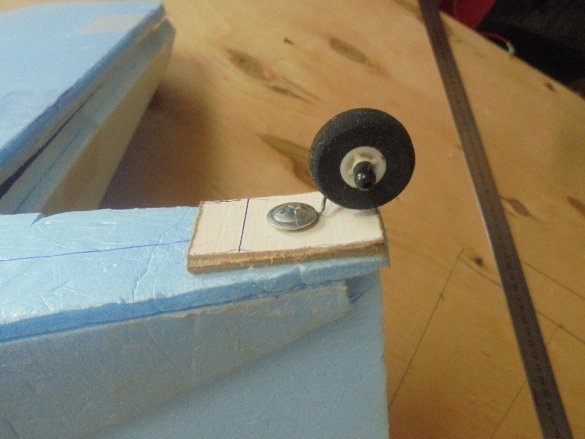
At the very end of the tail unit glued piece of hardboard (fiberboard), for mounting the rear wheel.
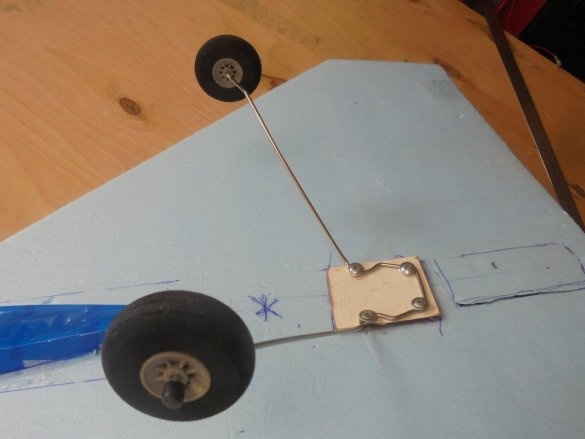
I also pasted pieces of hardboard (fiberboard) for installing the chassis and motor.
Here is the nose of the fuselage below.
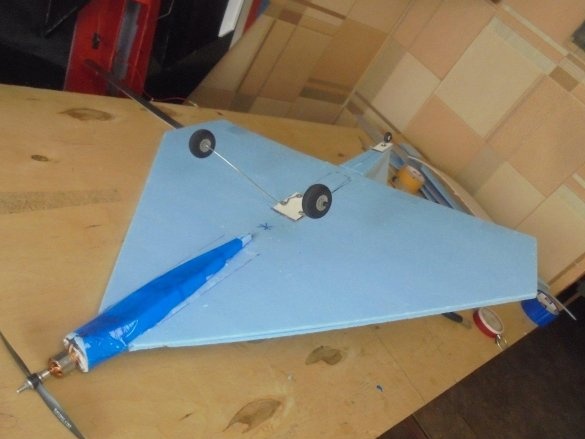
Installed a motor with a screw.
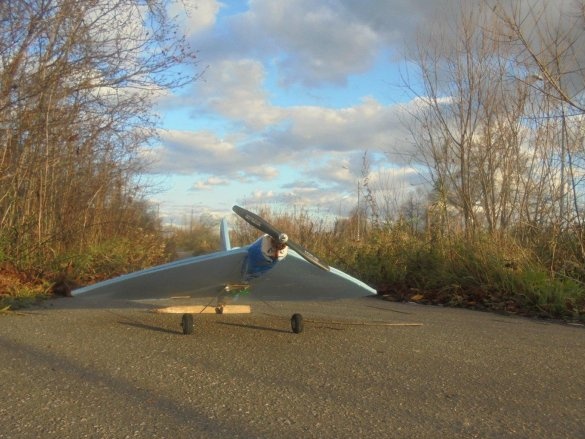
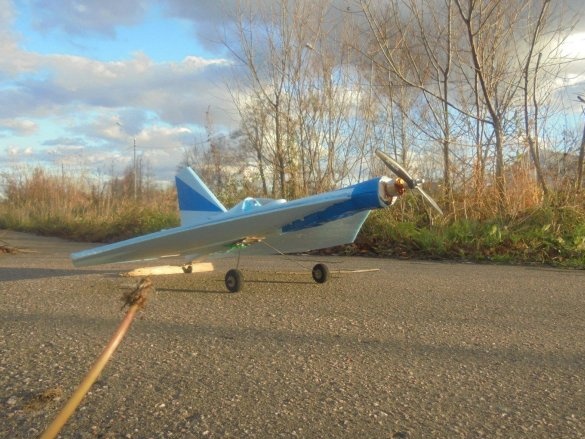
Mounted the chassis and rear wheel.
The chassis and rear wheel used from old aircraft models.
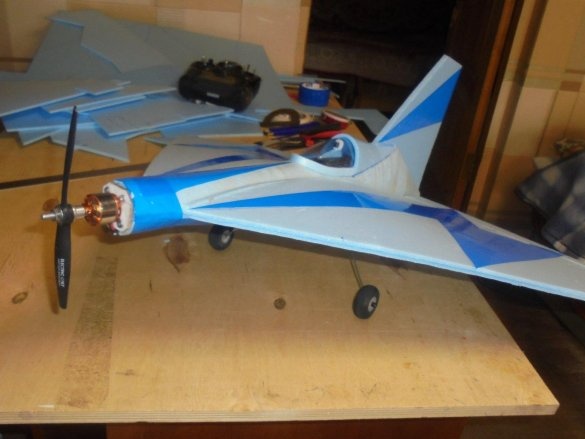
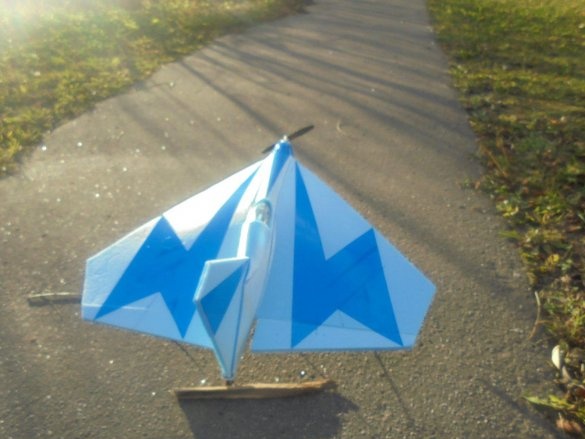
A little revived with blue tape the monotony of the blueness of the model. The name of the aircraft model decided not to do on it. I’m flying, and I'll see.
The last moments on the desktop.
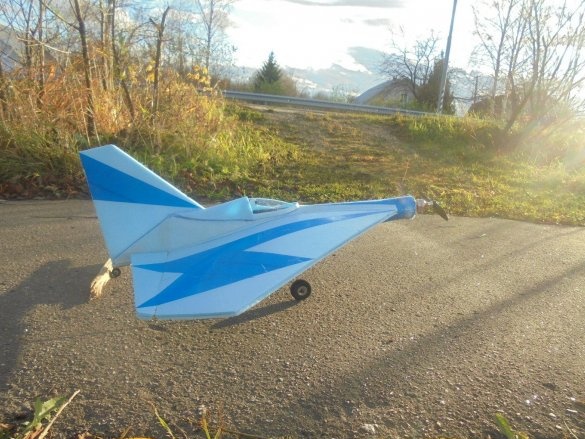
The model is 750 mm long.
Span - 680 mm.
Flight weight - 480 g.
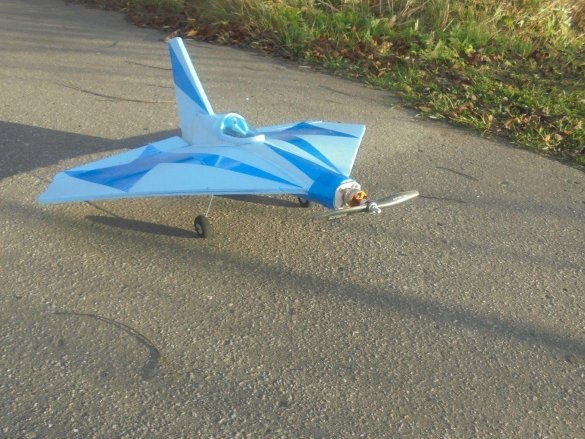
This is what the chassis and rear wheel look like.
The pilot is waiting for the first flight.
It remains to install boars, servos and reconnect traction
Runway model.
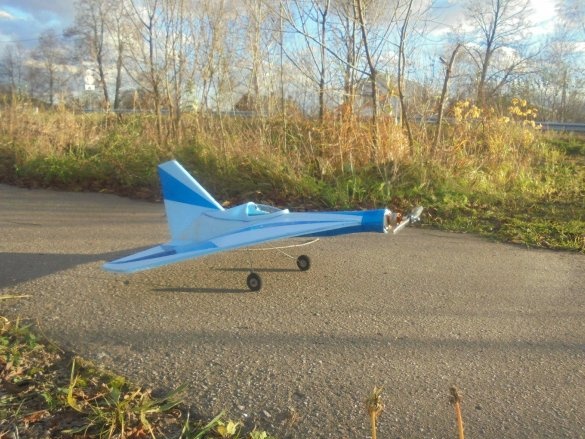
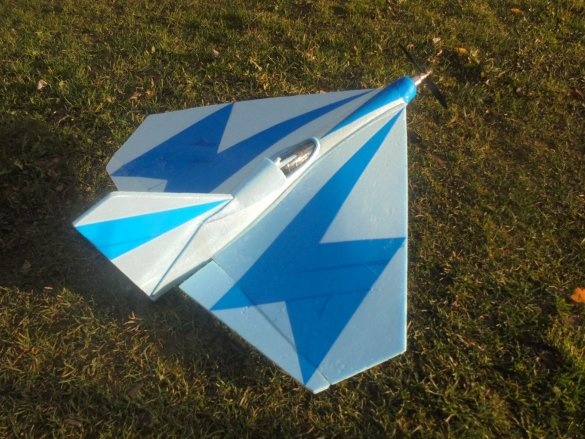
This is how the model looks on grass.
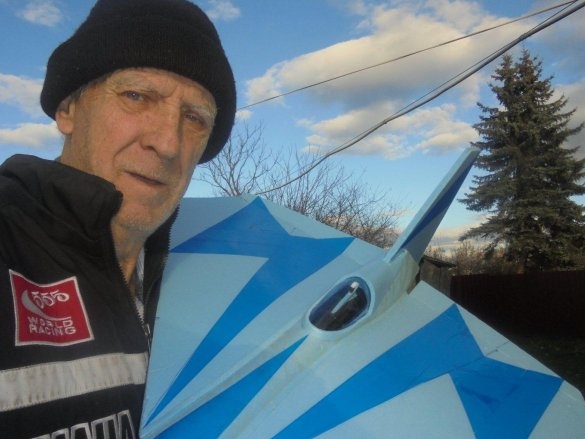
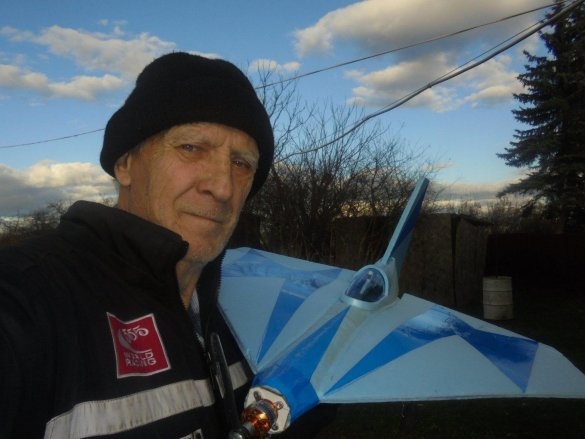
Photo with a model.
A small sample video of the engine traction.
I must say that there was enough traction in excess. At the first, test approach, the model almost from its place, almost vertically rises into the air.
That's how my imagination turned into a real aircraft model. Yesterday started, today finished!
In conclusion, I want to wish everyone the fulfillment of all your wishes, ideas and fantasies!
See you soon, your Valerian.


