

I'll start in order. In my free time, I reconstruct an old house. To him at the end I attached an extension. To build the foundation for it, I ordered a car of sand and gravel. And then, bad luck - the entrepreneur, who was supposed to bring the ASG, called back and said that his ten-ton truck had broken. He apologized and offered me a choice: bring 20 tons, wait until the ten-ton repair (repair is serious. Minimum week!) Or contact his colleagues (promised to give phones). I needed more than ten tons, but at one time I just had nowhere to put down. And since I was not in a hurry (I had not yet started digging), I agreed to wait. Initially, I had no idea digging a basement. After all, there is a separate cellar. But, when he began to dig a trench for the foundation for the extension, having passed the "cultural layer", he discovered deposits of pure sand and gravel. Without clay and large stones. Just the one I was going to buy! I called the entrepreneur and refused the order.
And so, the idea was born to dig out the basement under the kitchen - and I’ll provide myself with useful materials and building materials for the entire construction! ))). But the trouble is to dig a pit right next to the end of a heavy brick house, whose wall height is more than four meters, and its thickness is almost a meter, somehow dumb! The slightest movement of soil (especially since there is ASG) and this colossus will simply collapse! The foundation is deep (2 meters) and made of hewn cobblestone. But the solution is calcareous. And in the earth for more than a hundred years - just softened. But the head went red!)))) And I won this task.
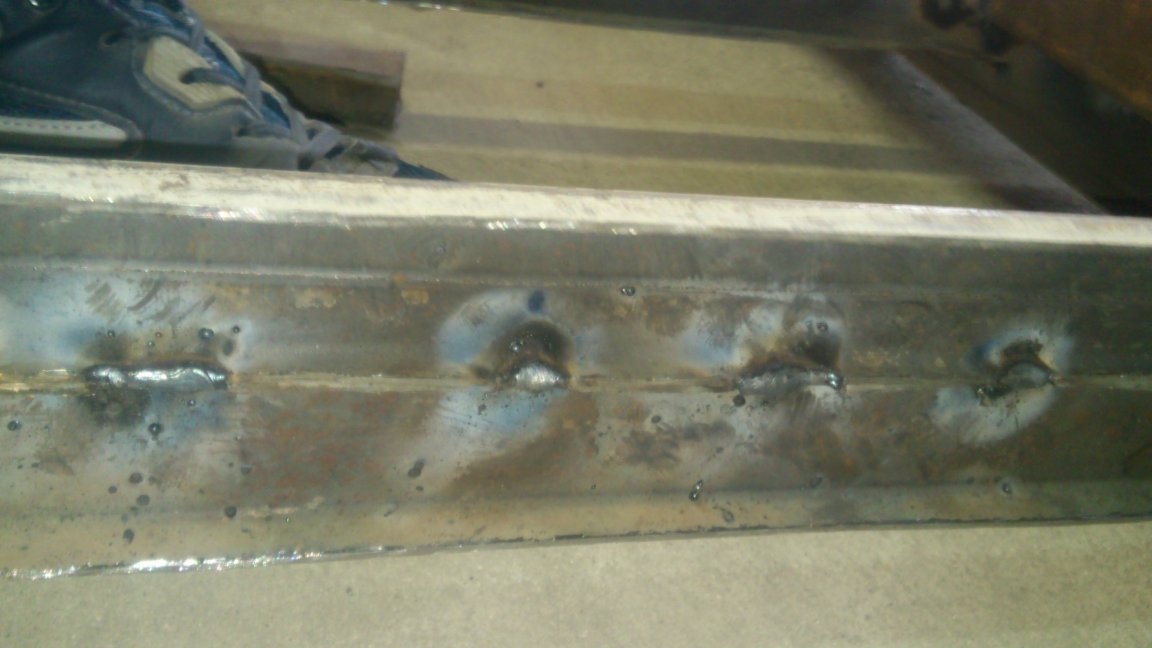
I decided to dig a trench under the strip foundation along the perimeter of the extension to a depth of two meters and a thickness of 0.4 m. Pour it, well reinforced, then when it settles, pour a strong ceiling on top. Now, through the hatch, you can get the ASG as needed! And it’s always in stock, and doesn’t take up space, and at the same time the basement digs around! ))) In theory, of course, everything is smooth, but in reality it was very difficult to do. Not only that, digging a forty-centimeter trench deeper than its height is already very difficult. (Increased two-meter cuttings on shovels.Well, at least the soil is soft! "Shufley" delves easily.) But the main trouble is collapses !!! On the first day I dug up a whole wall - four and a half meters long. And the next day, coming in the morning, I saw that it all collapsed !!! Since then, I dug a few linear meters and immediately poured it (well, the gravel went to the same one that I took out !!! That is, I took it out, mixed it with cement - and vice versa!))))
But, little by little, everything was flooded. The next year, flooded the slab. (The truth, he used the purchased washed sand of the highest category. You never know ... The construction is responsible!).
And now, when the walls were already standing and the roof of the annex was covered, I again needed ASG - tearing off the old floors, I poured rough screeds under the whole house.
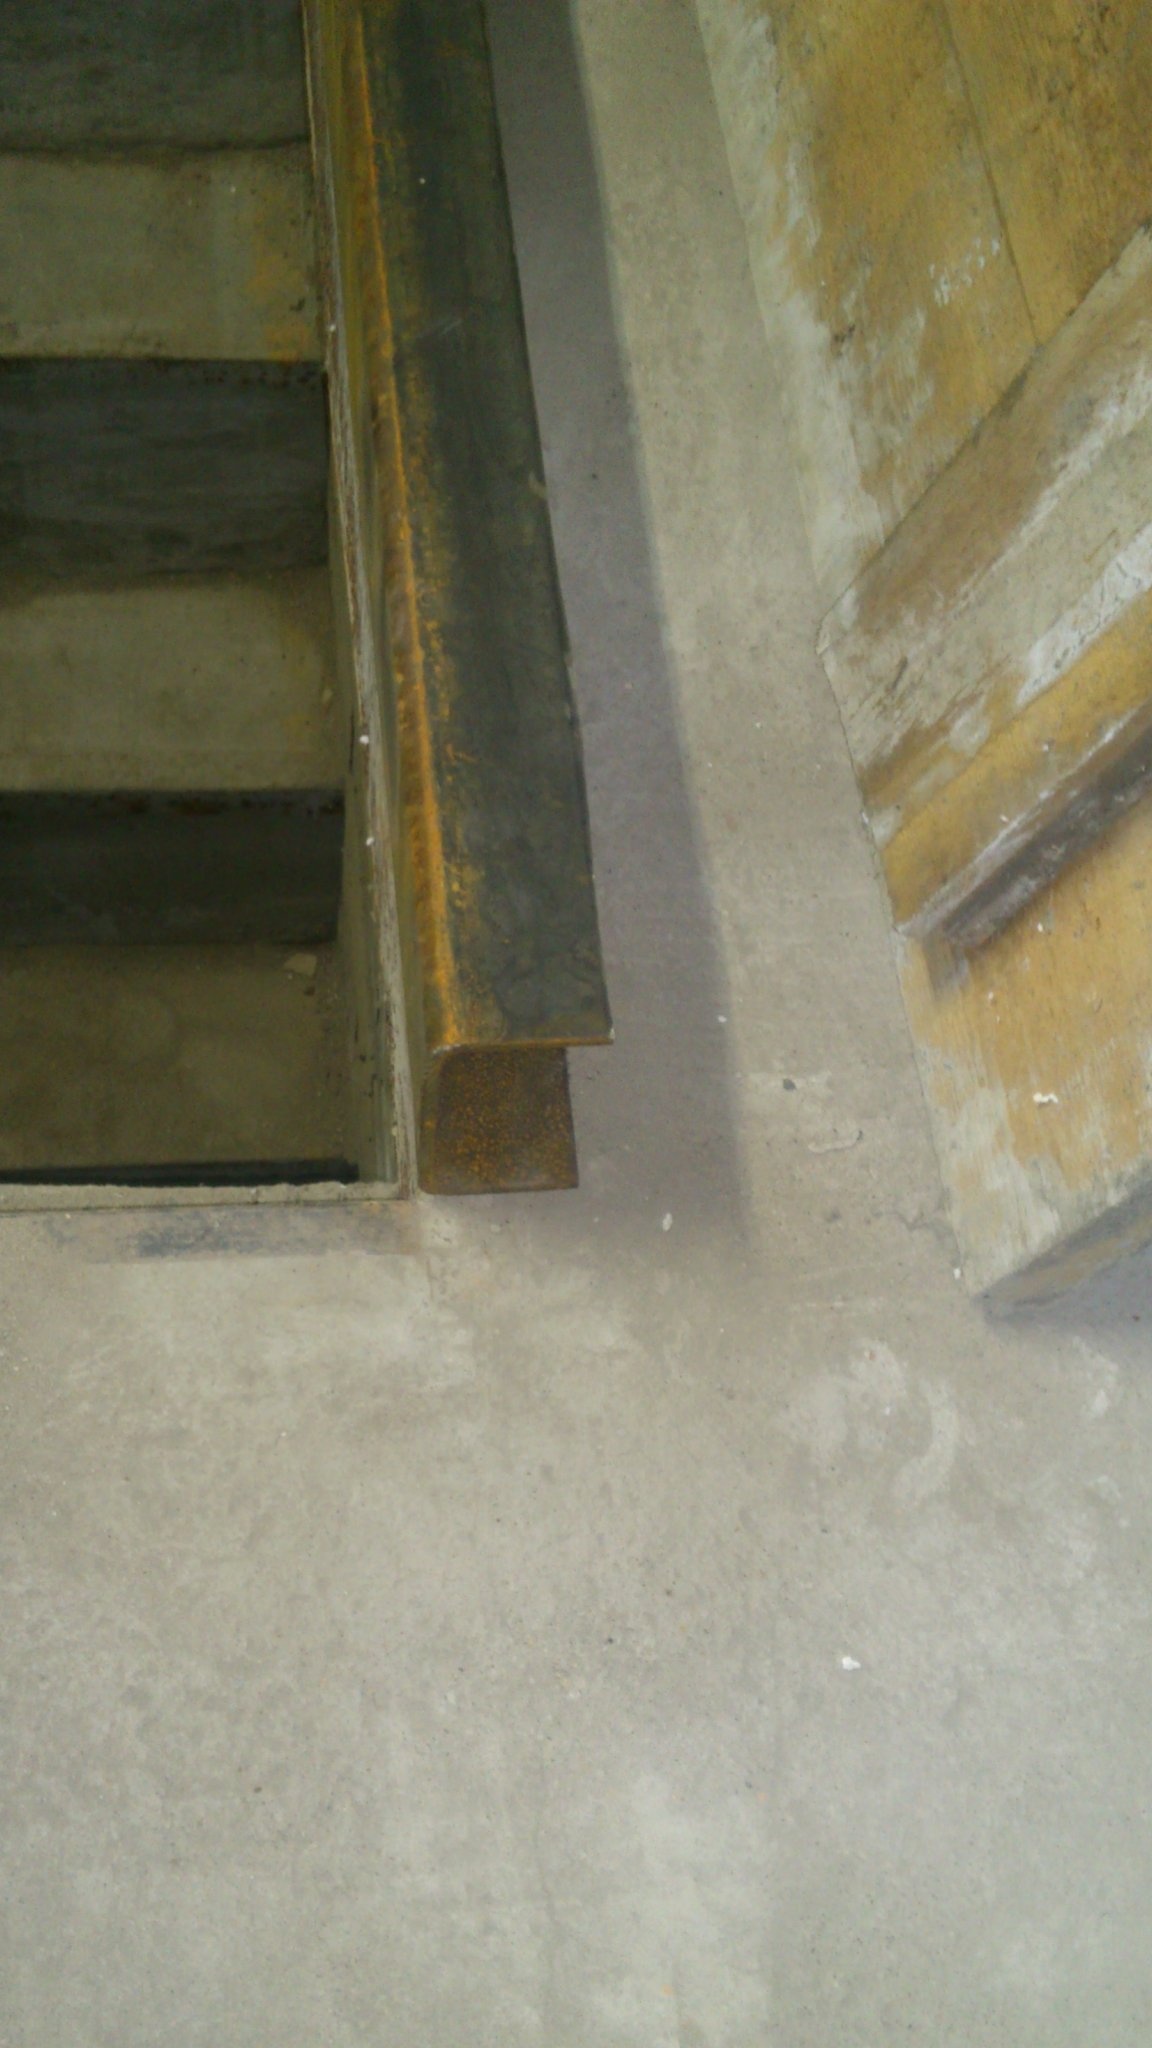
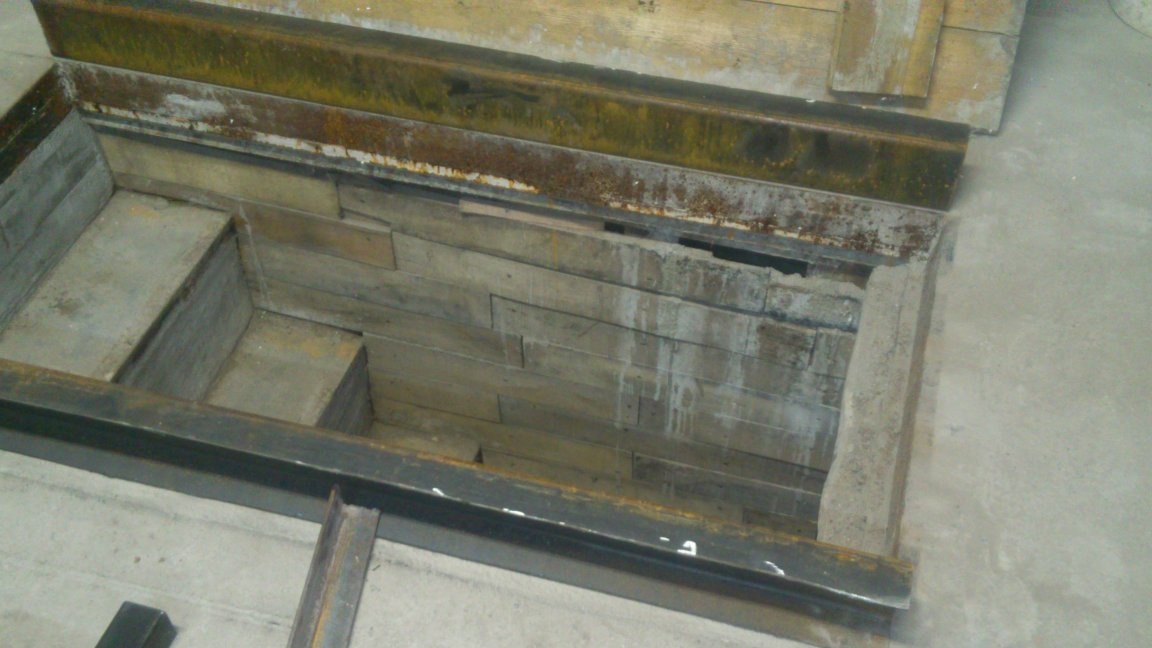
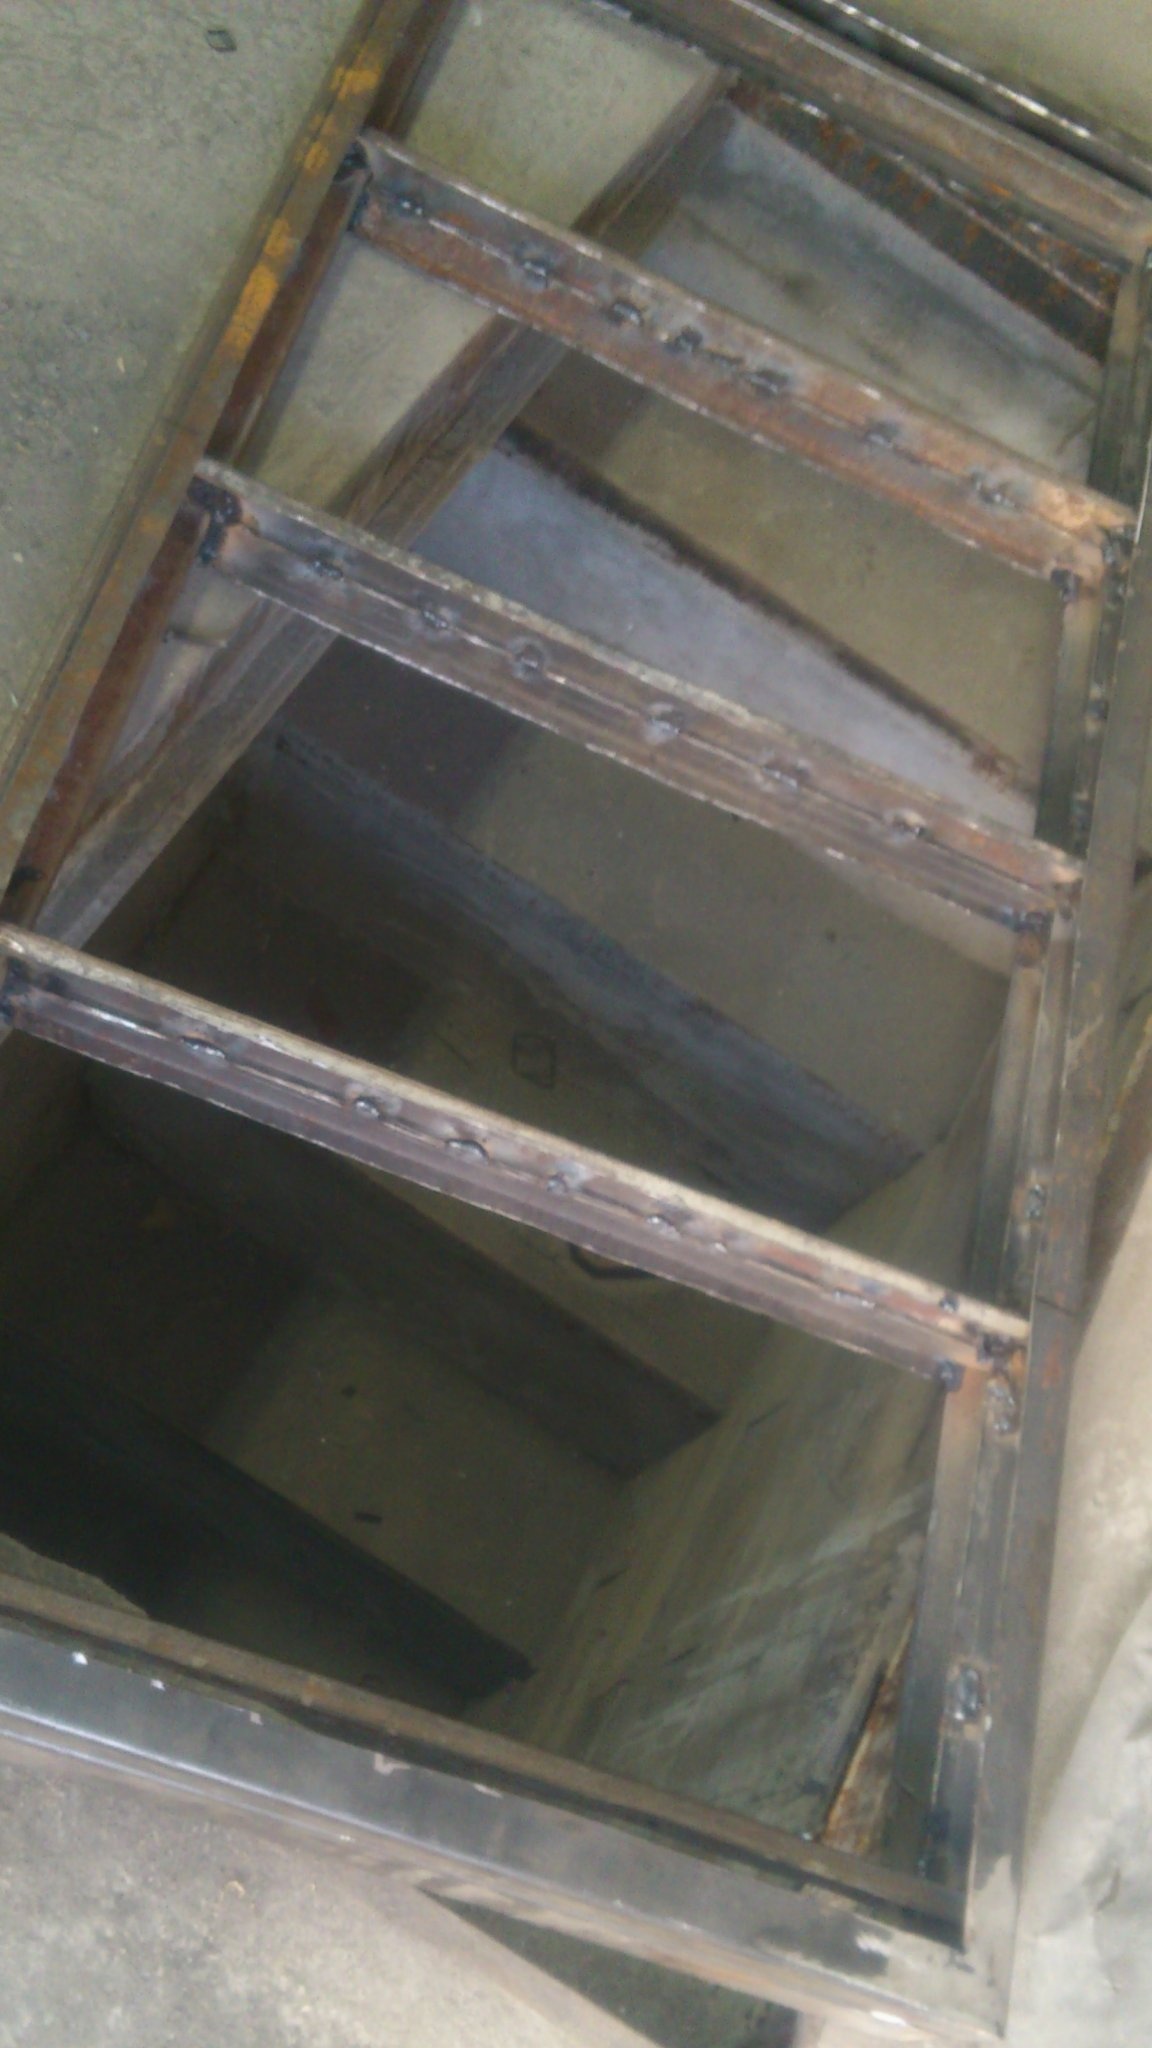
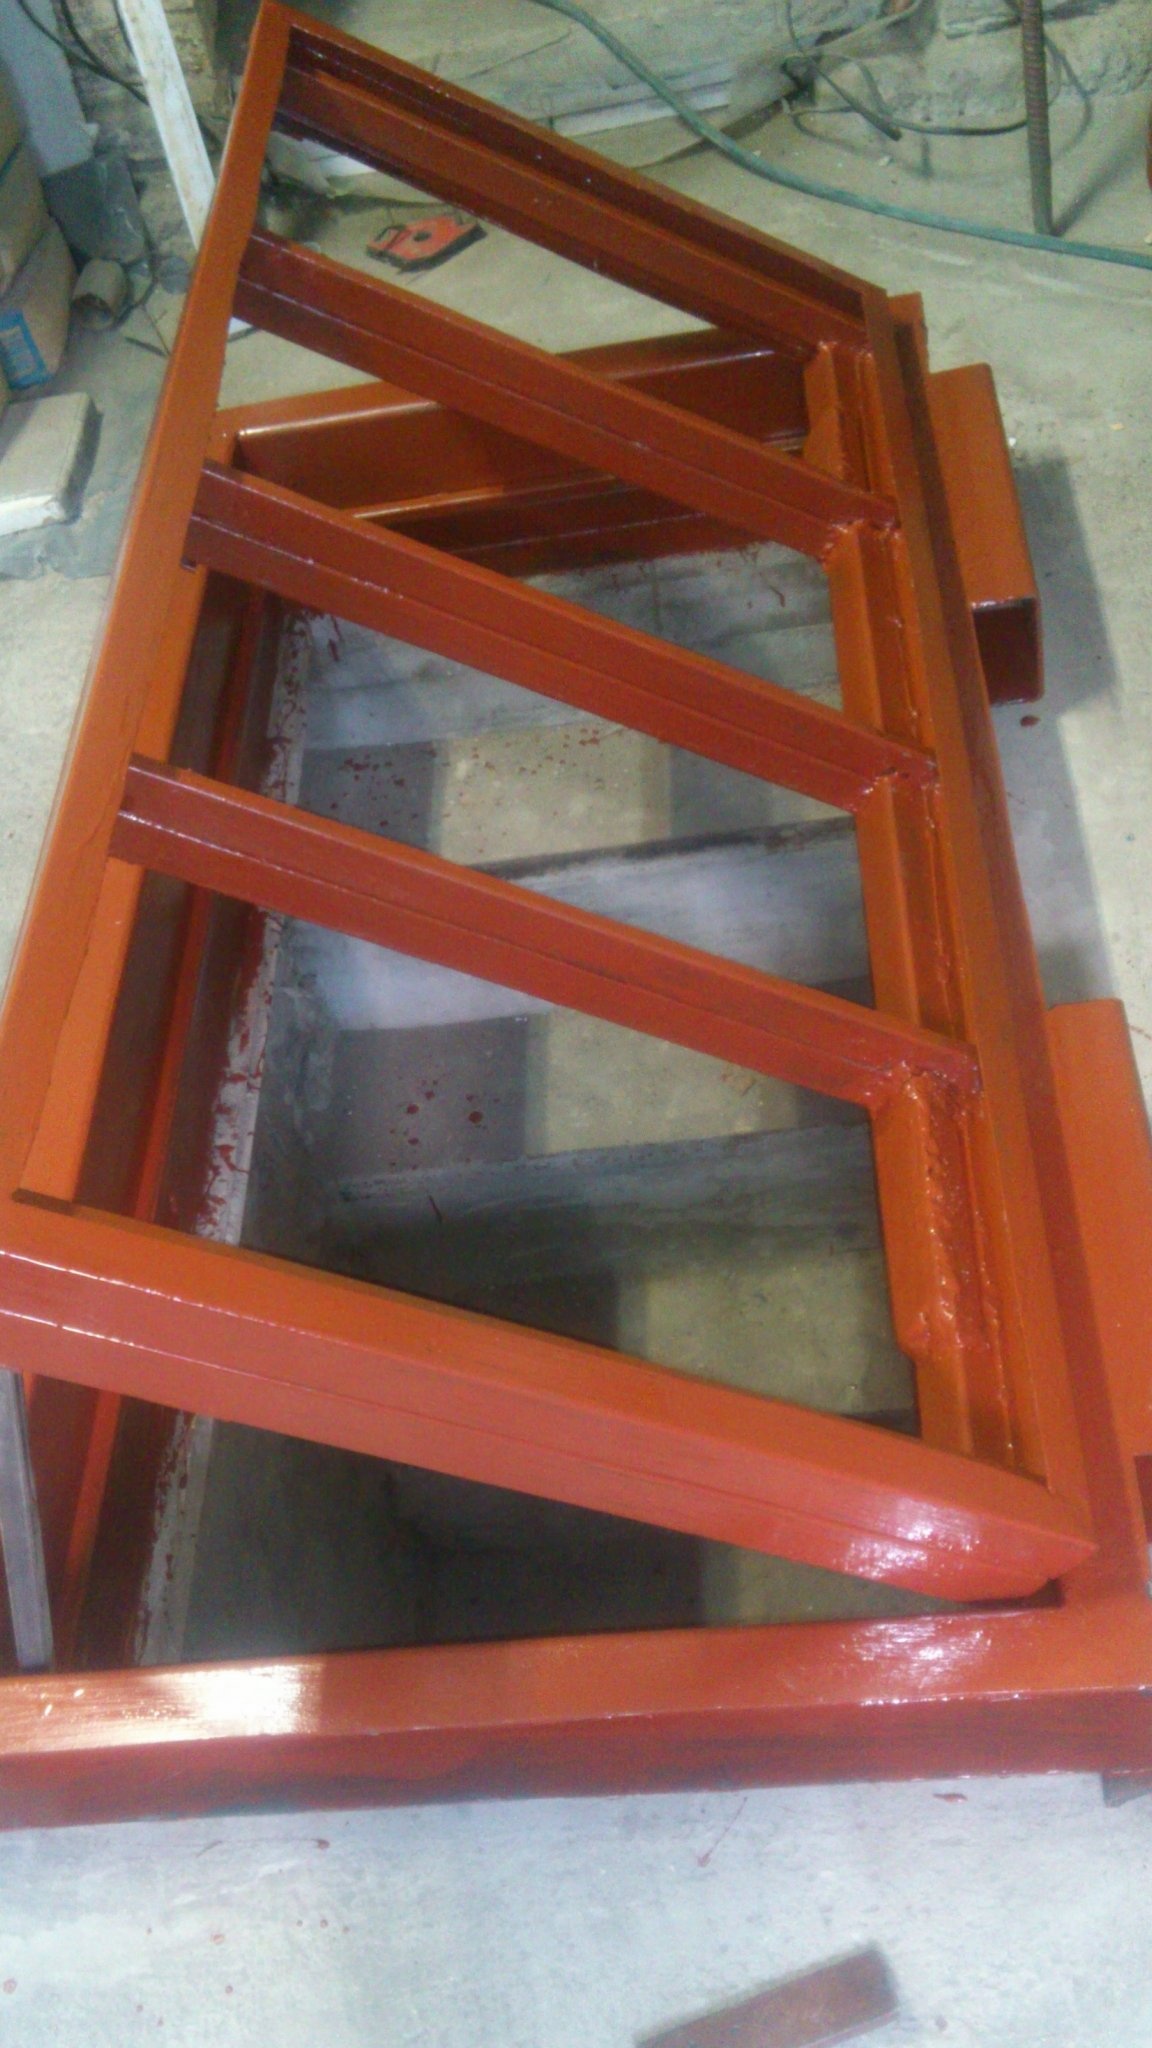
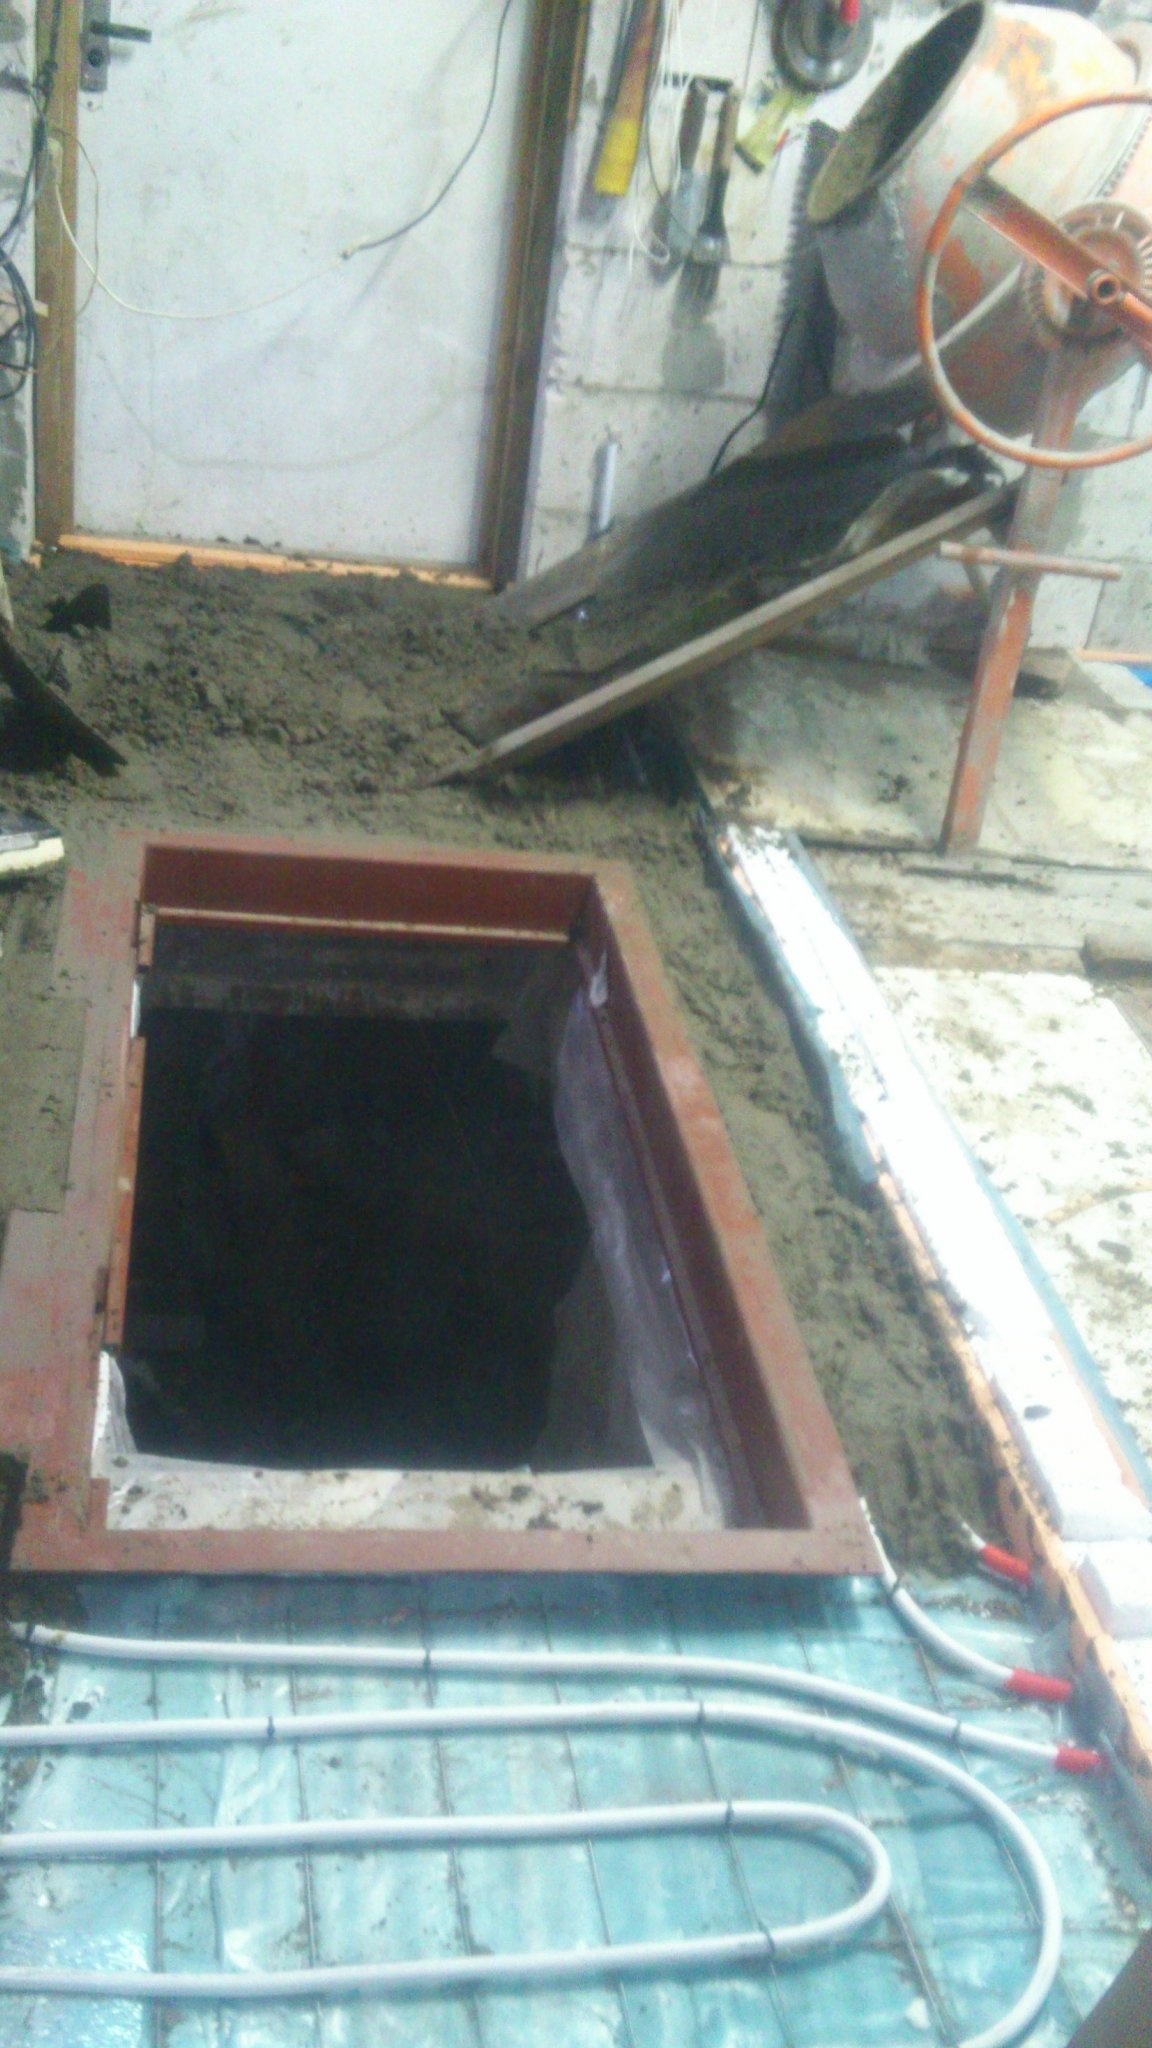
First I dug up the stairs! (It turns out that you can still dig them!)))). At one time, in the ceiling, I left the aperture, having immured a frame into it, which I welded from the channel. And now, through this opening, I chose the ASG, while making the stairs. In order not to collapse, I made wooden shields to the size of the tread and put them on. At the end of the day, lifting these shields vertically and securing them with pins, poured the excavated steps, using a shield as a vertical formwork, and the horizontal was simply leveling with a trowel along a metal corner embedded in the corner of the future step. (Fortunately, there was an excess of concrete in the concrete mixer.))) A few days later, cutting the pins, removed the shields and dug the stairs further, extracting building materials.)))
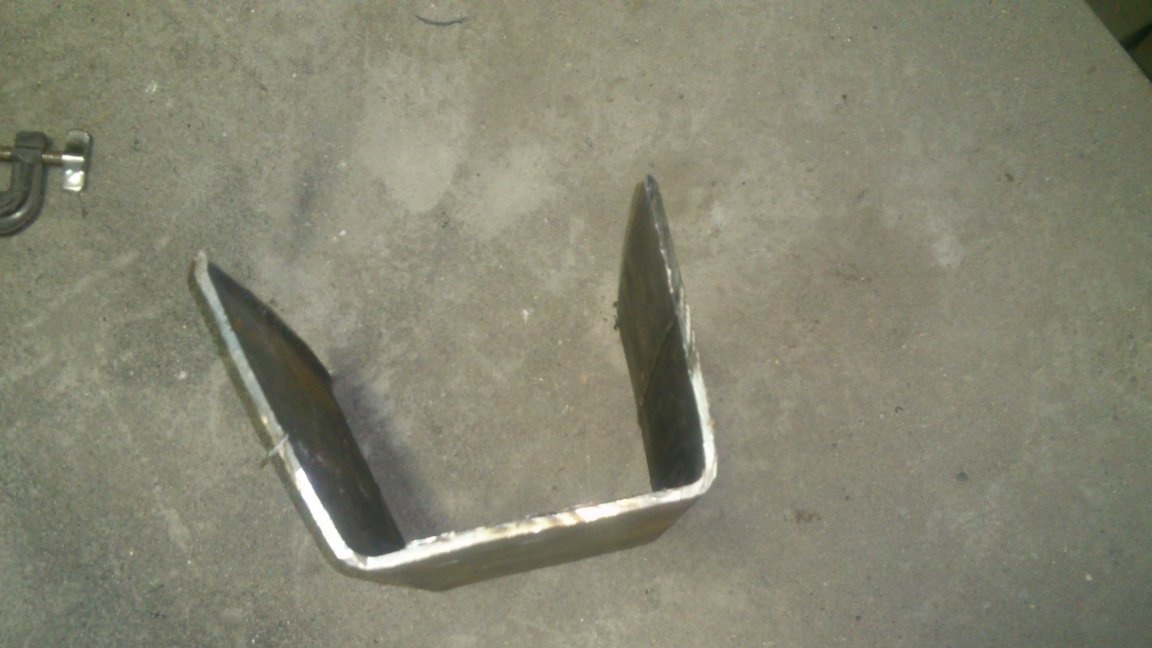
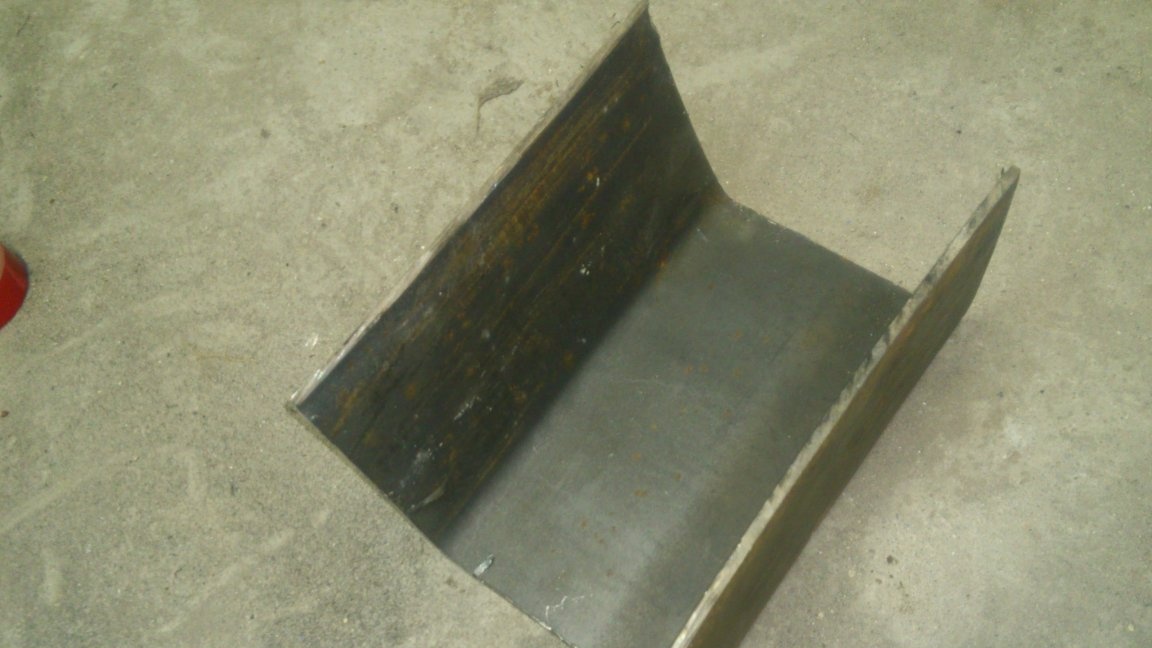
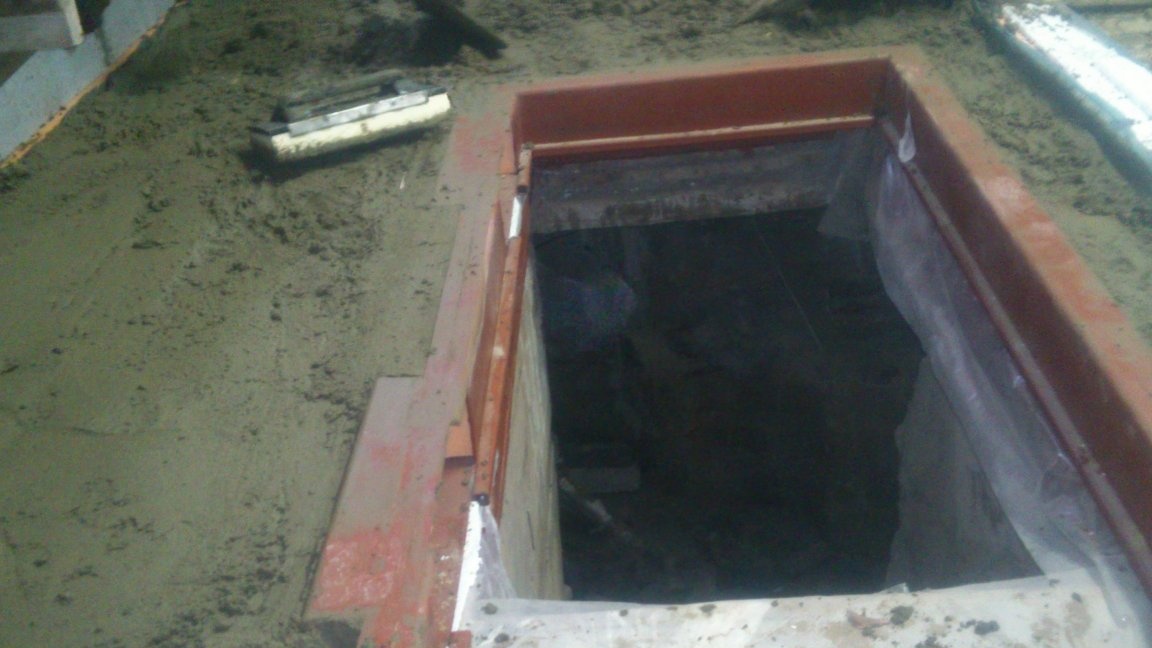
So it happened like this staircase:

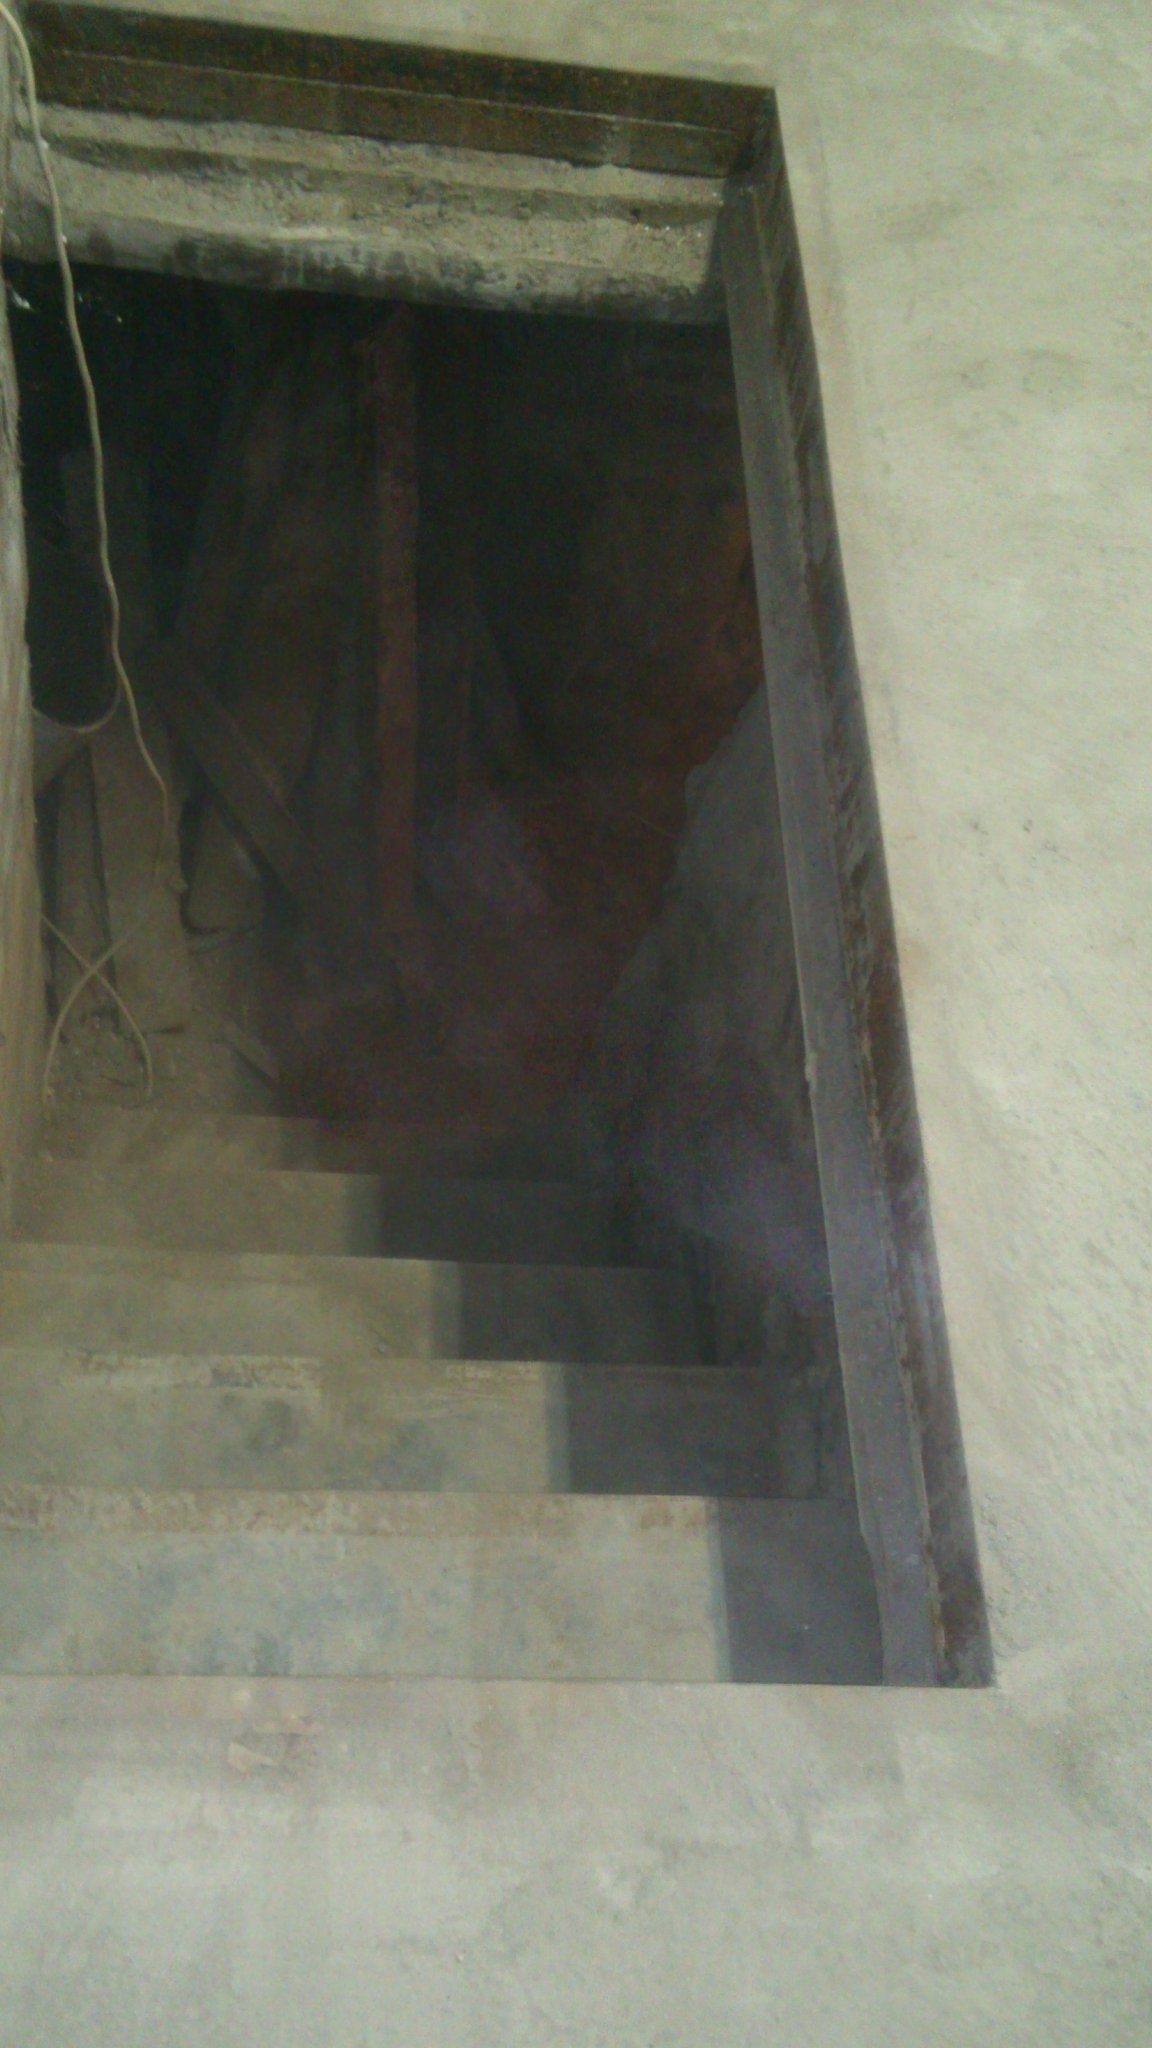
I didn’t get on the top step a bit .... Which is not surprising - when I started to dig the stairs, the level of the floor was not yet known exactly.
But ... There is no silver lining.))) Or, more precisely, "there would be no happiness, but misfortune helped!")))). During the construction process, it turned out that it would be nice to shift the hatch a bit, and in this room there will also be "warm floors". That's good - the “cake” of the warm floor has a height of 15 cm. Moving the hatch, I get a step of this height. And then I’ll take off the extra five centimeters from the height of the penultimate one, and they will be added to the low new one.))))
But that later. In the meantime, you need a hatch! At one time, I, in another house, made a hatch to the basement from the kitchen, measuring 70 by 70 cm. And then I realized in its entirety, how convenient it is !!! You can go down and climb through it only by a ladder! (It is annoying me now, at half-past fifty! And what will happen when I am seventy ?!)))). In addition, getting up is not so bad. But at the same time you need to raise something there, or lower it !!! And if it is "something" - a bag of vegetables, or potatoes? !!! After all, even carrying a basket in your hand, you already need to wriggle, showing the wonders of juggling!))) And the bag - only with an assistant! (True, I got out of the situation by making a rope with jumpers tied in half a meter and a large mesh “basket” at the end. Using it, I take out / lower the bags alone. But this is also not very convenient!)
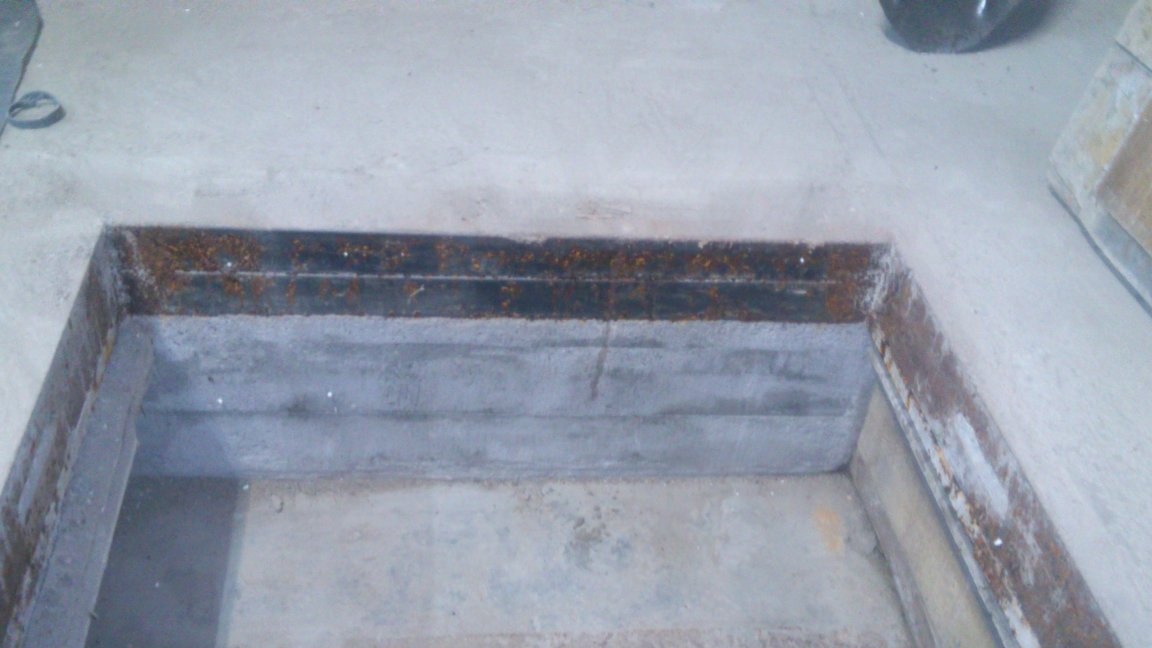
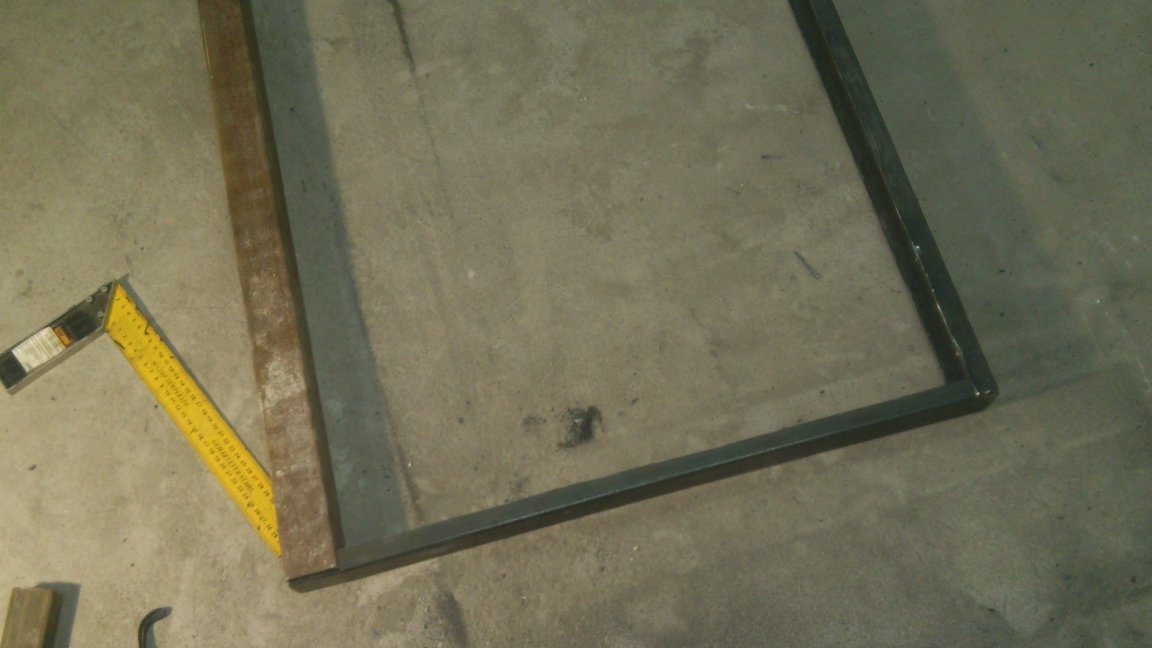
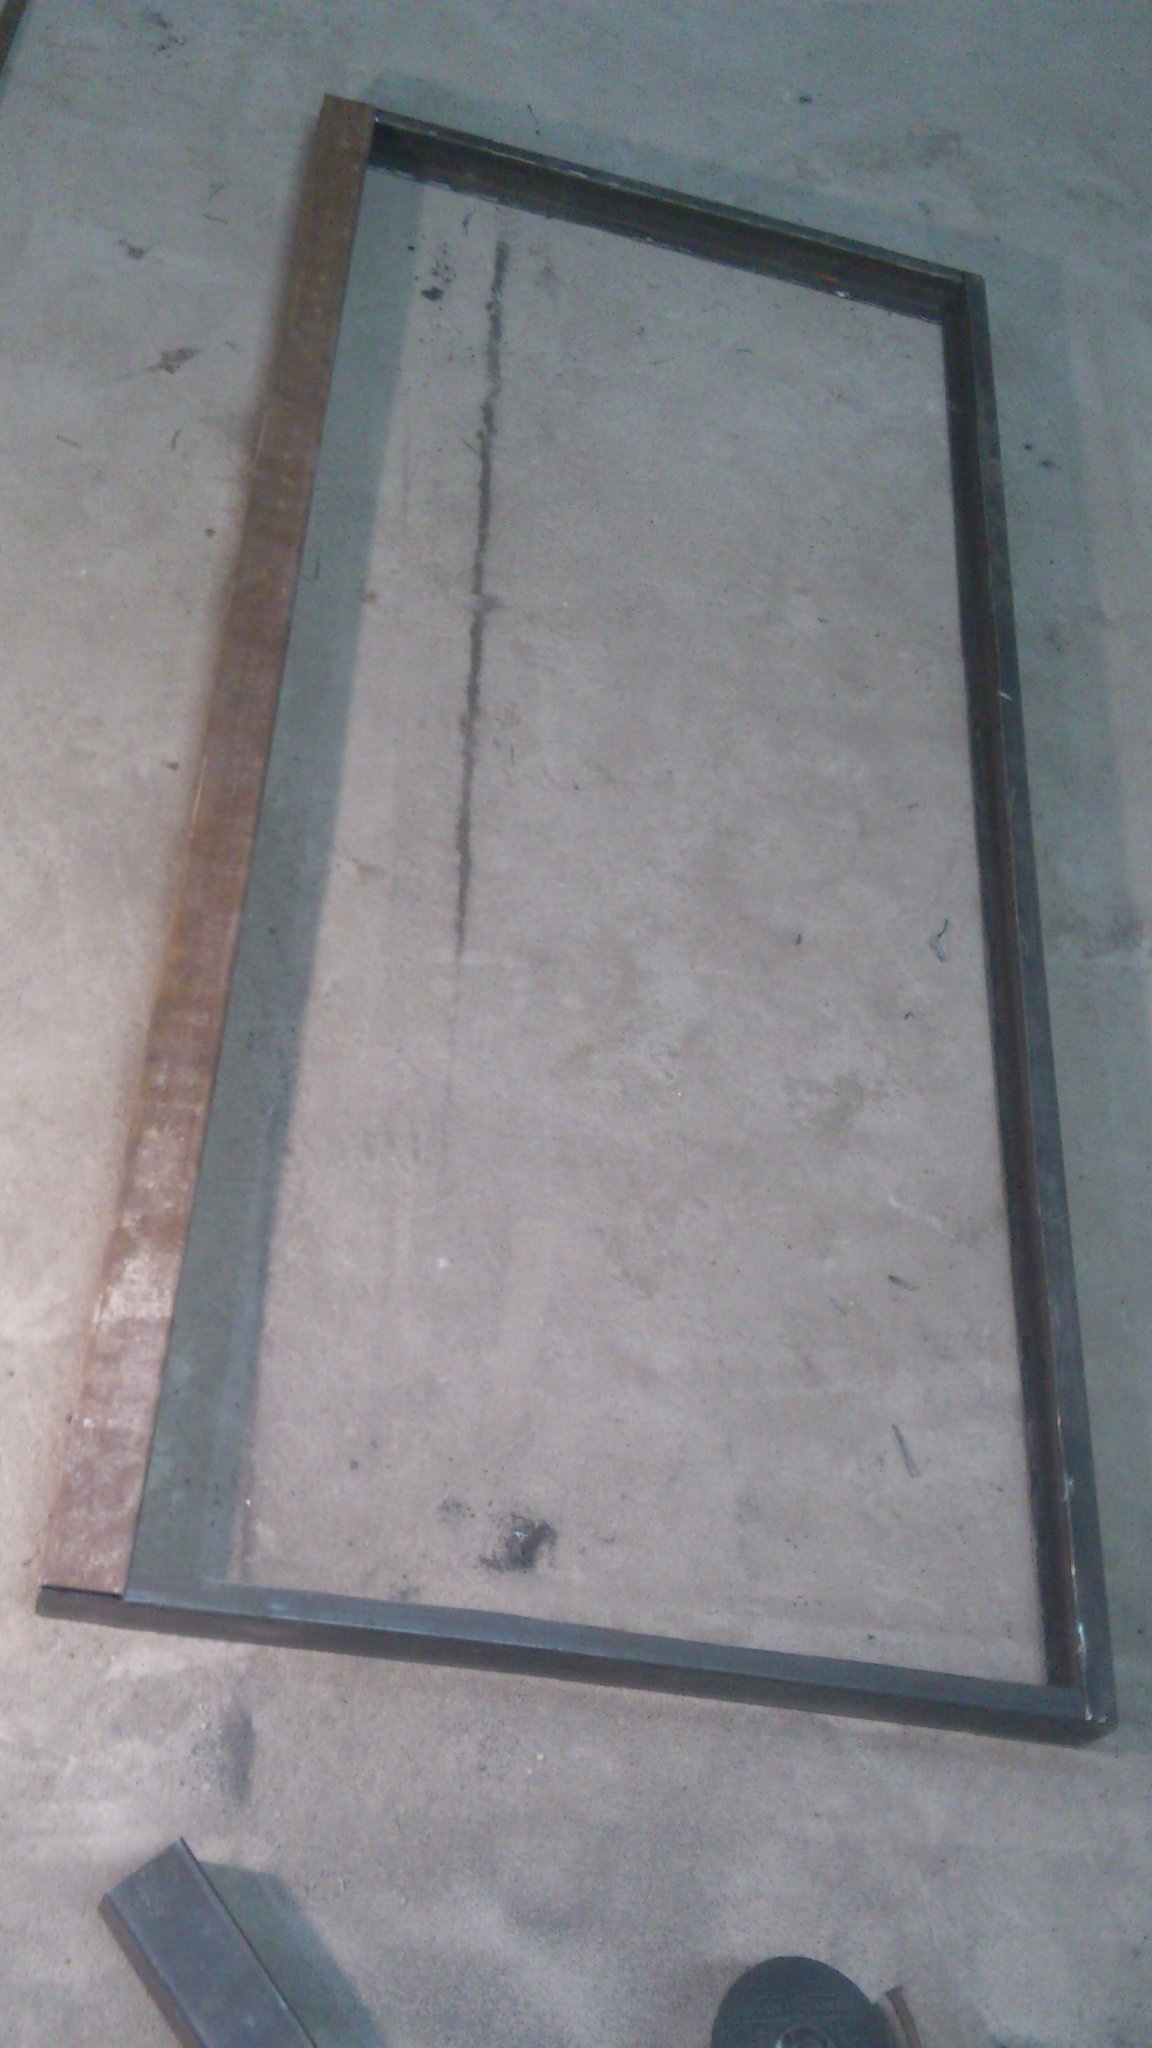
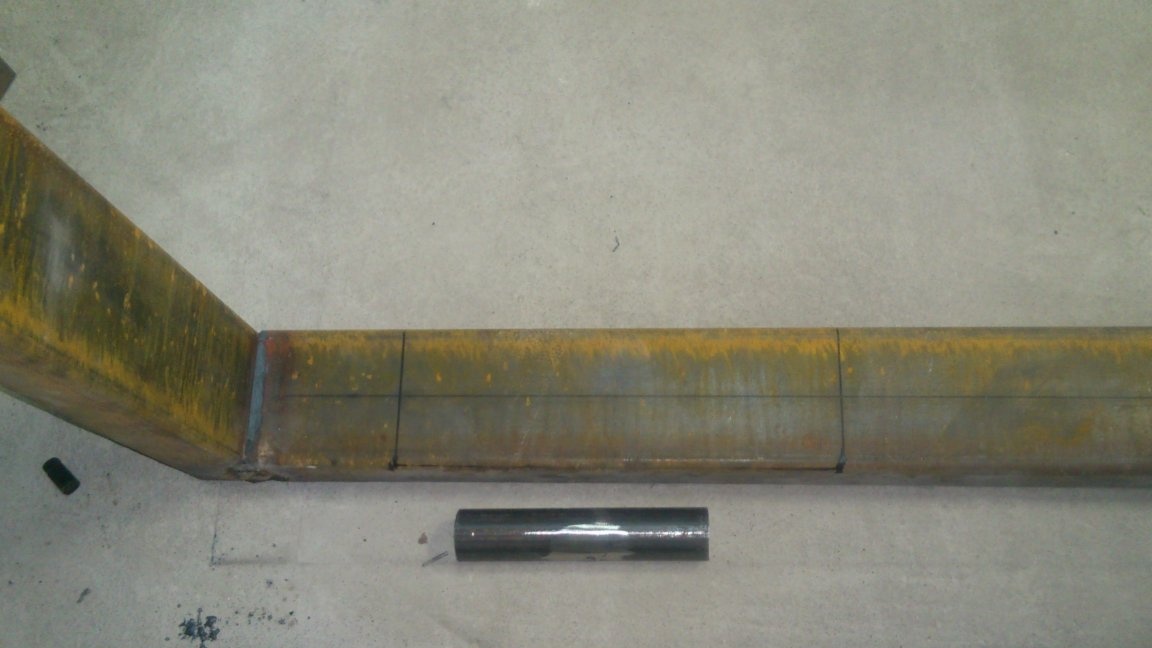
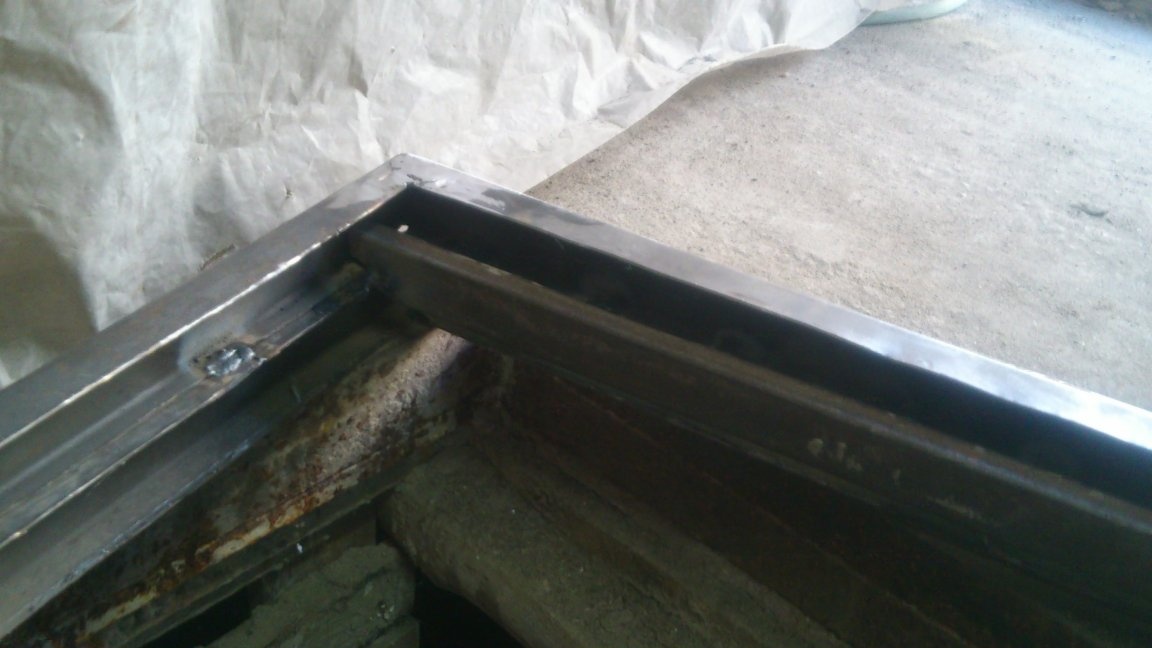
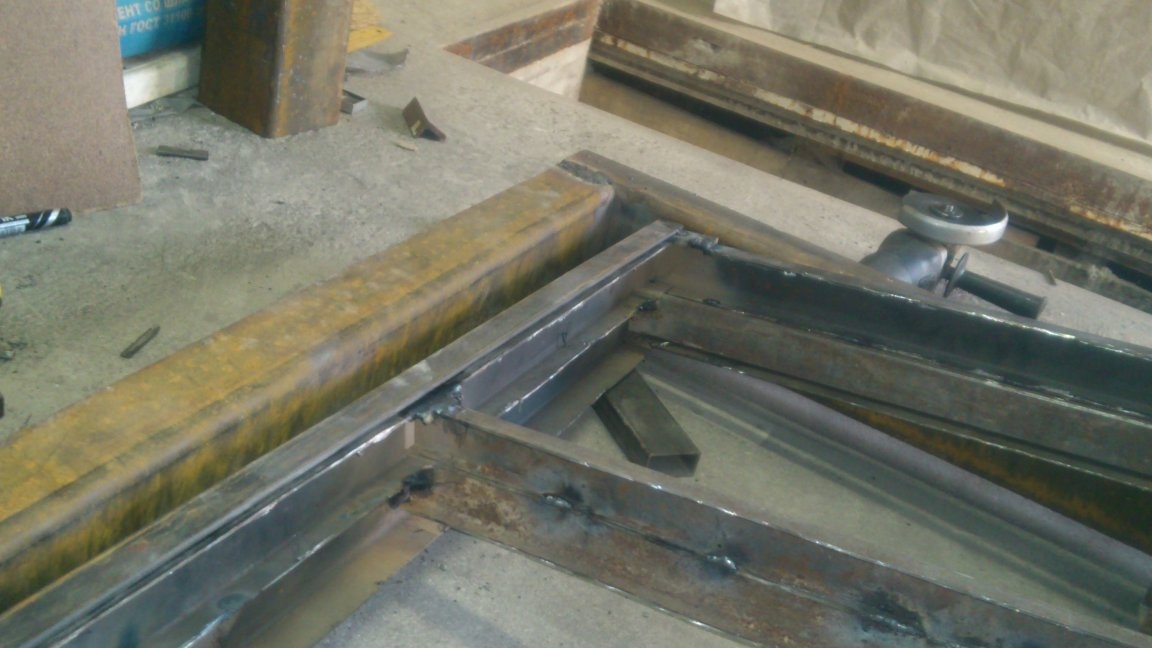
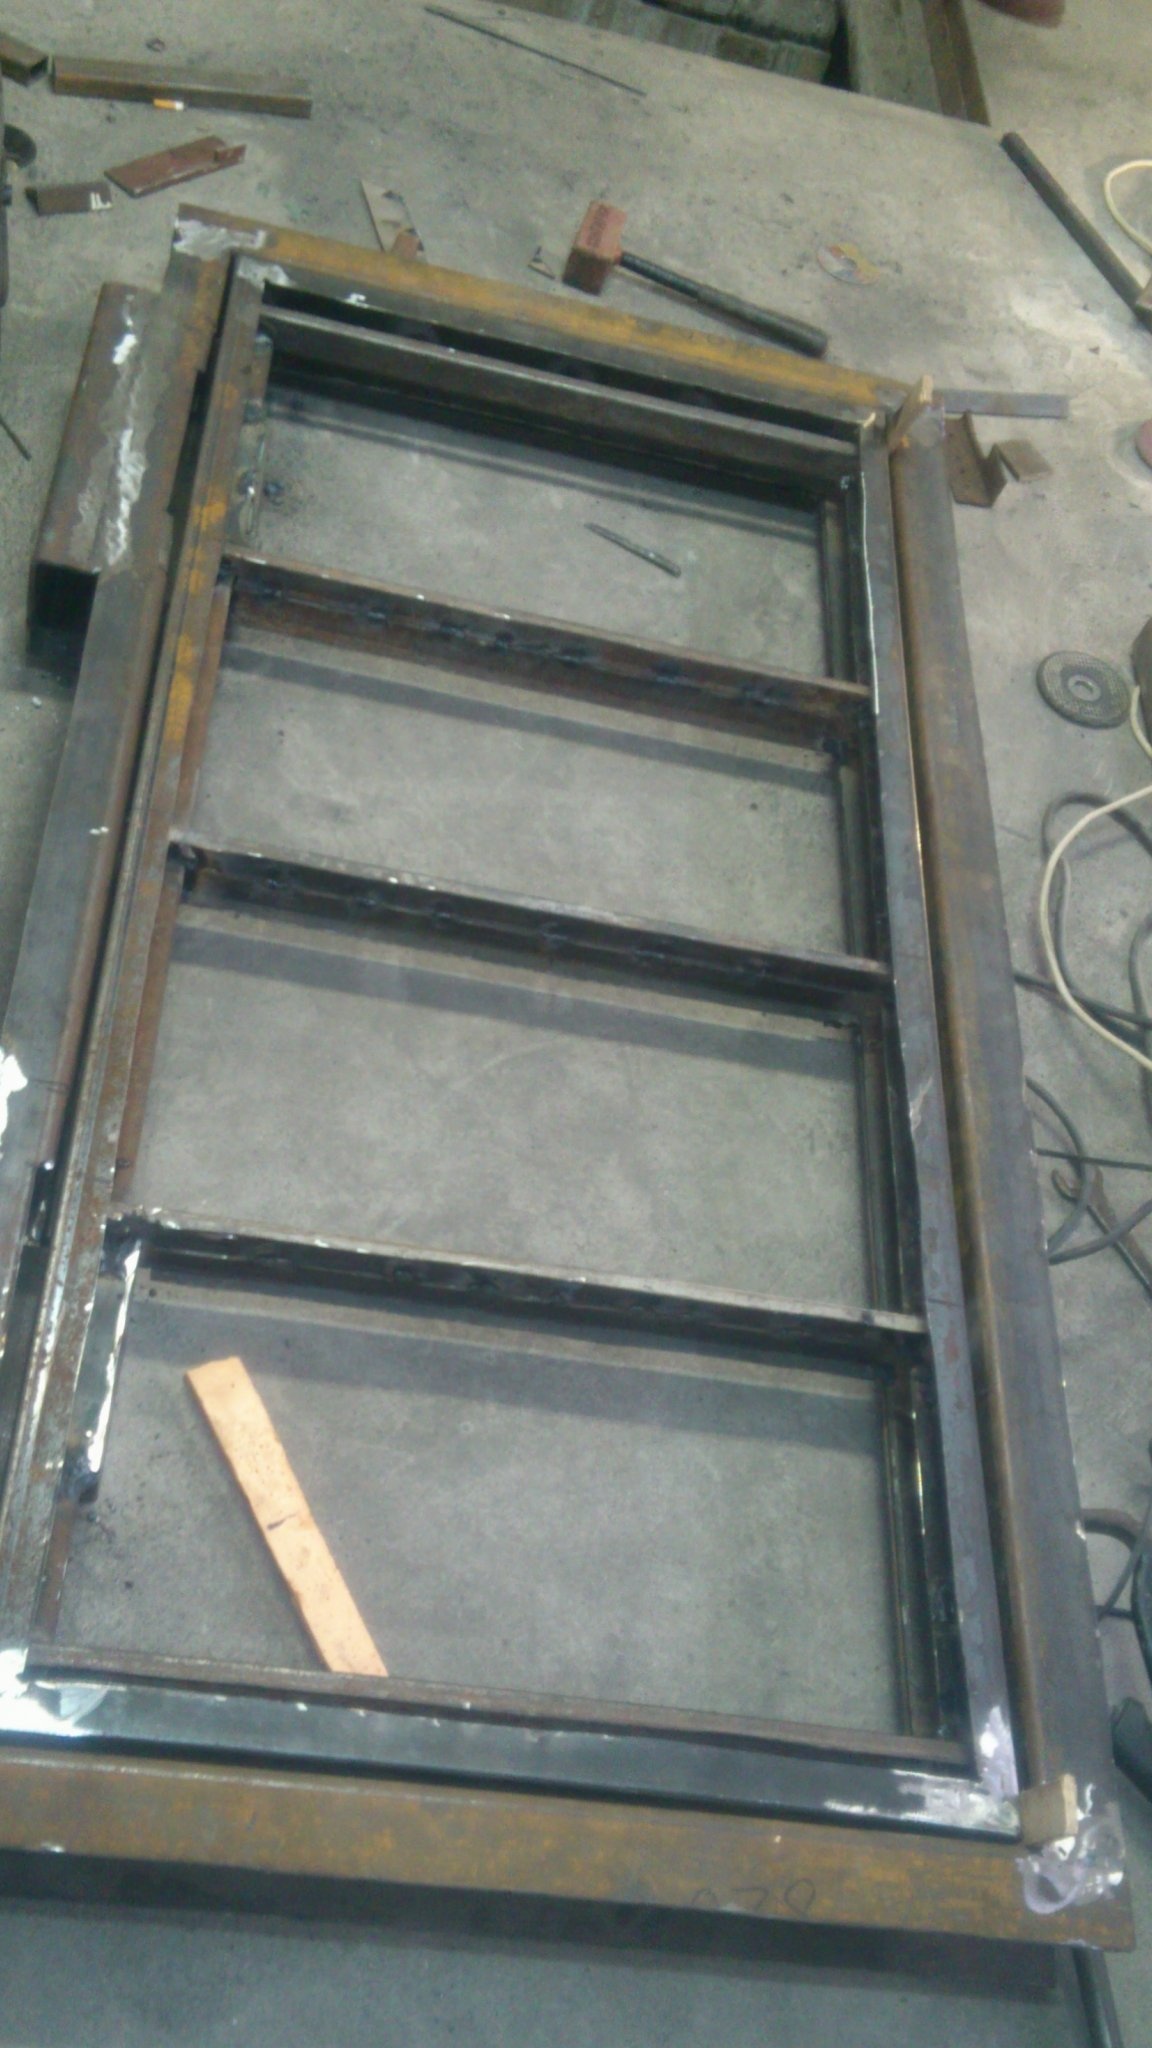
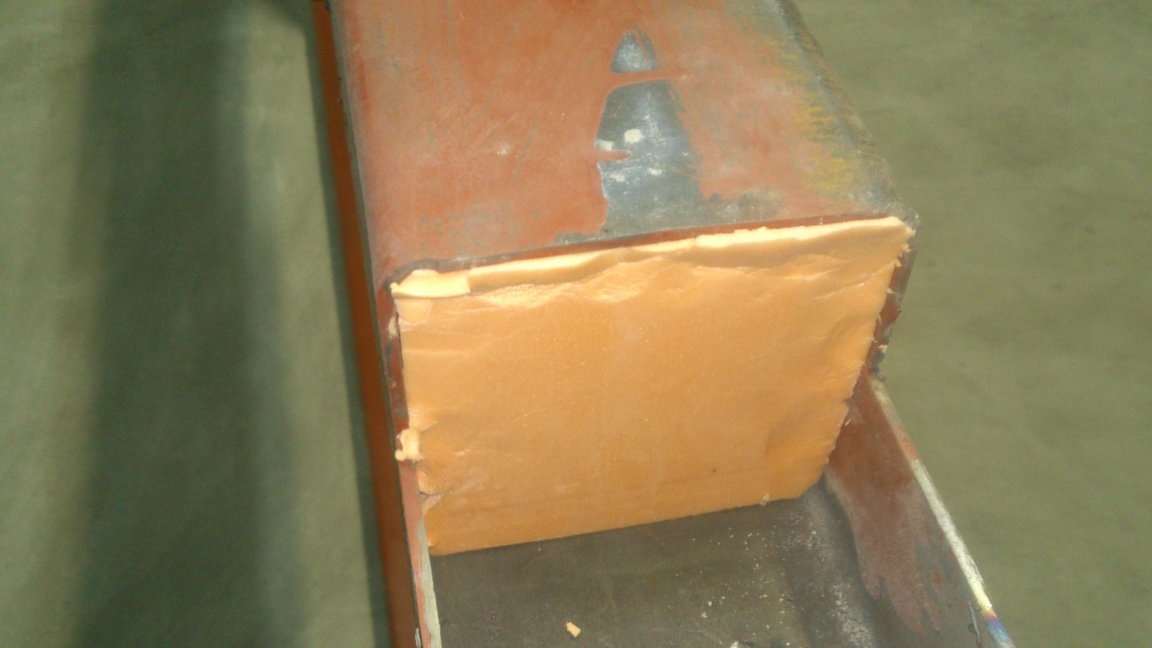
This time I decided to make a normal entrance with a normal staircase. When he poured the ceiling, from the old channels, which had once been a "scribble" from the crane, welded a frame measuring 700 by 1500 mm and laid it in the ceiling. (Visible in the photo above). The length was determined experimentally!))) I went down the stairs (she, after all, was already) and looked at where my crown would not touch the ceiling))) And rounded to a larger value.)))
... These are the sizes and will be my hatch!
But the large size gave rise to some additional difficulties. After all, he must have sufficient rigidity! Accordingly, with such dimensions, sufficiently powerful supporting structures are also needed. And this is a significant increase in weight! Accordingly, in order to easily raise such a hatch, it will be necessary to supply it with gas springs (often they are mistakenly called shock absorbers), in the likeness of a hood, or a car trunk lid. And this, in turn, most likely will require the installation of a lock! (After all, I won’t be able to make air springs myself. I have to pick up automobile springs. And it is unlikely that they will be able to pick up their force so that they evenly compensate for the weight of the hatch. Most likely, they will try to open it.)
But, at this stage, I can’t make the hatch completely - it is needed now, because it is necessary to fill the floor, and the final coating will not be soon! And I have not yet decided on his appearance! (Laminate? Ceramic tile? Vinyl laminate? Vinyl tile?) But, after all, each type has not only different weight! It also requires different materials from which the draft hatch plate will be made ....
So, while I need to make a universal design, on which later it will be possible to put any of the above coatings.
This is what I made of it:
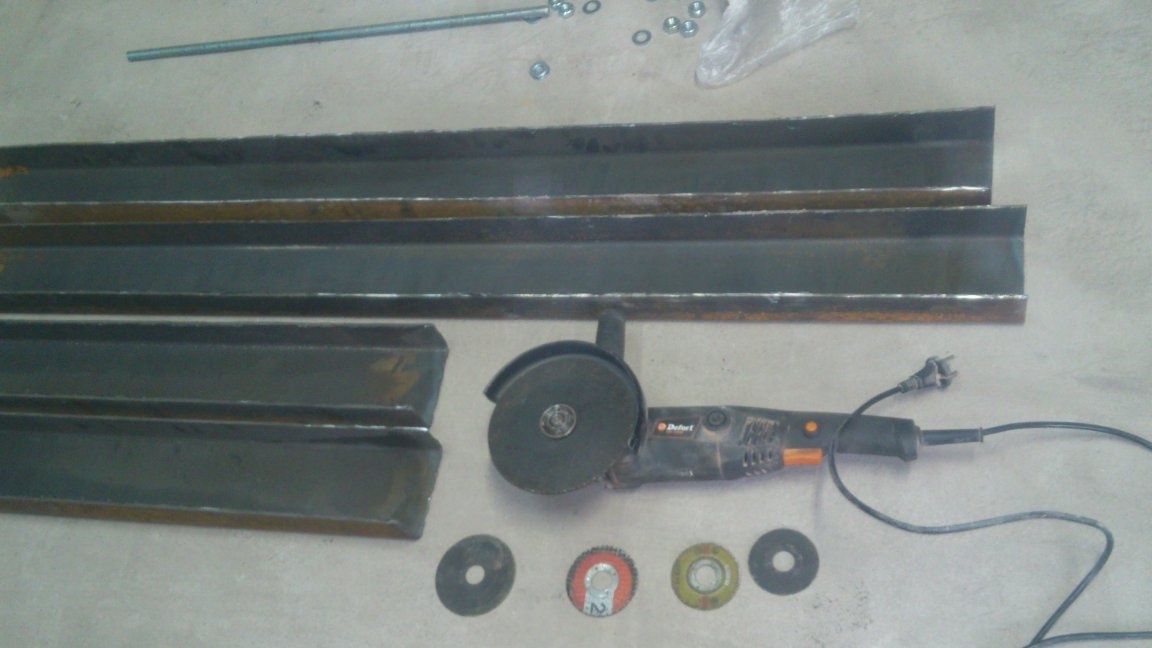
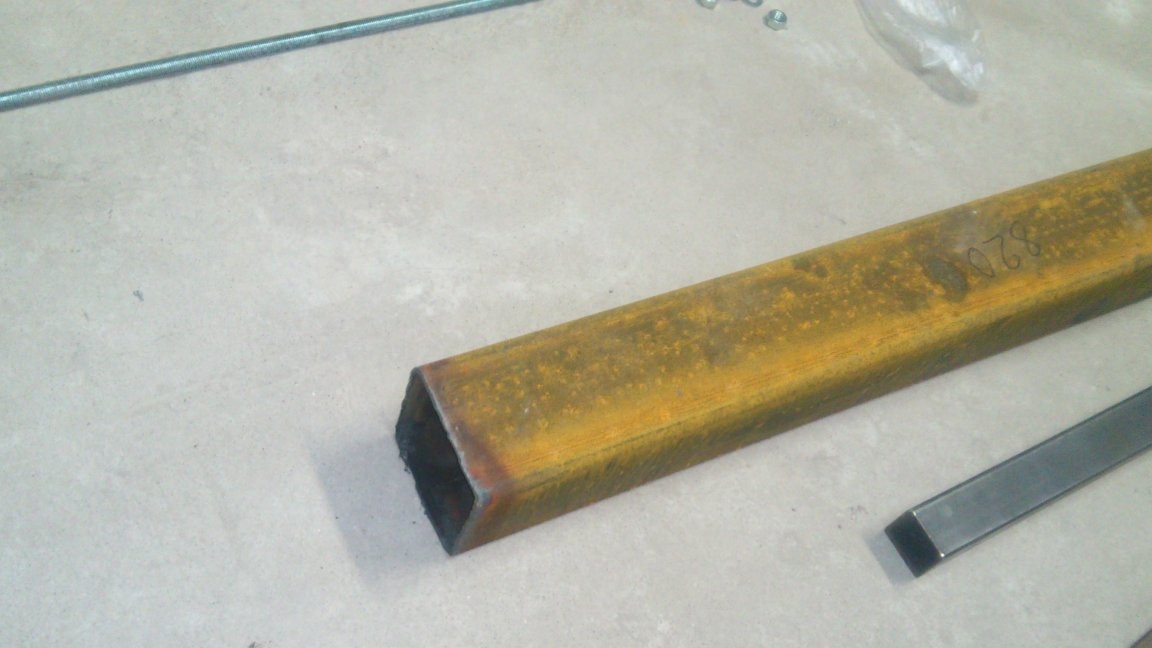
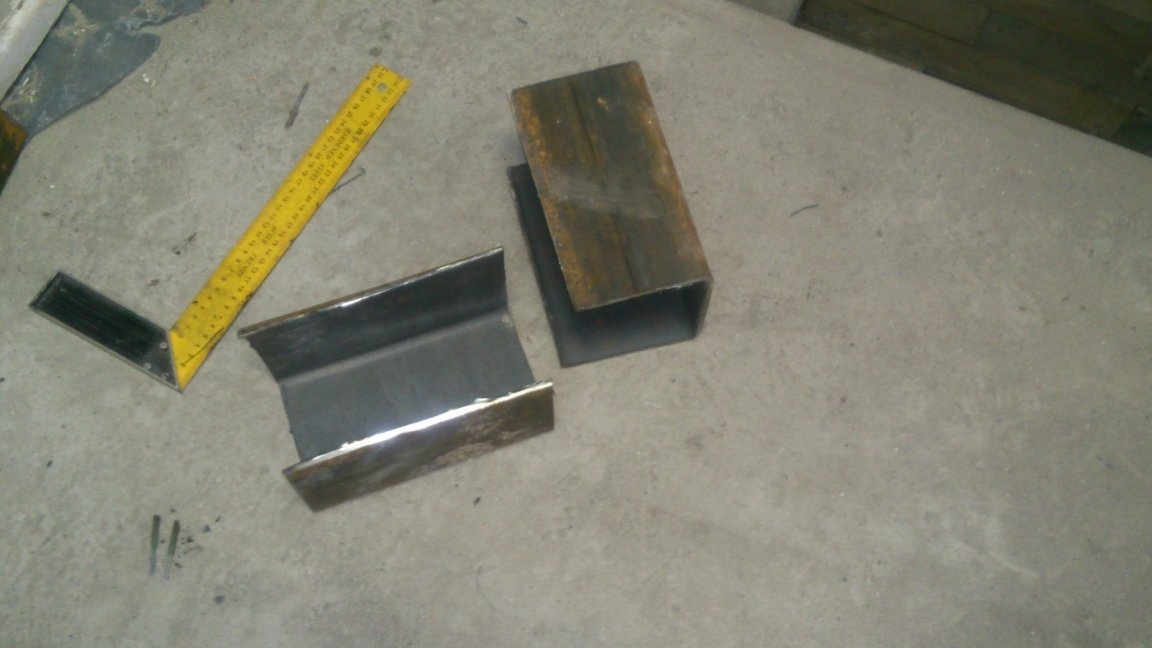
1. Profile pipe 120x120x4 mm.
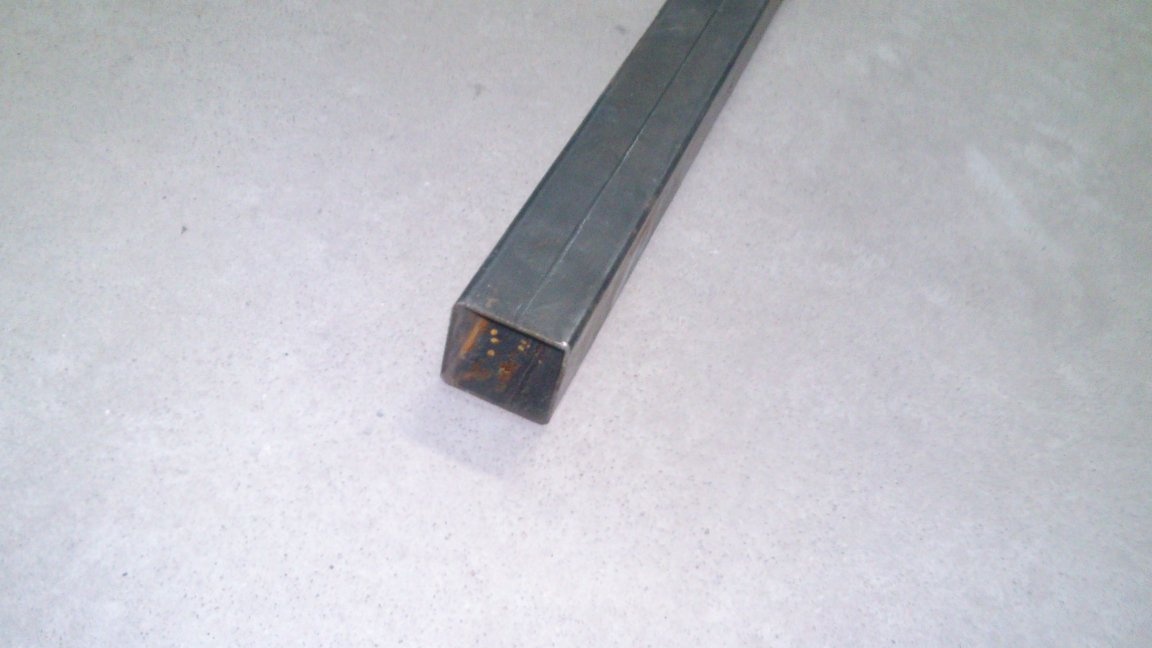
2. Profile pipe 50x50x3 mm.
3. Profile pipe 40x25x2 mm.
4. Profile pipe 20x20x1.5 mm.
5. Water pipe DU32.
6. Pipe water DU25.
7. Bearings 6202.
8. Hairpin M14.
9. Nuts and washers M14.
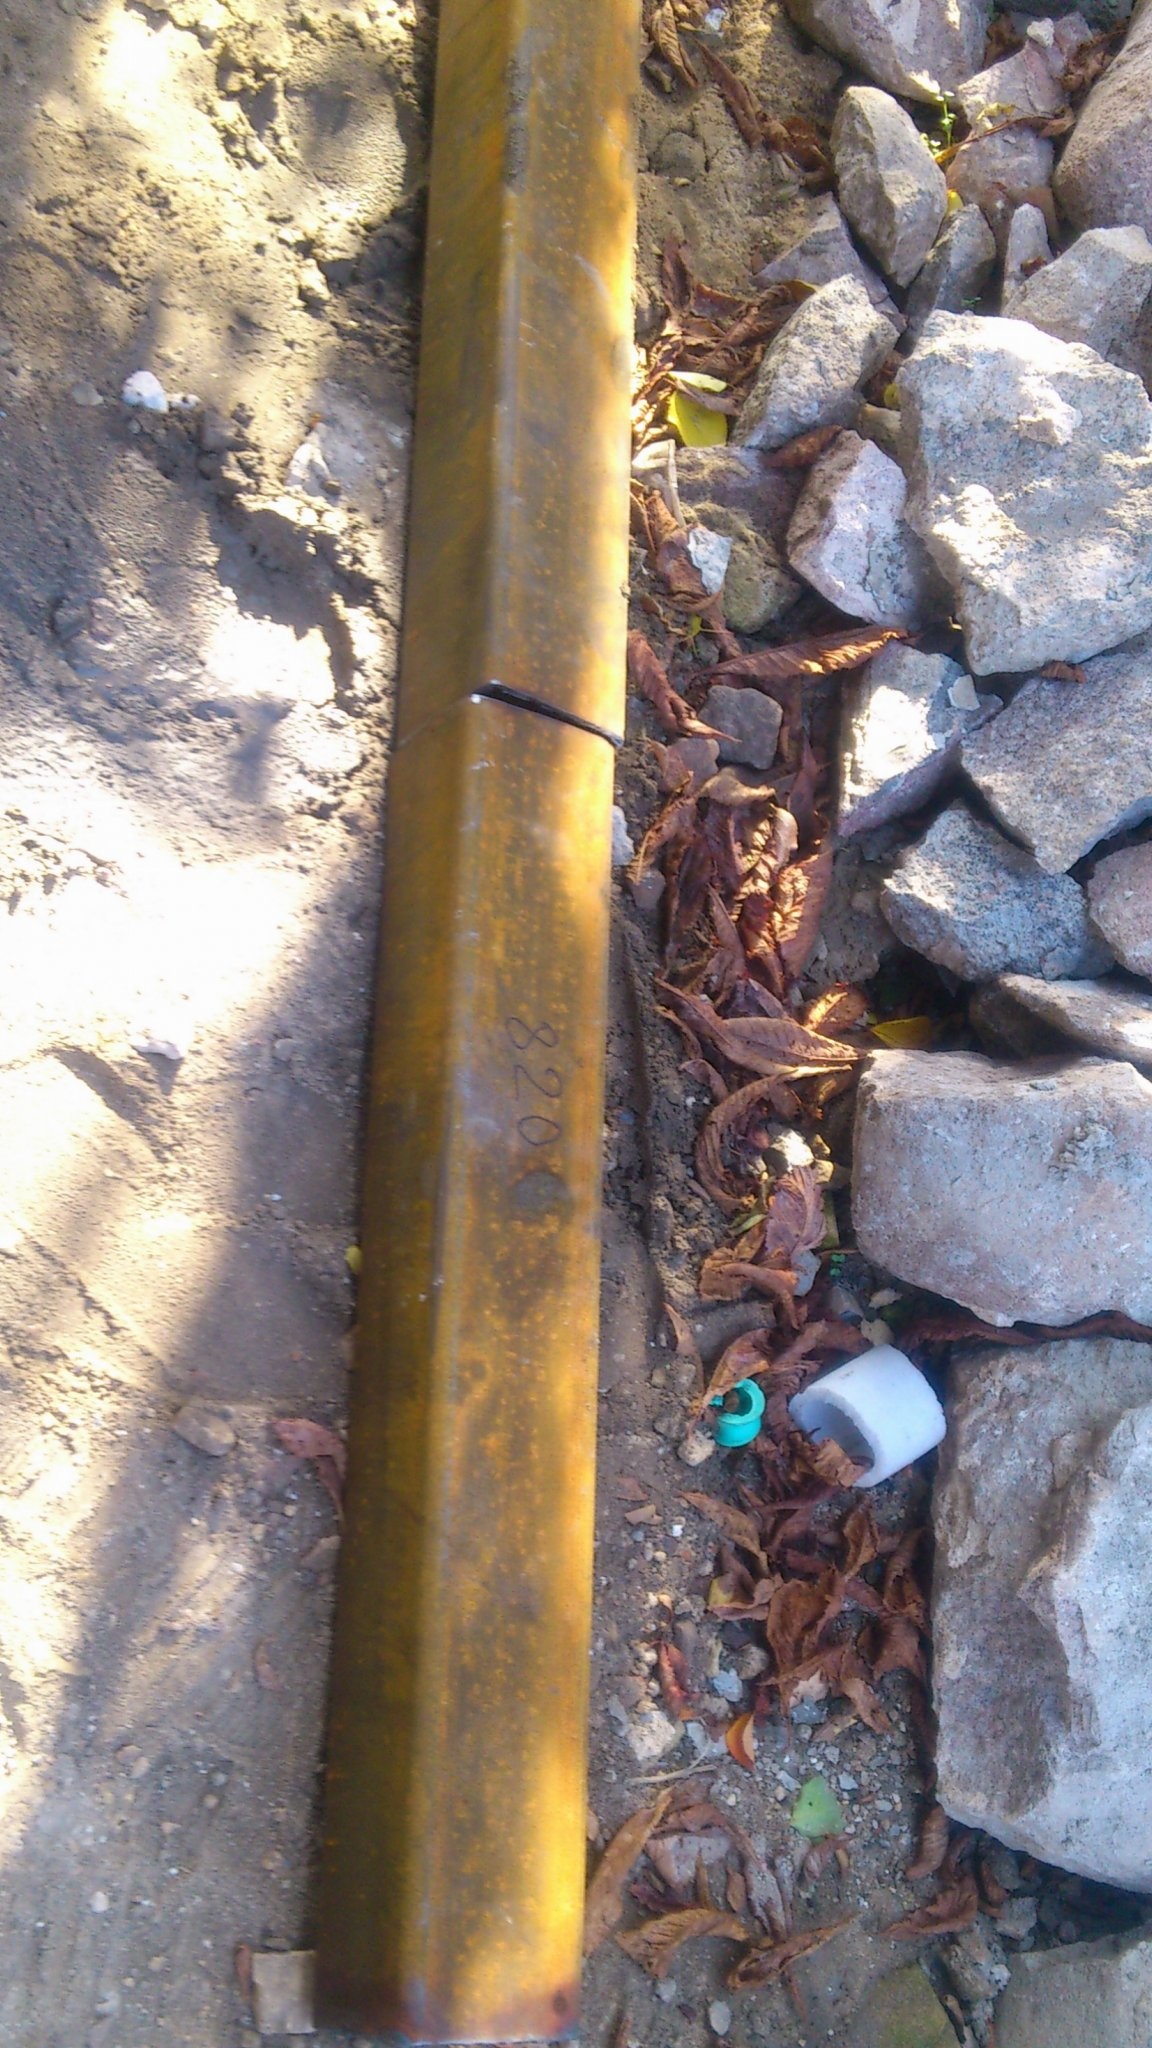
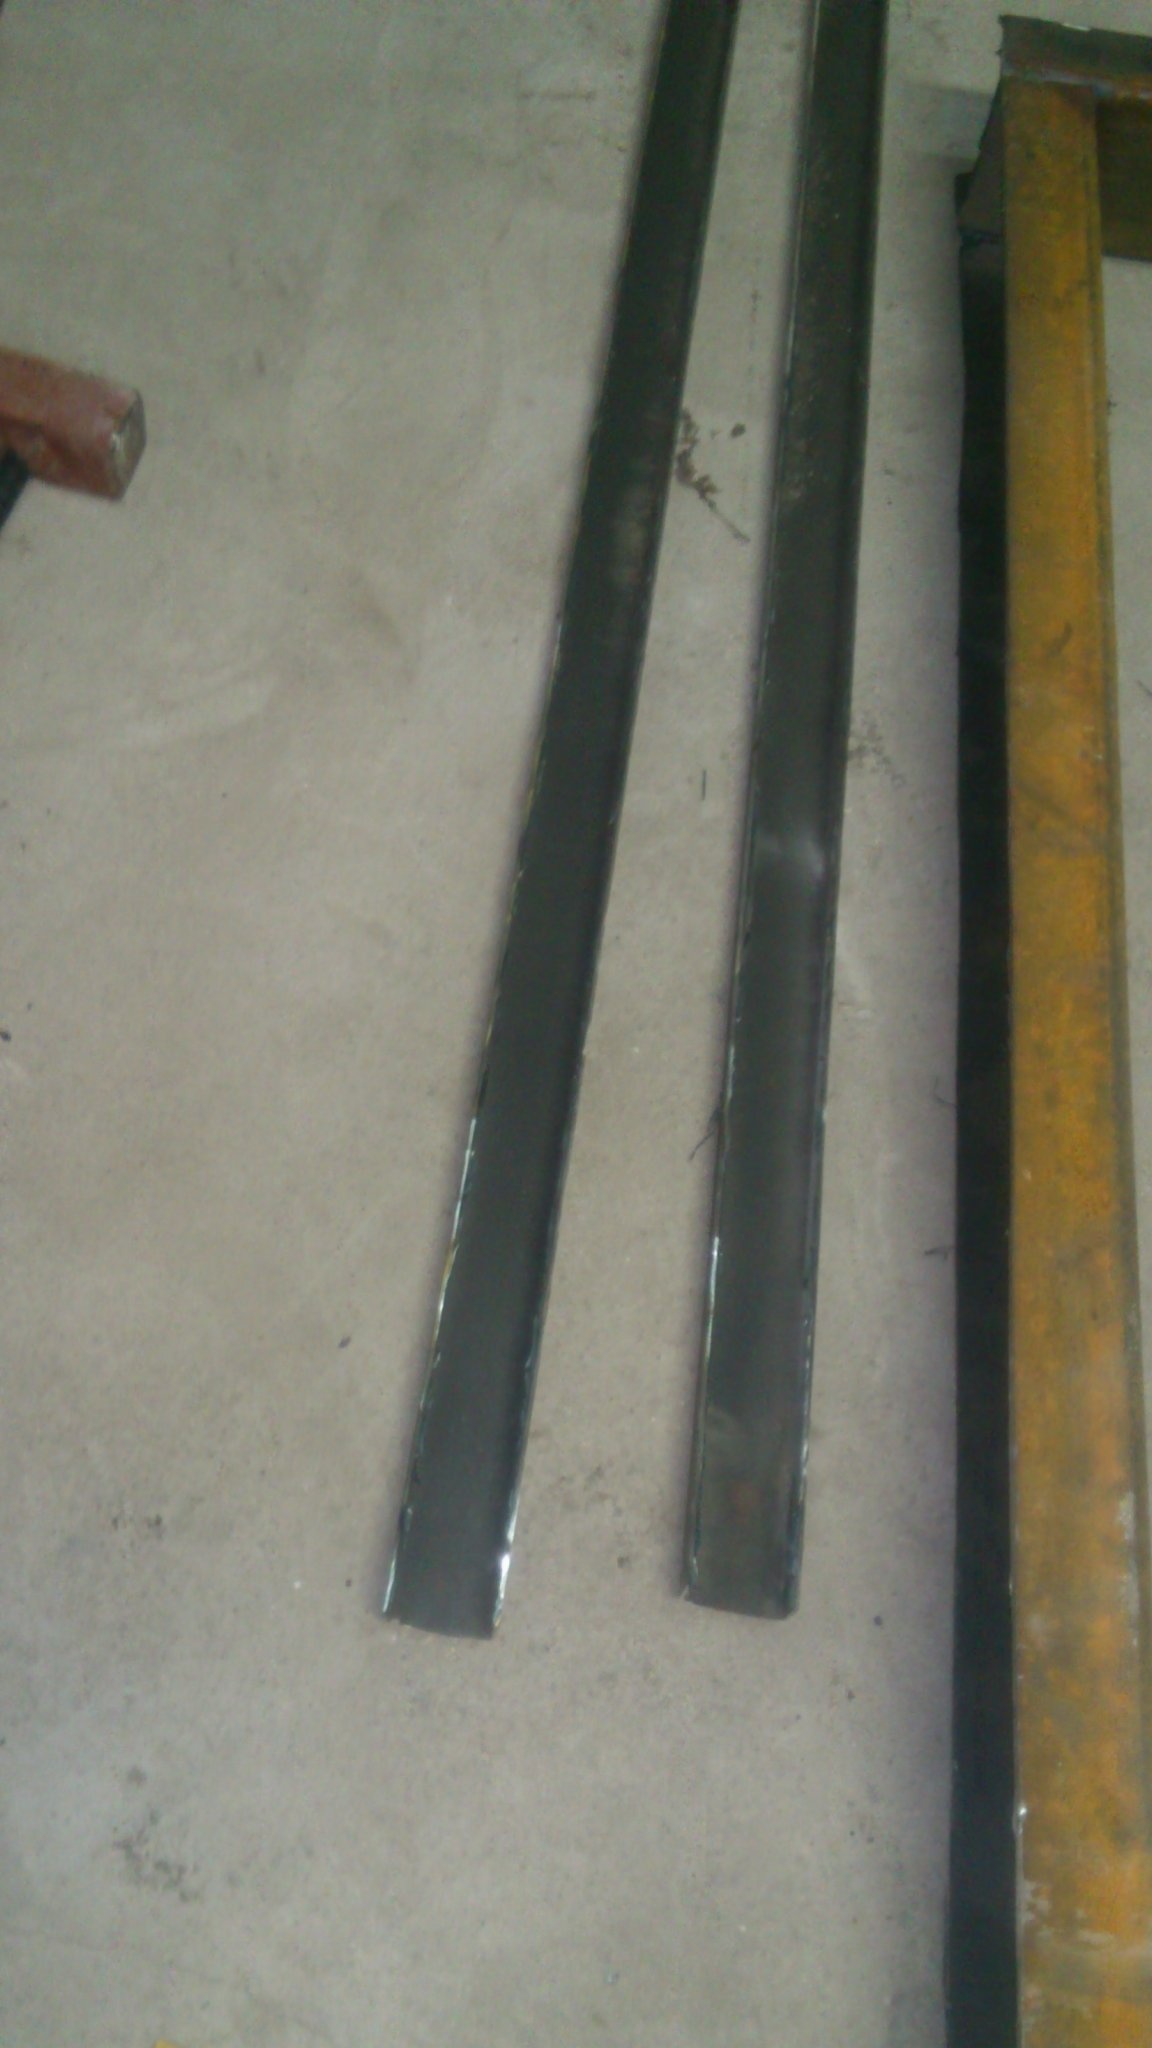
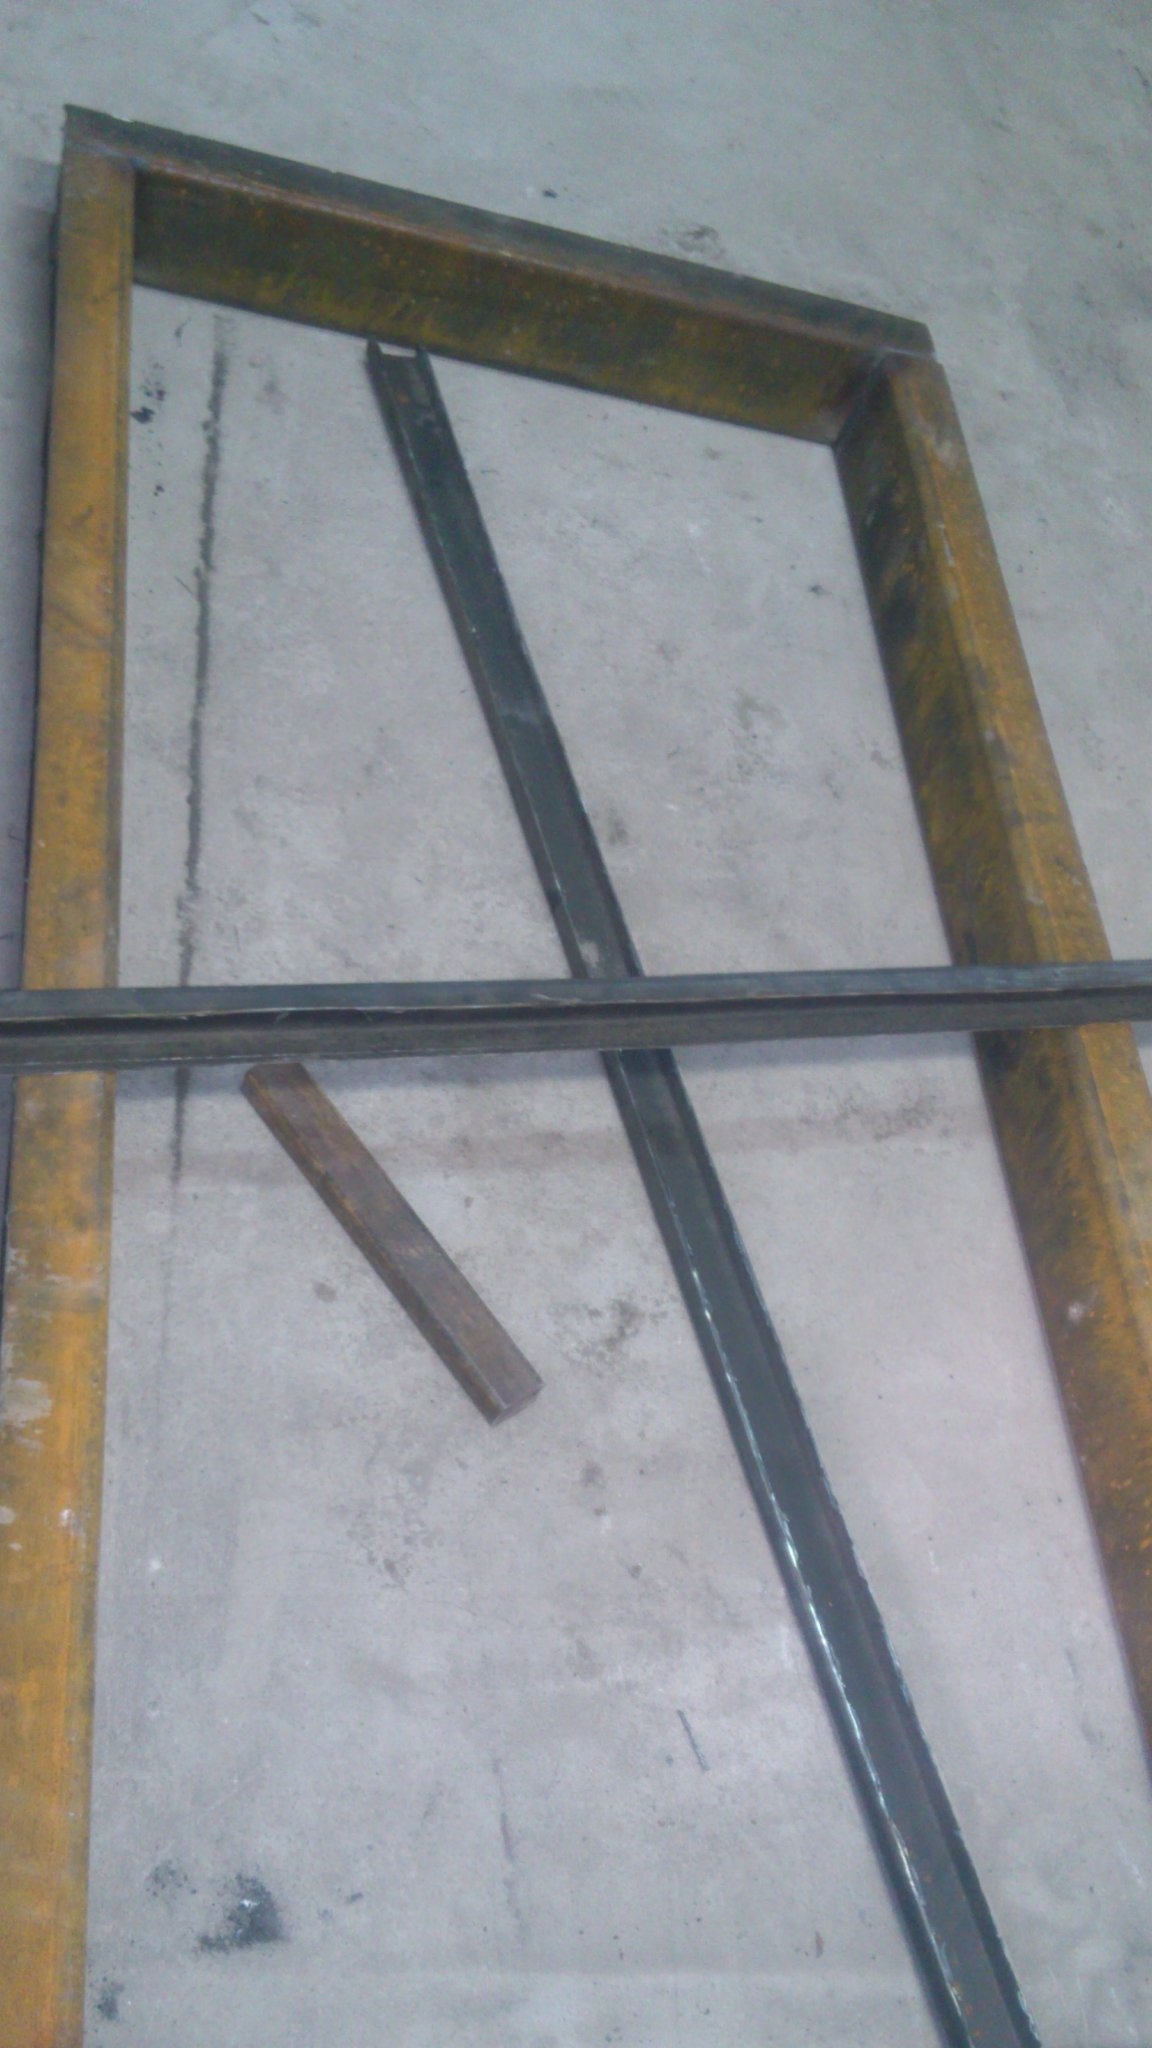
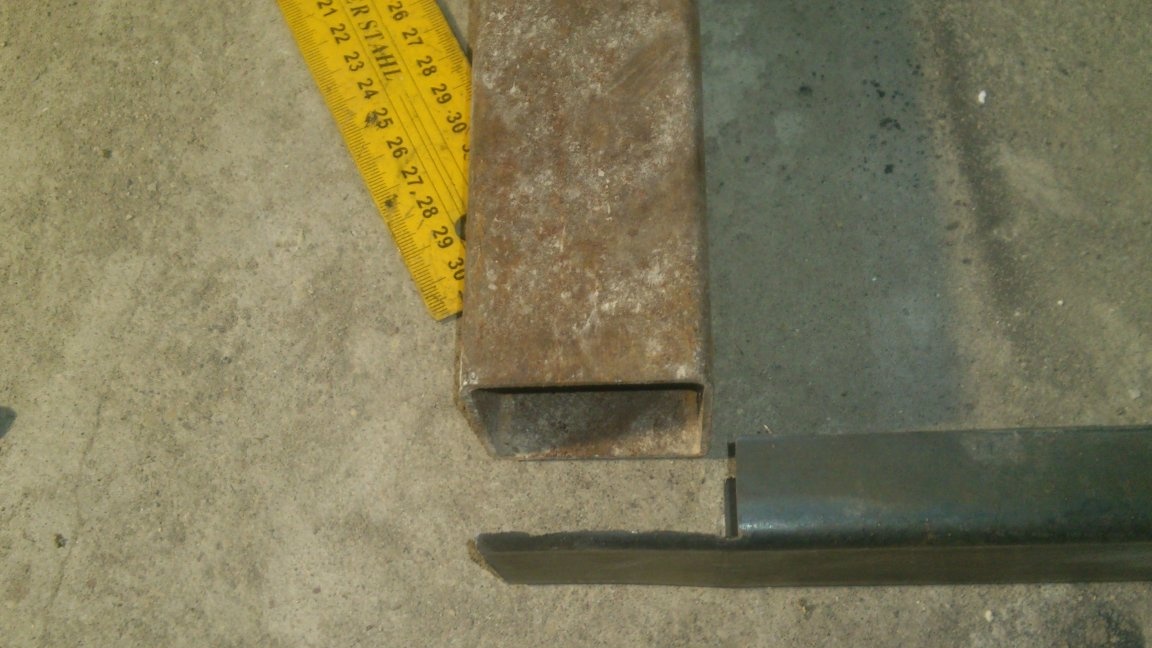
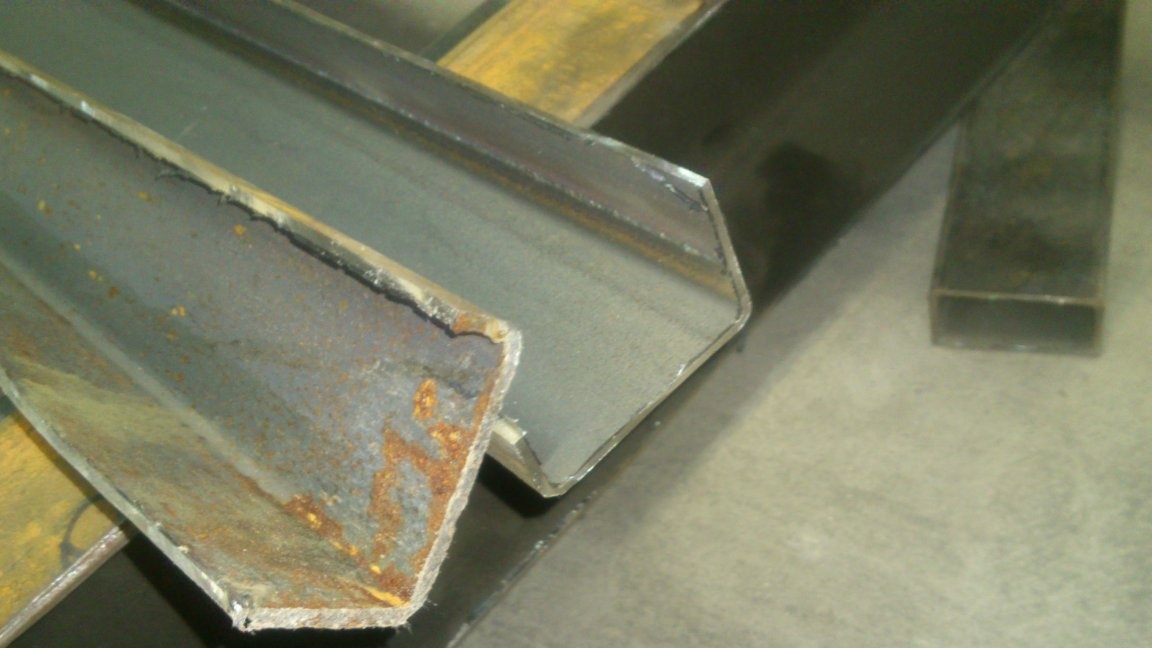
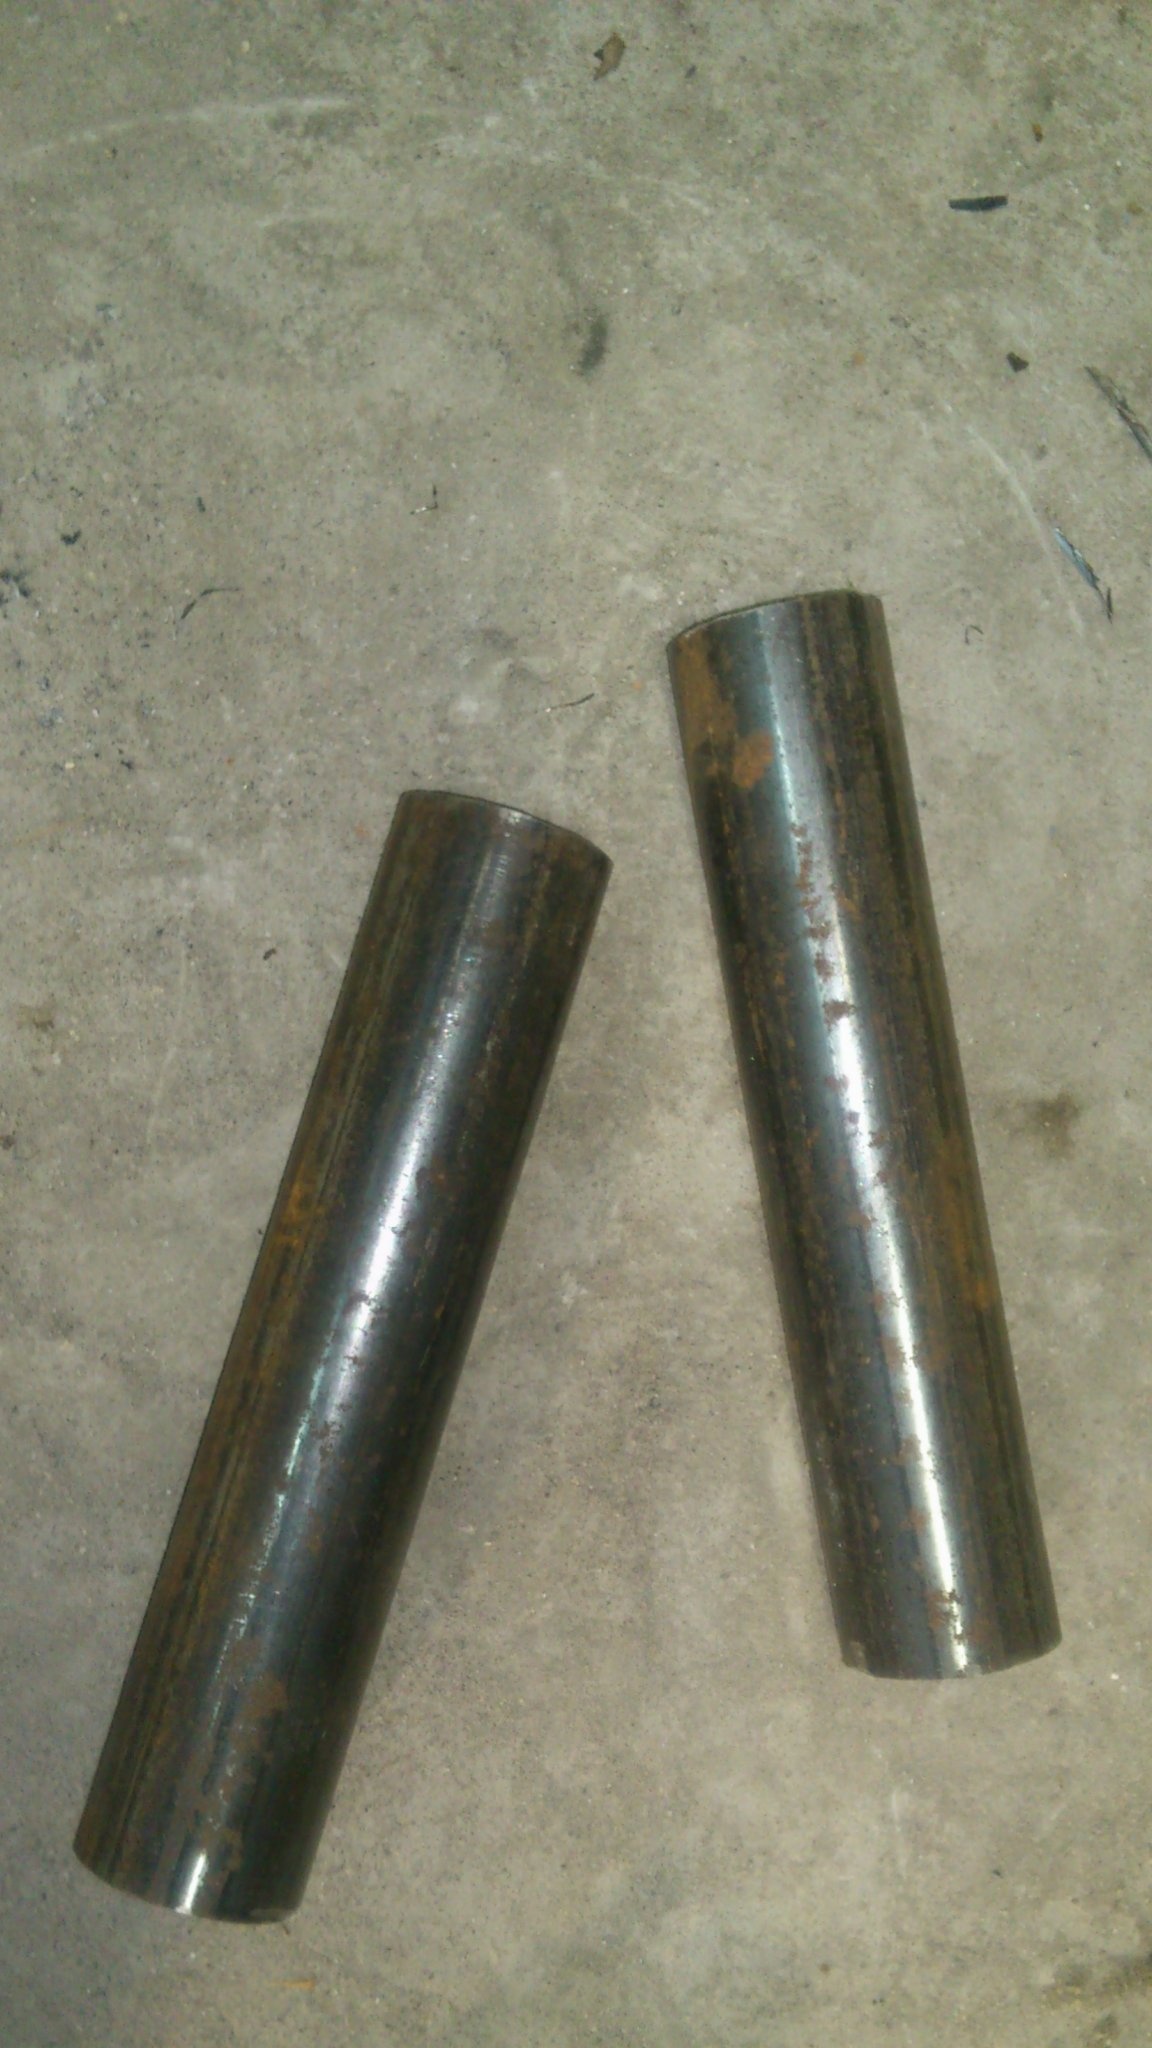
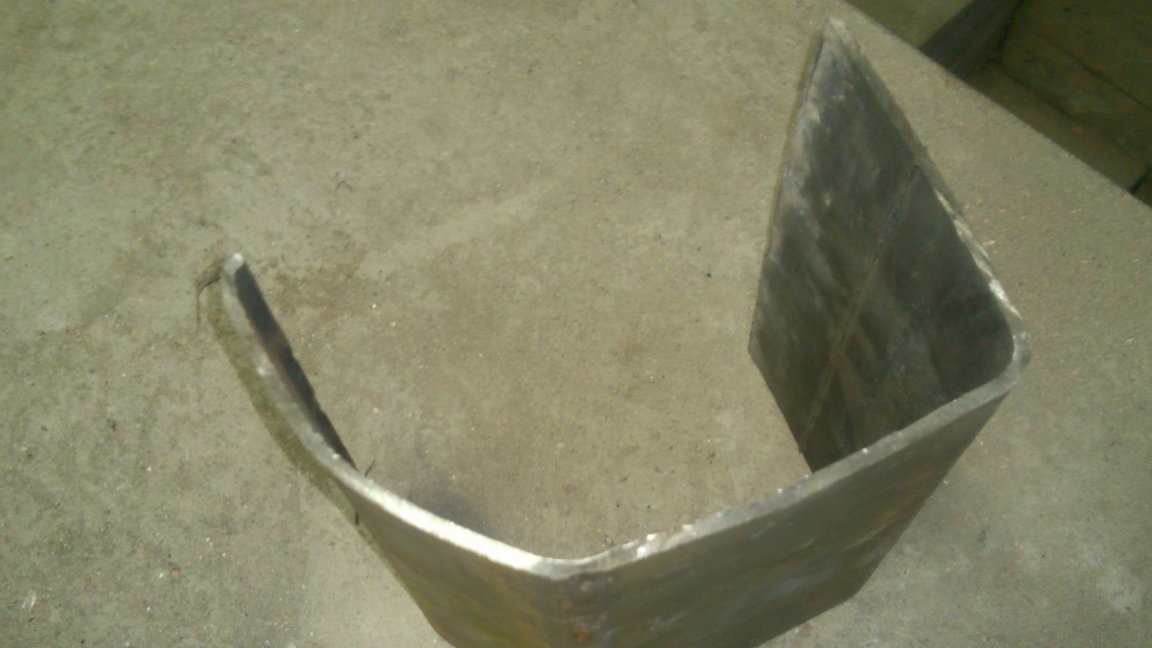
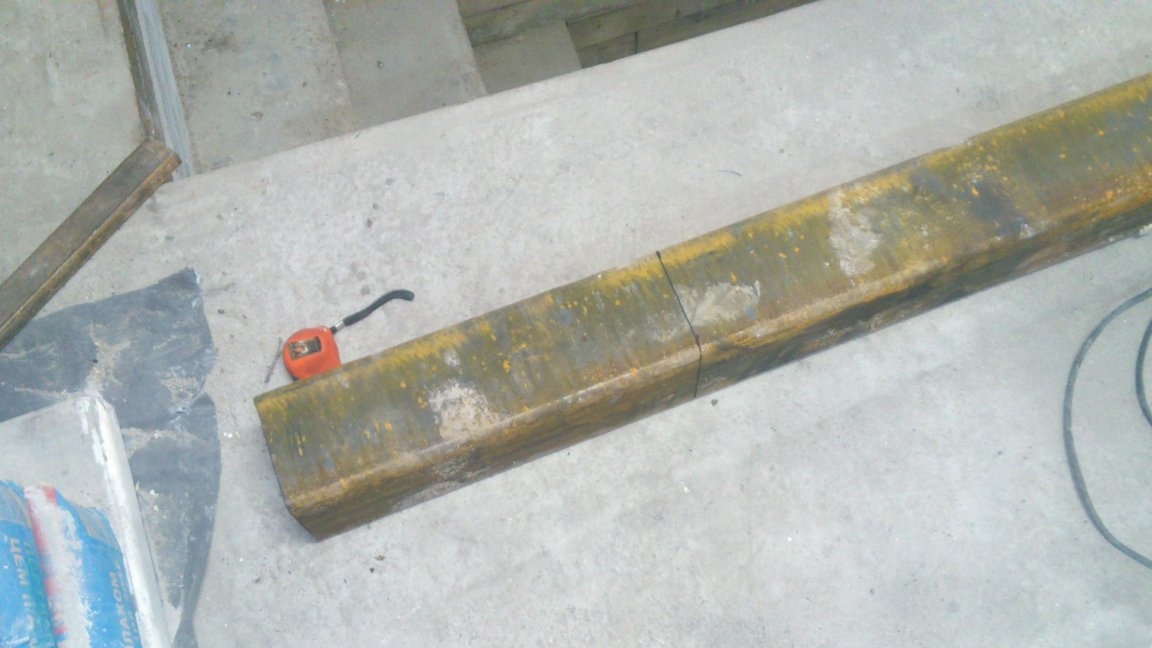
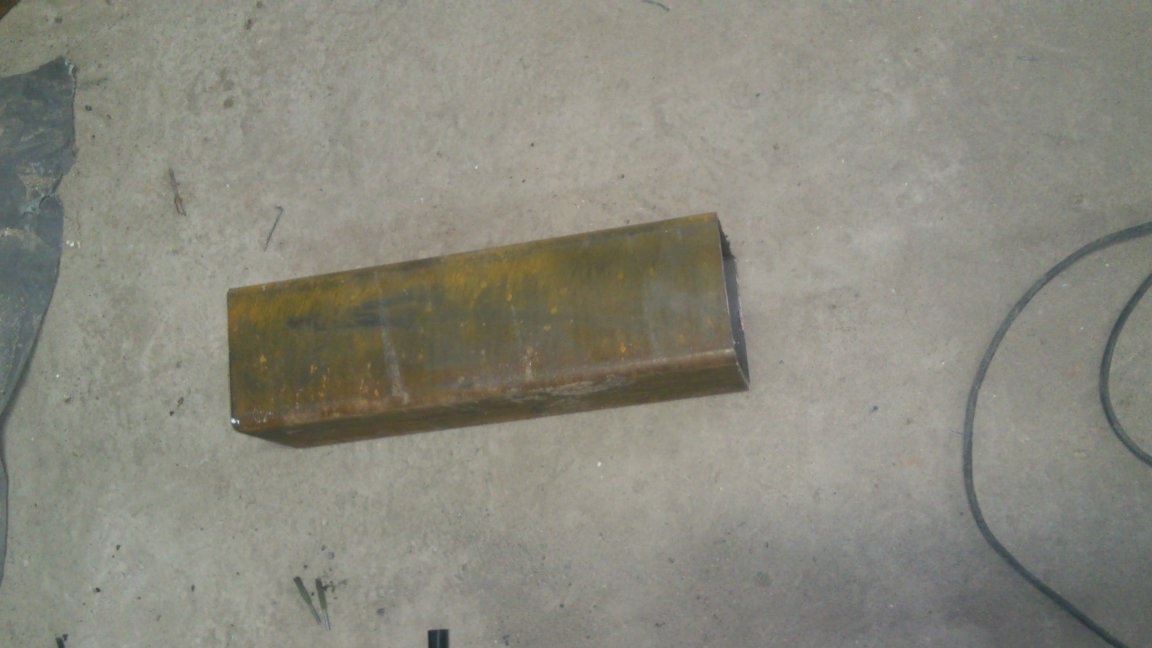
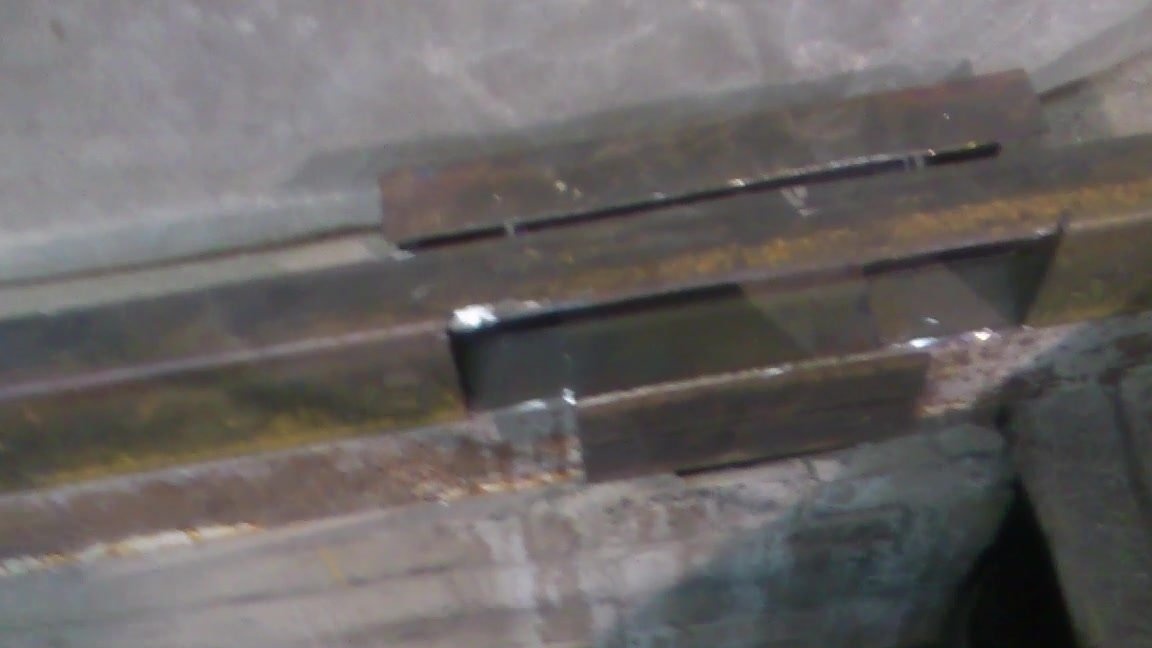
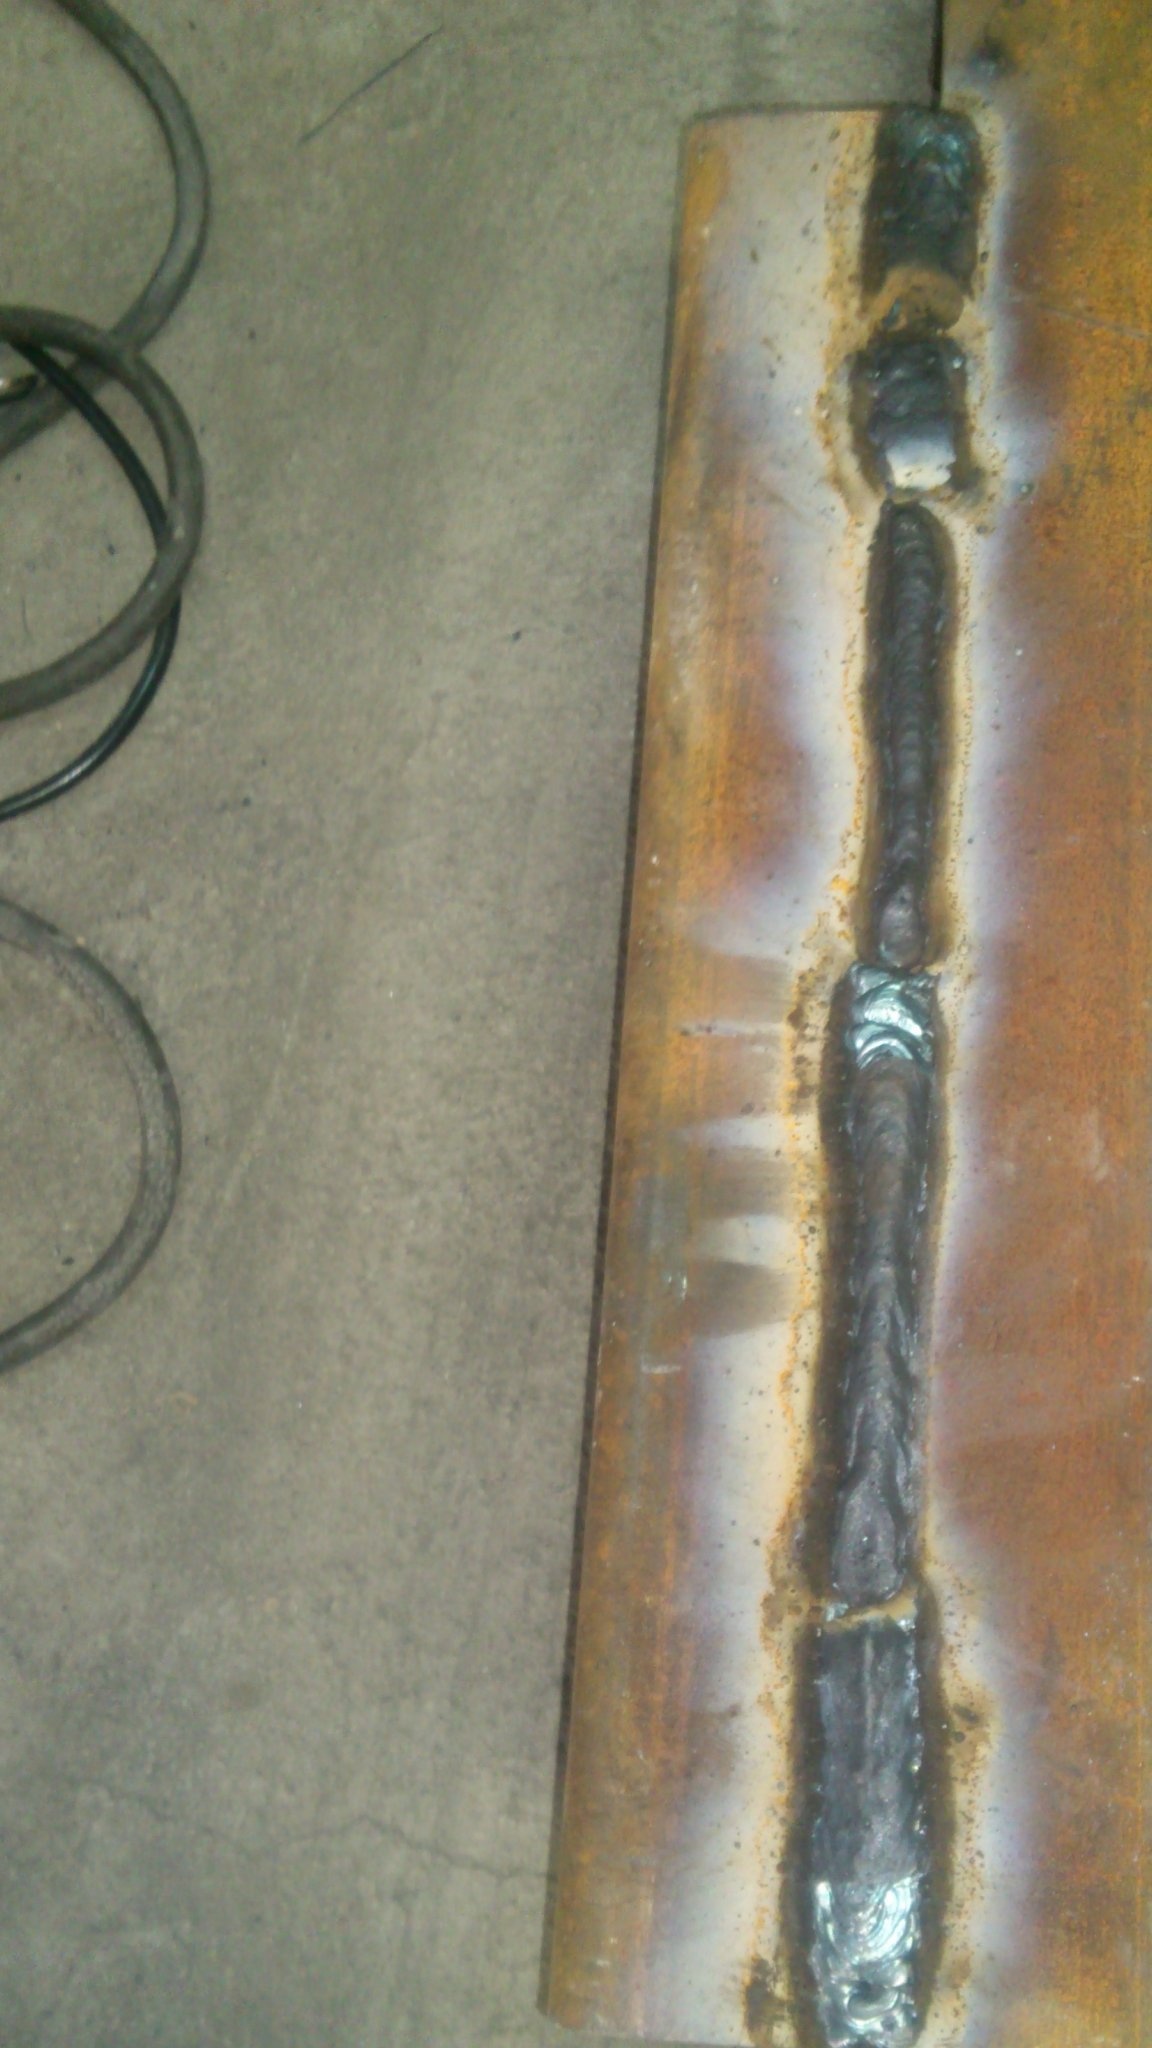
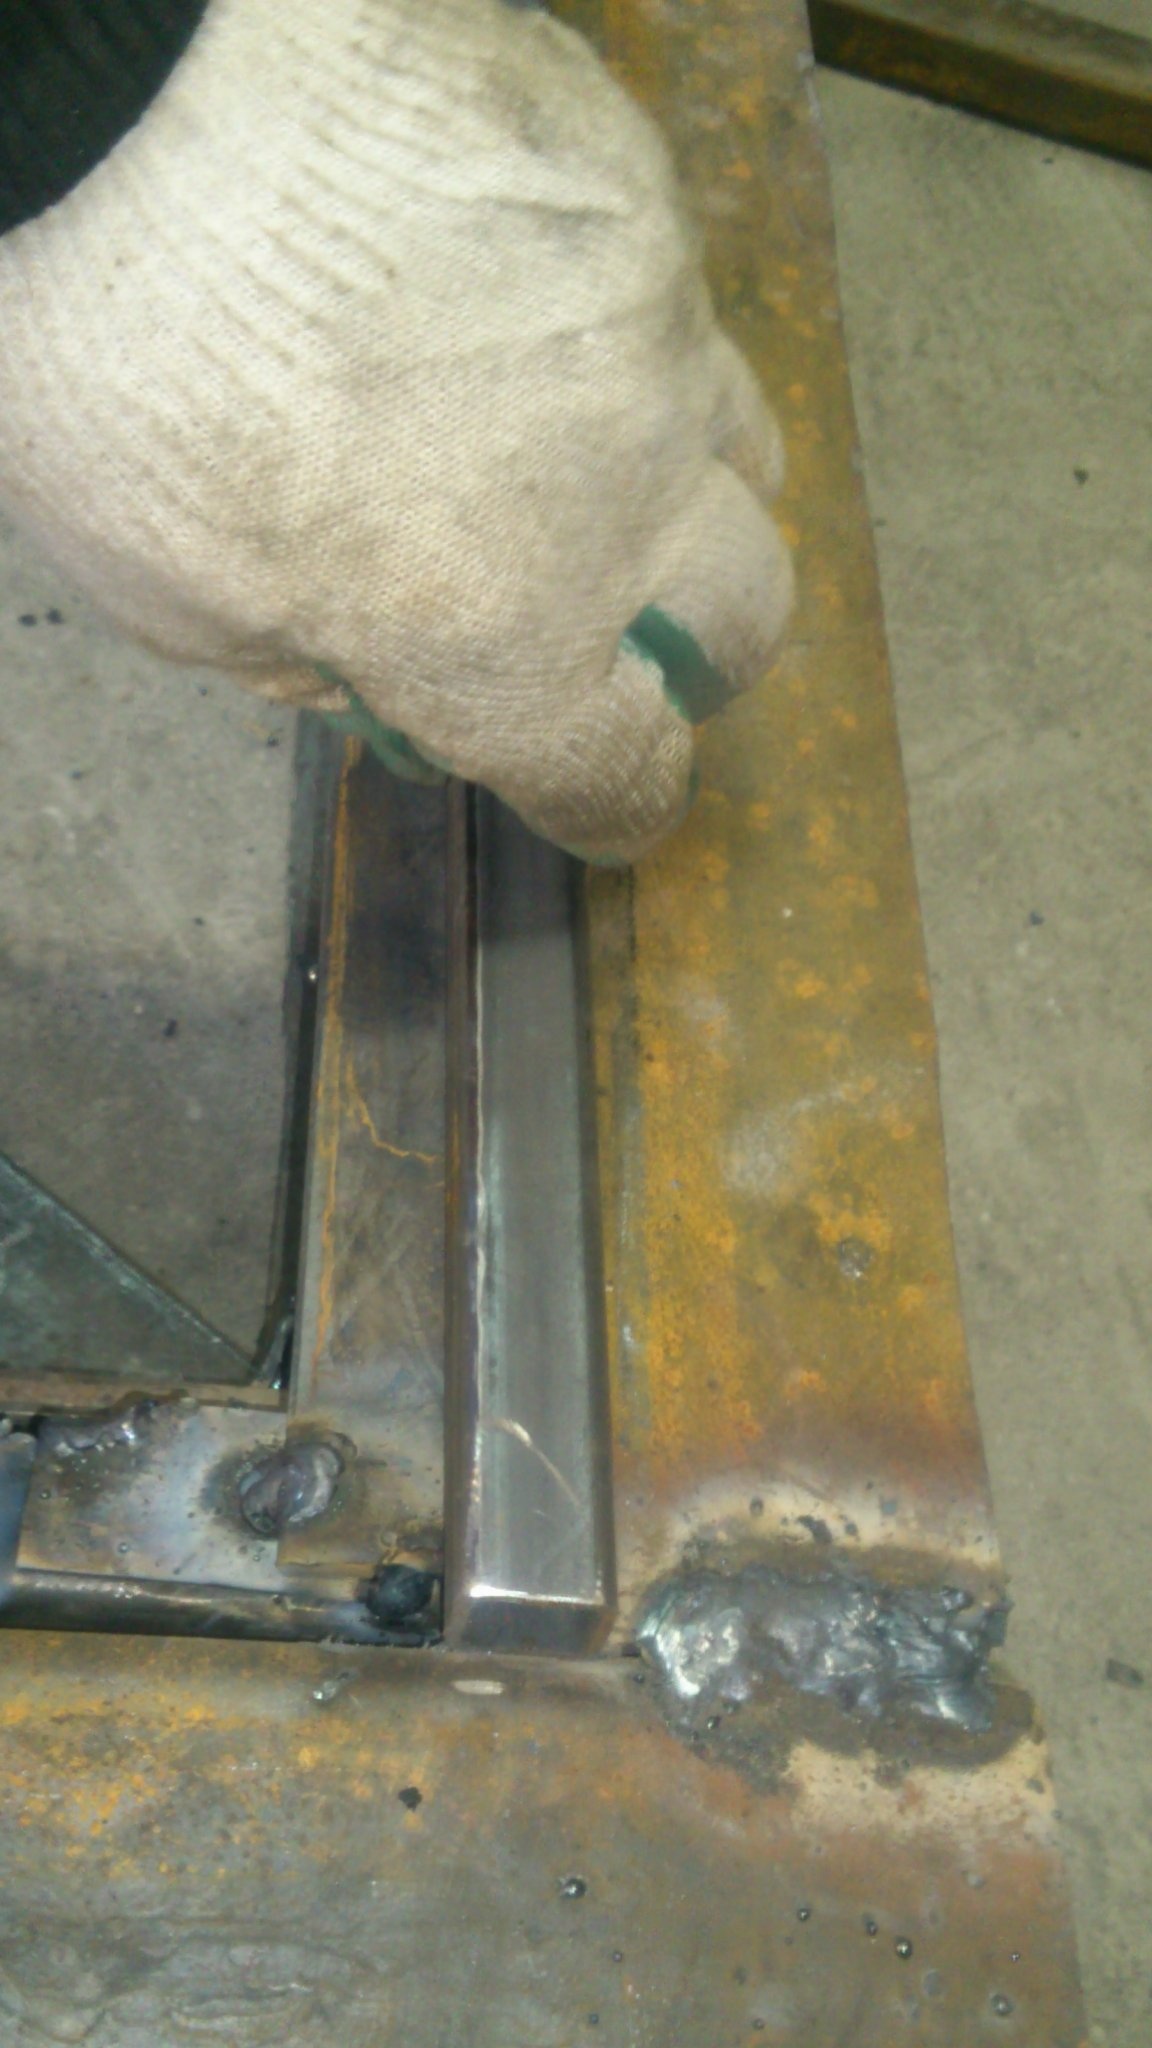
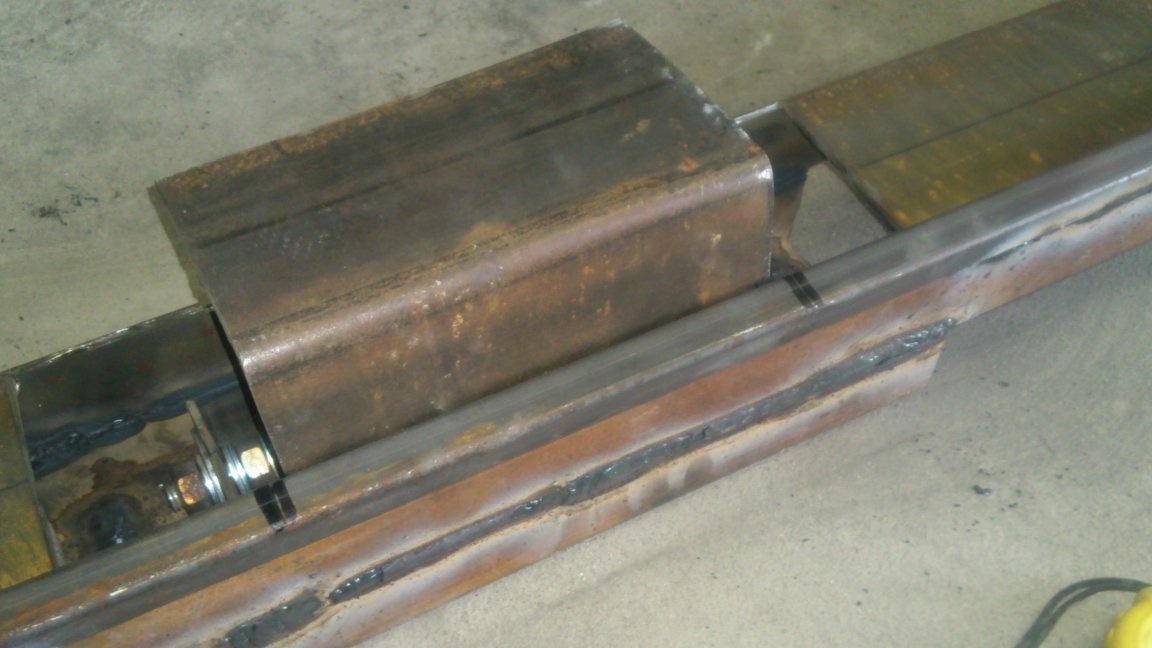
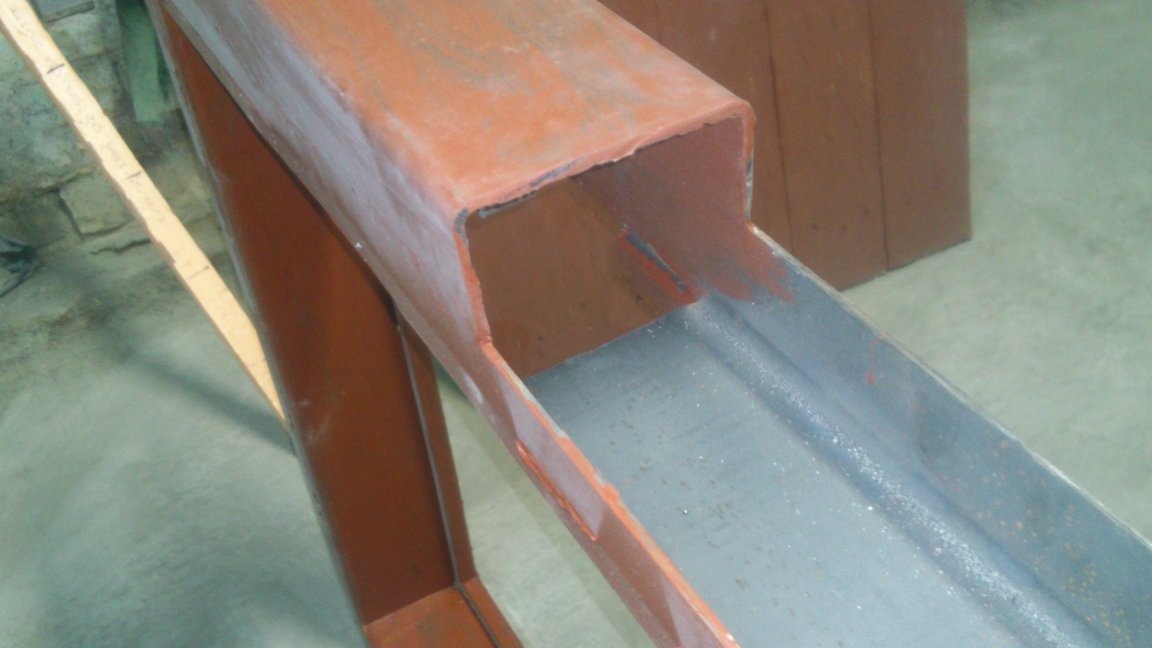
I began with the manufacture of the frame. Since the hatch itself, as I have already said, should have sufficient insignificance, I decided that I would make it 100 mm thick. Accordingly, the frame must be thicker so that a stubborn quarter can be welded. Therefore, I decided to make a frame from a profile pipe 120x120x4 mm. Such a height will make it possible to solve other points. Firstly, the “cake” of the warm floor will have a thickness of 150 mm, respectively, the frame will fit “flush” if it is placed on a polystyrene foam gasket, 30 mm thick. (Thermal insulation will be sufficient). Secondly, hidden loops should fit in the frame. And they, with such a heavy and thick lid, will also be quite massive. It is structurally better to make a frame from a channel, but the standard channel number 12 has painfully thick walls. He is very heavy, and it will be difficult to work with him. Therefore, I decided to make the channels myself, sawing the pipe along. First, I cut two pieces, lengths of 1500 and 820 (700 + 60 + 60) mm:
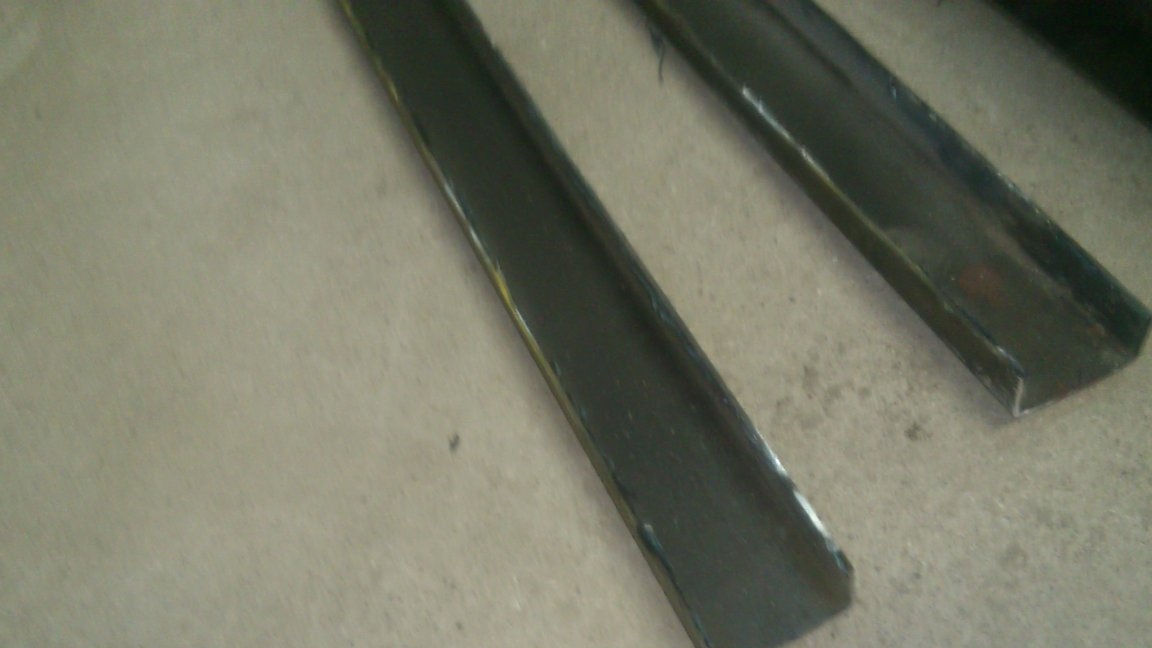
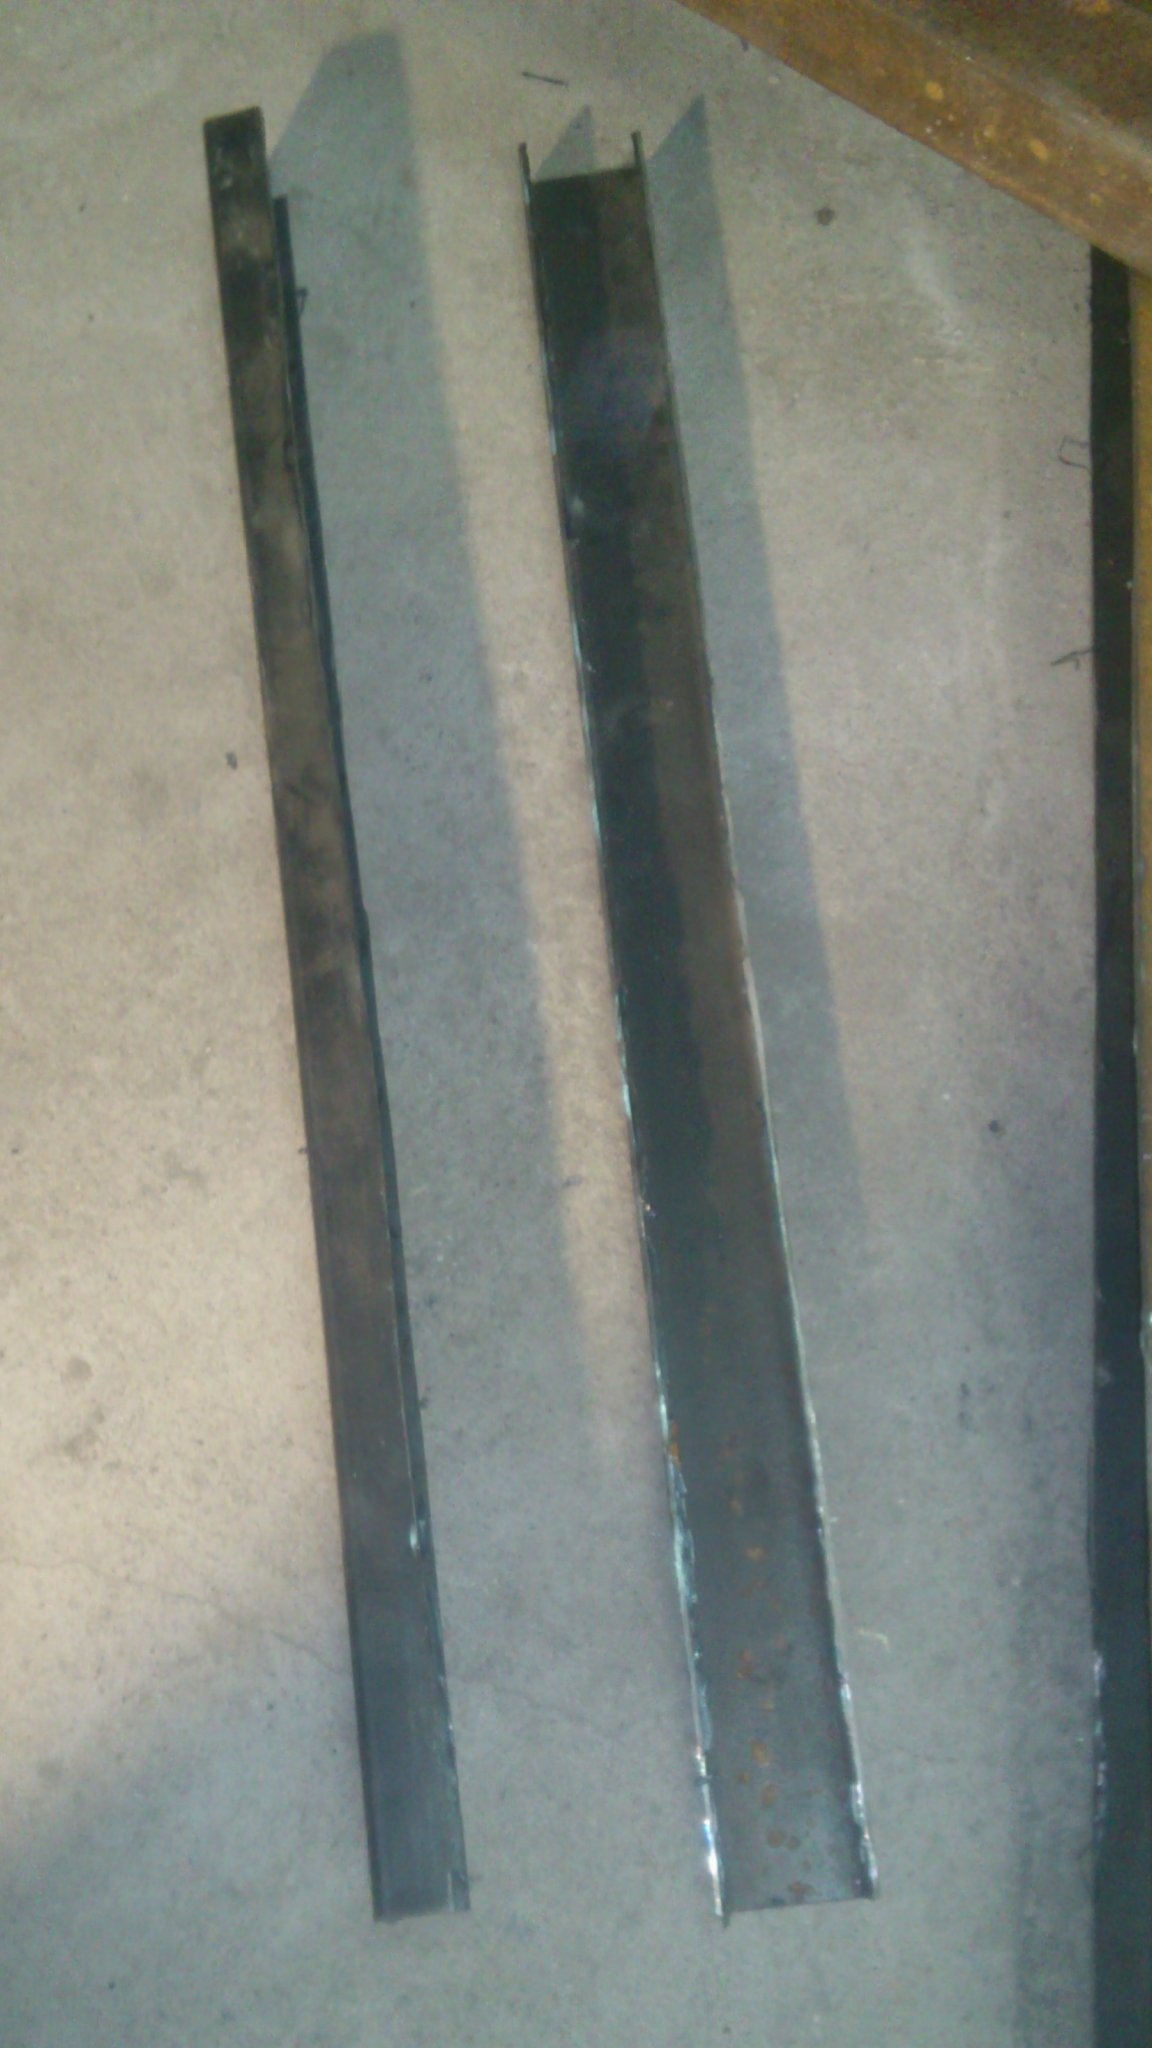
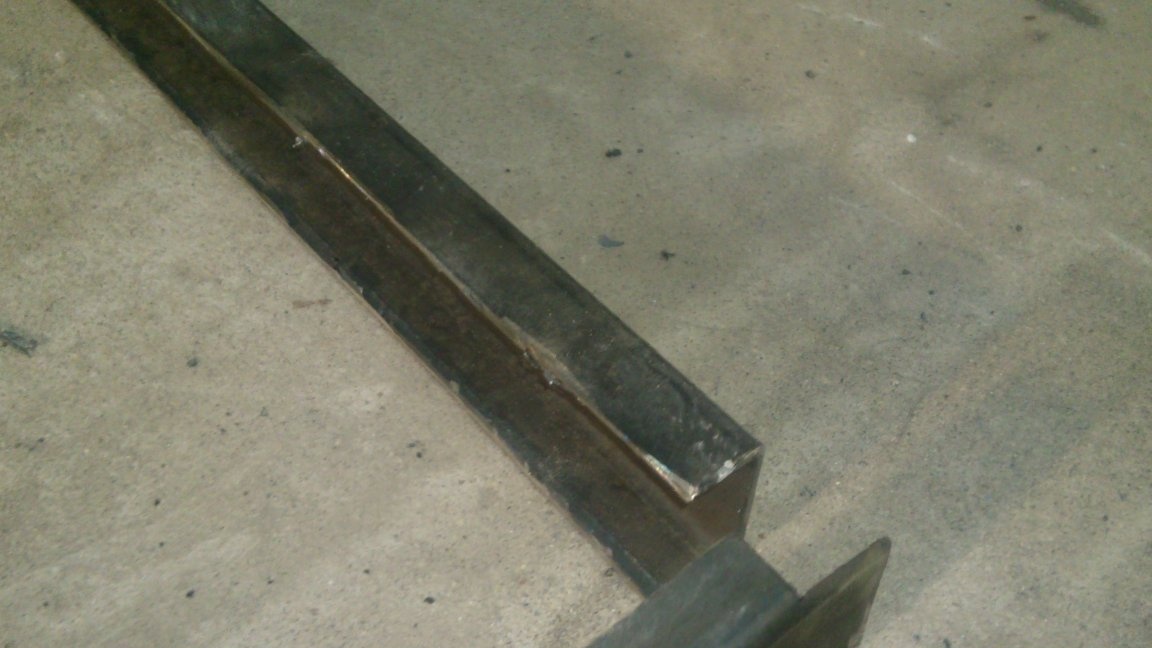
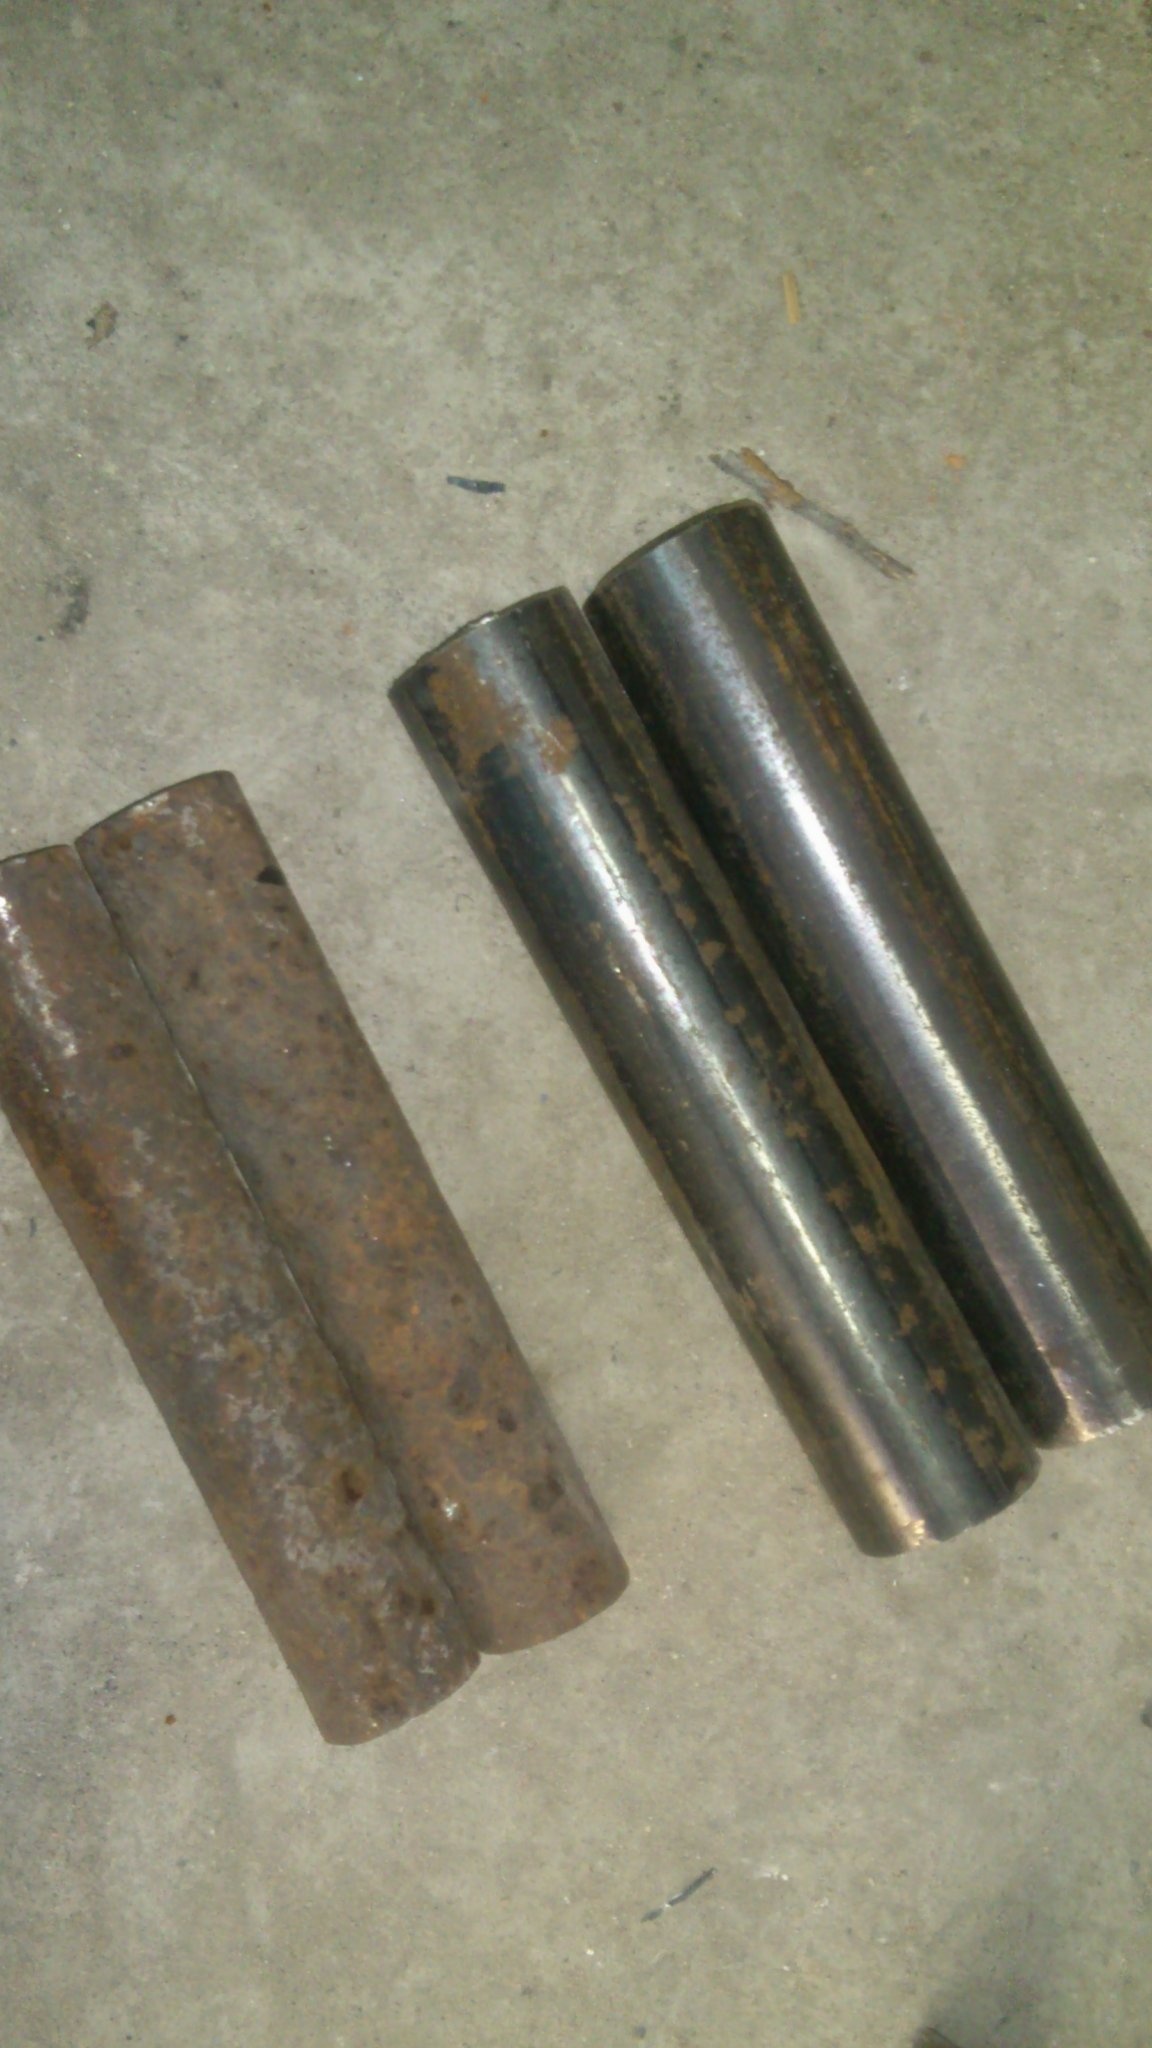
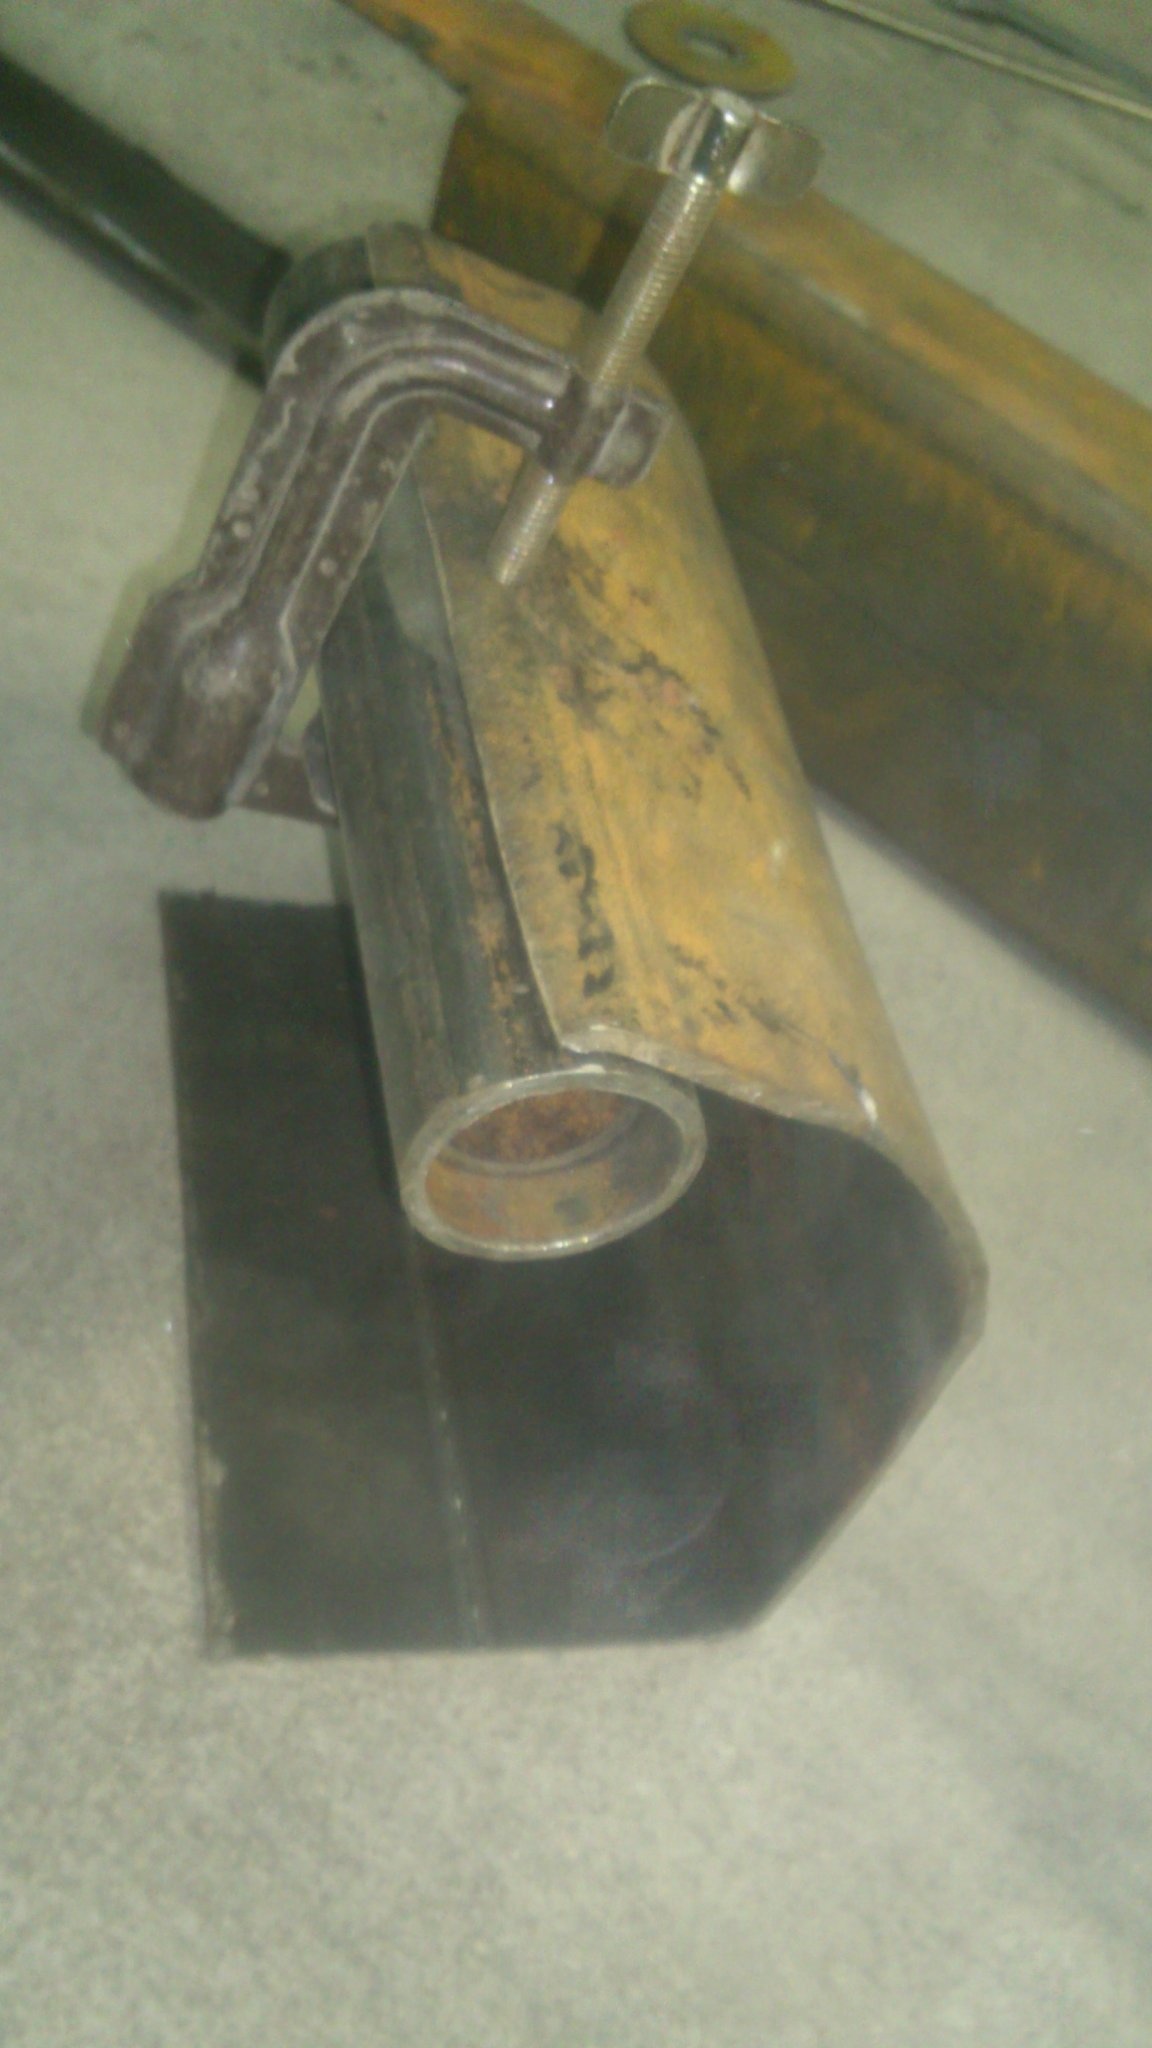
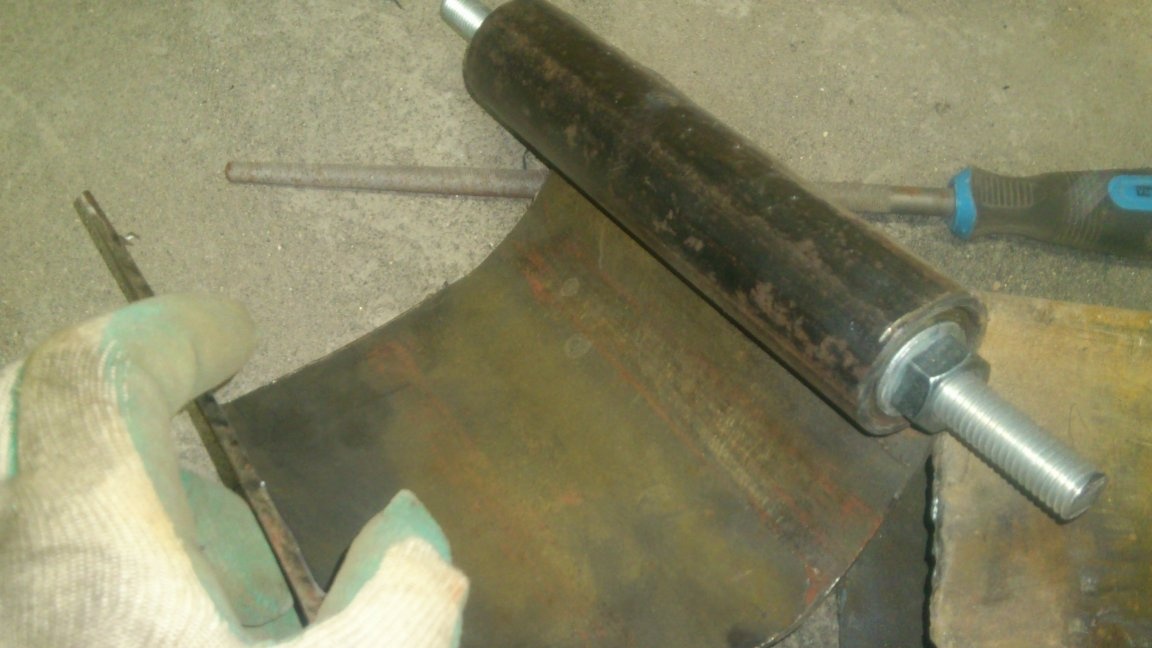
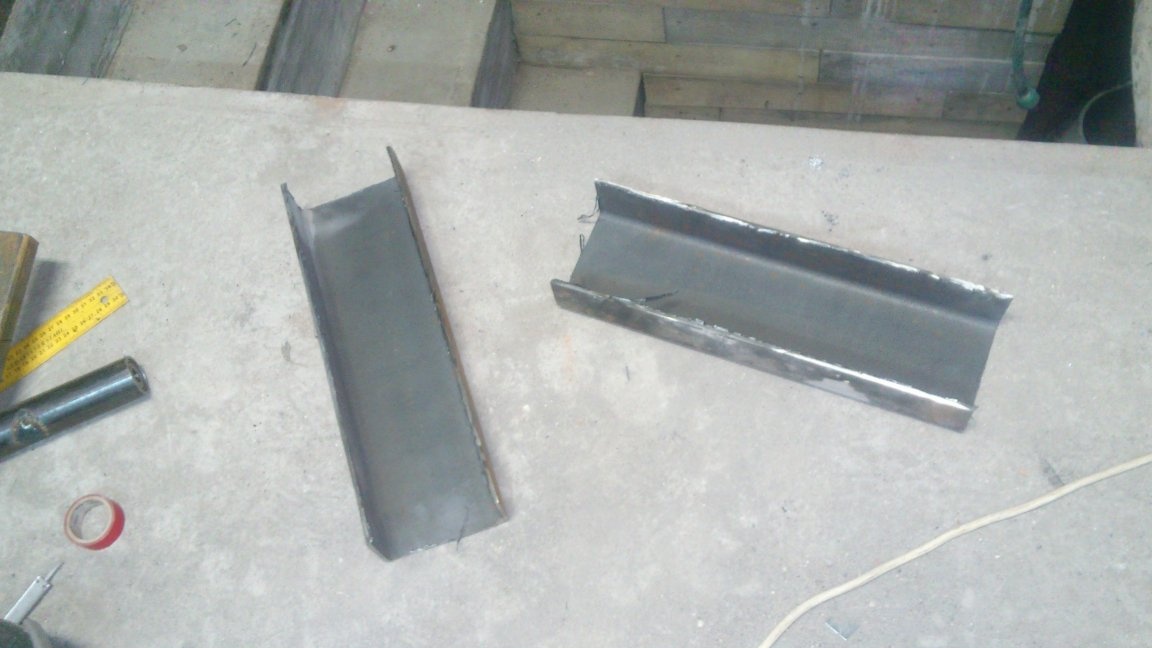
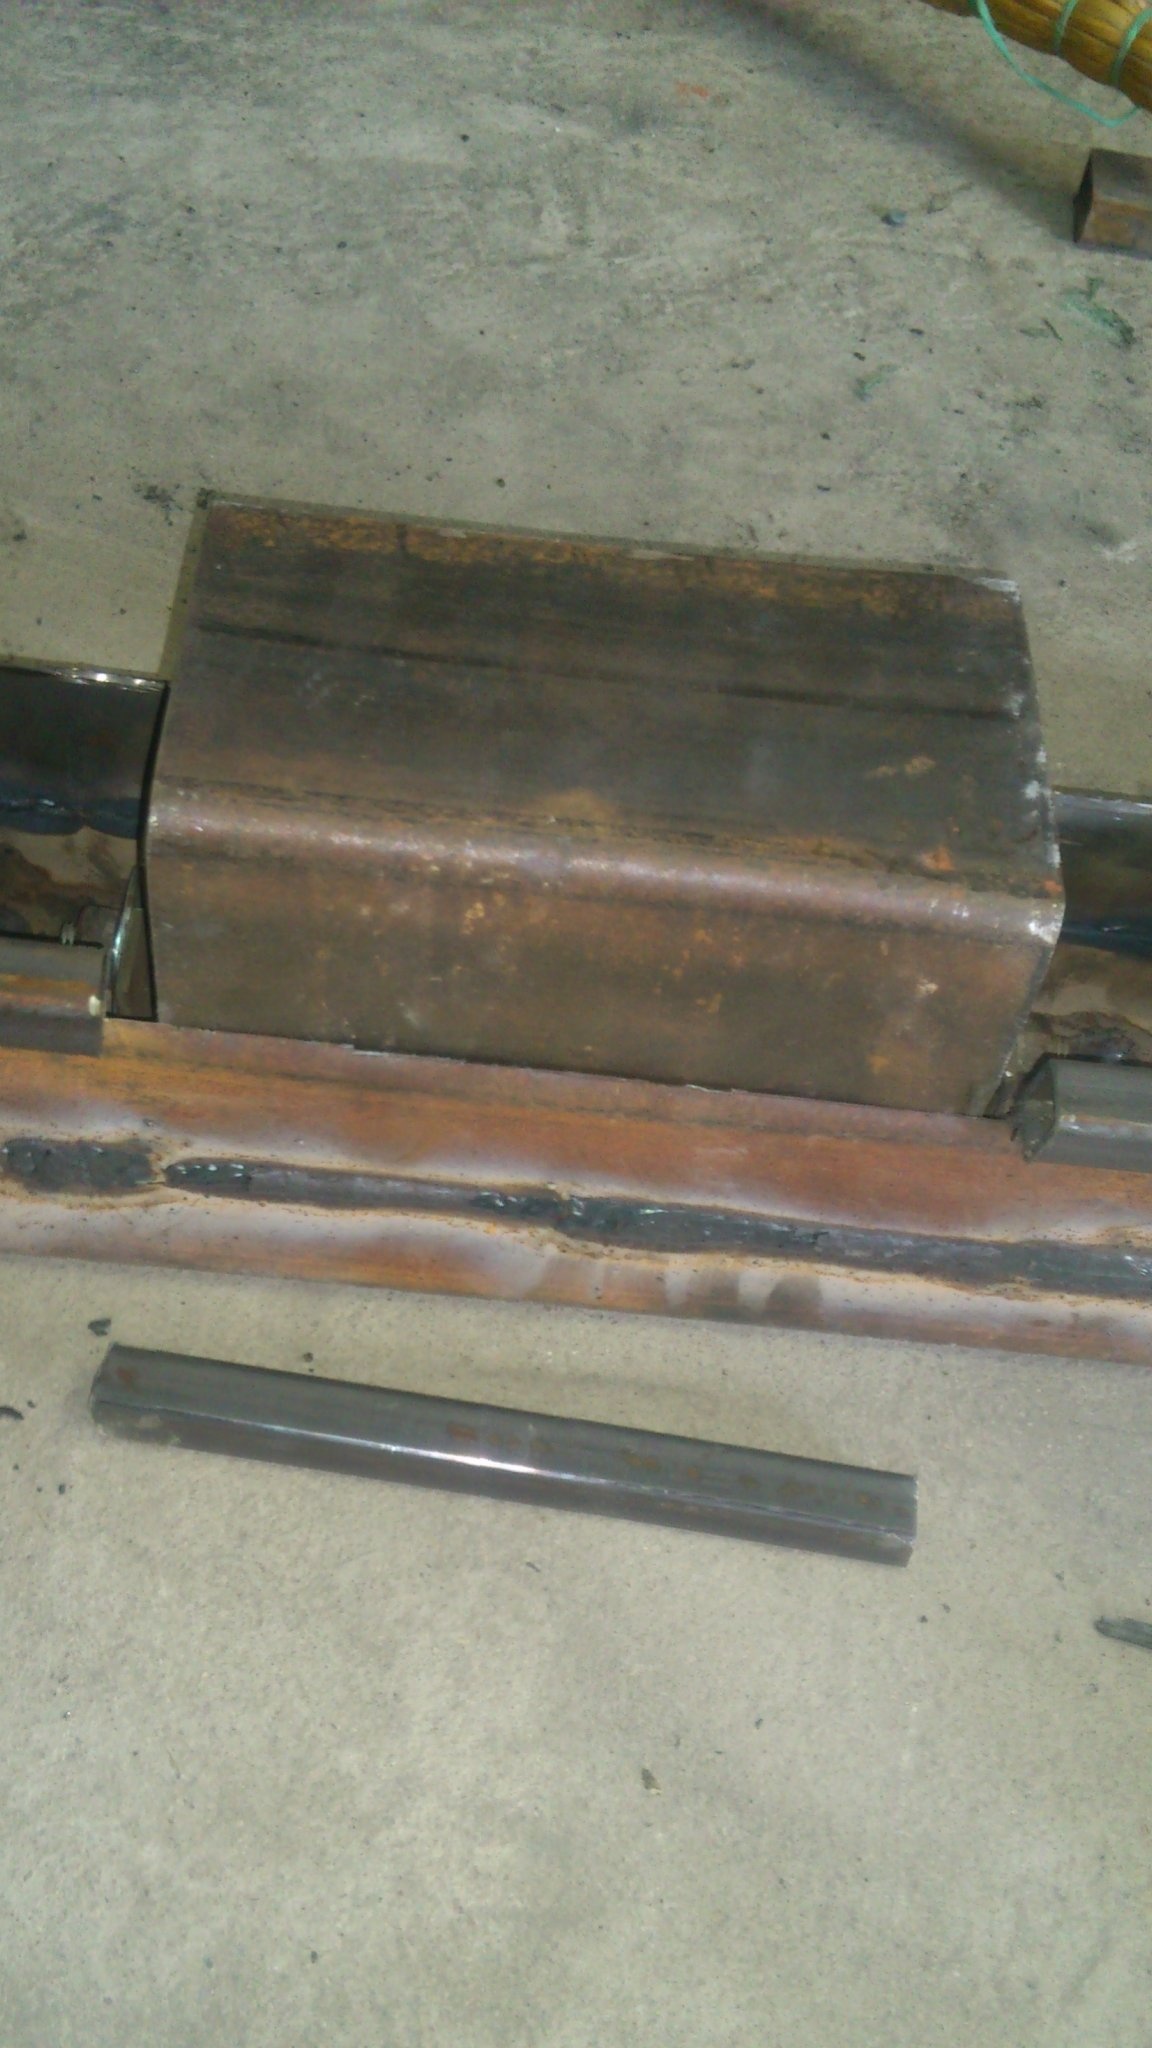
Then, using the "average" grinder (180 mm), he dismantled them along:
Now, from the obtained blanks, right on the spot, so to speak, “in fact”, you can weld the frame:
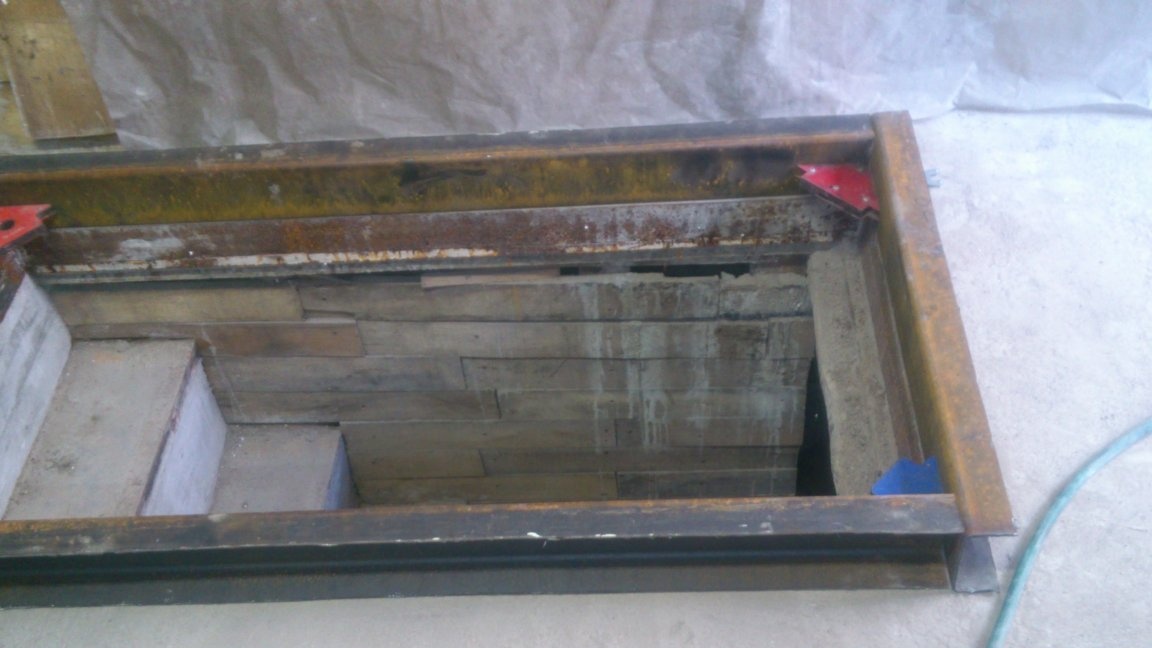
At the same time my homemade magnetic squares))))
Let's take a cover. As I said, I decided to make it 100 mm thick. Since it will then be insulated with polystyrene, it is better to make it also from channels made of a profile pipe. But, this time, I decided not to use the finished frame size immediately (100 mm), but to weld two channels of 50 mm each. This will slightly reduce the weight (the channel shelves will be half as long. True, they will be twice as large, but, after all, the wall of this pipe is thinner!) And increase the load-bearing capacity (at the same height, we get an additional stiffener in the middle of the structure). Therefore, I decided to make two frames and weld them by putting one on the other. At the same time, in the bottom frame, I decided to make one long side (from the hinge side) of the whole pipe without cutting it along. Indeed, the increase in weight on this side does not have such a value (a short lever arm), but the rigidity of the structure in this place needs a lot.


I decided not to make the second frame a “separate element”, but immediately weld the second channels to the first, using the main frame as a template for aligning the angles, and providing 5 mm gaps. At the same time, cutting the pipe into channels, I made shelves of different widths. The wider one will be on top, and the narrow one will weld to the base of the frame:

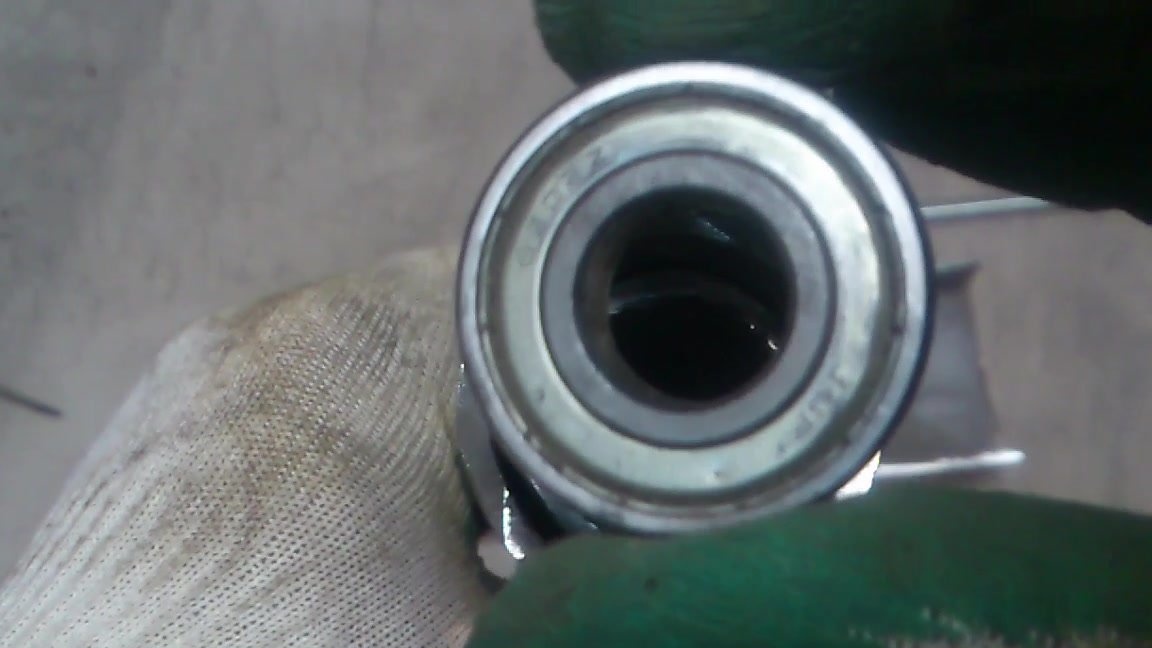
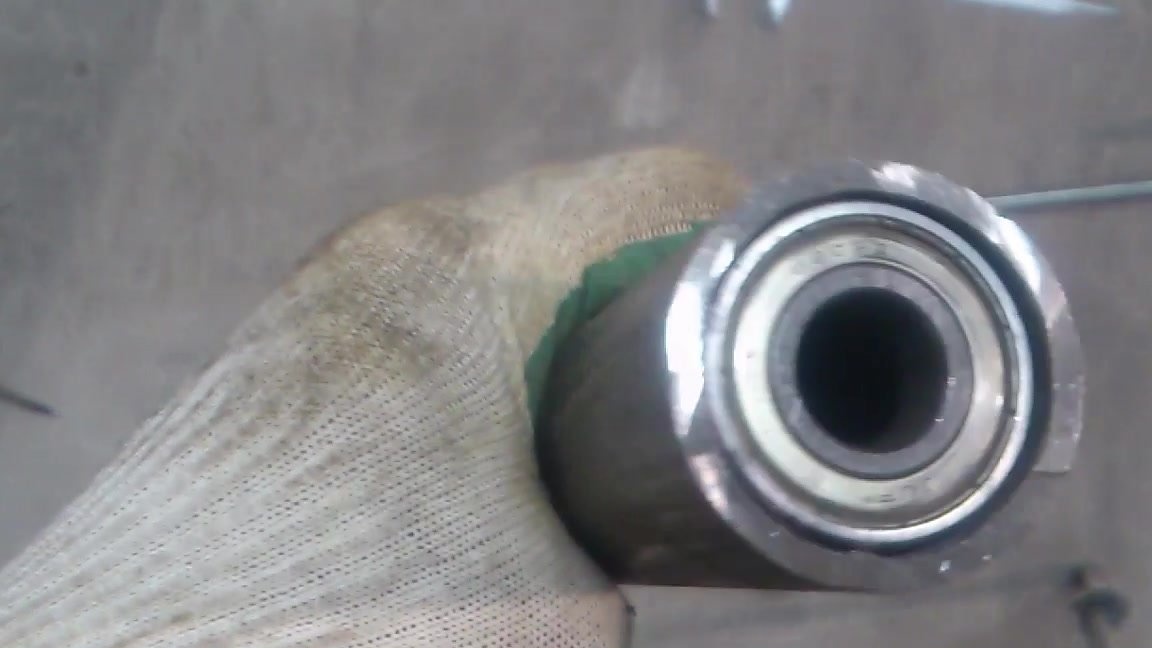
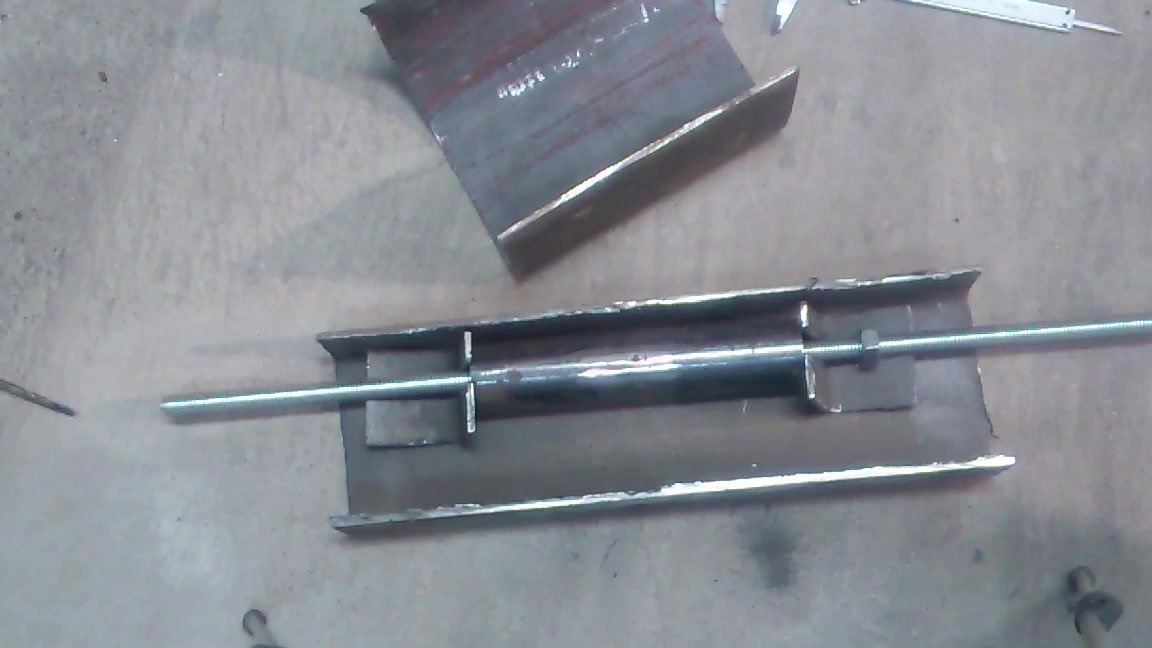
Now let's take care of the loops. The fact that they must be hidden is initially understandable. But the design will be very heavy! (After all, ceramic tiles may also be the top coat !!!). Accordingly, the friction force in the loops will also not be small. To minimize it, I decided to install bearings. Without further ado, I decided to repeat the design that I had previously invented for the carriage homemade cutting machine . Namely, as a housing for bearings, use a water pipe ДУ 32 (Do not confuse ДУ ("conditional diameter" or "conditional passage") with the inner diameter! The internal diameter of such a pipe is 35.9 mm. But, considering that the walls not even and there is a weld, the 202nd bearing (D = 35 mm) enters it quite tightly). As an emphasis for external clips to use the DU25 pipe segment inserted inside, and as an axis - a construction hairpin M14.
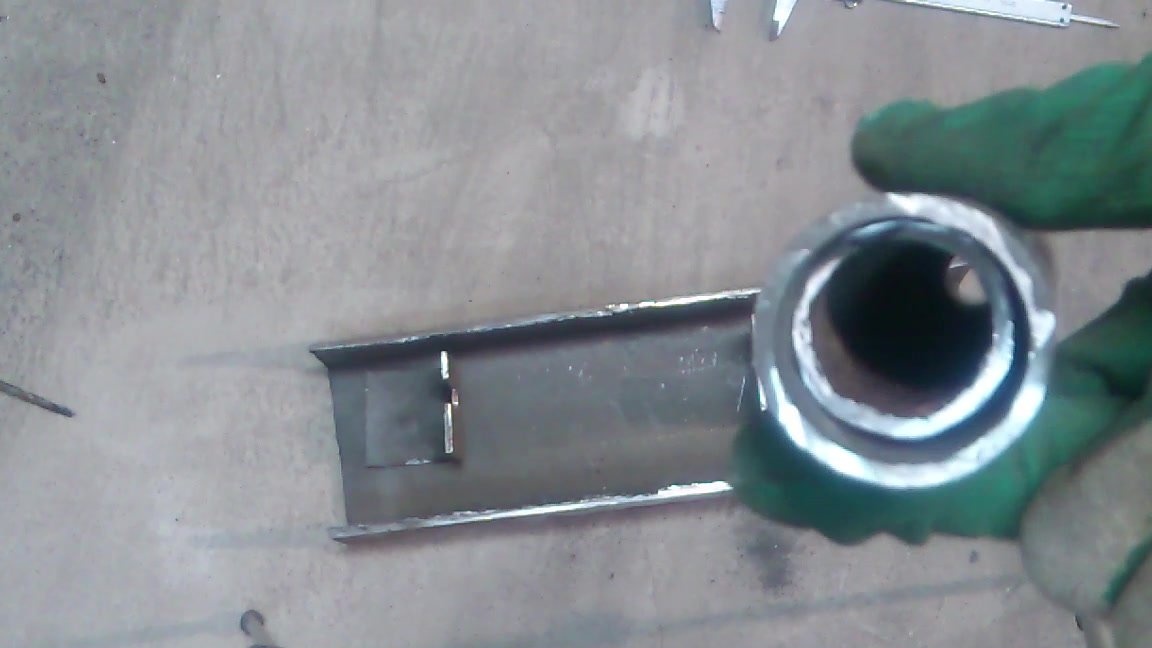
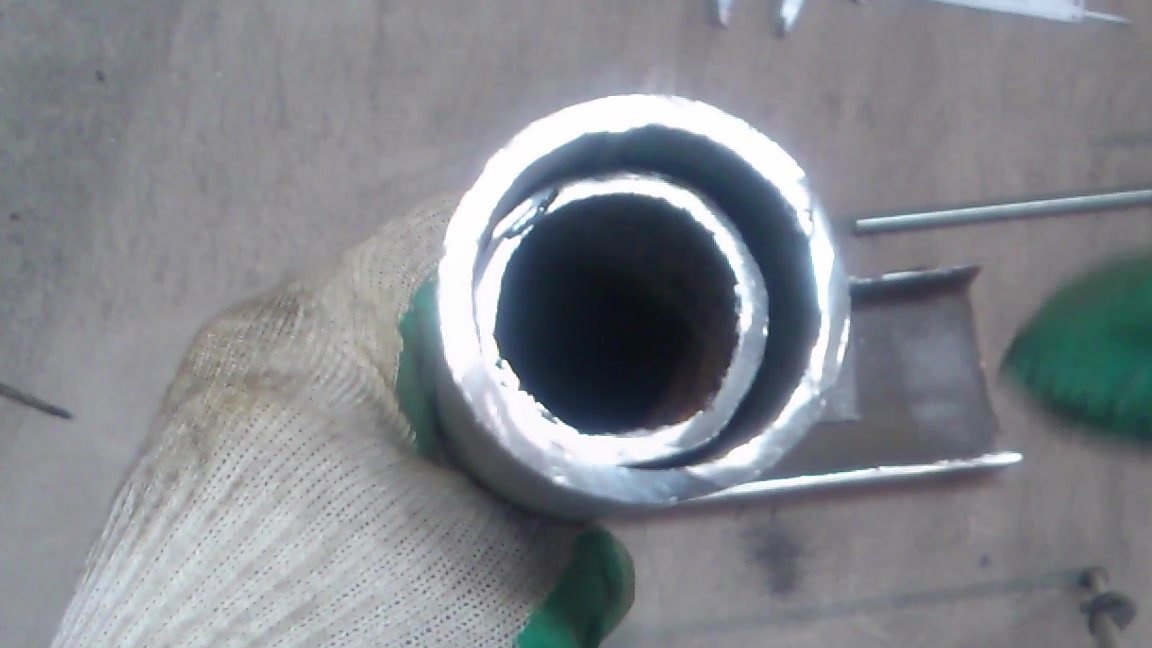
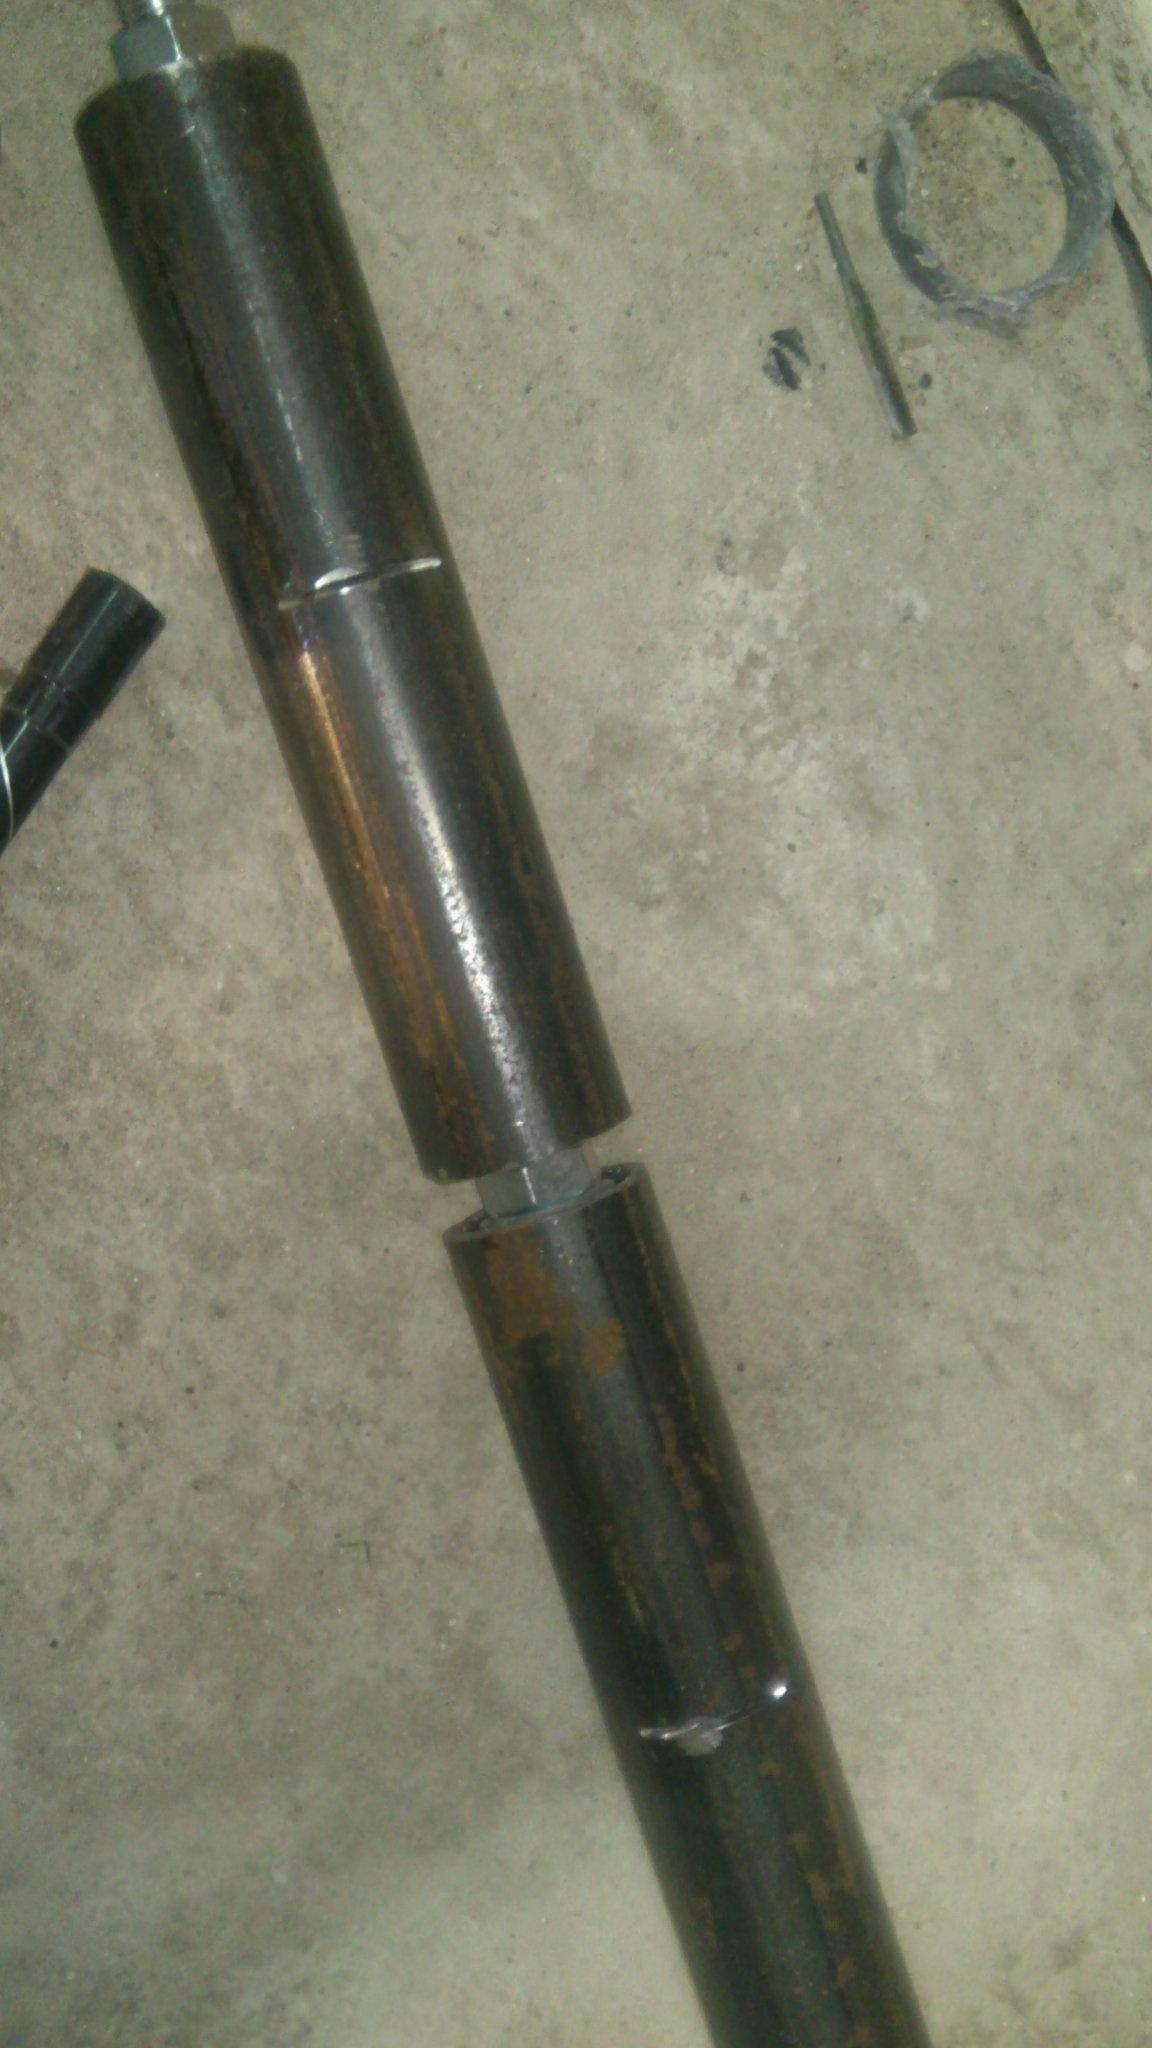
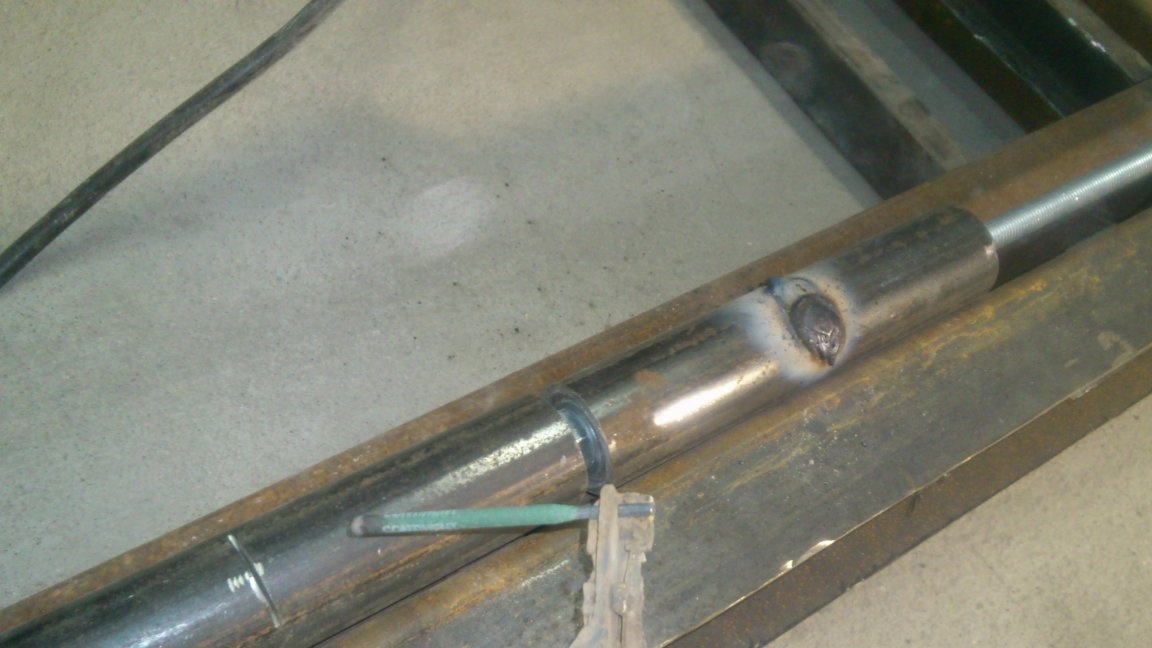
In order to firmly fix the “twenty-five” inside the “thirty-two”, I gathered both loops on a hairpin, after which I made a grinder in the middle of each loop of the saw cut and welded them:

Now you need to make brackets on which the door will "move out". The larger they are, the higher the side edge of the door can rise when opened 90 degrees. I decided to make them from the same profile pipe 120x120 mm. She has a wall thickness of 4 mm and a loop length of 200 mm. So, the stiffness of the brackets is enough.
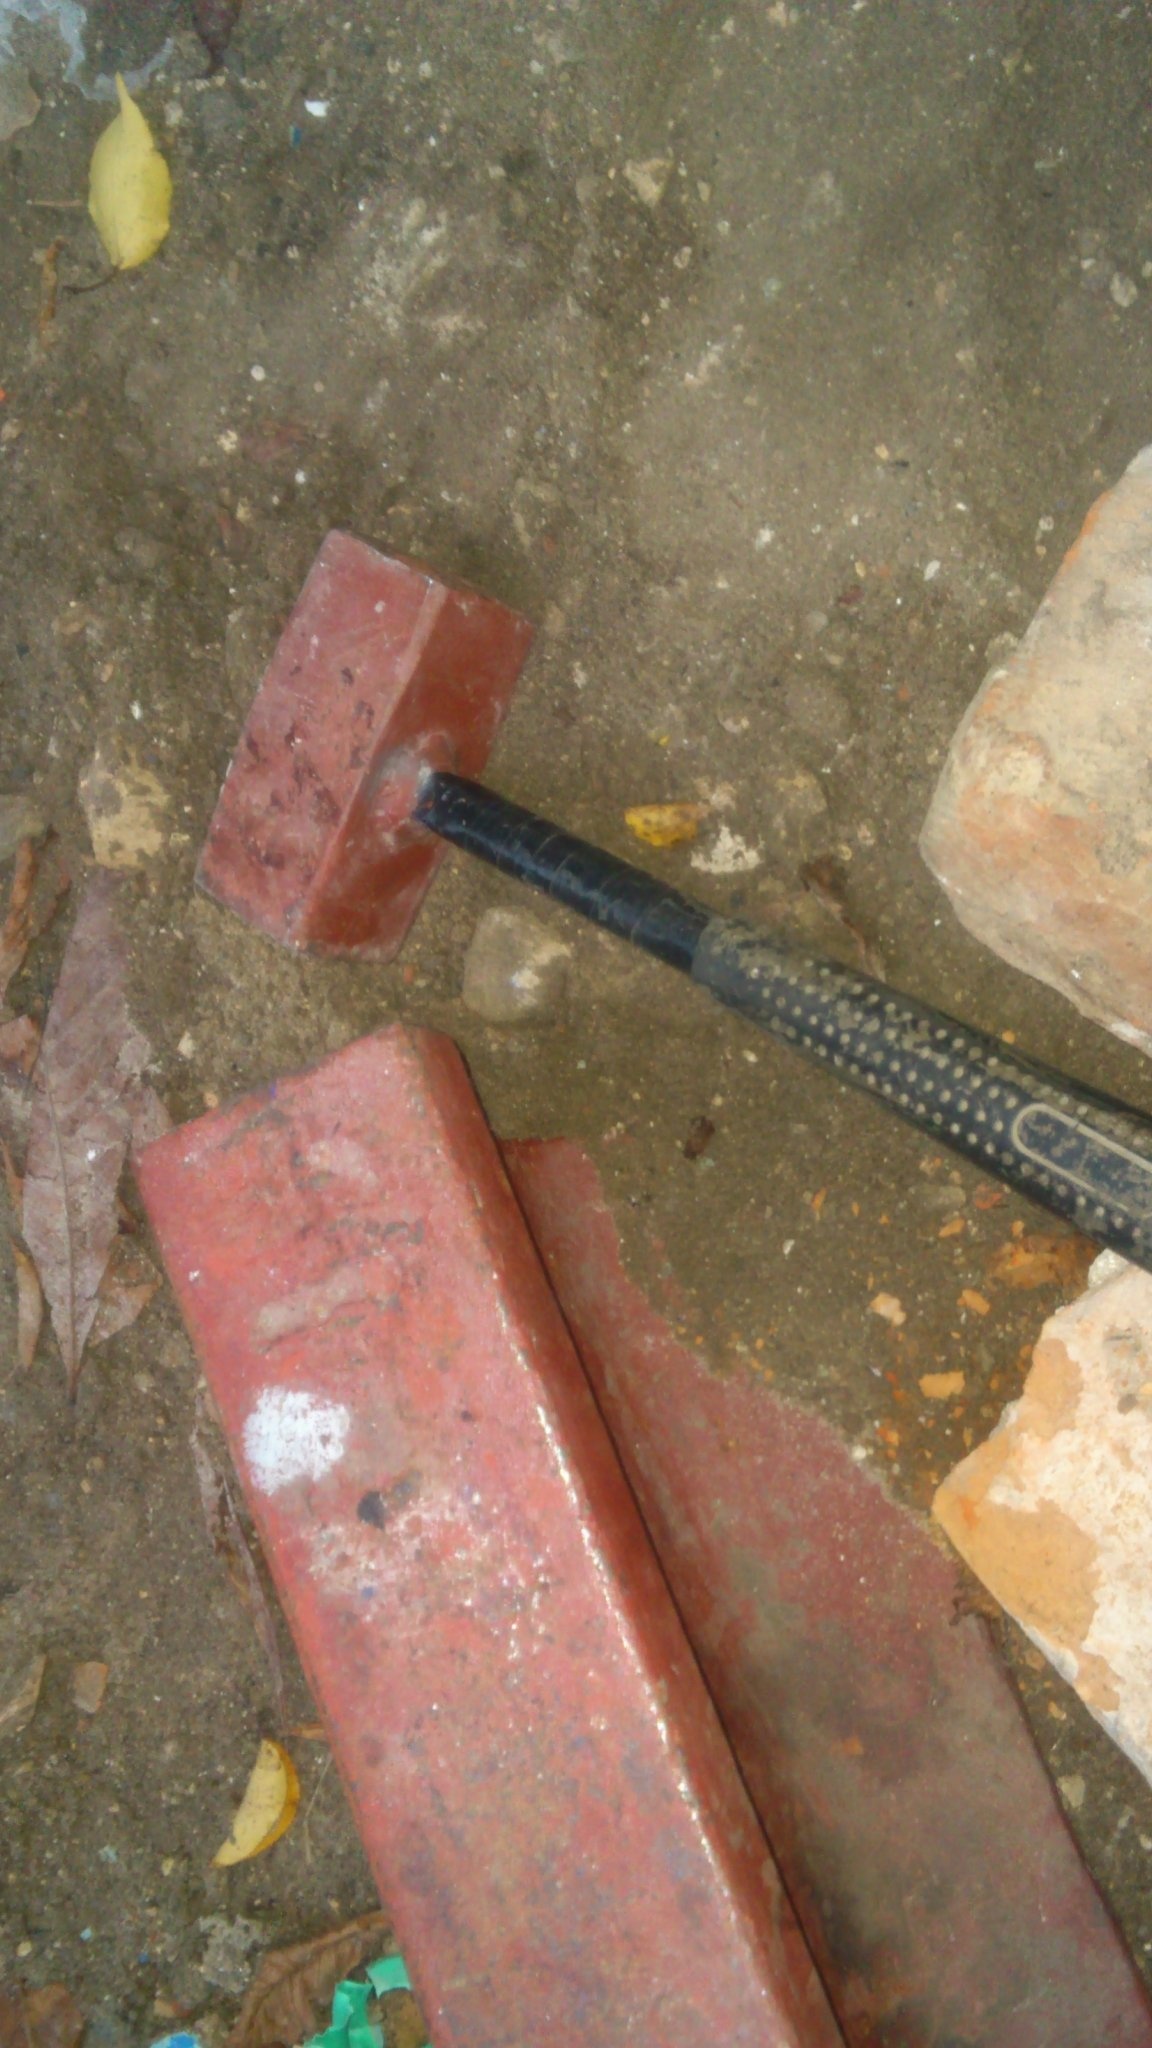

I straightened the brackets with a sledgehammer, increasing the horizontal offset by 50 mm so that the bracket could be welded “flat” to the inner plane of the lower door frame (I remind you that I have it from a solid pipe). Indeed, if you weld it, applying it perpendicular to the lower plane, we will not get the necessary stiffness!
Now we are going to fasten the hinges to the supporting frame. In contrast to the attachment to the door, where they will be welded, it is necessary to make a collapsible design (after all, the door still needs to be removed for final completion). In addition, I would like to receive such a valuable option as the ability to adjust the gaps!
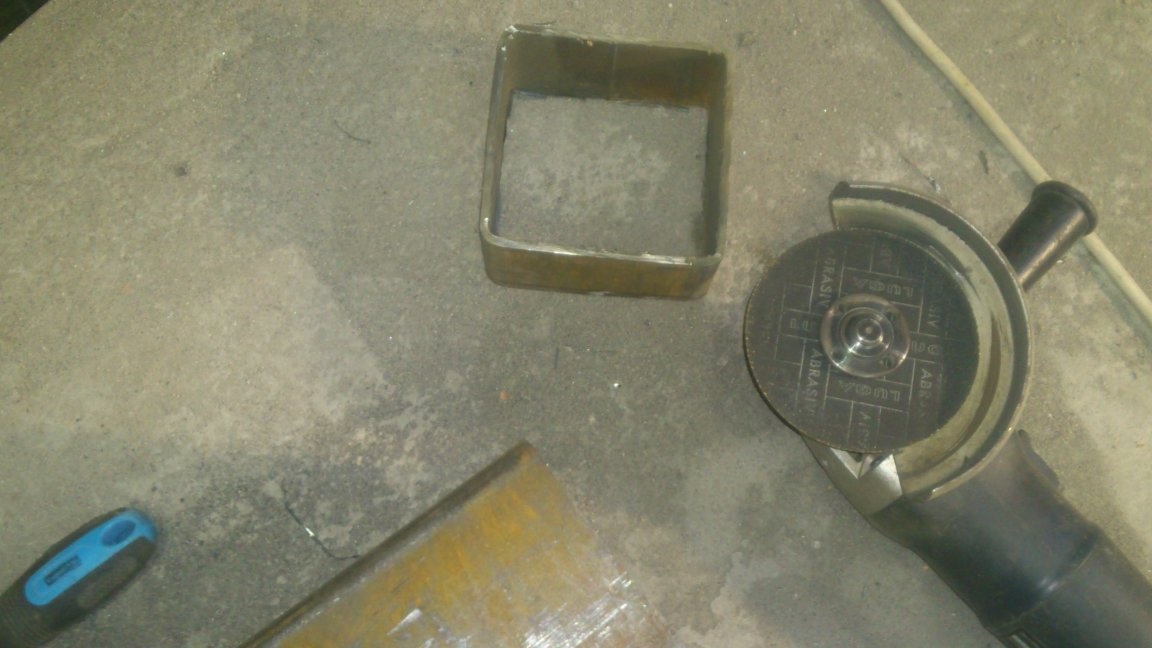
Given that, making the supporting frame, I cut the pipe along, the loops inside it can no longer fit! But it was planned! And initially he thought of making the second parts of the “boxes for hidden loops” separately, and then welding them into place. Cut a piece of pipe, 400 mm long and again spread it along:
And one more short one - I sawed it into four corners, of which I will make brackets:
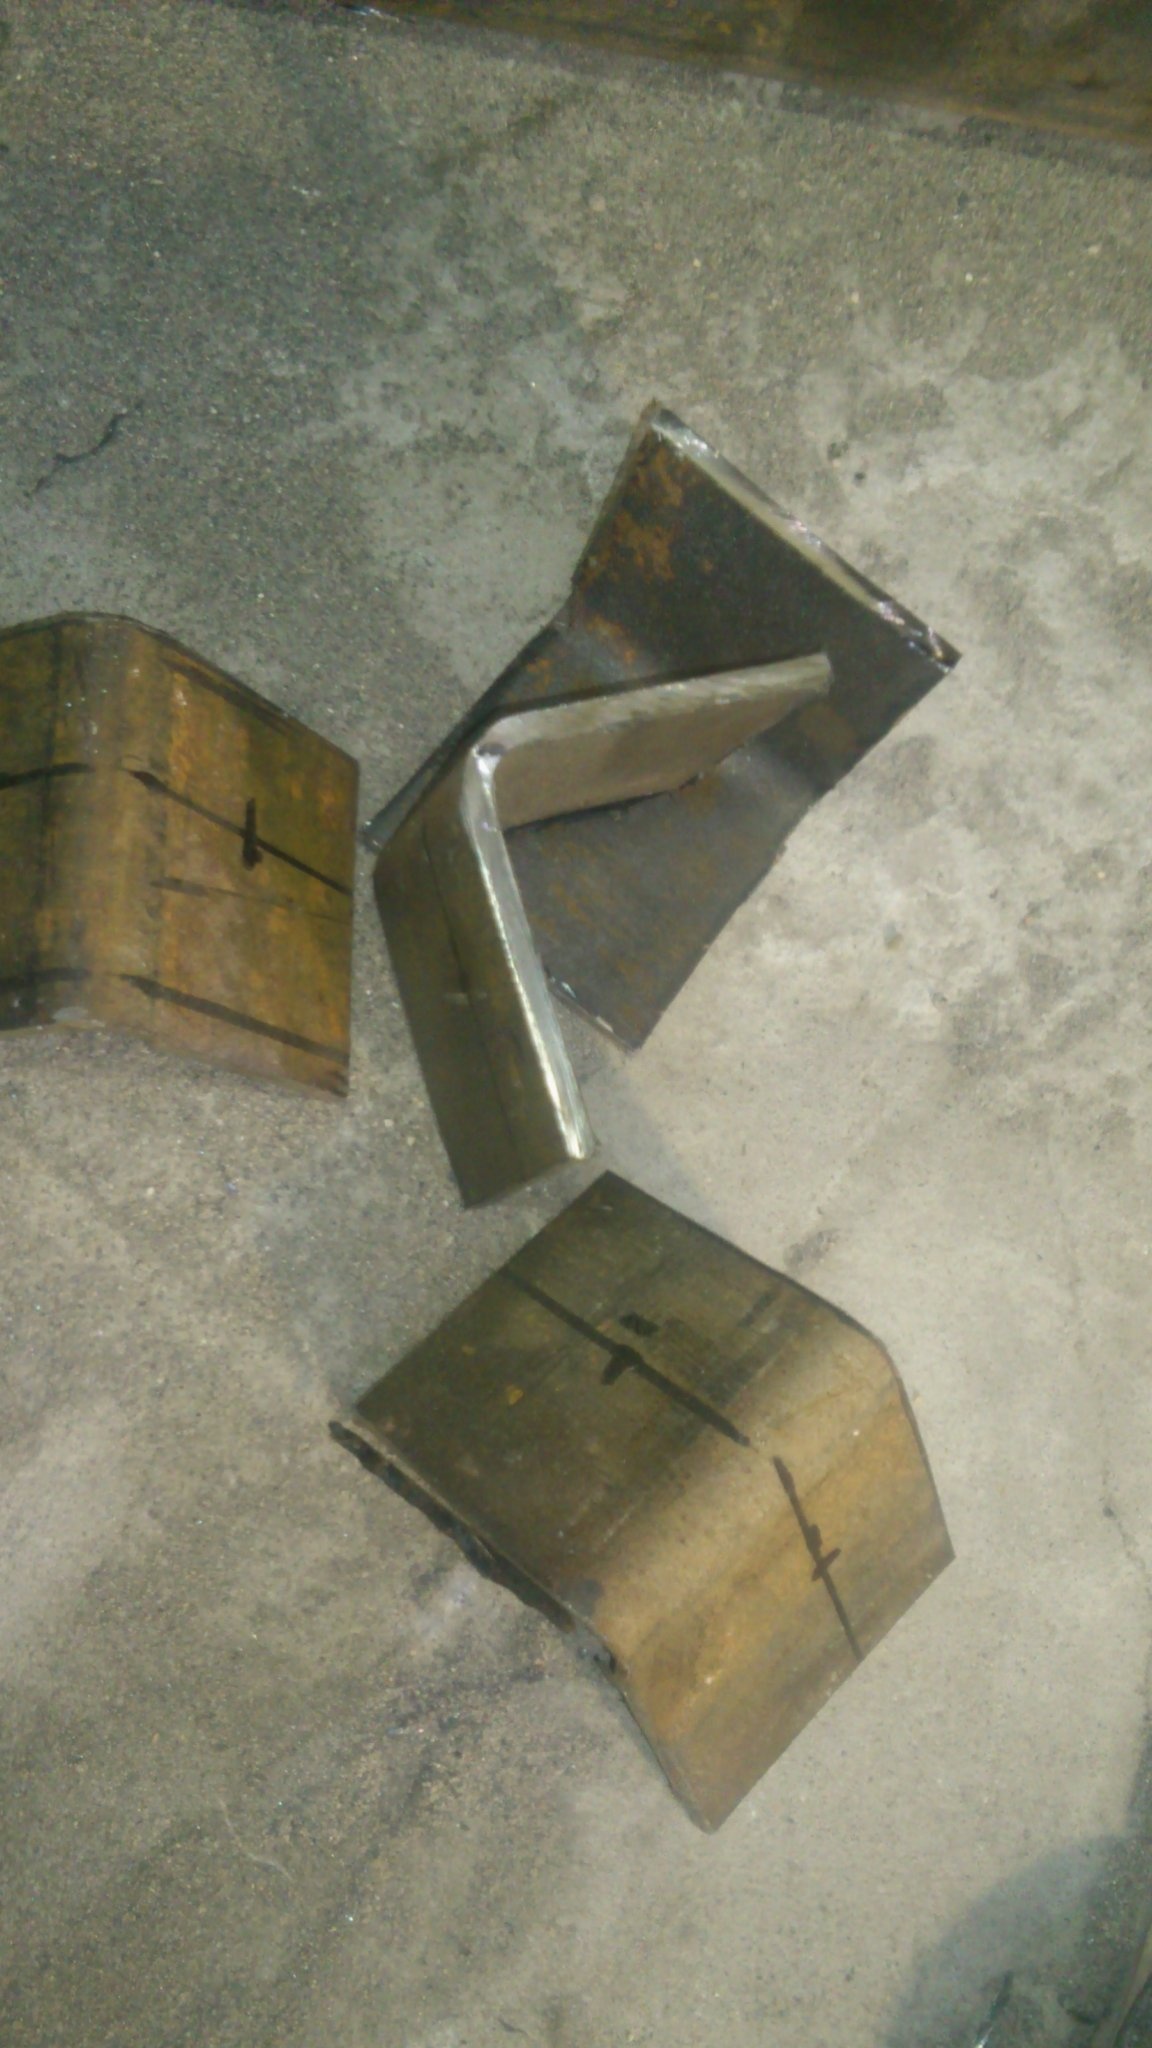
These are those with a longitudinal slot, into which the stud-axis will then be inserted and clamped with nuts:
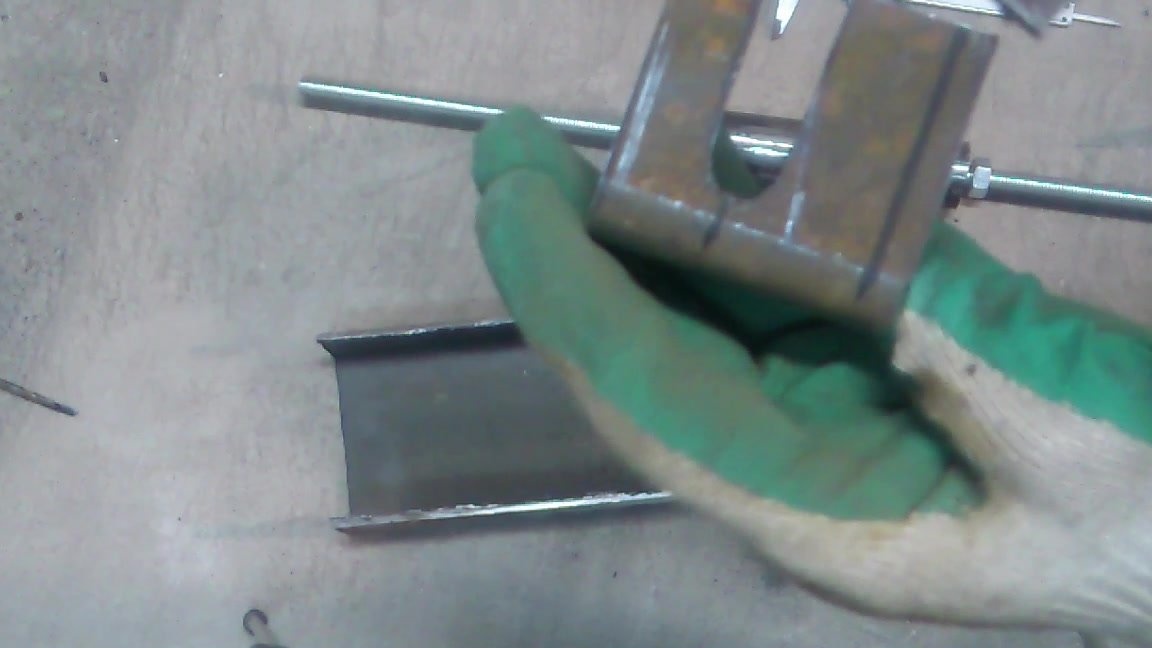
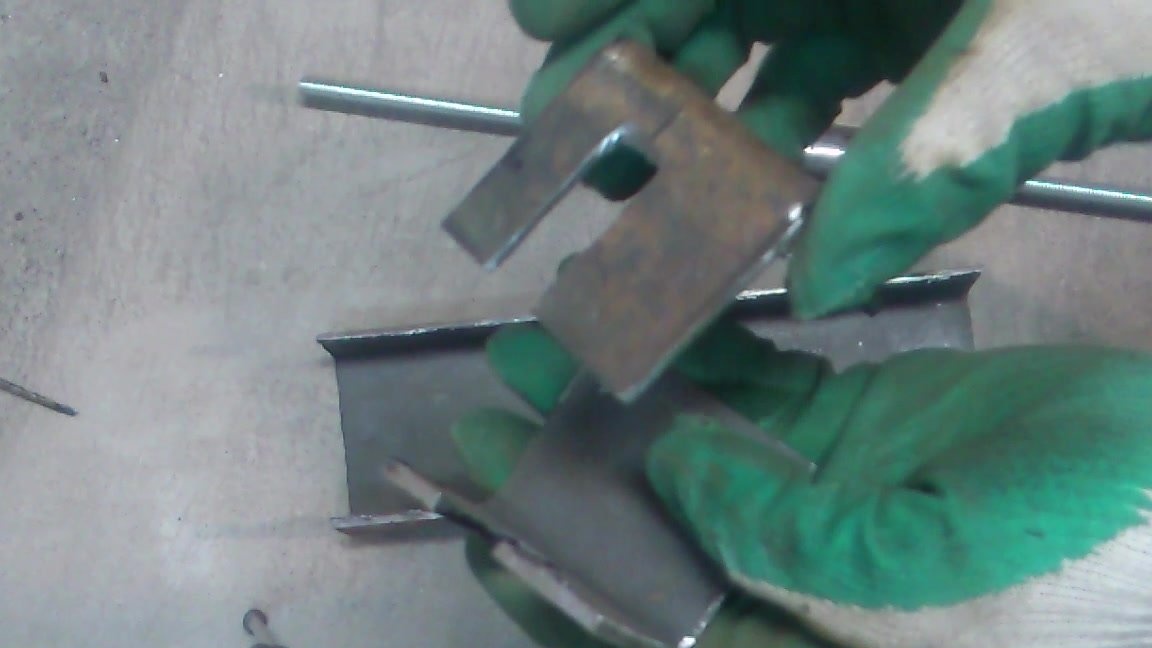
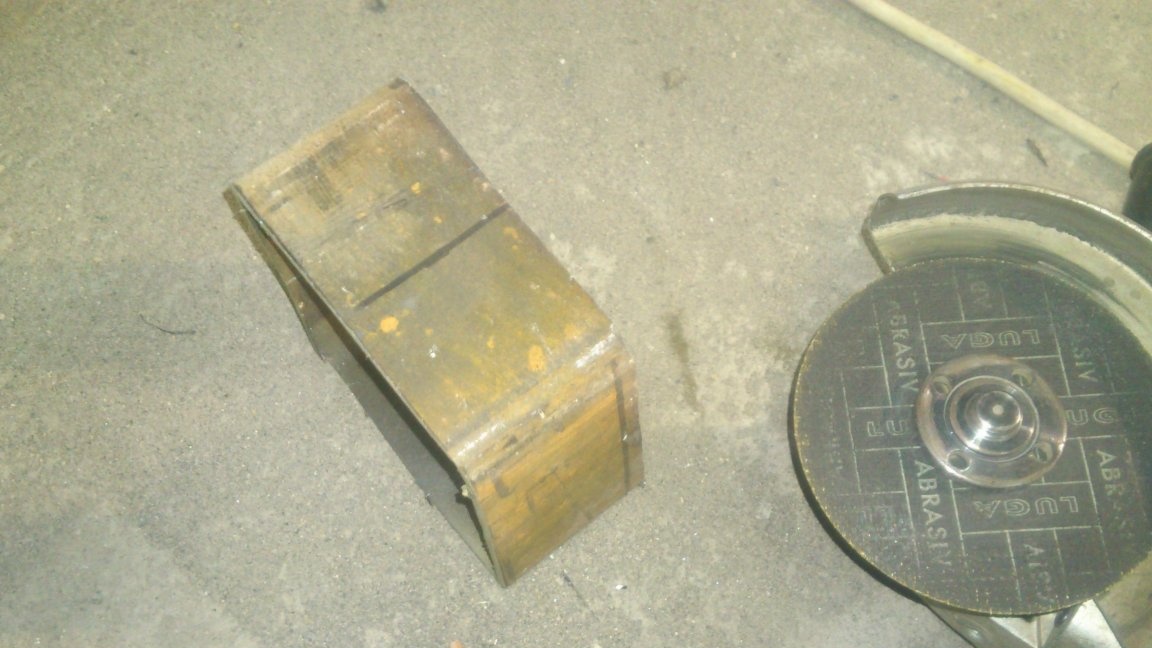
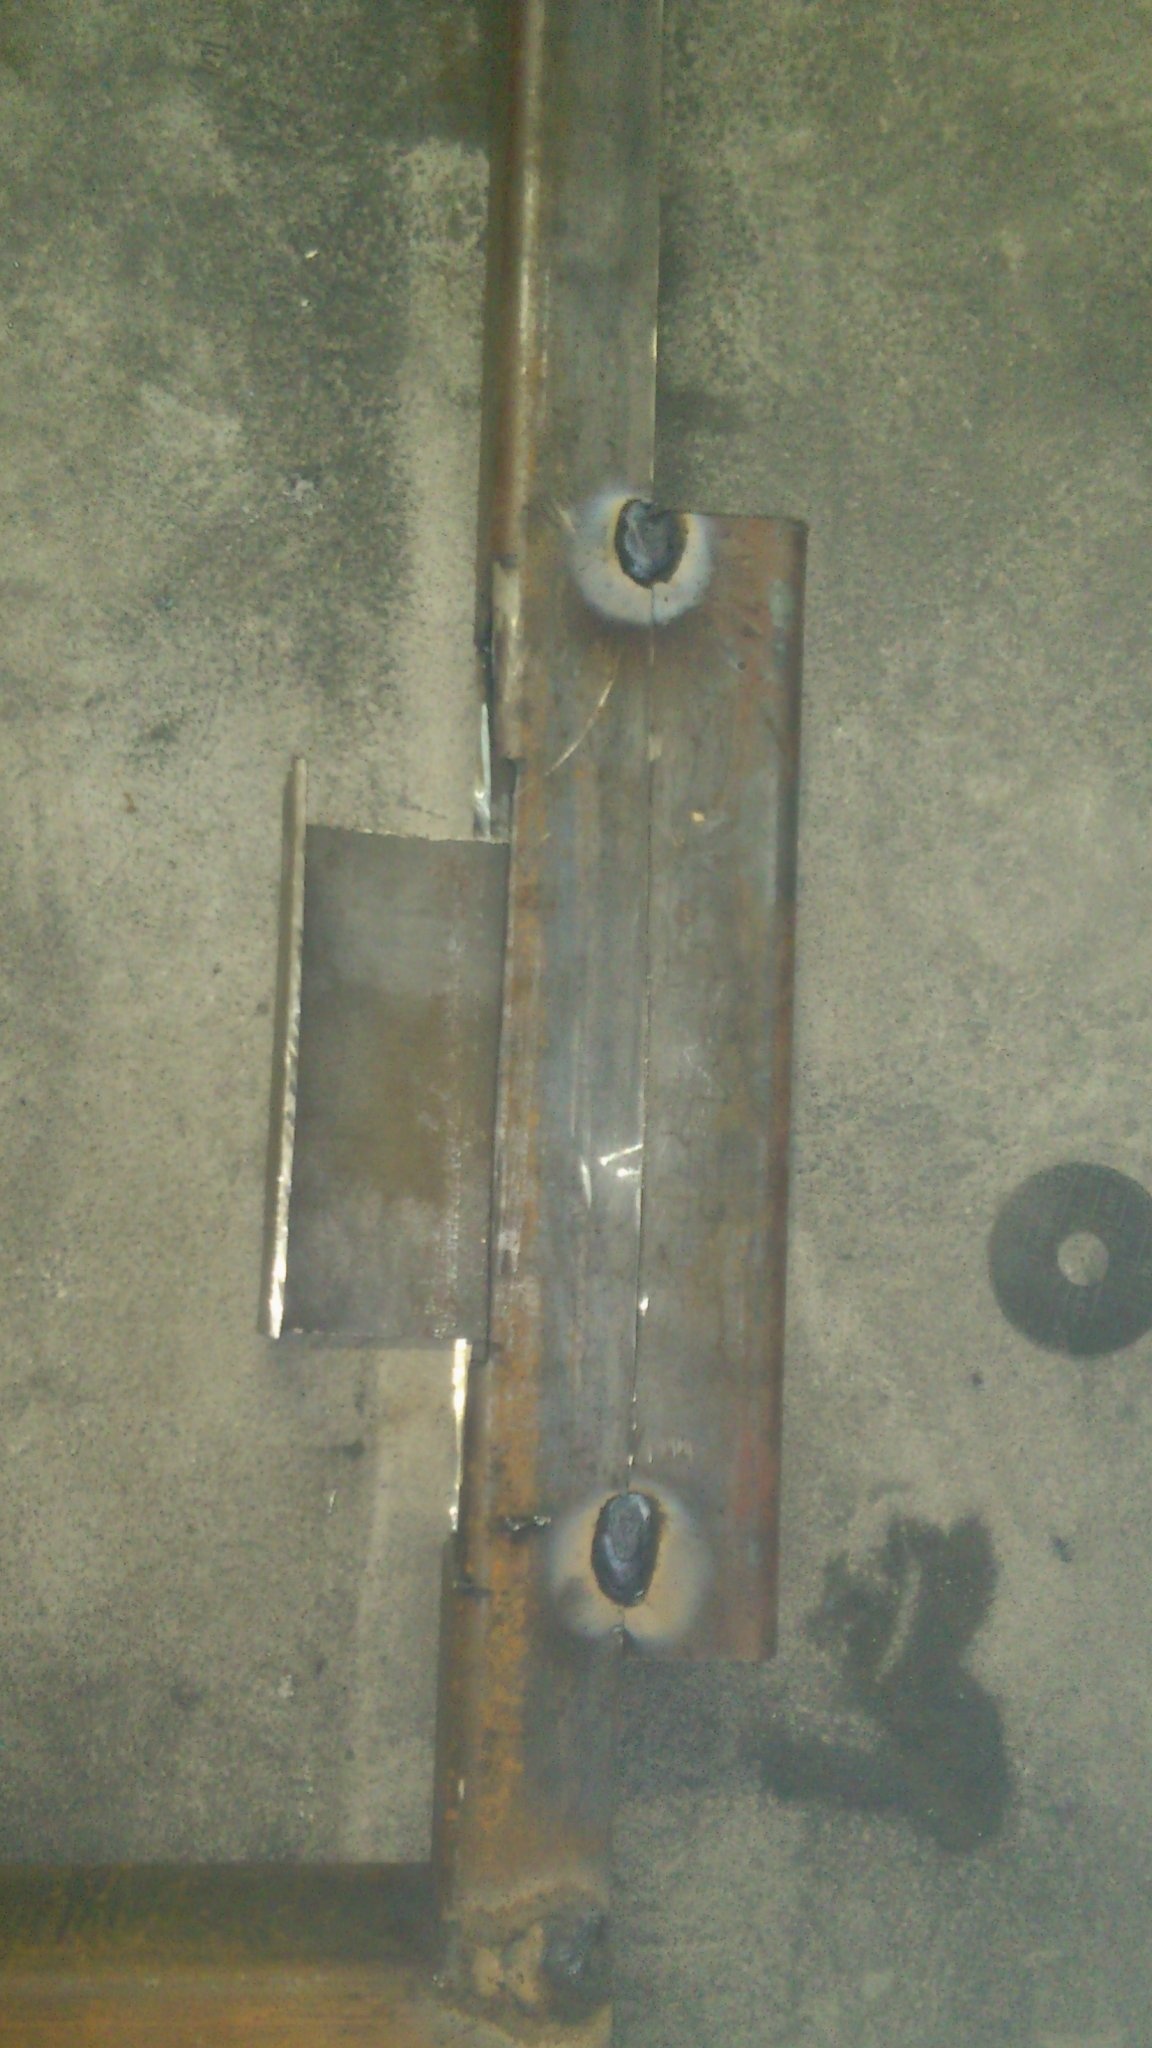
I put the brackets in the box and welded, collecting the loops on them:
In the frame, I marked and cut through the "windows" under the hinges:
Attached from the back and welded the box:
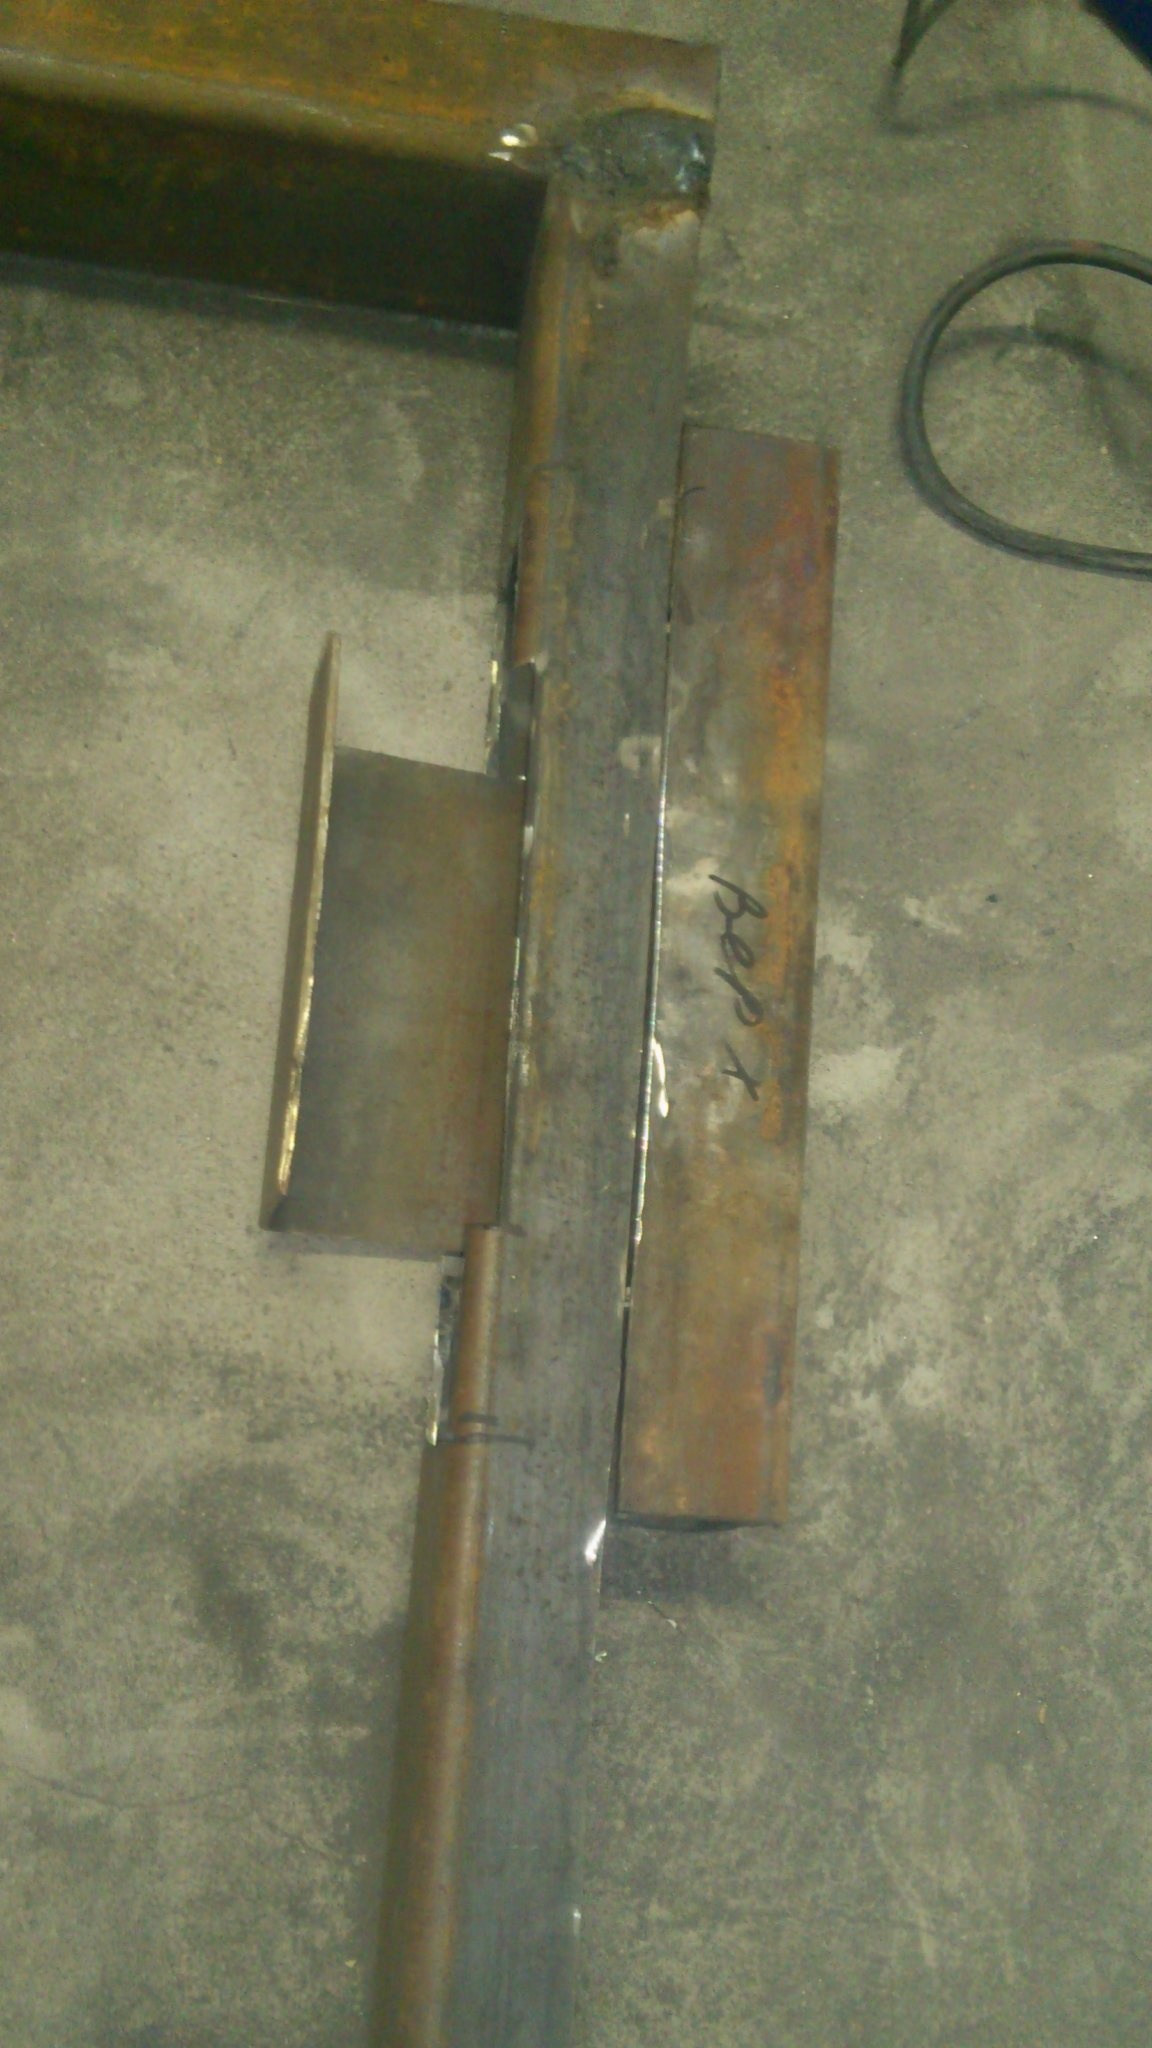

First, “tacks”, then, checking that everything fits and nothing is skewed, with solid seams:
Now you can weld the hinge brackets to the door itself. But first, you need to finish it! (For the time being, only the frame!).
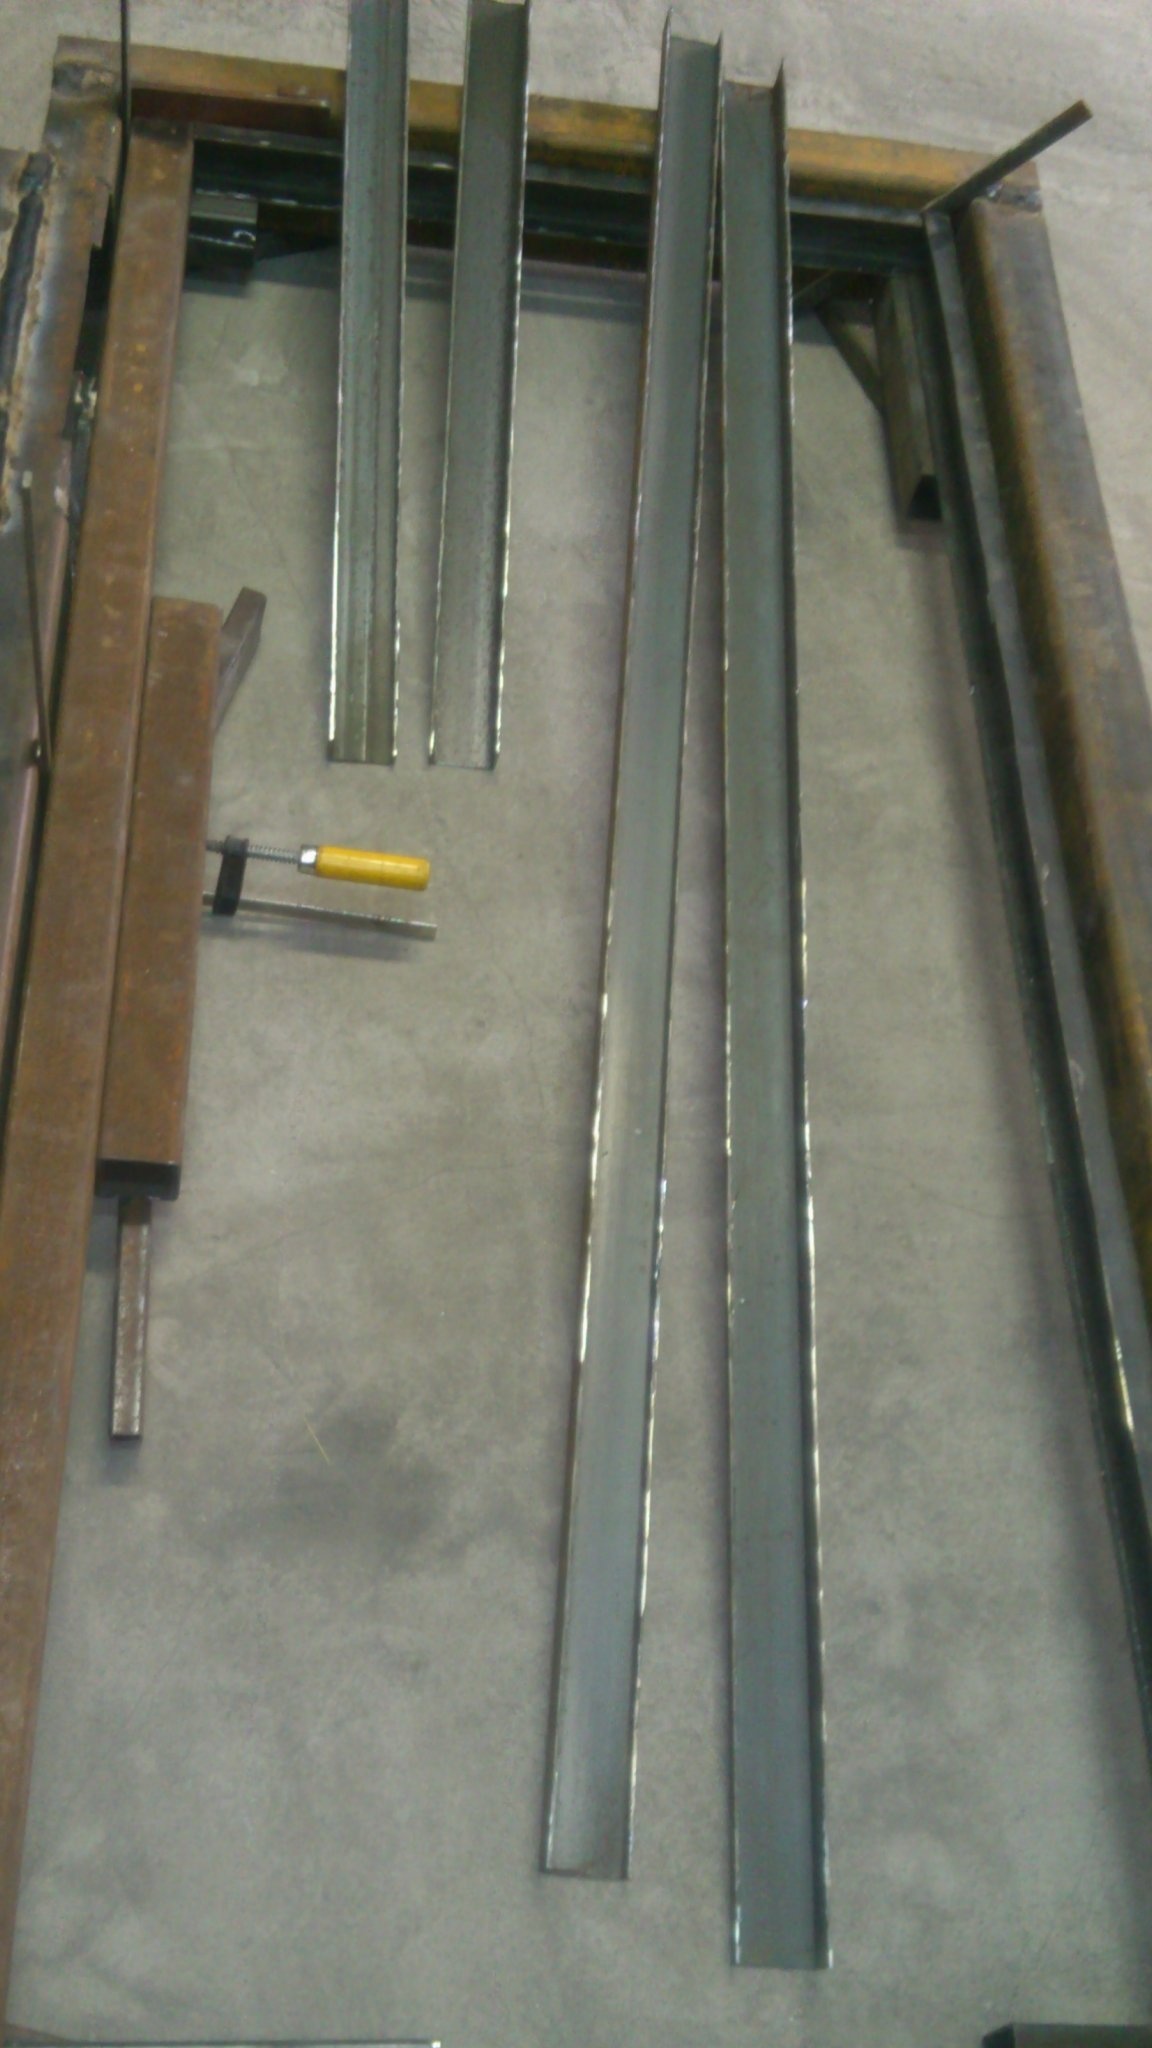
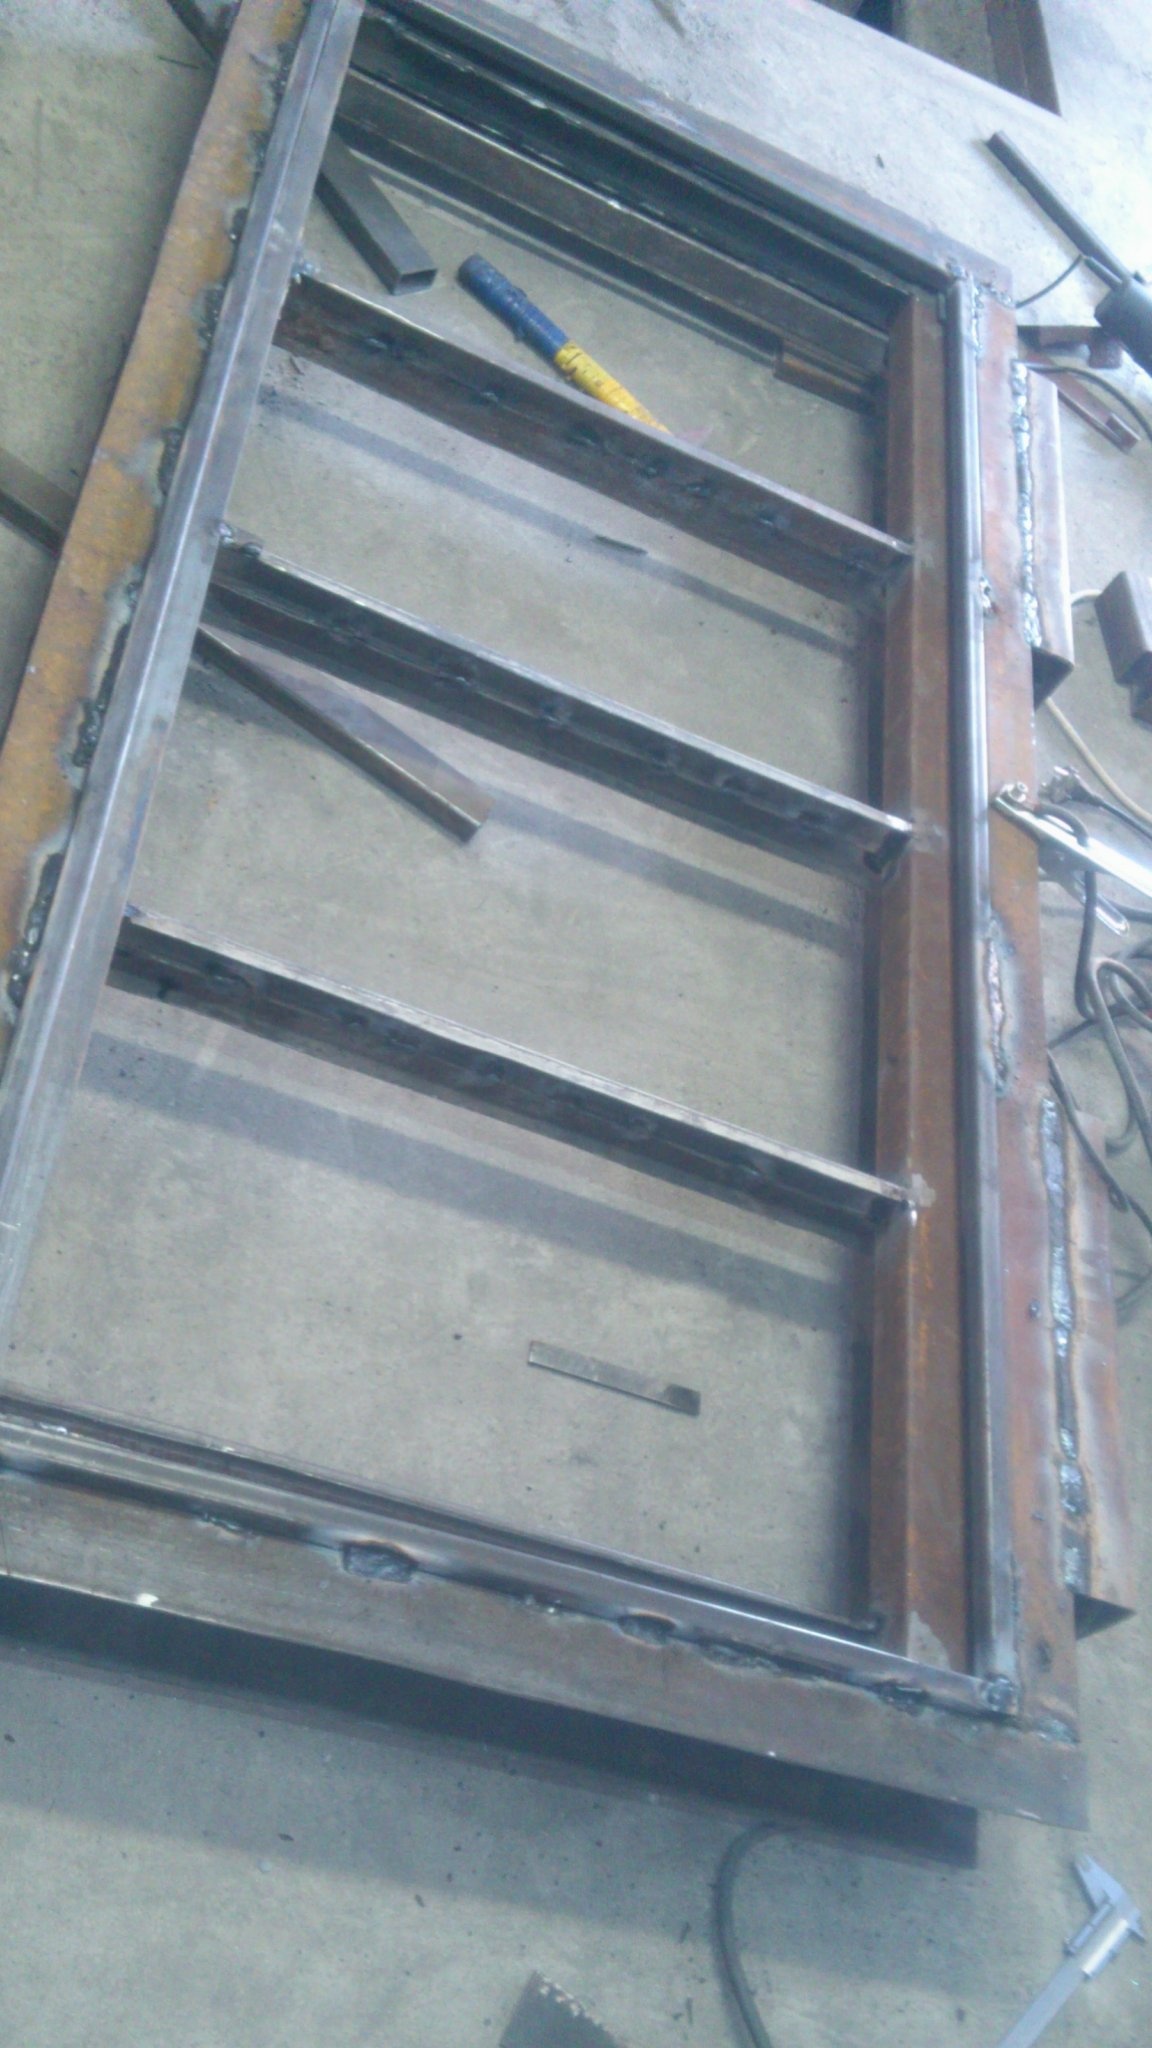
I had old profile pipes with a section of 40x25 mm. (Once he pulled ties on them, until there was much experience in this matter and lighthouses were required.) Now I do not need them and I decided to make crossbars out of them. I cut four segments of the desired length:

And, of course, again sawed them along! ))) As without it))).
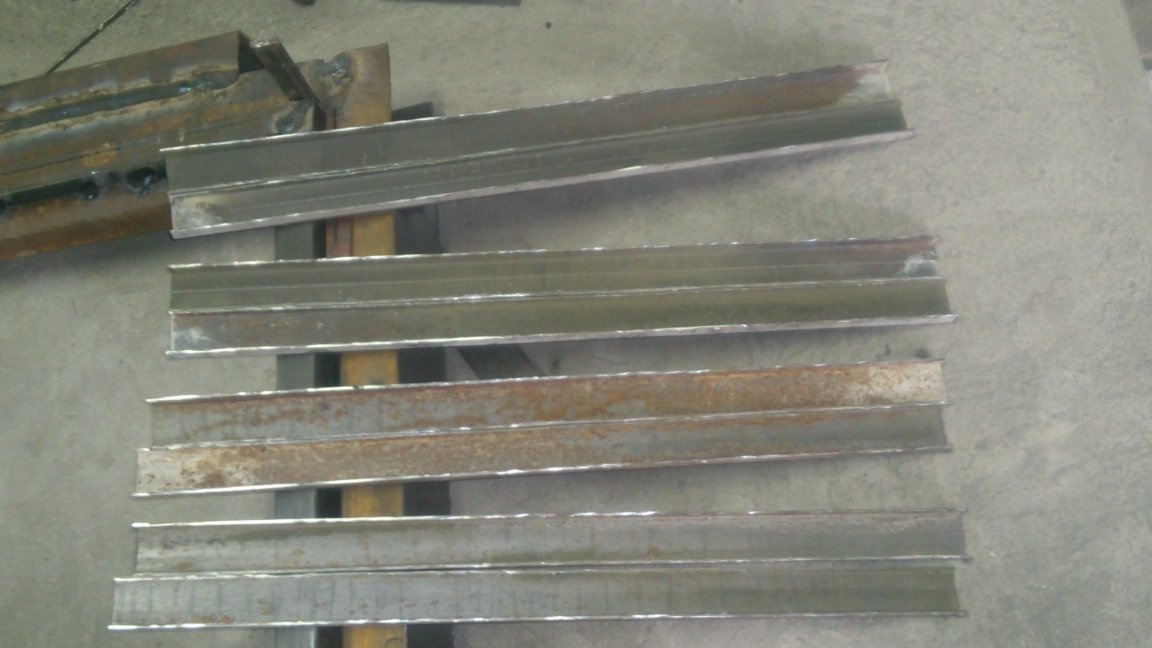
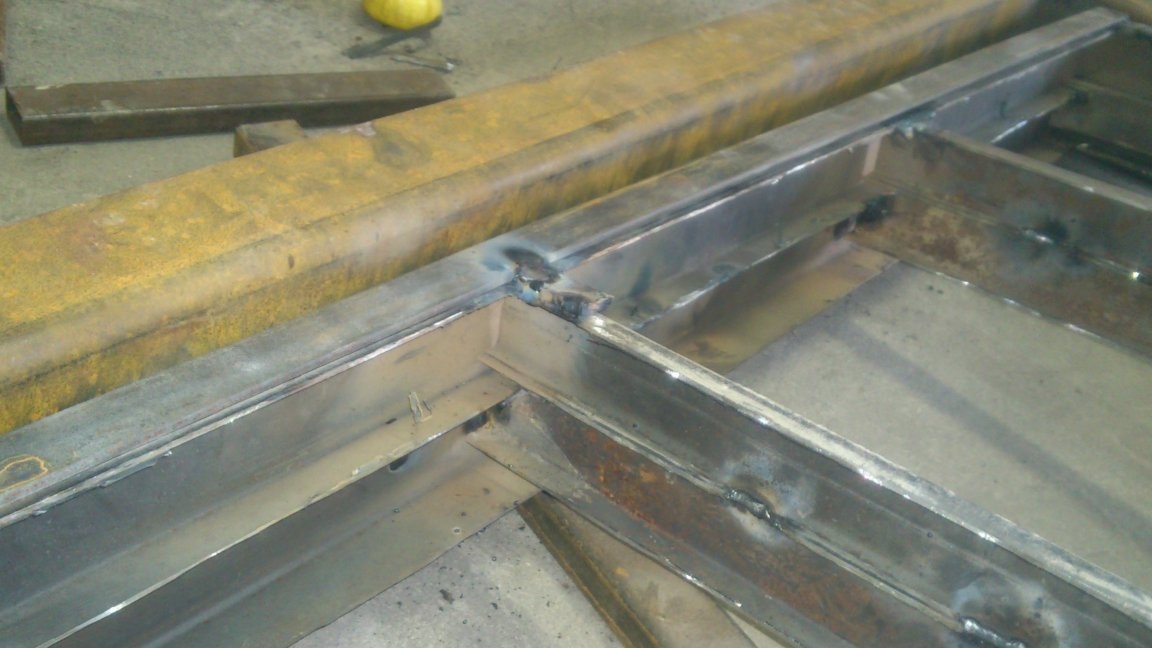
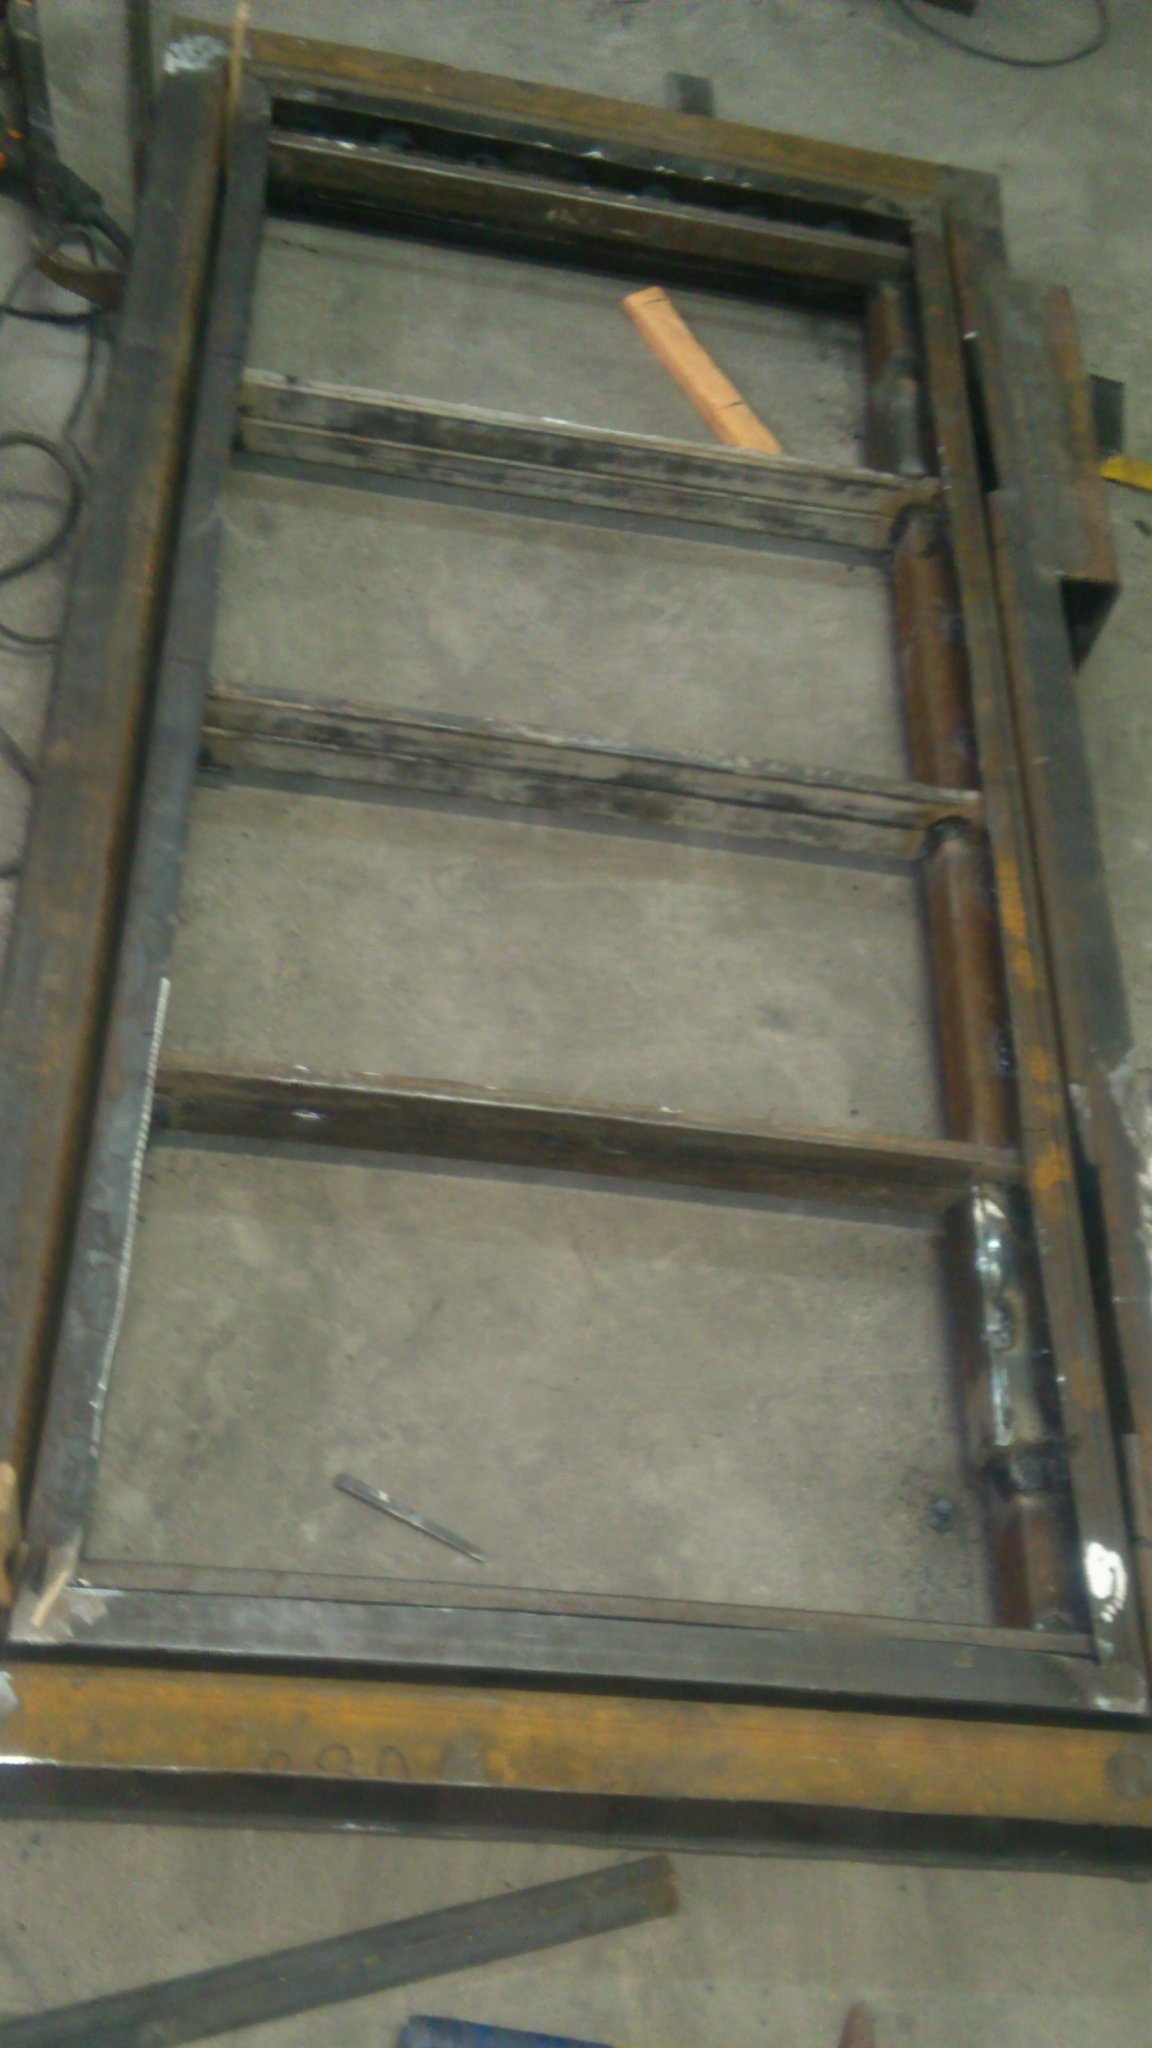
Having welded them in pairs, I made appropriate cuts, placed them inside the frame and welded to it.
The resulting crossbars are 80 mm high and the door frame 100 mm high. This is done on purpose! After all, the hatch must be flush with the floor! Accordingly, I left 20 mm in order to place a draft plate there later! Its appearance will depend on the choice of the final coating - if, for example, it is a laminate, or parquet - it will be possible to put a layer of twenty-mm moisture-resistant high-density laminated plywood (of which the rear doors of the trucks are made of). If I decide to put ceramic tiles, or vinyl tiles, then there will be 10 mm. plates OSP-3 and 10 mm GVL (gypsum fiber sheet). It is in order for the future draft plate to be flush mounted, I need these two centimeters. And that is why I placed the extreme crossbars close to the end of the frame:
Now you need to place the door in the frame. I turned the frame over and put the door into it - so on the right (in the future - the upper) side they were aligned in one plane. Now you can weld the stubborn quarter, which I decided to make from a 20x20 profile pipe:
Another point. The door will be filled with thermal insulation in the future (most likely, it will be extruded polystyrene foam). I decided to make the lower closure out of plywood wrapped in foil-foamed polyethylene. But for now, after all, he is not there! Therefore, in order to “leave room for him,” I welded a piece of 4x25 strip to the door using small spacers from the same strip. So the door "became thicker" by 8 mm. In the future, it will not be difficult to cut this insert and install the bottom panel.
Now you can weld and loop. But first they need to be installed in the frame. Again, we turn the frame over, try on the hinges and cut a stubborn quarter opposite them, so as not to interfere with the full course of the power brackets. (Initially, it was not specially welded in these places)
Now we again insert the door, expose it evenly, using spacers, and weld the power hinge brackets to the door. (Let me remind you, I specifically used an uncut pipe in this place)
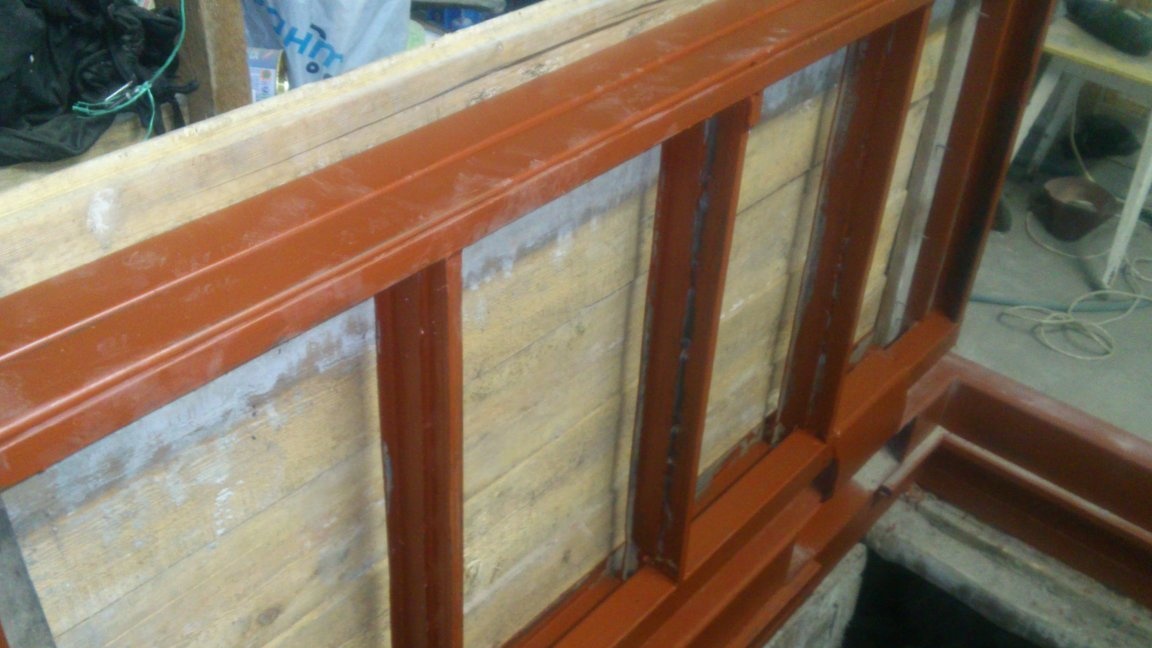
Well, actually, almost done! It remains to clean the welds:
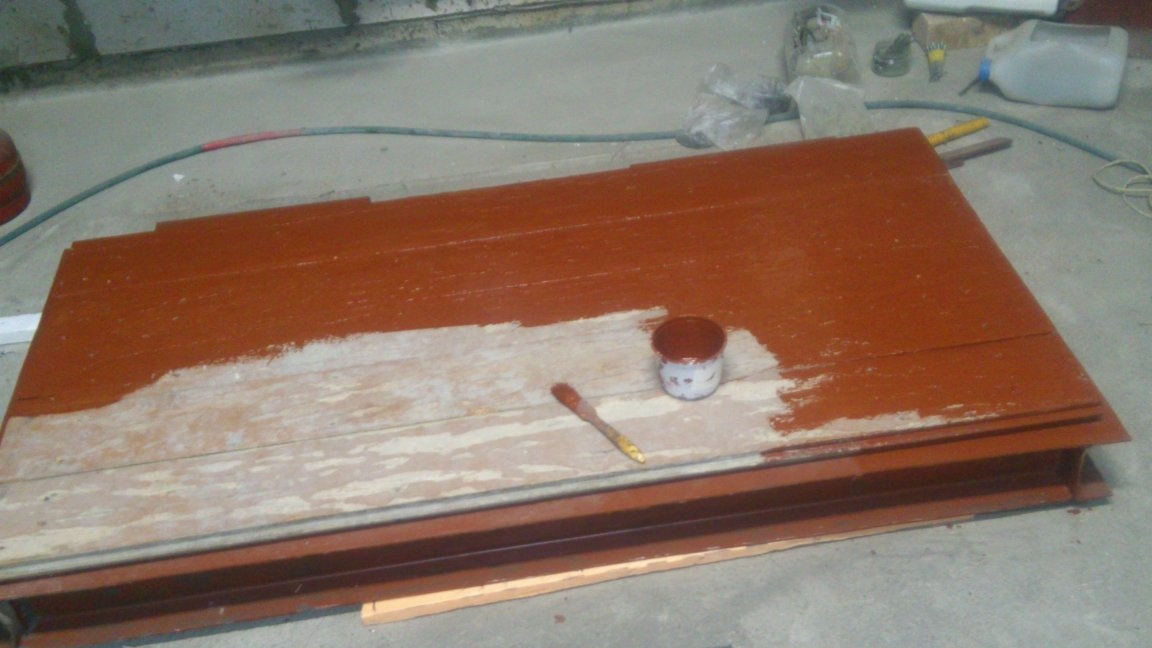
I coat the entire structure with a primer ("ship red lead"):
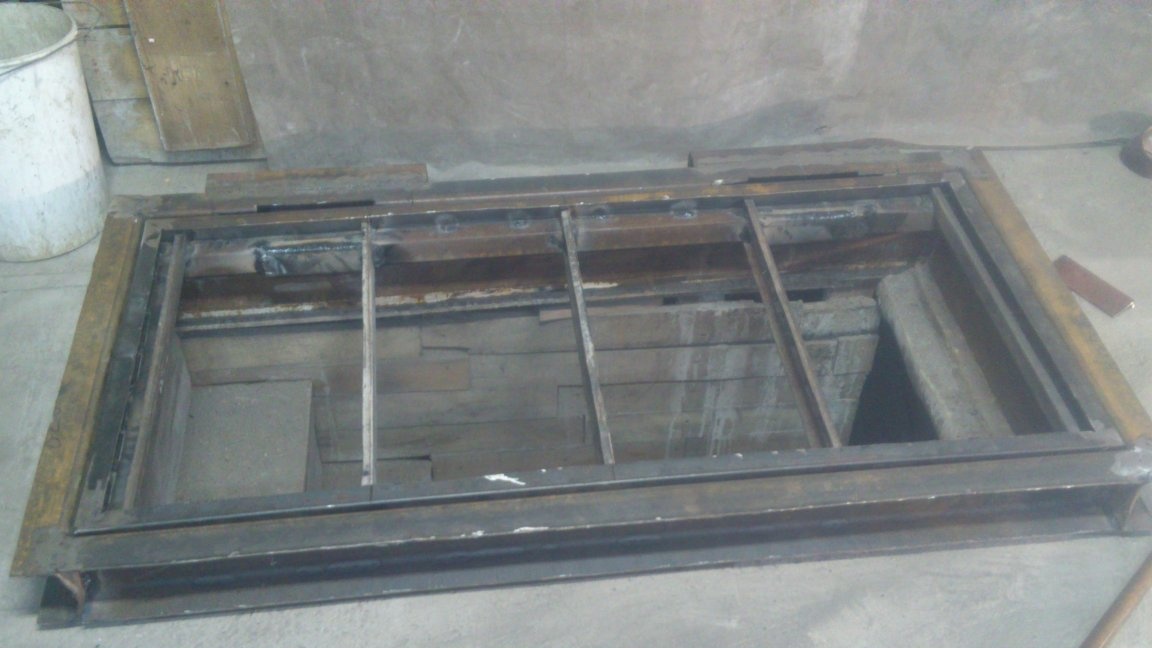
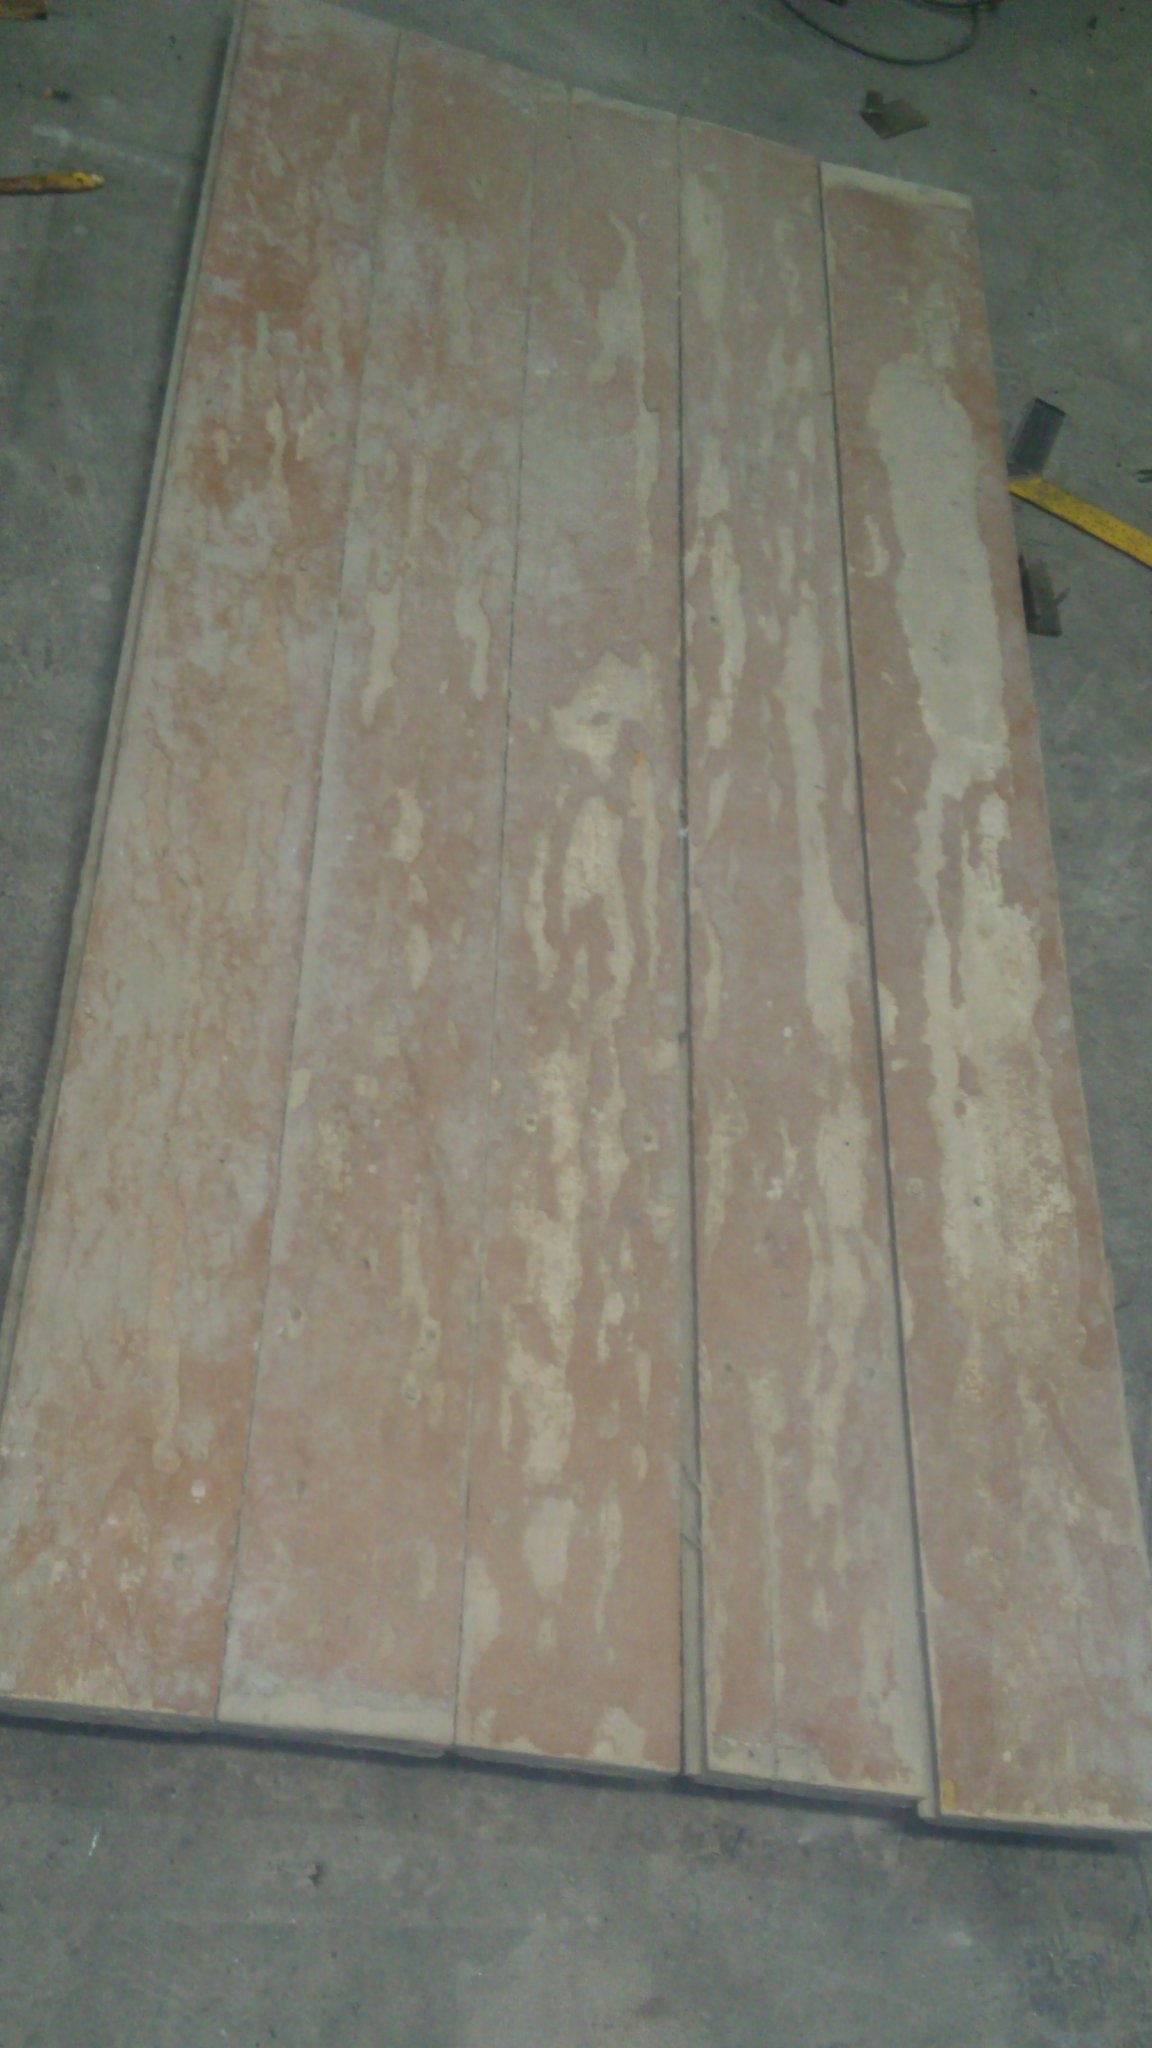
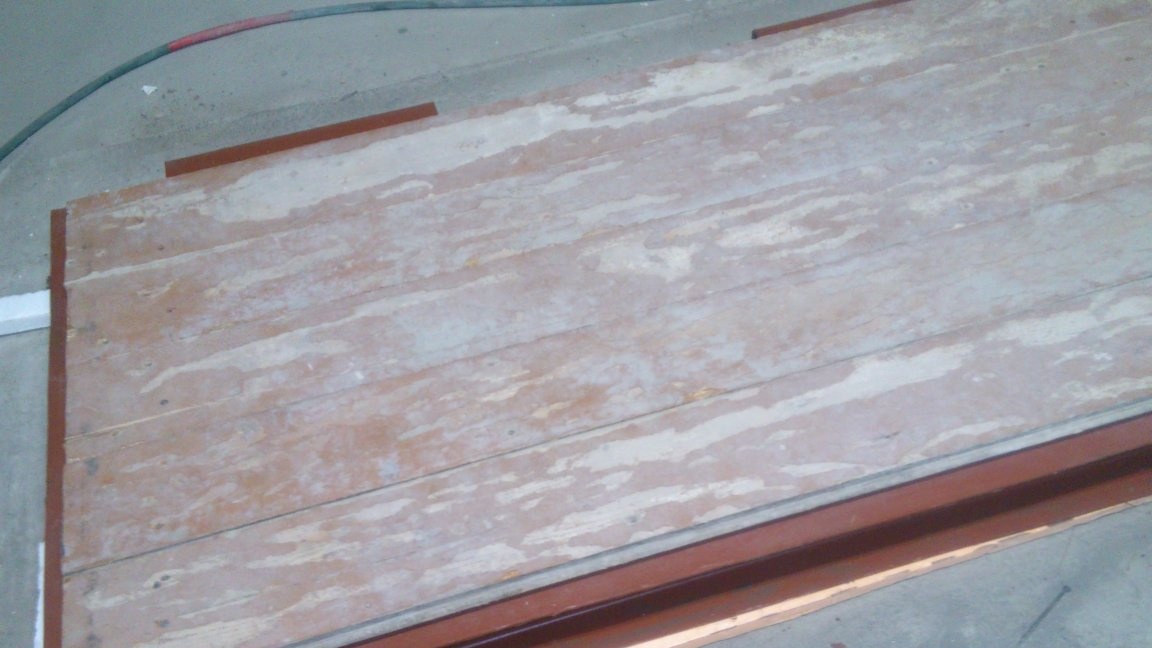
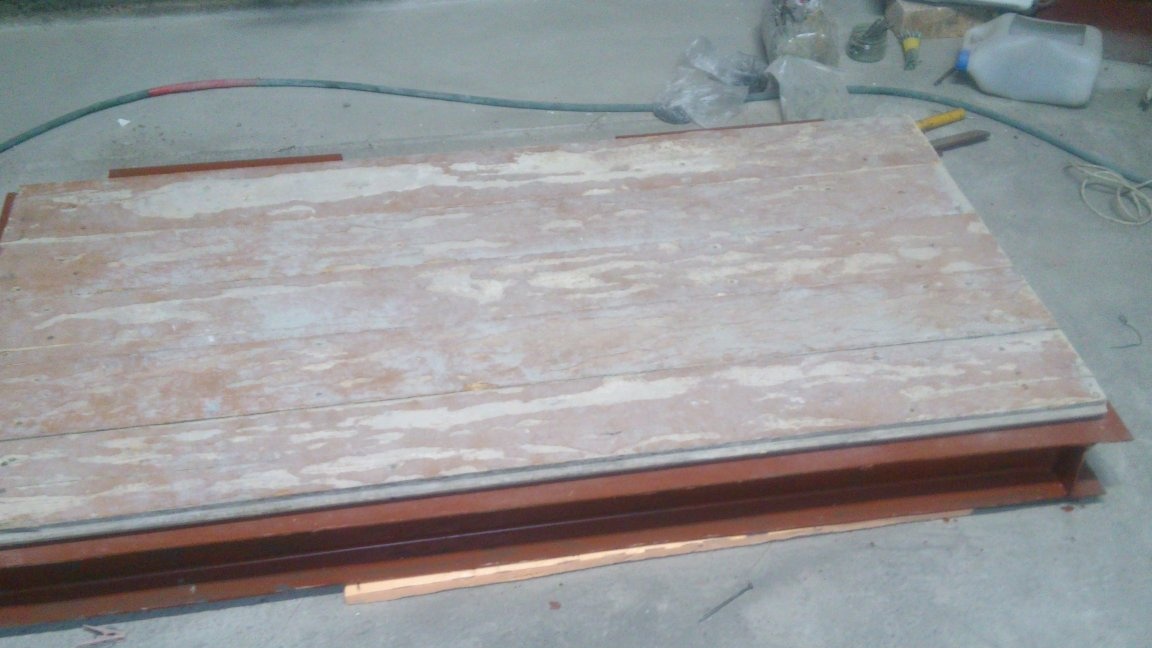
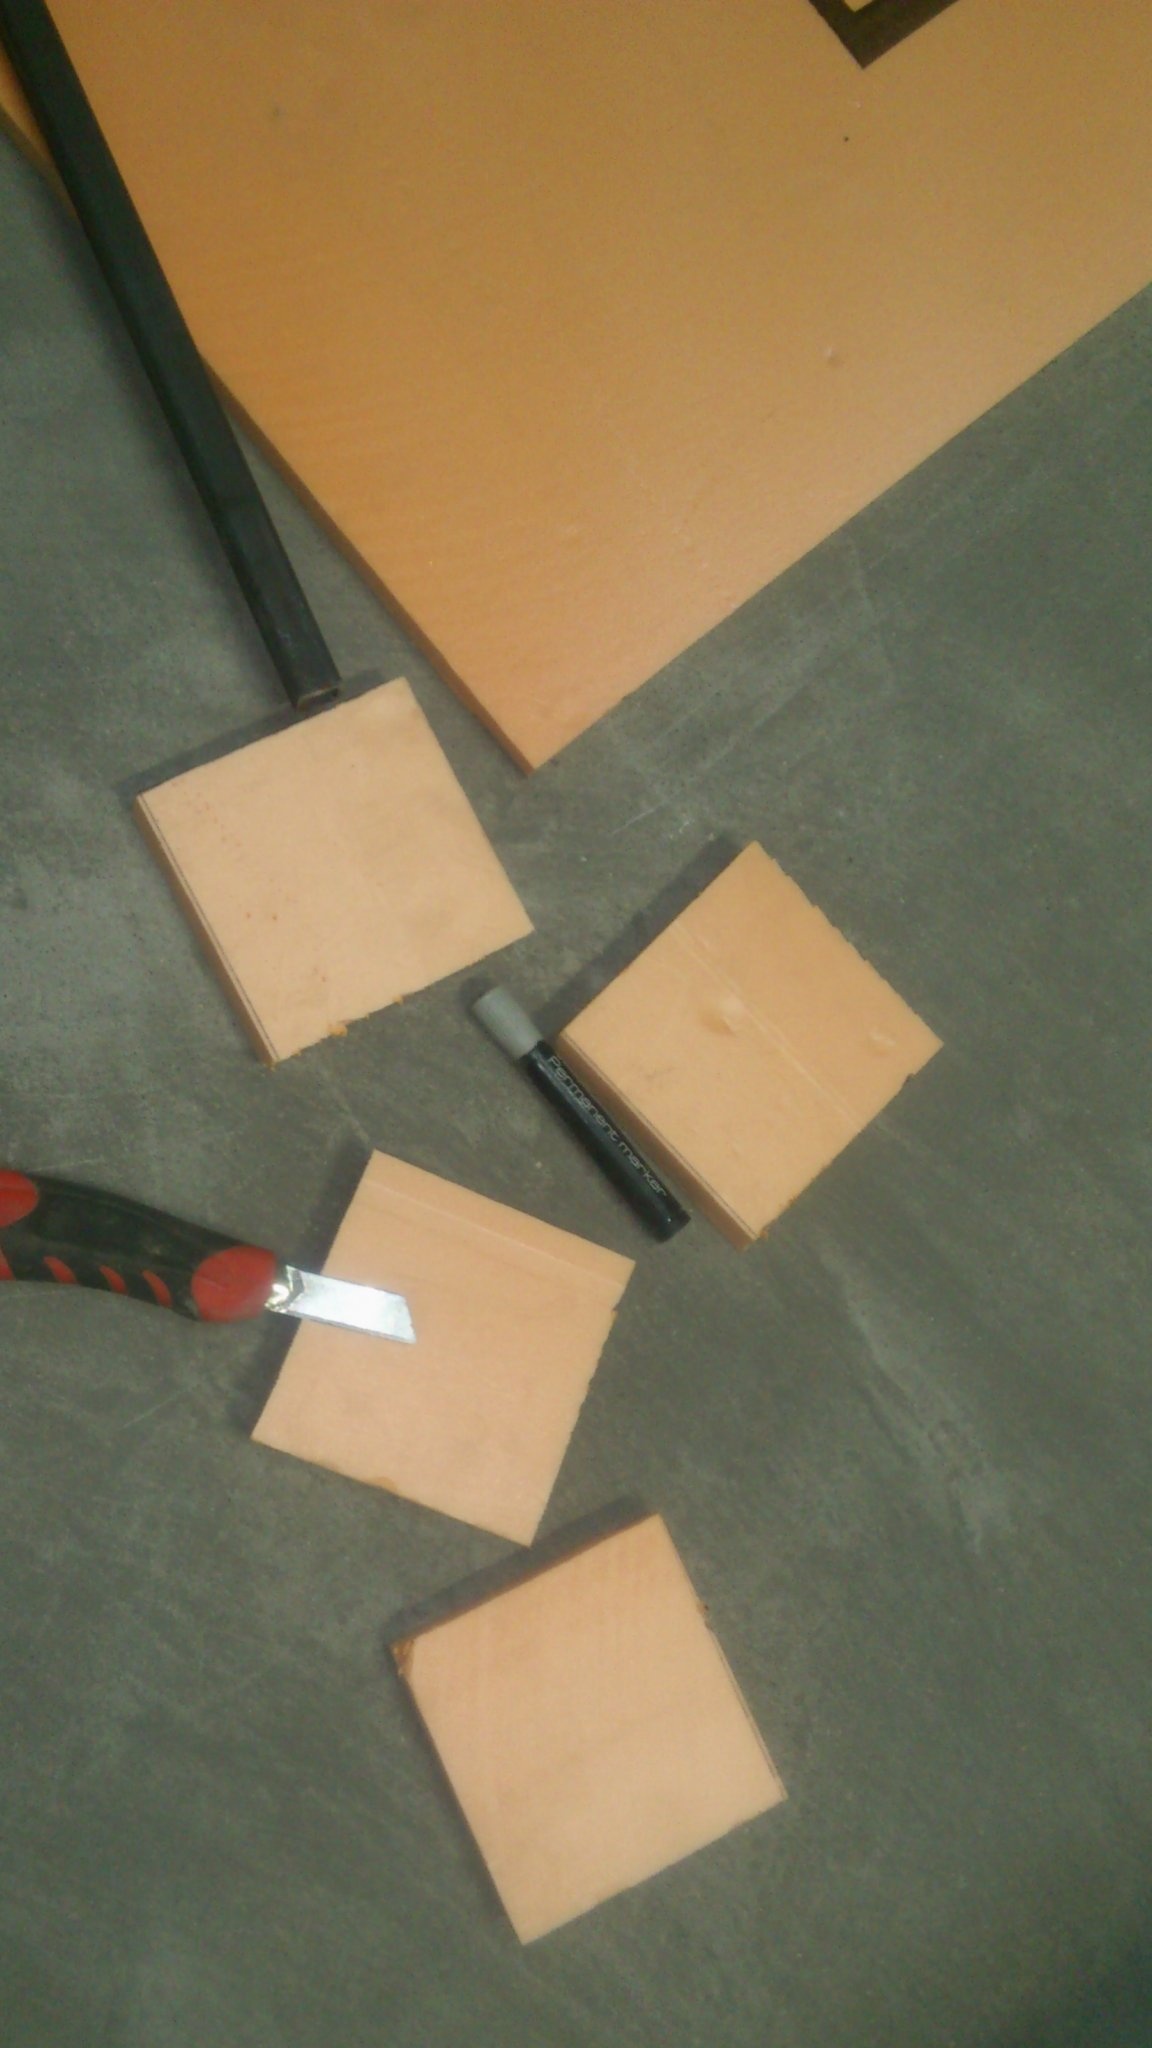
As already said, when there will be a floor, I will modify the hatch. But it will not be soon. In the meantime, in order to be able to walk on it, I decided to make flooring on it from an old floorboard, from which a temporary cover had been made before that, covering the opening in the ceiling:
I cut two crossbars from the old pallet:
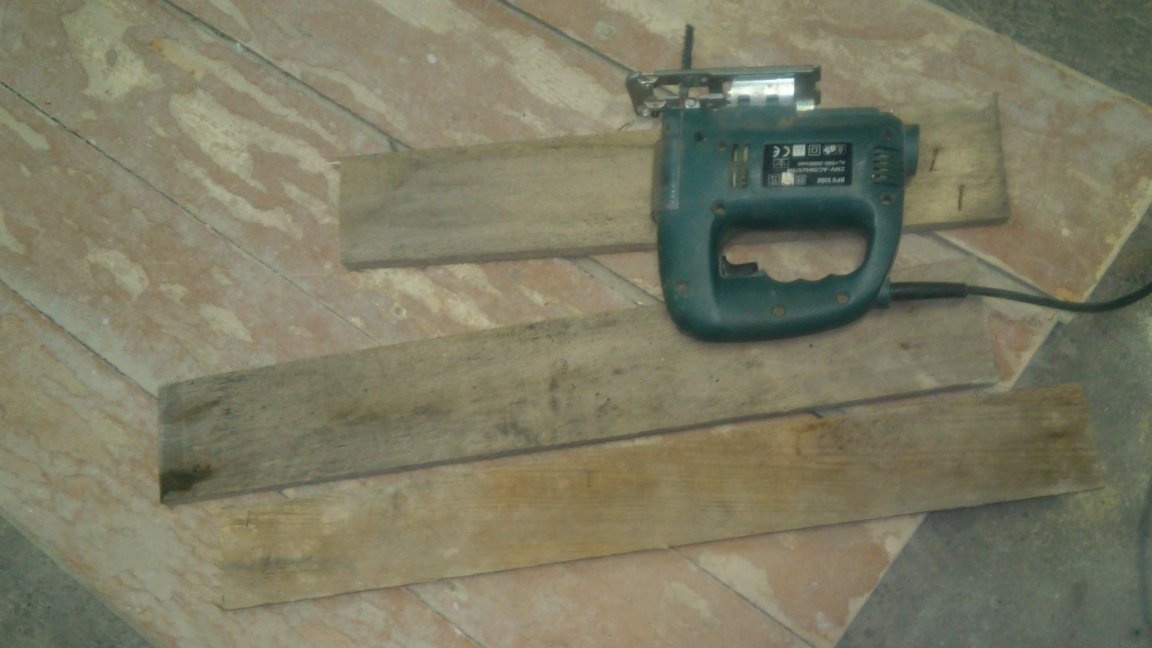
Tightly put them into the ends of the door (just two centimeters were left there! It went very tight, since it really is 2 millimeters less - the wall thickness)
And the first screws that came across he screwed the floorboard to them from above:
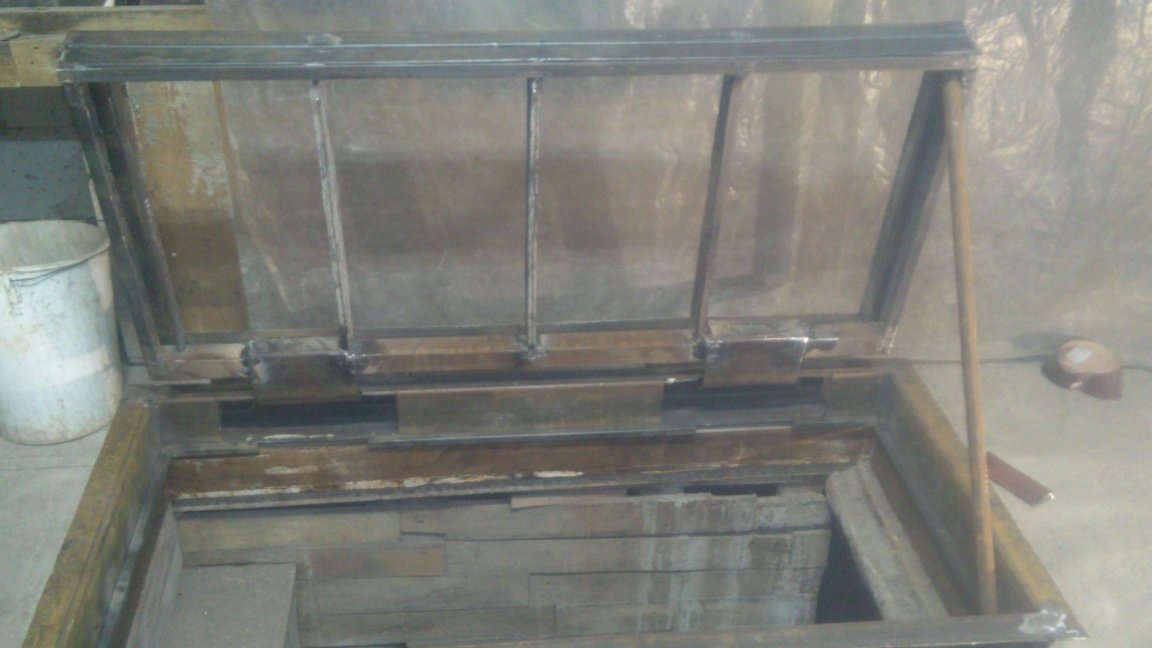
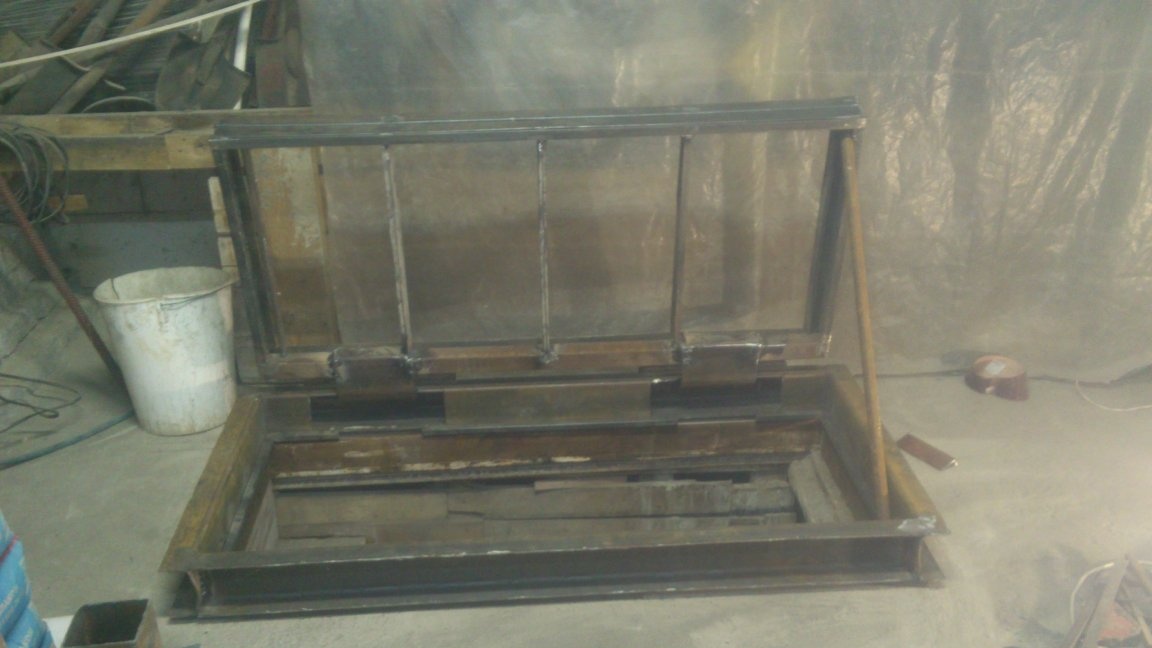
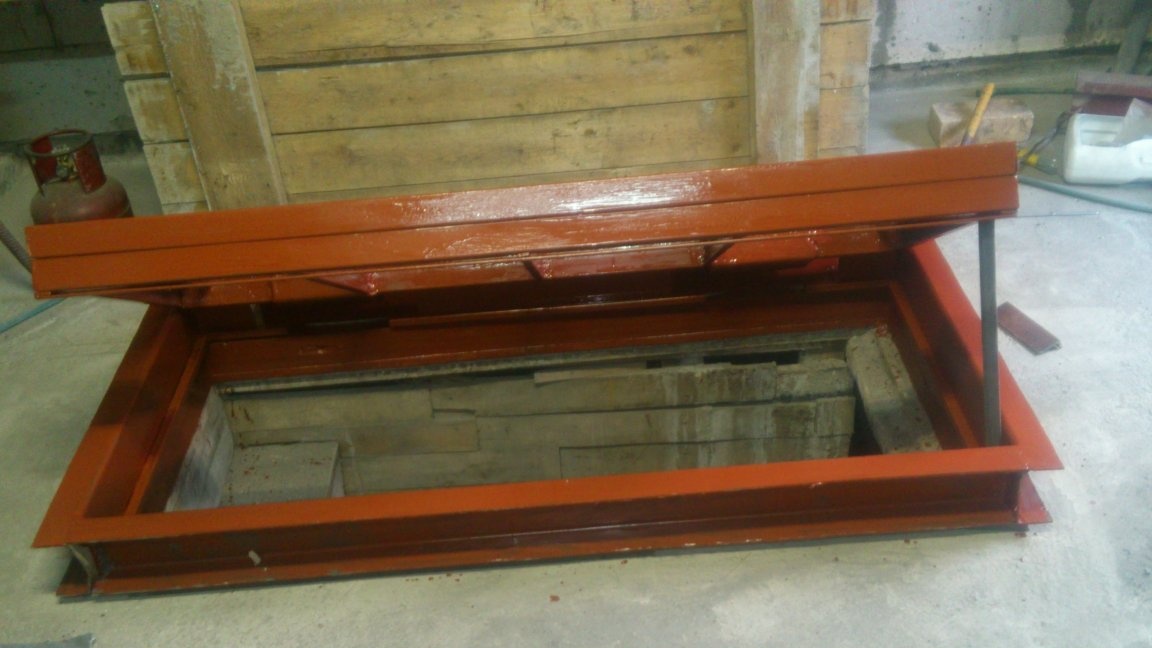
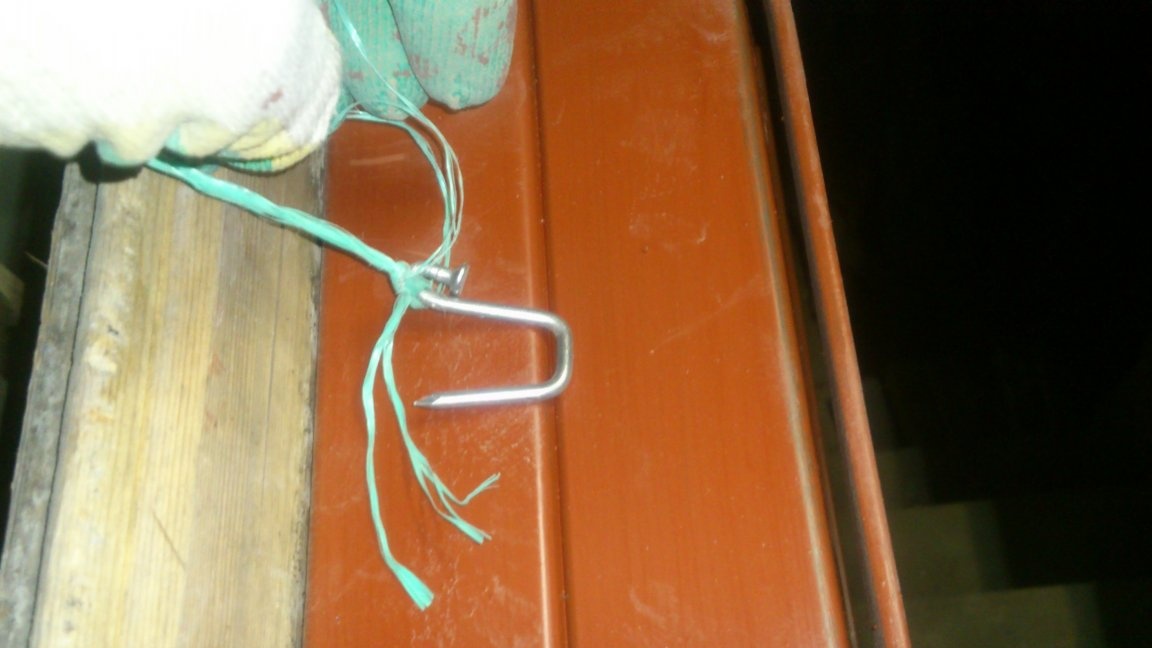
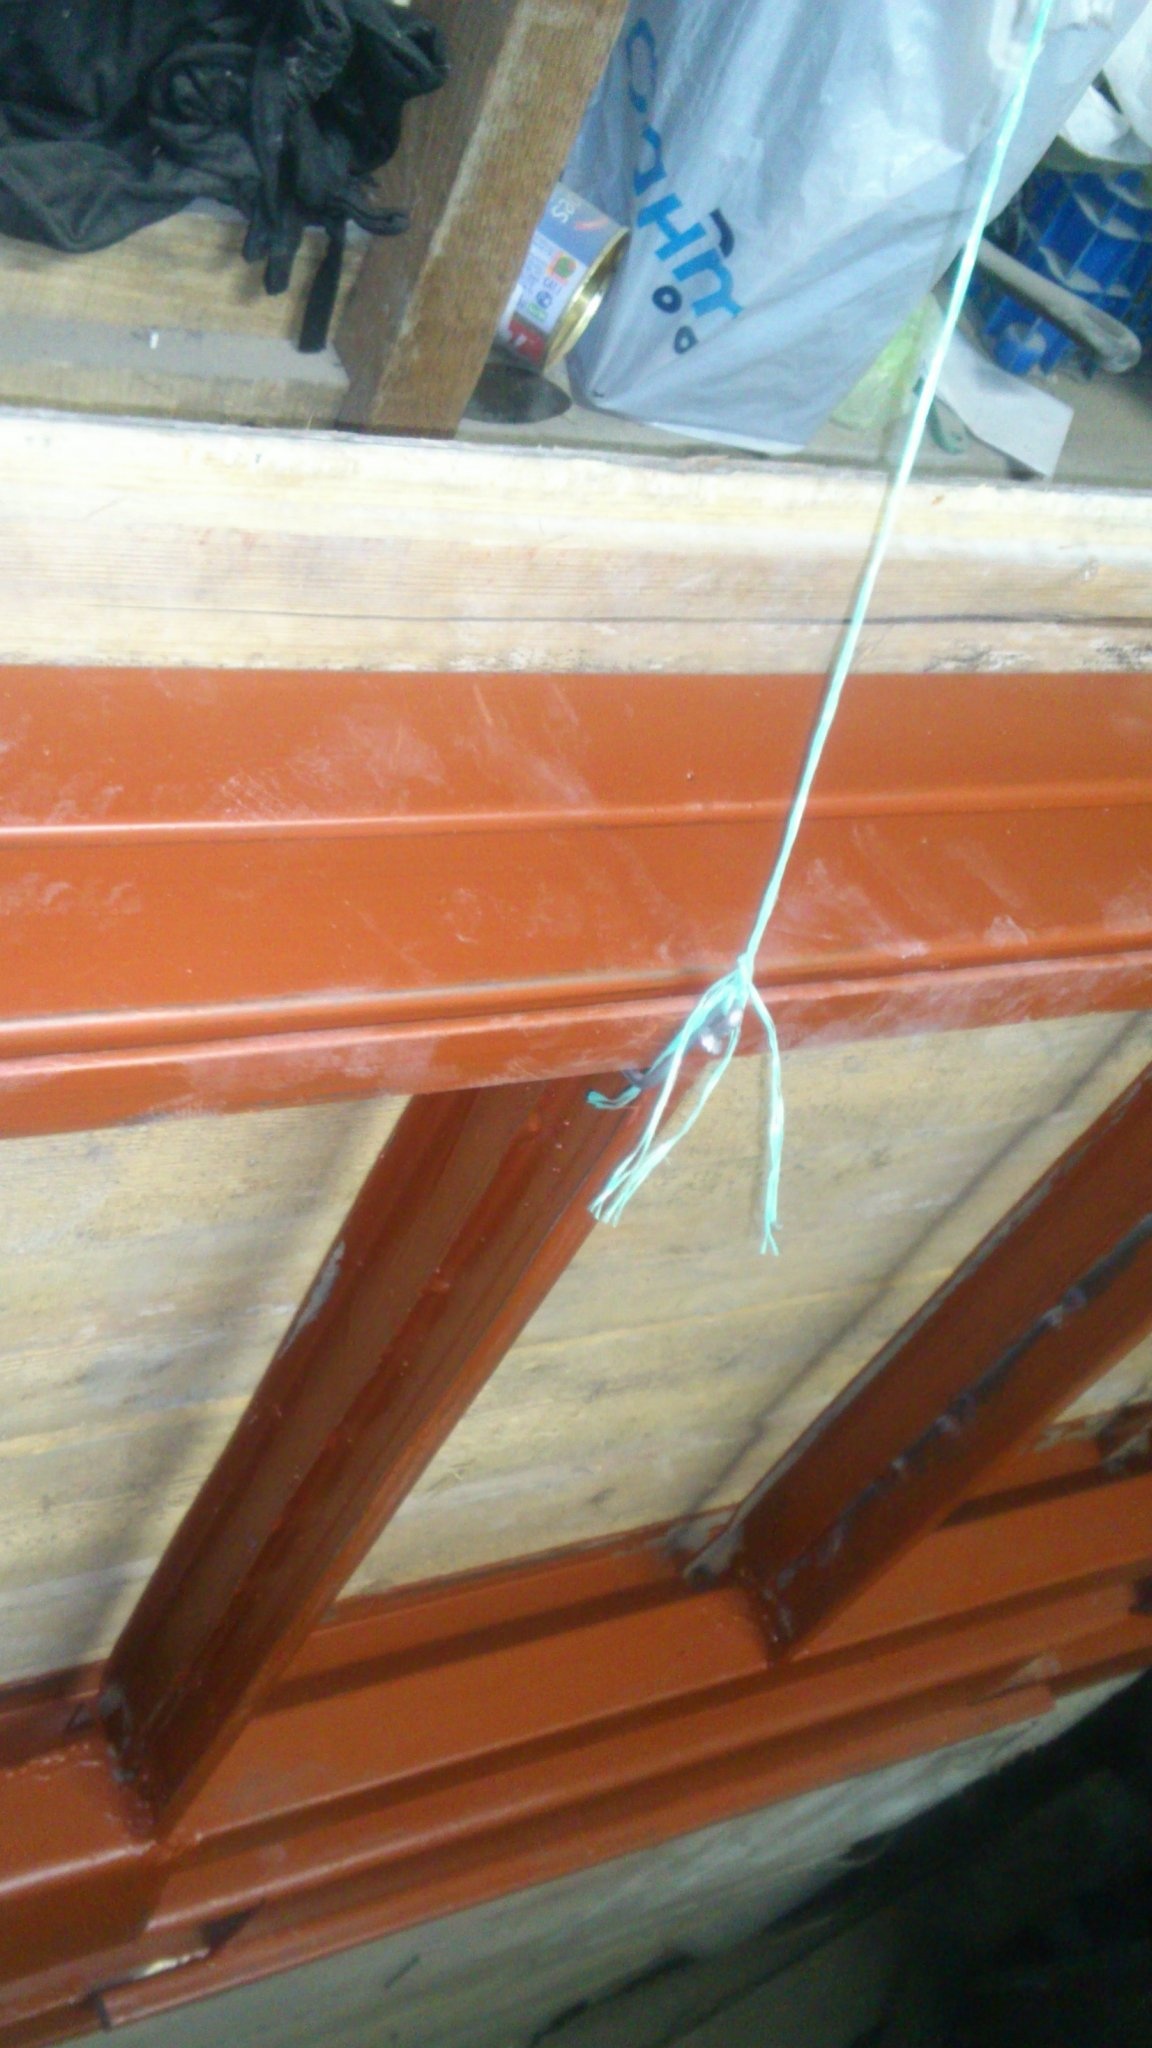
The lid opens 90 degrees (as was intended). While there are no gas stops so that she does not fall and does not kill anyone, I fastened a cord with a hook on the end made of a nail on a temporary tool rack, which is located next to the hatch!
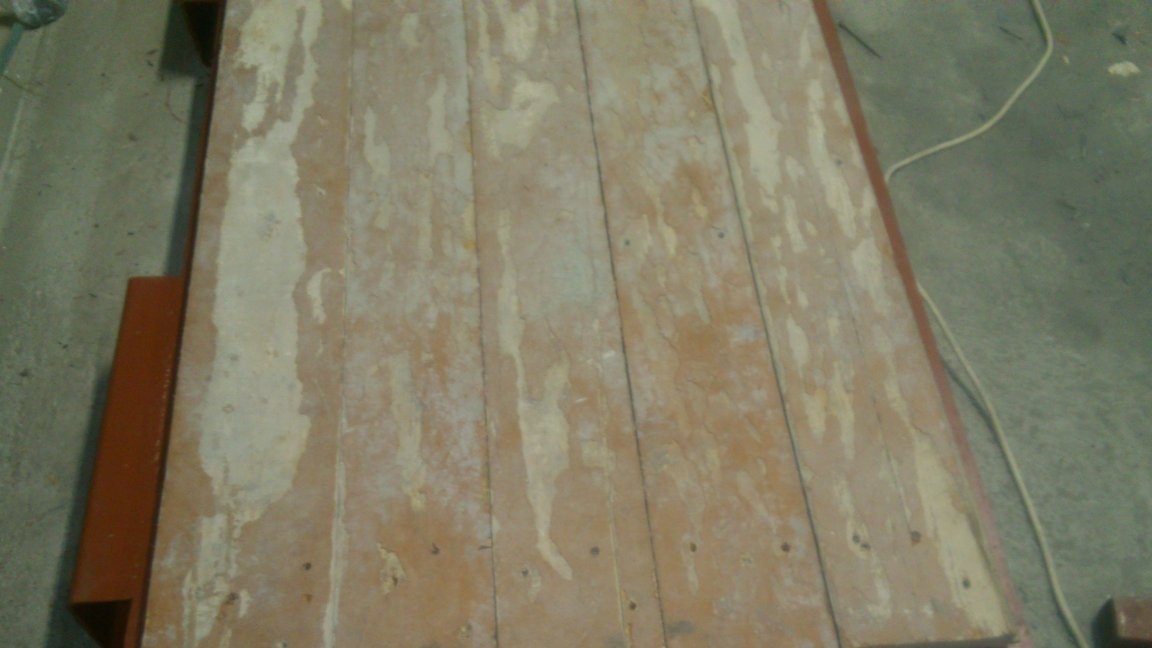
Boards also painted the same meerk:
That's done. You can already do the floor. Having put the first layer of polystyrene foam (30 mm), I placed a hatch on it. So it will be isolated from the bearing floor. Further, I already laid the second layer (50 mm) with the inside of the channel of the frame. And the remaining 70 mm was compensated by the “warm floor” screed. Before pouring it, I plugged the plugs from the extrusion foam into the ends of the loop boxes:

That's it! So far, somehow!)))) Continuation (gas stops, hidden lock, finish, final coating) will, hopefully, be next year.