

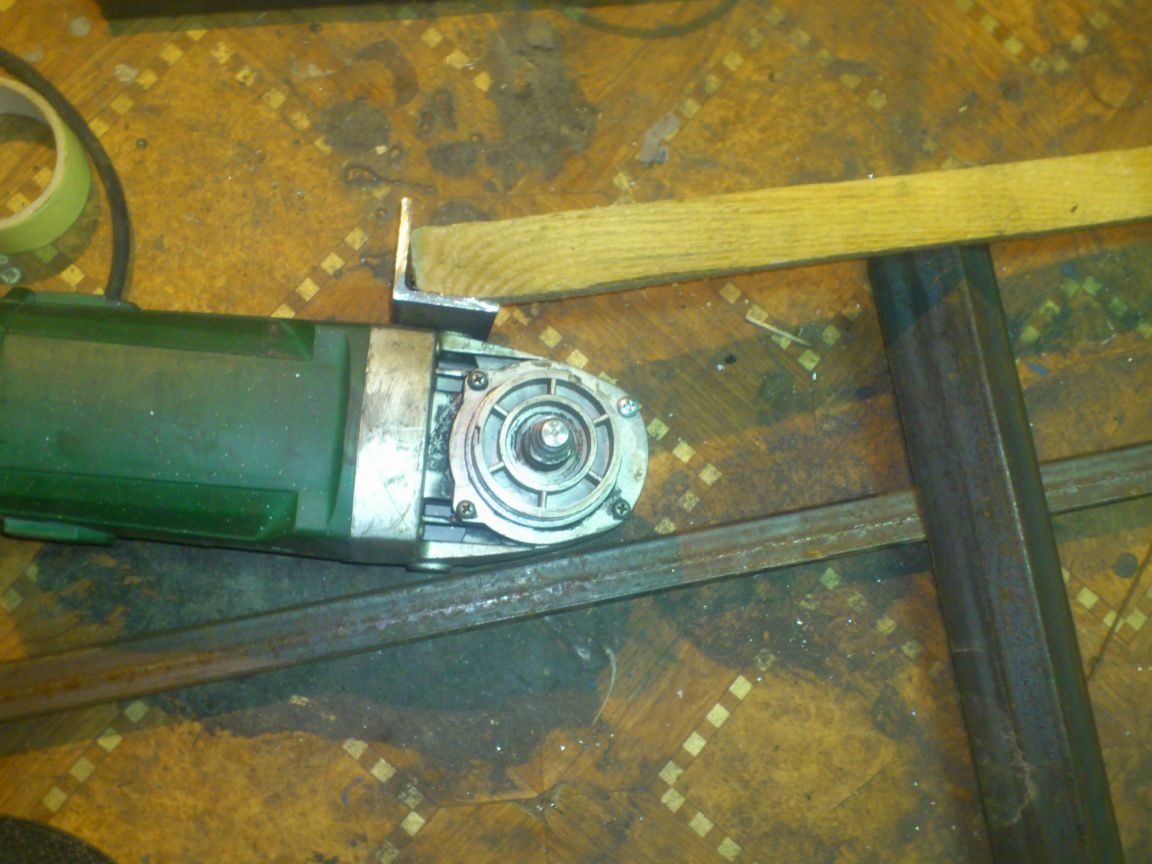
Hello. Today I want to talk about how I made a detachable machine from a grinder that I did not need. I often have to cut pipes. Especially, profile ones. Who did this, knows that it is quite difficult to cut an evenly shaped pipe with a grinder. This takes a lot of time - you have to use a square to draw each side at a right angle, then carefully cut through one face. And anyway, it happens that one side is half a millimeter shorter, and then, when welding, the thin metal of the wall in this place starts to burn due to a loose fit. Ideally, exactly one can be cut in just one cut. And for this you need a cutting machine.
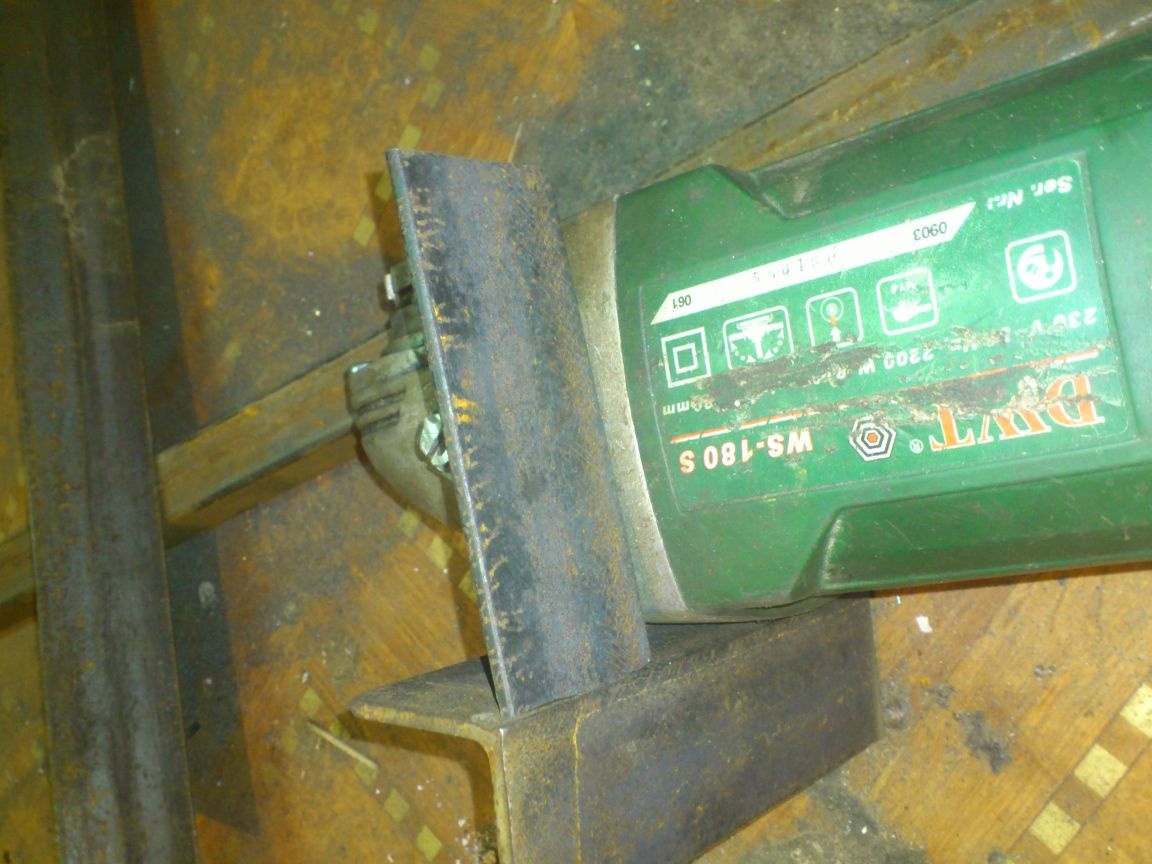
I had a DWT ws-180s, which I didn’t need. They gave it to me for free because of a malfunction - the rotor impeller came off and the Bulgarian jammed. The owner wanted to throw it away and offered to give it to me for spare parts for free. I repaired the rotor, replaced the brushes and bearings.
.. But it turned out that I did not need such a grinder. It is very heavy and massive for the 180th circle. There is enough power there for the 230th (2200W), but, for some reason, the manufacturer equipped it with protection specifically for the 180th circle. Therefore, she hung for several years in the workshop unclaimed - I have a lighter 180-ka. I was going to remake the protection for the 230th circle (then it will come in handy for concrete work, for example), but I did not intend to! )))). After all, I also have the 230th ...
And then it occurred to me to buy a bed for her and make a detachable stationary machine. But having examined the purchased options, I found that, for the most part, they do not have sufficient rigidity, and therefore, accuracy! Therefore, I came to the conclusion that I need to do it myself.
What I needed:
1. Actually angle grinder.
2. Steel angle 50 to 50 and 40 to 40.
3. Cutting of a water pipe ДУ32-3,5
4. Cutting of a water pipe DU-25
5. Bearing 6202 (2 pcs)
6. The bearing is basic.
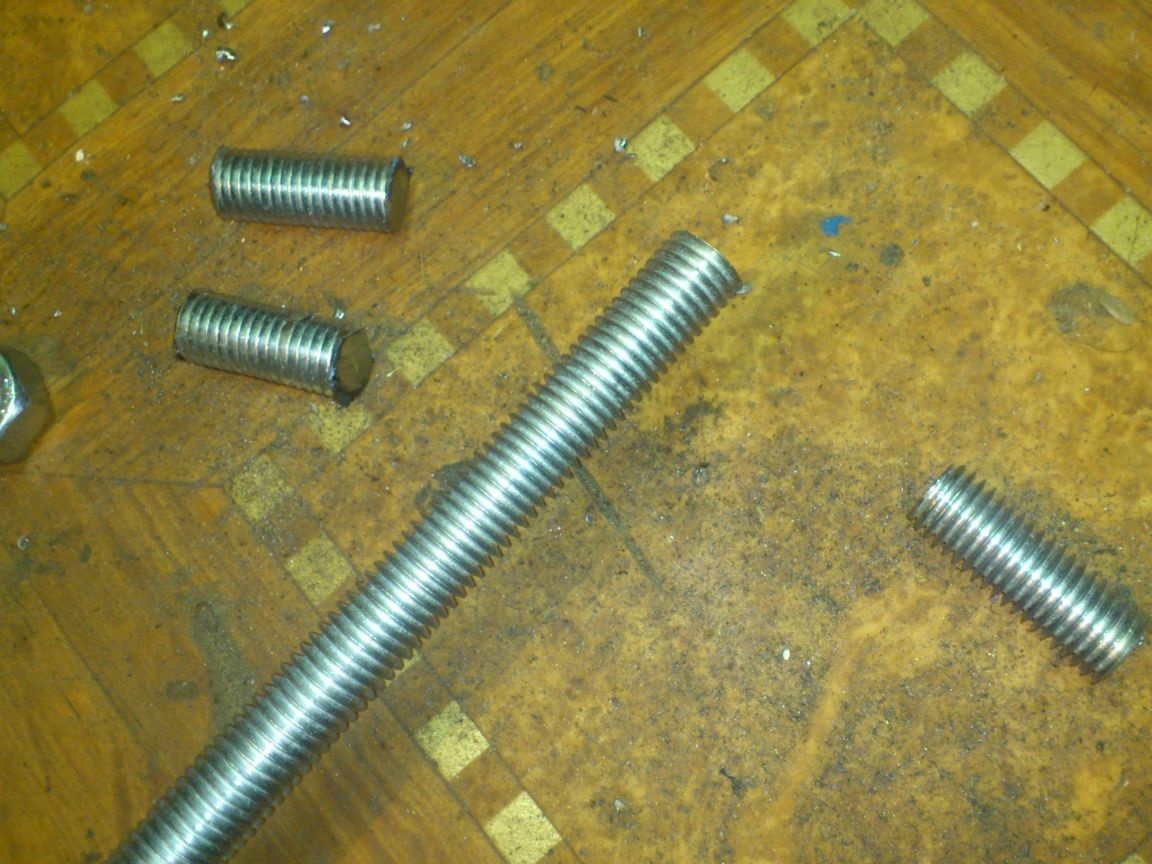
7. Hairpin M14.
8. Profile pipes 15 by 15, 20 by 20, 25 by 25
9. Bolts and nuts M6, M8, M14.
10. Cutting tin.
So, for starters, I decided to assemble the mount of the grinder. In the purchase options, designed for various grinders, the fastening is carried out by three long bolts with locknuts, which affects the stiffness.Moreover, having fixed the angle grinder at three points, it has to be positioned vertically, which “steals” the cutting depth - as a rule, the gear case is slightly extended in front. And therefore, I decided to fix it horizontally, at two points, with a snug fit of the frame to the gearbox. The disadvantage of such a mount is that it fits only one angle grinder model. But I decided to neglect this, believing that if I have to replace the grinder, then I just weld a new mount.))))
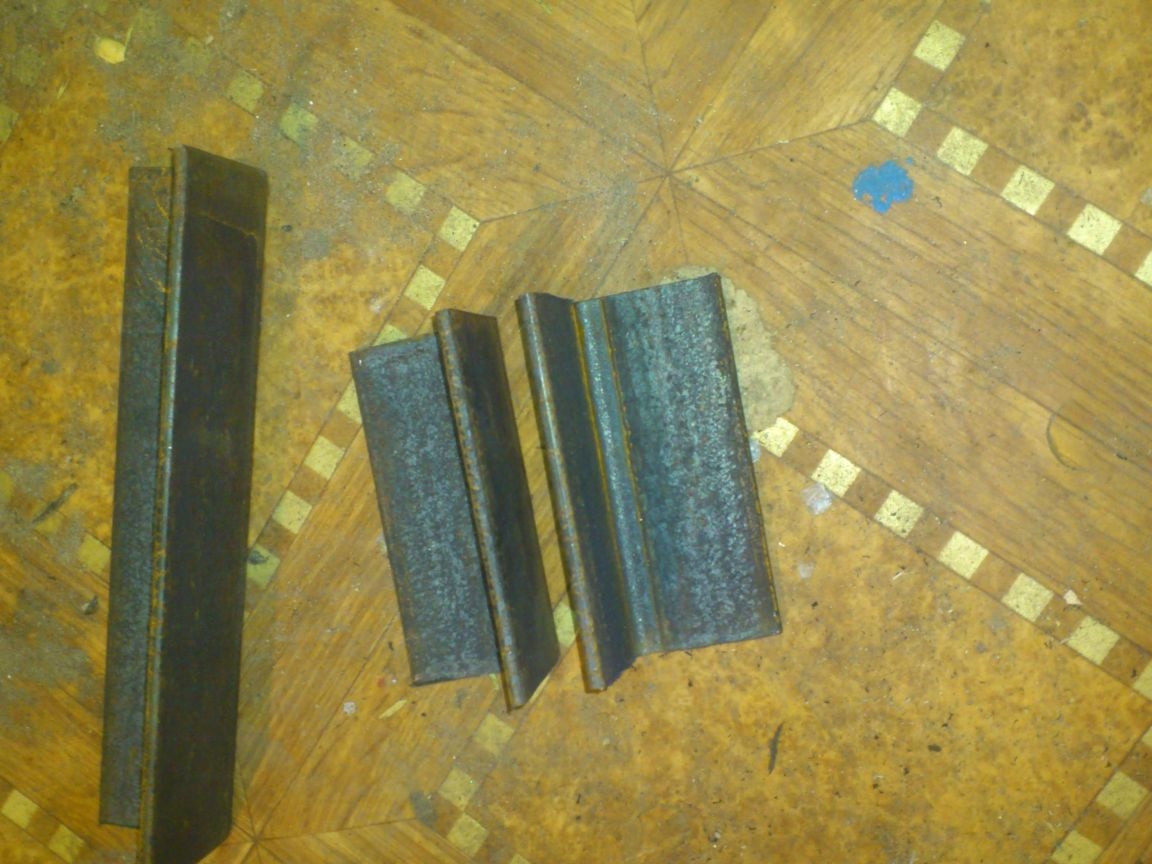
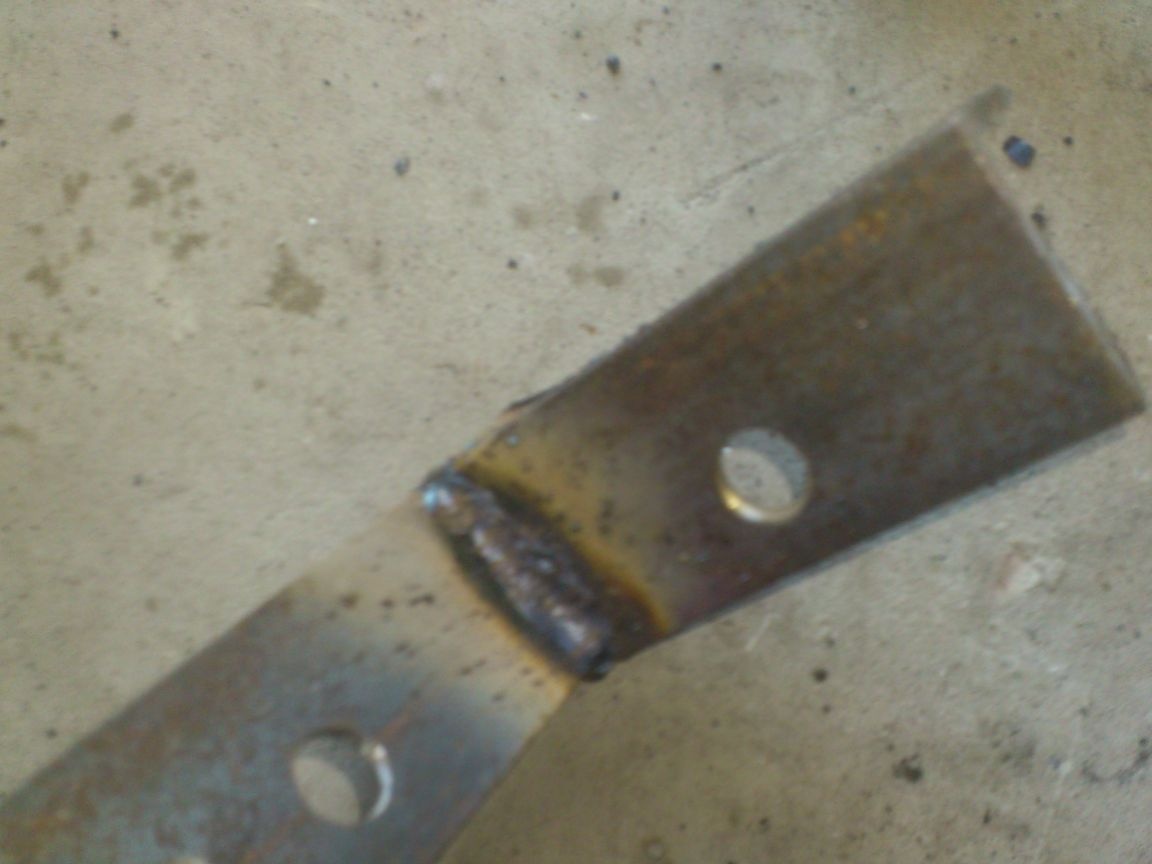
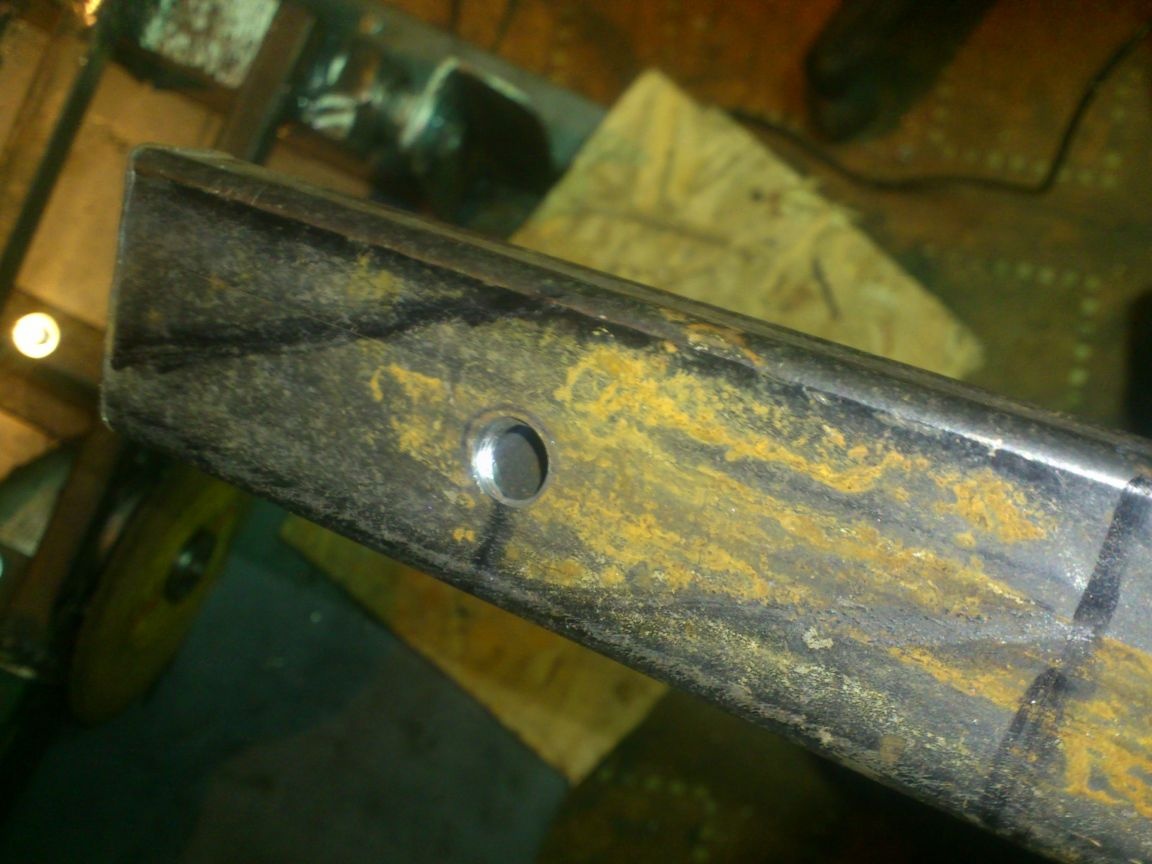
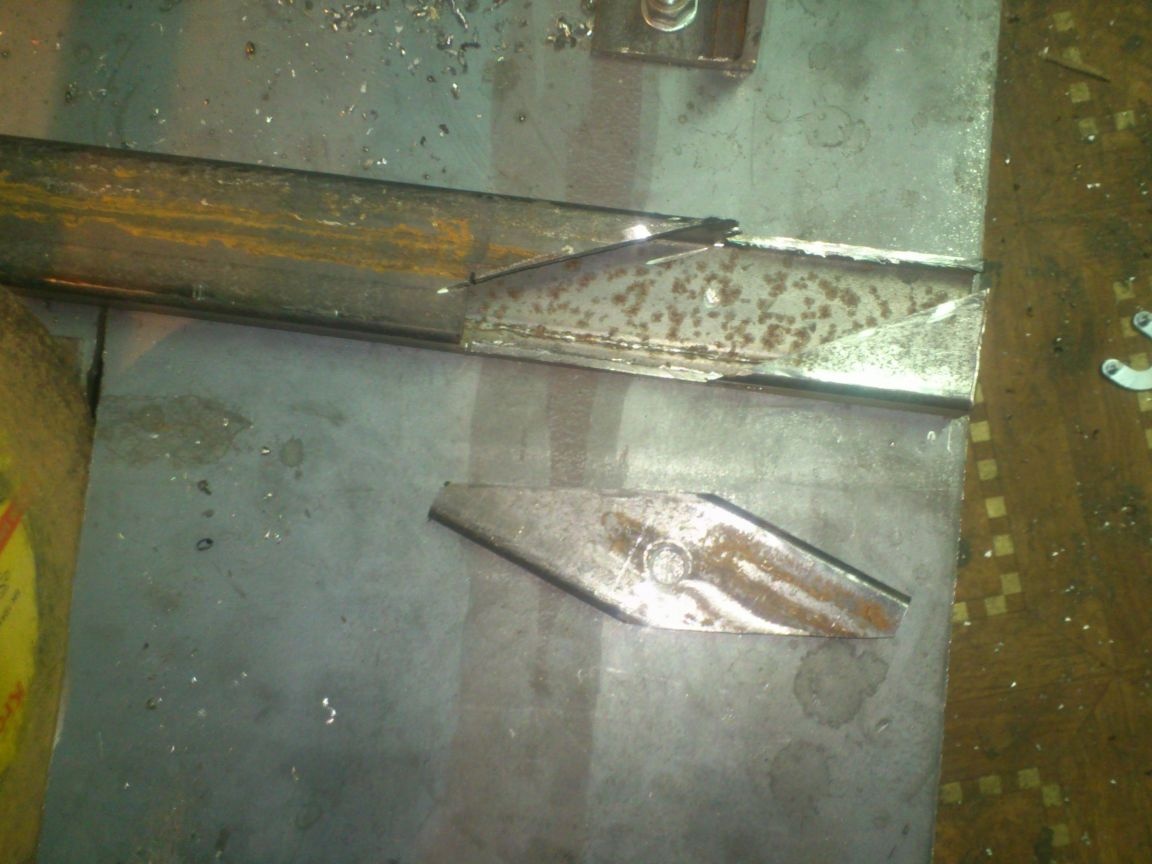
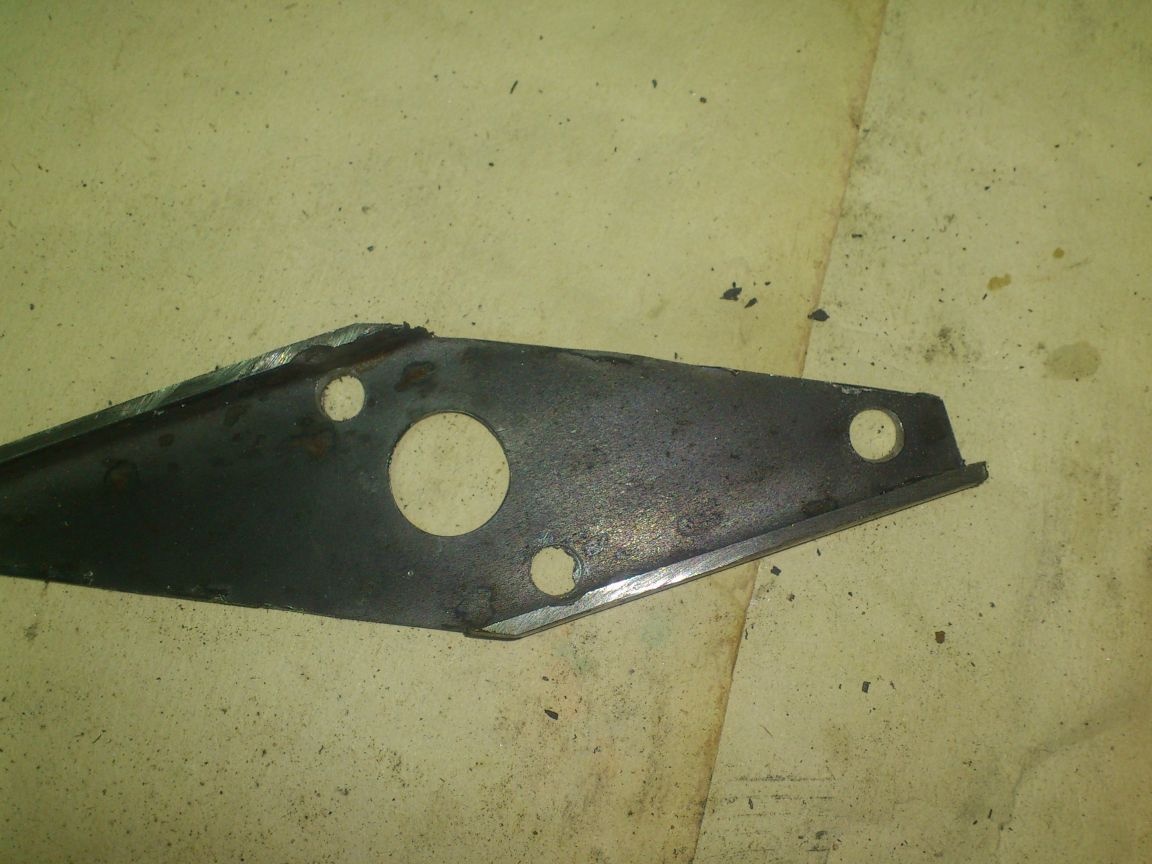
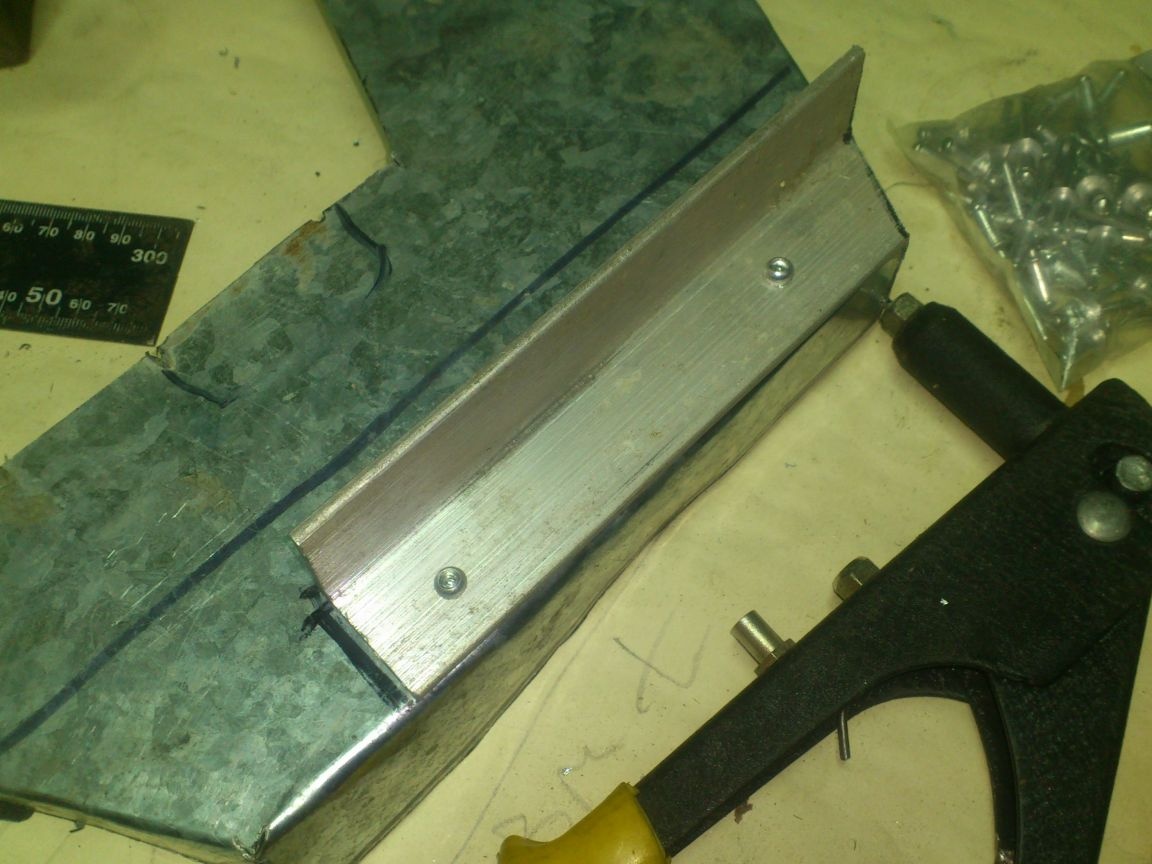
I cut two pieces of corner 50:
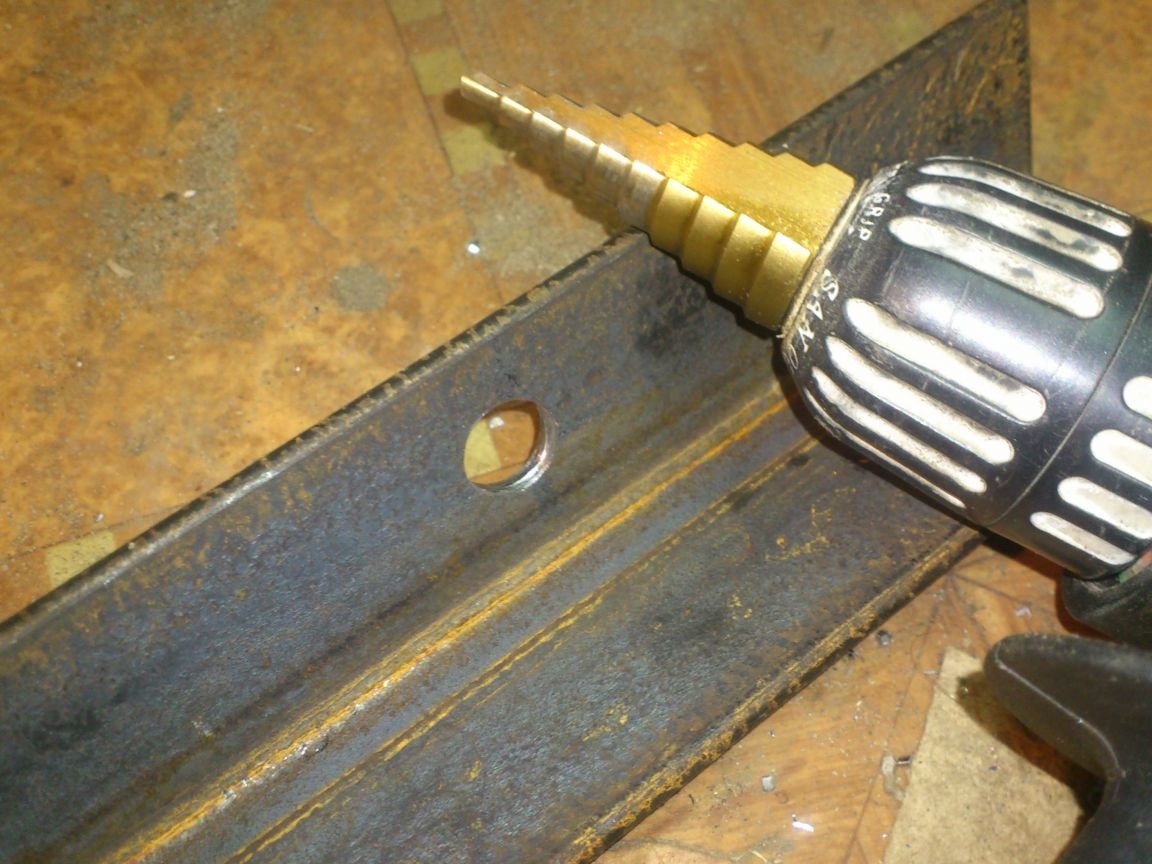
I drilled holes in them with a diameter of 14 mm:
And screwed to the gearbox, using the handle mounting points:
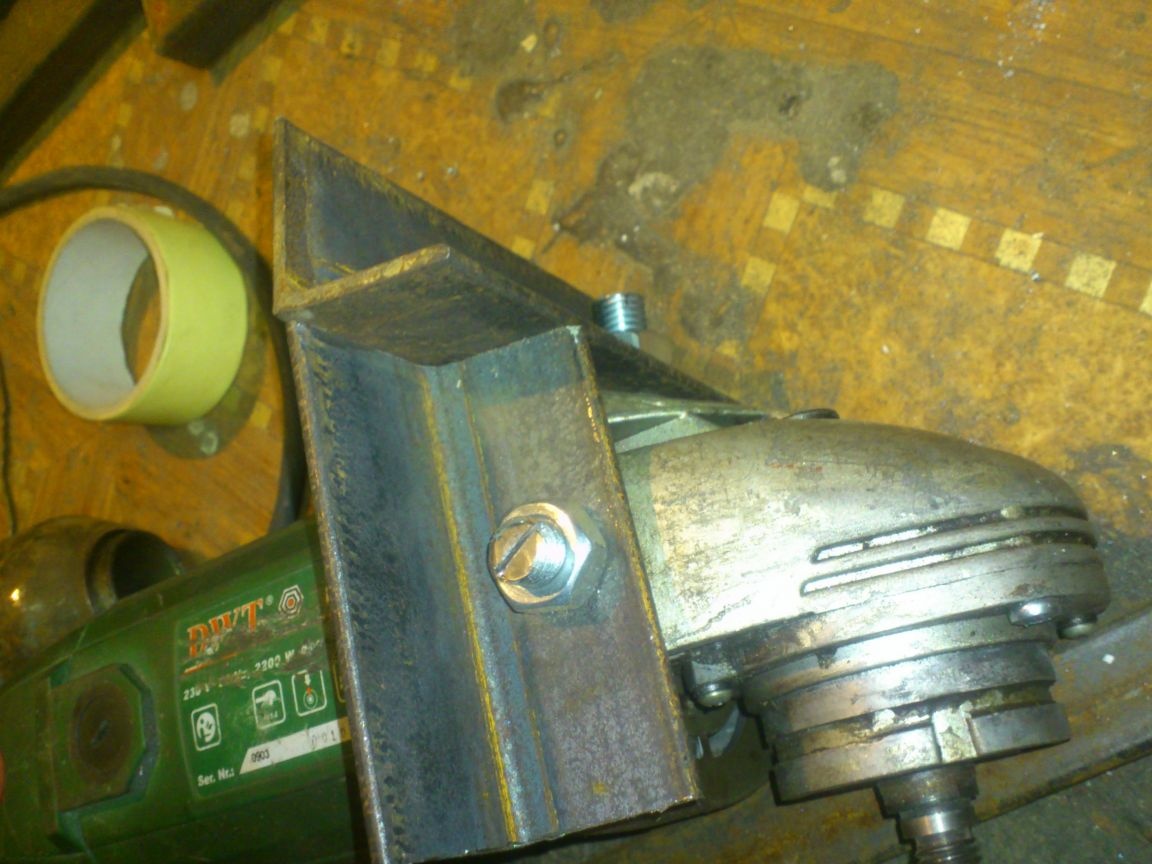
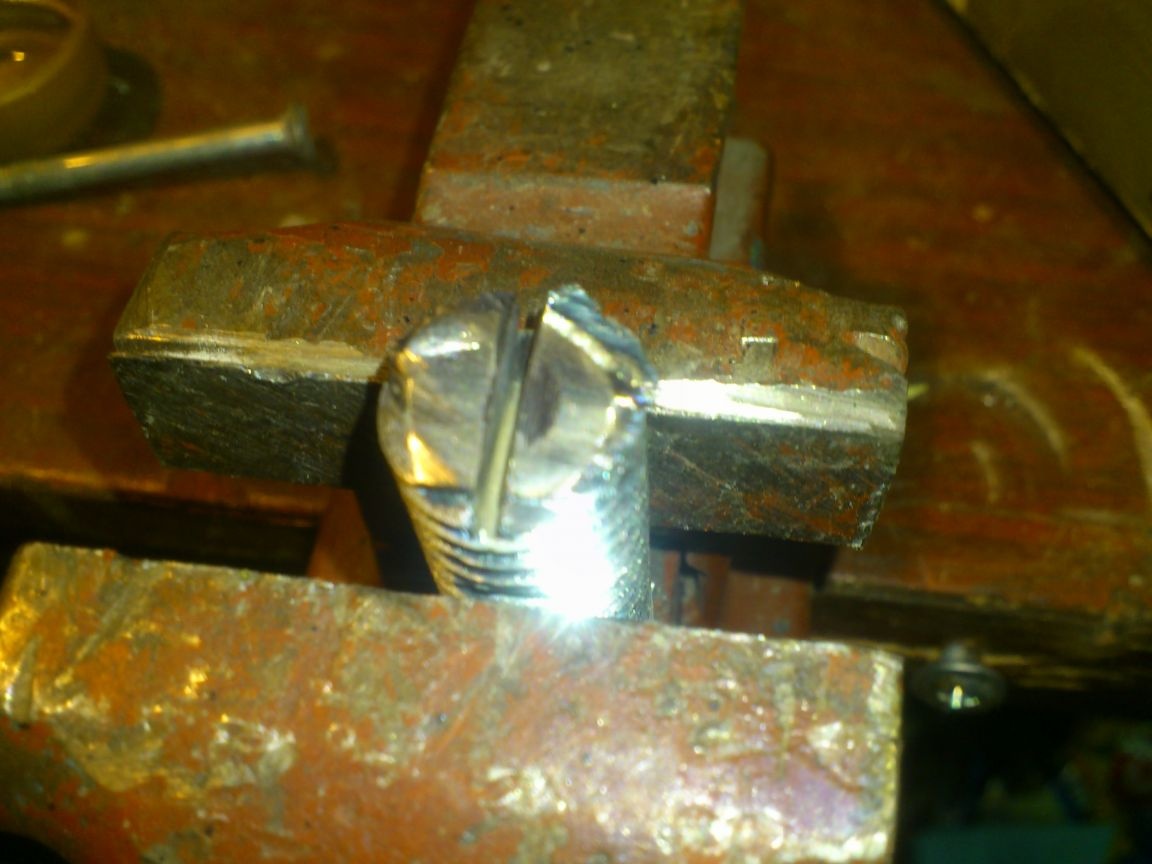
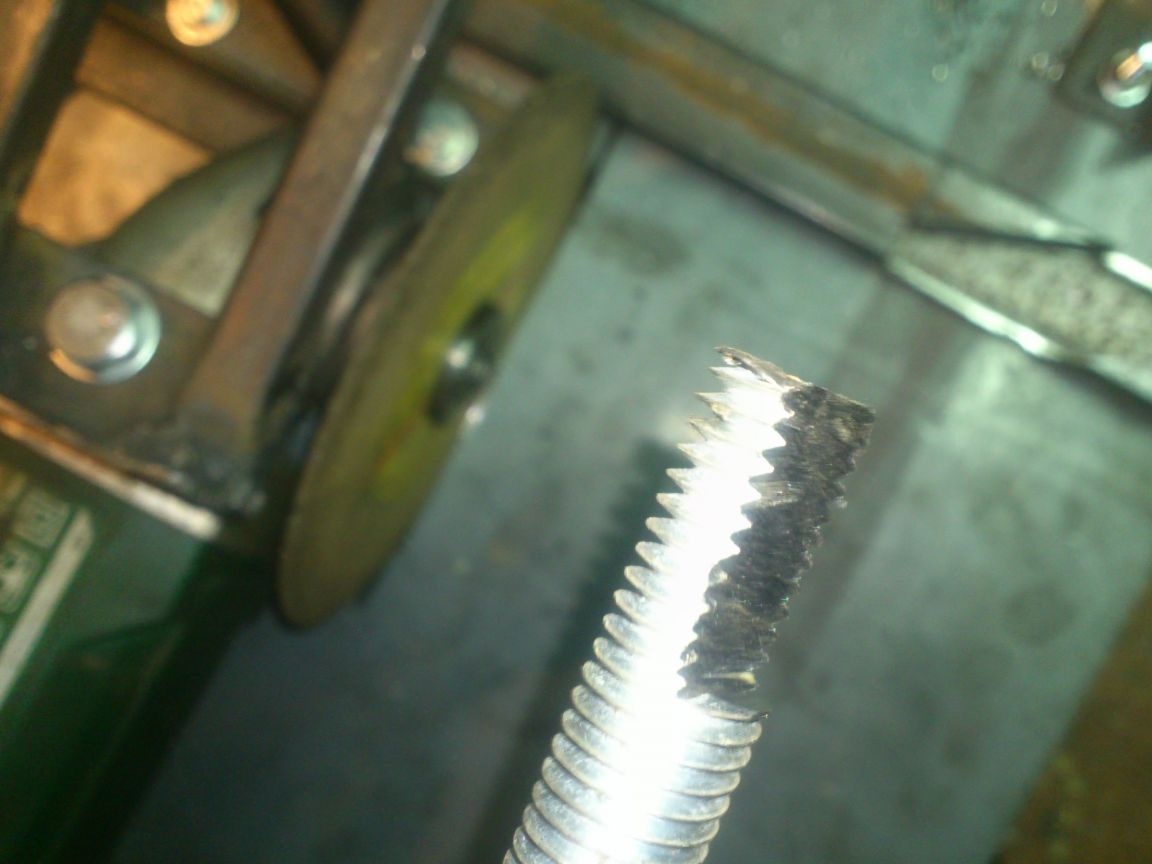
At the same time, I did not have M14 bolts, and I temporarily replaced them with trimmed studs and nuts. In order to twist and hold them, it was necessary to cut the slots under the screwdriver:
After that, right on the grinder, I grabbed the corners to each other by welding, then removed and boiled hard:
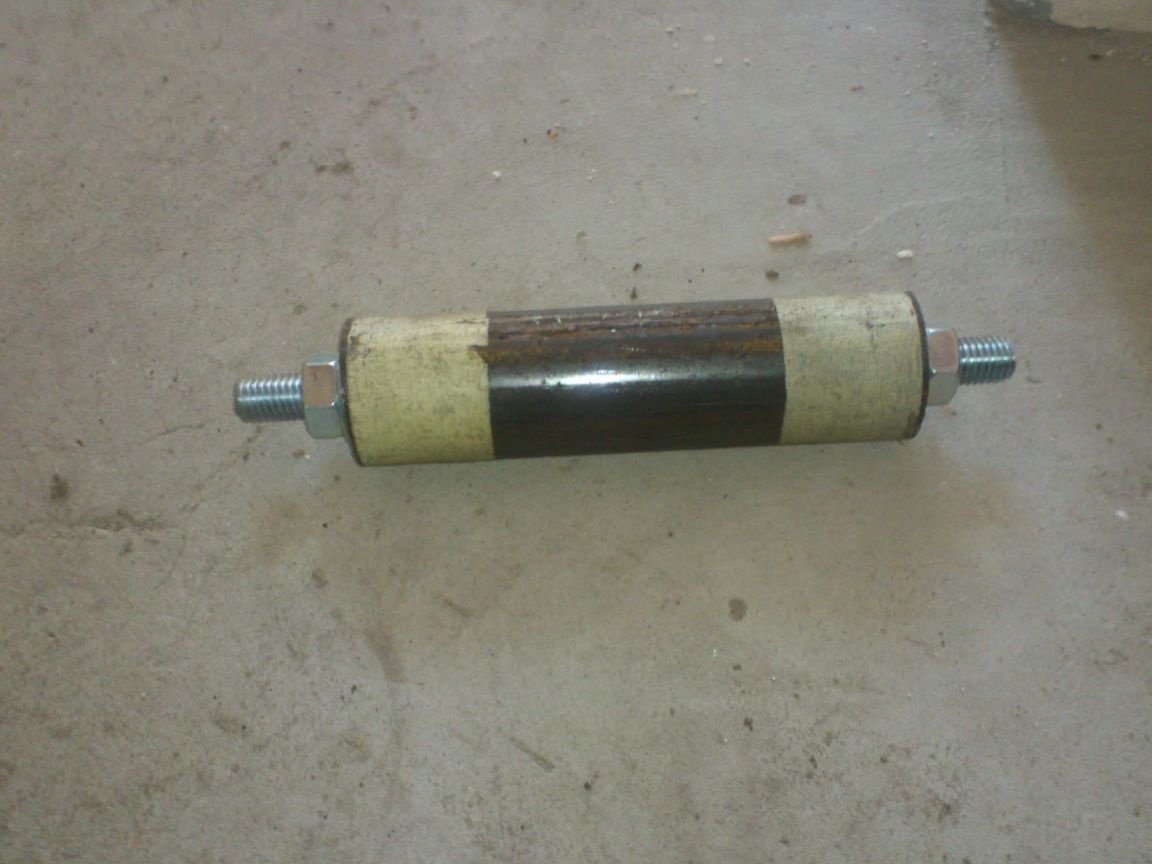
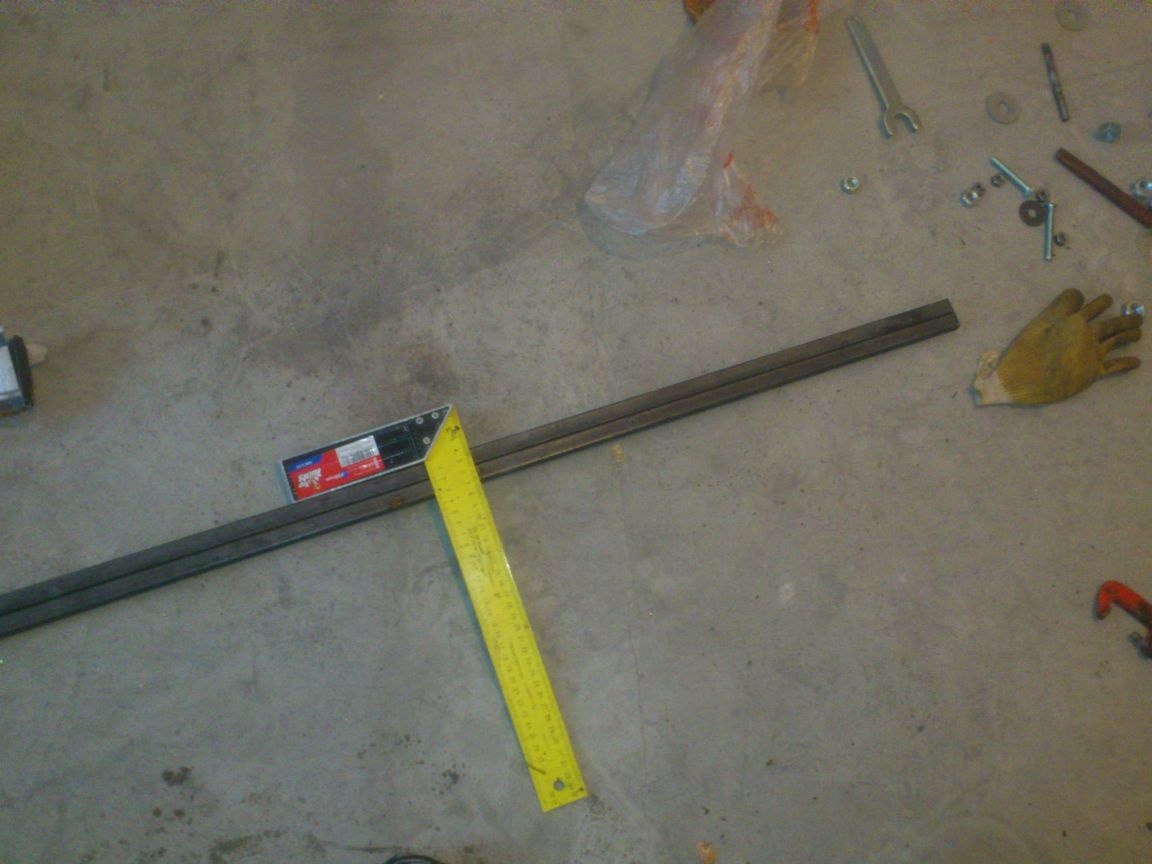
Next, I started making the carriage. To do this, I needed a piece of thick-walled 32-pipe. Since it was necessary to cut off smoothly, and while there was no cutting machine at hand, I used a wide masking tape as marking:
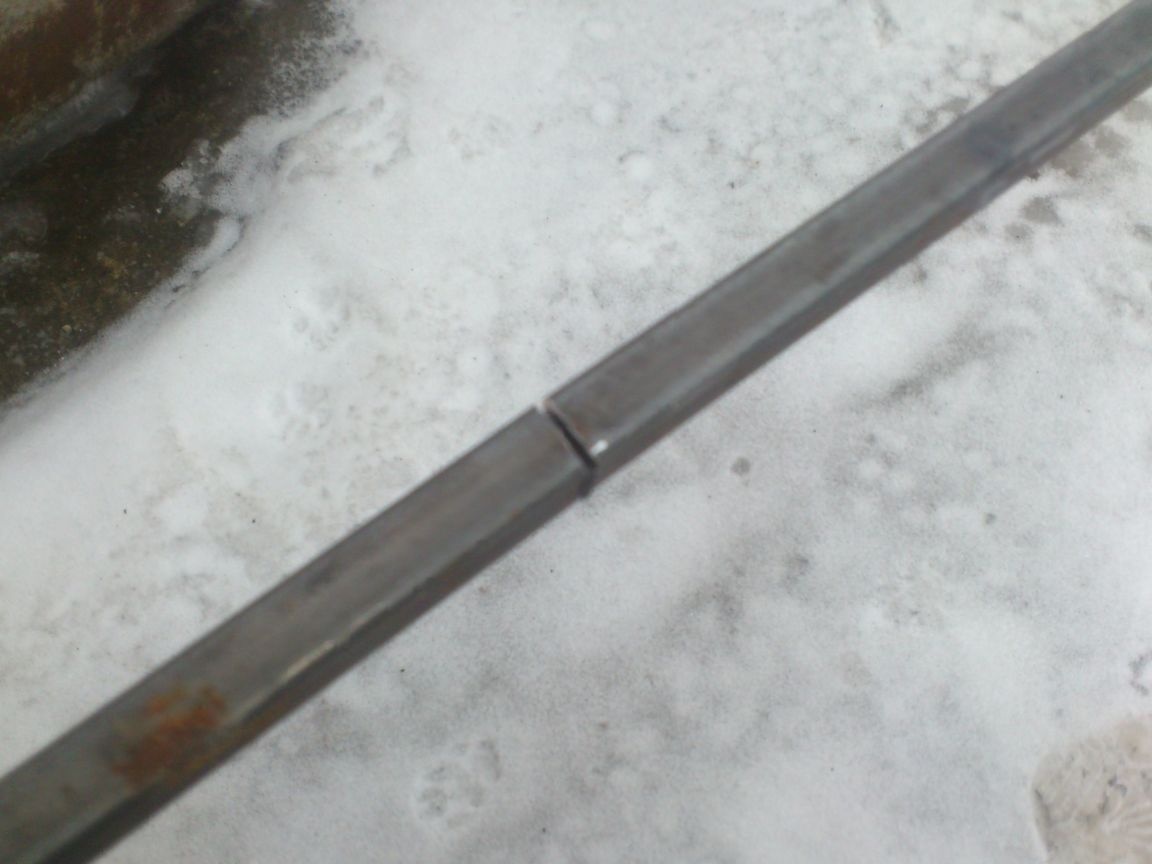
After that, I cut a piece of pipe DU-25, 20 mm shorter than 32-ki:
I put one into the other:
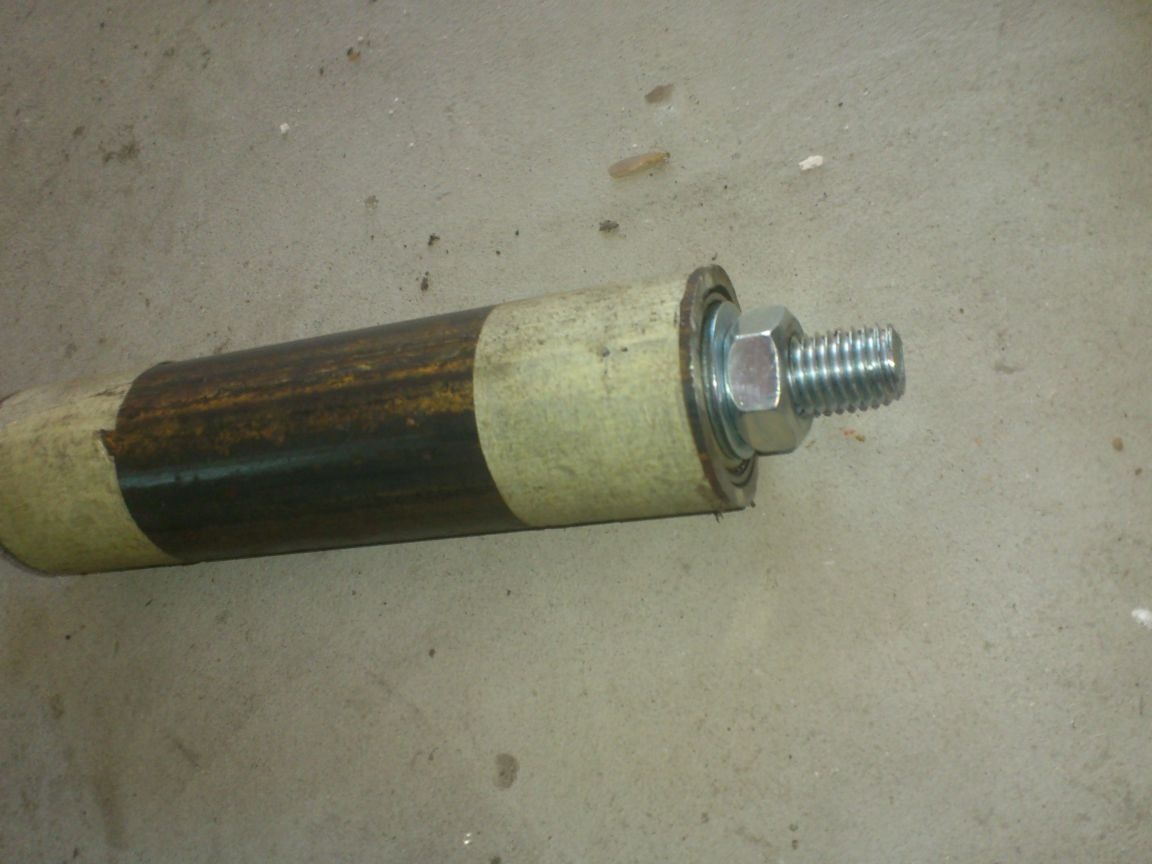
He scored on both sides of the 202nd bearing:
And pulled it with an M14 pin, using washers and nuts:
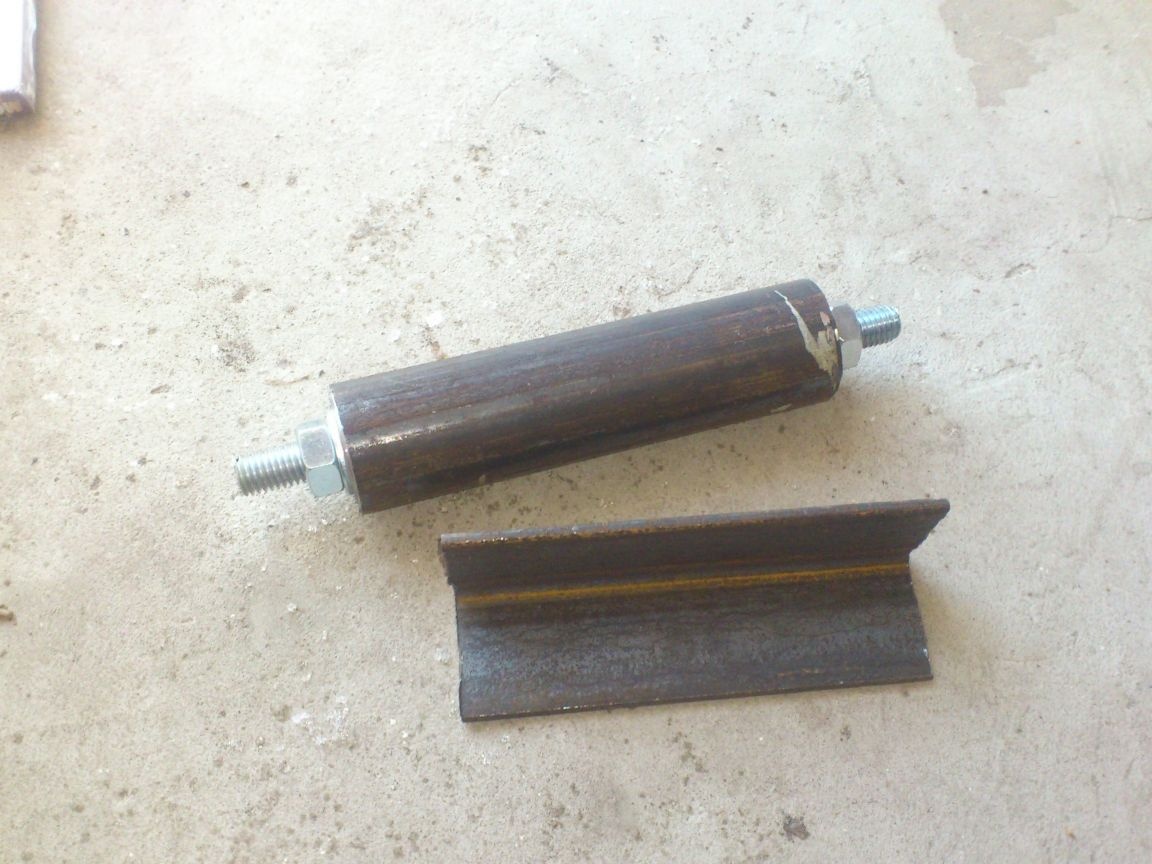
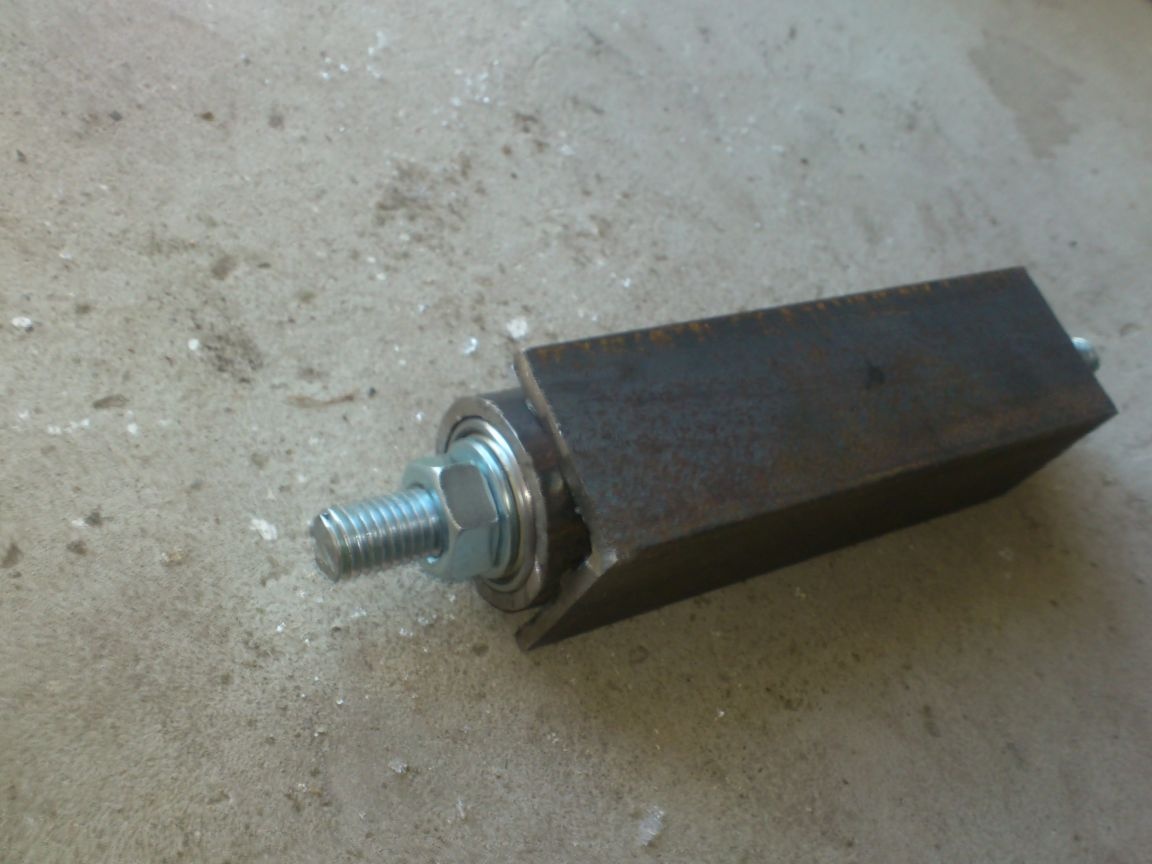
Then he cut a piece of corner and grabbed it to the pipe. At the same time, he burned the outer pipe with an electrode so as to weld it with the inner one:
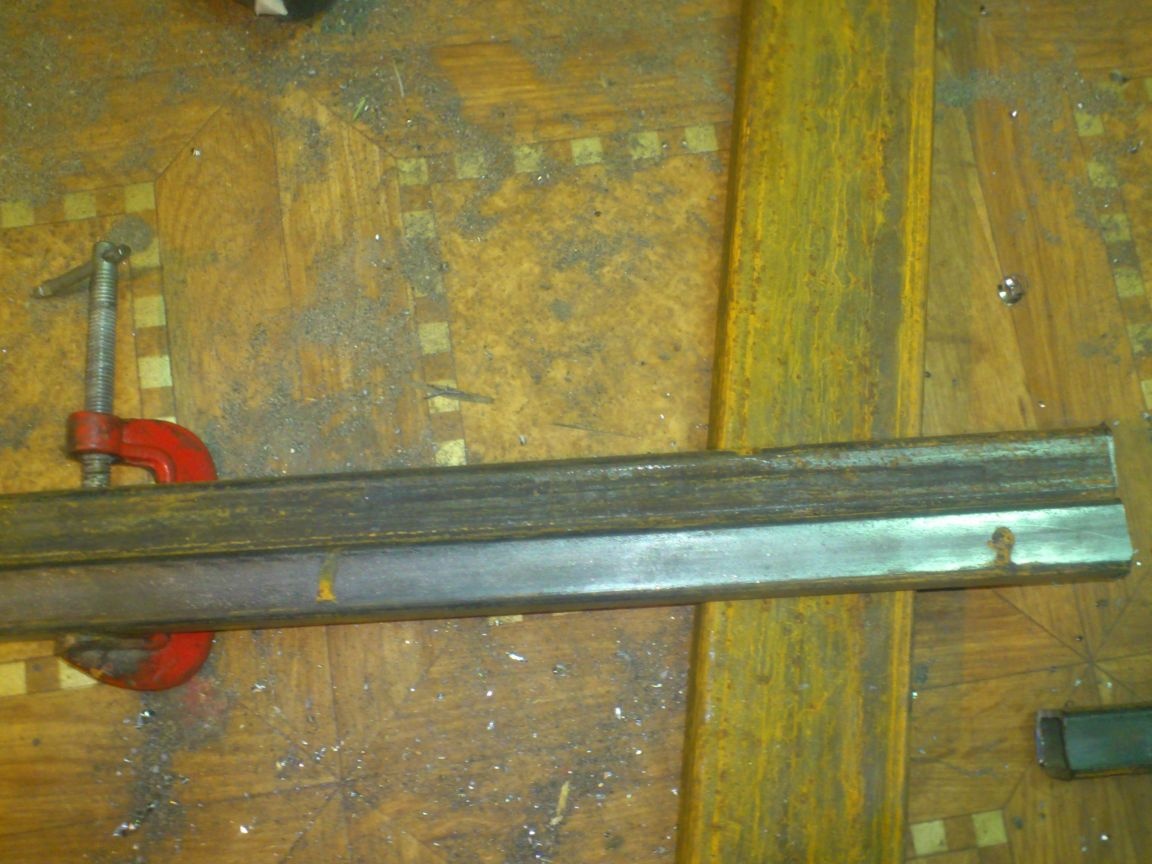
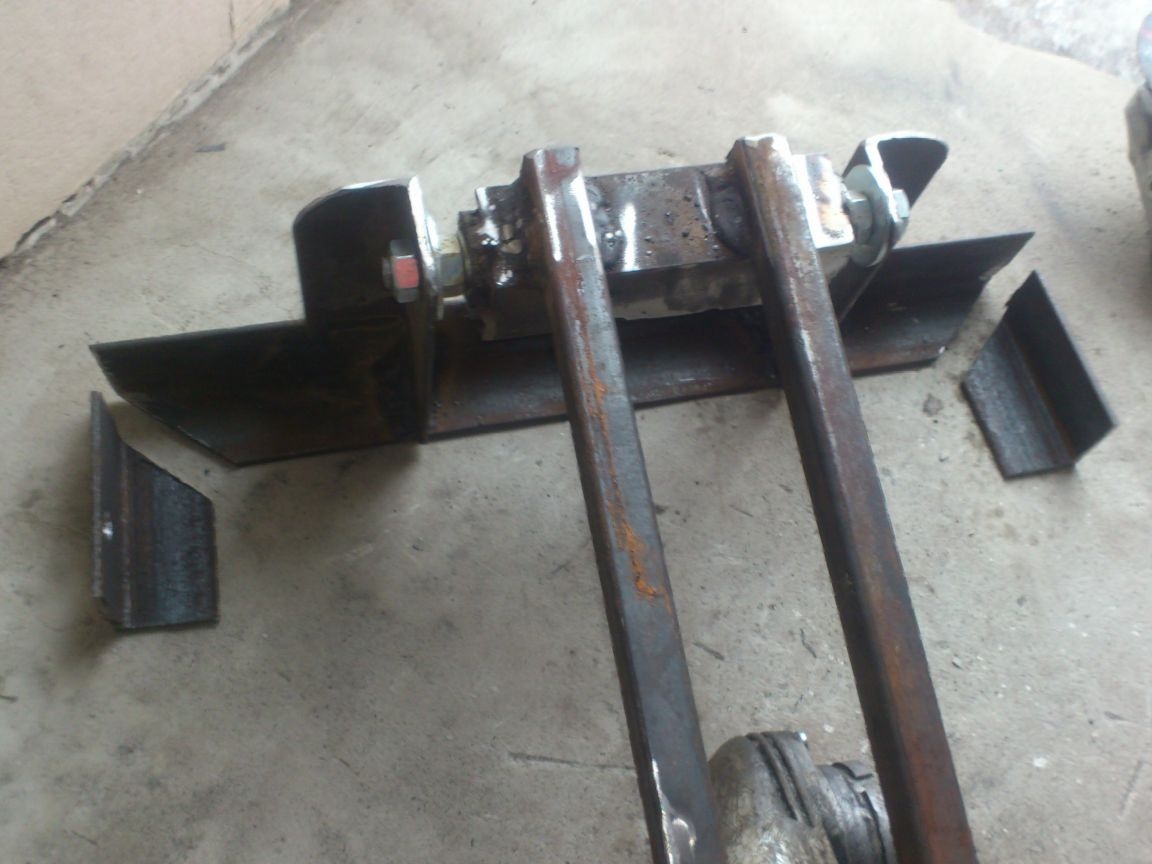
Now we need to make racks for mounting the carriage. I made them from the same corner 50. To make them the same, I pulled them together with a clamp, and in this position I cut and drilled holes:
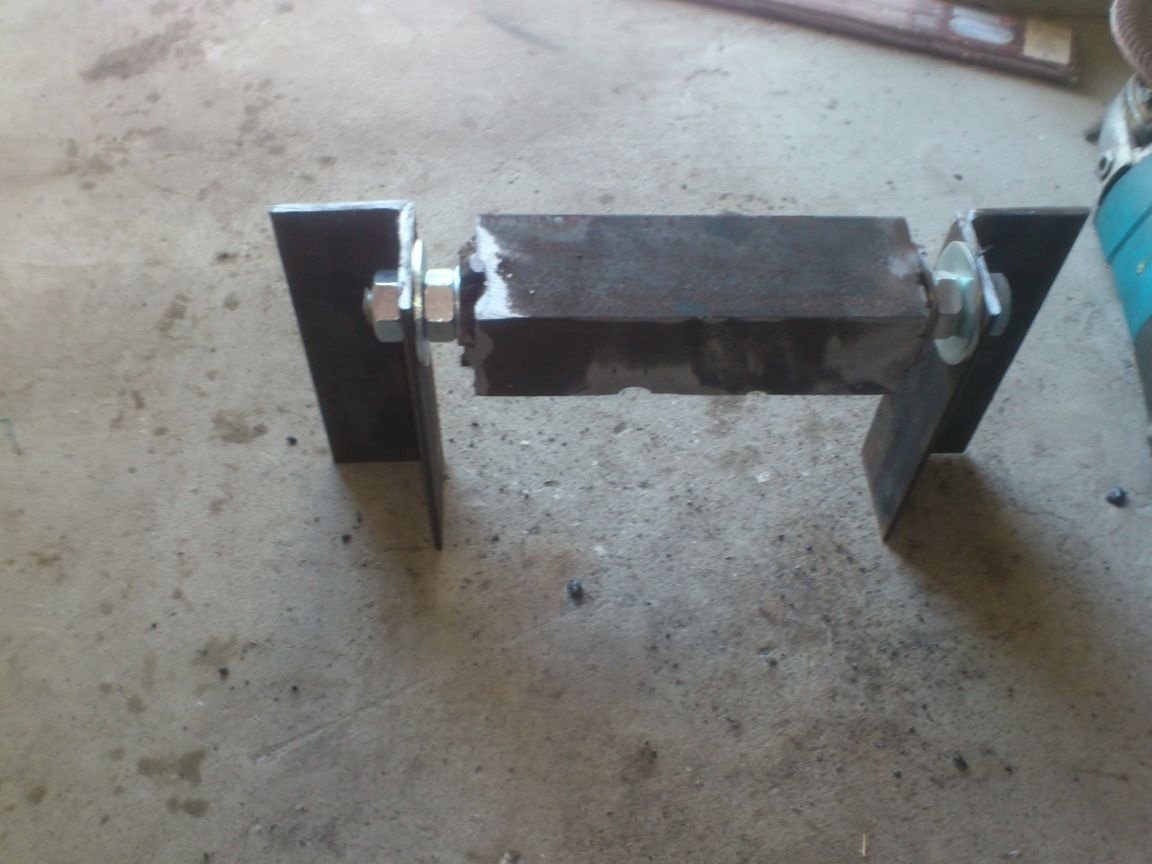
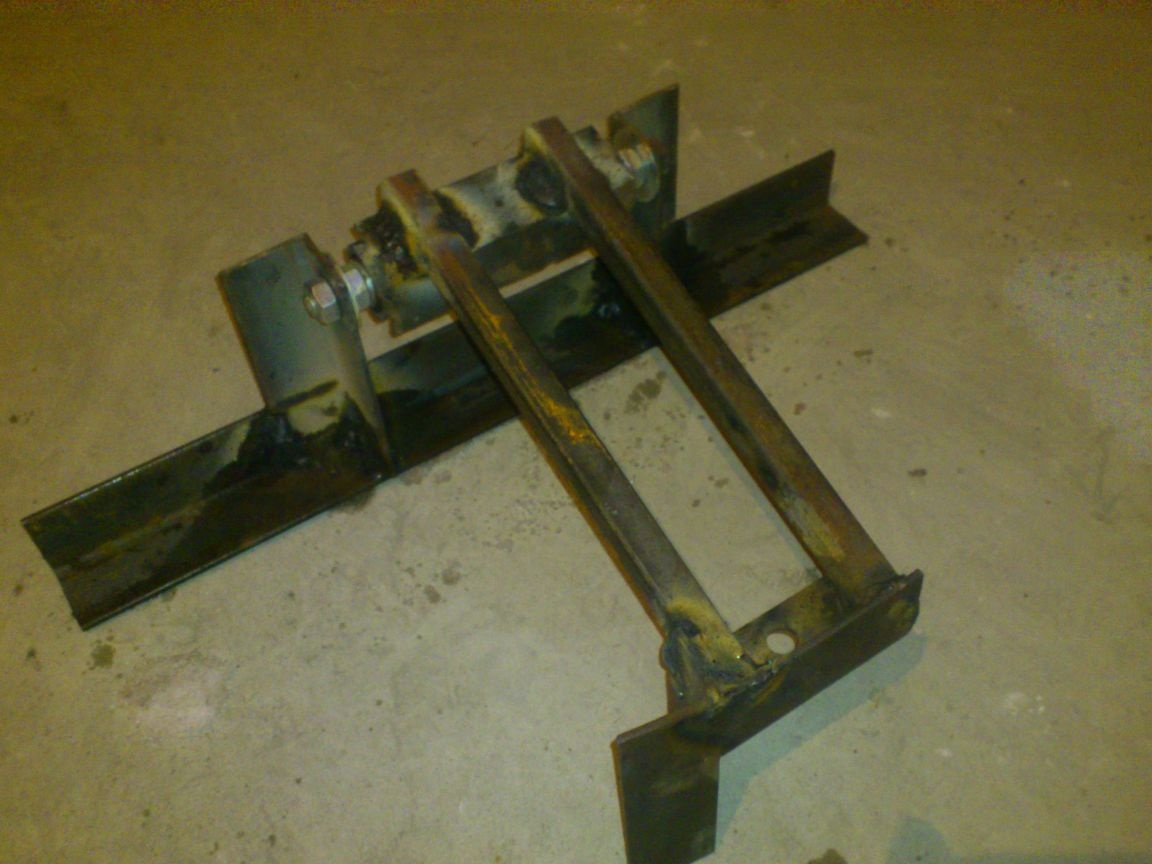
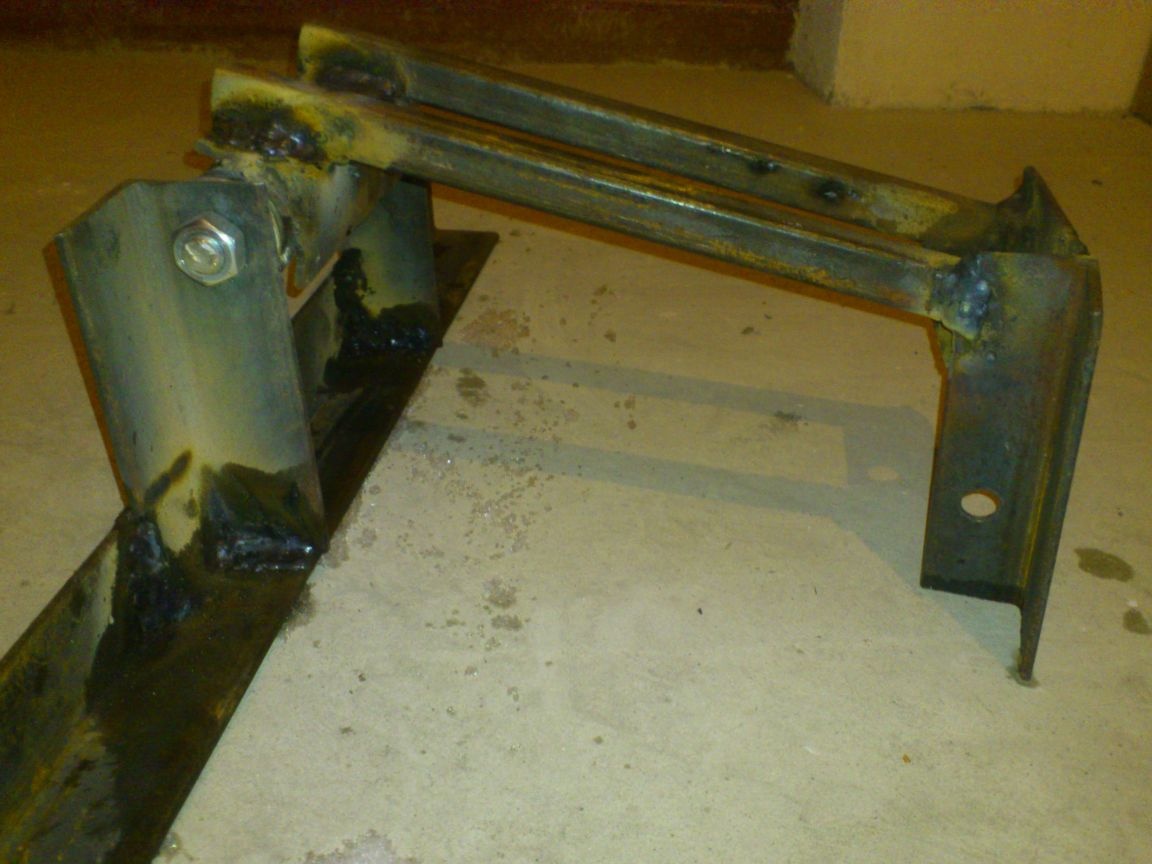
Next, I assembled and welded the entire mounting structure of the carriage:
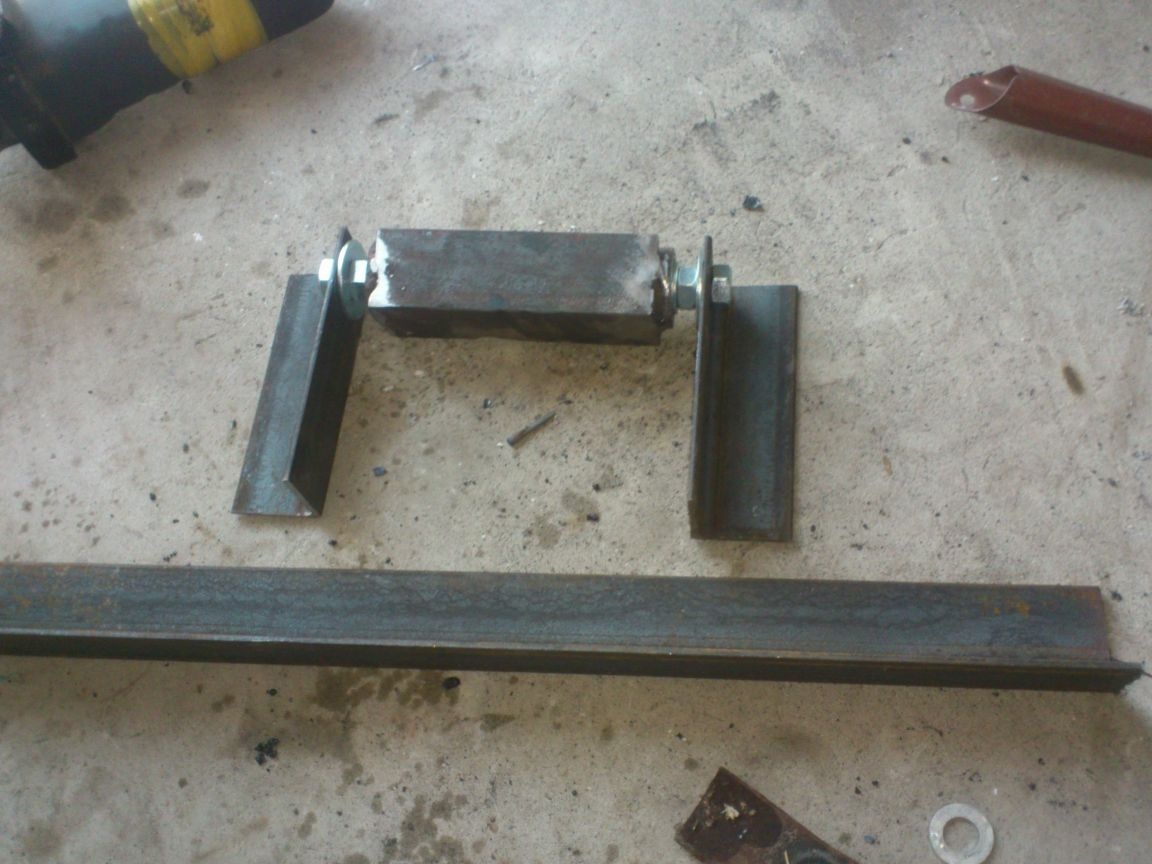
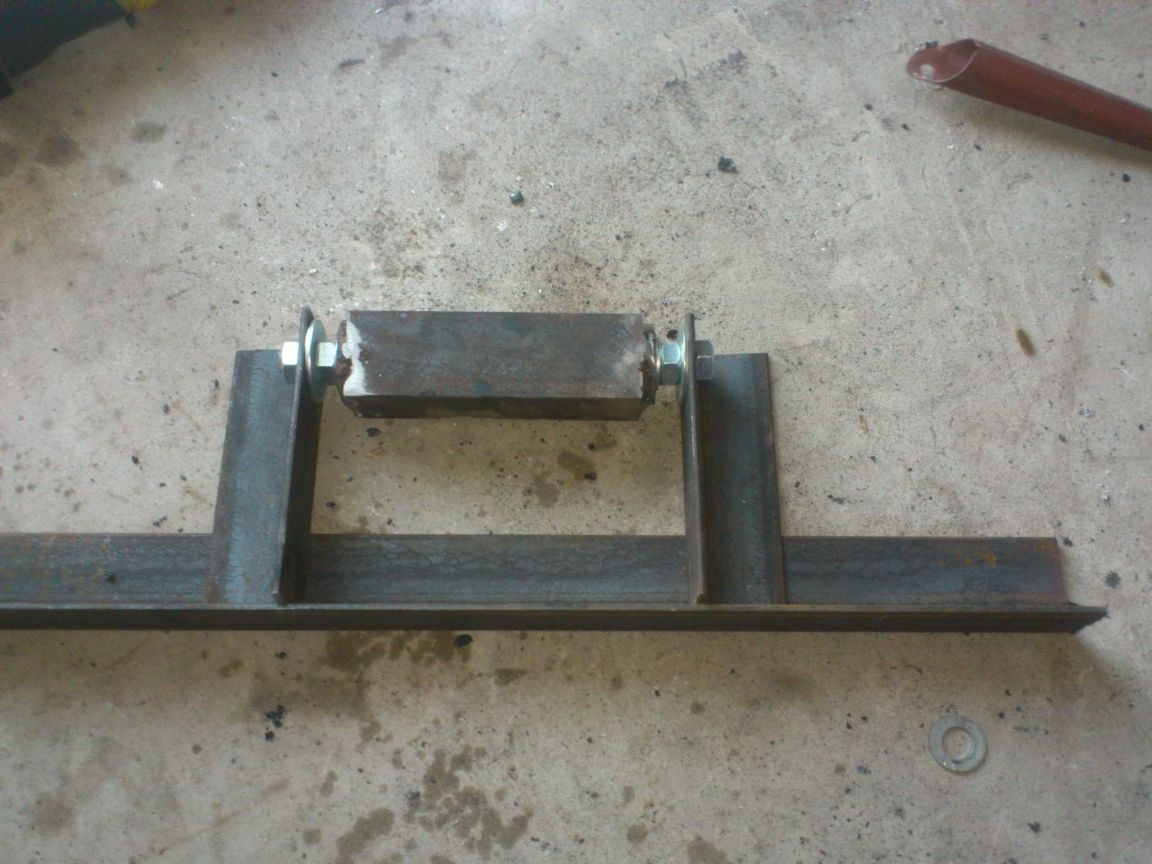
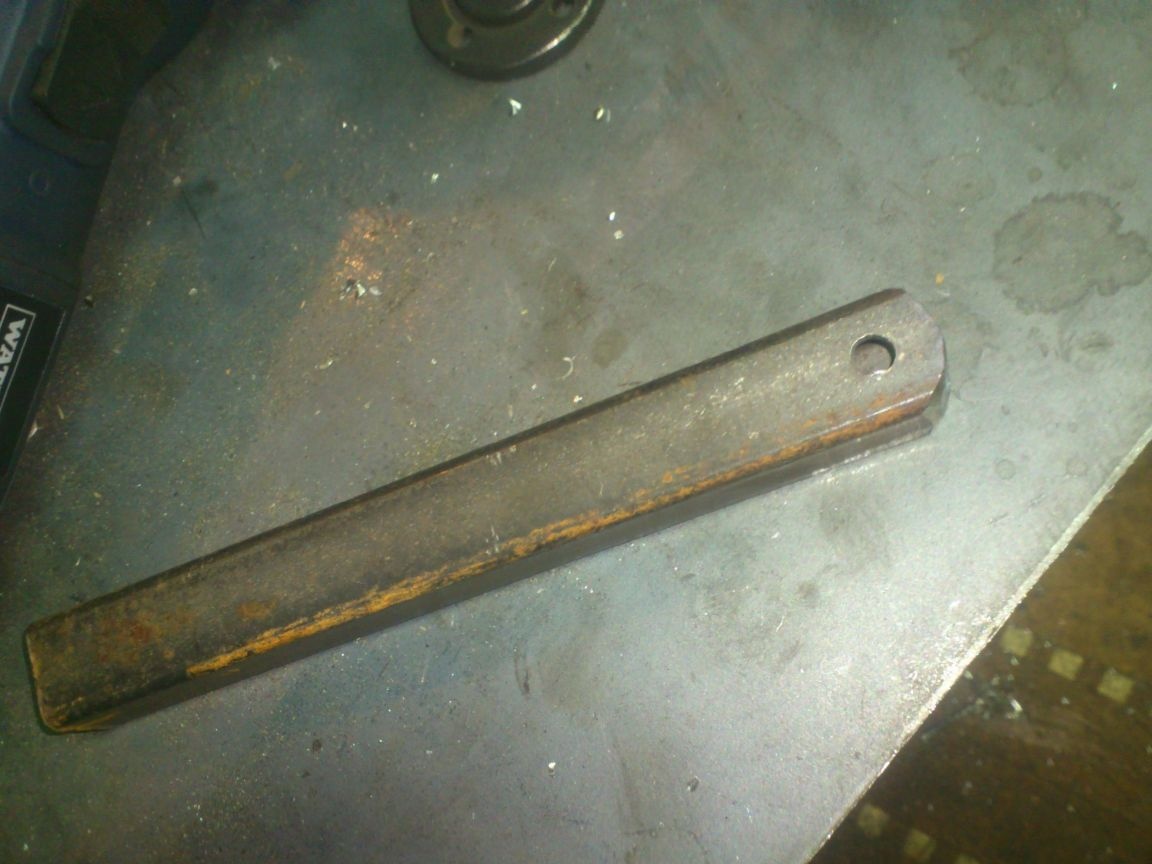
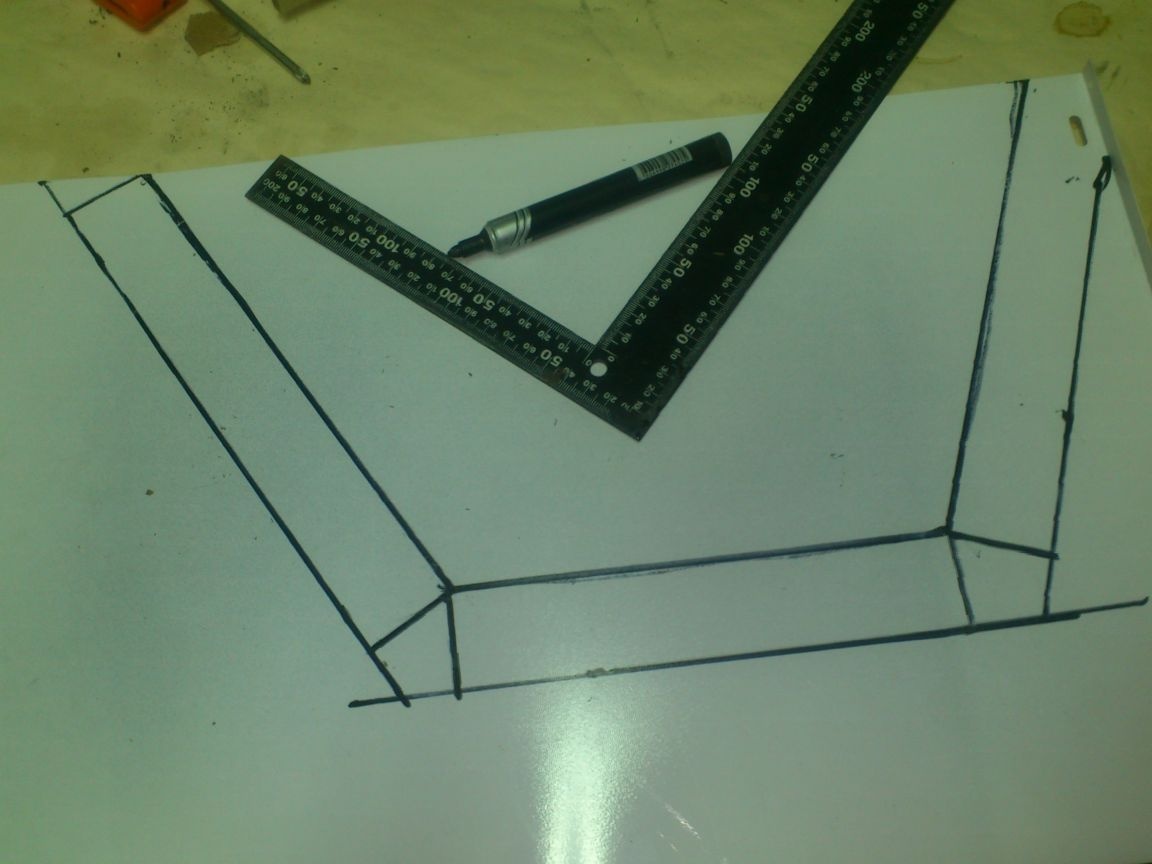
I made the rods on which to be attached to the angle grinder from a thick-walled profile pipe 20 to 20. They calculated the optimal length empirically by laying out the scheme of the future machine from pipes and bars:
It remains to cut and weld everything together:
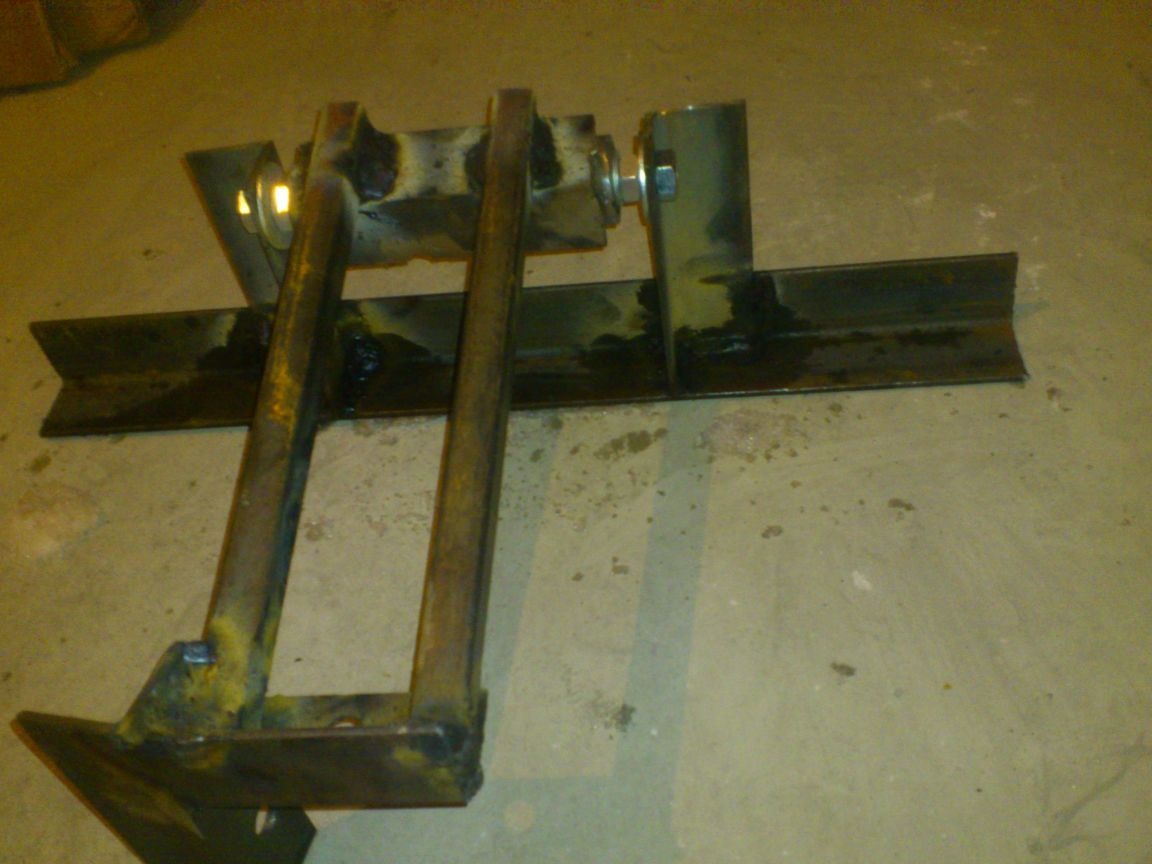
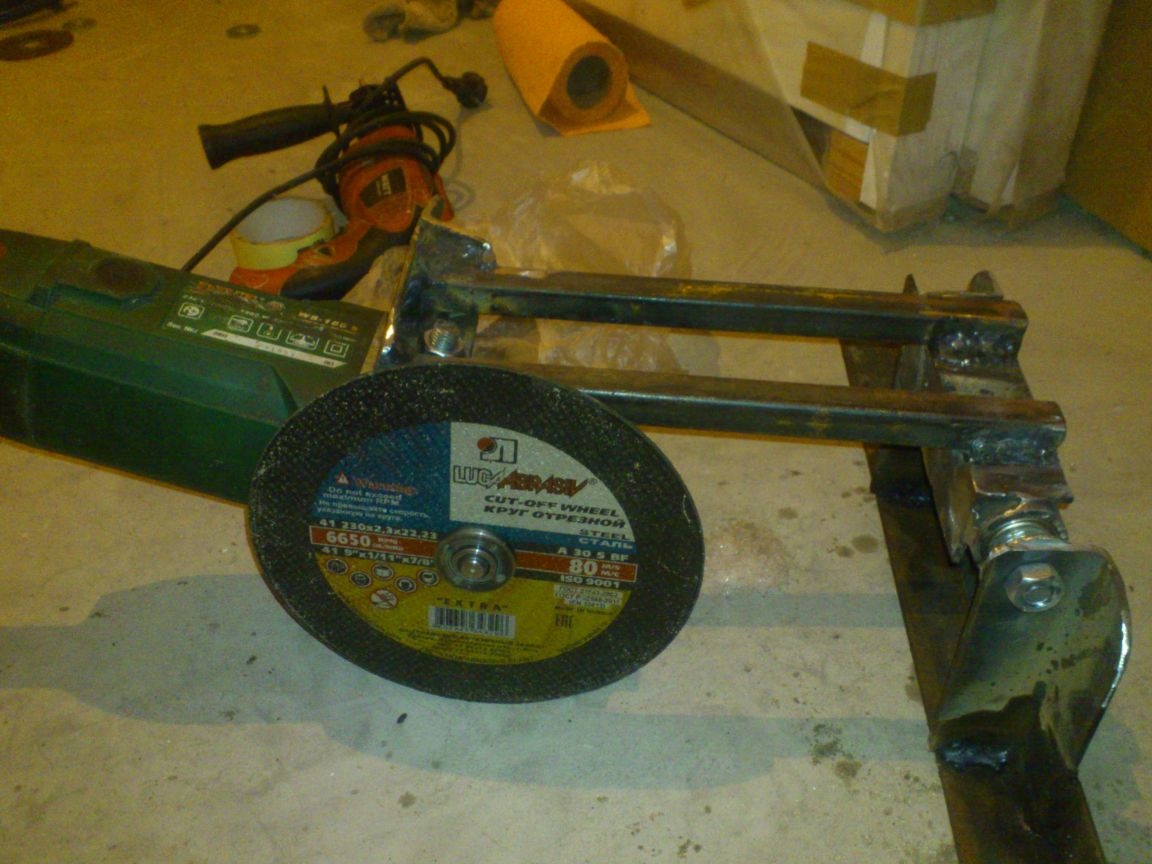
At this stage I “tried on” the grinder:
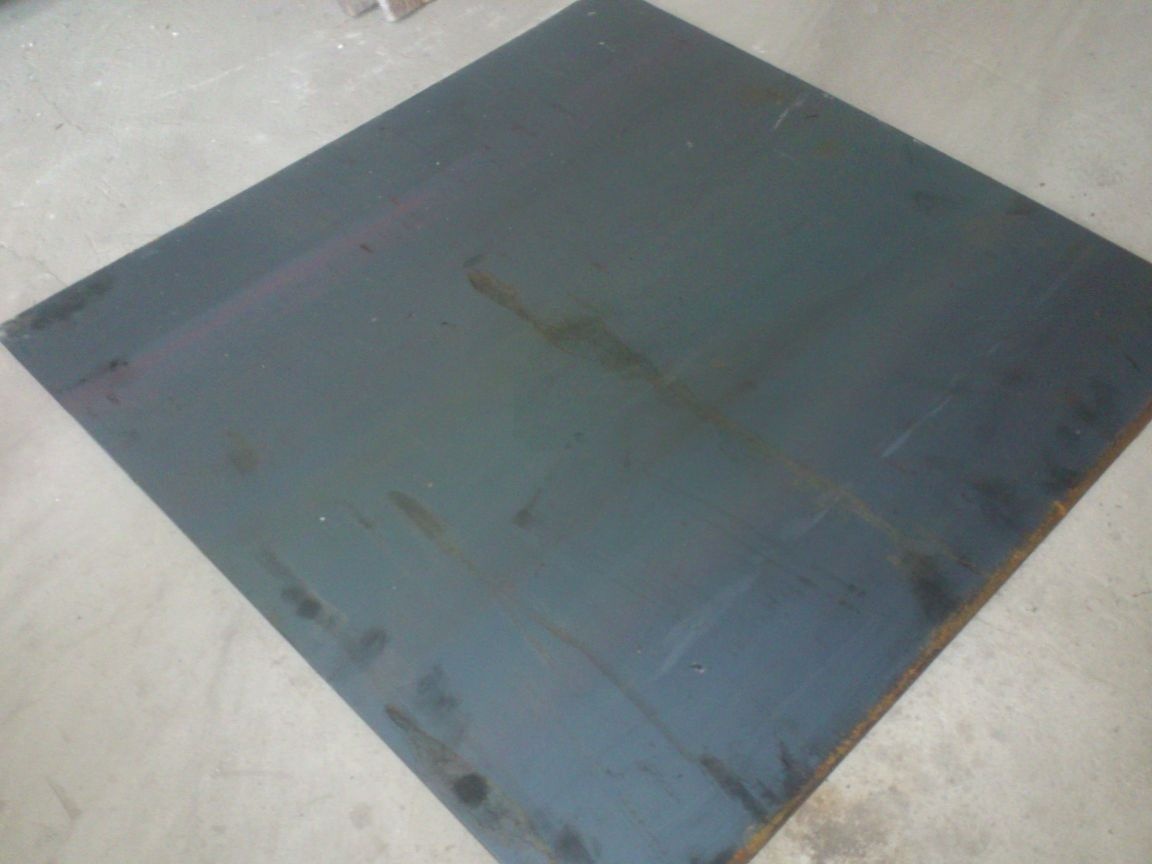
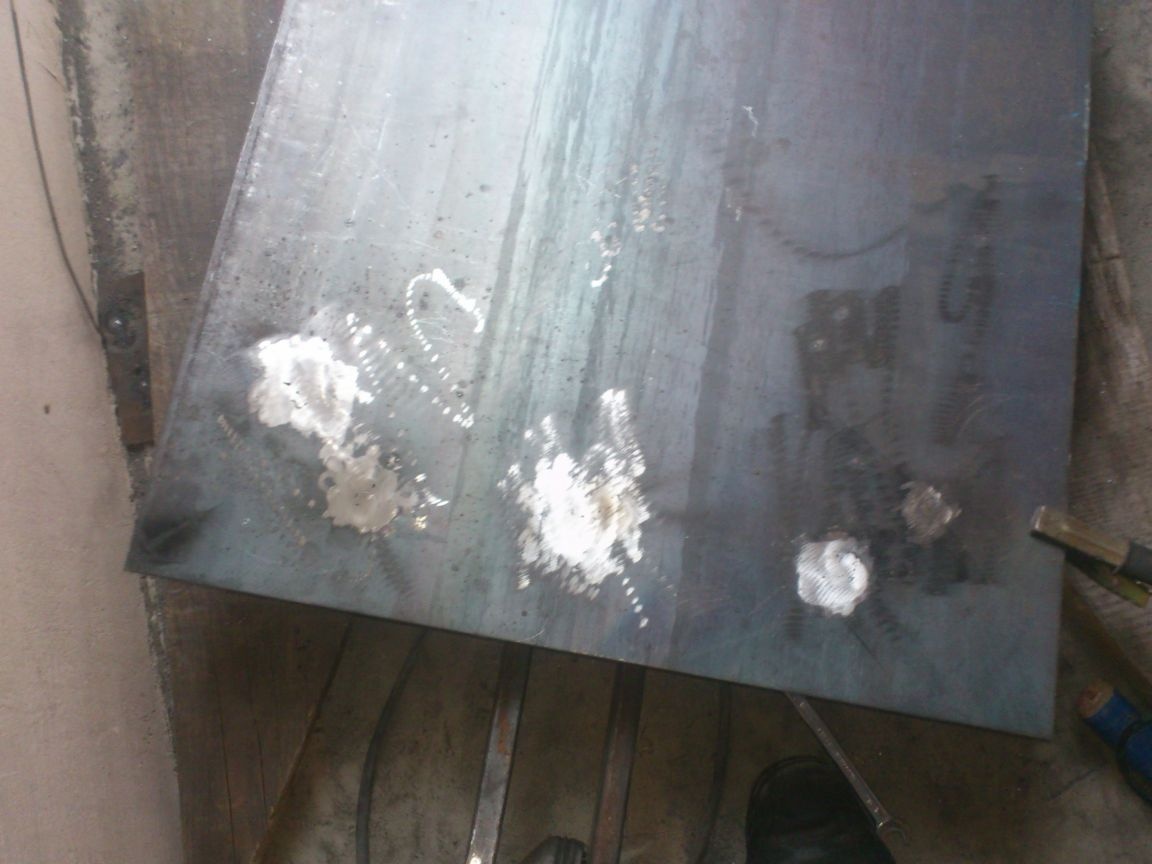
Now came the turn of the table. I made it from a sheet of steel, 4 mm thick, 60 to 60 cm in size:
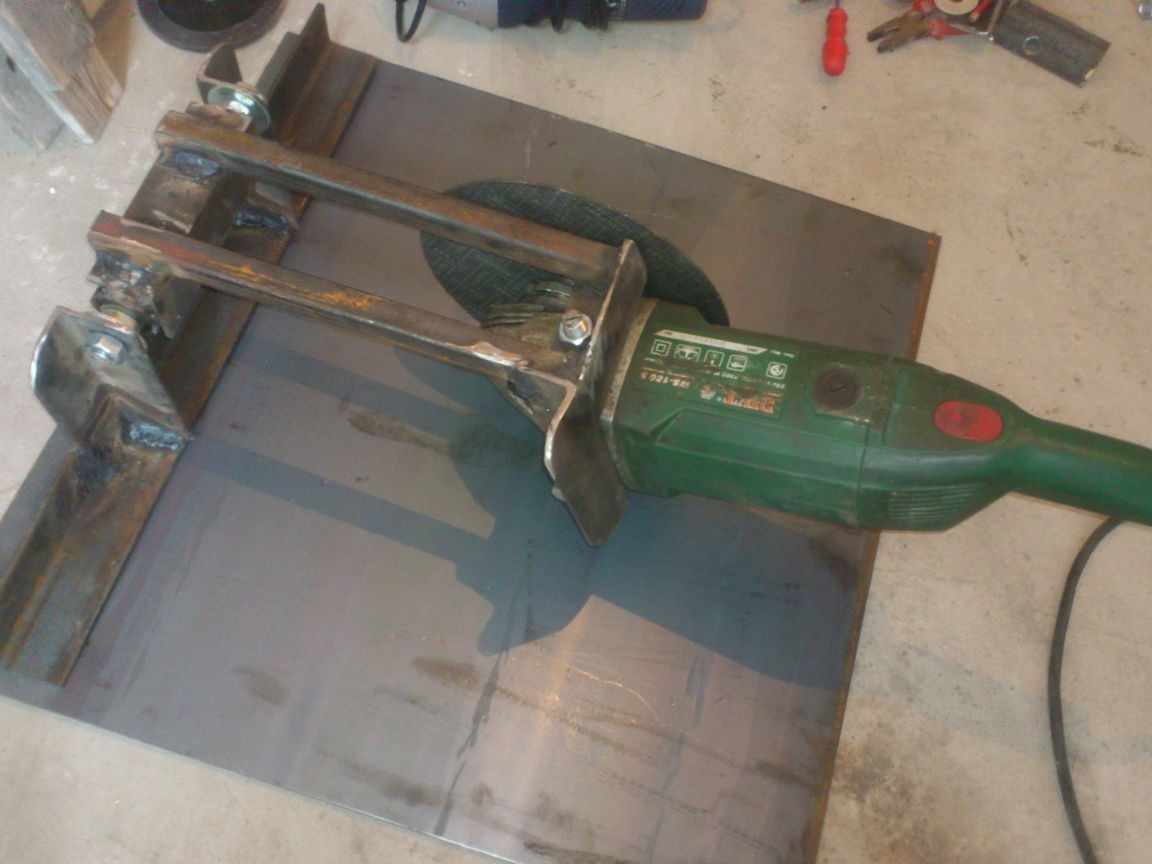
I fixed the whole structure on this sheet:
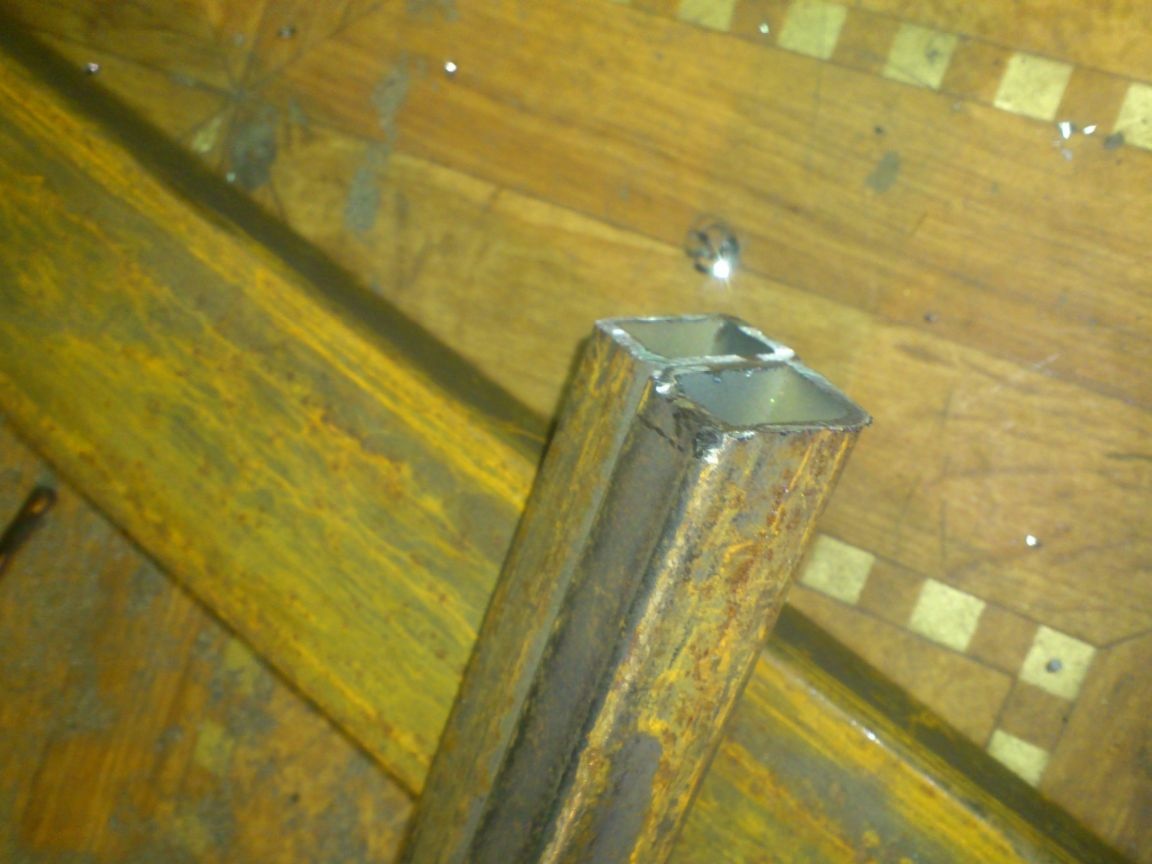
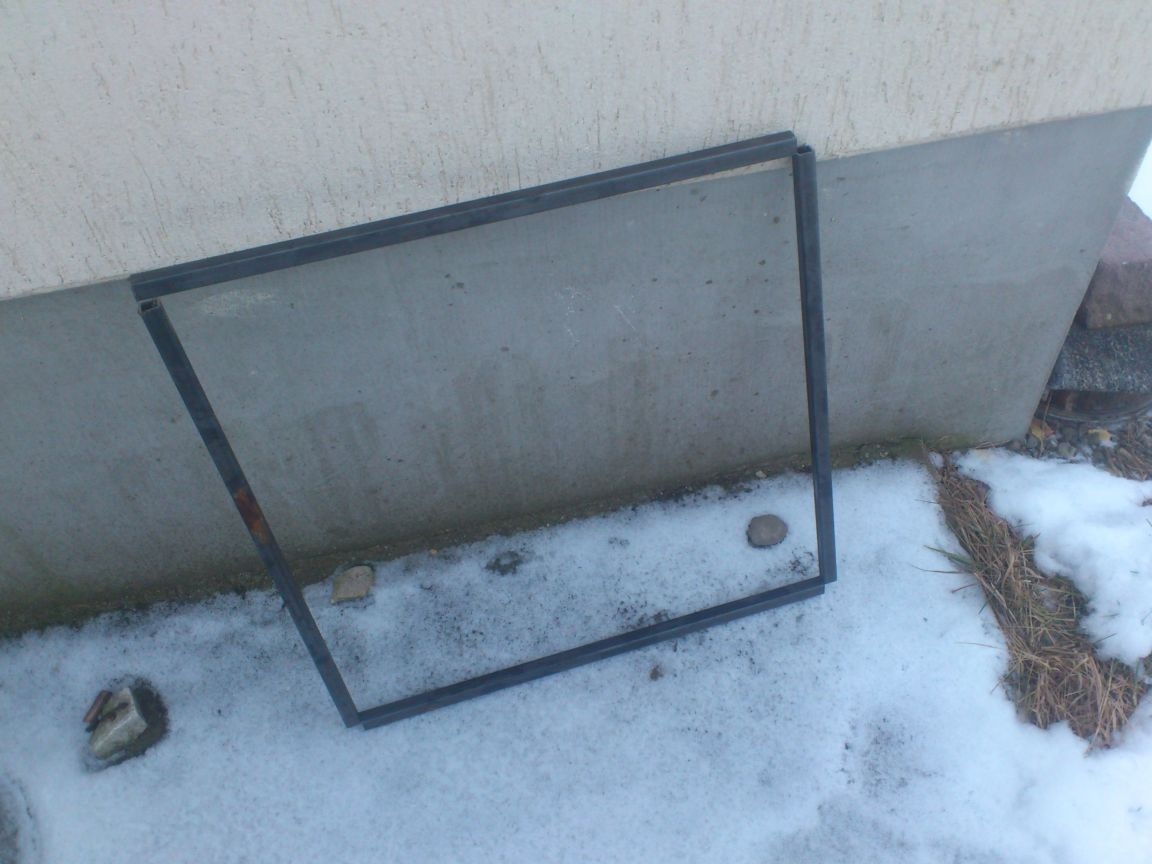
I made two square frames from a profile pipe 15 by 15, measuring 50 by 50 cm. At the same time, I cut only three walls in the pipe at the bend points, and left the fourth.
After that, I welded vertical posts from the same pipe in the corners, and secured my structure to the resulting box.
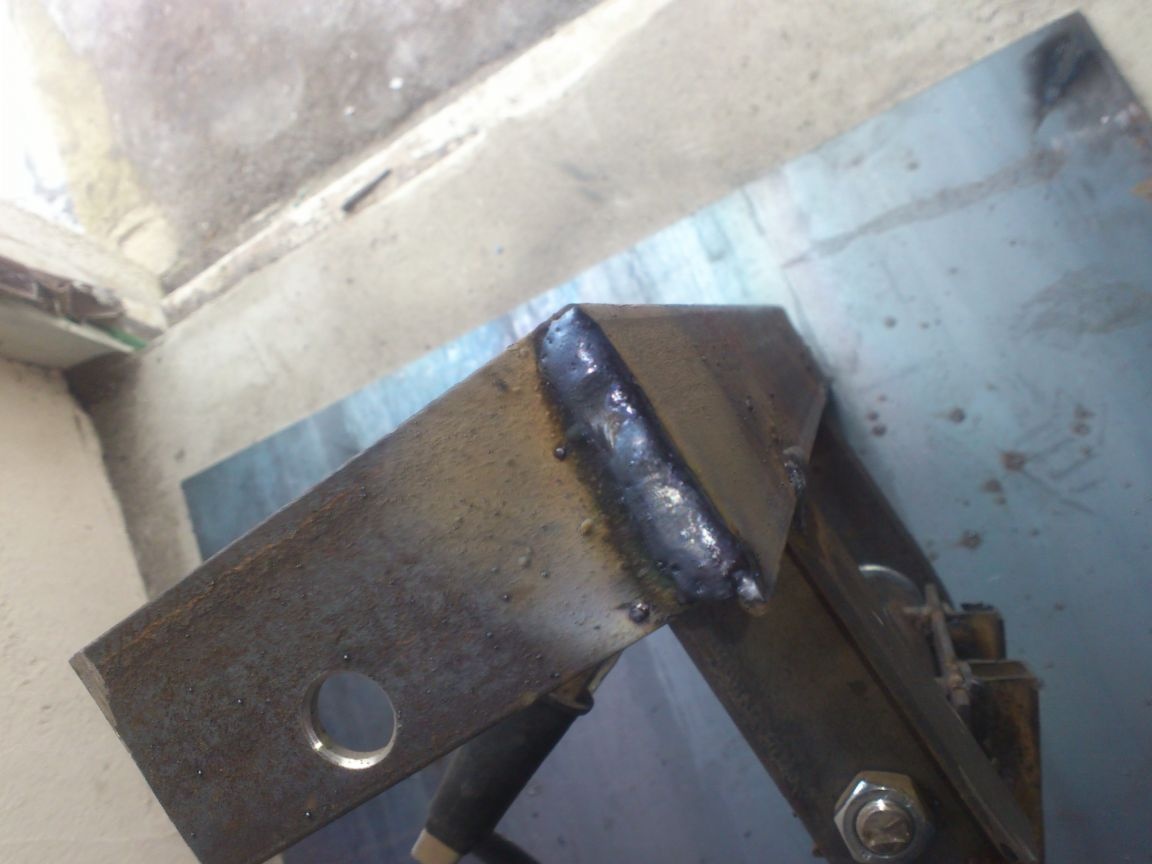
At this stage, it became necessary to set a right angle between the cutting wheel and the table. As I said, I excluded all adjustments for the sake of rigidity (read: accuracy) of the structure. My plans were simply to bend the rods, and then strengthen them in the right position, welding corners to them as reinforcement. But, when I tried to bend them first with two erections ... (Oooo! What an optimist I am!)))). Then crowbar! (The result is the same) ..... I realized that you will not have to reinforce the design !! Two thick-walled profile pipes of small length, besides, boiled at the ends to the corners with seams 5 cm long on each side, give incredible rigidity! ...
... I could bend only by inserting a two-meter (!) Pipe between them, with a section of 60 to 20. (Fortunately, between the rods is just 60 mm.
So, the vertical is exposed! Now cut through the table:
After that, I expanded and extended the slot with a small grinder. (In case of installing, for example, a circle on a tree.)
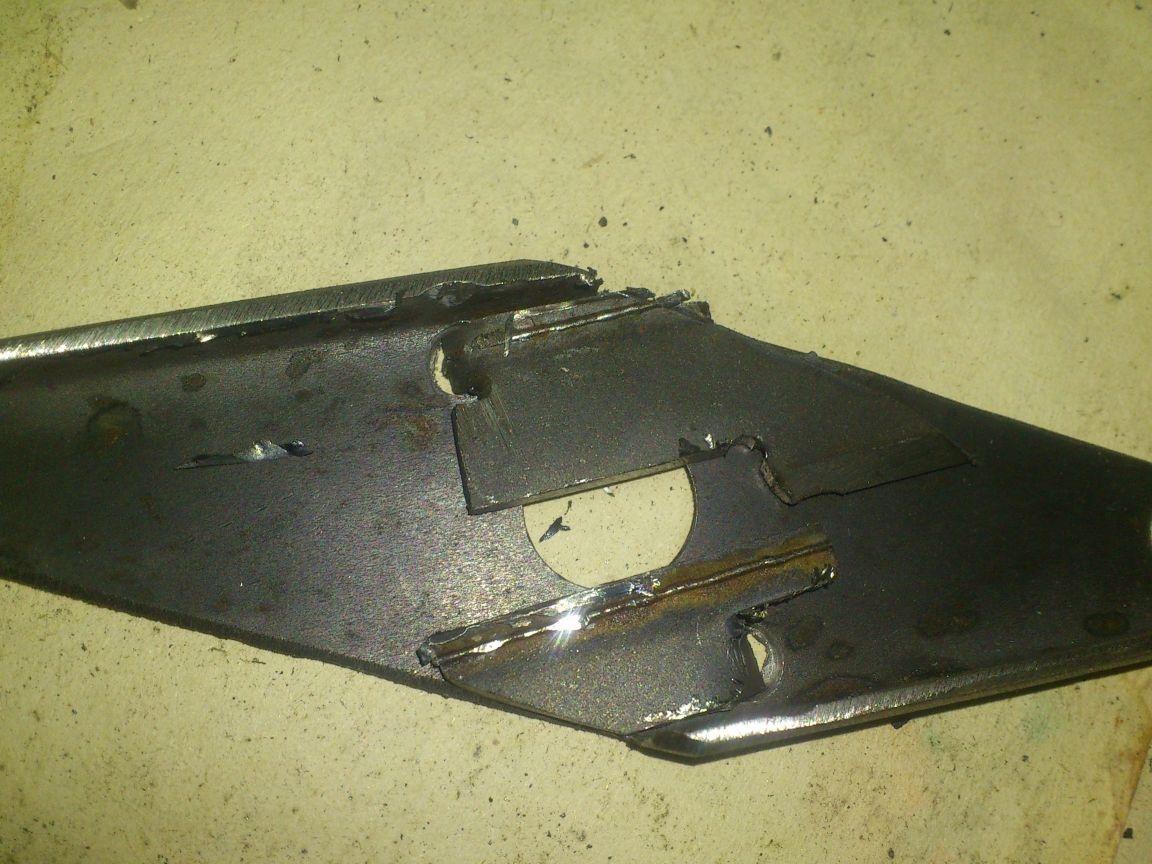
..By the way ... Initially, I had the idea of making "2 in 1". That is, provide for the possibility of turning the table with the grinder down, in order to obtain a circular! And I even started to embody it. For example, I boiled, melted and smoothed the caps of all the fixing bolts on the back to get an even circular table:
For the same reason, I made symmetrically holes for the mounting bolts that secure the table to the “parallelepiped” ... But the euphoria from what “cool I came up with” passed, and I realized that I just “turned on” and did not pursue practicality , but for "cool happened".))))))
... But in fact, I WILL NOT USE THIS !!! After all, I have a circular.And she, in any case, is better than made from a grinder! In addition, when working with a circular with a tree, it is good to put this machine next to it with a circle on a tree in order to trim. And do not turn the table for the sake of each board ...
In general, I rejected this stupid undertaking ....
..
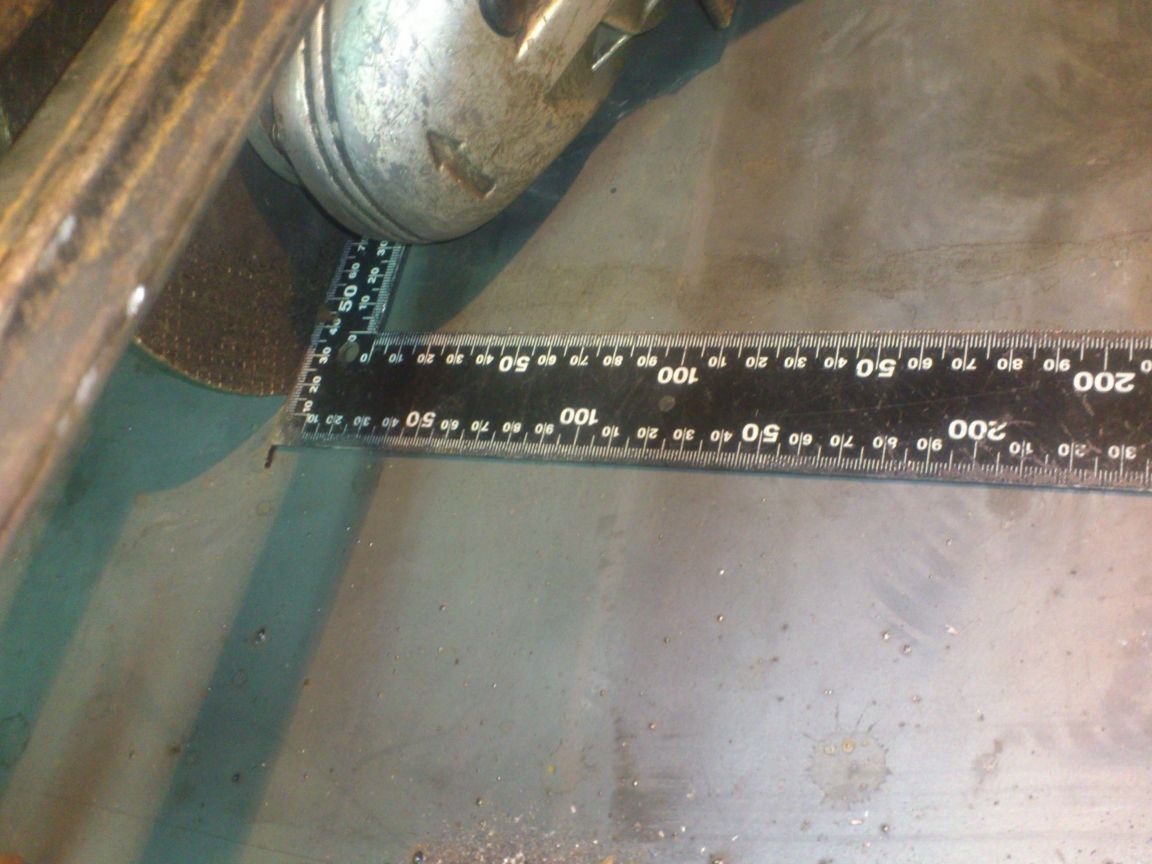
Then I proceeded to the construction of an emphasis for the workpiece. I attached the square to the circle, drew a line at a right angle, and fixed a stop corner 40 to 40 along it.
After that, I unscrewed the corner and through its holes, this time applying a 45-degree angle, I drilled a hole in the table.
I forgot to take a picture, but here, I think, it’s clear .... Now, to cut off under 45, you need to remove one bolt, turn the corner and fix it in another hole.
Next stage. I started assembling a tool vise. After all, only a well-fixed workpiece can be precisely cut. I cut a piece of pipe 20 to 20.
I inserted a piece of M14 stud inside and pulled it with nuts. At the same time, one nut took a long, connecting:
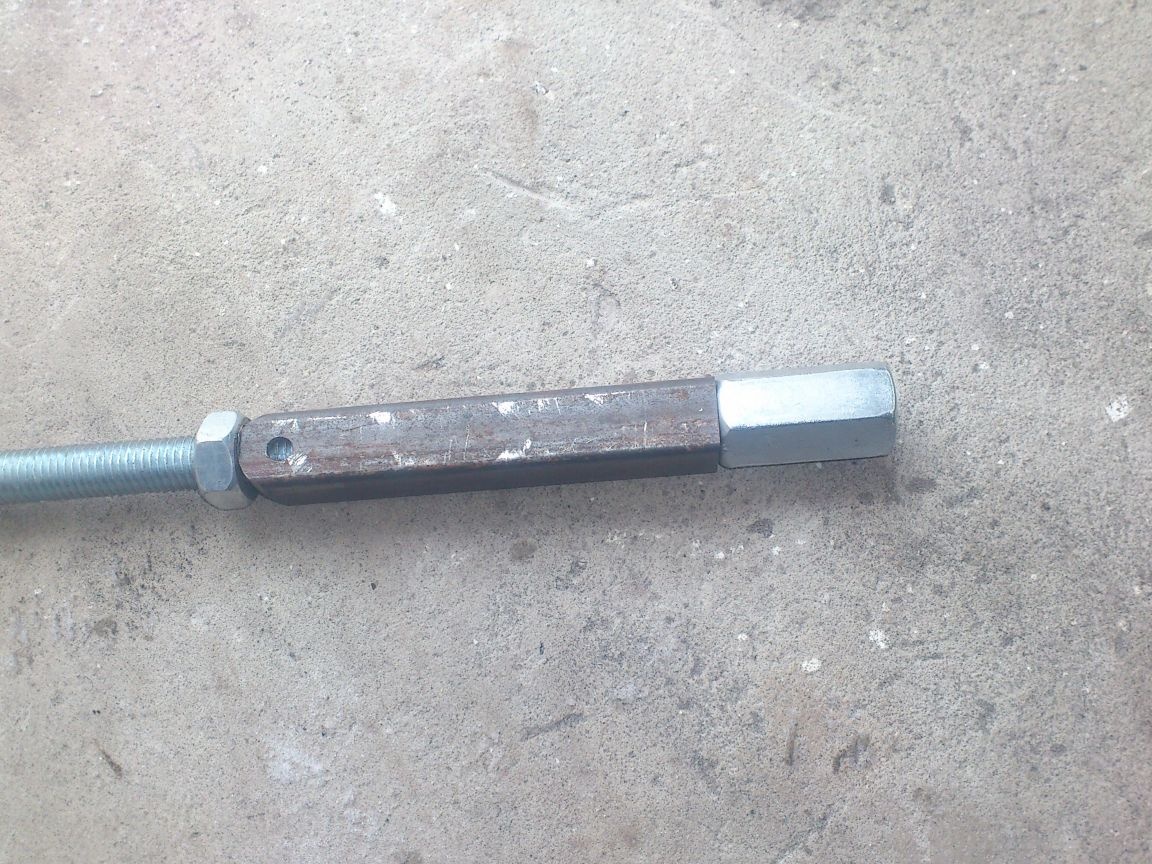
Welded it.
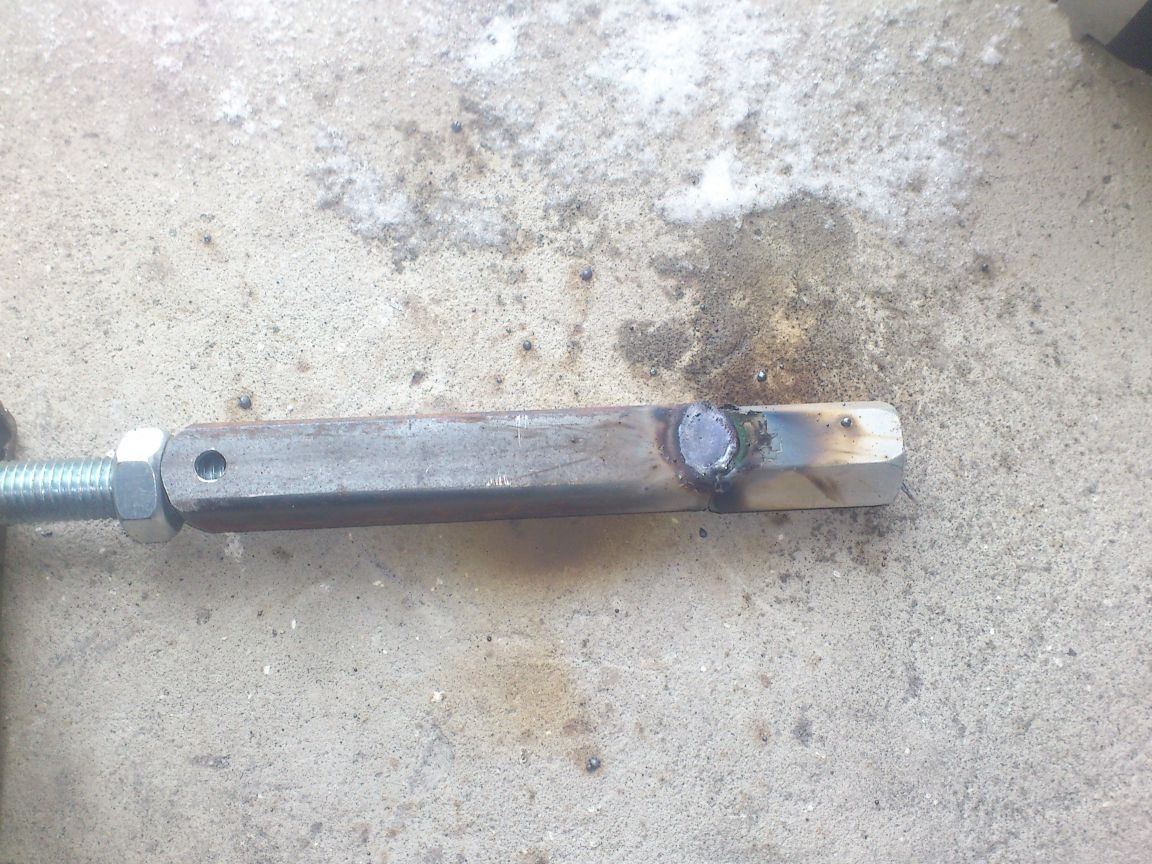
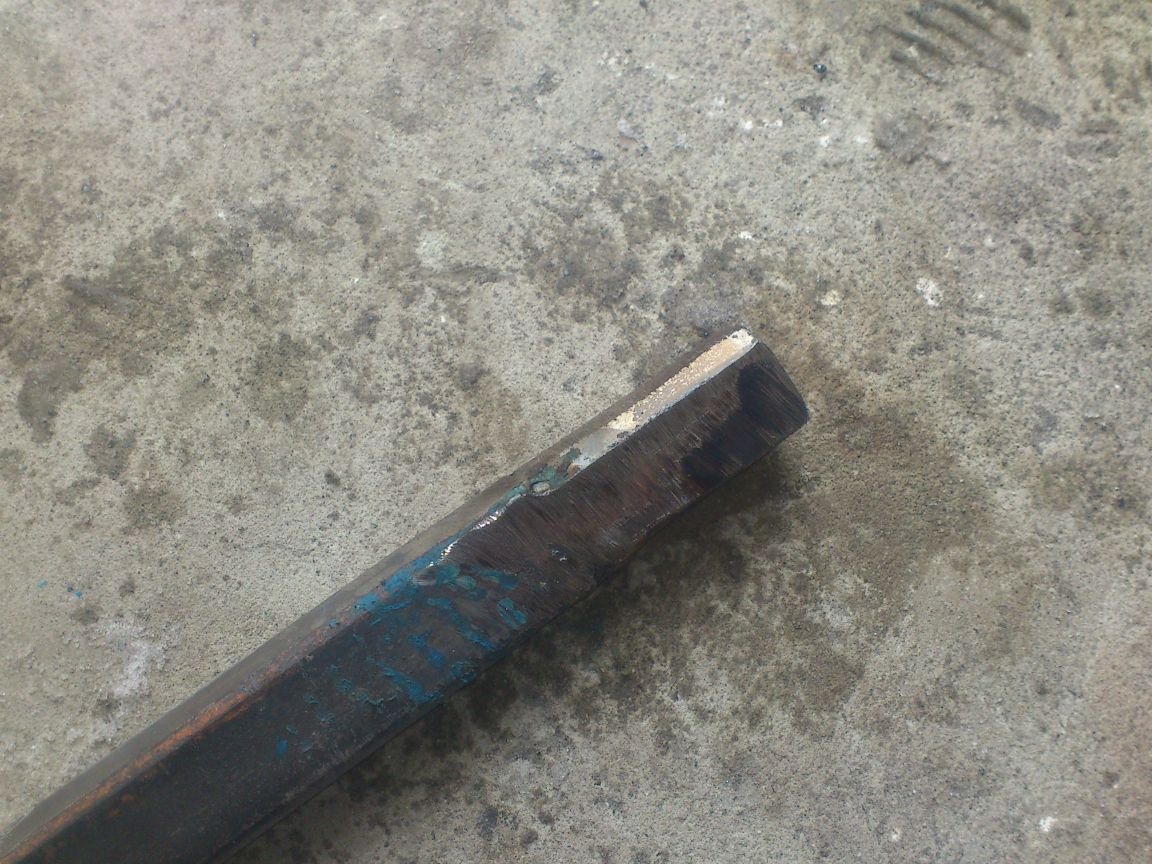
And he processed it with a grinder, giving it the outer dimensions of the pipe:
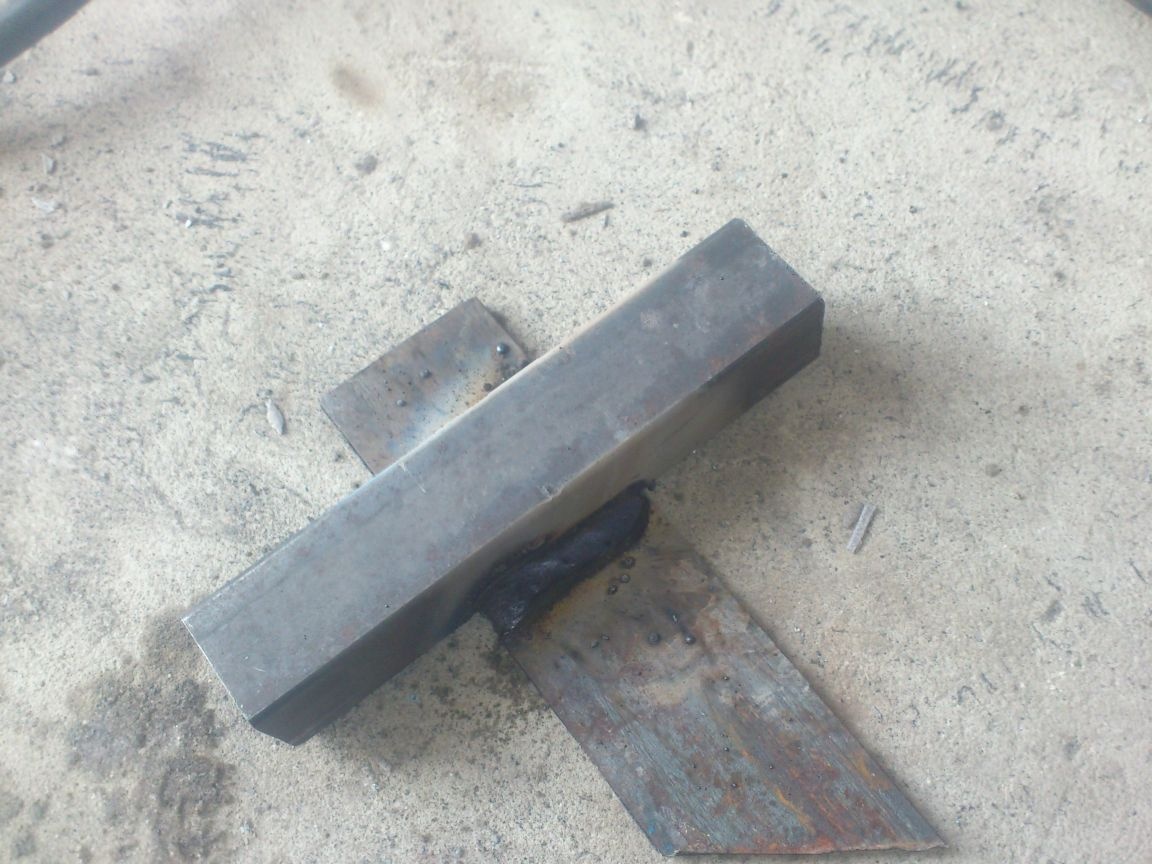
Then he cut out a piece of the 25th pipe (20 easily and tightly fit into it) and welded a piece of strip across it so that it could be drilled to fix it to the table. This will be the guide:
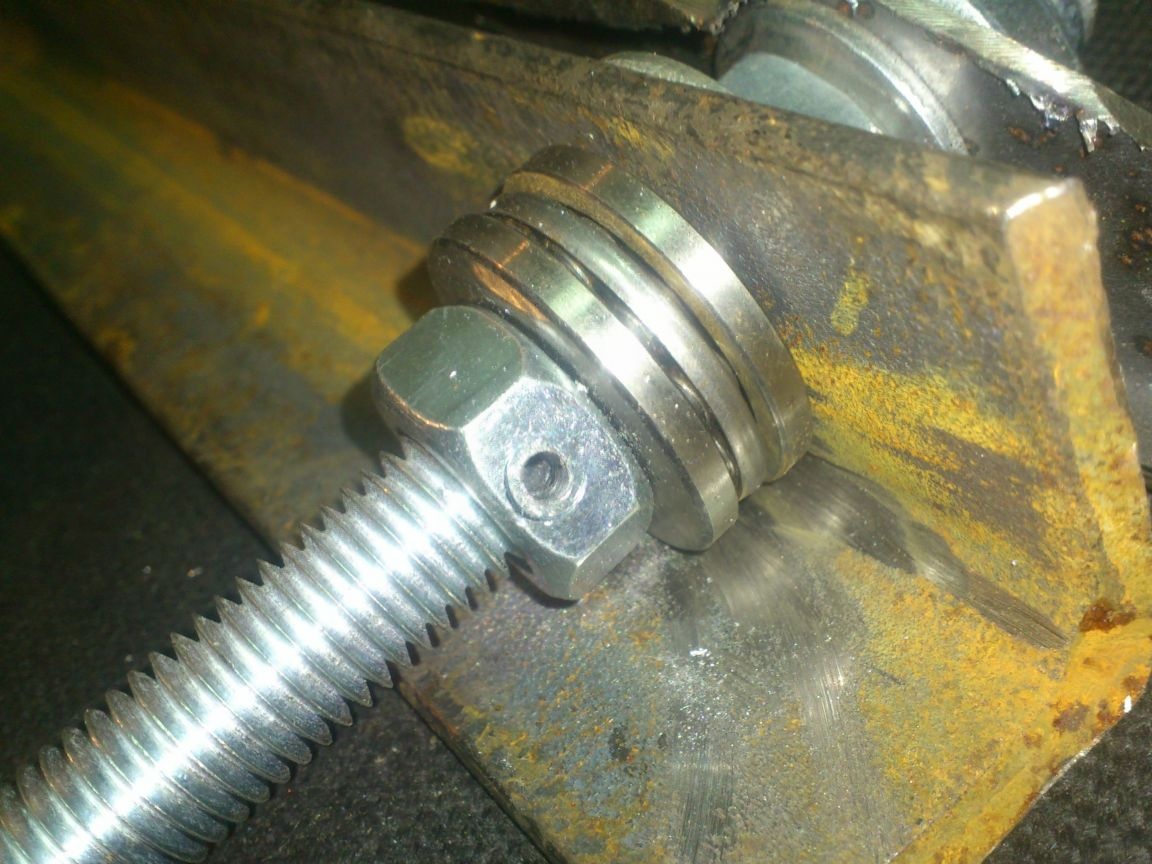
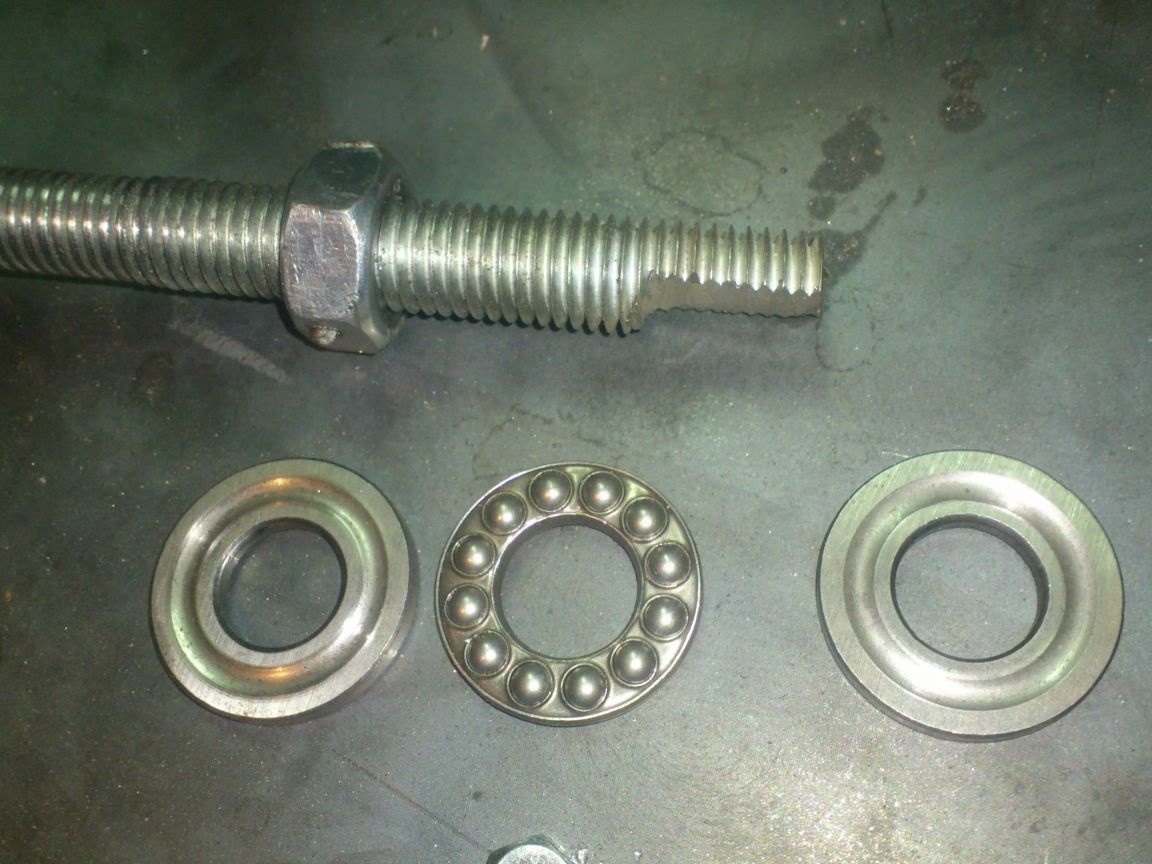
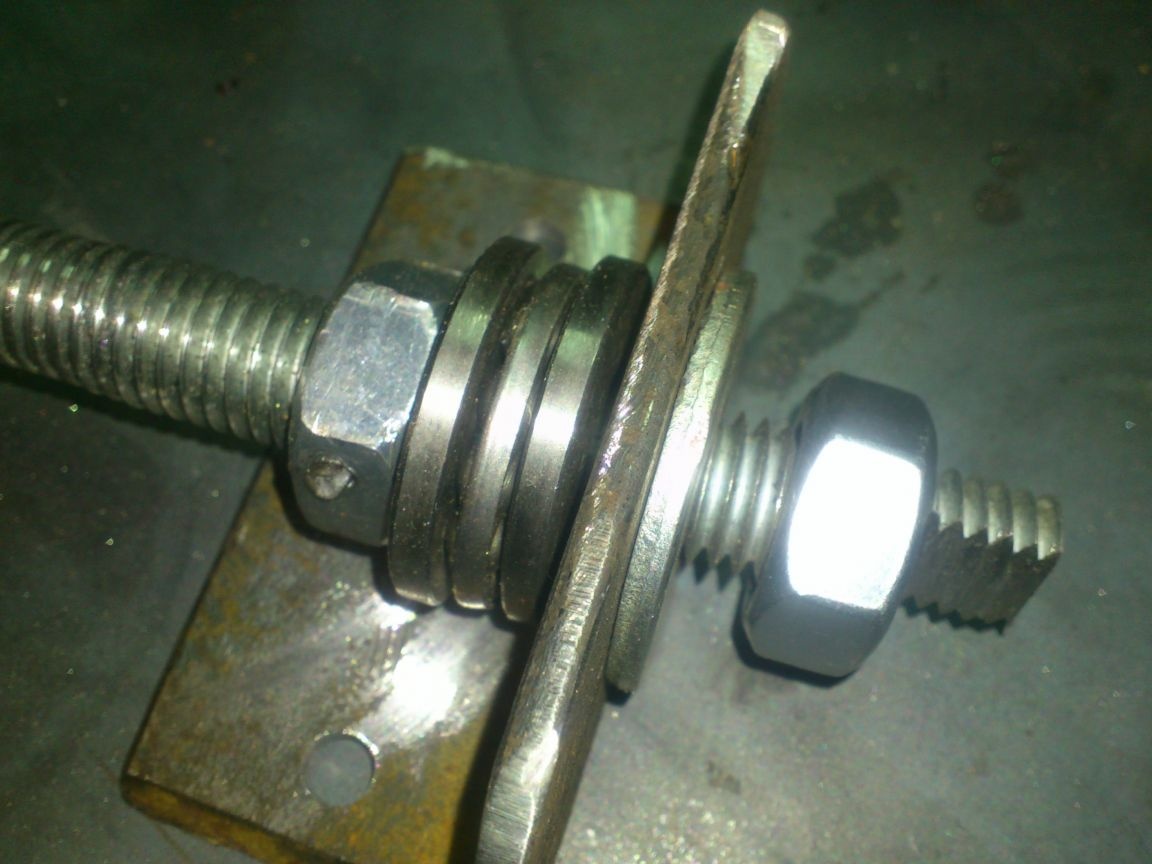
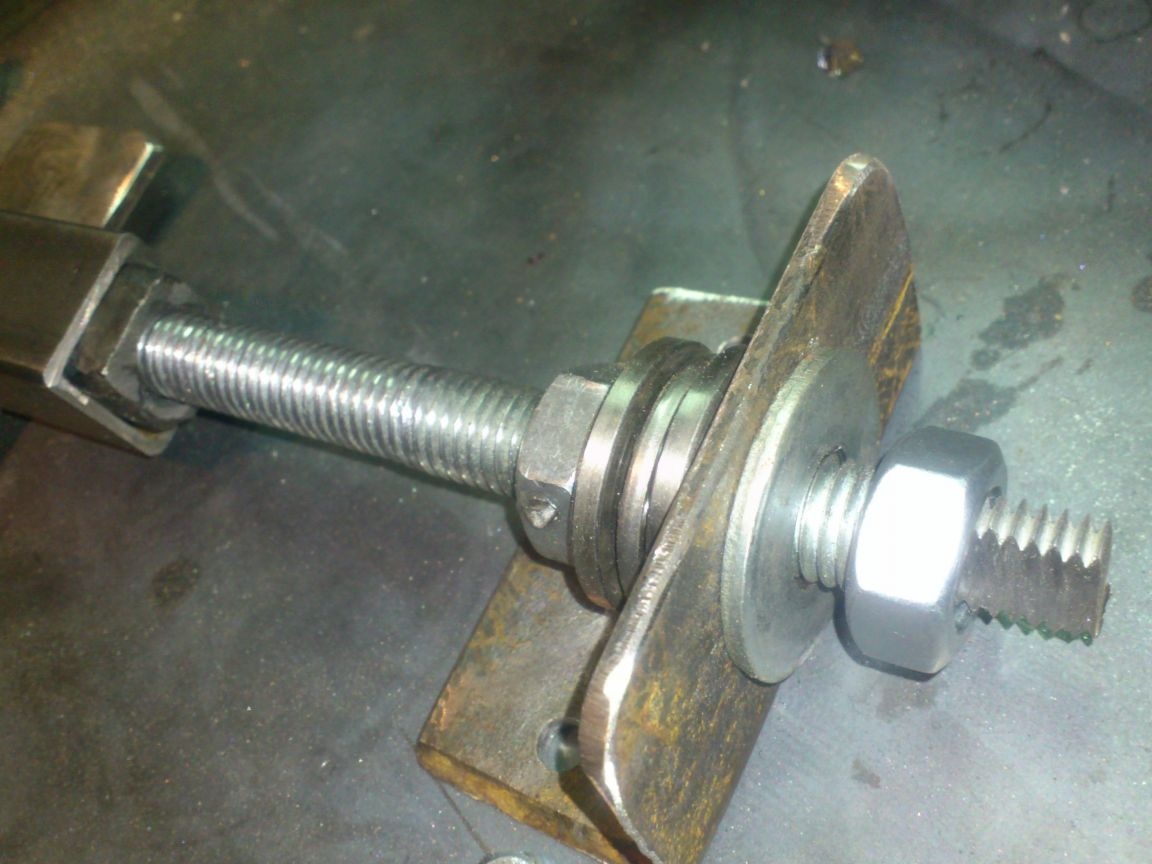
Further, on the edge of the table he secured a corner with a hole, and collected a vice. I screwed the stud into a pipe with a welded nut, put a guide on it, and passed it all through the thrust corner, placing the thrust bearing, which is fixed by the cotter-pin nut: In short, you will understand from the photo:
He made the handle of a handwheel out of a furniture bolt, putting a metal tube on it.
At the end he made a wide emphasis. And such instrumental vice turned out here:
When the handwheel rotates, a pipe with a welded nut comes out of the guide and tightly presses the workpiece against the stop. The only inconvenience is that you need to rotate to the left.))). But more reliable than an eccentric clamp.
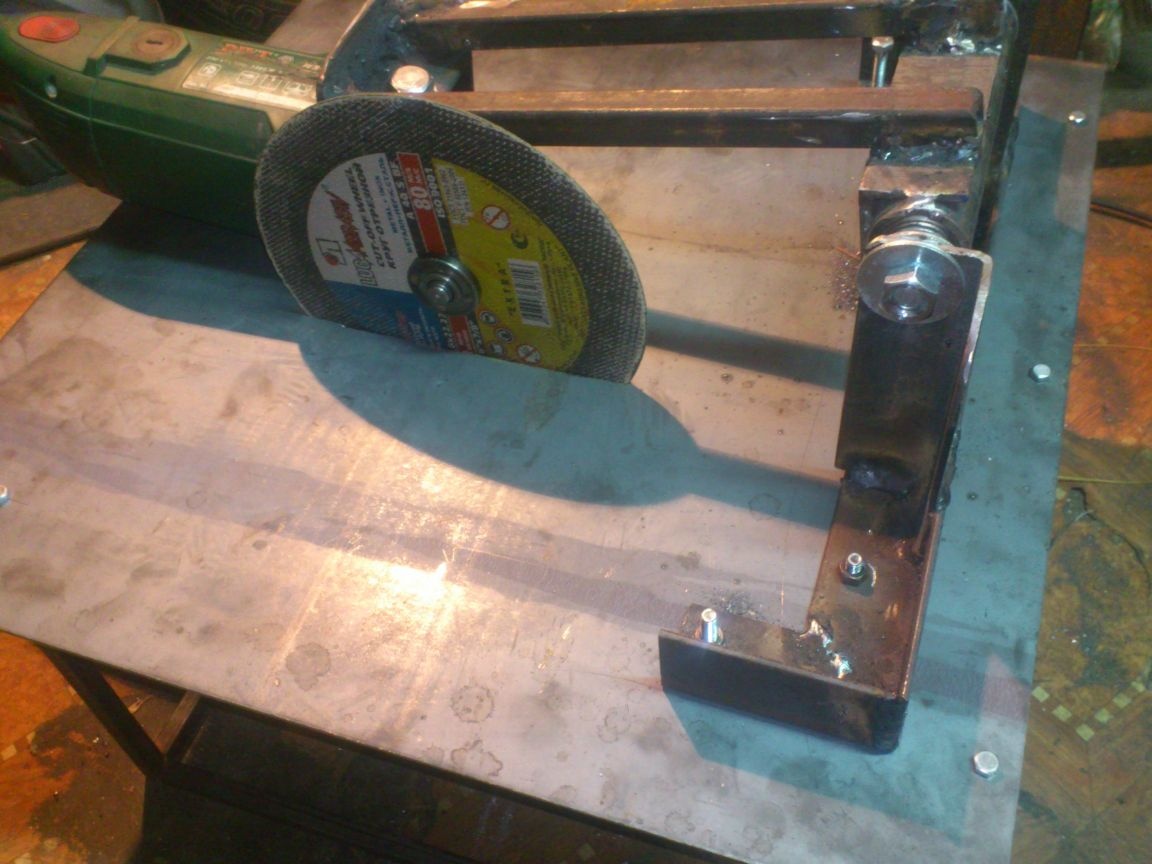
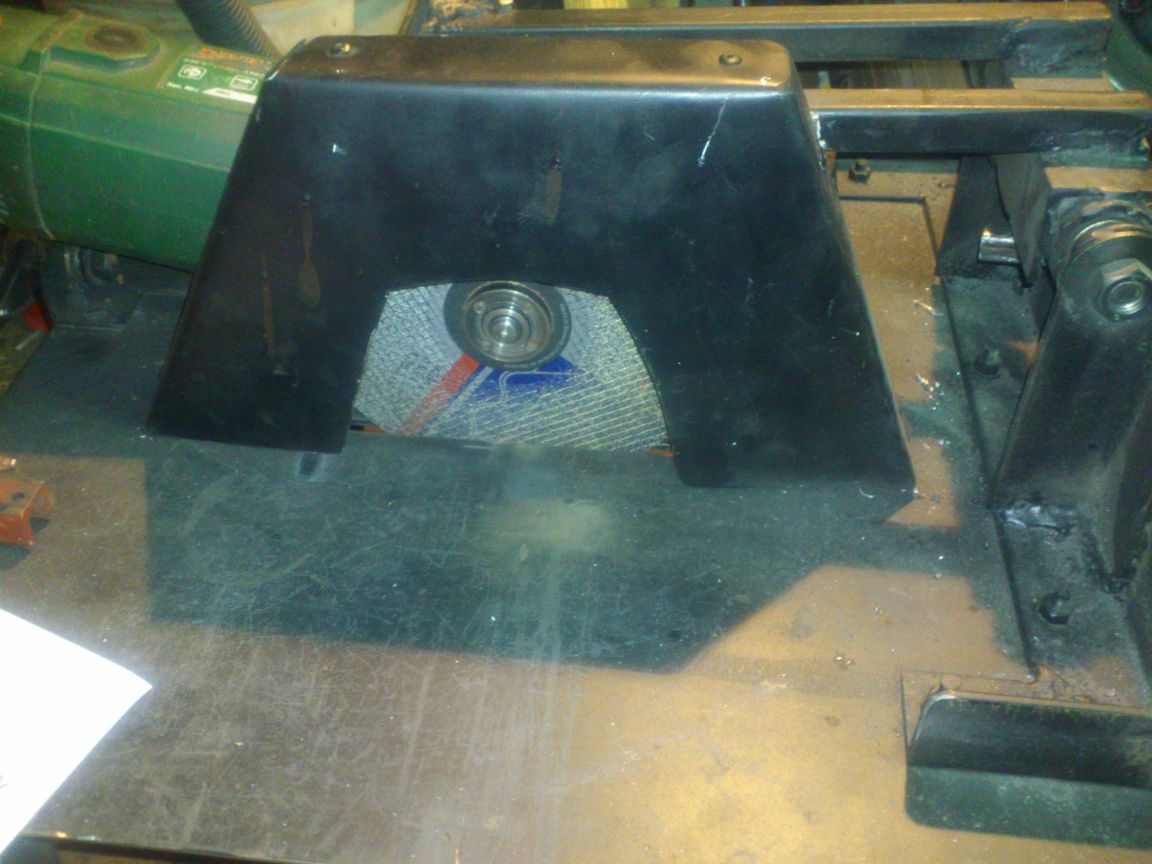
Next, I proceeded to manufacture a protective casing. As I said, the casing on the grinder was under the 180th circle, and I decided to use the 230th. (There is enough power. Turnovers are also suitable.). In addition, since I need accuracy, I will cut in thick circles (2.6, or 3 mm). Because the thinner ones hang out a little when pressed. And therefore the number of sparks will be incredible !!! Therefore, I decided to make the most closed casing, and fix it directly to the bed.
First I made a cardboard template:
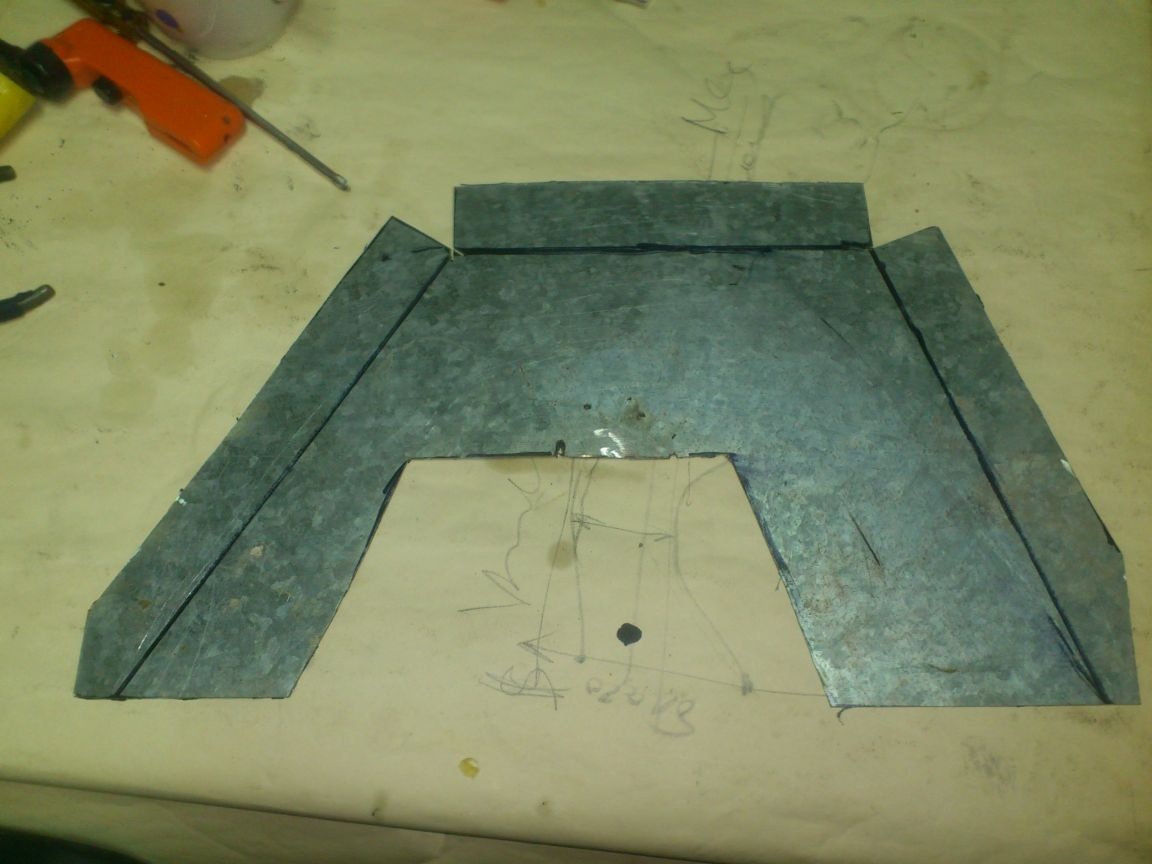
Then he cut out two mirror images from tin. (At the same time, I used scraps - one of galvanizing, the other - from the microwave housing! Do not waste good!)))))):
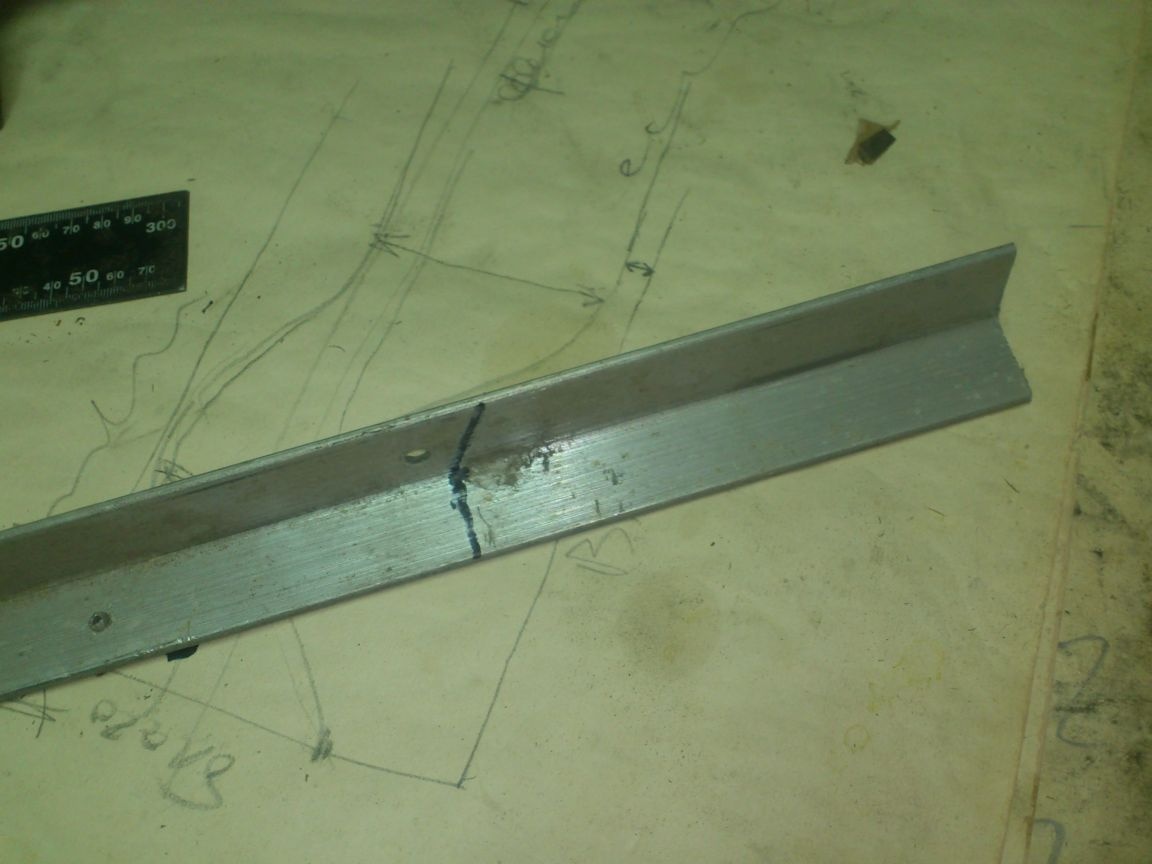
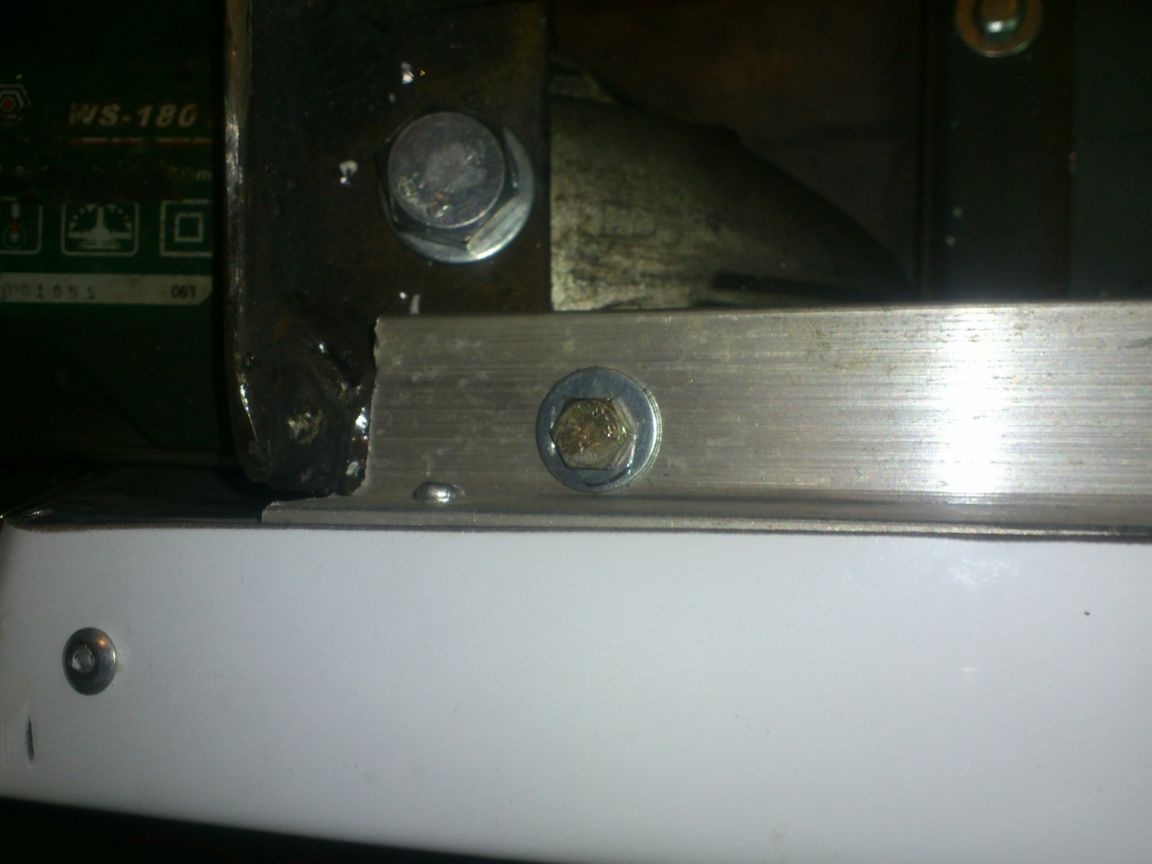
At this stage, I fixed the mounting bracket, because you need to rivet it from the inside - otherwise, protruding rivets will interfere with the circle. I made it from trimming an aluminum corner:
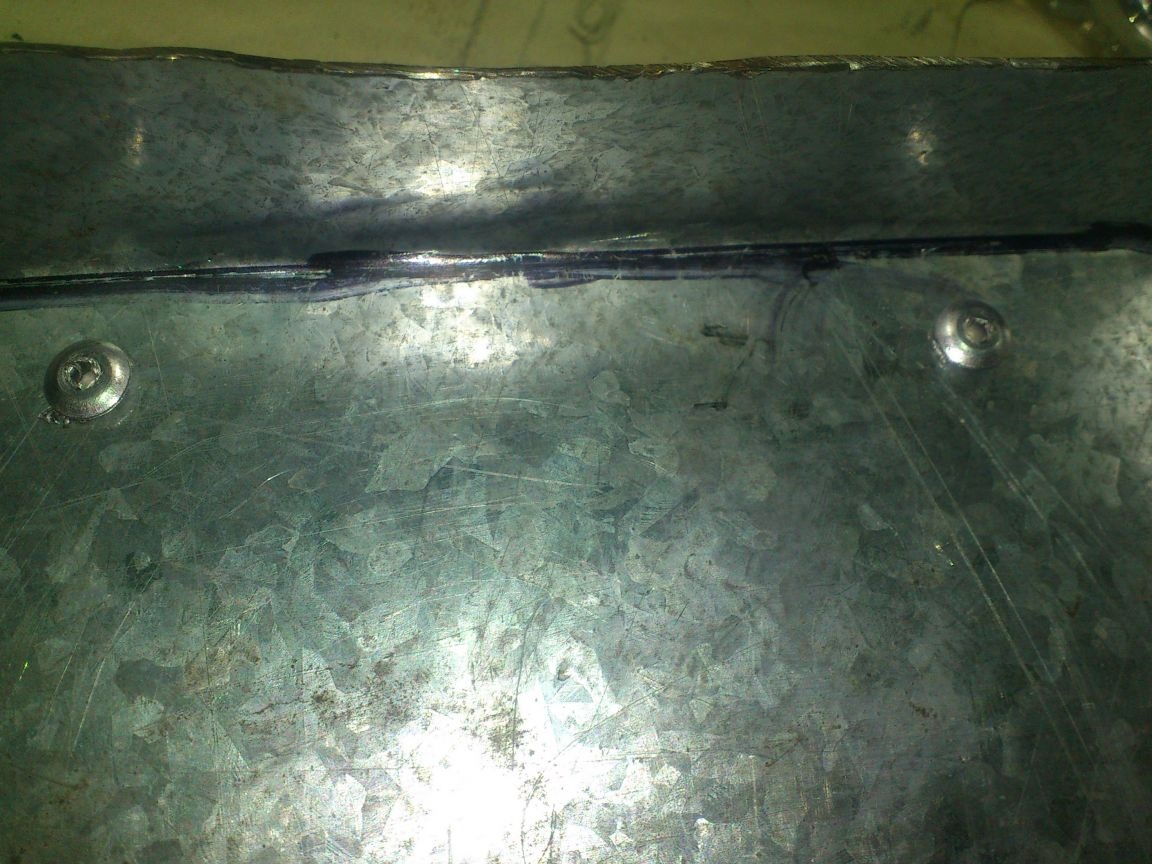
Then he folded the halves, riveted and fastened it to the rod, drilling holes and cutting the M6 thread:

I’ll also tell you how I implemented springing. I had a spring (I don’t know what), I cut a piece from it, and, as a temporary solution, I did it like this:
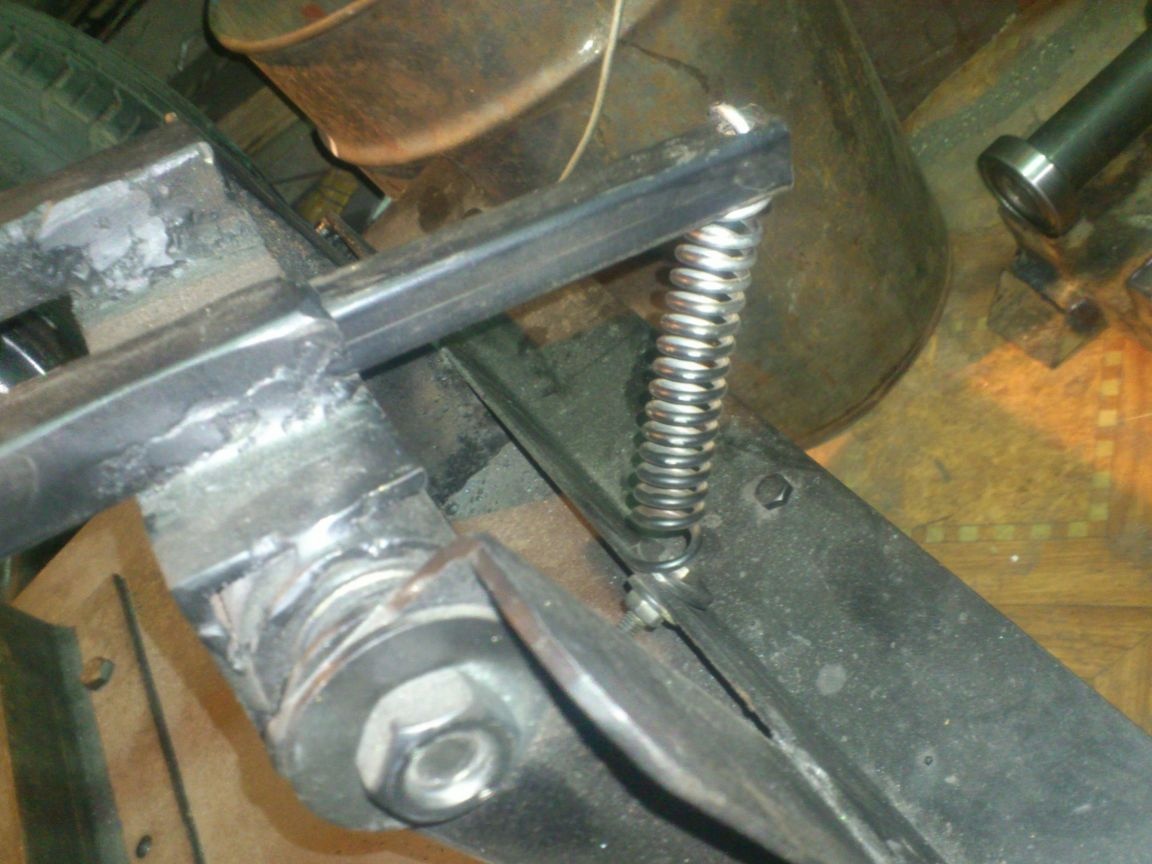
The handset is simply inserted! So I wanted to find the perfect reach of the lever and the stiffness of the spring. Yes, and left !!! It is very comfortable! Firstly, I can adjust the stiffness and angle of rise by simply deepening, or pulling the tube. Secondly, you can easily, slightly raising the grinder with one hand, pull out the second one completely. And then the machine is transferred to the "transport position" - the grinder lays down on the table with a casing, nothing wobbles, the spring does not stretch.
And yet, it turns out that it is very convenient, throwing the grinder on the carriage back, just use the bed as a small bench workbench. There is a tool vise and a smooth metal surface ... I even fastened a small vise.
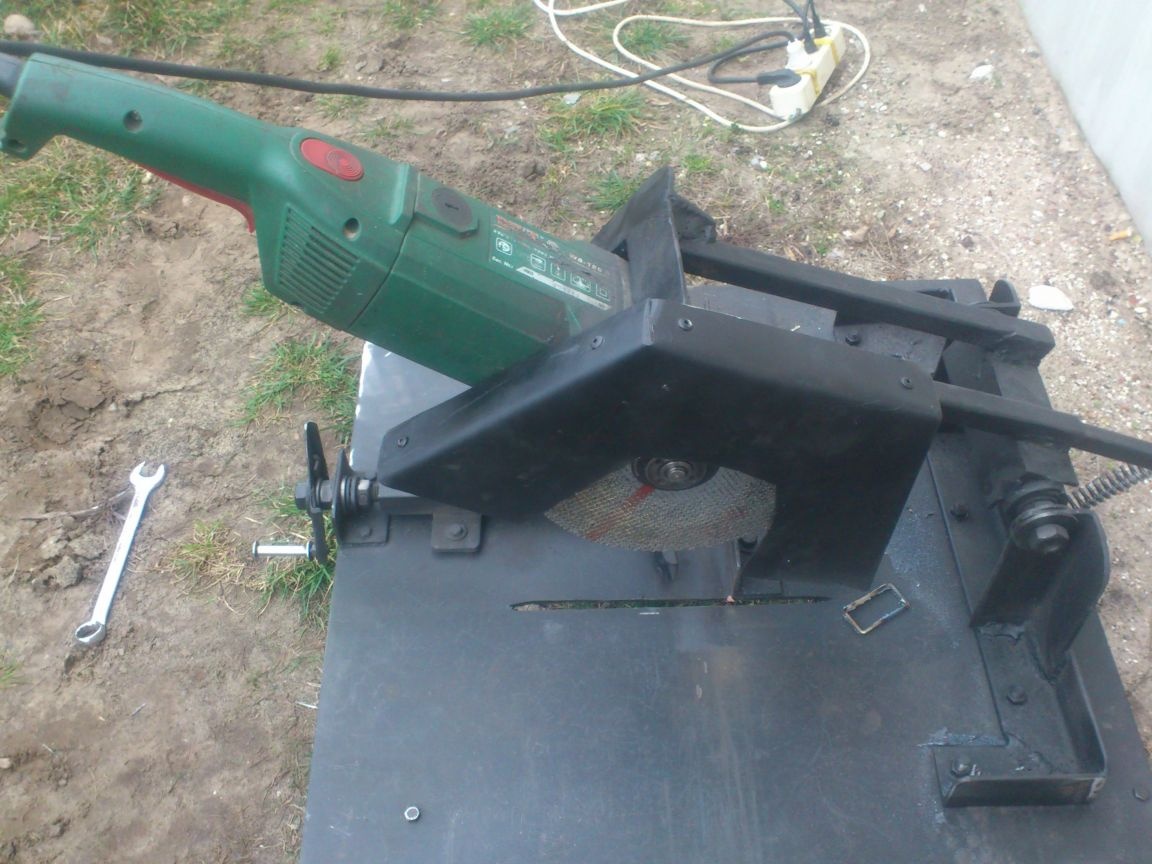
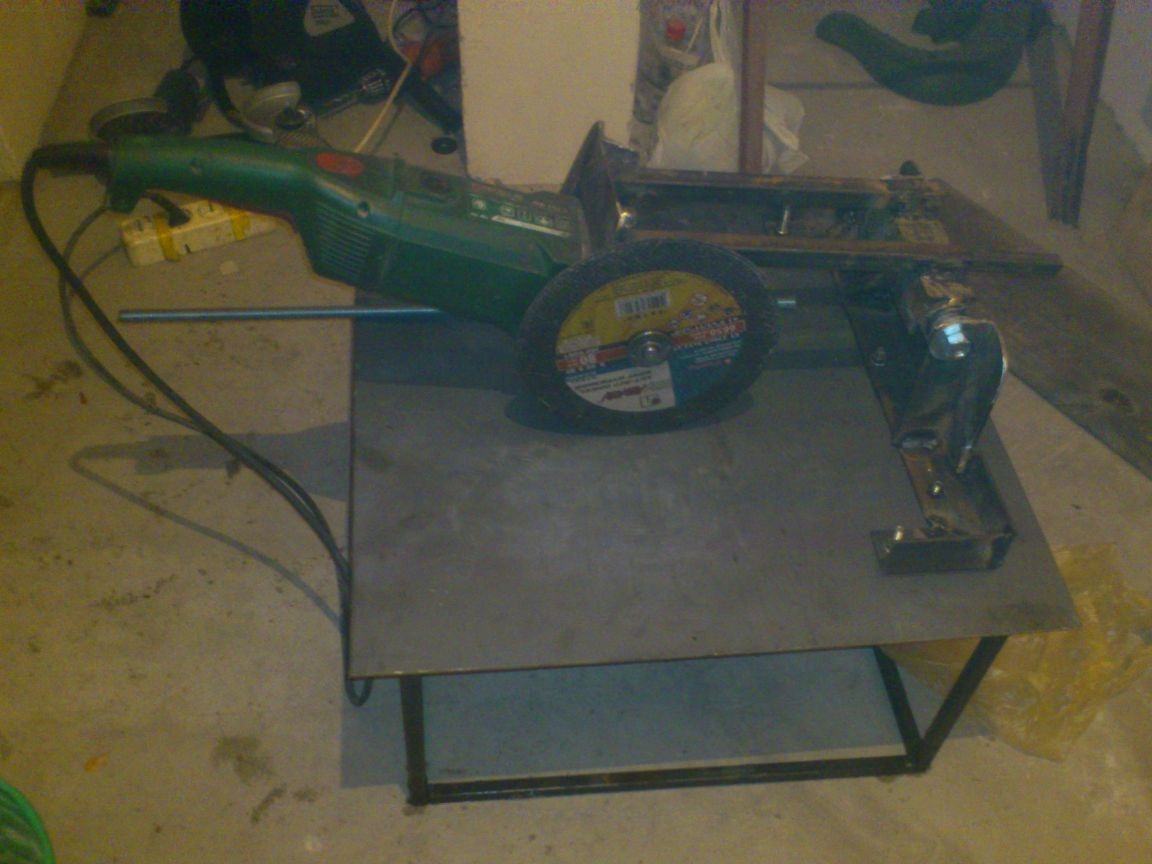
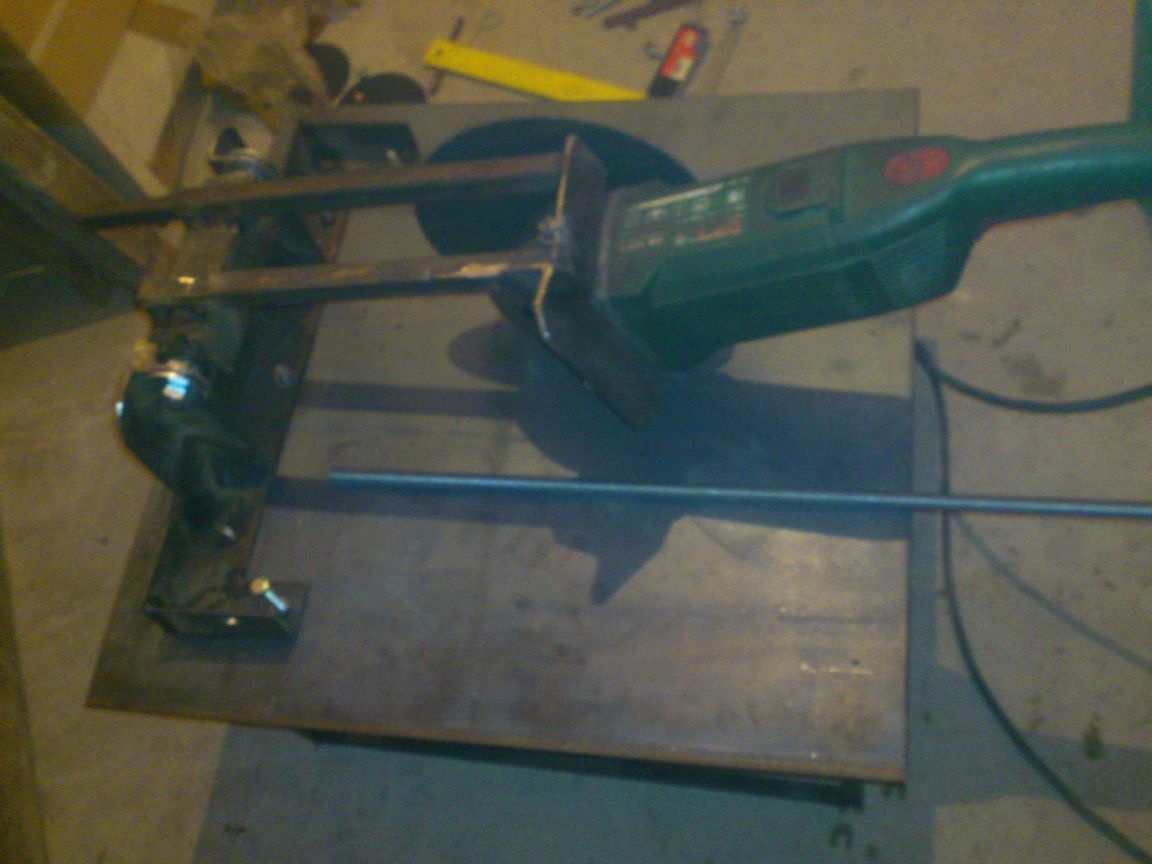
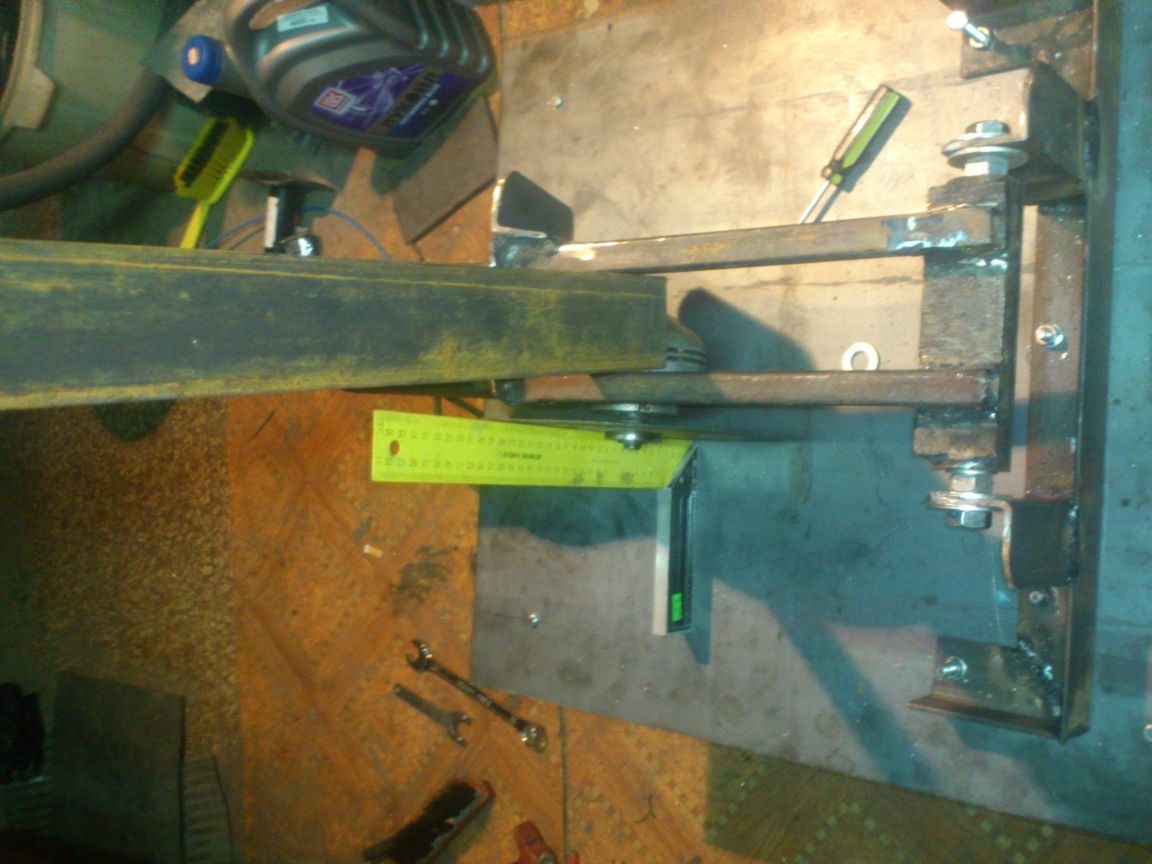
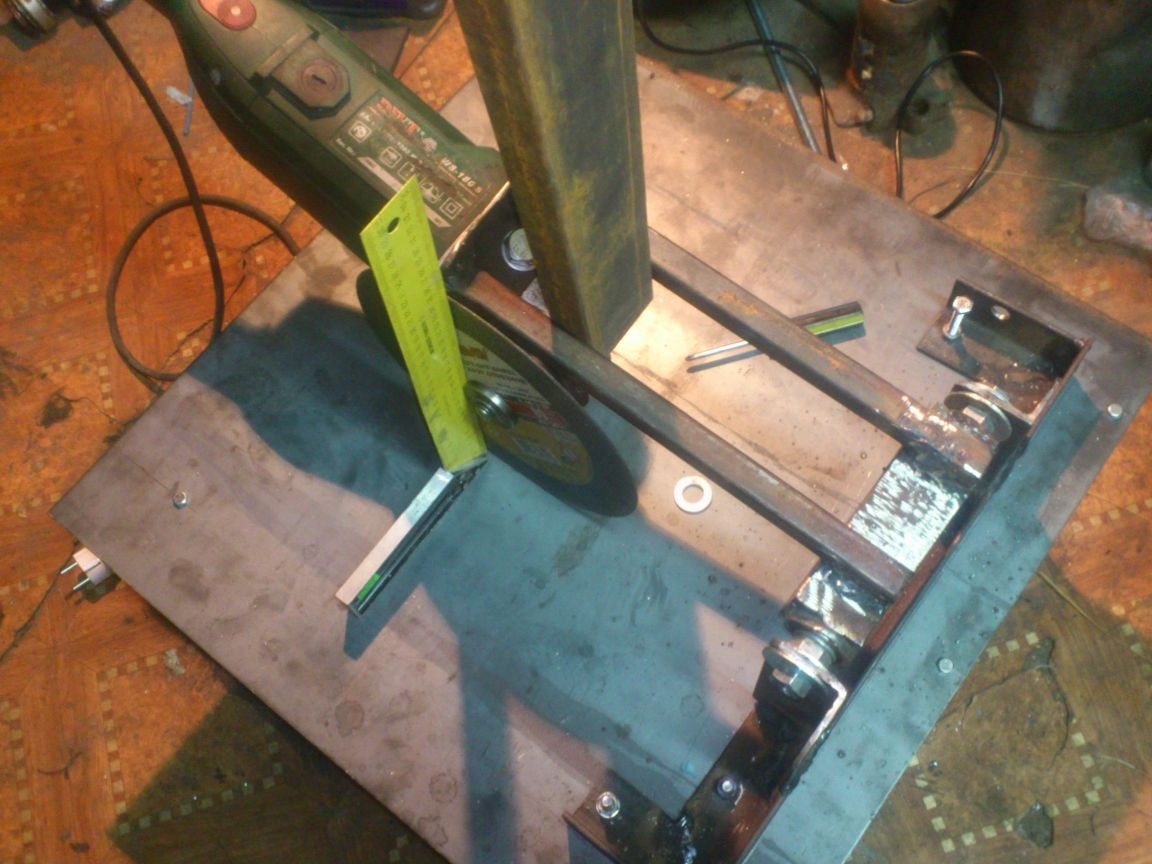
That, in fact, is all ... Here is an aggregate of the following:
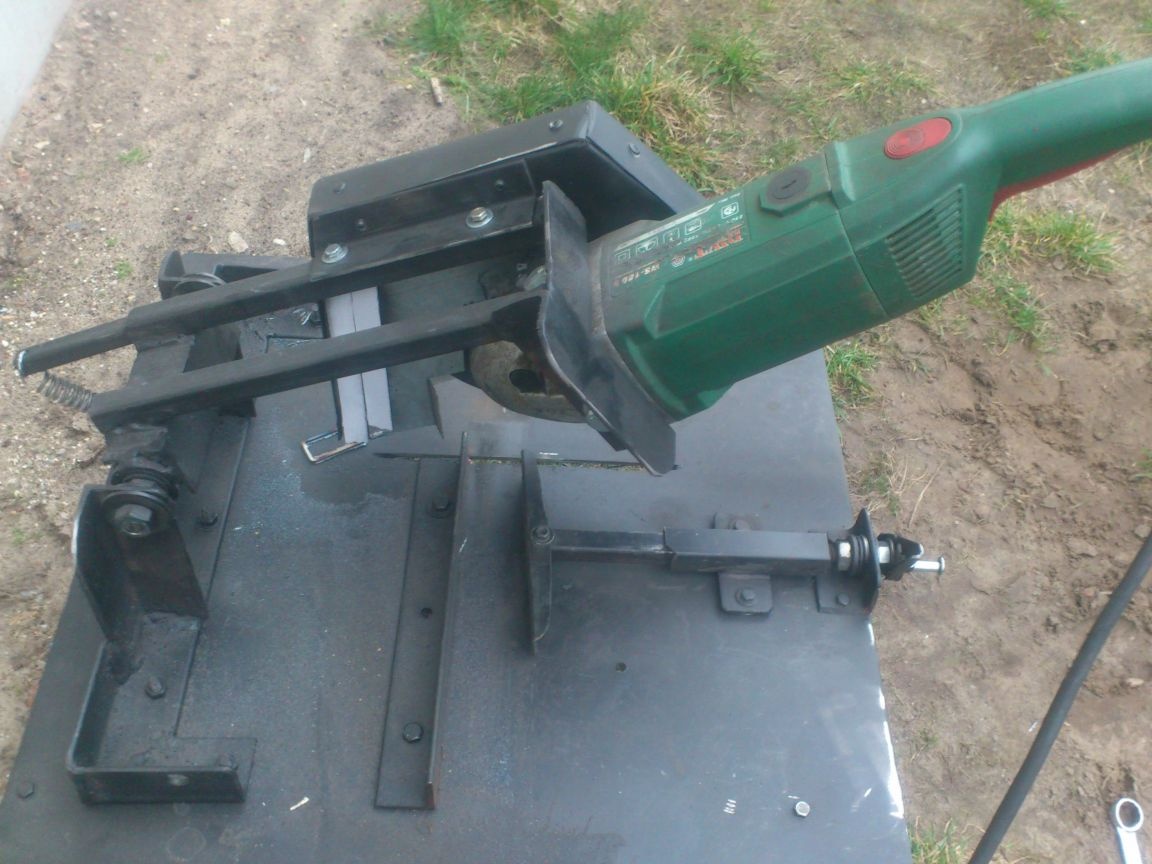
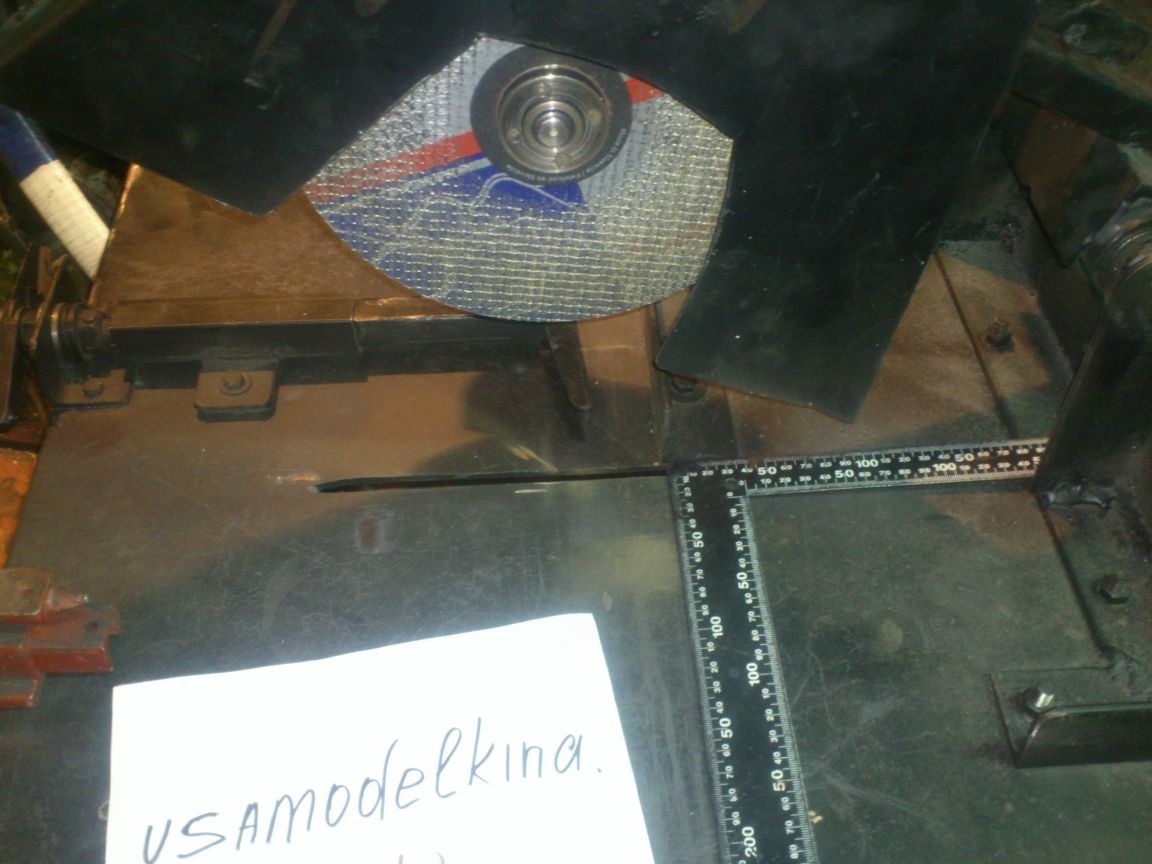
I plan to extend the emphasis to the right side. So it will be convenient to cut something, for example. And to fix on it a metal bench scale - it will be so convenient to cut small pieces without measuring each time.I moved the pipe to the desired size along the ruler, clamped it, cut it off. Only the ruler should be adjustable to compensate for the difference in thickness of the cutting wheels. And various little things, like cable fasteners and a freestanding stand-emphasis with adjustable height, if you need to cut long pipes.
... In the meantime, I urgently “put it into operation”, because I am doing a pipe bender now, and there are a lot of things to cut there.
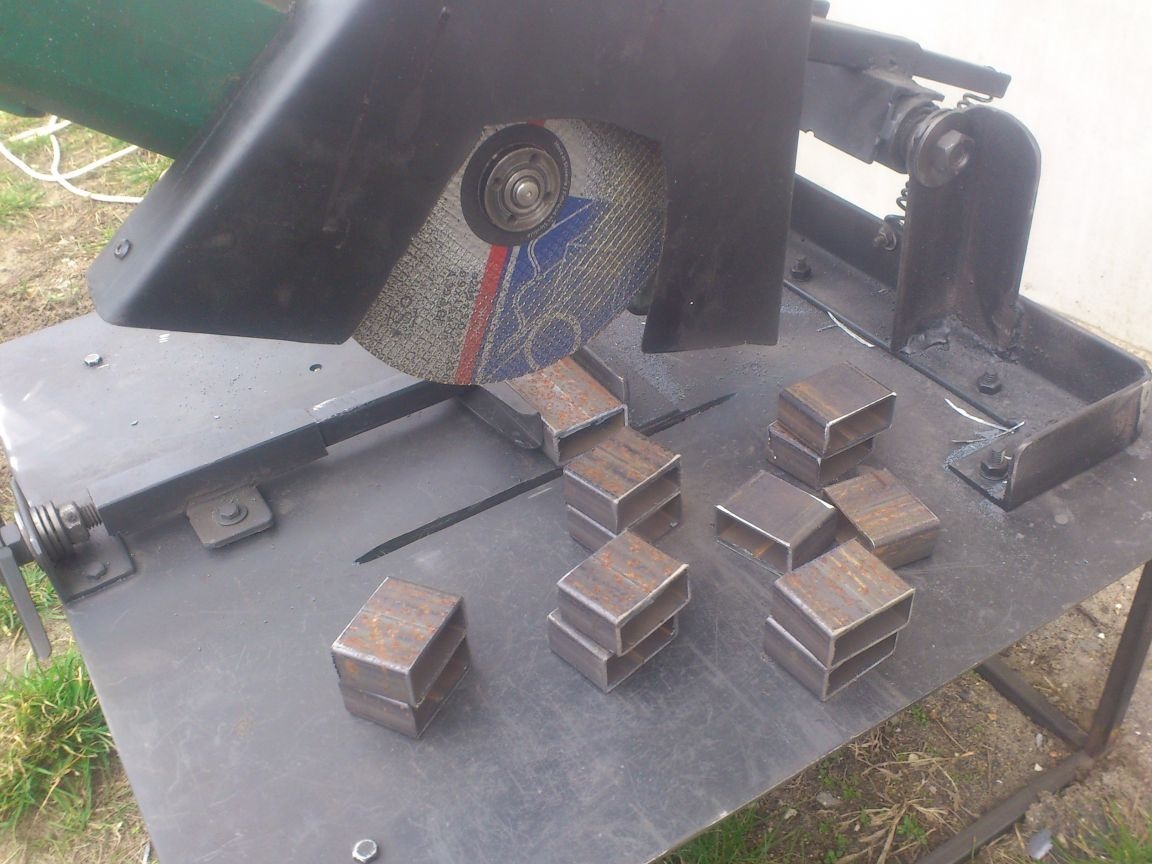
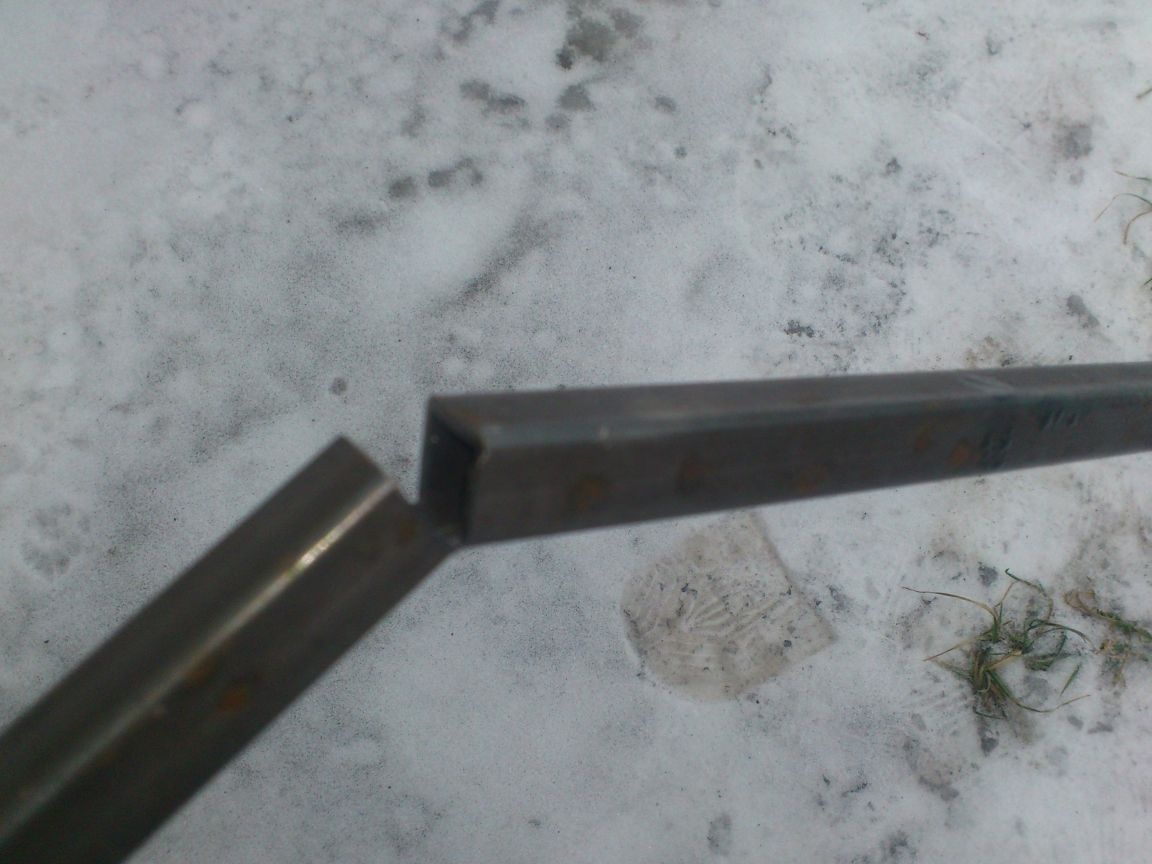
The angle holds perfectly !!!! I even cut the shafts to the pipe bender (40 mm circle), and then the beating on the machine was so meager that I refused to trimming it. Profile pipes are generally perfectly cut - then a square does not give birth to light, even a scanty alkali.
Here is a short video review. Sorry for sniffing! )))). It was pretty cold ....))))
[media = https: //www.youtube.com/watch? v = 8CLUdjjBLyw]