

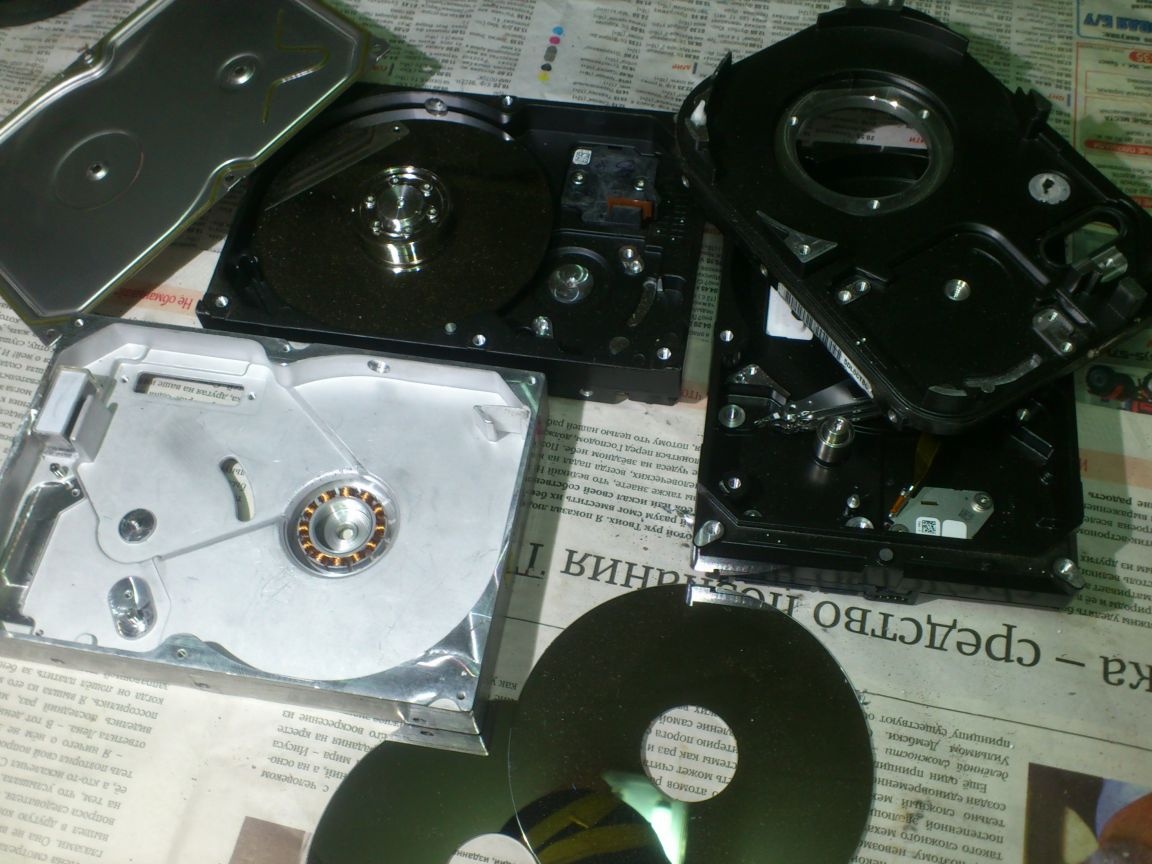
Hello, dear visitors of the site. In this publication, I want to share with you one of the ways to use faulty hard drives from a desktop computer. For all the time of the "computer era" I have accumulated a lot of old hard drives.
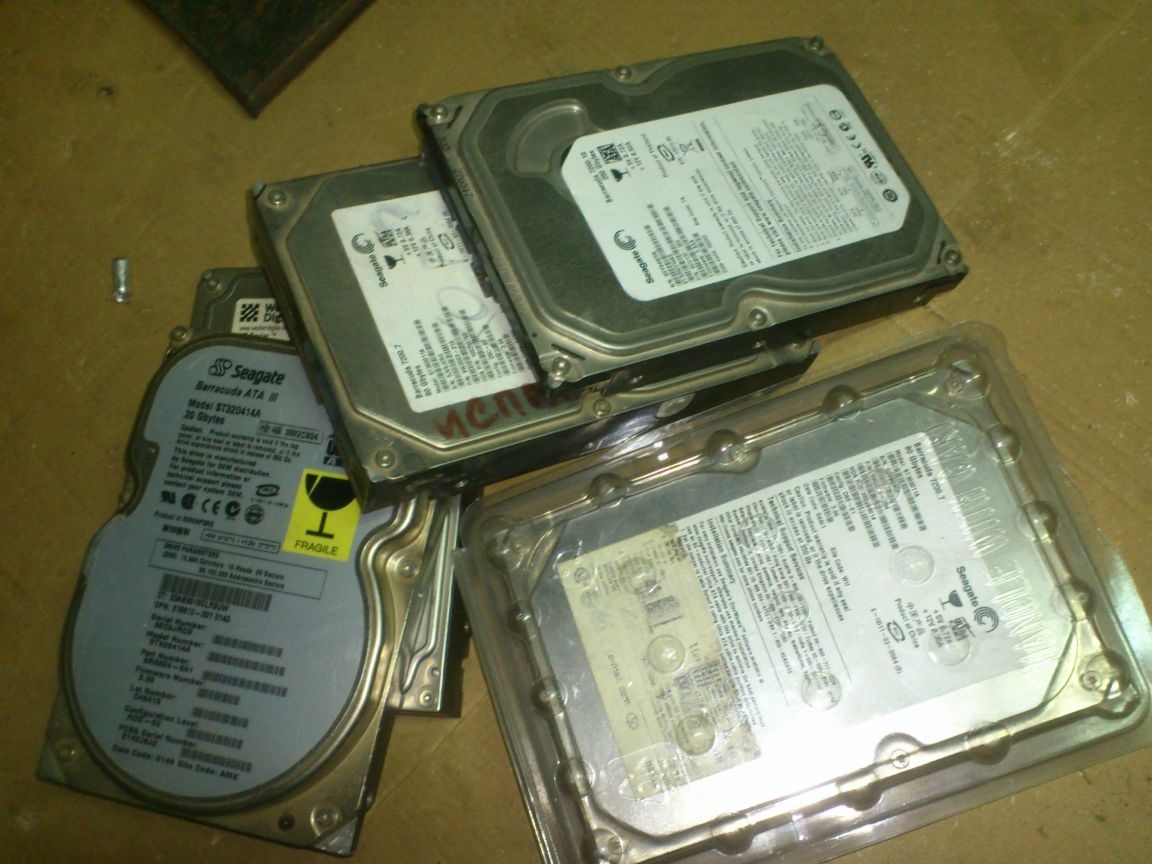
In the photo - not all! Only those that I “sentenced” when I conceived this homemade!

Some are out of order. Others are just out of date. (By the way, there is a general downward trend in quality: modern hard drives fail quite often. Old ones, one or two gigabytes (or even much less), are all working !!! But you can’t use them anymore - they have very little speed of reading information ... And there is very little memory in them, so it’s not worth it.
... But throw it away - the hand does not rise!
 And I often wondered what to make of them, or how to use them ...
... In the network, on request "... from the hard drive" are mainly "super-talented" ideas for creating a sharpener !!! The people with a serious look show how to cut the case, glue the disk itself with sandpaper, and make a super-cool whetstone, powered by a computer power supply, and using its own hard drive engine!

... I have not tried ... But, I think, on such a grinder it will be possible to sharpen ..... well, perhaps, nails! .... And even then, if you do not press strongly !!
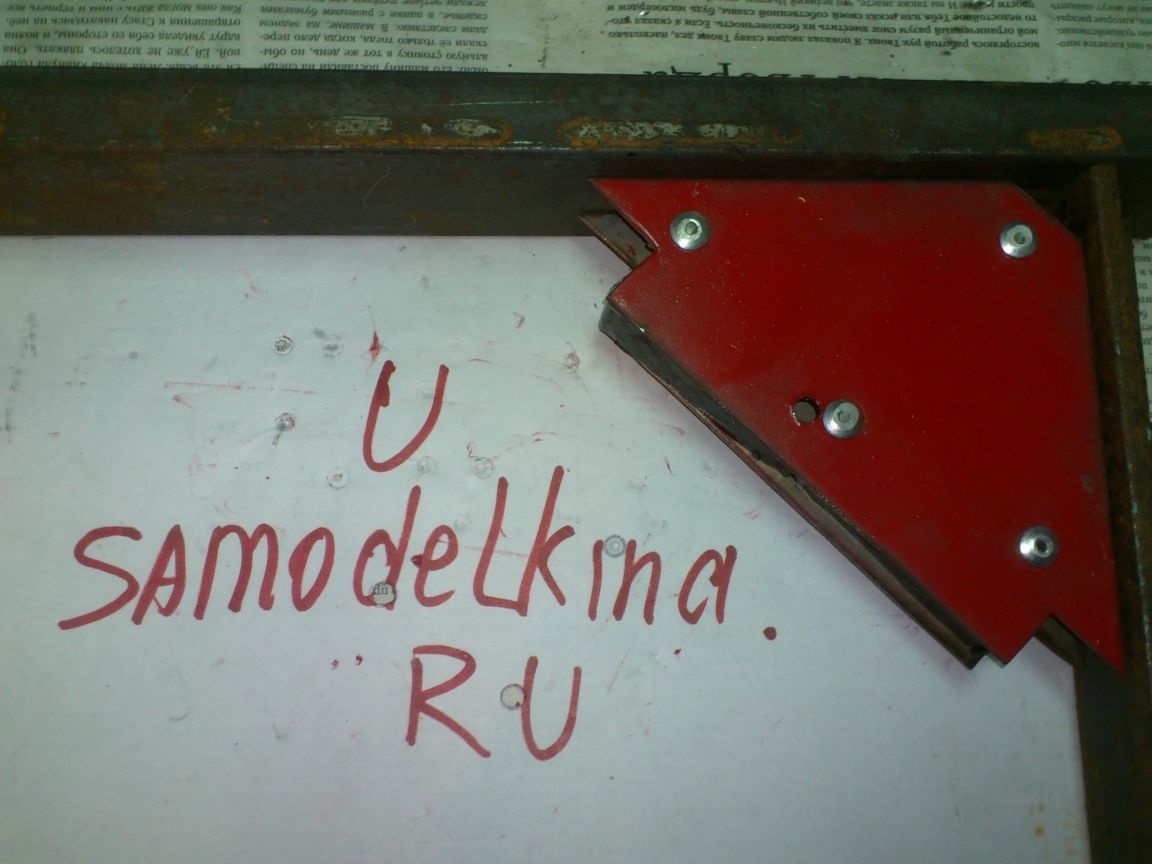
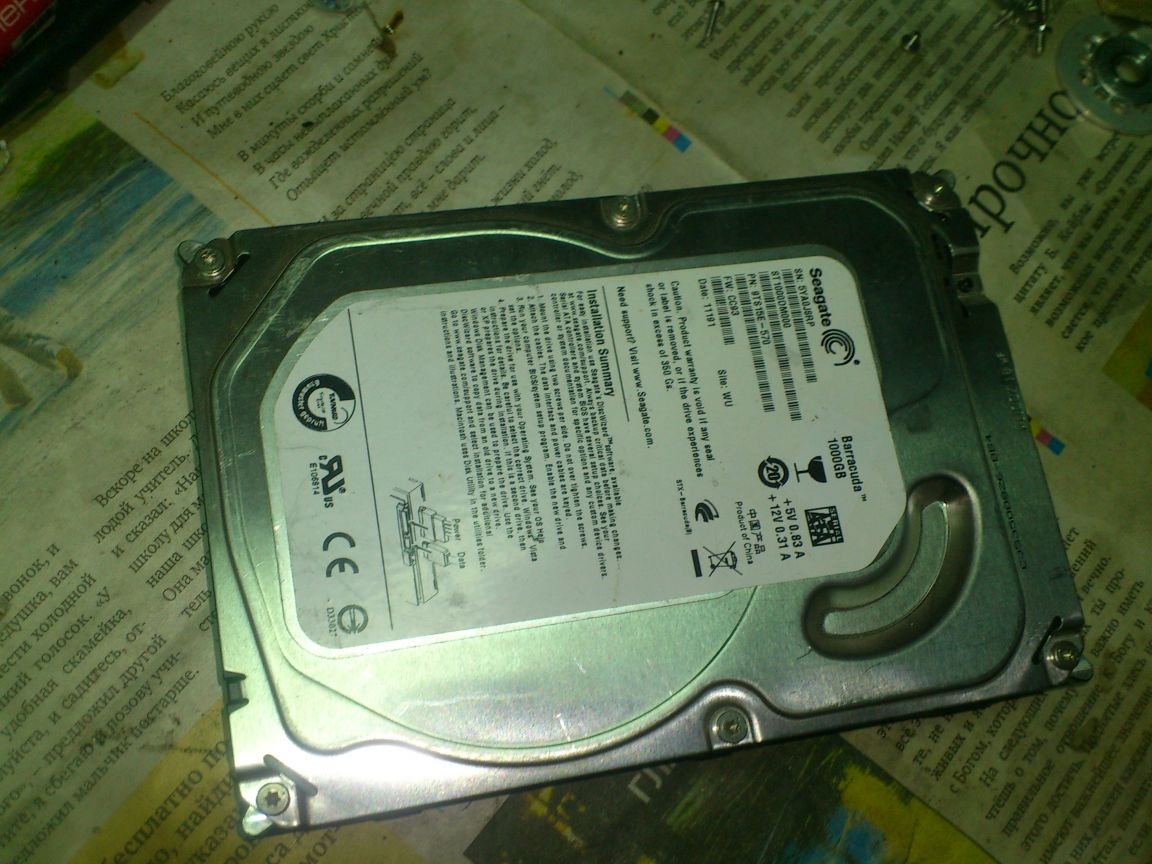
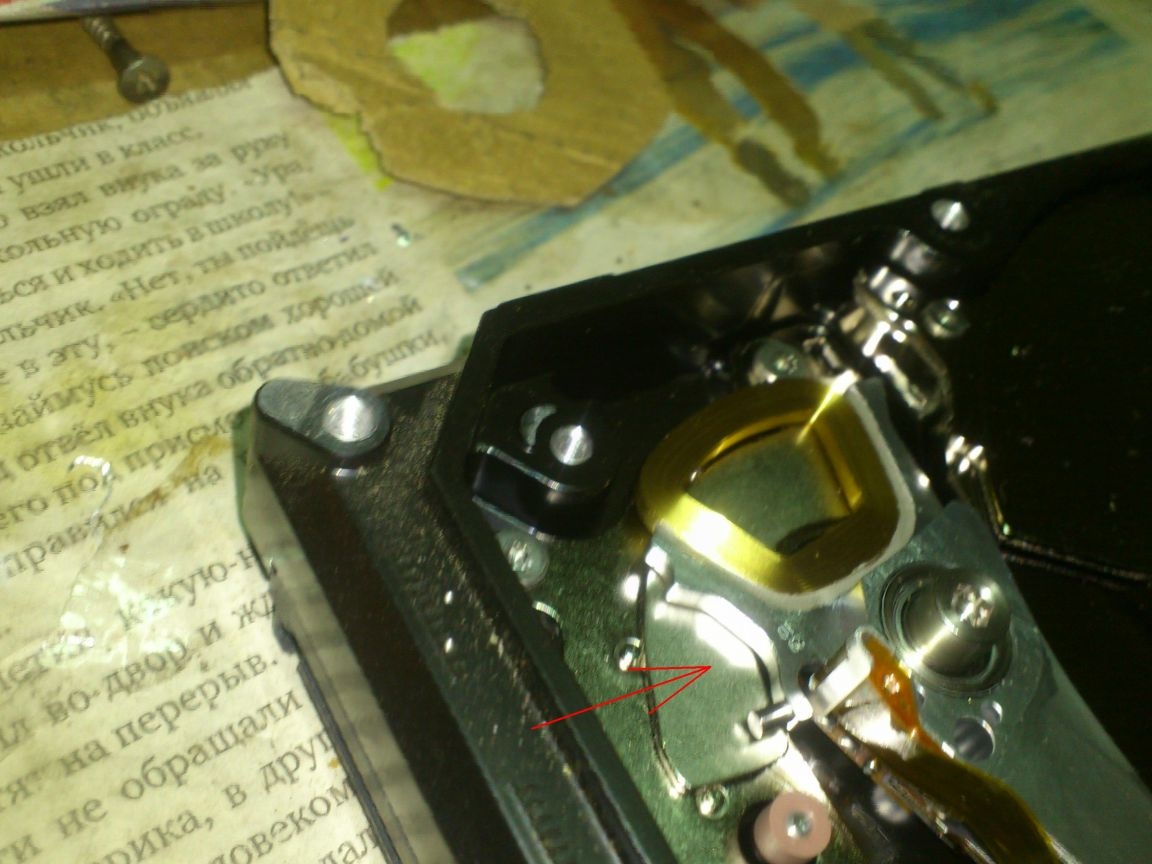
And now, now that I did magnetic square for welding, I remembered that the hard drives have powerful neodymium magnets. And since during the welding work there aren’t too many squares, then, at the end of the last home-made work, I immediately dismantled one of the hard drives to see how you can operate)))

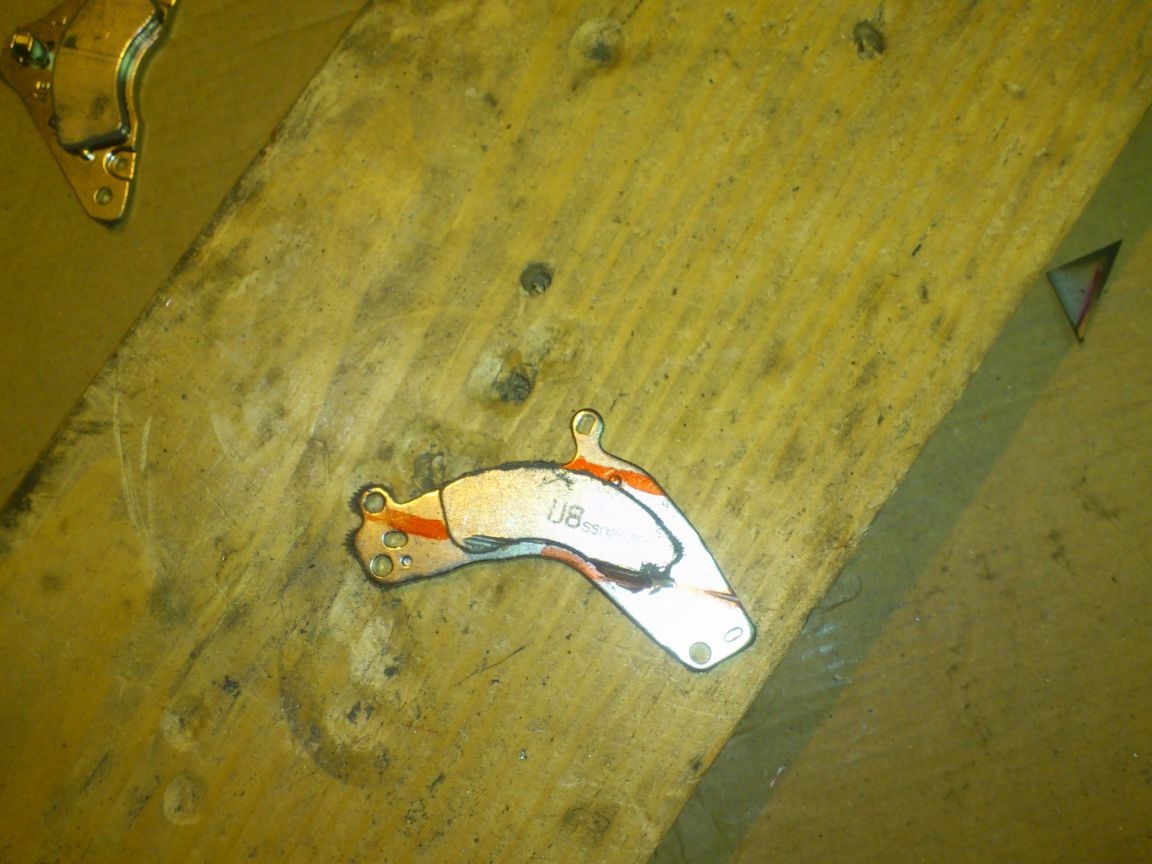
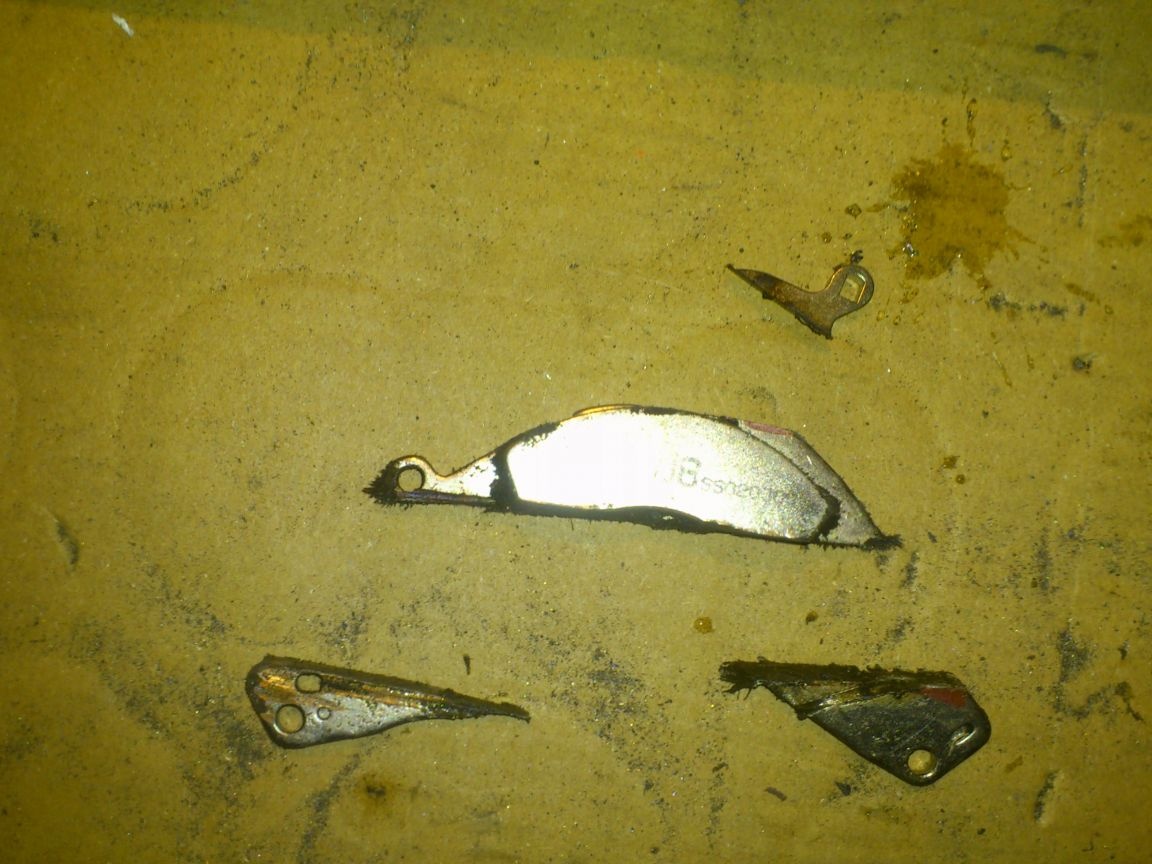
The magnet (I pointed to it with a red arrow) in it is glued to a metal bracket, which, in turn, is fixed with a screw.
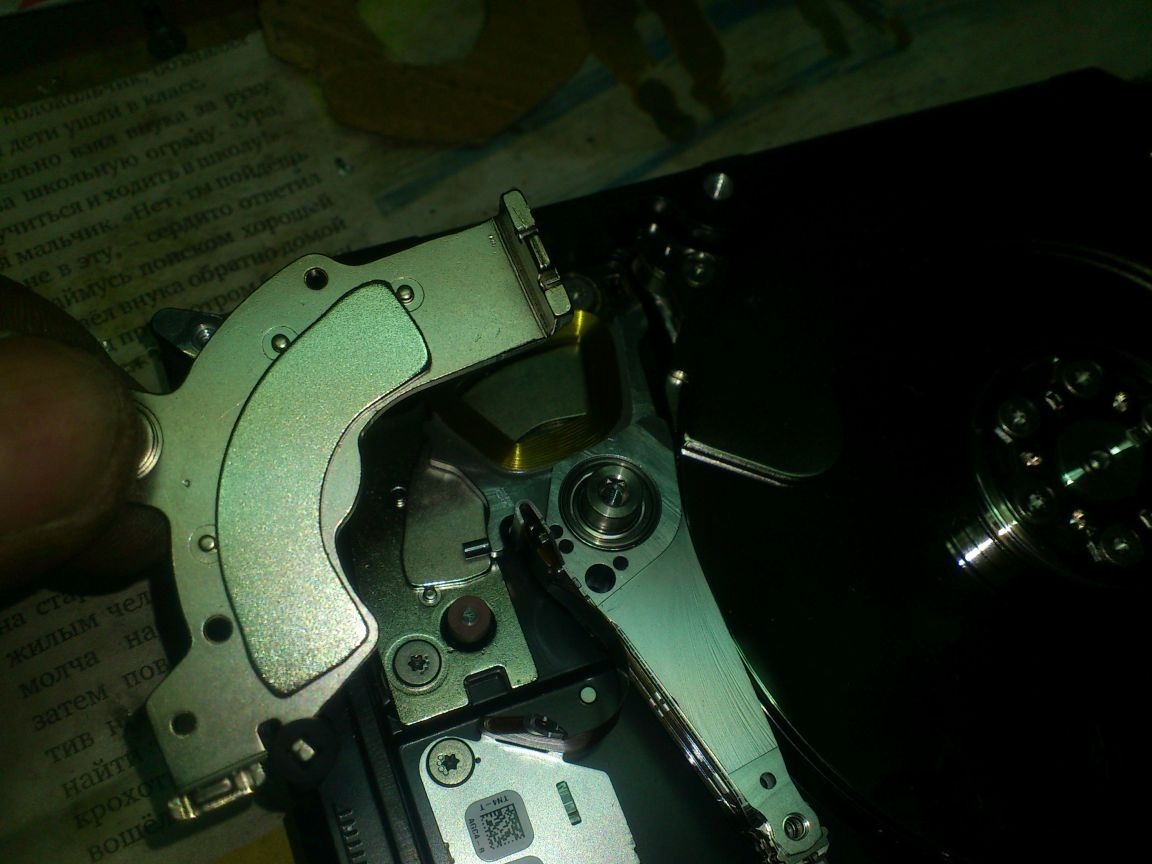
In old hard drives, the magnet was one or more massive. In the new two of them. The second is below:
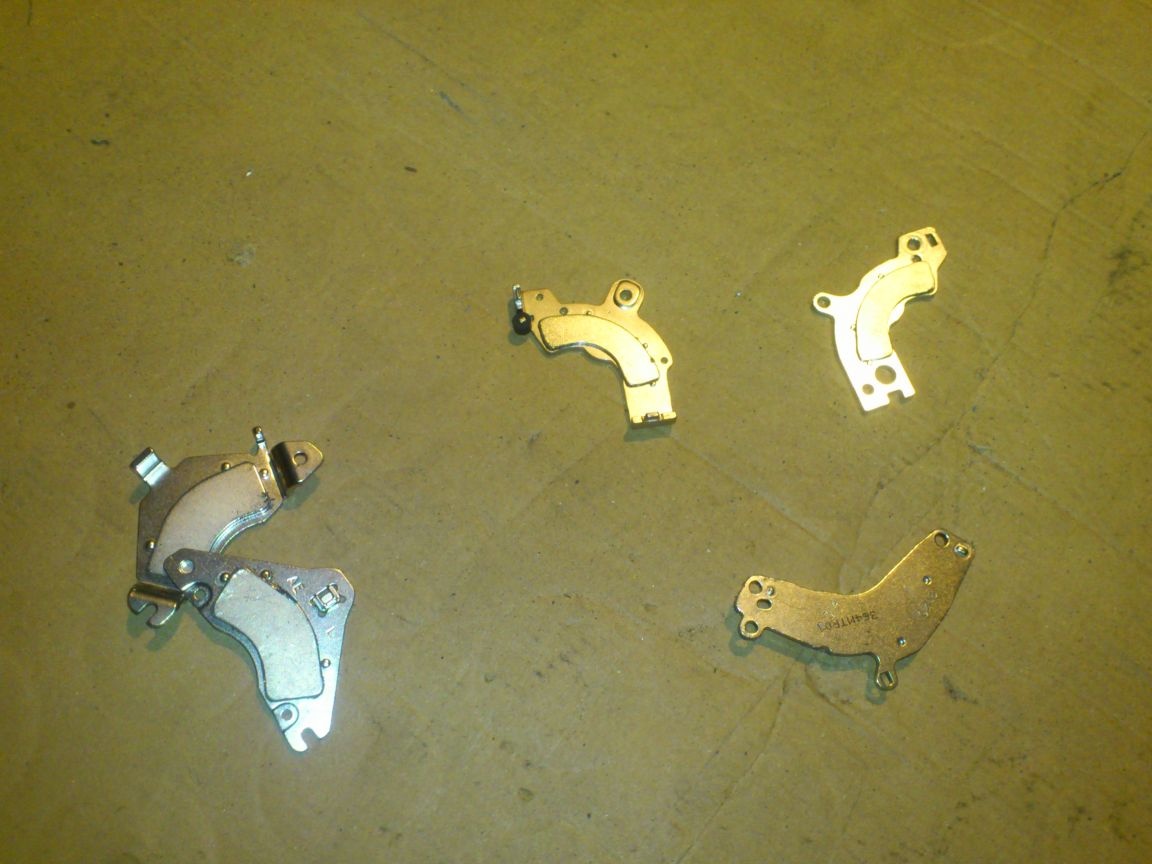
Here is what I got by looking at my disks:
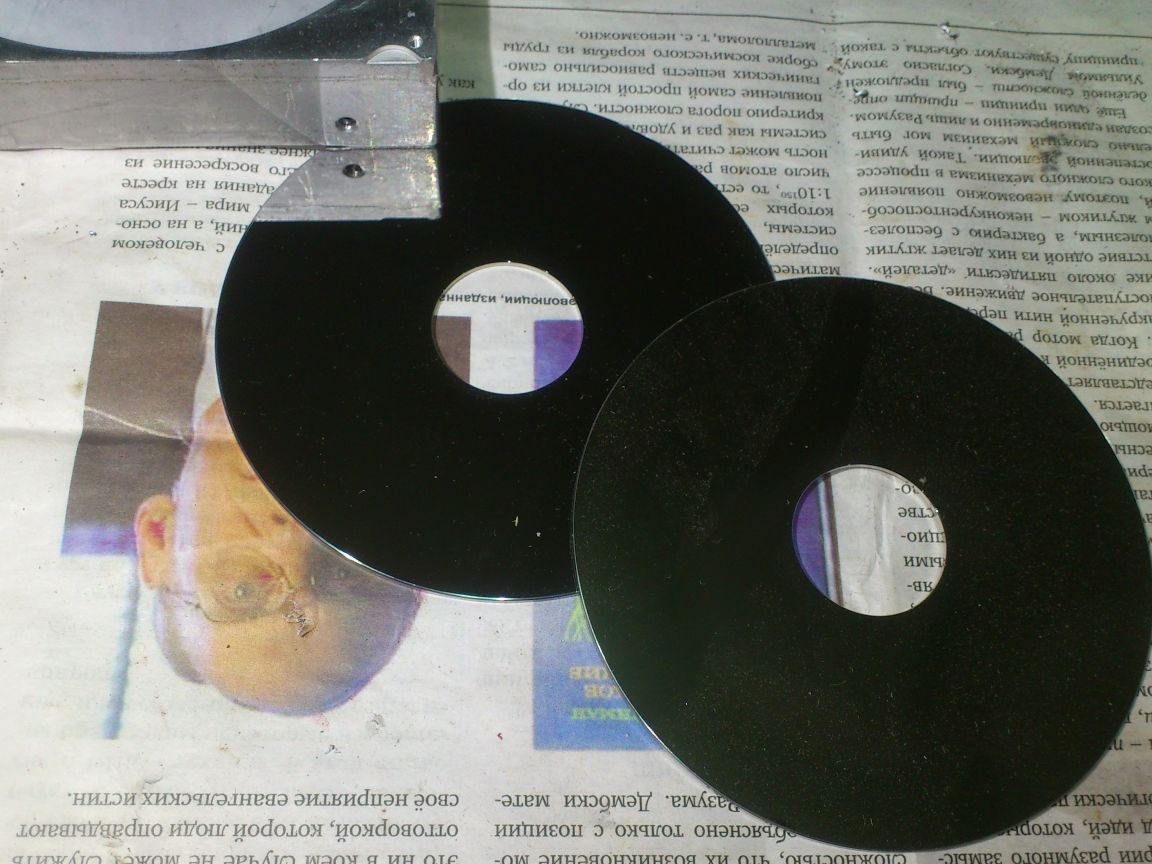
By the way, the discs themselves also interested me. If anyone has ideas for using them, please share in the comments ...
To begin with, I decided to search the net if anyone had already invented this method of manufacturing welding corners ?! )))
It turned out, yes! Already made these devices from the hard drives! But there, a man simply placed a wooden board between metal plates, to which he screwed magnets with screws. I immediately rejected this method for several reasons:
Firstly, the combination of "arc welding + wood" is not entirely good!

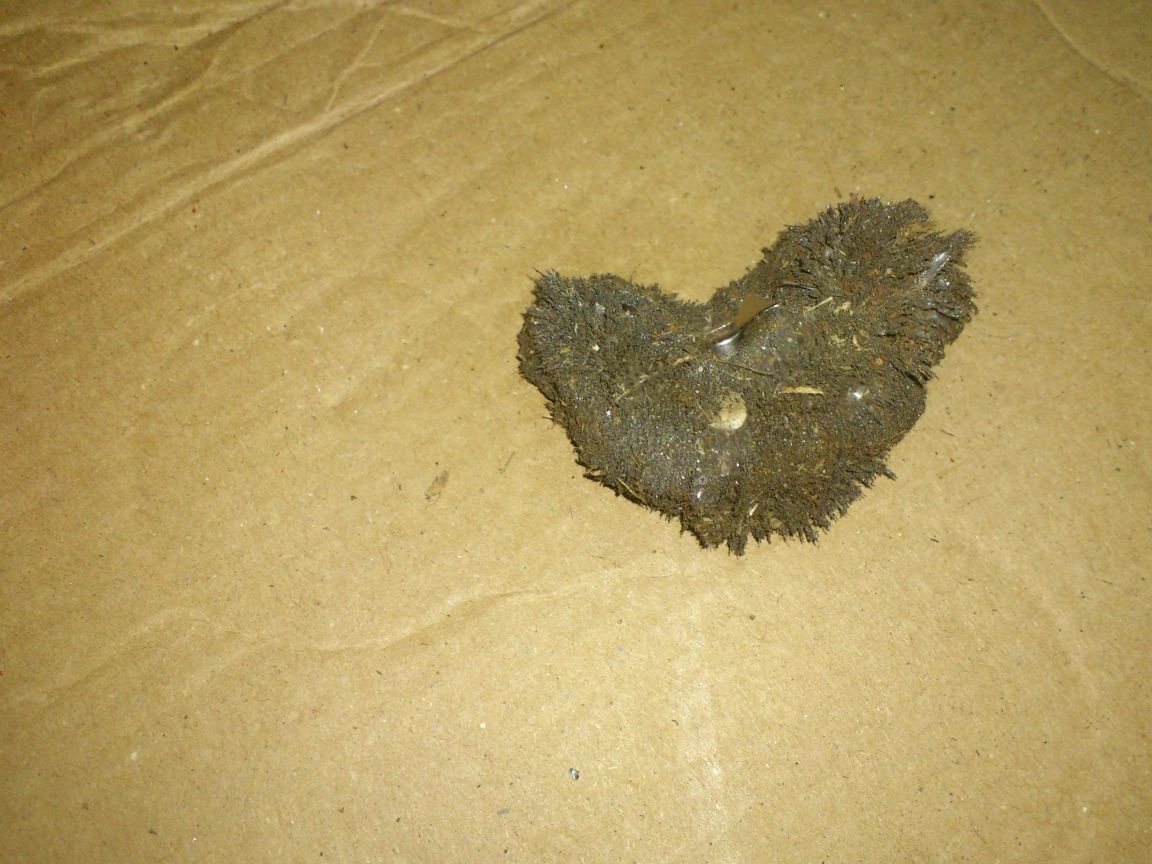
Secondly, at the ends of these squares, a rather complex shape is obtained. And it will be very difficult to clean them! And he will gain a lot. Let me give you an example of a photo from my last publication. They have a weak magnet, and he, after lying on a workbench where they worked with metal:
And thirdly, I did not like that the square is obtained with very wide ends. That is, when welding any structures whose components are already narrower than he himself, he will not be able to be used.
Therefore, I decided to go the other way. To make, like the “wooden" magnetic, not the template plates of the case, but the end itself between them, but to make this end smooth and closed.
In a previous publication, I already wrote that all magnets have poles, which, as a rule, with permanent magnets are on wide planes. It is not advisable to “close” these poles with magnetic material, so this time I decided to make the side plates of the case from non-magnetic material, and the end plate from magnetic! That is, "exactly the opposite")))
So what I needed:
1. Neodymium magnets from old computer hard drives.
2. A plate from "non-magnetic" stainless steel (for the case).
3. Thin magnetic steel.
4. Extraction rivets.
First of all, I started making the case. I had just such a piece of stainless steel sheet. (I don’t know the mark, but steel does not stick to the magnet).
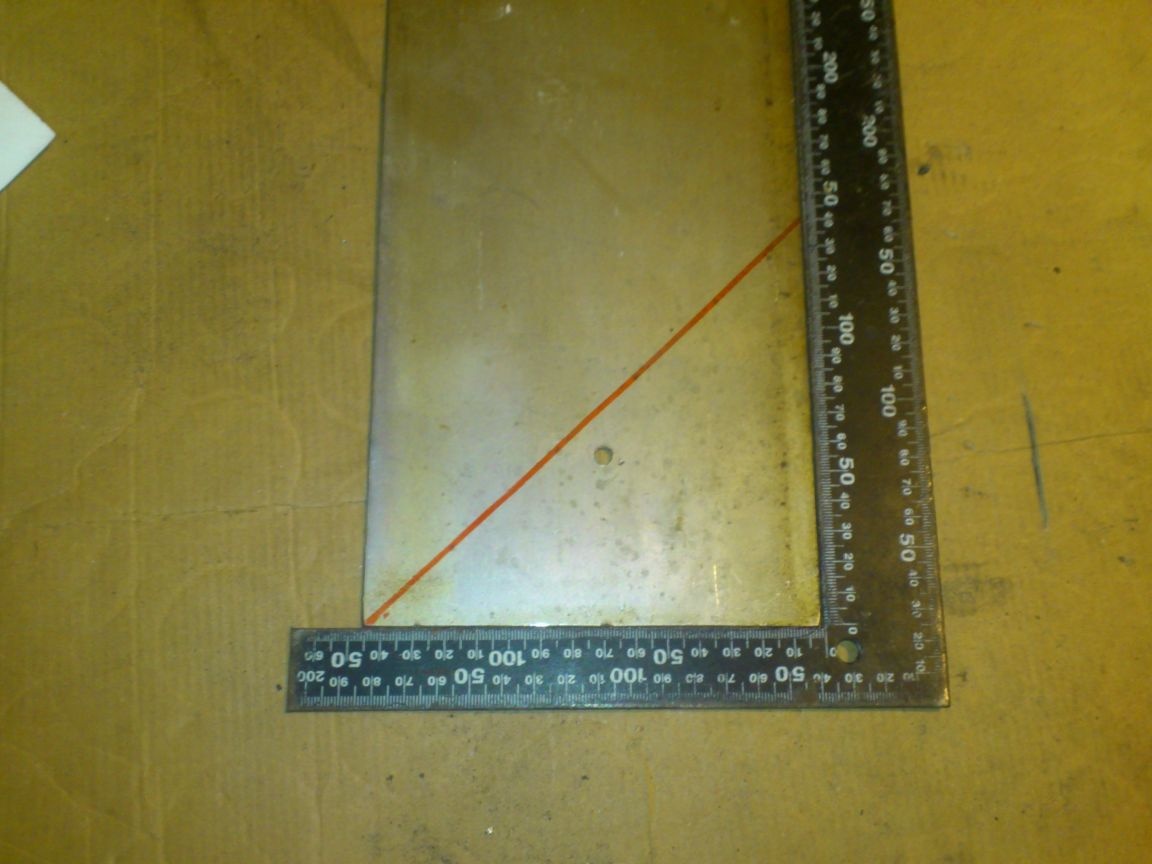
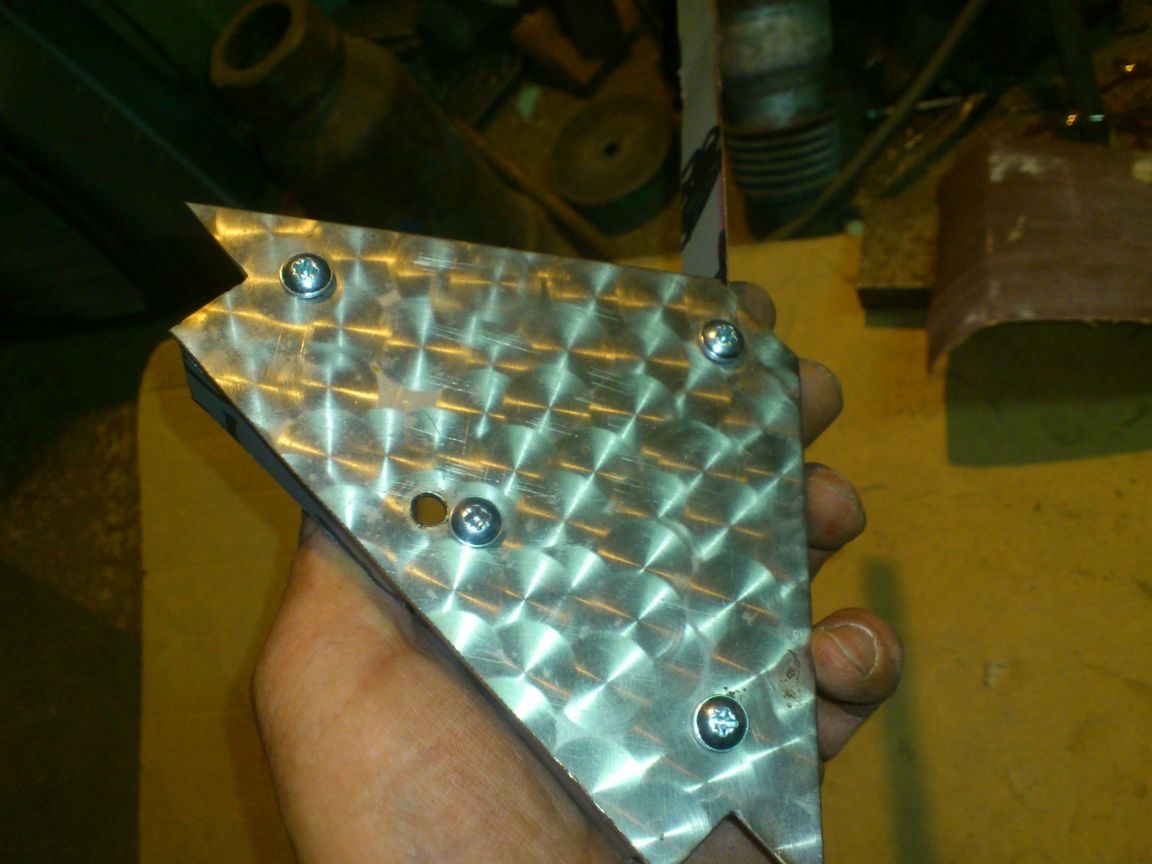
Using a plumbing square, I measured and cut out two rectangular triangles with a grinder:
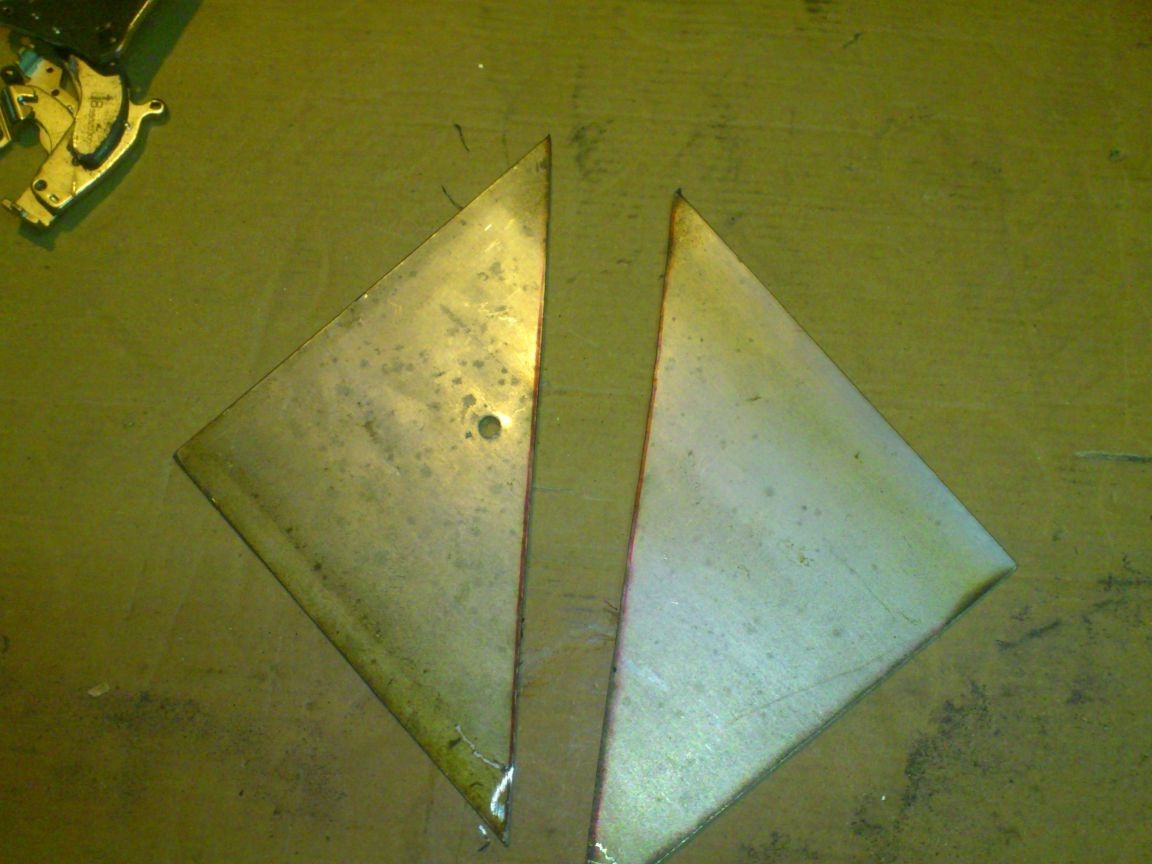
In them I also cut corners (I forgot to photograph this process). Why cut corners, I already said - so as not to interfere with welding work.
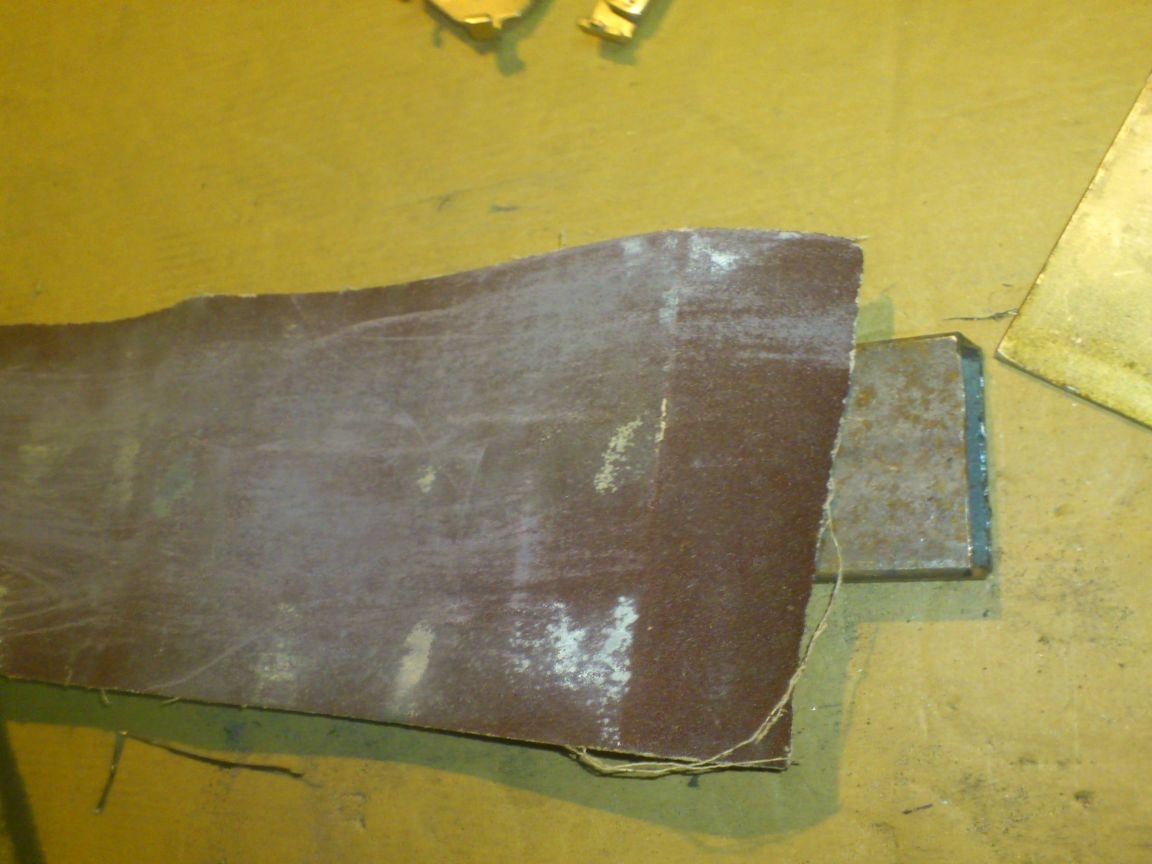
I did the exact fit of the angles manually on a piece of emery cloth spread along the plane of a wide profile pipe:
Periodically put blanks into the square and looked "at the clearance". After the corners were pulled out, I drilled holes for rivets, connected the plates through them with M5 screws, and checked the corners again! (The accuracy requirements here are very high, and, by drilling holes, I could make a mistake).
Next, I started to manufacture the magnetic plate itself, which, as I said, I want to place at the end of my square. I decided to make the thickness of the square 20 mm. Given that the side plates are 2 mm thick, the end plate should be 16 mm wide.
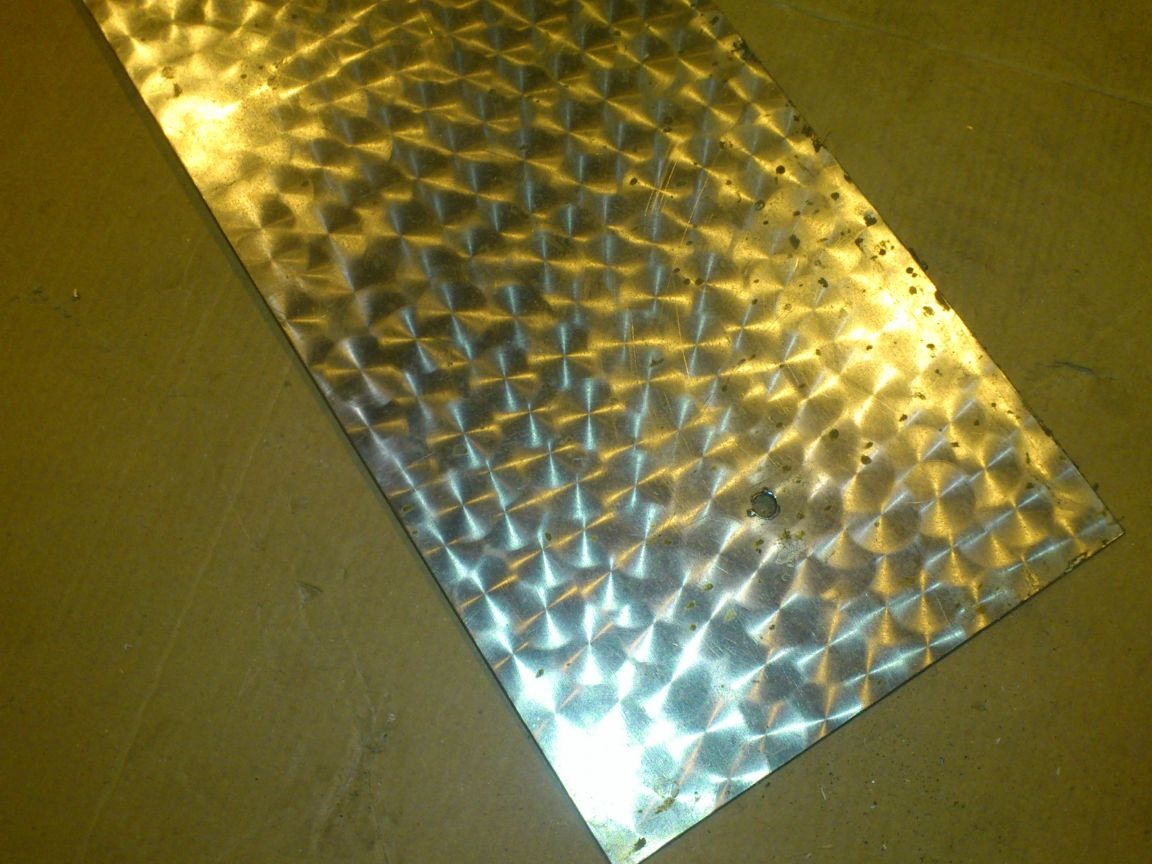
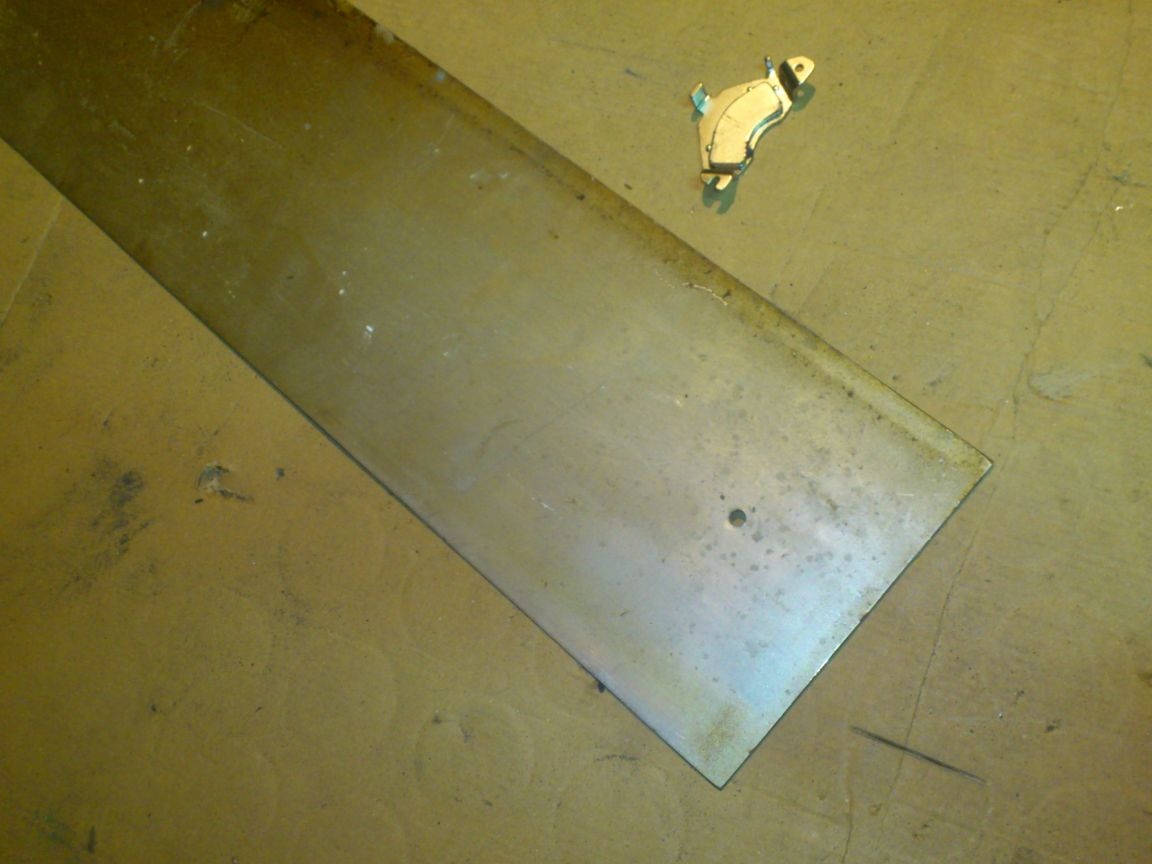
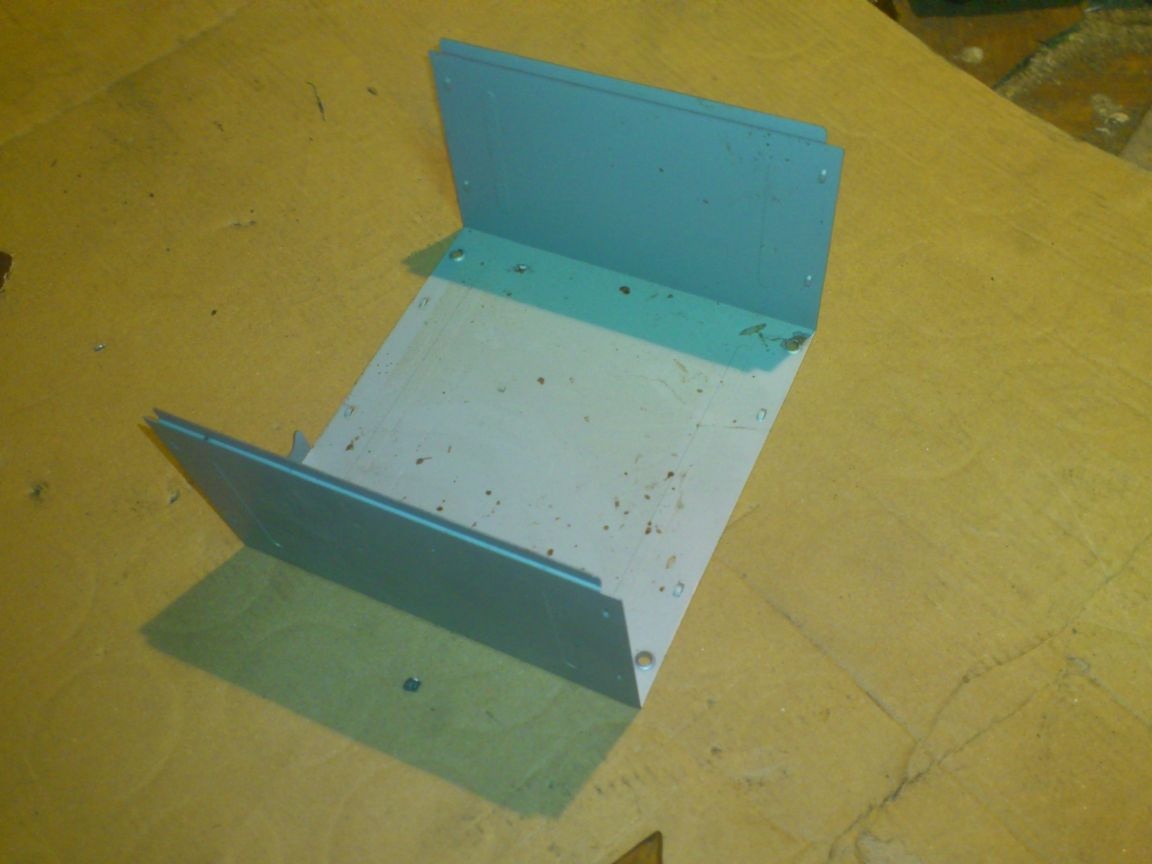
To make it, I needed a thin metal with good magnetic properties. I found it in the case from a faulty computer power supply:
Having straightened it, I cut out a strip 16 mm wide:
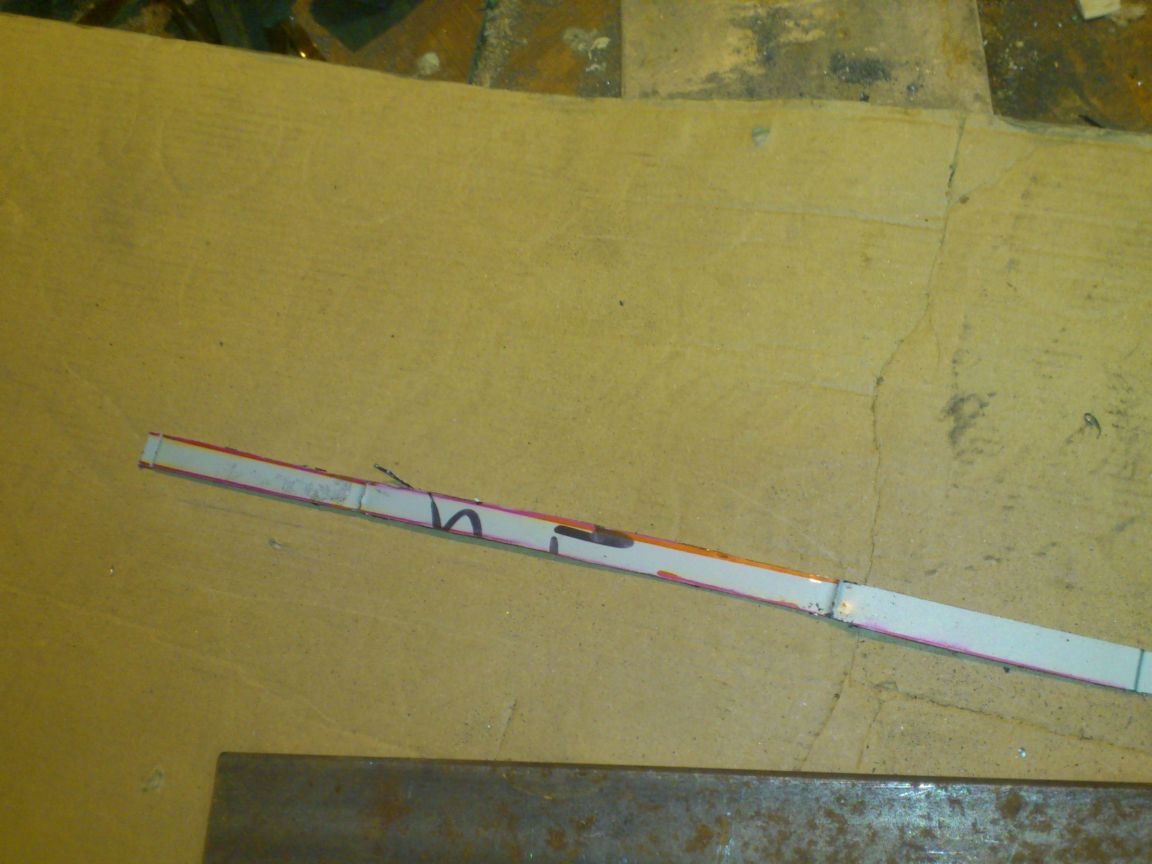
It is on it that magnets will be placed. But there was one problem: magnets, having a curved shape, do not fit in the width of my plate ....
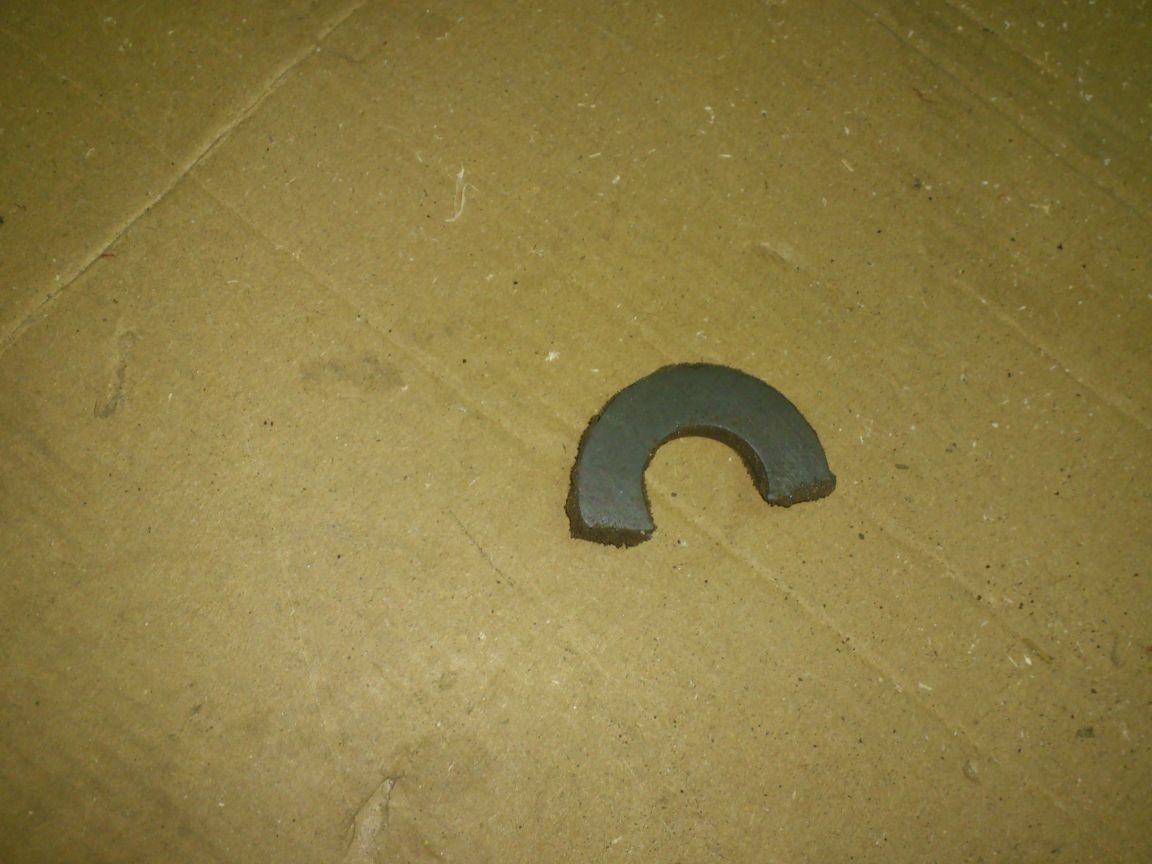
I did not begin to peel off the magnets from the steel plates - I only need one working plane from them. I just cut off the protruding plates with the grinder, and, a little, the magnets themselves.
An ordinary abrasive wheel (steel) is used. Rare earth metals tend to self-ignite in air in a highly ground state. Therefore, do not be alarmed - the “fireworks” of sparks will be much stronger than expected.
I remind you !!!
I just put a container of water next to it, and periodically lowered a magnet into the water after making a small incision.
So the magnets are cut off. Now they are placed on the strip.
Having inserted the long M5 screws into the rivet holes and secured them with nuts, I arched such a complex structure around the perimeter of the template plate:
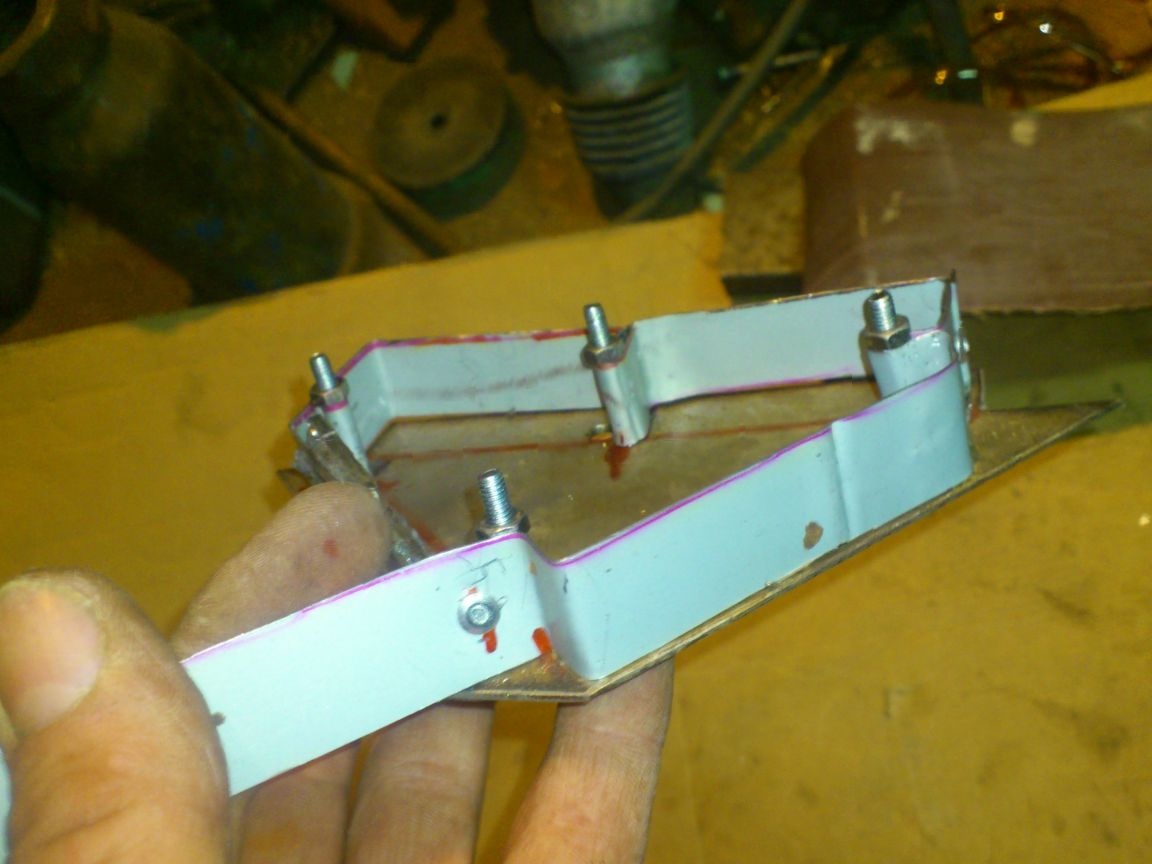
It is on it that the magnets are located inside:

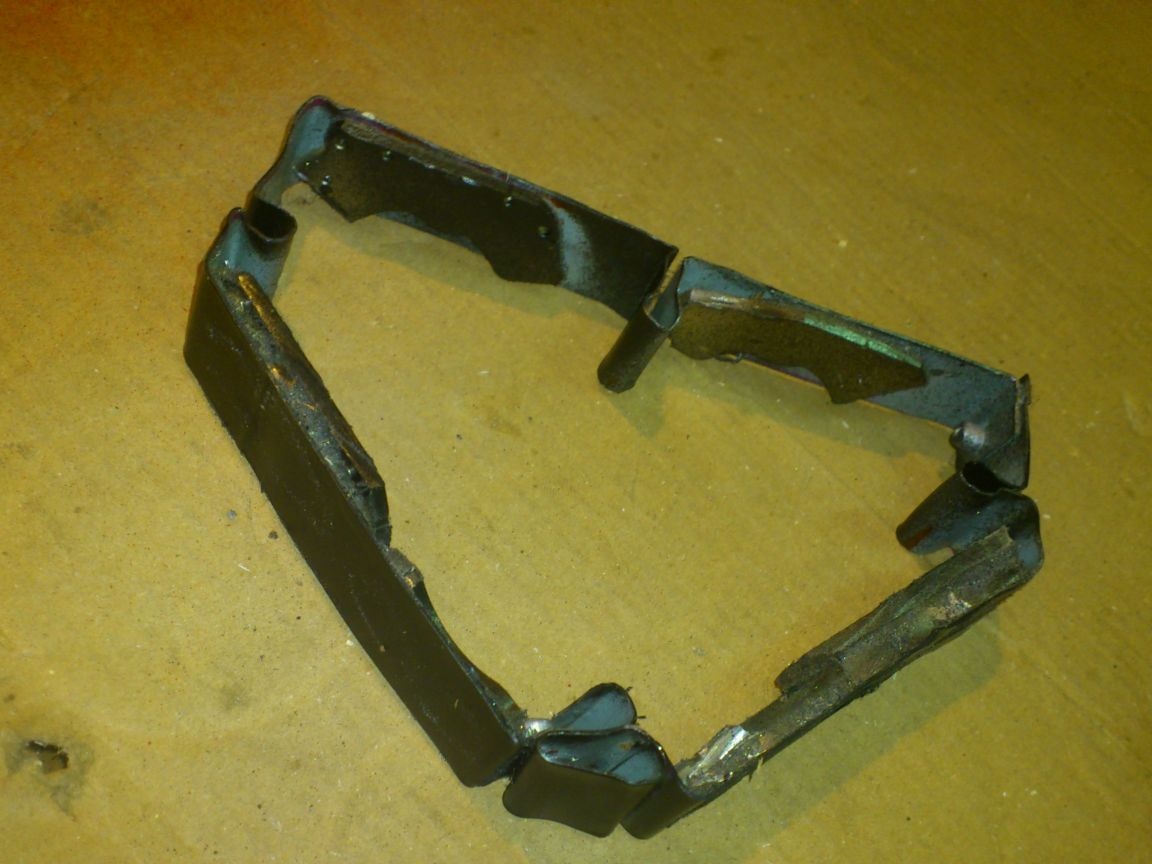
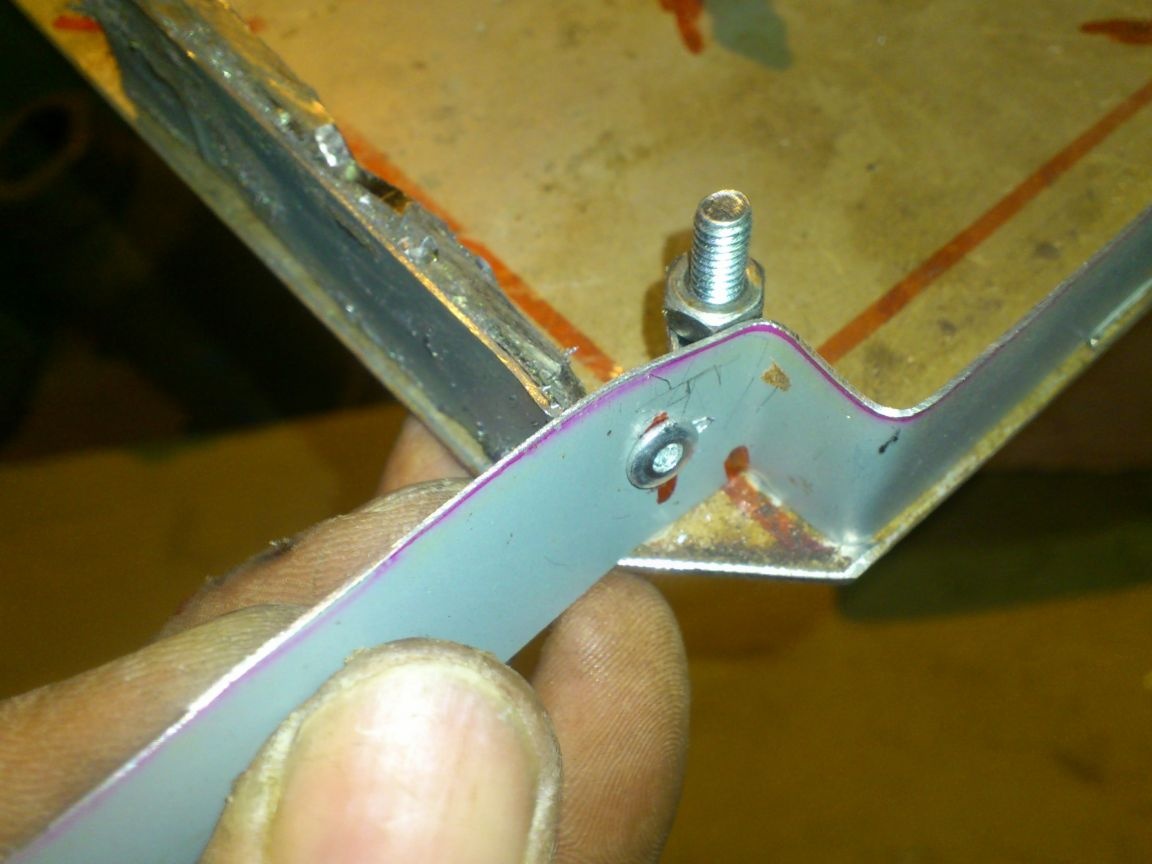
Since the plate itself will be fixed only in places where rivets pass through it, it will “spring” a little. That is, magnets will attract it to the workpiece with the entire plane.
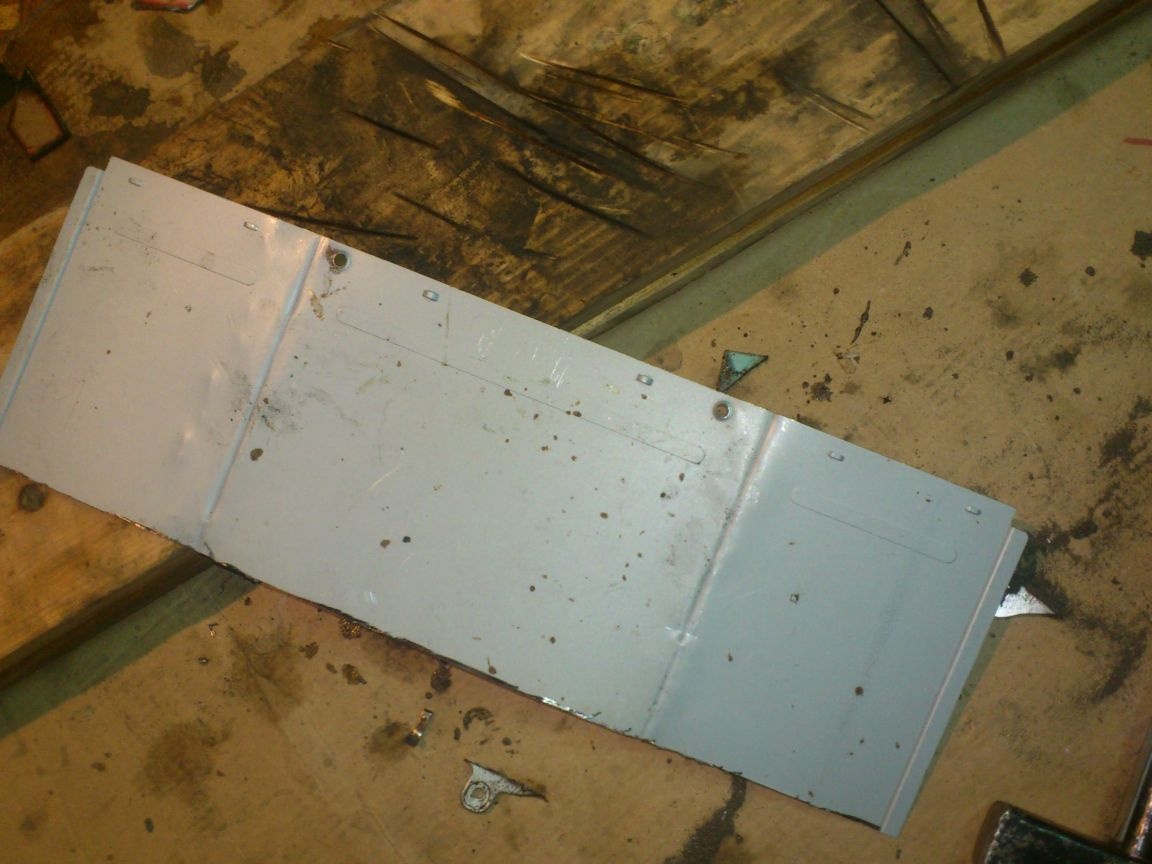
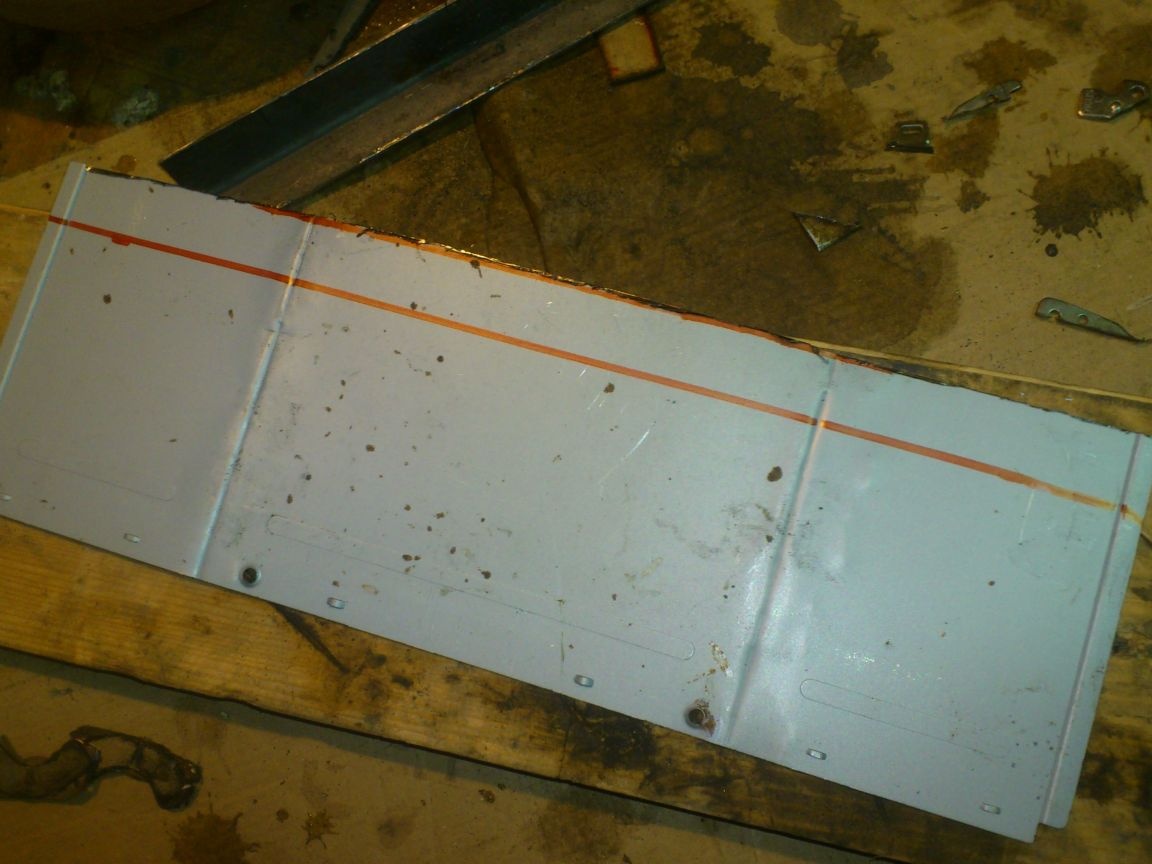
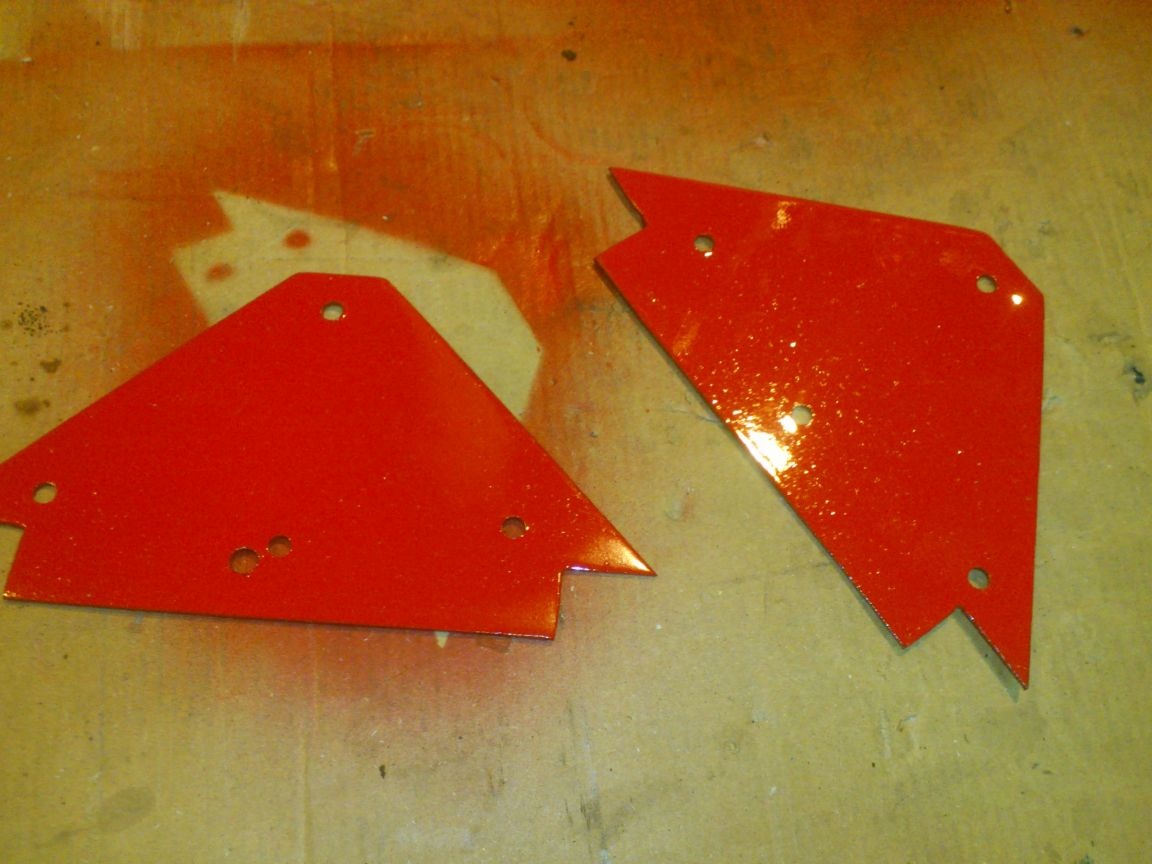
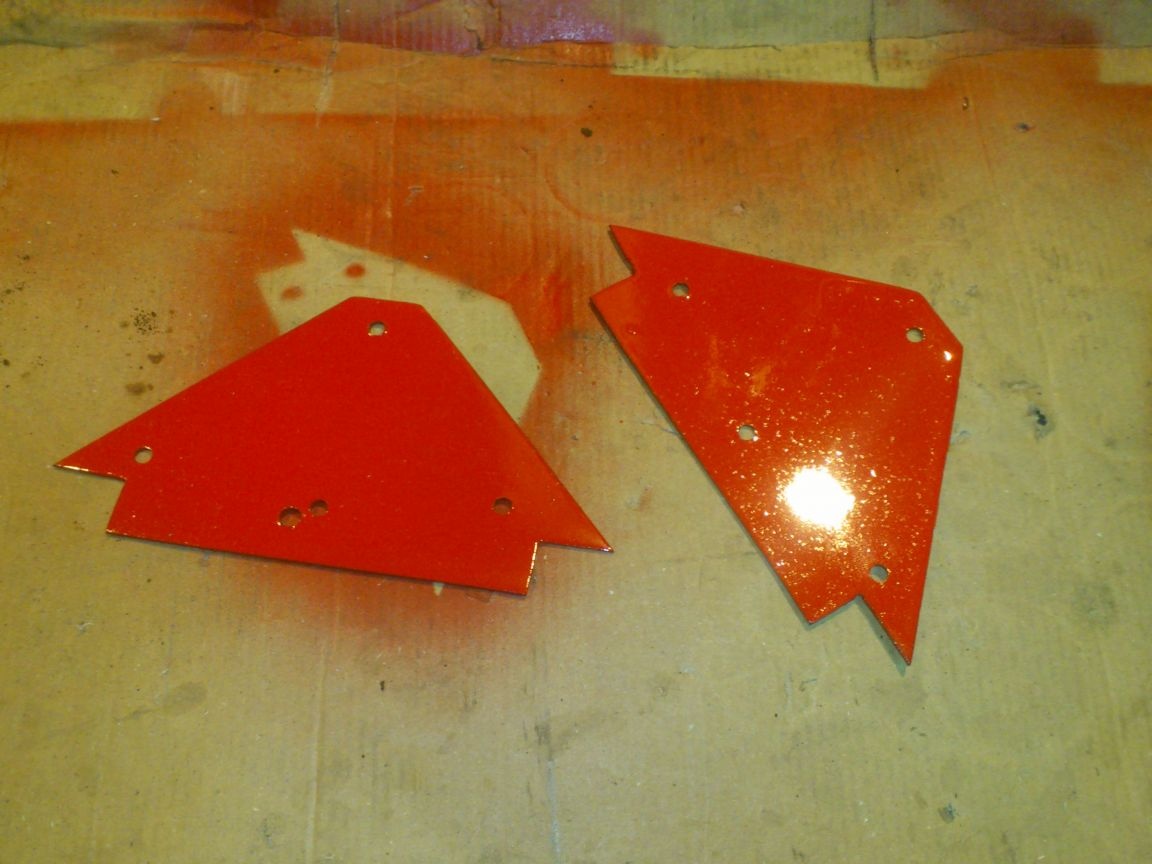
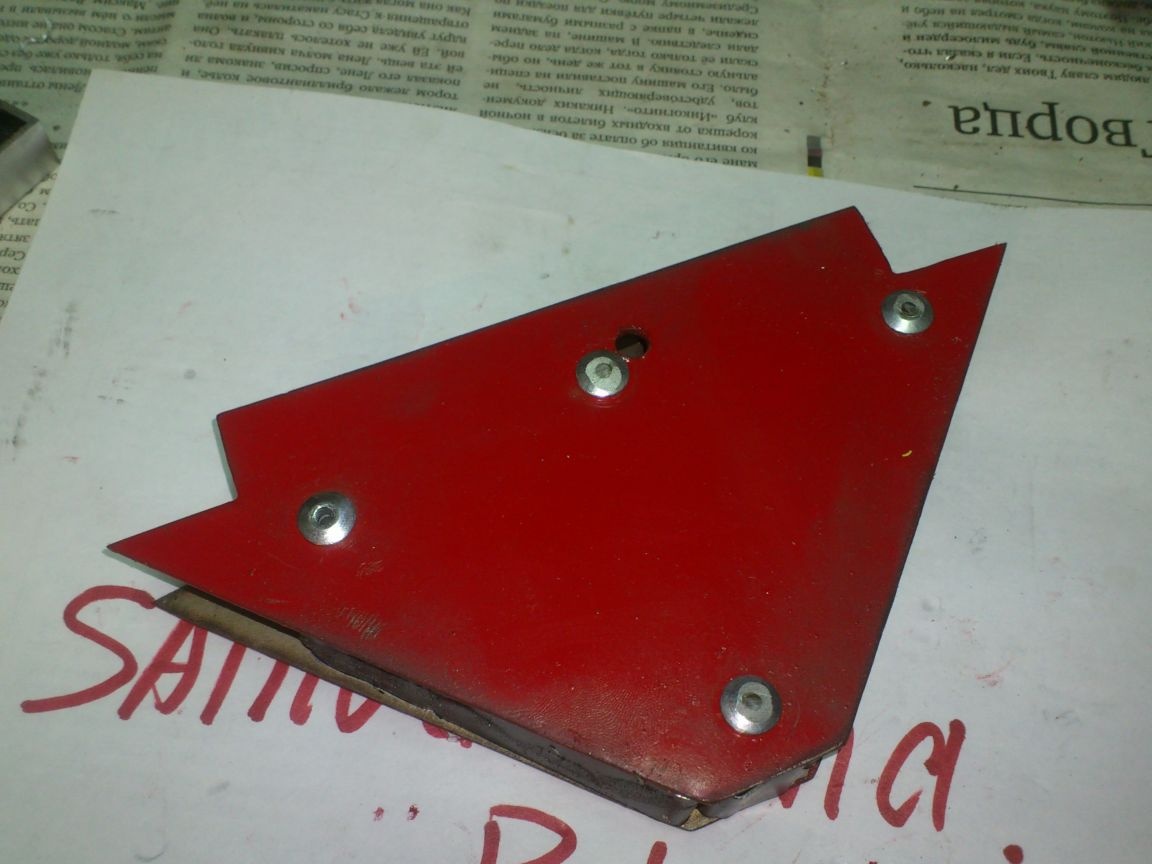
The next step is painting. It was possible not to paint.The stainless steel was with decorative polishing, and the appearance was at a sufficient level.
But the fact is that in this case, painting is needed not so much for decorative purposes as for practical purposes: when working with metal, a square should not be lost among many metal structures! Moreover, it can easily be accidentally carried away by sticking to the metal! That is why it should be a bright color:
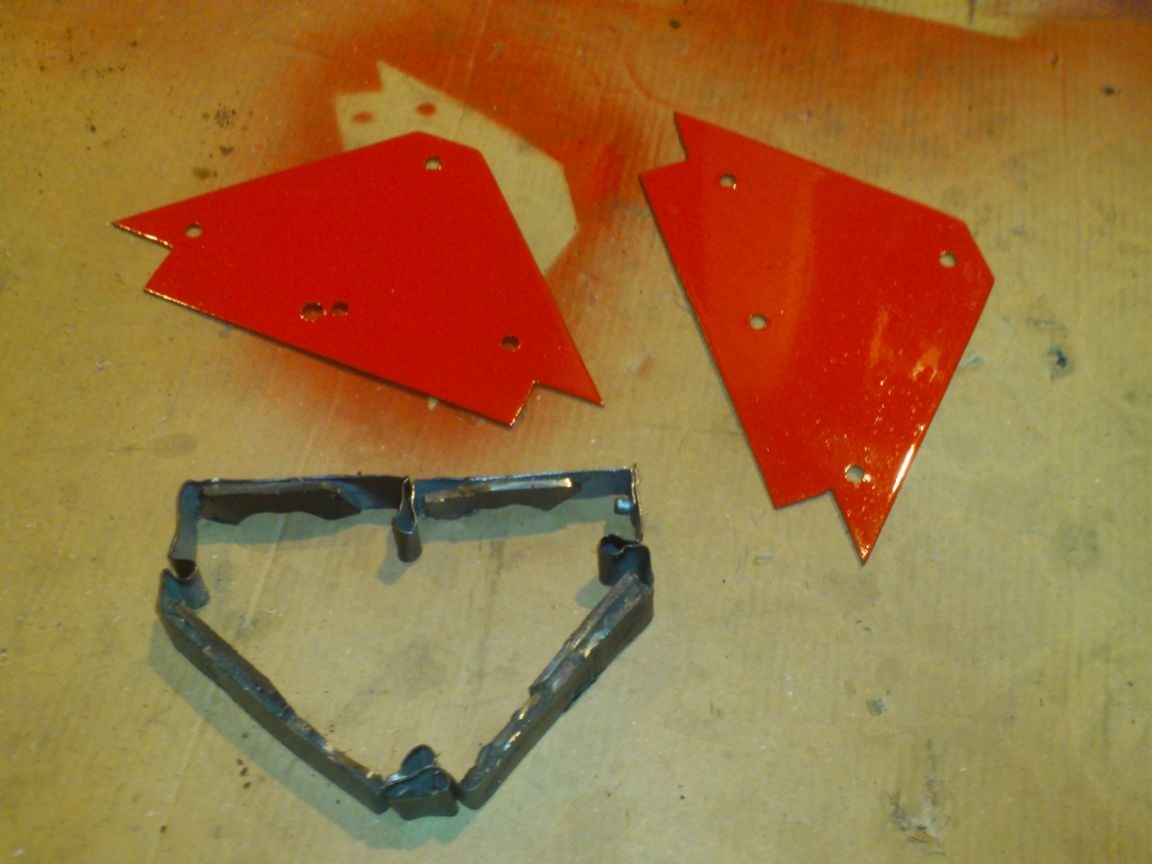
After the paint has dried, it remains only to assemble the structure together. I did this with 25 mm long rivets.
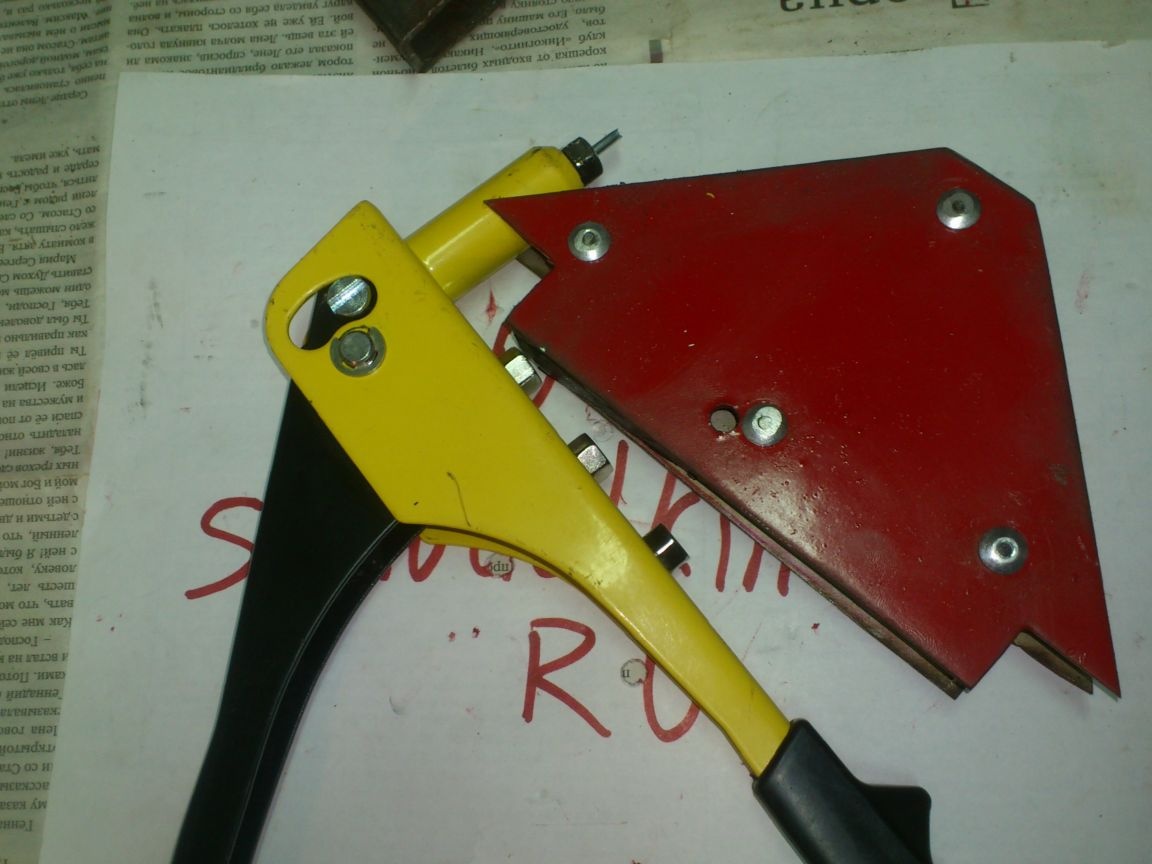
He did not measure his force, but he is much stronger previous made from speaker.
The plans to make another type of welding magnetic square. This time - from the neodymium magnets bought on Ali-Express. While the package is on the way. When it comes - I will definitely introduce you to my idea!)))