
Good health to all modelers.
It was not by chance that I turned to all modelers, because I am sure that after reading my article many modelers will want to build such a model, and become aircraft models.
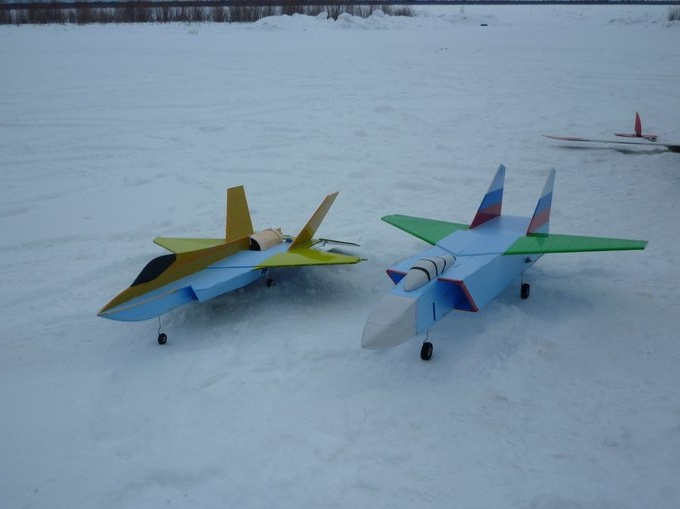
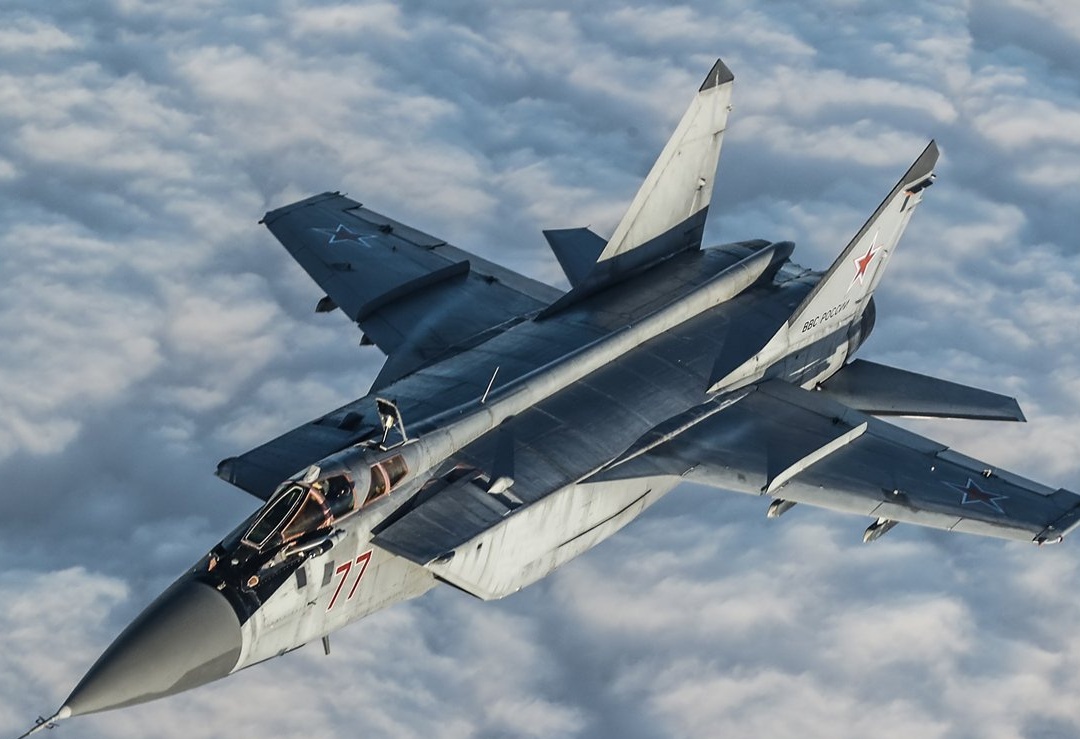
And we will talk about the impeller aircraft model of the MiG-31.
I will make a reservation in advance that the author was not going to build a copy, and not even a half-copy:
The goal was to assemble a model flying and similar to the original.
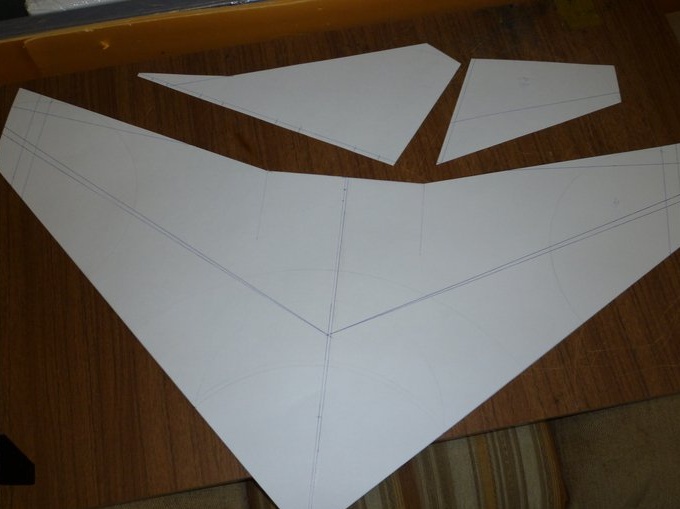
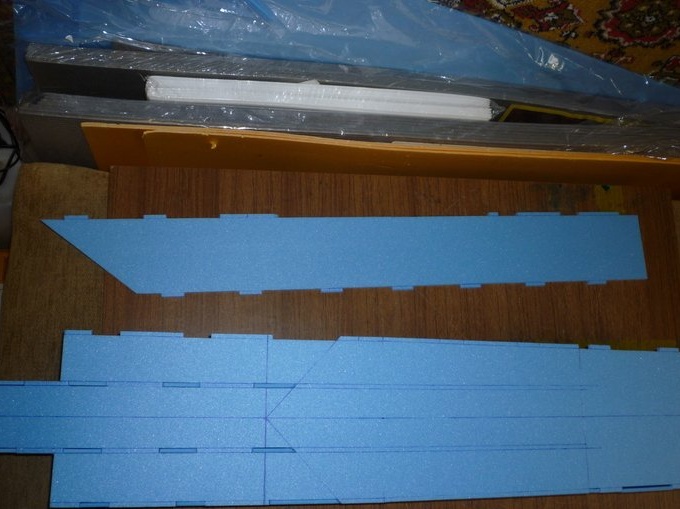
The author found the drawings of the emo airplane, chose the necessary scale and drew all the structural elements of the model on a simple, sheet substrate for a laminate, 4 mm thick.
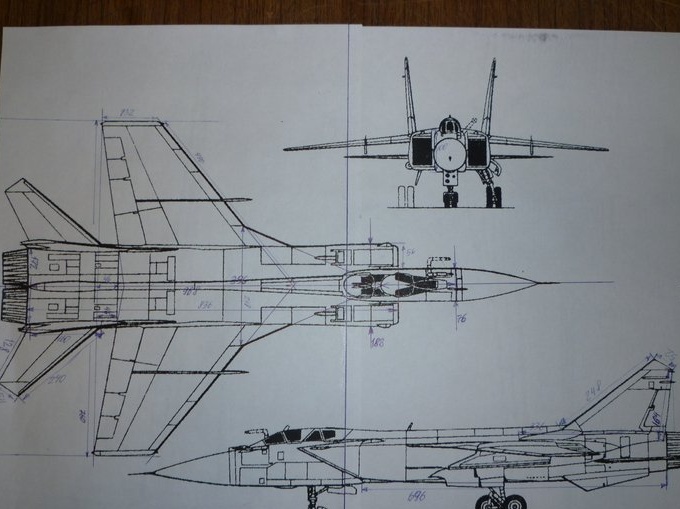
Left over from KITovsky F-35
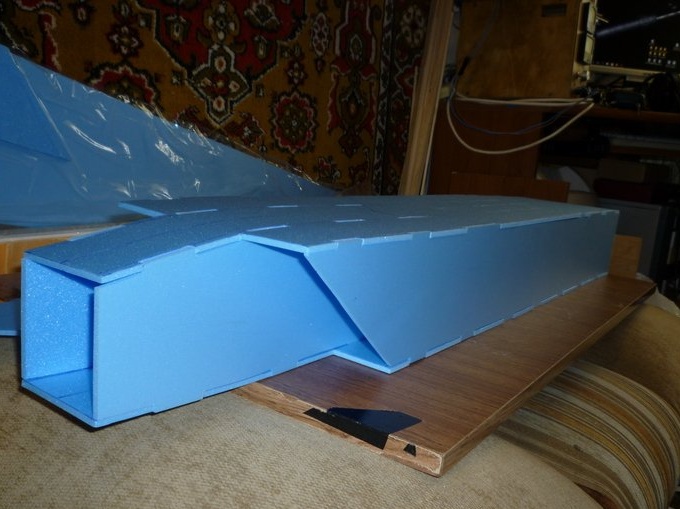
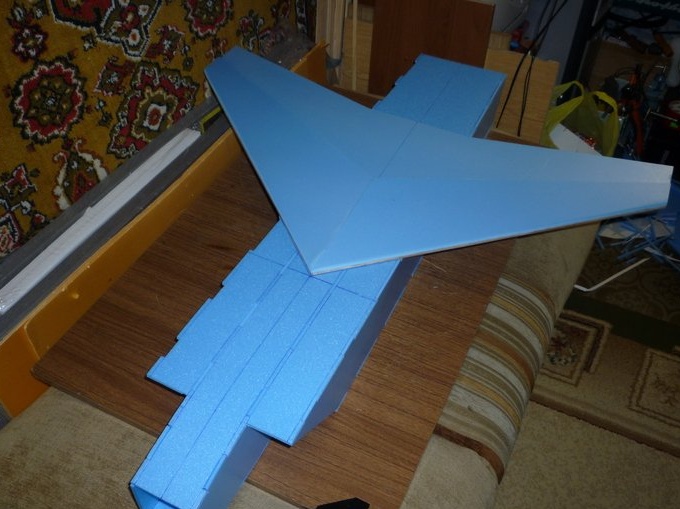
To facilitate the construction of the model, the author chose the technology for assembling the model with grooves and protrusions: -
It is very convenient to assemble with grooves, like puzzles.


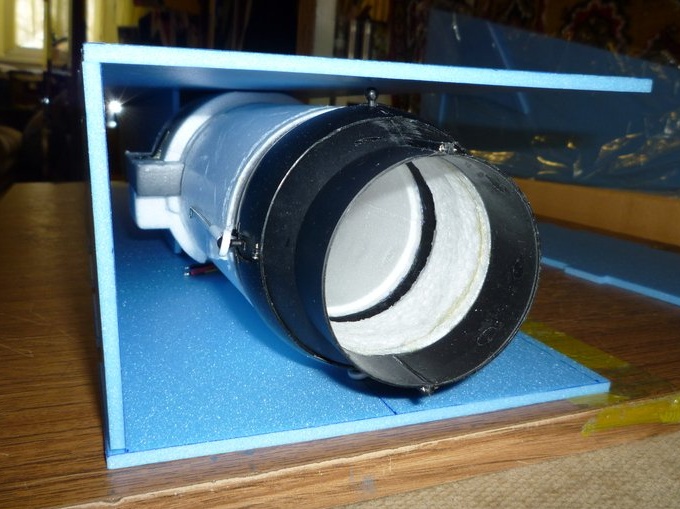
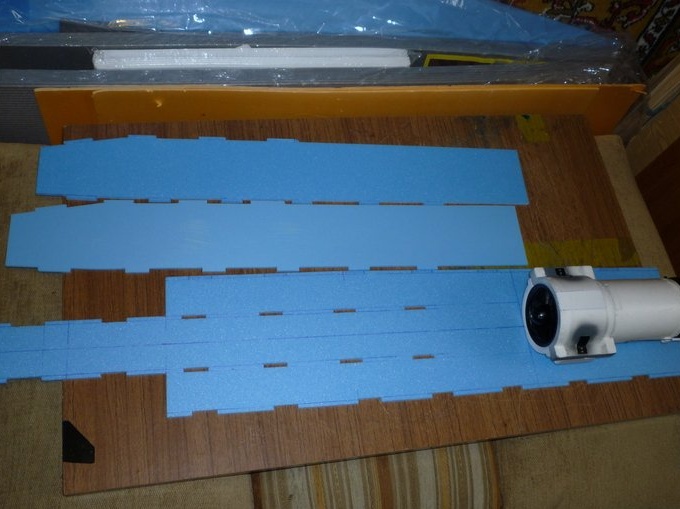
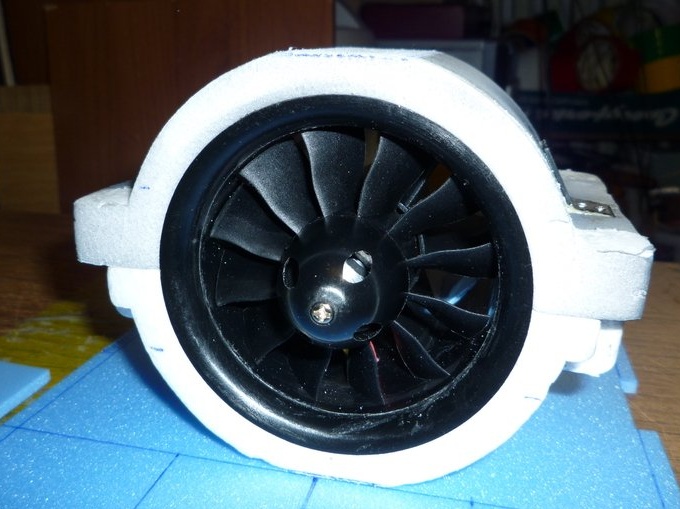
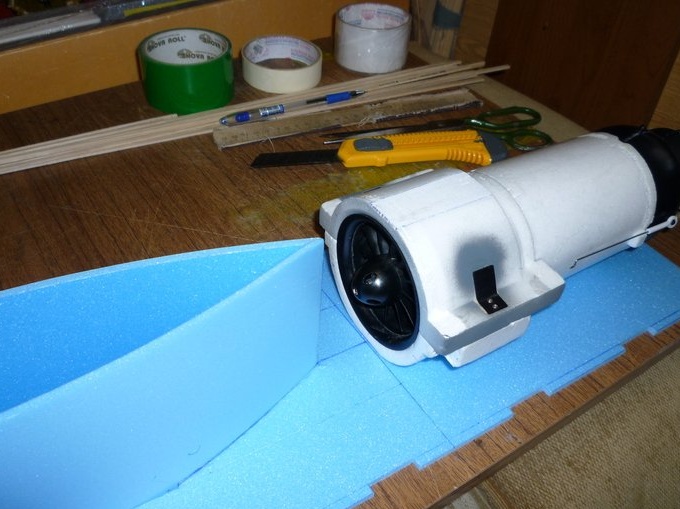
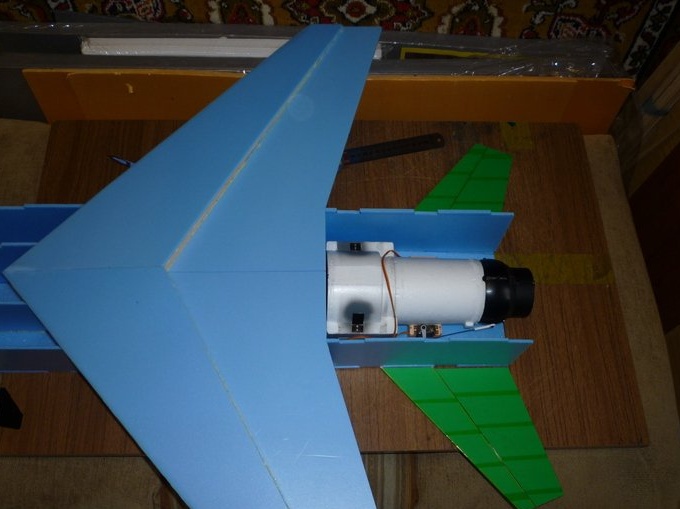
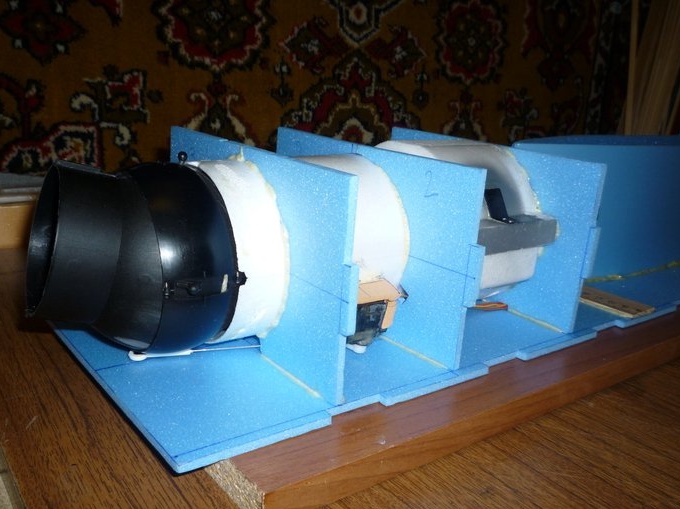
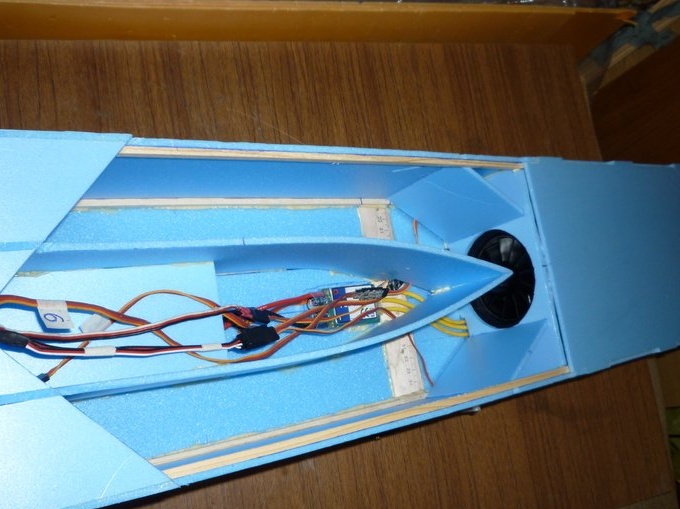
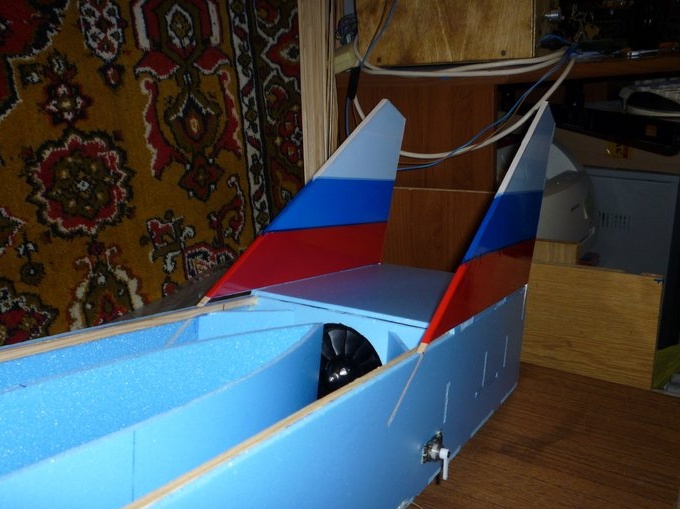
I tried on the remaining impeller from the F-35 model inside the fuselage.
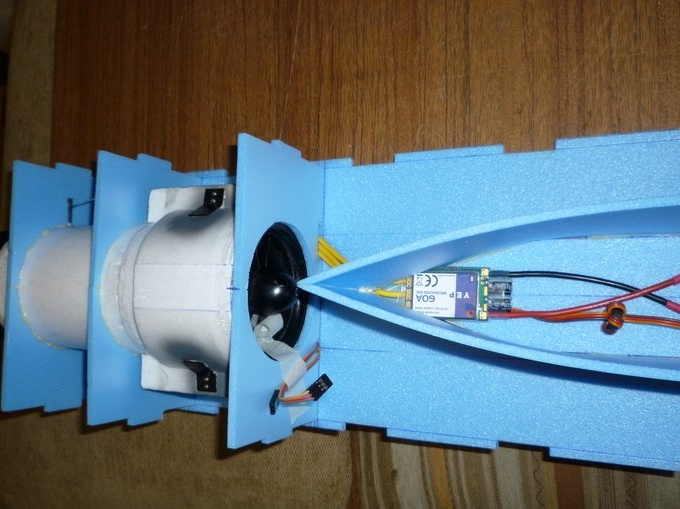
On the impeller, the author changed the impeller with 6 blades, on the impeller with 12 blades.
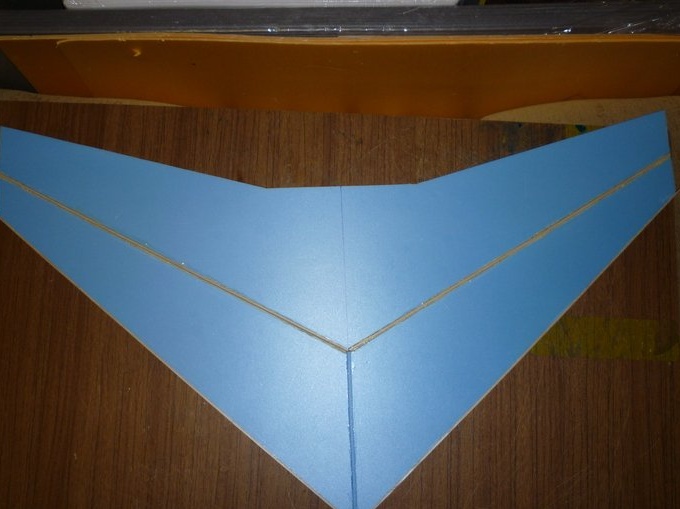
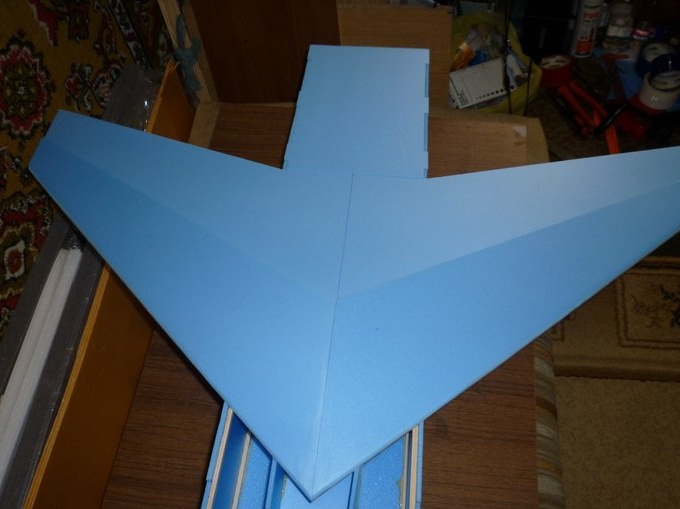
The leading edges of the wing were reinforced with wooden slats carved from student rulers.
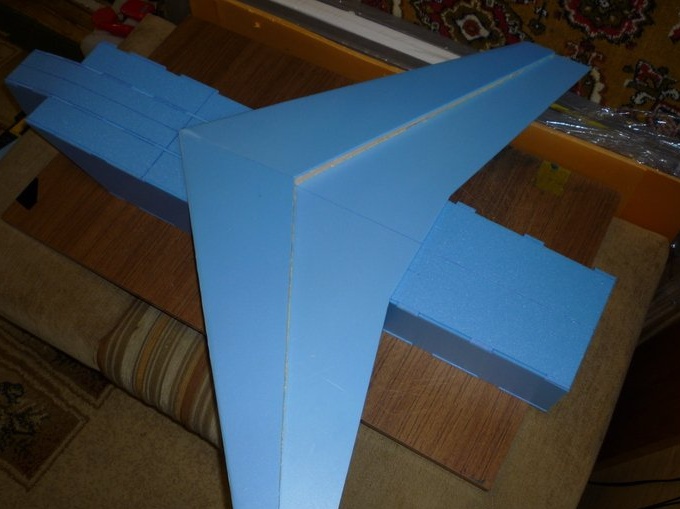
When creating the wing, the author used the profile KFm-2
To do this, he used a wooden ruler, sawn at a certain angle
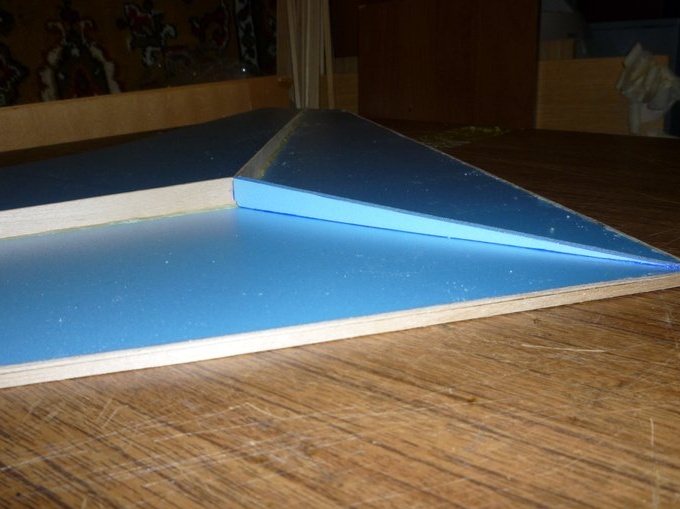
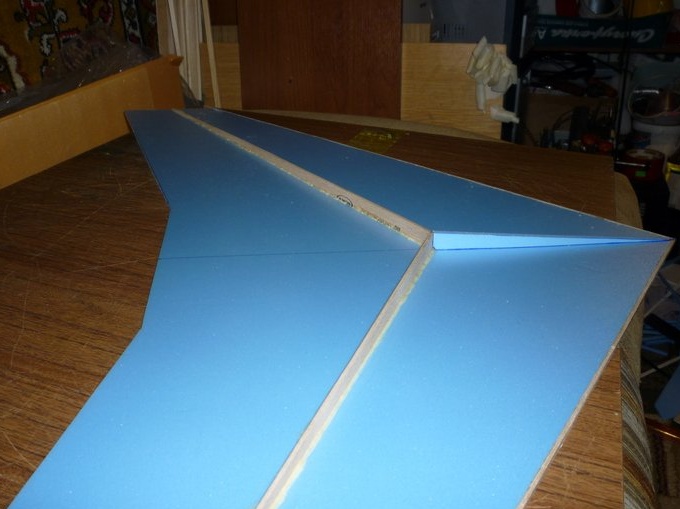
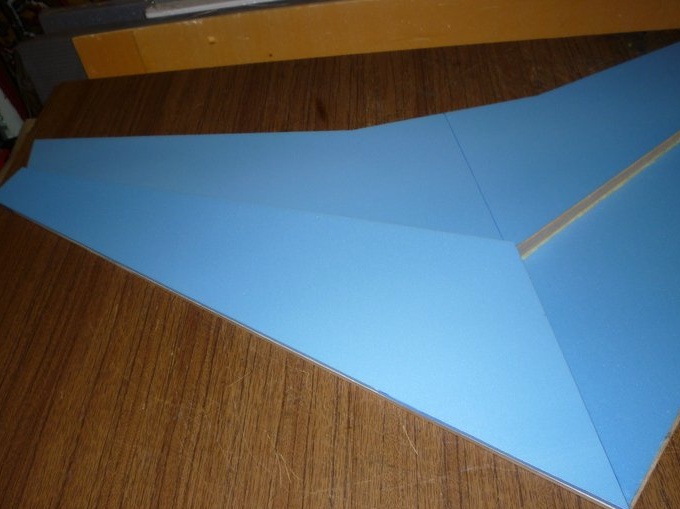
The upper plane of the wing is sheathed by a substrate, the front lower edge of which is cut at an angle.
The author used glue "Tian" to glue the details of the model.

To fix individual parts, when gluing, the author applied pieces of masking tape for screed
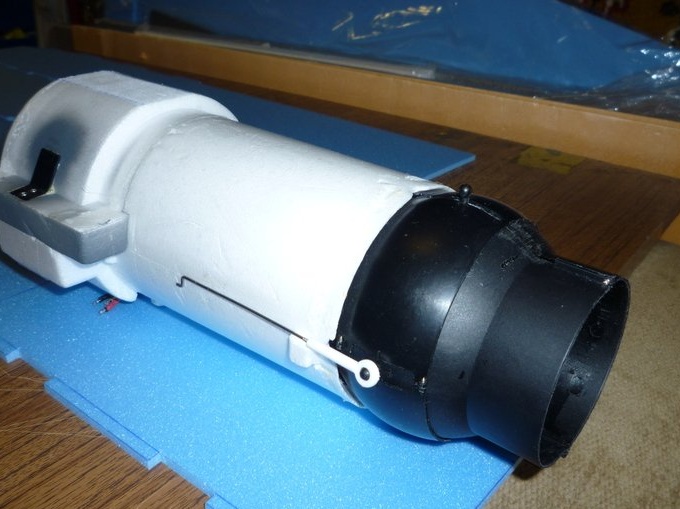
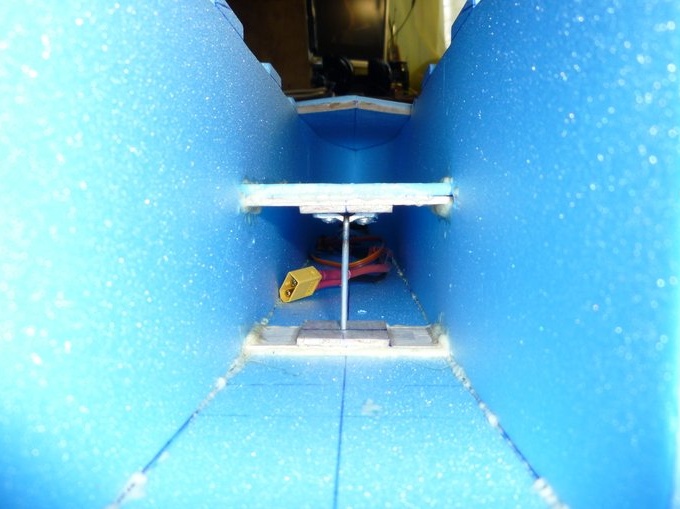
I attached a duct to the impeller.
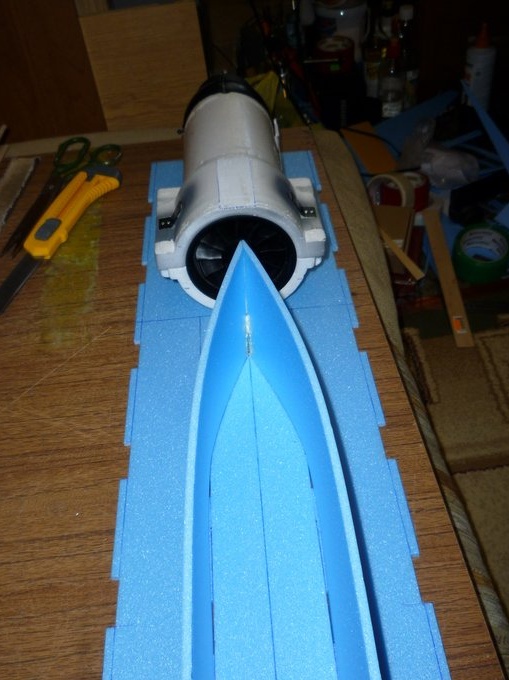


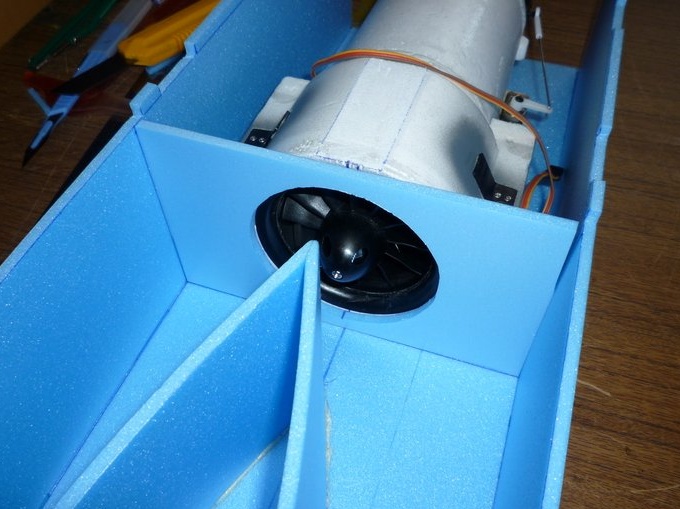
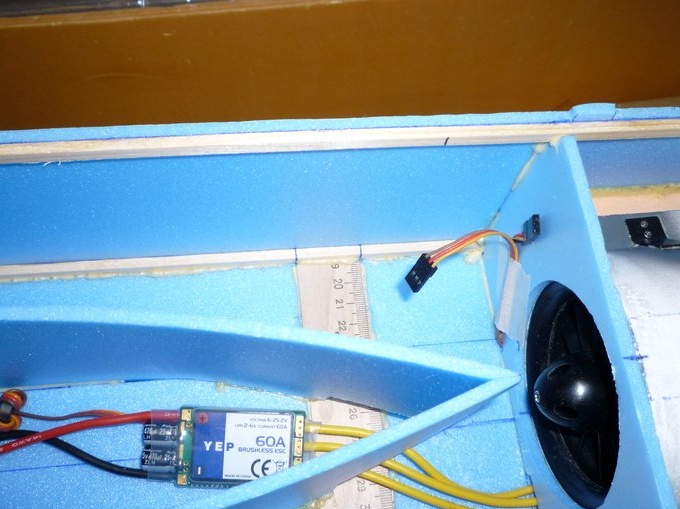
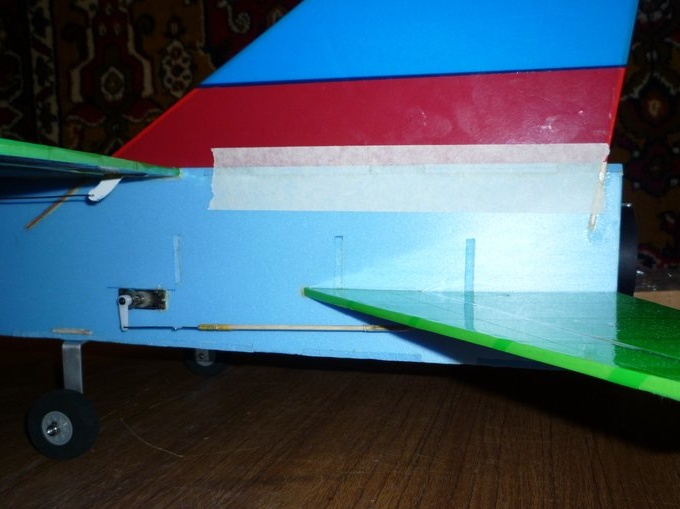
Servos are mounted on the duct.
The steering surfaces are hung with tape and reinforced with wooden slats.

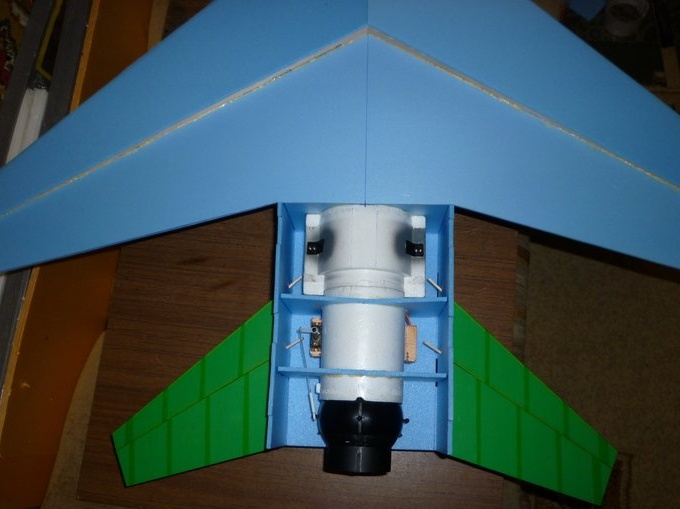
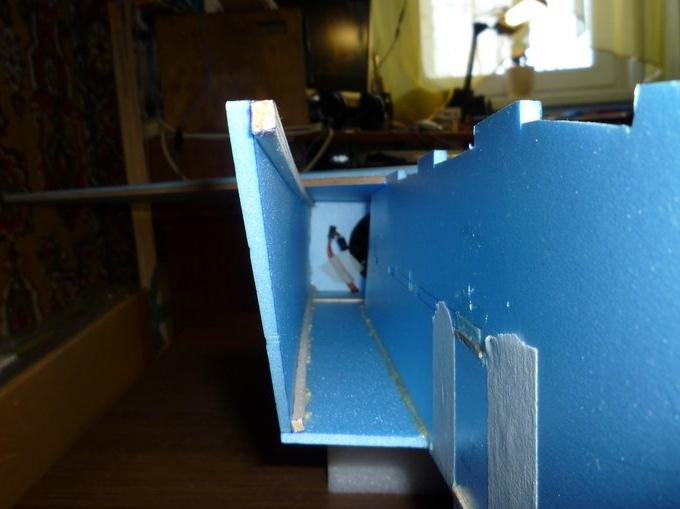
Stiffening ribs are installed on the duct.
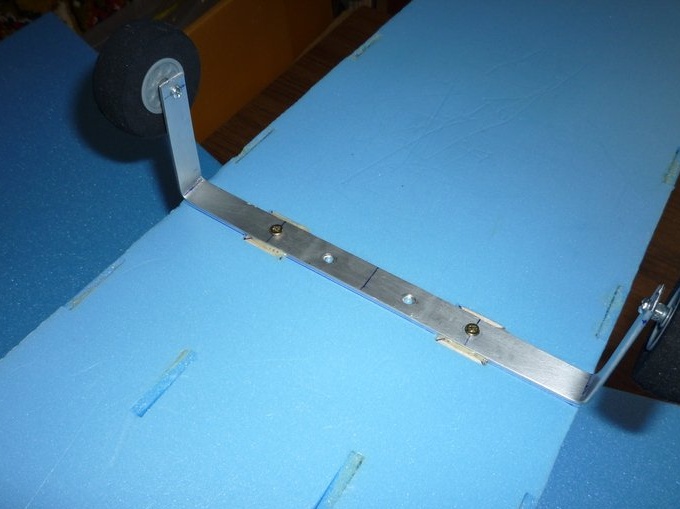
Pieces of wooden rulers are glued in the places of installation of the rear chassis.
All side surfaces are reinforced with 4 X4 mm cross sections.
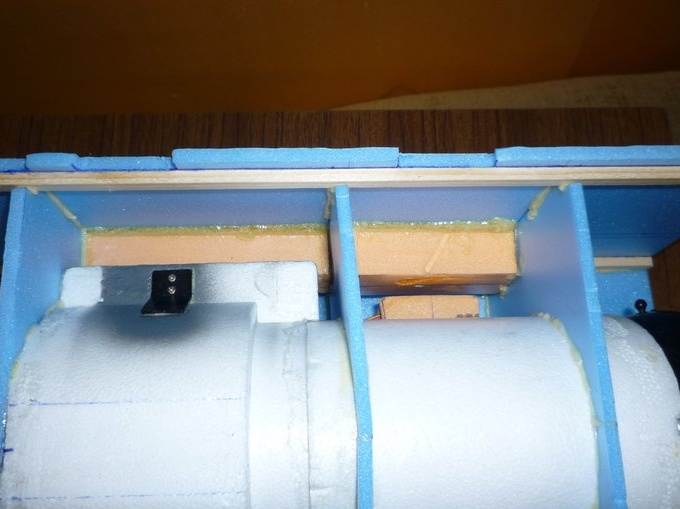
All power elements are glued with pieces of Penoplex sheet insulation.
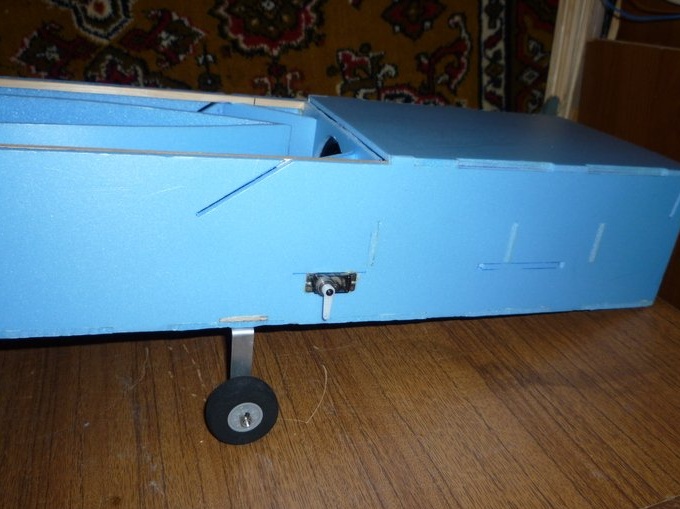
Mounted chassis.
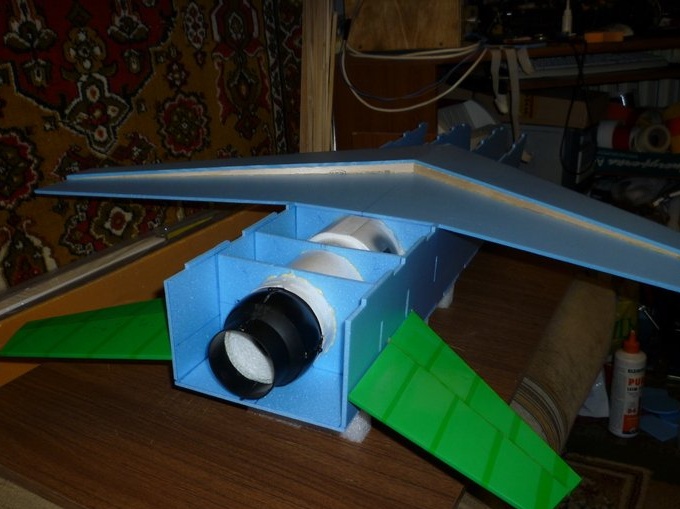
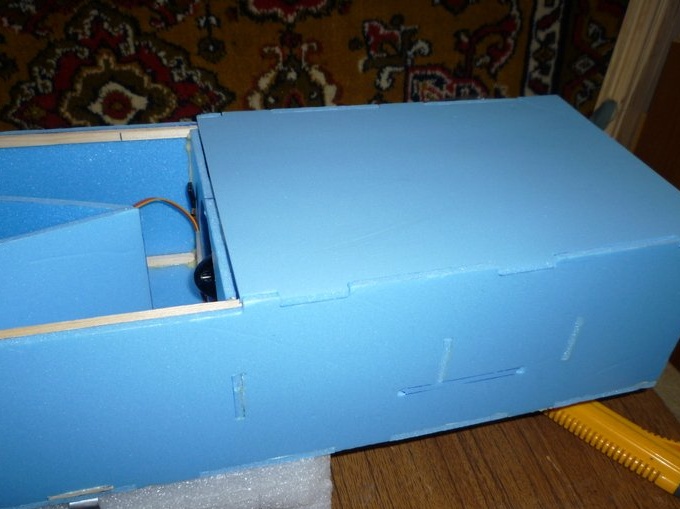
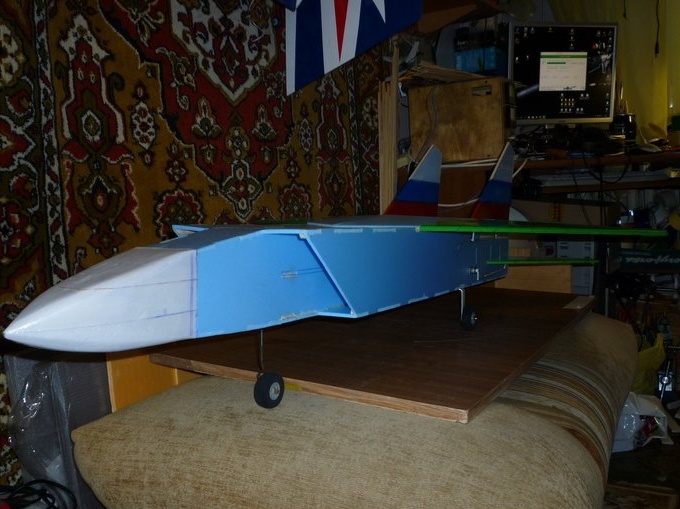
The upper part of the rear fuselage is glued.
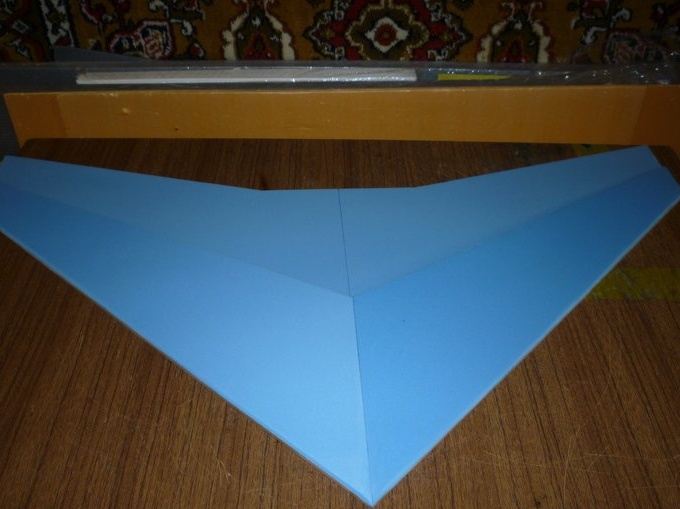
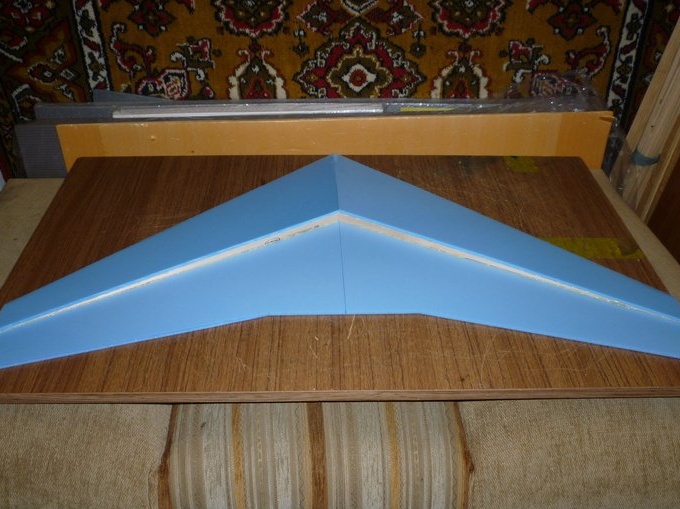
Fitting the wing.
The mounting of the front landing gear in the fuselage is strengthened at the place of installation of the battery.
For this, a wooden ruler is used.
The mounting locations of the servos are reinforced with pieces of substrate.
To control the direction of air from the duct, installed additional walls.
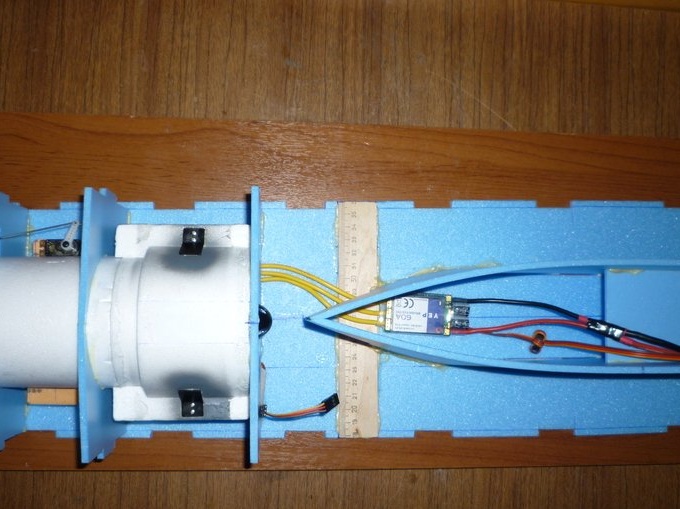
I installed the regulator in its place, for better cooling with the radiator up.
Ailerons are hung on an adhesive tape.
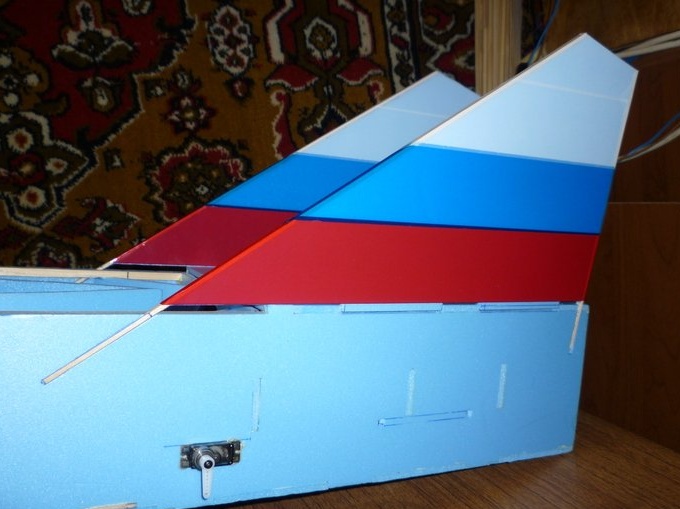
He began to cover the model with colored tape.
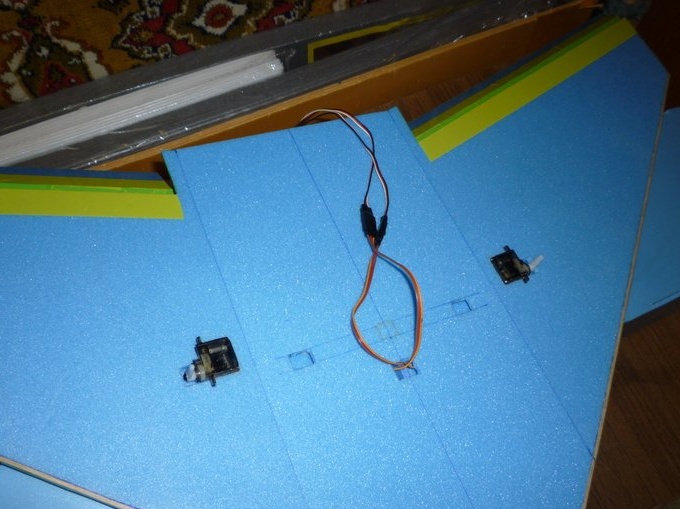
Mounted servos.
Wires are laid inside the wing.
He tried on the keels, which are also reinforced with wooden rulers.
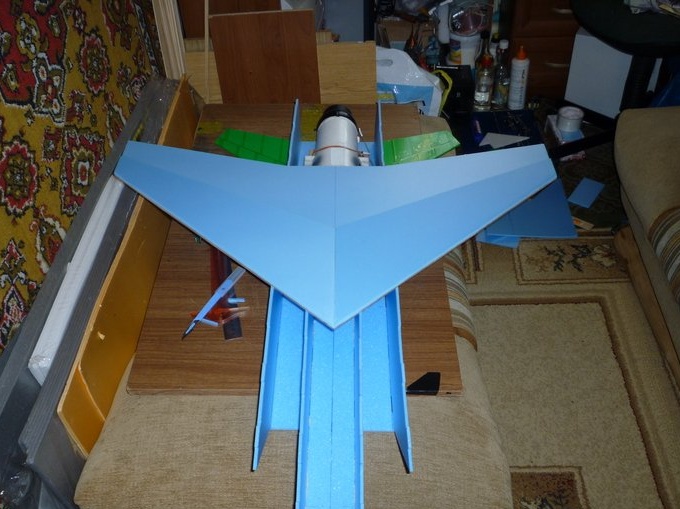
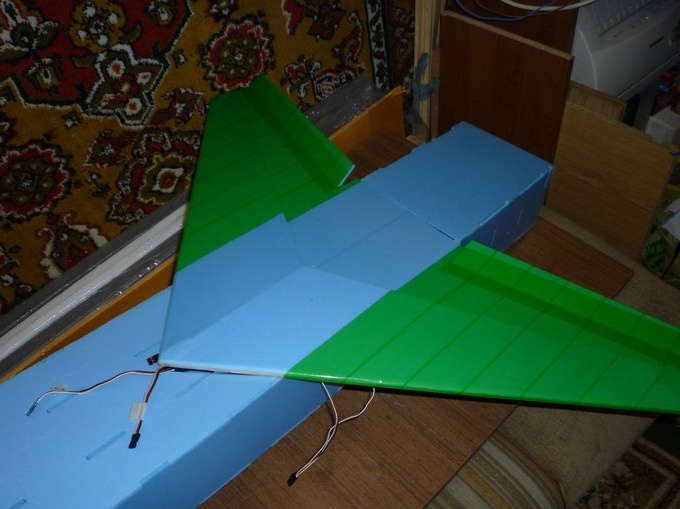
Glued the wing, stabilizers and keels on the fuselage.
Some rods are used from older models, while others are made using paper clips and bamboo skewers.
The nose of the fuselage is made of a piece of Penoplex insulation, just like the cockpit light. Excess insulation is selected from blanks to reduce weight.
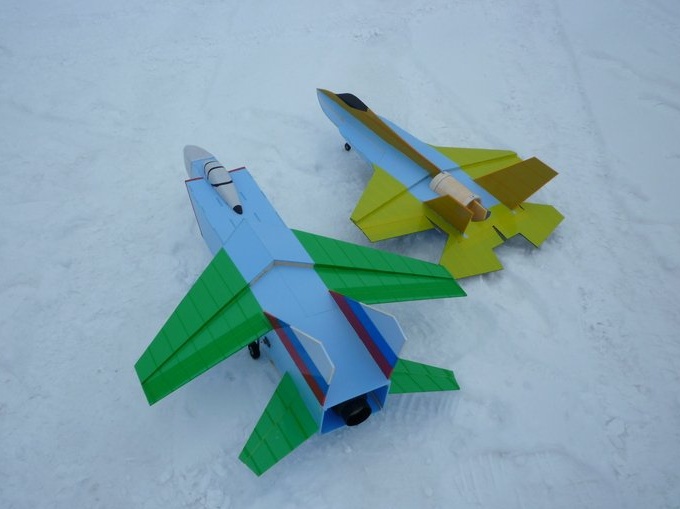
Weight - 900 grams.
Length - 1140 mm.
Span - 820 mm.
Weight with battery - 1280g.
Battery 2200 mAh, 6S, 65C.
Propulsion thrust greater than 1.
Video flight model.
That's all. The author and I wish everyone a successful construction of this model and successful flights.
Goodbye, your Valerian.