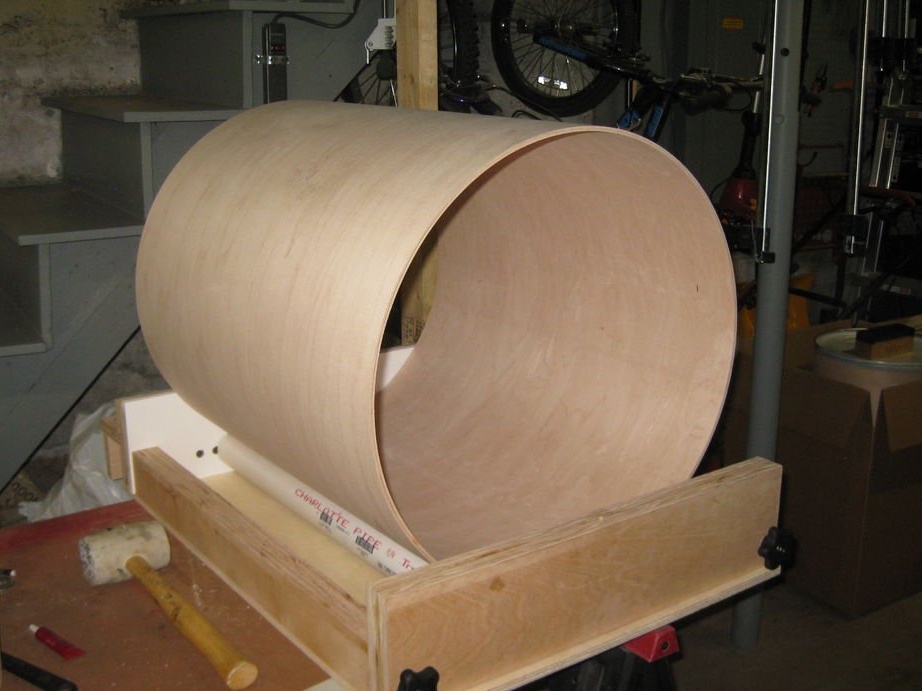
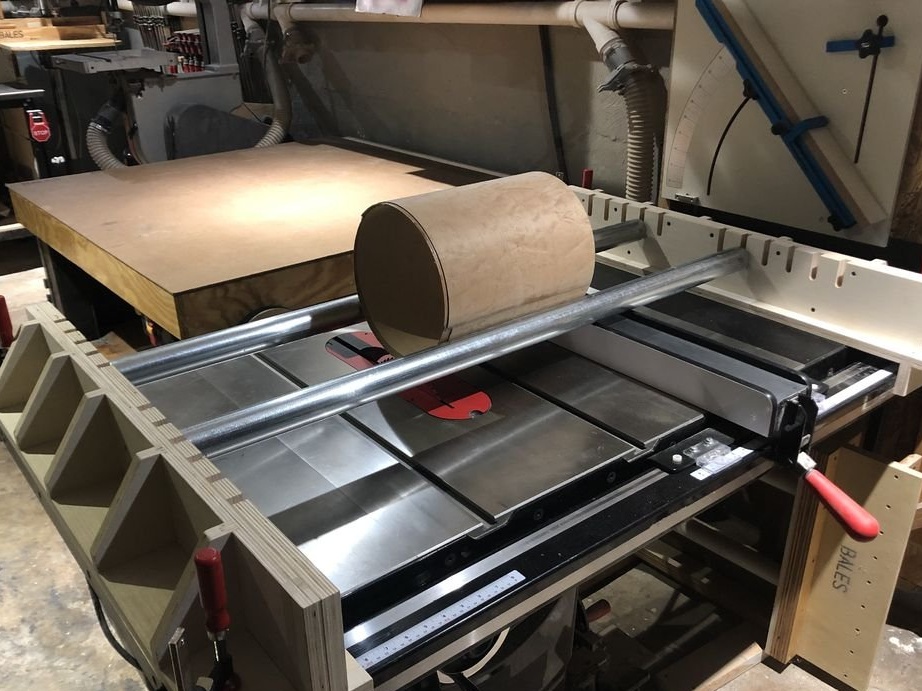
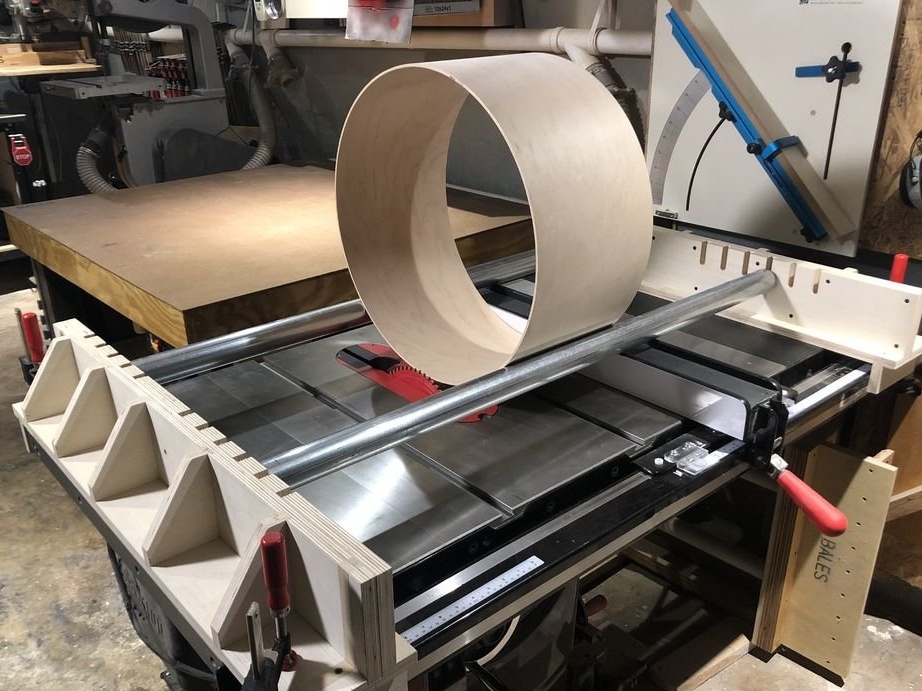
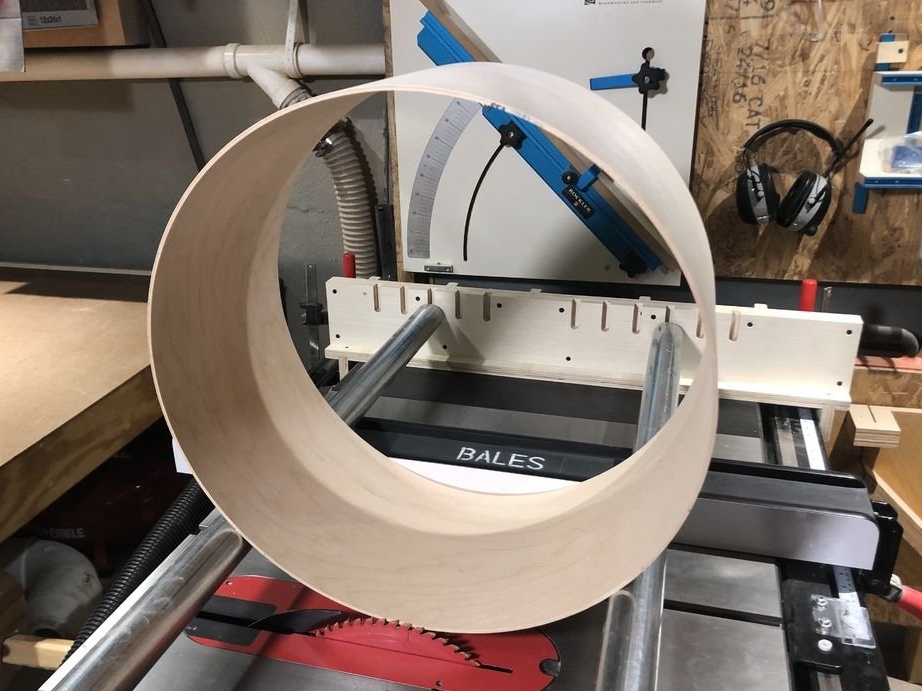
To begin with, the master drummer himself makes the drums. For smooth cutting of shells for the drum, the master made device for a circular saw.
Tools and materials:
-Plywood;
-Roulette;
-A circular saw;
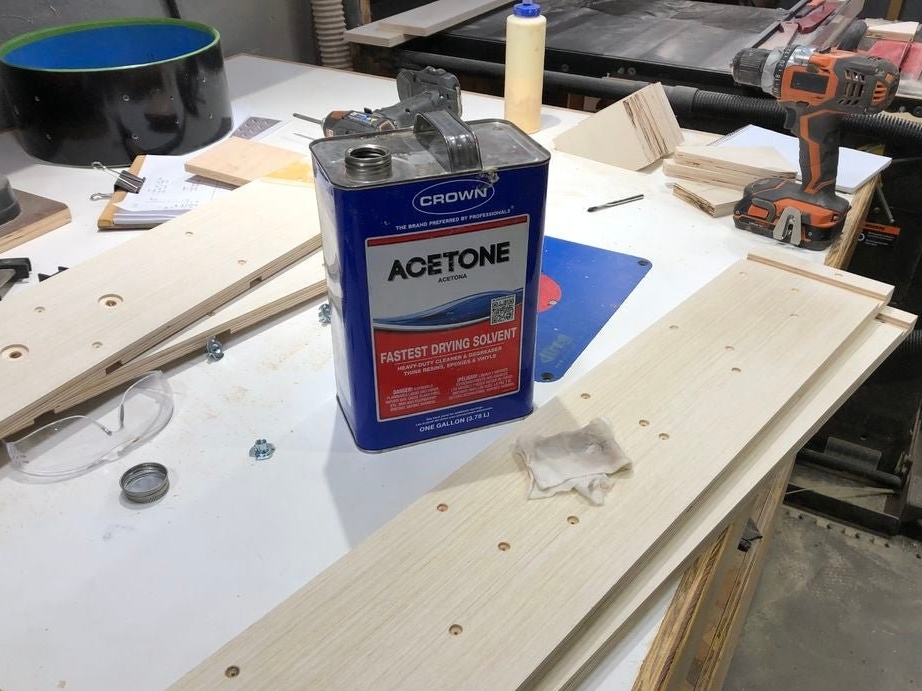
- Joiner's glue;
-Marker;
-Circular Saw;
- Clamps;
-Drilling machine;
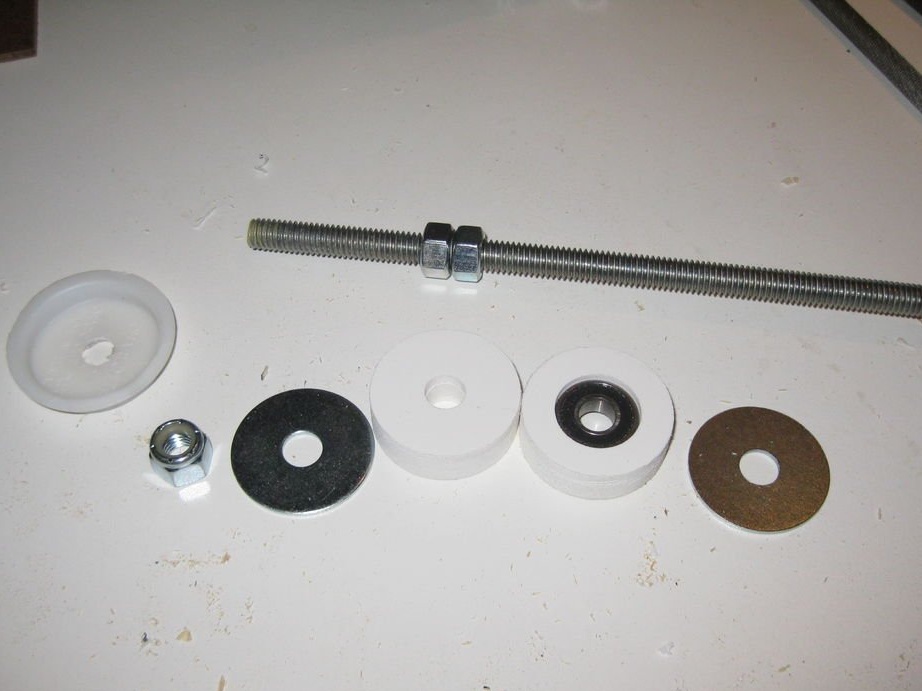
-Fasteners;
-Hammer;
-A screwdriver;
-Metal pipe;
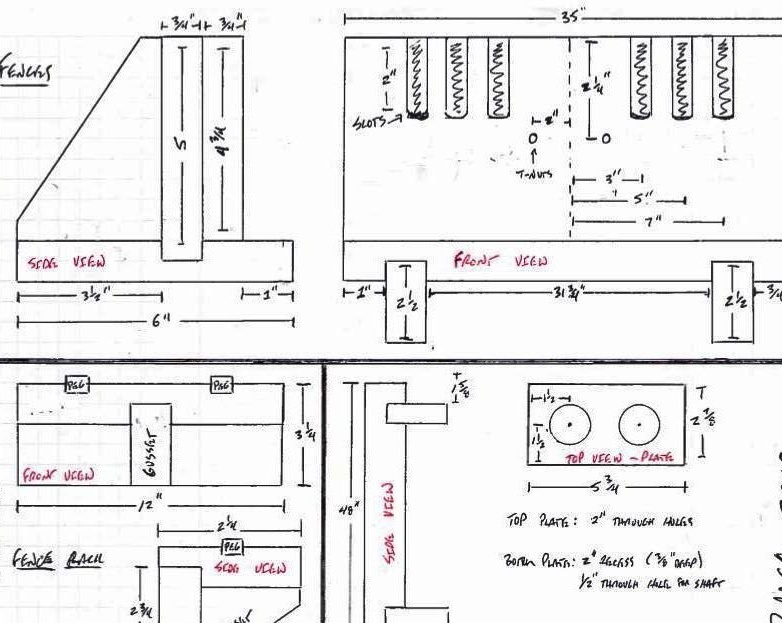
Step One: Project
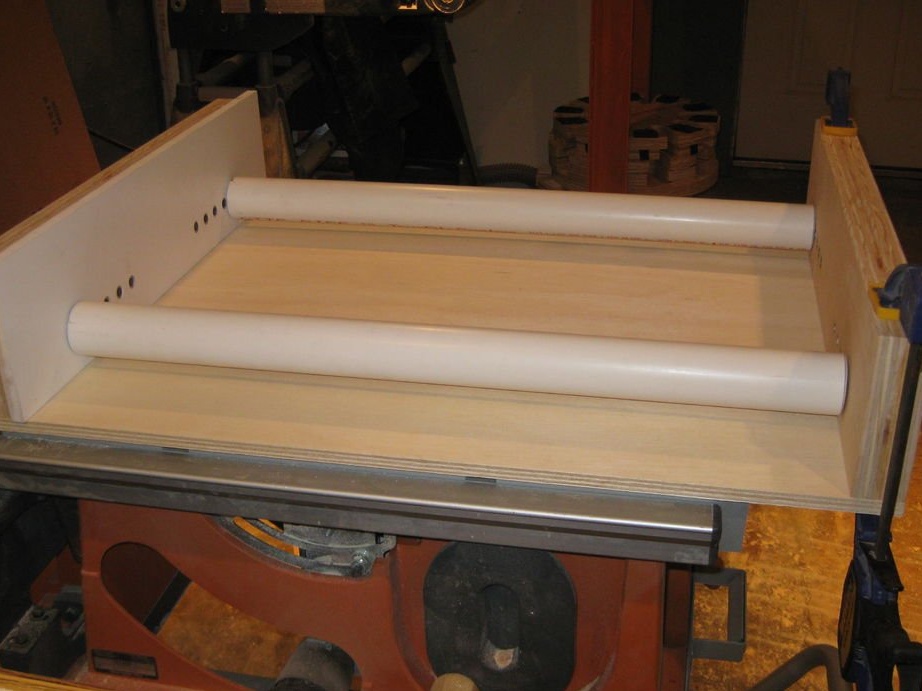
The master already had a similar device made of lumber and with rollers from PVC pipes.
The disadvantages of this device were:
-Large weight
-Lift guides
-Difficulty in rearranging guides for different pipe diameters
Then the master decided to make another device devoid of these shortcomings and with some advantages.
The task was as follows: quick alignment relative to the saw blade, additional slots for guides, convenient storage, the possibility of milling operations.
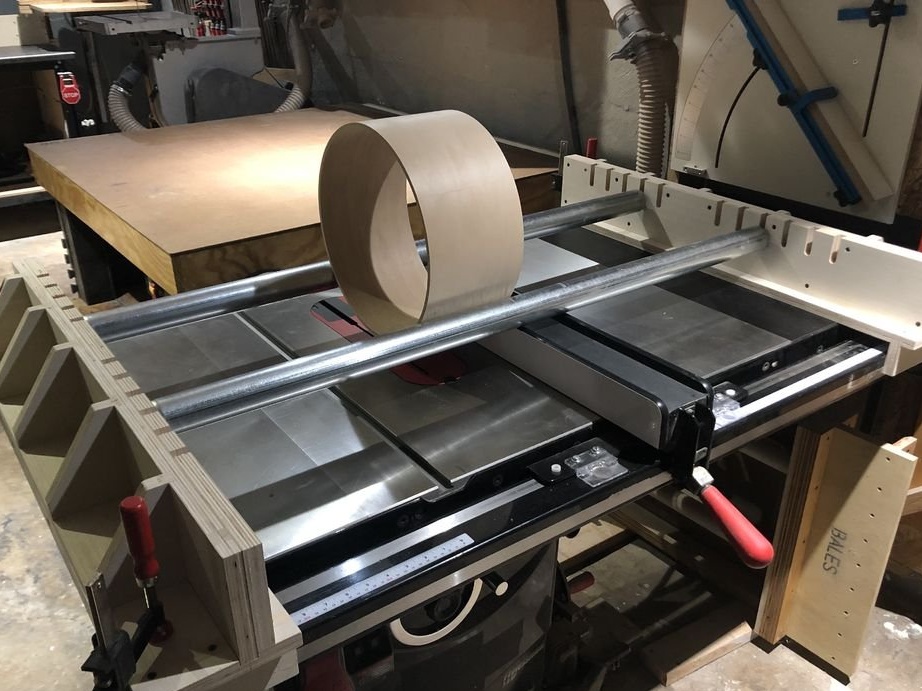
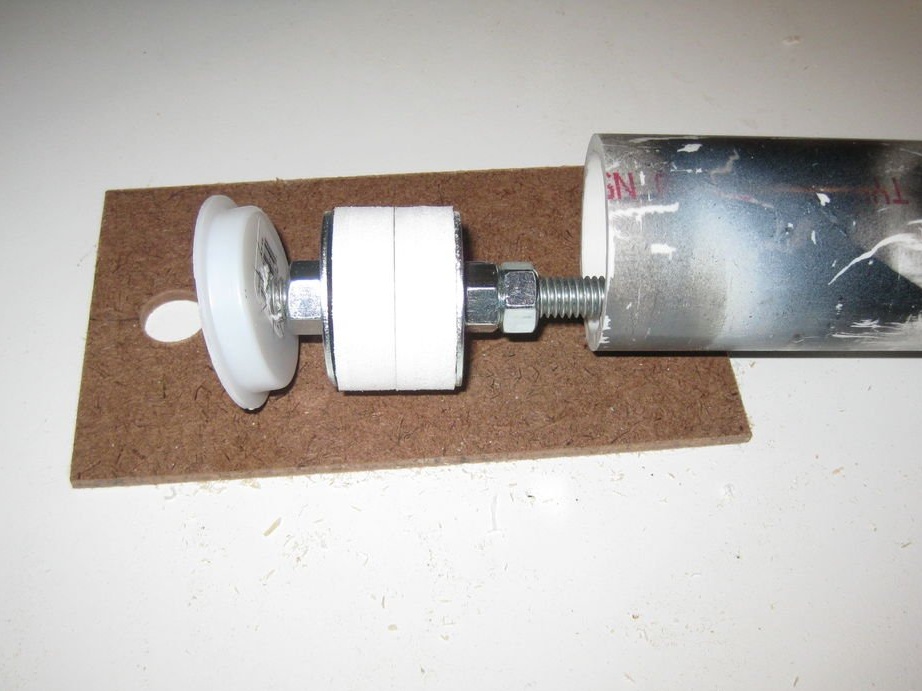
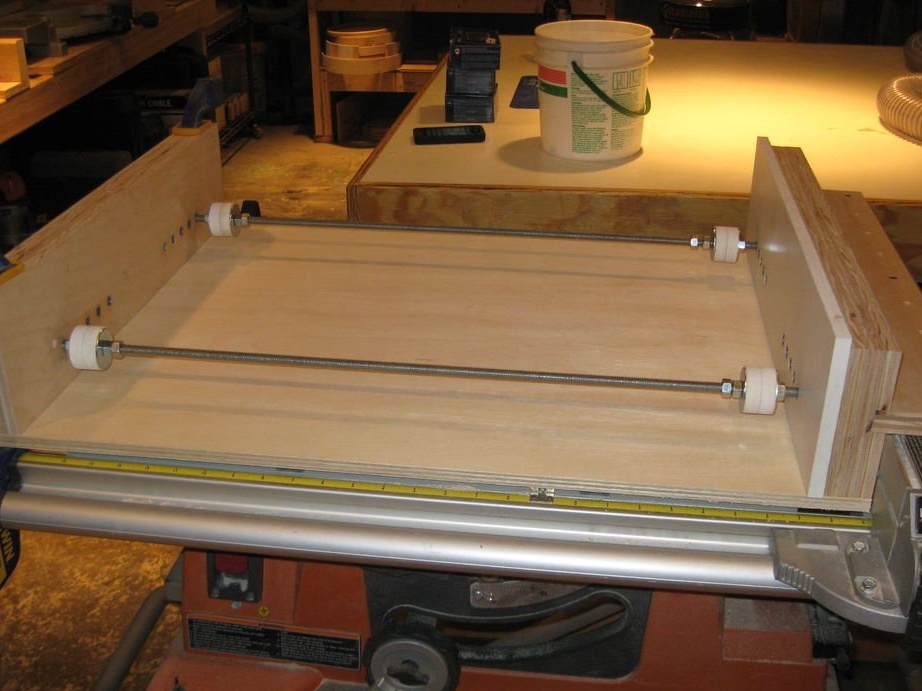
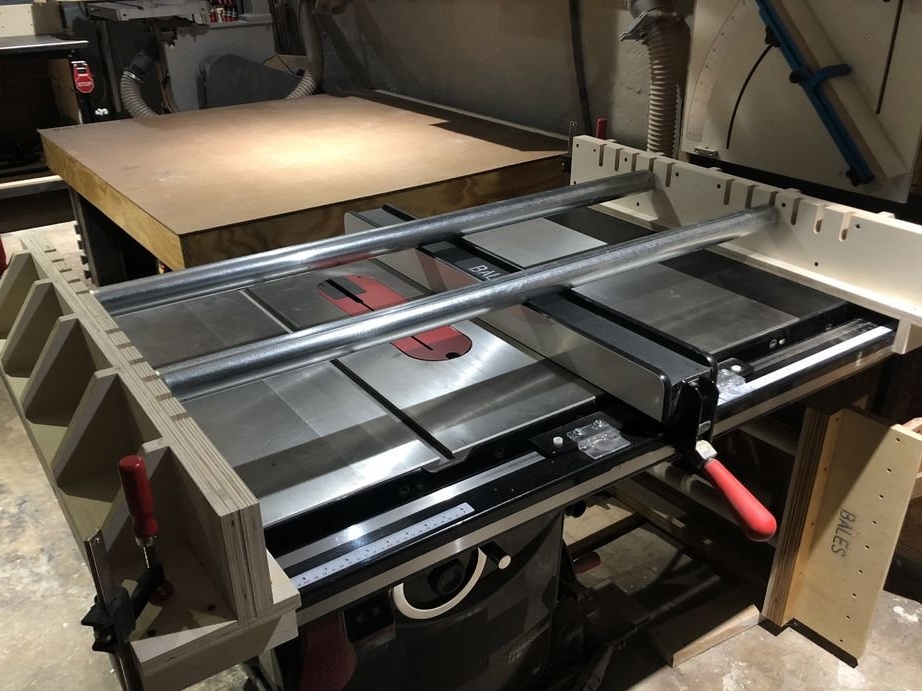
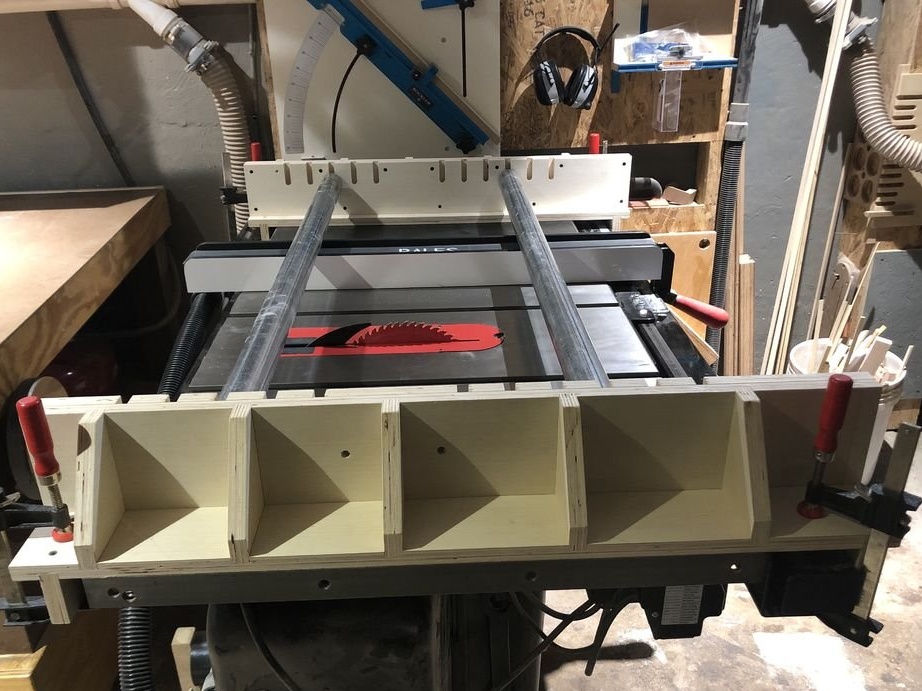
The device will consist of three parts. Two parts are identical, they will be mounted on both sides to the miter saw's work table (base), and the third part is metal pipes (guides).
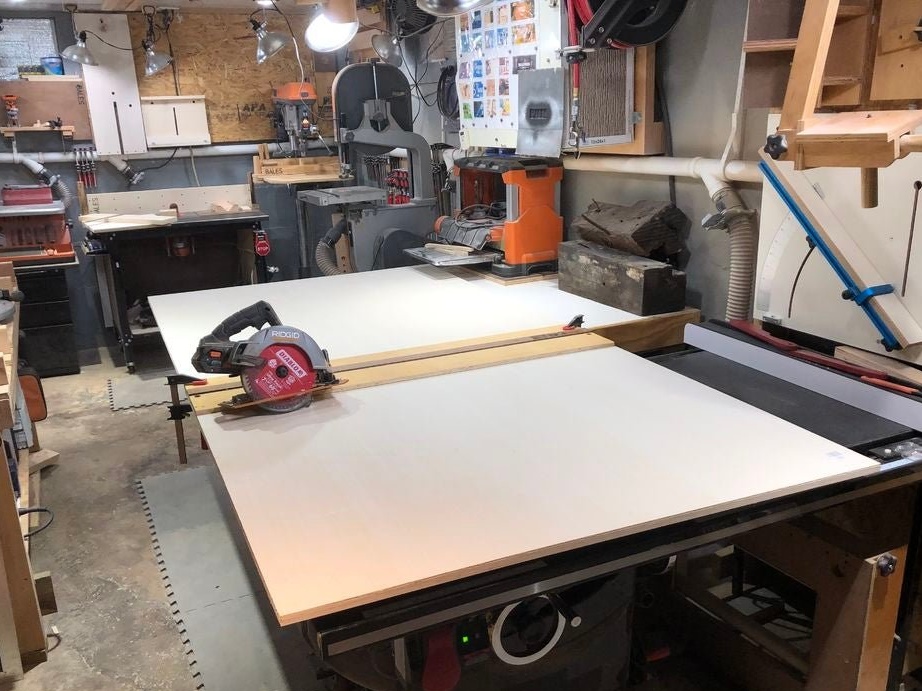
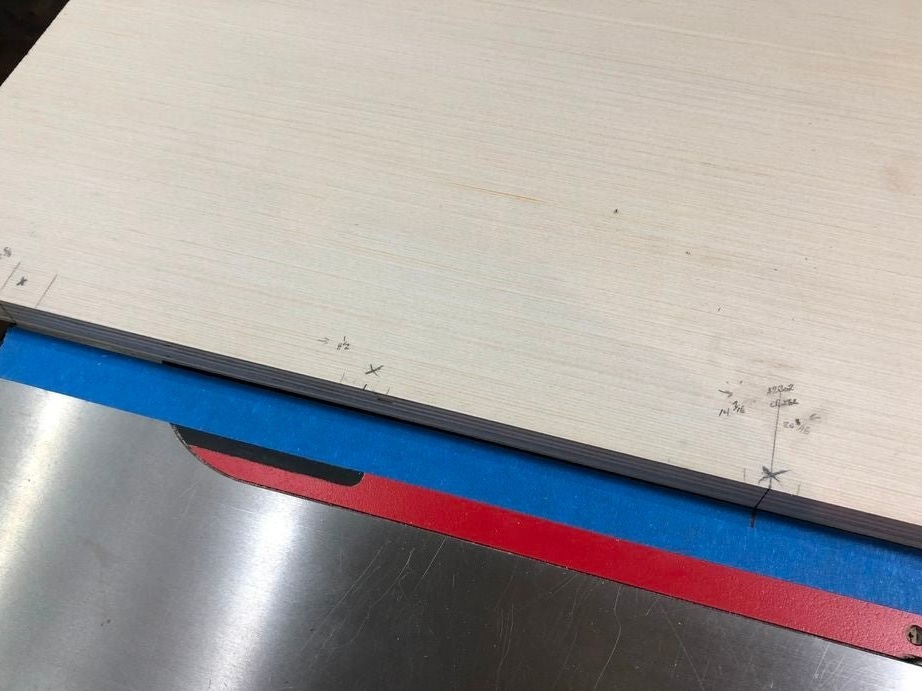
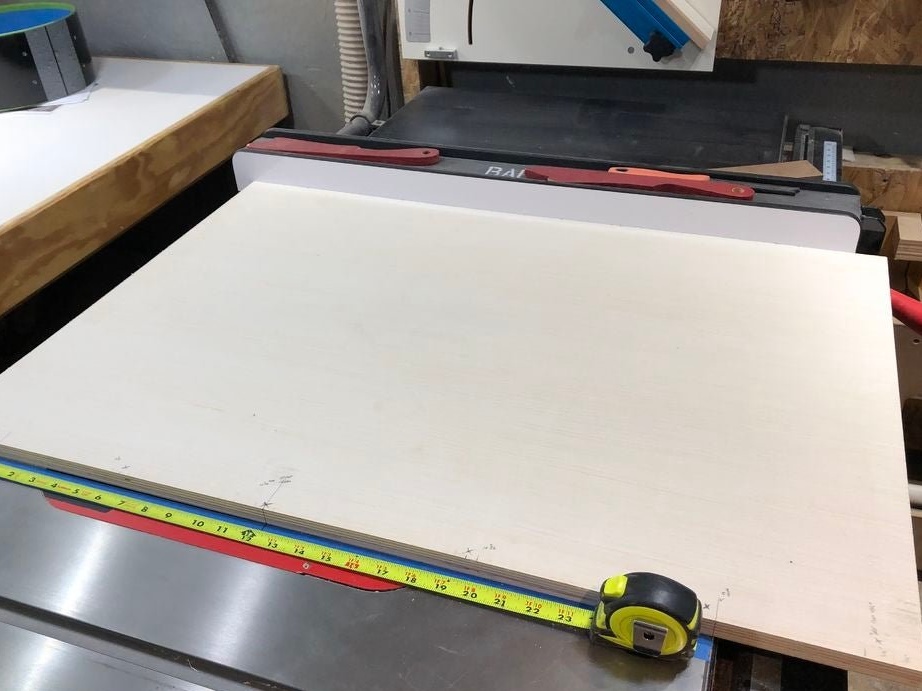
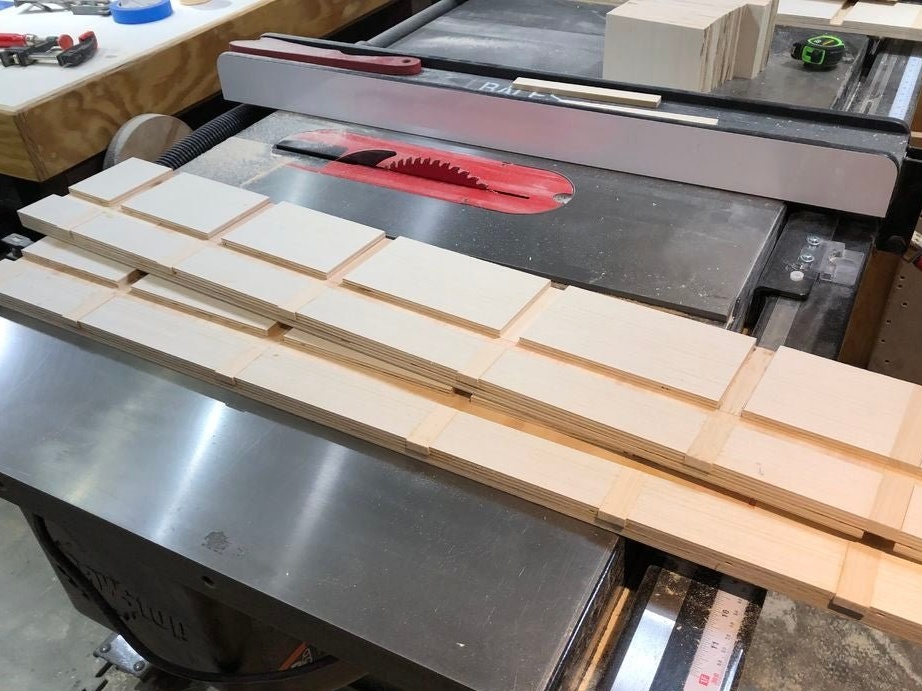
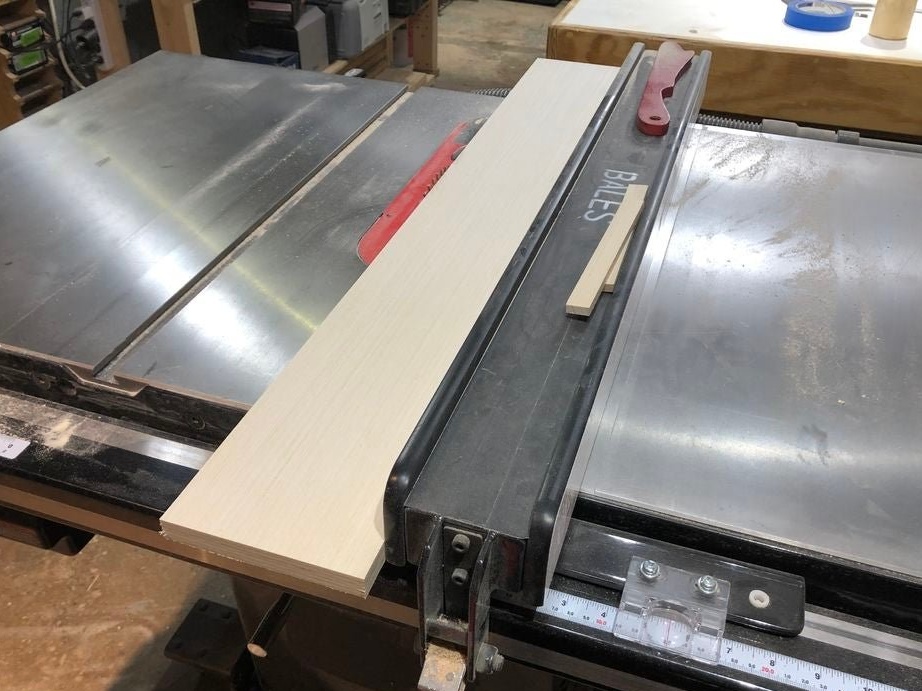
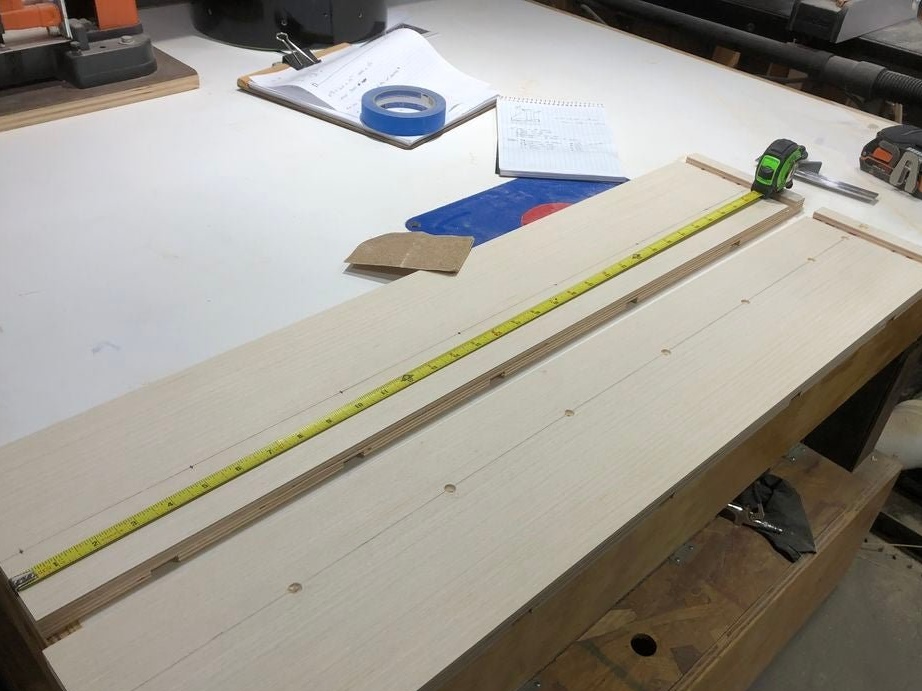
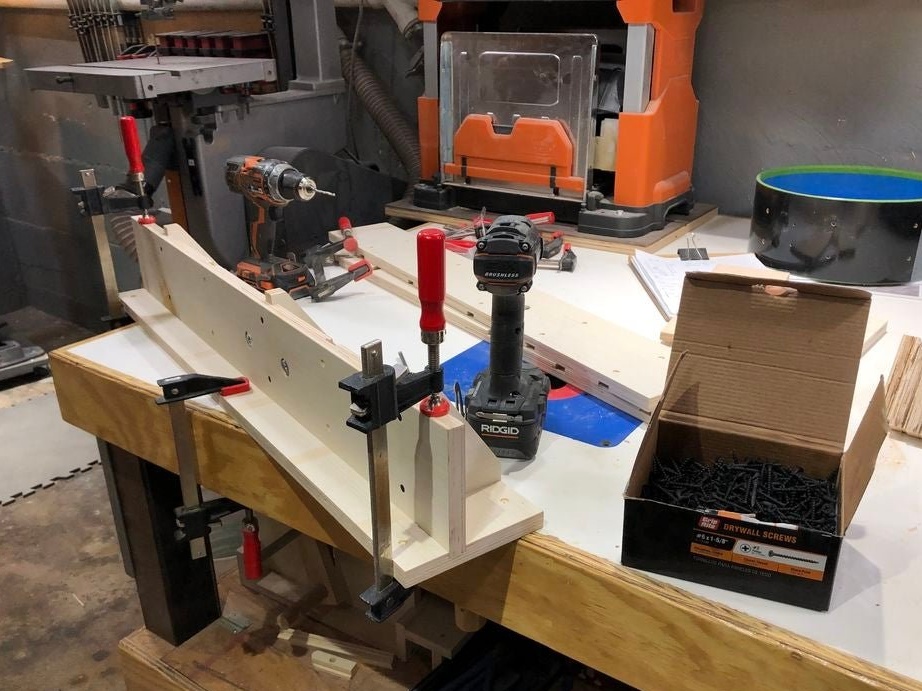
Step One: Material Preparation
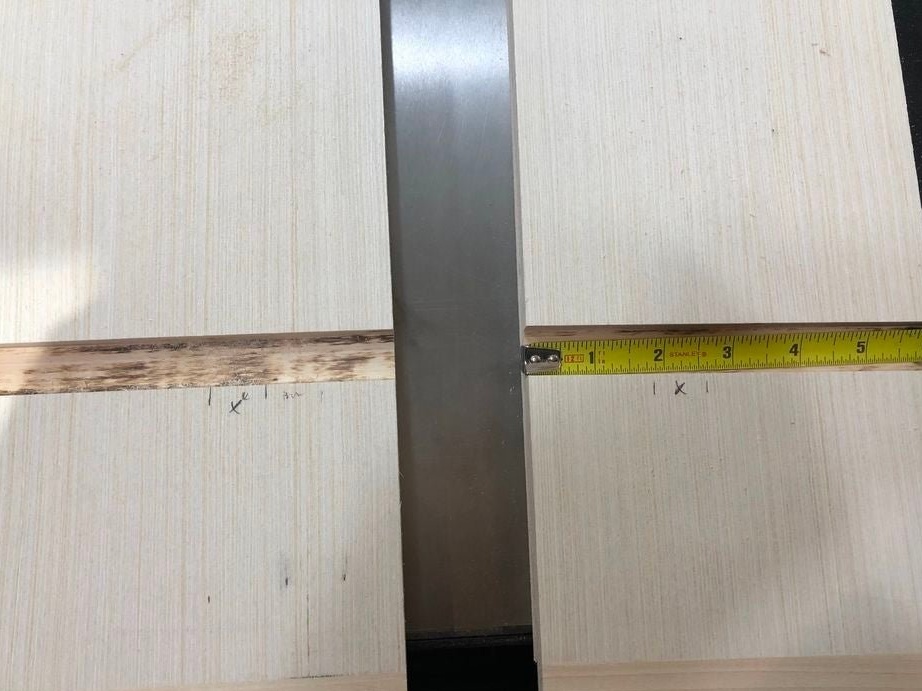
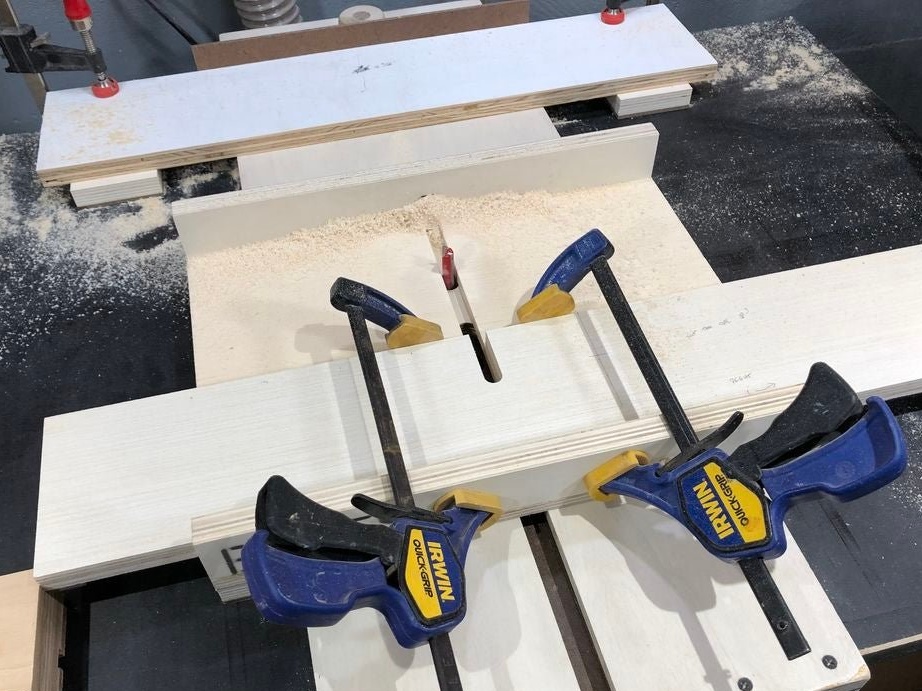
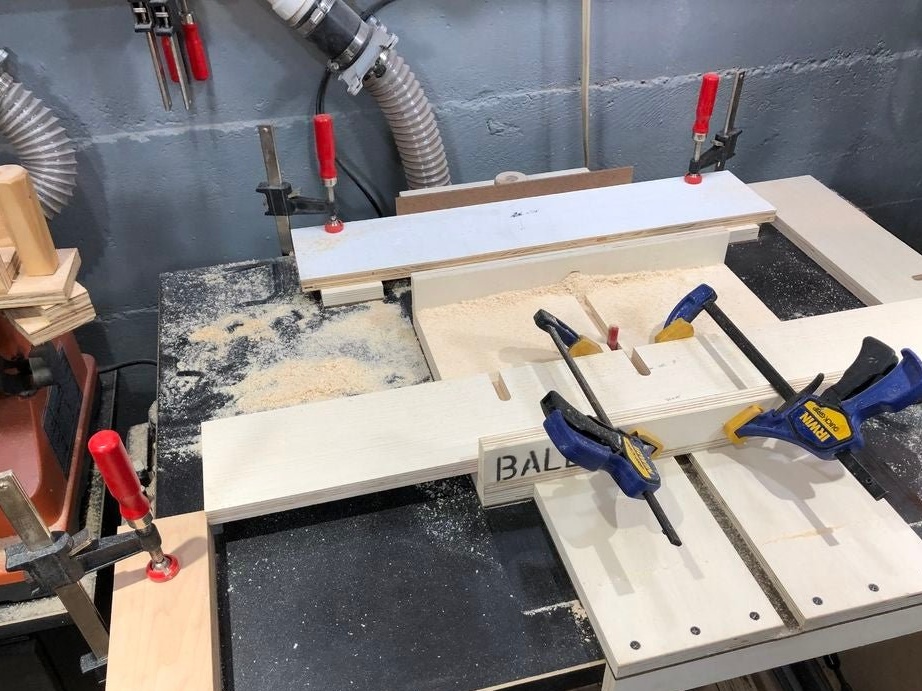
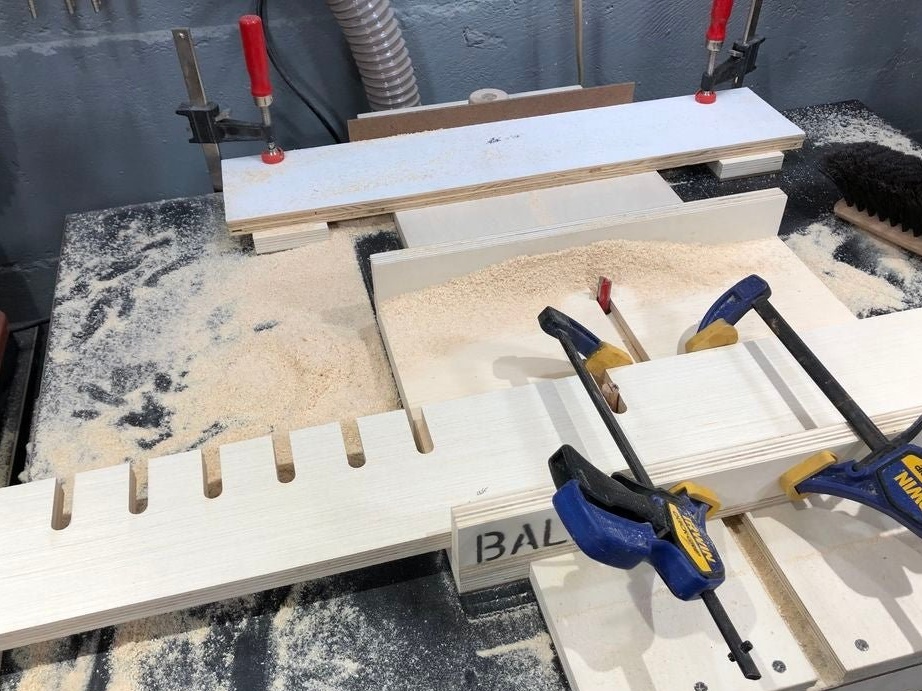
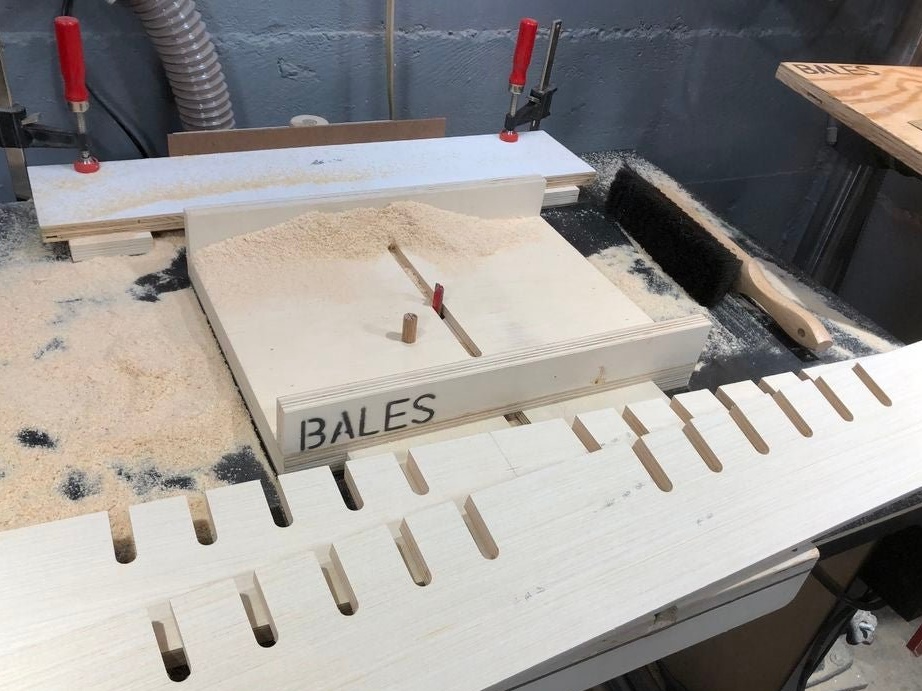
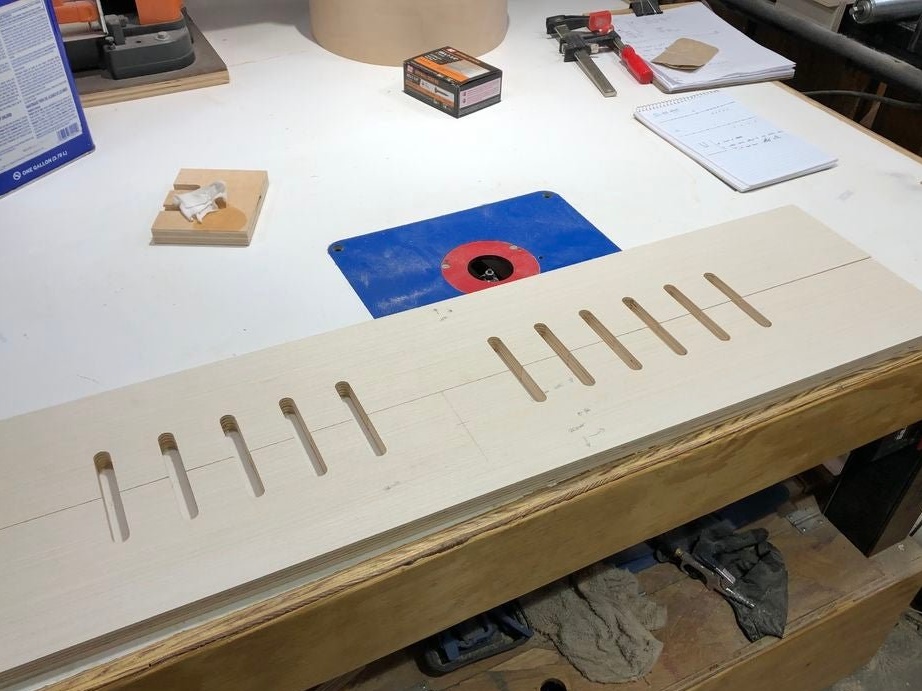
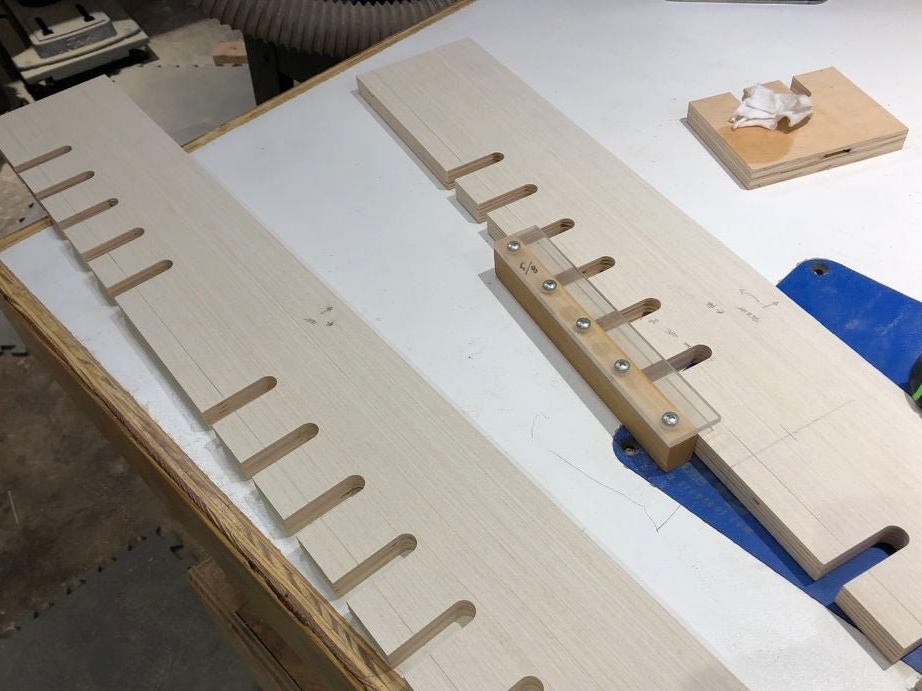
First, the master cuts the plywood sheet. Then, at regular intervals, makes markup. Frezoy cuts out grooves.
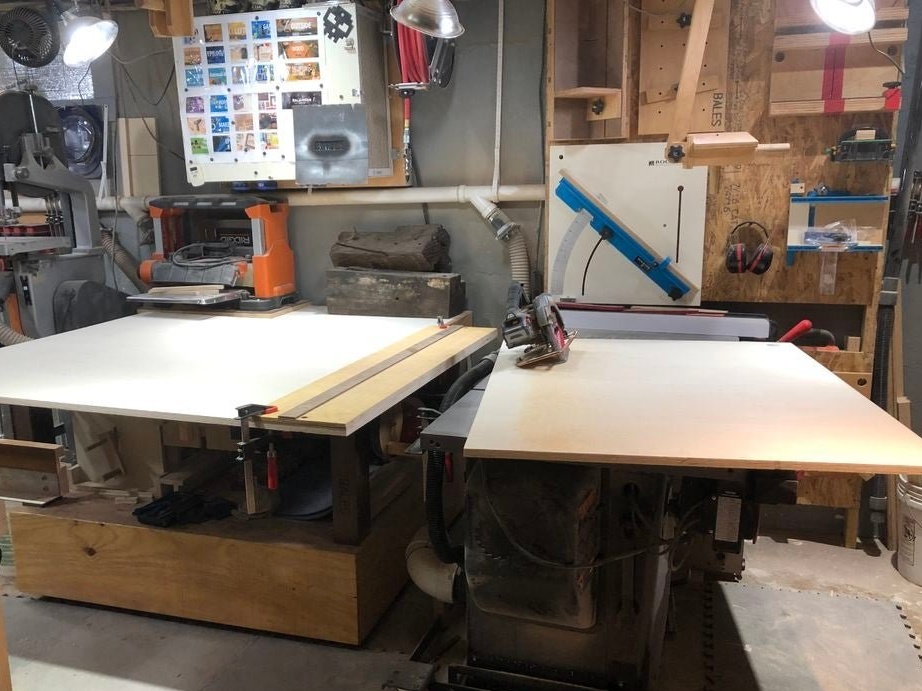
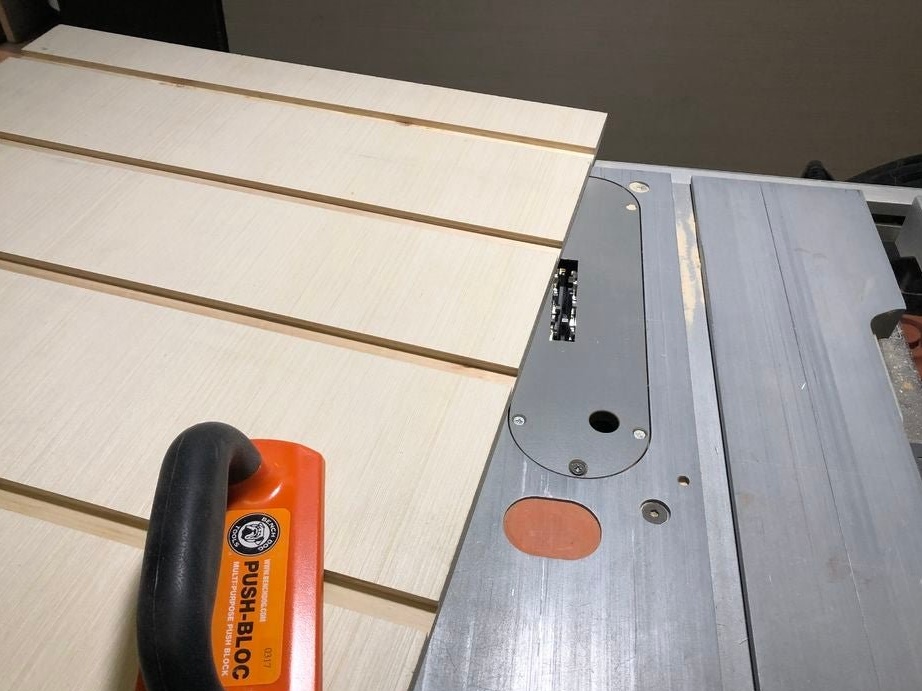
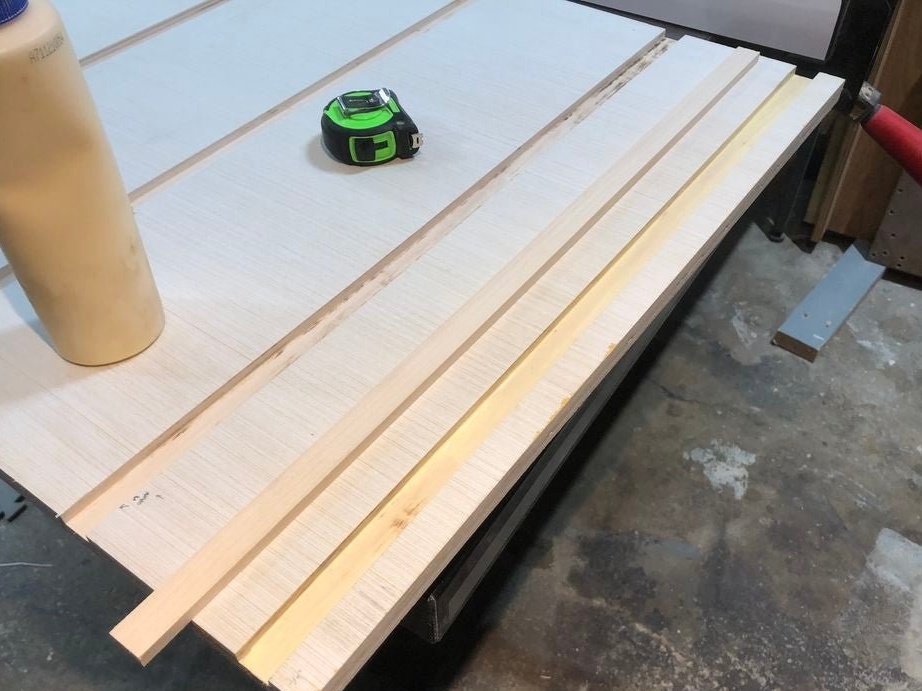
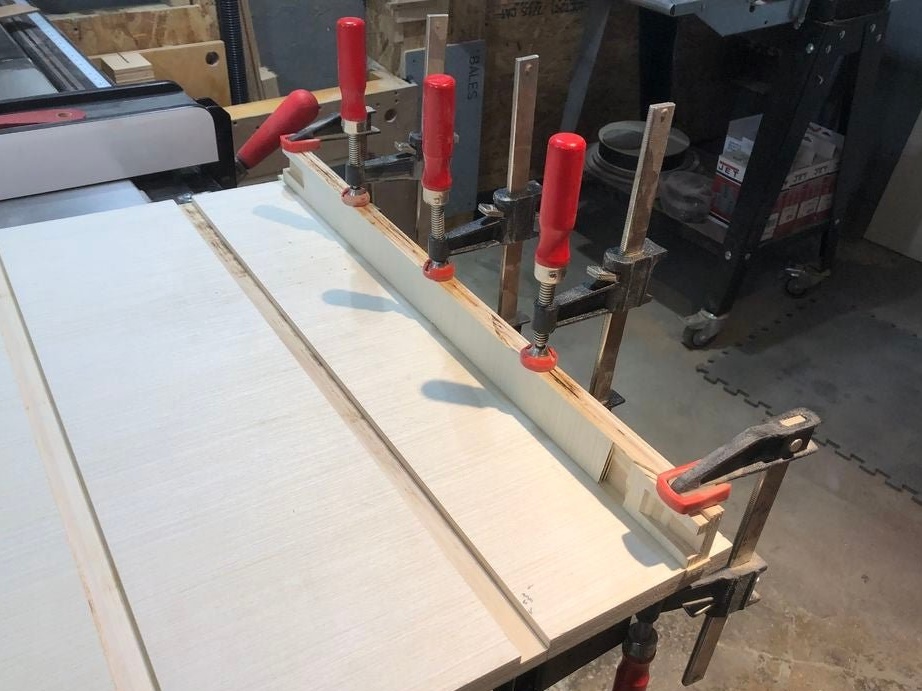
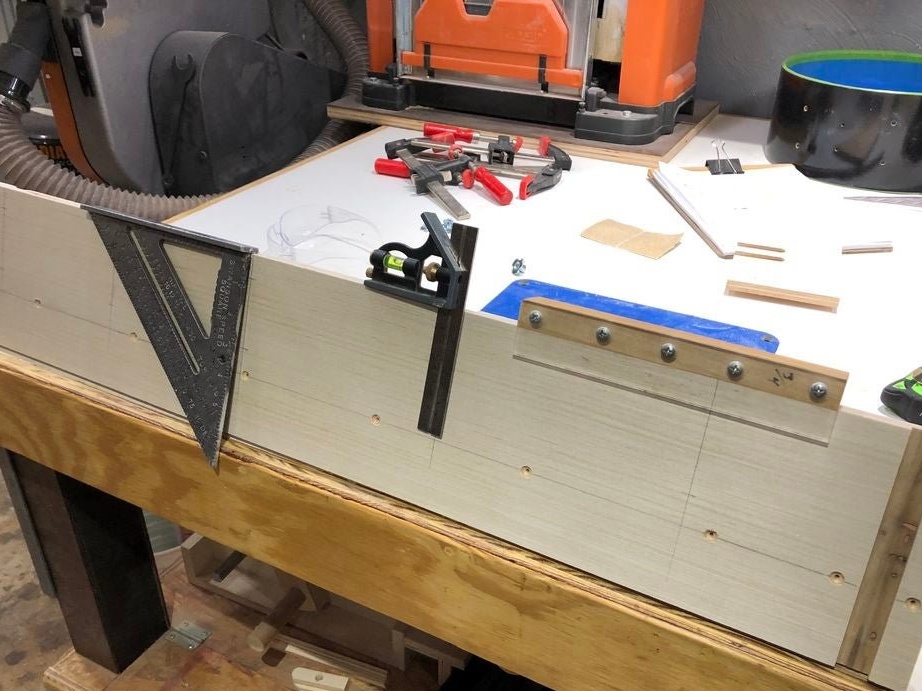
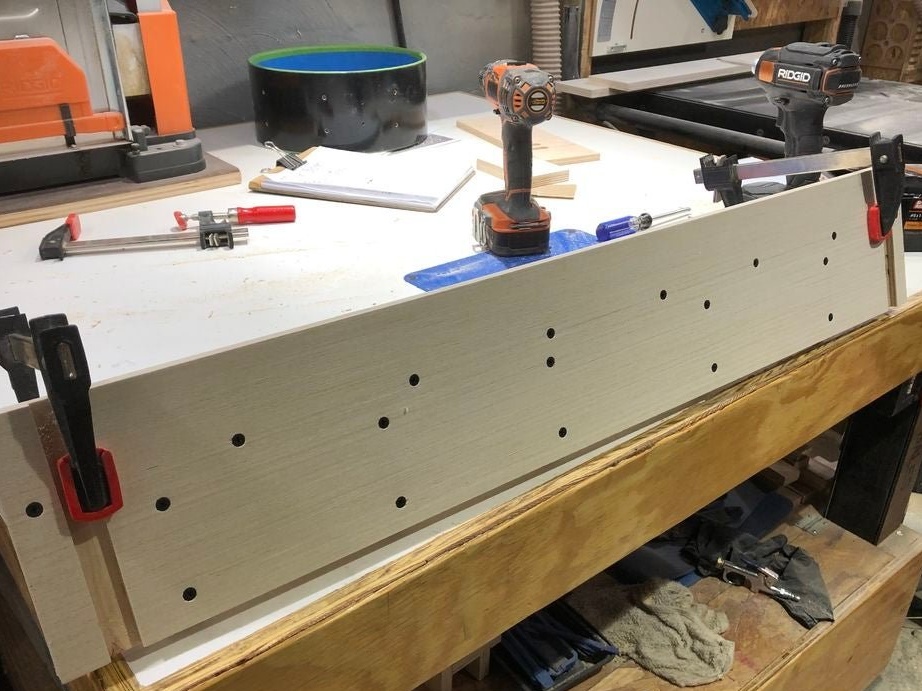
Step Two: Sawing
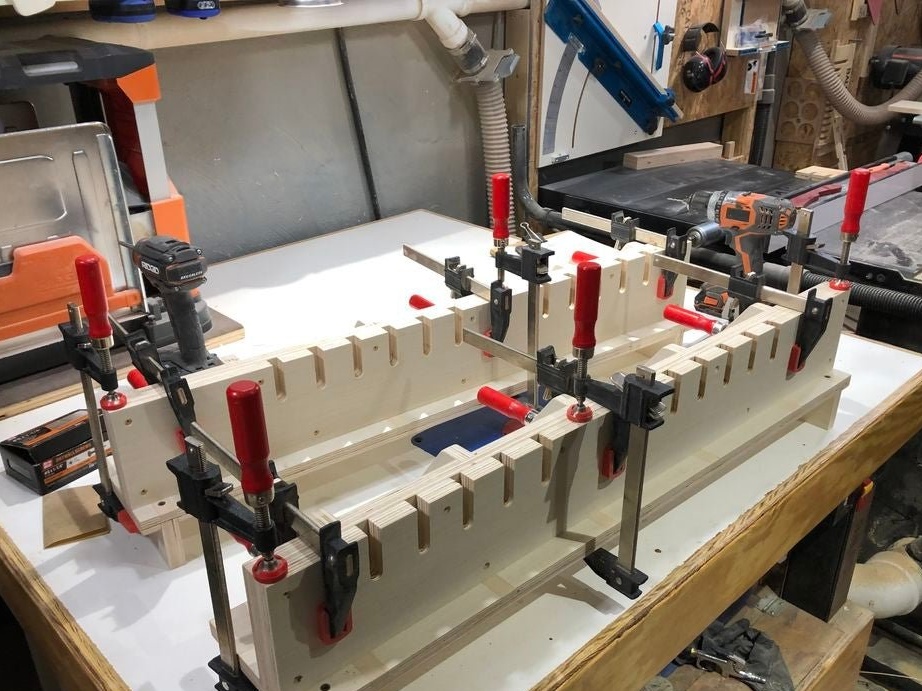
Saws the workpiece into four parts. In two workpieces, cuts a groove for the entire length.
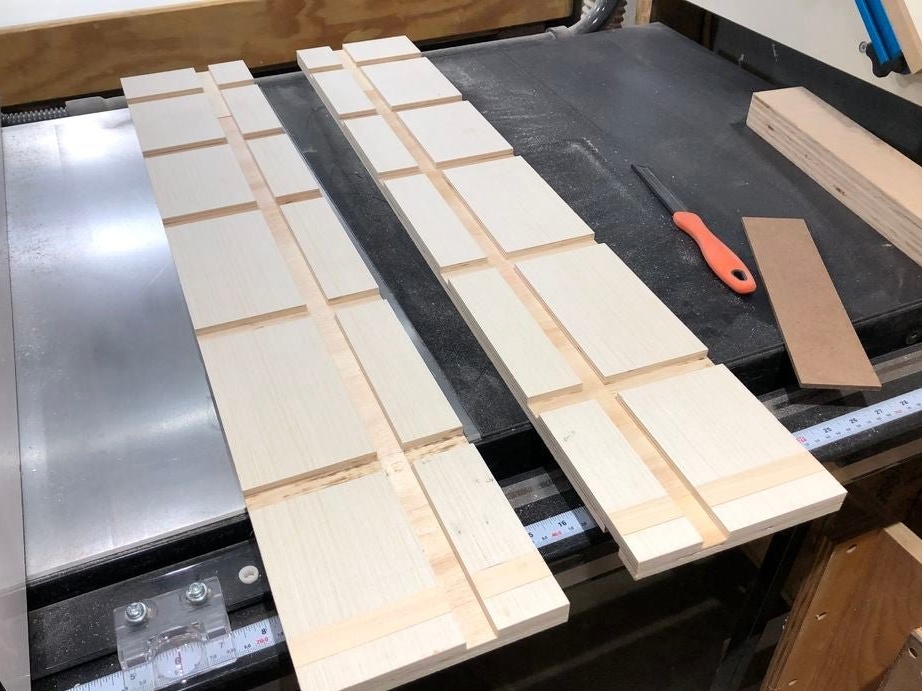
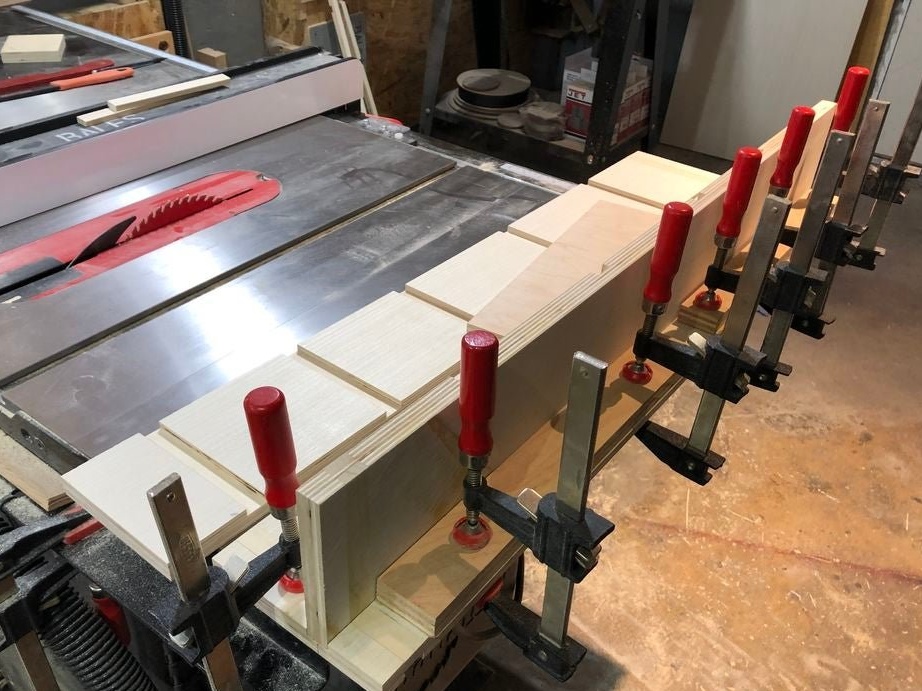
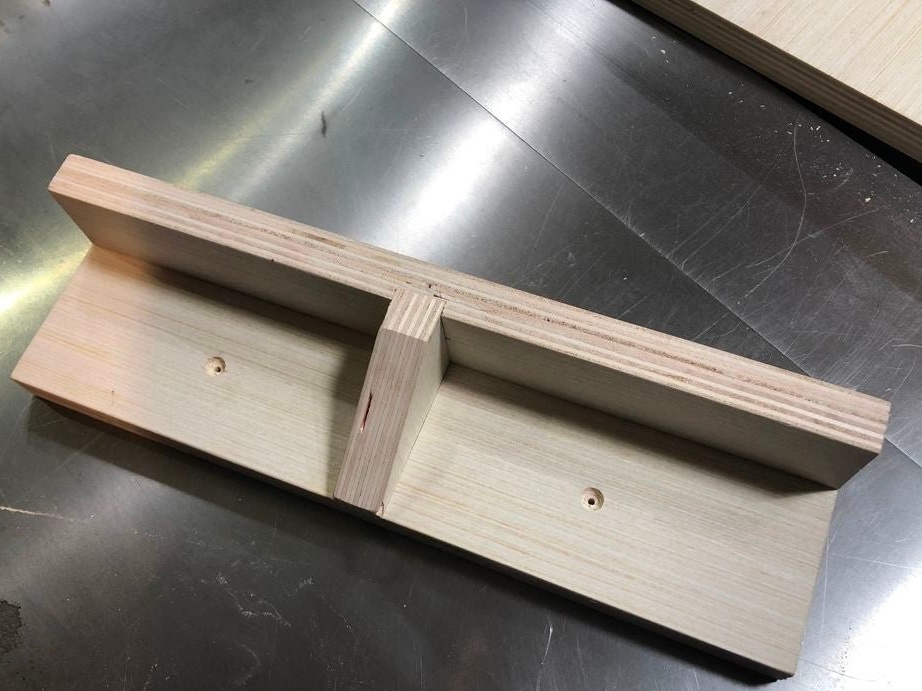
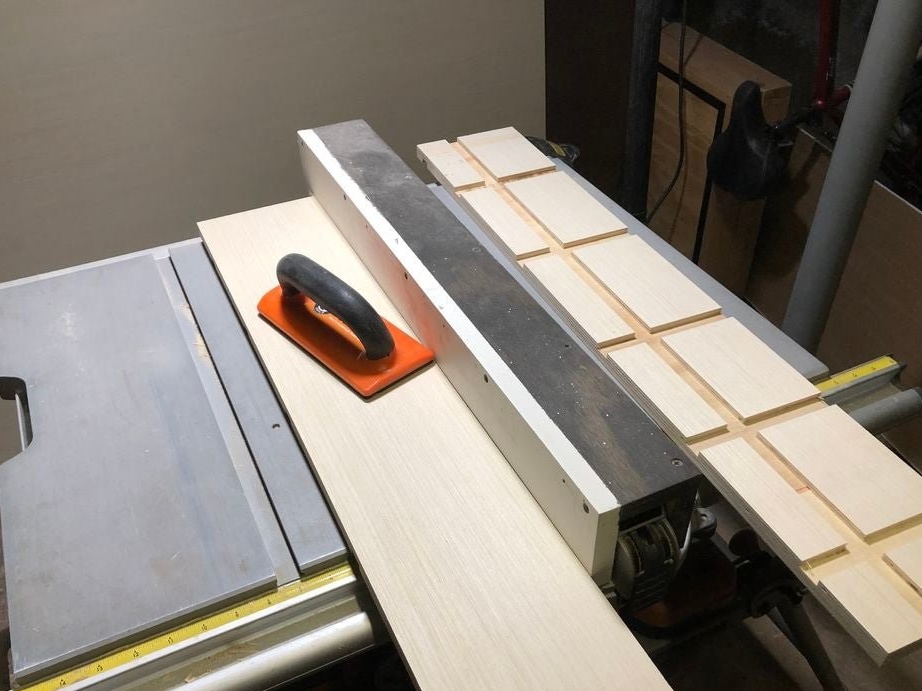
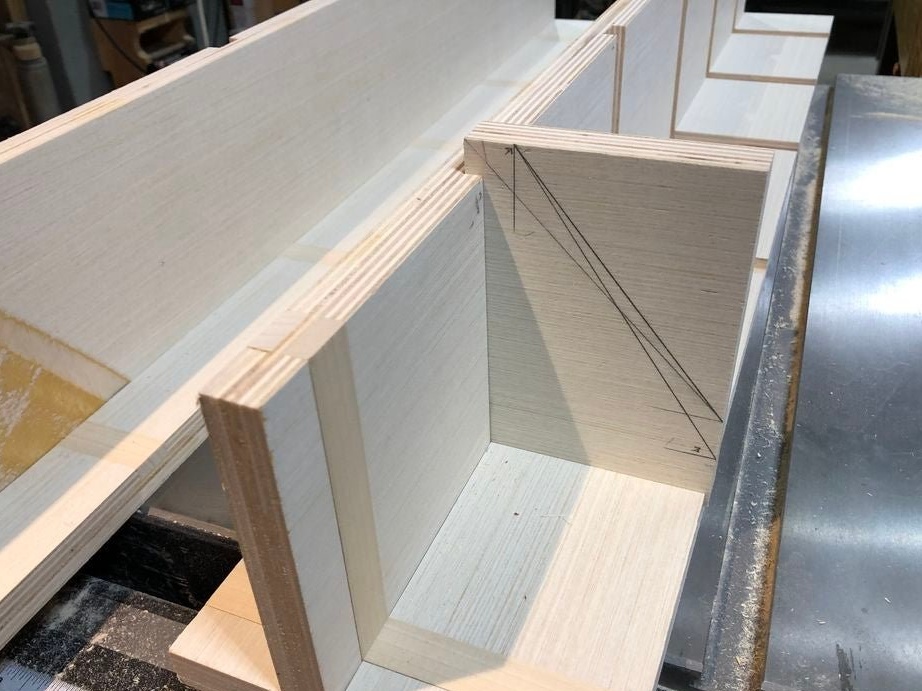
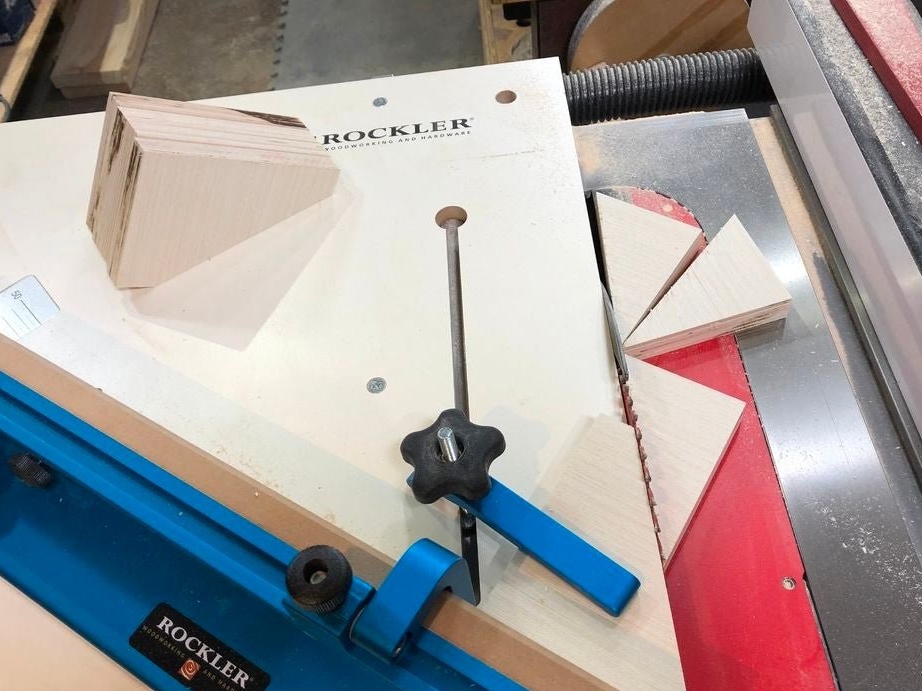
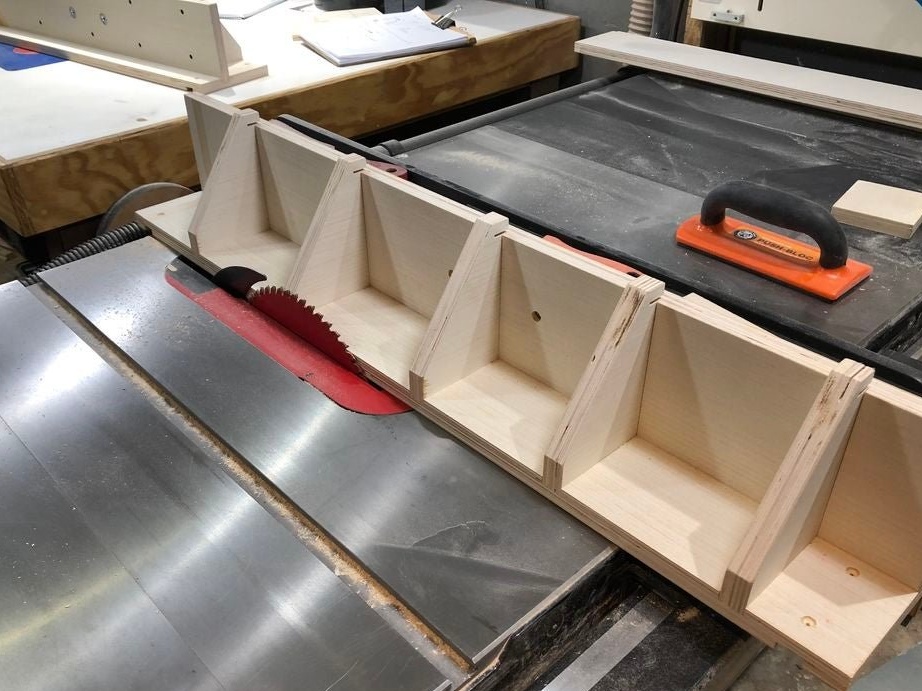
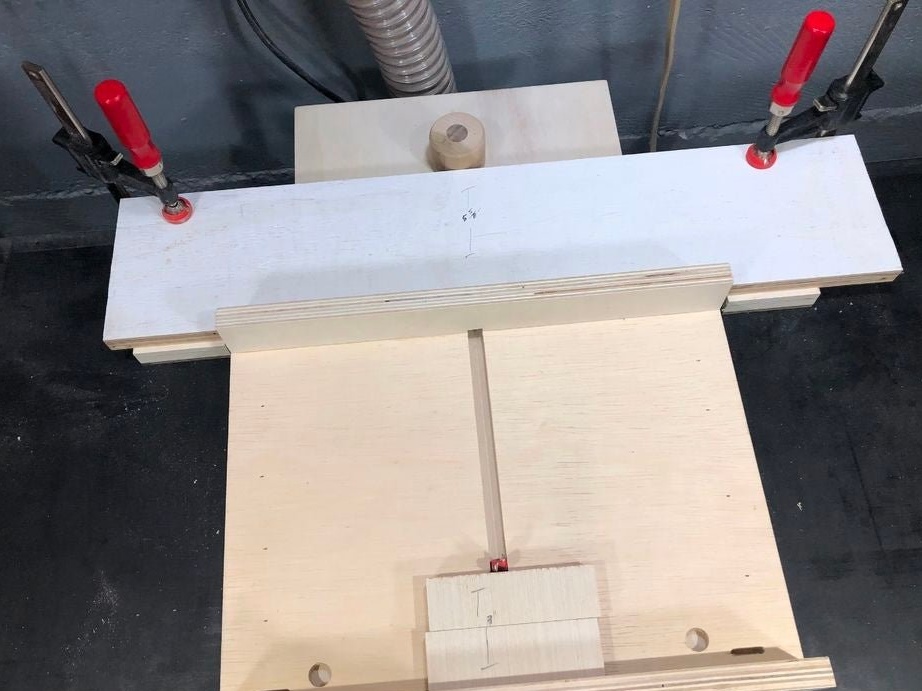
Step Three: Stops
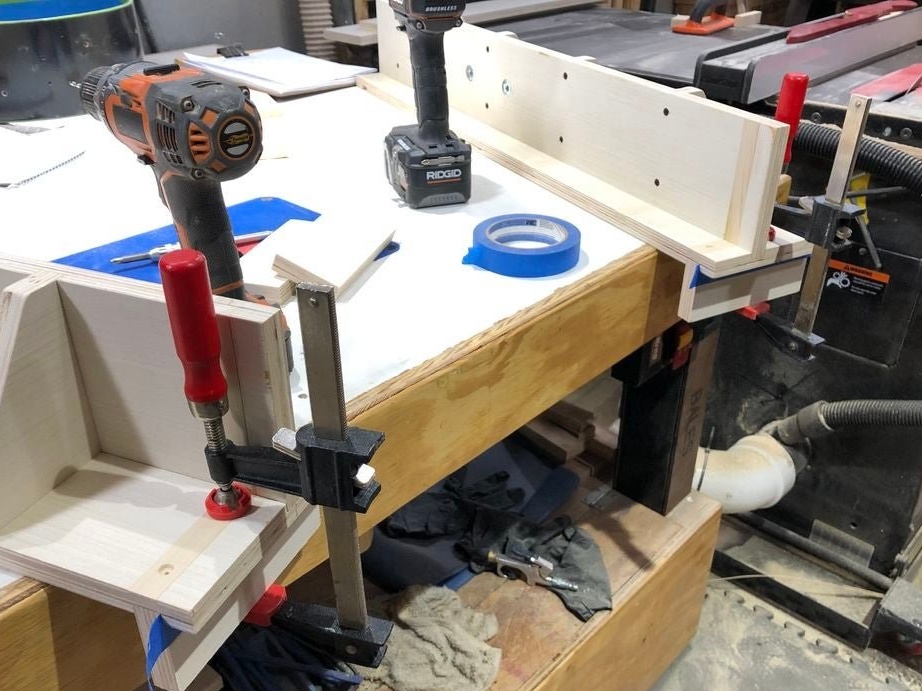
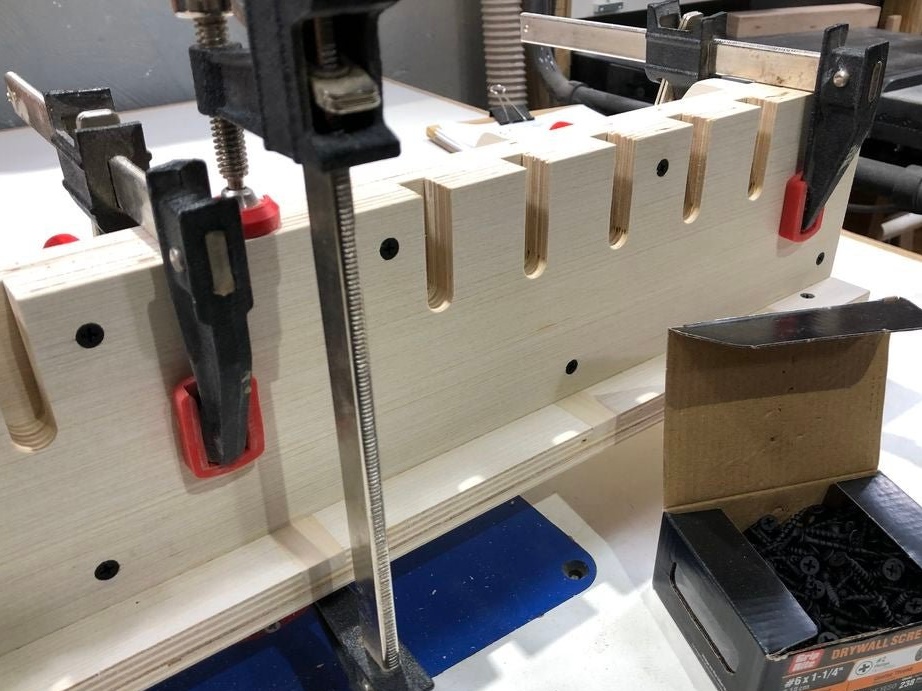
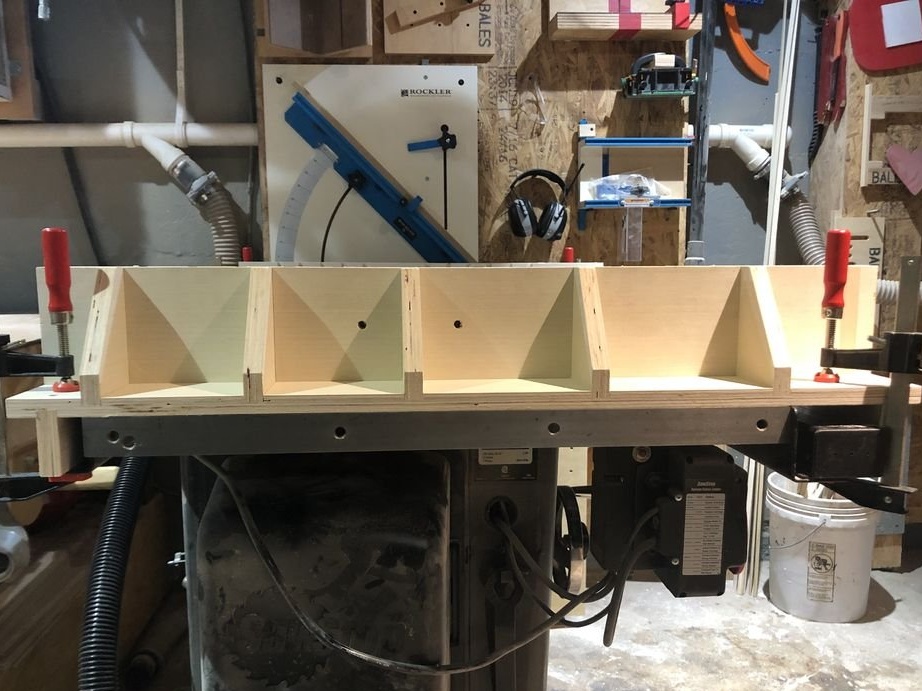
The base is made in the form of an inverted letter T. On the outside of the base, in the grooves, stops are fixed. Stops are triangles made of wood.
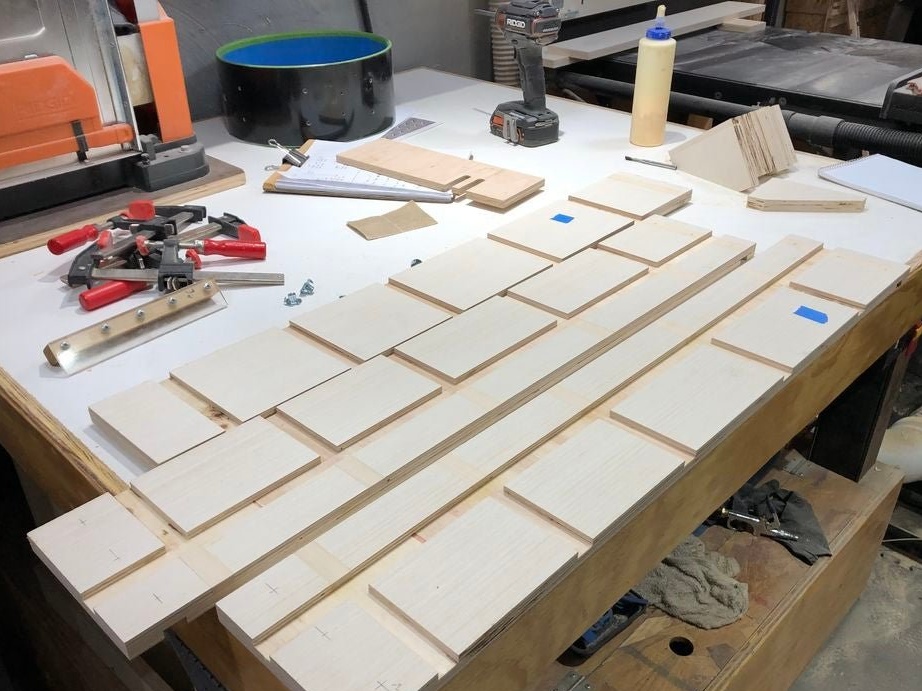
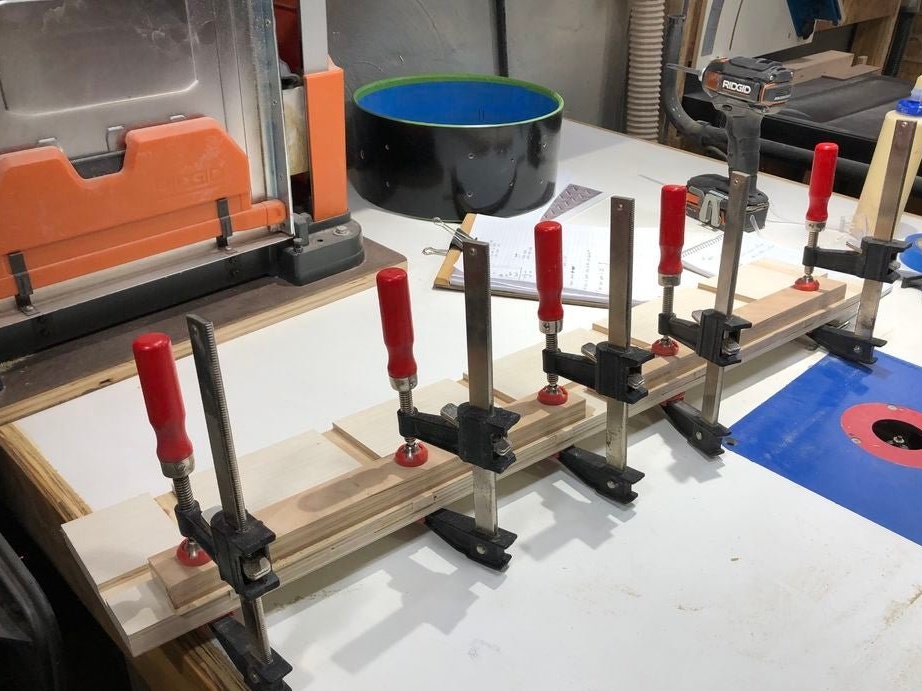
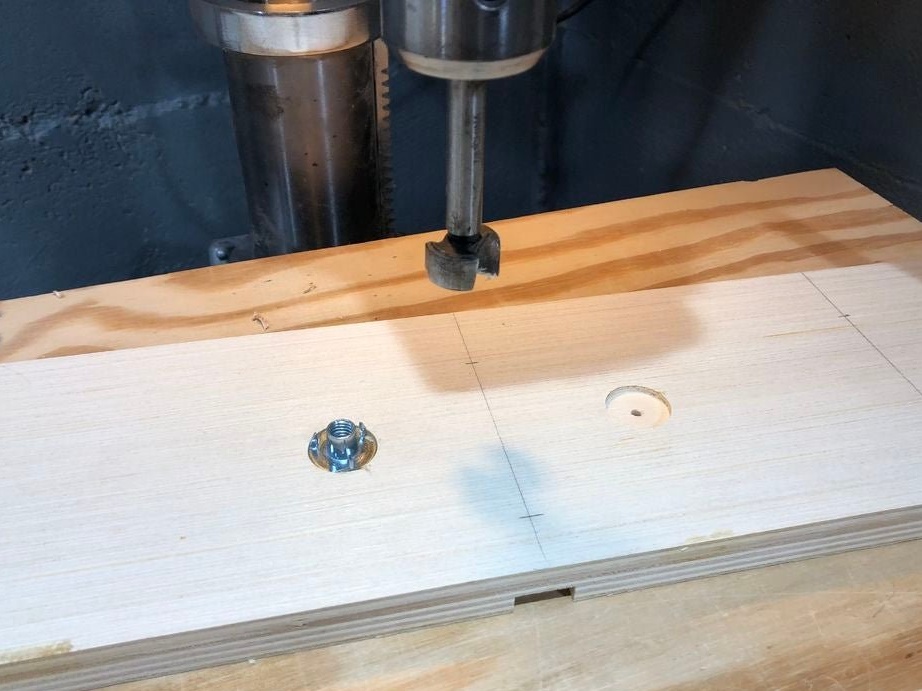
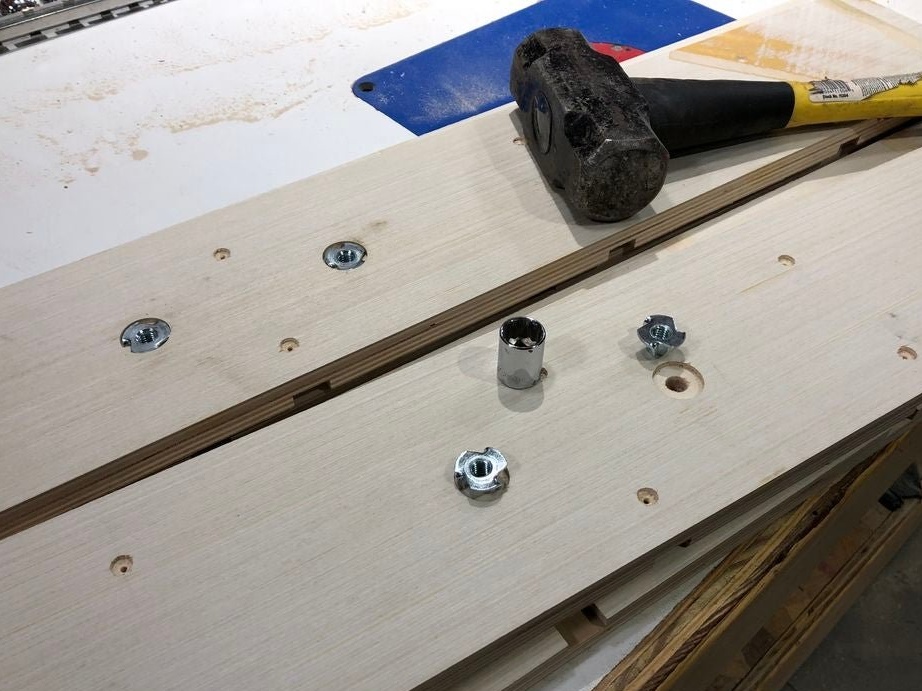
Step Four: Threaded Inserts
The stops will be attached to the glue and using threaded inserts. The wizard marks and drills holes.
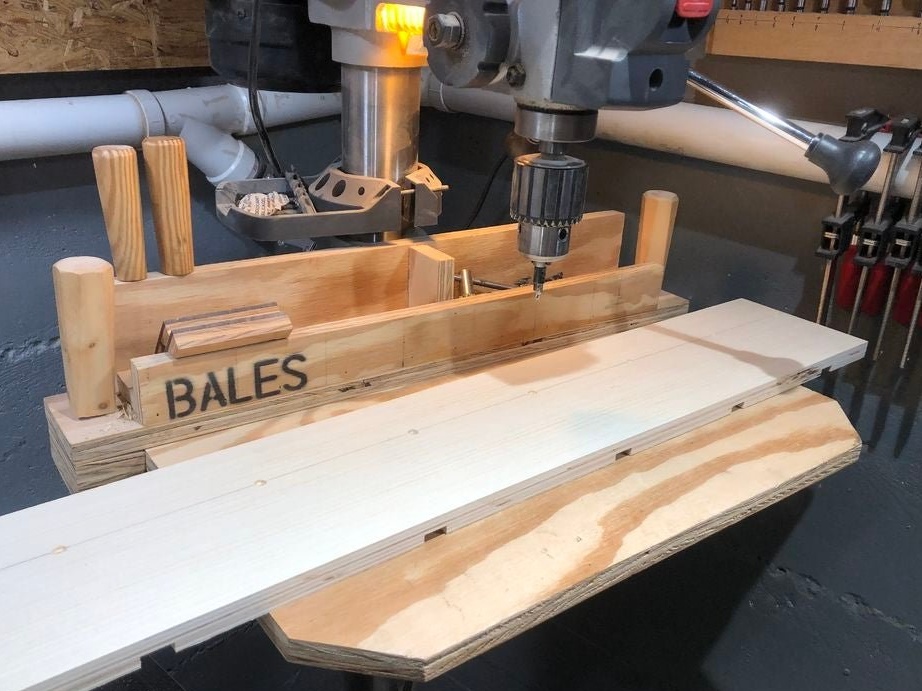
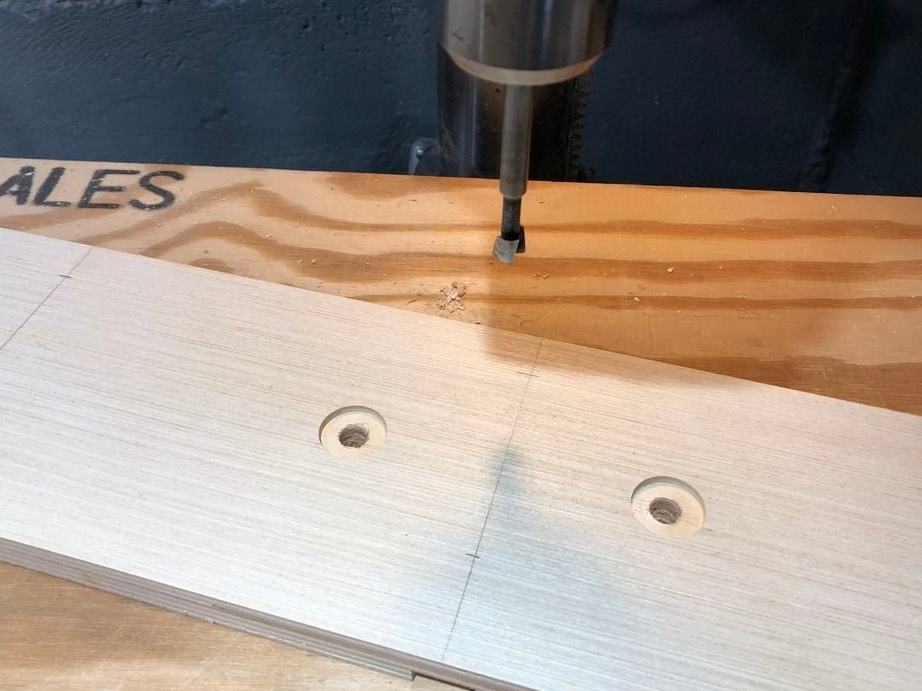
Installs threaded inserts and assembles bases.

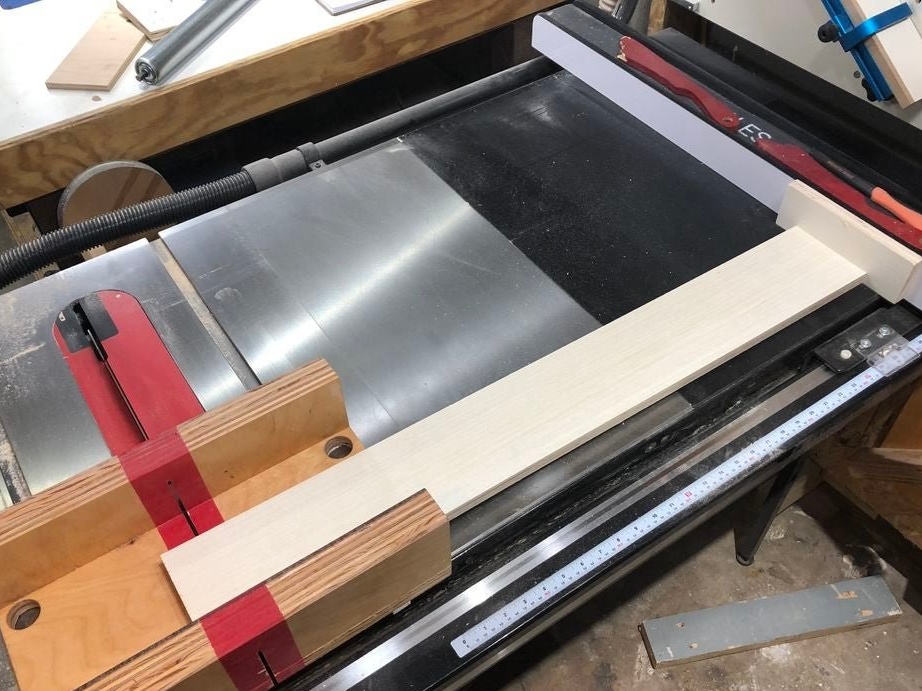
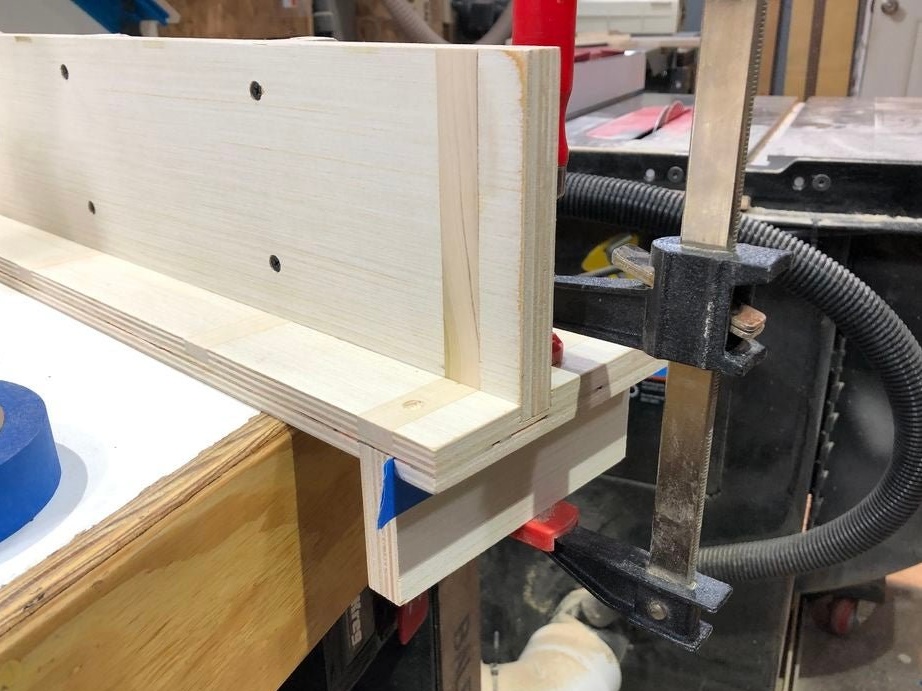
Step Five: Bottom
Then the master makes and fixes the lower part of the base. The main thing here is to correctly maintain right angles, as the lower part will be responsible for aligning the base relative to the desktop.

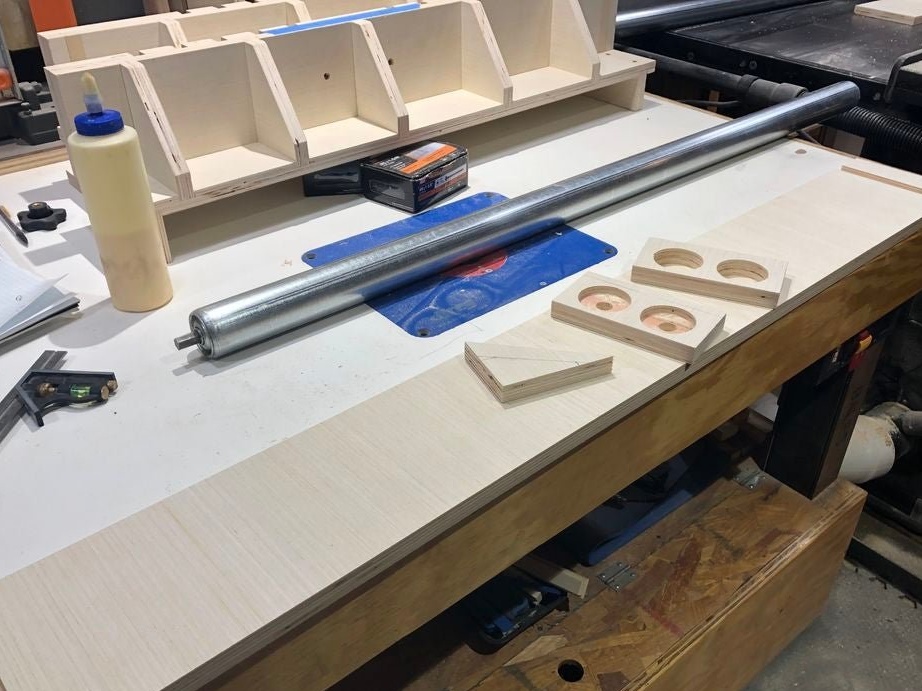
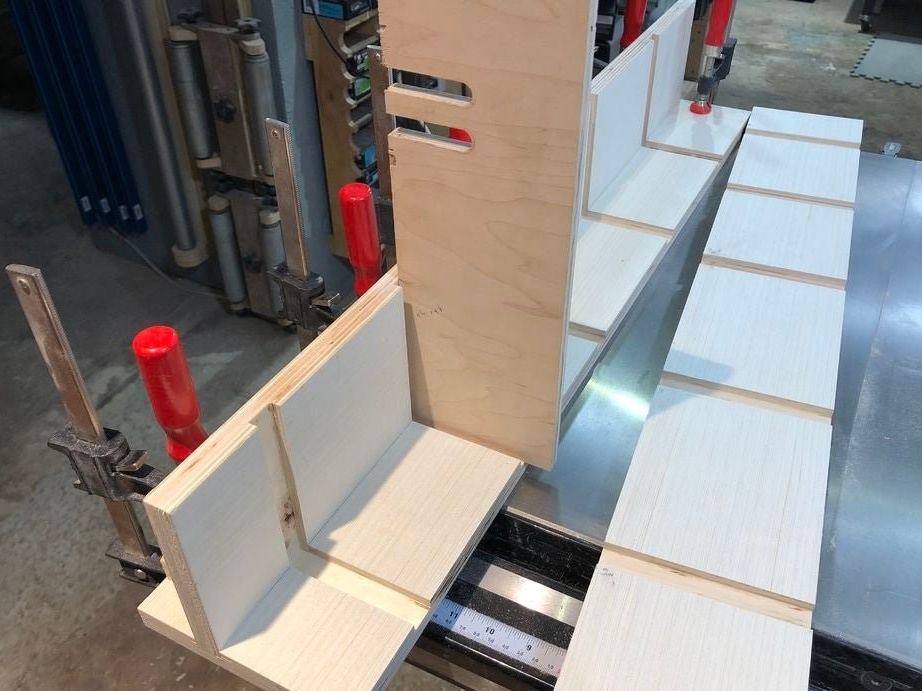
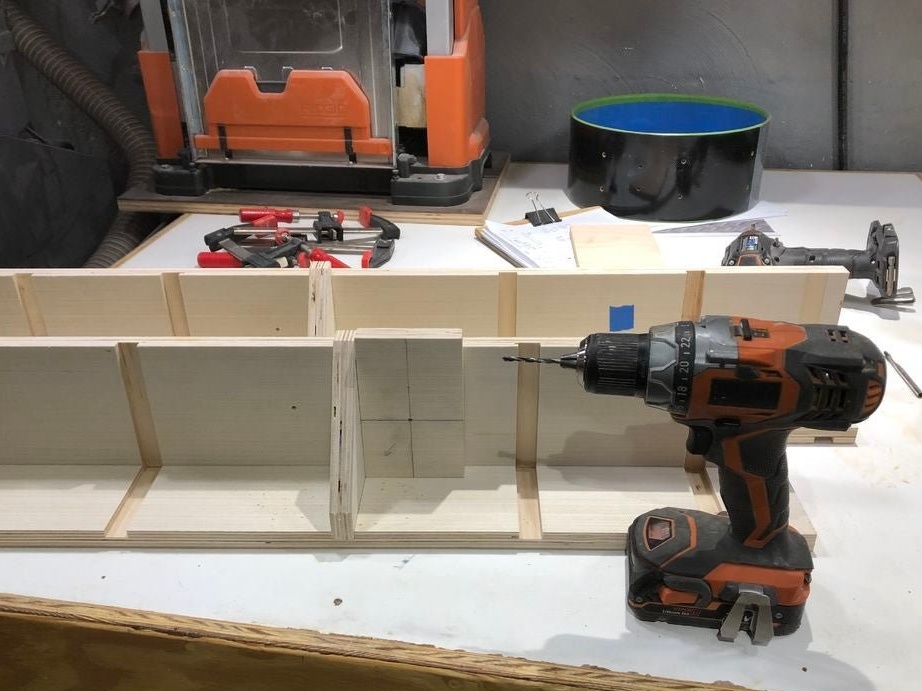
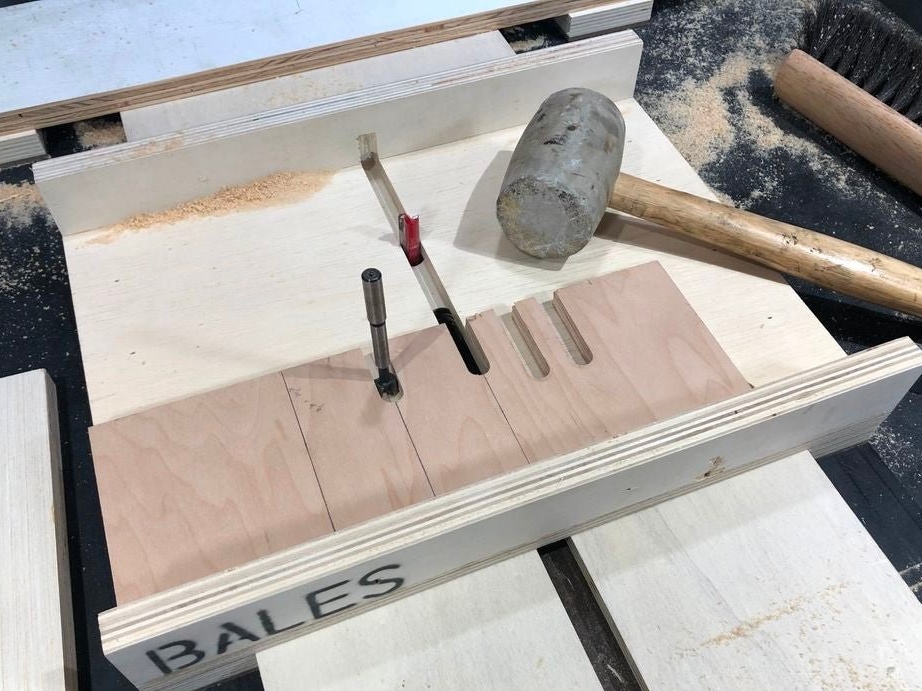
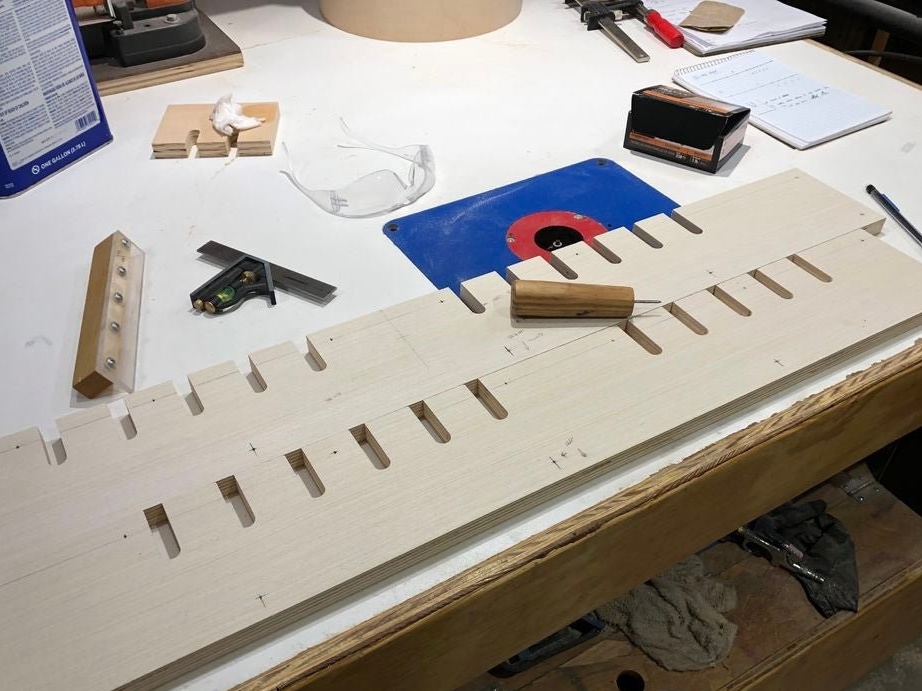
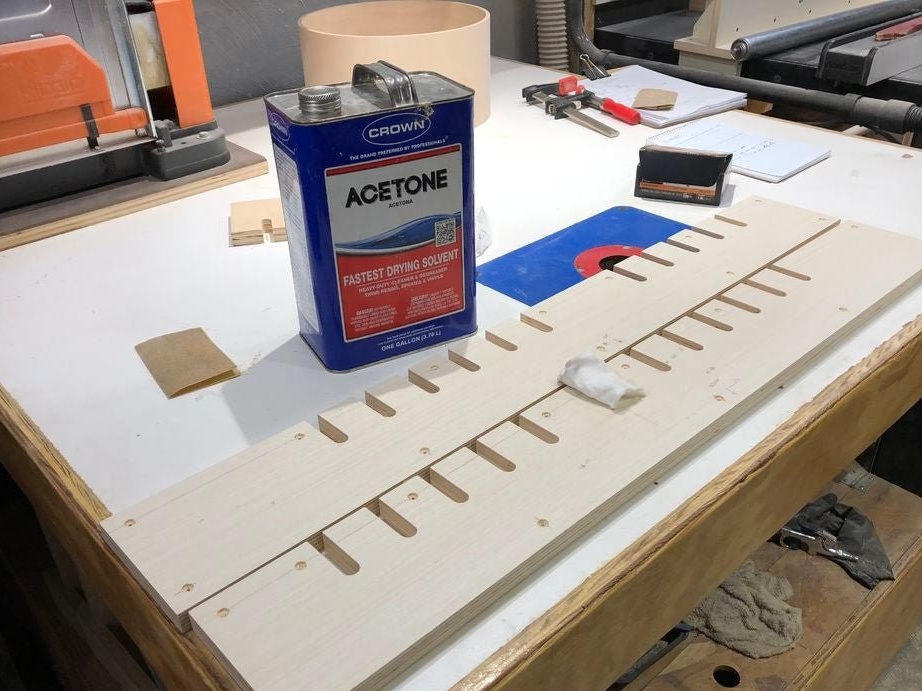
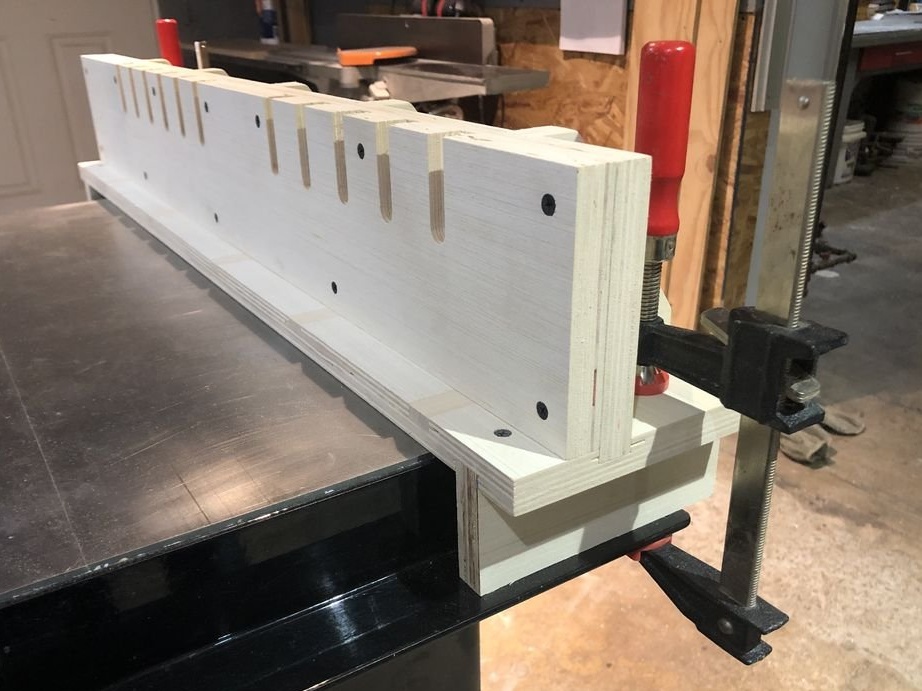
Step Six: Slots for Guides
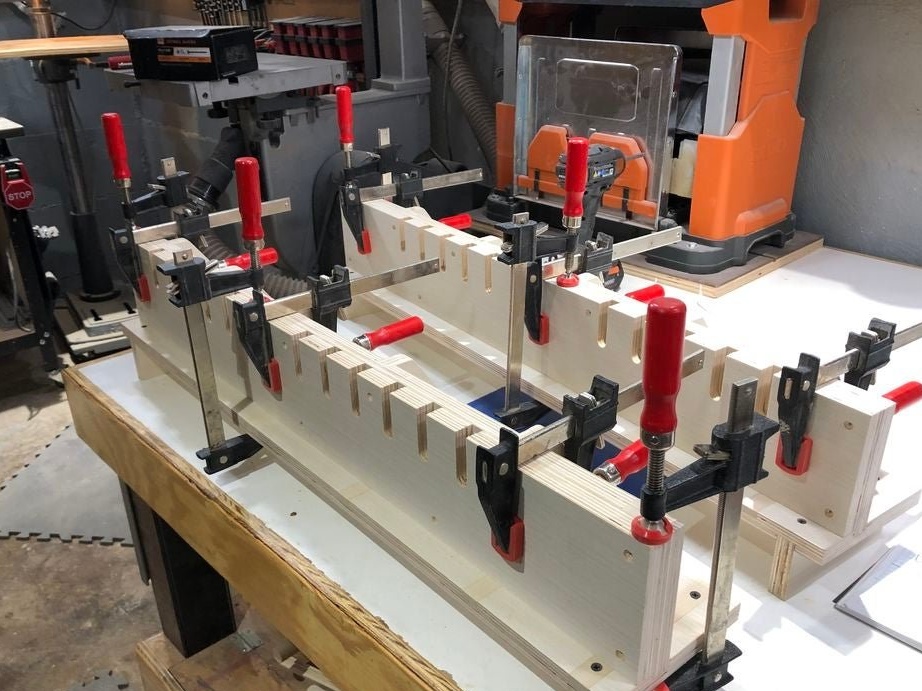
To install the guides, so as not to weaken the structure, the master will make grooves in the additional boards. Cut two boards. Fastens them from the inside of the base. Then removes from the base and cuts out the grooves.
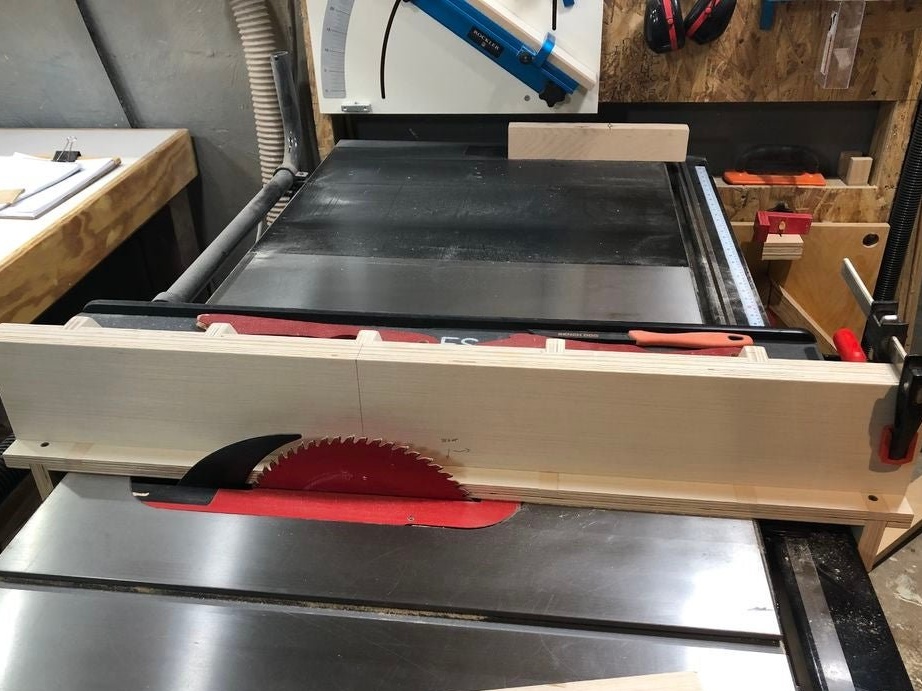

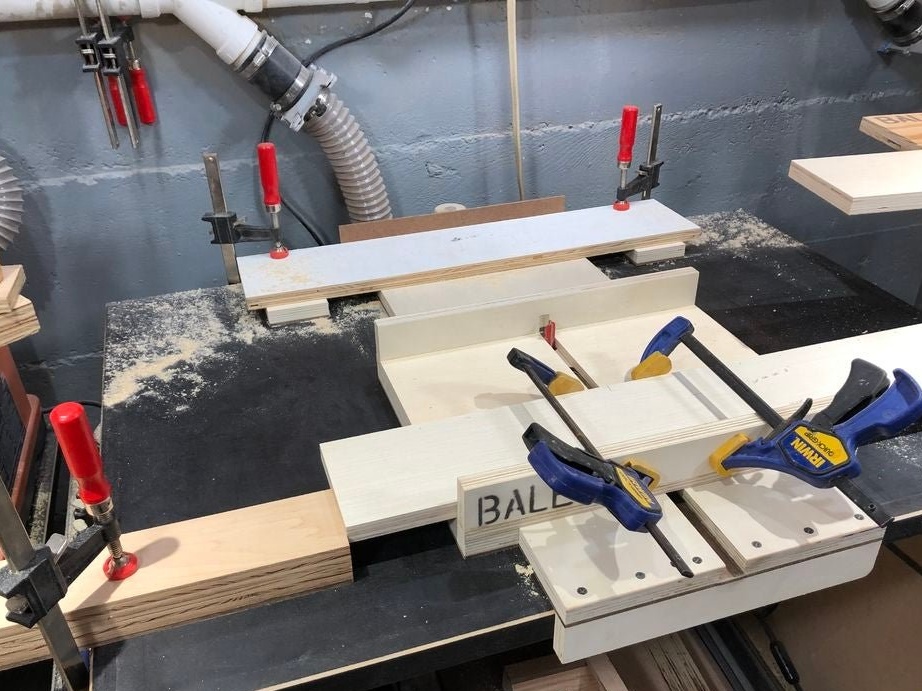
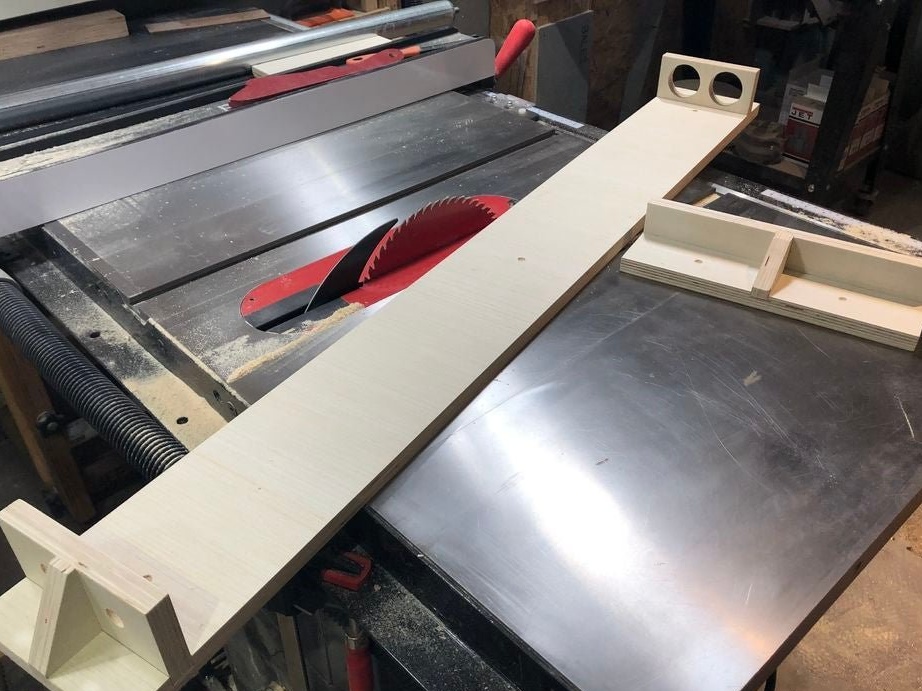
Seventh step: fixing the boards
Then the master marks and drills the mounting holes and fixes the boards on both halves of the base.

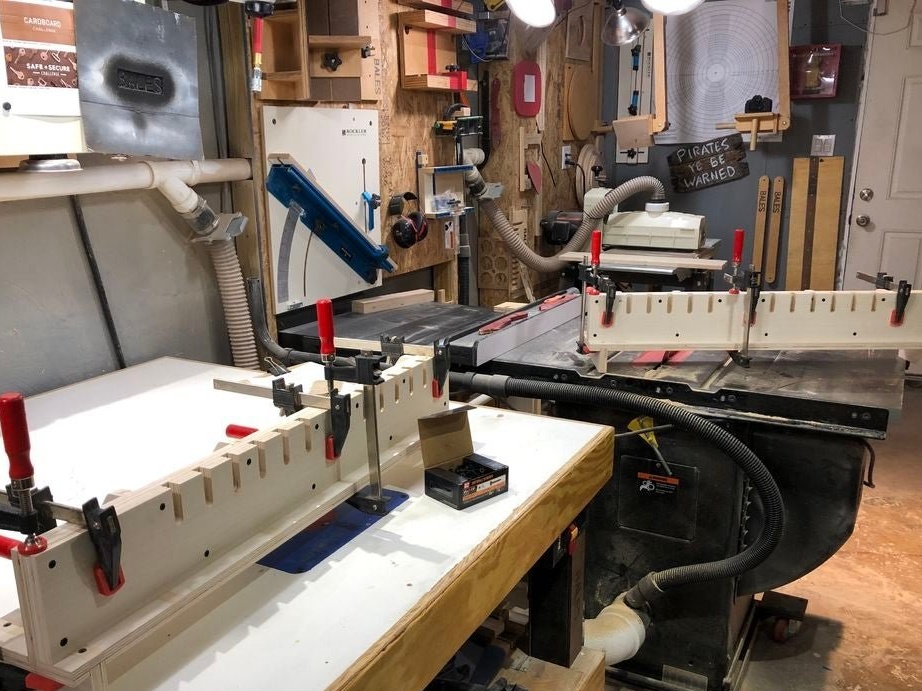
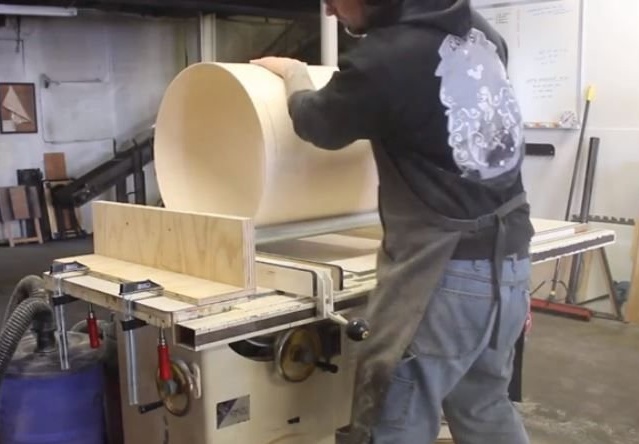
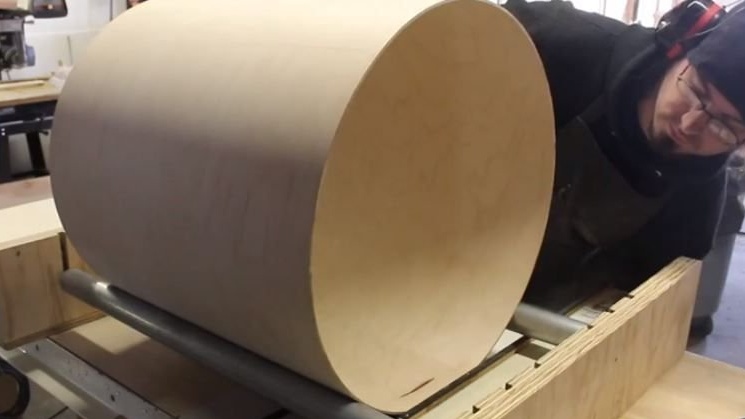
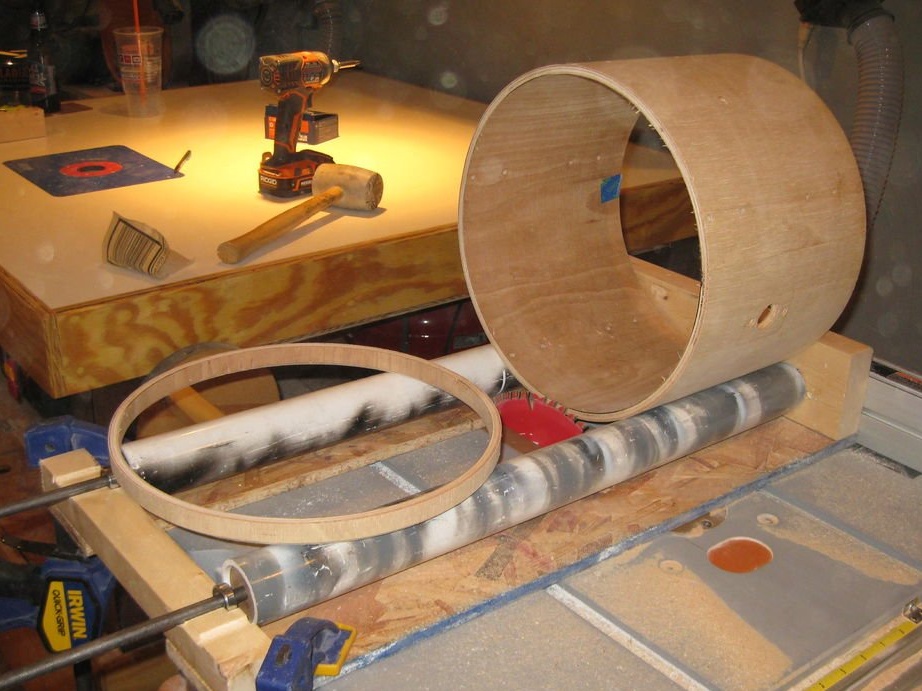
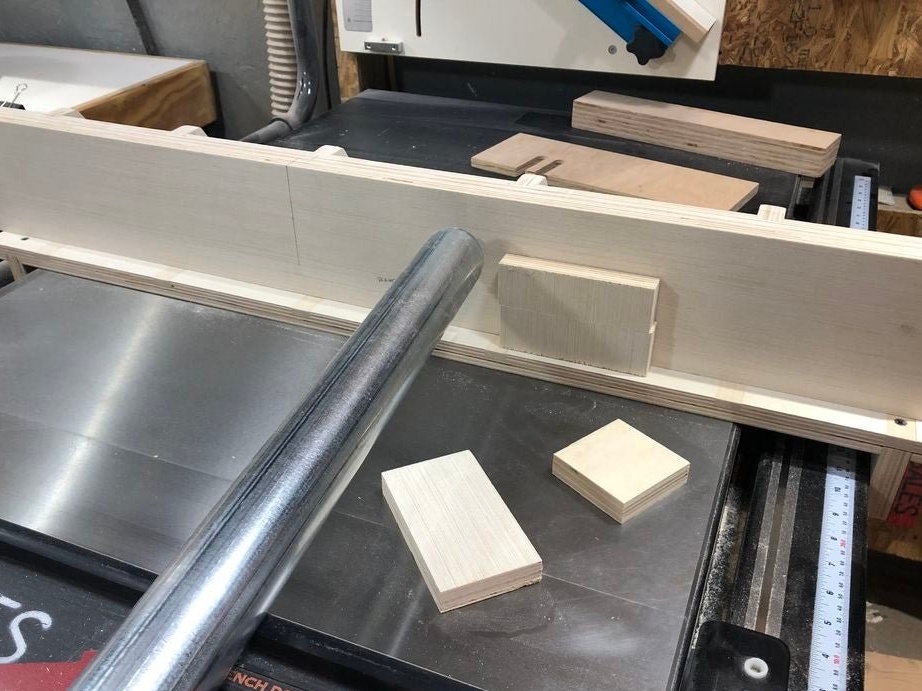
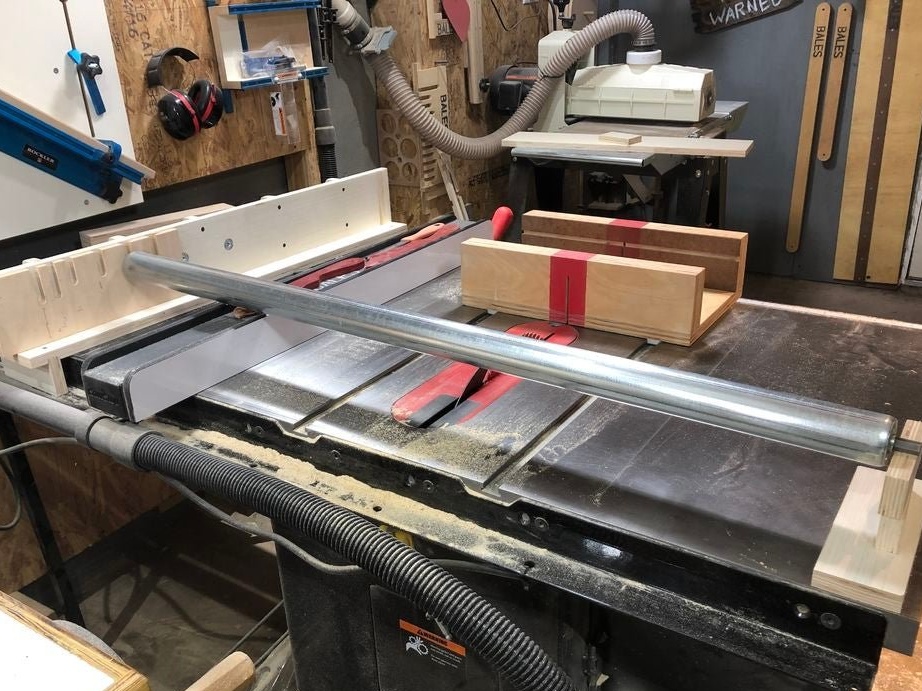
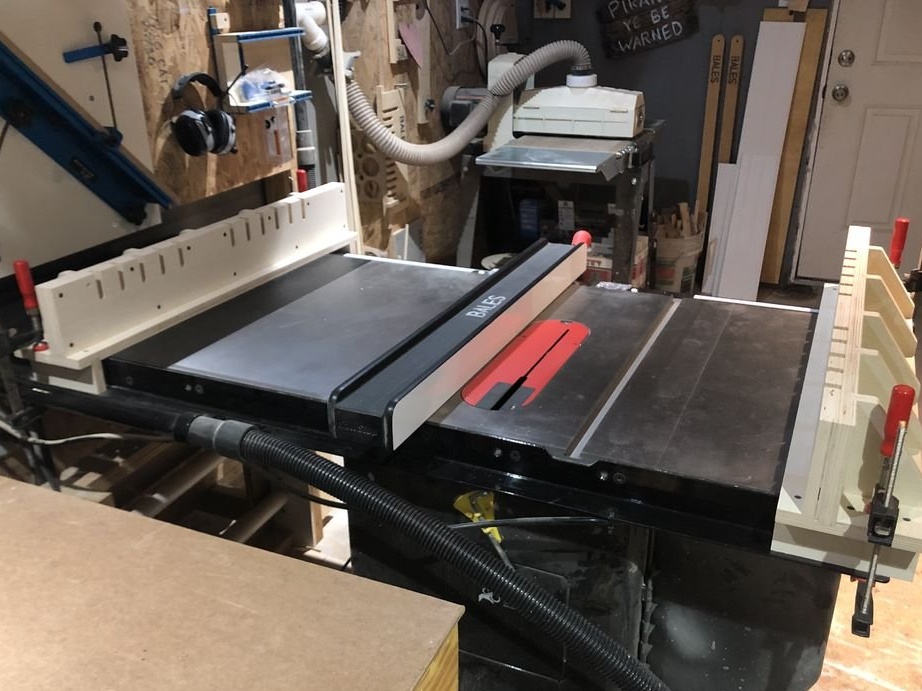
All is ready. To use the device, you need to fix both halves of the base on the working table of the circular saw. Using the lower guide, the bases must be correctly oriented. They are attached with clamps. Then the guides are installed in the desired slot and you can cut.
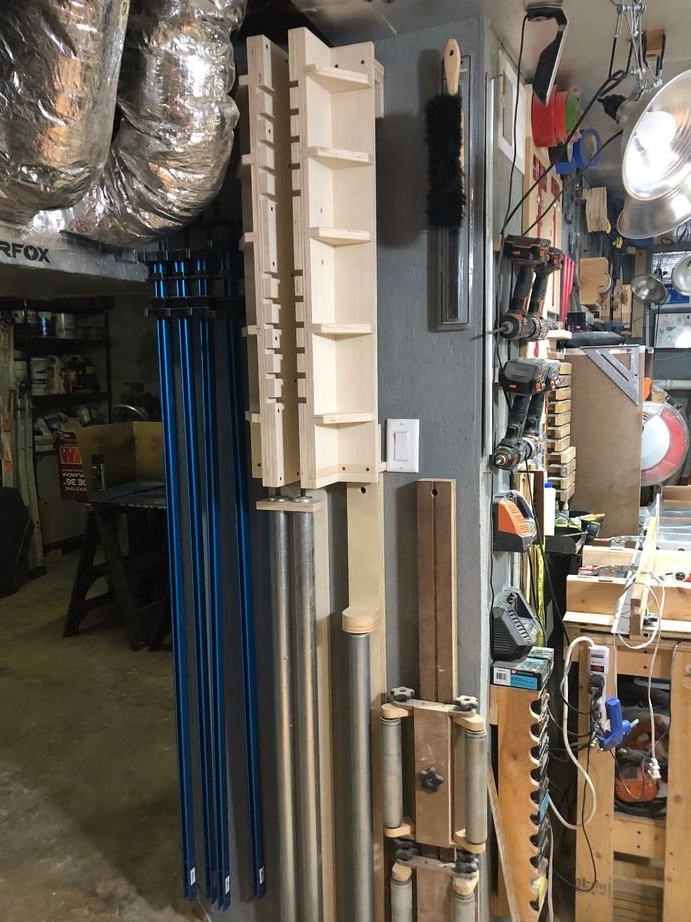
To store the device, the master made special shelves. One of the shelves is mounted on a wall under the ceiling and two bases are hooked on it. The second shelf for storage of guides.