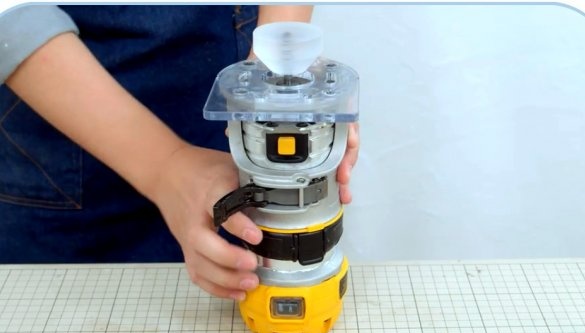
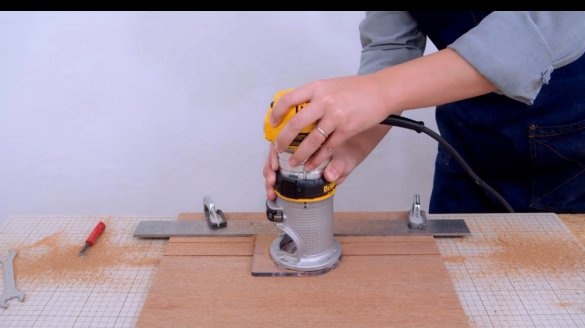
Many masters use different types of hand milling cutters in their work, and they often have the problem of shifting the false sole relative to the cutter itself, this leads to errors in cutting grooves.
In this article, the author of the YouTube channel "JSK-koubou" will tell you how to easily fix this problem.
Almost everyone will be able to use the techniques that the author will use.
Materials
- Thin sheet plastic
- Scotch tape
- Two-component epoxy resin
- Sheet plexiglass
- Double-sided tape.
Instruments, used by the author.
— Manual frezer
— Radius Mill with Thrust Bearing
— Screwdriverdrill
— Clamps
— Electronic caliper
- Marking planer
- Reer, Meisel
— Glue gun
- Knife, ruler, wrench, marker.
Manufacturing process.
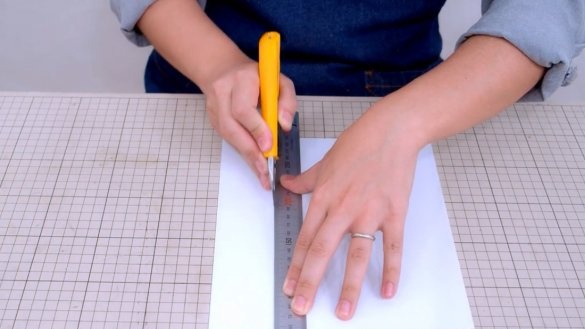
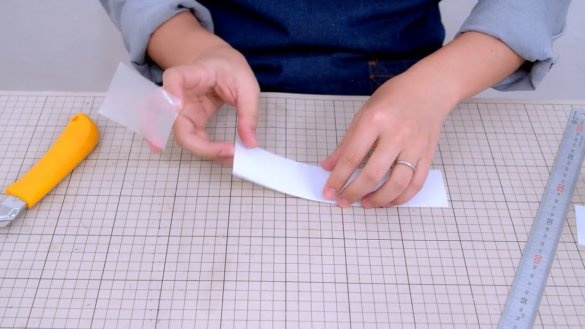
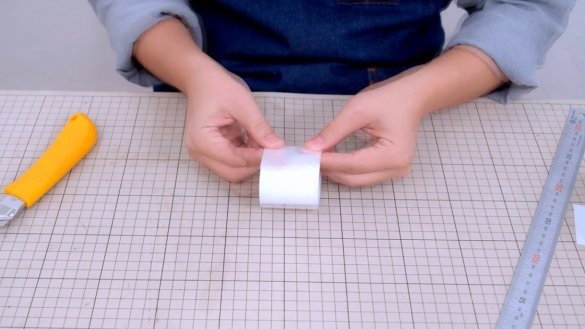
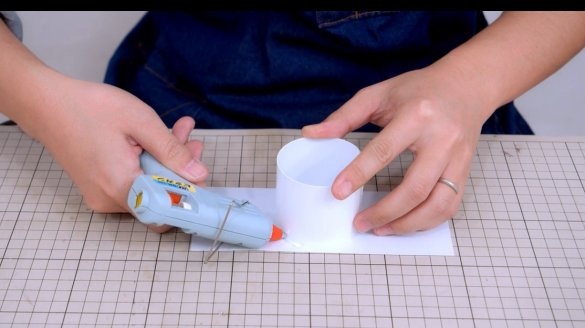
The first step is to make a very simple calibration nozzle in the form of a cone. To do this, you need to make a small cylinder of thin plastic.
This cylinder is fixed to the base with hot glue.
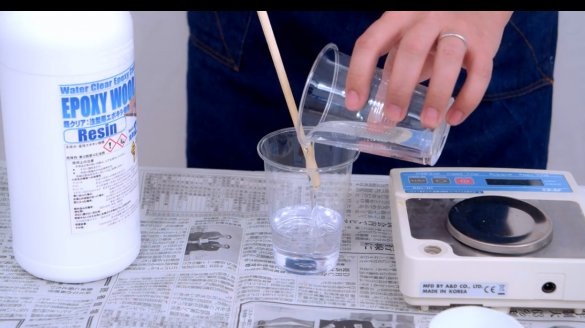
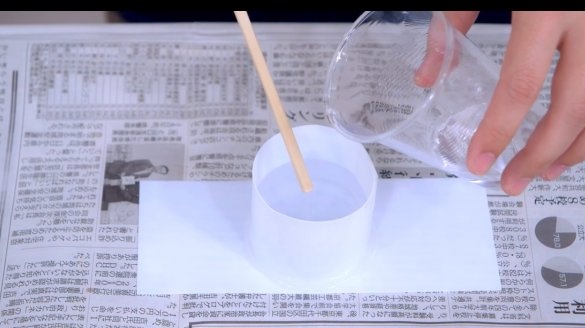
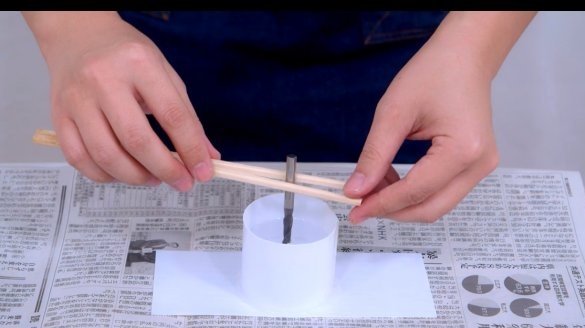
Then the components of the epoxy are mixed and the container is filled.
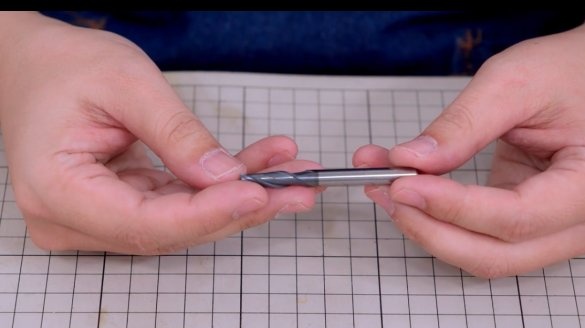
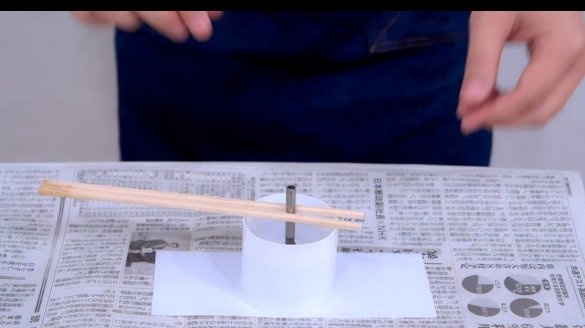
Further, the old mill should be immersed as accurately as possible in the center of the tank, and in a vertical position.
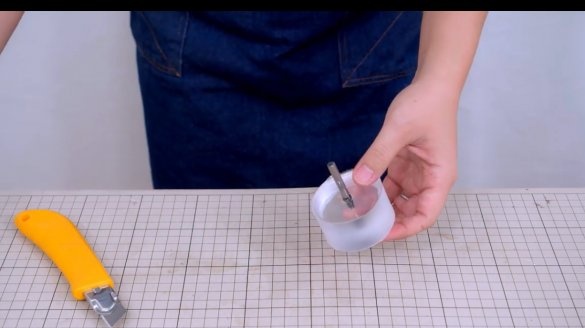
Here is such a workpiece obtained after the polymerization of the resin, and the removal of formwork.
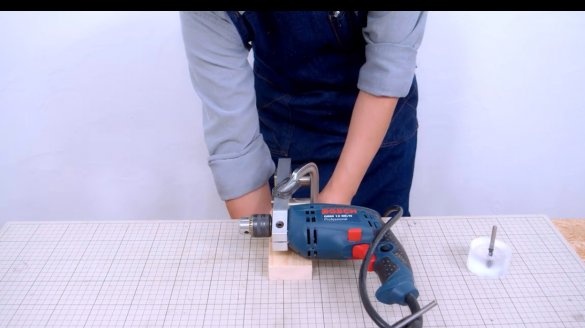
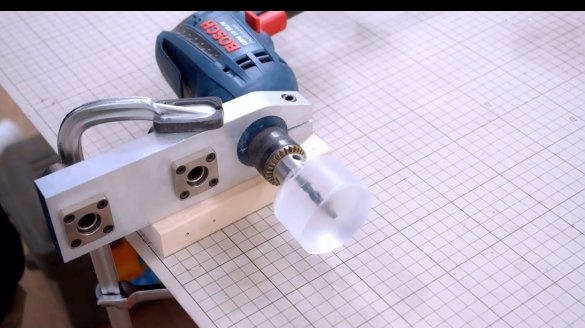
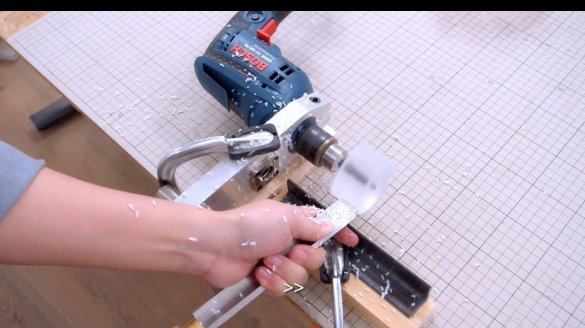
The master does not have a lathe at his disposal, so he makes it from a drill, fixing it on a workbench.
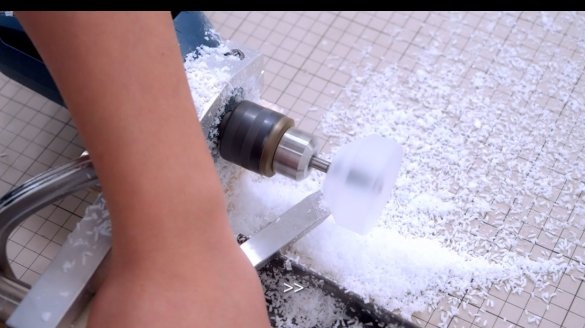
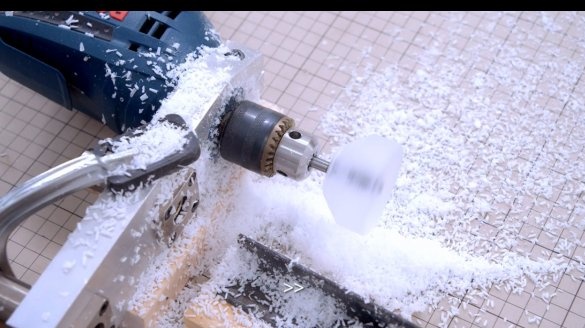
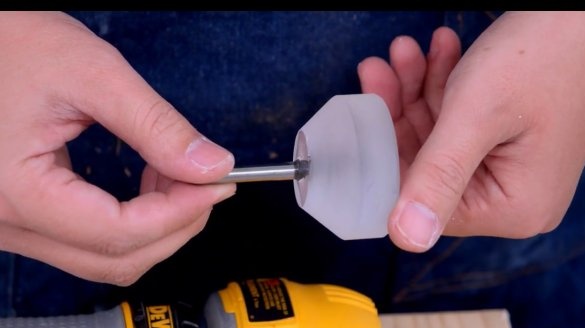
The billet is subjected to rough processing by a raiser, and then on its inner side a cone is formed by a maisel. In no case should such turning be carried out immediately on the milling cutter! It has too high revs, and the workpiece after casting is very poorly balanced!
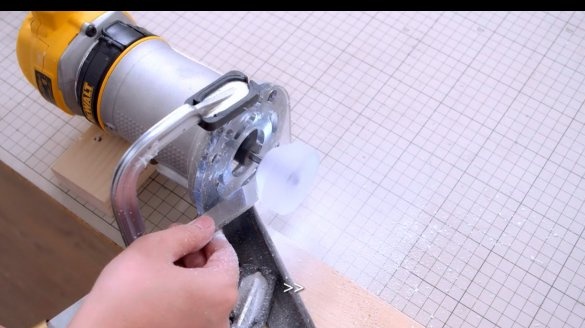
After rough processing and centering of such a nozzle, more precisely, it is turned on the mill already.
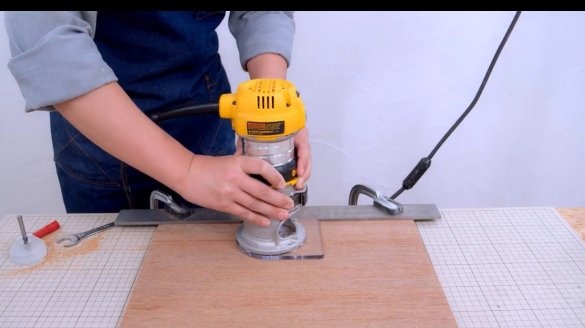
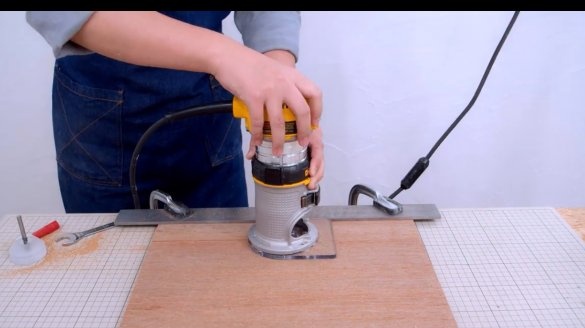
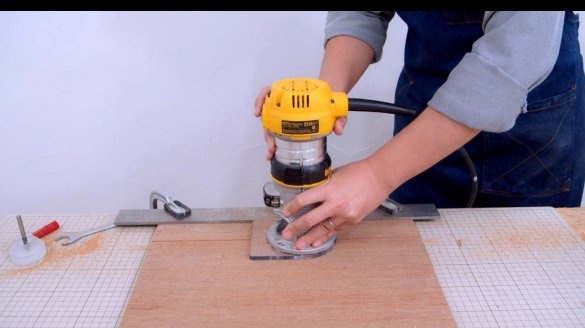
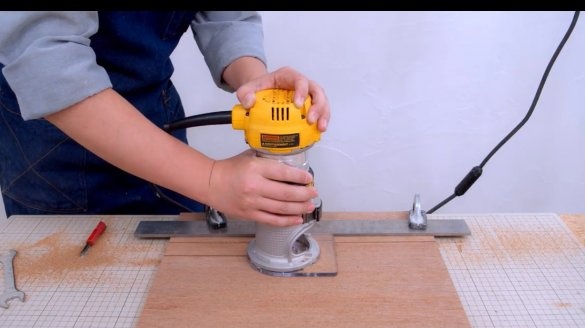
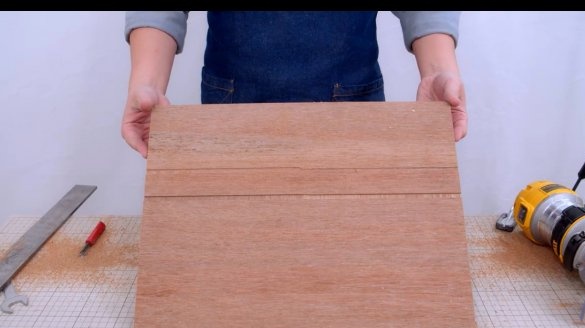
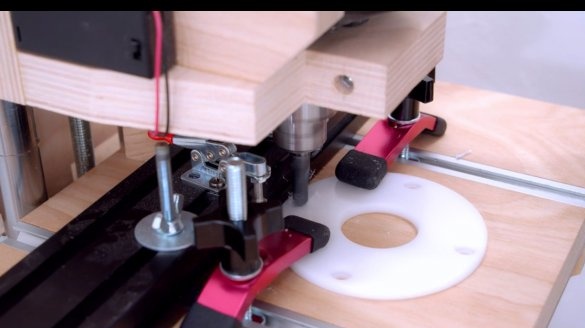
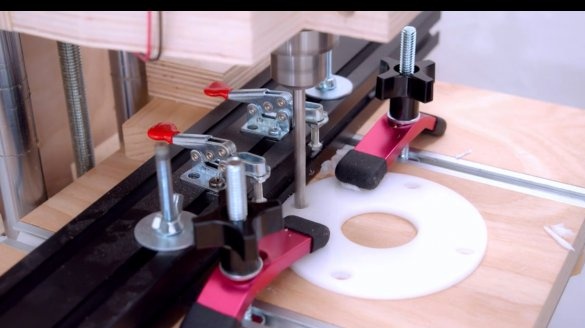
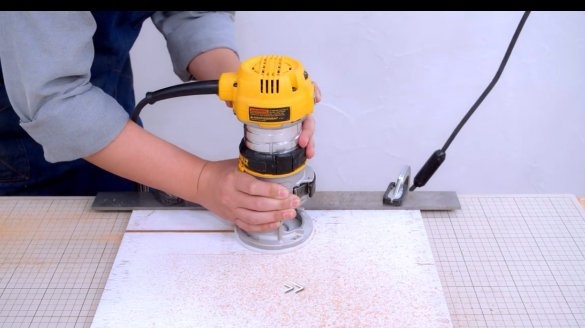
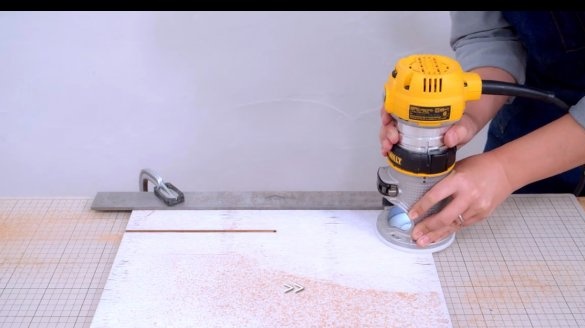
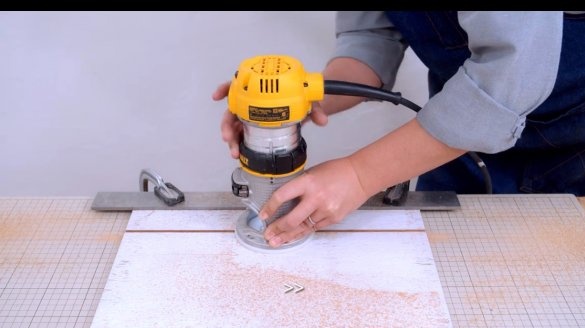
So, the master shows the standard situation when you need to make two grooves in the opposite direction on the workpiece.
The overlay on the sole was displaced, and it plays the role of a stop. Hence the offset of the grooves by half the width.
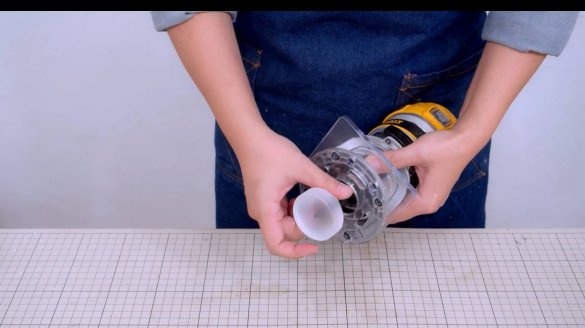
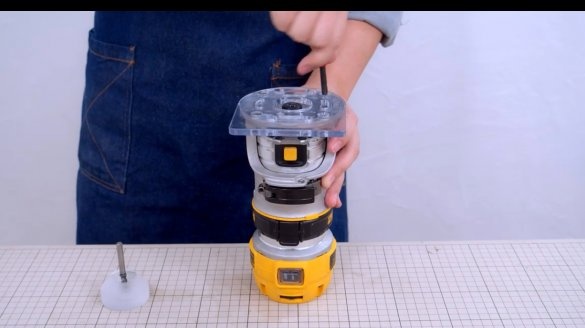
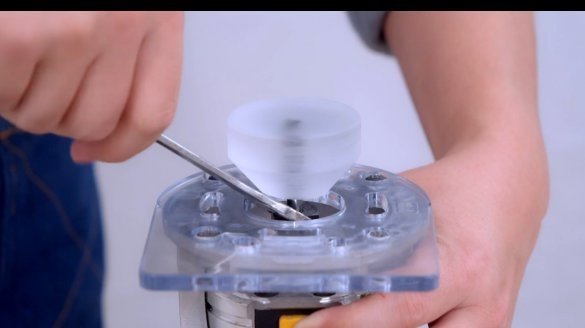
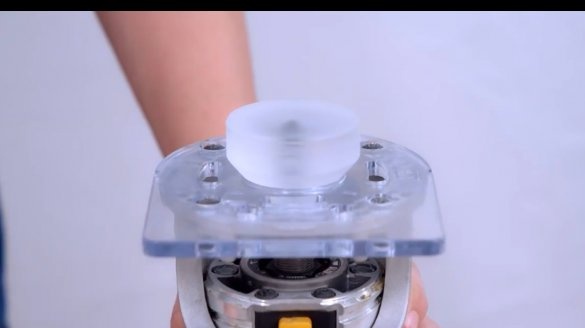
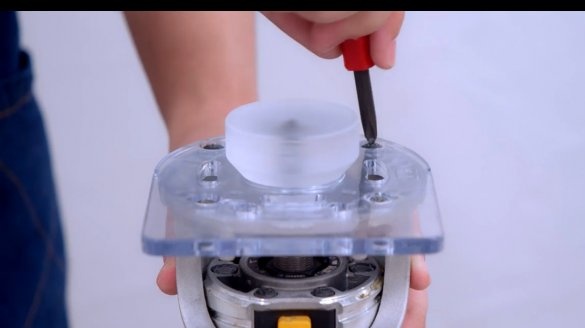
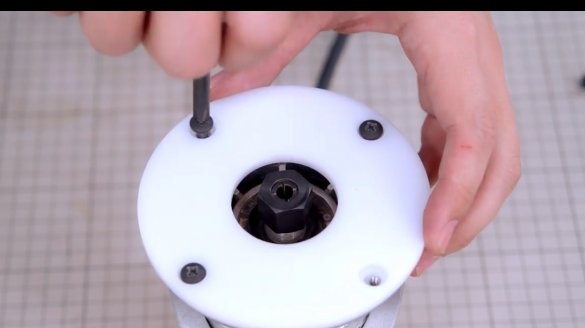
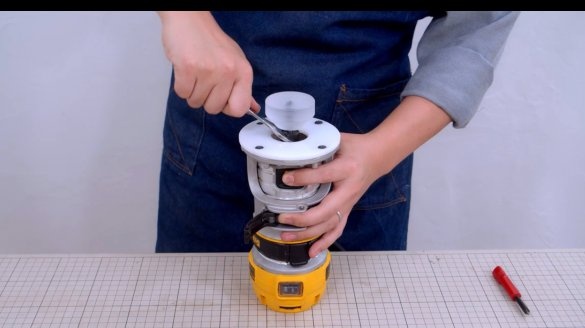
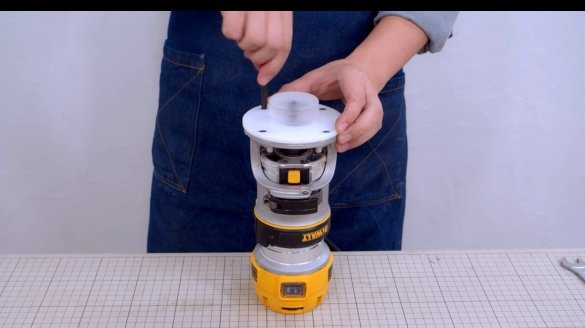
How to calibrate the sole? It is necessary to loosen its clamping screws, fix the cone nozzle, raise the sole so that it is pressed with its edges to the cone. Then tighten the screws back.
So, the second test. The sole is already calibrated.
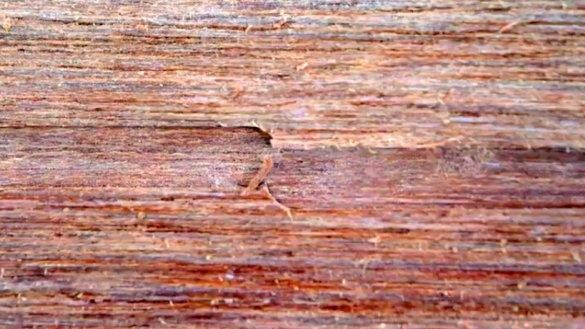
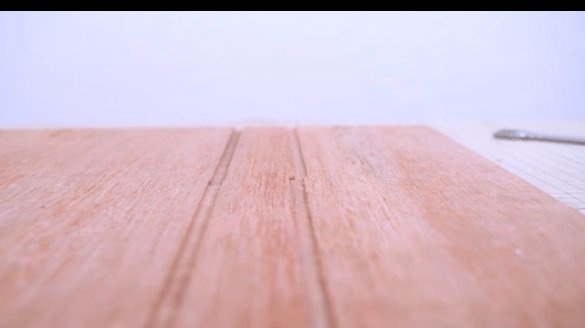
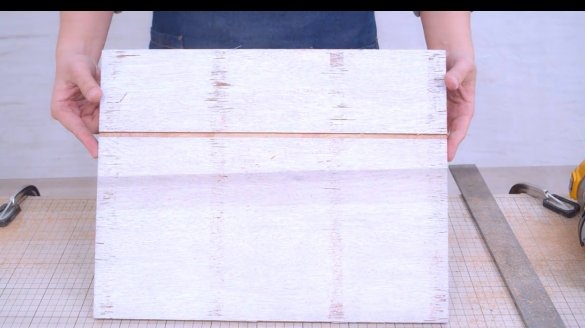
The result is much better, but it is not perfect.
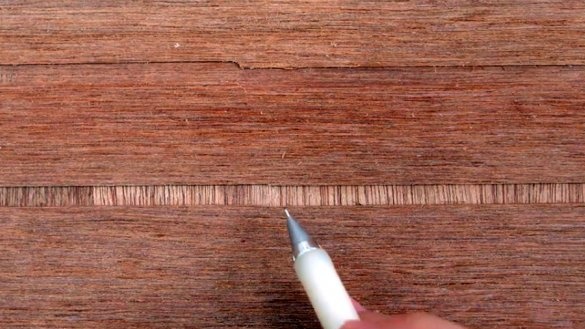
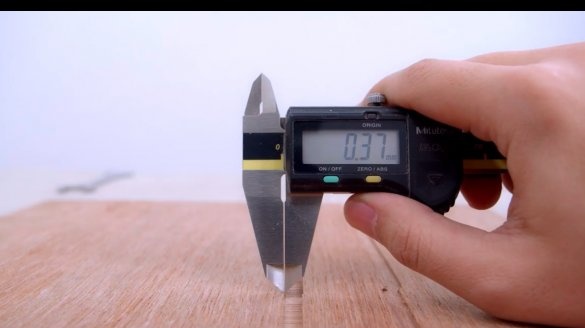
This image shows an offset of 0.37 mm. Yes, this is not so critical.
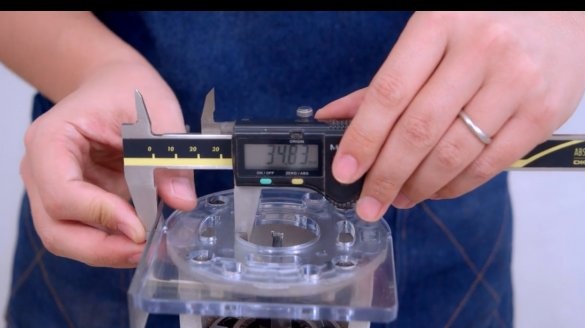
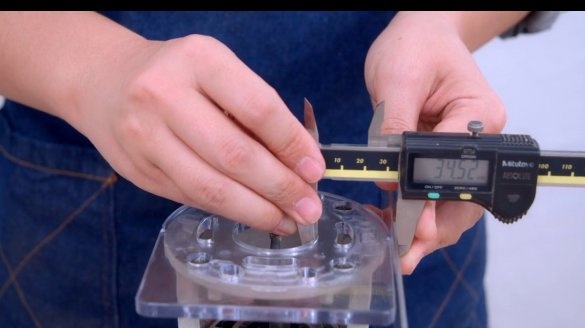
However, the master wants to figure out where did these 0.37 mm come from? But from where, the sole itself has sides with a small difference in size.
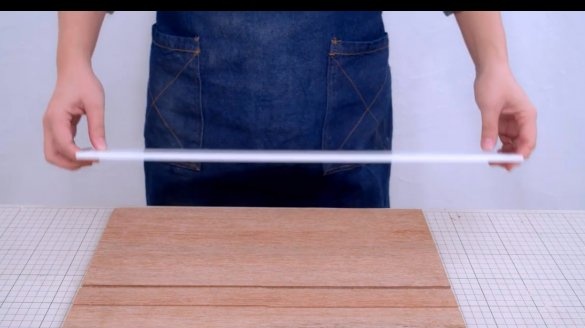
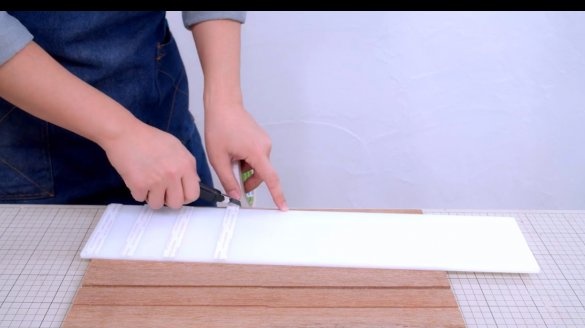
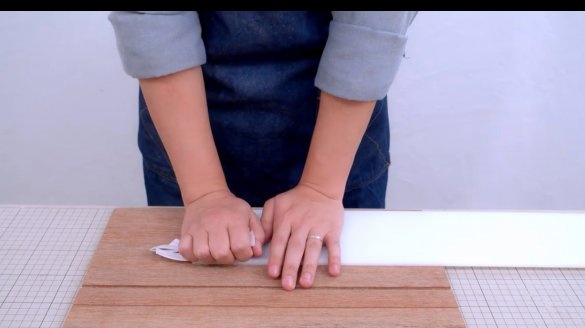
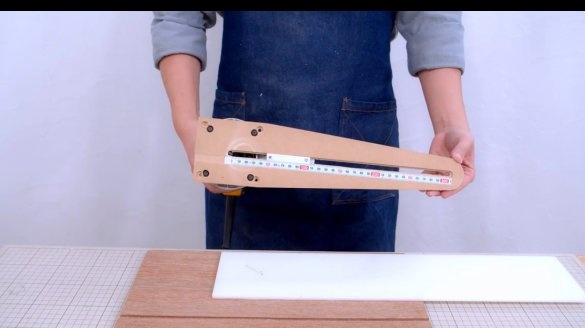
For perfectionists, the author will show how to make a new sole from plexiglass yourself. He glues the blank to the board using double-sided tape.
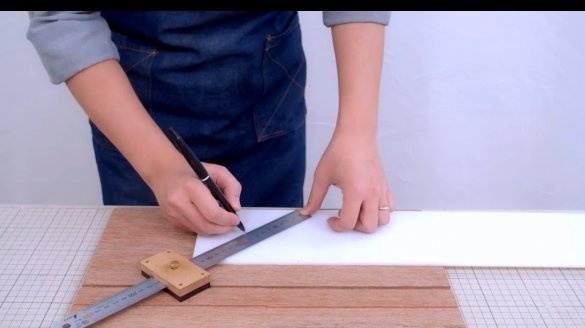
With the help of a marking gage, he finds the center, and drills a thin hole in it for the needle of the compass ruler.
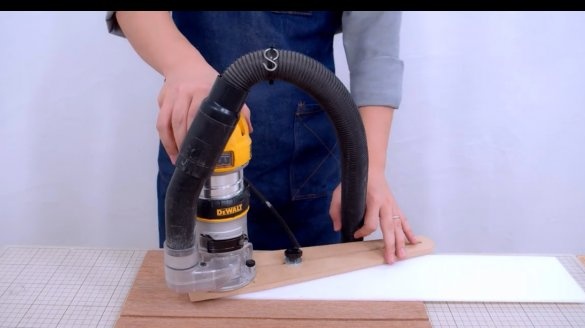
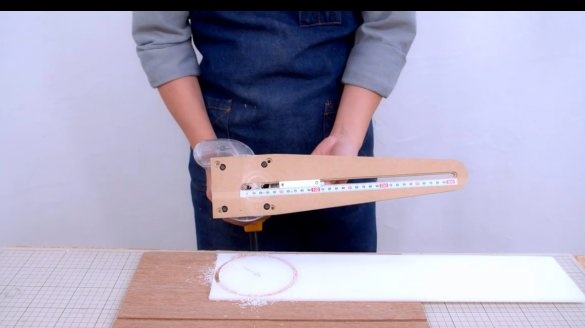
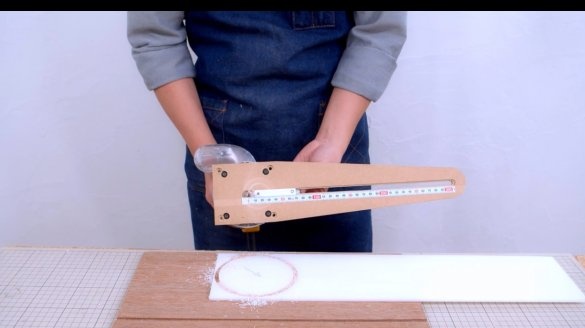
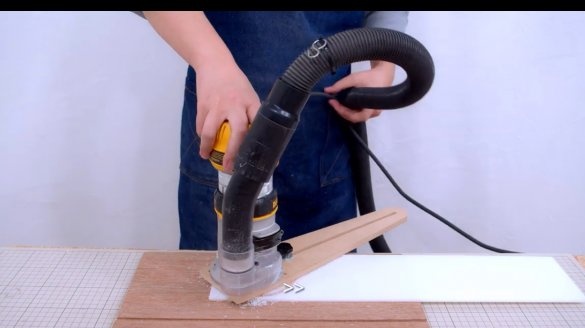
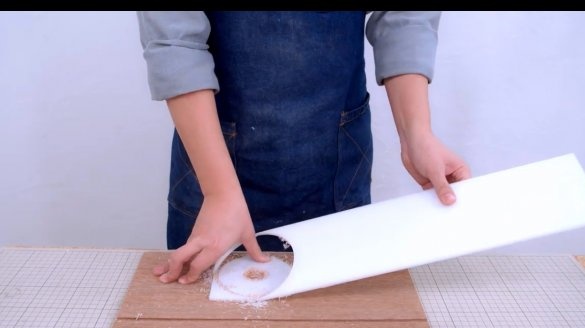
In addition, a compass is screwed onto the milling cutter, and a circle is cut out with an outer diameter equal to the sole.
Having shifted the ruler, it makes an internal hole.
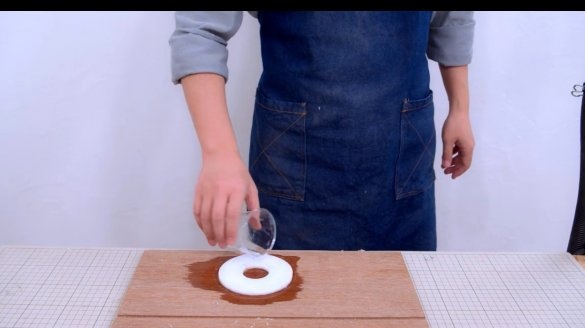
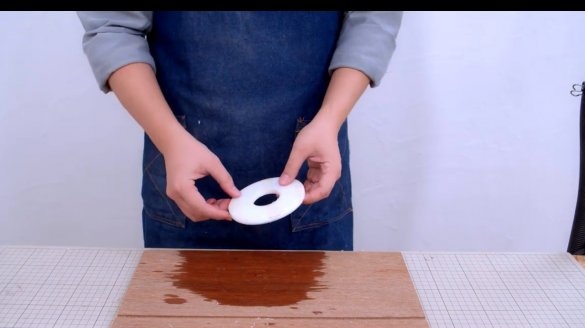
To peel off the workpiece, you can use a solvent, after a few seconds it will allow you to separate it without effort.
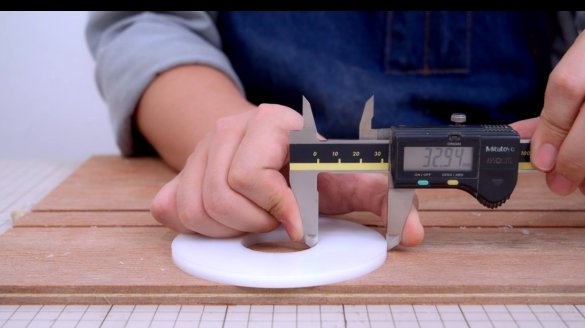
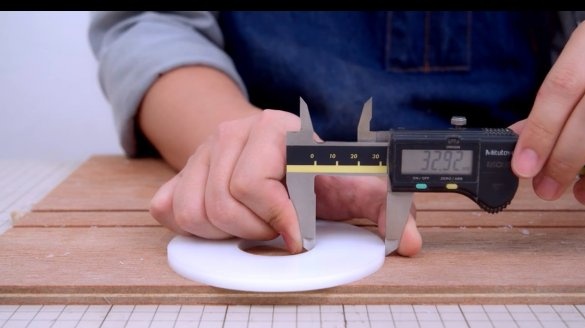
And here are the sizes of the different sides of the new part. Deviation is minimal.
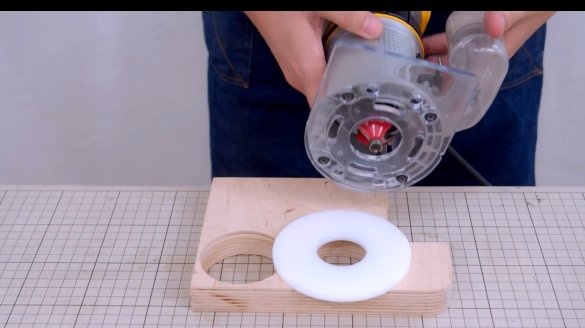
The edges of the central hole are rounded off by a radius cutter with a thrust bearing.
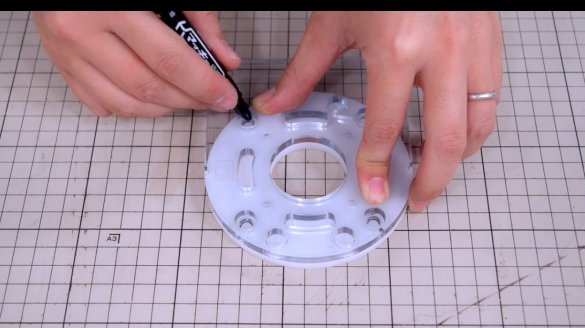
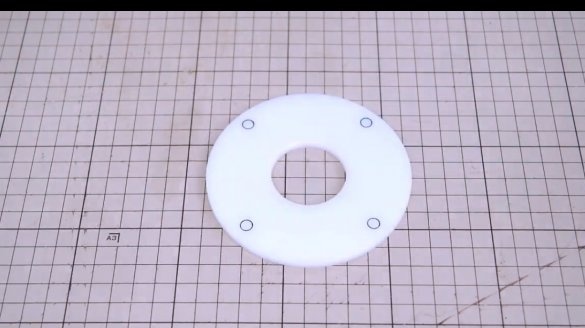
The marking of holes from the original sole is carried over.
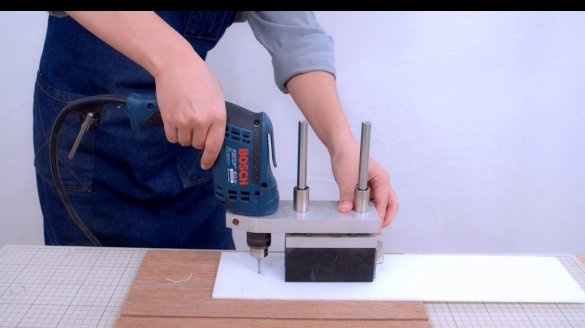
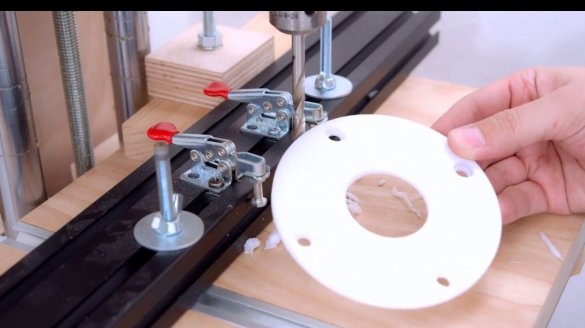
And the holes themselves are countersunk and drilled.
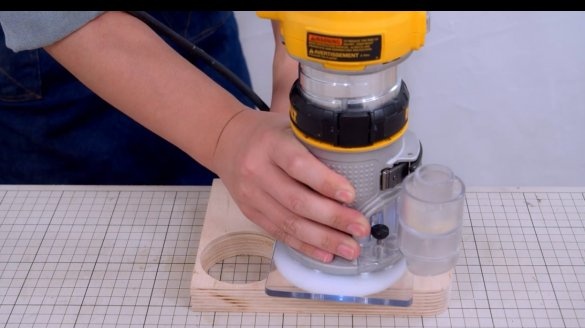
Now the calibration procedure for the new sole is performed again.
Well, the last check, and again two passes with a stop in the center.
The joining of the two grooves is just perfect.
I thank the author for a simple but very useful tip on calibrating the sole of a hand mill!
All good mood, good luck, and interesting ideas!
Author video can be found here.

