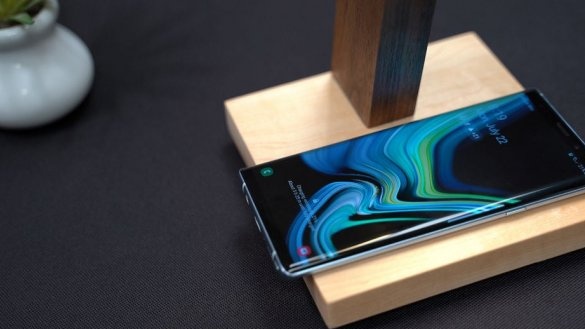
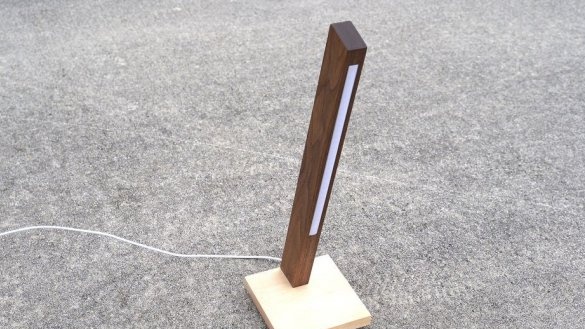
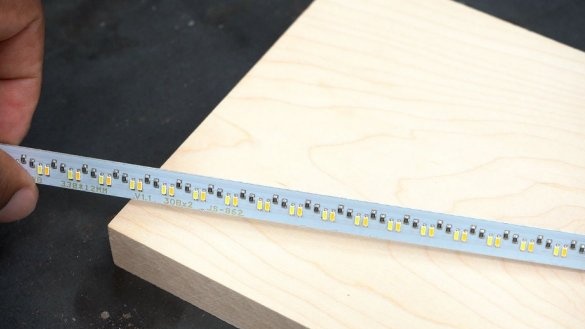
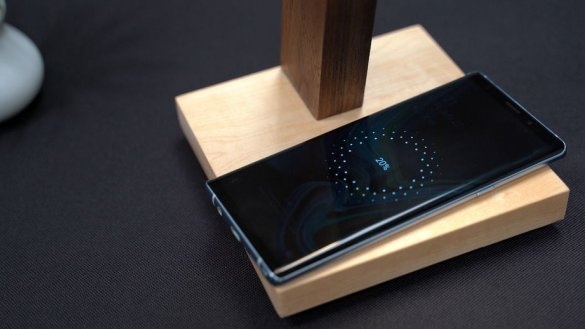
In this article, the Master will share his experience in manufacturing an LED lamp with built-in wireless charging for gadgets. As a donor lamp, the master uses a LED backlight with 5V power via USB.
Tools and materials:
-LED lamp;
-Wireless charger;
-USB wire;
-Wood;
-Marker;
-Roulette;
-Miter saw;
-A circular saw;
- Clamps;
-A screwdriver;
- Joiner's glue;
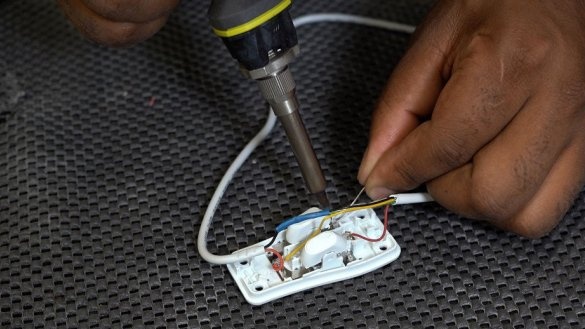
-Soldering accessories;
Milling cutter;
- Danish oil;
Step One: Sawing
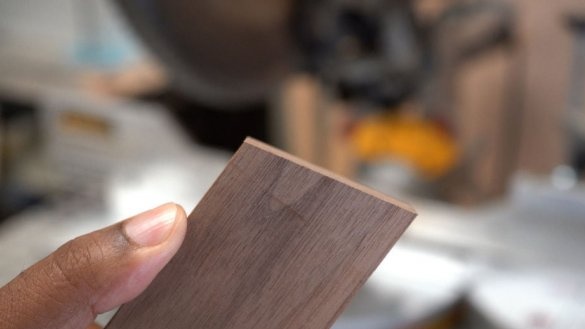
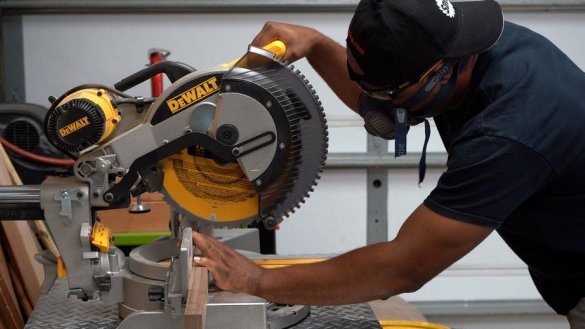
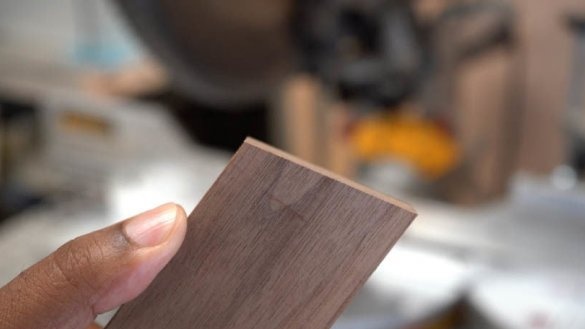
The stand will be made of walnut board. The master cuts the board to size. One edge cuts off at an angle of 15 degrees. Slices the board under the base.
Step Two: Groove
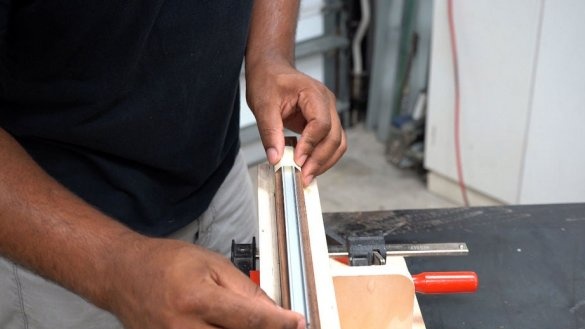
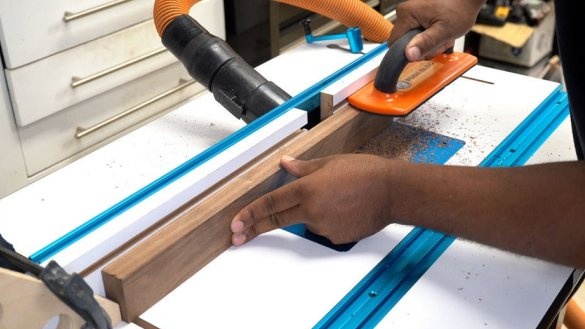
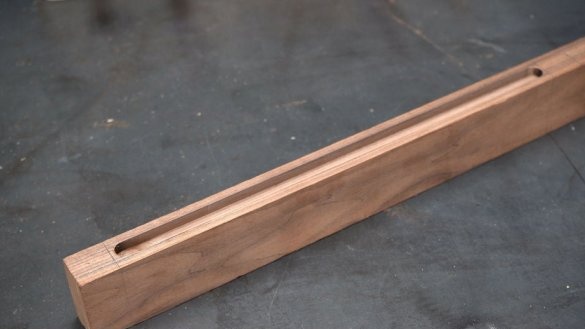
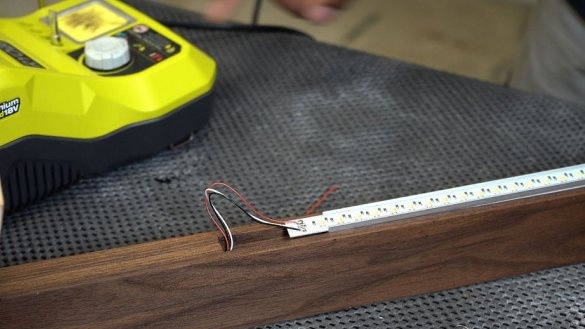
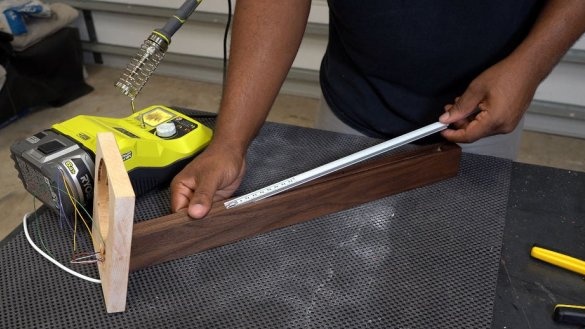
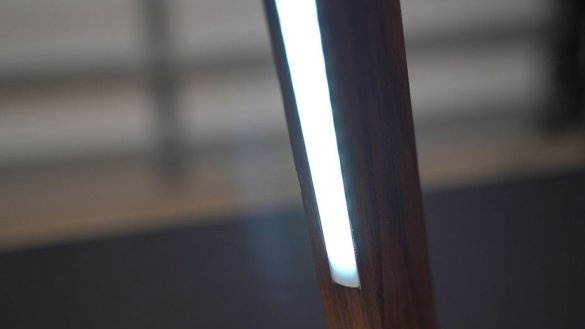
In a rack, cuts a groove to the size of the lamp.
Step Three: Holes
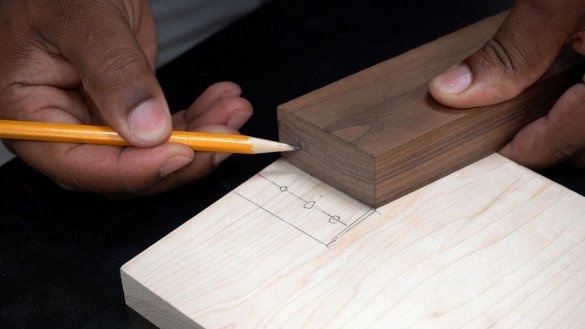
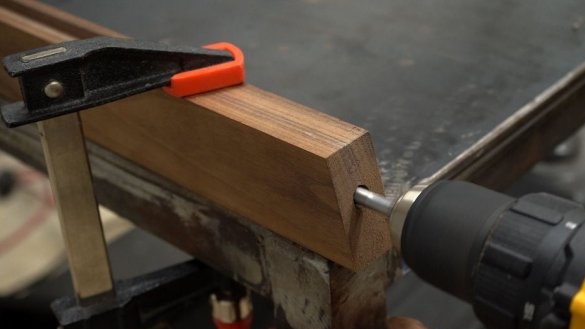
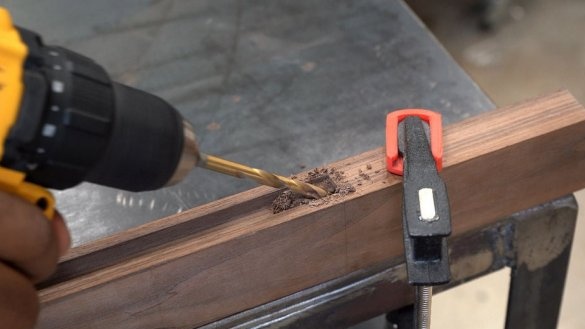
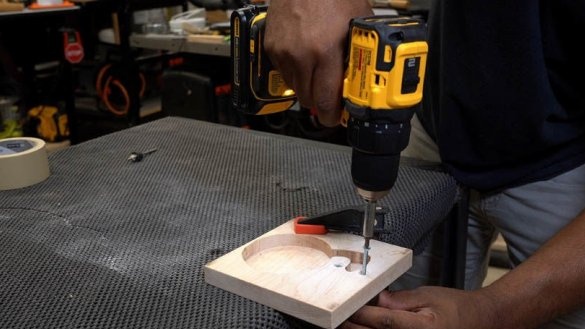
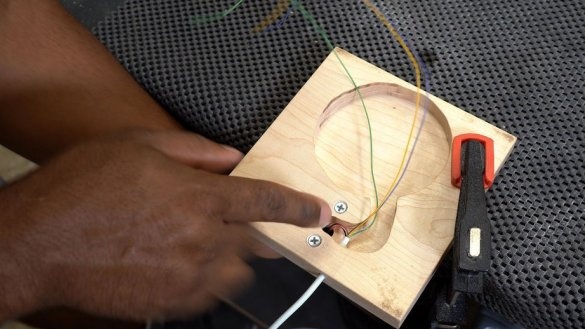
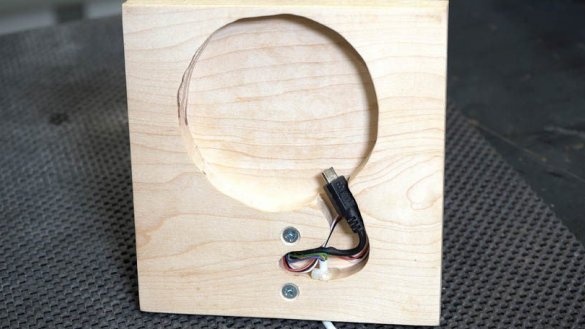
At the base and stand, drills a hole for the wire.
Step Four: Wireless Charging
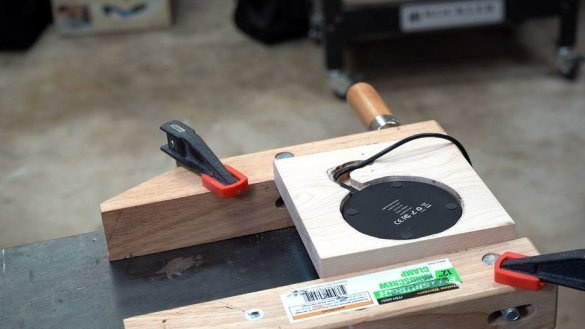
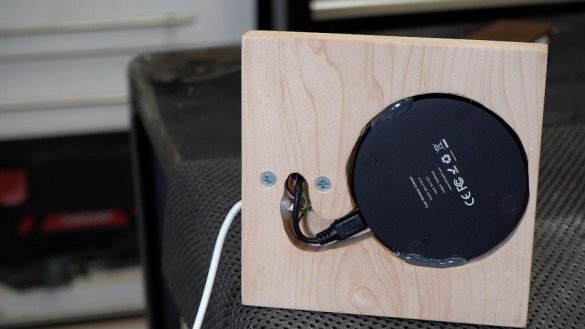
On the back side of the base makes a hole for installing the charging module.
Step Five: Finish
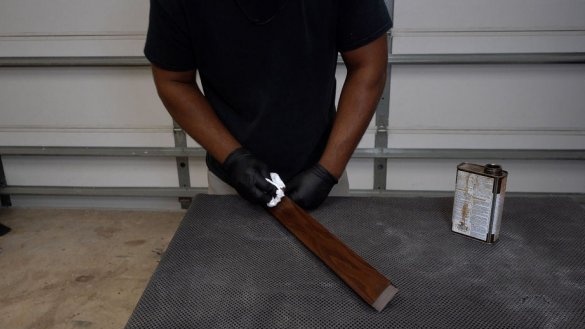
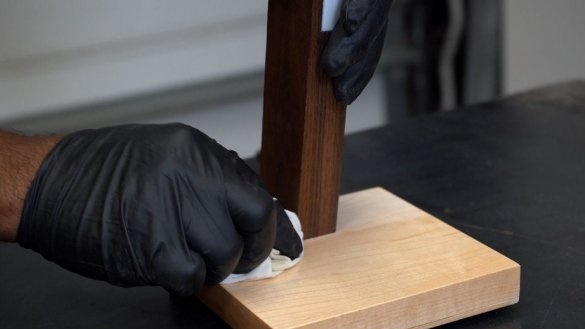
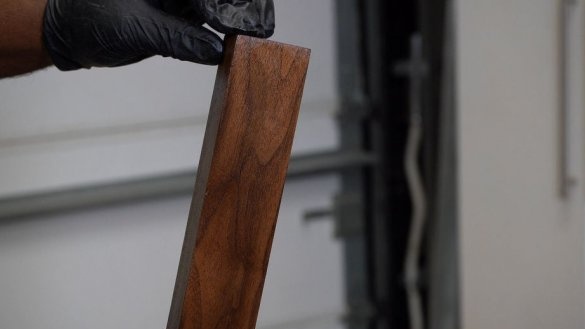
Grinds stand and base. Covers them with Danish oil.
Step Six: Build
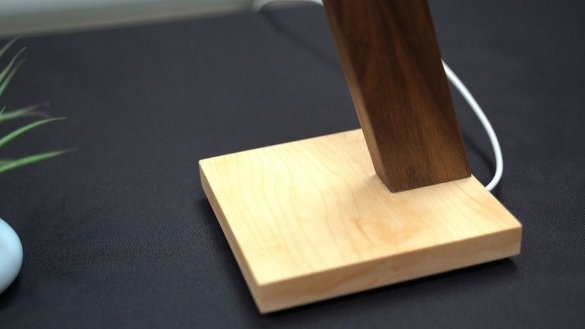
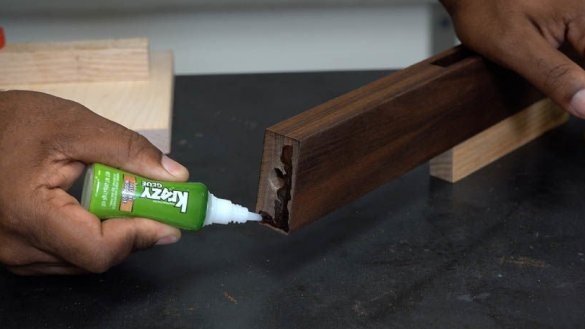
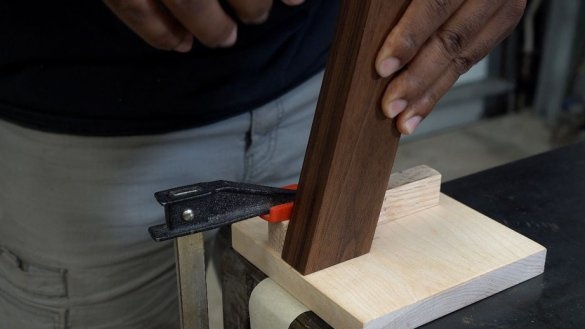
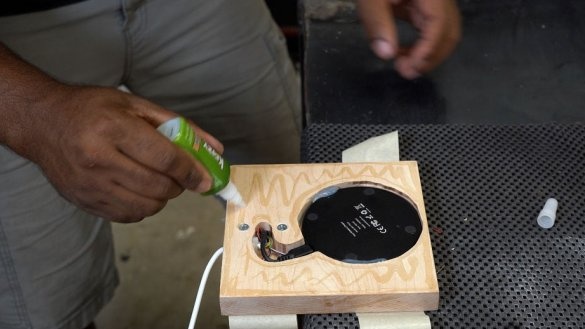
Glues the stand to the base. From the bottom, fix the stand with a screw.
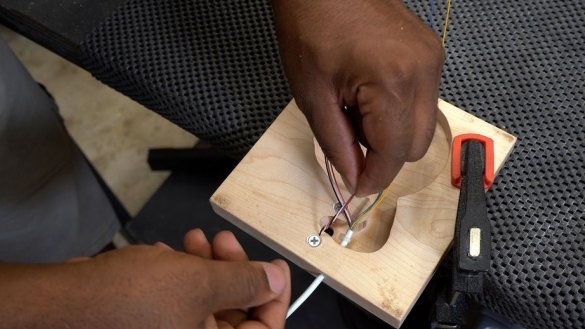
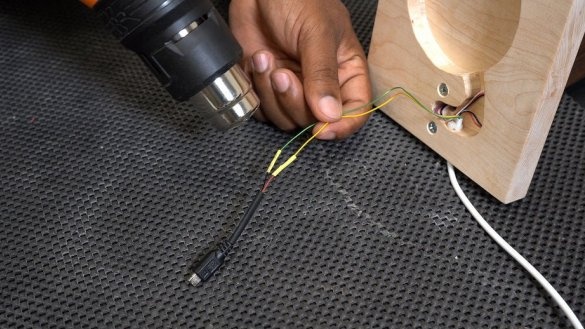
Stretches the wires and installs the lamp in the groove.
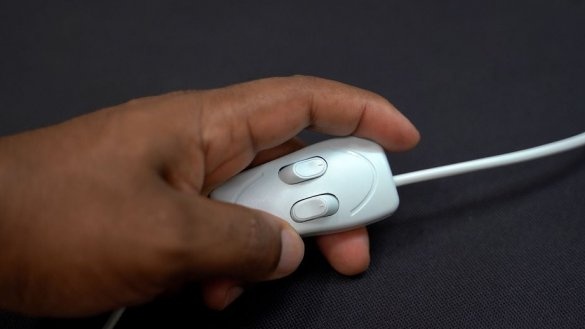
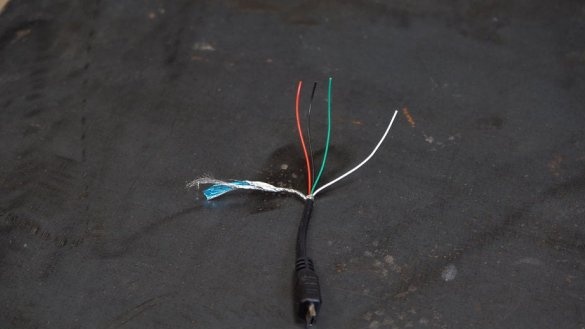
Connects a micro USB connector.
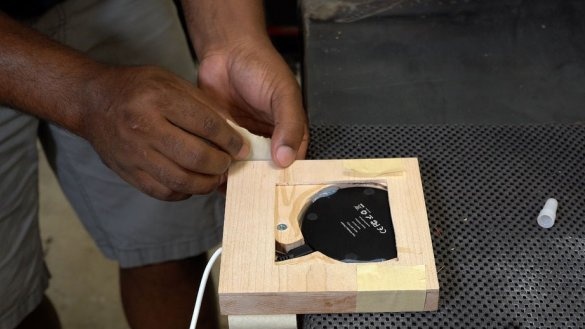
Installs and connects a wireless charger.
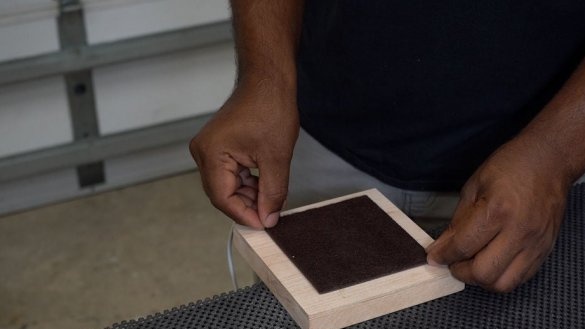
Sticks plywood on the bottom of the base, and then felts.
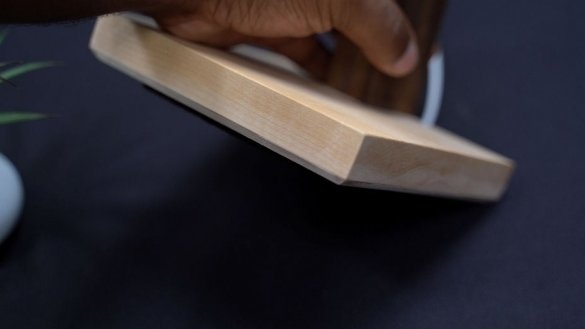
The edge of the base is milled.
Covers the lamp once again with Danish oil.
The reading lamp is ready.
The entire process of manufacturing the lamp can be seen in the video.

