
Many of you often create various metal structures. And in this case, the key to success is accurate marking of parts.
In this article, the author of the YouTube channel “Hassan Abu-Izmero” will tell you how he made such a tool from a caliper.

Materials
- Old vernier caliper
- Terminal block for connecting wires
- steel bar
- masking tape
- Spray paint.
Instruments, used by the author.
— TIG welding machine
— Bulgariancutting disc
— Dremel
- Vise, file, screwdriver, marker.
Manufacturing process.
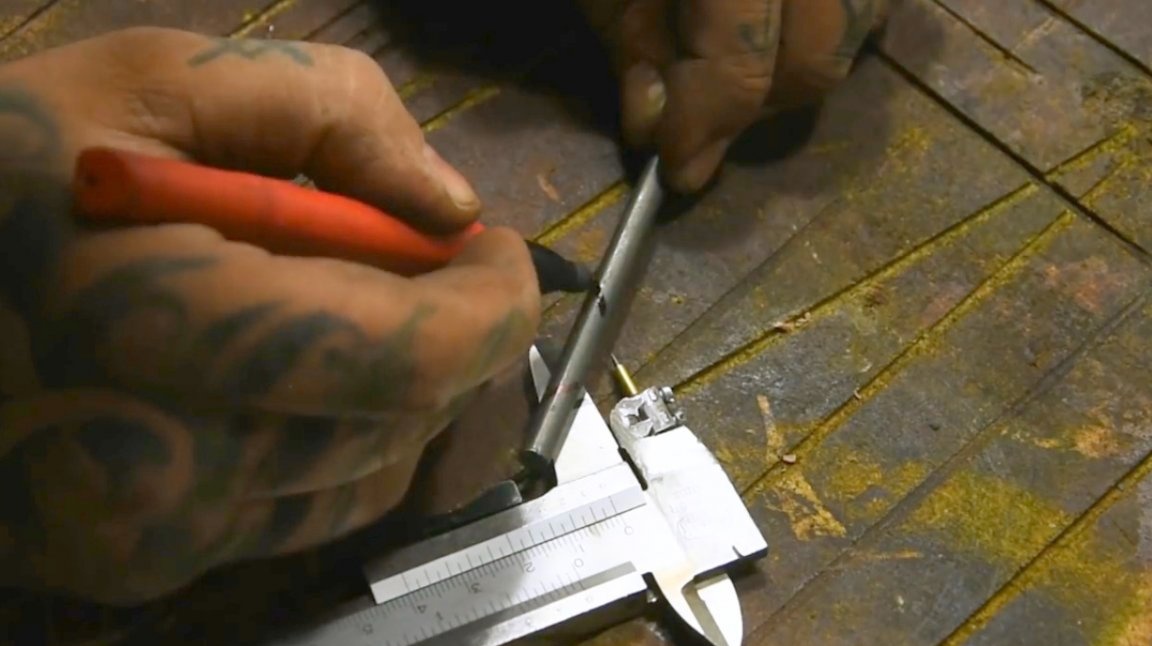
So, the author acquired an old vernier caliper with spoiled edges of the lips.
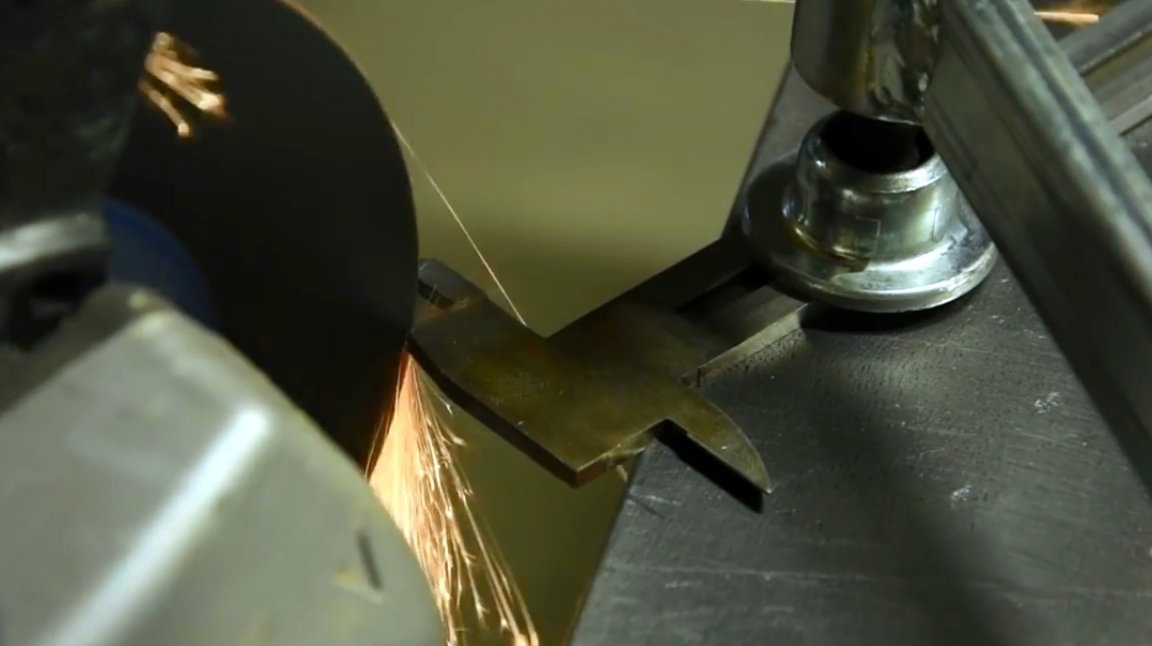
He marks the seat for the clamping device, and cuts off excess grinder.

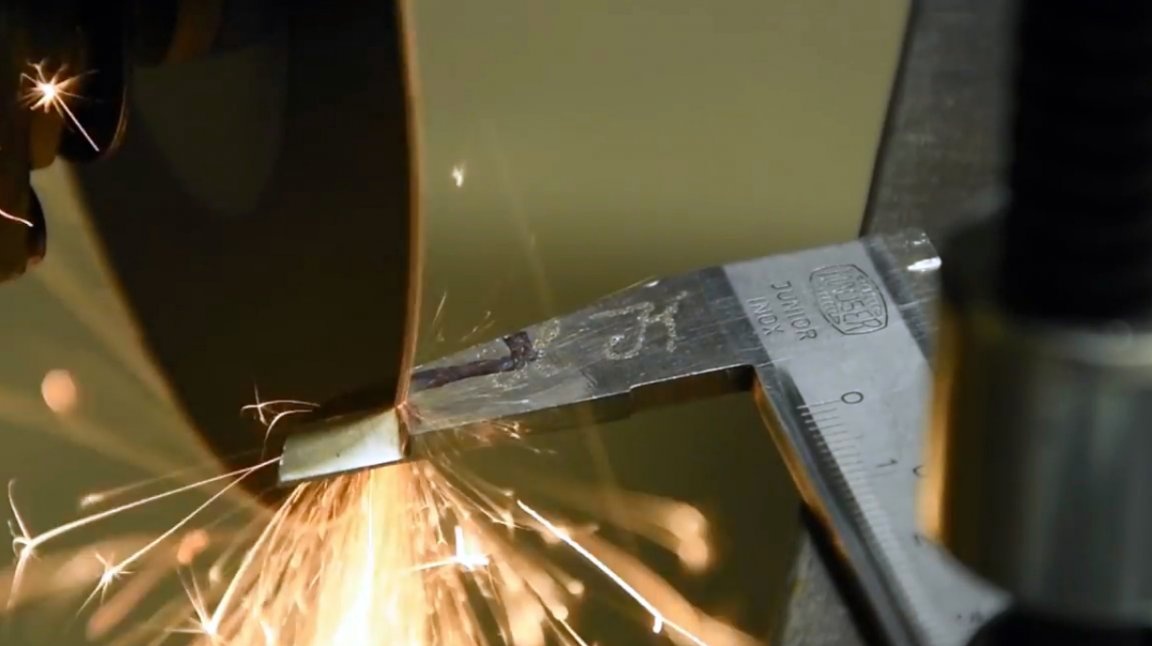
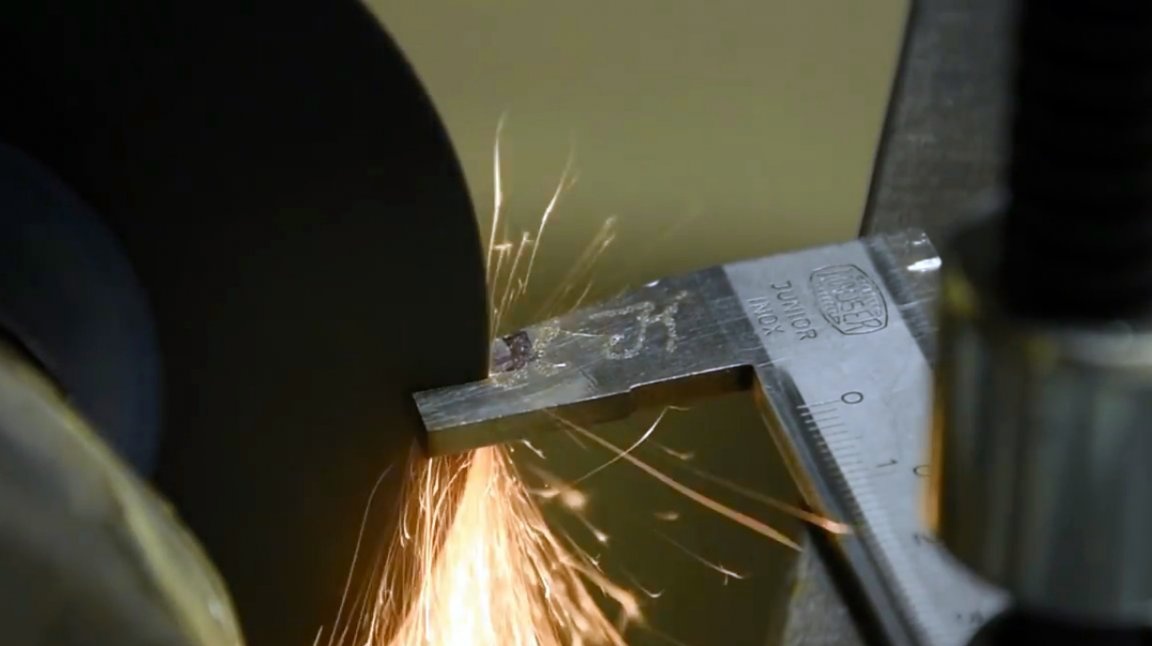
The edges of the undercut are filed.
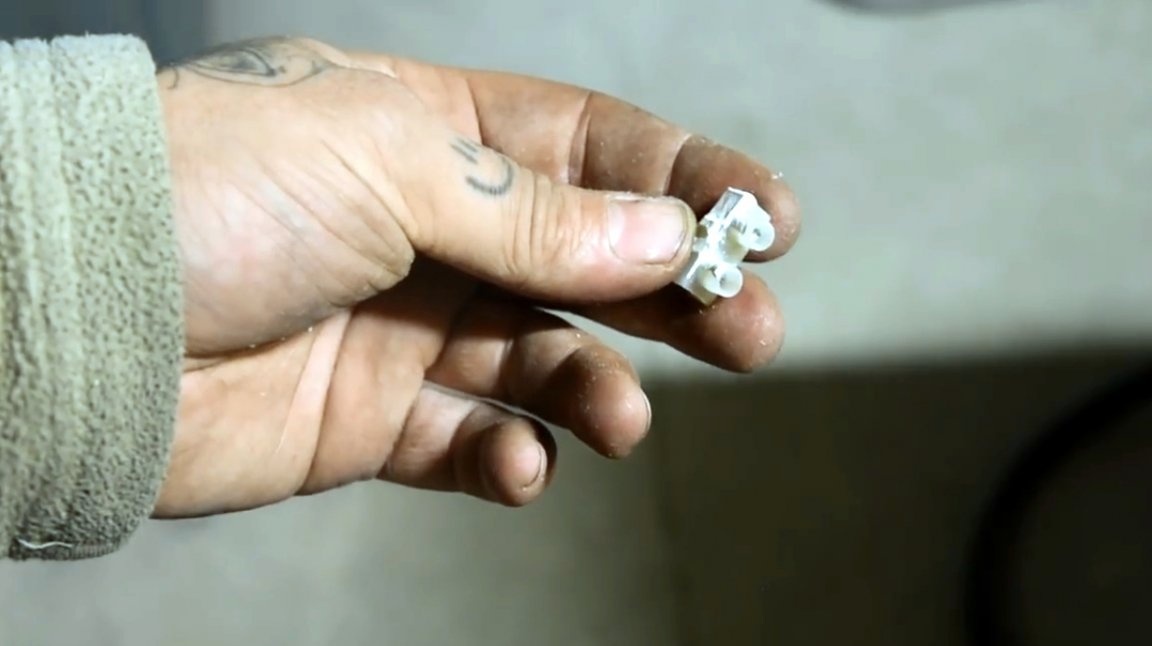
As a clamp, he will use a terminal block for connecting wires. From it you need to remove the plastic shell. The materials of such terminal blocks are different, for this homemade product you need exclusively steel.
The master made a little mistake at the start of welding, and forgot to turn on the argon feed. And that’s what happened. As a result, the bed for clamping had to be cut even deeper.

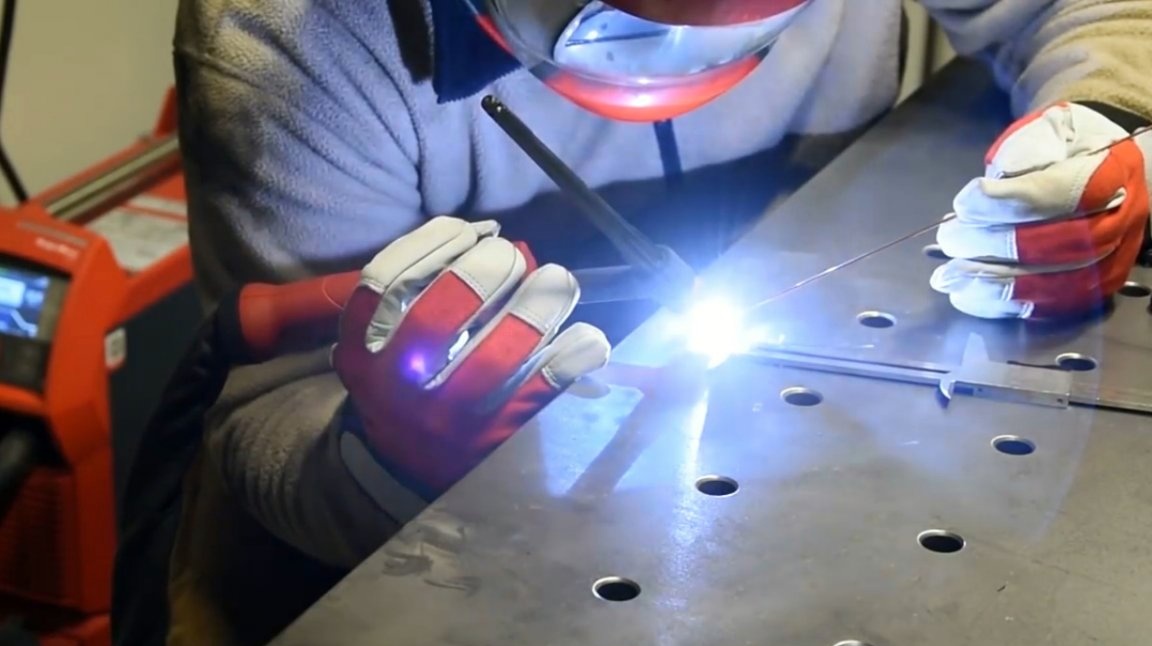
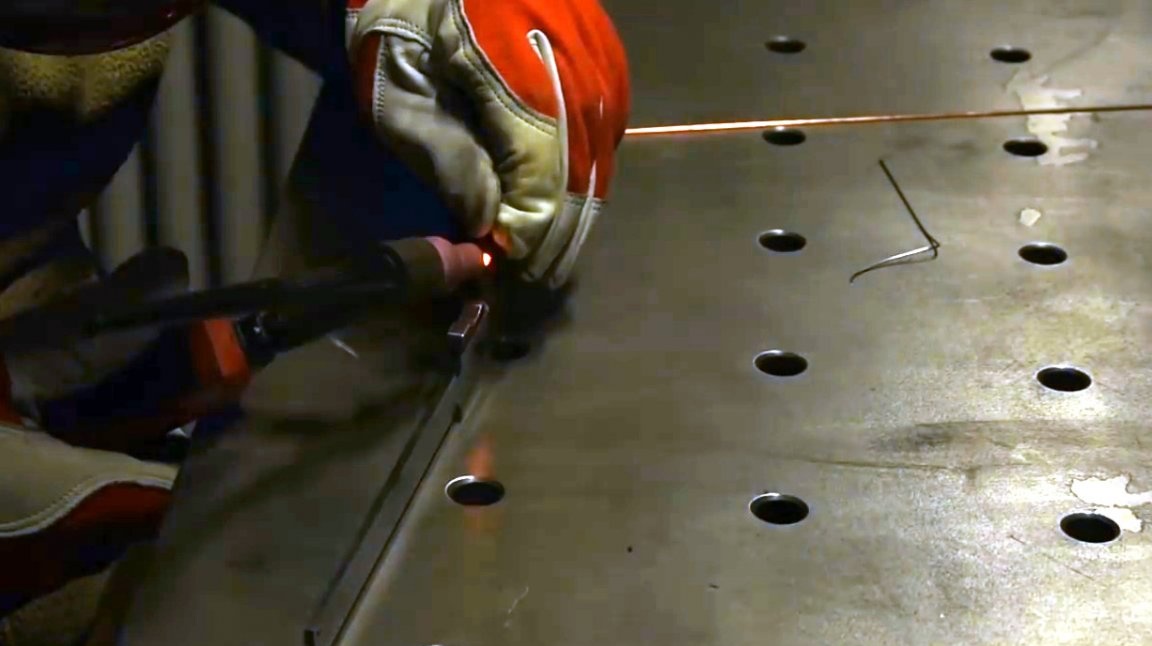
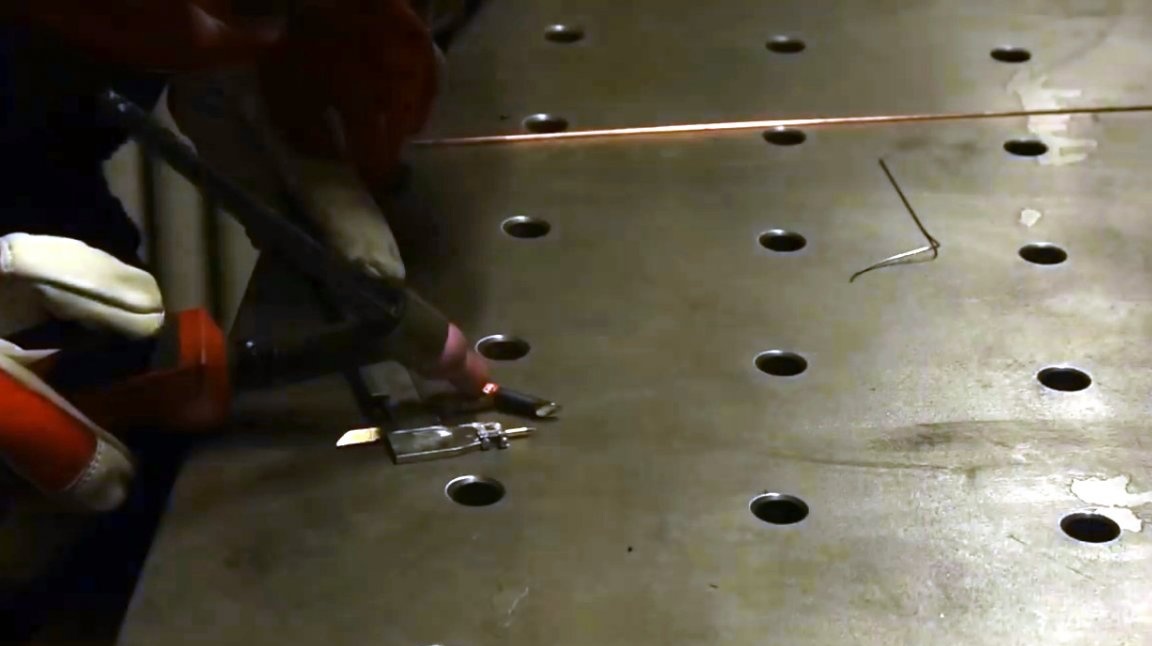
Author uses TIG weldingShe really works wonders, and can cope with the most incredible tasks. It is to her that he welds the terminal block boat to a fixed stainless steel sponge.
Then the weld is cleaned with dremel.
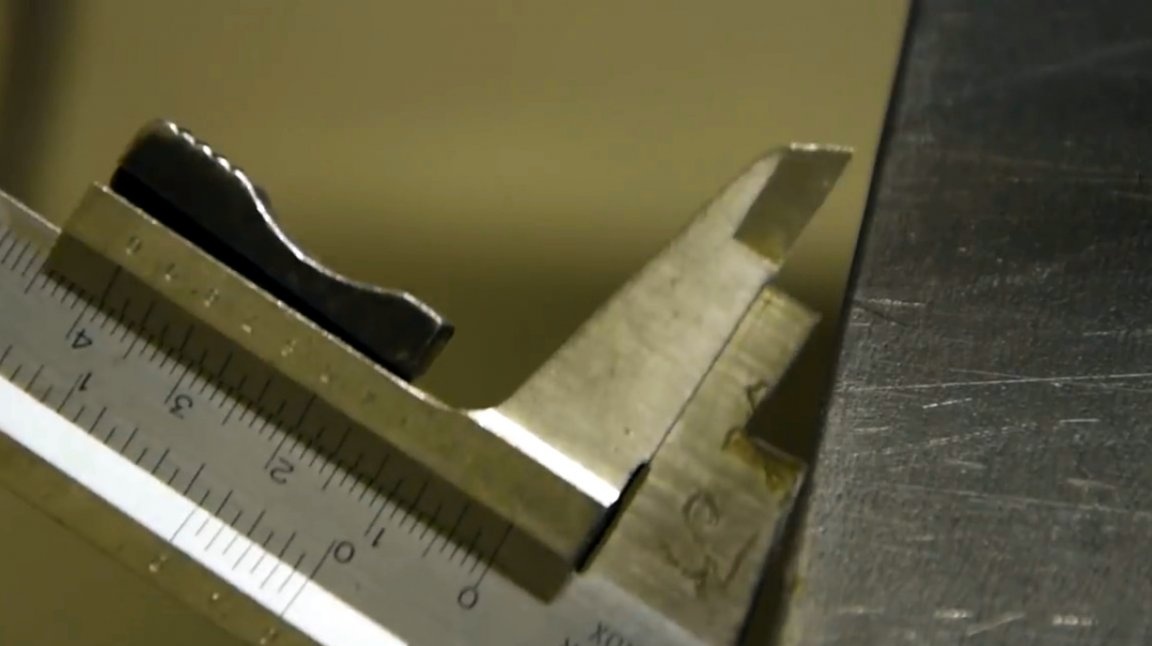
Next, you need to focus on the movable sponge. For this, a steel bar is suitable. The bar is cut on both sides at 45 degrees, and the sponge is parallel to the bar.

The emphasis is reliably welded to the bottom of the sponge on all sides.
The working plane of an emphasis is leveled by a file manually.
The caliper is disassembled, some of its parts are protected with a masking tape, and the rest are painted with black spray paint.

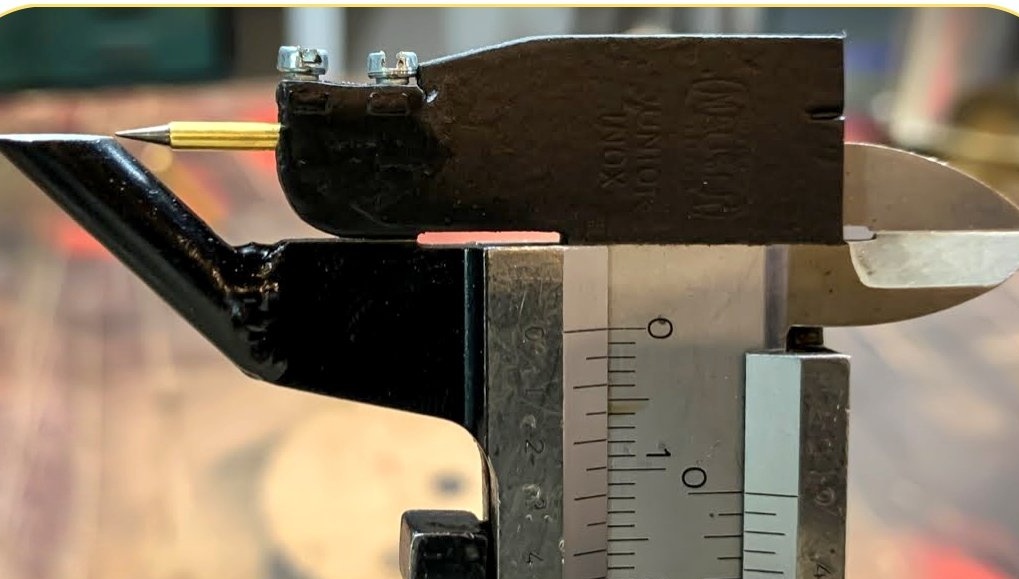
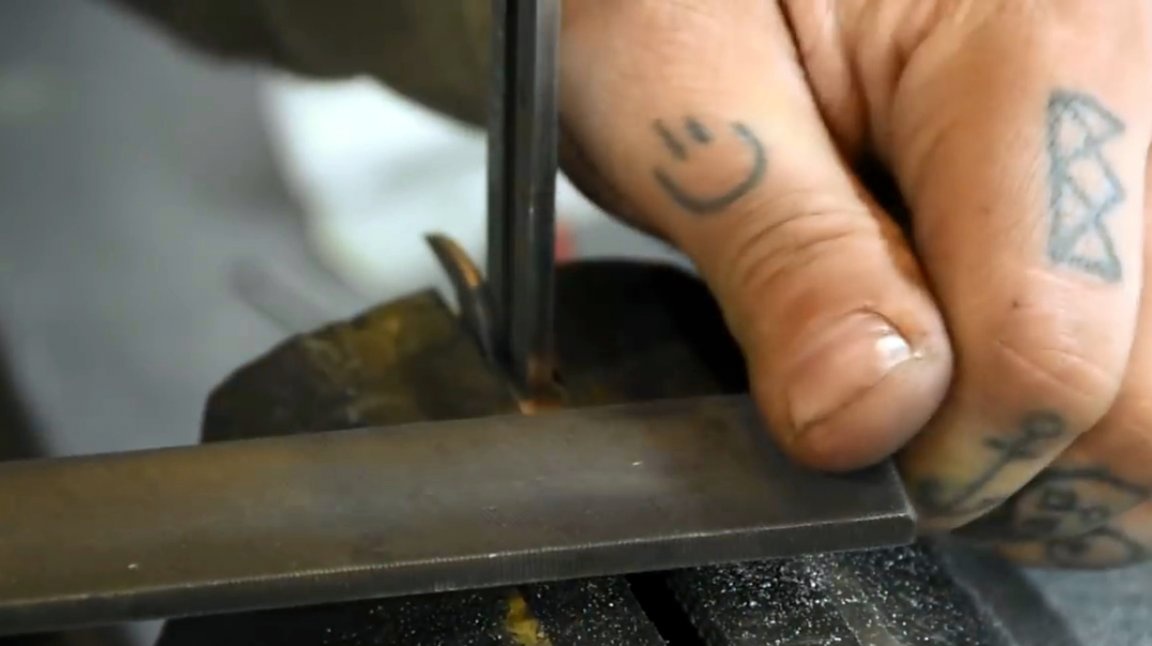
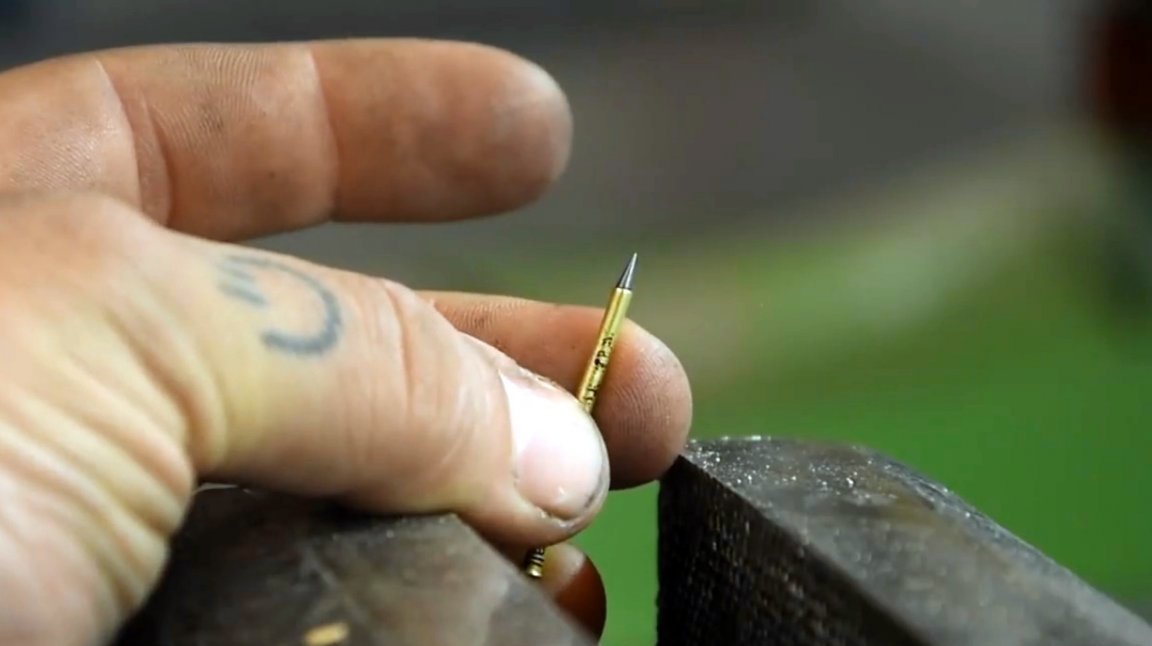
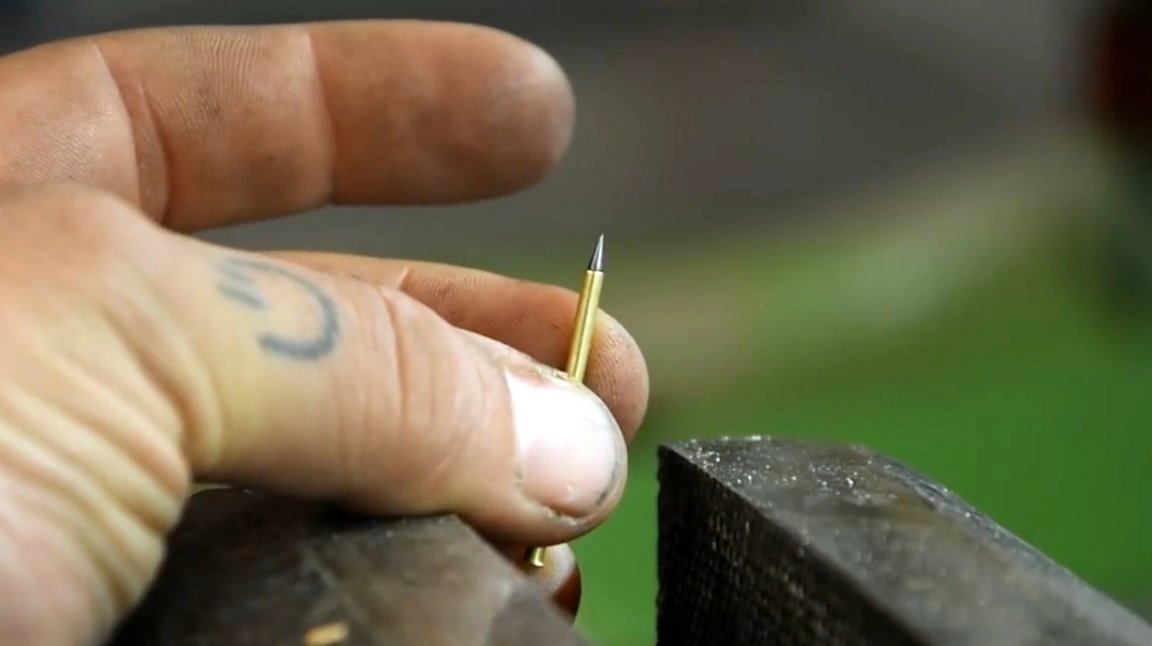
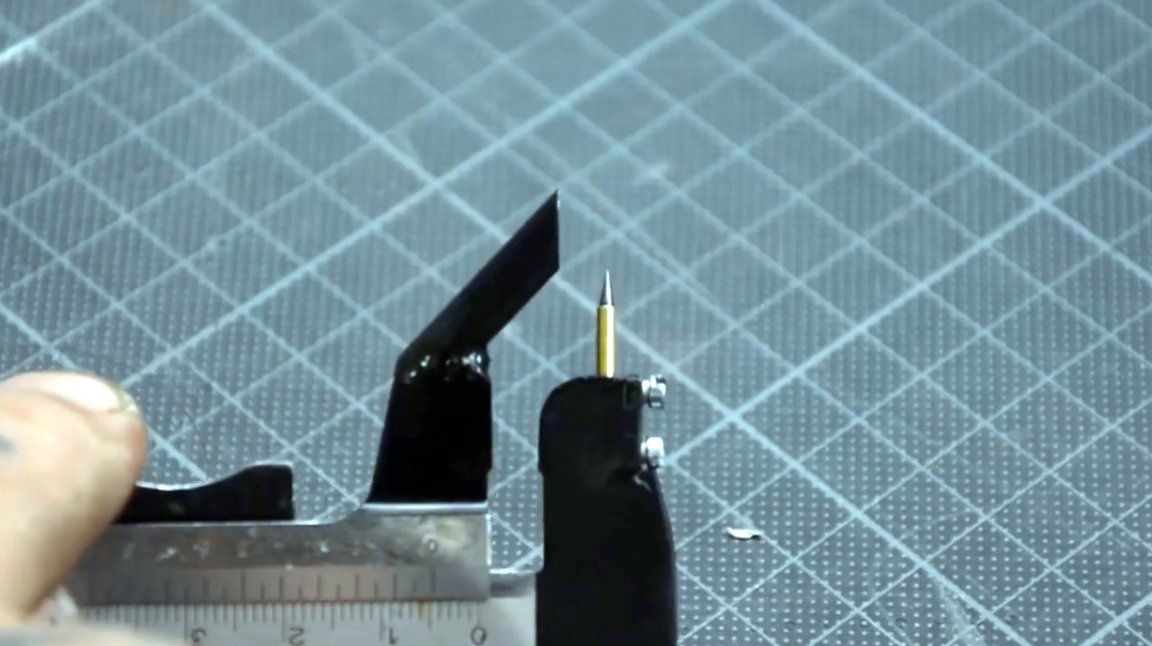
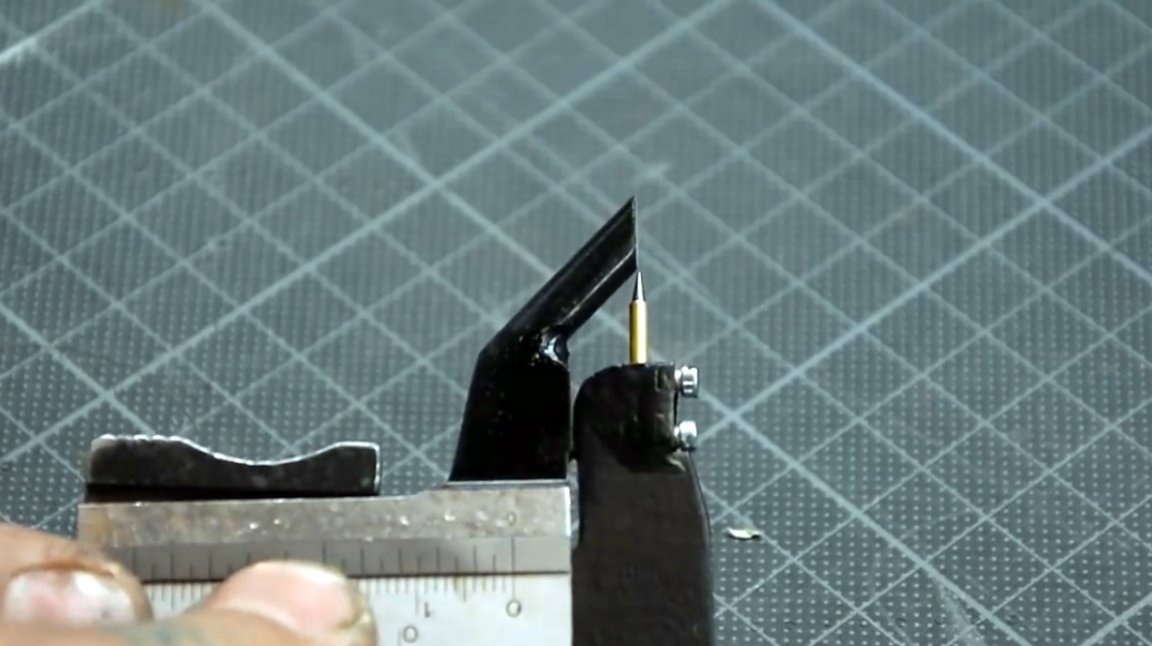
As I understand it (the author did not comment), he will use a sharpened tungsten electrode for TIG welding as a marking tool.If I'm wrong, correct in the comments!
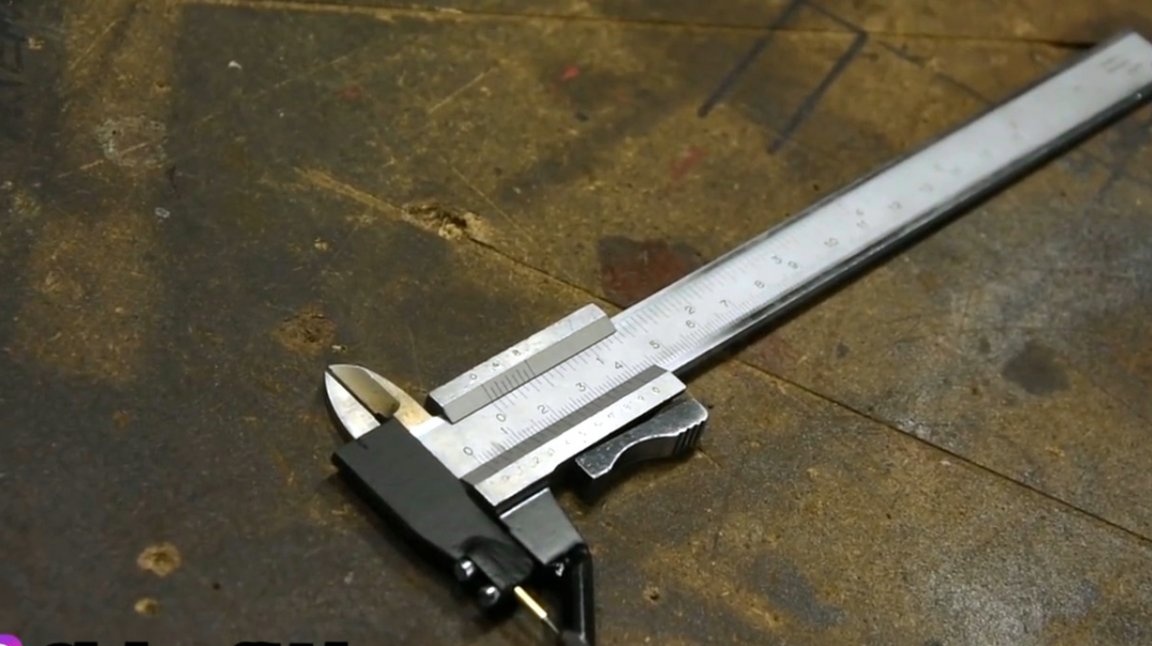
The cutter is fixed in the clamp with two screws.
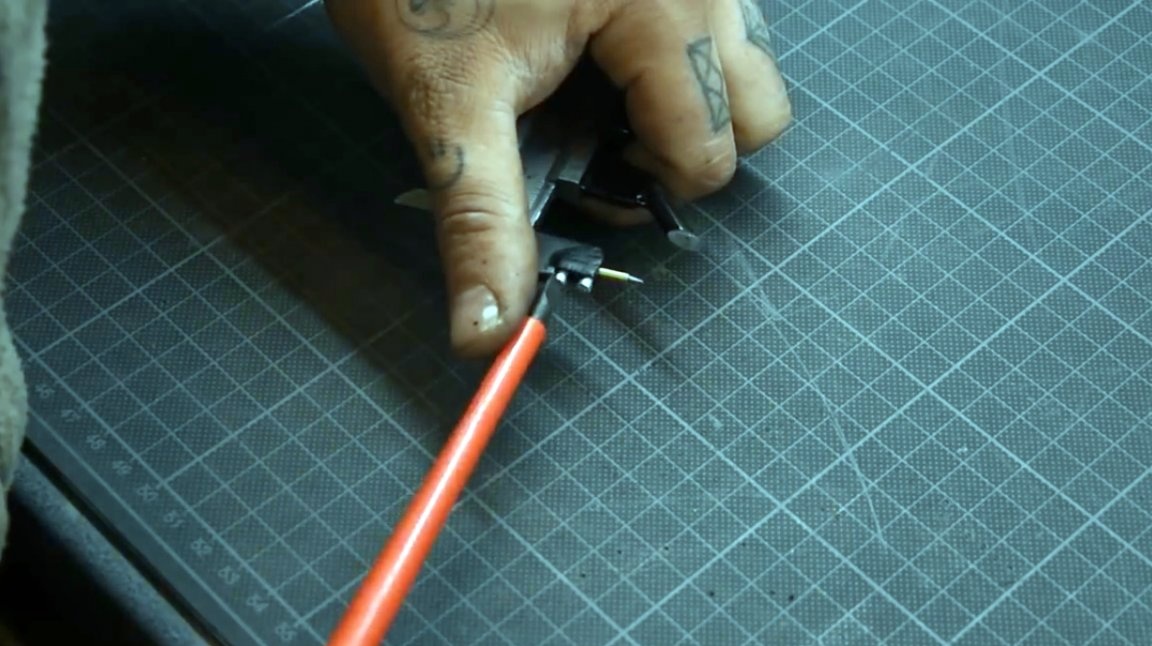
It turned out the perfect convergence of the cutter and emphasis.
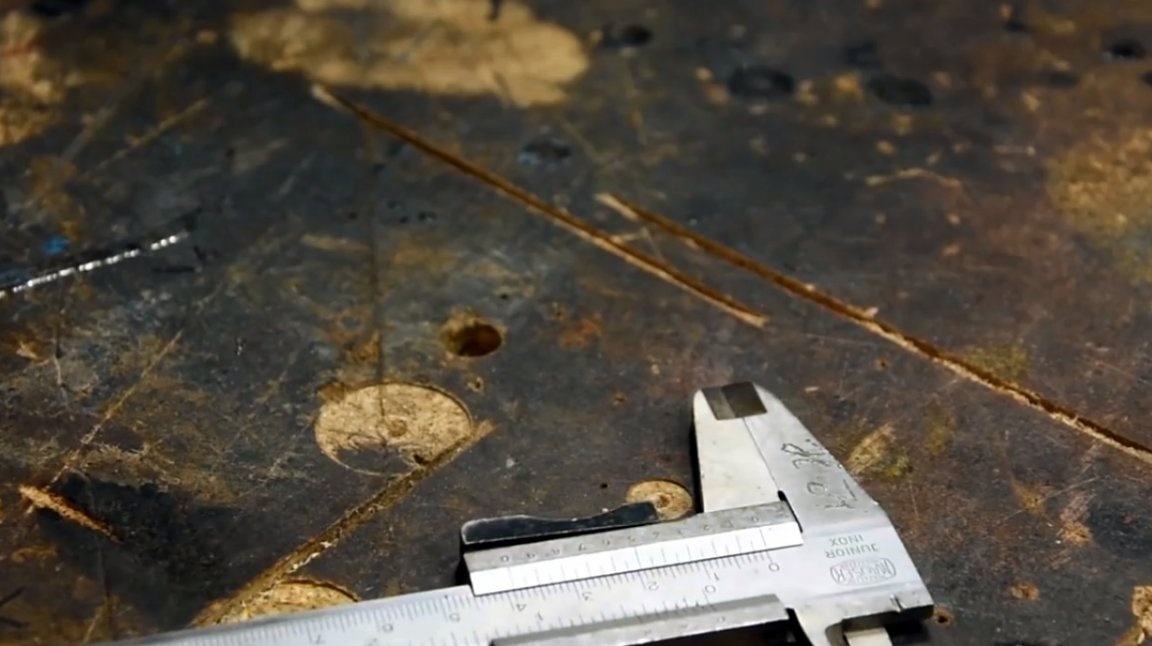
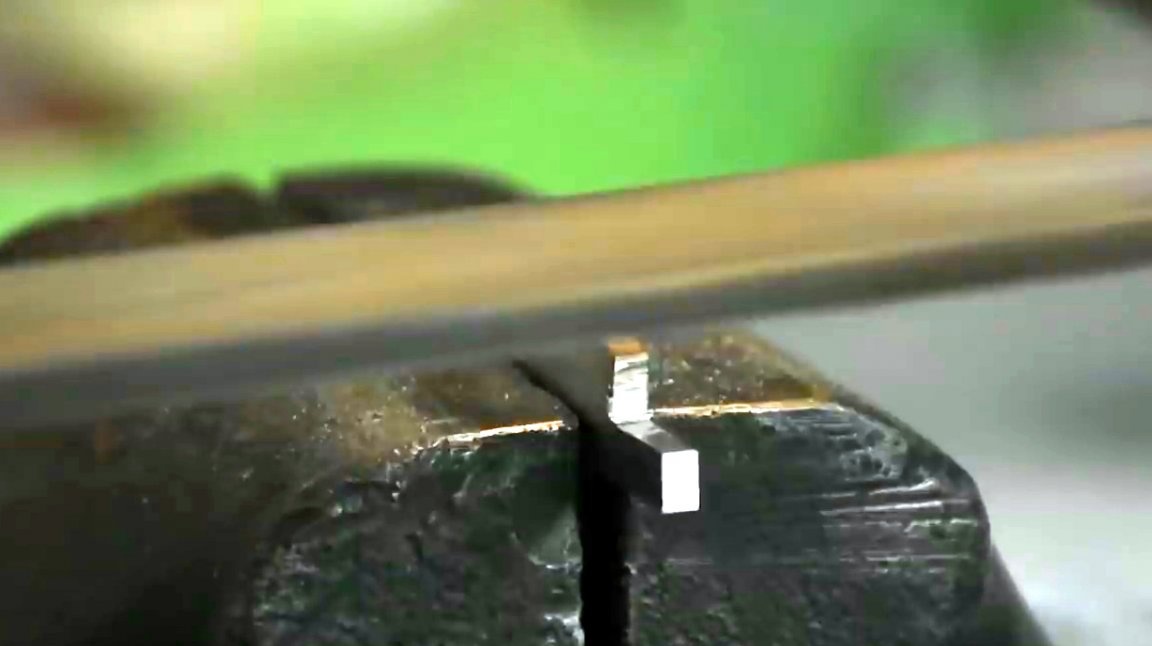
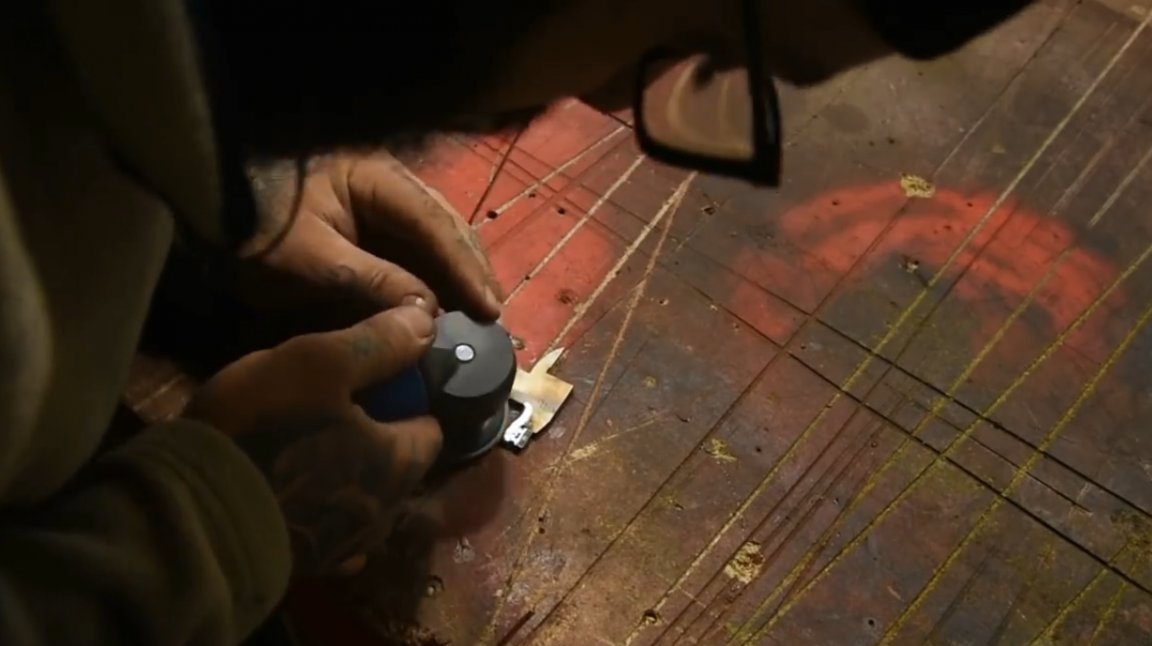
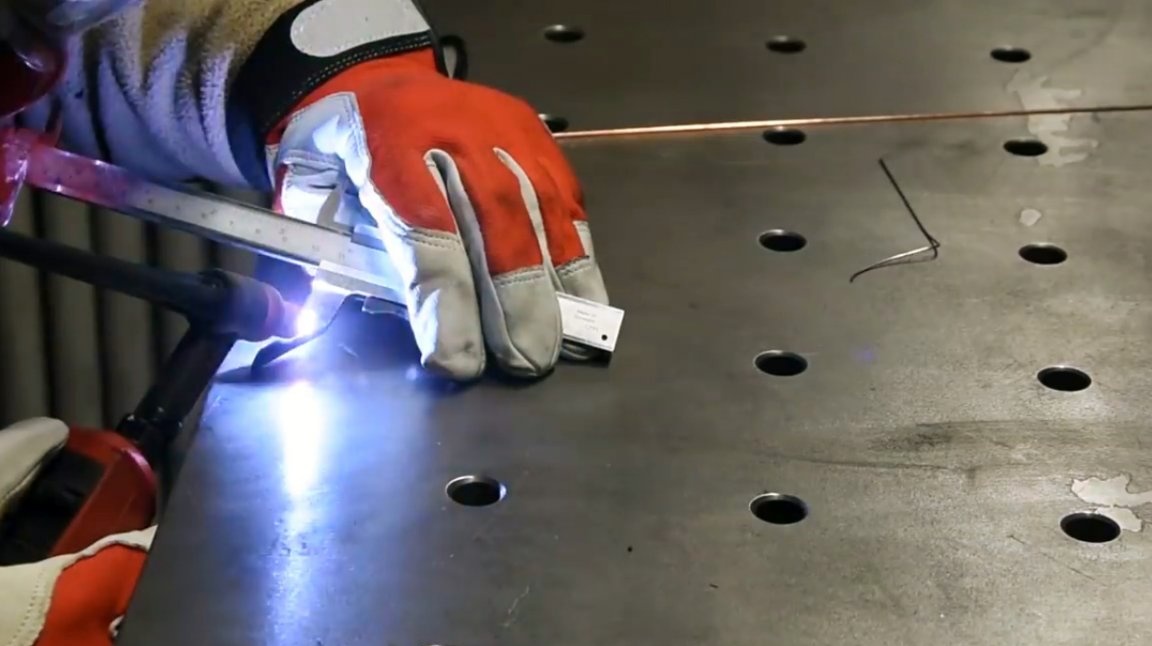
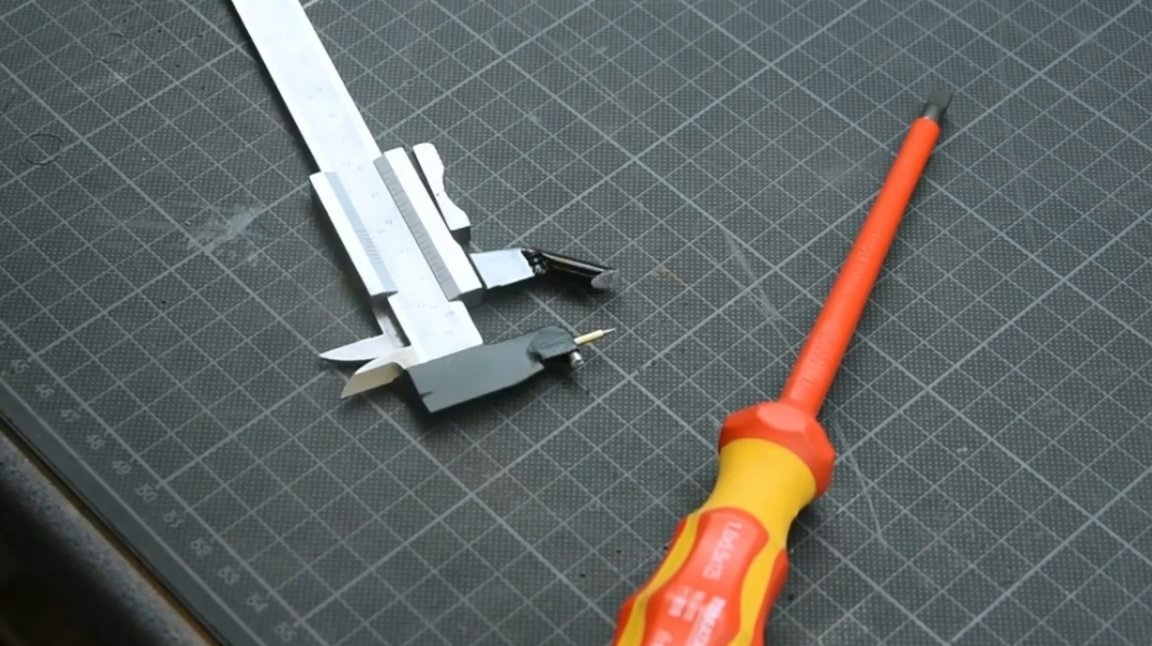
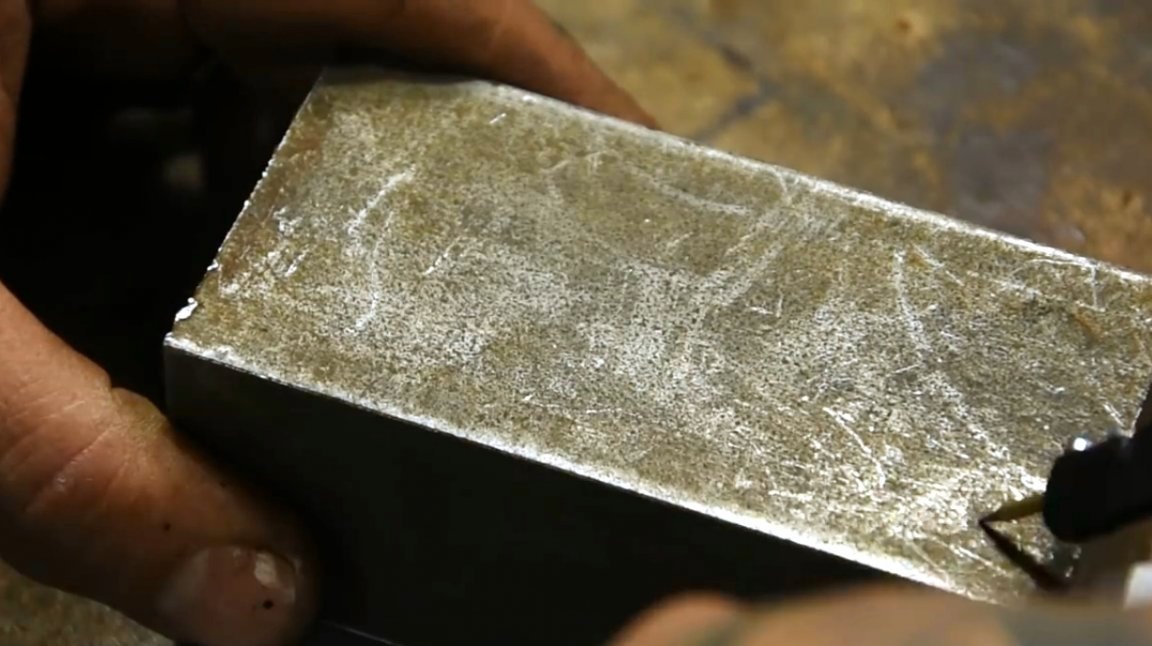
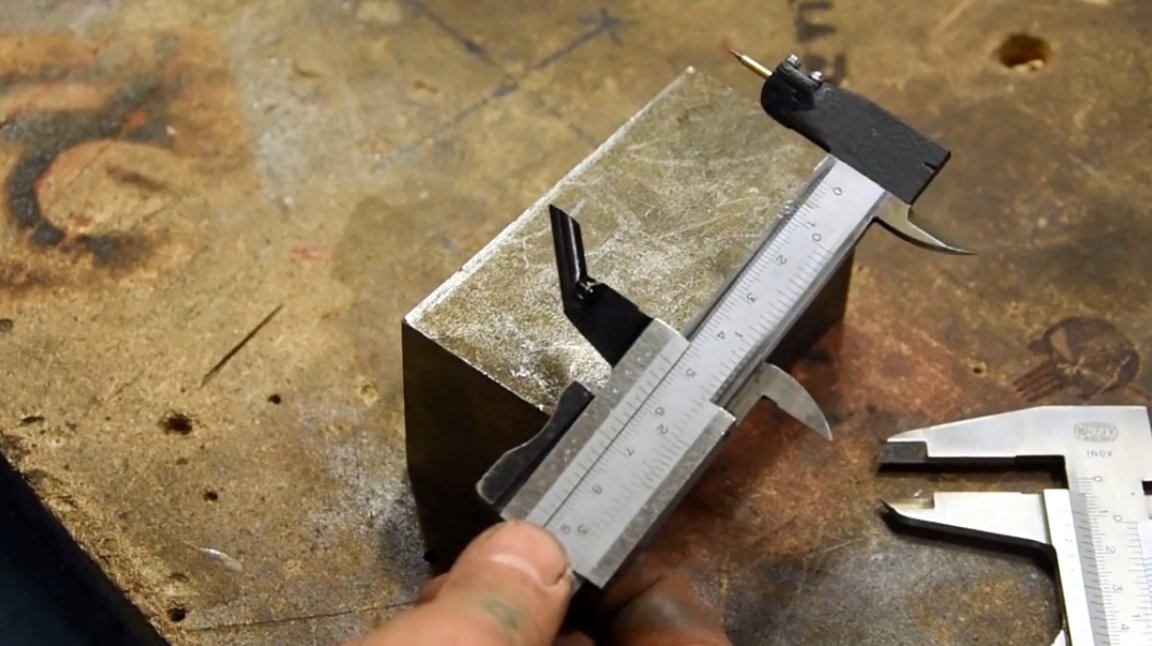
First tool test, marking 10 mm from the edge. The line is clear, and very clearly visible, with a second pass is not bifurcated.
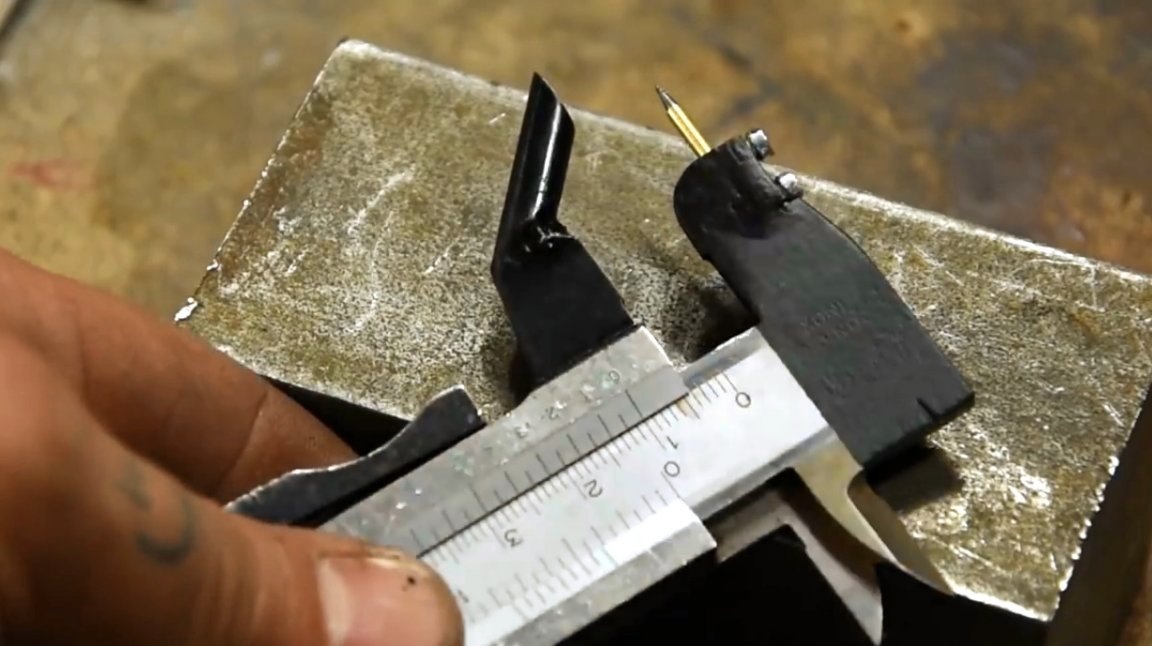
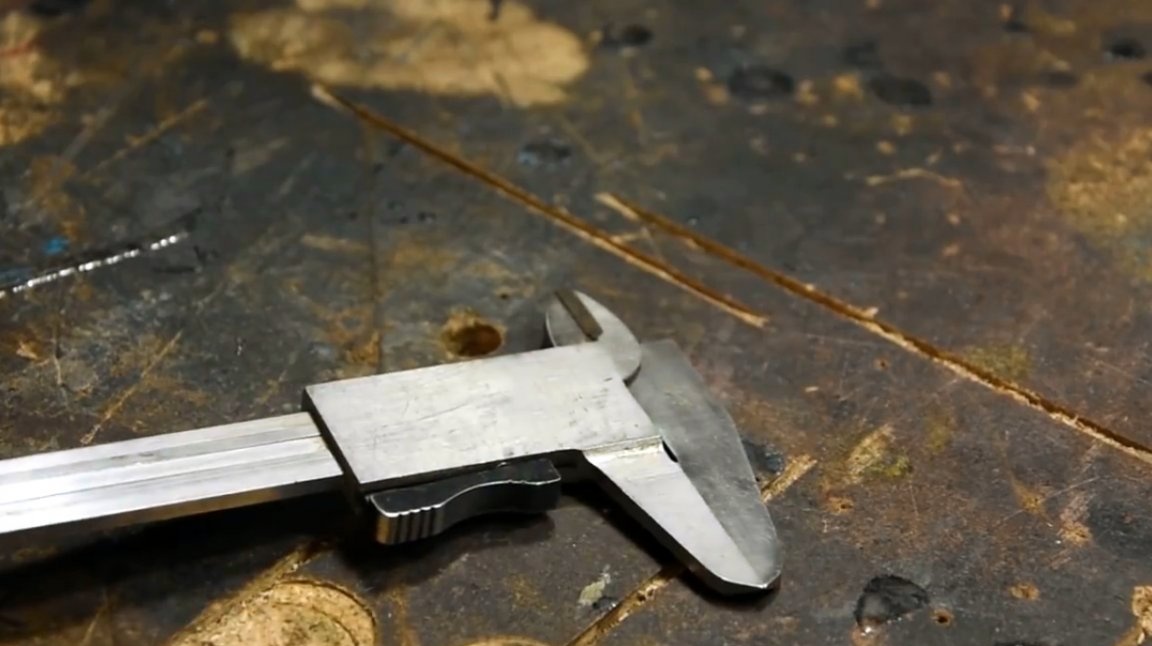
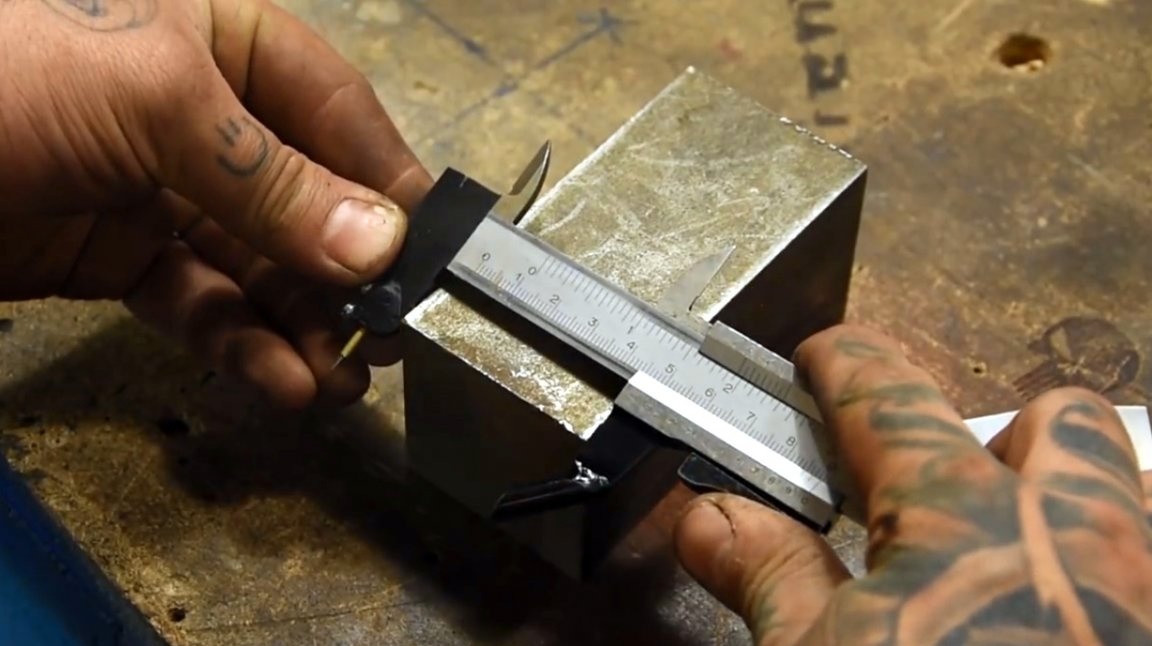
Checking with another tool shows that everything is perfect.

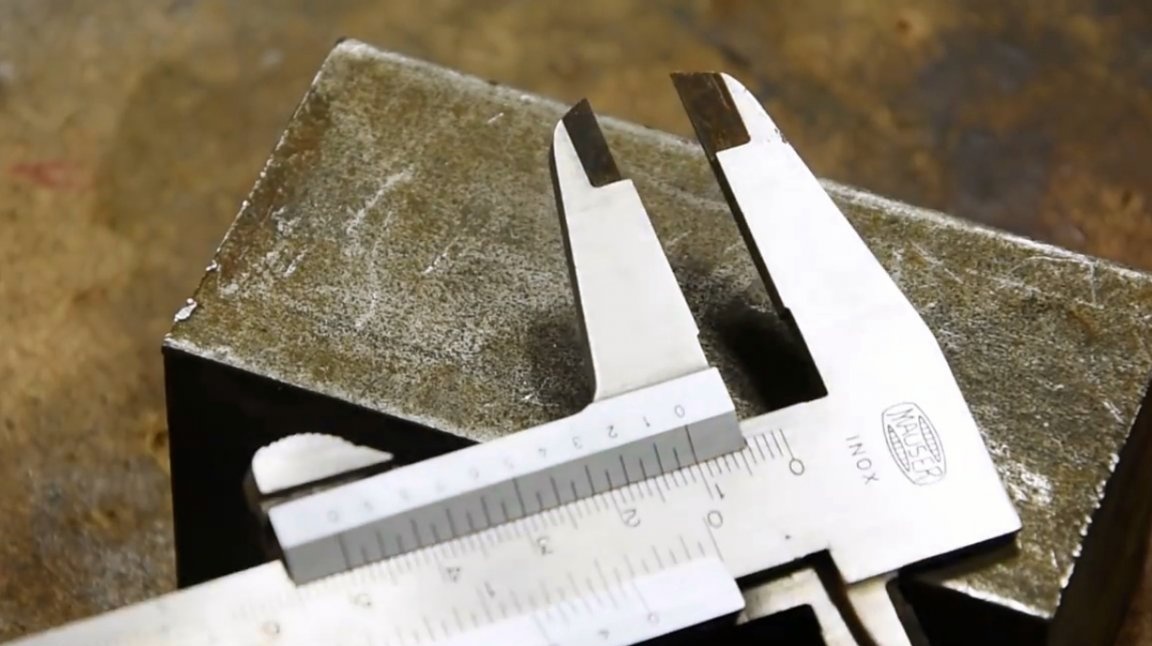
Moreover, the remnants of the sponges for external measurements can still be used.
I thank the author for the unusual design of the marking surface gage!
All good mood, good luck, and interesting ideas!
Author video can be found here.