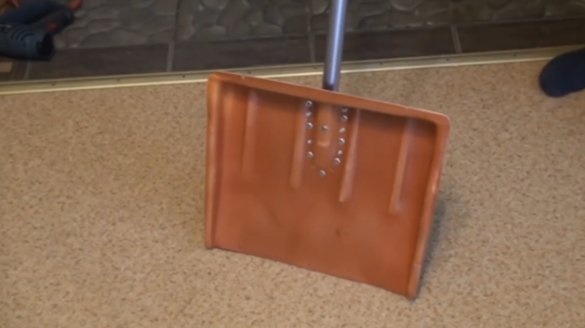
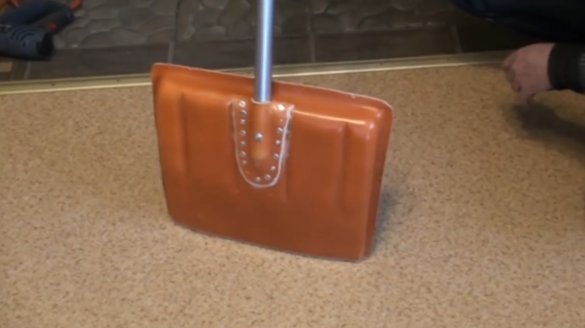
I welcome all fans to craft, I propose to consider instructions for the manufacture of a simple and reliable snow shovel do it yourself. According to the author, such a shovel will serve you all your life, because it is very strong and tough. As a material, the author used a yellow plumbing sewer pipe, which is made from PVC-U. Such material is quite flexible, if you cut the plate out of the pipe and try to break it, it will not work, the material bends to almost any radius. At room temperature, the material is quite hard, and even freezing in frost, which makes NPVH an excellent material for making a shovel. If homemade Interested in you, I propose to get acquainted with the project in more detail!
Materials and tools used by the author:
Material List:
- a piece of NPVH pipe (200 mm in diameter, 4 mm wall thickness, 44 cm in length);
- a finished handle for a shovel (or stalk);
- rivets or cogs with nuts.
Tool List:
- self-tapping screws and screwdriver;
- building hair dryer;
- boards for the manufacture of the template;
- wooden block;
- drill;
- rivet gun.
Homemade manufacturing process:
Step one. Source material preparation
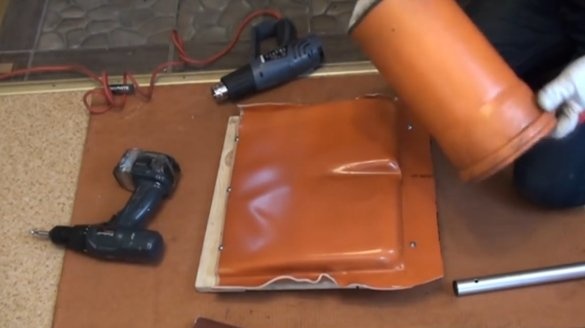
A piece of PVC-U pipe in diameter of 200 mm acted as the main material, the wall thickness of such a pipe was 4 mm, for the manufacture of a shovel the author took a segment of 44 cm. The pipe is easily cut with a grinder or even a hacksaw for metal. The pipe will need to be cut lengthwise so that later it can be bent out of the sheet.
Step Two Template
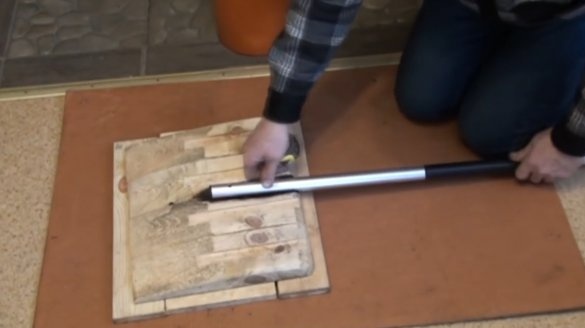
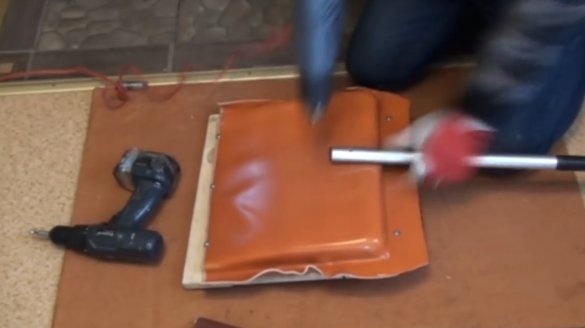
You also have to make a simple template, according to which you will bend the shovel. The author has assembled a template from boards, all this is done quickly and simply. You can make the template you need to get the desired shovel profile. On the template, we necessarily provide a groove for the stalk. As you can see, on any shovel there are small grooves and ribs, all are not done to increase the stiffness of the shovel, the author has provided similar grooves in his template.It is enough to make one such template, having spent a little time, and then you can already make many shovels on it.
Step Three Shovel Making
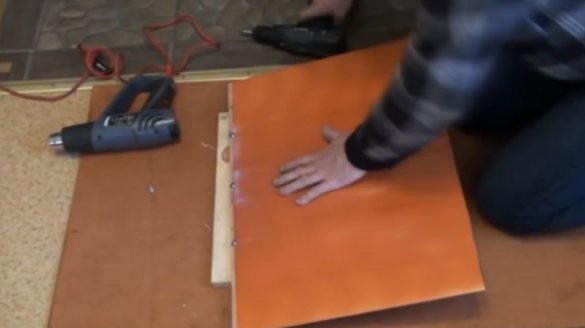
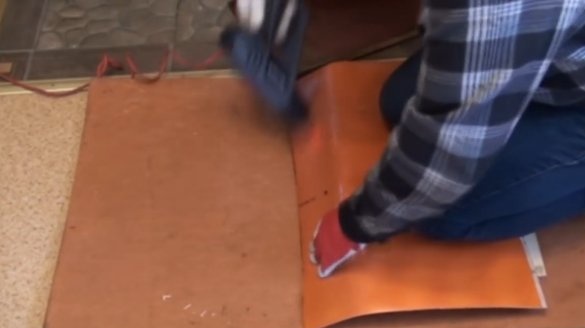
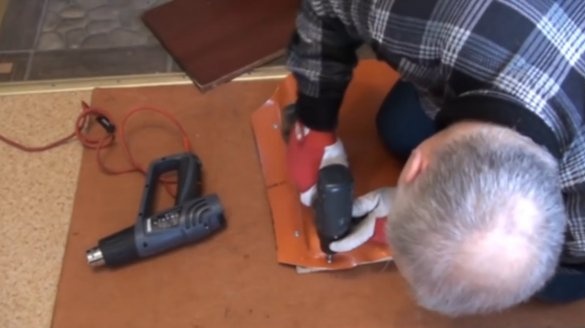
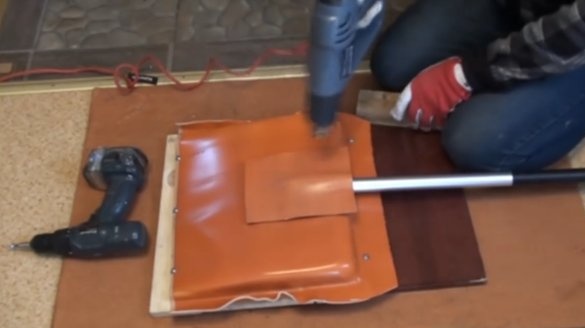
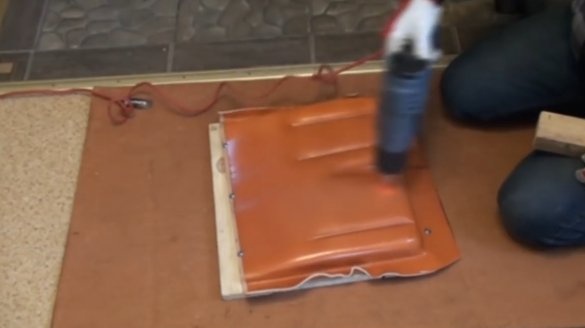
We arm ourselves with a construction hairdryer, heat up a piece of the pipe and slowly bend it so that we get an even sheet. The material is quite plastic and with sufficient heating it is easy to work with. In order not to burn your hands, be sure to work in tight gloves.
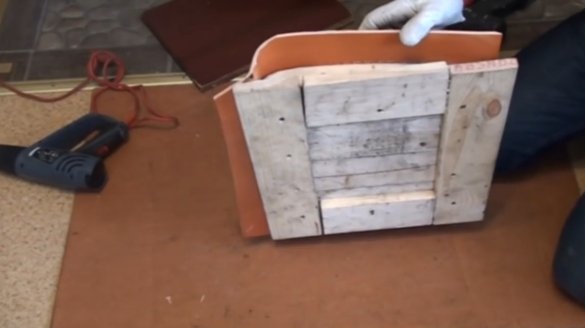
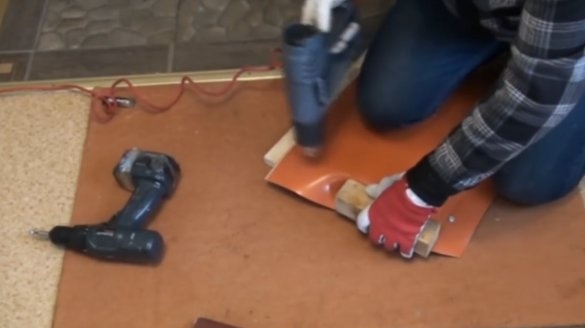
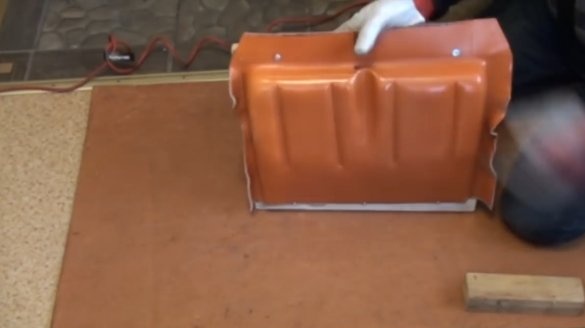
As soon as we get the sheet of PVC-U, we fasten its edge to the template with the help of self-tapping screws and slowly bend it according to the template, heating the sheet with a construction hairdryer. If necessary, we fasten other edges of the sheet, these parts of the material anyway, then they will be cut off. The author pushes all the necessary angles with the help of a block.
Similarly, from a piece of material, we make a part that will hold the stalk.
Step Four Assembly and testing
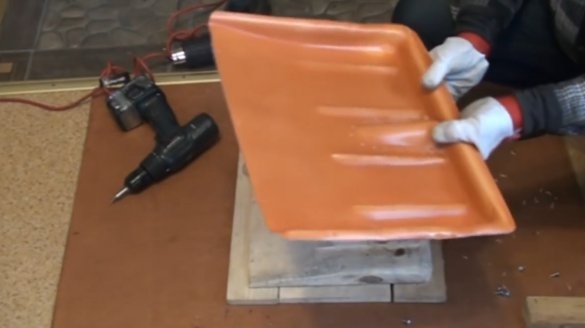
We turn off the screws, remove the finished shovel and carefully cut off the excess edges with a grinder. In the end, it remains to fix the handle, the author has it ready. The author fixed the fasteners for the handle on rivets, and the handle itself can be screwed with screws with nuts and washers.
The shovel is ready, the homemade product turned out to be of optimal size, the tool is light, hard and very strong. Of course, in the summer it is better to hide such a shovel from the sun so that it does not deform from heating. The author works with a shovel rather quickly, a shovel famously scrubbing frozen snow. So that the edge of the shovel does not suffer from stones and other obstacles, you can put protection here in the form of metal.
The project is completed on this, I hope you liked the homemade work, and you found useful thoughts. Good luck and creative inspiration, if you decide to repeat this. Do not forget to share your ideas and homemade things with us!


