
Both in the workshop and at home often have to perform various marking work. They can be performed using various tools - roulettes, squares, rulers, etc.
In this article, Ohyo56, the YouTube author of the channel, will tell you how he made one of the special, and very precise marking tools from mahogany and aluminum strip.
This project is quite simple, and it can be repeated using hand tools.
Materials
- Mahogany Reiki
- Aluminum strip
- PVA glue
- Masking tape, double-sided tape
- Second glue
- Screw M4
- Corrugated nut rivet M4
- Sandpaper
— Linseed oil.
Instruments, used by the author.
— Mortise drill
— A circular saw
— Band-saw
— Electronic caliper
— Screwdriver
- Drilling machine
— Forstner Drills
— Tap
- Grinding machine
- Anvil, core, file, chisel
- Vise, hacksaw
- Clips, ruler, square, pencil, marker.
Manufacturing process.
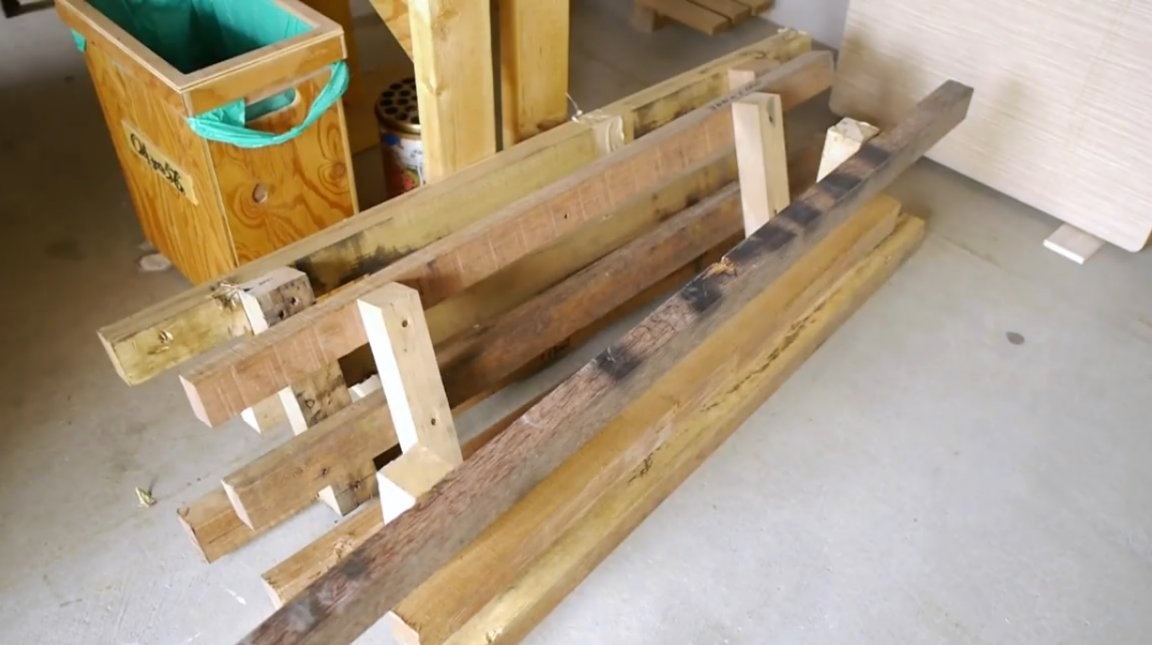
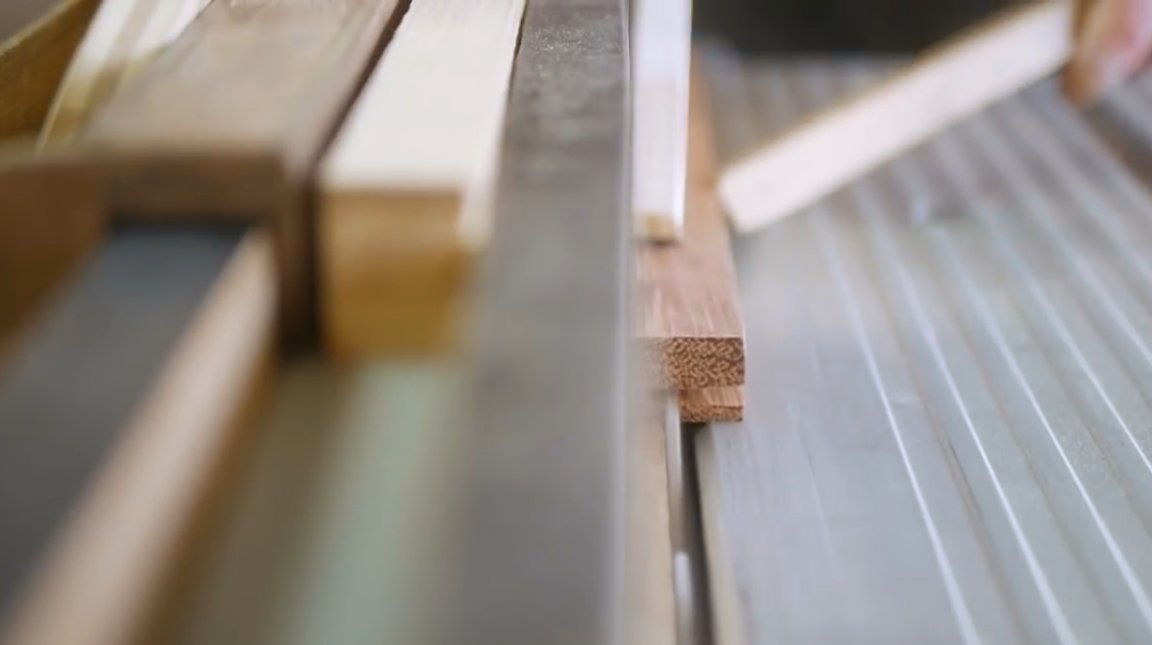
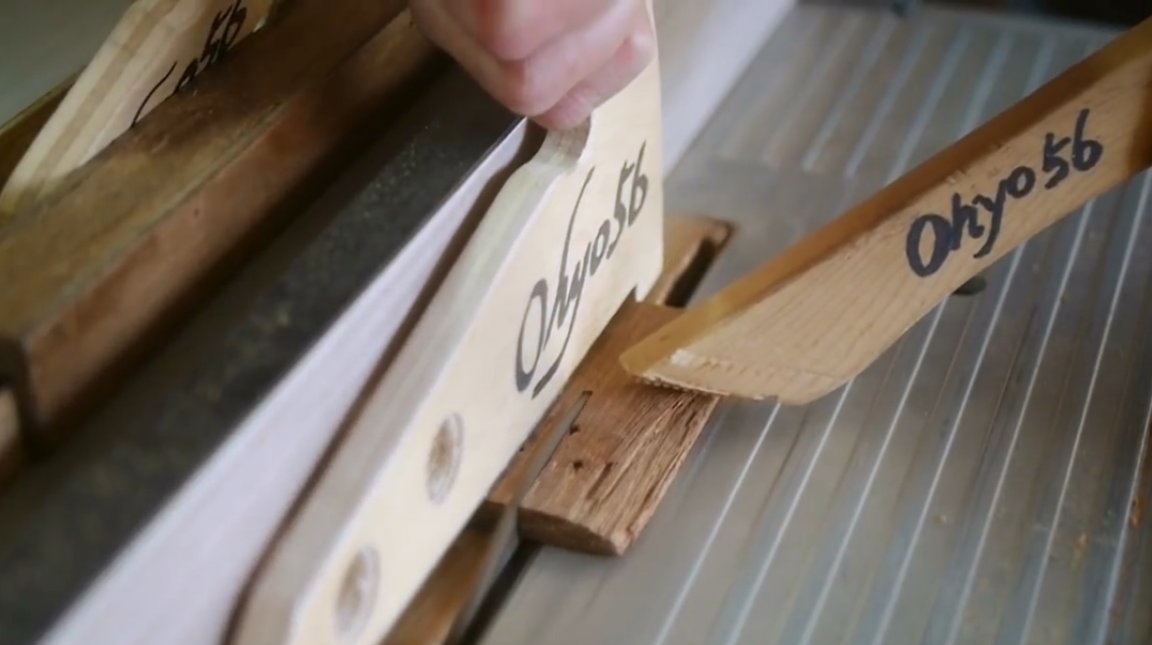
First of all, the master chose a mahogany block as the main material, and cut it in length.
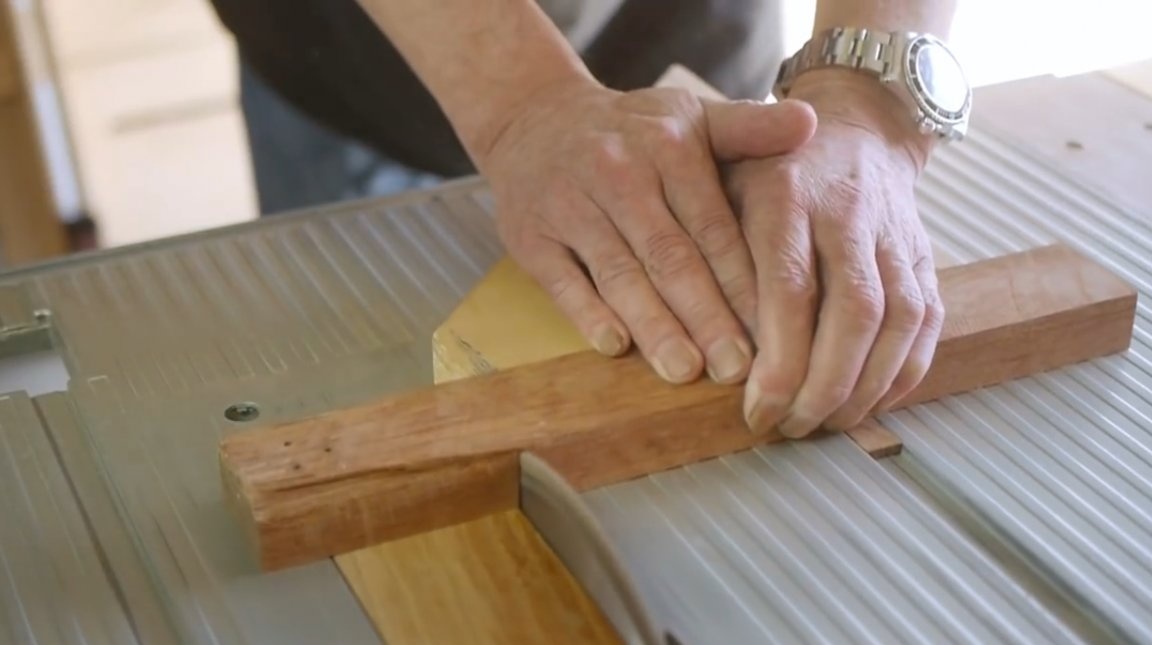
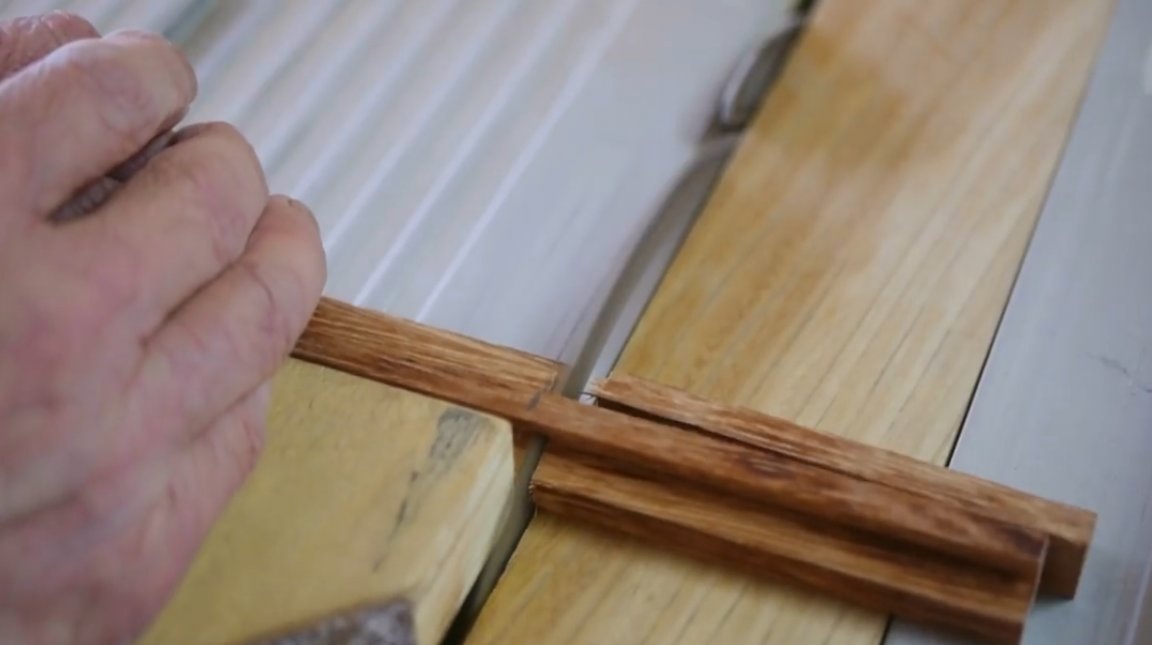
Then he dissolves it into two slats.
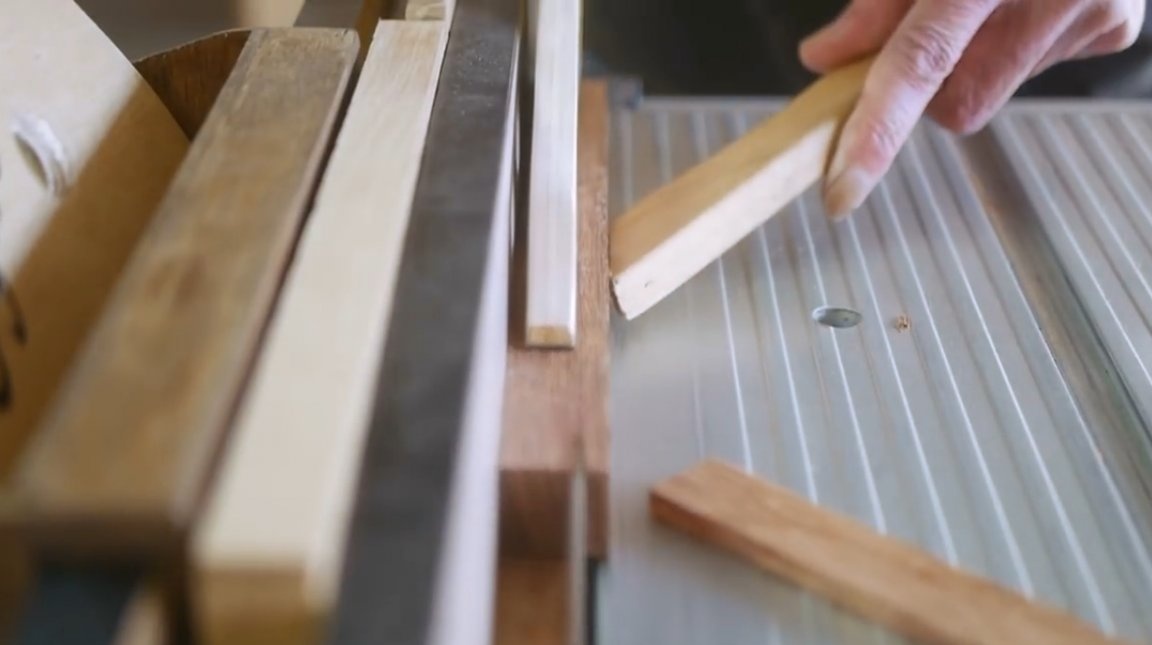
Lowering the saw blade by 10 mm, and cuts out two grooves in the rails.
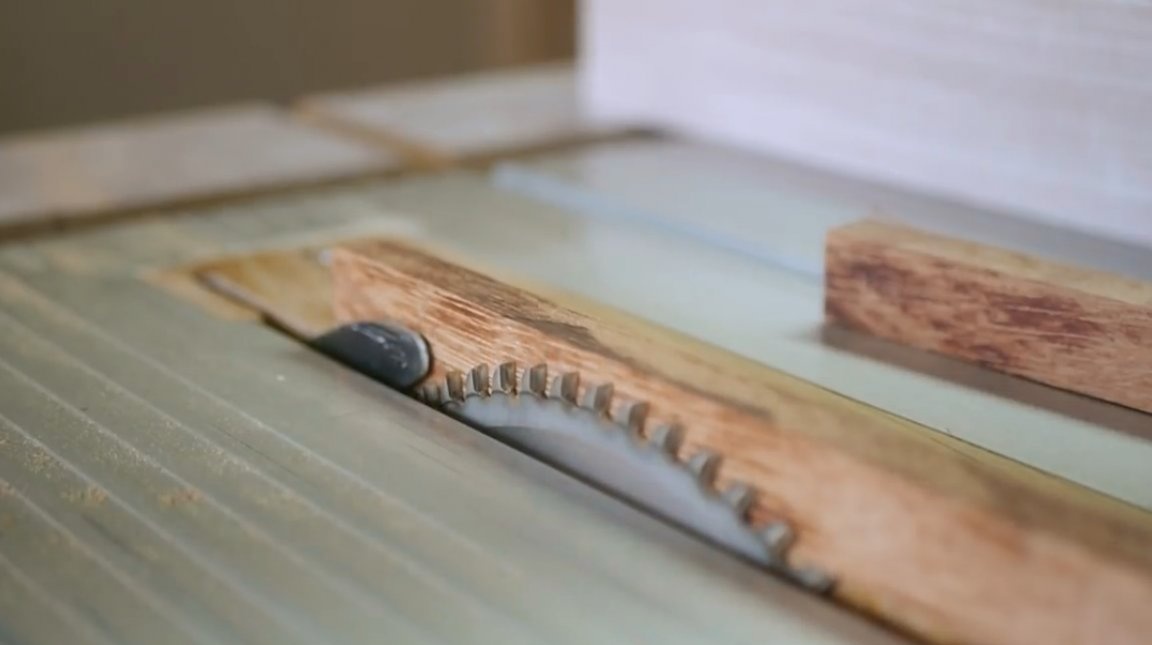
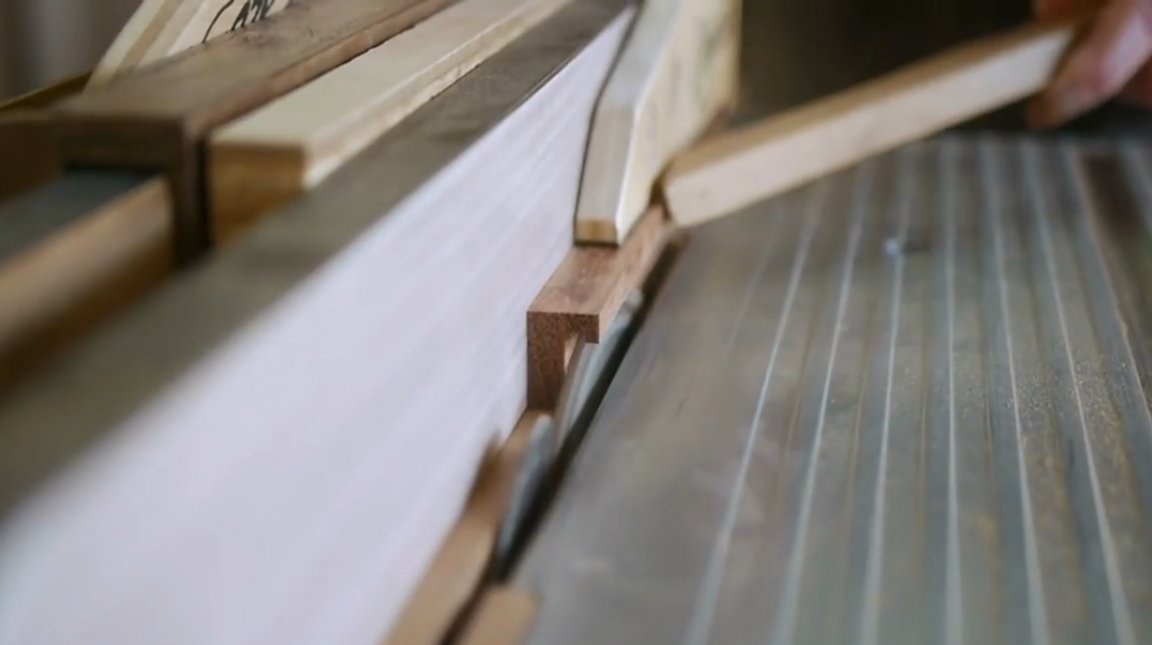
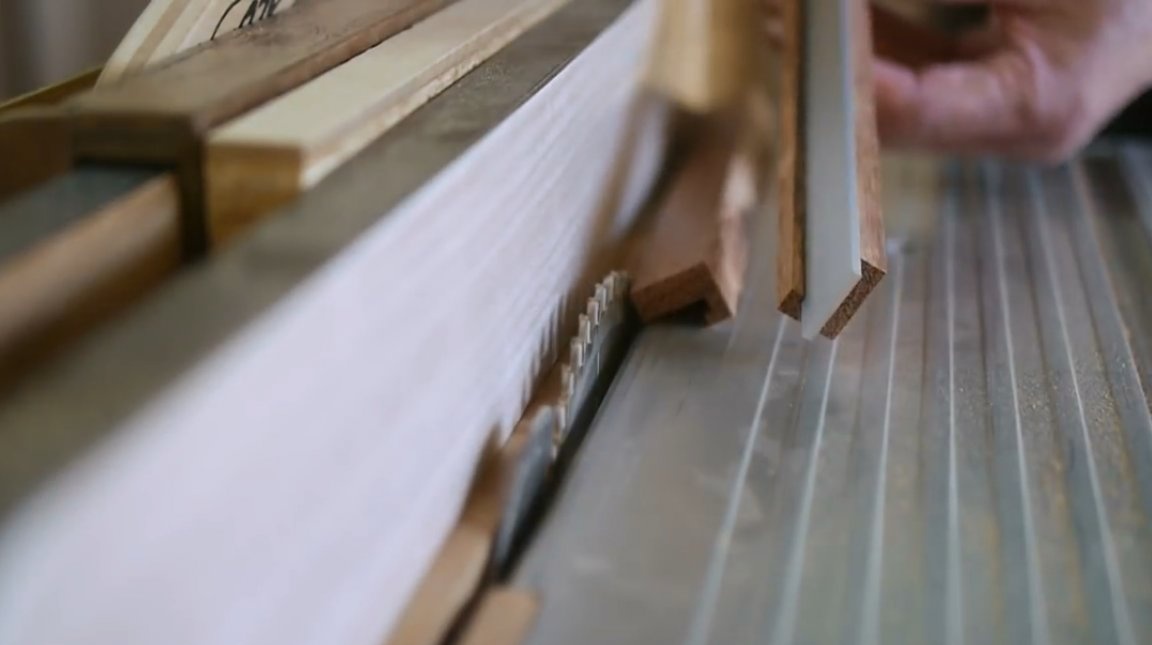
Now the author needs to make a L-shaped groove, for this the disc is lowered again, and part of the thin bar on both blanks is cut off.
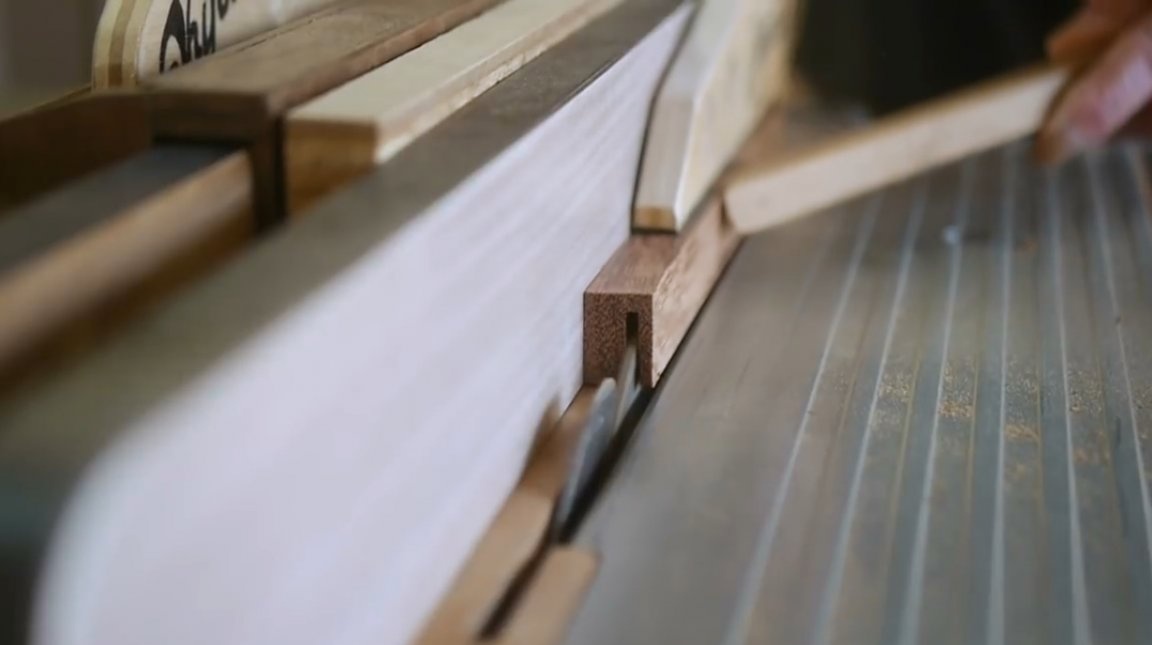
However, it turned out that the thickness of the aluminum strip is slightly larger, and it does not enter the side grooves, slightly moving the emphasis, the author expands both grooves. Now the strip goes into the groove, but practically has no unnecessary play.
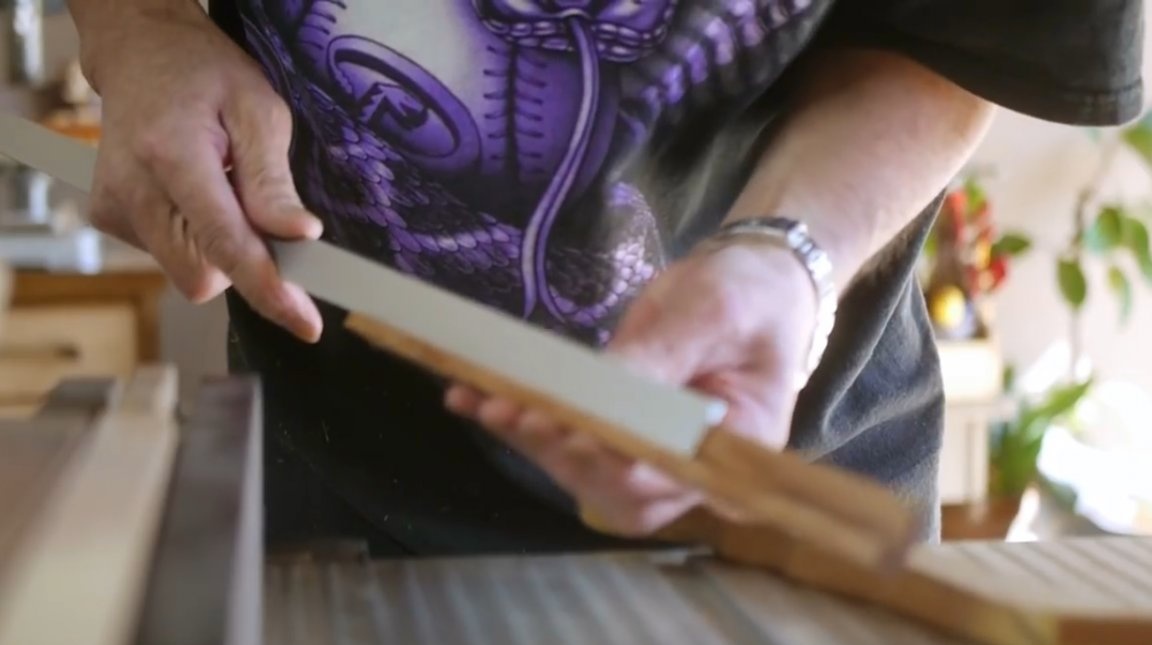
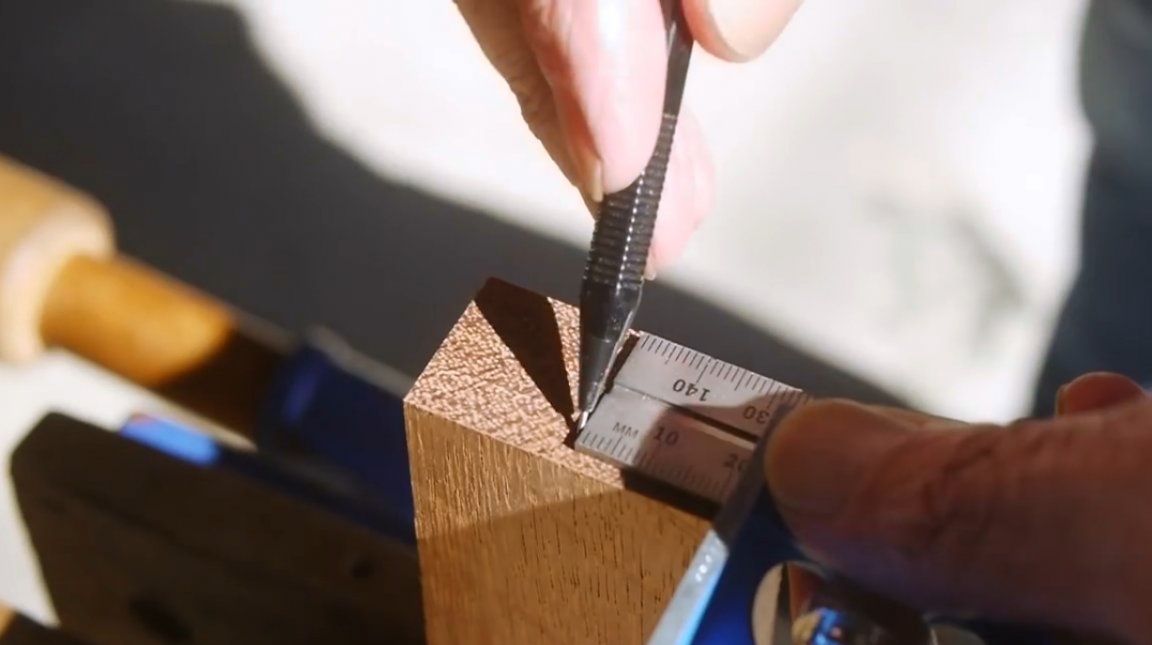
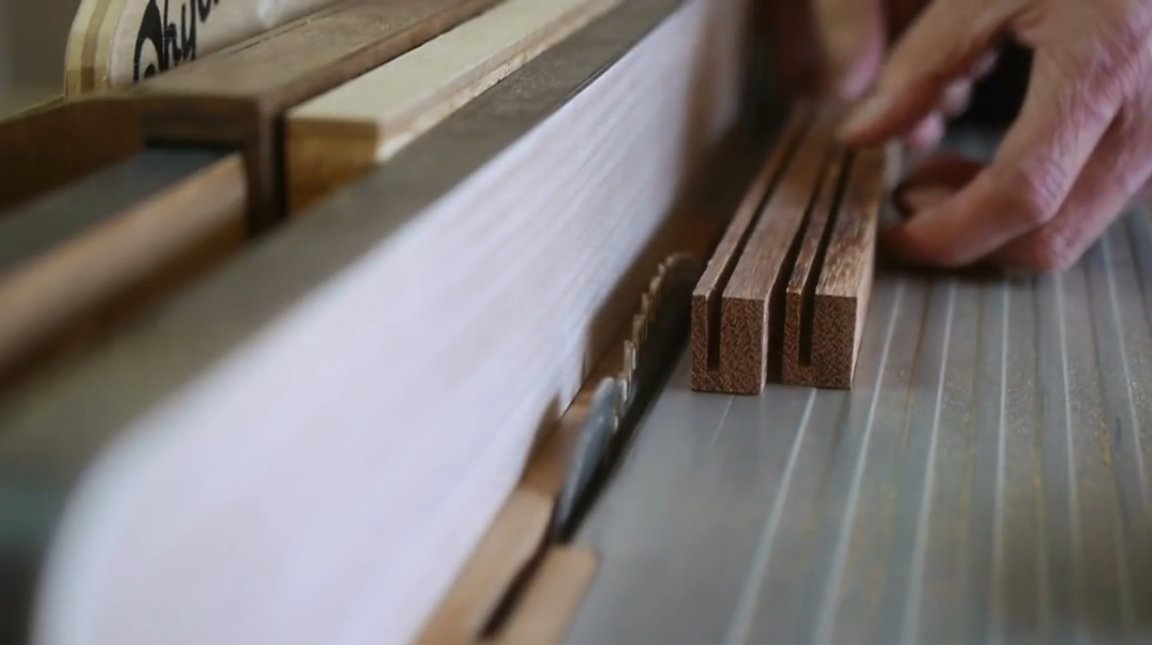
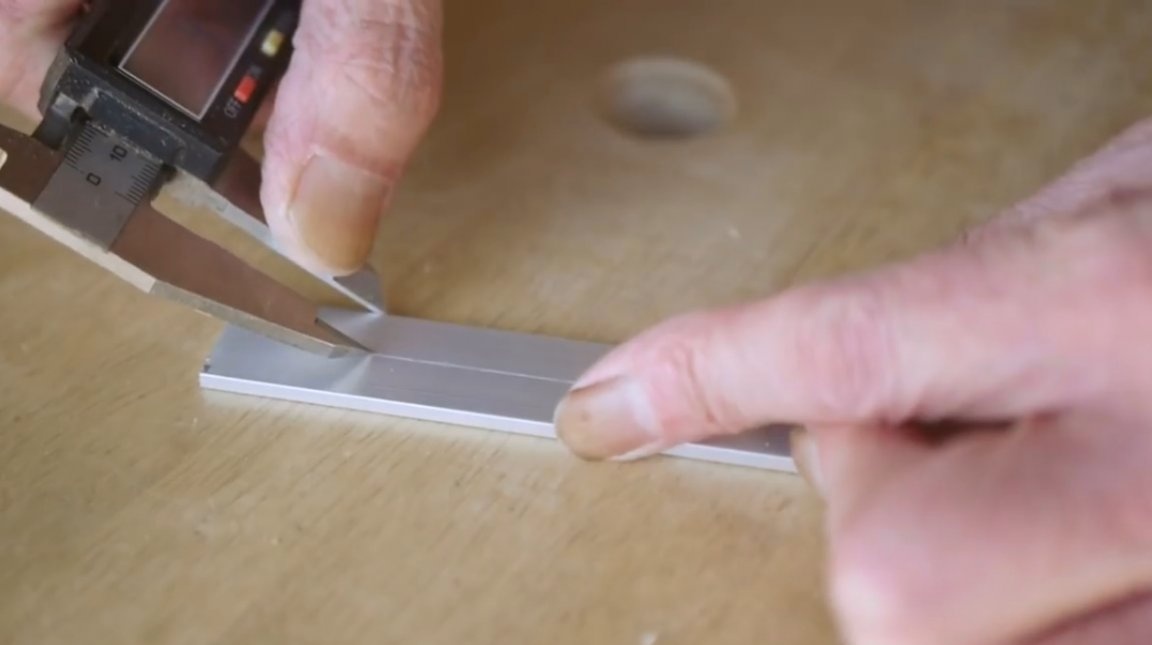
The author measured the width of the aluminum strip, it is 20 mm. He marks 10 mm from the inner edge of the groove on both workpieces, and cuts off the excess.
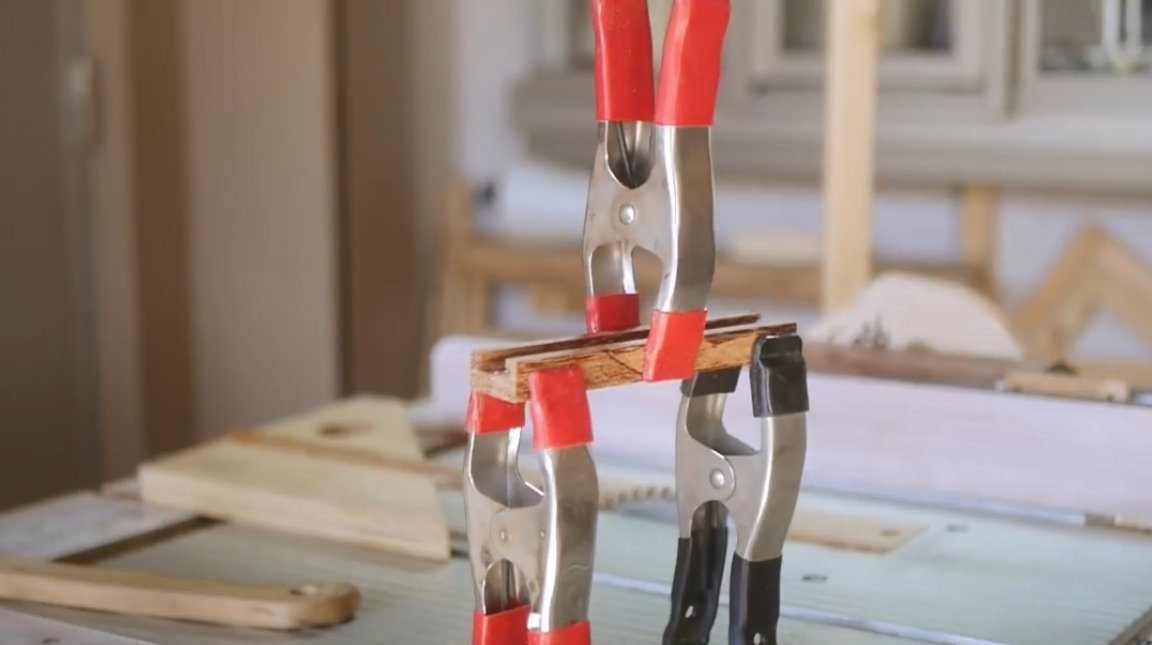
Further, the workpieces are cut to the required length of the future product. Having tightened both halves with clamps, the master checked the accuracy of the fit.
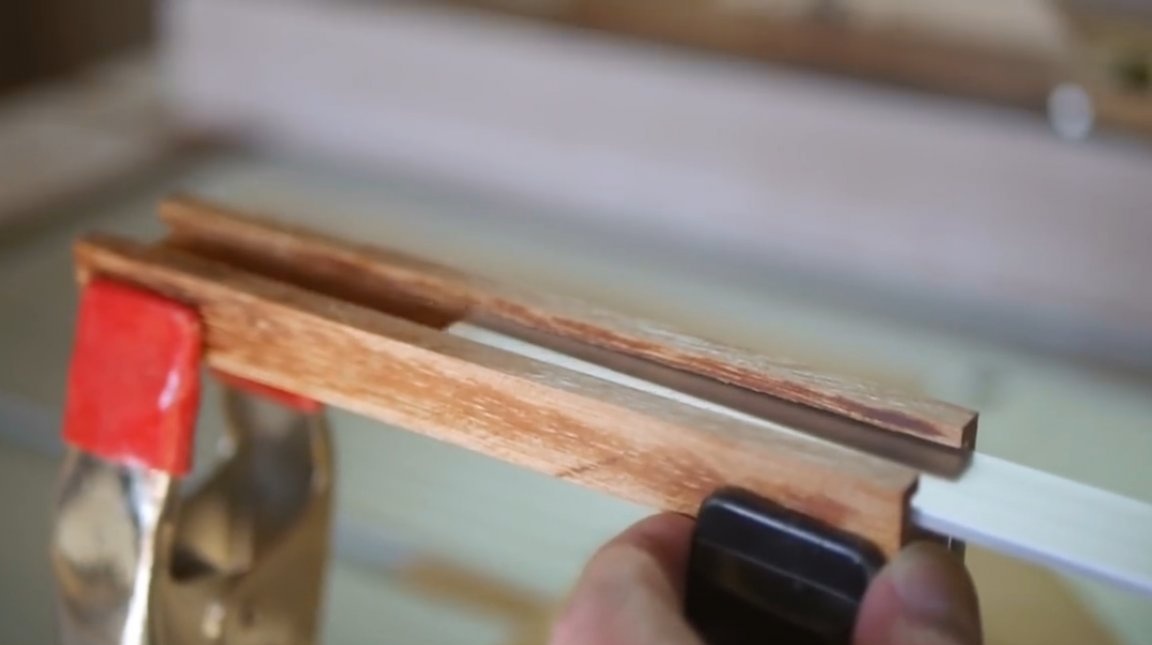
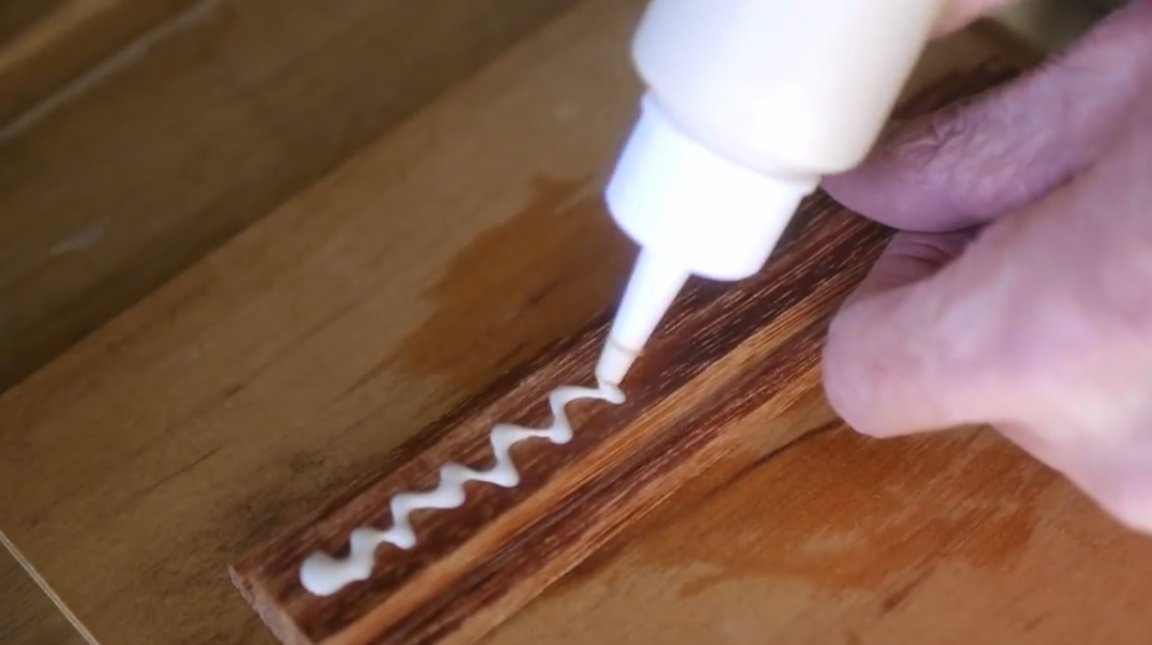
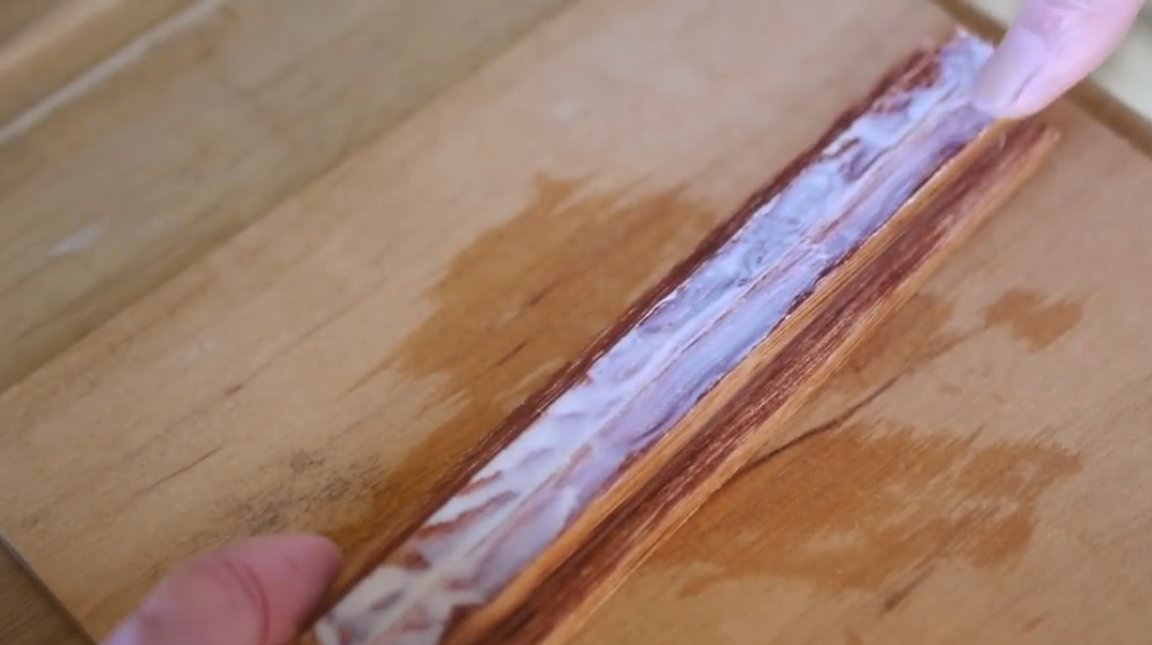
Both halves are glued together, forming a thicknesser case, and are fixed with clamps.

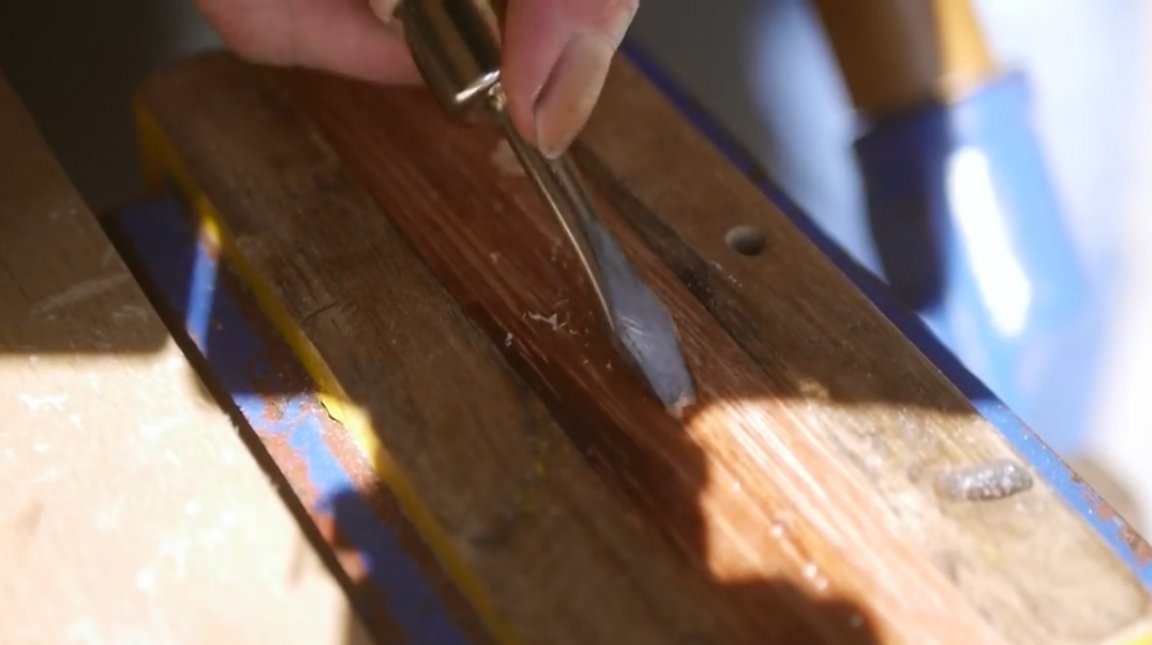
After the glue dries, its excess is cleaned with a chisel.
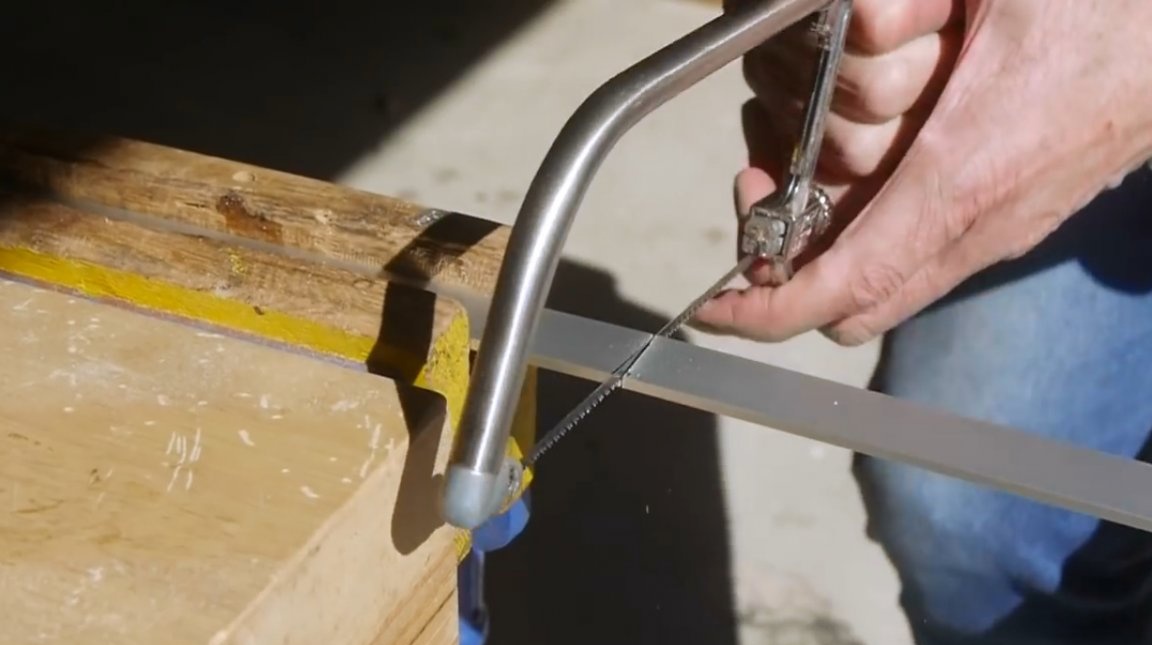
Having noted the necessary length of the strip along the length of the body, the author saws it off with a hacksaw.
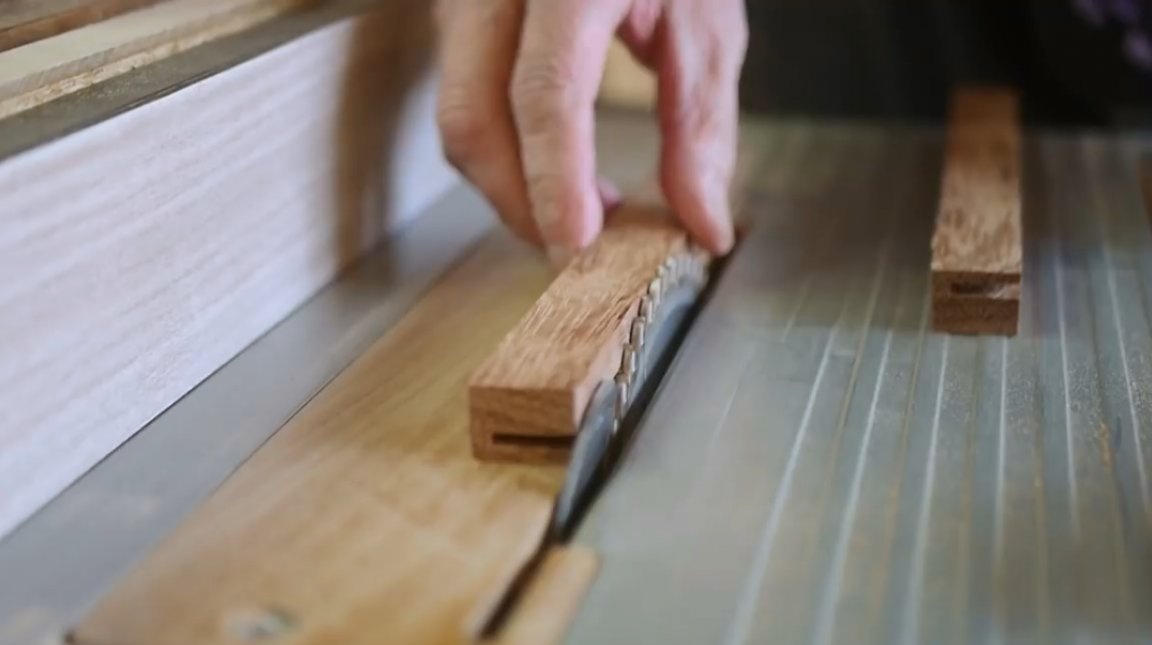
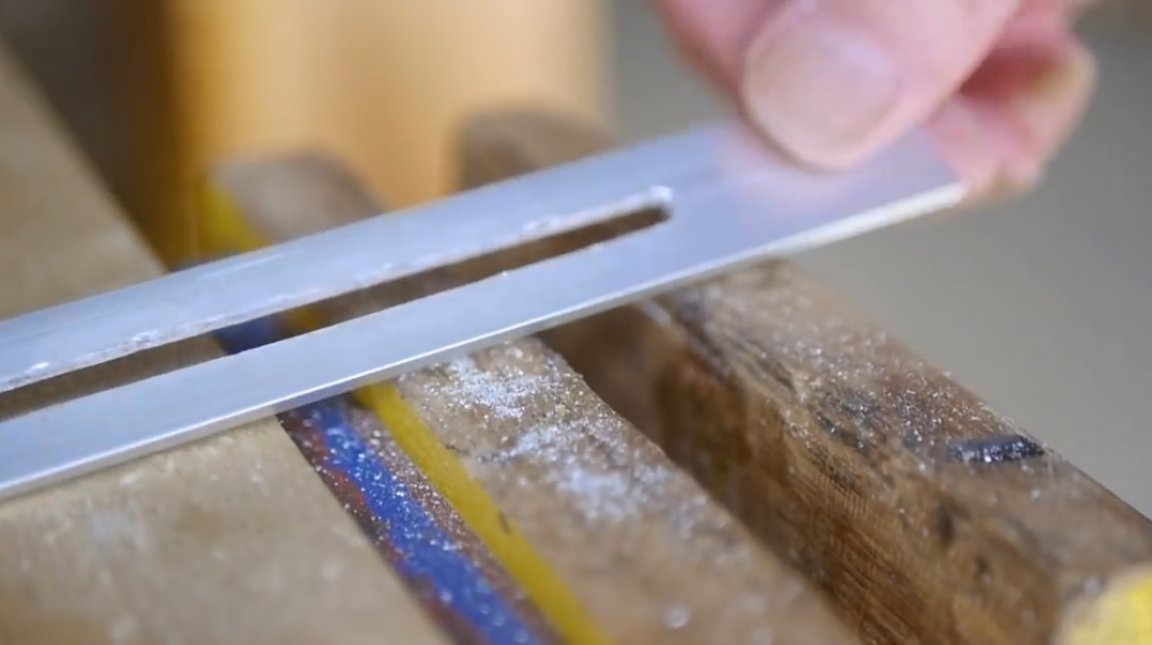
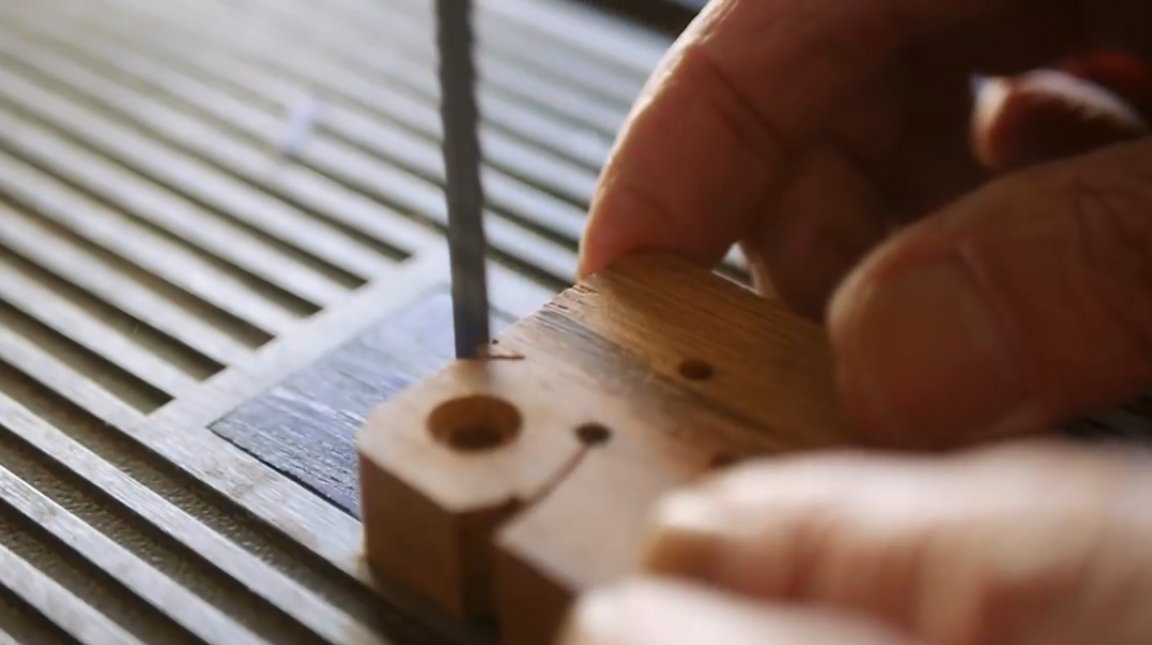
Next, the center line on the strip is marked, and the edges of the groove for the clamping screw are pinched.
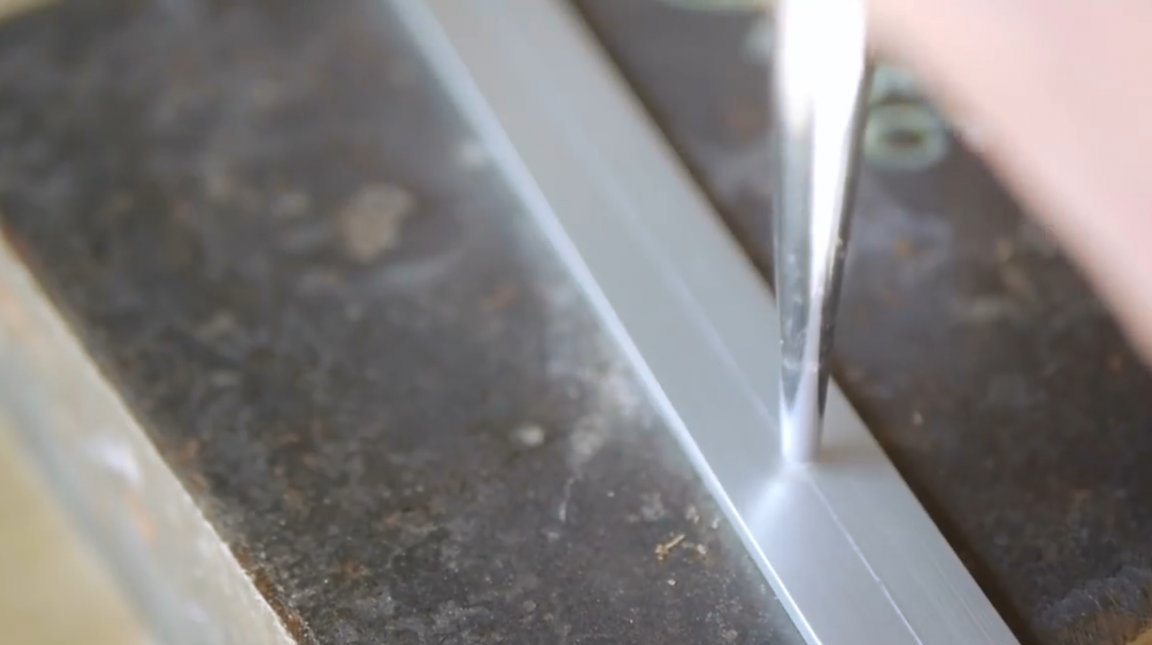
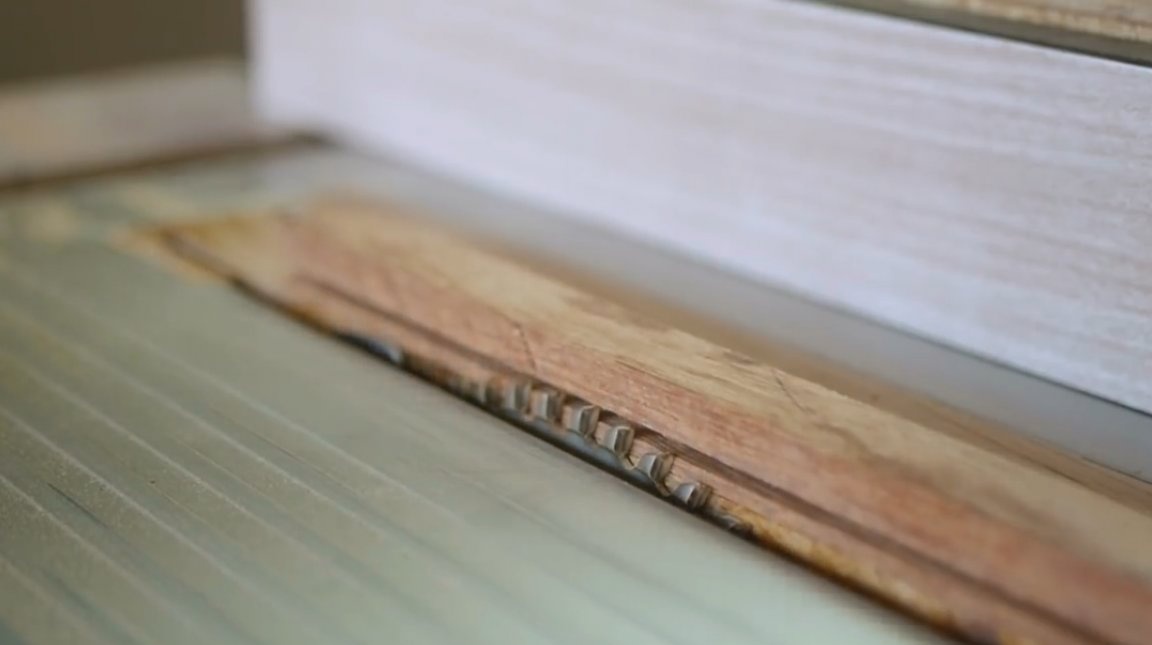
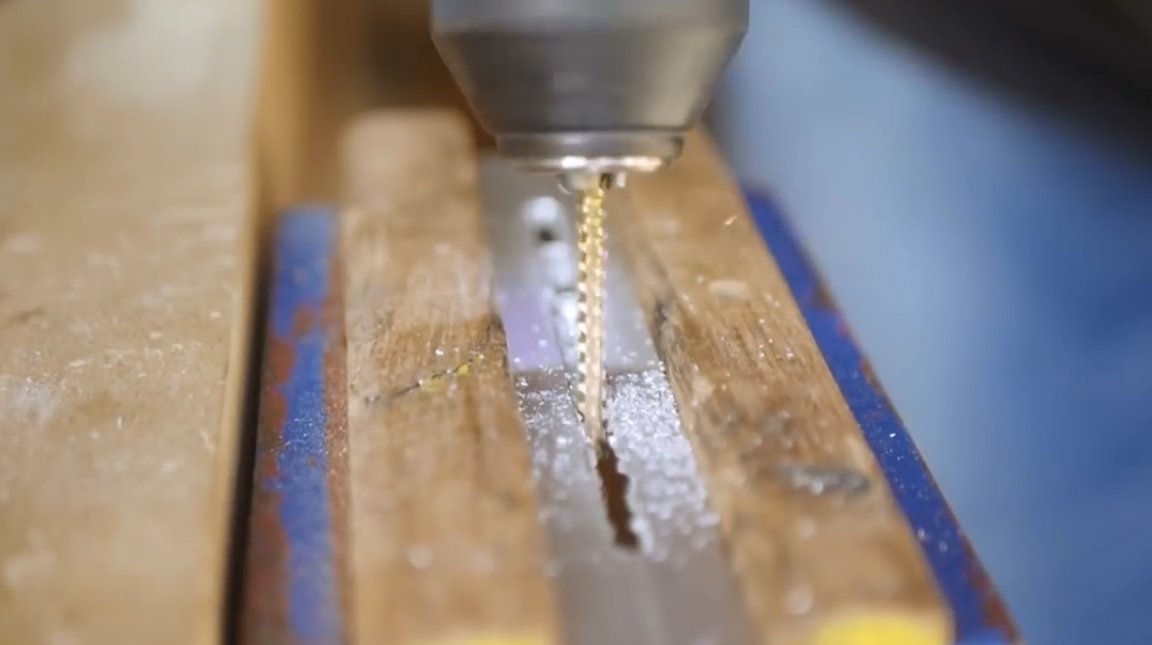
First, the author drills several holes along the edges of the groove on a drilling machine.
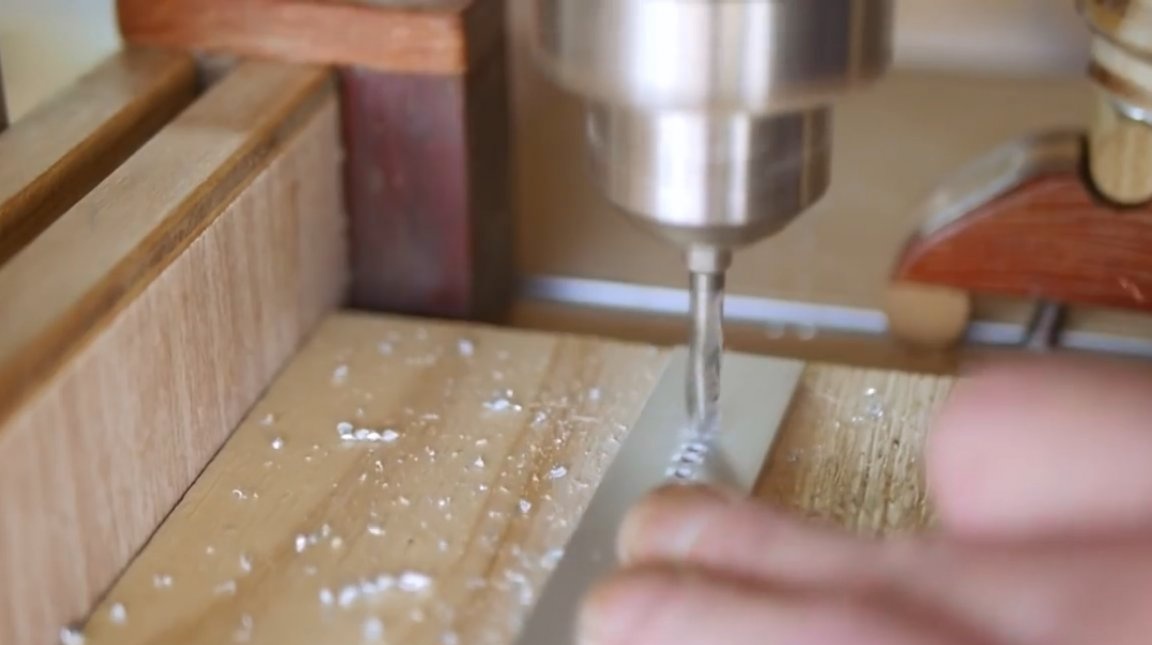
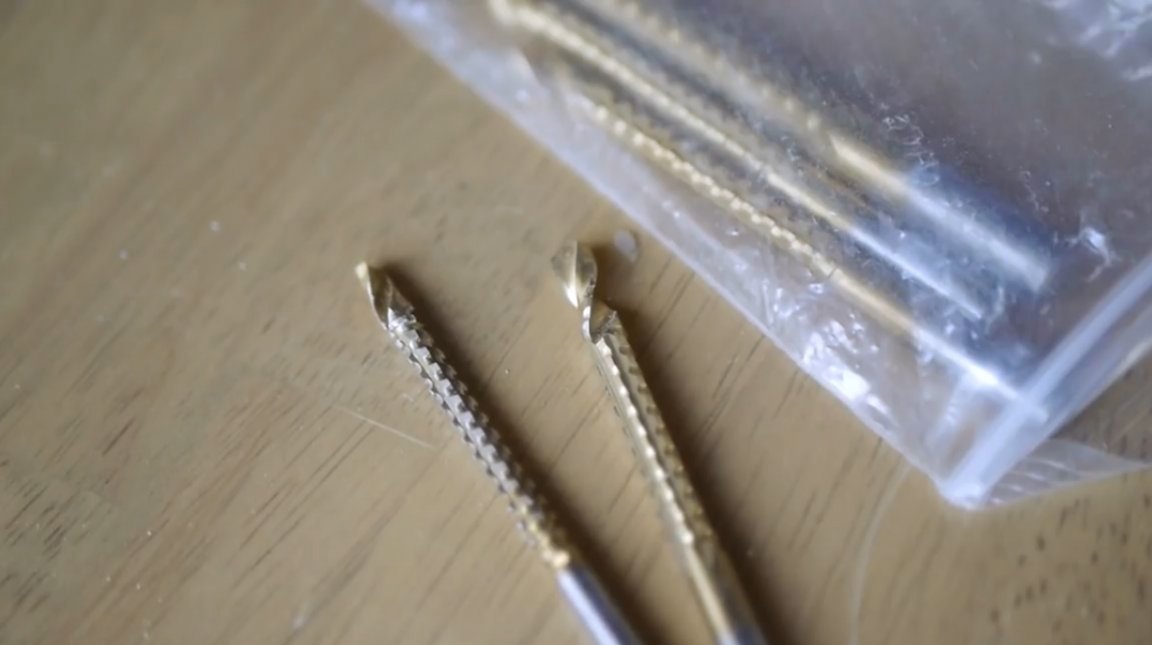
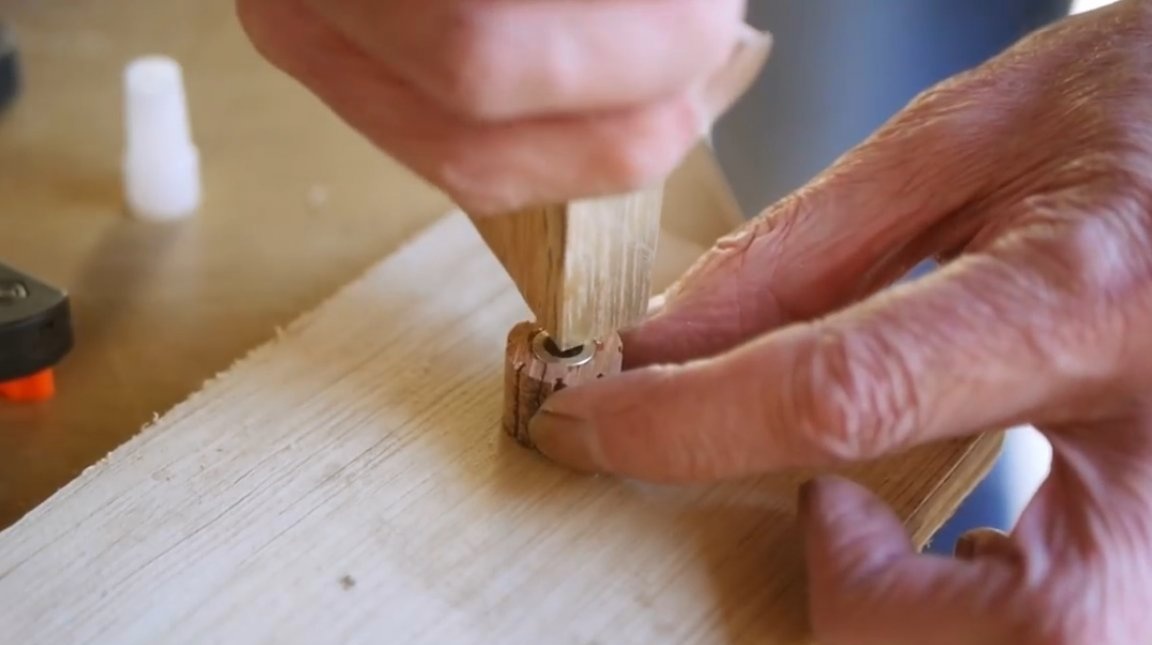
The groove master himself decided to cut out very unusual grooving saws. This can even be done with a screwdriver by slightly tilting the drill bit at an angle.
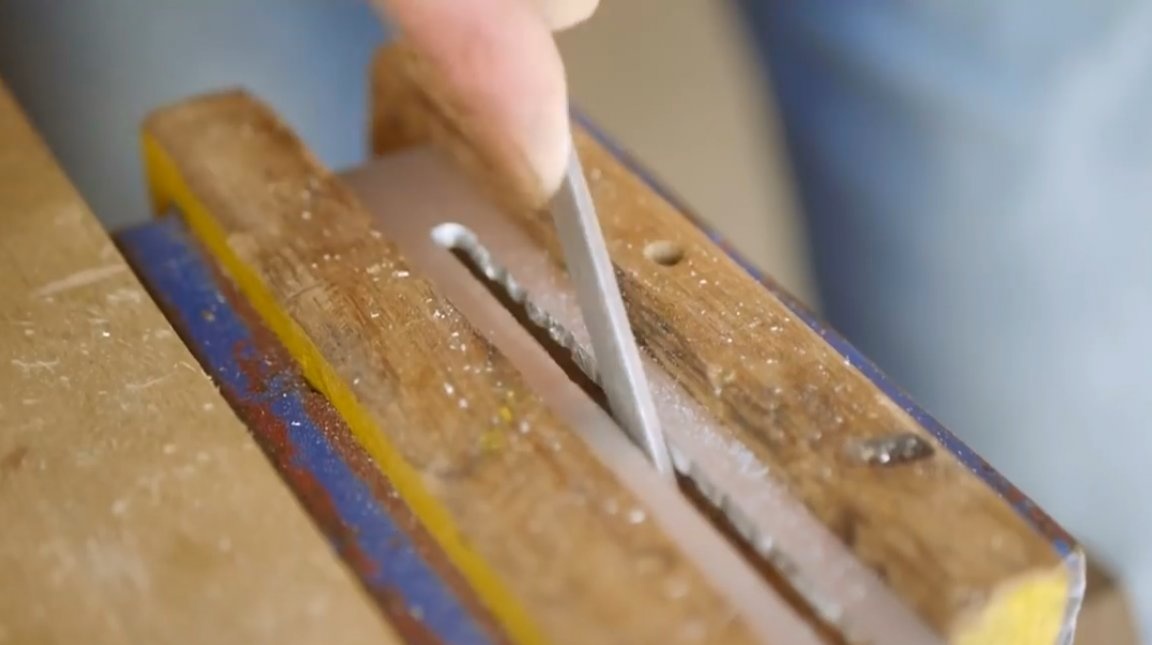
Refinement and alignment of the edges of the groove are performed with a regular file.
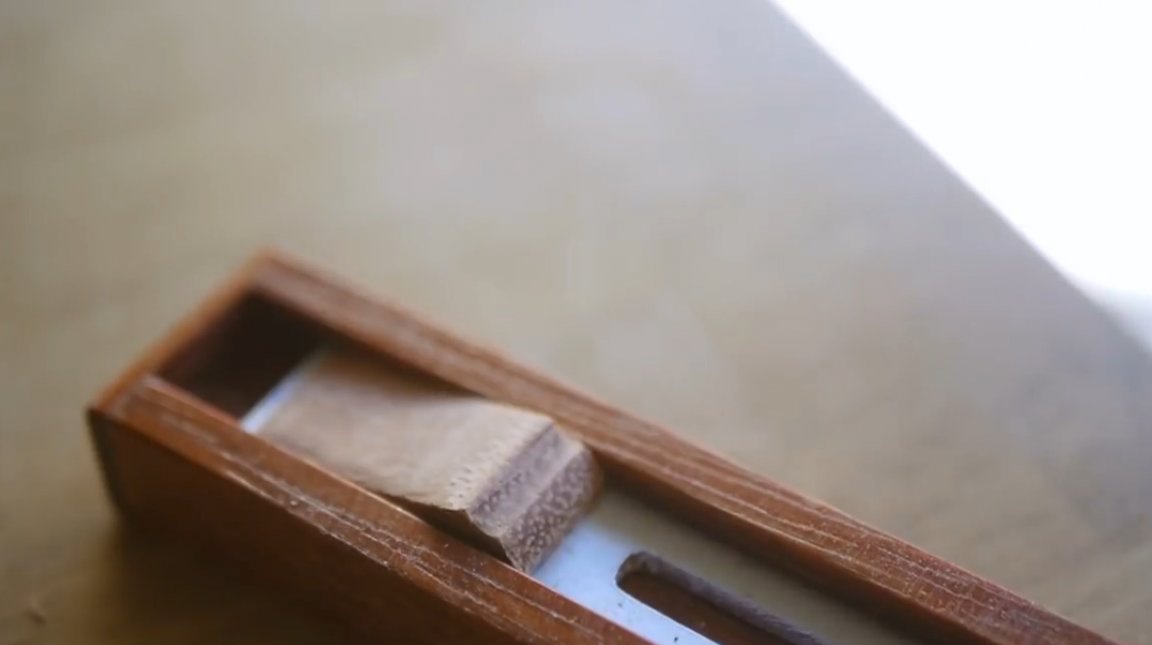
Three more small wooden parts will also be required, this is a plug, an engine, and a wing nut.
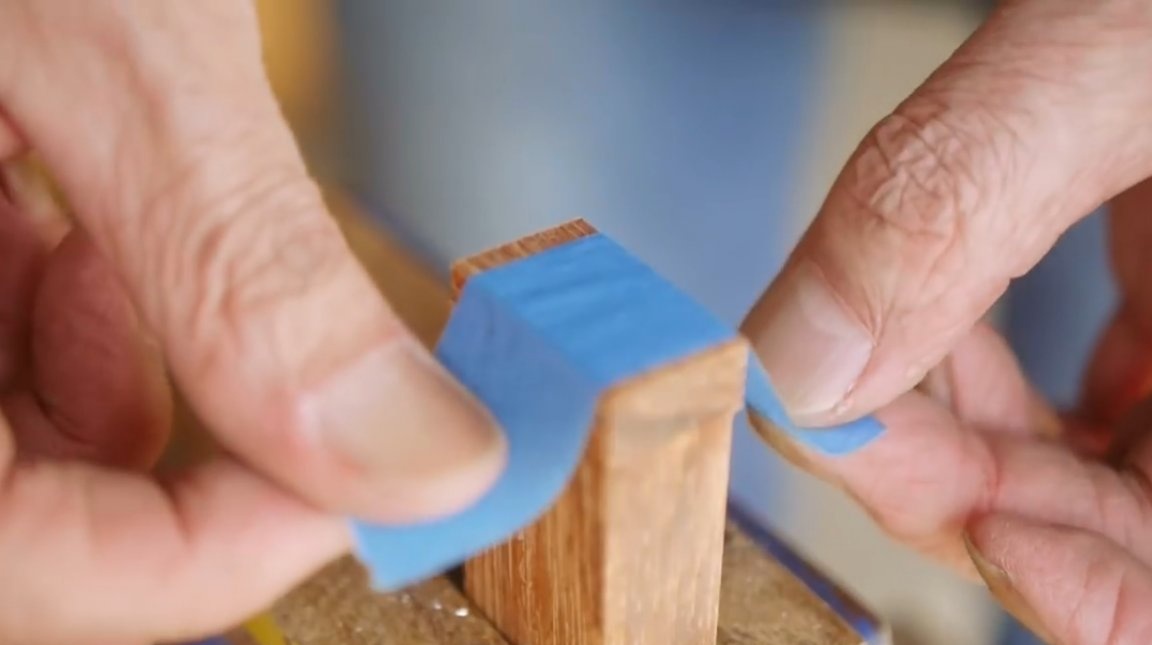
A cap is glued on one of the ends of the body, and is fixed with a masking tape.
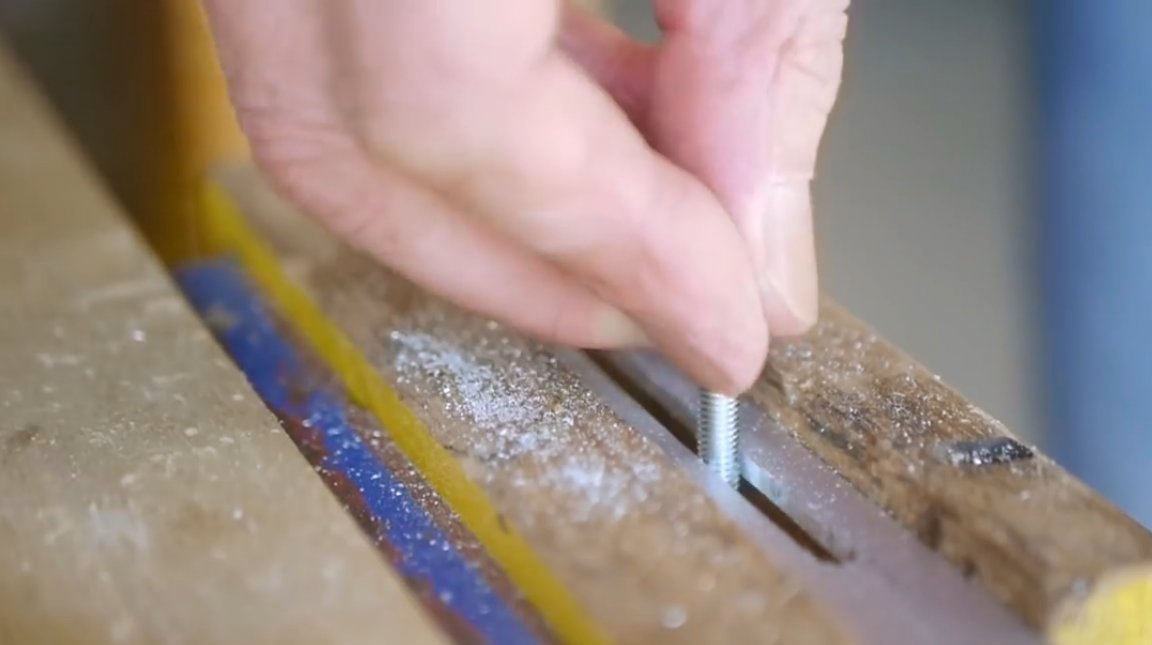
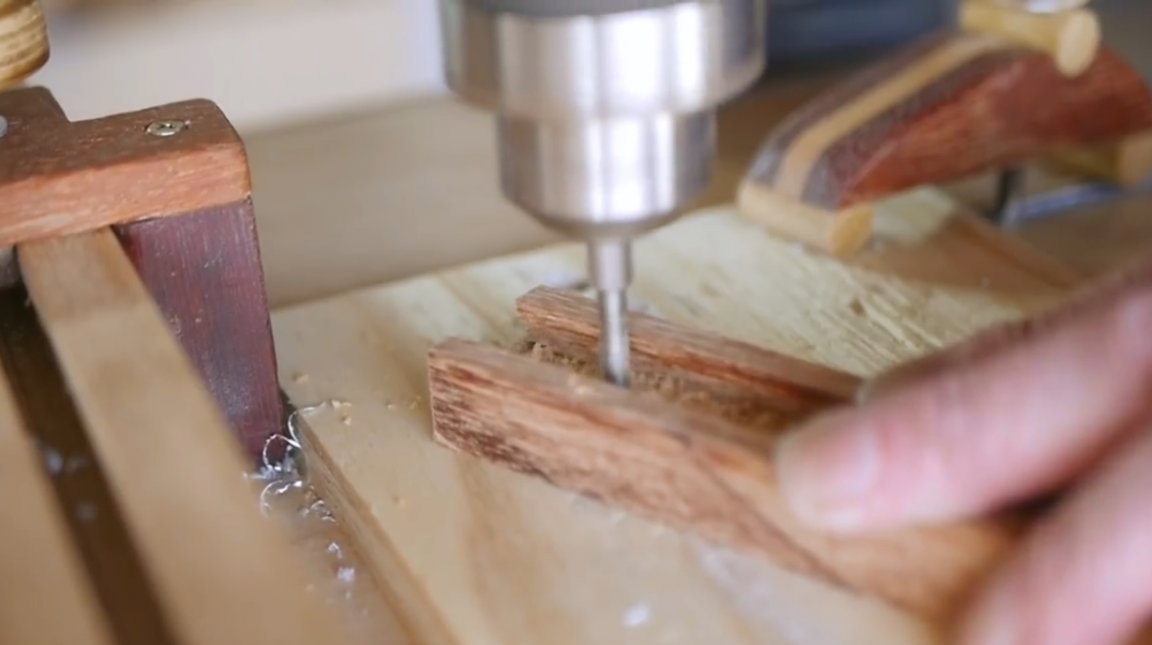
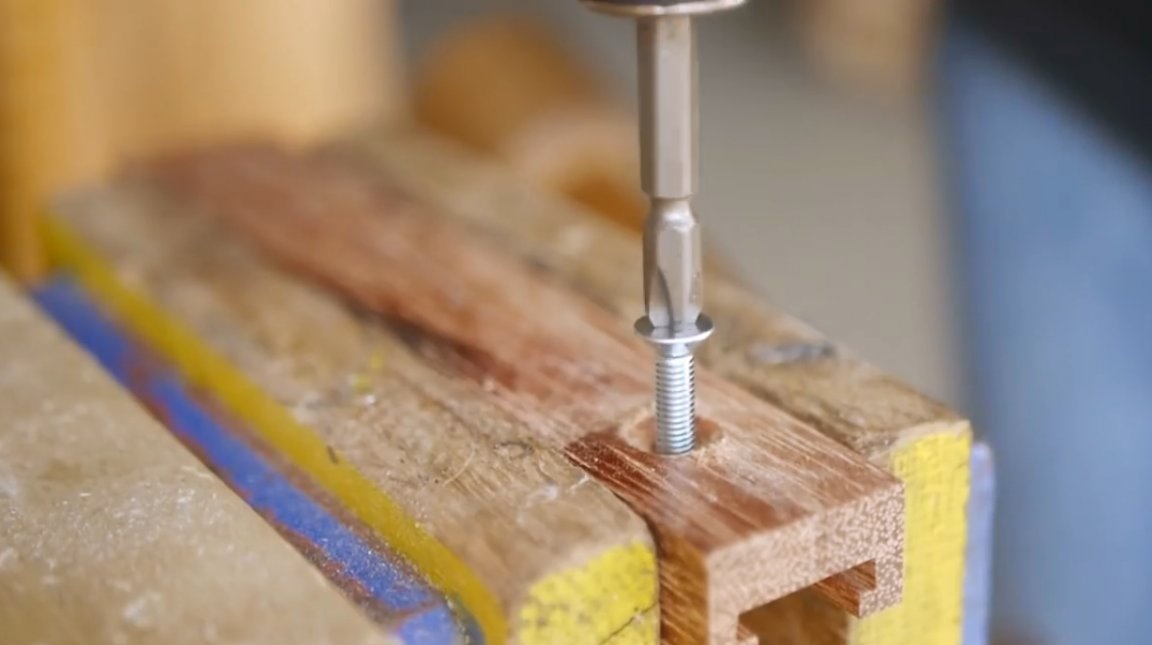
In the front part of the case, in its middle, a hole for the clamping screw is drilled and countersinked.
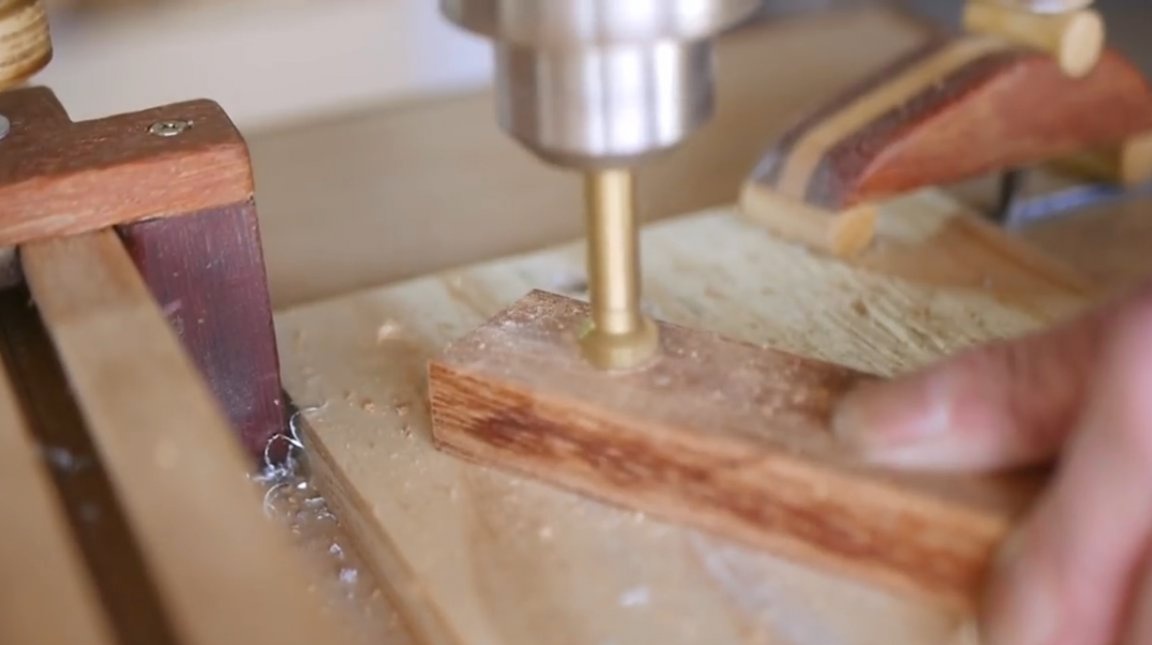
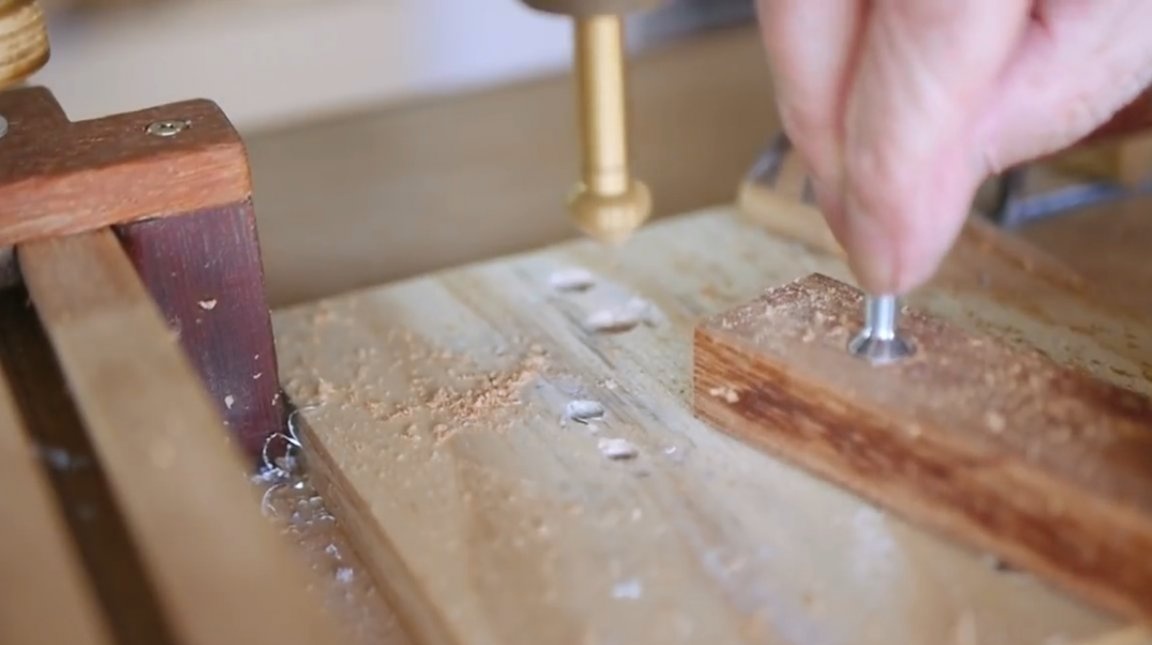
Since this screw must be rigidly fixed, and not twisted, a thread is cut in the hole.

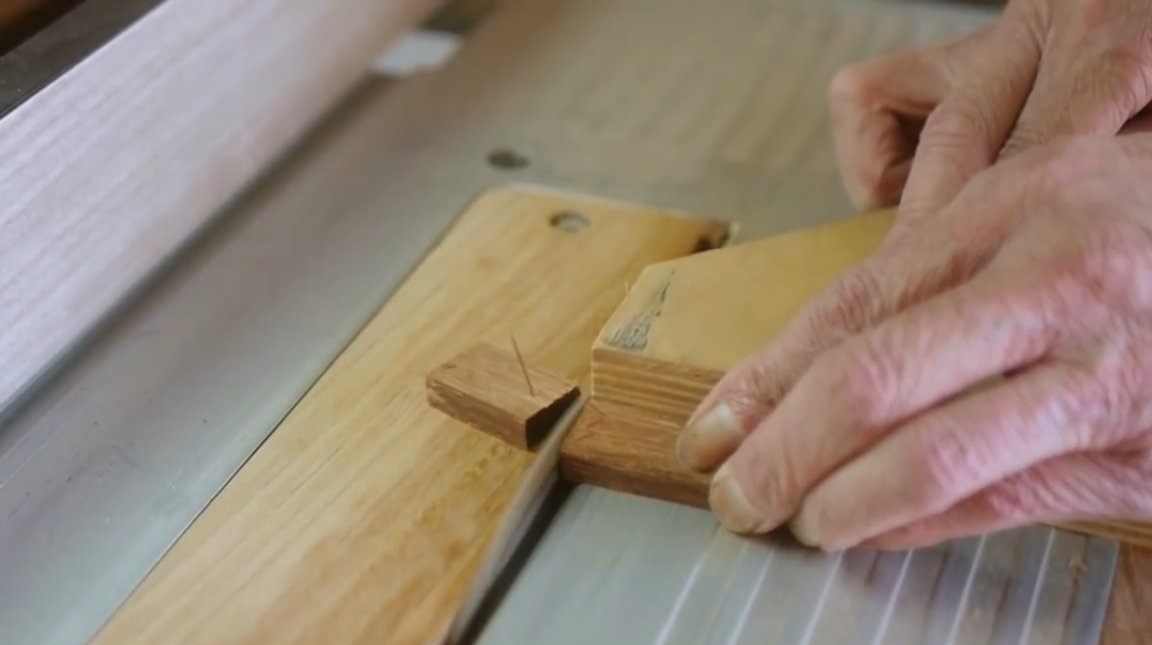
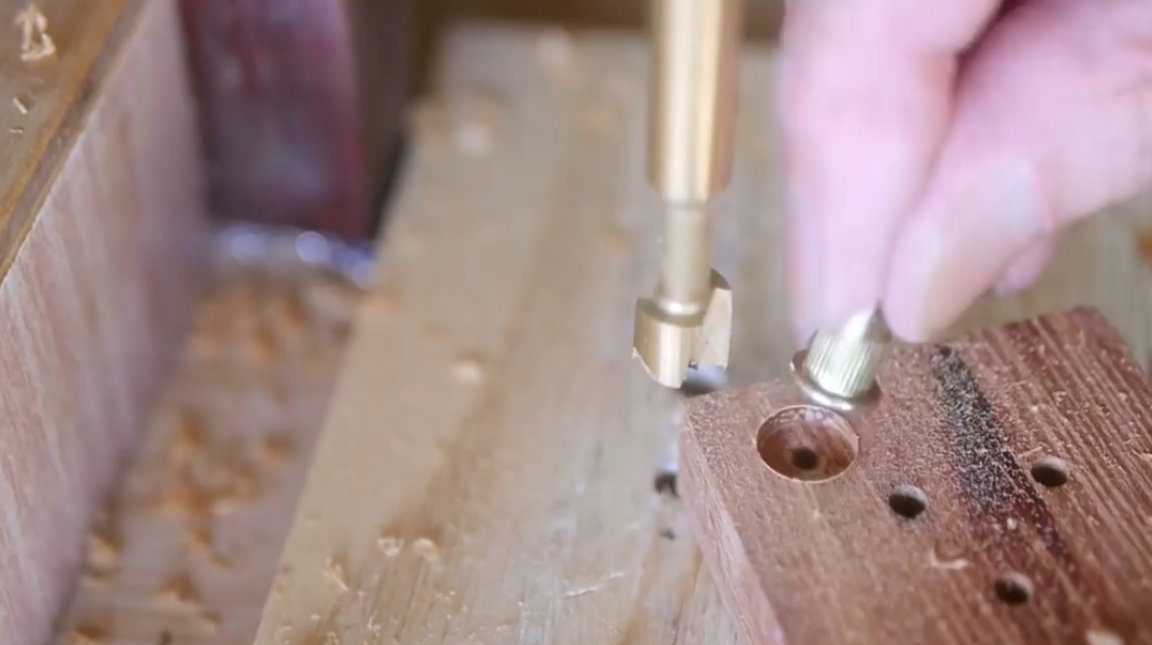
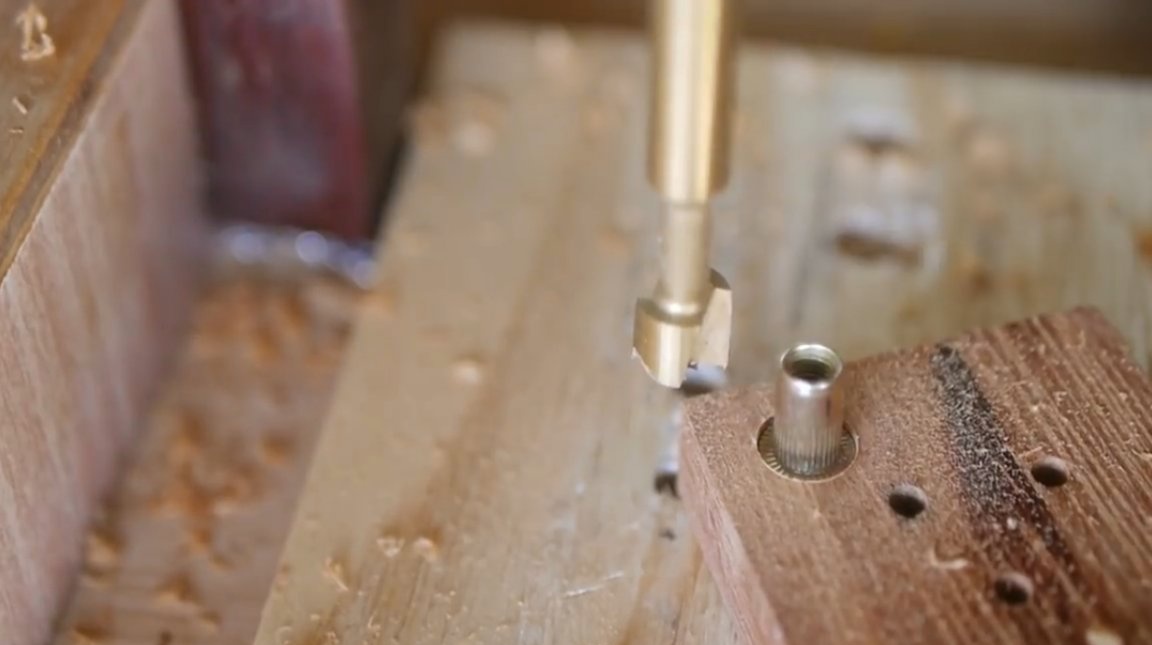
Now, a hole for a rivet nut is drilled in the trimmed board, and a Forstner drill is made for its head.
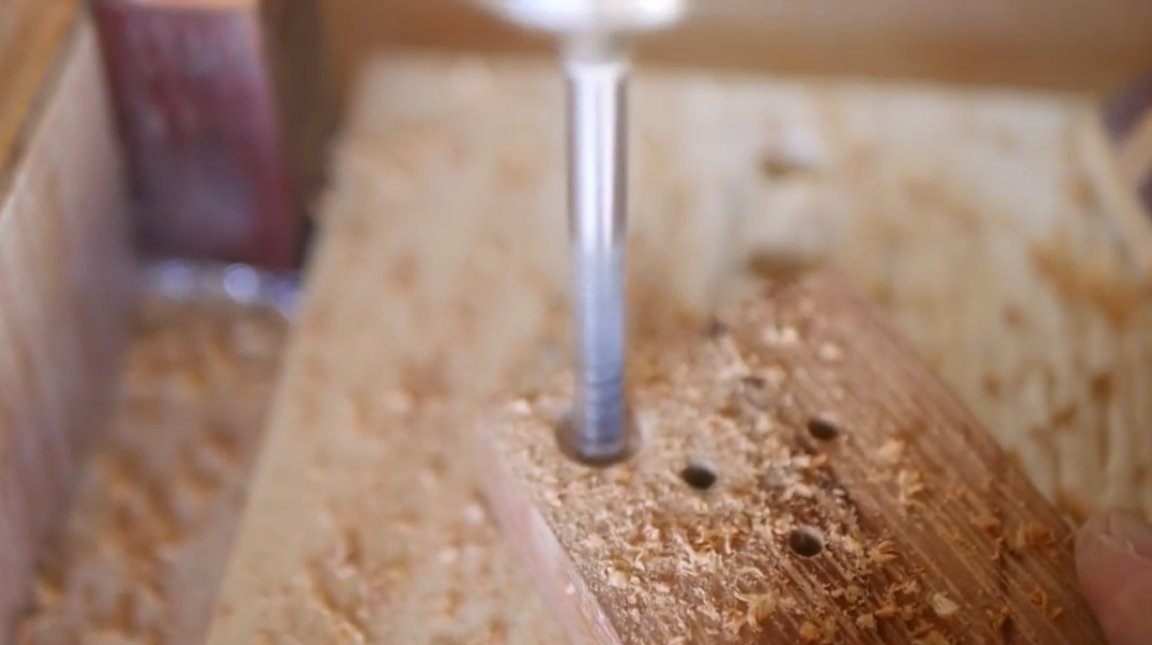
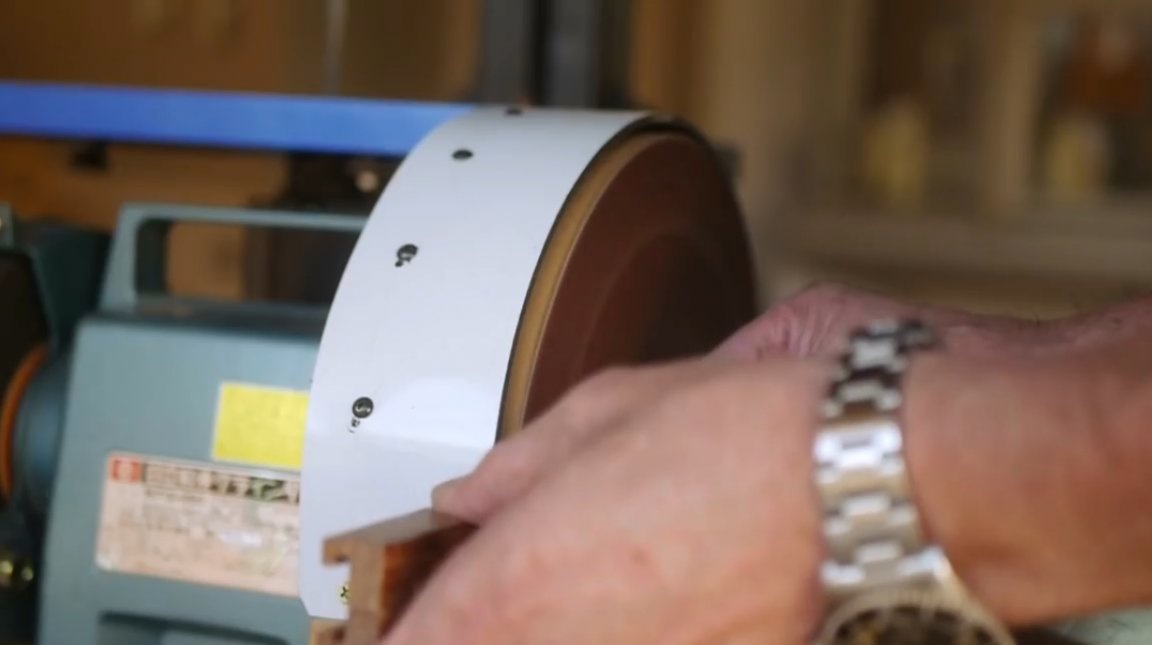
The workpiece is cut on a band saw, and polished on an orbital machine.
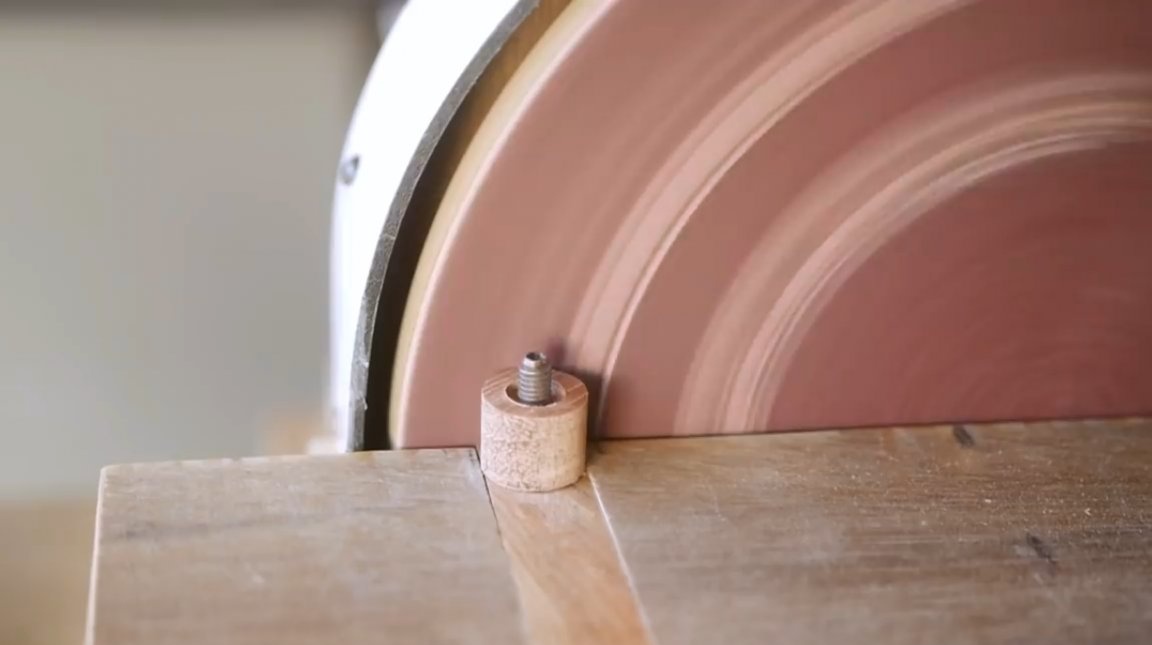
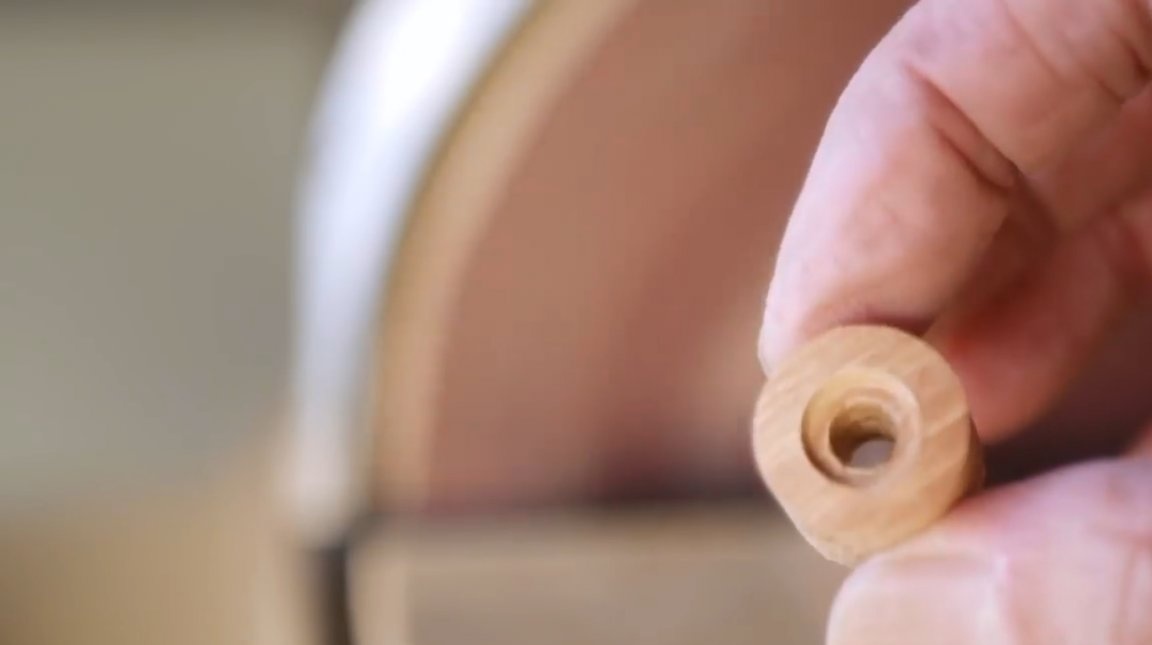
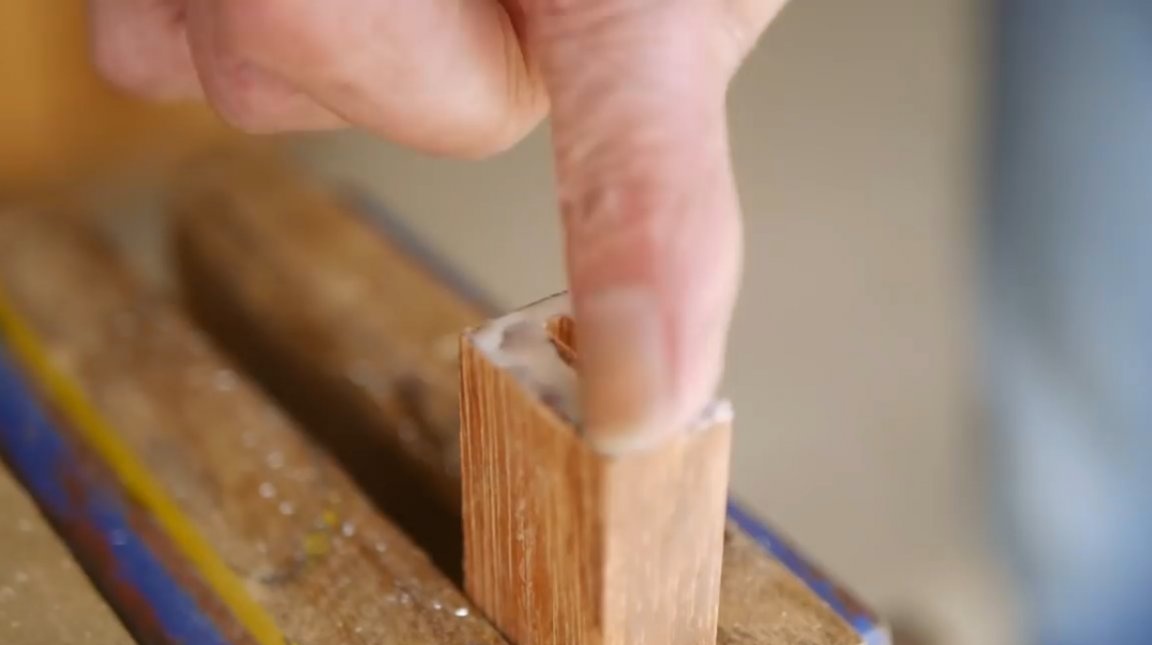
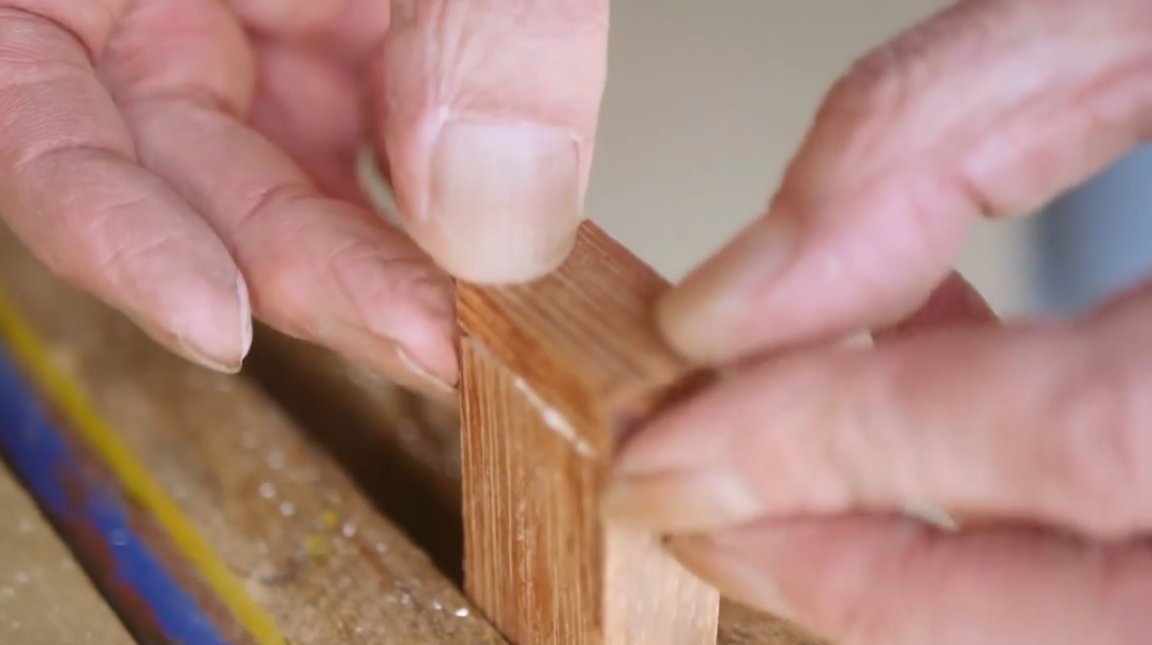
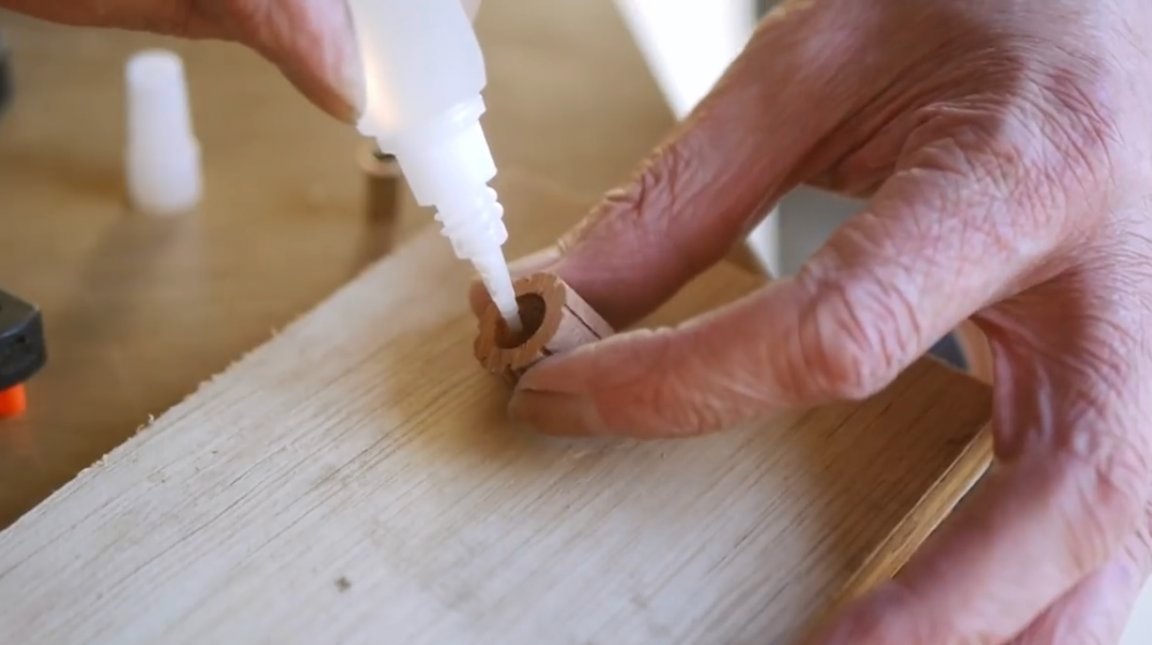
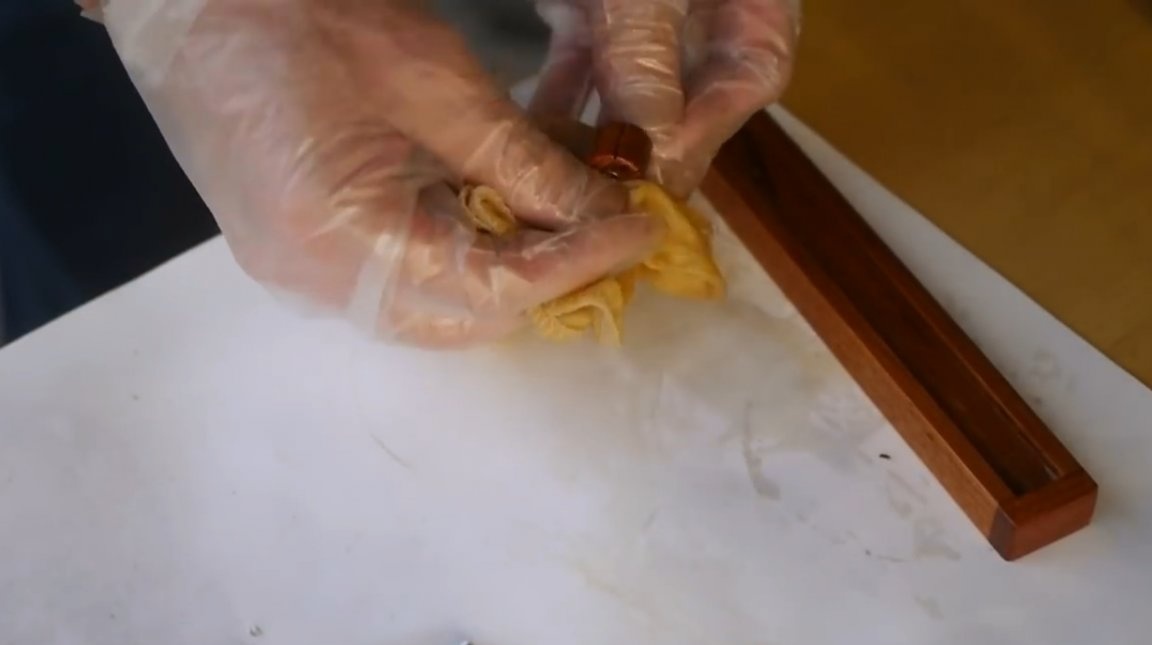
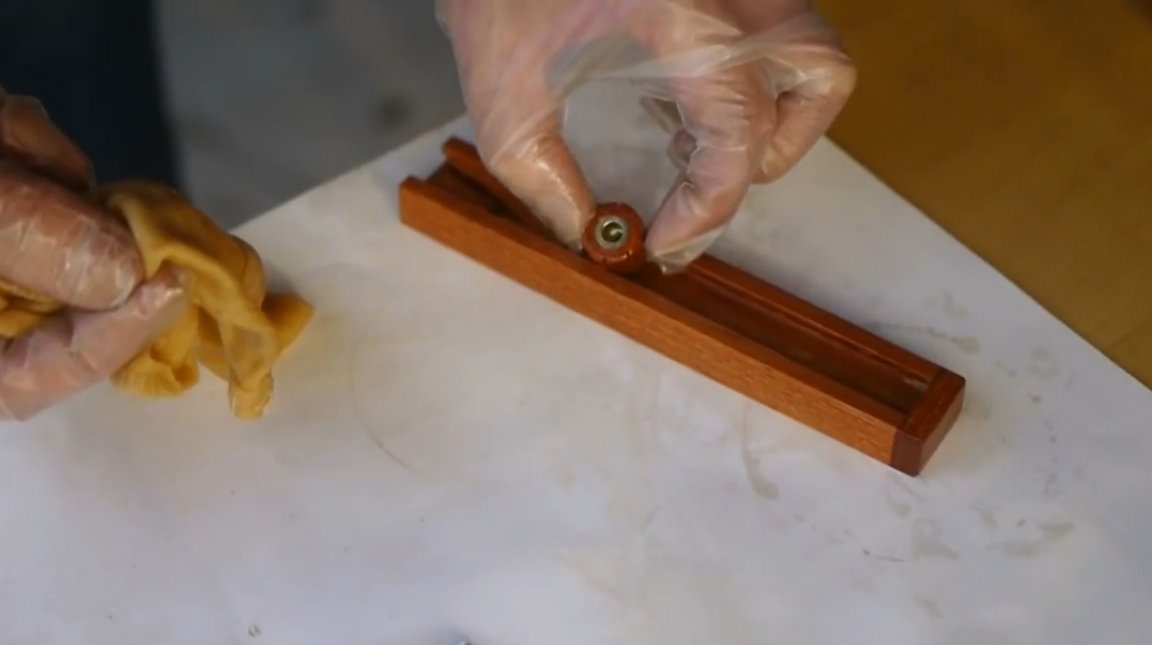
At the edges of the lamb, the master made small cuts in order to make it easier to twist. After that, the nut is glued and pressed into a wooden lamb using second glue.
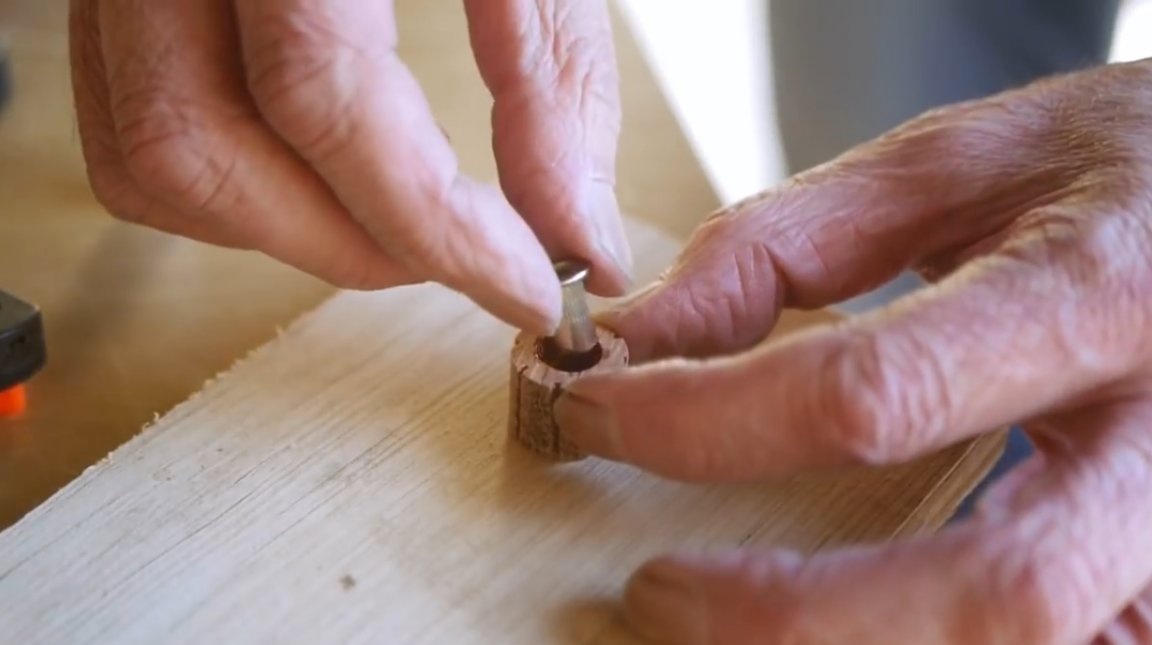
The body is dry, now it can be sanded on the machine and manually. After that, the master applies a layer of linseed oil on all wooden surfaces.
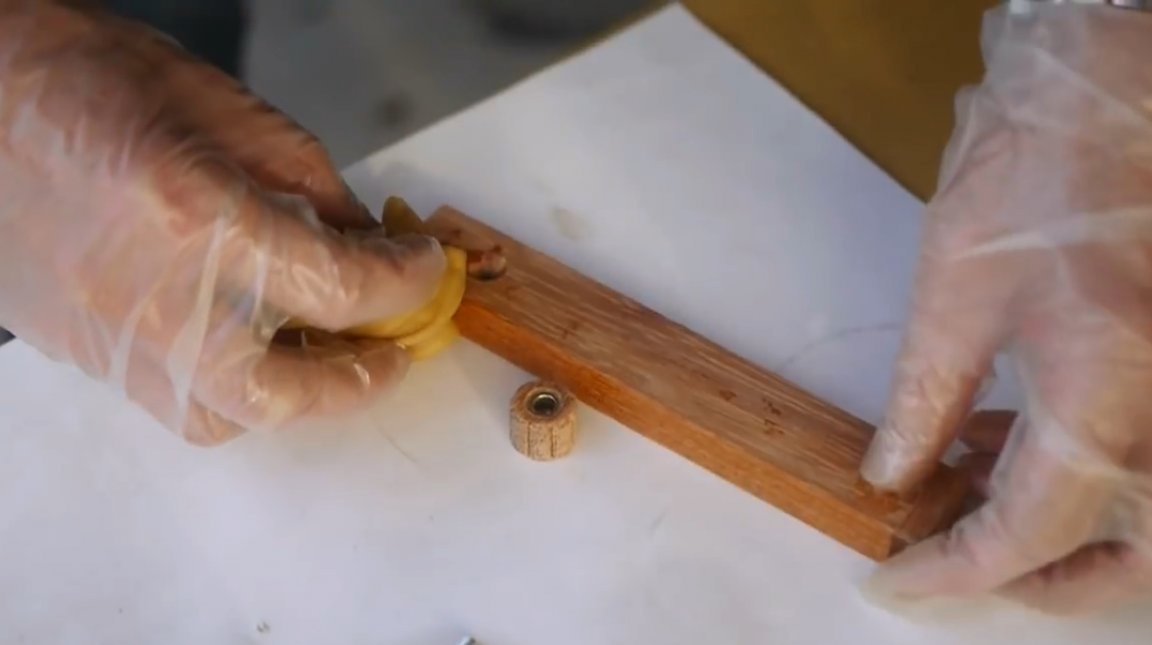
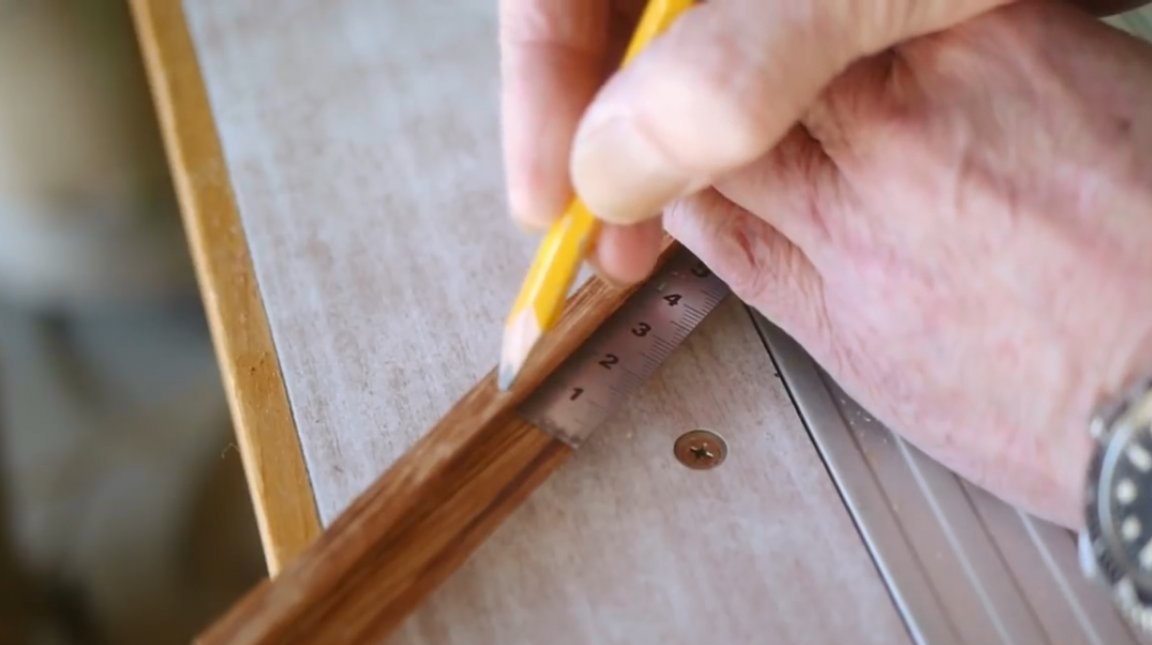
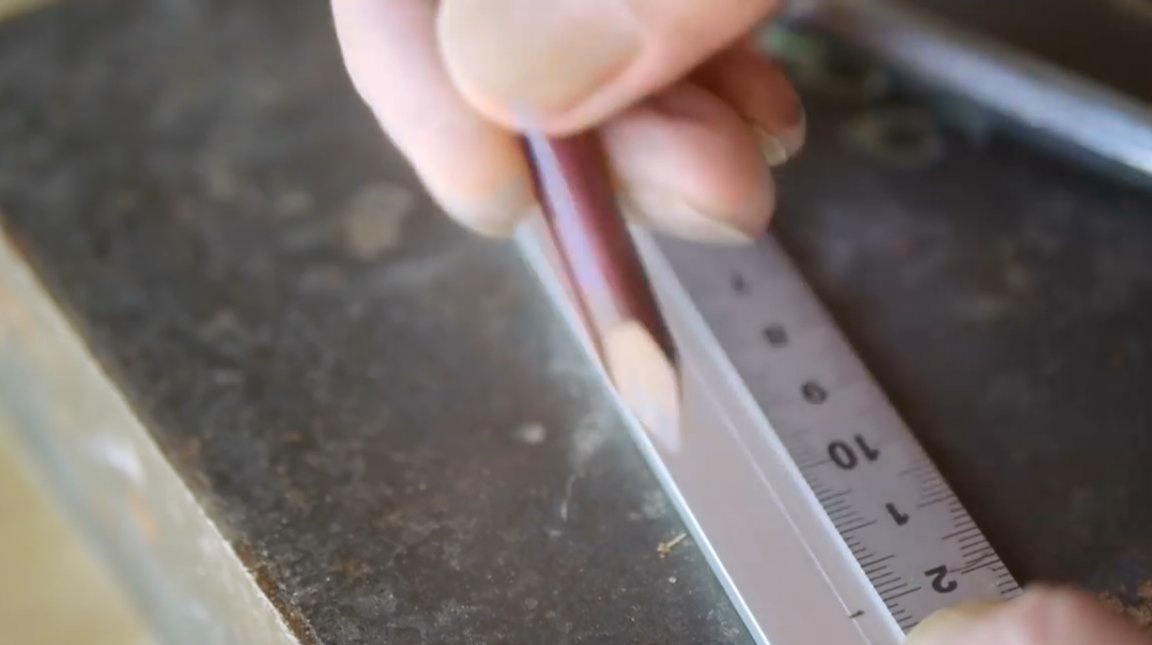
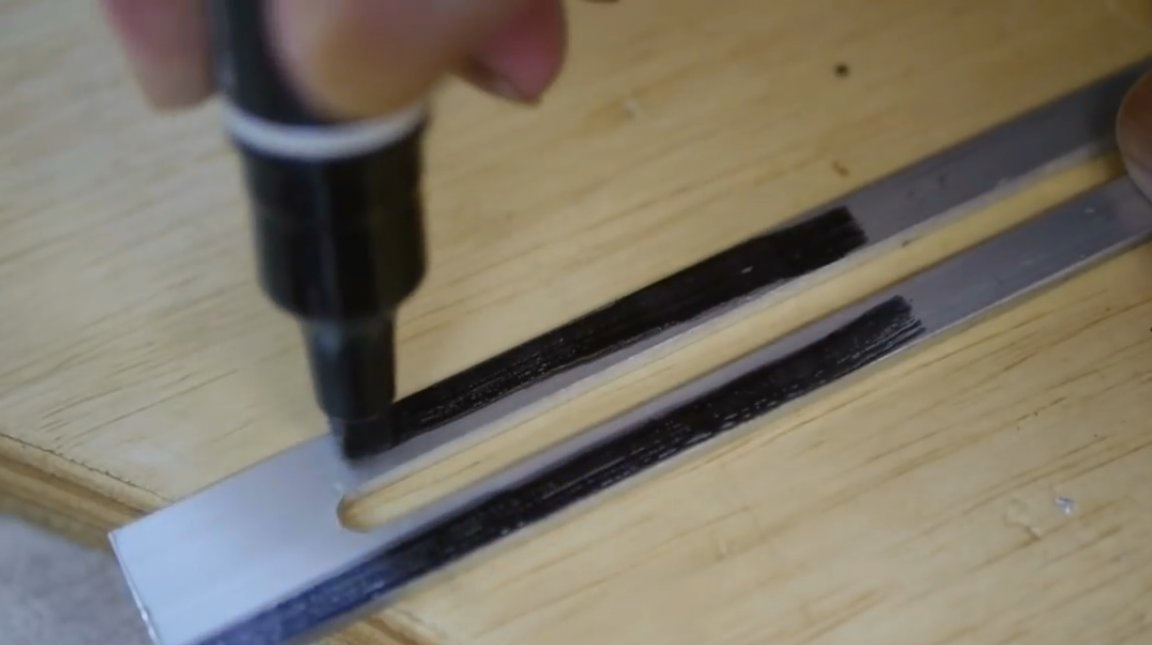
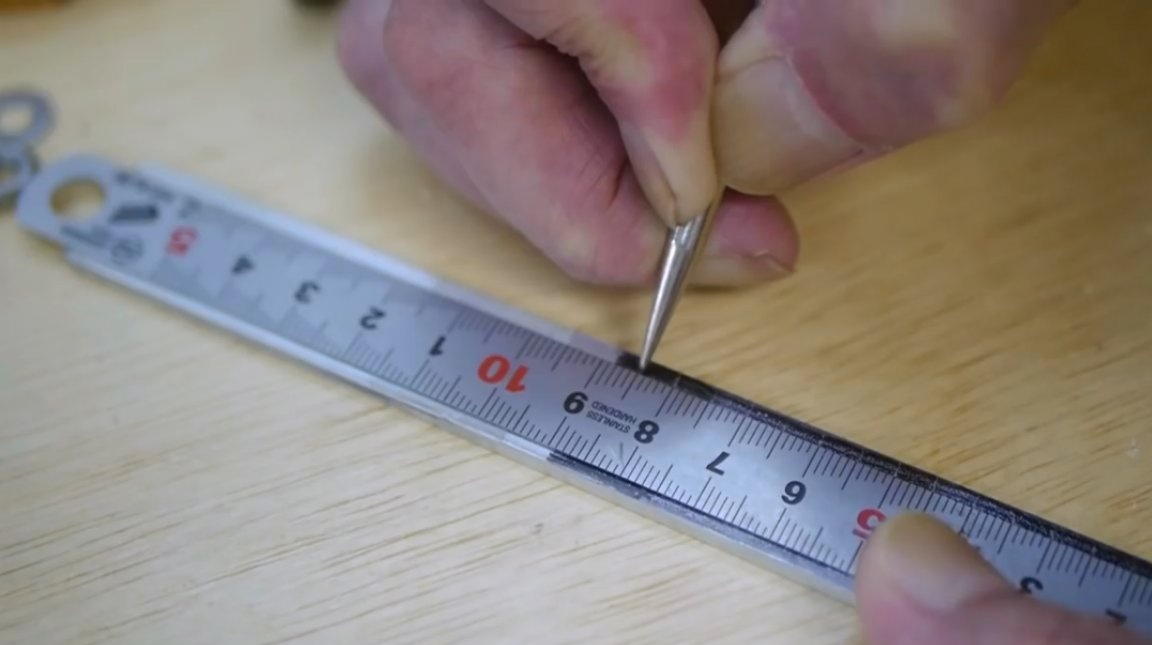
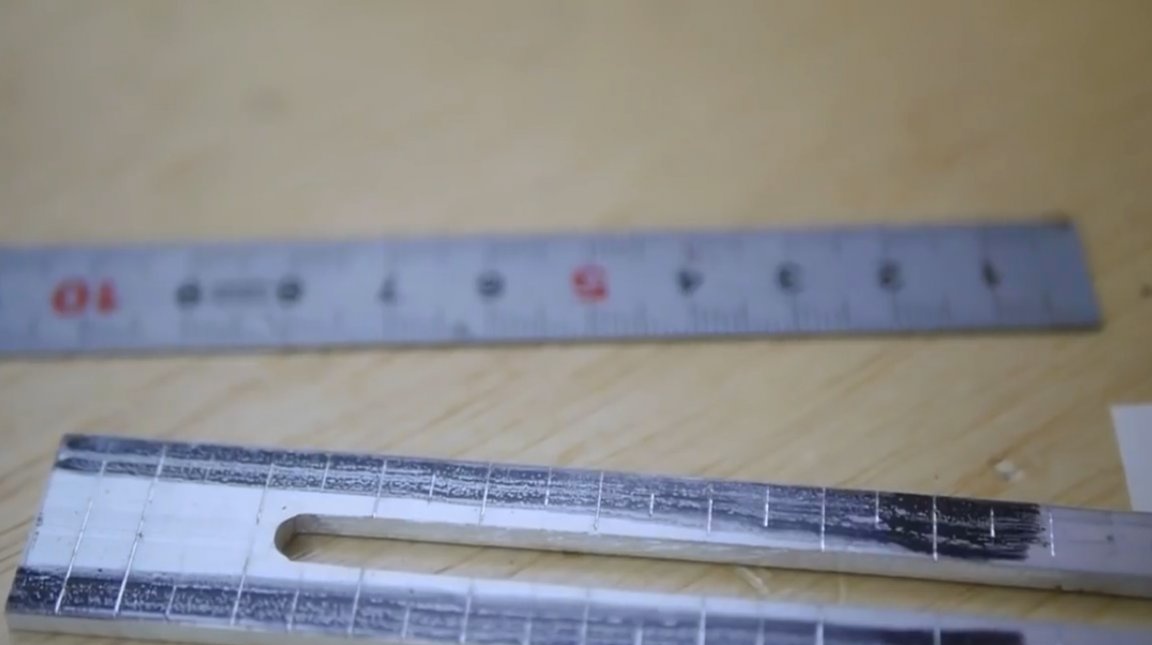
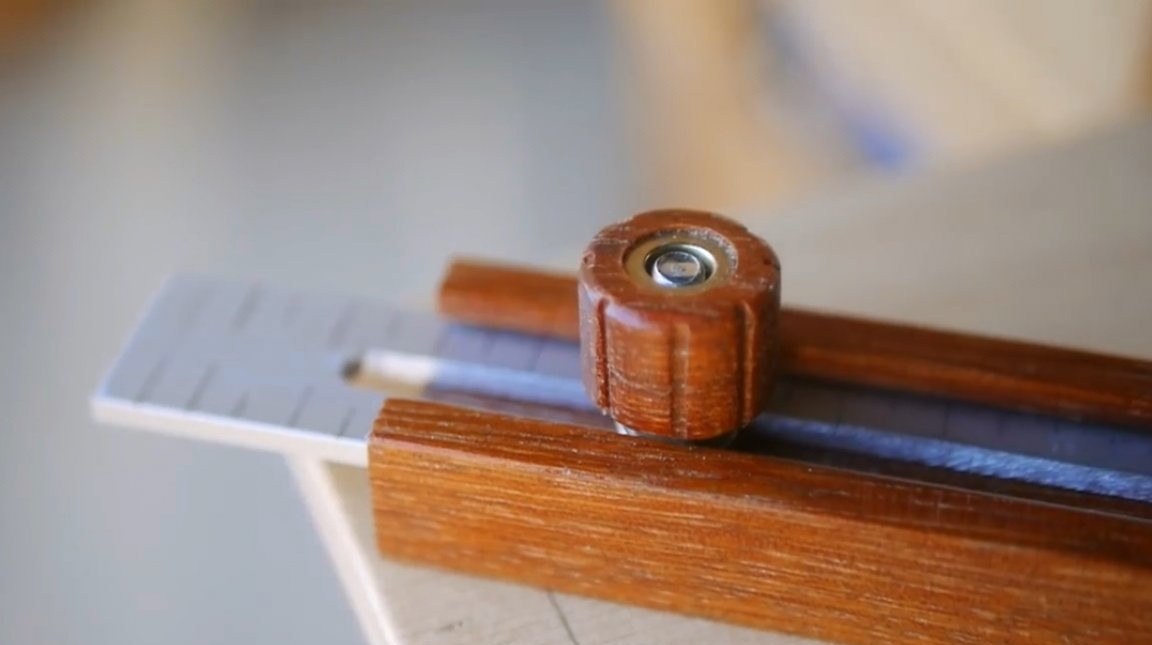
The edges of the strip are painted with a marker, and a ruler is fixed on it using double-sided tape. At the edges of the workpiece, the master marks every 5 mm.
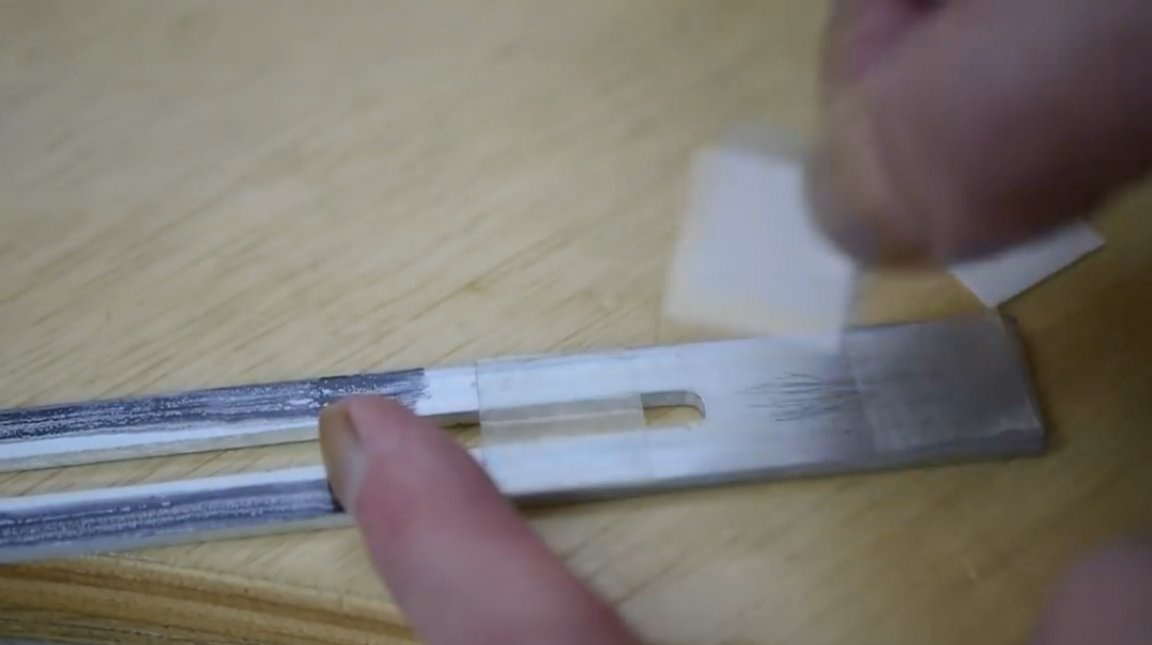
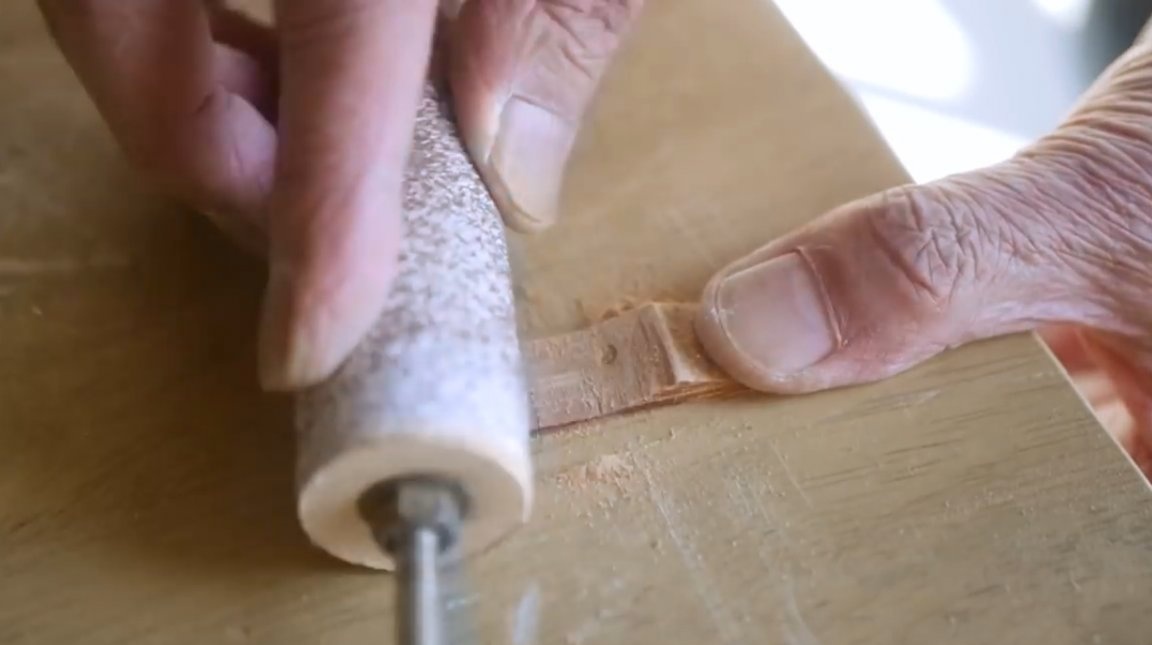
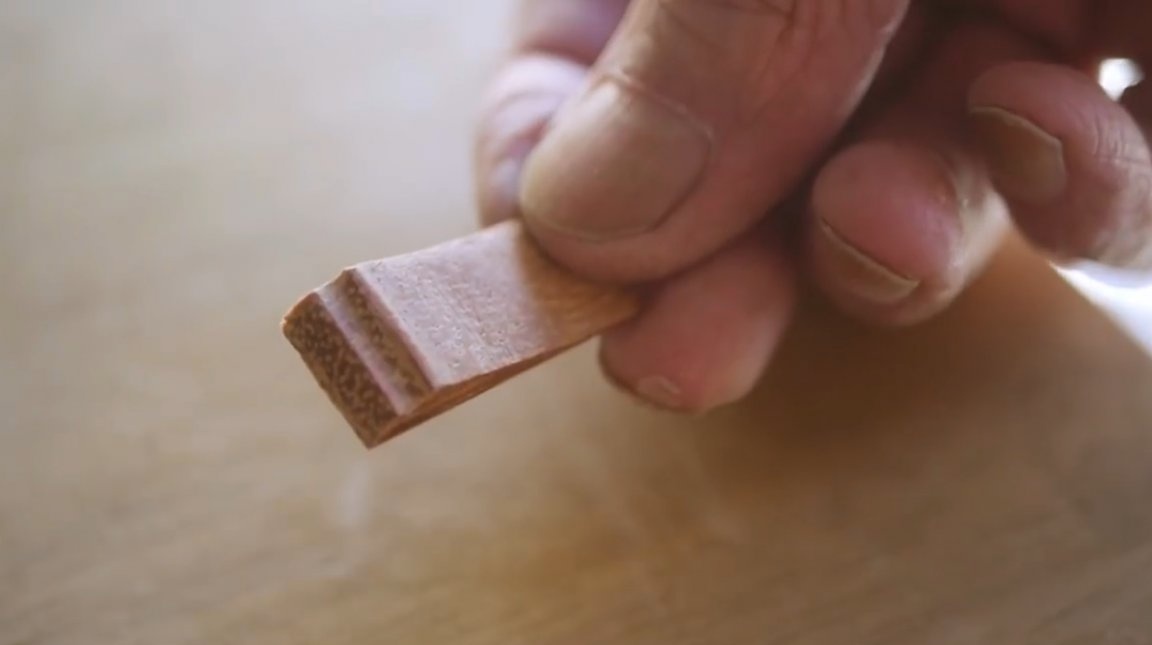
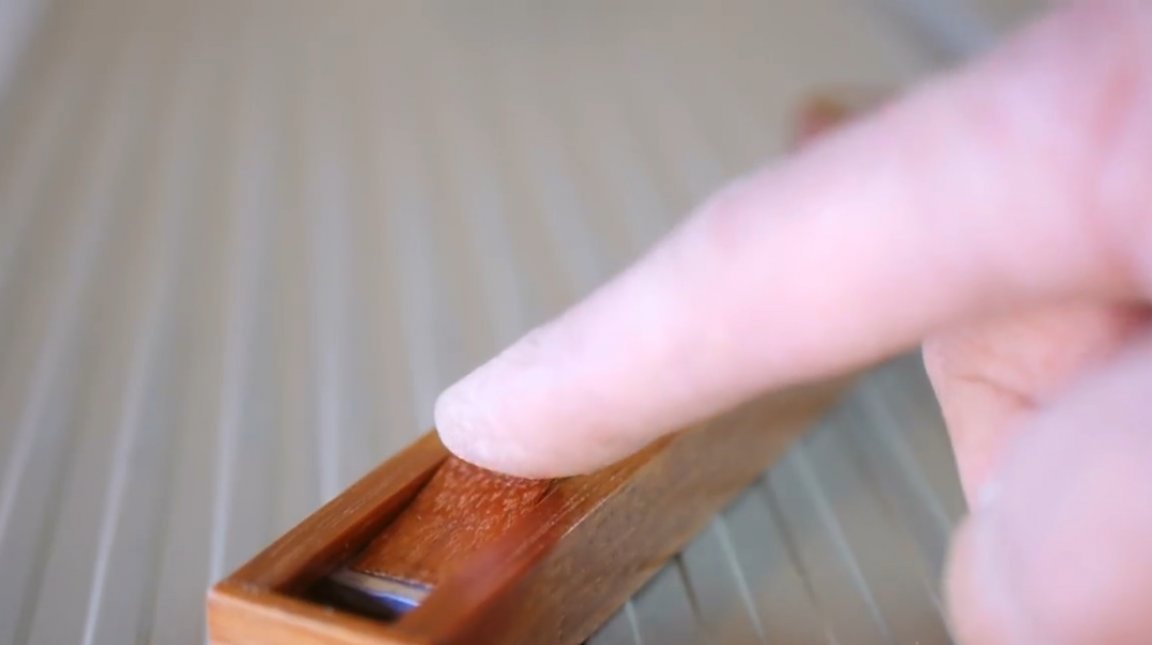
In addition, the author made such a small engine, polished it, glued strips to the edge of the strip, and soaked in oil. With it, it will be convenient to shift the ruler.
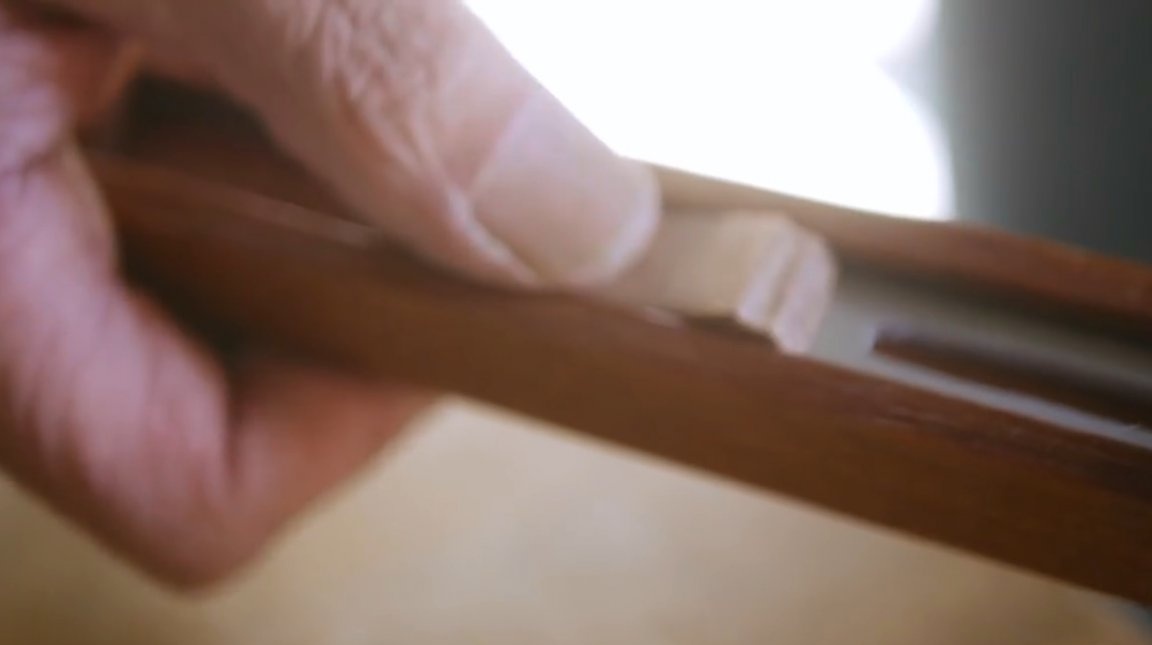
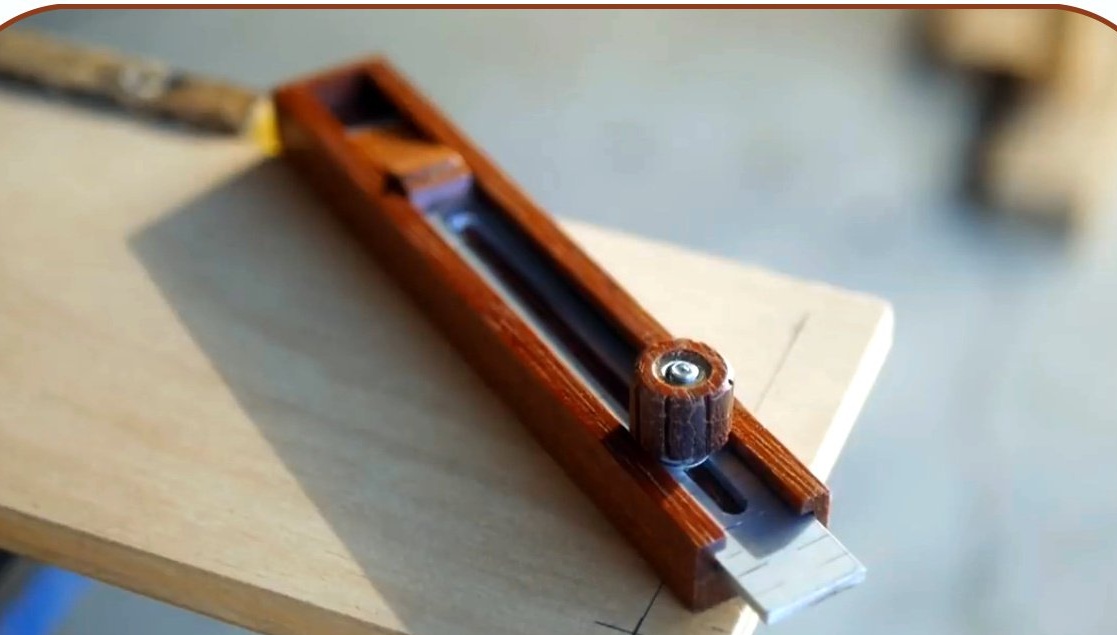
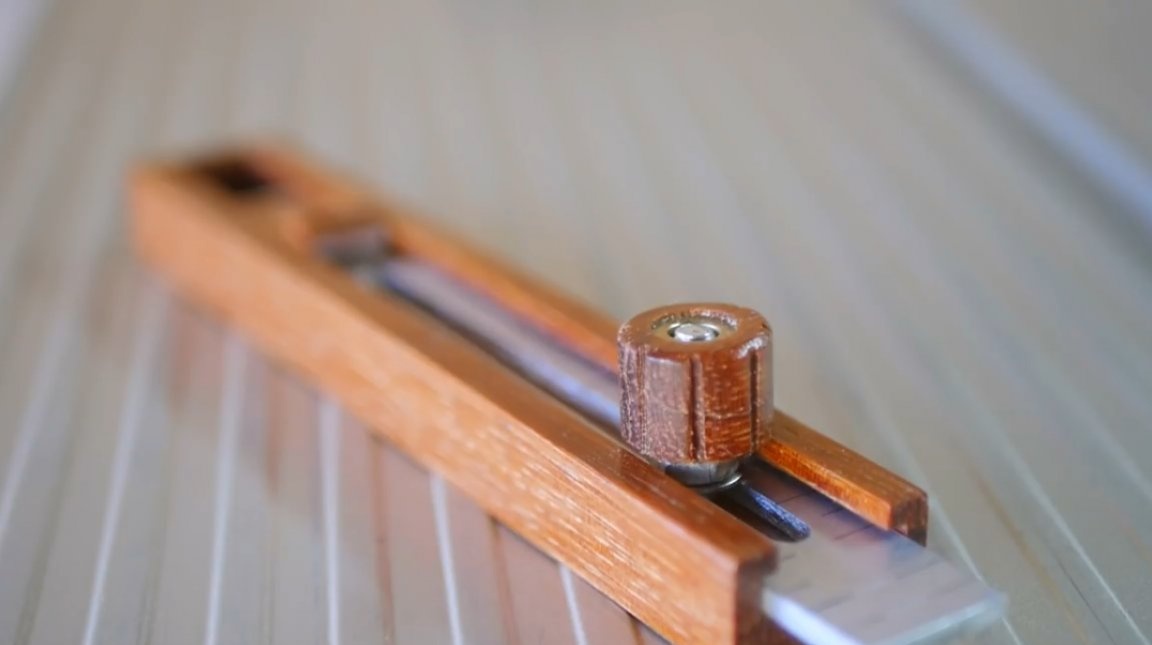
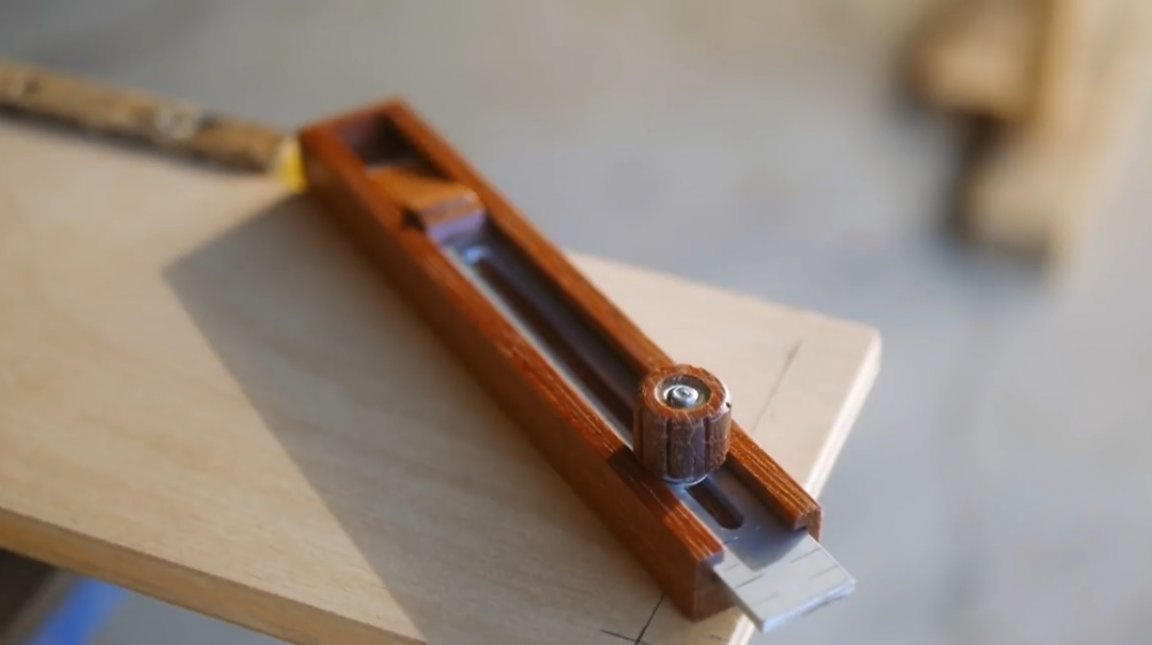
The strip is installed in its place, the clamping screw is screwed, and the wing nut is screwed on it, here the tool is ready.
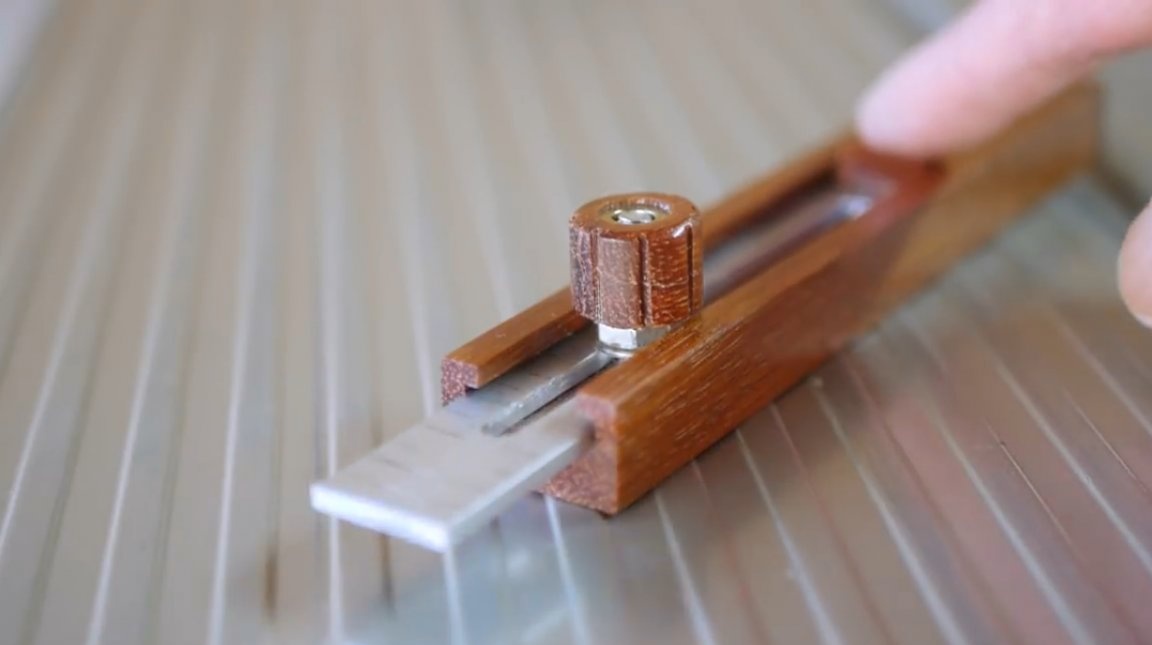
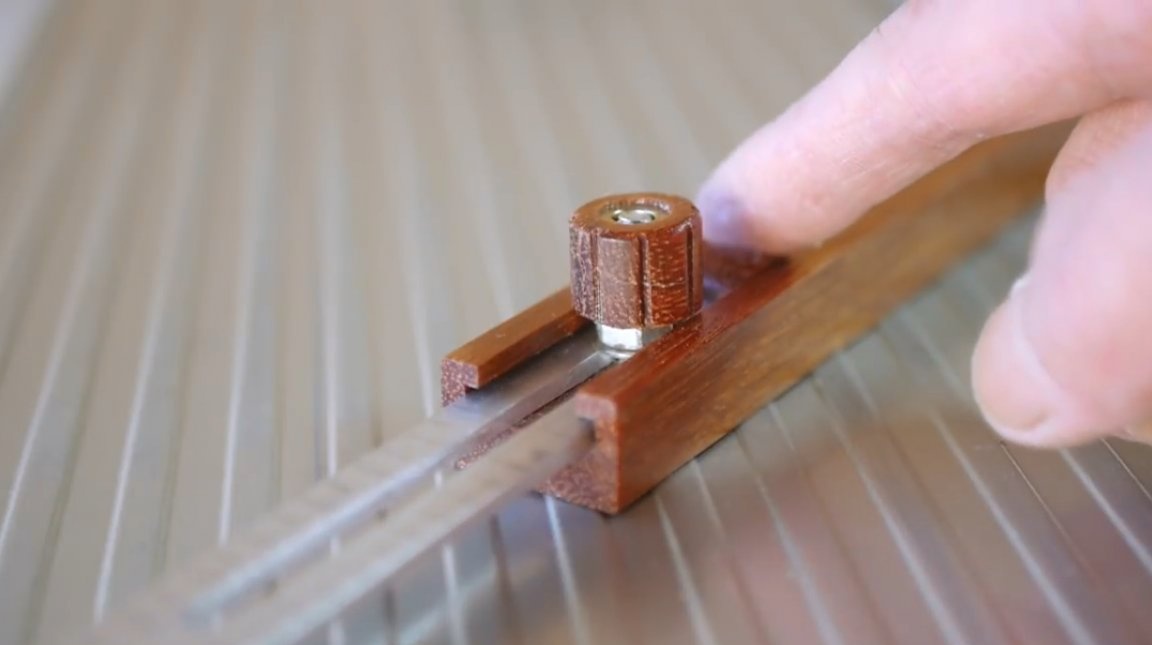
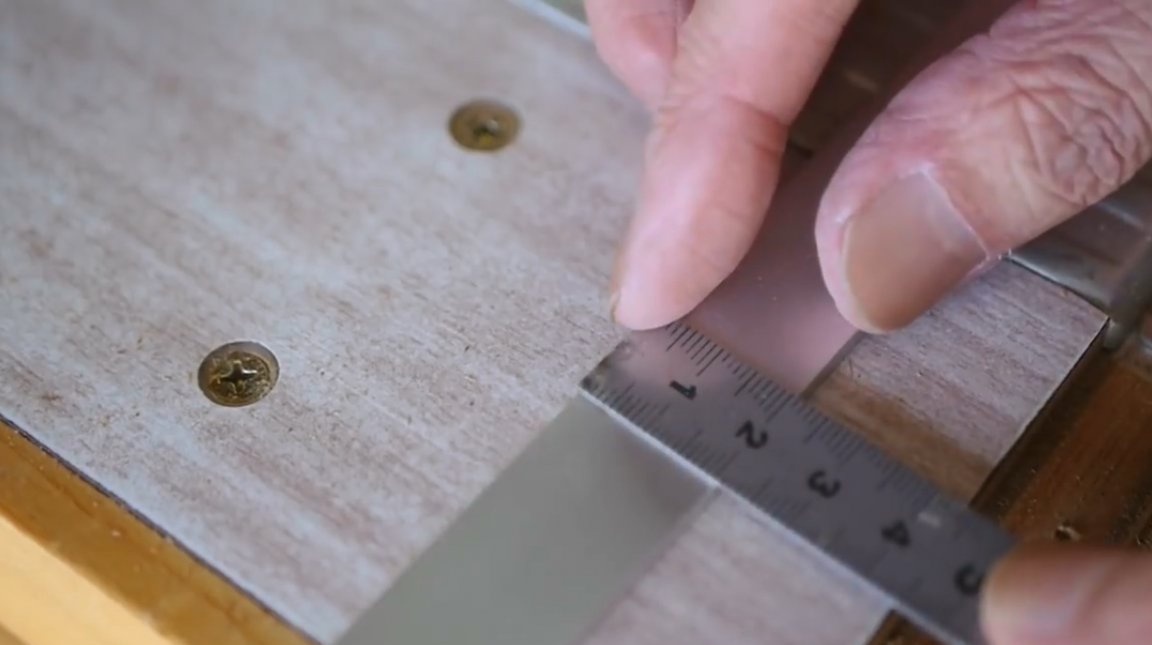
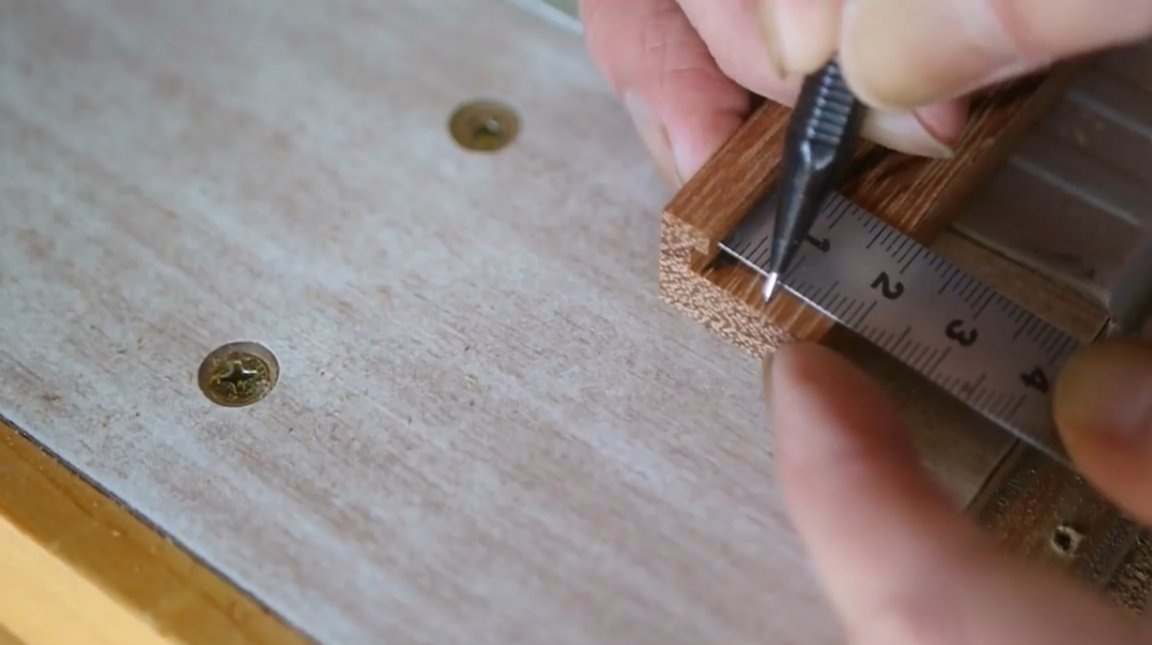
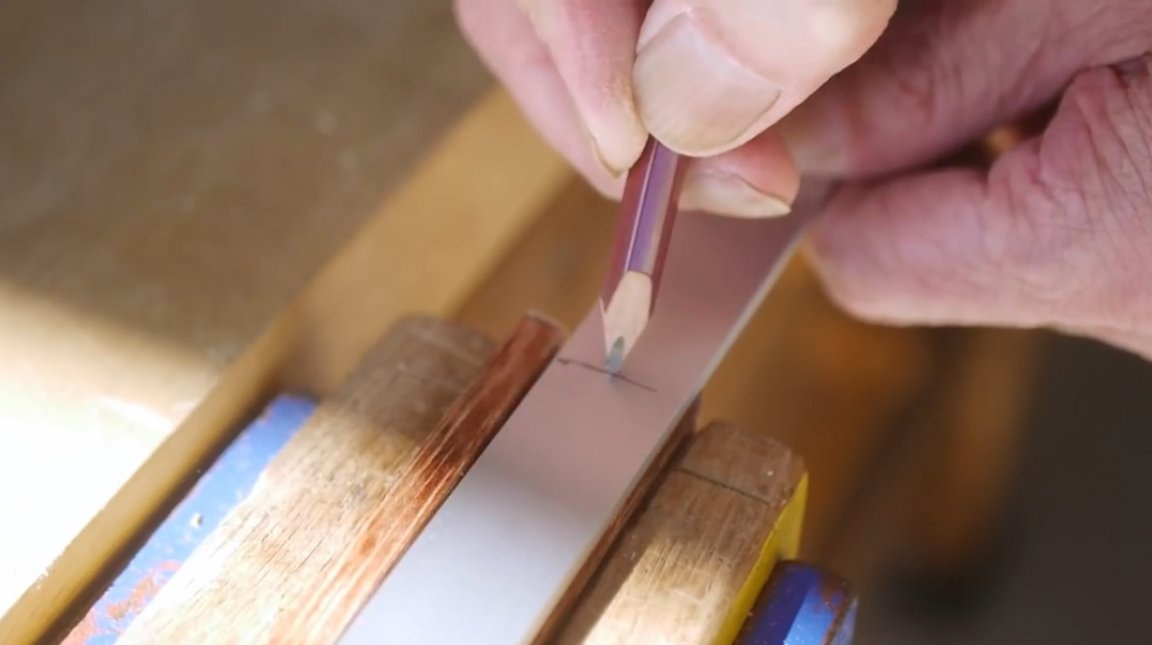
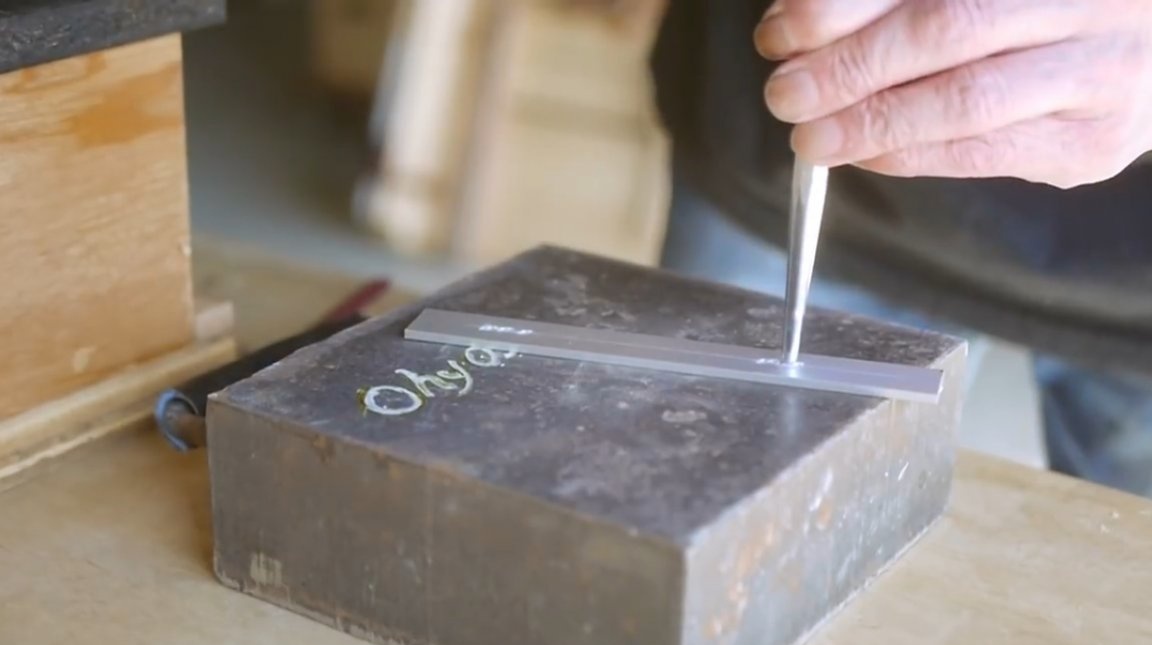
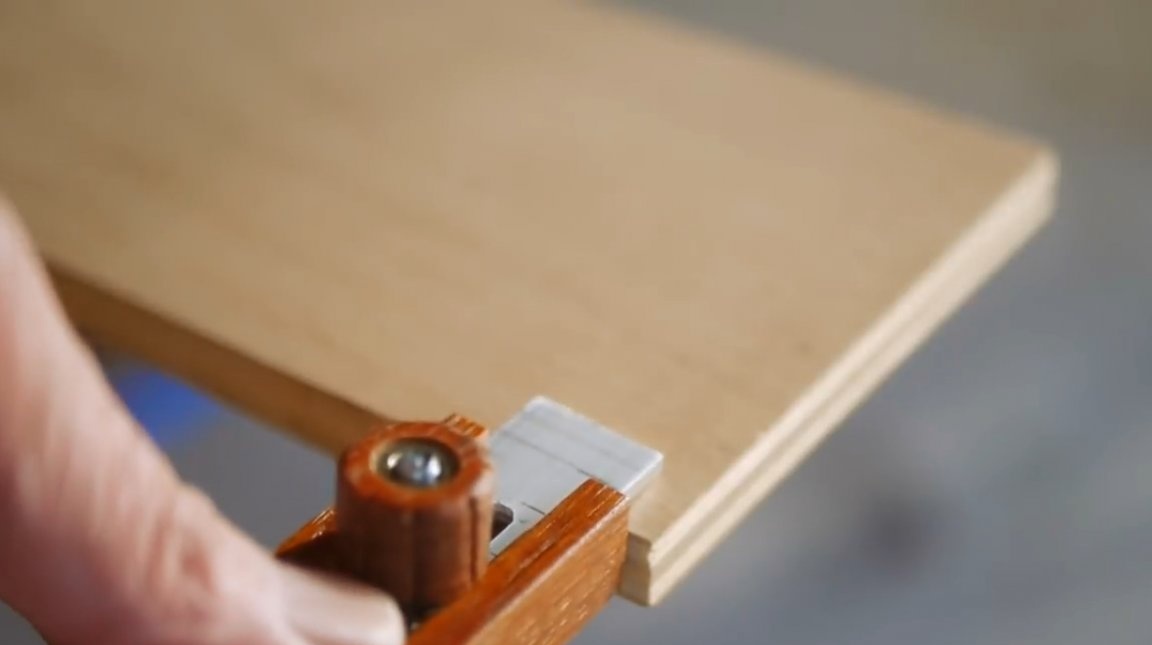
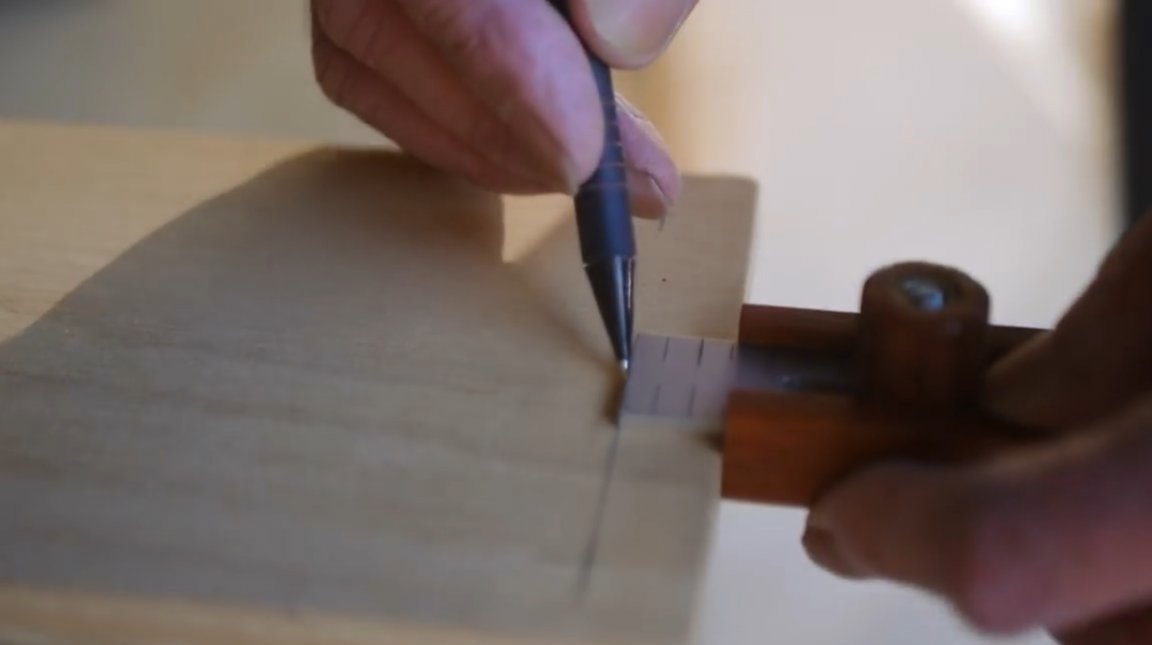
How does he work? The author shows a simple example - marks two points on the edges of the workpiece, they have the same distance from the edge.
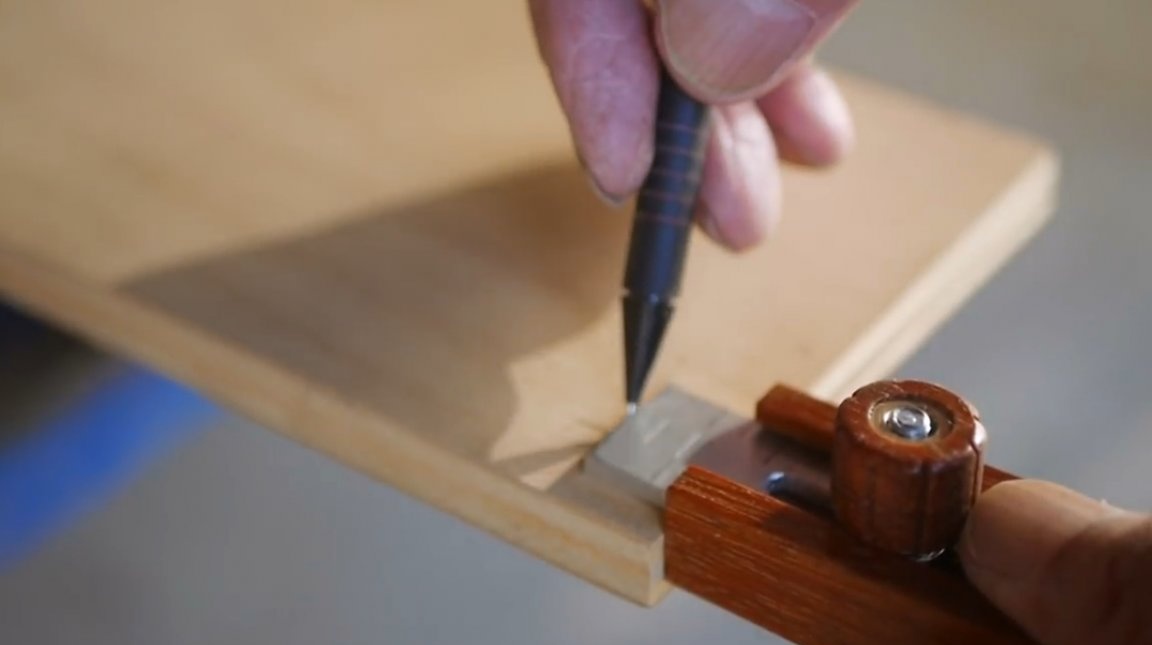
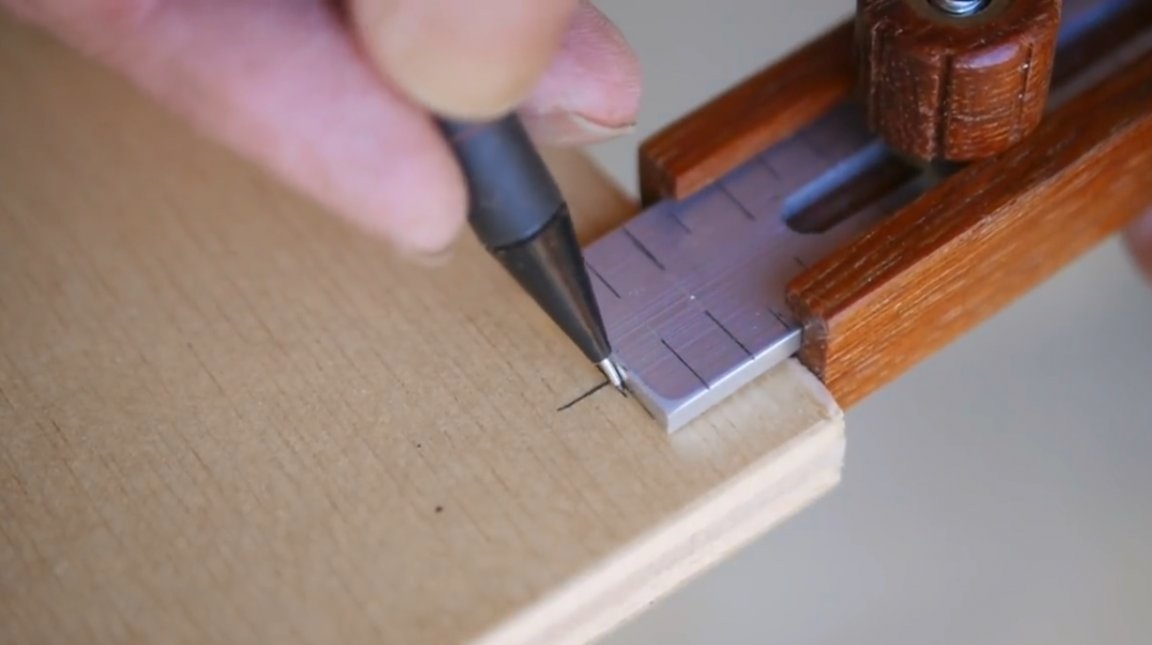
And to check the accuracy, he draws a connecting line between them.
I thank the author for the simple but useful idea of the marking fixtures for the workshop!
In terms of improving this tool, increasing its accuracy, and facilitating its manufacture, you can replace the aluminum strip with a steel ruler. Then the central groove can not be grinded. In this case, the clamping screw can be positioned above the ruler on a small jumper between the edges of the housing. It is desirable that the ruler be thick enough to make it convenient to press a pencil to its end. You can also glue a small piece of plexiglass on its upper edge. Instead of a pencil, you can use an awl or knife, the markup will be quite clearly visible.
To better slide the ruler or strip inside the groove, you can apply a small amount of silicone automotive lubricant to it.
All good mood, good luck, and interesting ideas!
Author video can be found here.