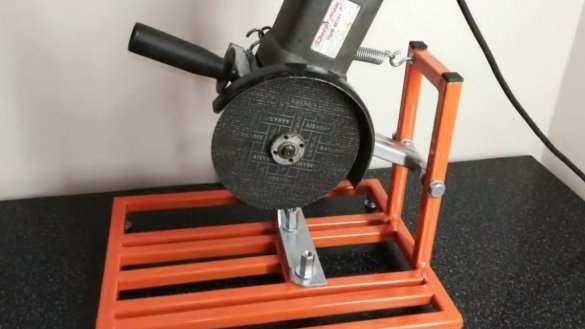
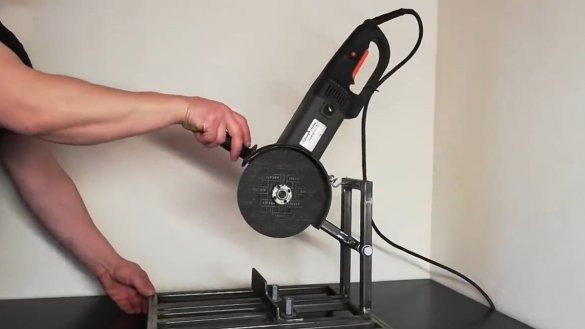
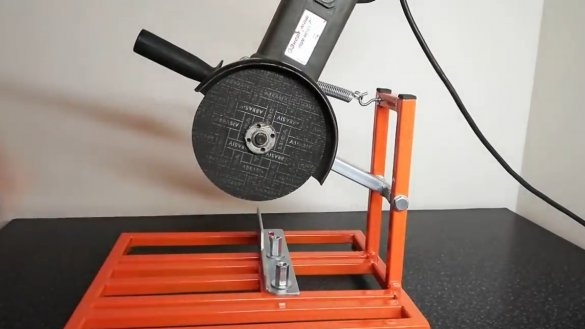
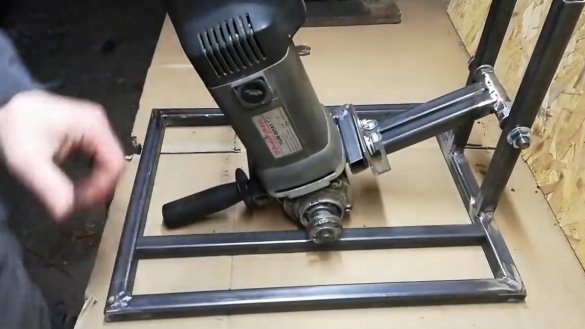
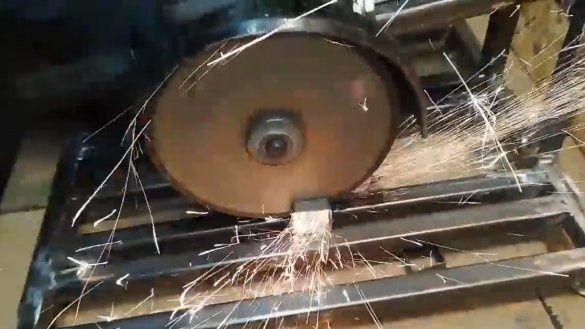
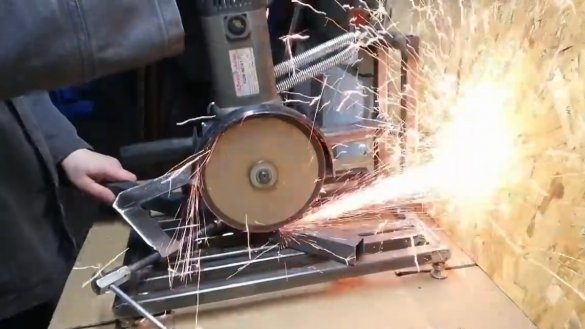
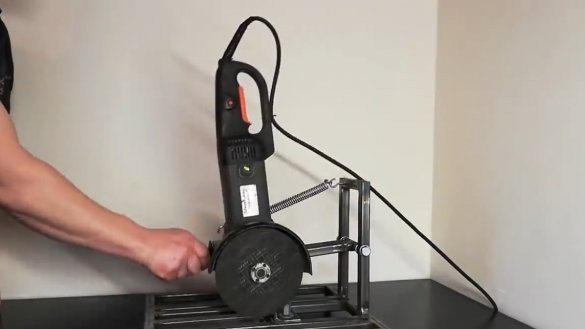
I welcome all fans to craft, I propose to consider the instructions for making a simple and reliable rack for grinders do it yourself. Such a rack will allow you to turn your grinder into a miter saw, this will make it possible to cut pipes and other materials at exactly the specified angle. The main material for the frame was square shaped pipes, and the author adapted two long nuts and a threaded rod as a hinge. The car turned out to be very simple, convenient, cheap and durable. If you are interested homemade, I propose to study the project in more detail!
Materials and tools used by the author:
Material List:
- spring for doors;
- square shaped pipes;
- two long nuts and a threaded rod;
- a corner for an emphasis;
- bolts, nuts, washers;
- two hooks;
- paint to your taste.
Tool List:
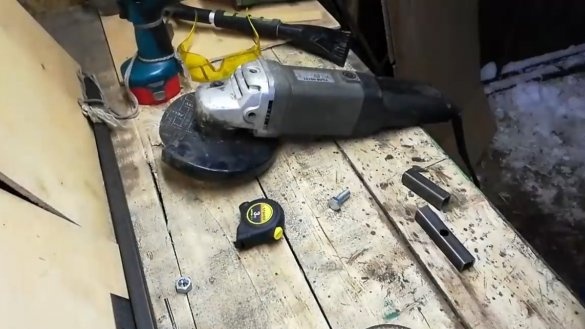
- Bulgarian;
- welding machine;
- square;
- marker;
- drill or a drilling machine;
- clamps;
- spanners.
Homemade manufacturing process:
Step one. We cut pipes
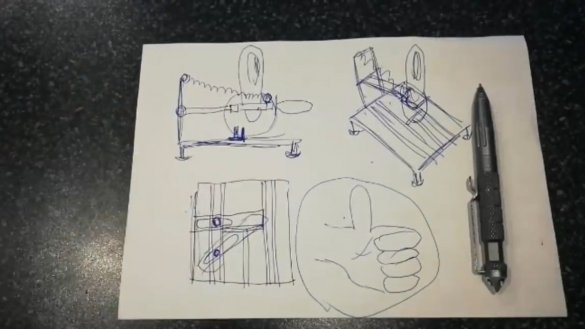
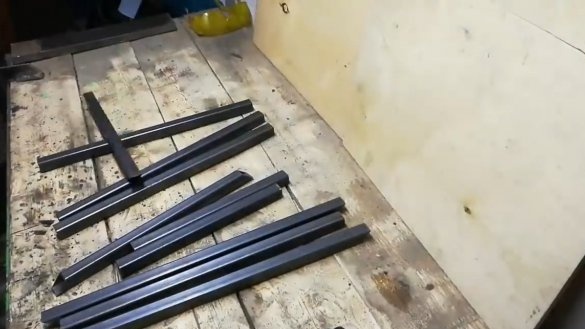
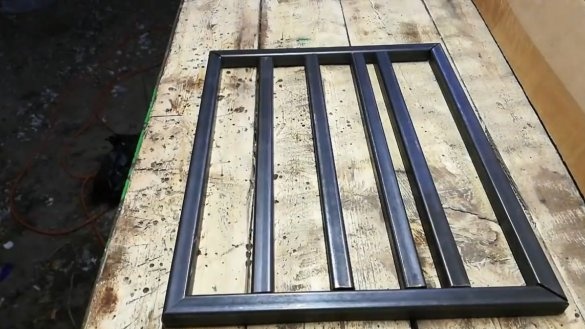
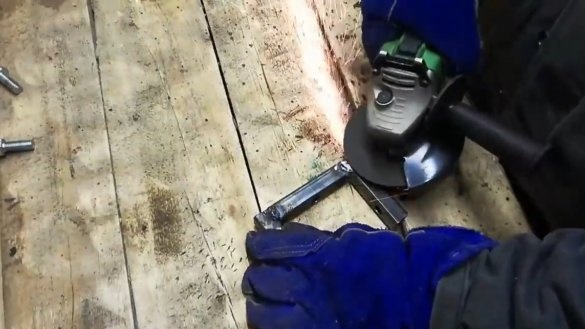
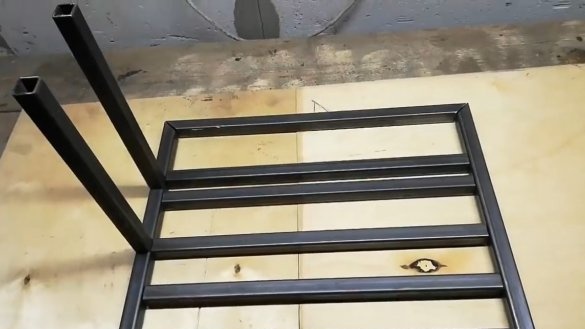
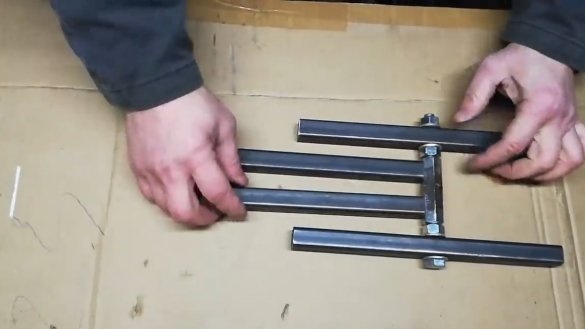
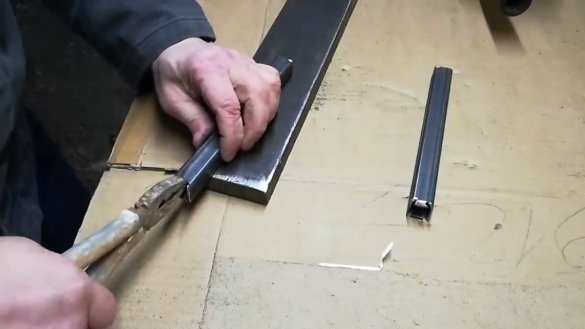
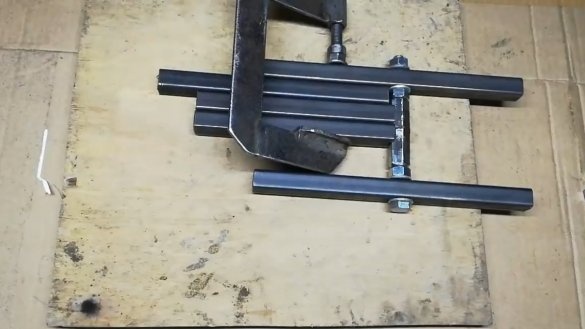
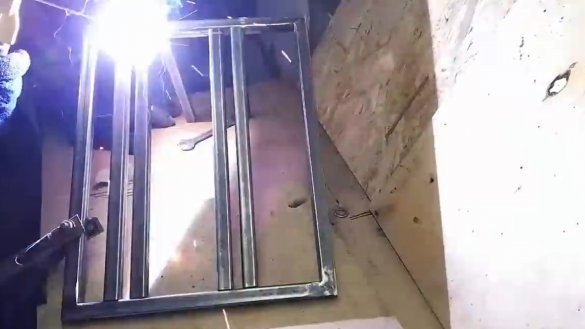
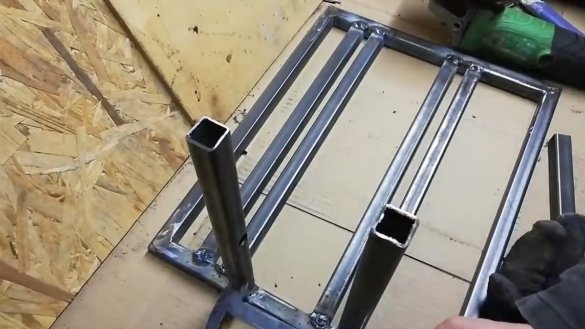
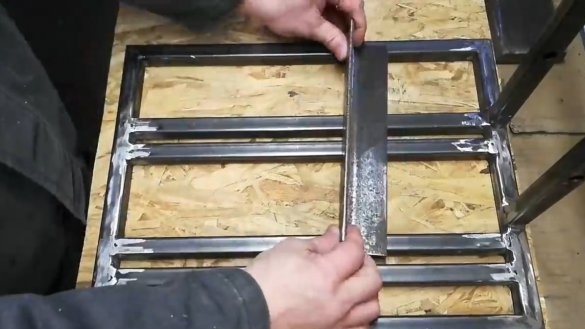
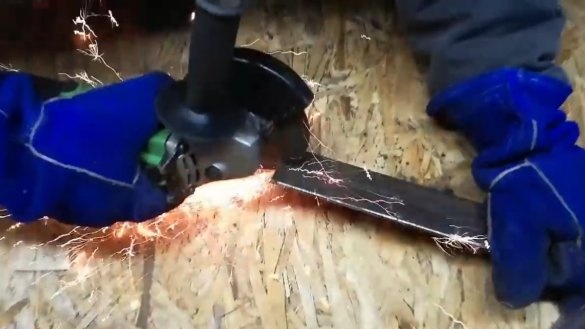
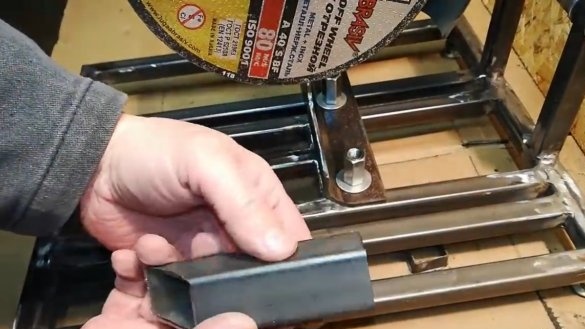
The author drew a diagram of the rack on paper and proceeded to cutting the material. We will need to cut pipes for the base, in total 8 pieces will be needed. In addition, you will need pipes for the rack.
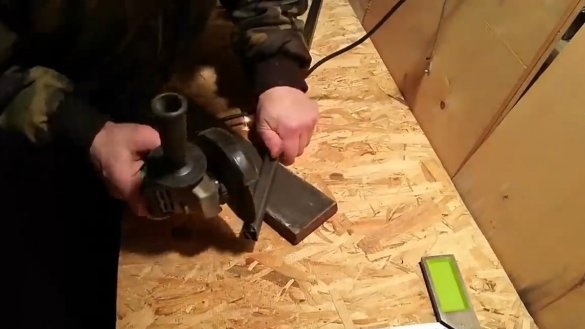
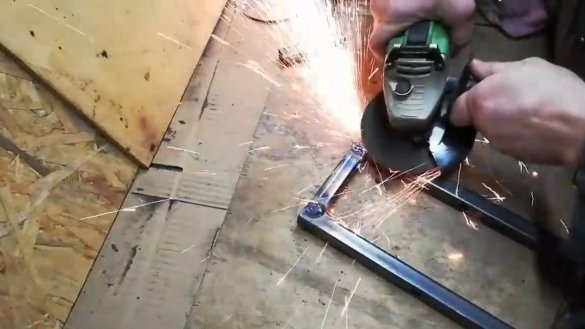
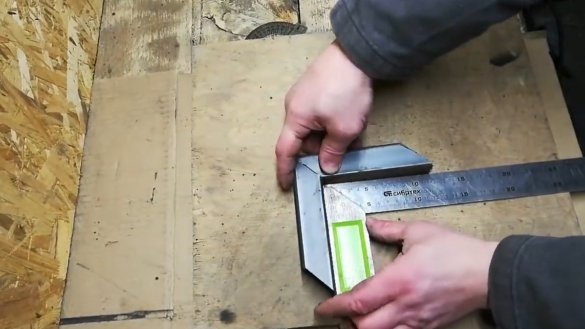
Of course, working by hand as a grinder will be difficult, so everything needs to be pre-marked, in the future we will no longer have problems with cutting, having such a frame for the grinder.
Step Two Fasteners for grinders
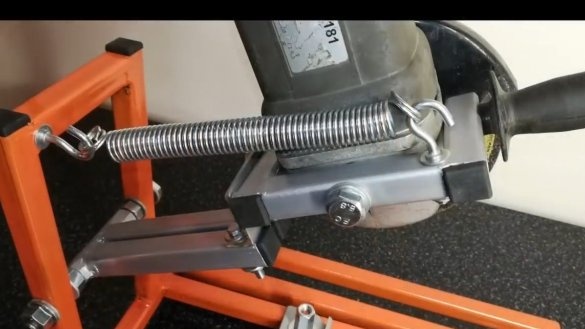
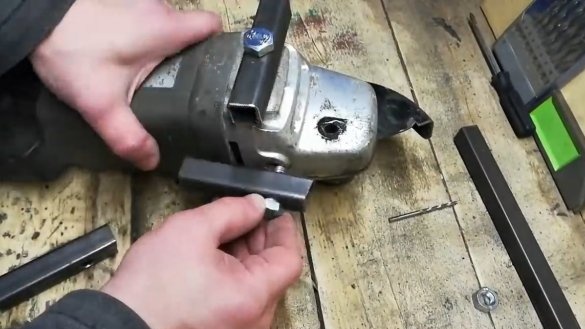
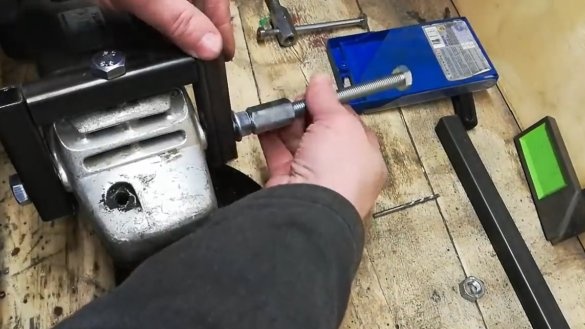
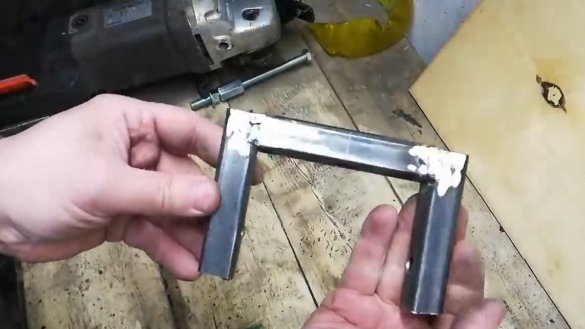
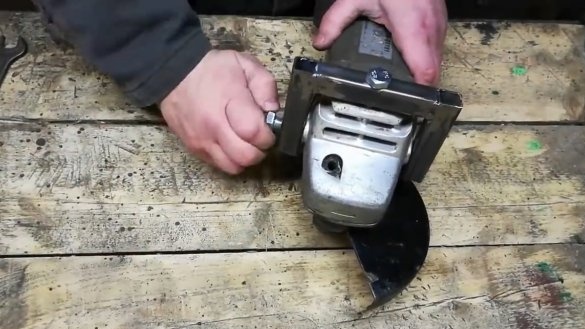
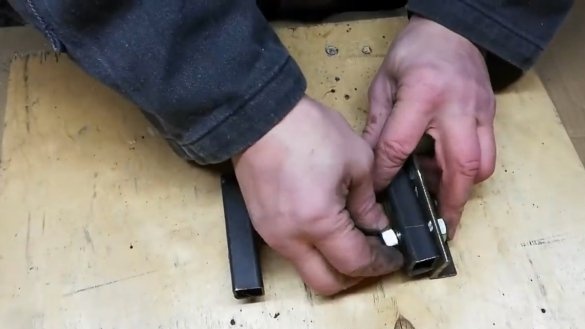
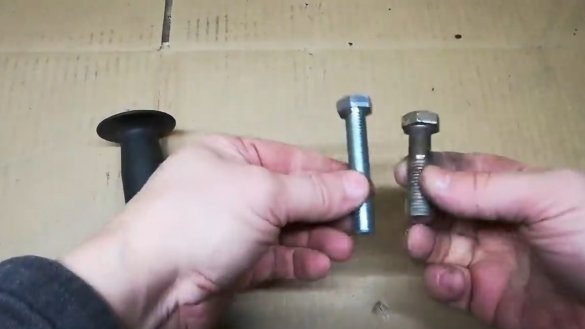
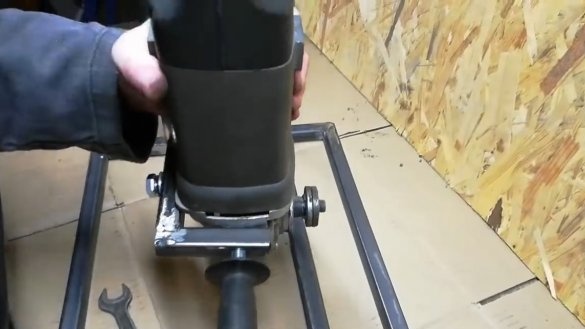
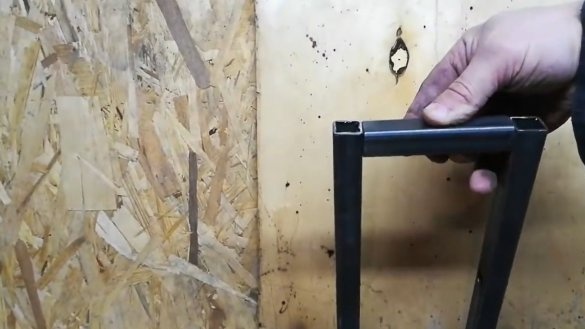
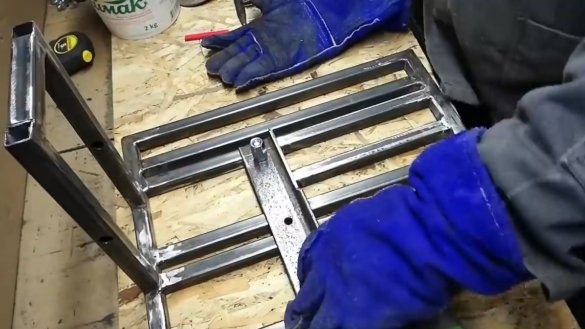
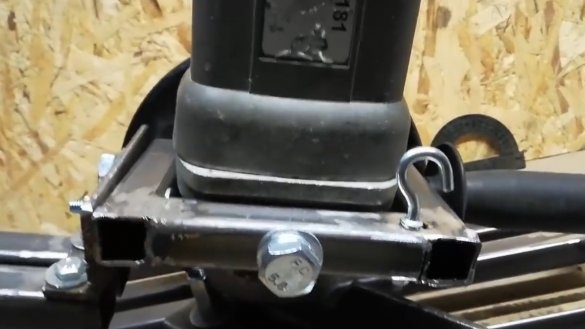
We make fasteners for the grinder, here the author also used square pipes. Fasteners should be in the form of the letter "P". The author of the grinder will be fastened with two bolts, as well as a handle. Well, we weld everything and clean the welds so that the product looks beautiful.
Step Three Stand and hinge
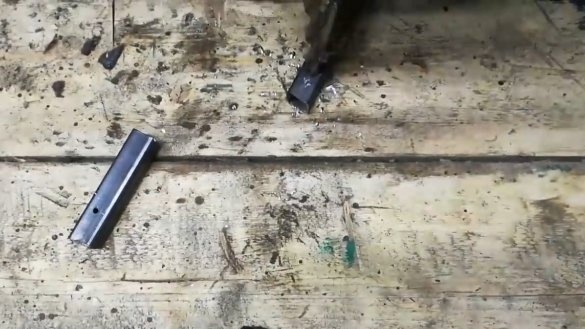
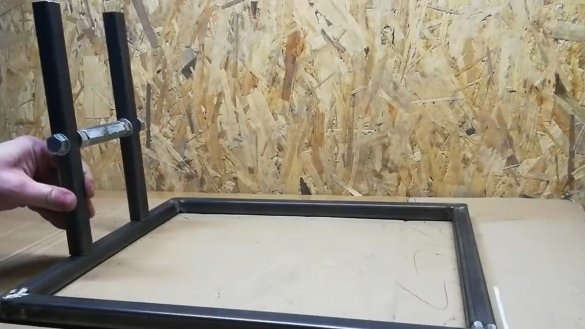
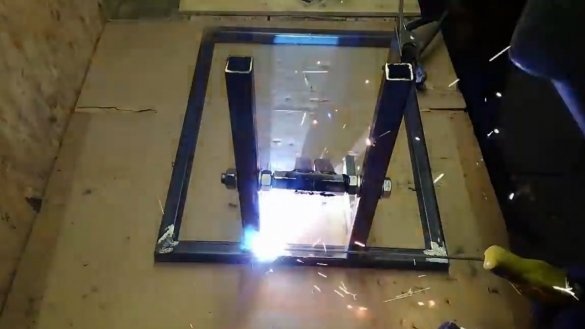
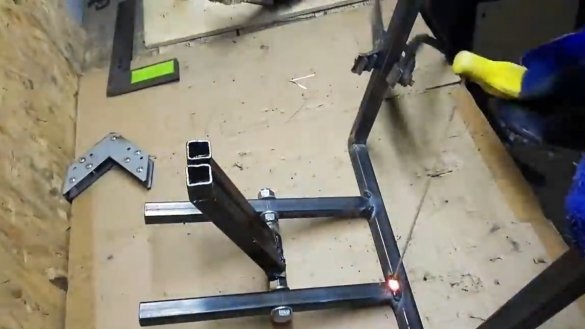
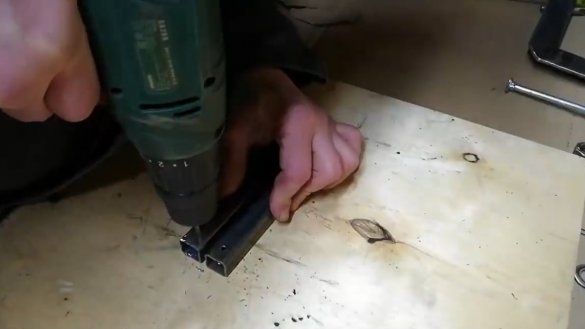
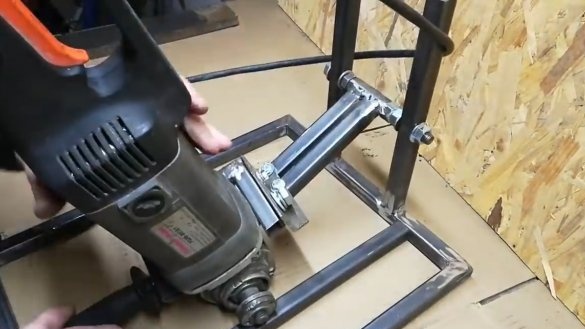
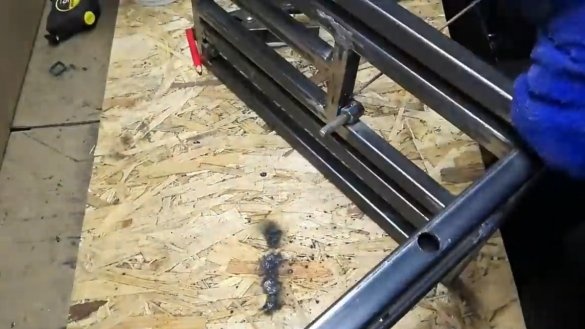
We cut off two pieces of the pipe and weld to the base at a right angle, this will be our stand. First, in the holes we drill a hole for the threaded rod, which will act as an axis.
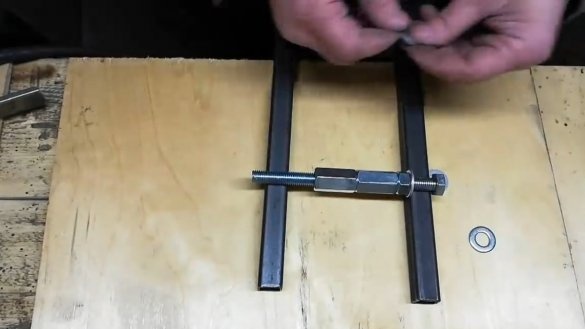
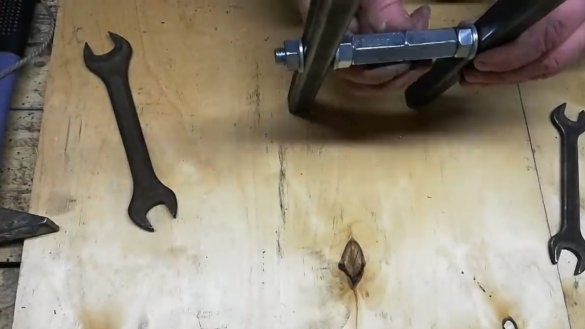
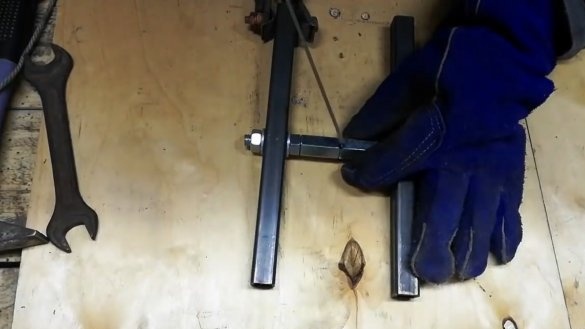
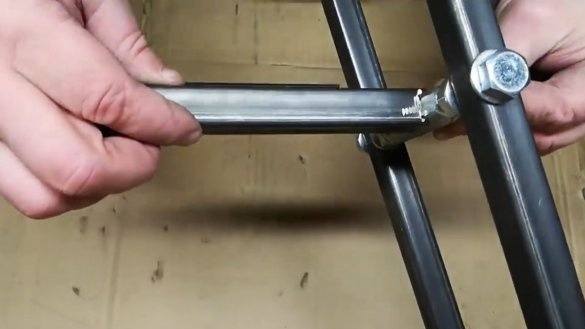
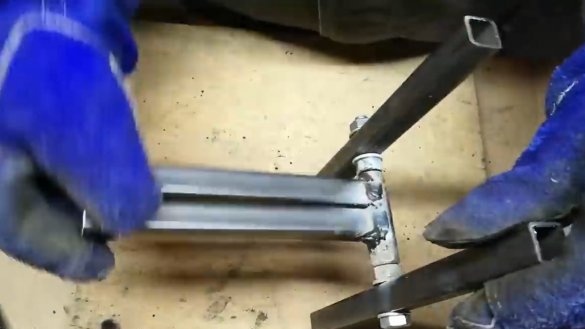
As for the hinge, it is “threaded” by the author, we install two long nuts on the threaded rod and weld them into one nut. As a result, we get a reliable, durable joint with minimal backlash; such a joint will also serve for a long time, especially if it is lubricated. Well, with a threaded rod we attach to the posts with nuts and washers, one nut on each side of the pipe. Nuts would be nice to use with retaining plastic rings.
Step Four Fasten the grinder
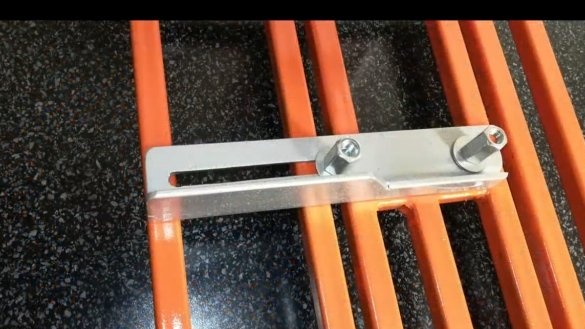
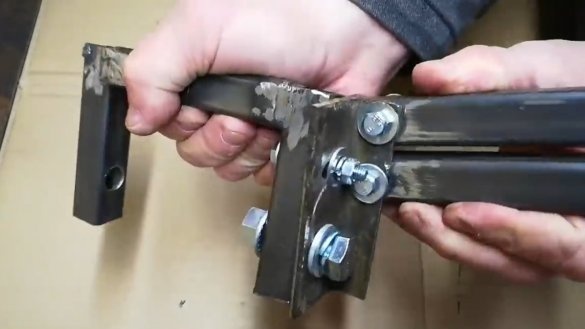
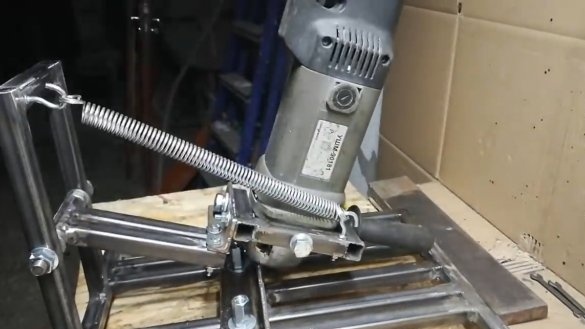
We weld two pieces of a square pipe to the hinge, this will be a lever, at the end of which we will fix the grinder. Of course, the machine should be able to adjust, so we will fasten the bracket to the lever through the bolts with nuts. At the end of the lever, the author welded a piece of a corner with bored holes for an oval, this will give the opportunity to adjust the angle of the disk.
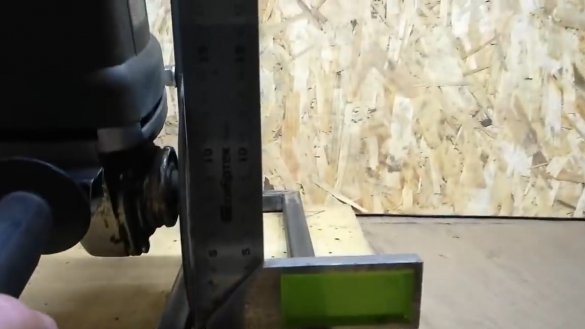
After carefully adjusting and checking all angles, the frame can be completely welded. The author cleaned the welds, as a result, the product looks monolithic.
Step Five Emphasis
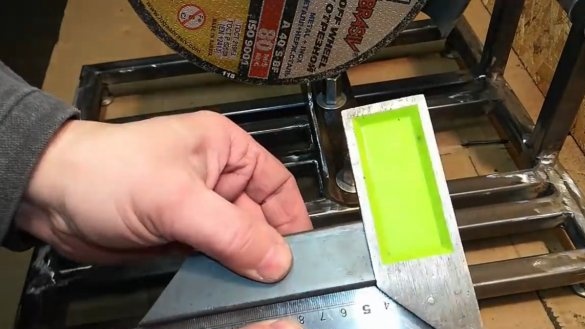
We make an emphasis, here the author used a piece of the corner. Of course, the stop angle must be adjustable, for this the author has welded a bolt to the base, the stop is clamped with a long nut on top.
Step Six Legs
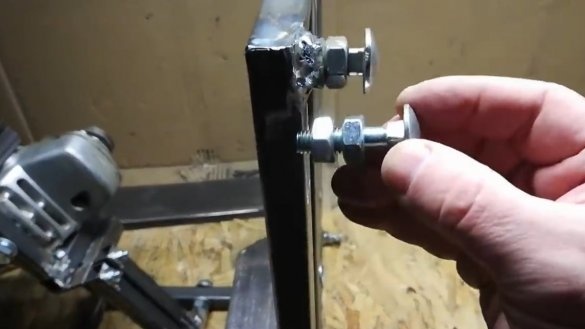
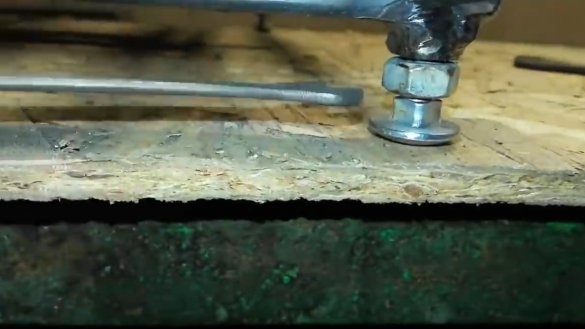
We make adjustable legs for the machine, the author used bolts with nuts. Now you can adjust the machine so that it does not swing even on a crooked table.
Seventh step. Spring and test
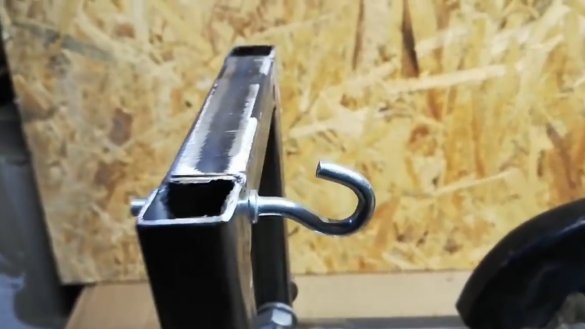
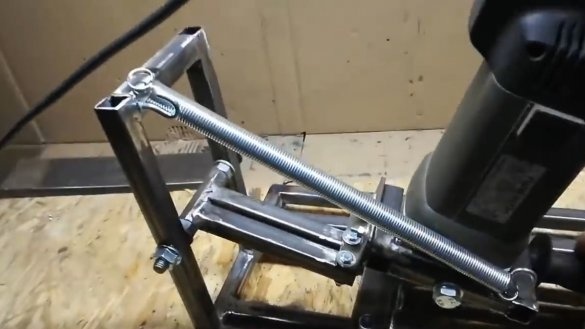
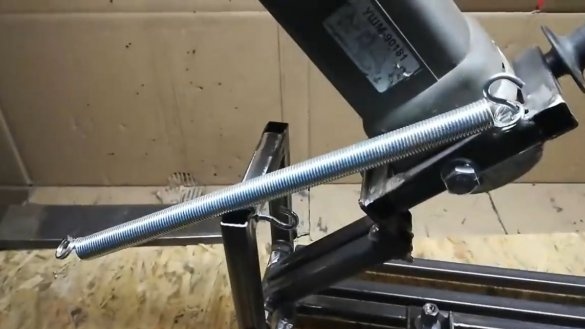
The machine is almost ready, it remains to install a powerful spring on it, which will raise the grinder up. The author used a spring for doors, cutting it to the desired length. To attach the spring, we put steel hooks in the right places.
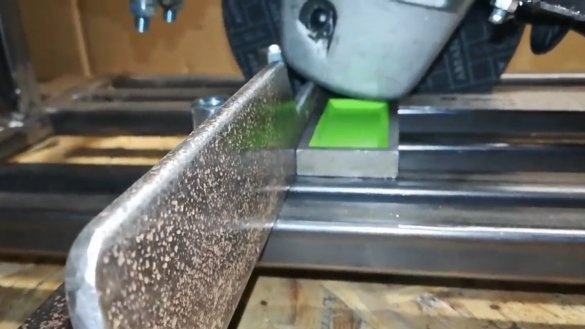
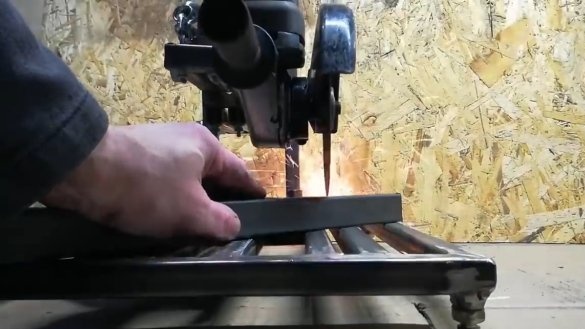
Homemade is ready, you can experience, the author easily and fairly accurately cuts profile pipes, now there are wider prospects for creativity. It remains to paint the machine, now homemade pleases the eye, and will not rust!
The project is completed on this, I hope you liked the homemade work, and you found useful thoughts for yourself. Good luck and creative inspiration, if you decide to repeat this. Do not forget to share your ideas and homemade things with us!

