
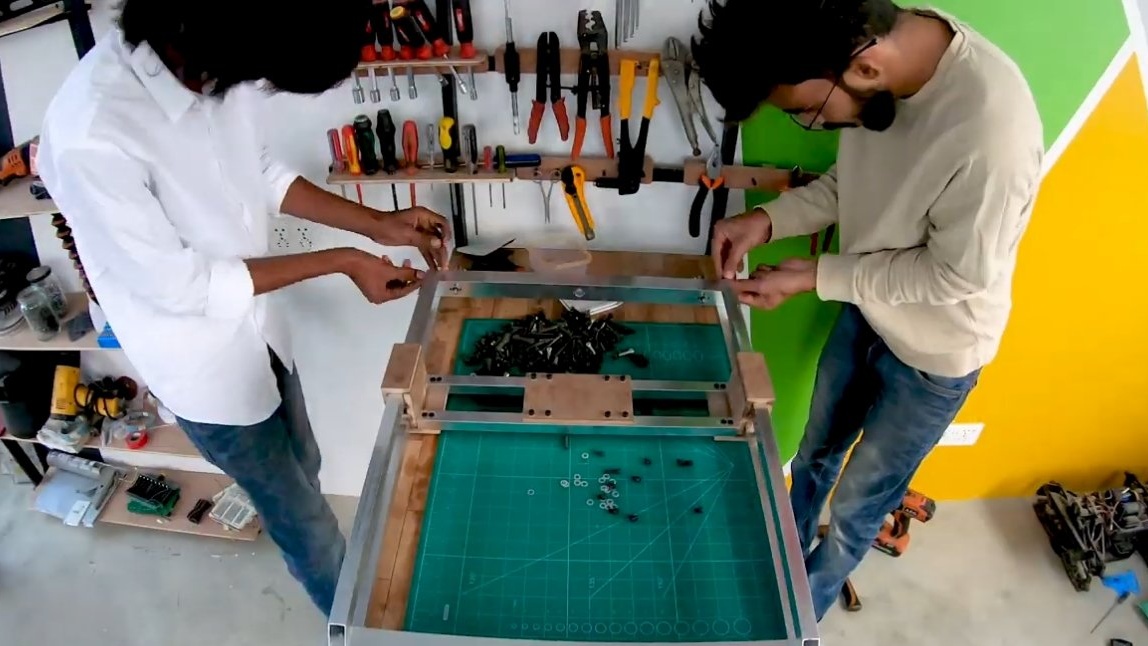
I welcome all fans to craft, I propose to consider instructions for the manufacture of a simple milling machine do it yourself. The machine is controlled manually, using the toggle switches, two gear motors are responsible for the broaching. Homemade made by a craftsman from India, materials used were available. The frame is made of square shaped tubes made of aluminum, and there are also units made of thick fiberboard. Using his car, the author decided to level the plane of the product cast from epoxy. The machine lacks the ability to adjust the pitch, but if desired, the machine can even be made automatic or CNC. If the project interests you, I propose to study it in more detail!
Materials and tools used by the author:
Material List:
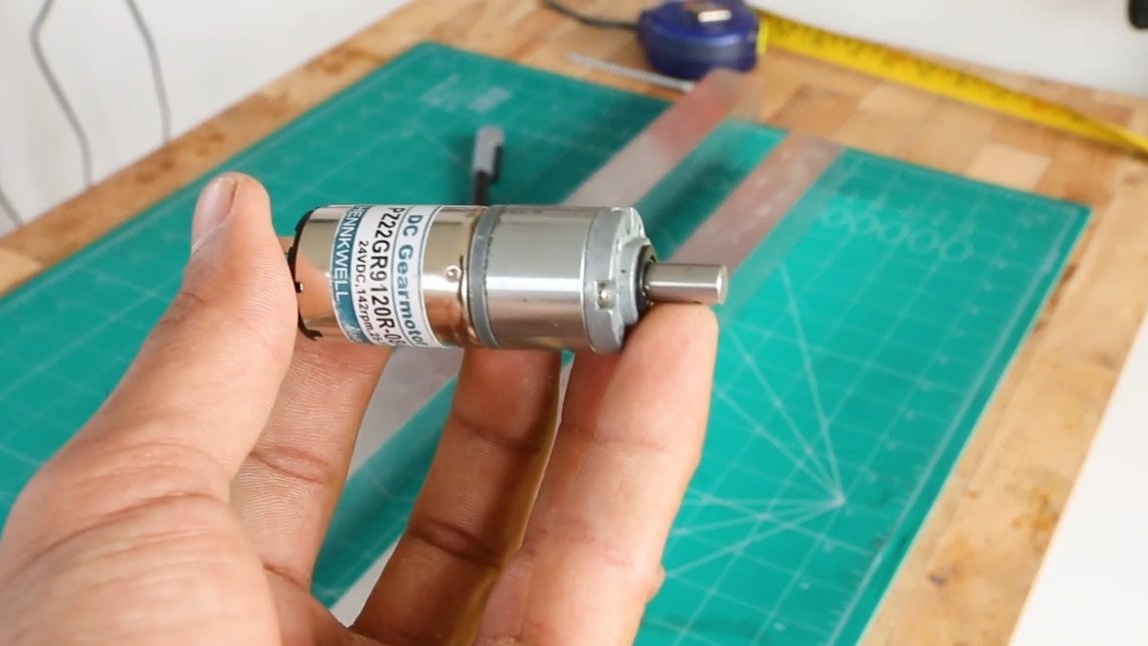
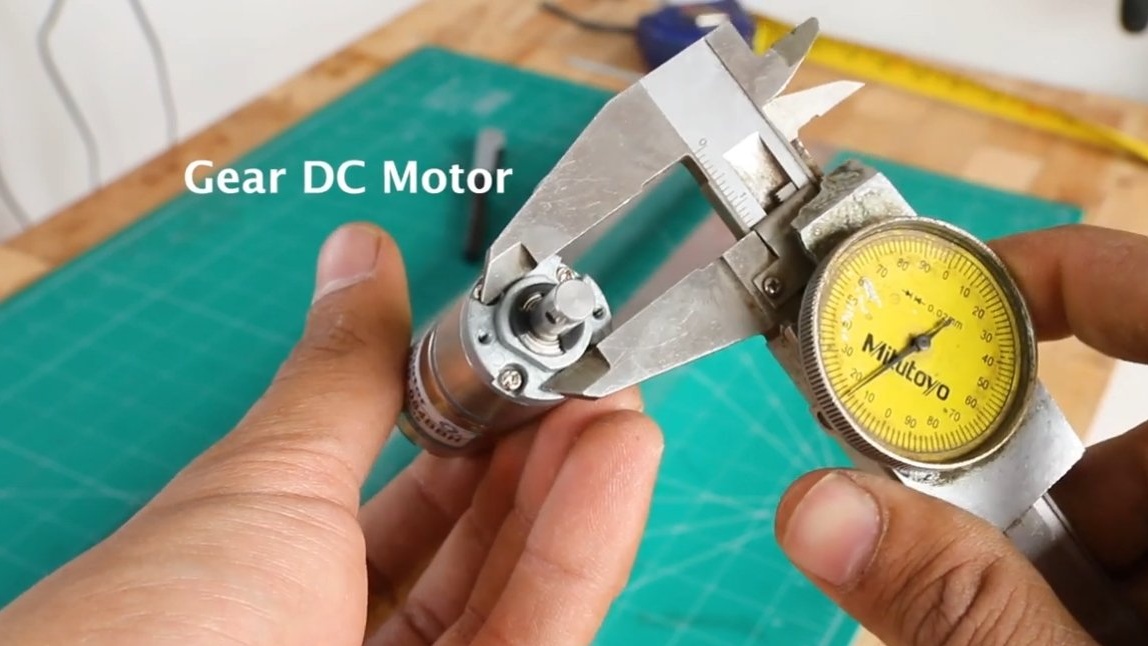
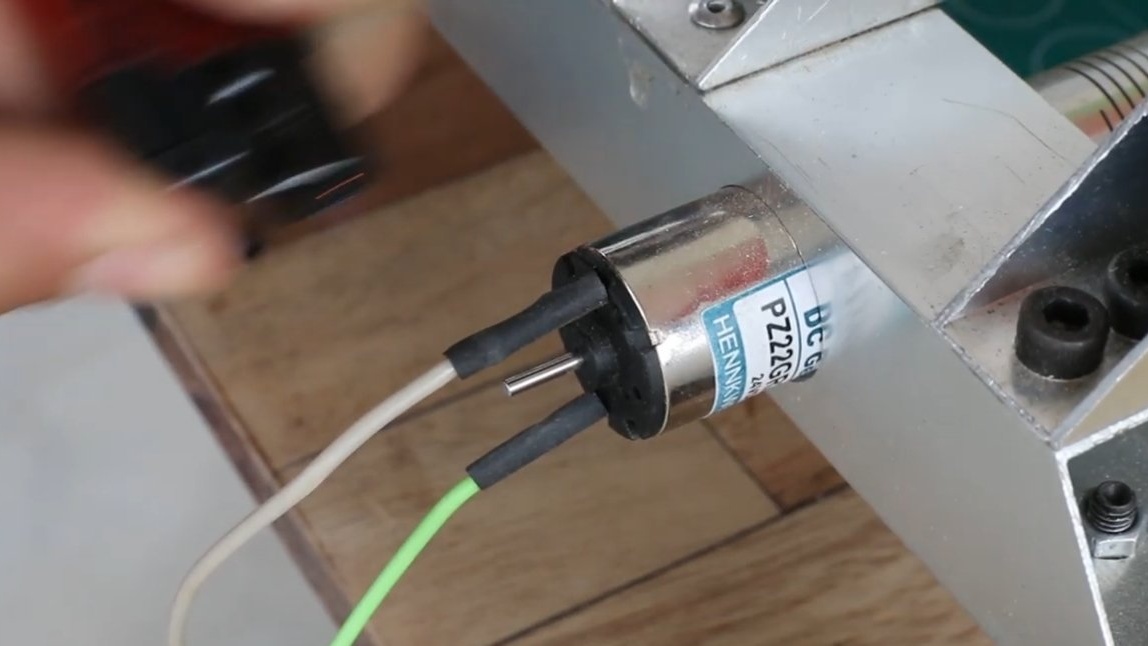
- 24V / 142rpm gear motors;
- motor for milling machine (on which the mill stands);
- aluminum square pipes;
- fiberboard;
- nuts;
- threaded rods;
- couplings;
- electronics for controlling the speed of the main motor;
- toggle switches;
- plexiglass;
- wiring.
Tool List:
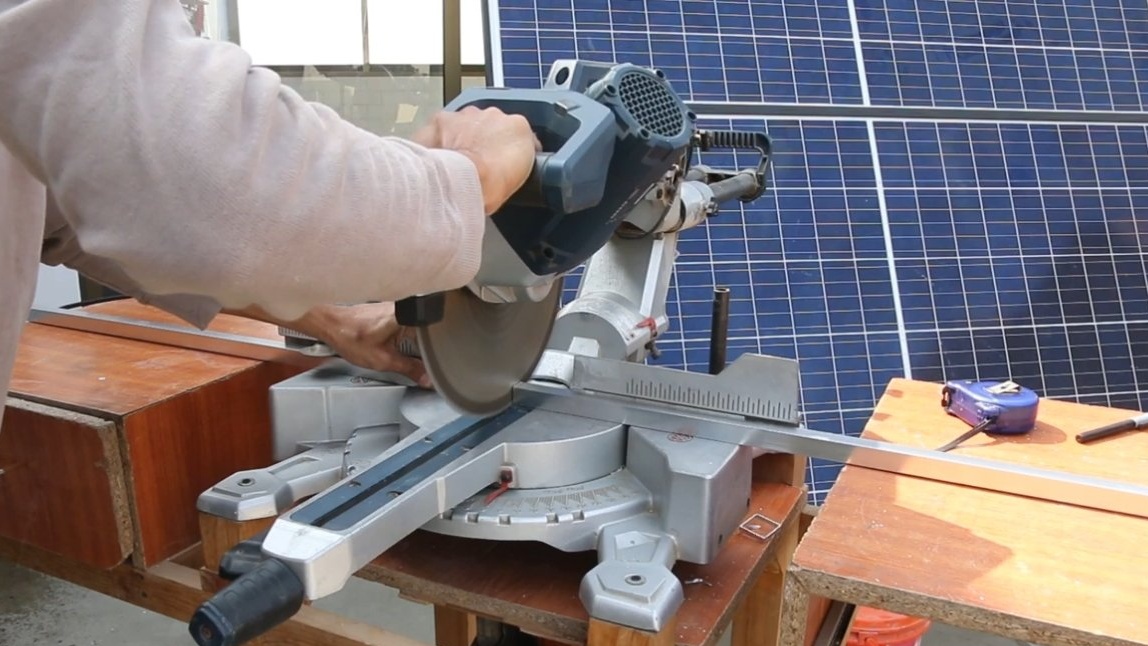
- Miter saw;
- drill;
- rivet gun;
- tape measure, marker;
- vernier caliper;
- Super glue;
- keys, screwdrivers
Homemade manufacturing process:
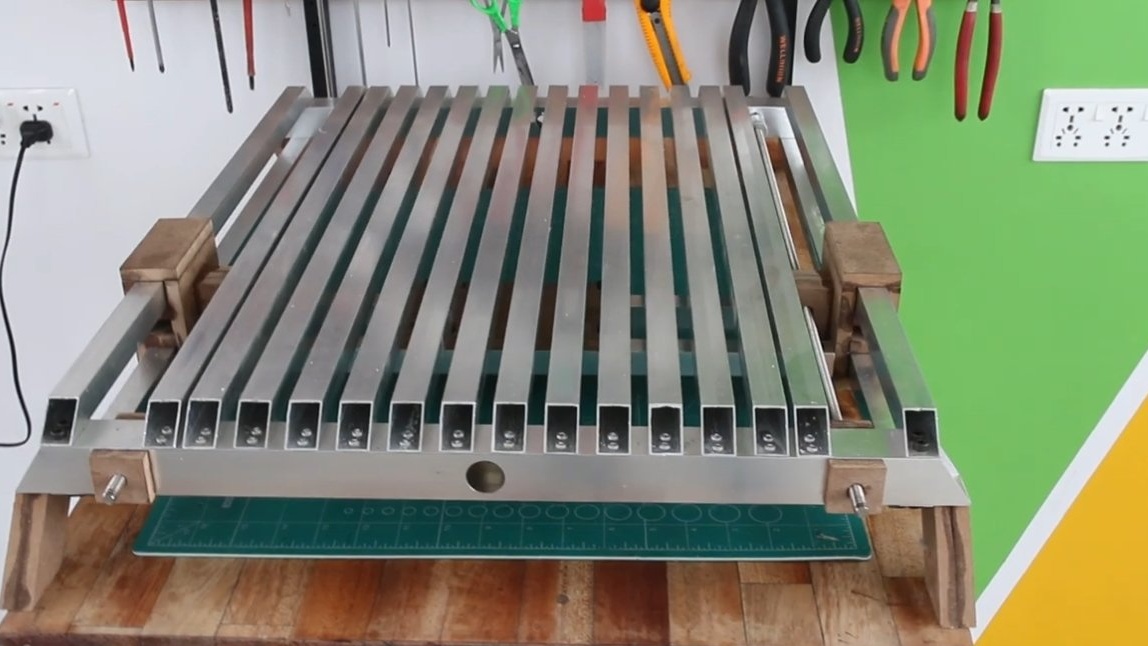
Step one. We cut the material and assemble the base
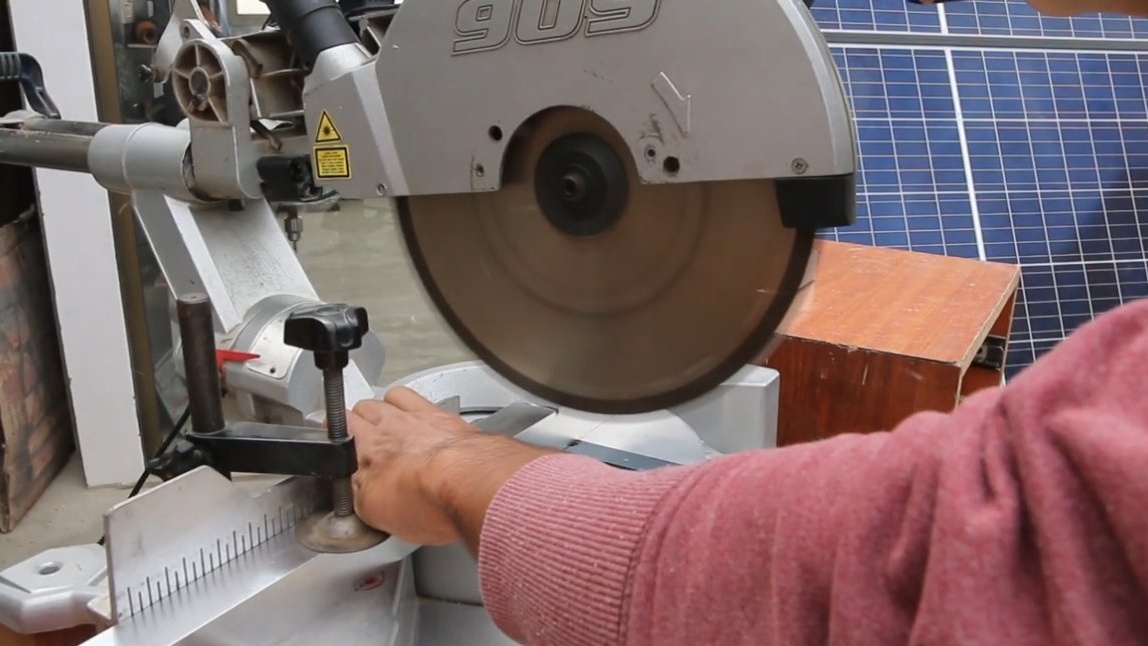
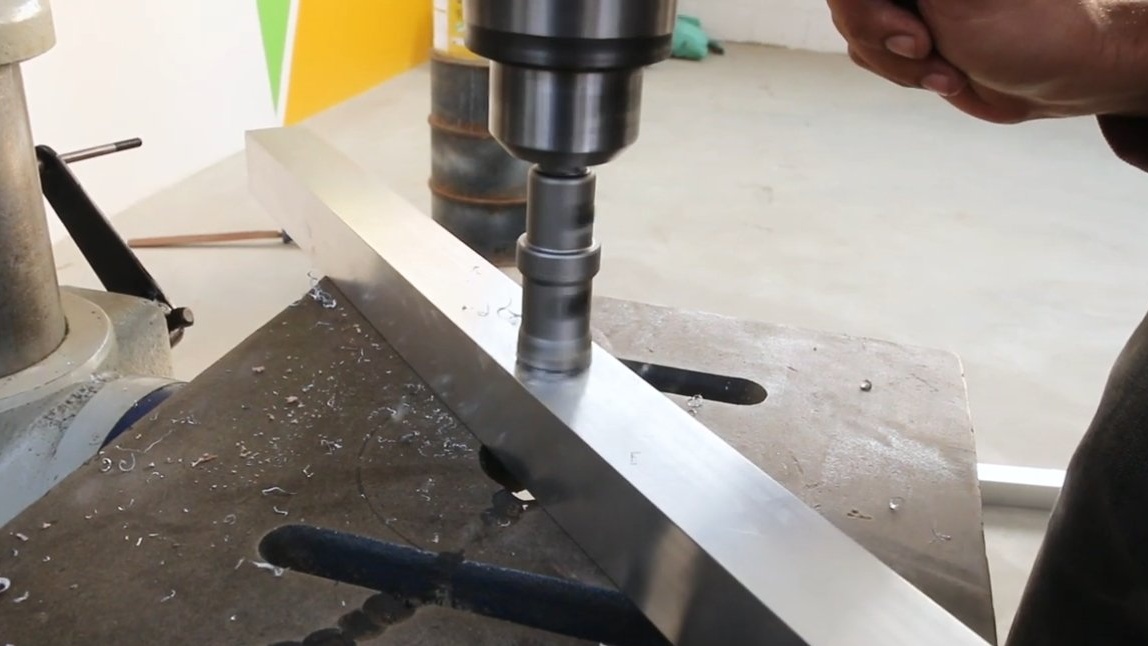
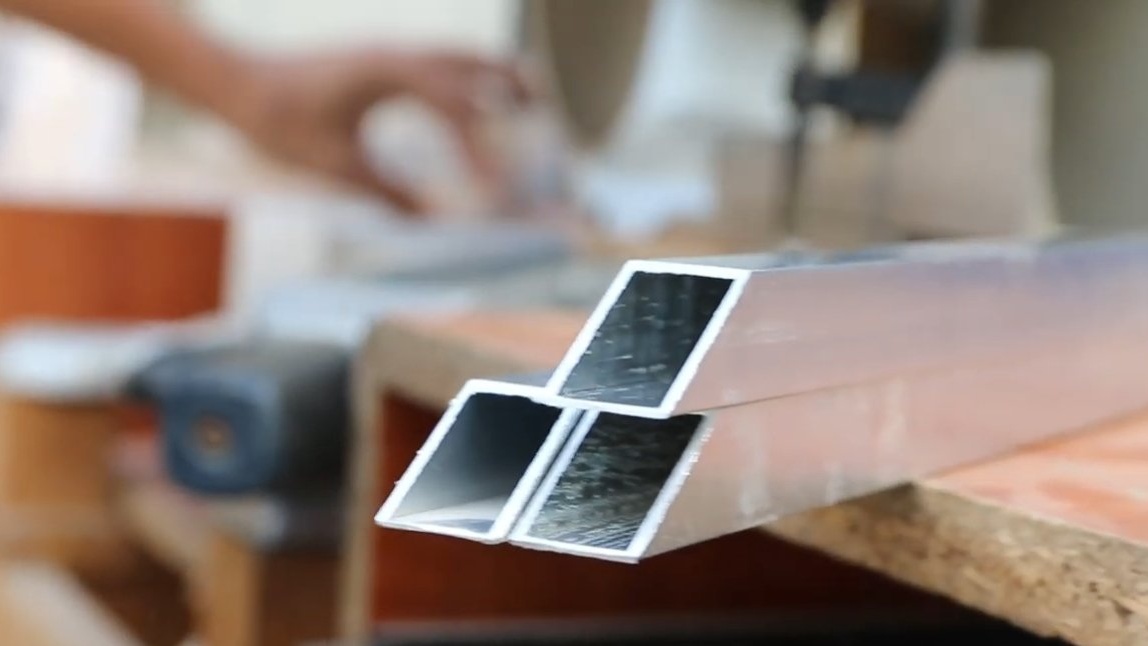
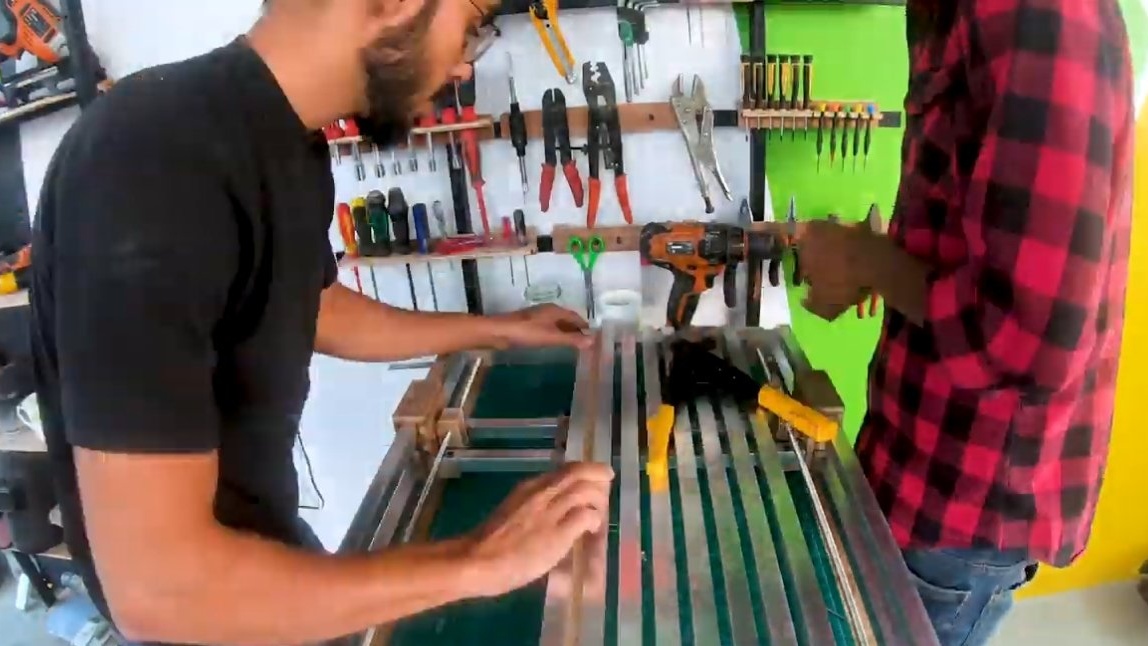
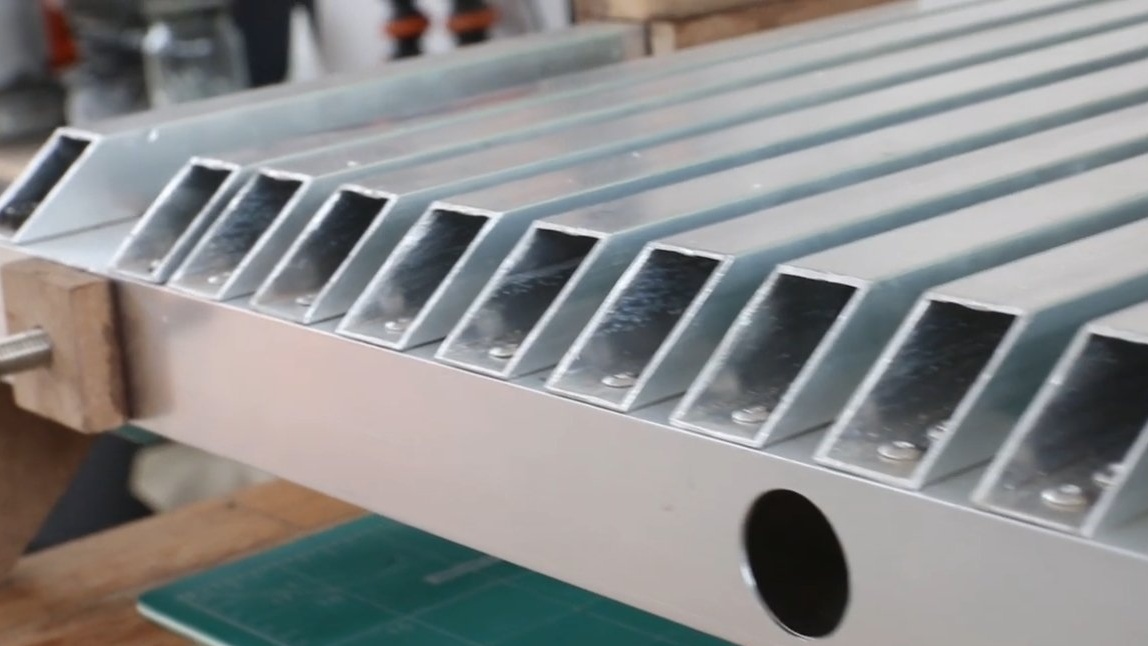
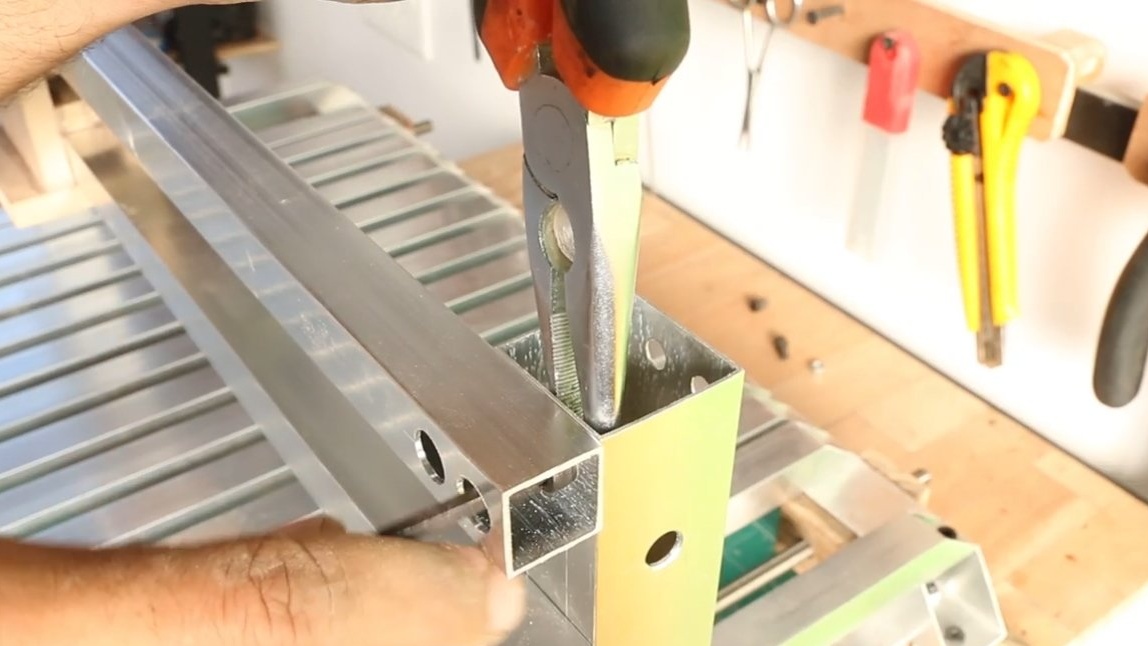
First, we cut the pipes for the base, the author decided to use aluminum pipes, they are easy to cut, and the machine will turn out easy. Of course, you can use steel pipes with the thinnest wall.
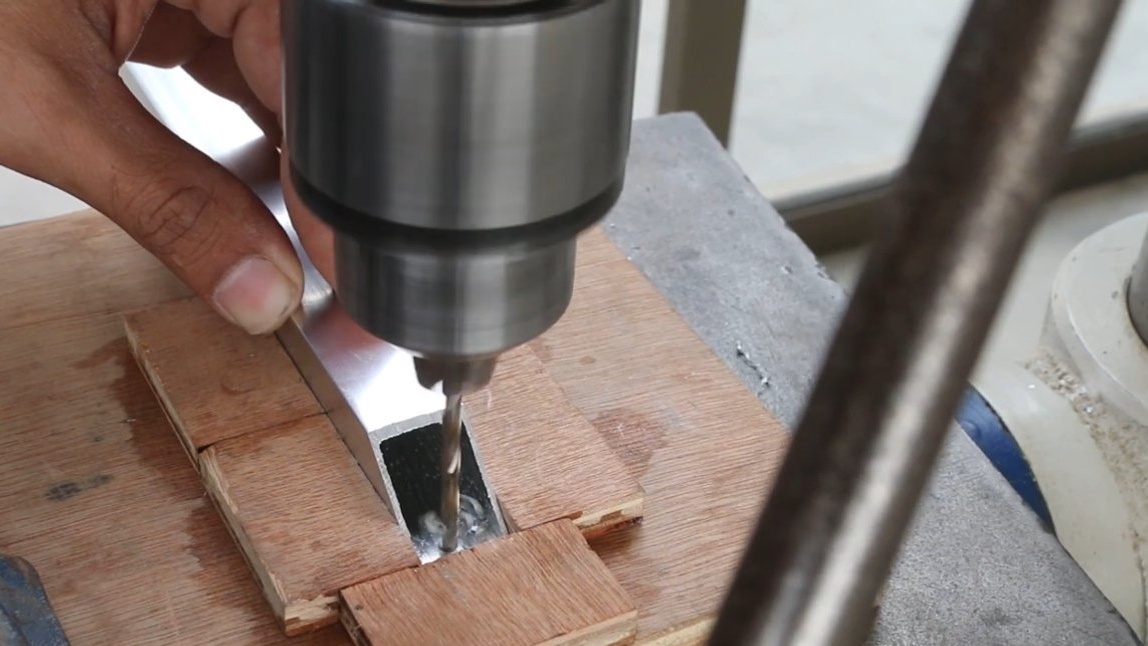
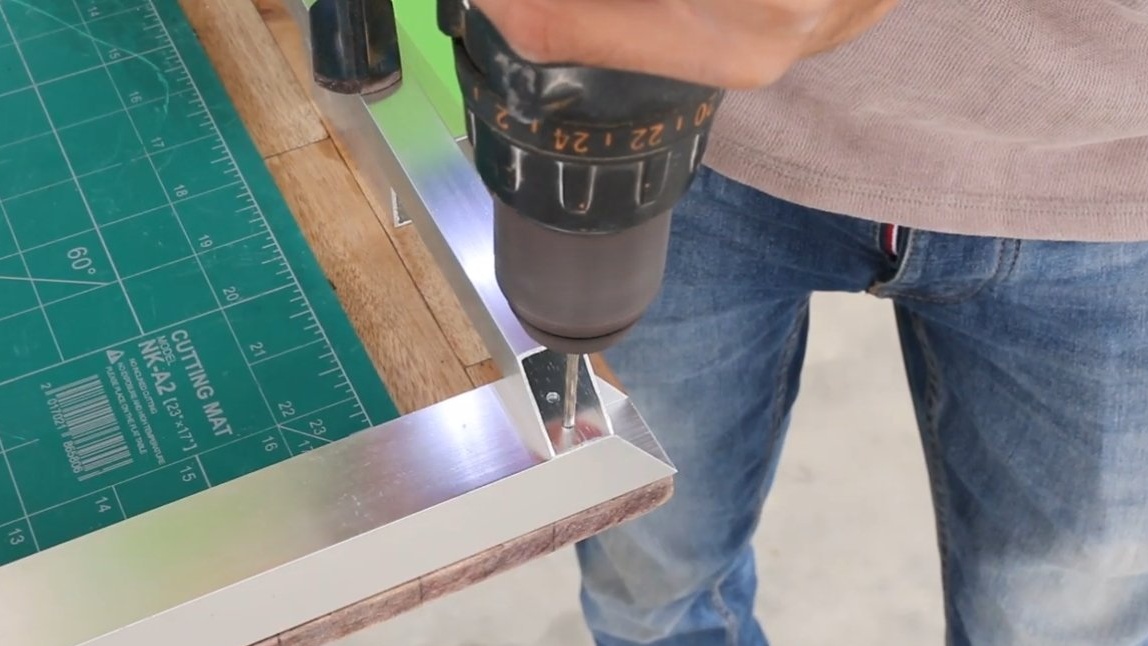
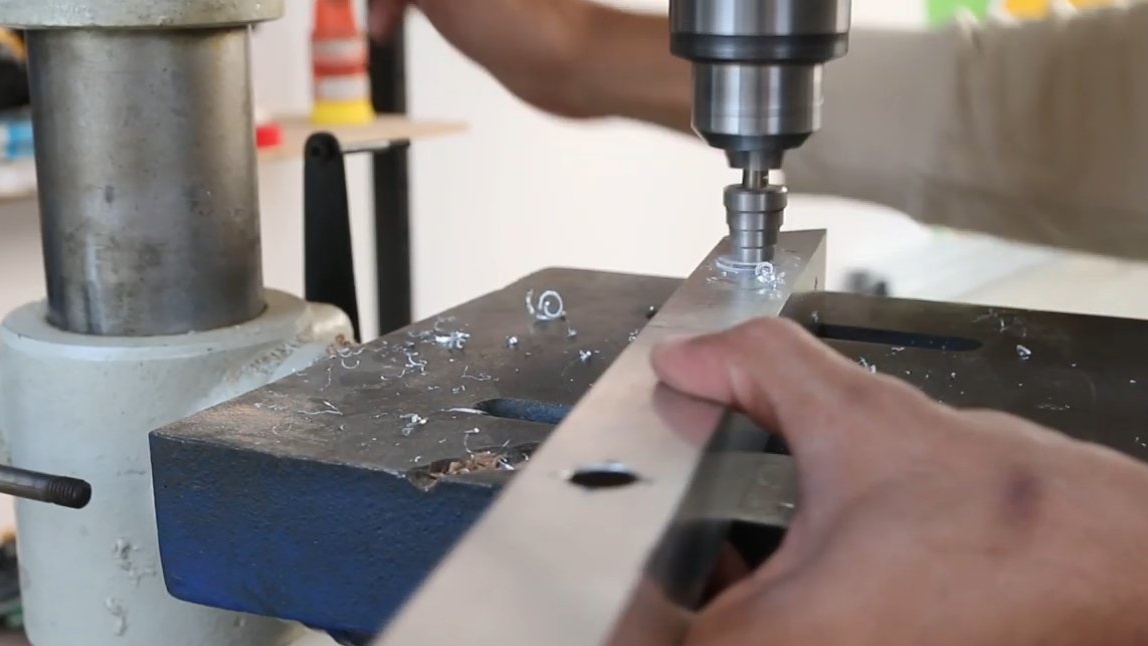
Two gear motors will be installed in the base, we will drill holes for them. When everything is ready, the foundation can be assembled, the author collects everything with a rivet gun, it is quick and easy.

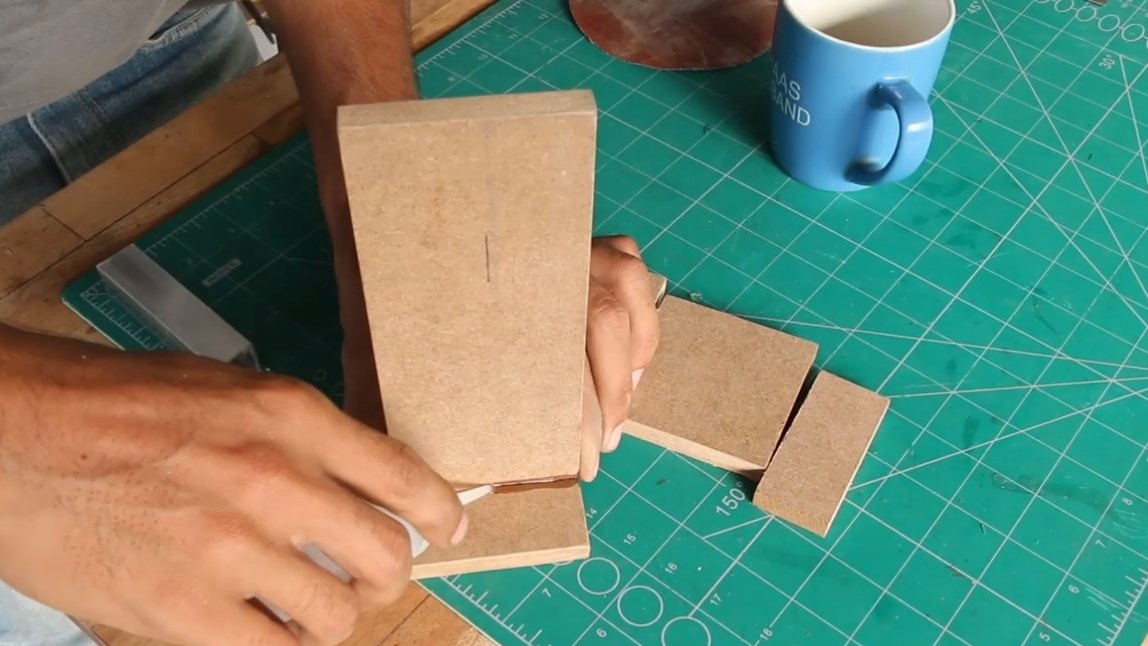
Step Two Broach
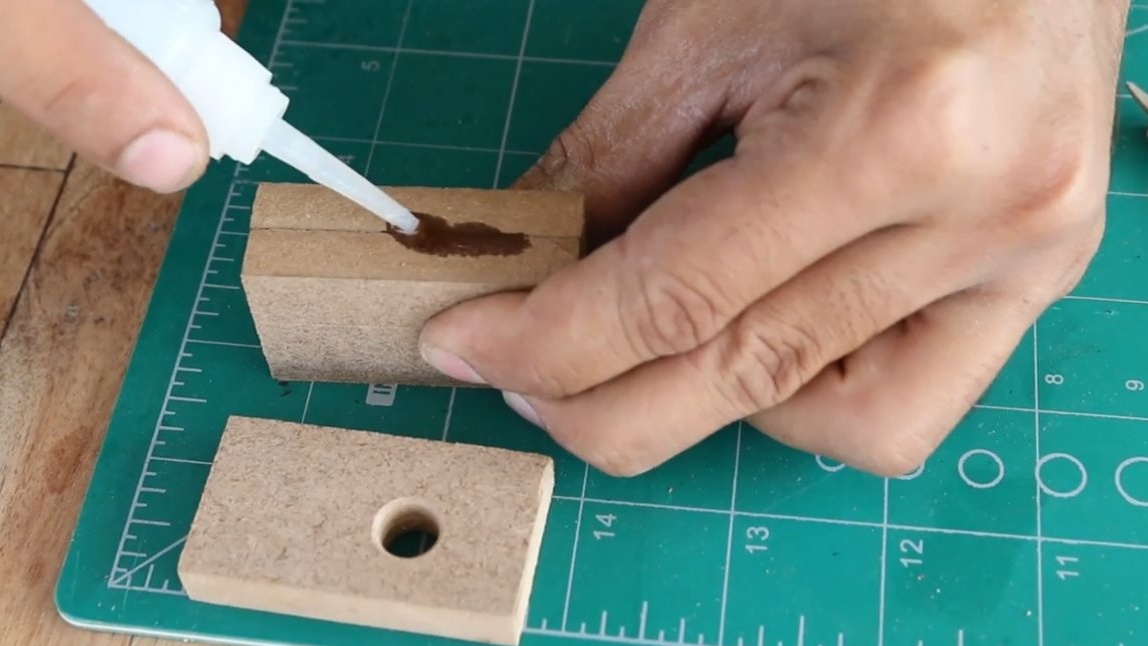
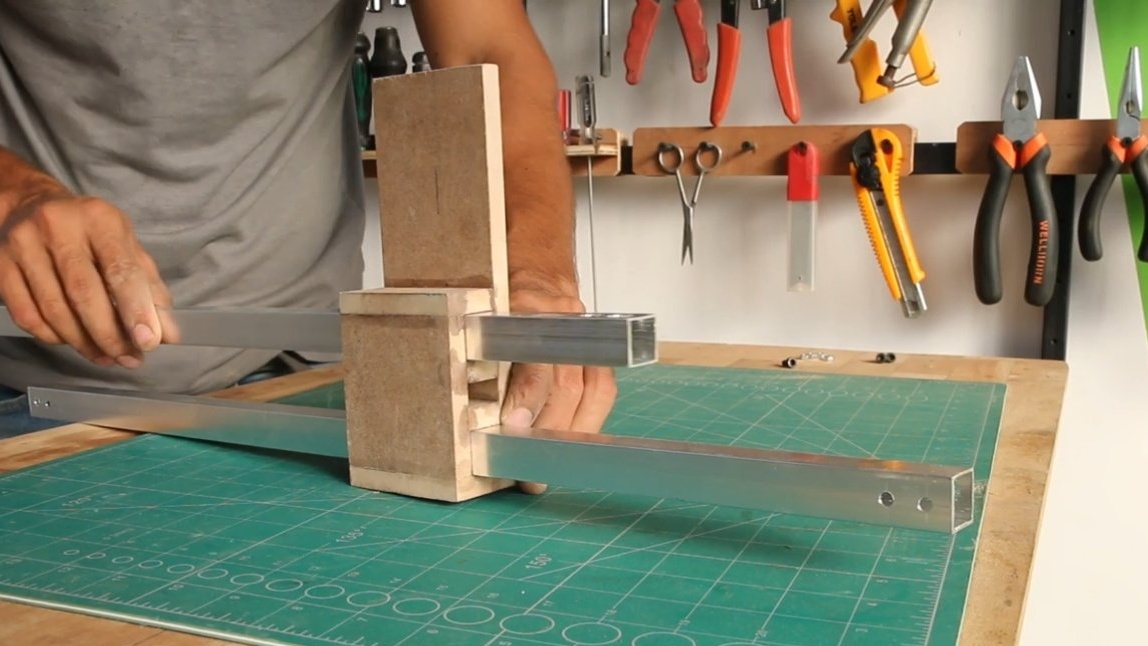
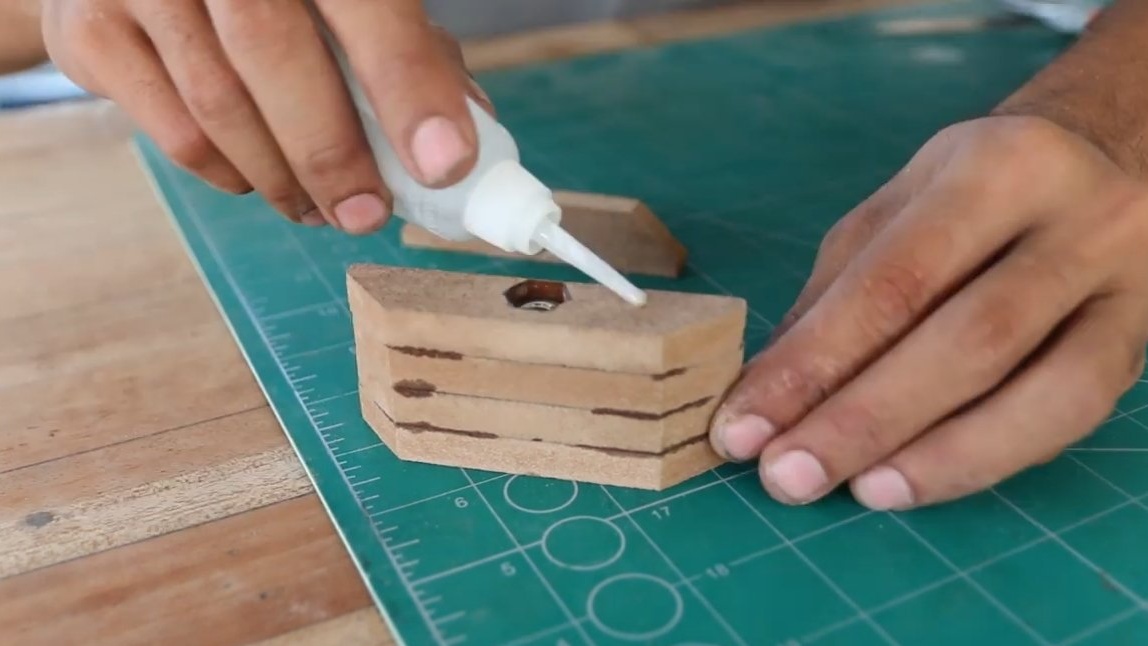
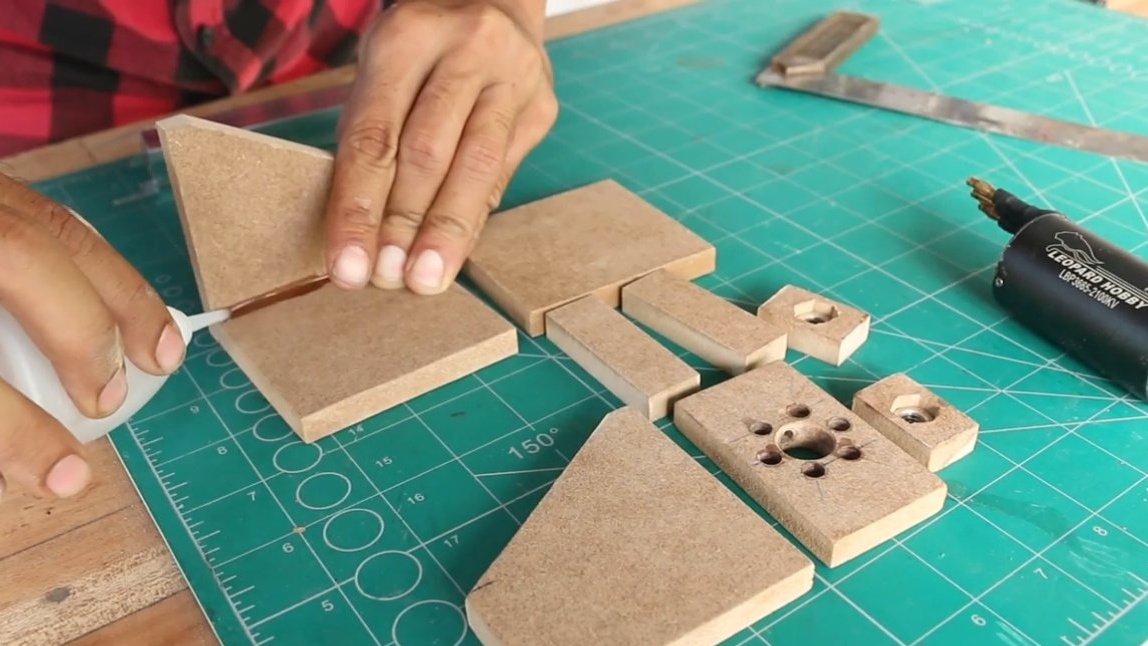
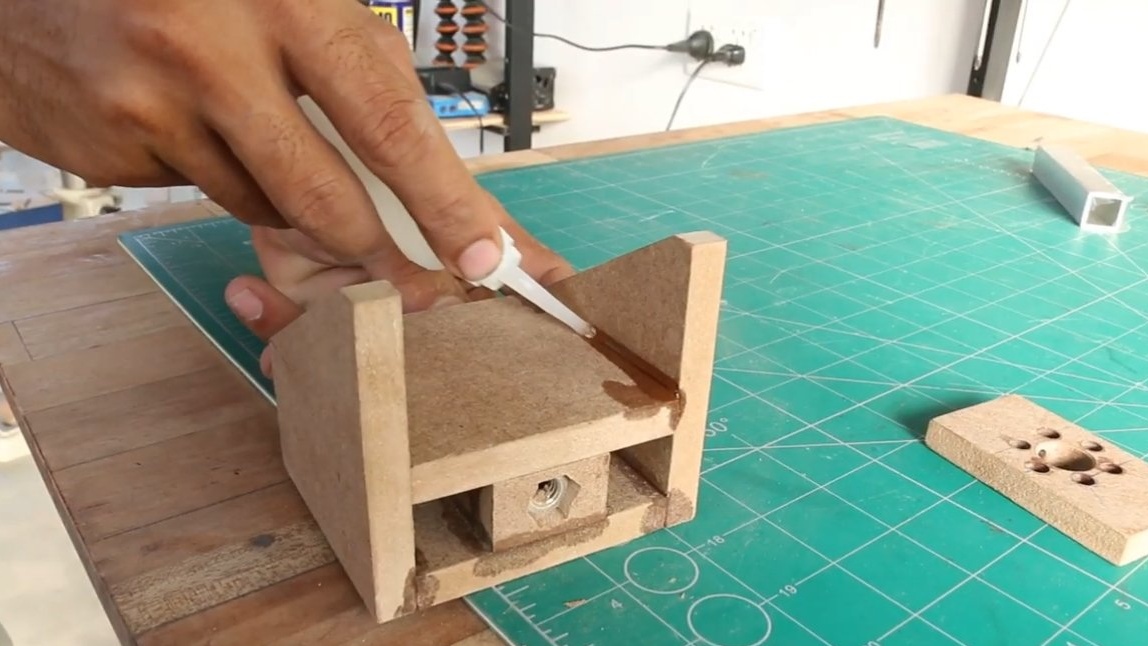
We make a broach that will move the carriage towards us or away from us when the machine is working. To begin with, we make “linear bearings” that will slide along the frame guides. The author made such bearings from fiberboard, the material is easily and reliably glued using superglue.
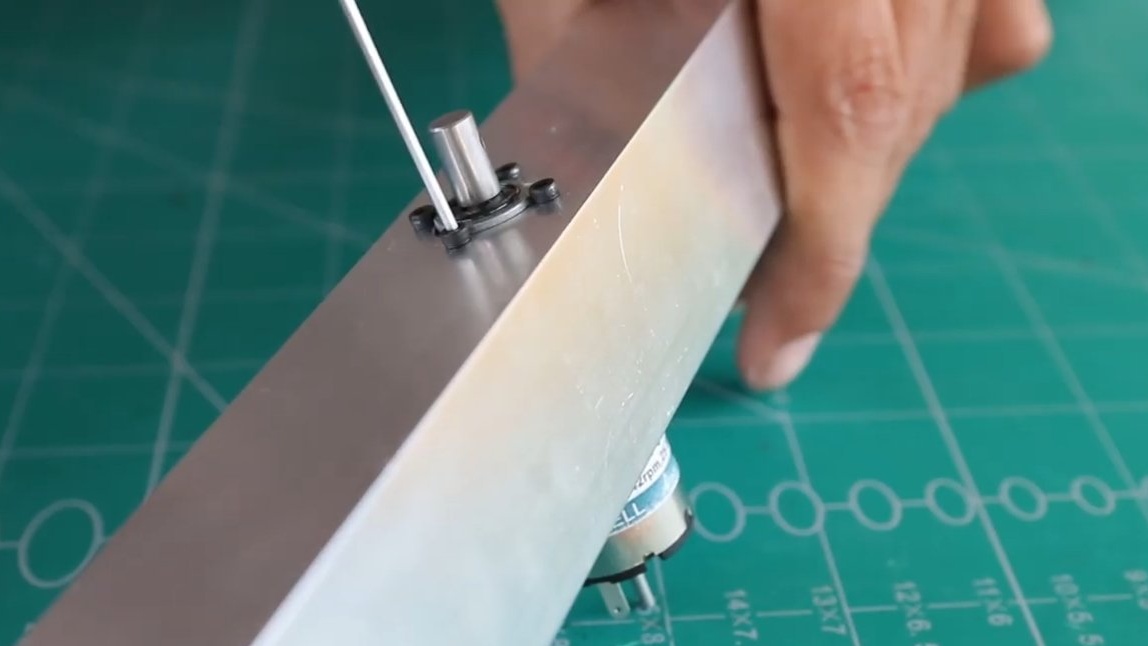
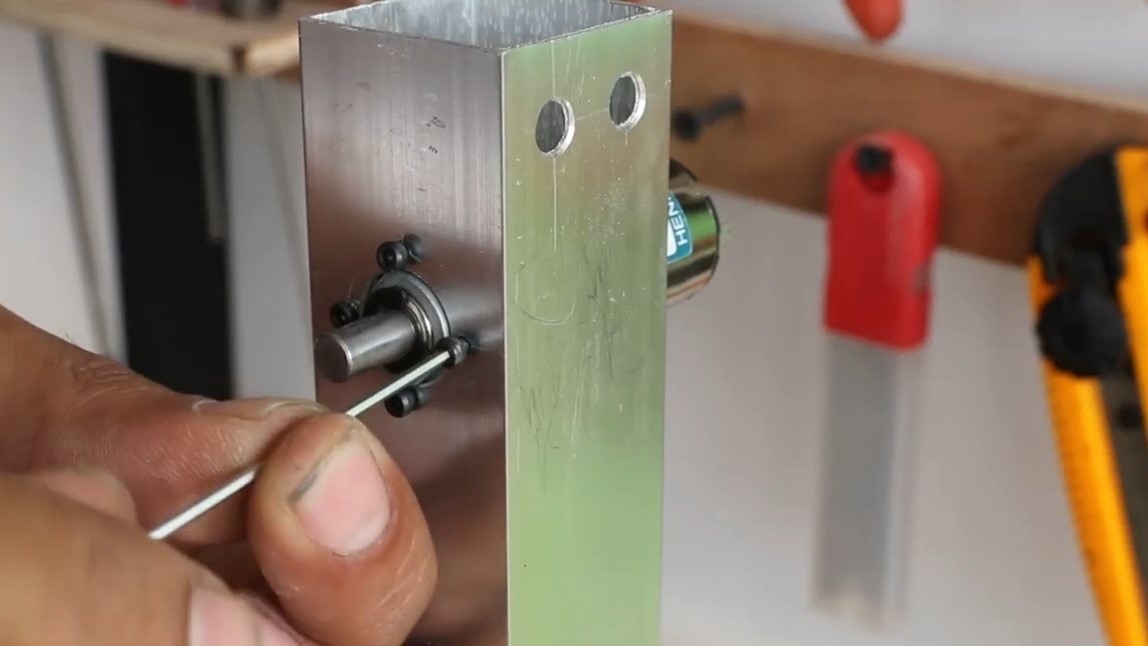
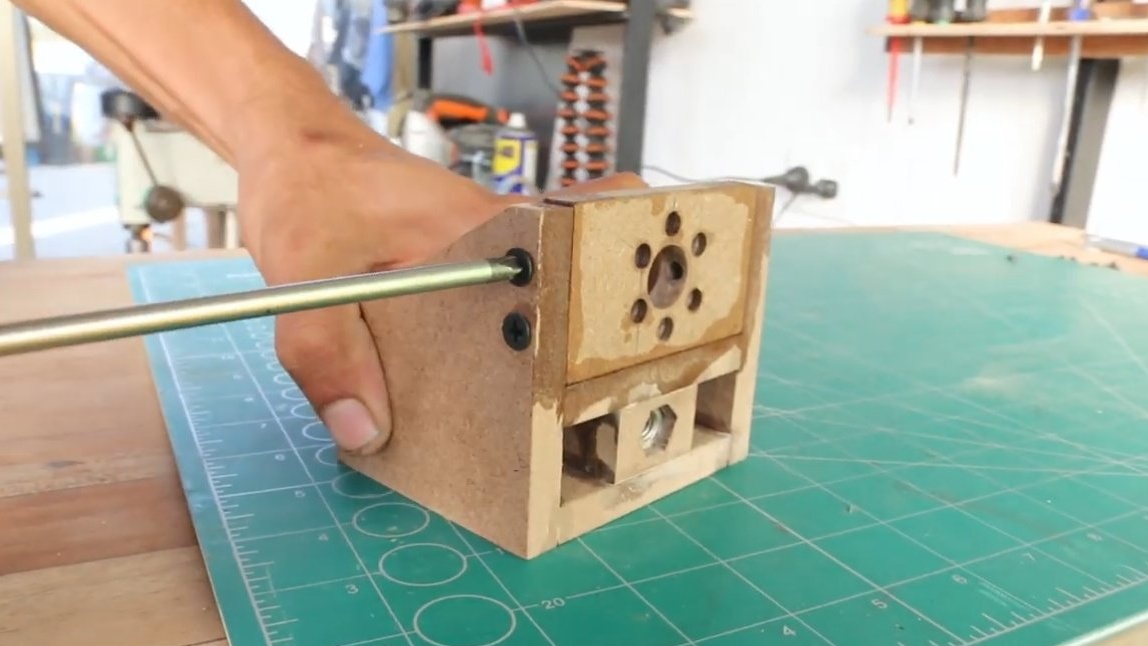
The blocks are interconnected by profile pipes, each block will pull a separate gear motor.
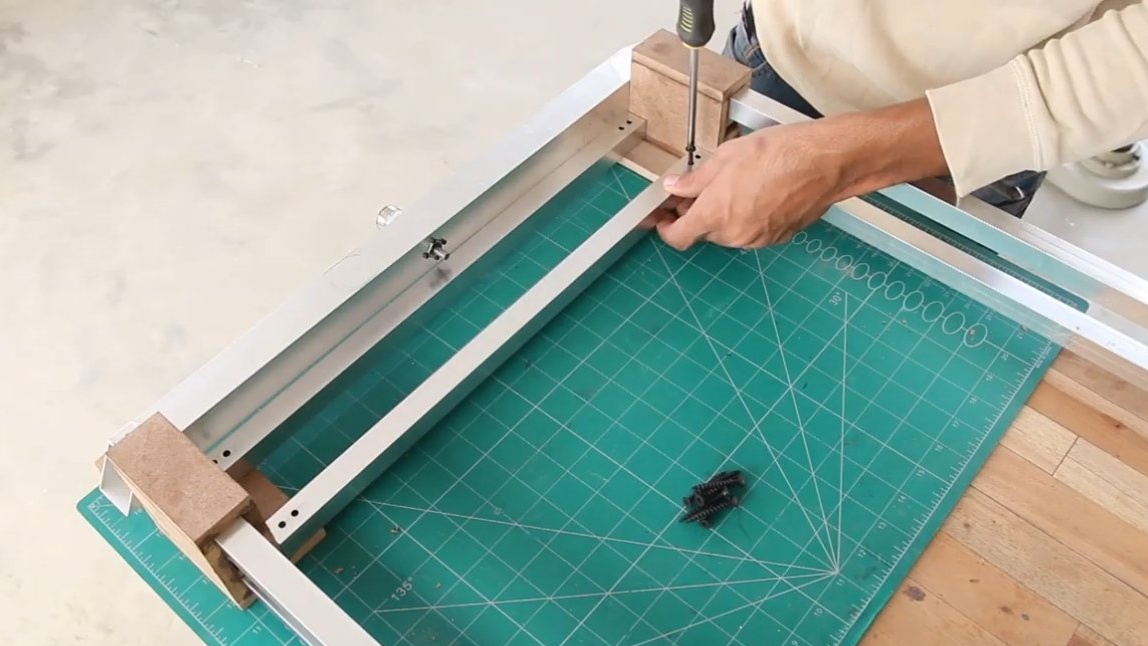
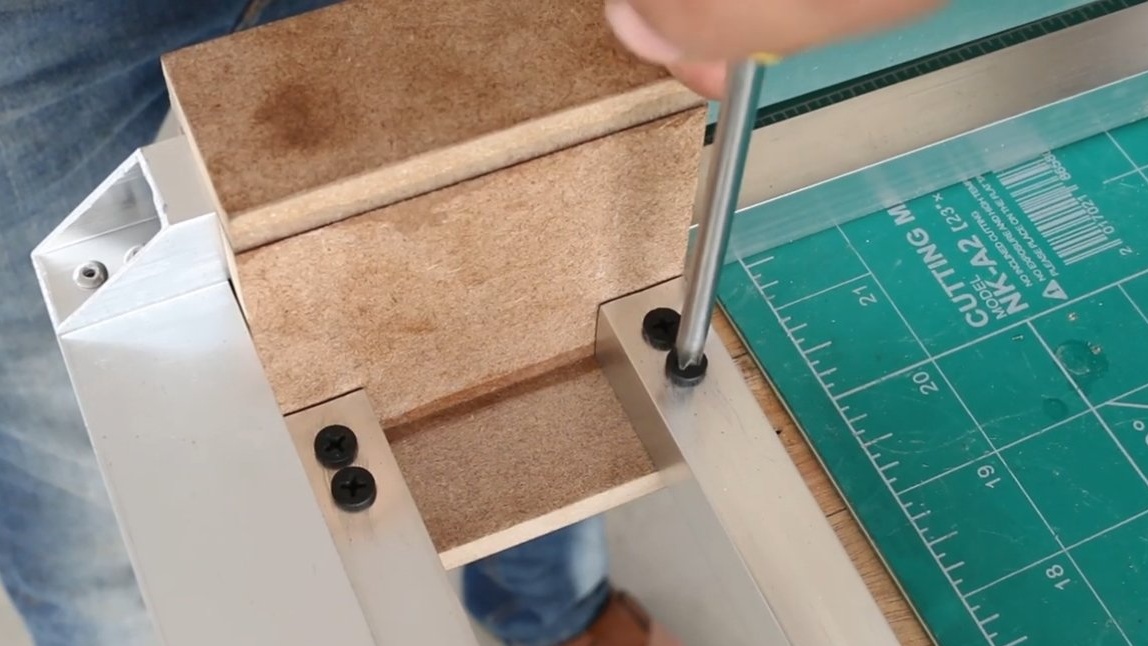
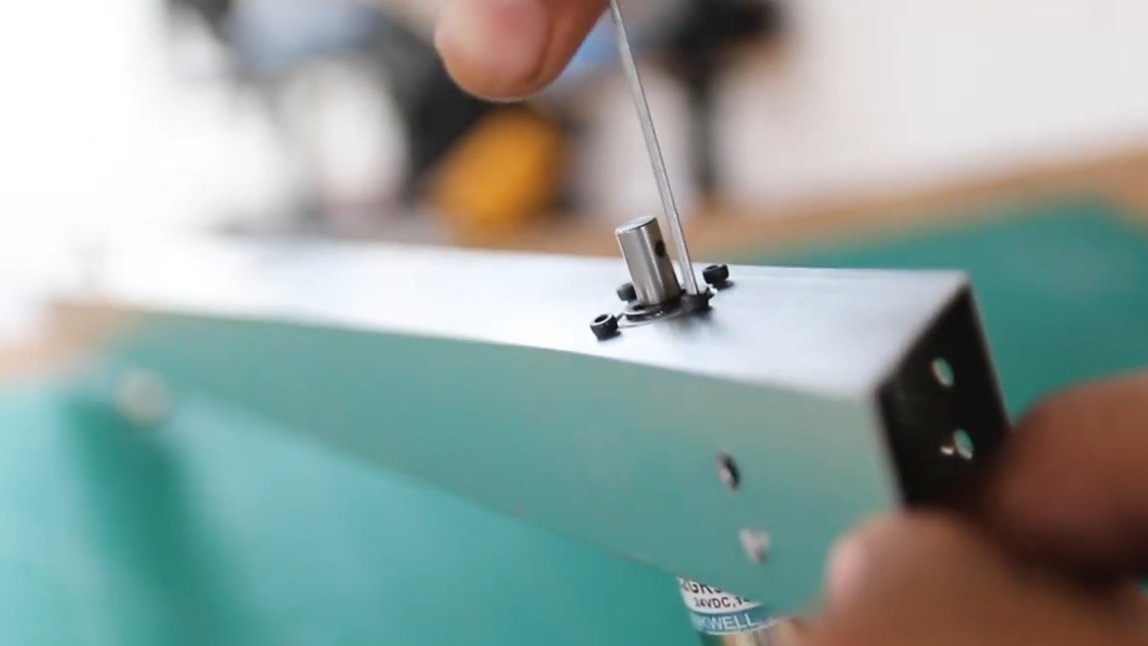
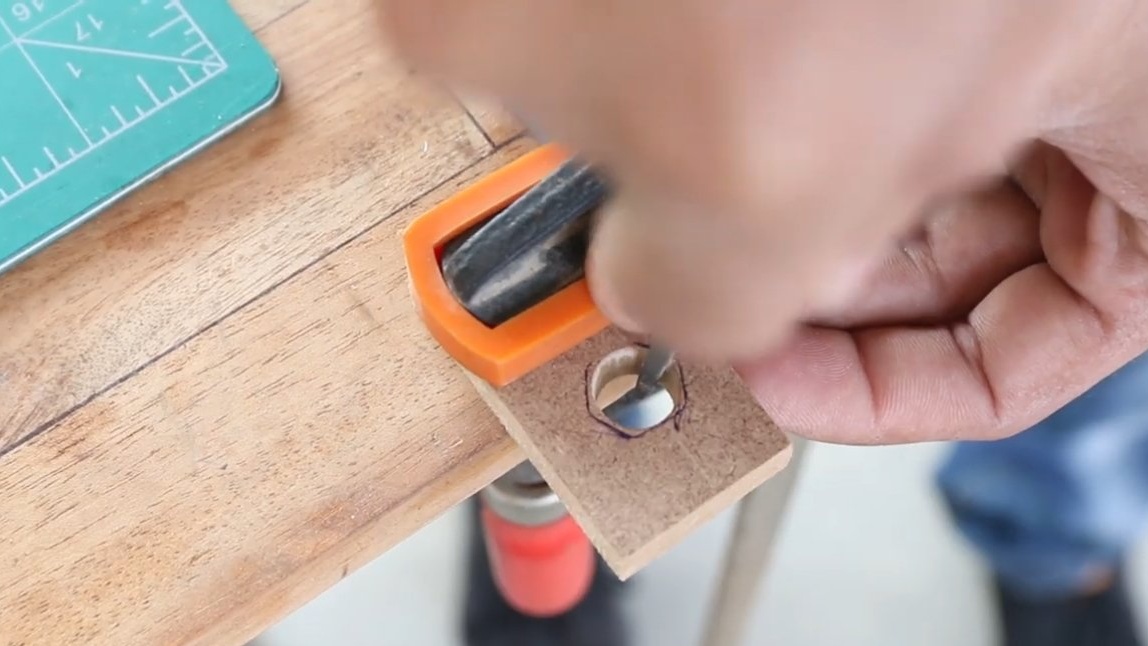
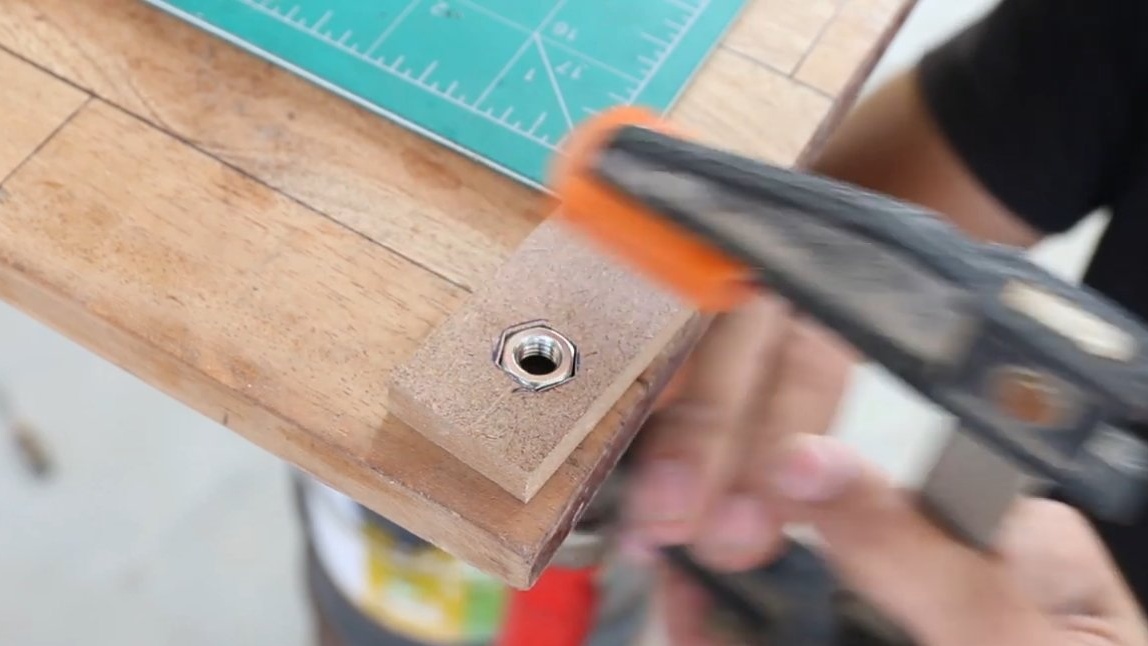
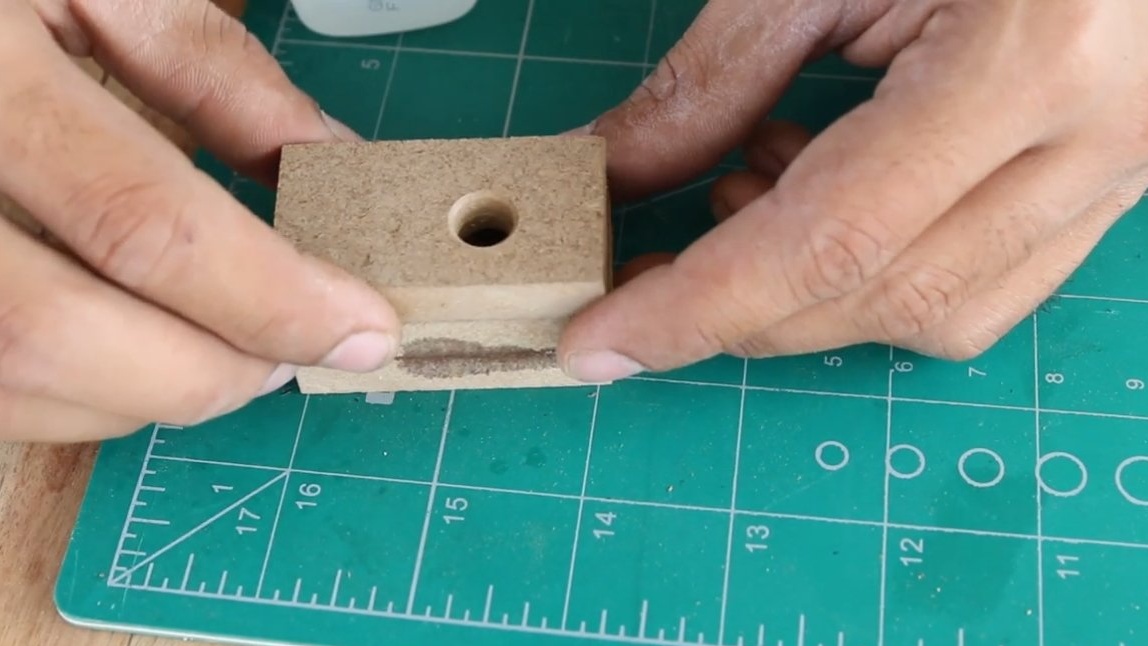
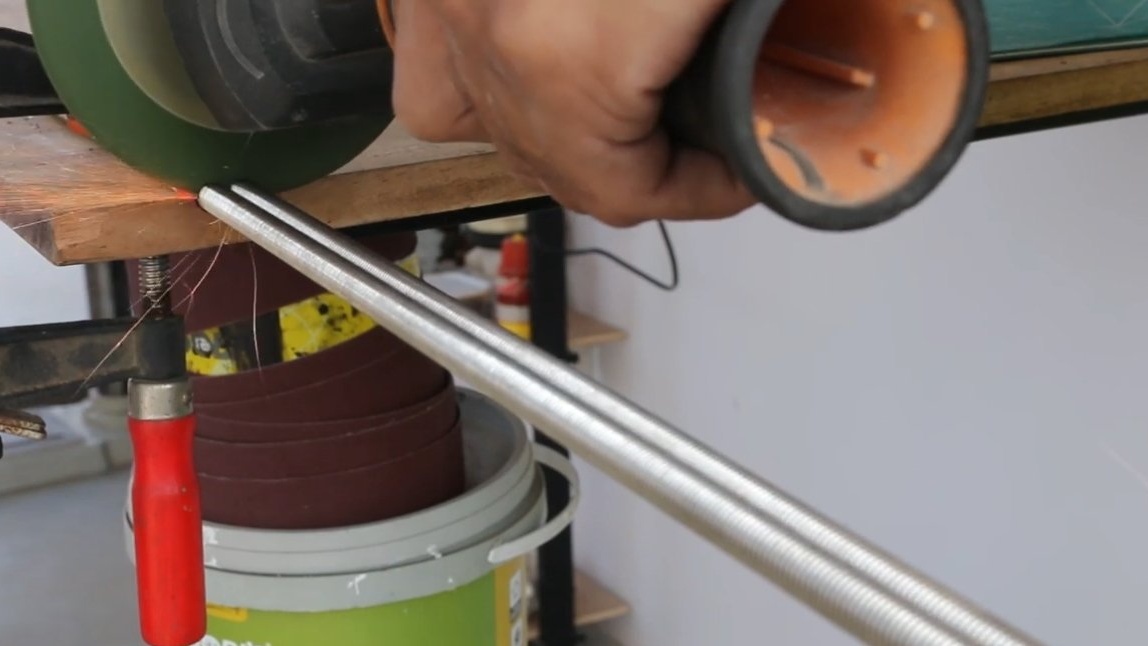
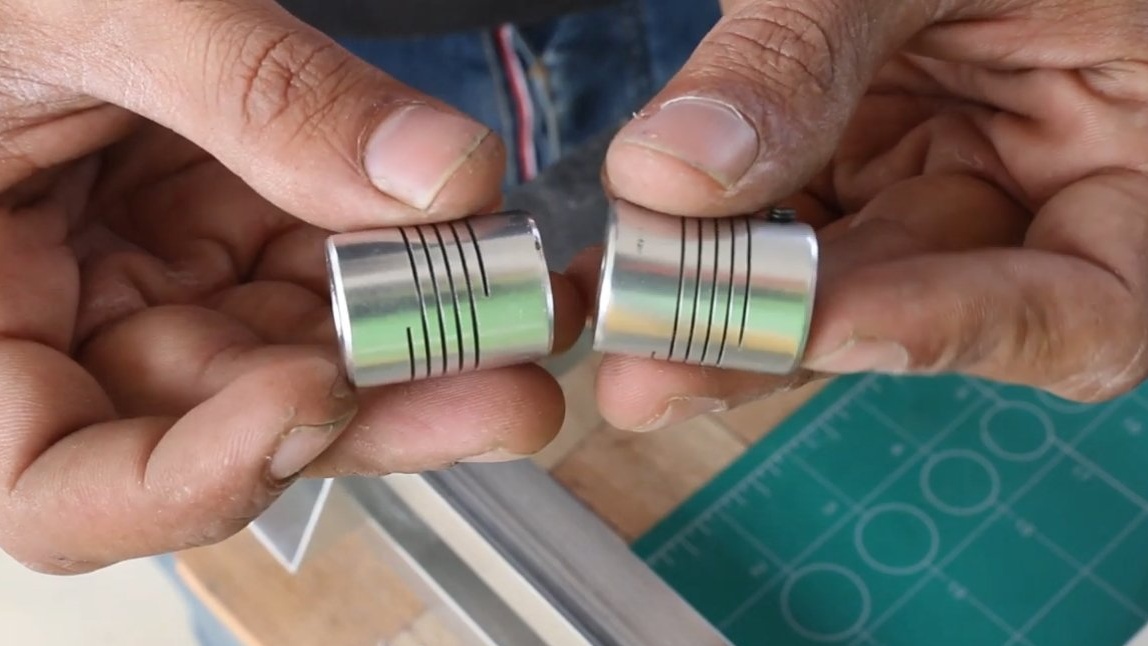
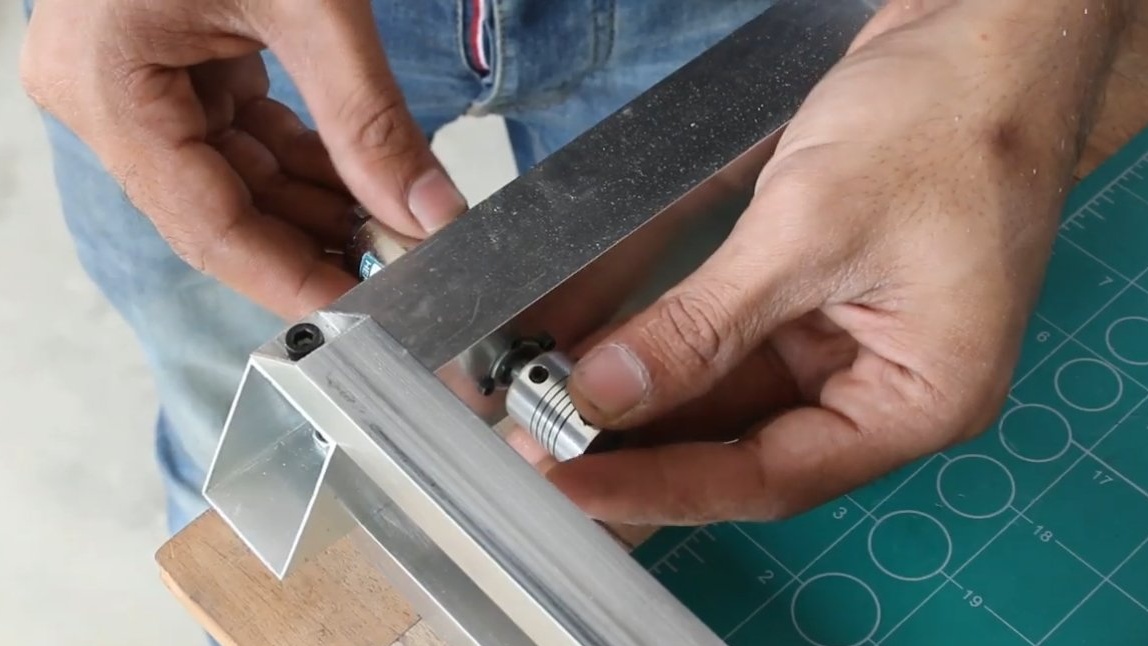
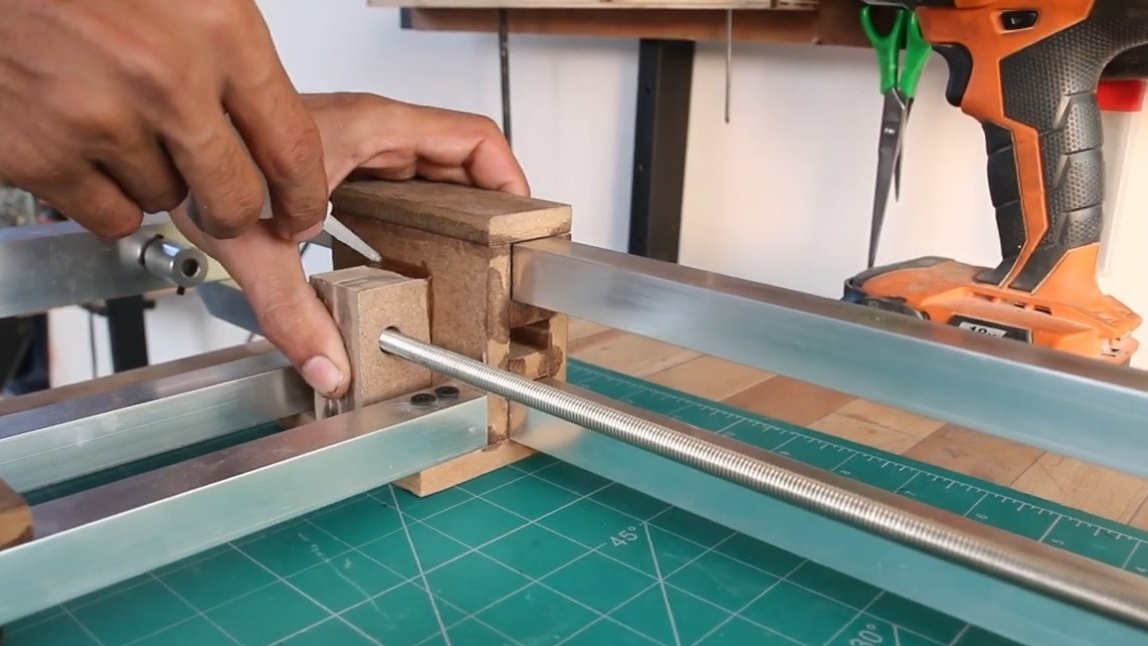
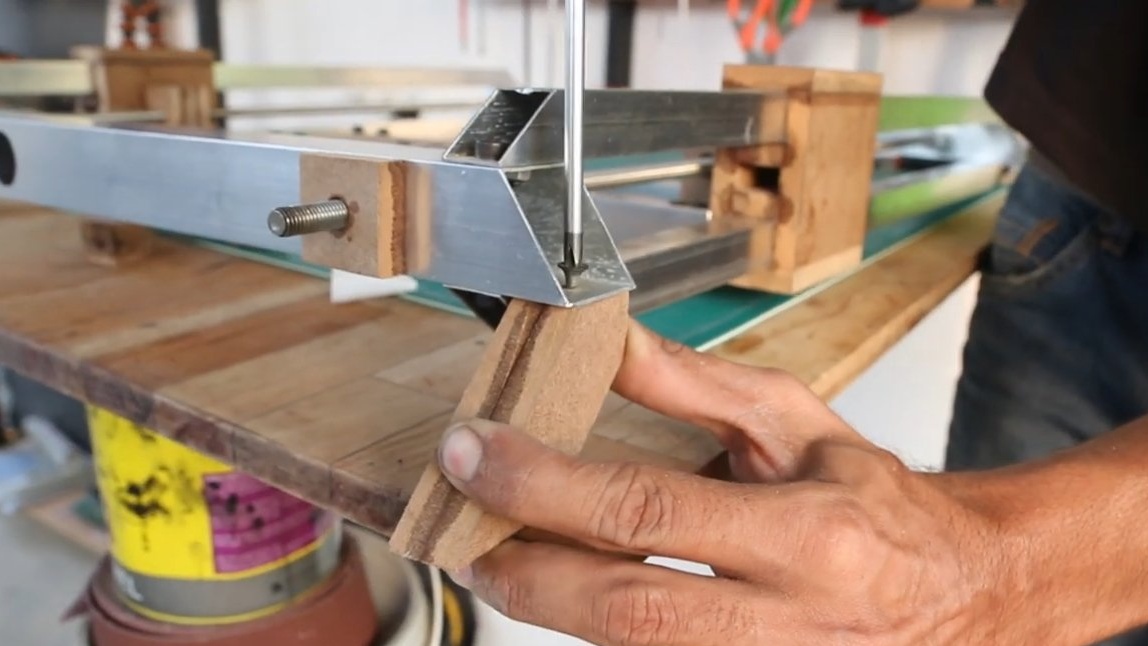
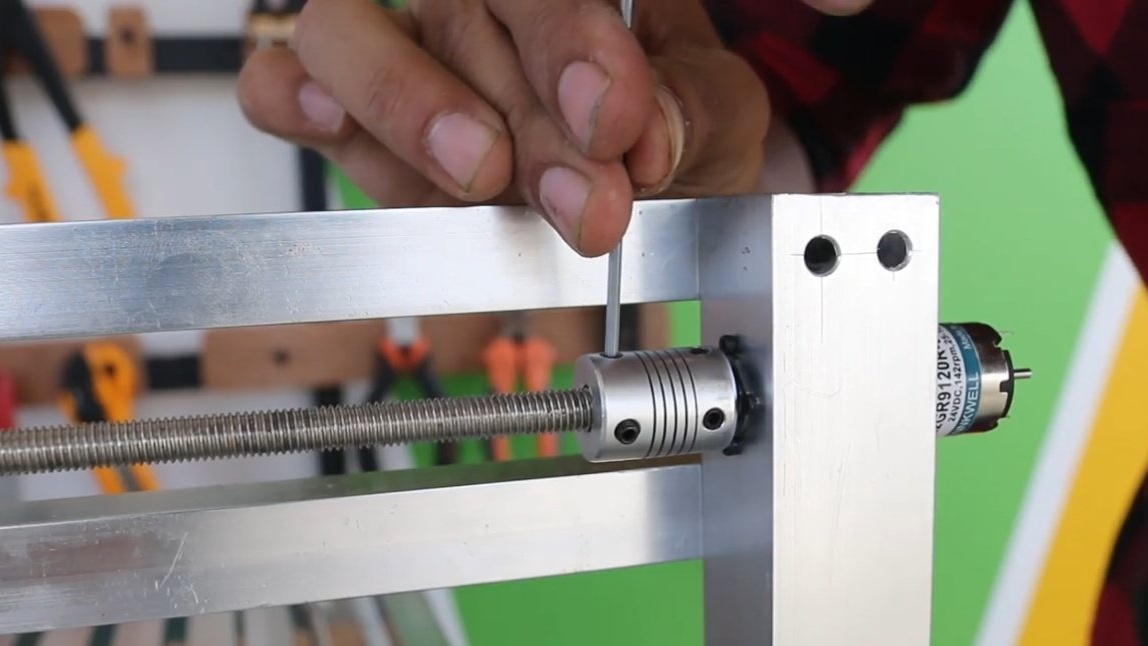
In blocks, the author made fasteners and glued nuts, but threaded rods were connected to the motor shafts through the couplings. Depending on the direction of rotation of the shafts, the platform will go to you or from you.
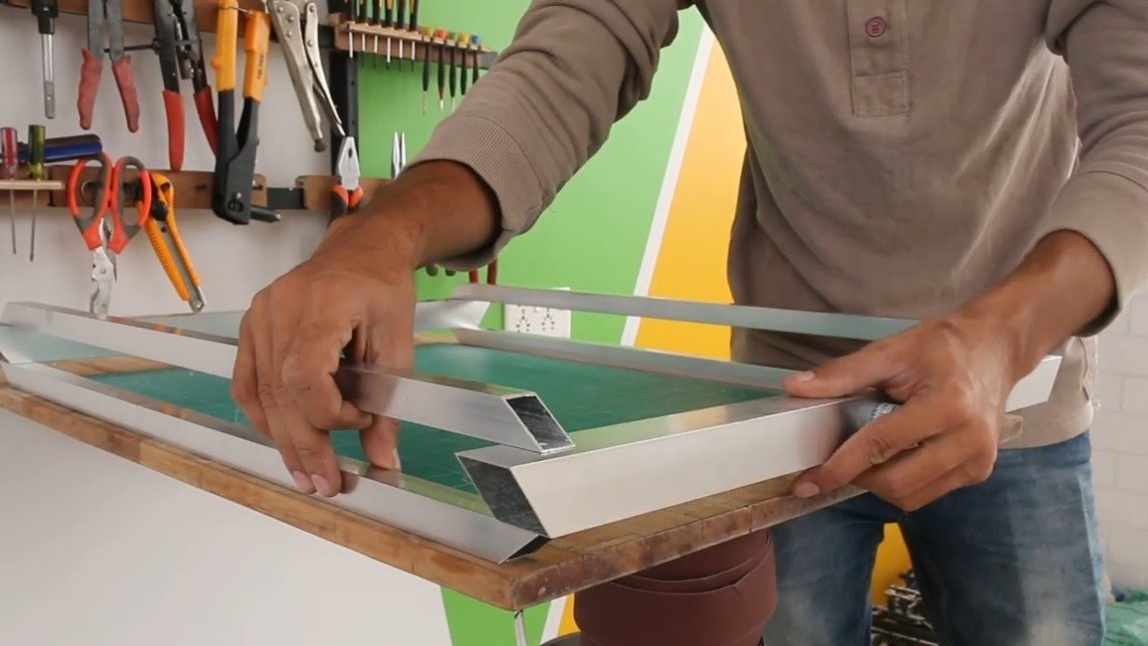
At the same step, the author made the legs for the machine from fiberboard, and it was also installed overlap, countertop, on which the workpiece will be located.
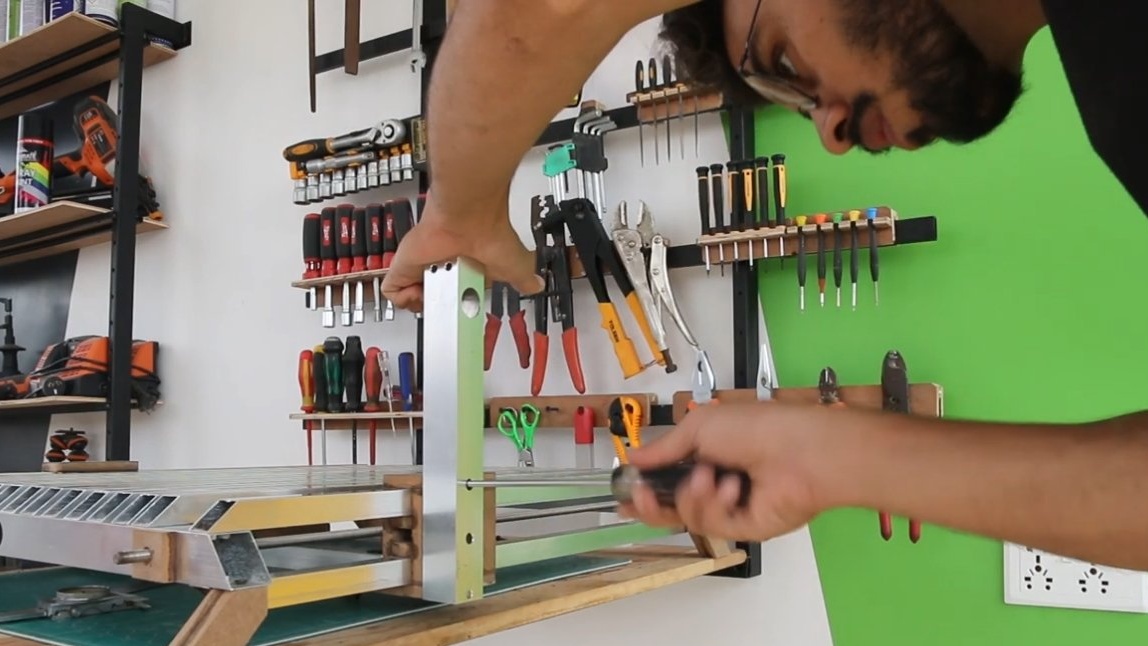
Step Three Carriage with main motor
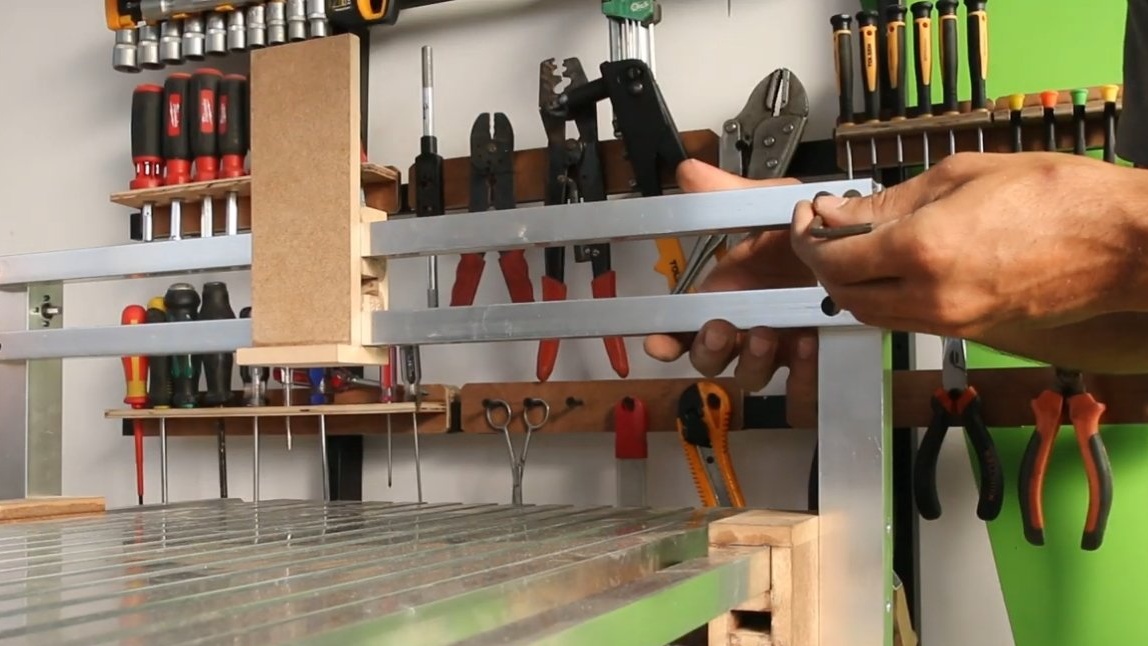
To begin with, we fasten vertical racks to our broach, and between them we fasten profile pipes, which will serve as rails for the carriage. The author herself collected the carriage from fiberboard, gluing everything with superglue.
Another gear motor will move the carriage along the rails, put a threaded rod on its shaft, and mount the nut into the carriage.
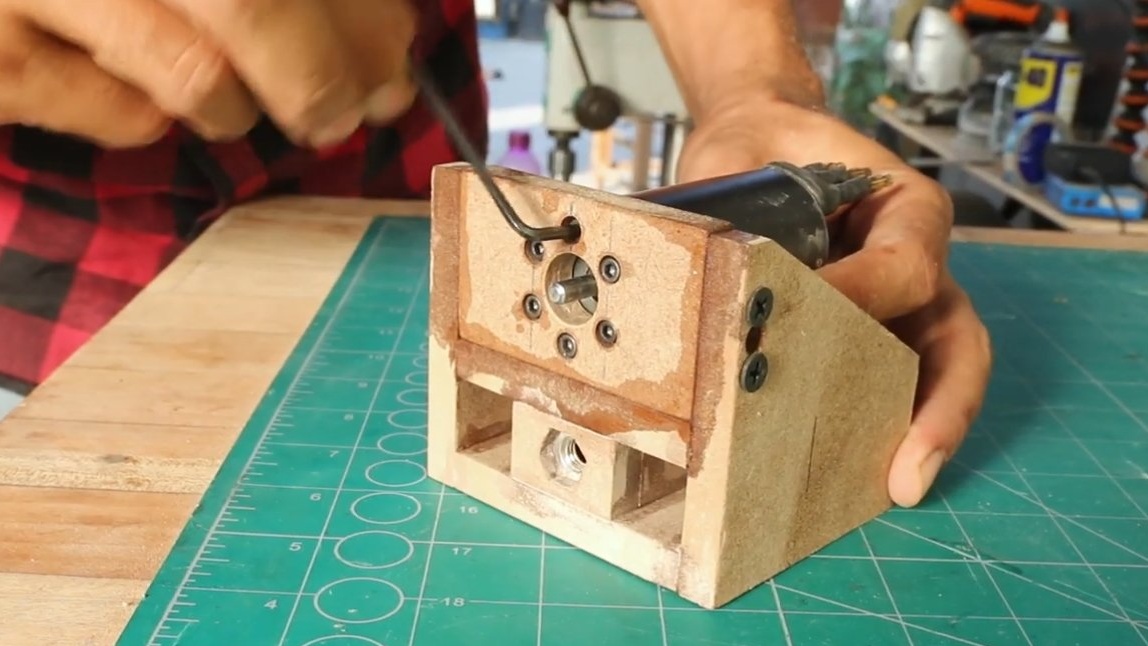
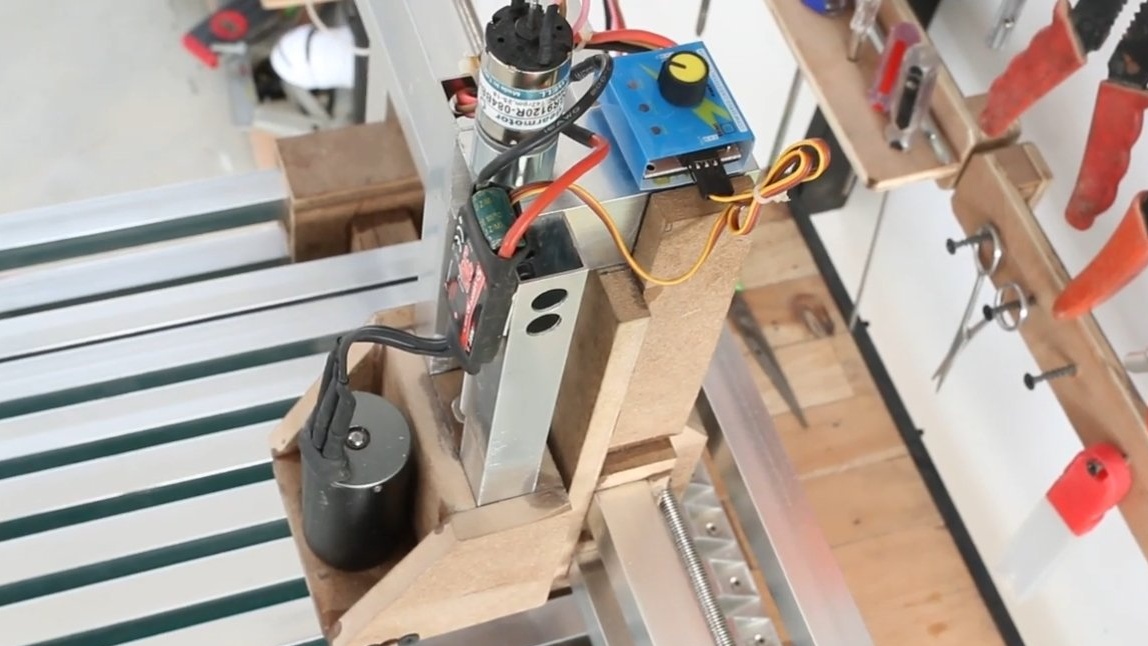
Among other things, on the carriage there is another gear motor that will lower or raise the main working motor, thereby adjusting the milling depth.
Step Four Assembly
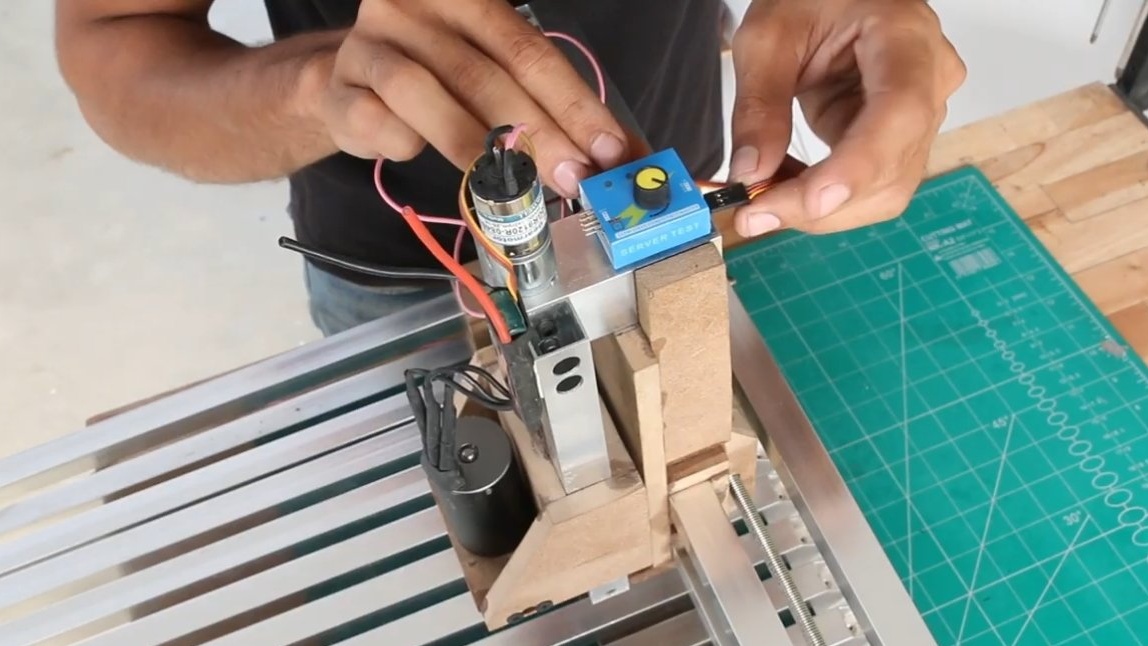
We assemble the machine, put the speed control on the carriage, so that you can adjust the desired speed of the cutter for a specific job.
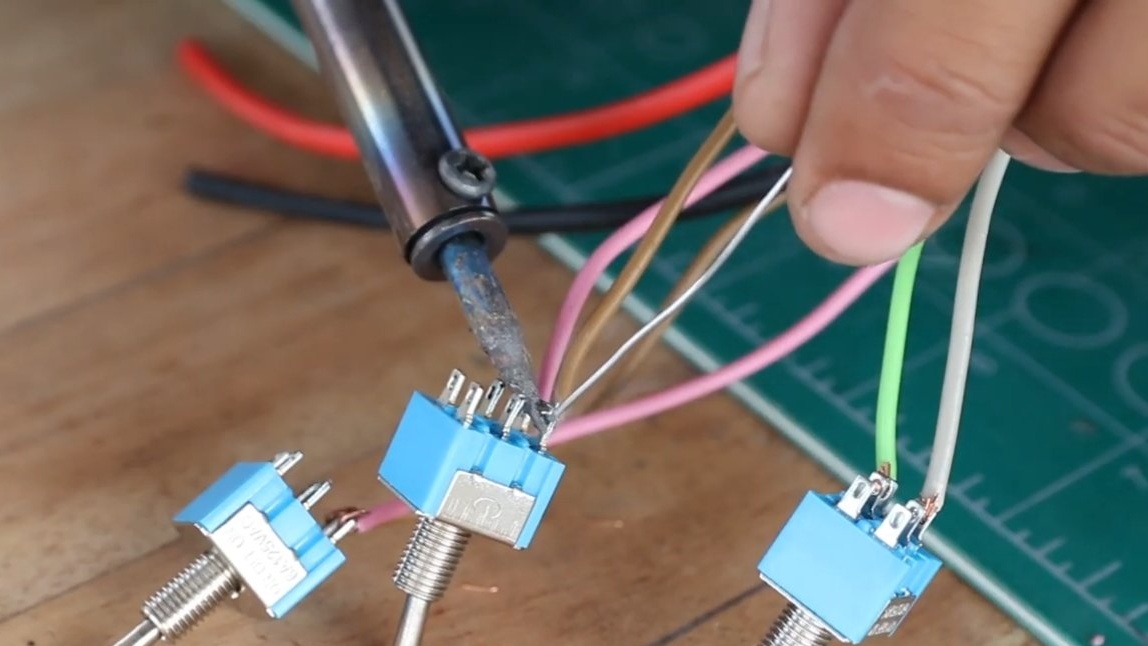
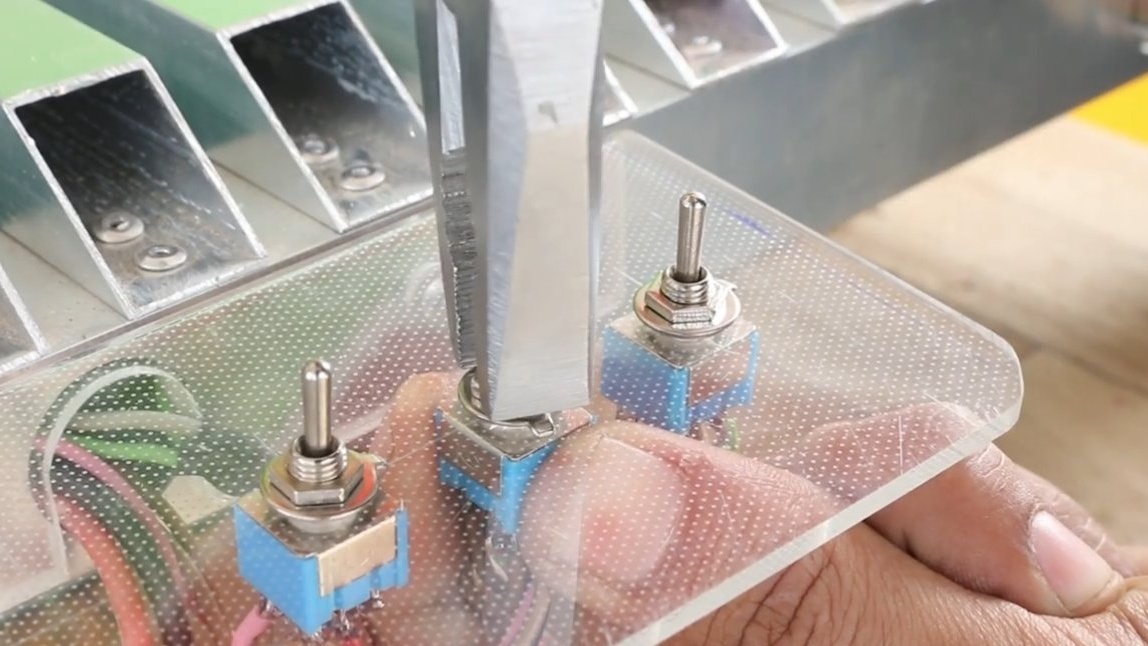
We also collect the control panel, it consists of toggle switches, which the author has fixed on a piece of plexiglass. If desired, these toggle switches can be replaced with electronics, but the author did everything as simple as possible.
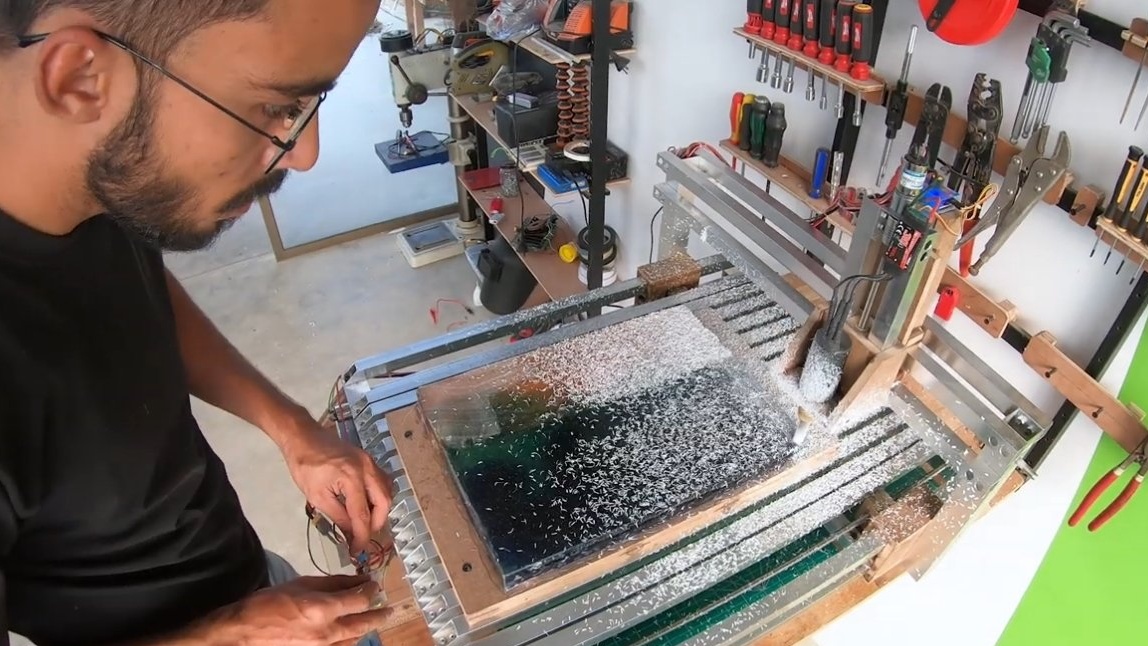
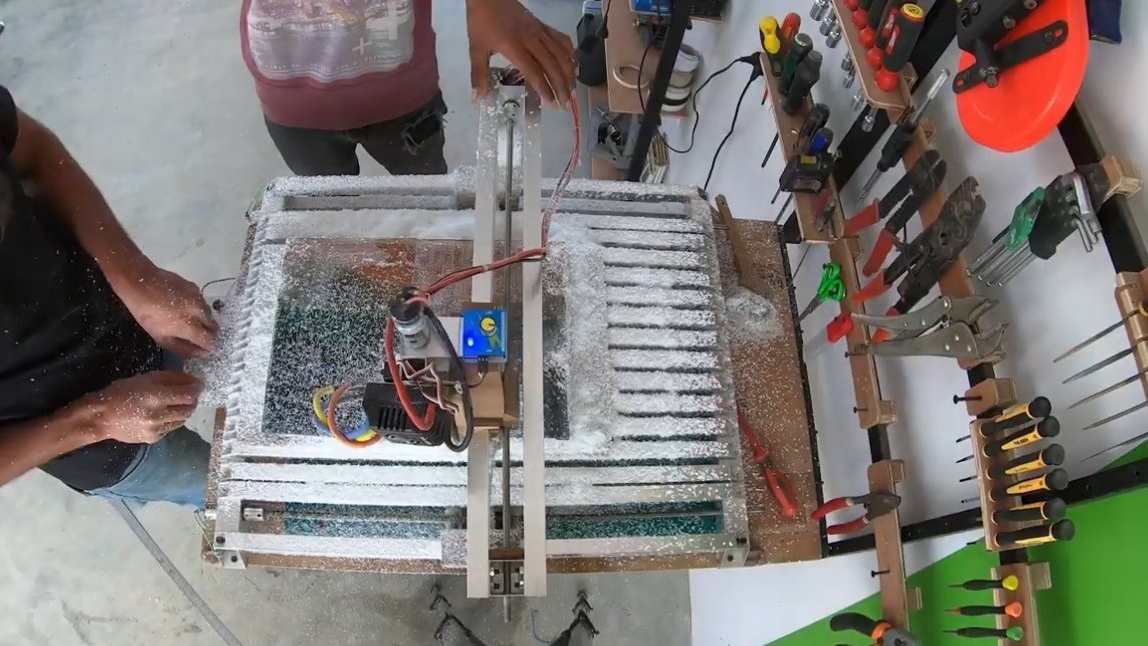
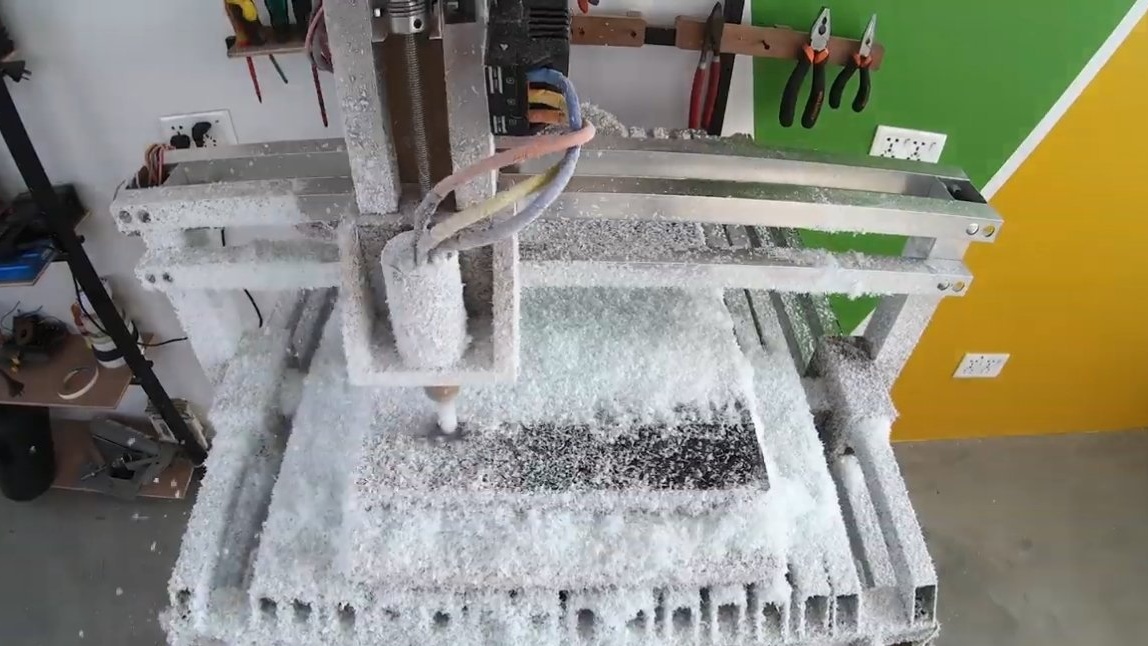
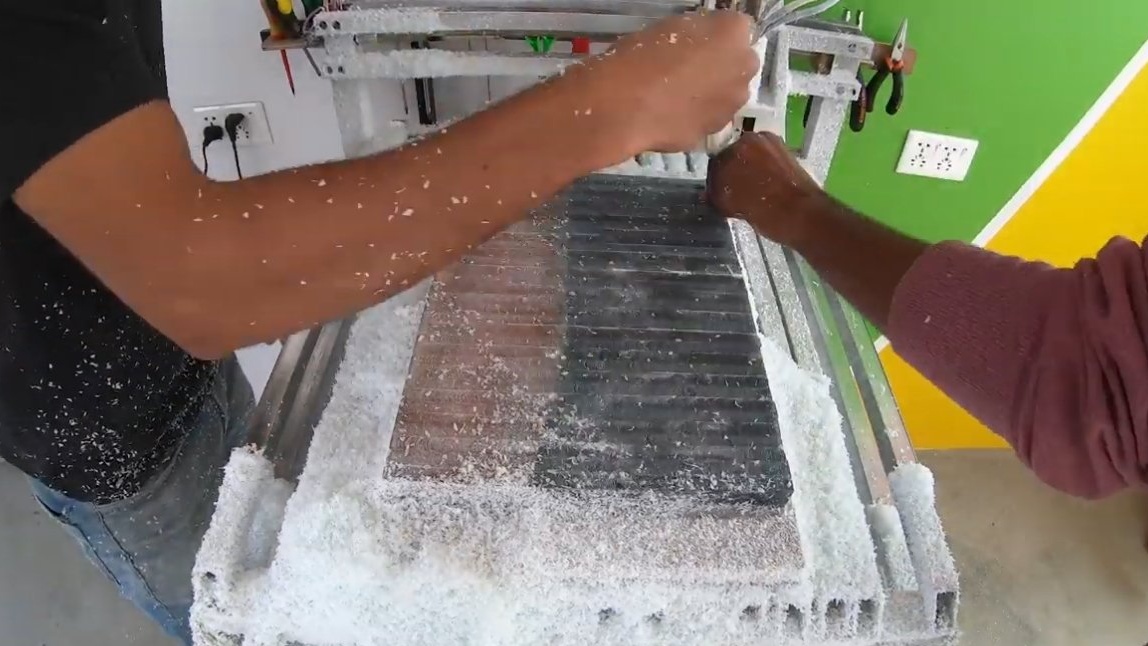
You can conduct tests, the subject of the experiments was a plate cast from epoxy. The machine works easily with such material, a lot of chips are formed. The author makes a passage after passage, evenly removing a layer of resin. The author never showed us the initial result, but on the whole it’s quite realistic to teach such a machine to work!
The project is completed on this, I hope you liked the homemade work, and you found useful thoughts. Good luck and creative inspiration, if you decide to repeat this. Do not forget to share your ideas and homemade things with us!