

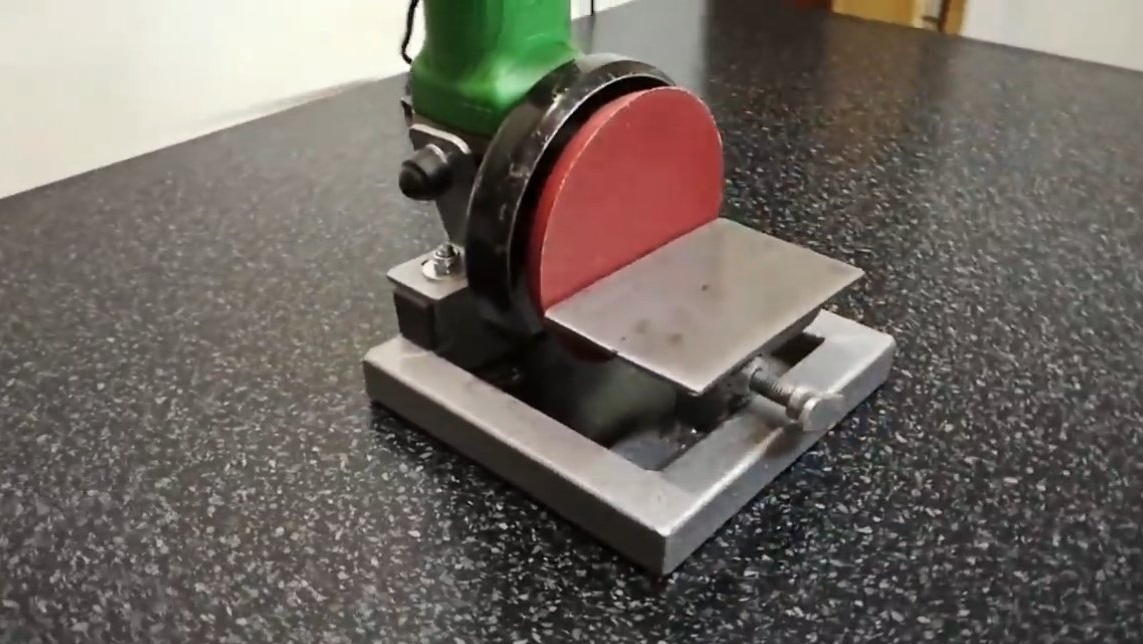

I welcome all fans to craft, I propose to consider instructions for making a simple racks for grinders, which allows you to conveniently work with a disk nozzle for sandpaper. The stand is assembled from very affordable materials, and there is nothing complicated in the manufacture. The machine is very useful, you can grind the corners of steel plates, align the plane and much more. For convenience, the working thrust table is easily adjustable in height. If the project interests you, I propose to study it in more detail!
Materials and tools used by the author:
Material List:
- square shaped pipes;
- steel plates;
- bolts, nuts and washers;
- Sheet steel;
metal paint.
Tool List:
- Bulgarian;
- welding machine;
- roulette;
- marker;
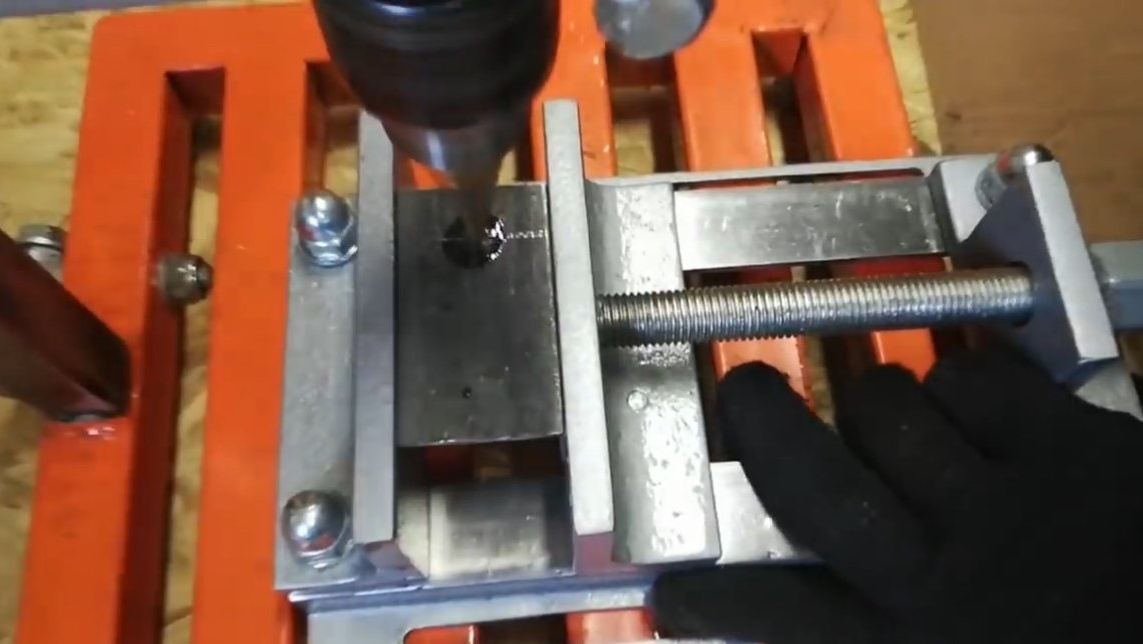
- drill;
- square;
- spanners.
Manufacturing process homemade:
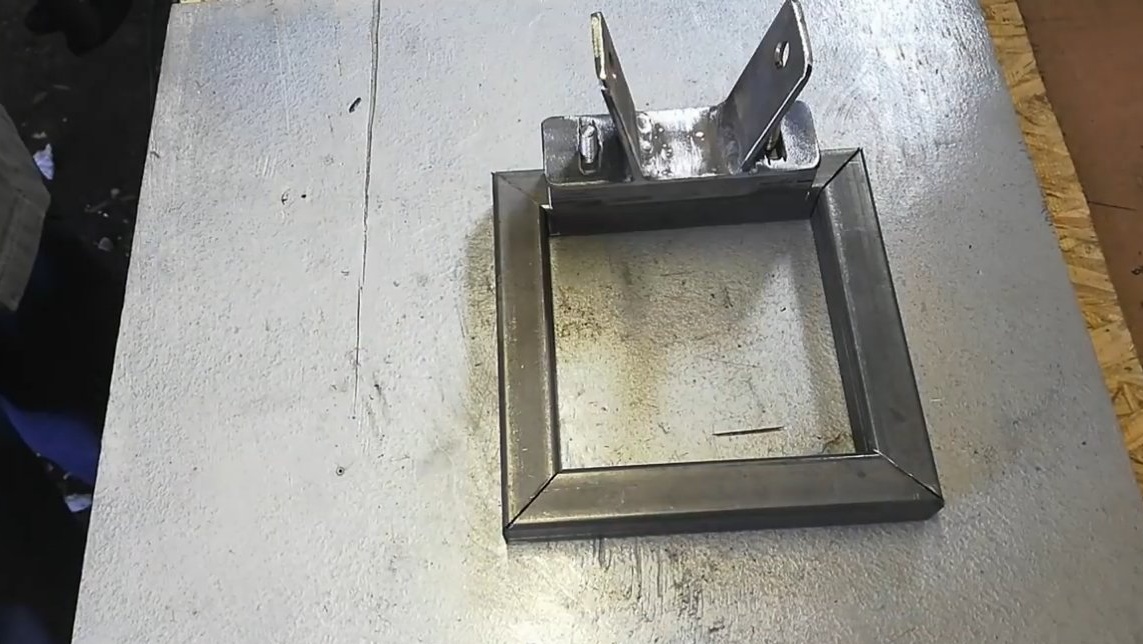
Step one. Fasteners for grinders
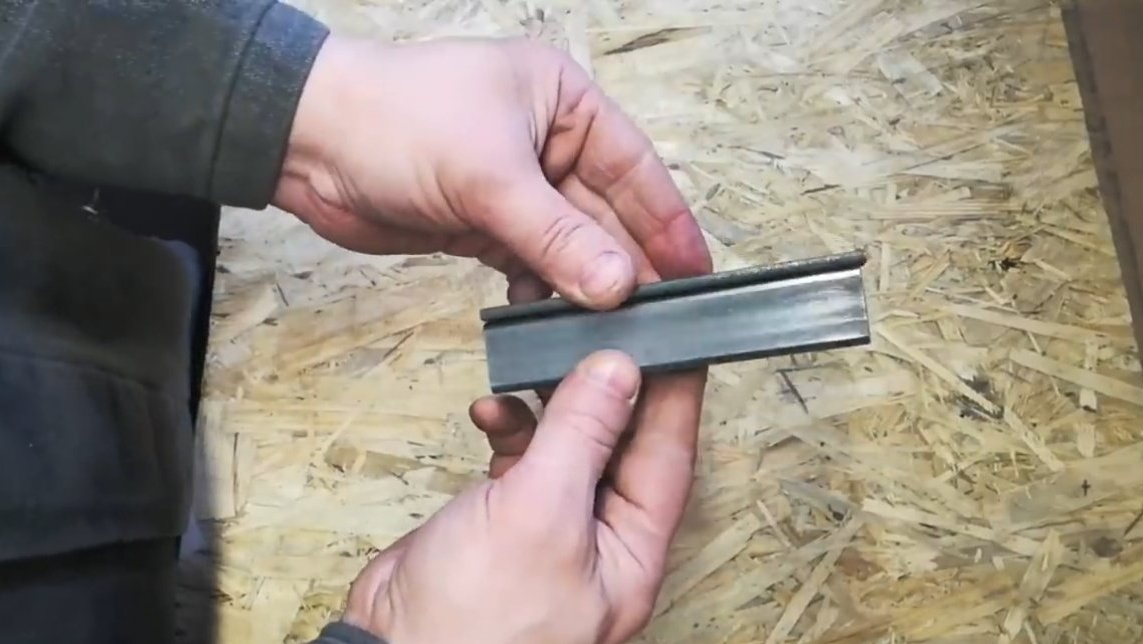
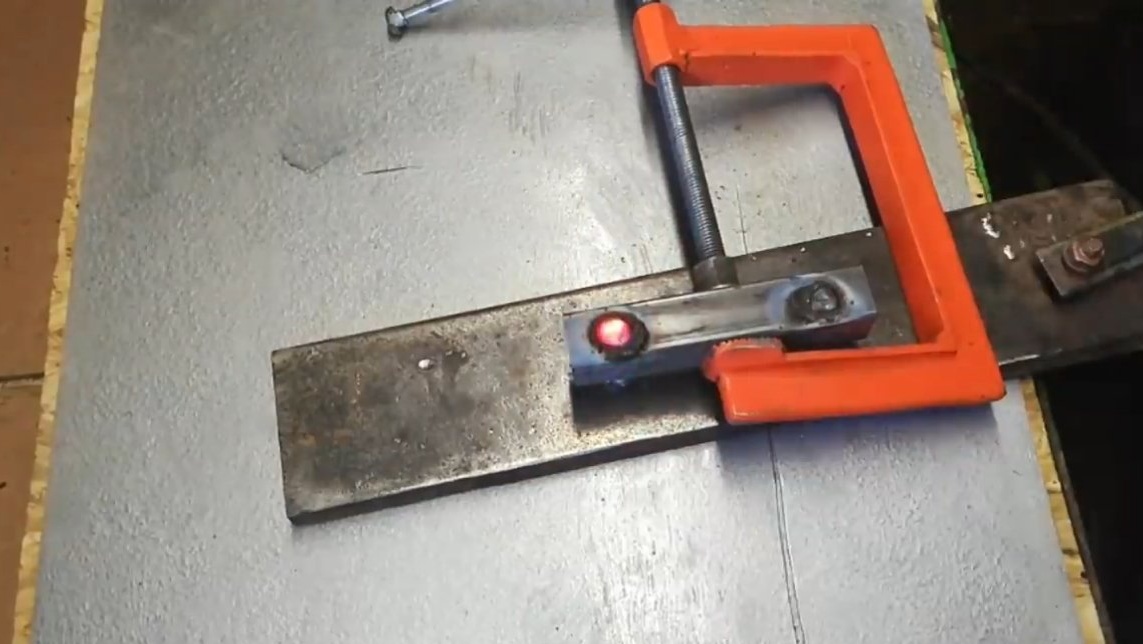
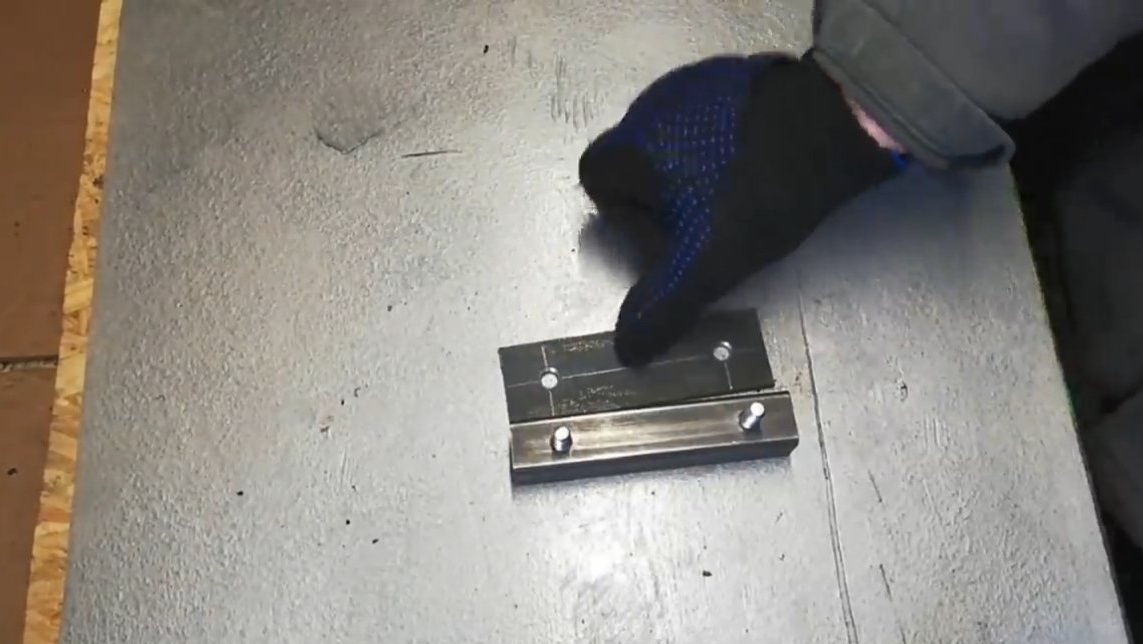
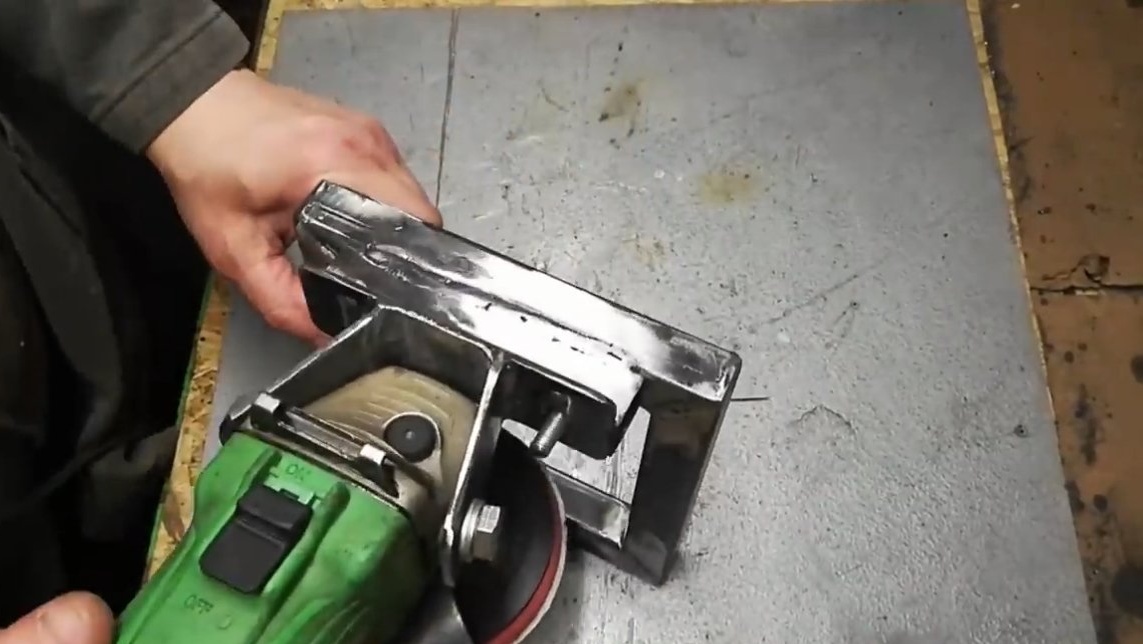
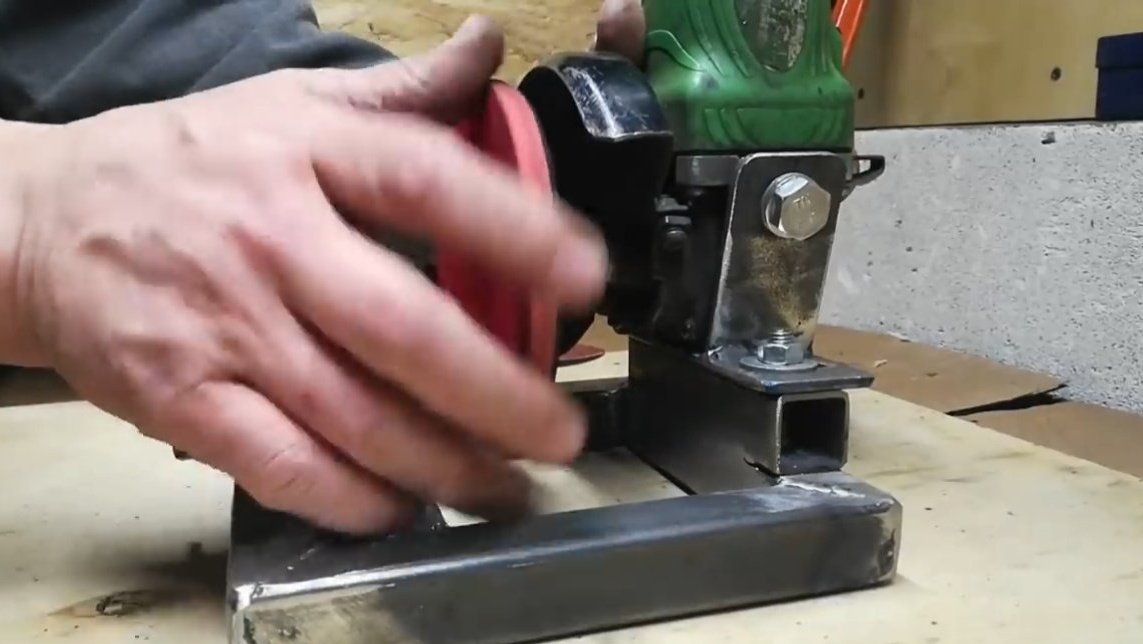
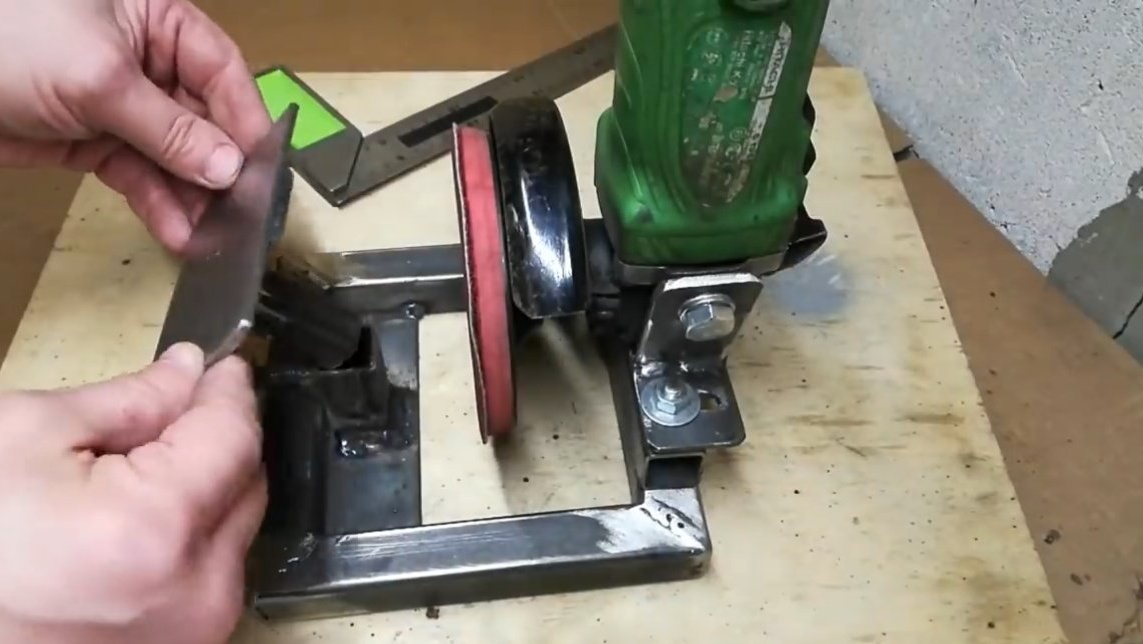
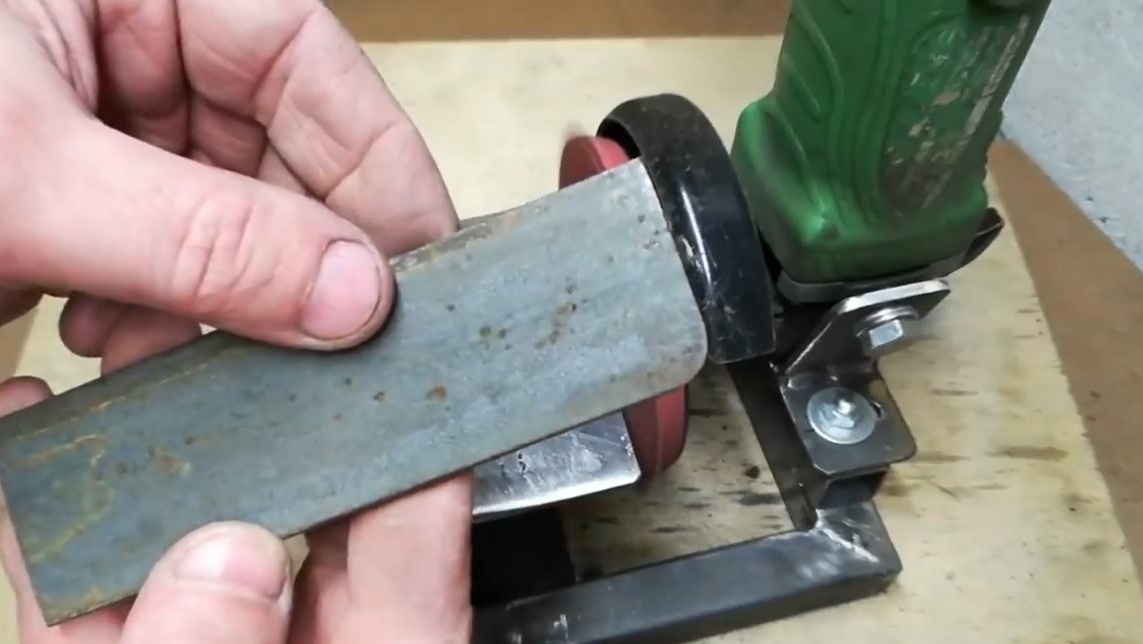
First of all, we will produce fasteners for the grinder, its design visually resembles the letter "V". The Bulgarian will be attached with two bolts. Another plate is welded to the fasteners perpendicularly, with the help of which the structure is already attached to the frame.
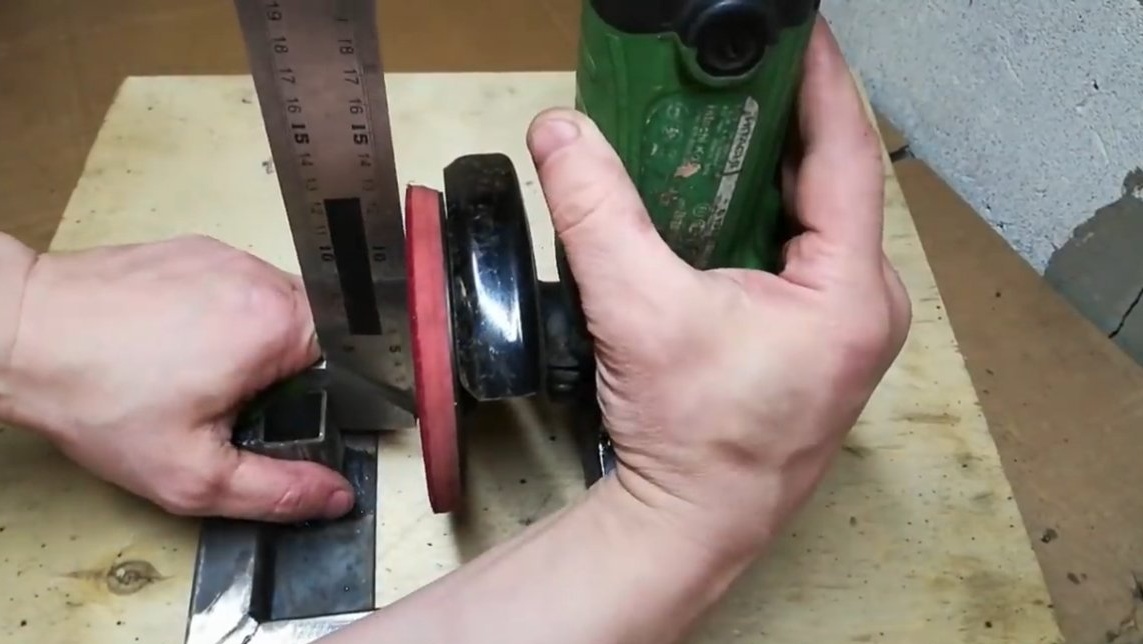
The eyes are bored into the plate, thanks to which you can adjust the gap between the thrust pad and the grinding disc.


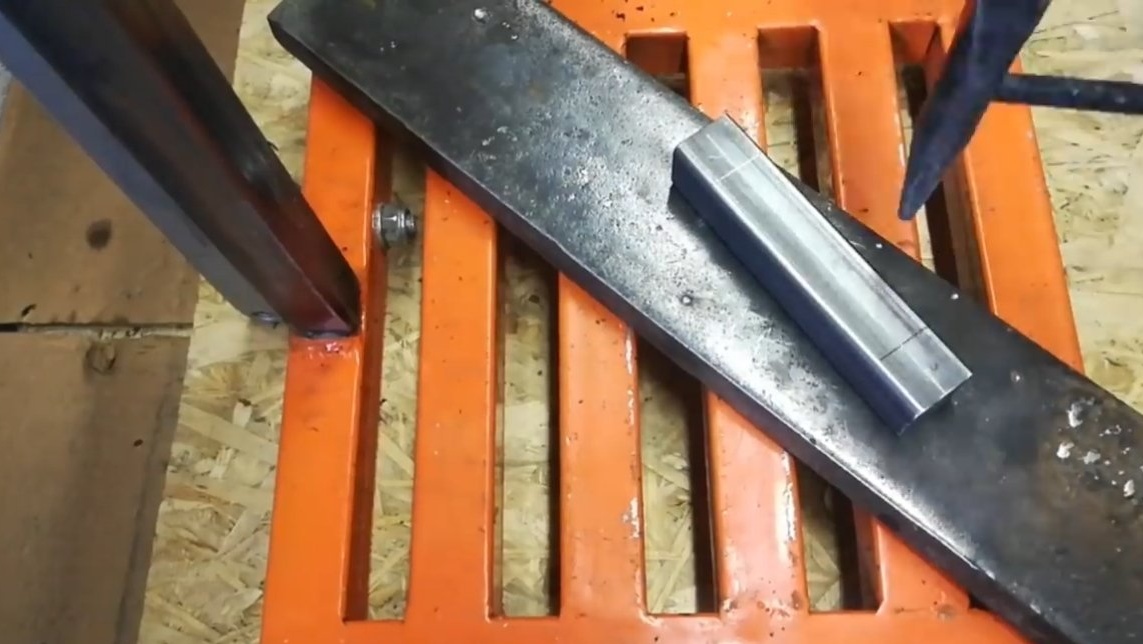

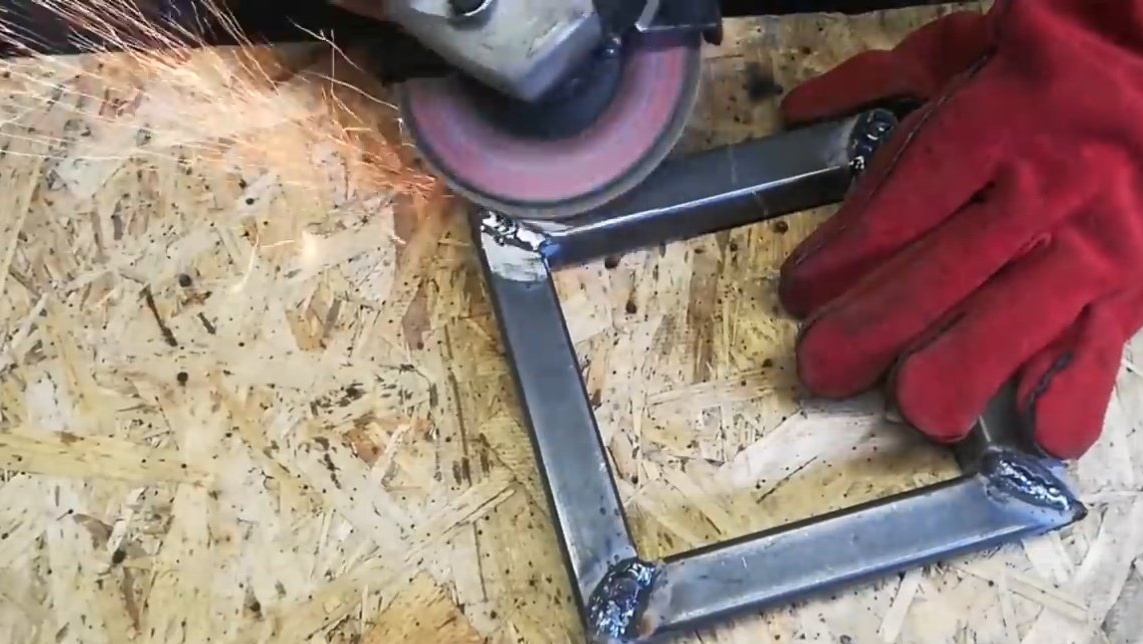
Step Two Assemble the frame
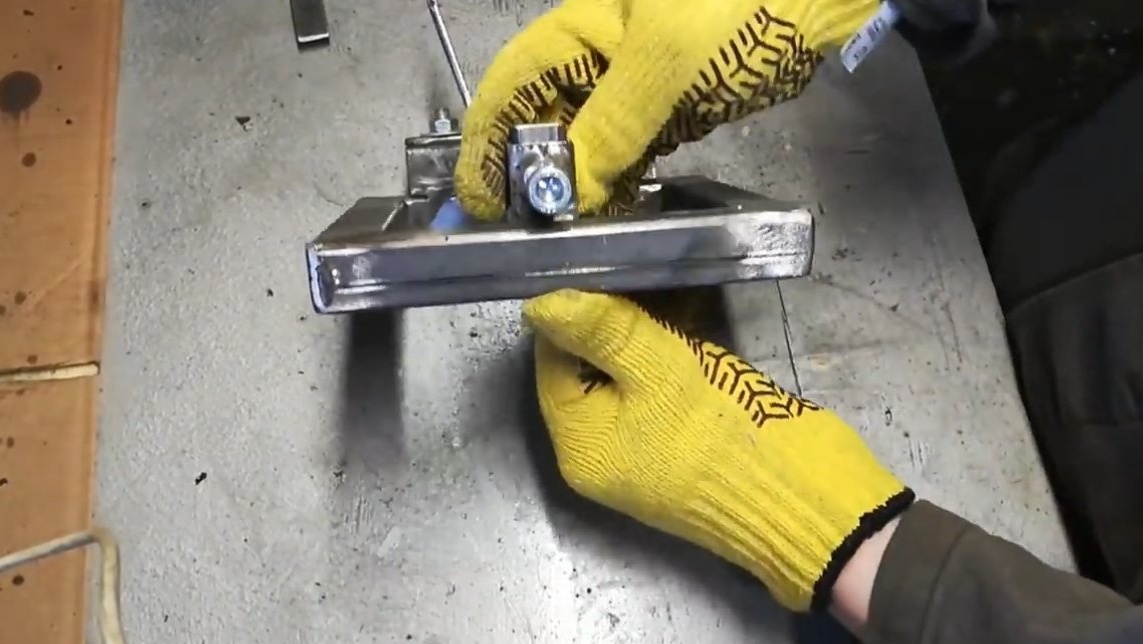
To assemble the frame you will need 4 segments of the profile pipe. The result should be a square. We weld everything well and clean the welds. In addition, you will need to weld another piece of pipe to the frame, in which the author inserted the bolts.
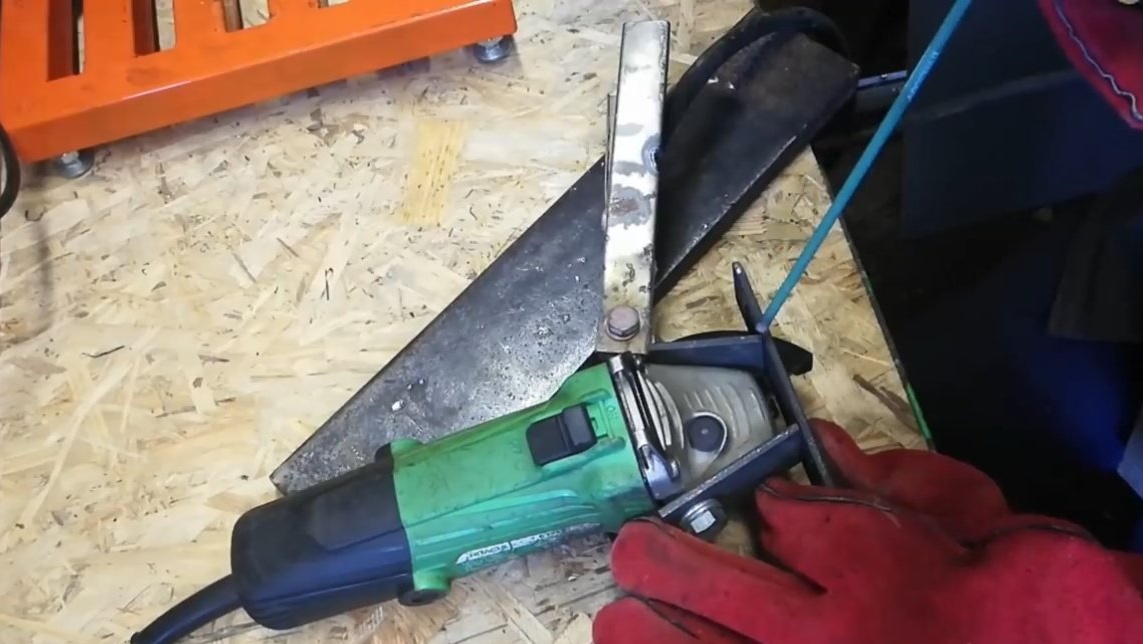
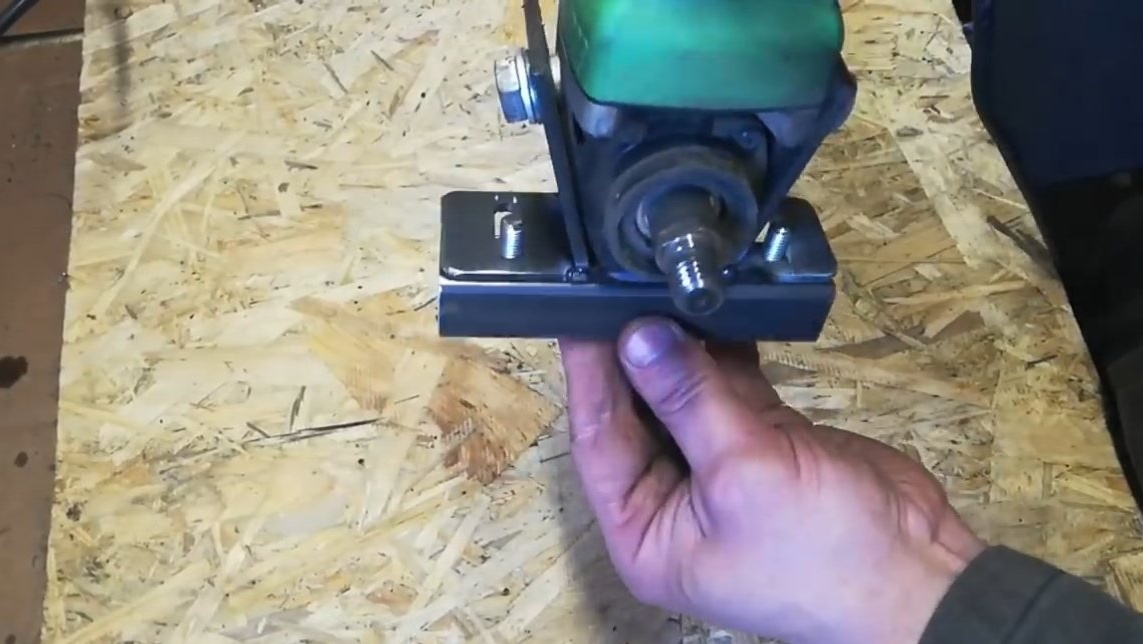
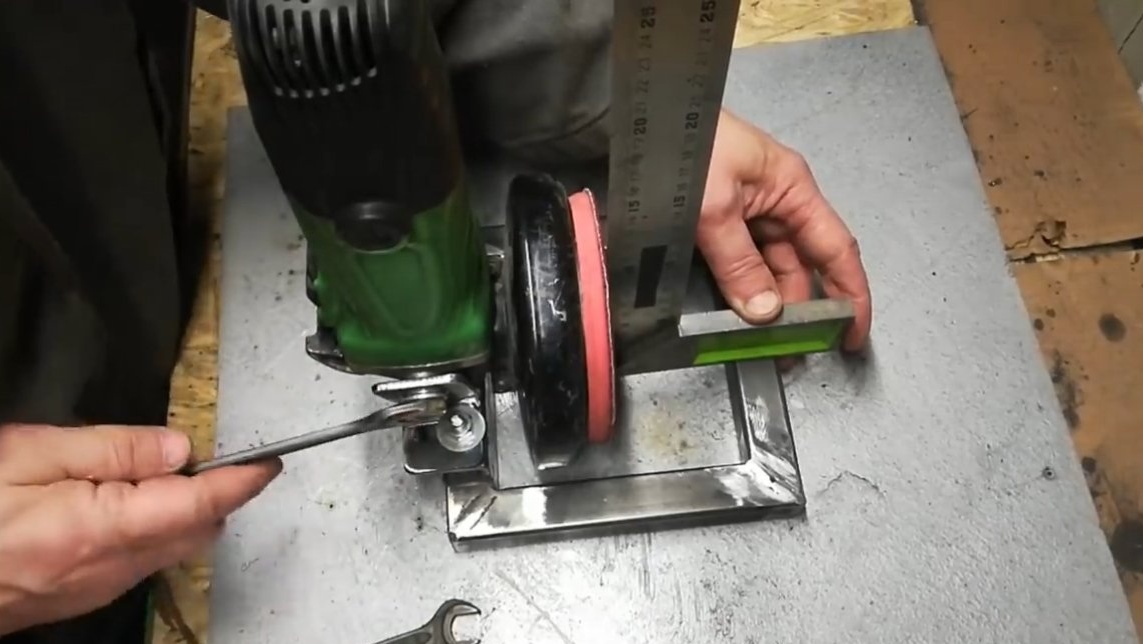
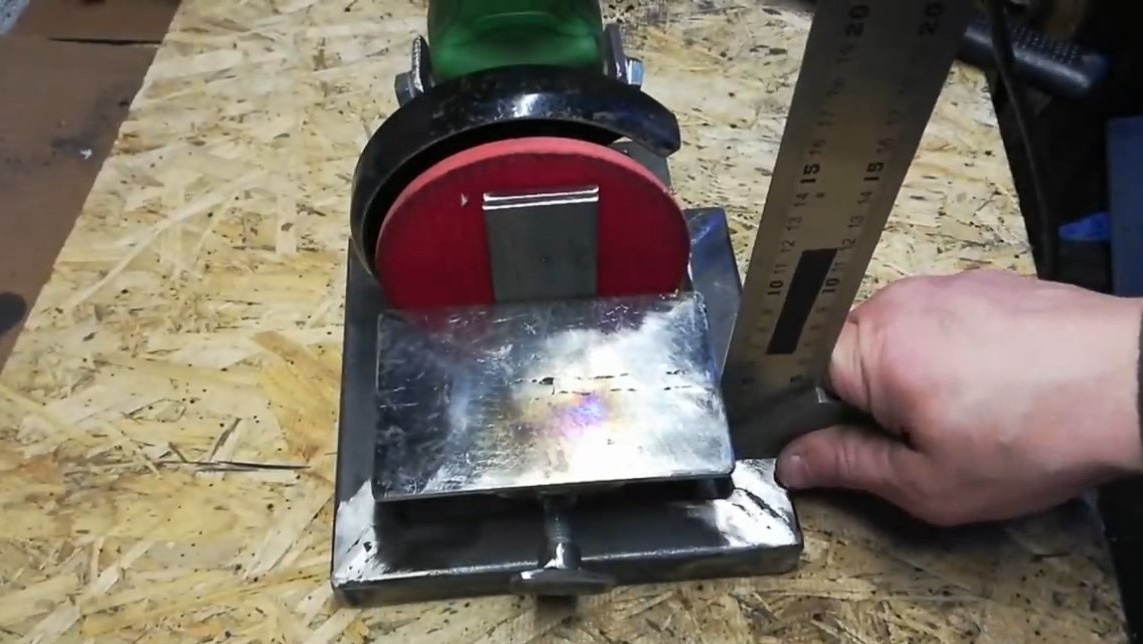
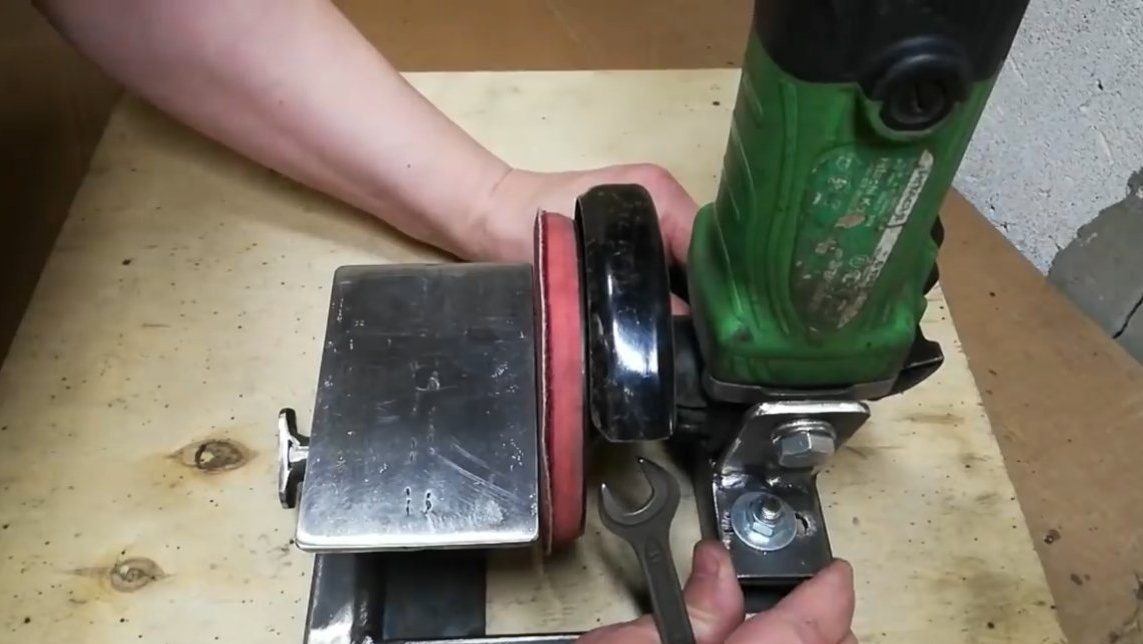
Immediately after assembling the frame, it will already be possible to put the grinder on a rack. We take a square and adjust the angle, the grinding disk should be clearly vertical.
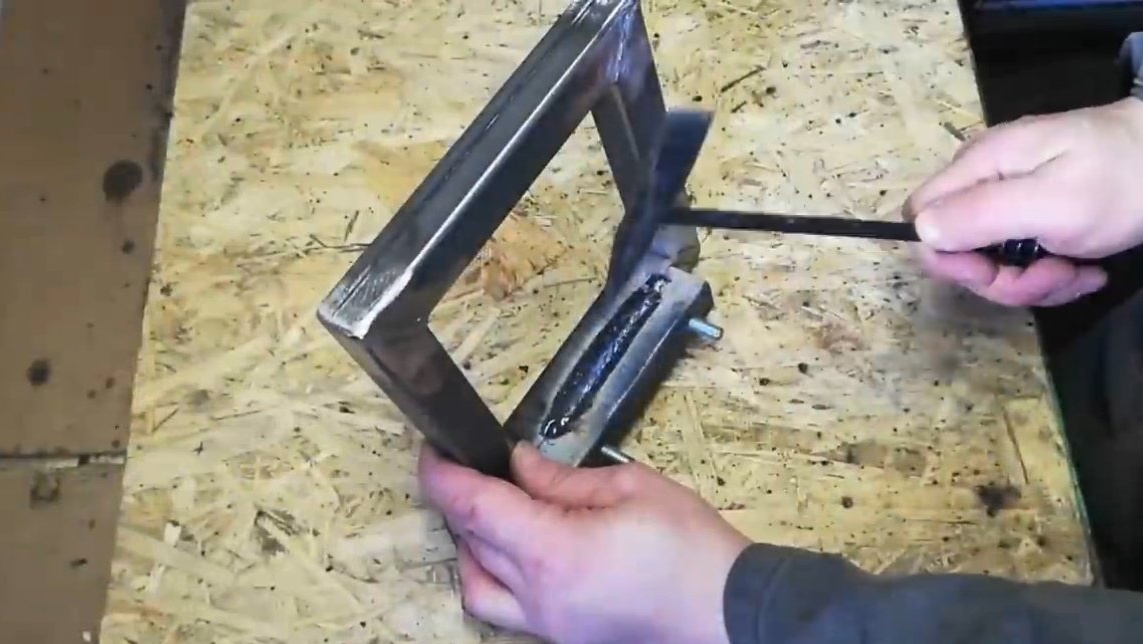
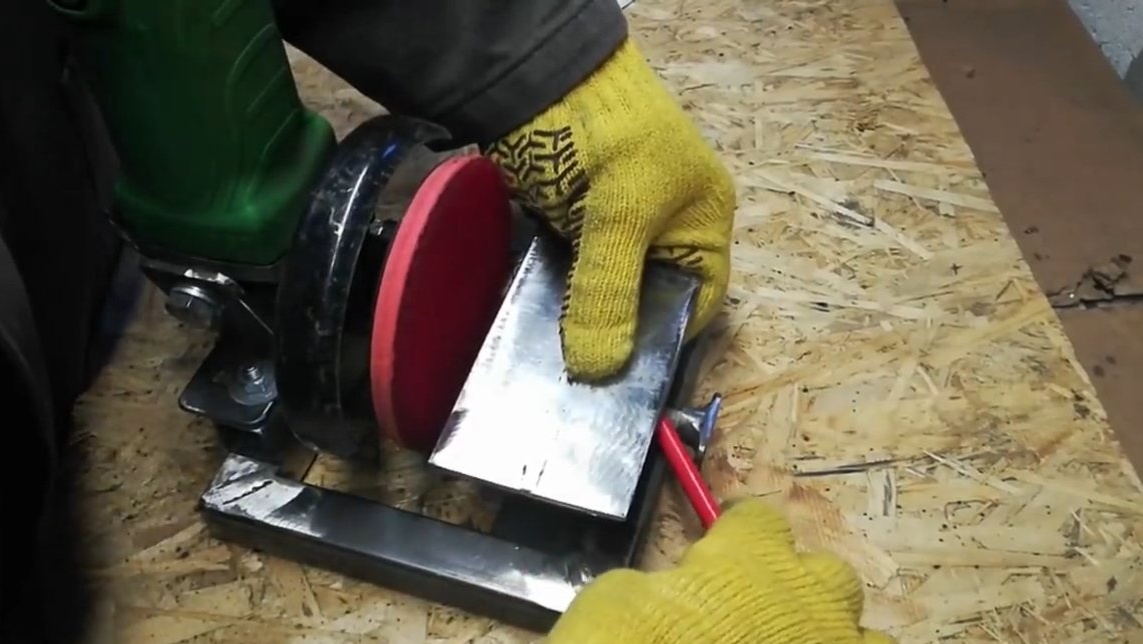
Step Three Thrust platform
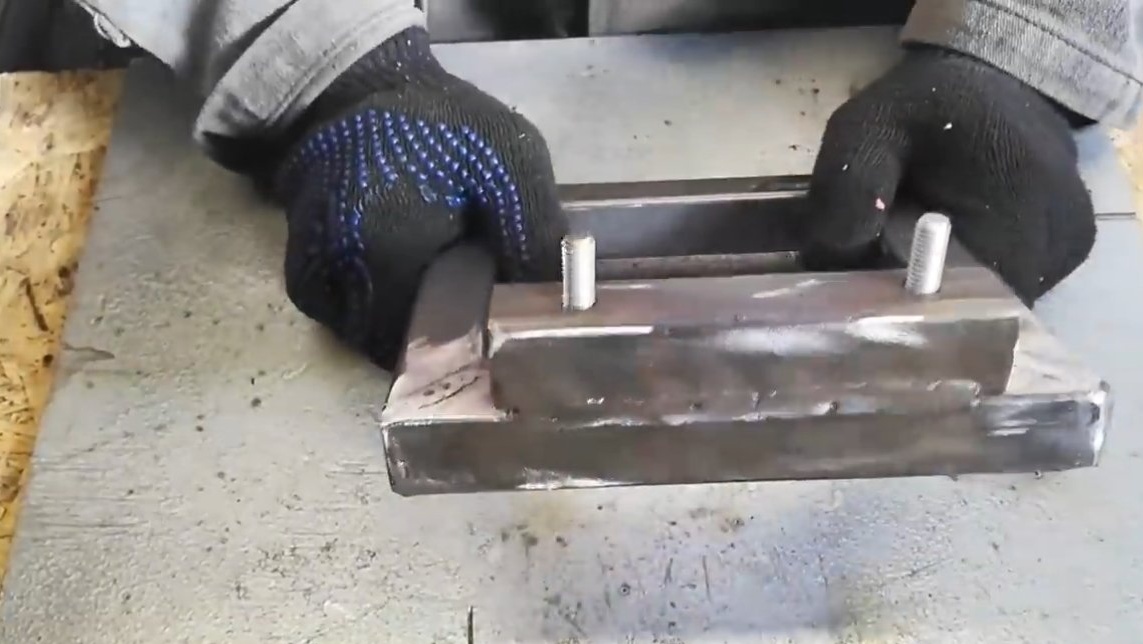
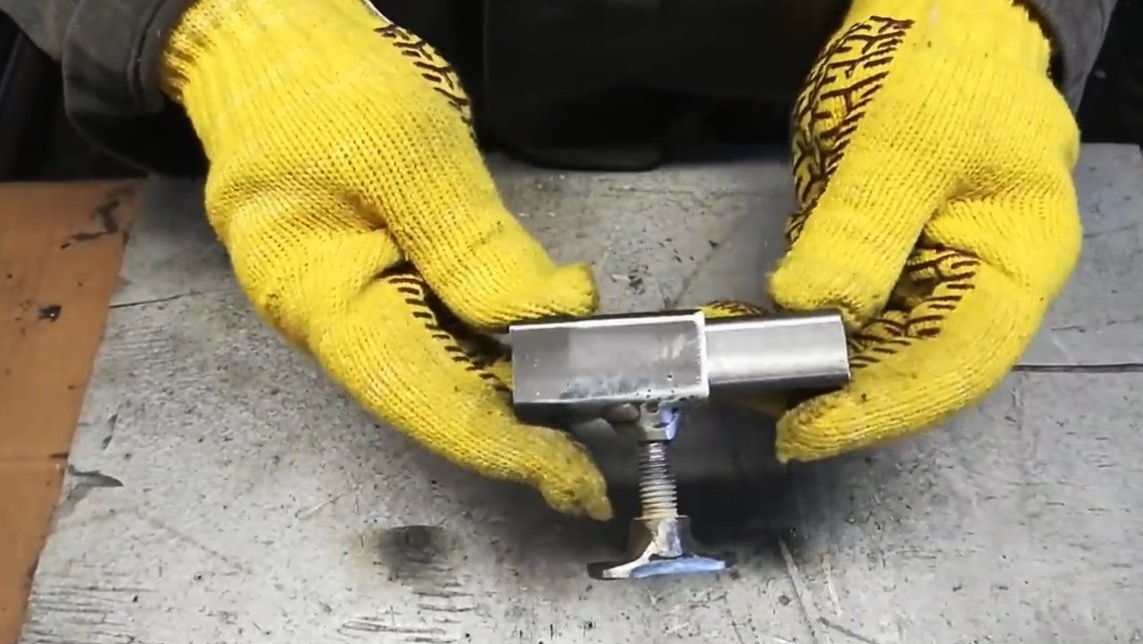
We make a persistent platform, it is adjustable in height by the author. To allow adjustment to the platform and base, square pipes are welded, one pipe enters another and a telescope is obtained. For fixing to the outer pipe, a nut is welded, the telescope fixes by tightening the screw. The table itself can be made of sheet steel or welded two steel plates.


Step Four Test
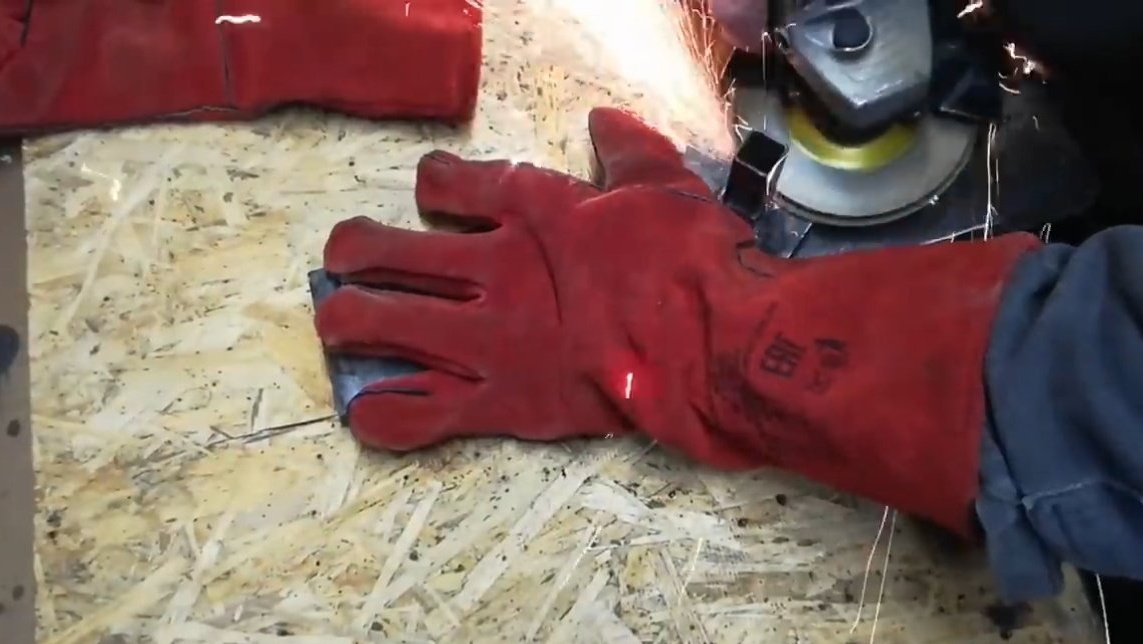
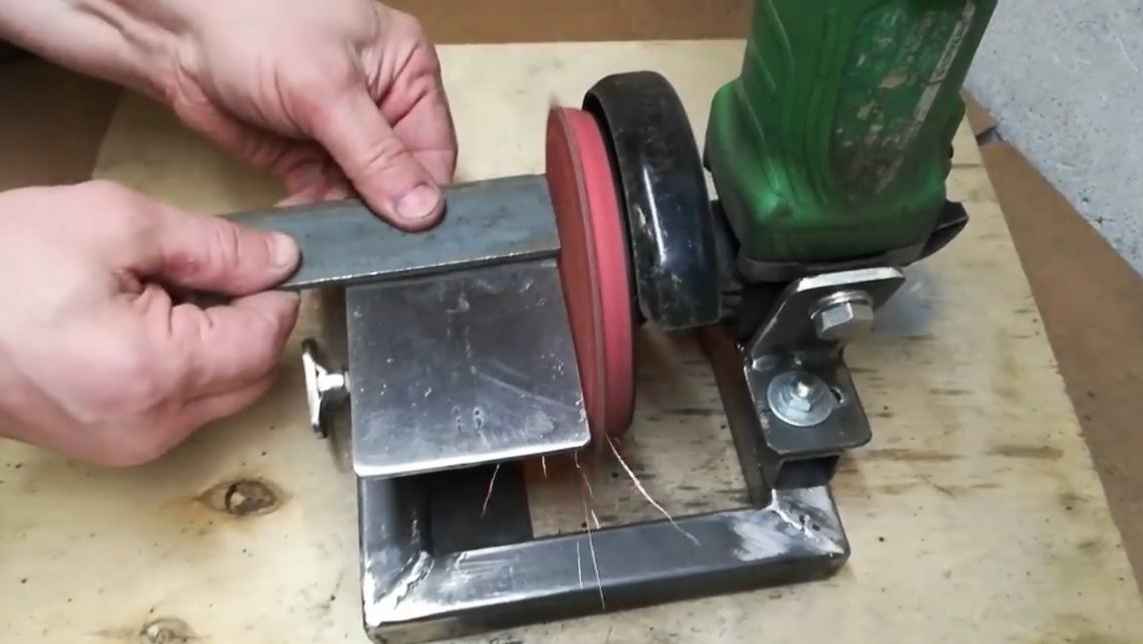
The machine is ready, using the angle set the nozzle clearly vertically, and also adjust the gap between the disk or the thrust plane. We turn on the grinder and you can work, the home-made turned out to be convenient, safe and very useful. For finer work, you can turn on the grinder through a dimmer and set the speed as you need.

The project is completed on this, I hope you liked the homemade work, and you found useful thoughts. Good luck and creative inspiration, if you decide to repeat this. Do not forget to share your ideas and homemade things with us!