Greetings the inhabitants of our site!
This article will be interesting to those who love various mechanisms, working with metal, with wood and the smell of caps.
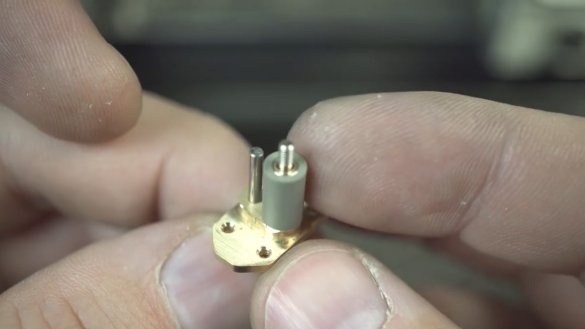
Studying the mechanisms from old cameras made back in the USSR, the YouTube author Levsha came up with the idea to make do it yourself unique lighter.
At first glance, it seems that there may be a connection, but there is a connection, you need to wait a bit ... The master spent about a month working on the idea, putting it into practice, working almost every day. Out of 4 weeks, approximately one week was spent on drawings and various improvements. Such a lighter will not have a classic ignition, ignition will be made from pistons, yes, maybe it's not very convenient, but it’s quite interesting and unusual.
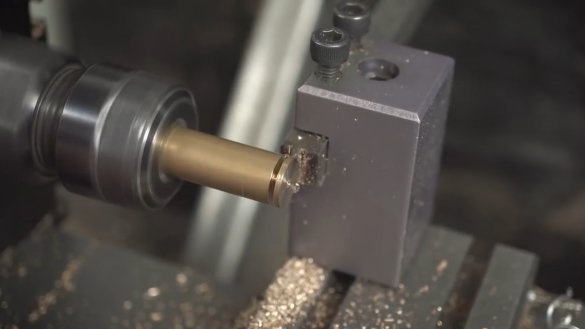
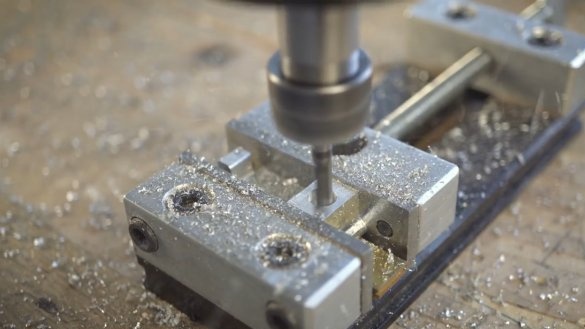
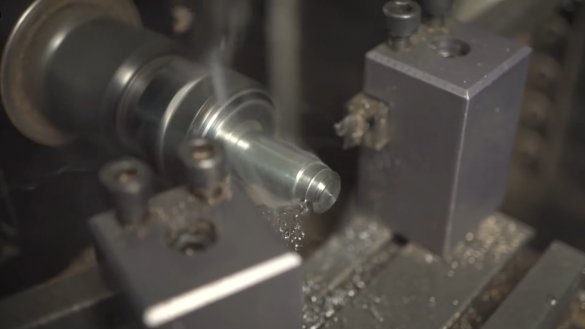
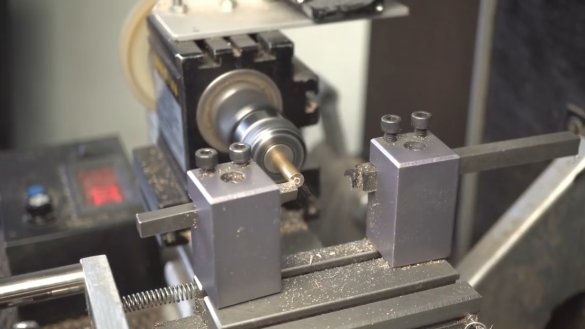
So let's get started. First of all, we will manufacture the side parts of the future lighter.
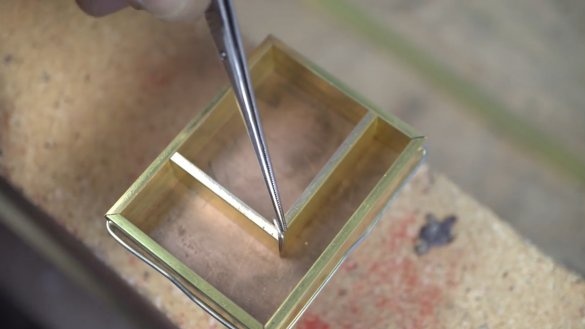
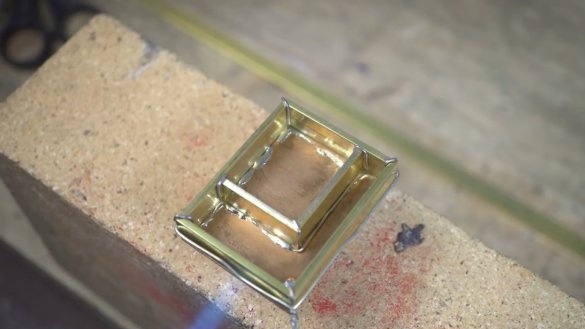
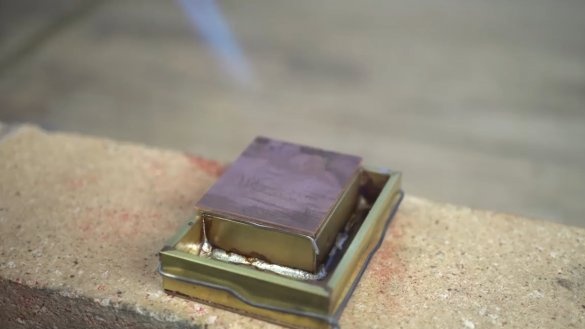
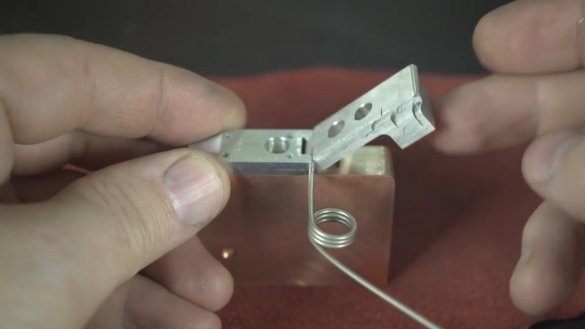
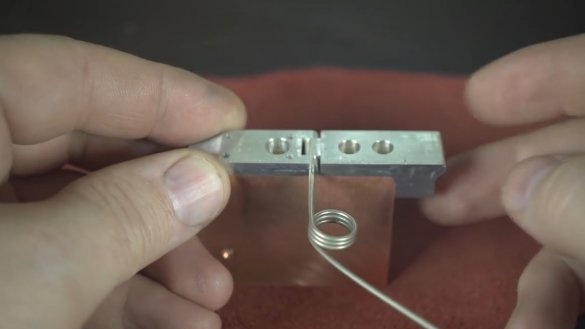
One half with an internal tank for gasoline is ready, then proceed to soldering.
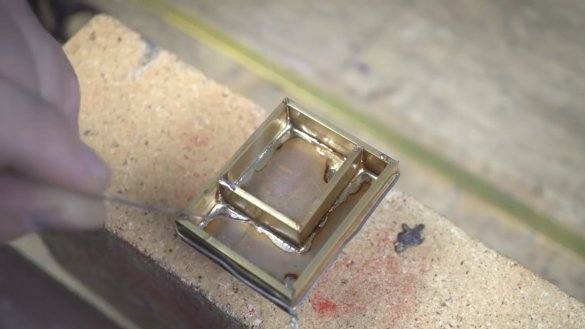
Thanks to the capillary effect, the solder fills all the cracks perfectly, and where there is doubt, it is better to play it safe again.
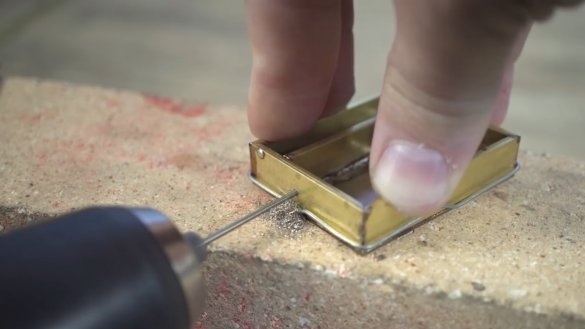
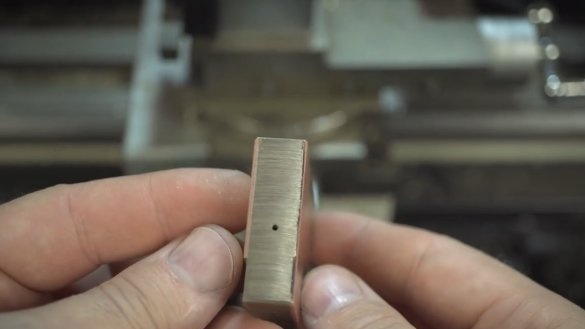
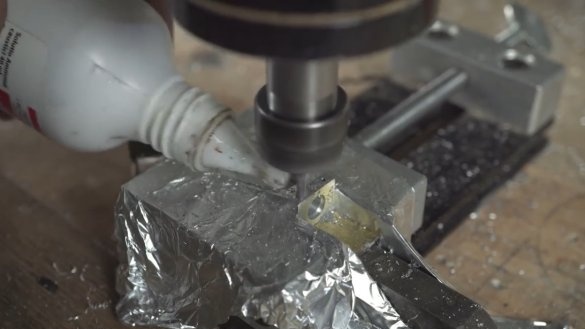
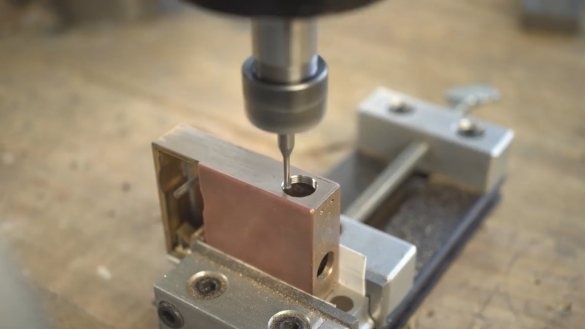
Another part of the tank also needs to be soldered, but before that we drill a hole, it is necessary in order to compensate for the pressure.
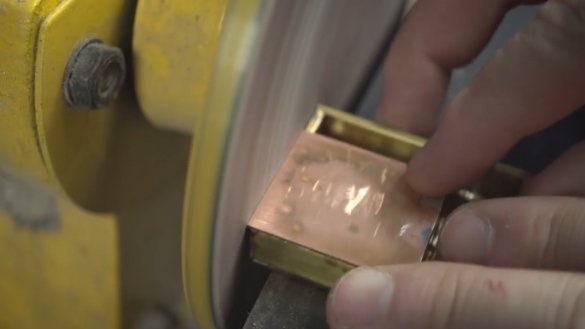
Next, a leak test and you can start grinding.
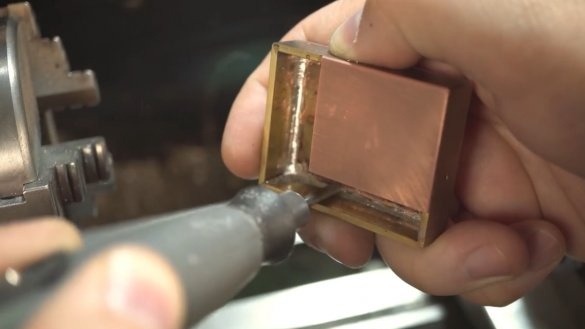
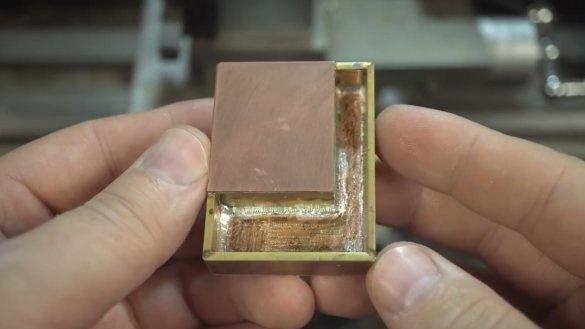
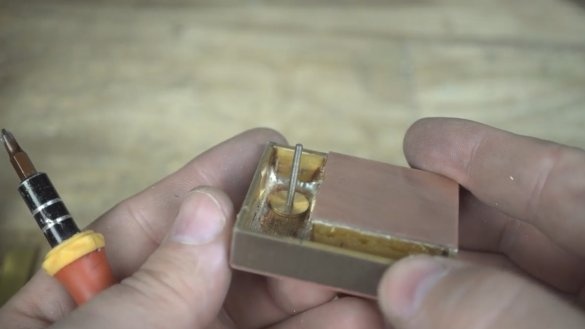
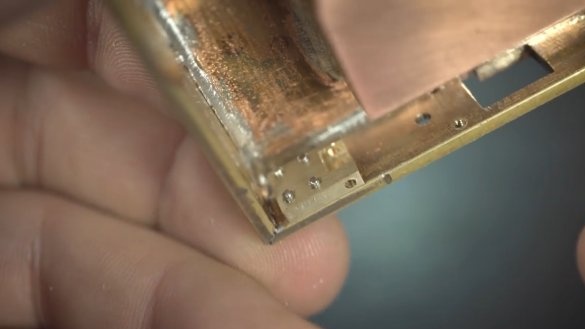
At this stage, we have got such a case with two separate compartments.
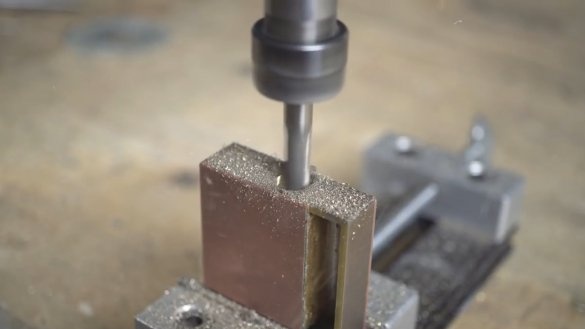
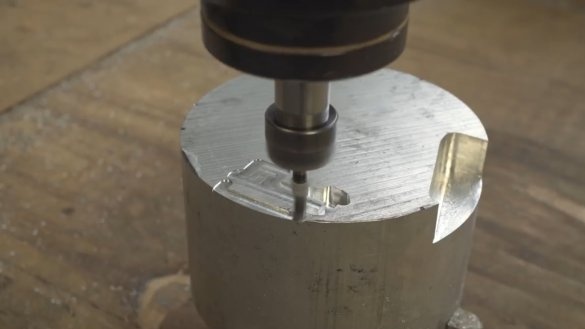
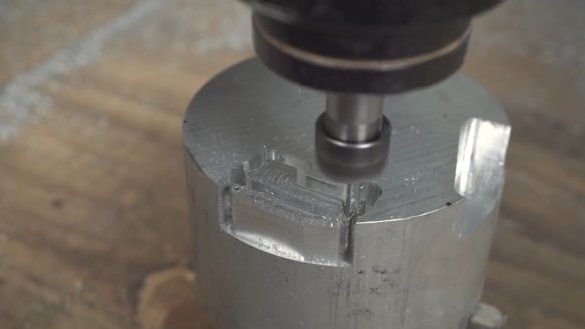
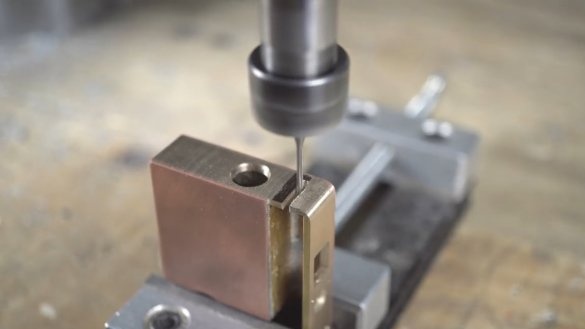
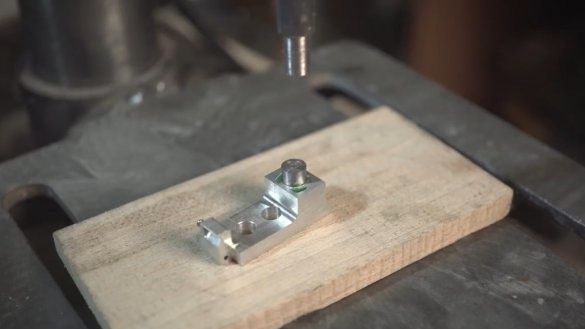
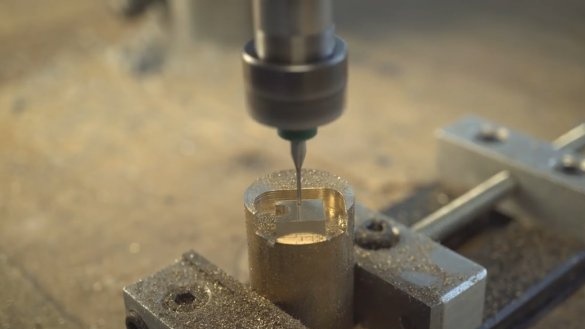
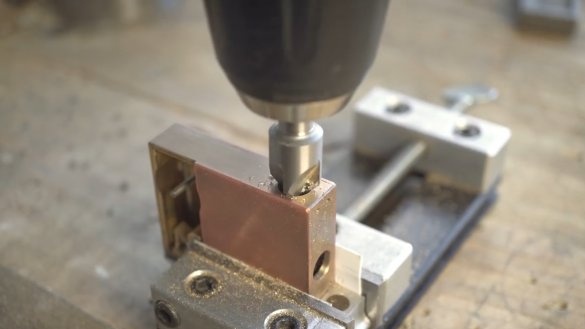
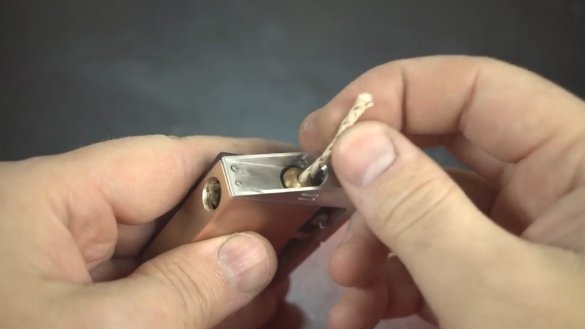
Then, in the place where we drilled the hole, we now make a larger hole, there will be a wick and a lid.
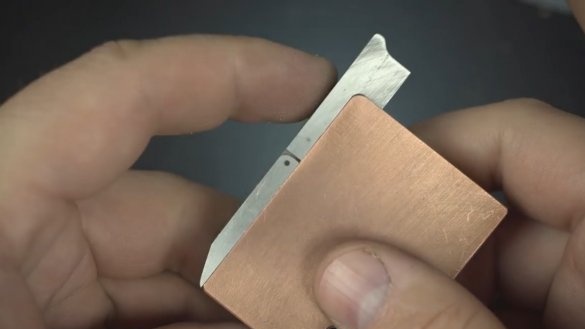
The seat is ready, then we proceed to the manufacture of wind protection, but it will also have another purpose.
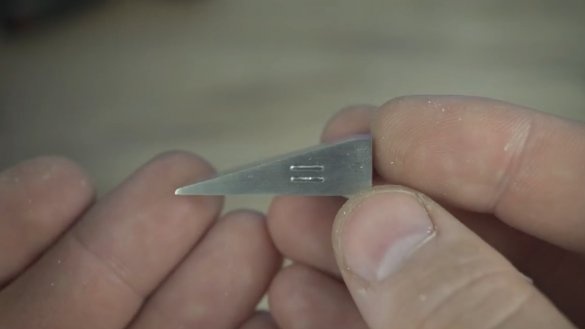
Slots on the sides are a purely decorative element.
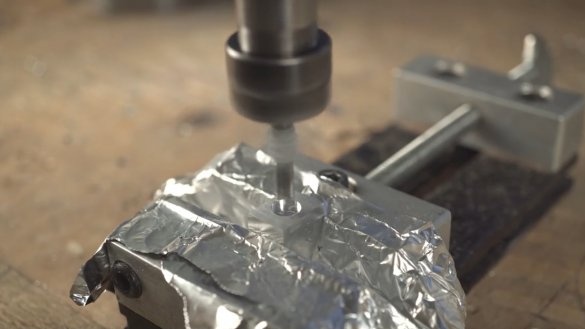
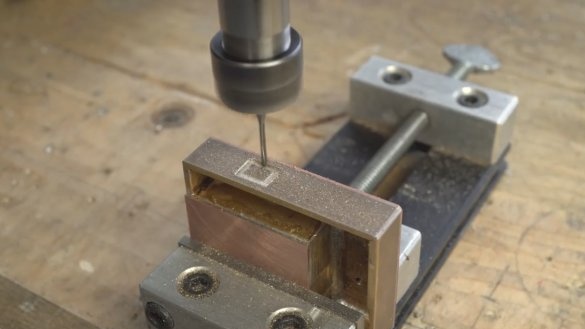
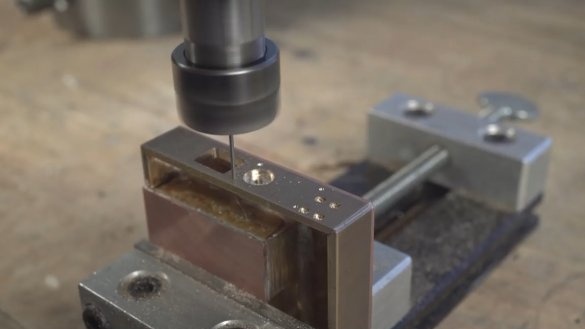
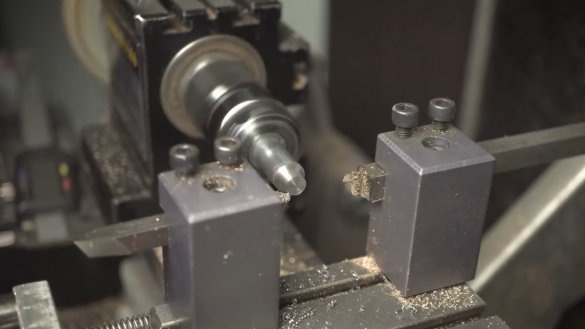
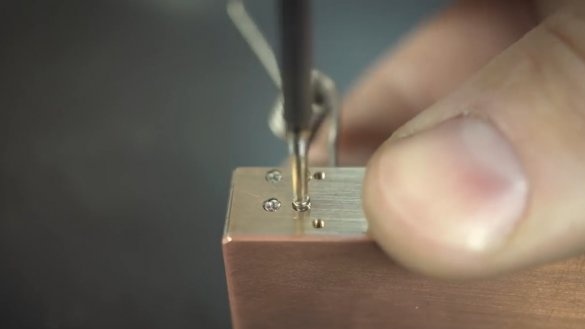
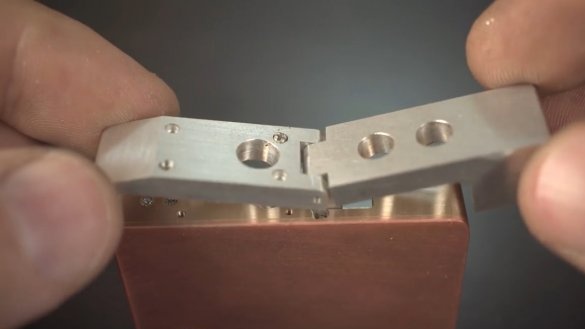
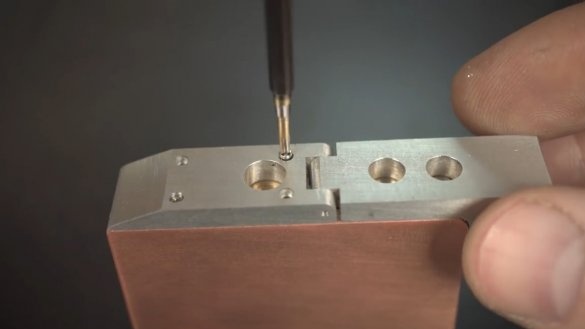
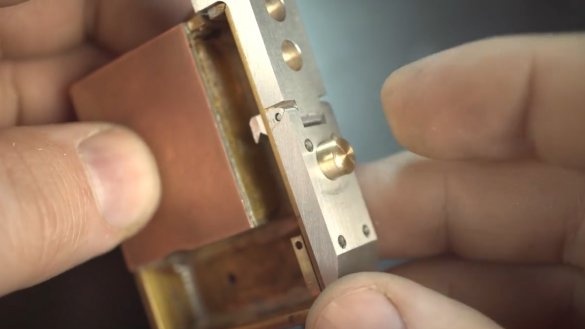
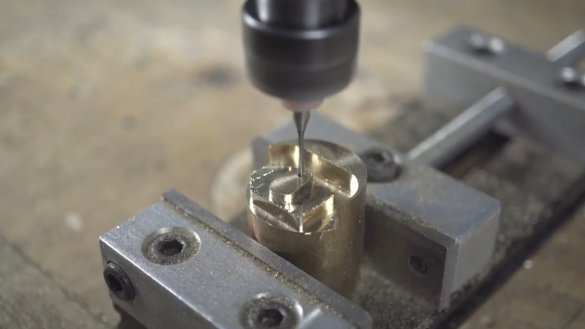
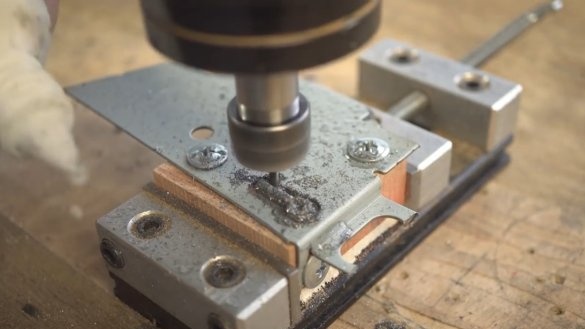
On the back side we are milling holes, here there will be an insert made of ferrous metal. We also mill the last upper side and make 4 holes for attaching the wind protection.
Holding the pistons at the same time will also serve as the holder of the top cover.
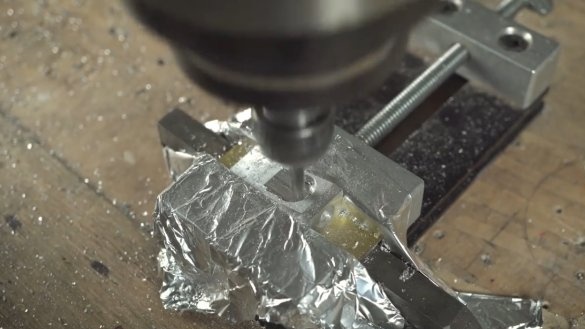
On the back of the case we make holes and various recesses necessary for fastening the mechanisms.
This lighter will have almost 2 independent mechanisms: the first is the trigger mechanism, and the second is the pulling mechanism.
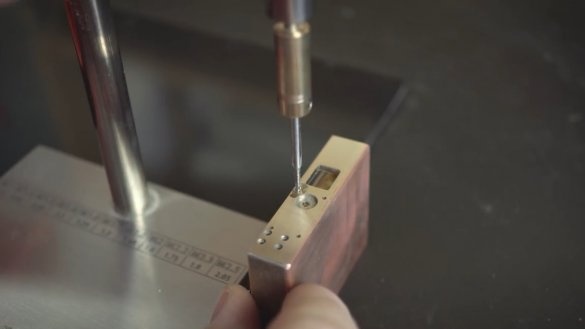
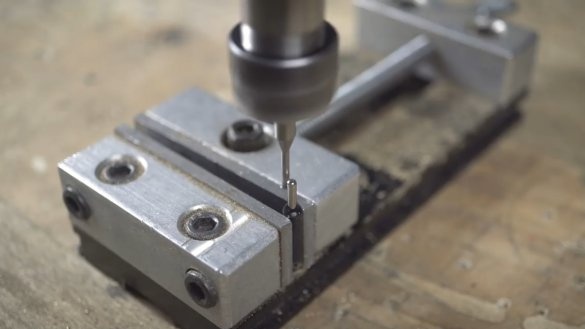
All holes are drilled, proceed to threading.
Next, we mill the trigger and its mount.
In the shock part, we also make an insert of ferrous metal and this is how this mechanism will be located already in the finished version:
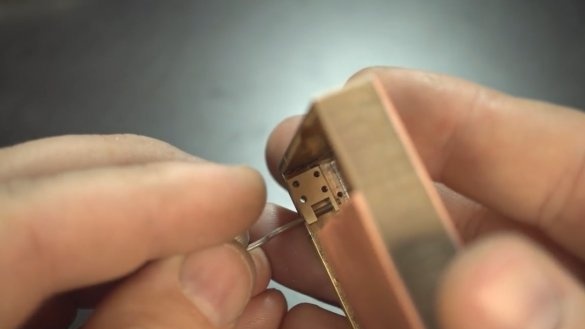
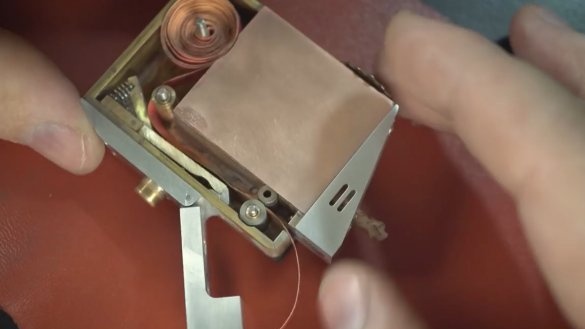
Next, we mill a small slot for the tape of pistons to come out, we also drill holes for attaching the wind protection and cut the threads into them.
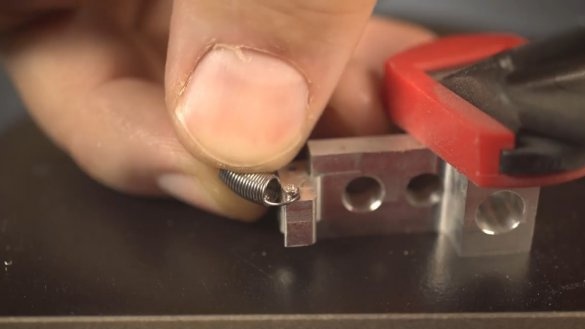
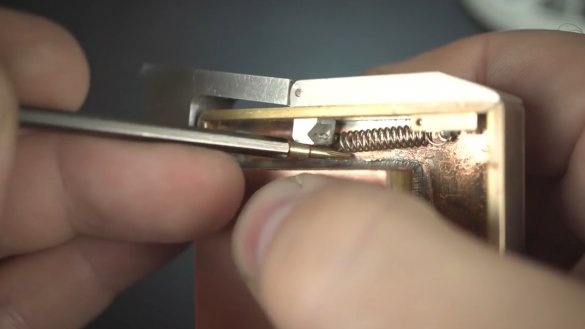
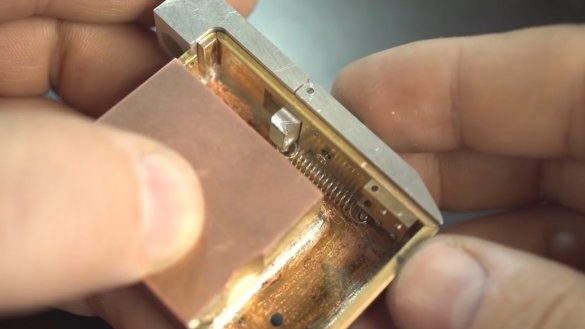
In the cocked state, the trigger will rest on a small bar, a special groove must be made under it, and from the reverse side we screw in a screw, for which the spring will be attached.
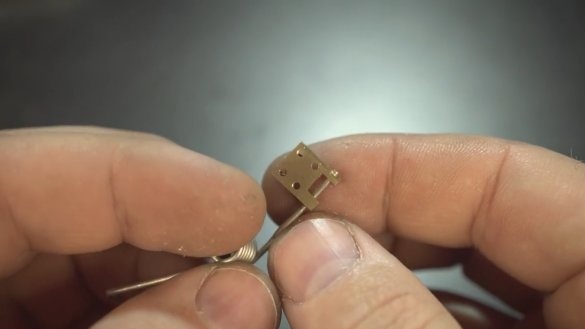
Next, we will make the insert in the trigger, which will account for the whole blow. We will make it out of steel.
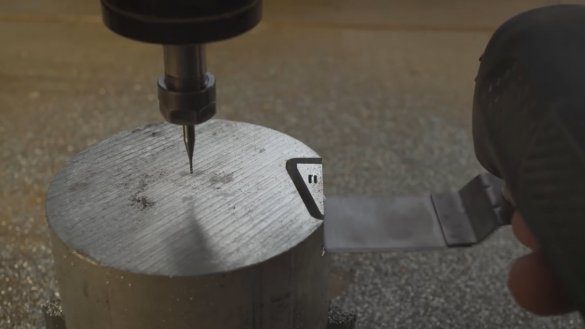
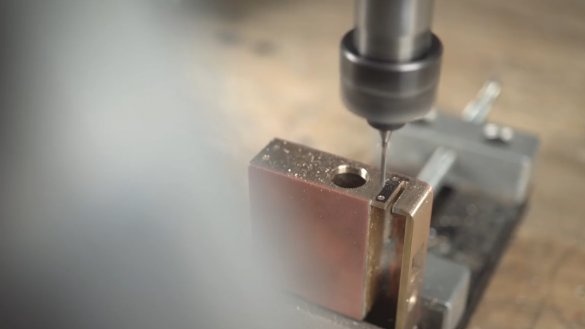
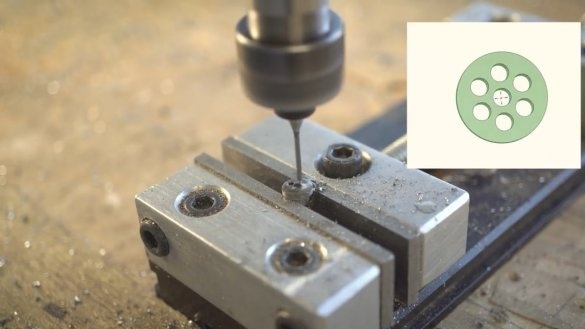
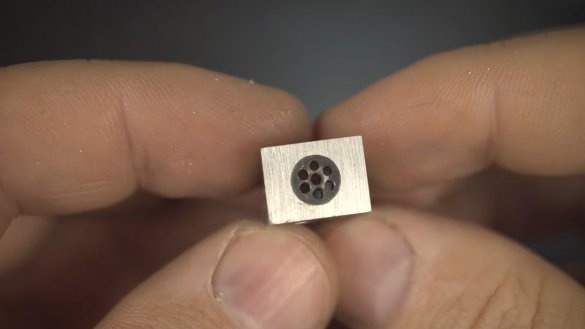
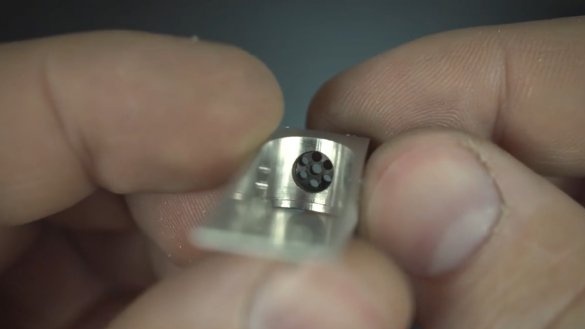
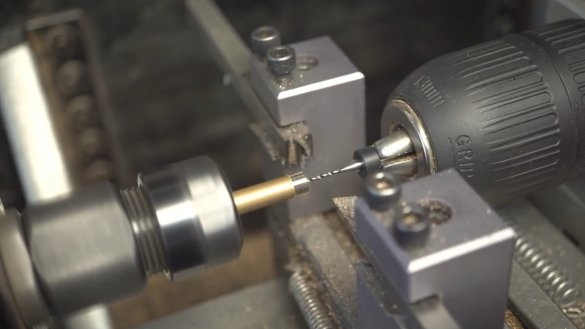
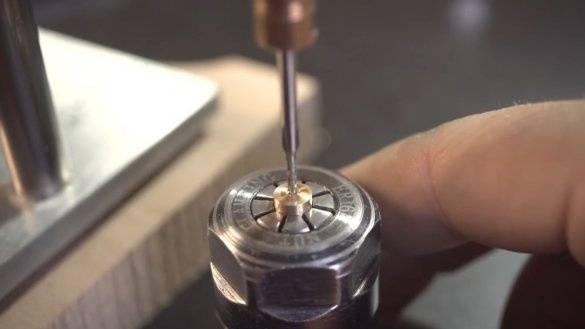
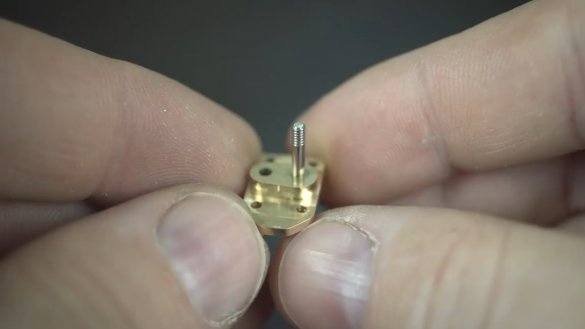
The counterpart of this insert is more complex and will be in wind protection. It is necessary to drill 7 small holes through it, through which fire will pass for ignition.
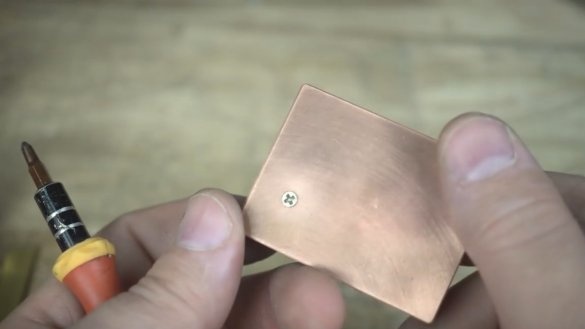
The mechanism is rather small, since the task is to fit it into a small case. We hide the screws flush, on top there will be another mount.
It was necessary to try and shoot again repeatedly, but this is necessary in order to adjust everything exactly.
Next, we drill another hole, there will be a screw, for which the second part of the spring is attached.
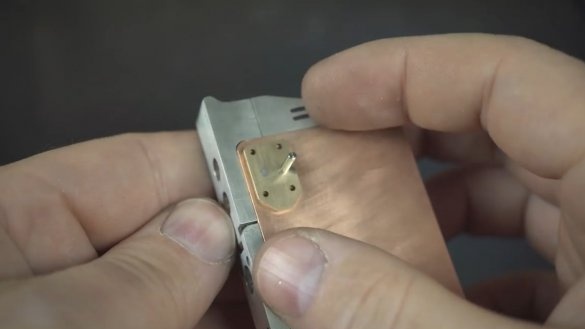
This is how the insert in wind protection looks like in the finished version:
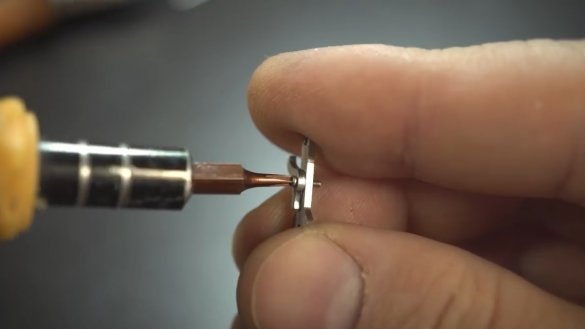
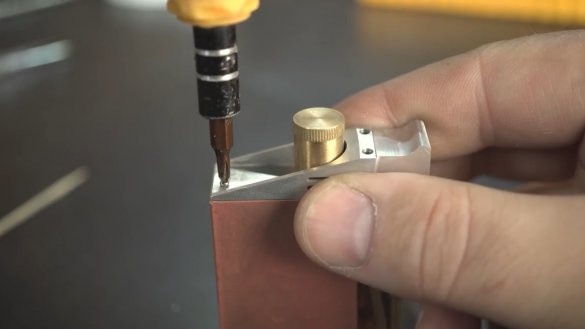
Next, we grind the next part - a small release button, and then cut the thread in it.
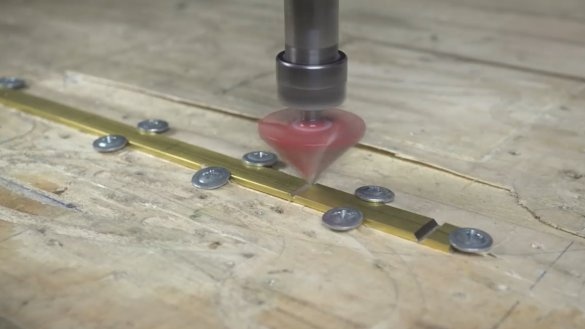
We fasten the button to the screw with a previously polished hat.
In the lower part there is another spring, it ensures the return of the mechanism to its original position.
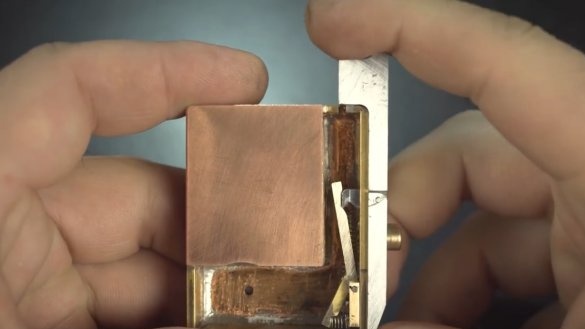
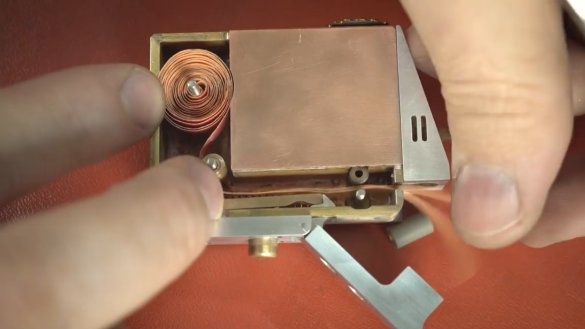
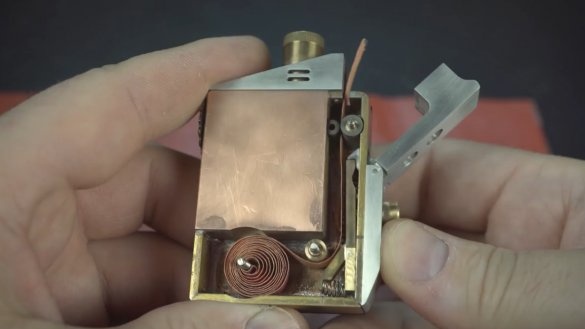
Next, we milling a place for the most complex mechanism in today's project - the tape feed mechanism.
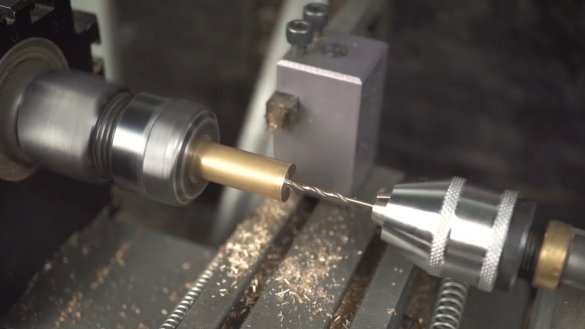
Then we will directly manufacture the mechanism itself.
For more details see the original Author’s video:
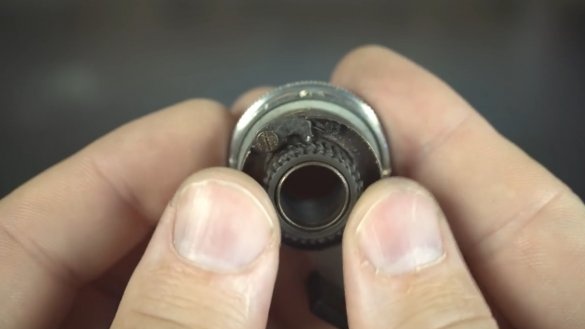
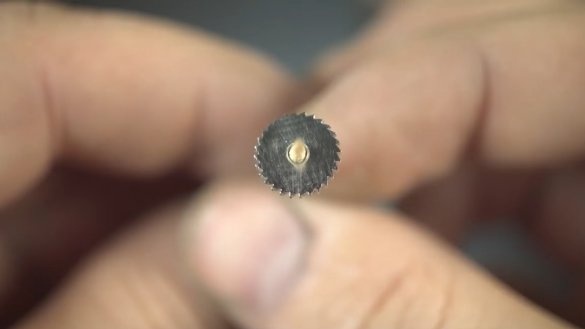
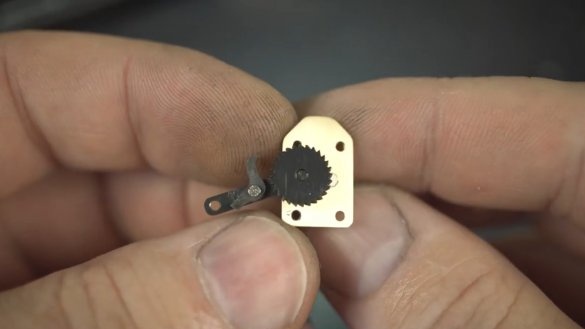
Now we are going to make a ratchet mechanism. Here is the time to recall the old Soviet camera. The bottom line is that the ratchet should have free play on one side and the feed on the other, so you can accurately dose the tape feed.
It turned out pretty well, now you need to bury all this in order to avoid corrosion in the future.
This lever should also rotate freely on the shaft, but the gear should sit snugly in its place.
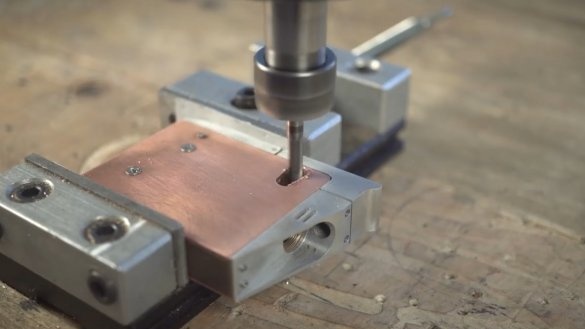
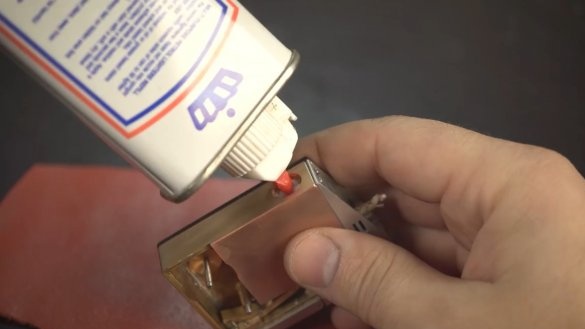
Next, we mill another hole. It is necessary for refueling the lighter with gasoline.
Since the two screws that secure the windshield go into the tank with gasoline, they must be put on glue, this is necessary so that the tank remains tight.
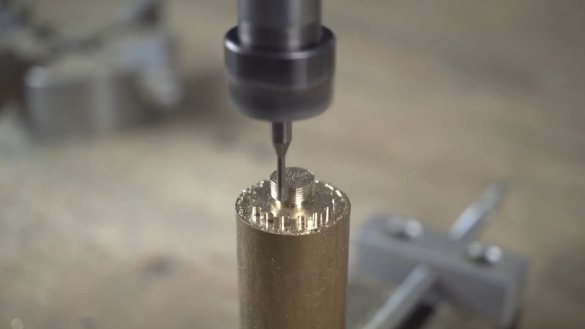
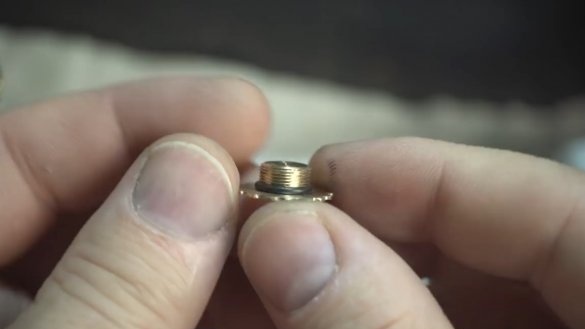
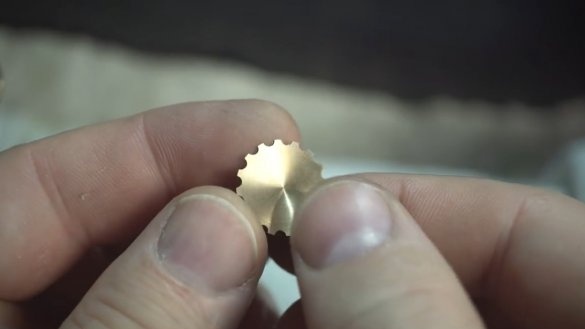
Then we will make a tank cap.
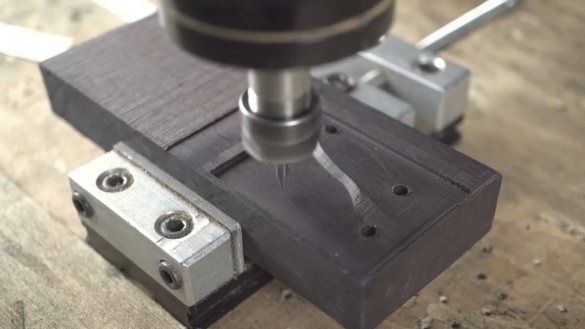
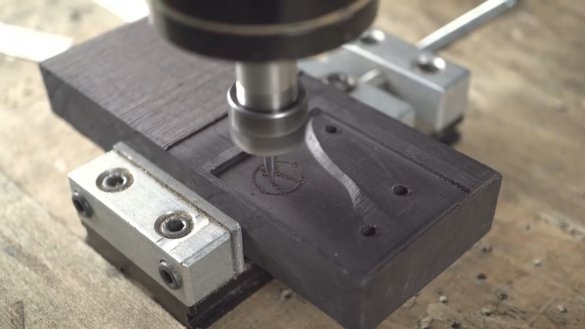
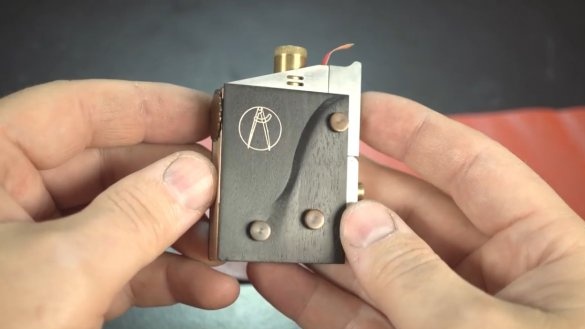
Next, from a noble stained tree we will make two lining covers.
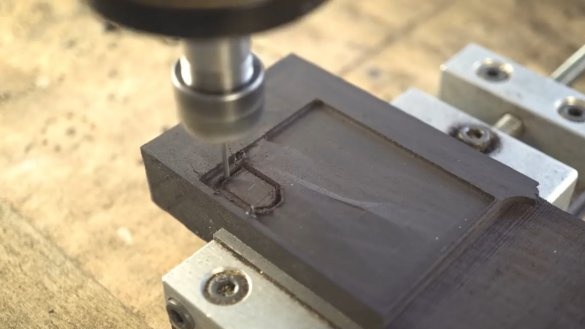
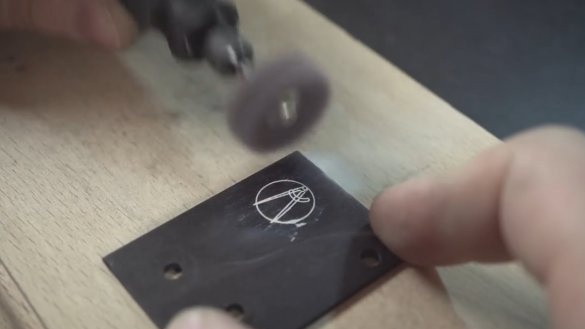
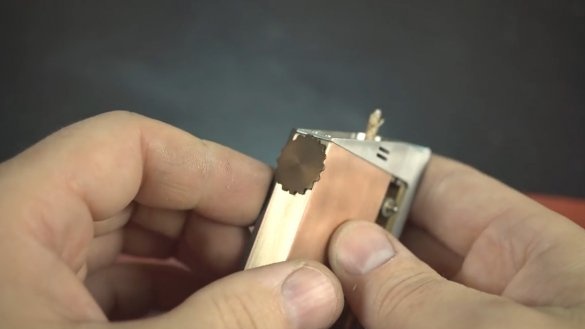
The overlays are made with a small relief so that the product more conveniently lies in the hand, and the author also engraved the logo of his YouTube channel.
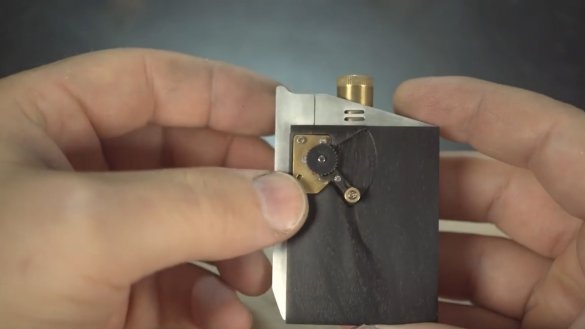
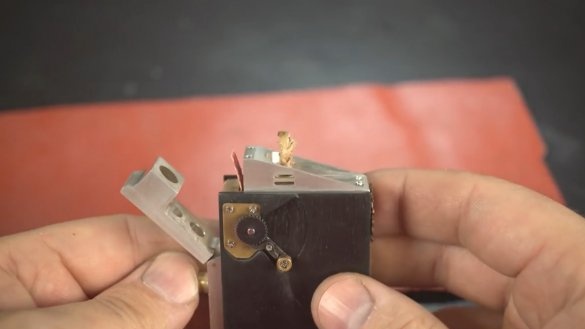
The second pad is different from the first, it will be a place for the feed mechanism.
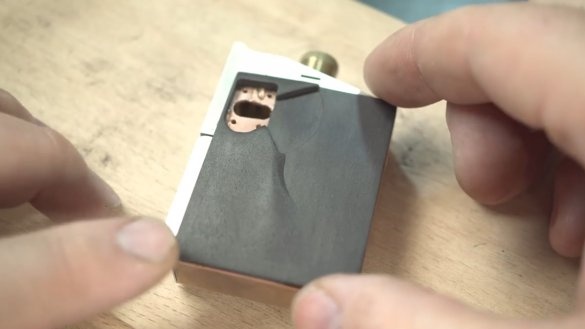
The pads are ready, it remains to make a little refinement manually and cover them with oil.
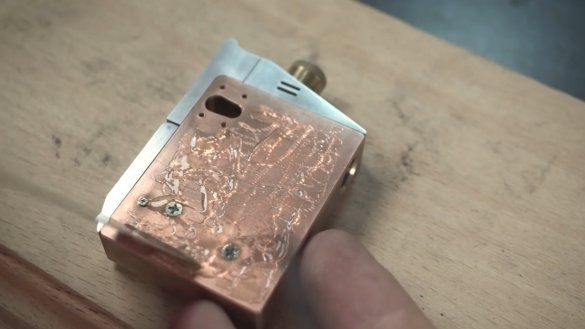
The next step is to glue the wooden plates to the metal case using epoxy adhesive for metal - Metal Bond. The instructions for this glue just say that it glues metal / wood.
We overwrite the logo with putty, and after setting we remove the extra ones.
After processing the linings with oil-varnish impregnation, the product acquired a more noble appearance.
The final touches and you can begin the most exciting moment - the test, as there is a possibility that the wick still does not light up.
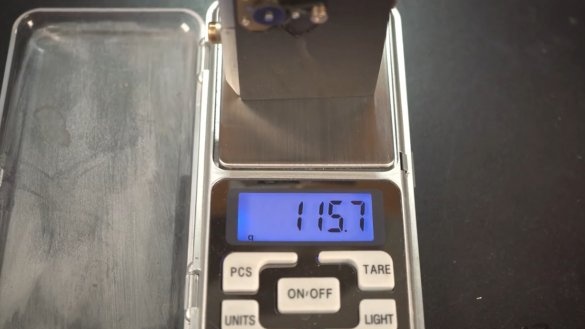
The weight of the finished product is almost 116 grams.
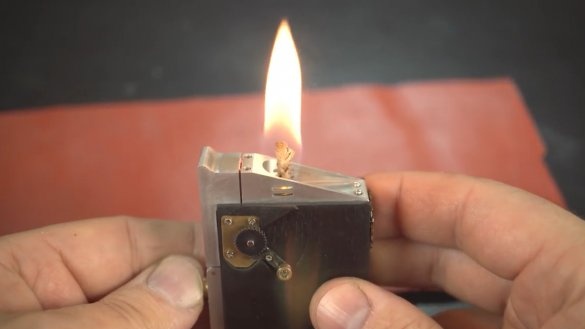
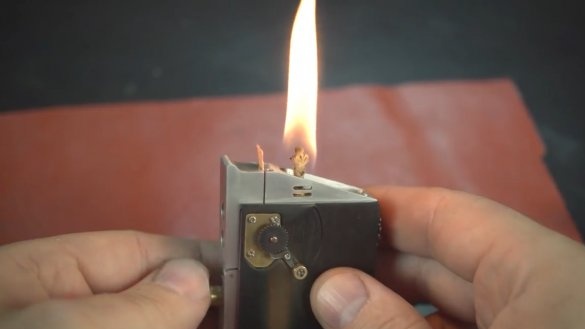
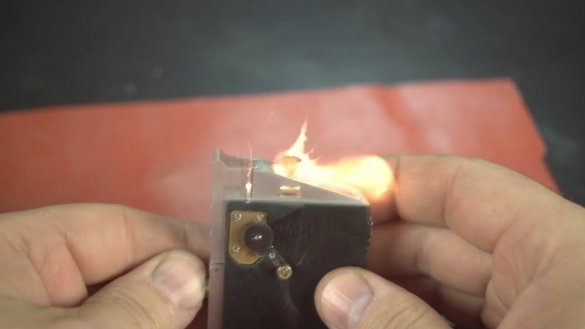
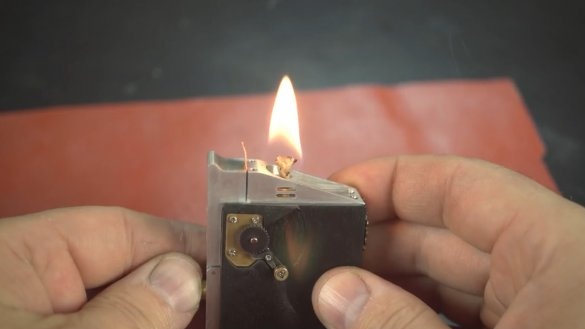
And now the most exciting moment, cock the trigger, press the button and ...
Hurrah! Everything works. Aesthetic pleasure was received, pleasure from the manufacturing process, too, but what more could the master wish for. Of course, this lighter is not for thoughtless use, but for pleasure.
Thank you for attention. See you soon!

