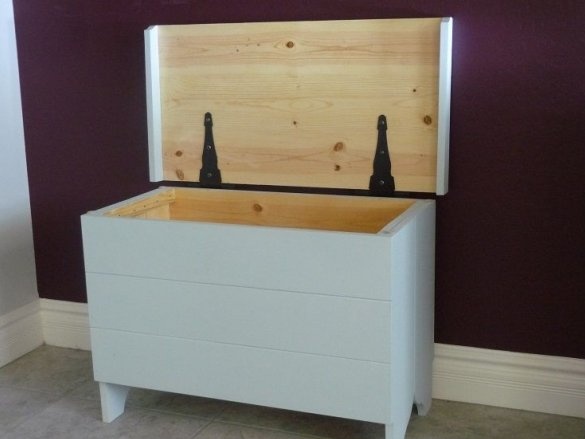
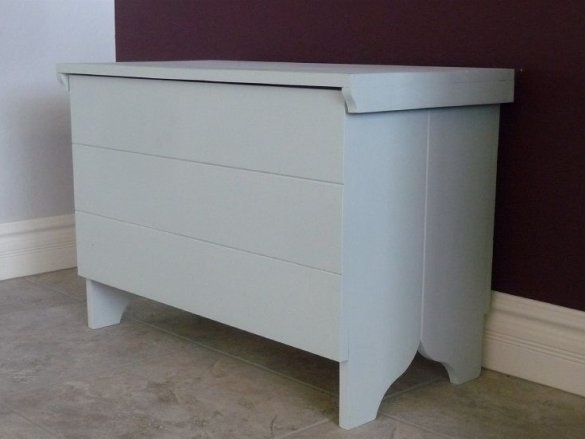
Except maybe stools, the chest is the earliest item of furniture in the history of mankind. In addition to its main function - storage of things, the chest was often used as a bench for a seat, as a desktop, and some large chests as a place to sleep.
So, for the manufacture of the chest, the master used the following
Tools and materials:
-Boards;
- Loops;
-Nails;
-Hammer;
- Joiner's glue;
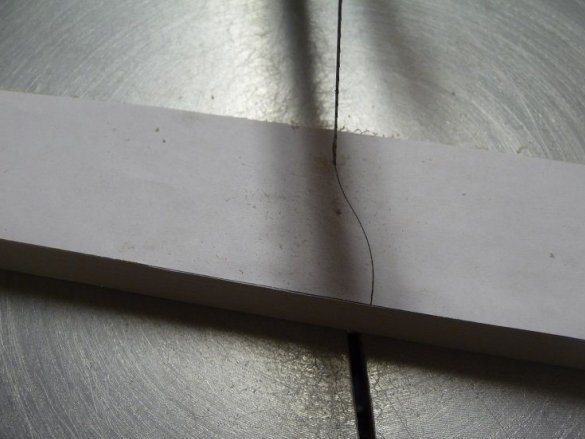
-Bandsaw machine;
-Template;
-Sandpaper;
-Brush;
-Paint;
Step One: Sawing
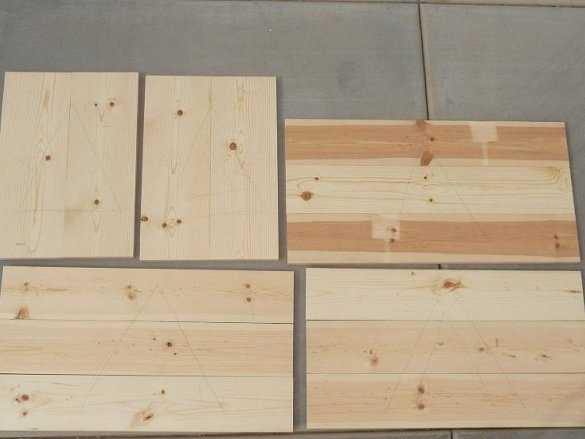
First, the master cuts the boards according to the drawings. A pine board is used for the chest.
AssemblyDrawings.pdf
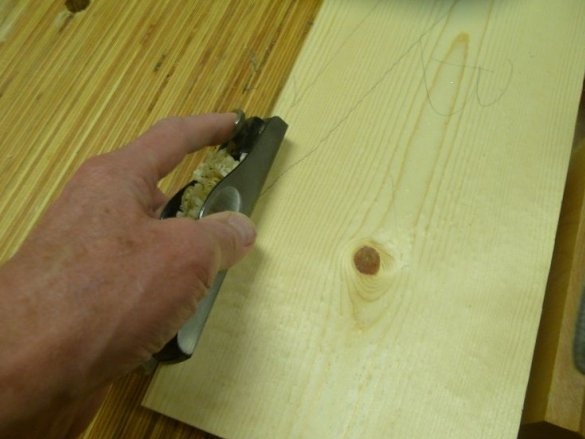
It is necessary to chamfer the edges of the boards.
Step two: side parts
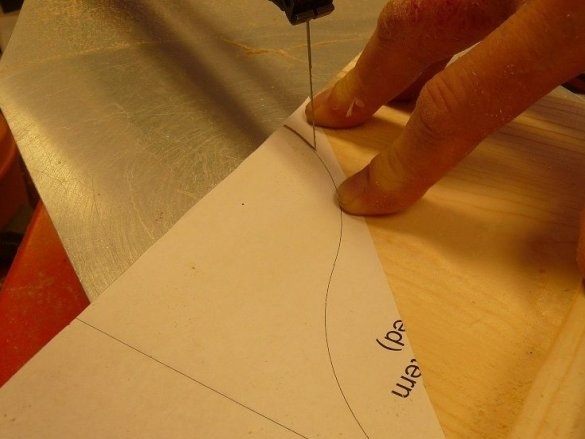
First, the master collects the side walls. Apply adhesive to mating end surfaces. Fixes two boards with a cross rail. The side walls also play the role of legs. The lower part of the walls is cut according to the pattern.
Step Three: Front and Back
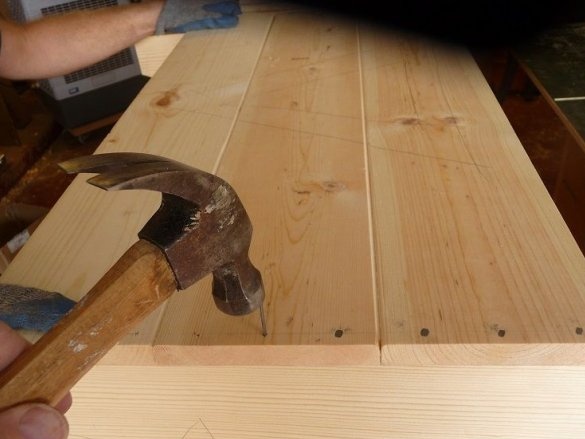
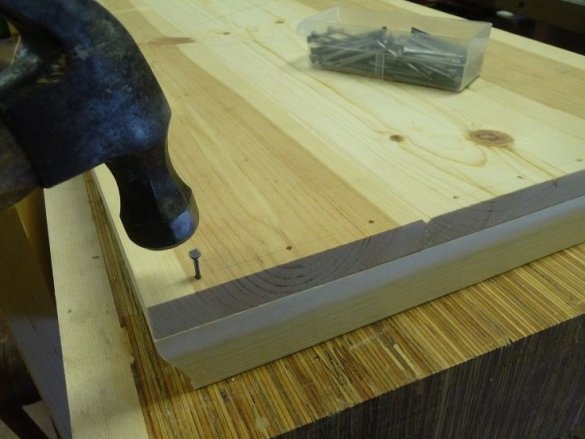
Three boards are nailed to the side walls, front to back.
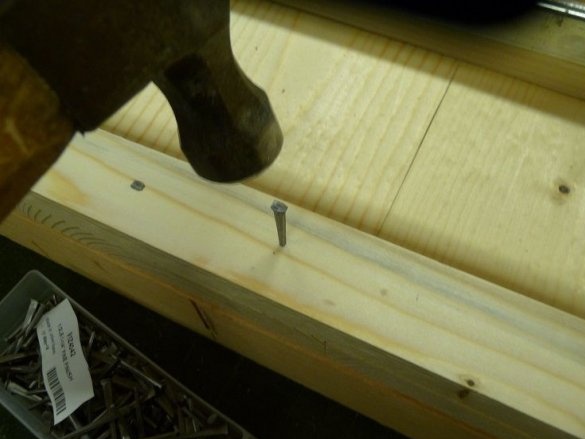
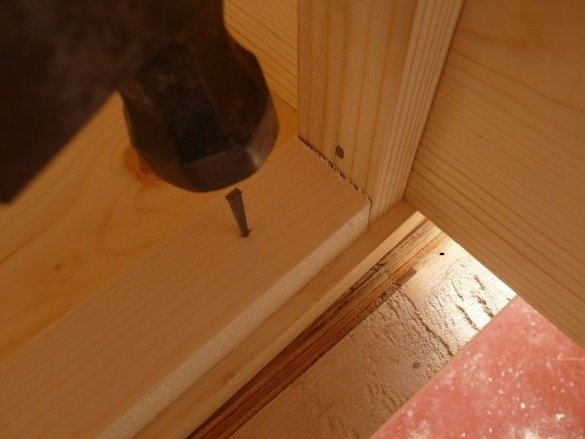
Bottom and reconciliation nails the bars.
Step Four: Bottom
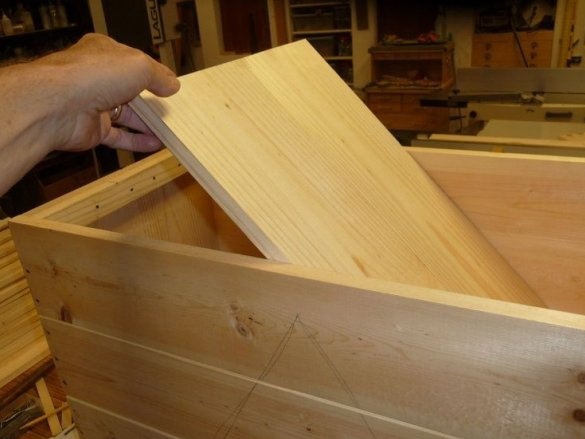
Sets and fastens the bottom of the chest.
Step Five: Cover
Collects the lid of the chest.
Step Six: Painting
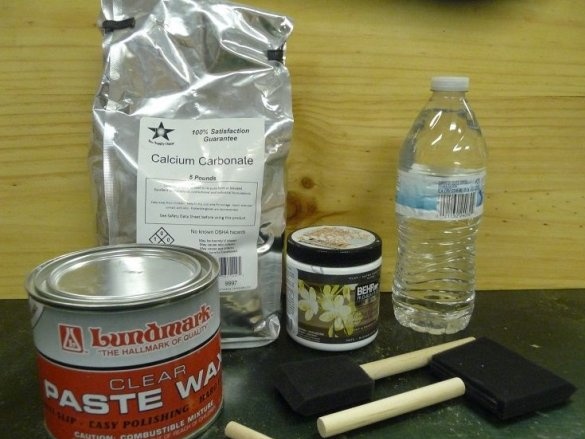
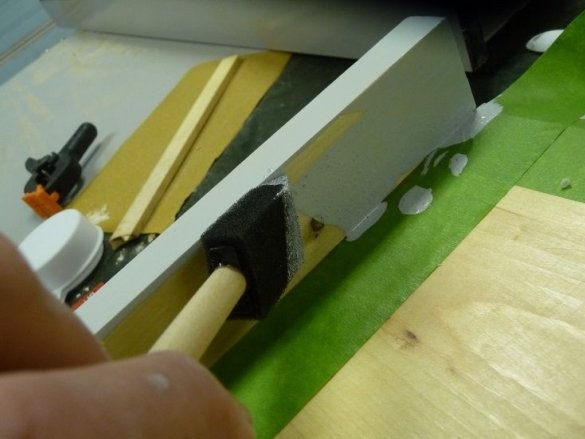
Grinds the chest and lid. Stains.
Seventh step: loops
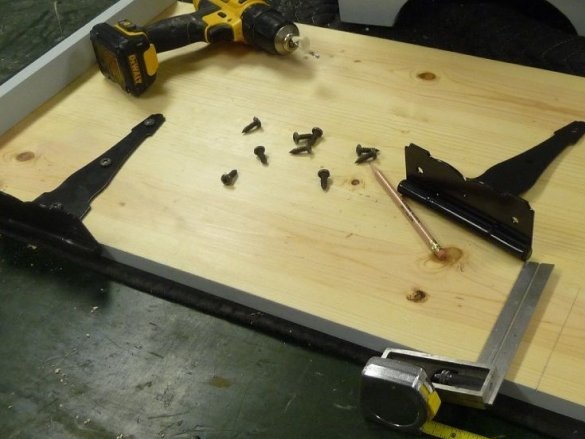
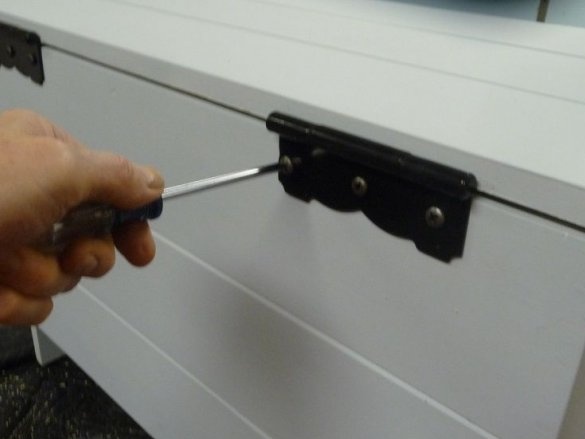
After the paint has dried, installs the lid, tightens the hinges.
As you can see, making a chest is not so difficult, and this does not require an expensive tool.

