

They asked me to make a multi-channel charger (hereinafter referred to as charging). I have already collected the guys charge for lead batteries. Now charging will charge weaponsin which Li-ion elements of the 18650 format are installed. Weapons for playing laser tag. Almost all the components were given to me. The task is clear. We will collect.
For homemade necessary:
- wires with connectors;
- the wire;
- charge controller boards;
- a powerful power supply;
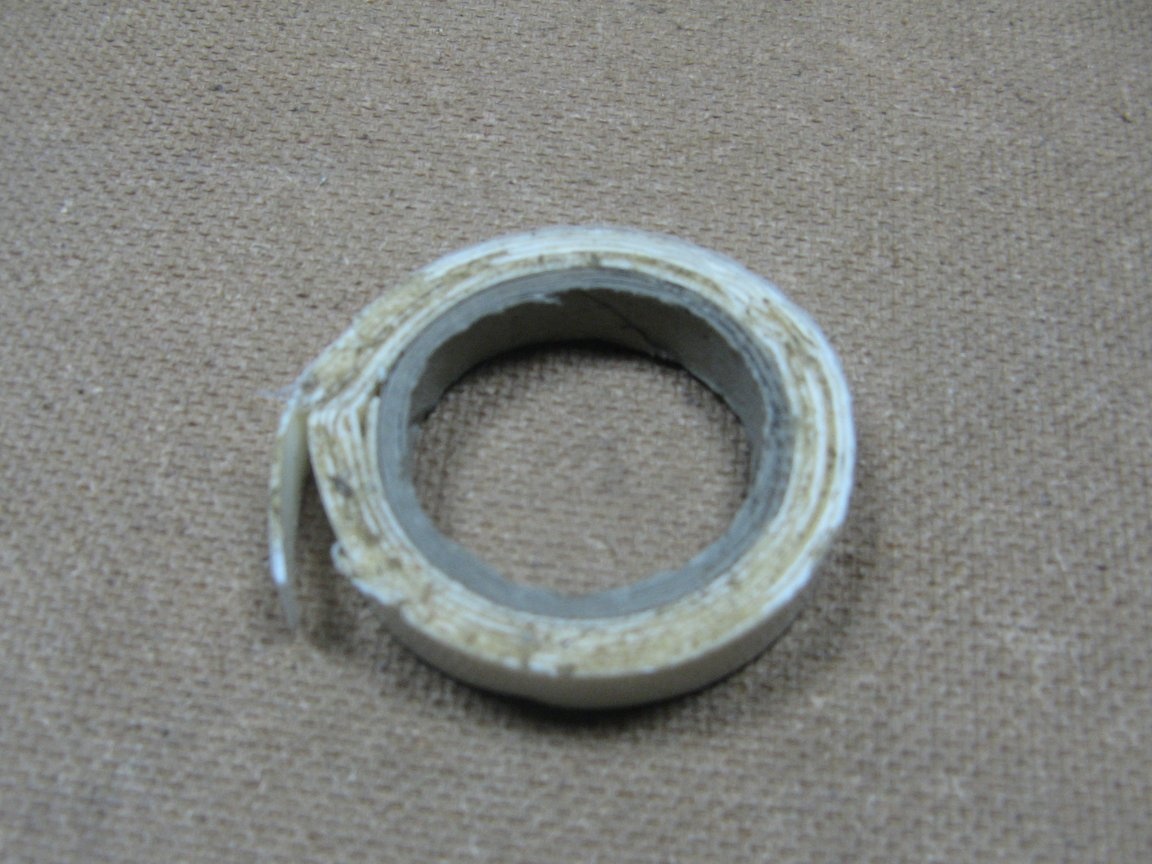
- Double-sided tape;
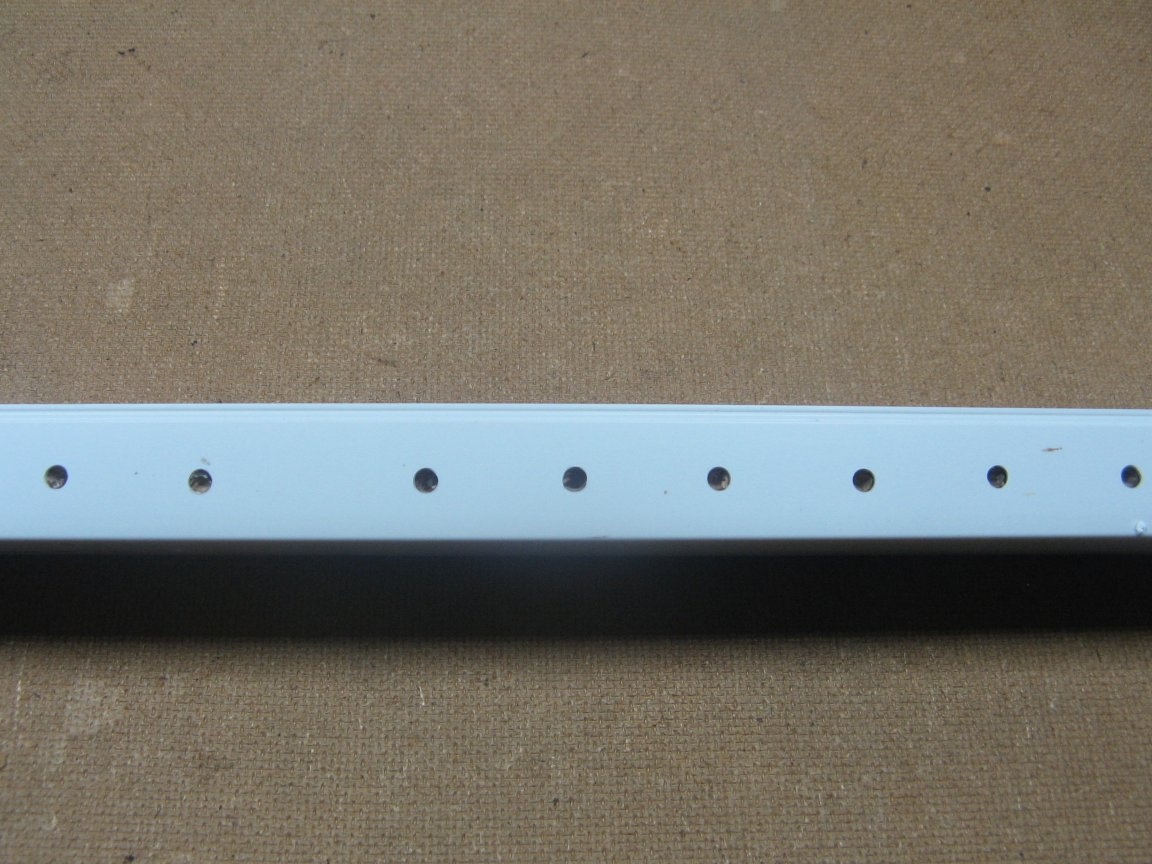
- cable duct;
- instruments.
Accessories.
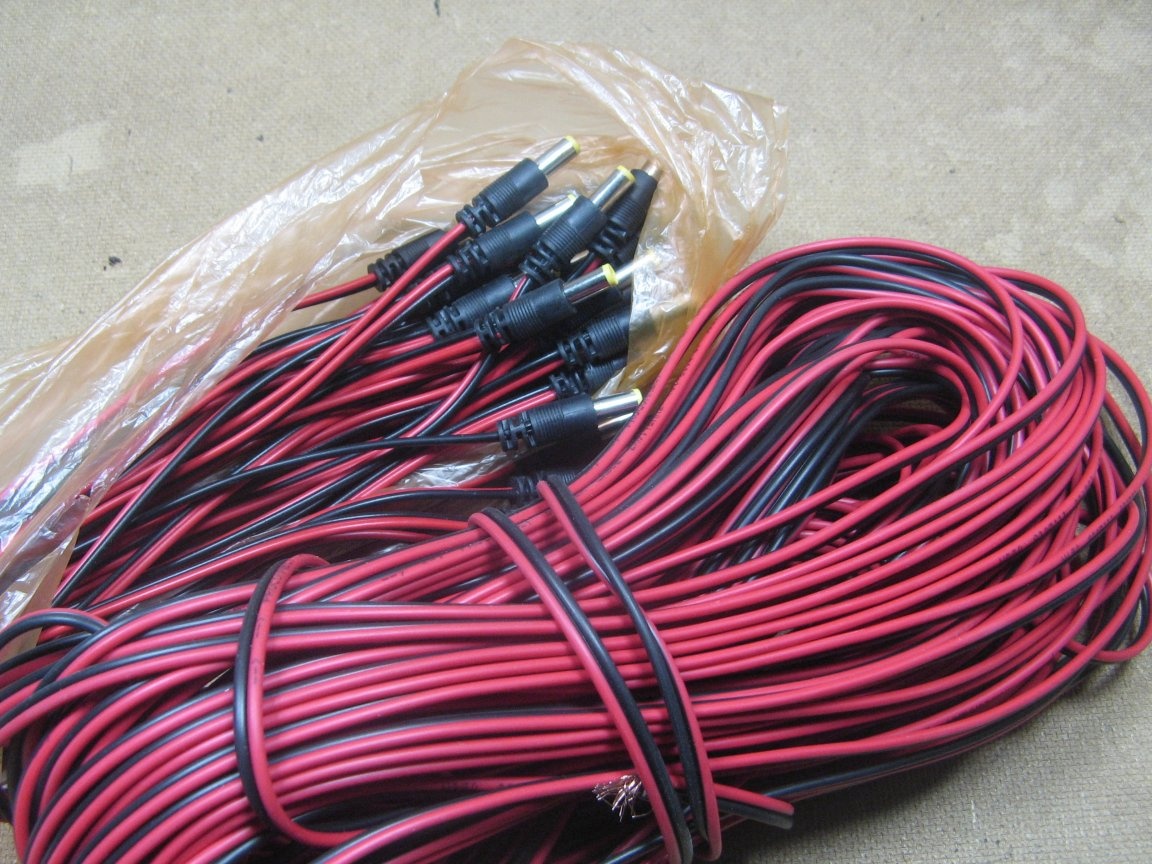
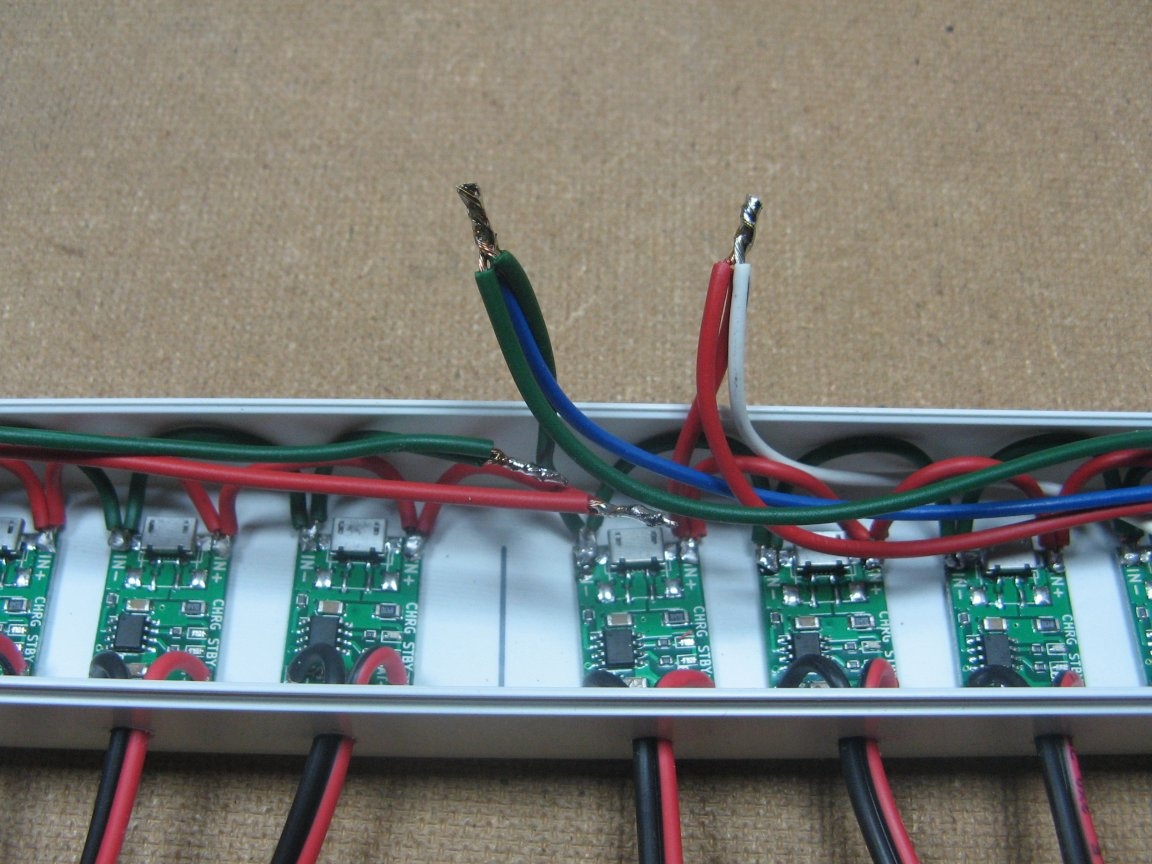
Short wires were purchased with connectors 5.5 * 2.5, length 250 mm. A similar wire was bought for lengthening. The wires will be expanded by soldering, the soldering points are insulated with a heat-shrink tube.
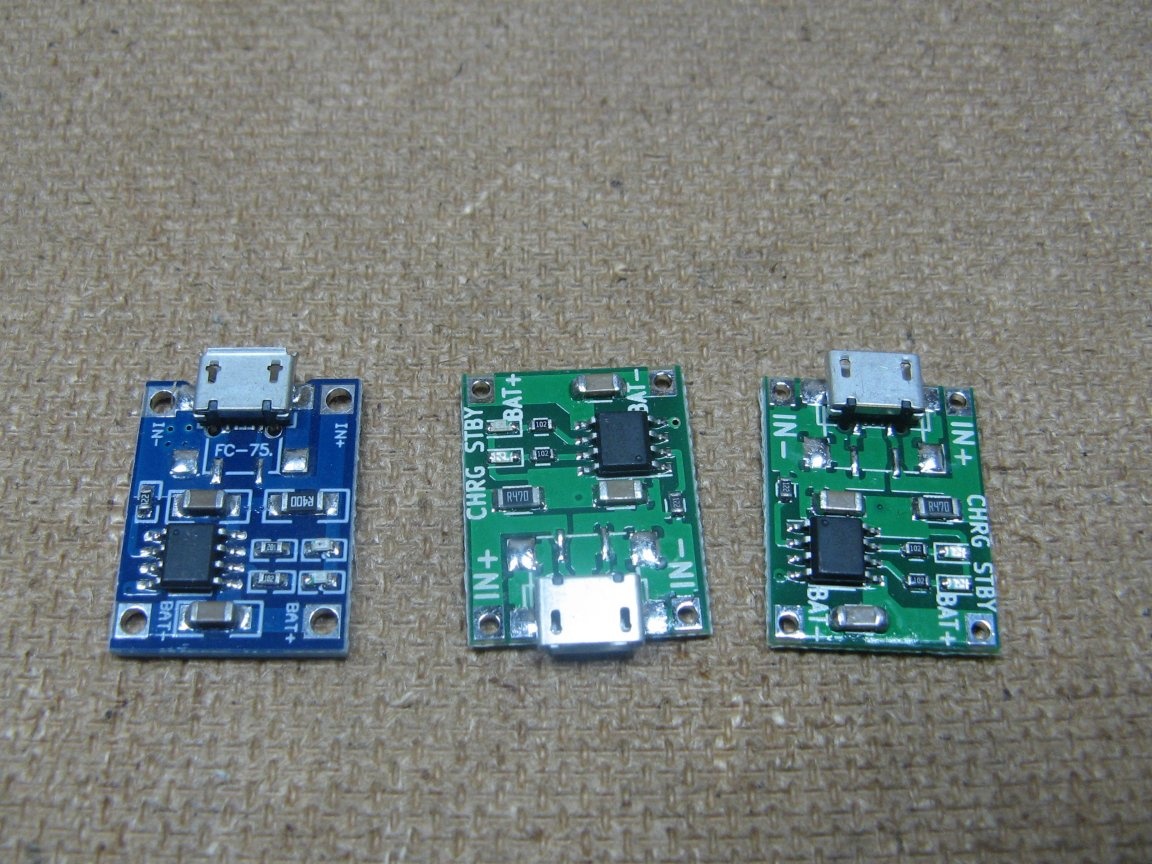
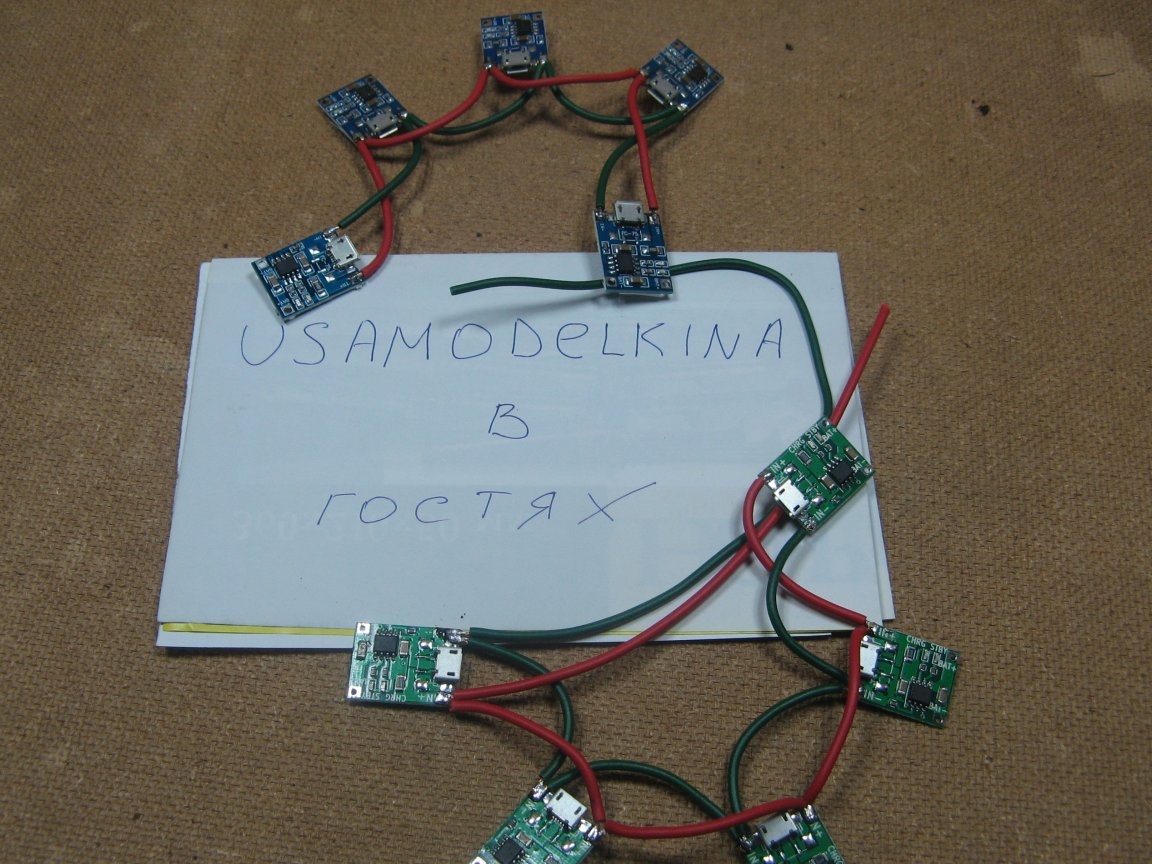
Ready-made controllers from China, assembled on the TP4056 chip. The boards are cheap and reliable.
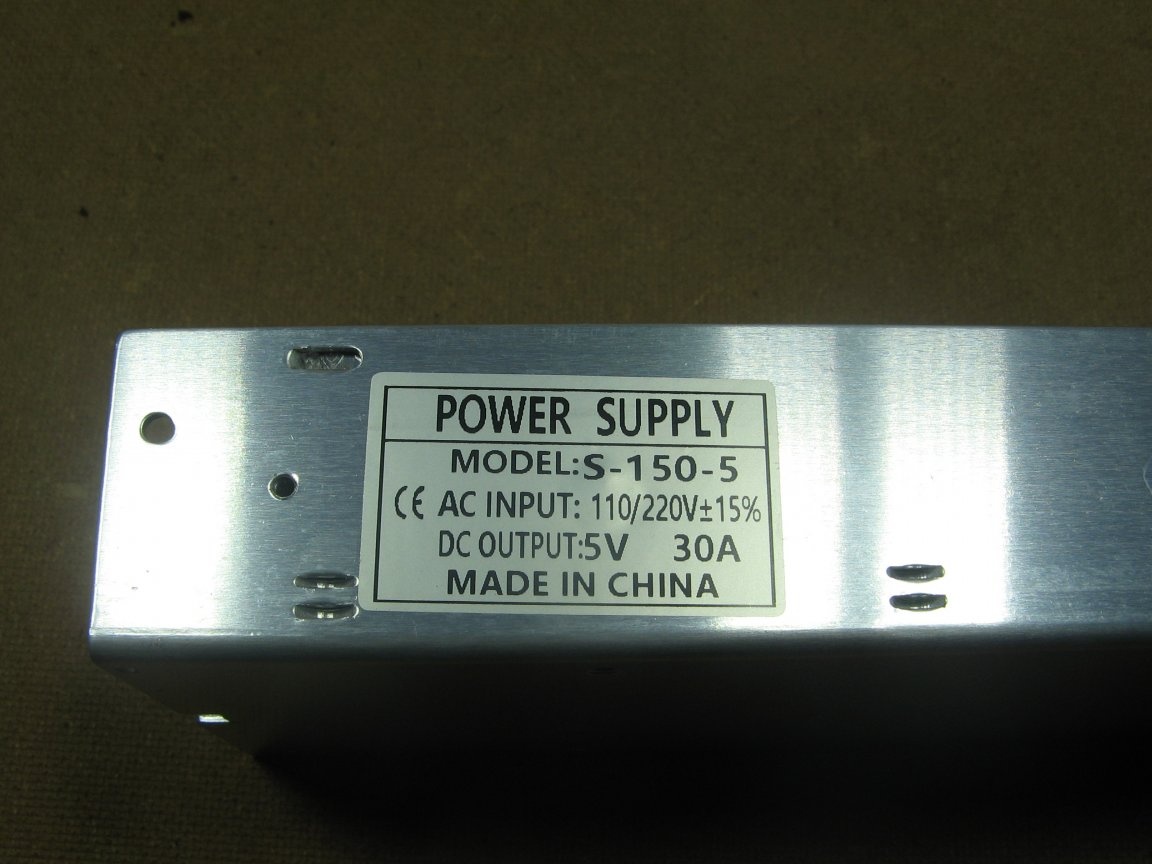
As an external power supply, a ready-made 5V / 30A unit is used.
I had a piece of double-sided tape. Let’s apply, why should he disappear.
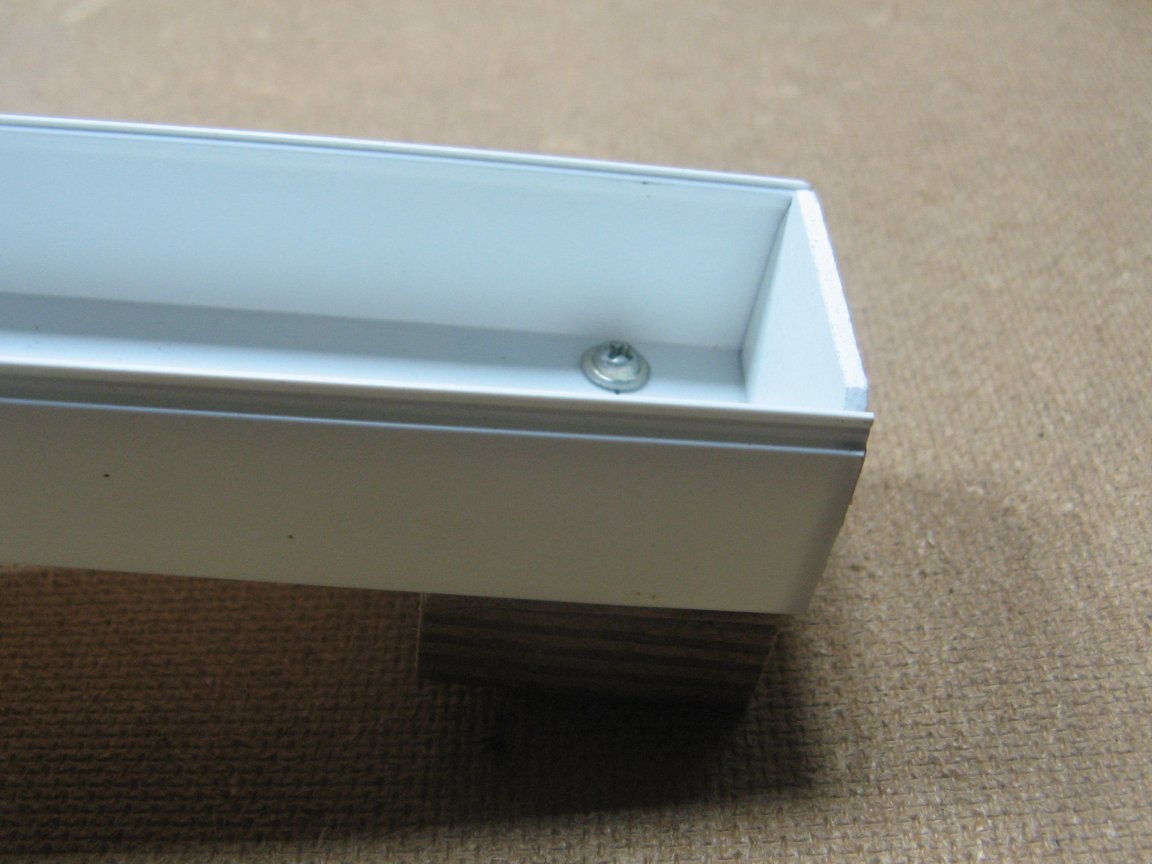
The box was available, I did not have to buy. Applicable. The cut was just enough.

Assembly.
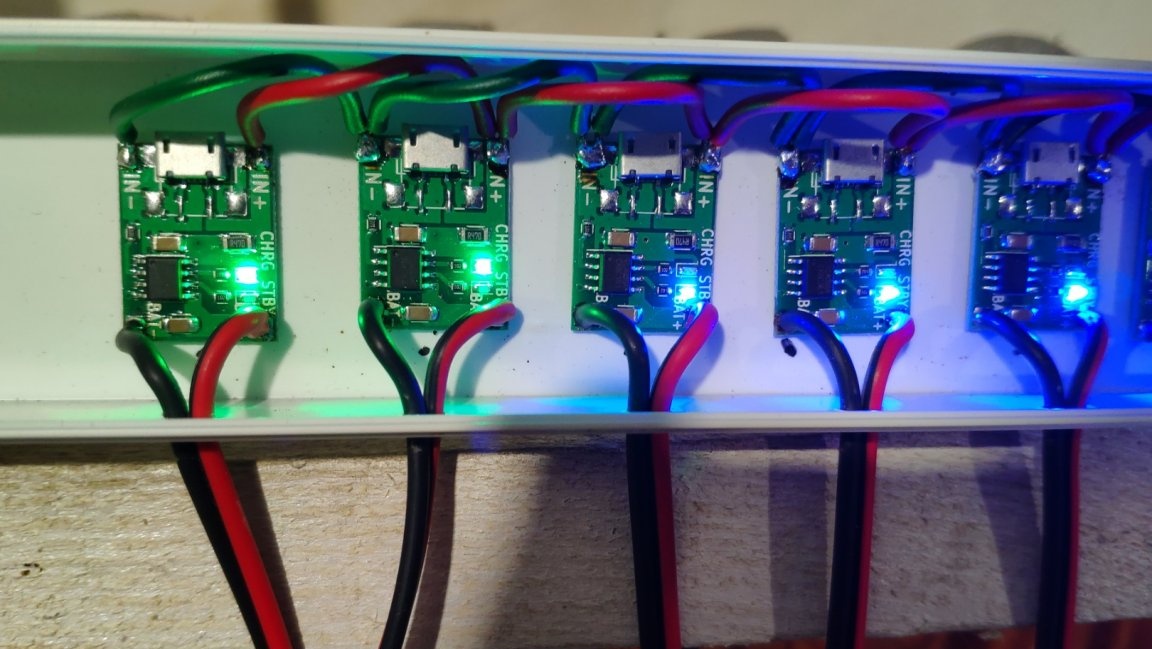
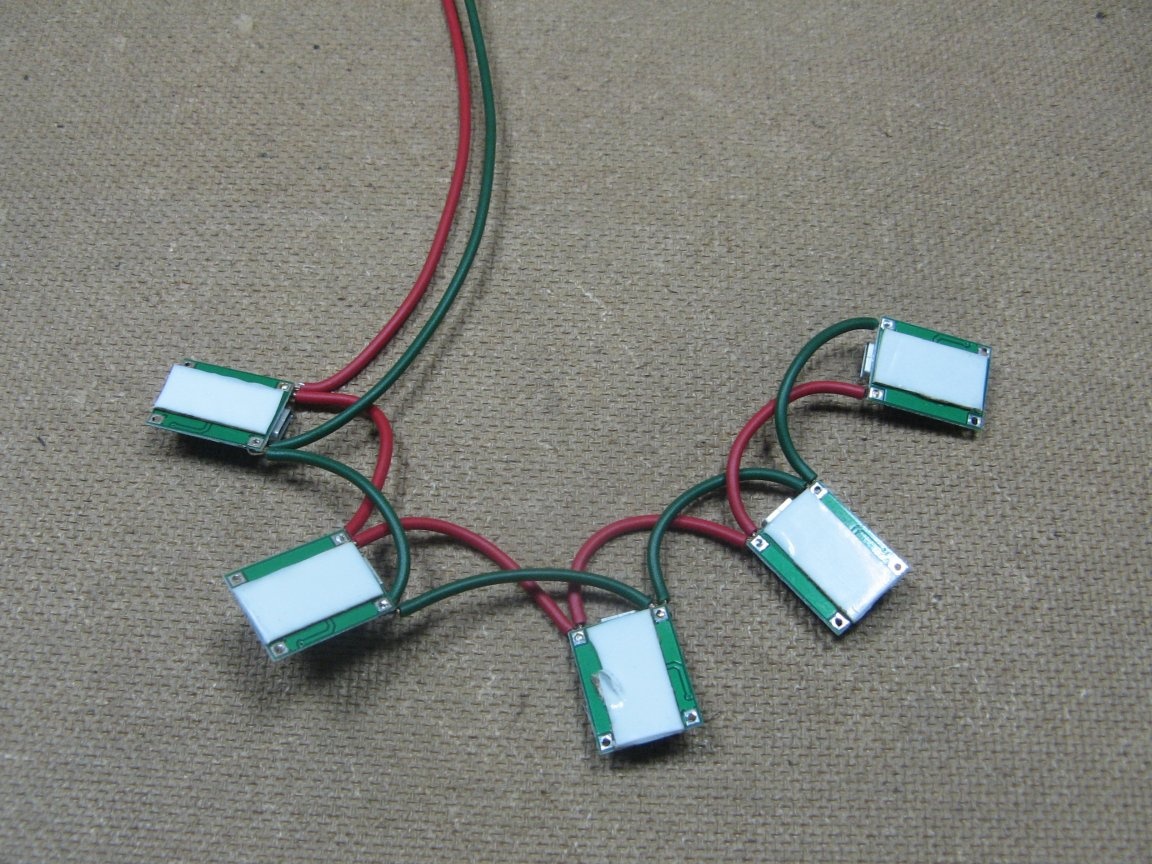
The first thing I solder the controllers into a cell of five pieces. I found this amount optimal. It is convenient to work with short cells and the wire will not be overloaded.
On the box I mark out places for wires. I will drill holes. Only 25 pieces, respectively, there will also be 25 controllers.
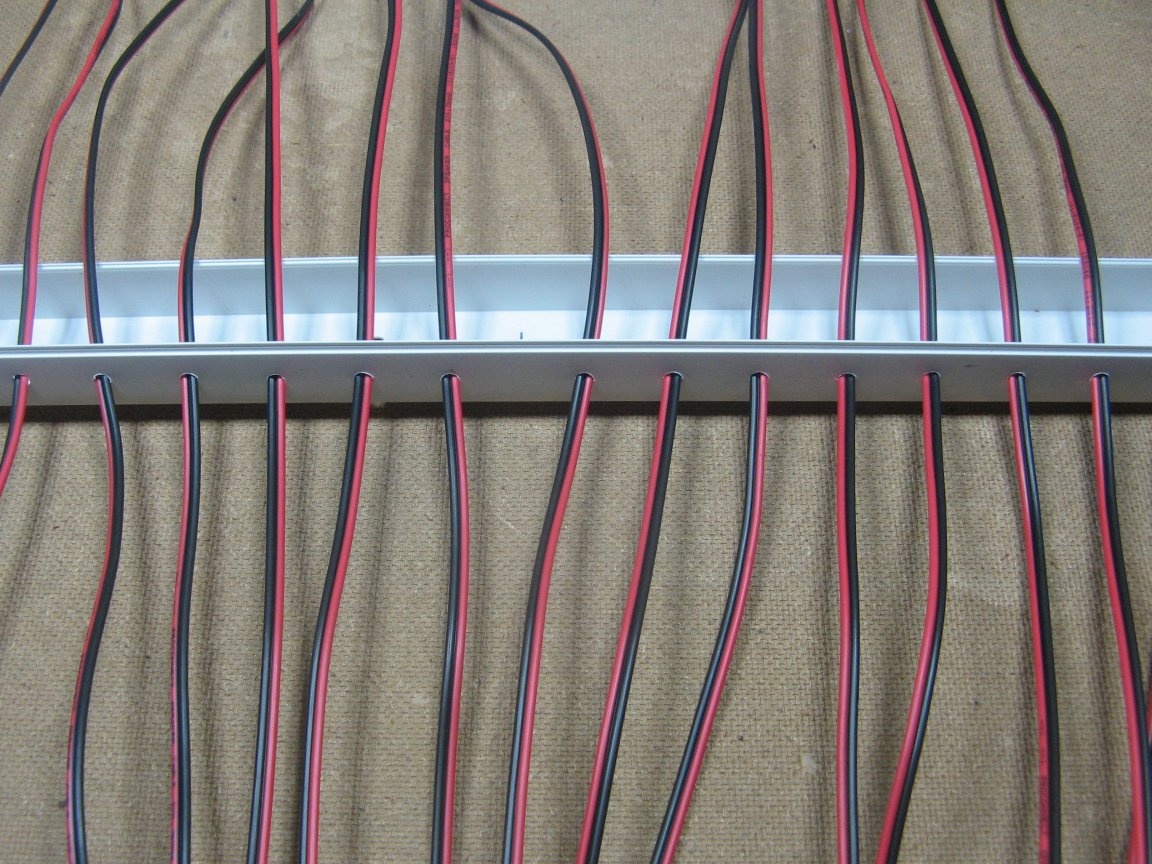
Plant wires in the holes.
On the controllers glue tape.
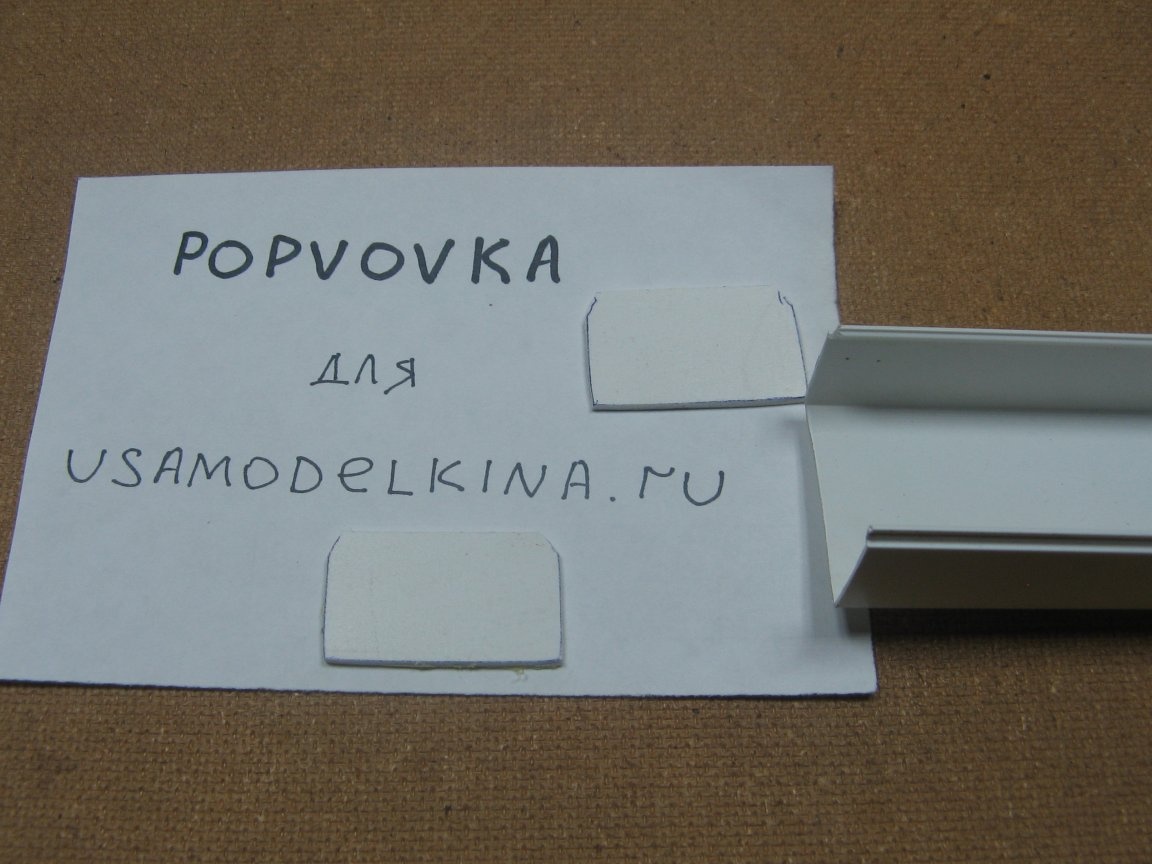
I almost forgot about the stubs. They were cut out of plastic sheet.
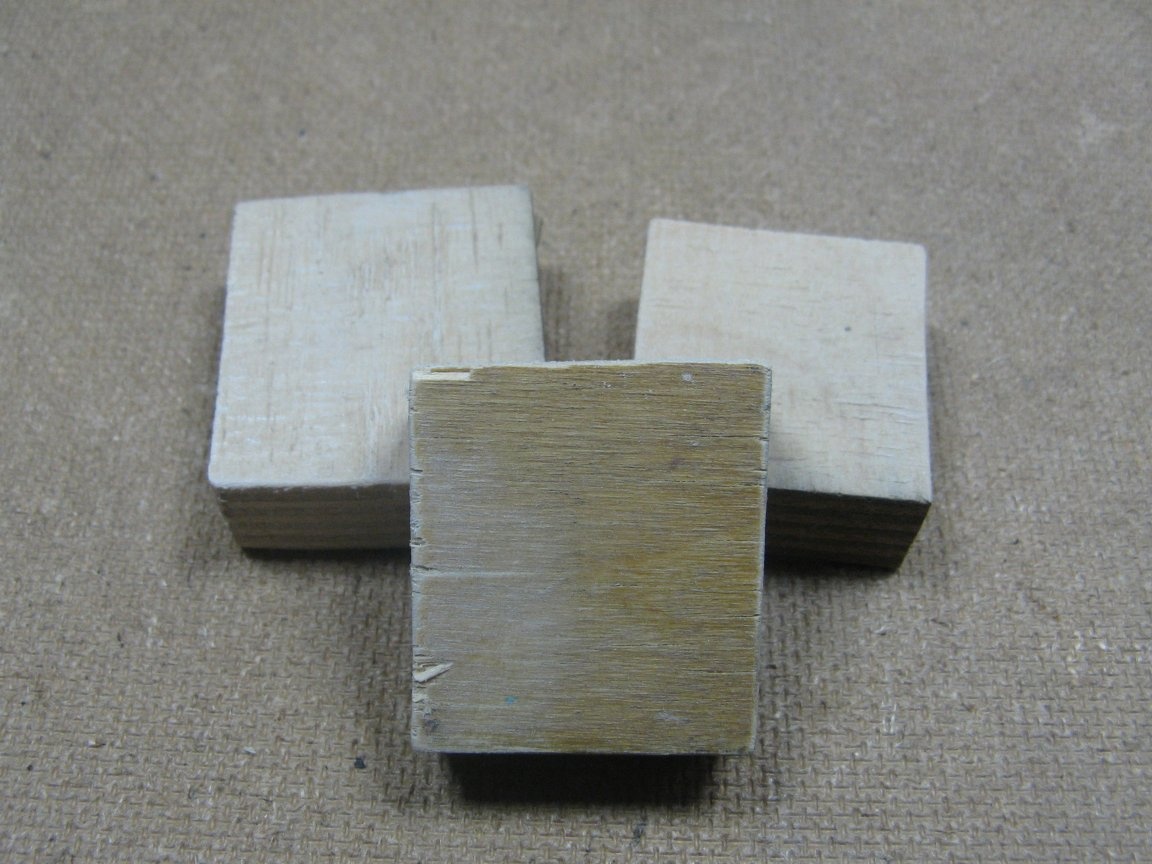
Also carved wooden coasters. They serve as supports when mounted on a wall.
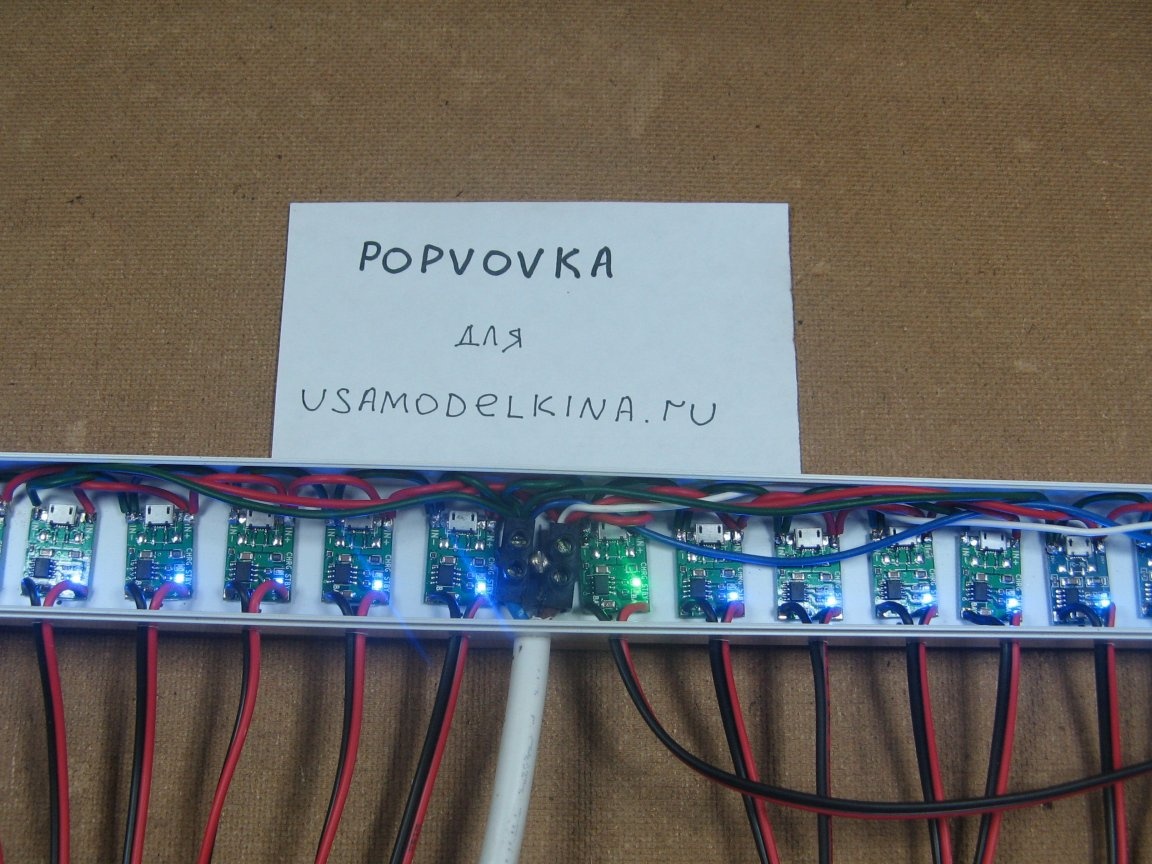
I solder the output wires, with connectors, to the charge controllers. I connect an external power supply. You need to check the LED switching mode when charging. To simulate weapons, assembled a test "module". It consists of an element of the 18650 format and a reciprocal socket. I connect. So I check all the controllers.
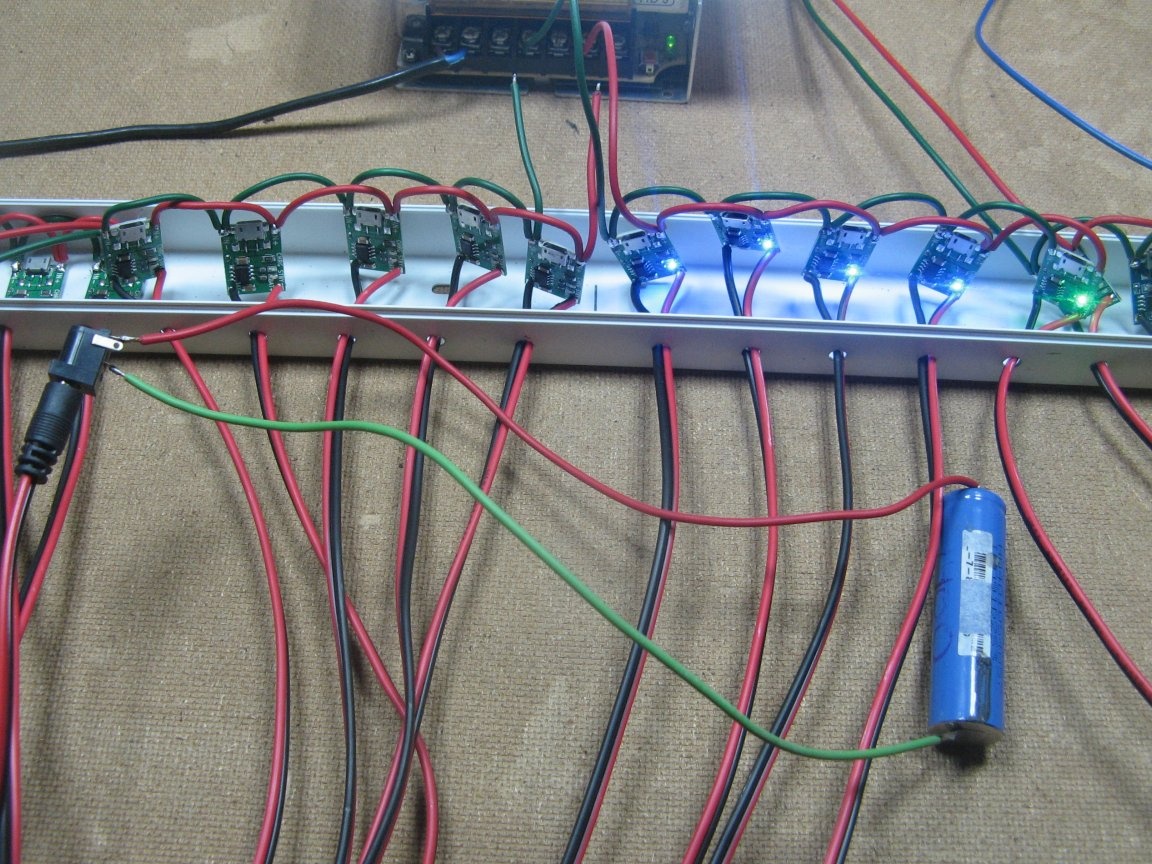
I stick all the controllers. I solder the supply wires in parallel.
I connect the wires to the block. The input cable will be 2 * 2.5, about one meter long. Once again I check the operation of all the controllers.
Glue stubs on super glue. I fasten wooden supports to the box.
I will make a hole in the stands to attach the charge to the wall, if necessary.
It looks like the collected charge, it turned out compact.
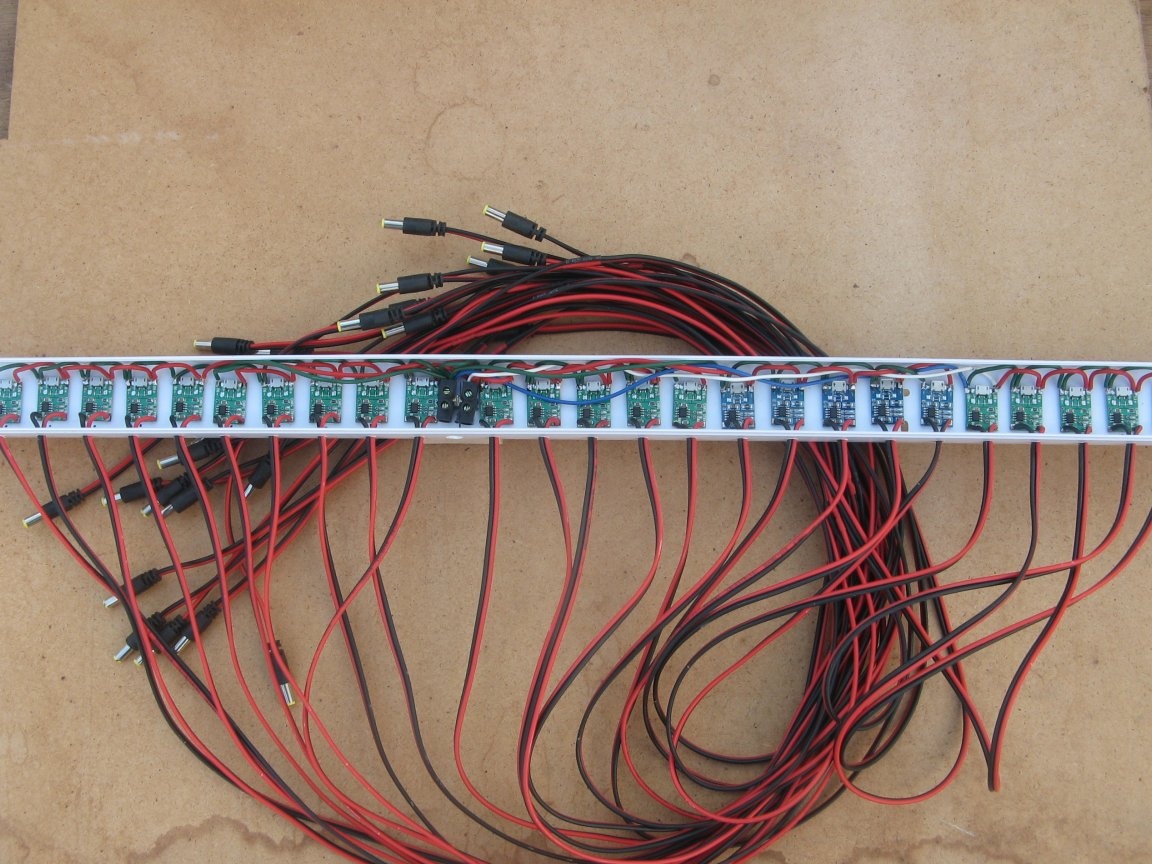
This is how the device looks in human work.
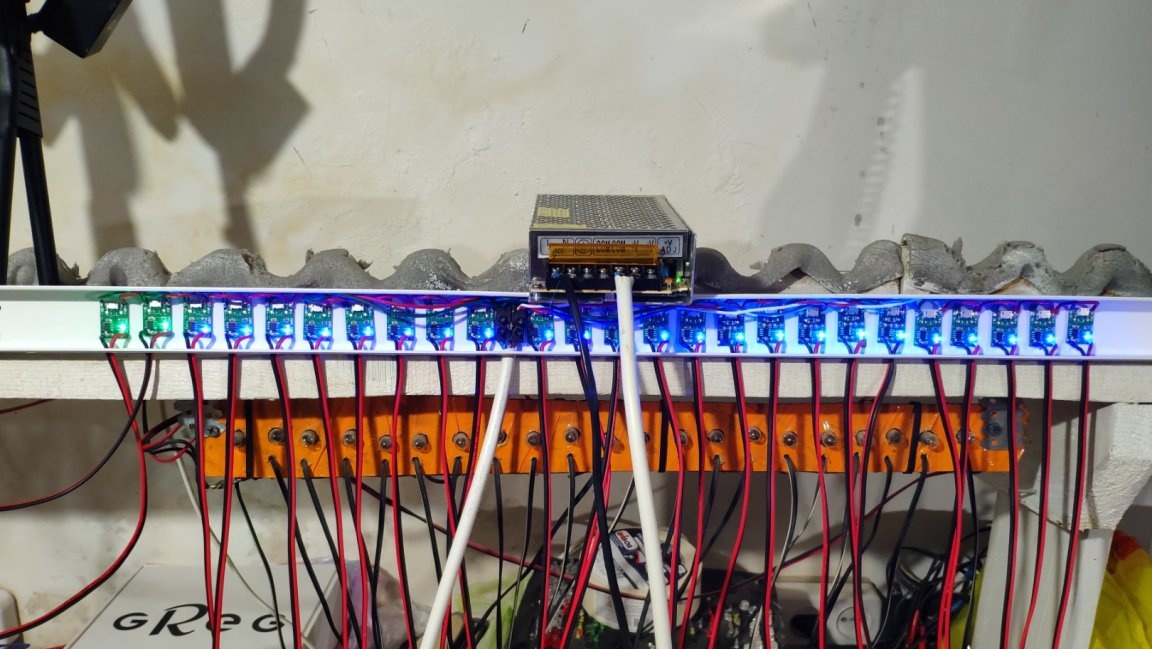
Here is a charger turned out. He has been working for more than a week. Everything is fine.
Assembly video: