
I welcome all fans to craft, I propose to consider instructions for making a simple walnut do it yourself. With help homemade the author easily peels a hazelnut. Homemade work can be powered by manual force, but it is long and tiring, so it is better to use a drill or screwdriver. Everything was collected quite simply from the available materials, the author made a working body from ordinary nuts. All other parts are easy to find, these are steel plates, bolts and nuts, and other ferrous metal. The homemade product is adjusted to a specific diameter of nuts, it can be adjusted so that the nuts are compressed in an optimal way. If the project interests you, I propose to study it in more detail!
Materials and tools used by the author:
Material List:
- nuts for the crushing wheel;
- bolts, washers;
- sheet steel and plates;
- thin sheet metal for the neck;
- a round log for a working axis.
Tool List:
- grinder;
- welding machine;
- drill or drilling machine;
- vise;
- roulette;
- marker;
- vernier caliper;
- whetted;
- powerful soldering iron;
- paint for metal.
Homemade manufacturing process:
Step one. We make the impeller
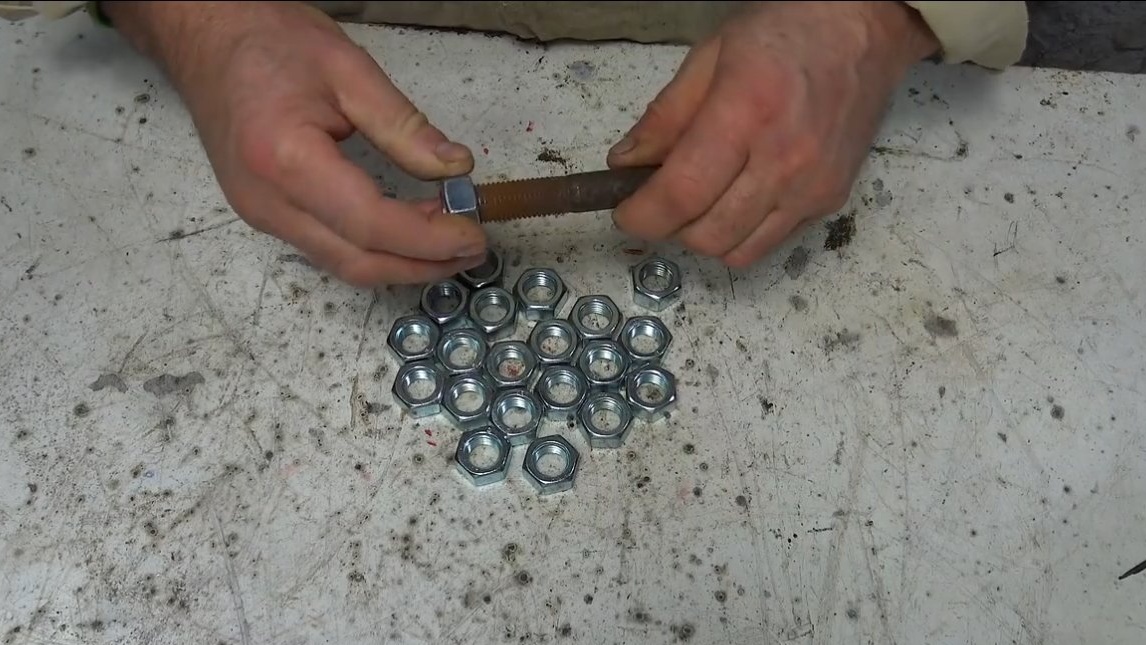
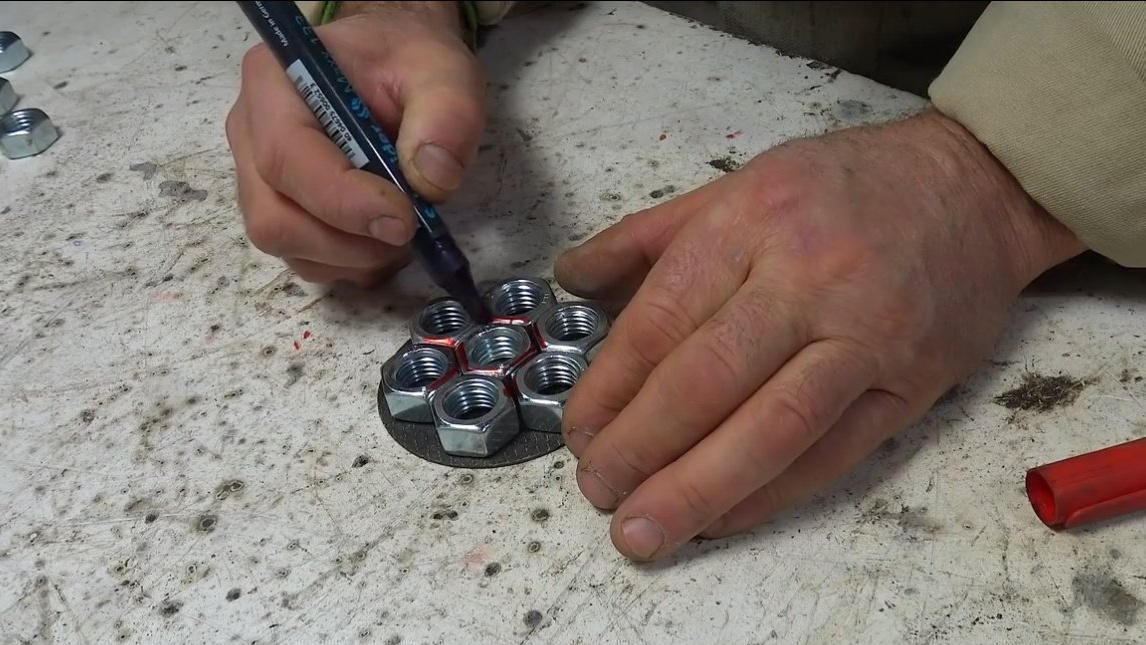
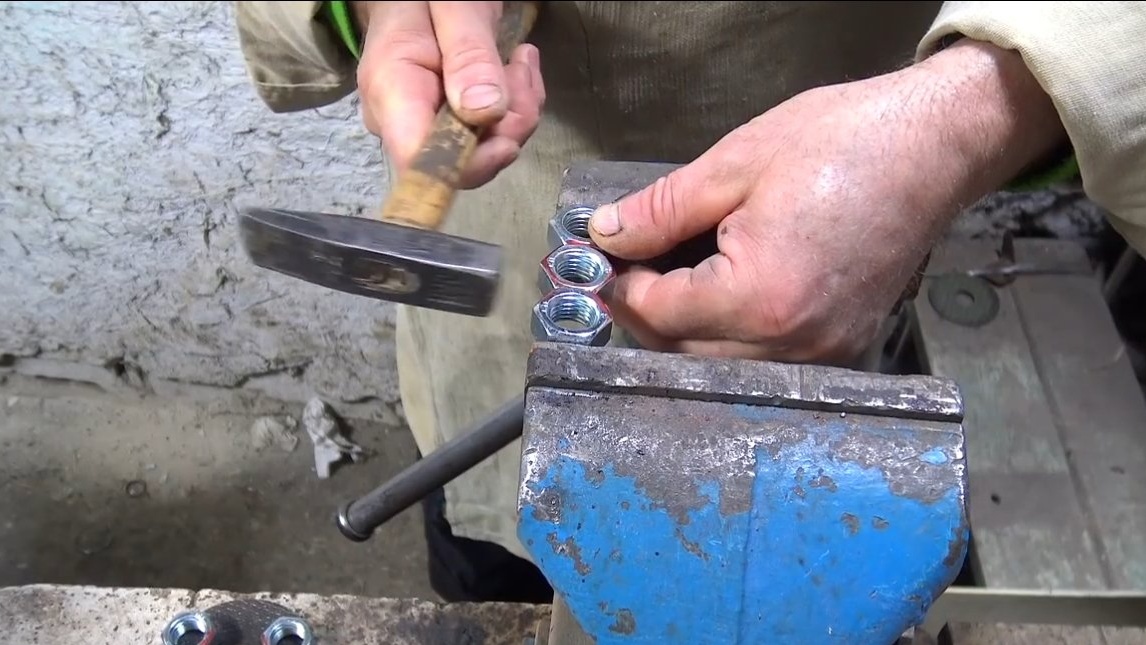
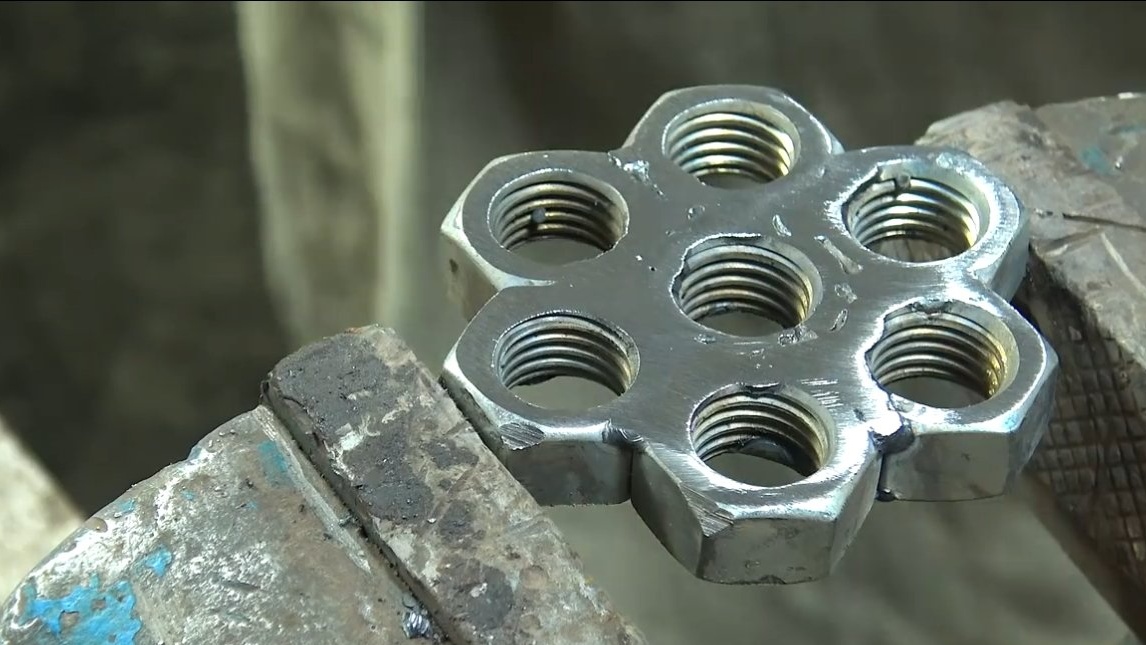
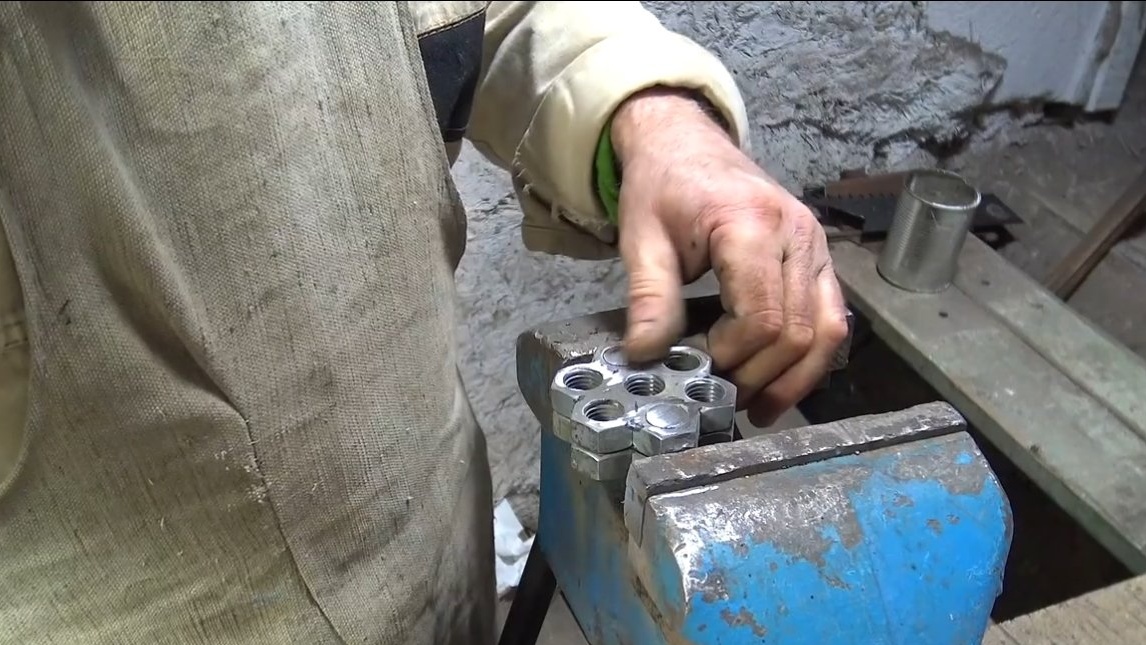
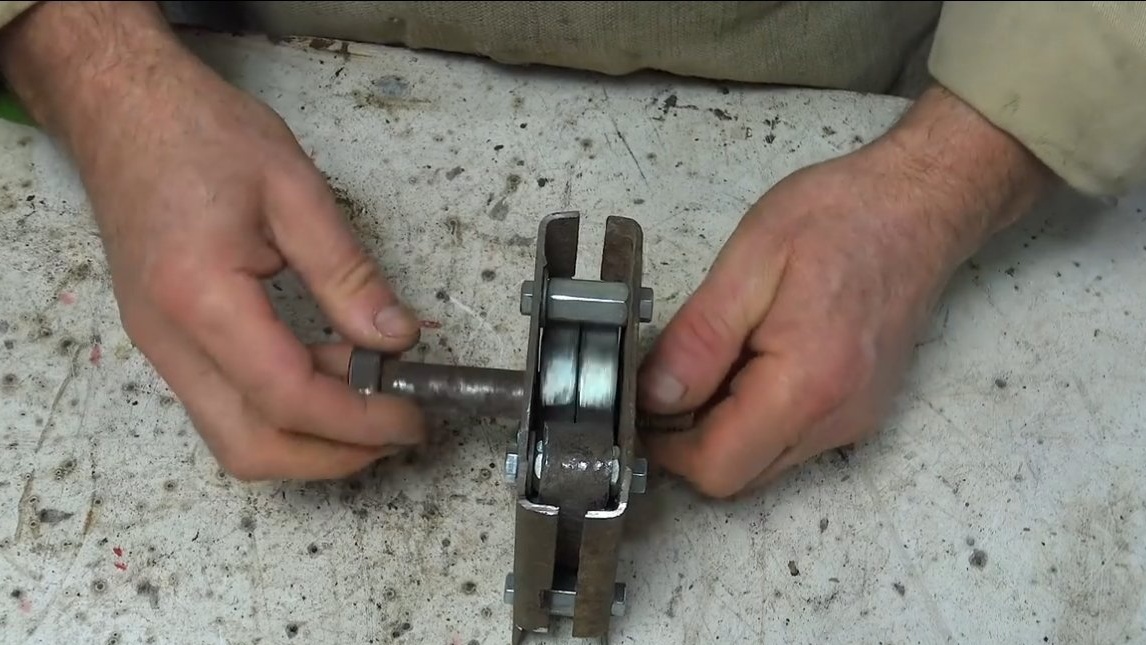
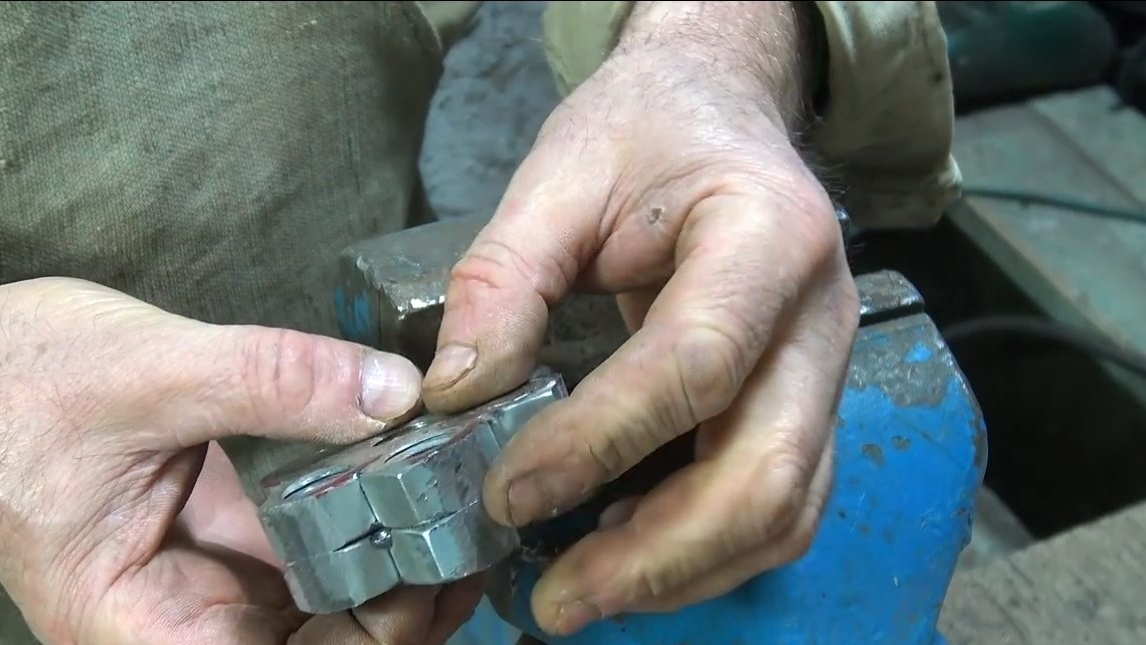
First of all, we will make the impeller, which will crush the nuts. Here the author used such accessible materials as nuts. In total, 14 nuts will be needed, for a start we take the first 7 nuts and weld from them a “star” as the author has in the photo. Of the remaining 7 nuts, you will need to collect exactly such a detail.
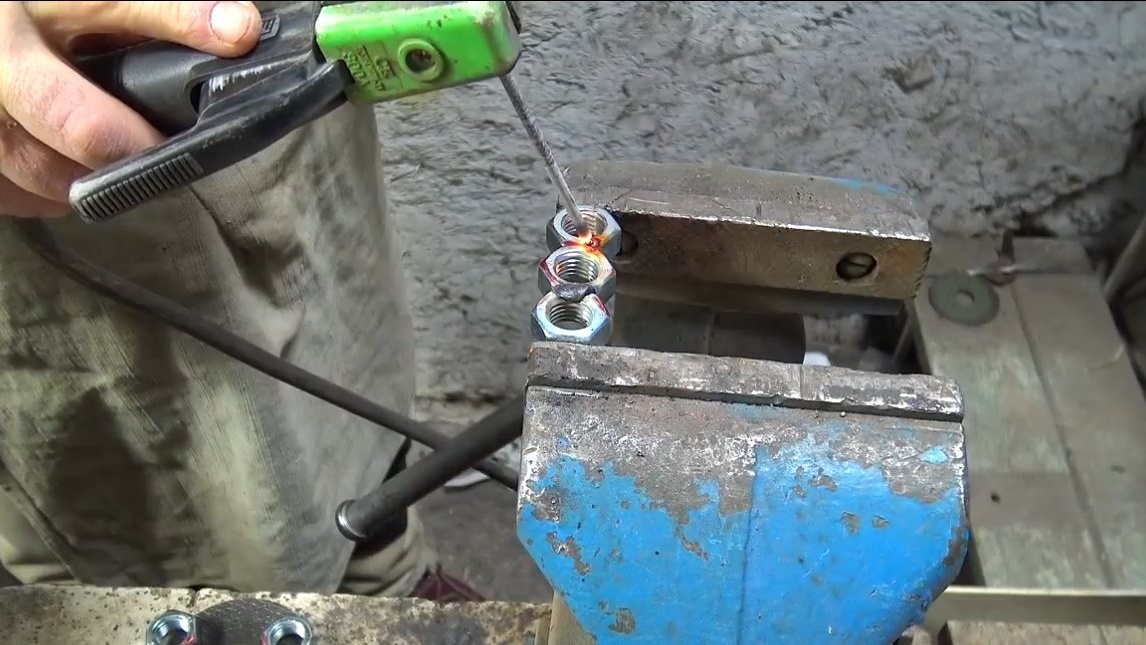
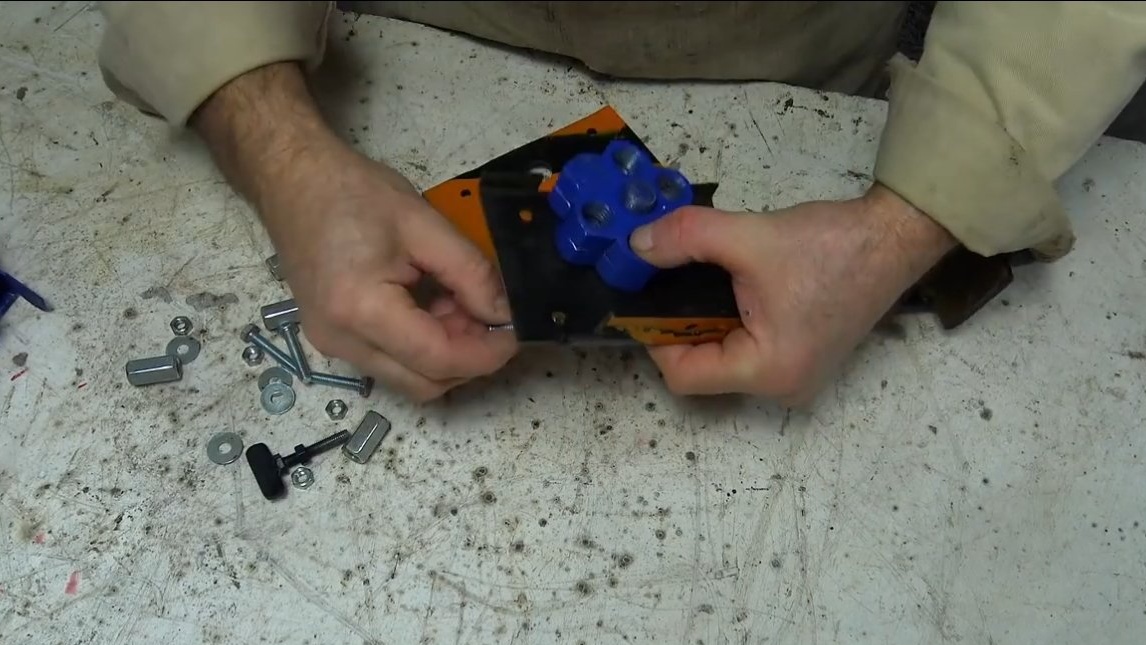
Now we unite both “stars” together, the author simply wrapped two threaded rods and boiled everything well. As a result, we get an excellent impeller, in the center of which there are two nuts for fastening to the working axis.

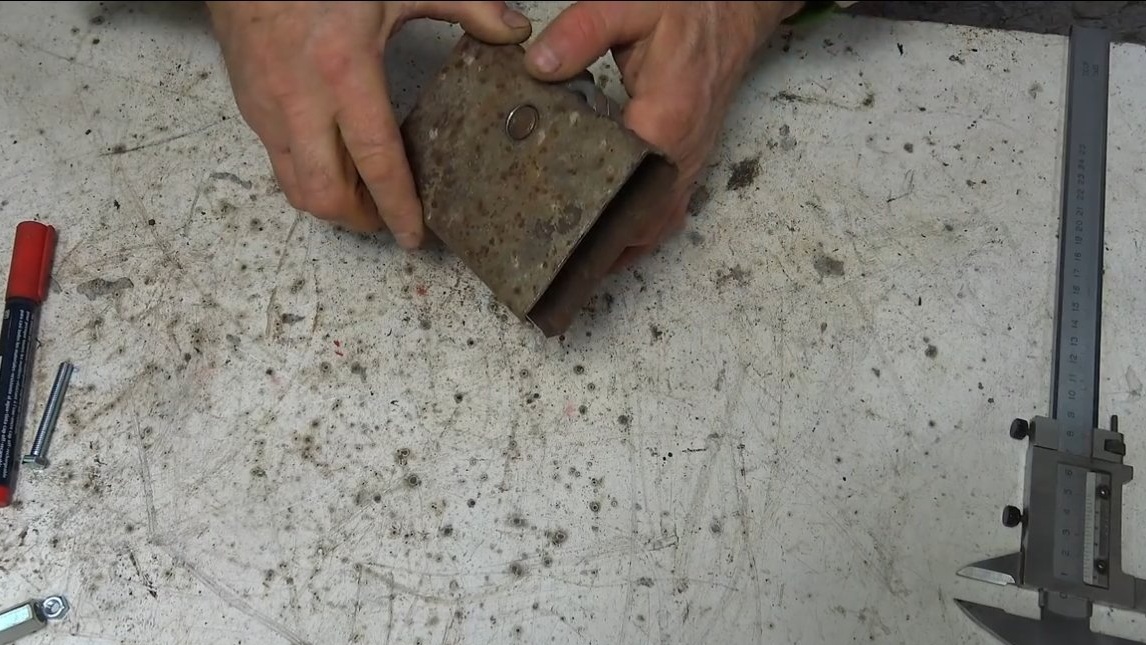
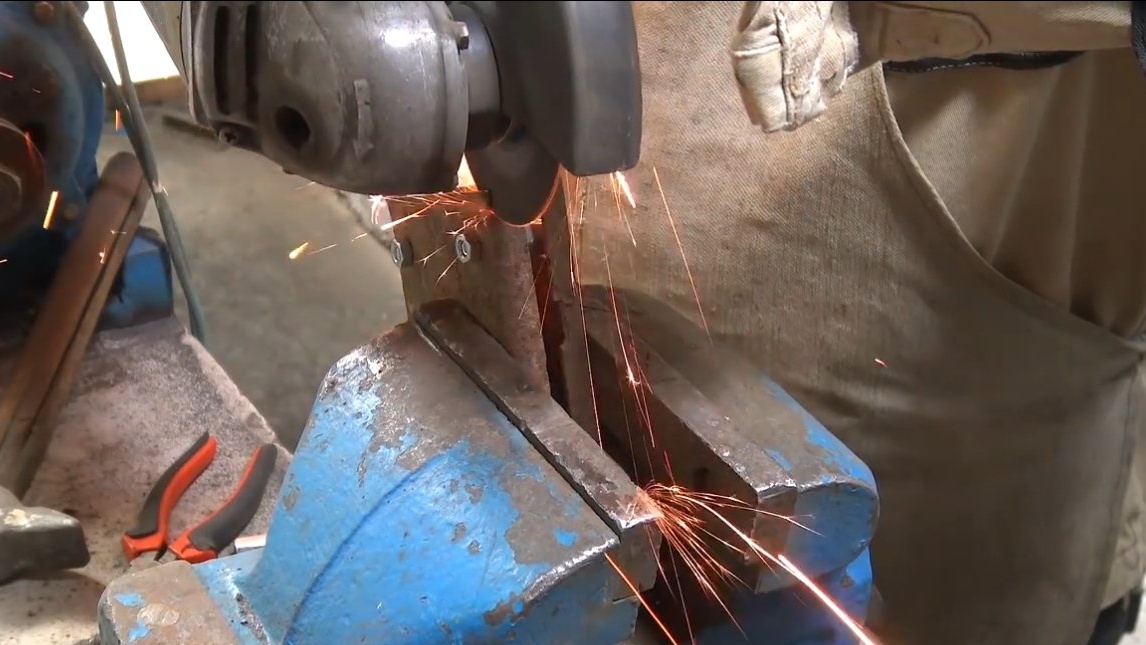
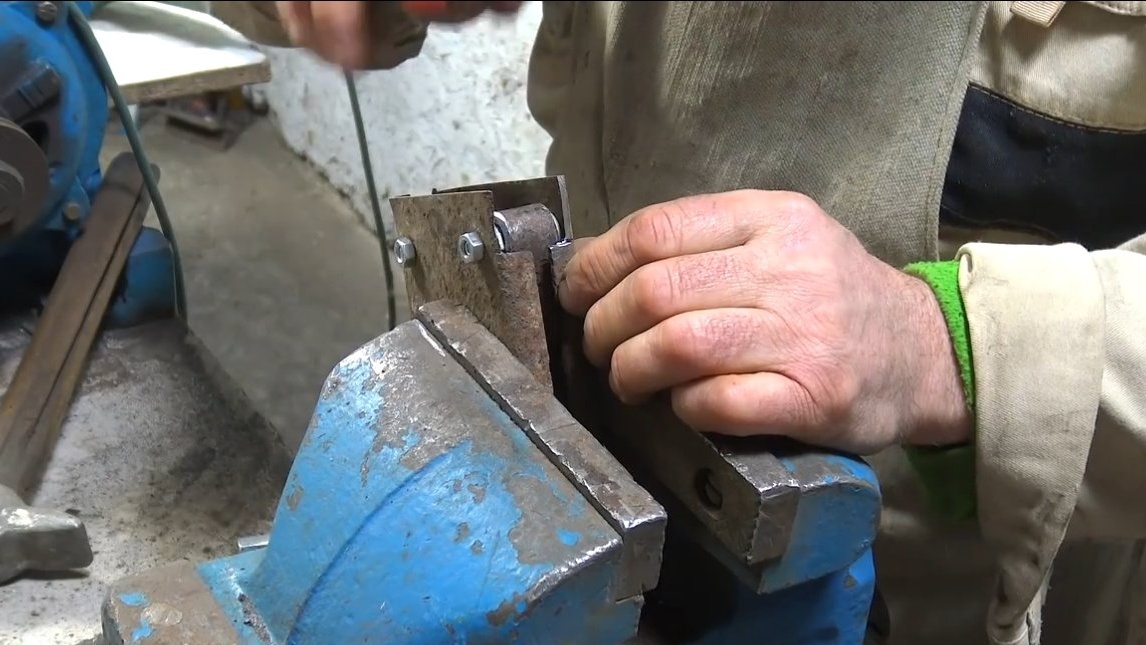
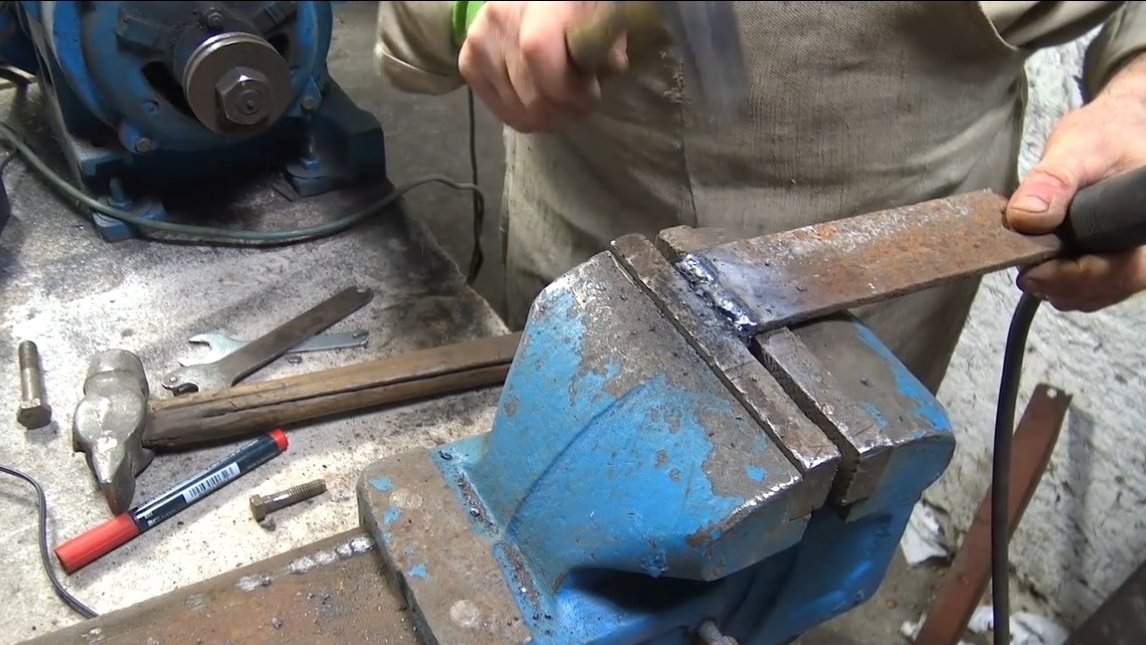
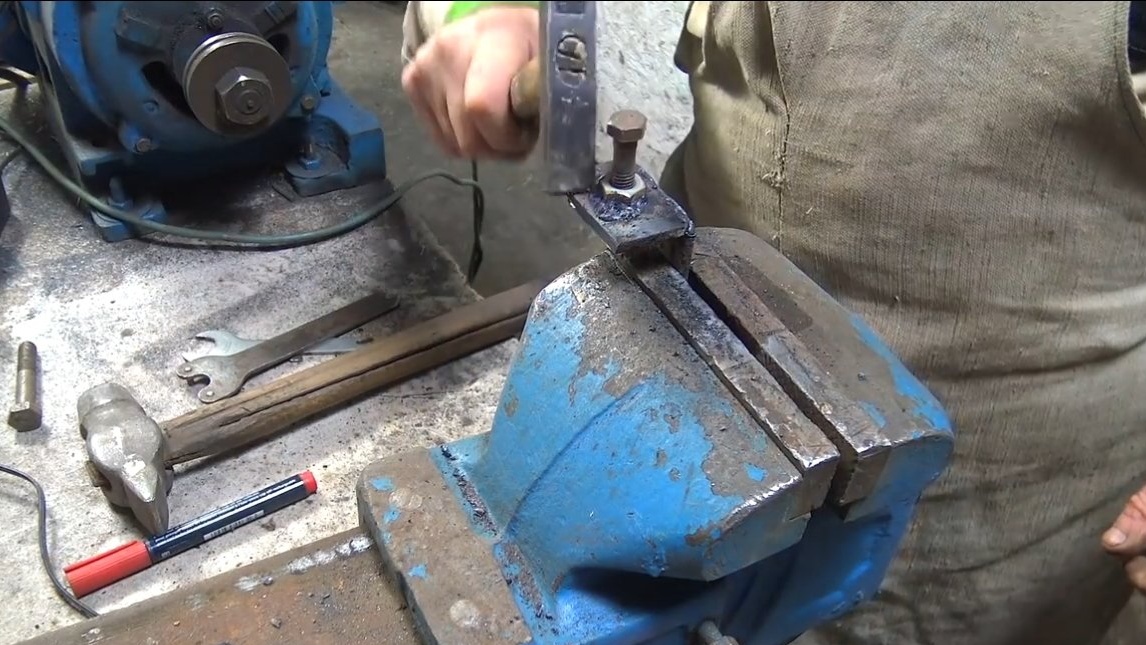
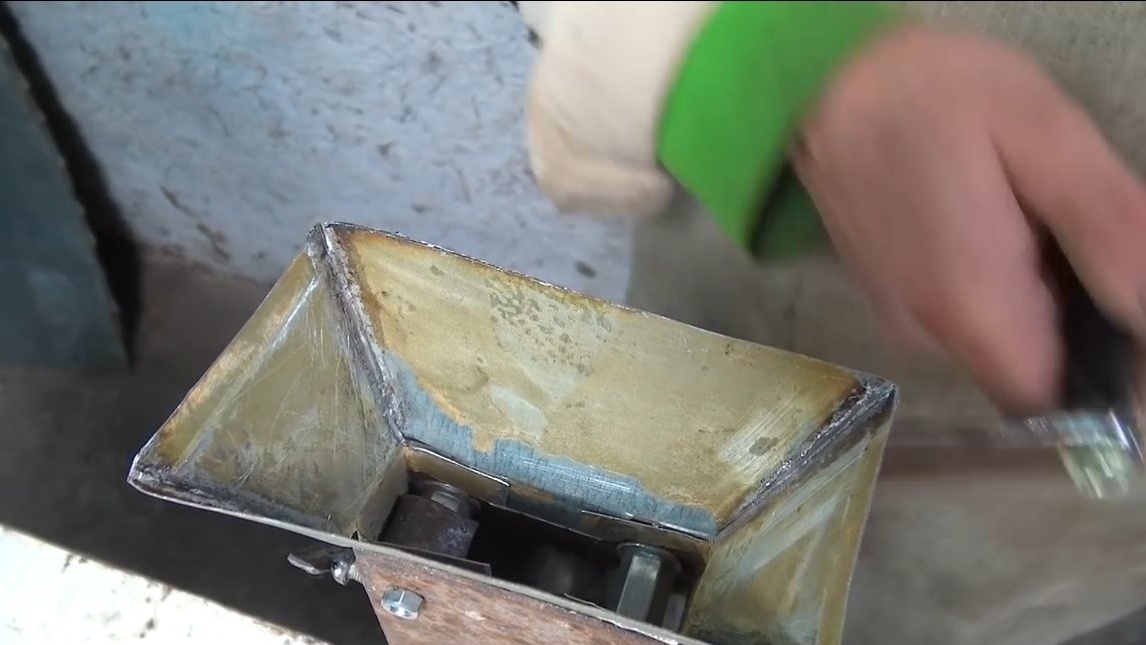
Step Two Housing
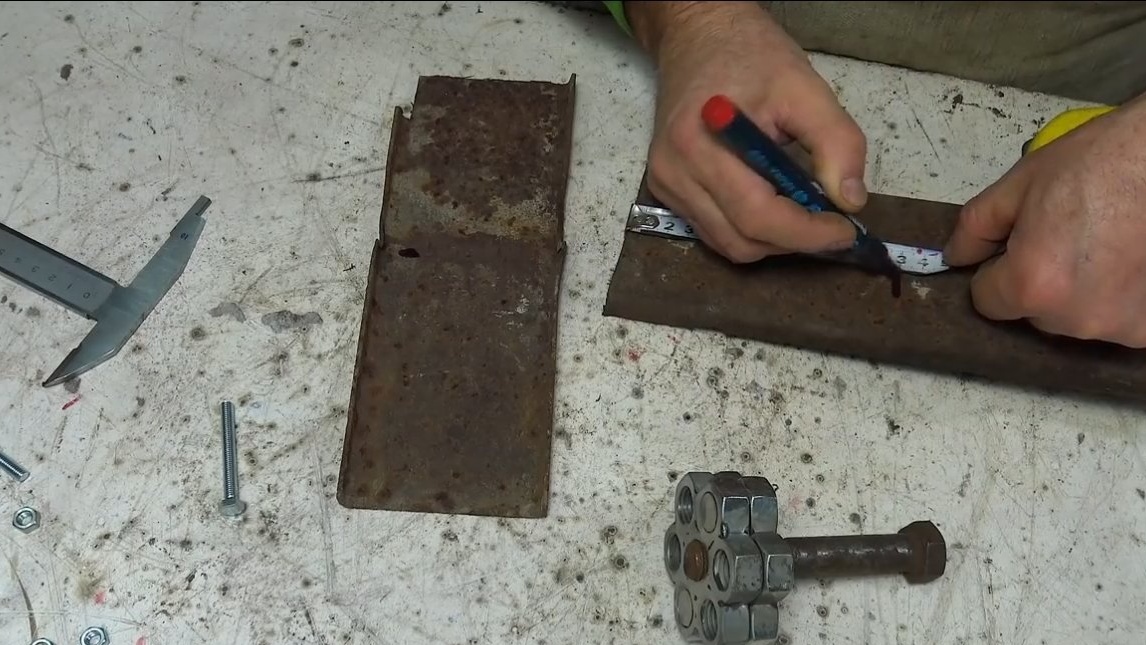
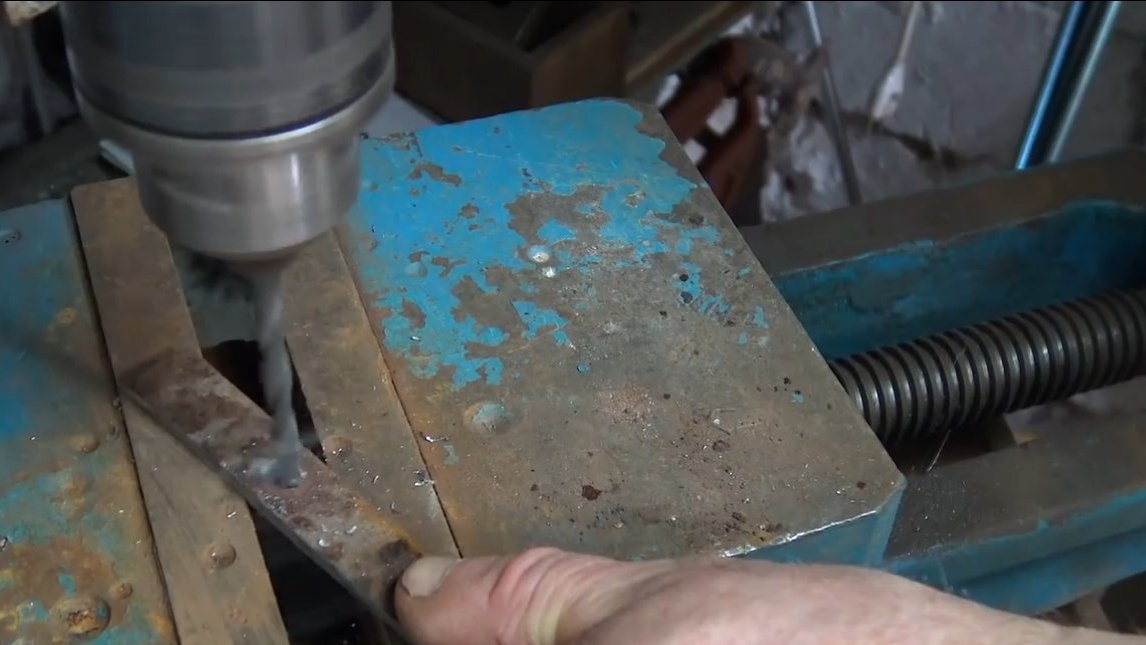
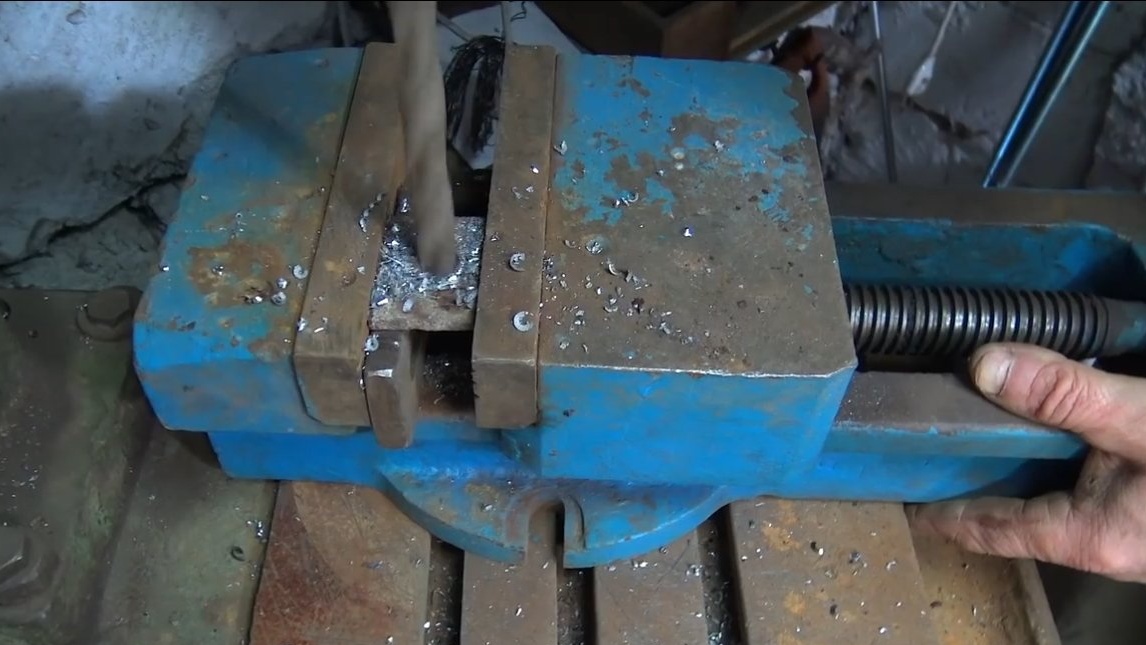
We make a case for a nut cracker, here we need a channel or sheet steel of suitable thickness, the edges of which can be bent. We cut out two identical halves and drill a hole for the main axis, as well as for fixing bolts.
To fasten the two halves together, we use bolts and the right number of nuts as spacers. You can use ready-made long nuts, cutting them if necessary to the desired length.
Of course, in order for the machine to serve longer, it would be nice to make bushings from a pipe or nuts under the working axis of the sleeve, and even better to do everything on bearings.


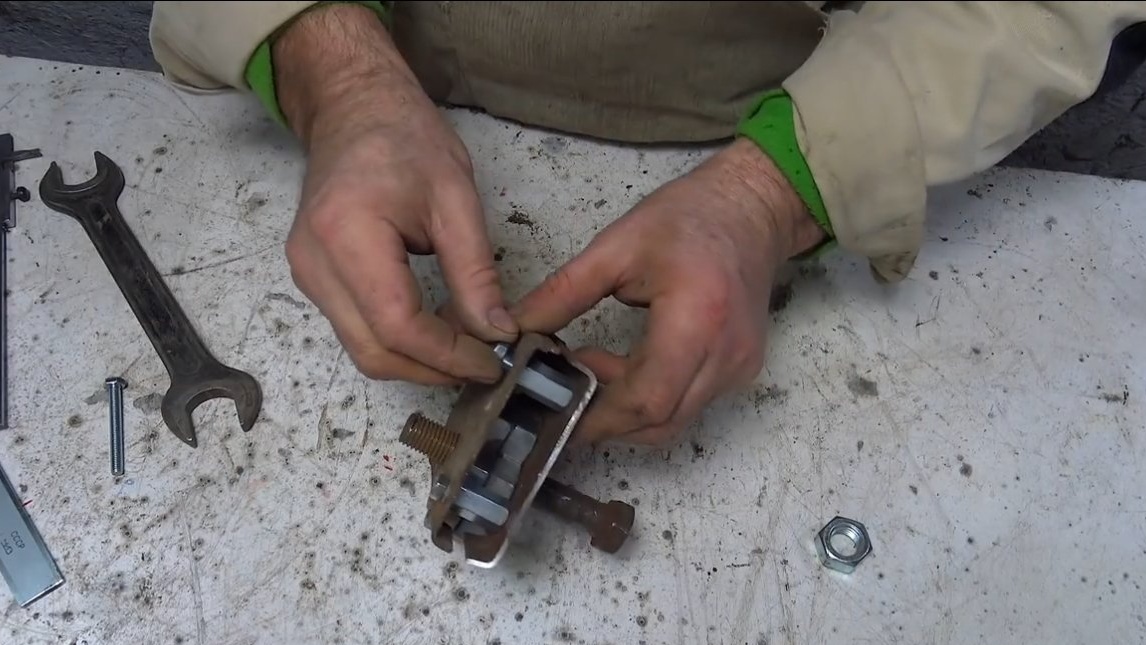
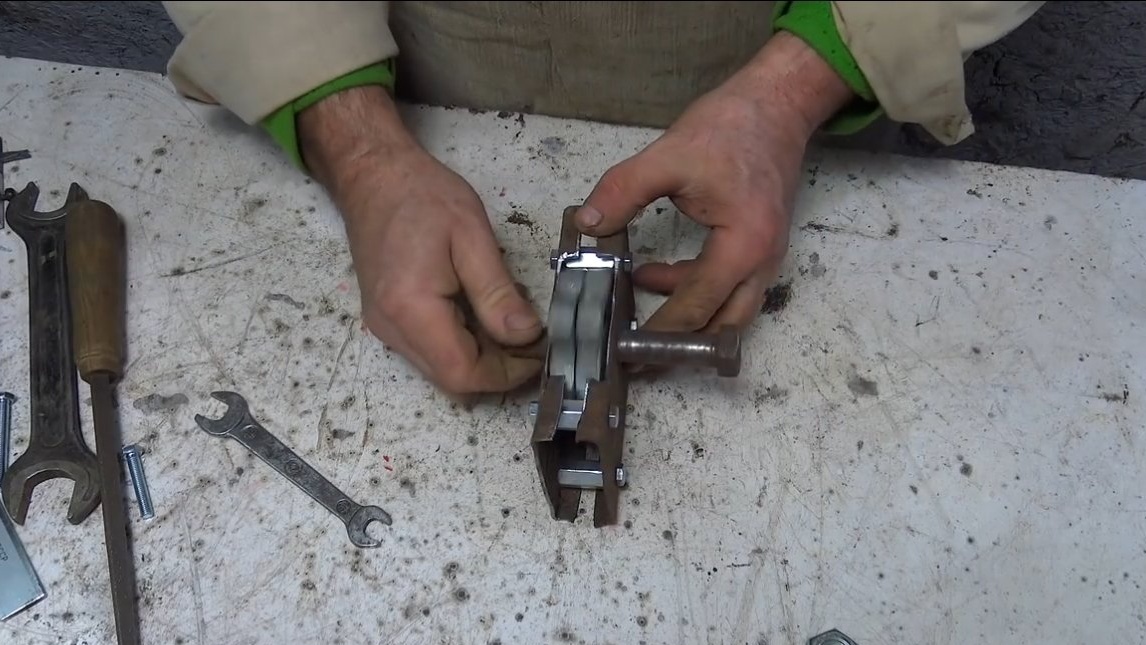
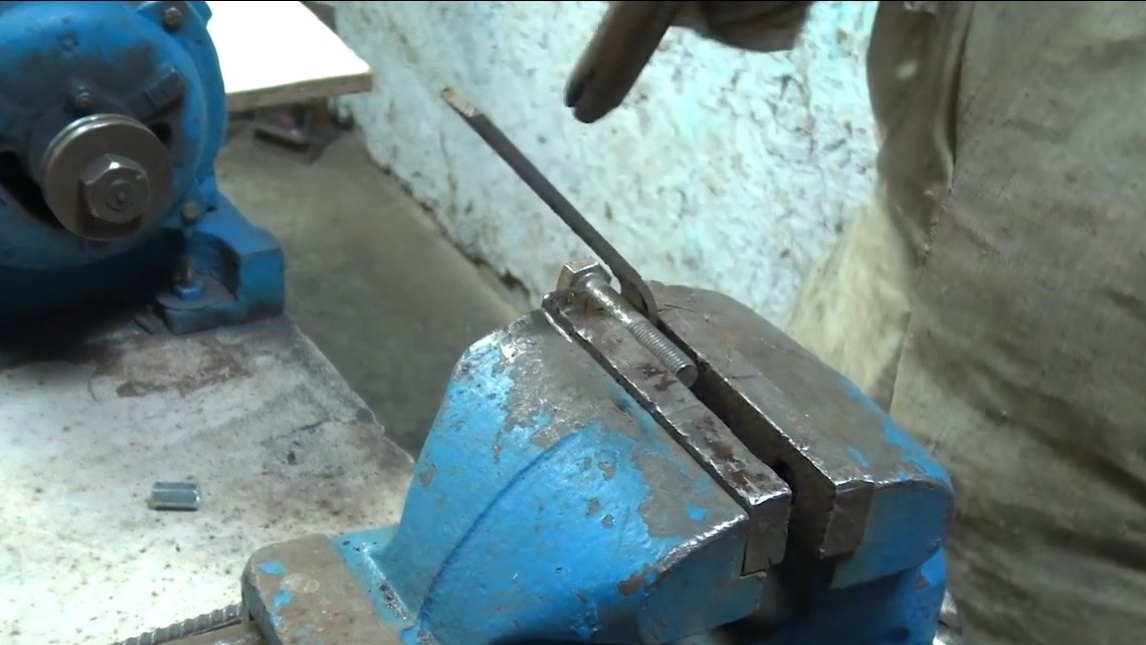
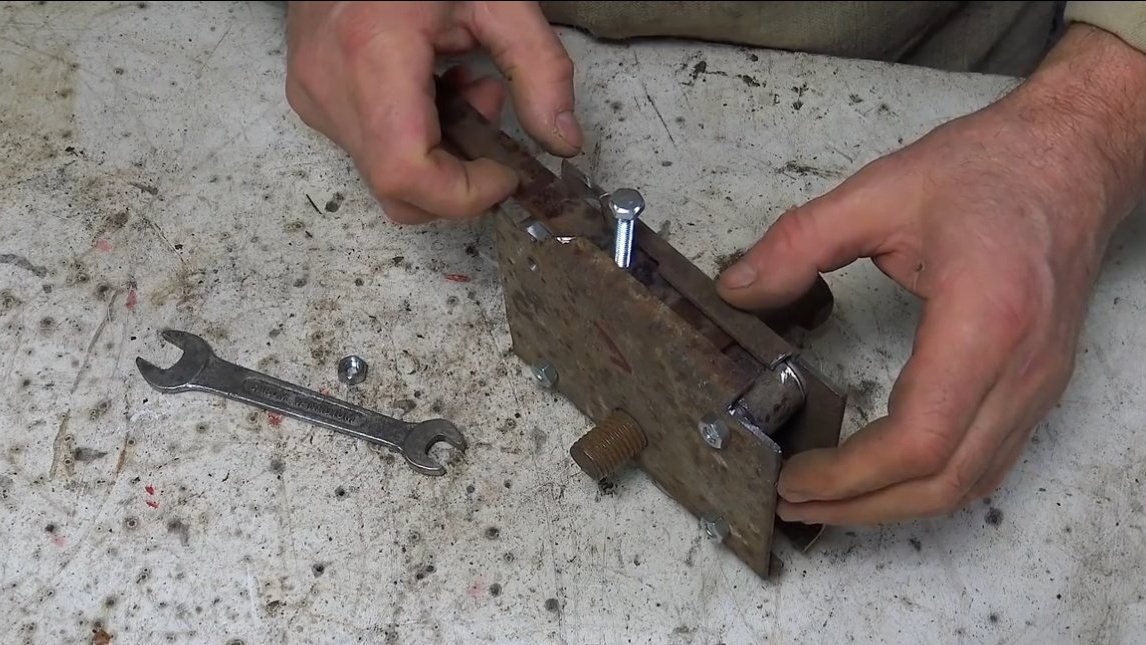
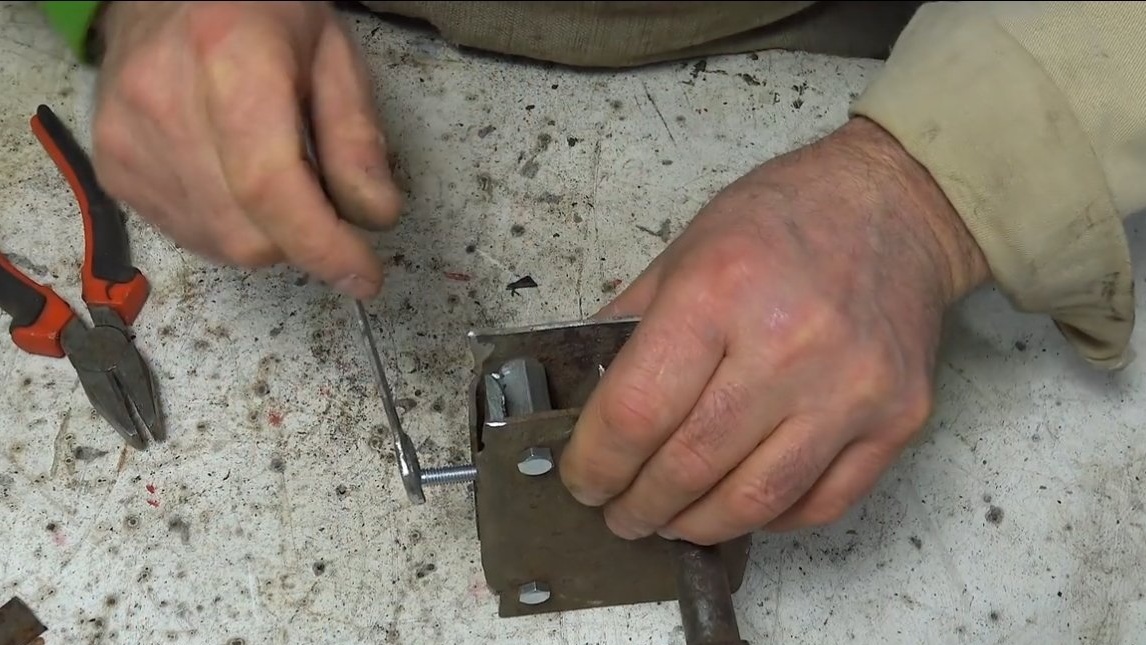
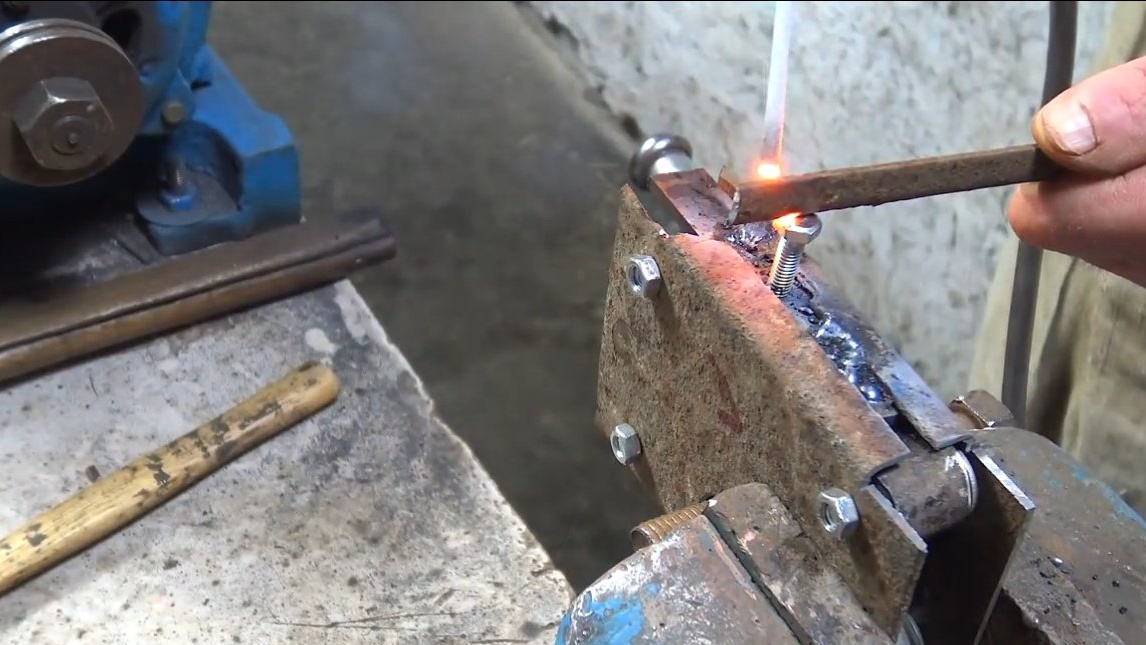
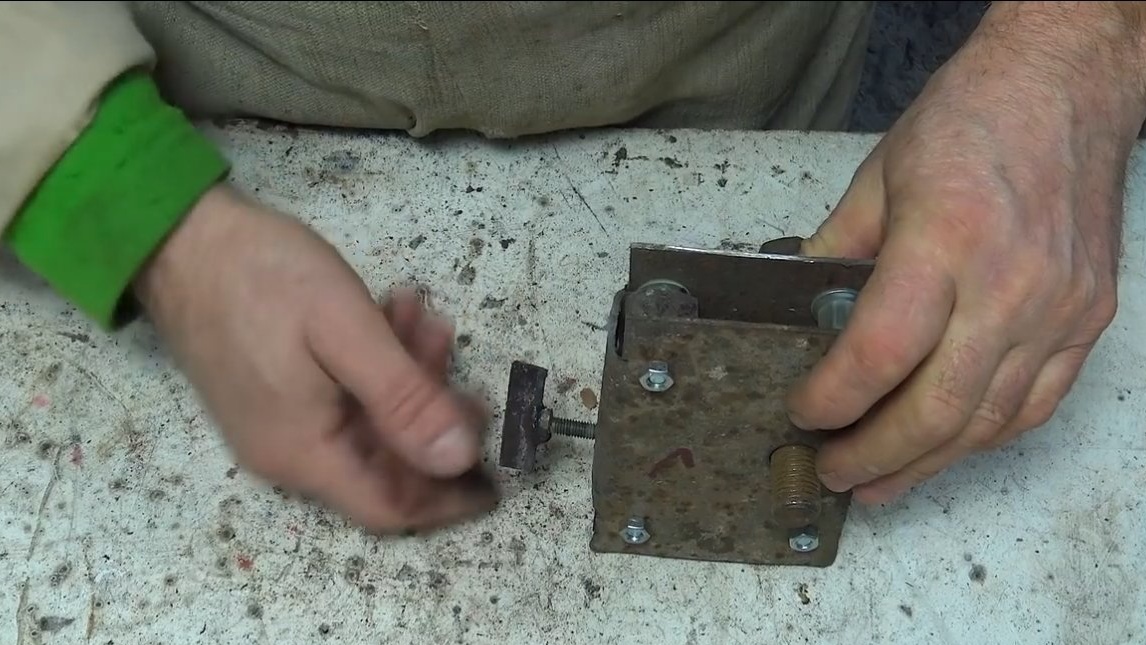
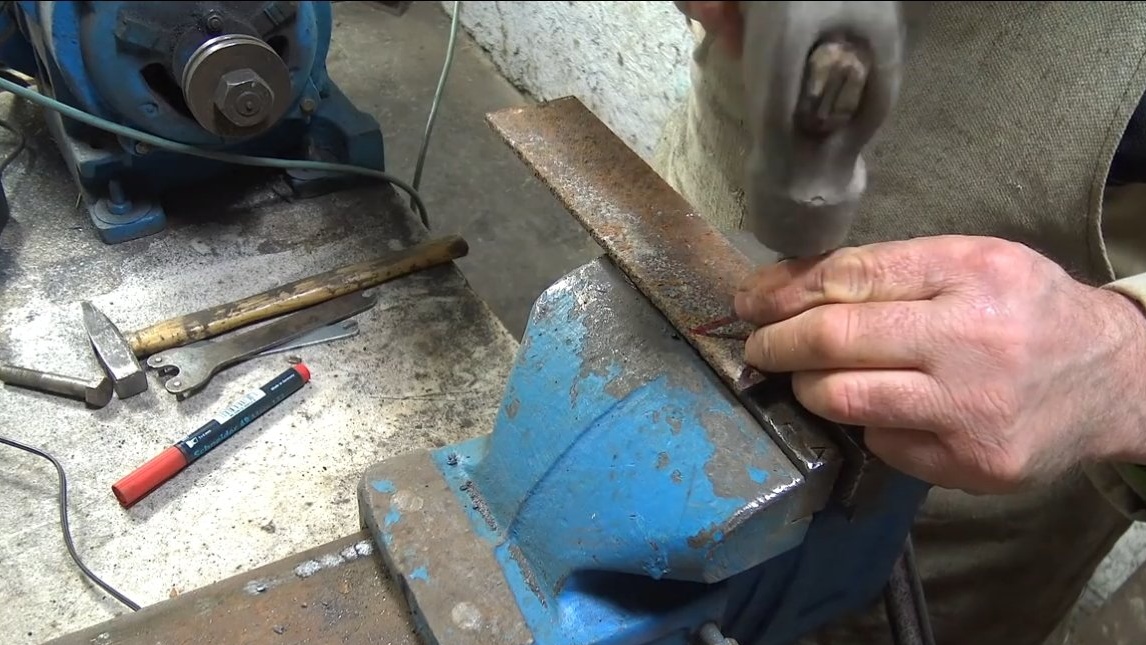
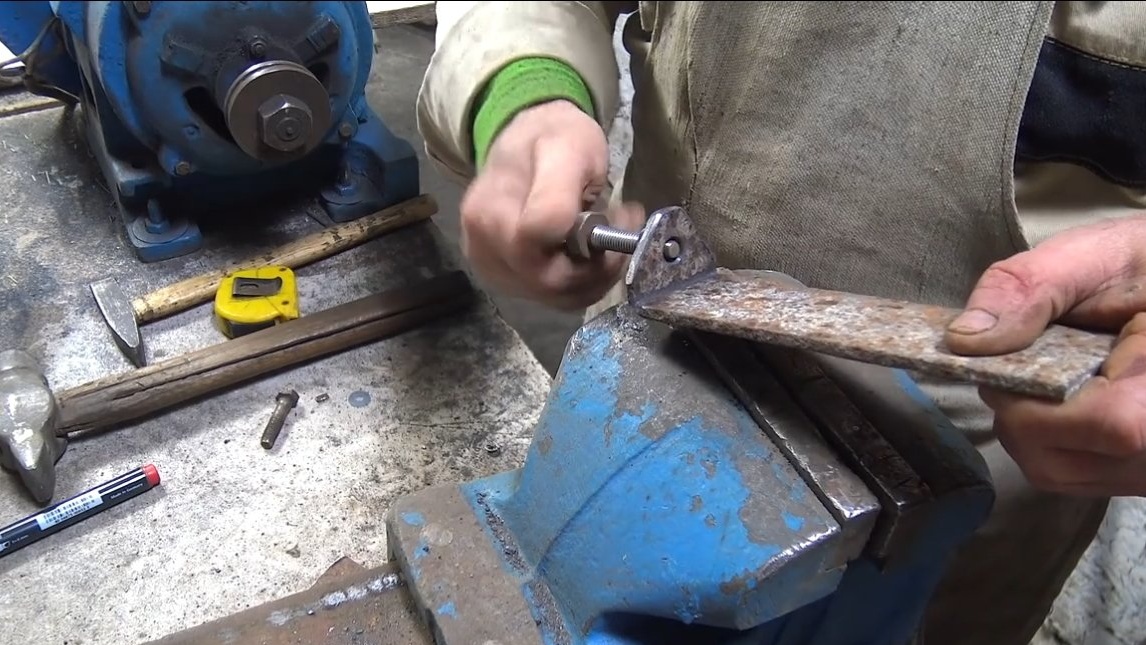
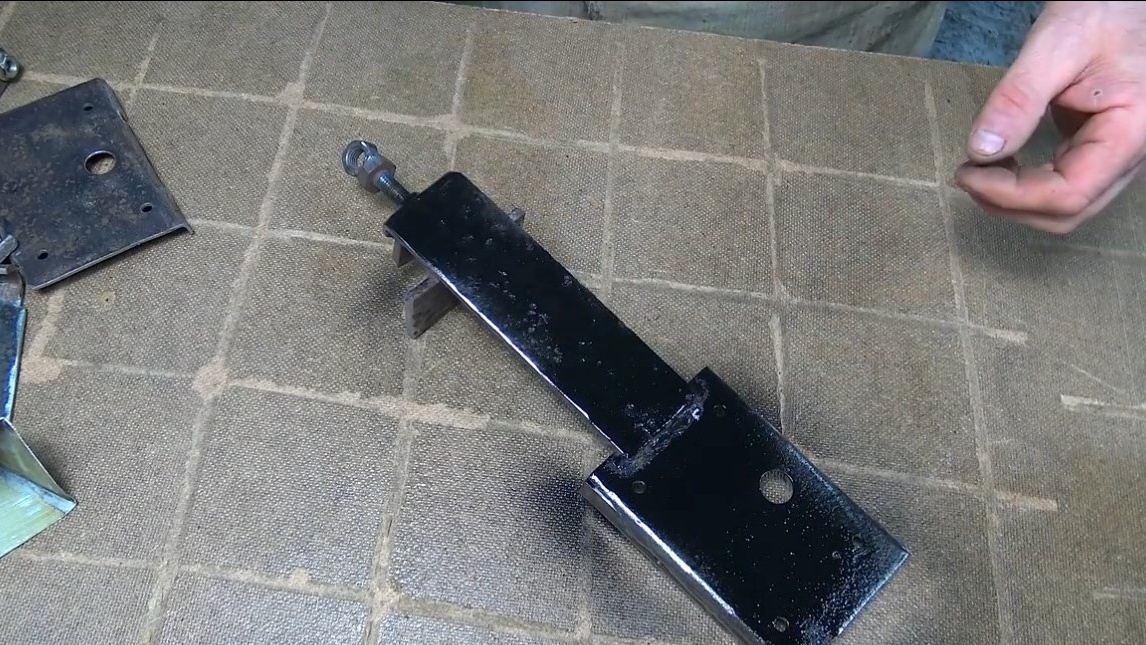
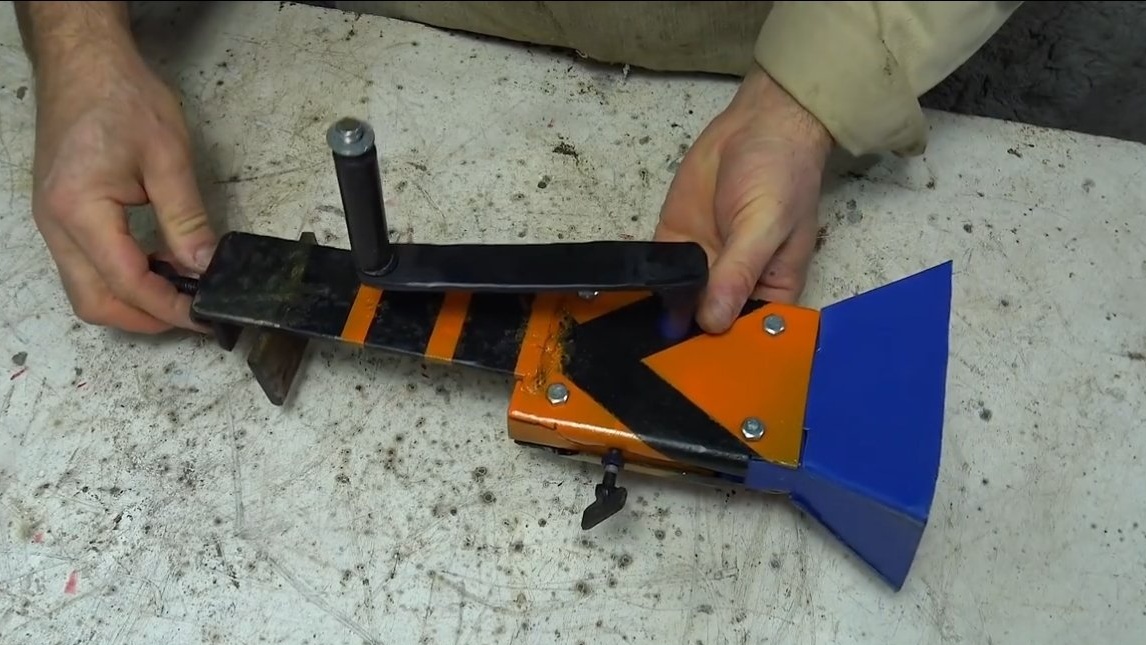
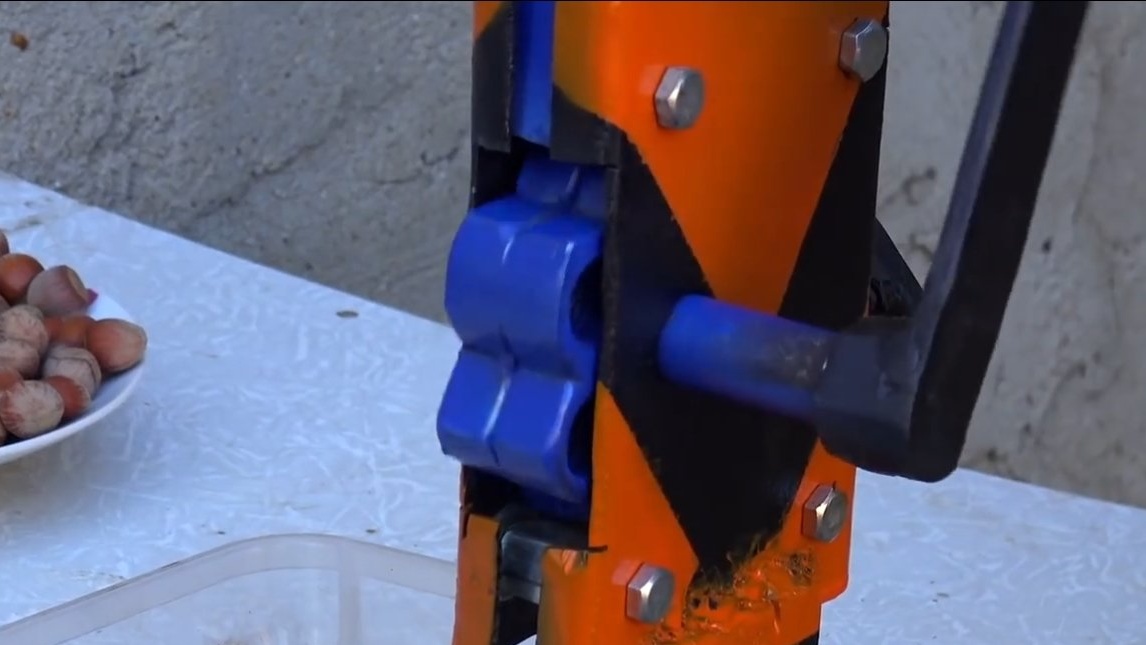
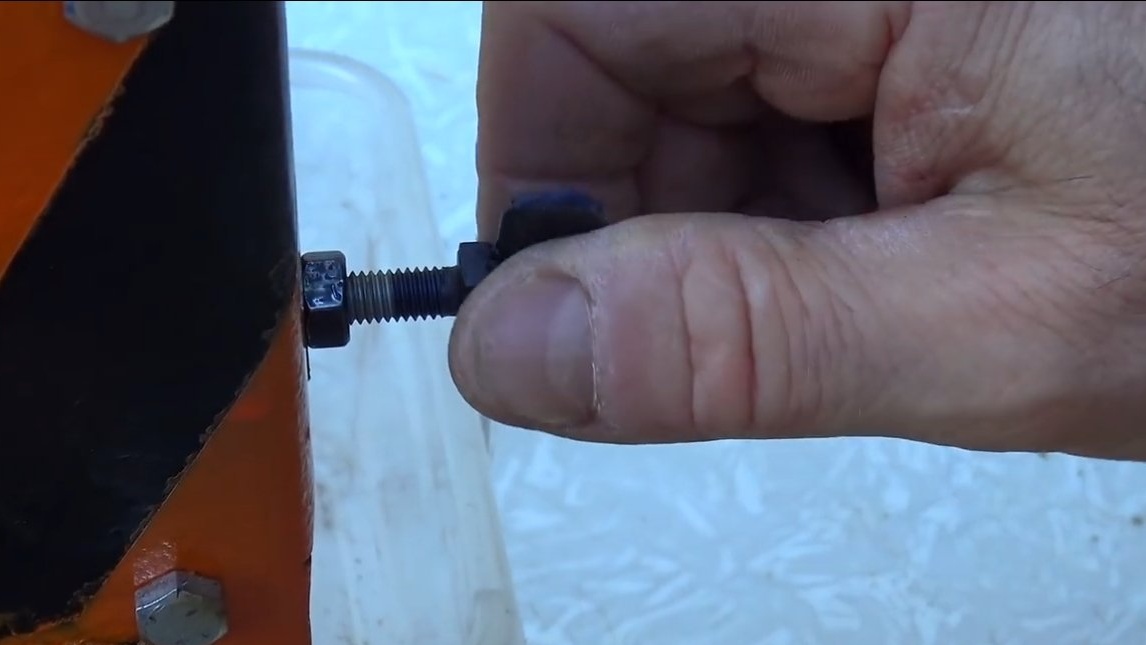
Step Three Emphasis
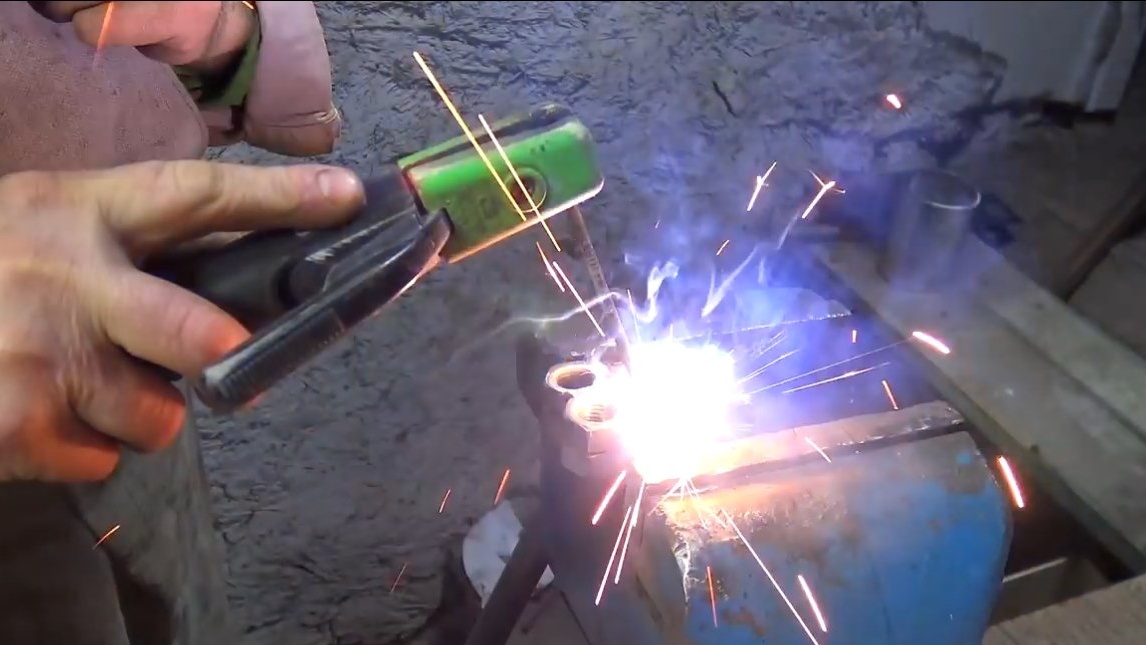
We emphasize the thick steel plate, it will need to be bent in the shape of a hook.This emphasis will determine the amount of clearance between the impeller. Of course, the emphasis should be adjustable, the author welded a steel plate opposite the emphasis with a hole and a welded nut under the bolt. The author welded a piece of the plate to the bolt as a handle. The bolt abuts against the thrust plate, thereby limiting the clearance between the impeller.
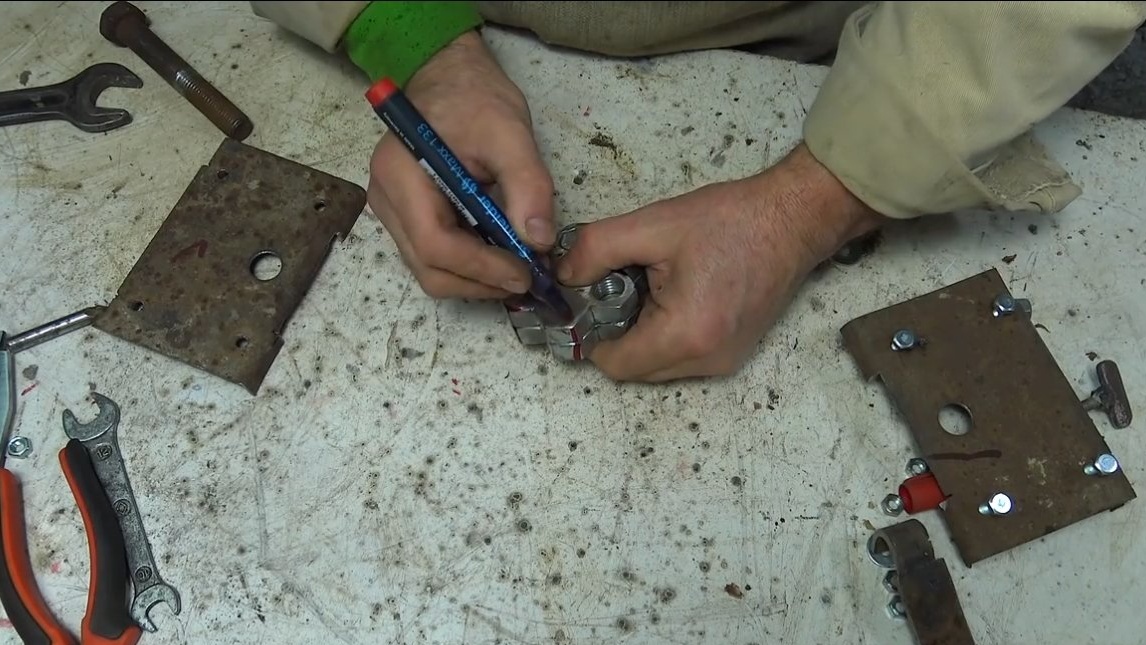
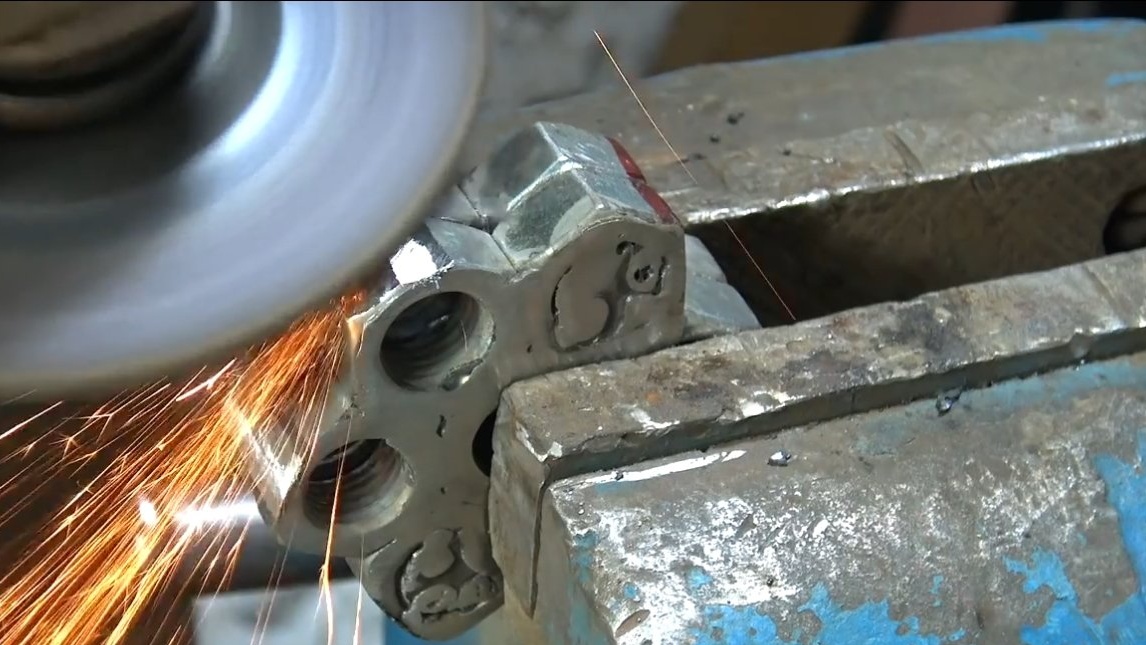
Step Four Modification of the impeller
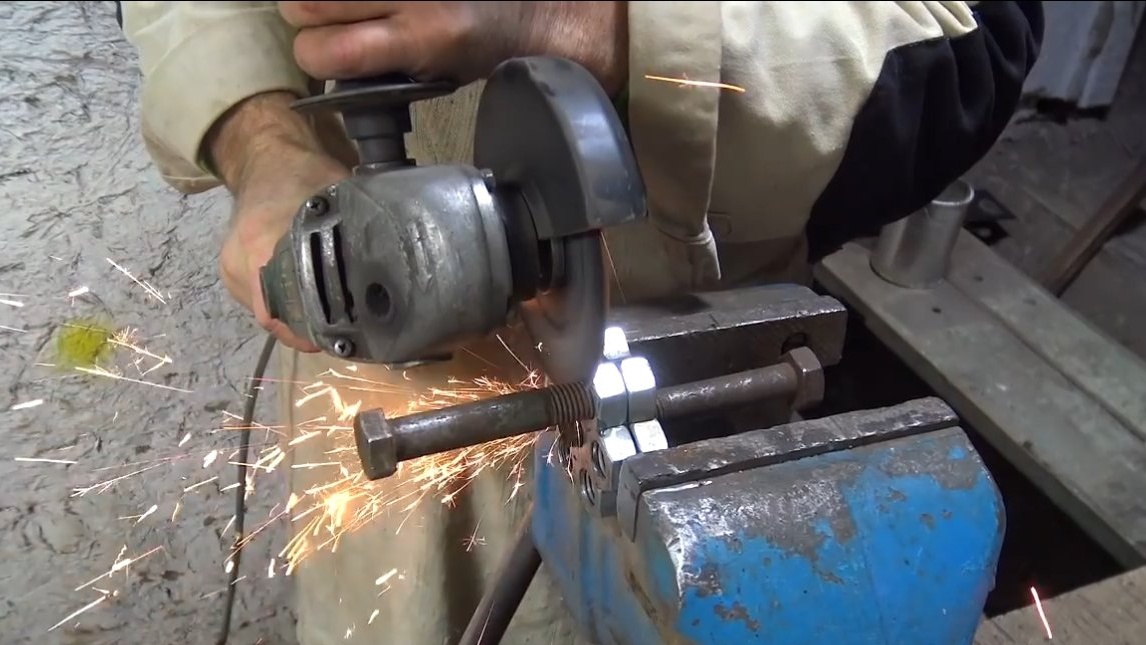
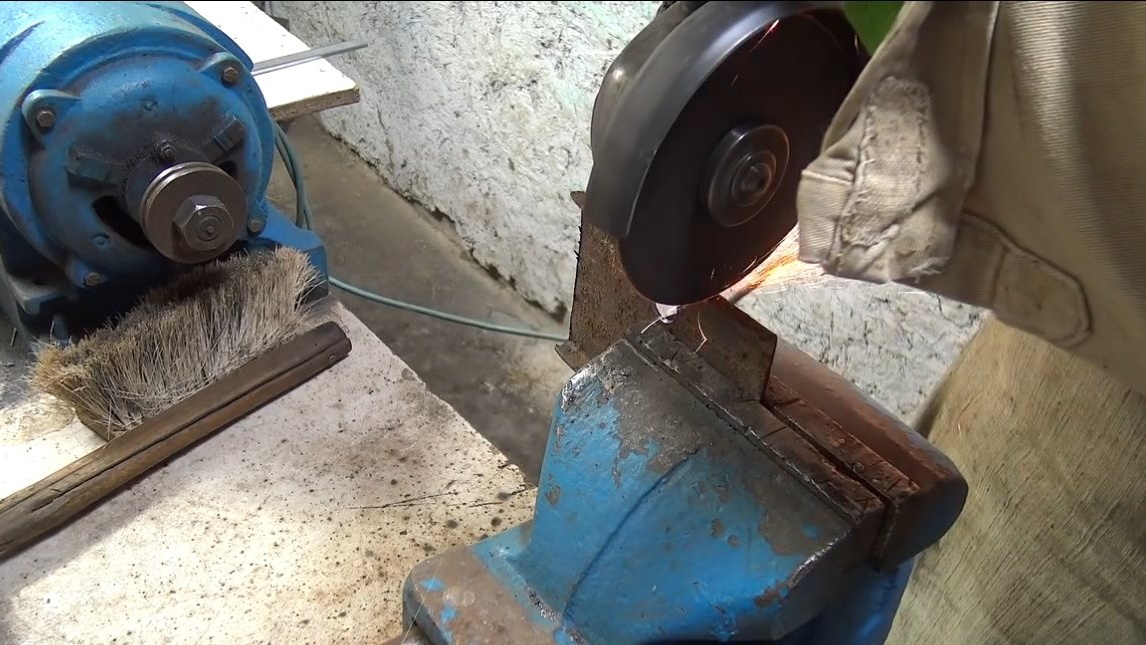
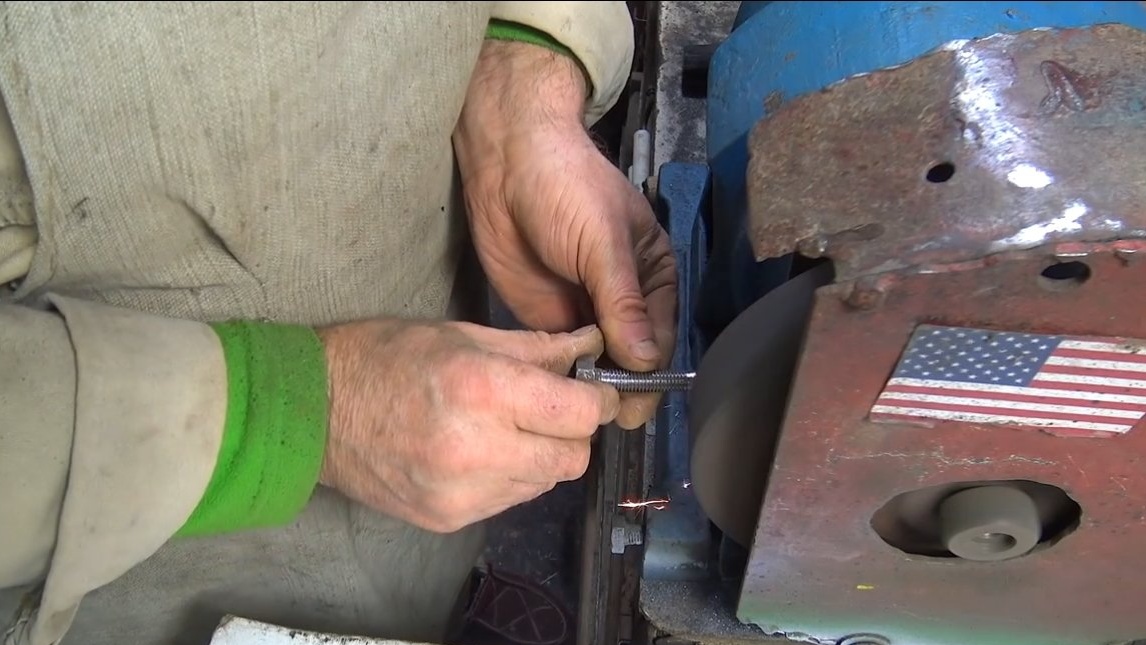
The author modified the impeller to get the desired profile. Then a grinder was needed, with the help of it the extra faces on the nuts were grinded.
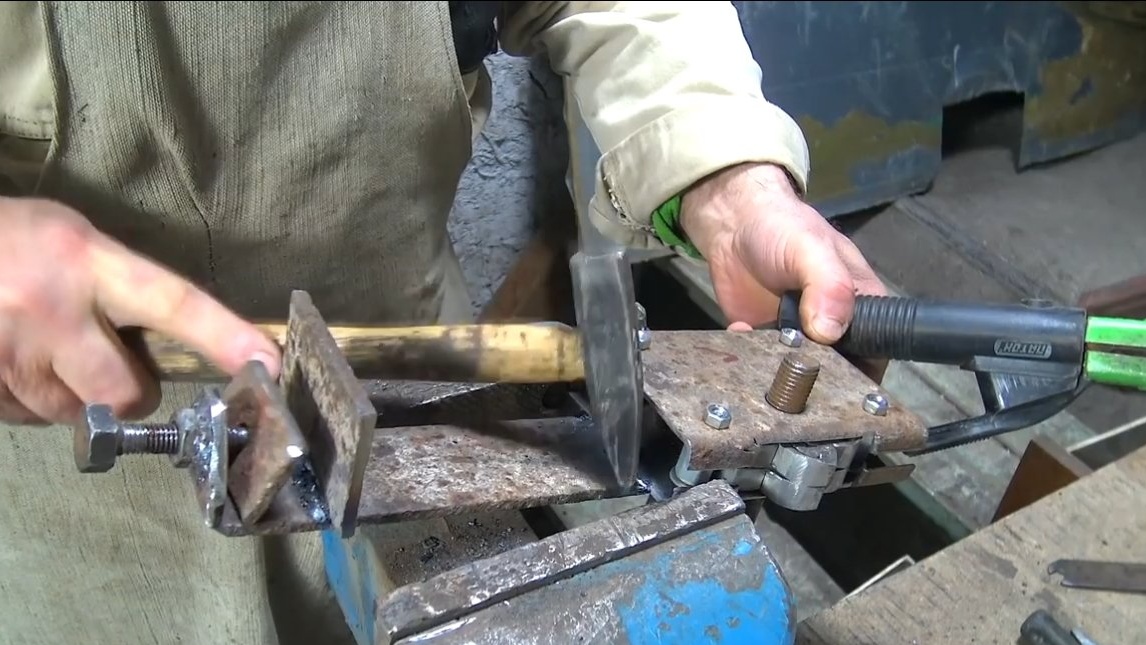
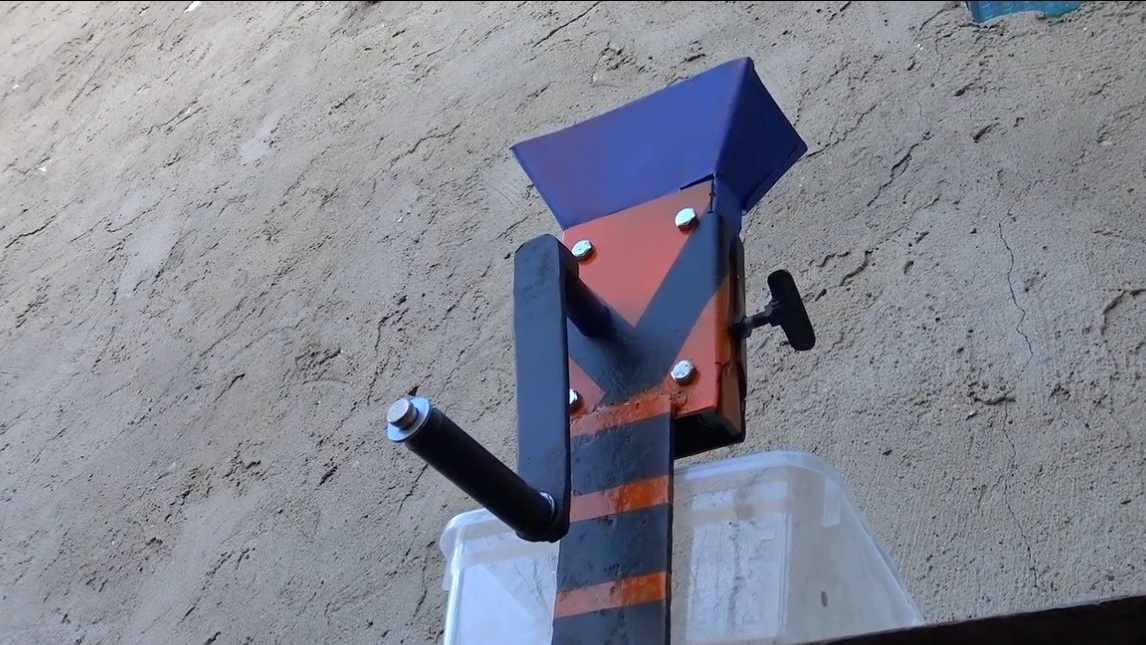
Step Five Fasteners
We make reliable and strong fasteners so that the nut cracker can be installed on the table. The clamp should be designed as in a manual meat grinder, this is a kind of small vice. The author assembled the clamps quite quickly and simply from steel plates. We use a good bolt and nut so that you can tighten the clamp on the table well. For fidelity and durability of nuts it is better to weld two. Fasteners are securely welded to the nut cracker itself.
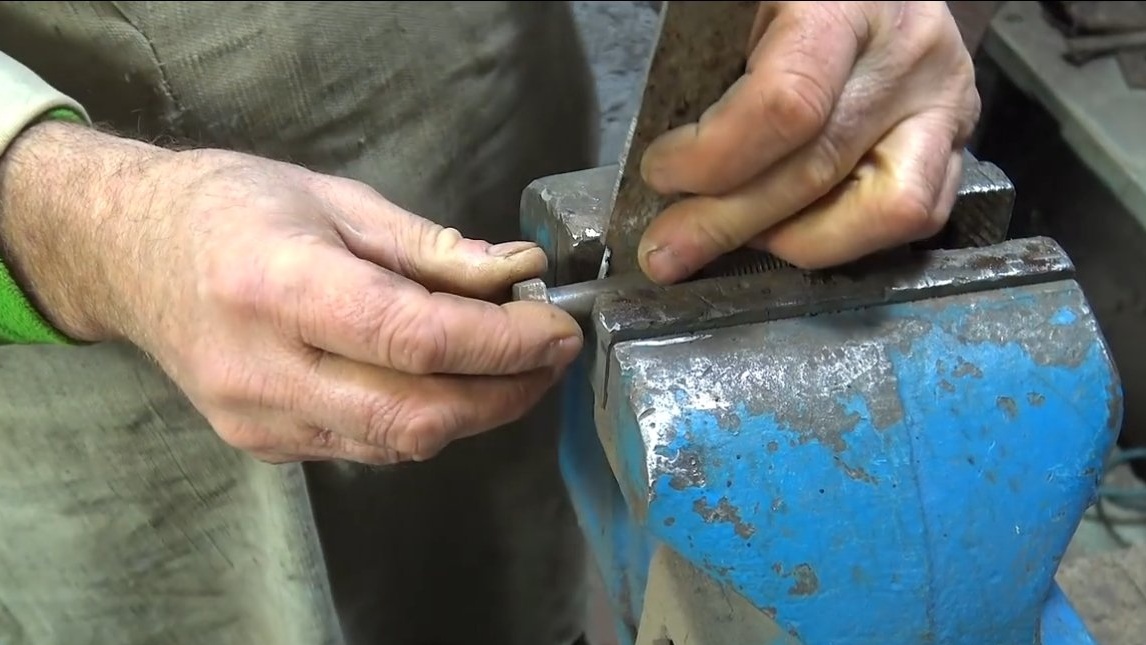
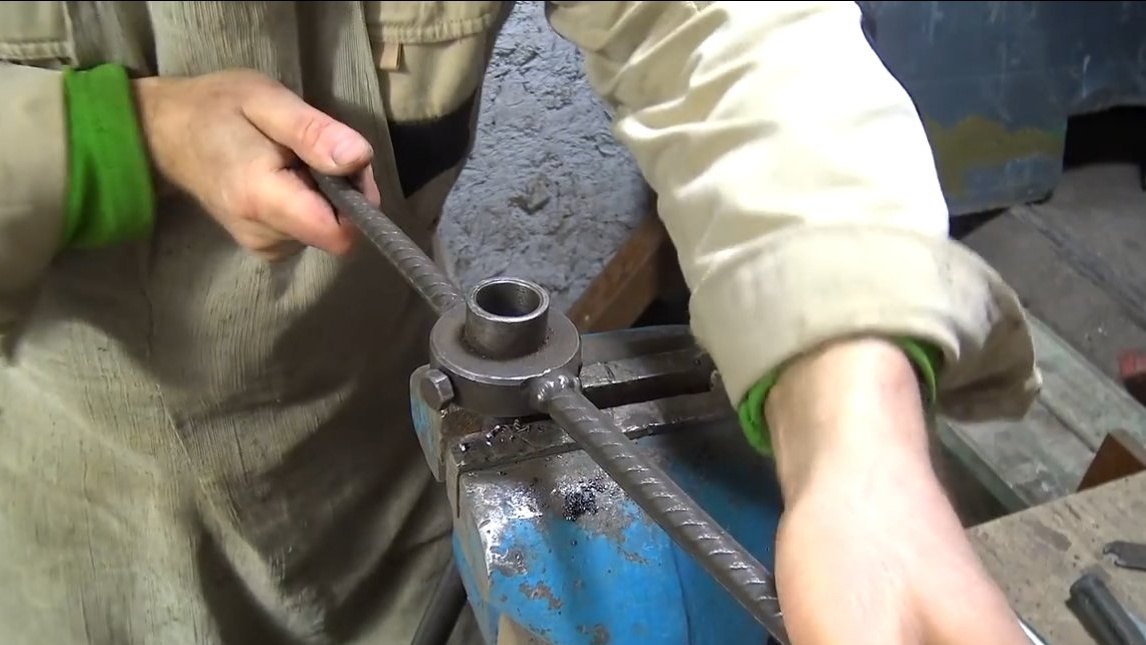
Step Six Handle and axis
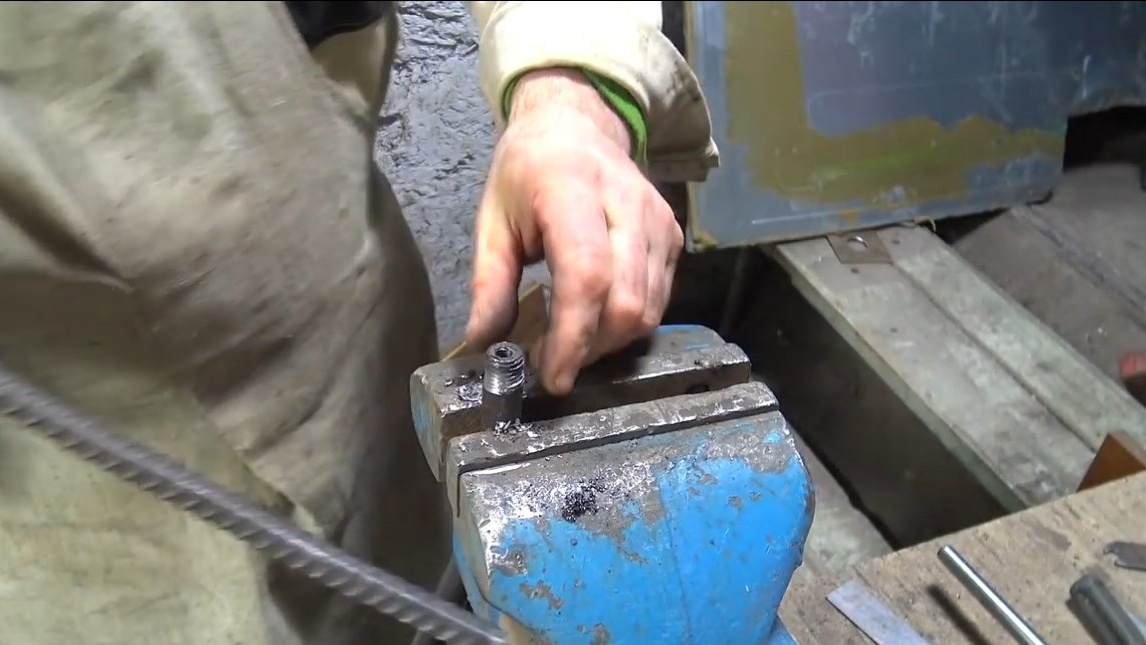
As an axis, you can use a round log or a bolt of suitable size. The author’s handle is removable so that a drill or screwdriver can be connected. On the axis, the author cut the thread, and welded a nut to the handle, so the handle is easily screwed onto the axis.
The handle itself can be made of steel plate or pipe. It is better to make the handle more authentic, since the effort to crack even one nut needs a lot.
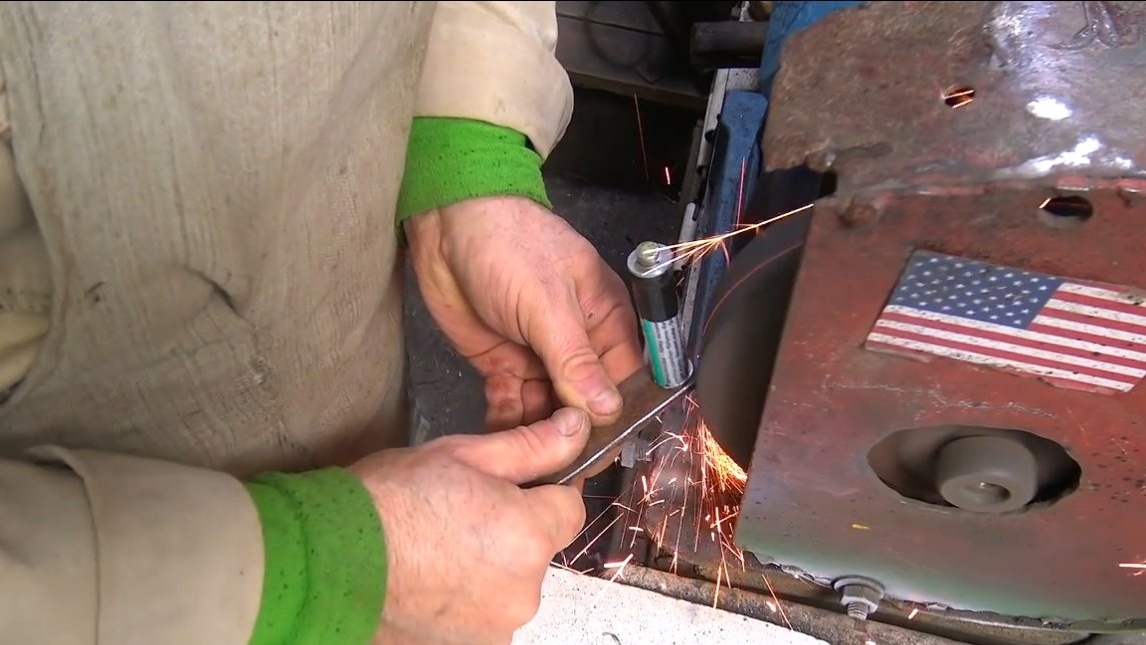
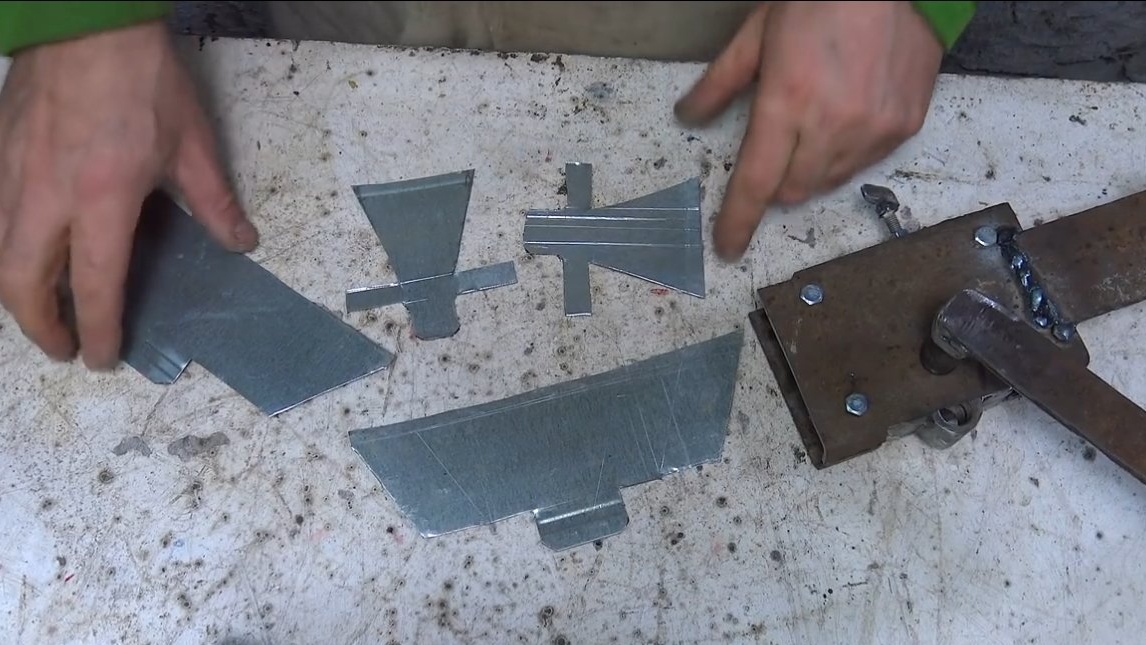
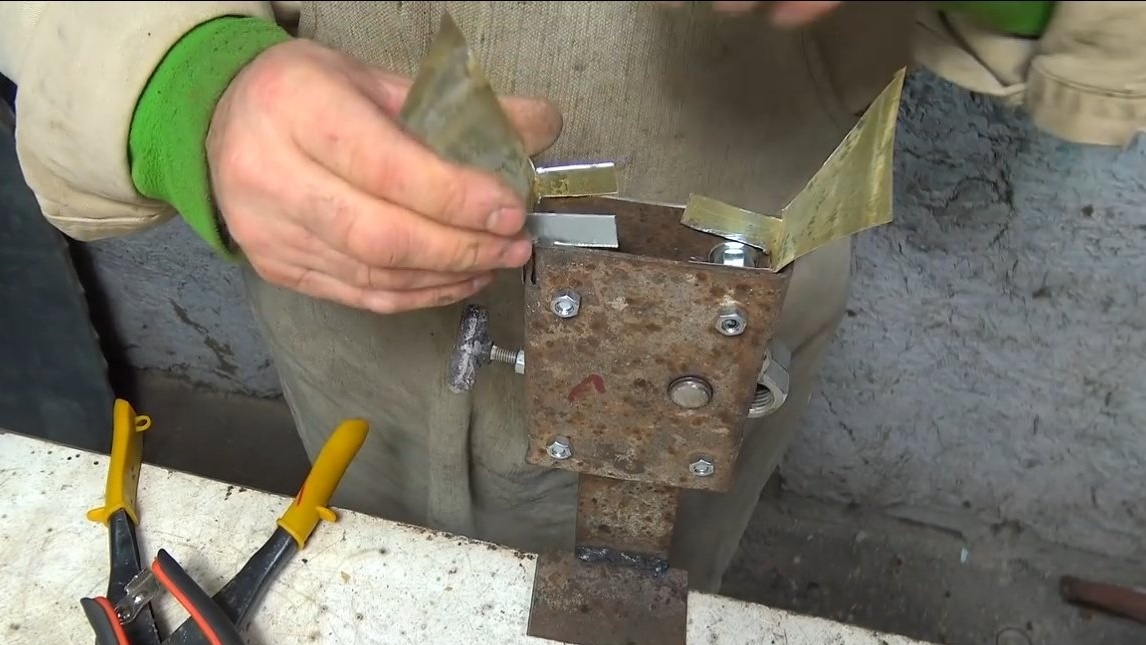
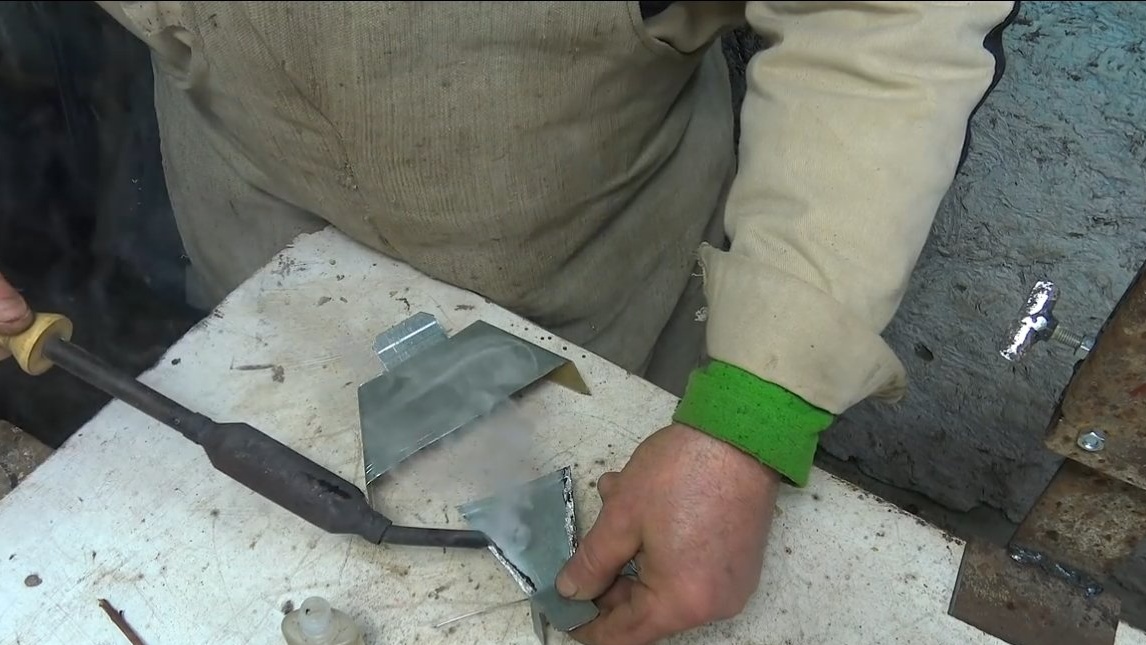
Seventh step. Neck
We make a neck through which it will be convenient to fill nuts. The author made this neck out of tin. Having cut out the necessary blanks, the author easily soldered them with a fingernail, it is better to find a soldering iron for 80 watts or more.
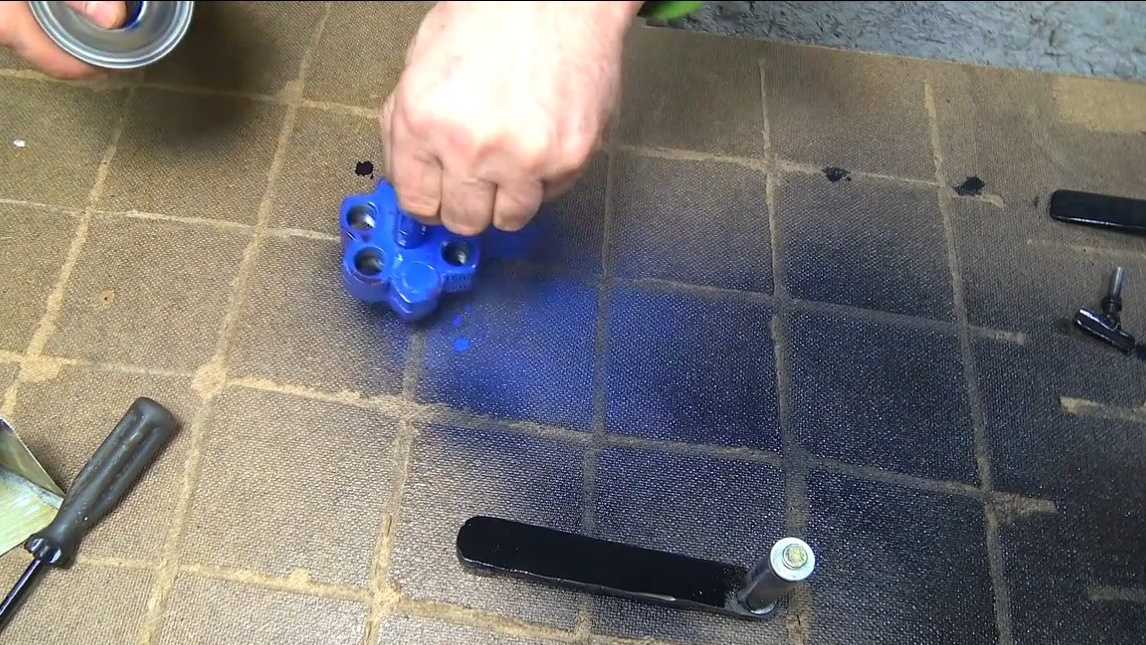
Step Eight. Painting and testing
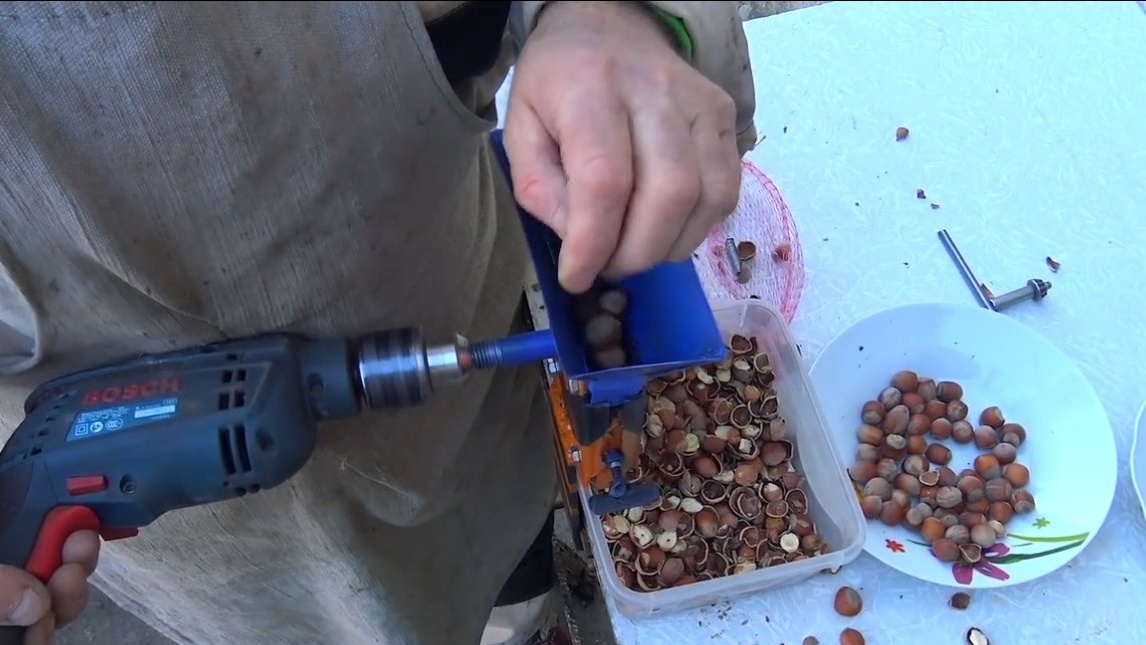
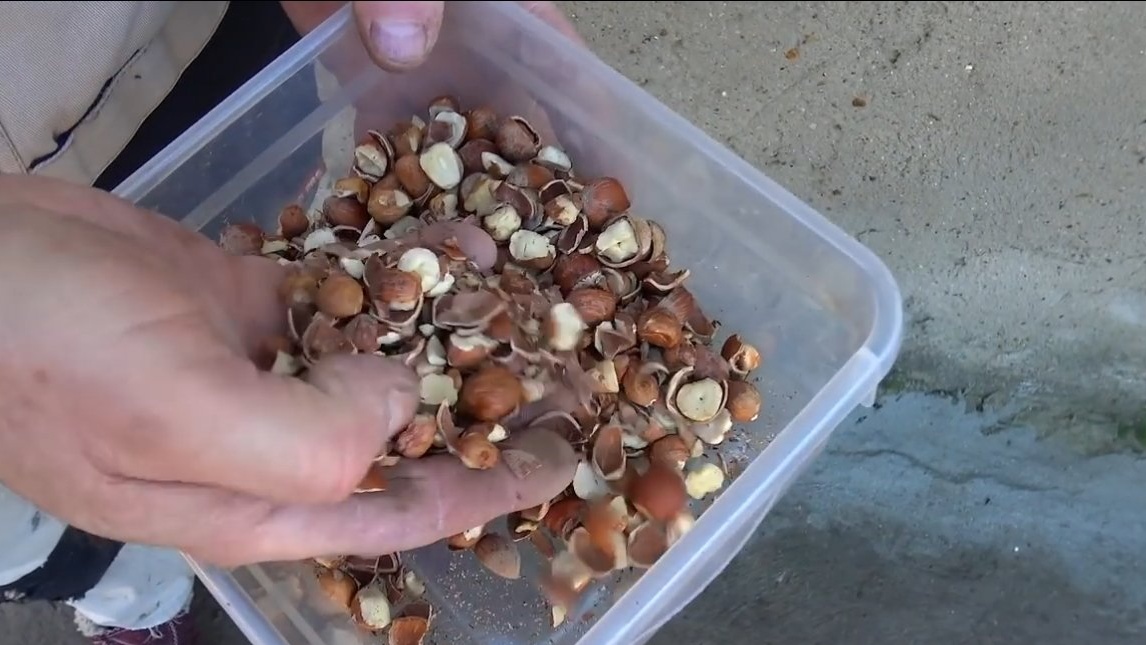
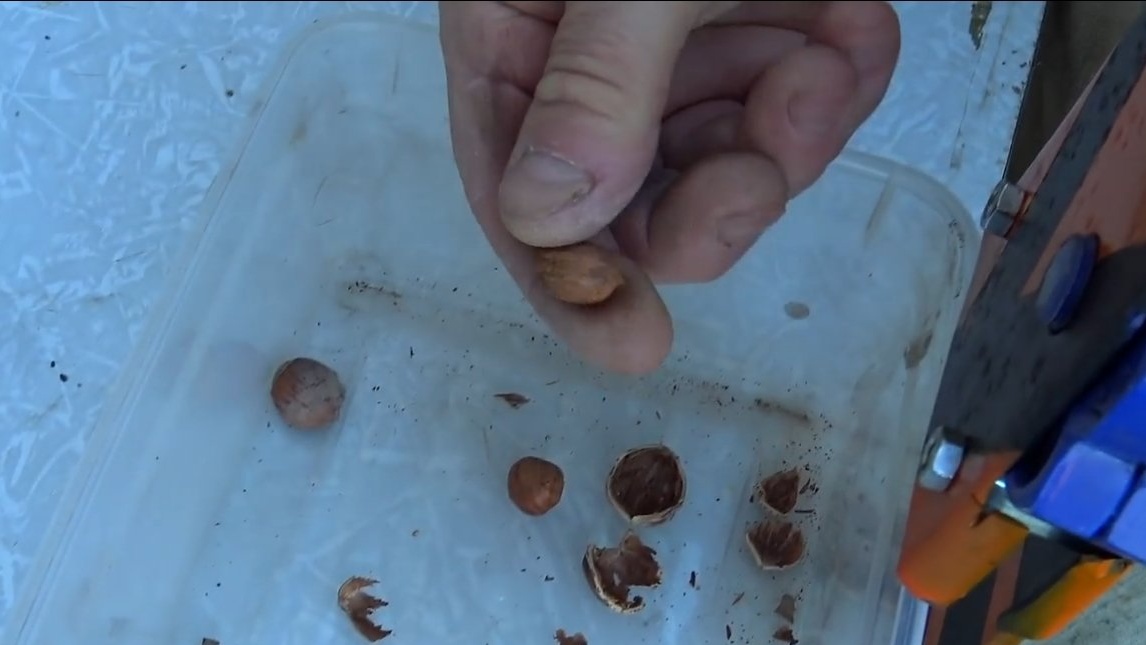
We paint all the nodes of the machine so that they do not rust and the stanchas look beautiful. Now the homemade product is ready, put on the table and you can experience. At the first attempts, the author adjusted the necessary gap for a specific diameter of nuts. So that all nuts are approximately the same, they can be sifted.
The car throws nuts normally, but it’s rather difficult for the author manually, as it can be seen in the video, many nuts cannot be chopped like that, and you need to throw one nut at a time.

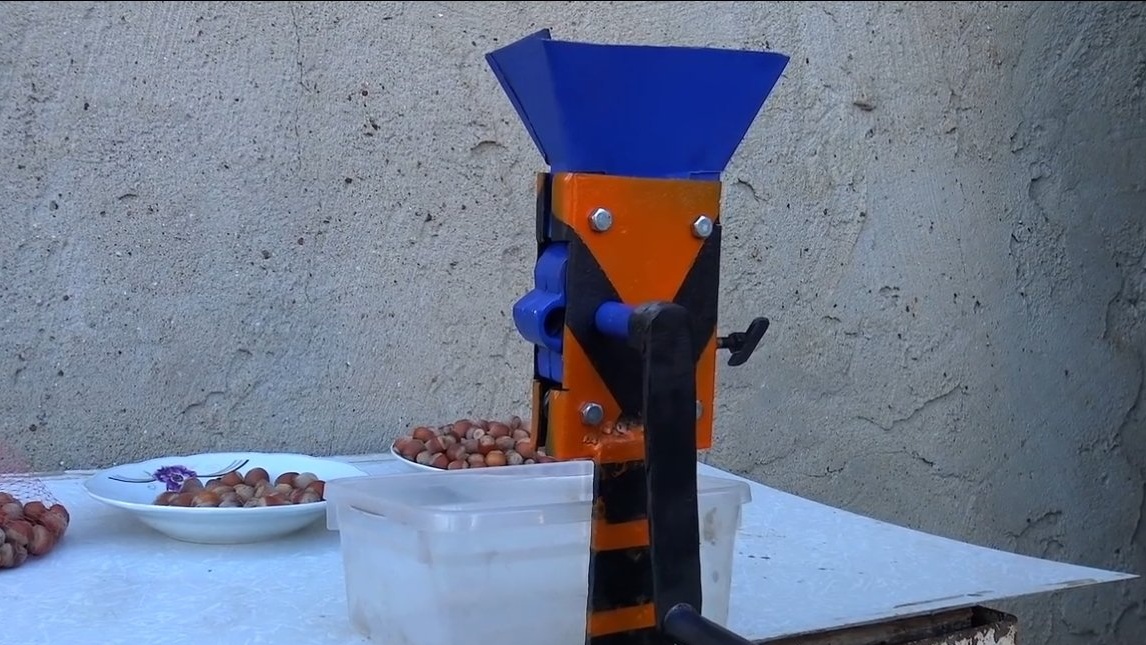

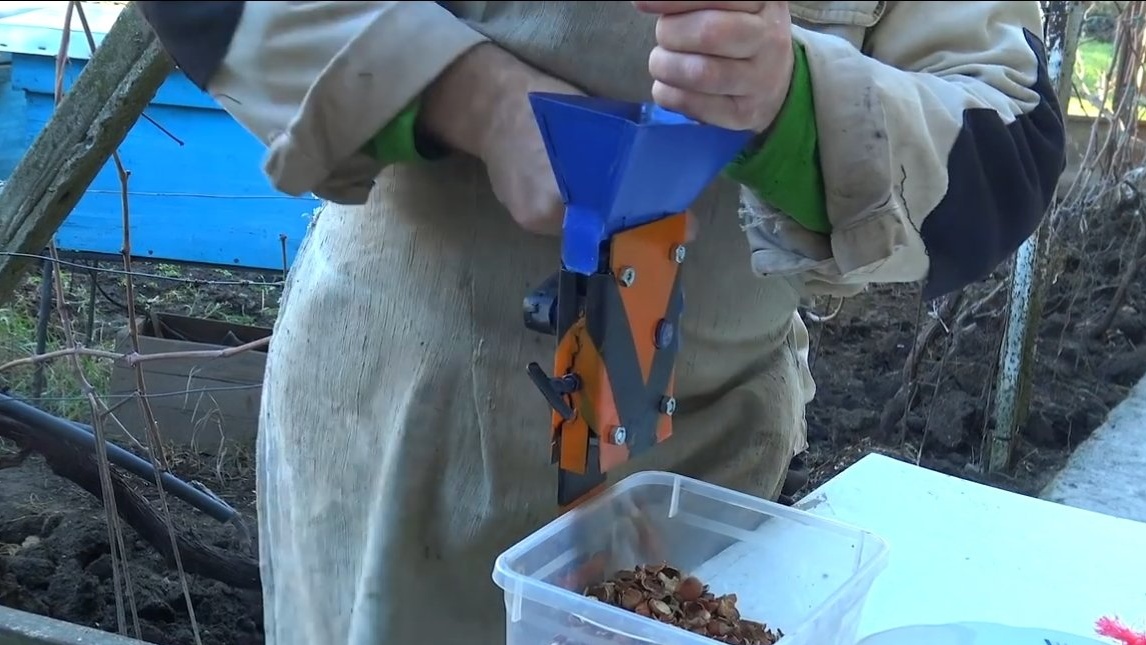
Further, the author removed the pen and connected a drill to the machine, now the machine began to work very quickly and efficiently, you can fill up several nuts at once and they fly out already chopped. Of course, it would be good to use not a drill, but a screwdriver, since high torque is needed. Better yet, adapt a small motor from a washer or the like.
The project is completed on this, I hope you liked the homemade work, and you found useful thoughts for yourself. Good luck and creative inspiration, if you decide to repeat this. Do not forget to share your ideas and homemade things with us!