
Many of you have garage, or a small workshop, and there is a need to store long and heavy objects in it. Steel brackets are quite suitable for this, but they have a rather high cost, and it is not always possible to find suitable sizes.
In this article, YouTube author Rag 'n' Bone Brown tells you how to make heavy-duty wood brackets. On such brackets it will be possible to safely store timber, metal profiles, pipes, and other heavy materials.
This homemade product is very easy to manufacture, and also very budget at cost. In its manufacture, the author will use some machines, however, such brackets can be made with a hand tool.
Materials
- Pine beam
- Sheet plywood 12 mm thick
- PVA glue
- Spray paint
- Wood screws
- Sandpaper.
Instruments, used by the author.
- Miter saw
— Clamps
— Screwdriver, drill bits
— Band-saw
- Roulette, ruler, square, pencil, level.
Manufacturing process.
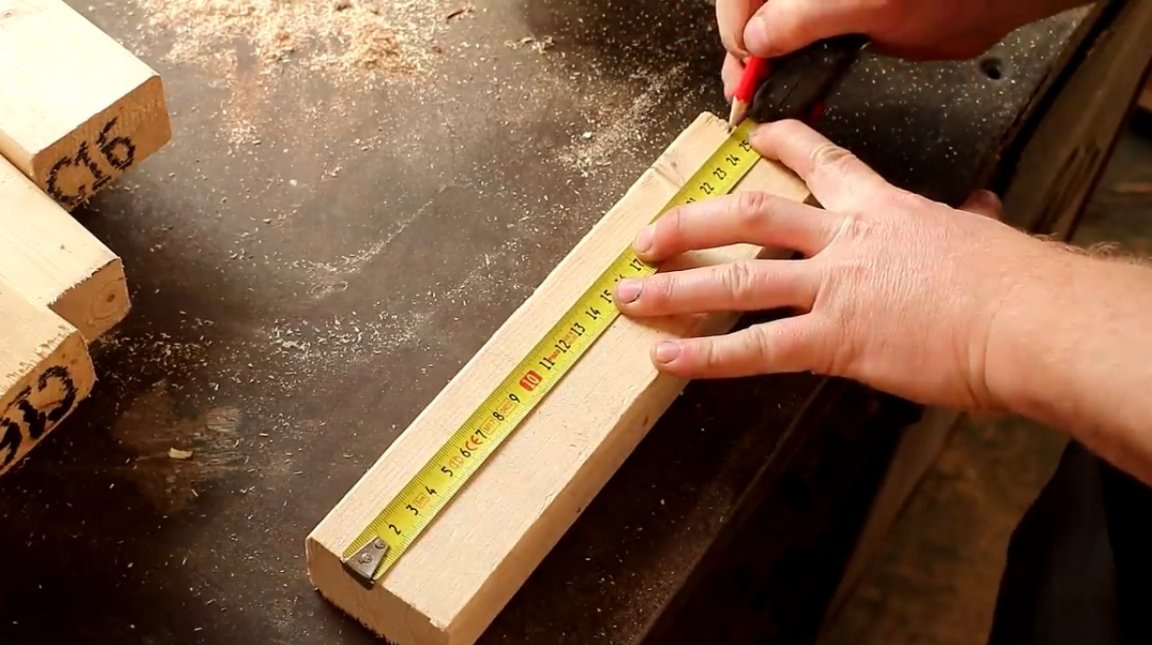
For his project, the author will use trimmed pine timber 60X40 mm). Such beams are usually inexpensive, and are sold with a footage of 2 to 4 meters in length. From the recent construction work, the master already had trimmings of precisely such materials.

On each such pruning, he lays the same length of 250 mm.
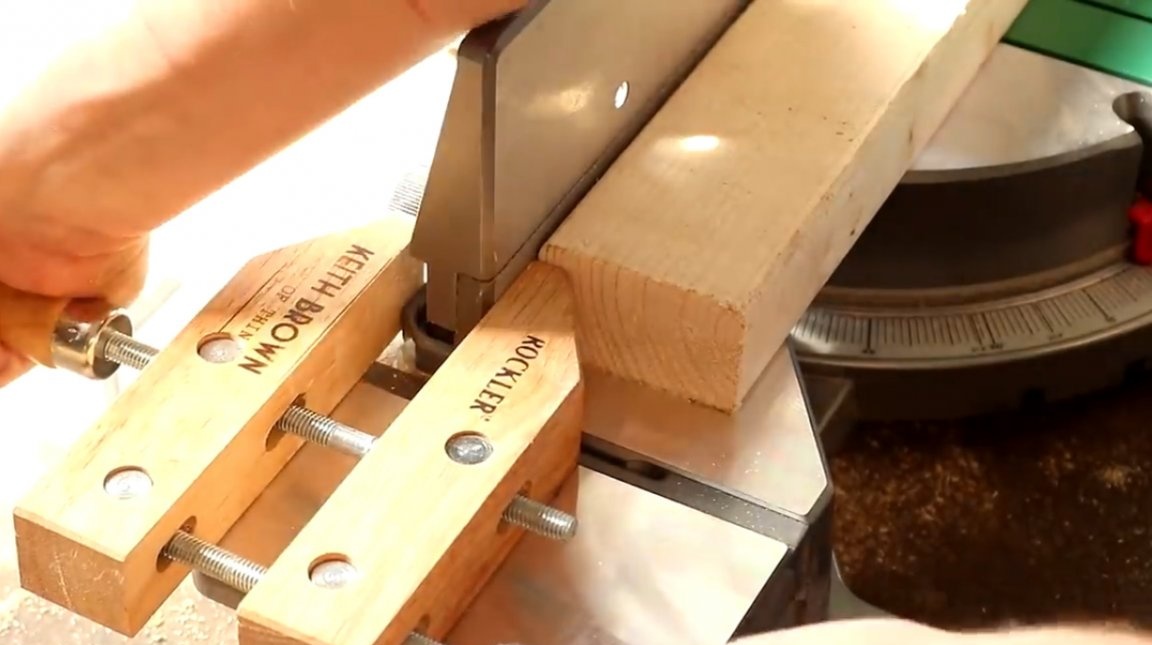
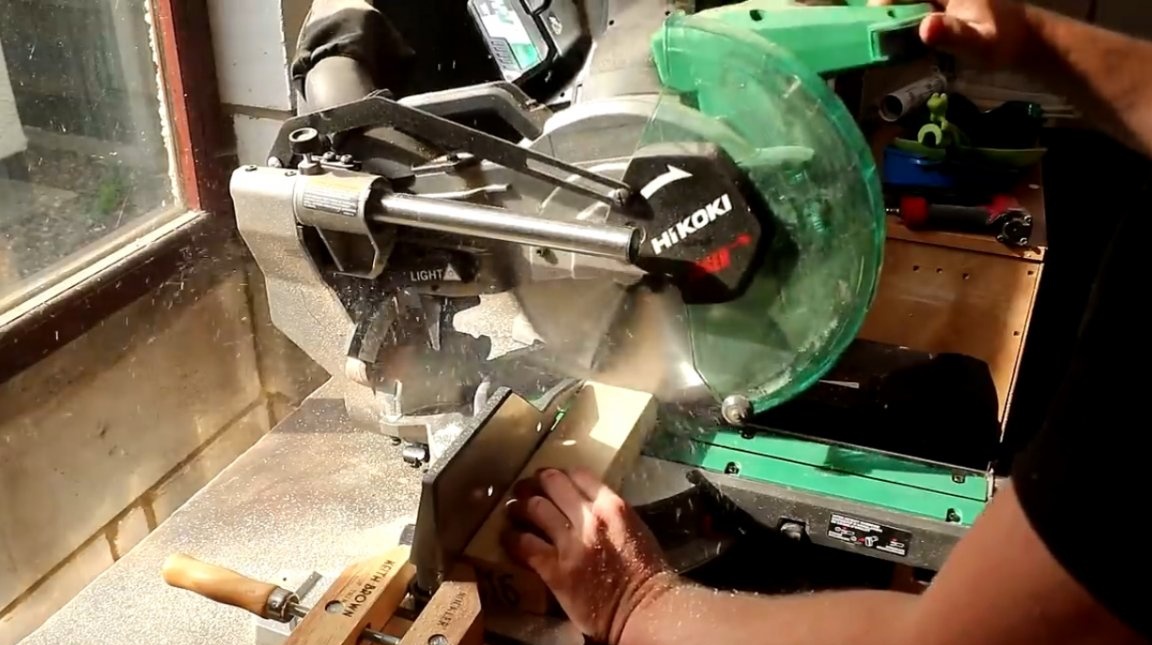
Places the bars on the miter saw machine and fixes the screw clamp to the end face of the stop to ensure the same length of the cut parts. In this simple way, you can quickly cut many of the same workpiece.
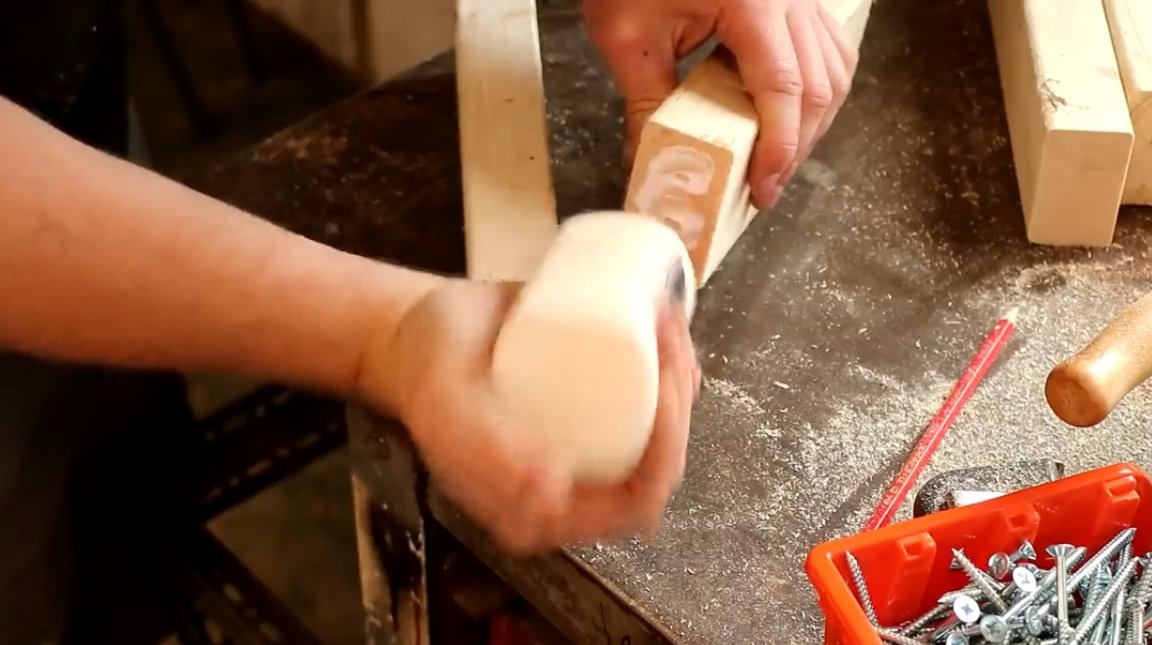
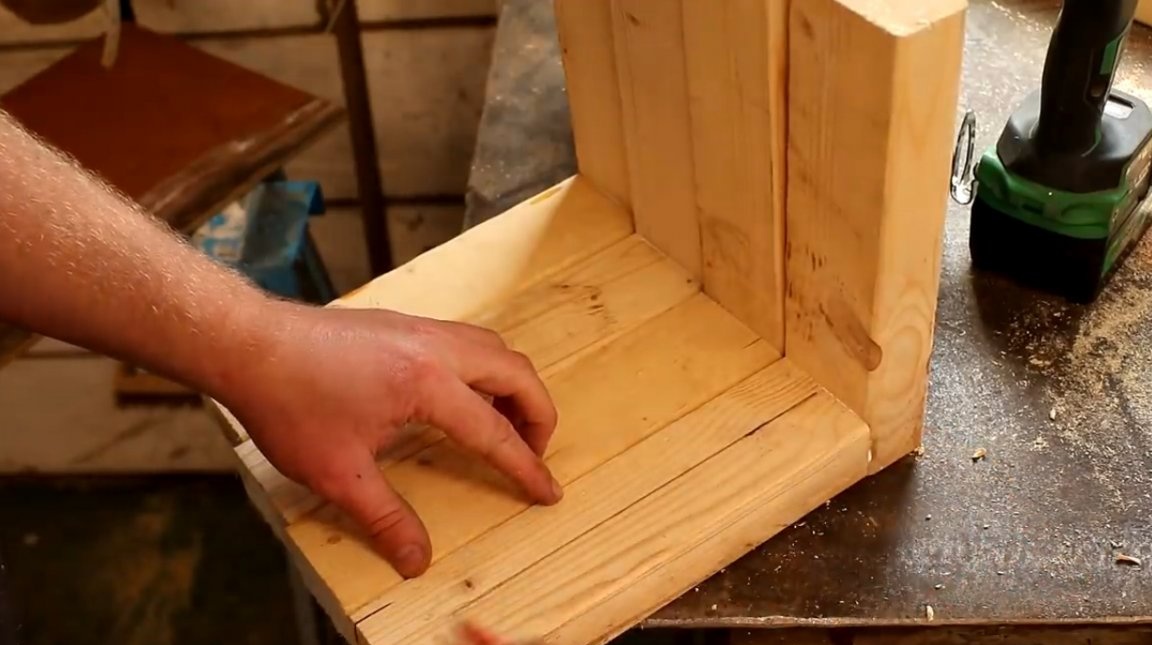
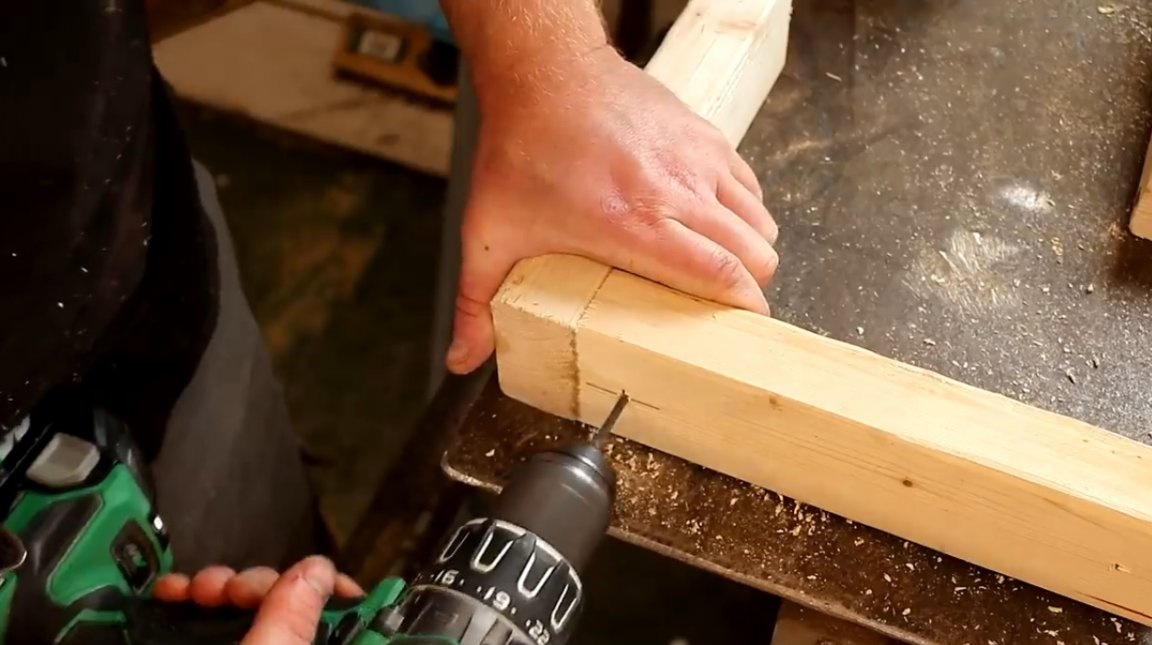
On the end part of one of the bars, he applies glue to the wood and connects both elements in a L-shape, making a joint in the joint.
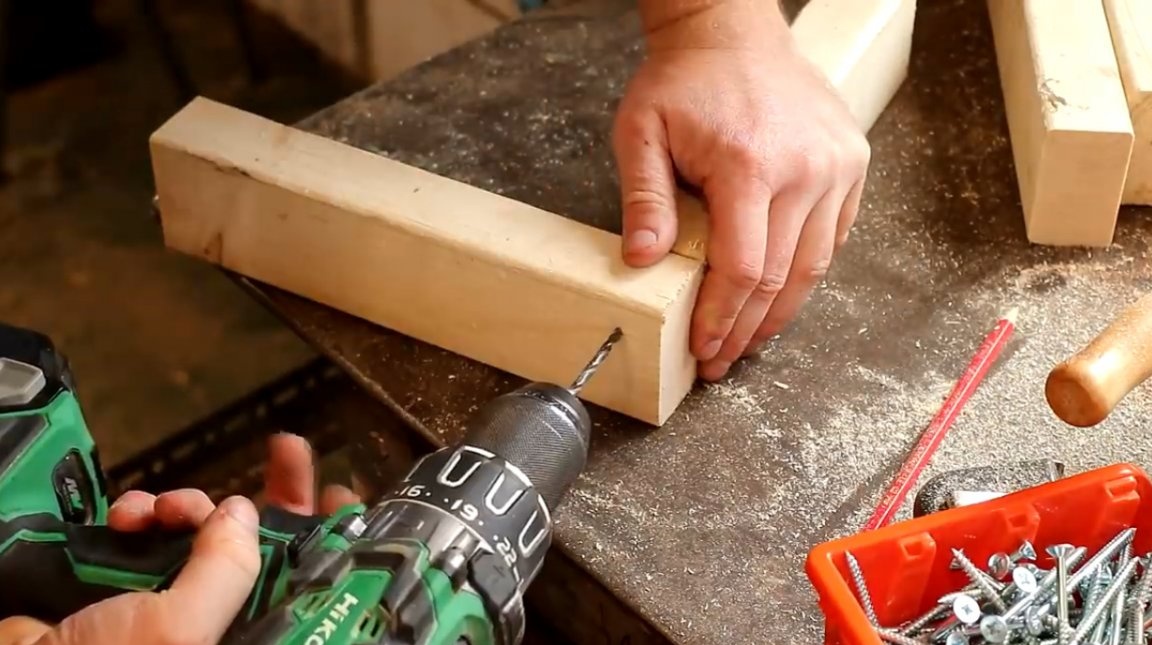
Next, pilot holes are drilled into which 70 mm long screws are driven.
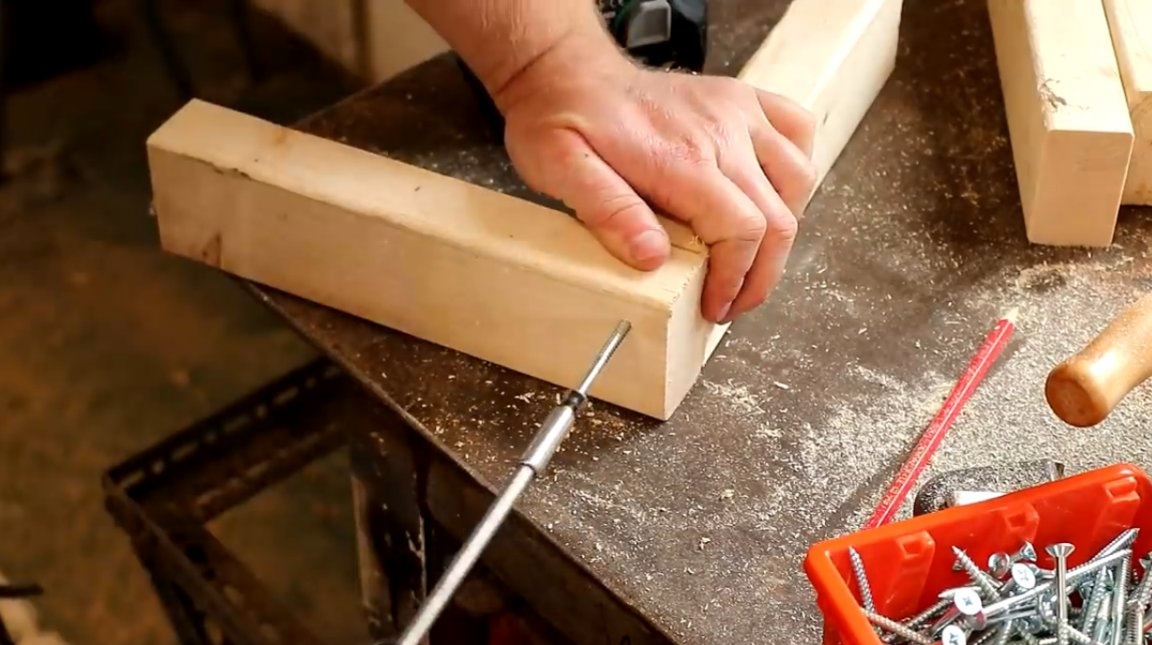
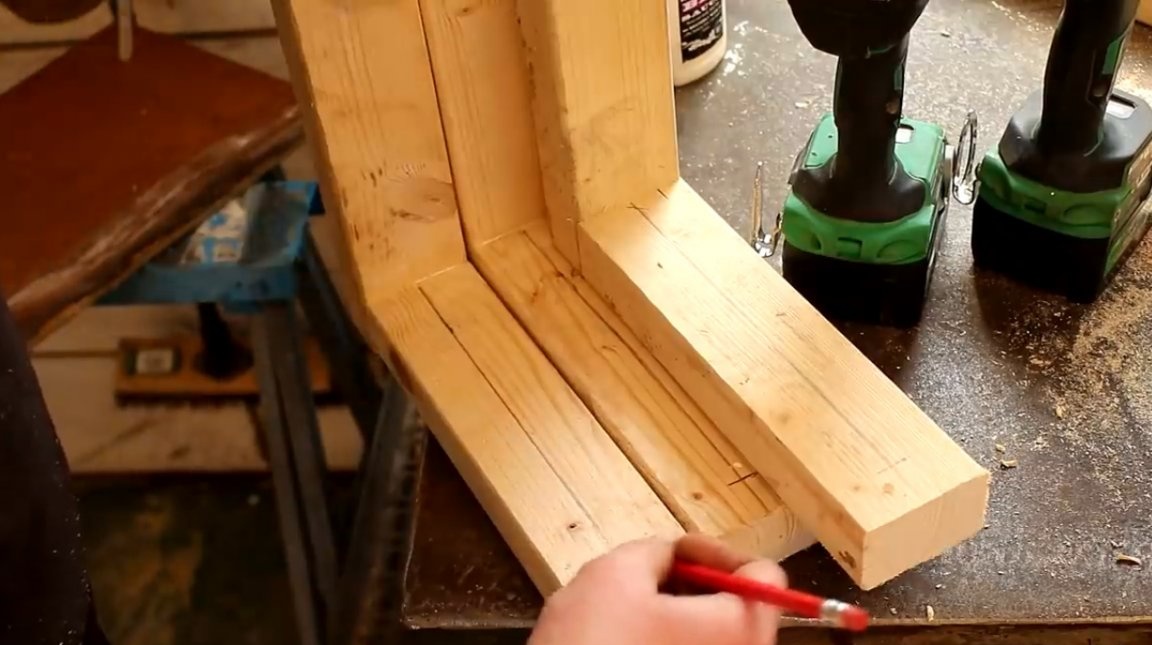
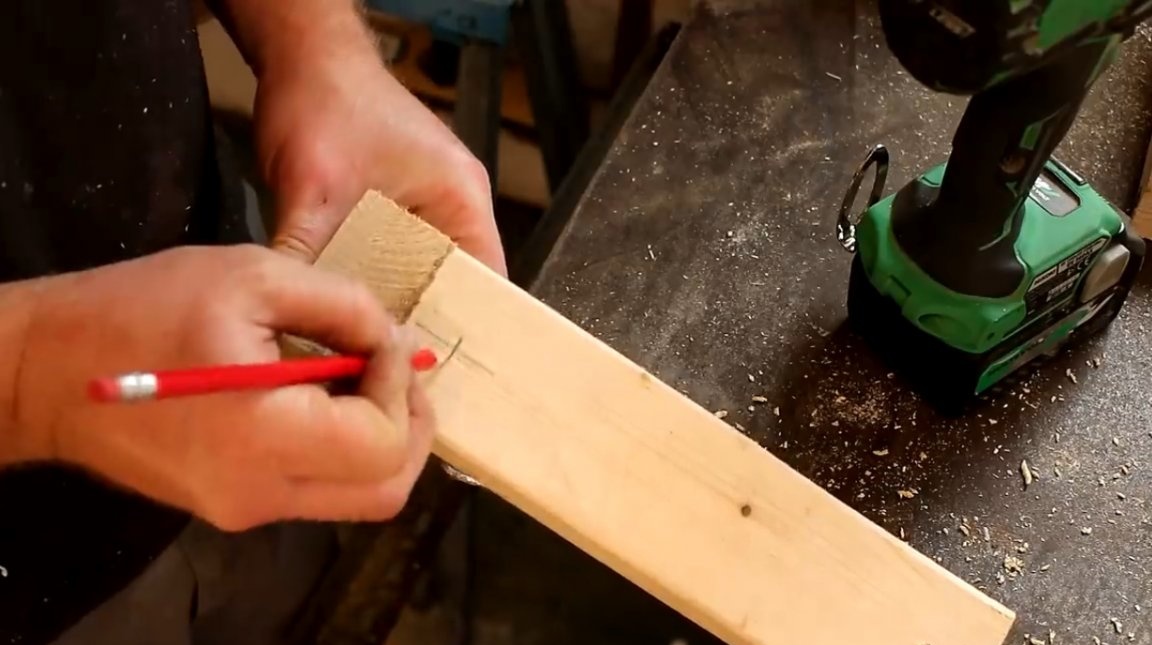
Then the author marks the line on which there will be several holes. Through them, the brackets will be attached to the wall. The same marking is transferred to all other bars.
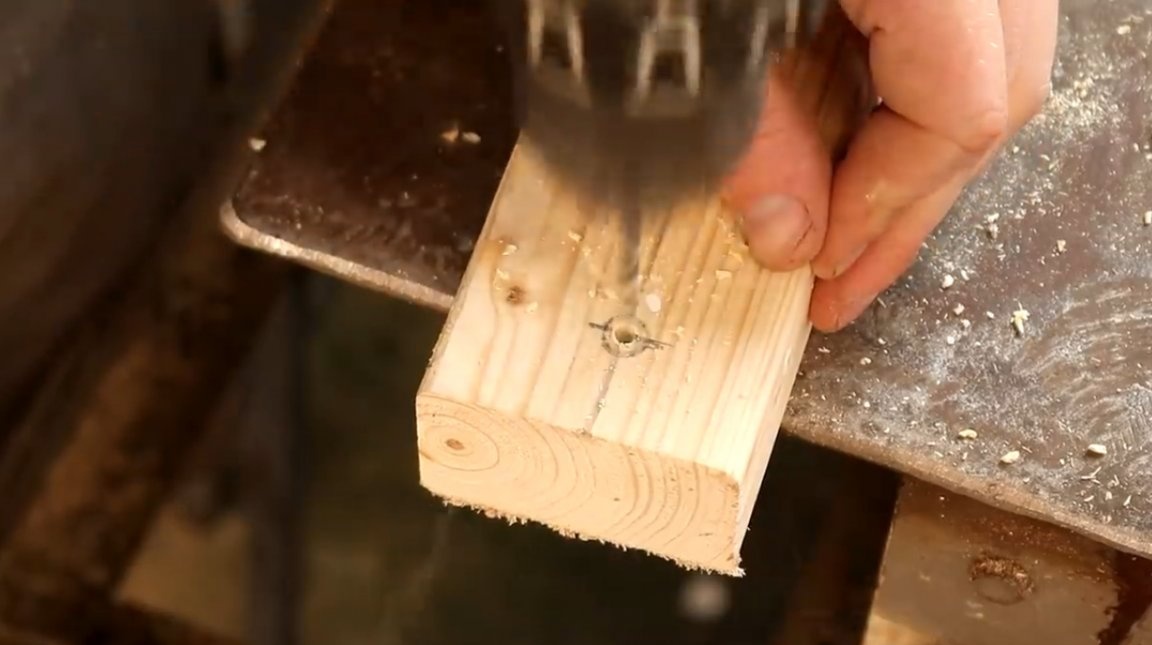
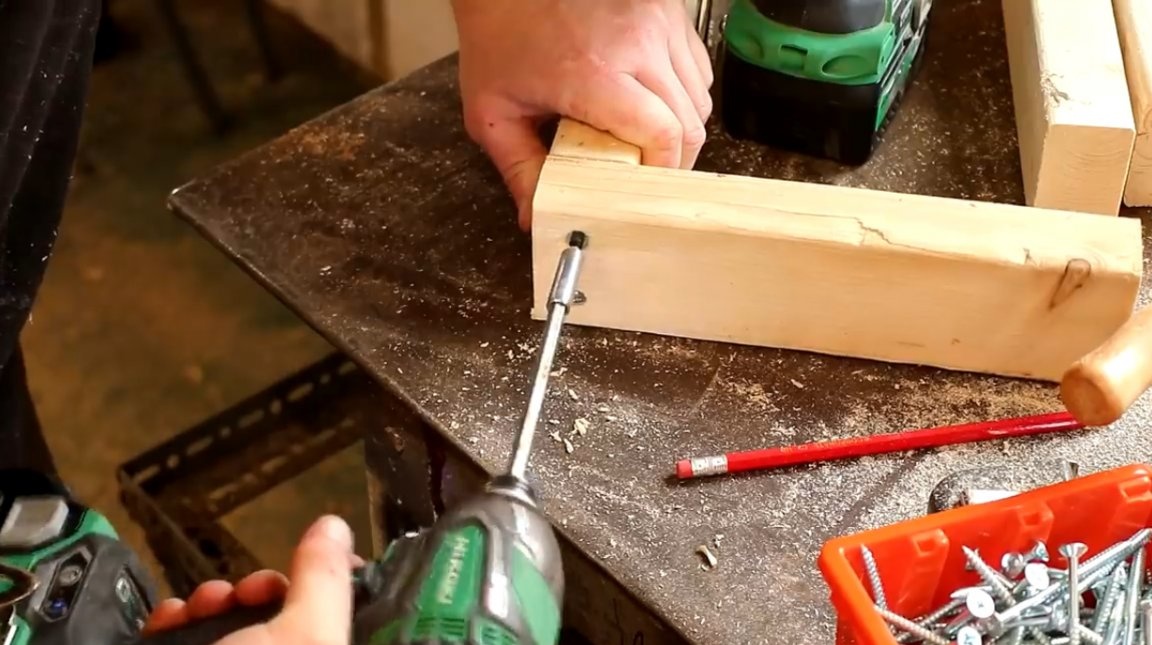
The third hole, which is closer to the corner, had to be drilled from the back. So the drill gets better access, and the hole can be made as close as possible to the upper bar.
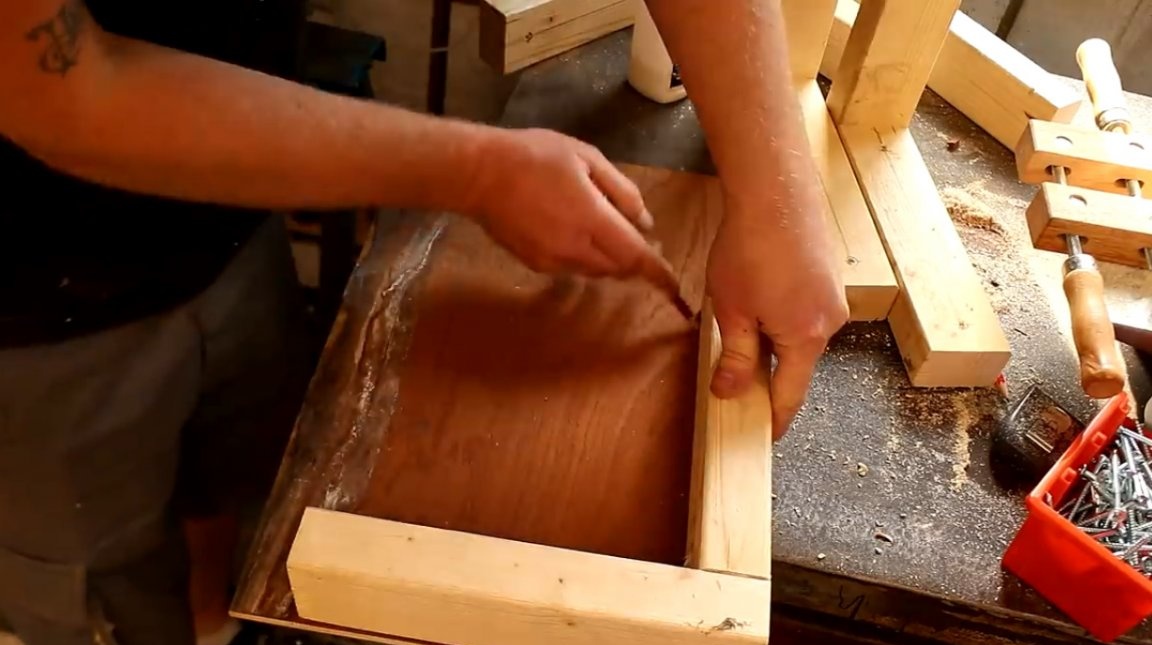
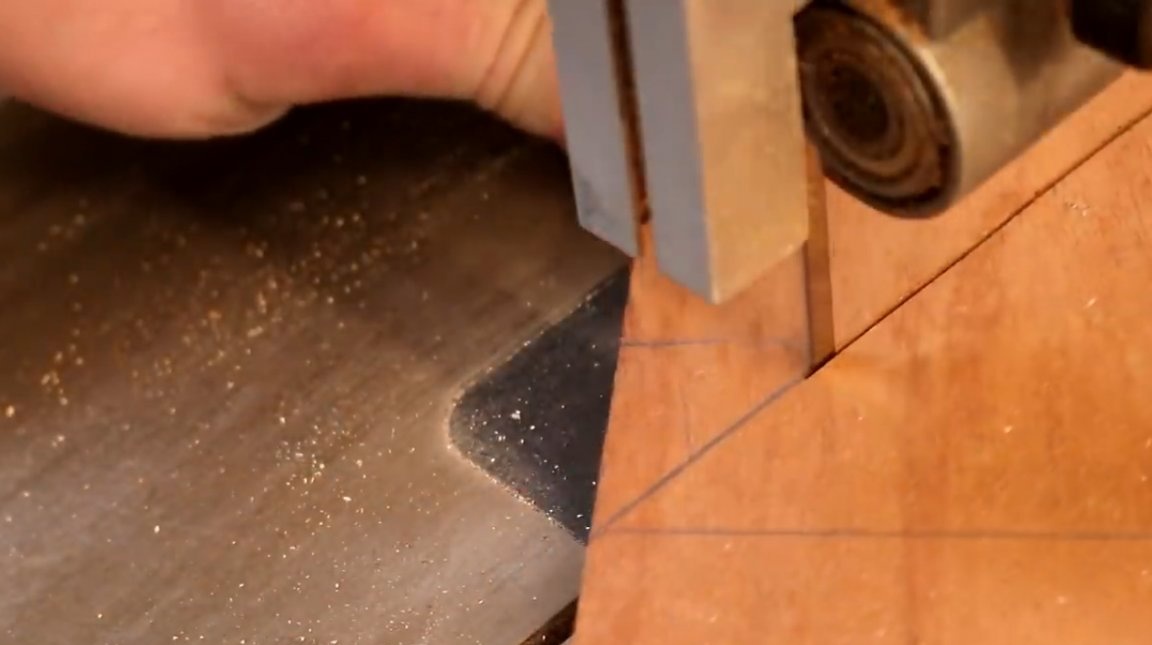
Further, the master is armed with several pieces of plywood, 12 mm thick. Braces for brackets will be made of them.Then the author places a finished corner joint on one of them and outlines it along the contour of the workpiece.
On the finished silhouette marks two points and connects them with a line so that a rectangular triangle is obtained.
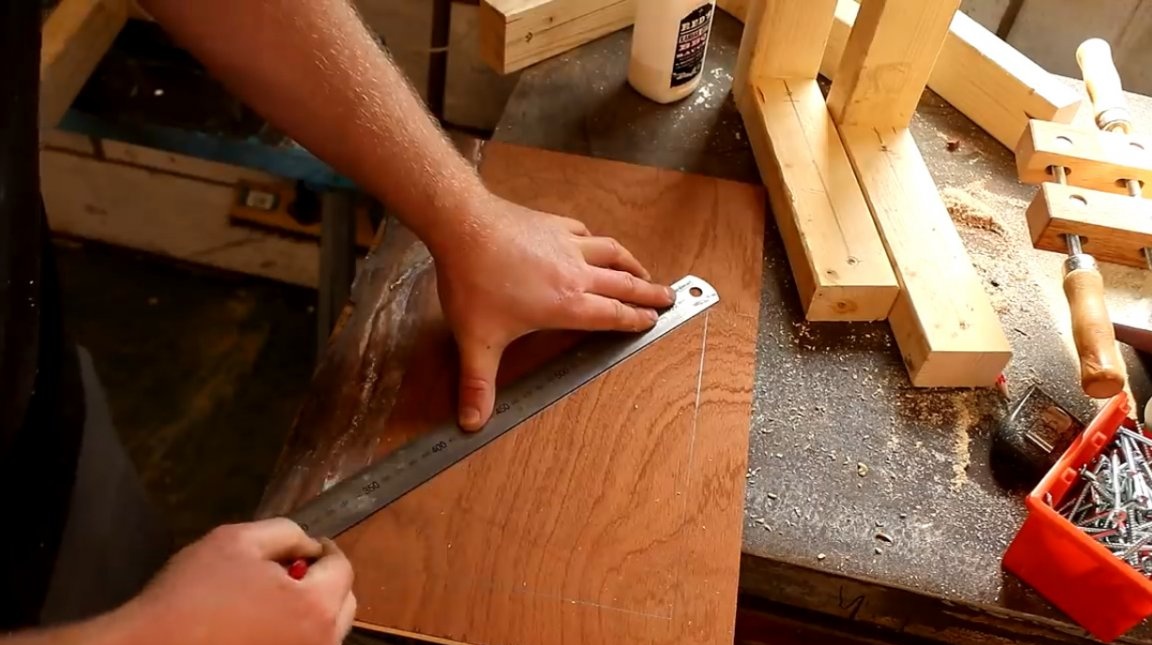
On one such cut of plywood, the author fit two triangles.
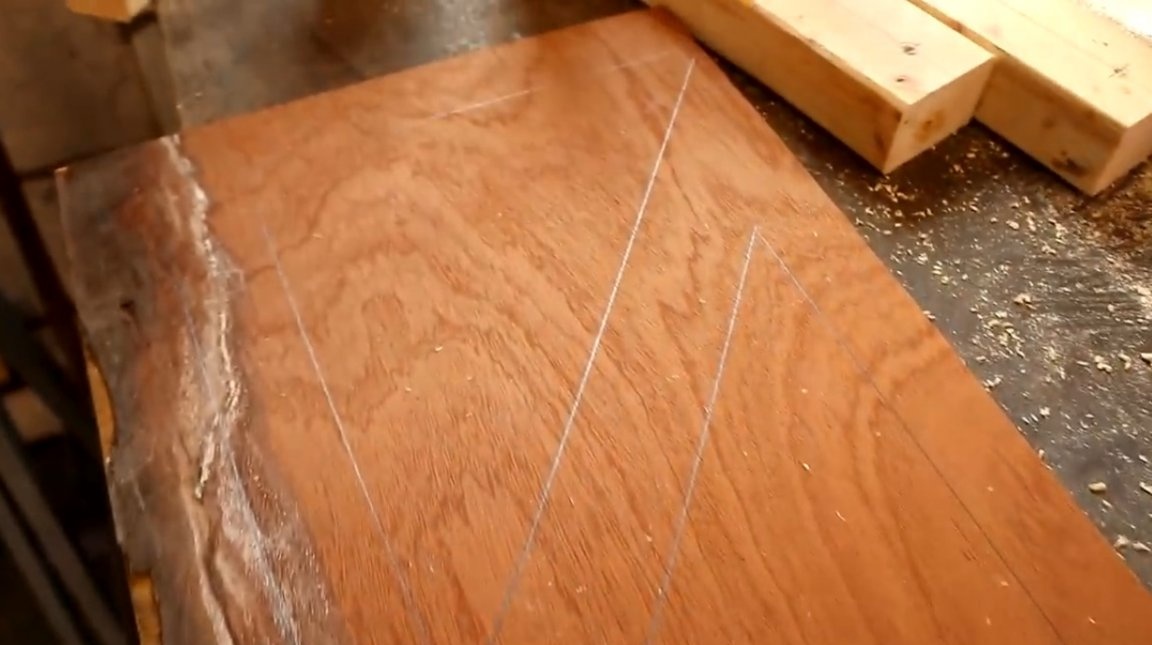
After that, all the figures are cut out on a band saw.

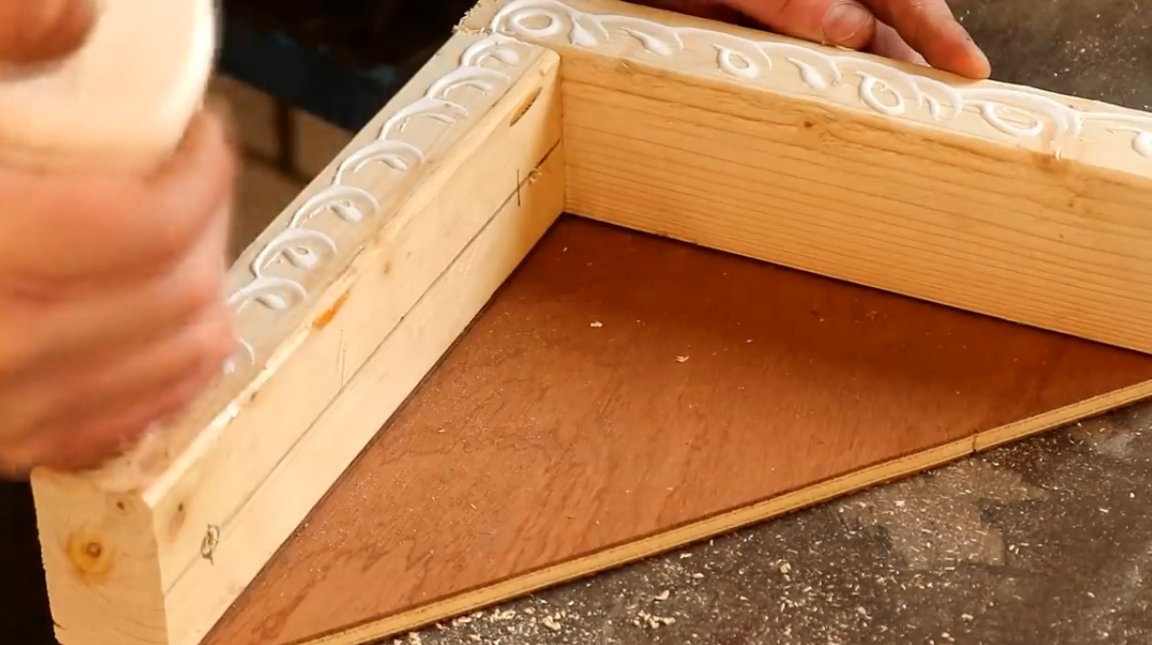
Then the author smears with glue those sections of plywood on which the L-shaped workpieces will be fastened.

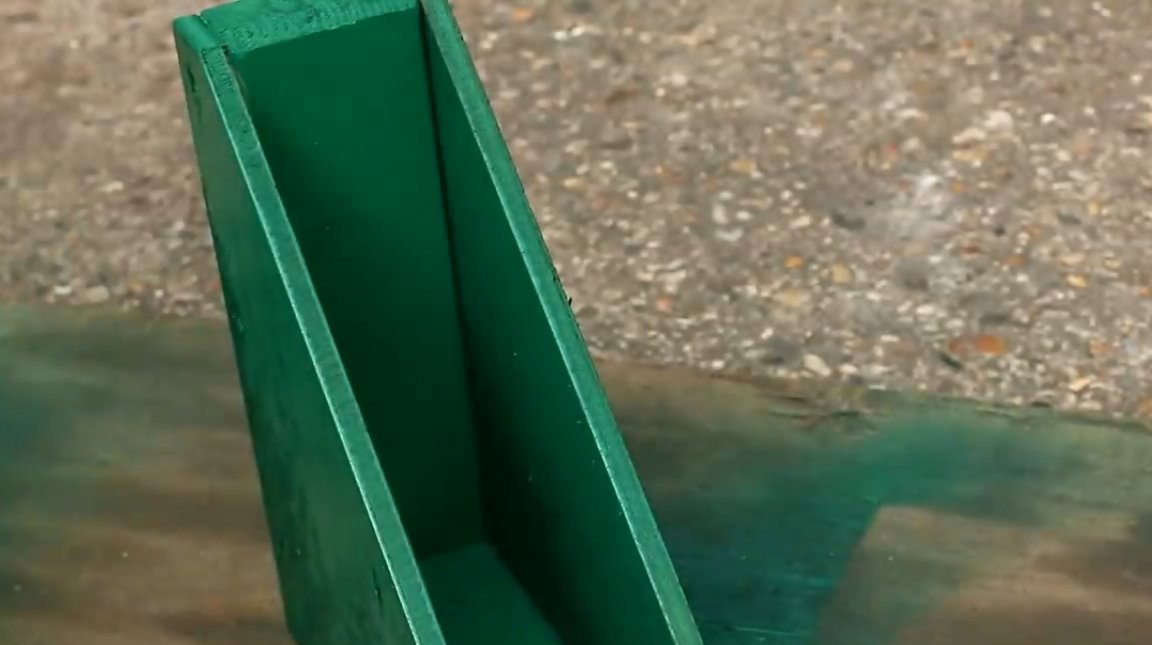
And applies the latter for final installation. These plywood triangles give the whole structure extraordinary strength, playing the role of braces.
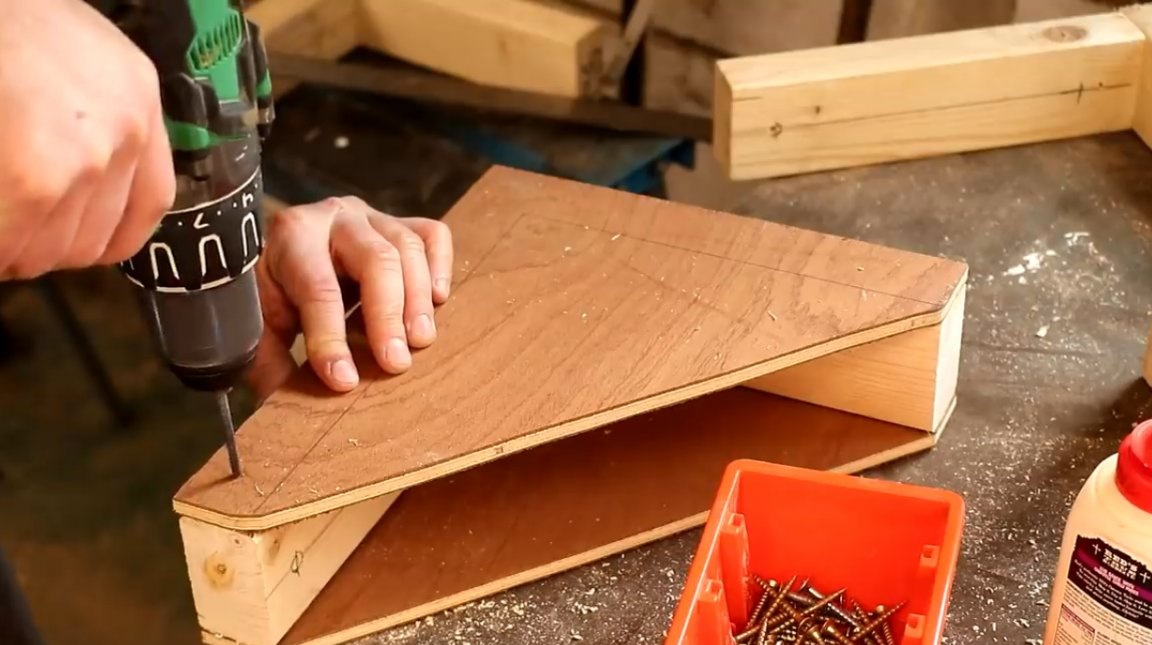
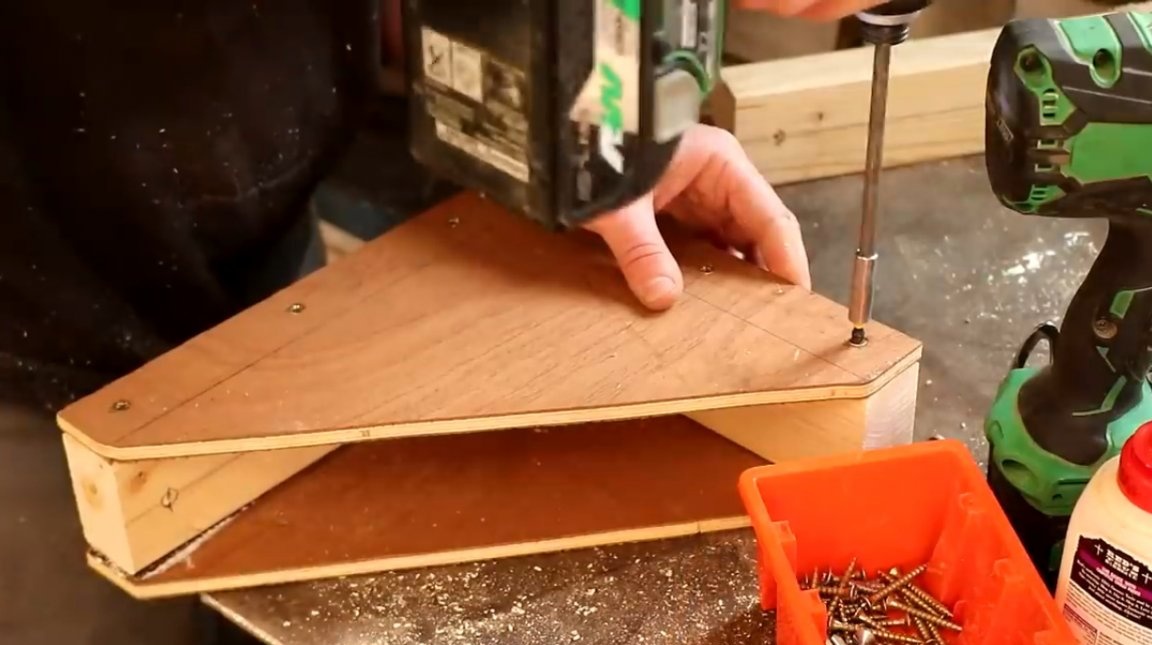
Plywood struts are additionally fixed with screws.
After that, the author manually erases all sharp corners and rough surfaces with sandpaper.

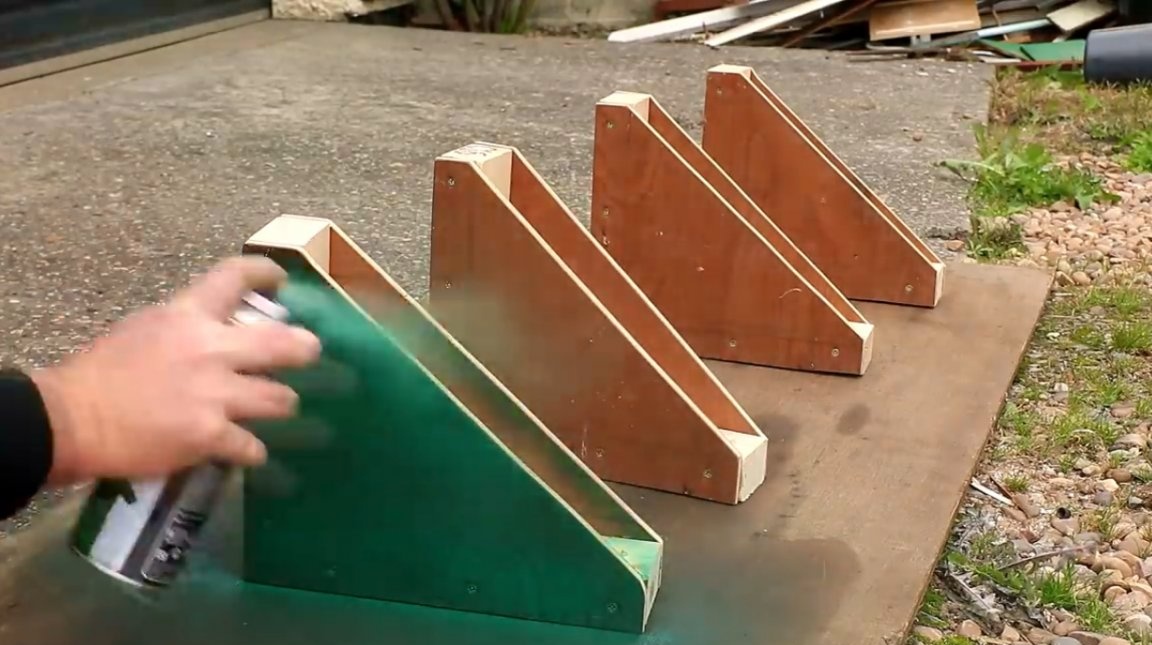
Finished brackets are covered with a layer of spray paint. So the author is trying to hide defects on plywood, and at the same time protect the wood from moisture.

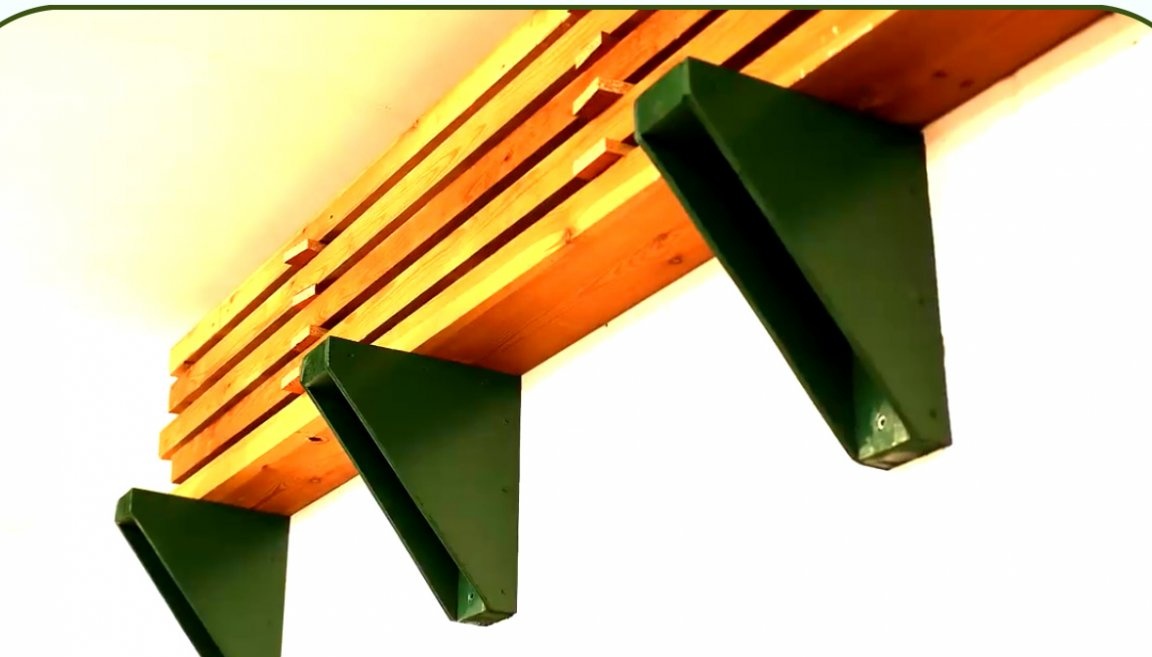
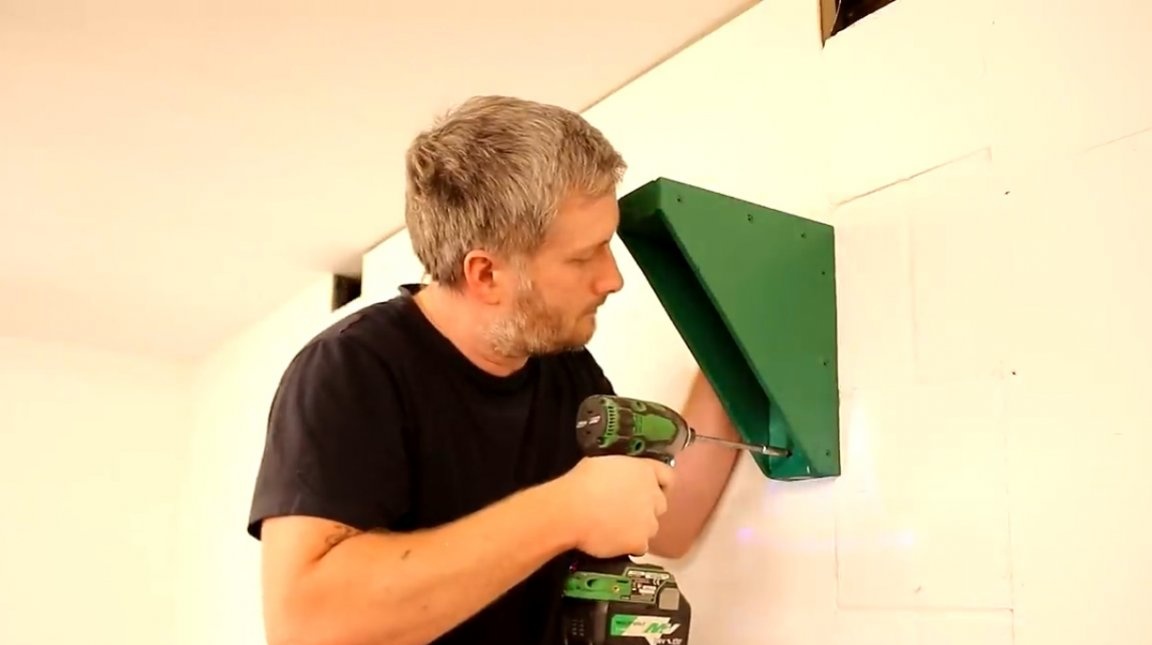
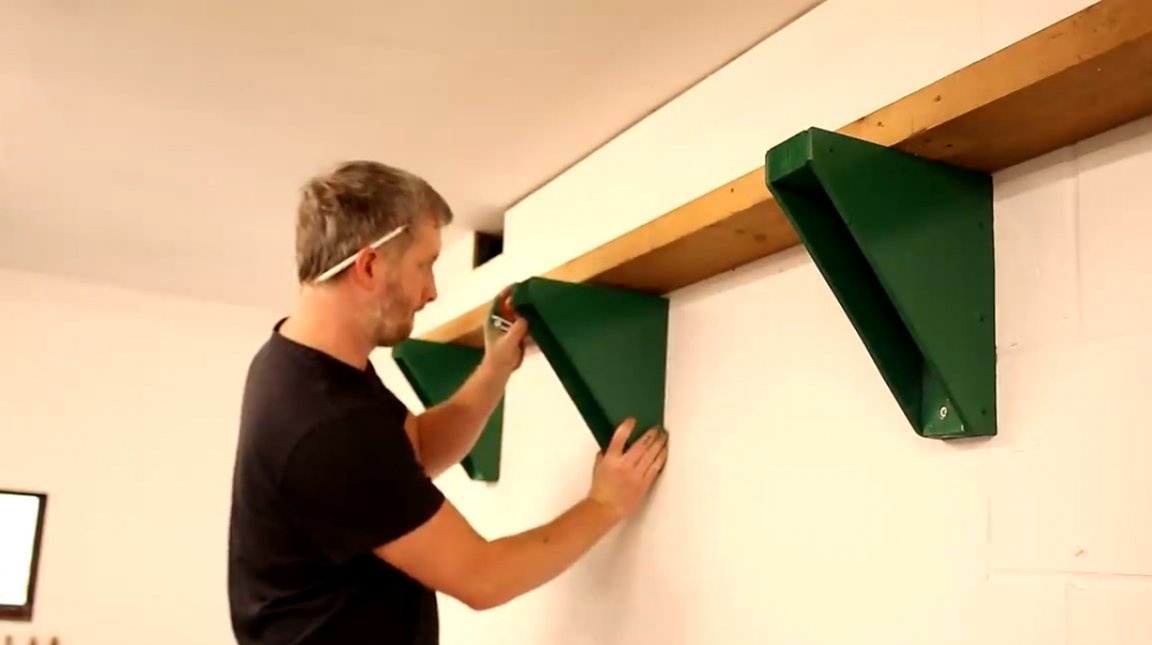
Then the master fastens the first bracket with the long side to the wall, using 100 mm screws with dowels. At the same time, he uses an extension bit for a screwdriver, which greatly simplifies access to distant screws.
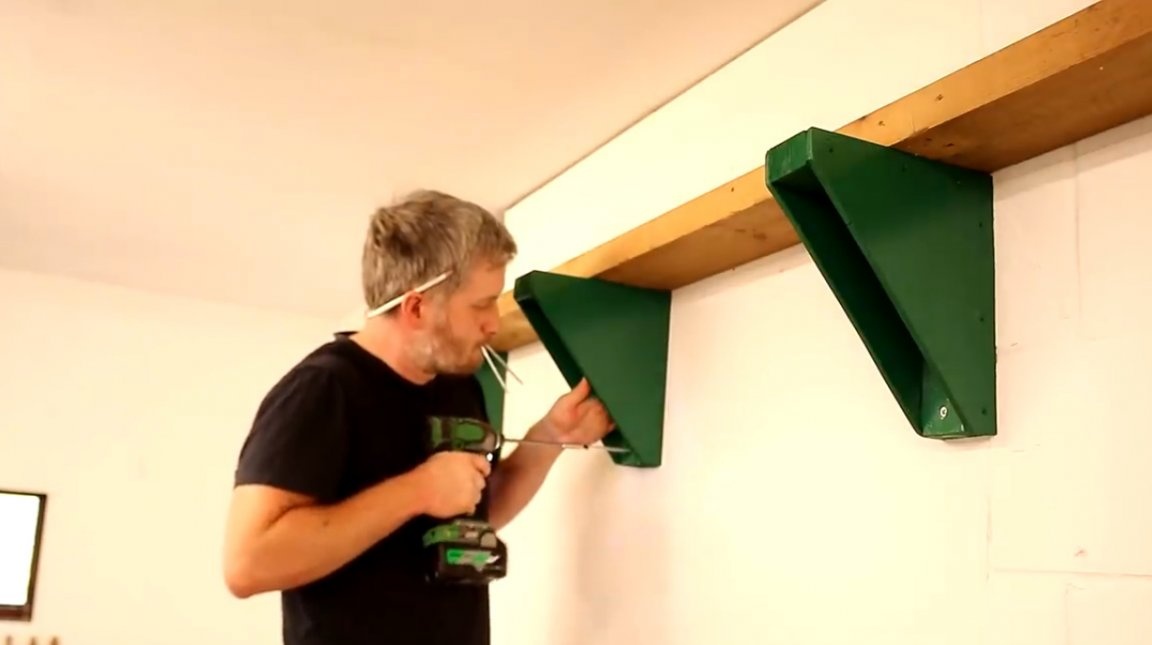
Now the master puts the second bracket and slightly bites it against the wall. After that, he places a long, flat board on top of both brackets, and with the help of a level, checks whether both supports are on the same line. After that, the master finally screws the second bracket.
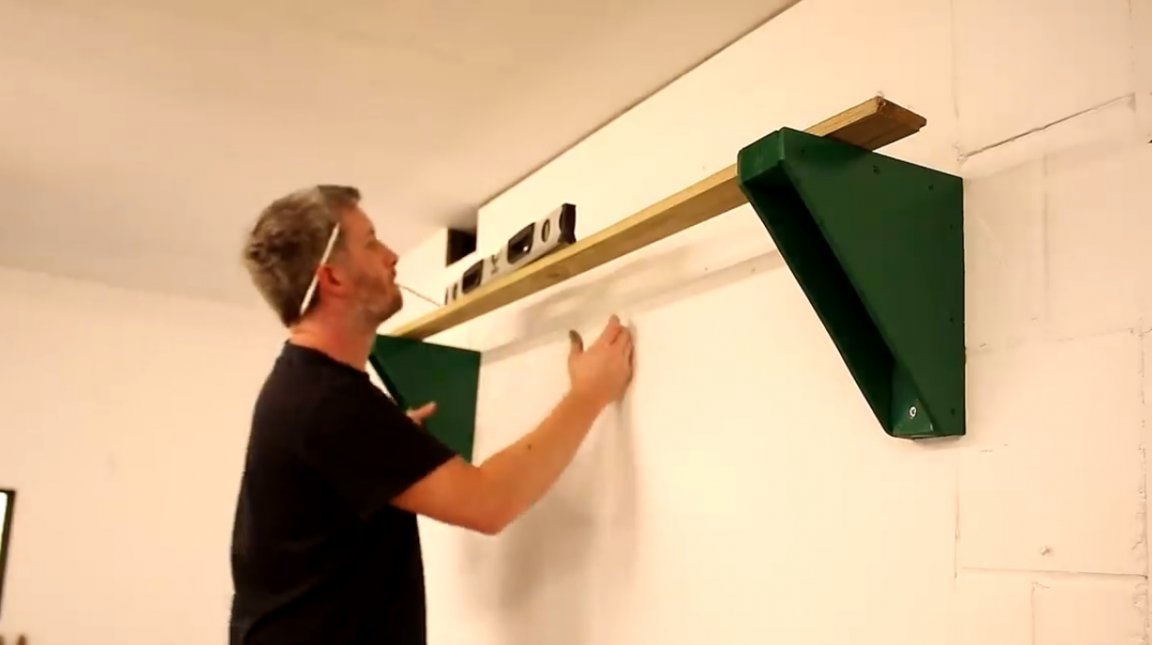
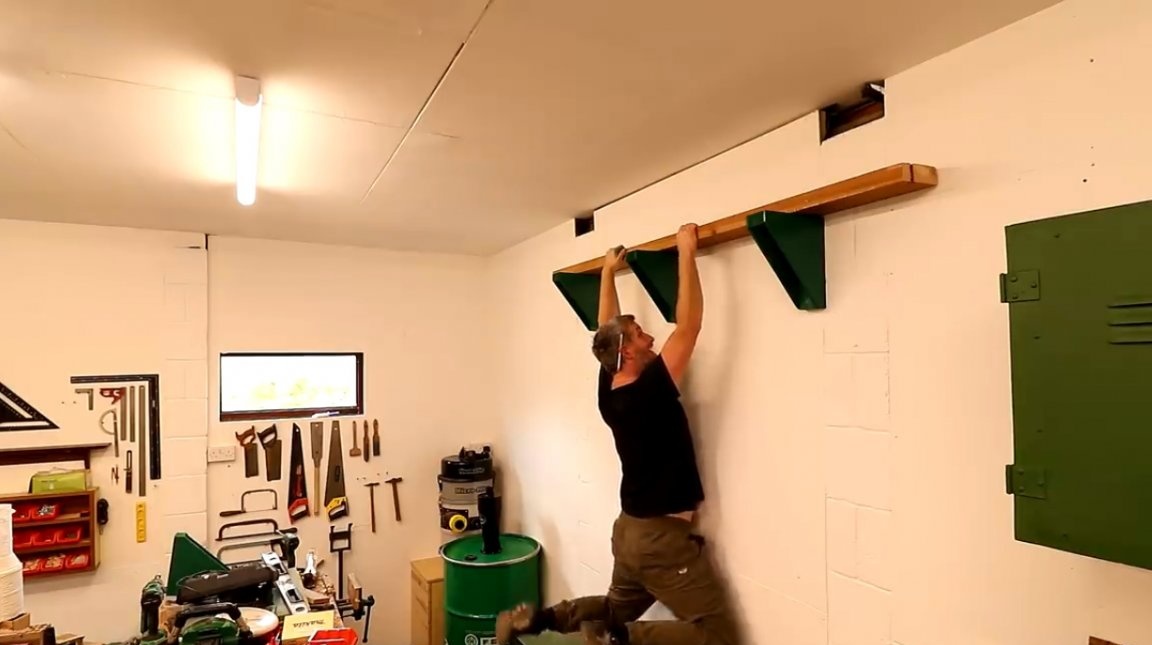
Then he again puts the board over the two supports, and puts on it a third bracket, which is clearly centered between the two previous ones.

Here you are! Want to check reliability? You are welcome! Now you can drill holes for the pipe in the side plywood walls, and make a small horizontal bar.
I thank the author for the simple idea of constructing wooden brackets for the workshop, garage, or barn!

If you have interesting homemade products, share them on this site. Here you will get a real reward, not a “bunch of green stuff" at the entertainment forum.
All good mood, good luck, and interesting ideas!
Author video can be found here.