Anyone who has a small workshop, or garageThey know very well how valuable it is to use the free space correctly.
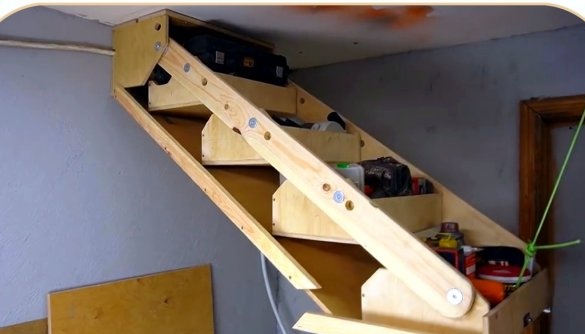
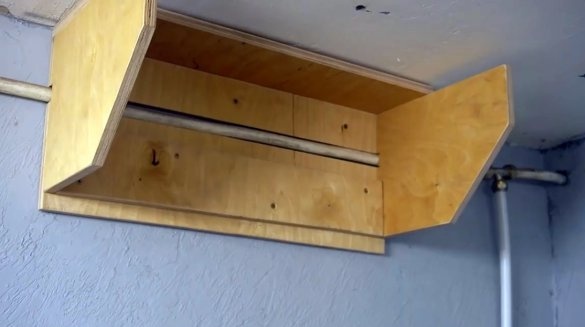
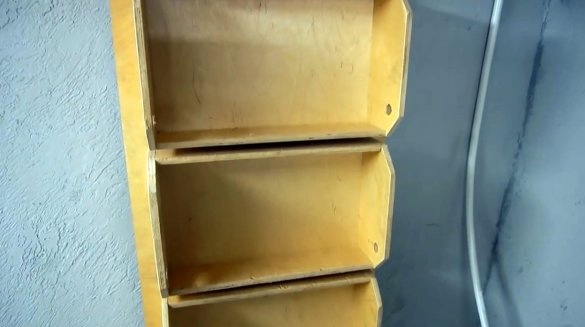
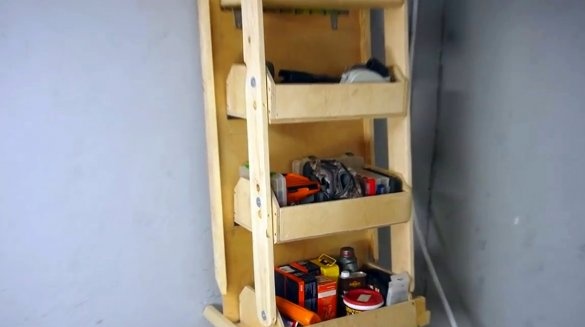
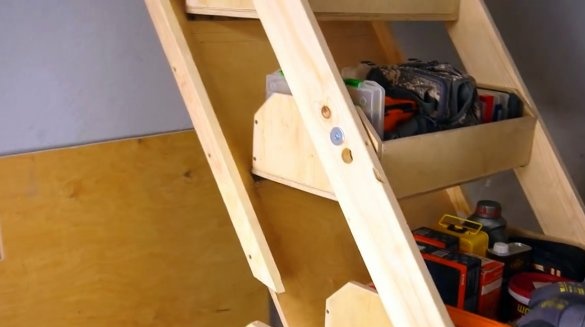
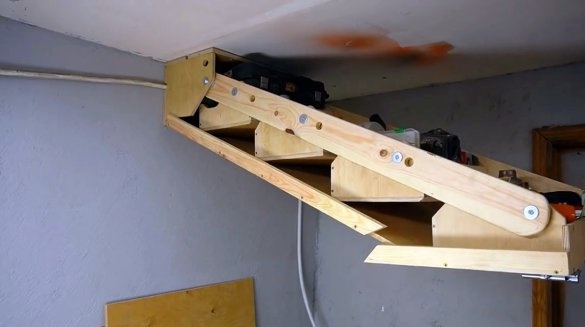
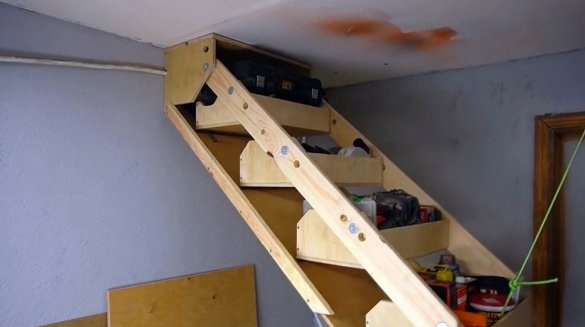
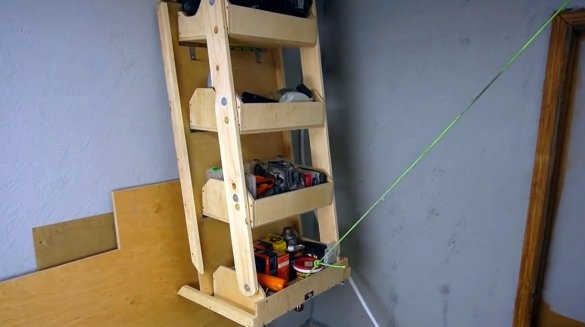
In this article, the creator of the Men’s Craft YouTube channel tells you how he made a cabinet with shelves that can go up to the ceiling.
This homemade product is not very easy to manufacture, however, this design is really very useful.
Materials
- sheet plywood
- Pine boards, timber, round timber
- Piano loop
- Door lock, latches
- Roller
- rope
- Wood screws, dowels, screws, washers, nuts
- PVA glue.
Instruments, used by the author.
— Cordless Reciprocating Saw
— Screwdriver
— Countersink drill
— Forstner Drills
— Clamps
- Punch
— Svenson Square
- Ruler, pencil.
Manufacturing process.
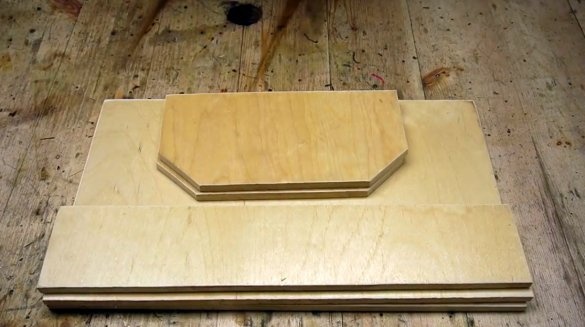
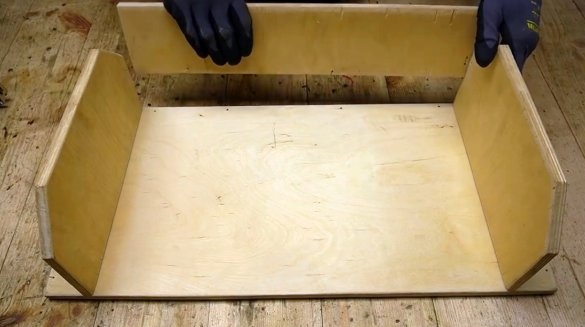
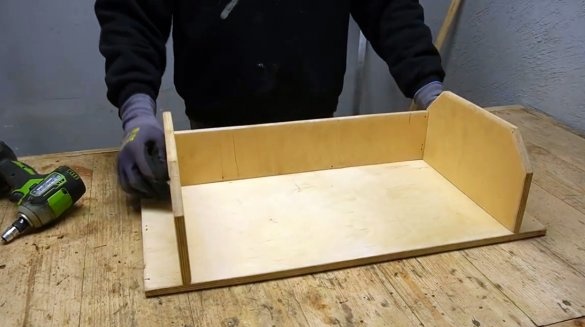
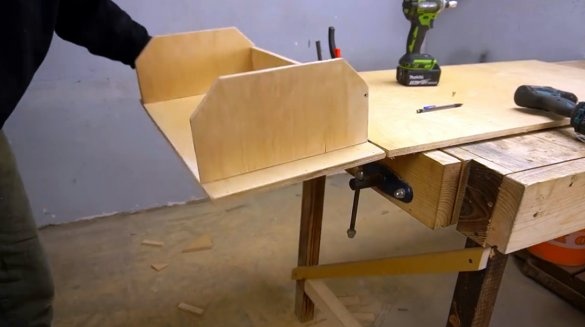
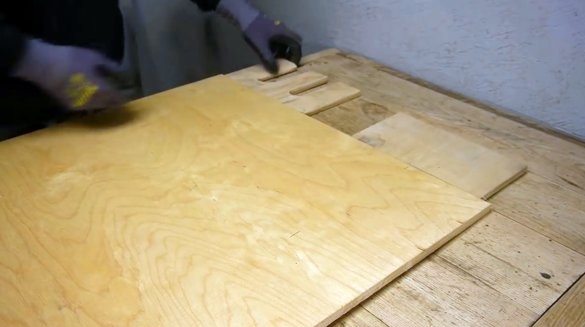
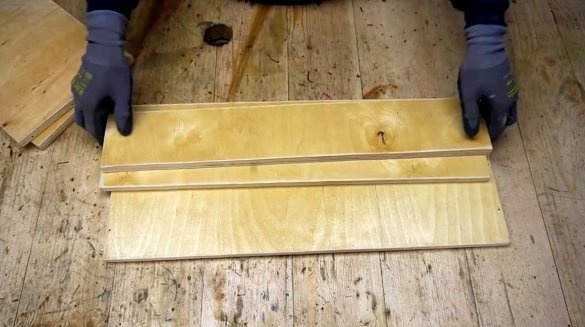
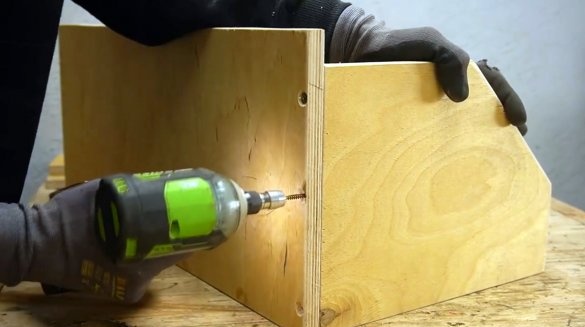
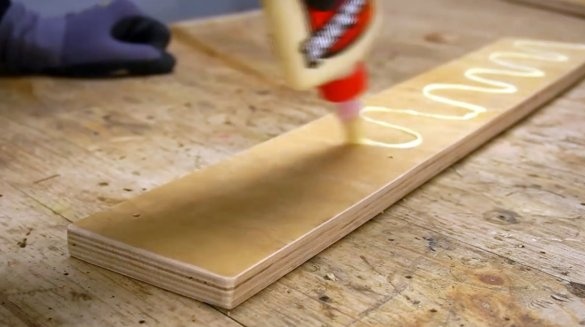
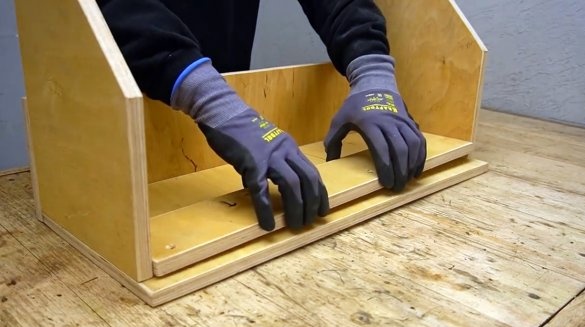
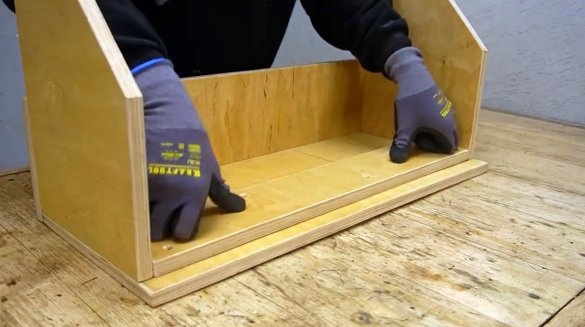
First of all, the master begins to manufacture small boxes of sheet plywood.
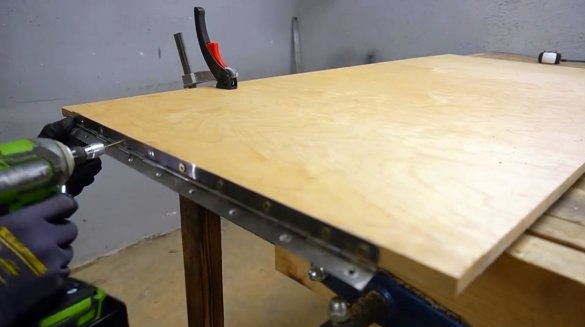
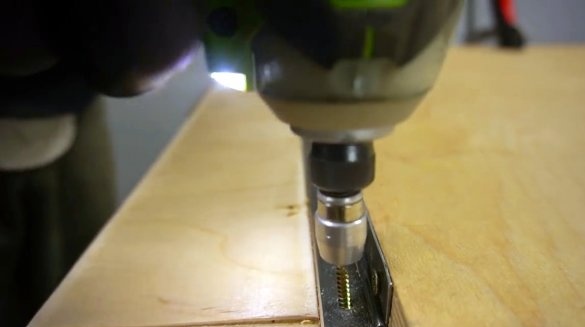
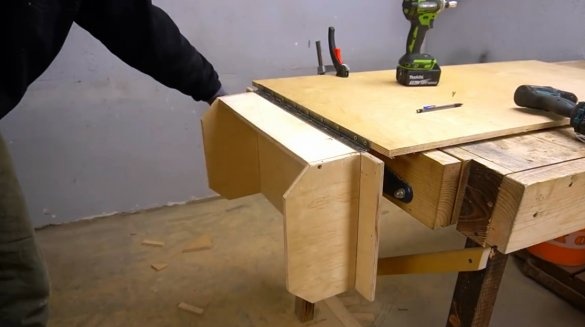
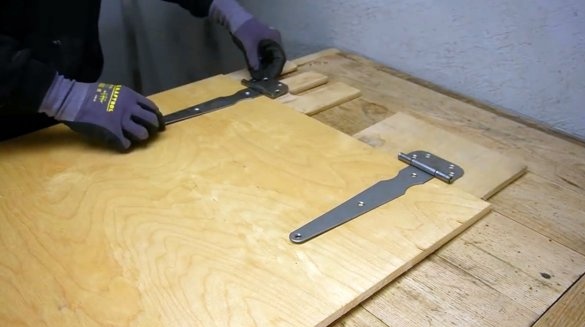
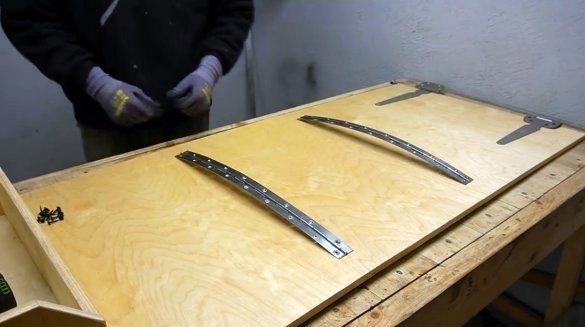
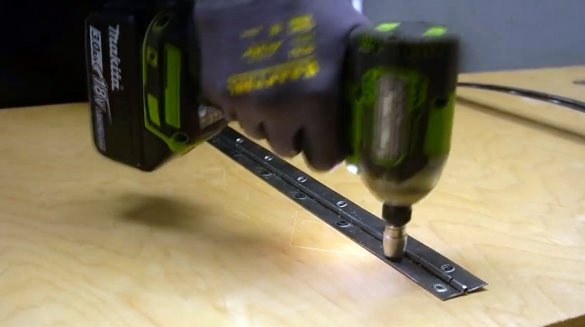
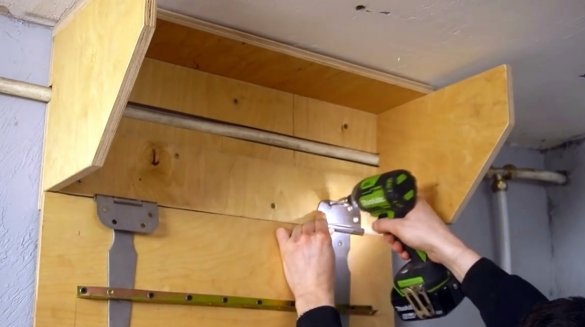
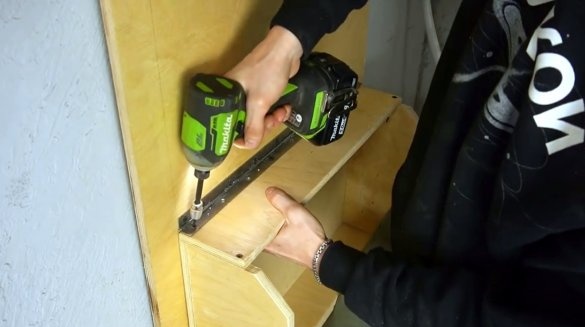
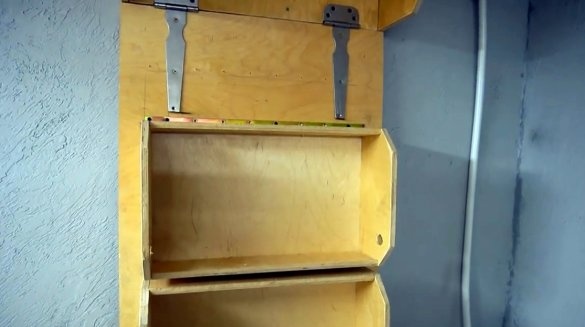
A piano loop is screwed to the bottom of the base.
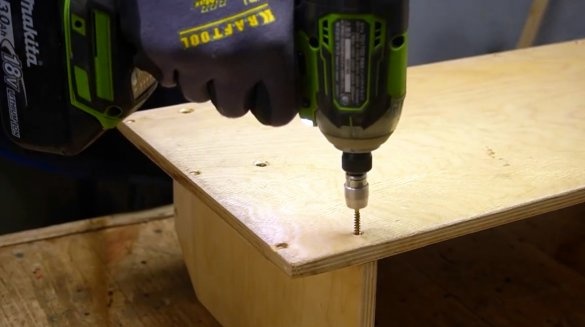
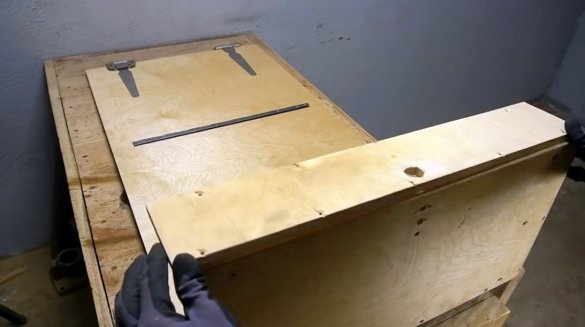
Then the first box is screwed to the base.
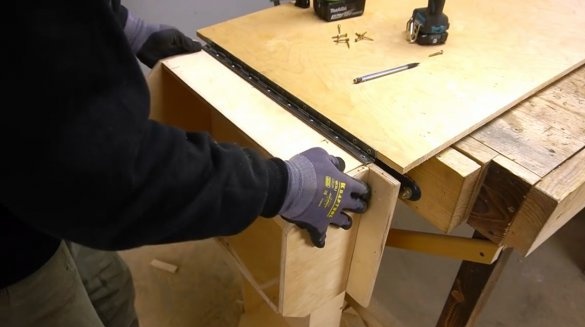
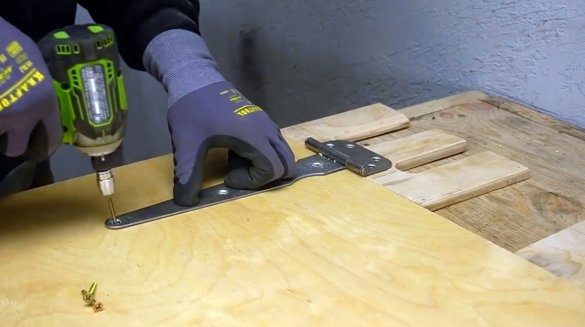
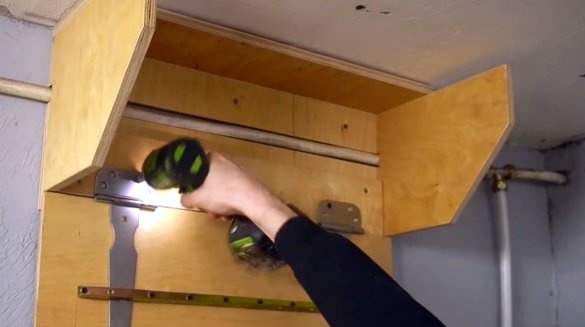
Having put a couple of scraps of plywood near the top edge, the author screws two loops to the base.
Given the distance between the drawers when folded, the remaining piano loops are screwed to the base.
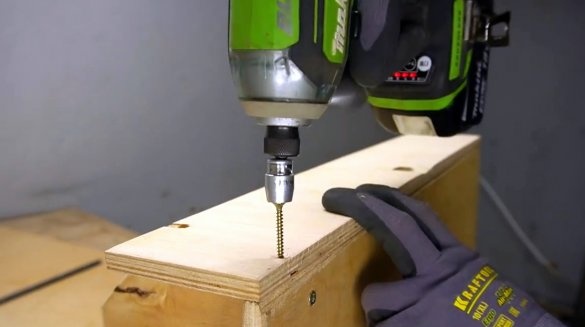
The front part is screwed to the box.
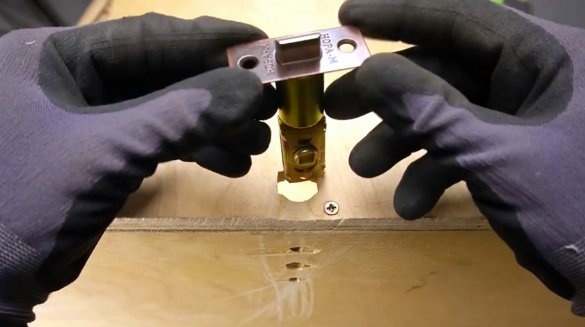
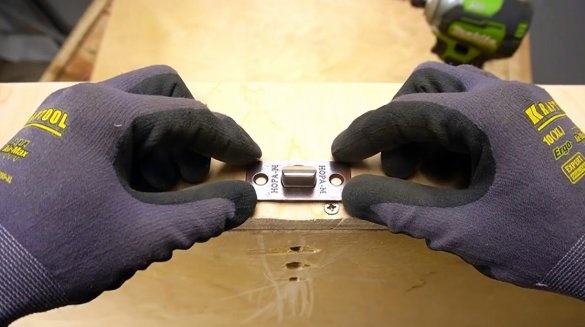
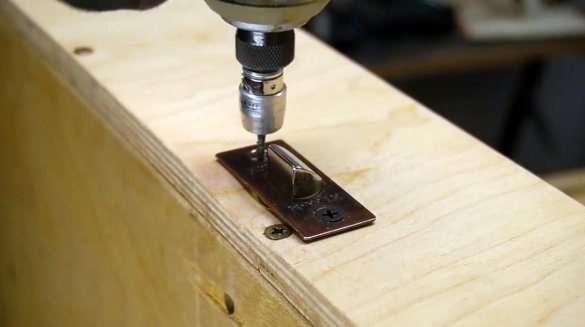
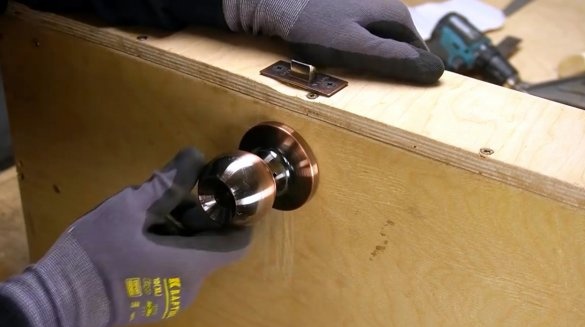
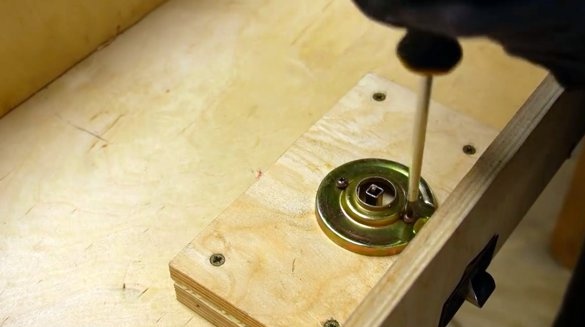
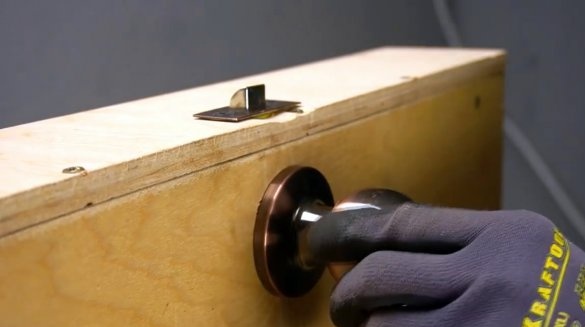
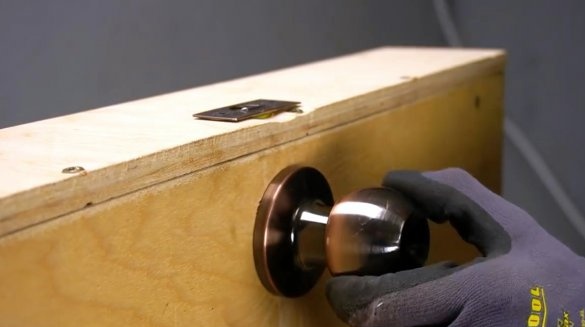
Having drilled a hole in the facade with a Forstner drill, a lock latch is mounted in it.
To install the handle and the lock mechanism, the master had to make two small plywood linings.
In a similar way, like the drawers, the top of the cabinet is assembled.
Its back wall had to be strengthened with two pieces of plywood.
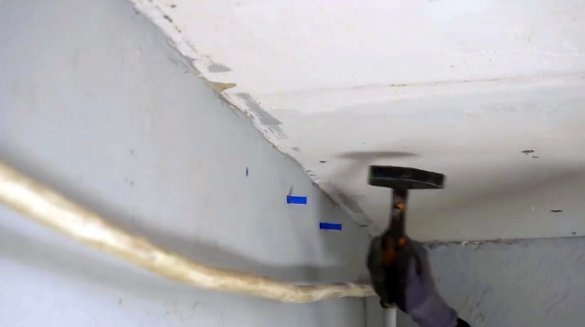
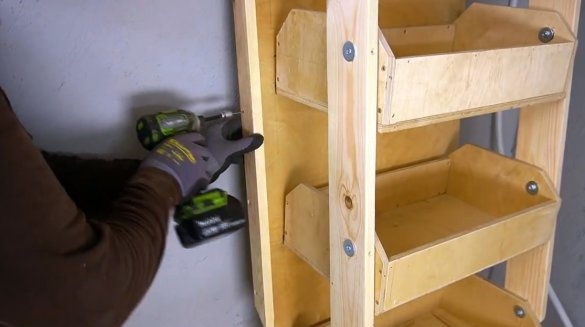
Holes are drilled in the wall, plugs are clogged in them. The author was prevented by the heating pipe, and he cut out part of the back wall of the box. After that, he fixed it on the wall.
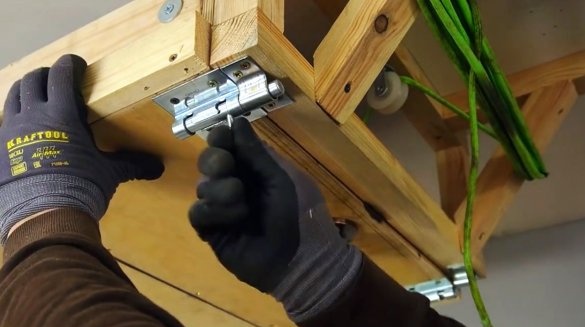
Hinges with a folding base are screwed to the box itself.
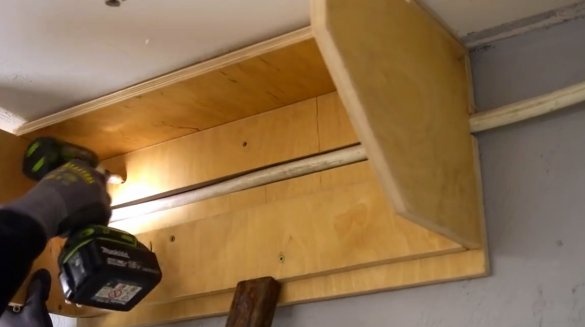
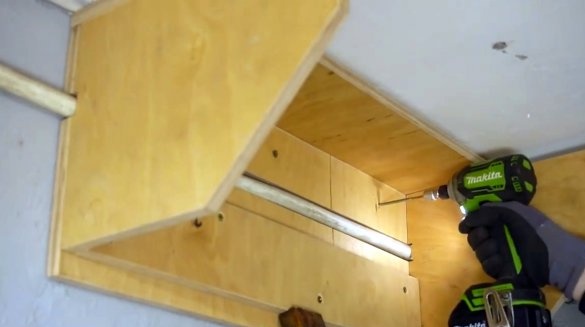
Then all the boxes are mounted.
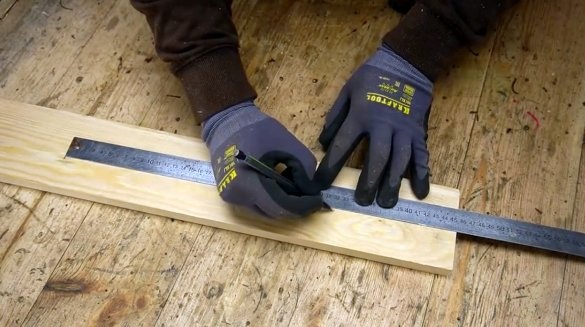
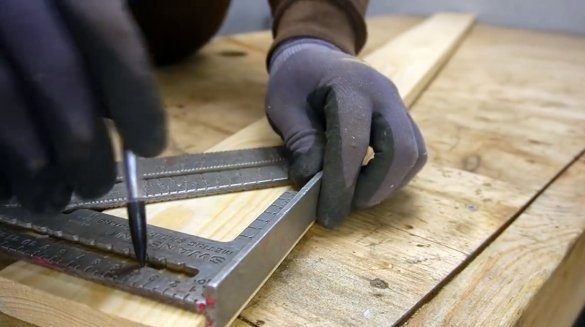
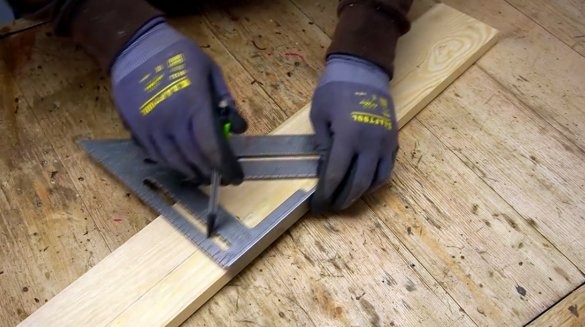
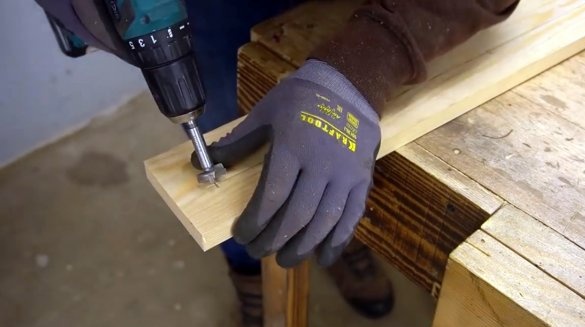
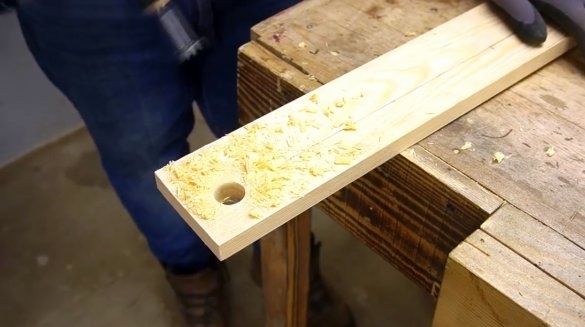
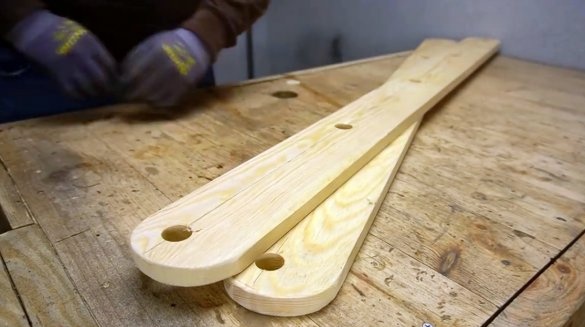
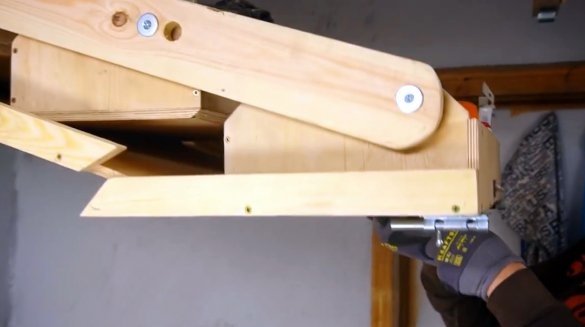
The master uses a long pine board as a hinge. With the help of a ruler and Svenson's square, places for installing the axes are marked.The holes for the axes are drilled with a Forstner drill.
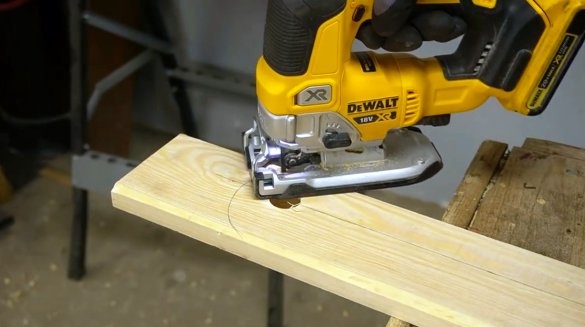
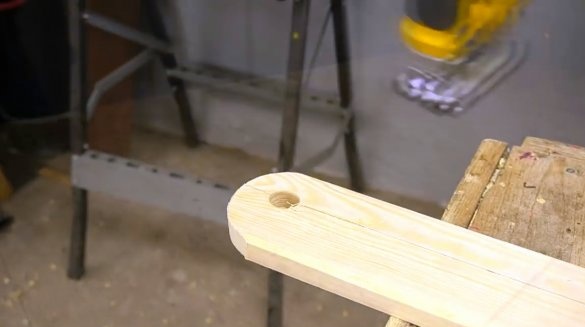
Both ends of the joints are rounded with an electric jigsaw.
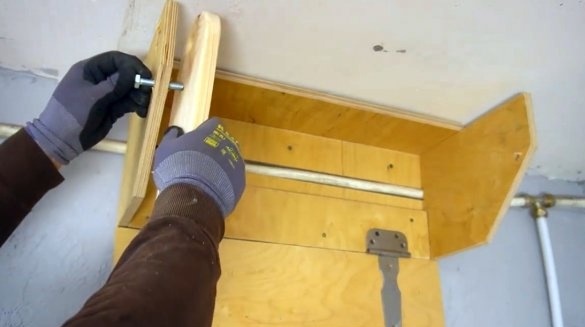
Using the M8 bolt, the hinges are attached to the upper box.
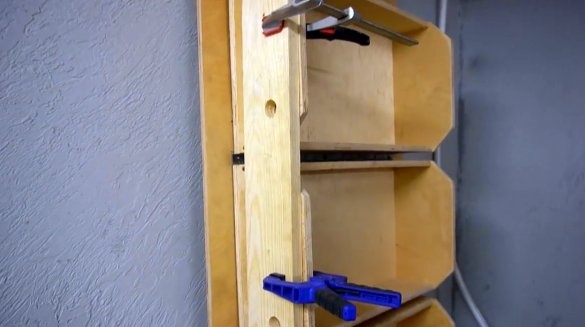
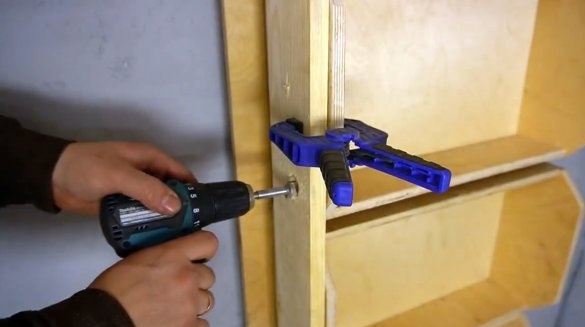
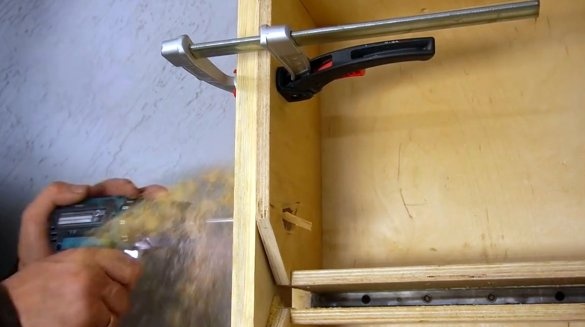
Having fixed the hinge with the boxes with clamps, the master drills the counter holes for the axes in the side walls of the boxes.
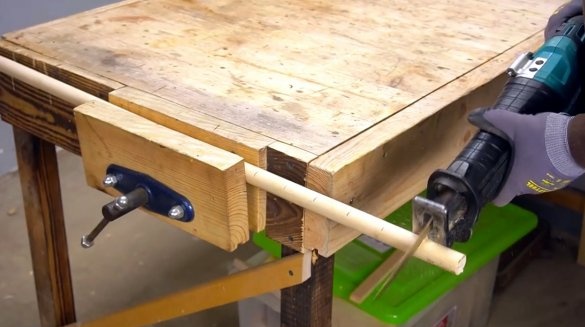
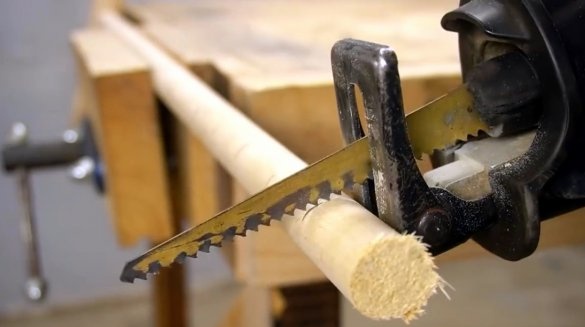
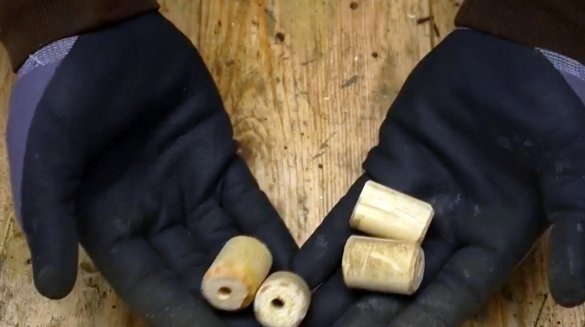
As a sleeve, a wooden round log is quite suitable. The author fixed it in a vice, and cut the cylinders with a saber saw. Then he made holes for the bolts in the centers of the cylinders.
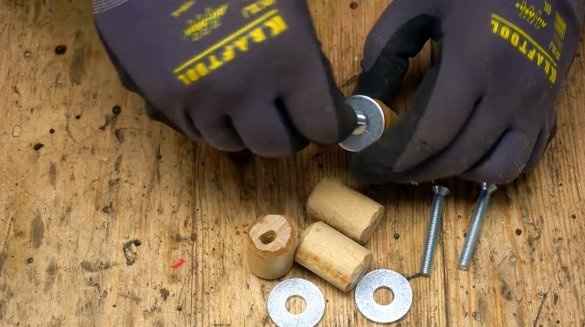
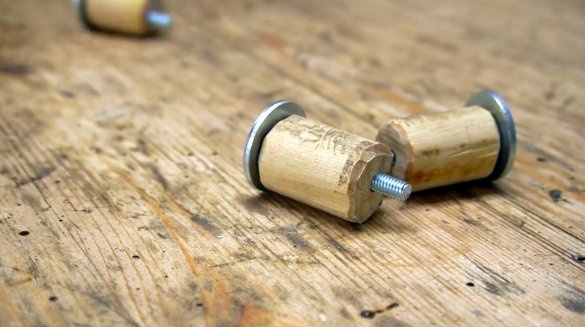
The axes themselves will consist of a bolt, a sleeve, and a pair of washers. In this case, the washers should be of a larger diameter than the bushings themselves.
Now you can set the axis in its place, connecting the boxes with hinges.
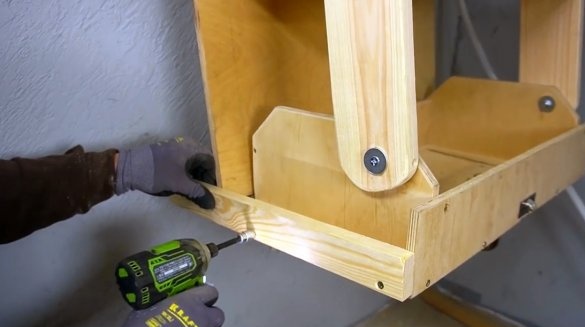
The master reinforces the lower part of the first box and the side walls of the base with wooden planks.
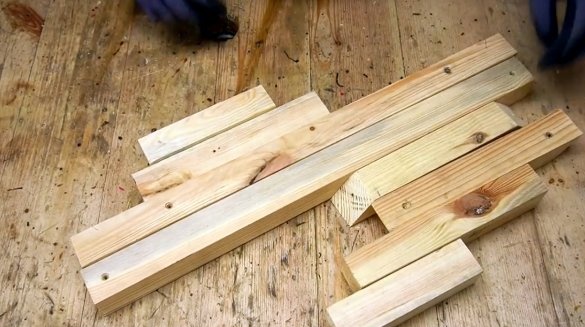
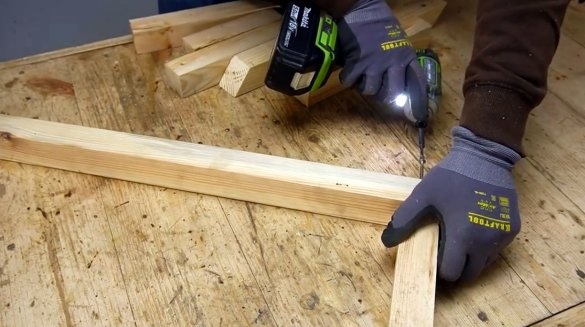
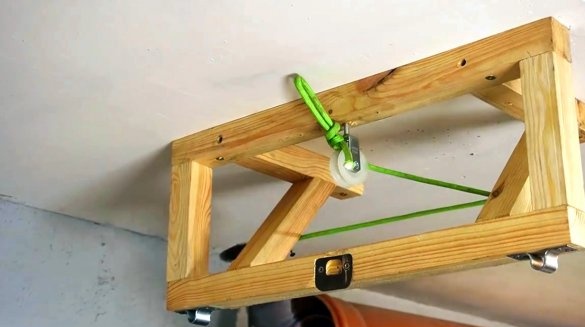
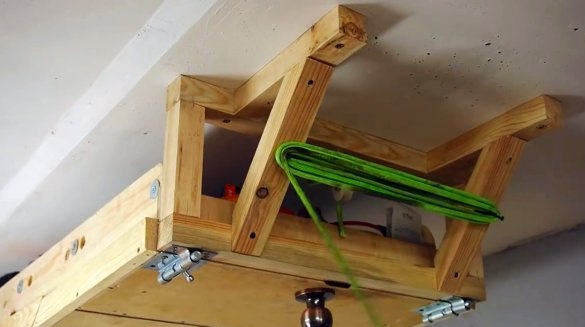
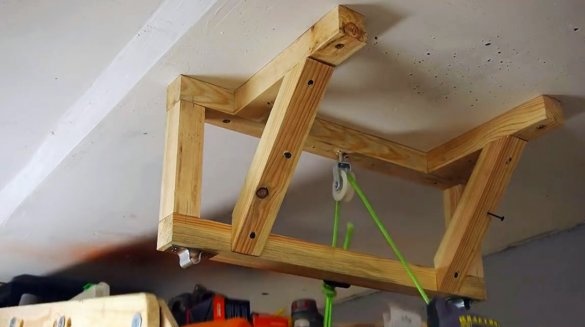
The mate for the cabinet is assembled from a pine beam.
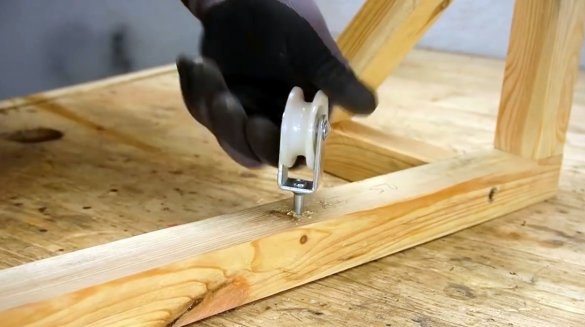
A roller is screwed in the center of the upper bar.
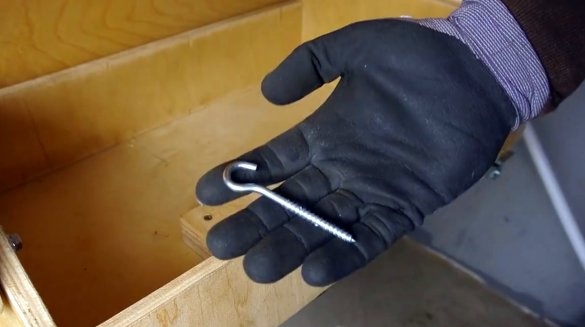
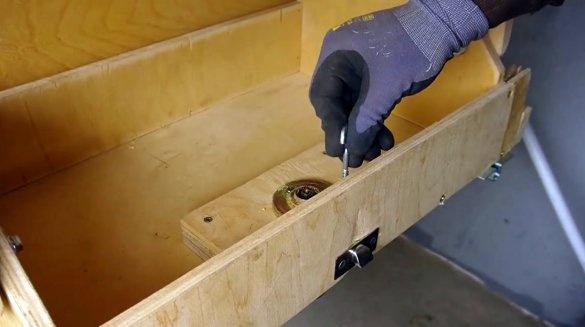
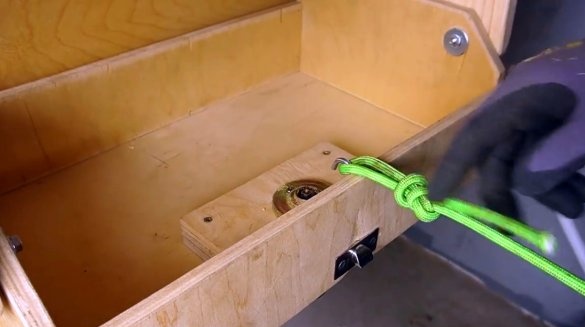
Also, the master screwed a screw with a hook inside the box, a rope will cling to it.
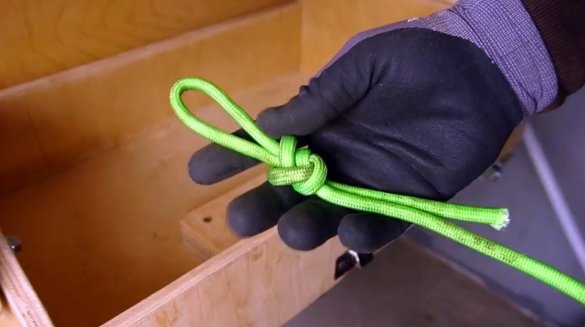
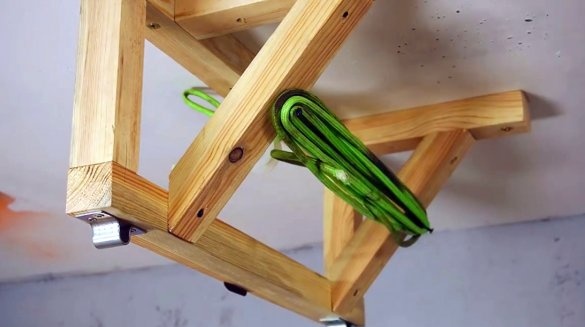
Having screwed the counter frame to the ceiling, he passed the rope through the roller and wrapped it around two screws.
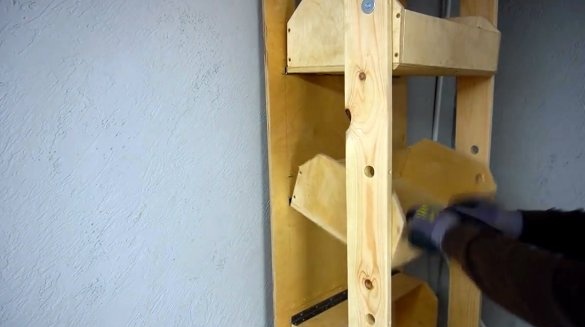
Everything is ready, you can lift the mechanism with boxes.
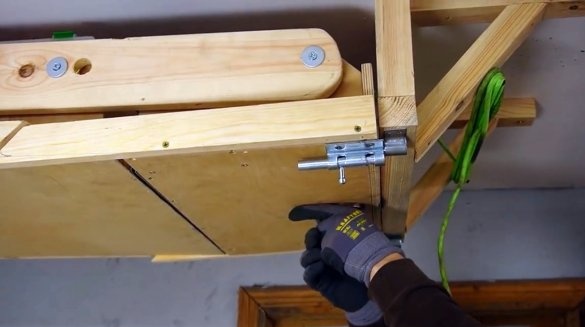
For greater reliability, the author added a couple of latches on the back side of the base, they will additionally fix the shelf in a closed form.
To facilitate the descent and opening of the cabinet, it will be possible to use a rope. Now you can put all the not very often used tool in boxes, and store it under the ceiling, and there will be more useful space in the workshop.
I thank the author for the simple but useful device for the workshop!
If you have interesting homemade products, share them on this site. Here you will get a real reward, not a “bunch of green stuff" at the entertainment forum.
All good mood, good luck, and interesting ideas!
Author video can be found here.

