
In this article, the author of the YouTube channel “Rag 'n' Bone Brown” will tell you about the manufacture of new interchangeable sponge plates for joinery vice. In them, among other things, there will be a couple more holes for additional stops, so that the vise can be used in one bundle with a multifunctional workbench.
Materials
- Solid mahogany wood
- Screws, screws
- Impregnation for wood.
Instruments, used by the author.
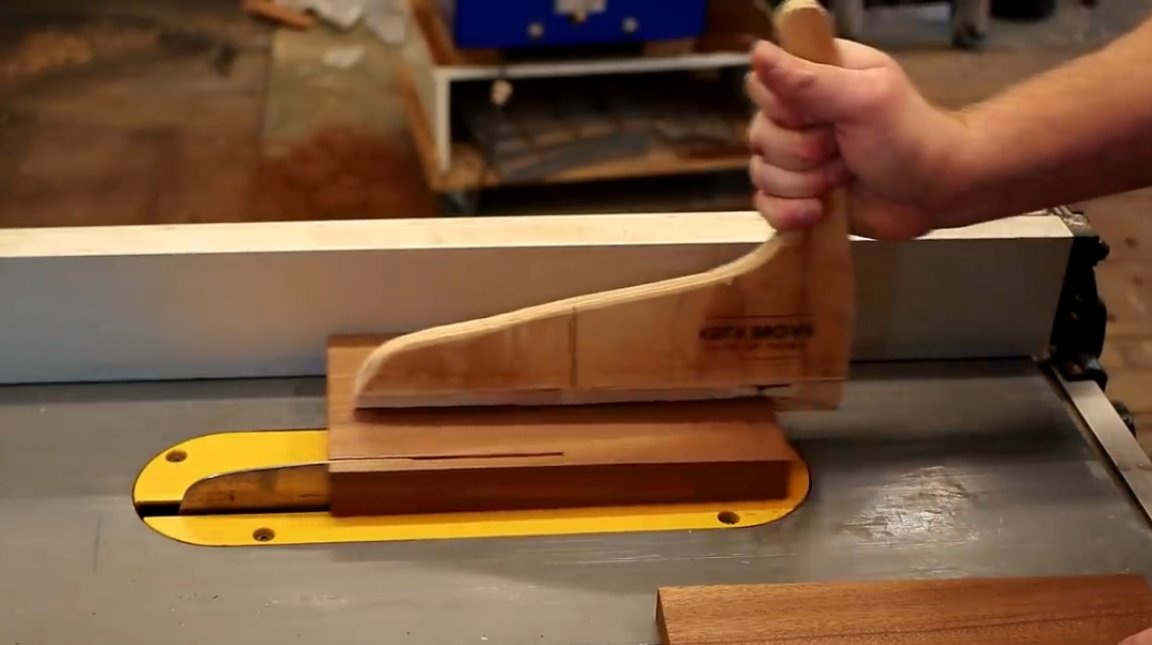
— A circular sawpusher
— Screwdriver
- Jointer, planer, manual plane
- Drilling machine, wood drill bits
- Miter saw
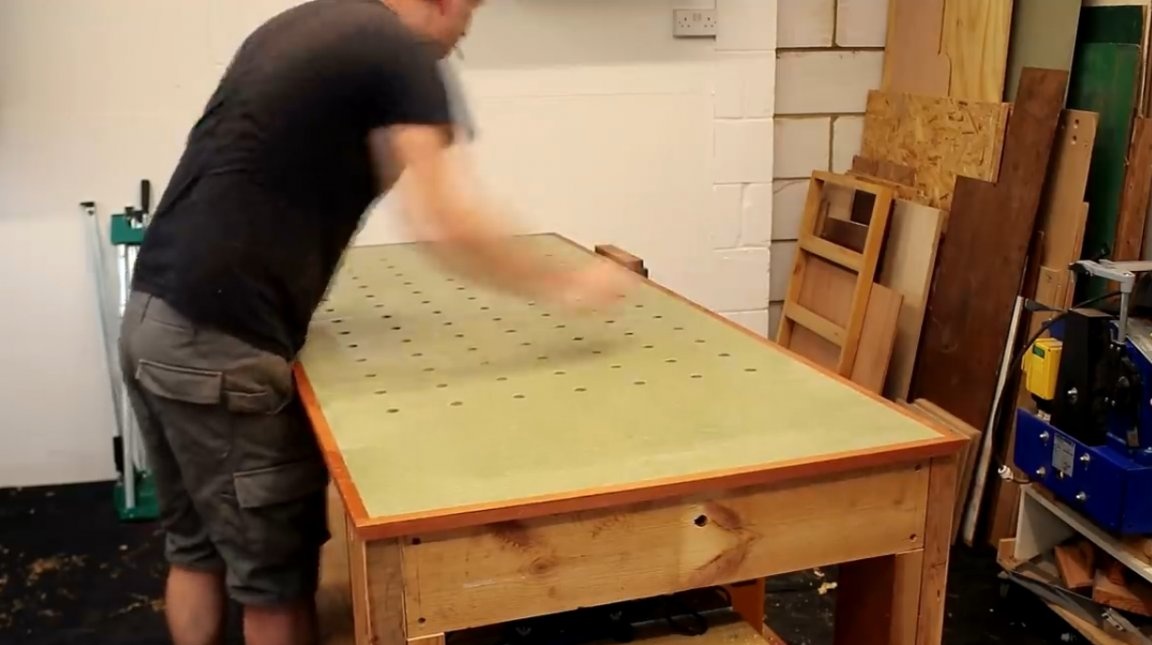
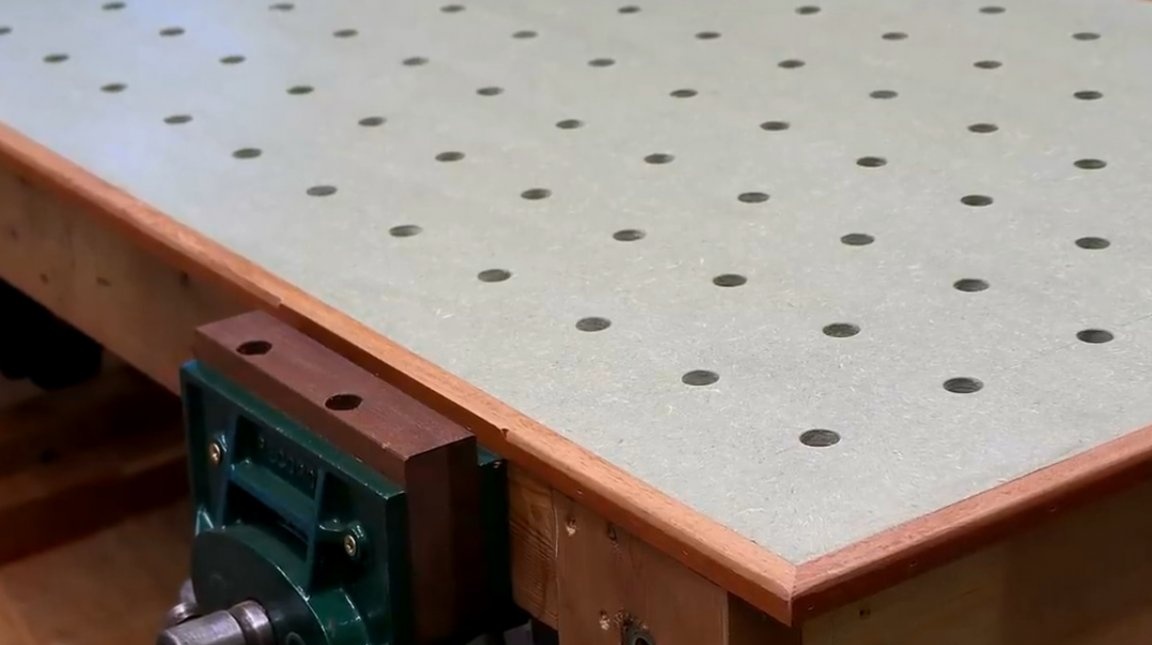
- Multifunctional workbench
— Svenson Square
- Vise, tape measure, screwdriver, ruler, pencil.
Manufacturing process.
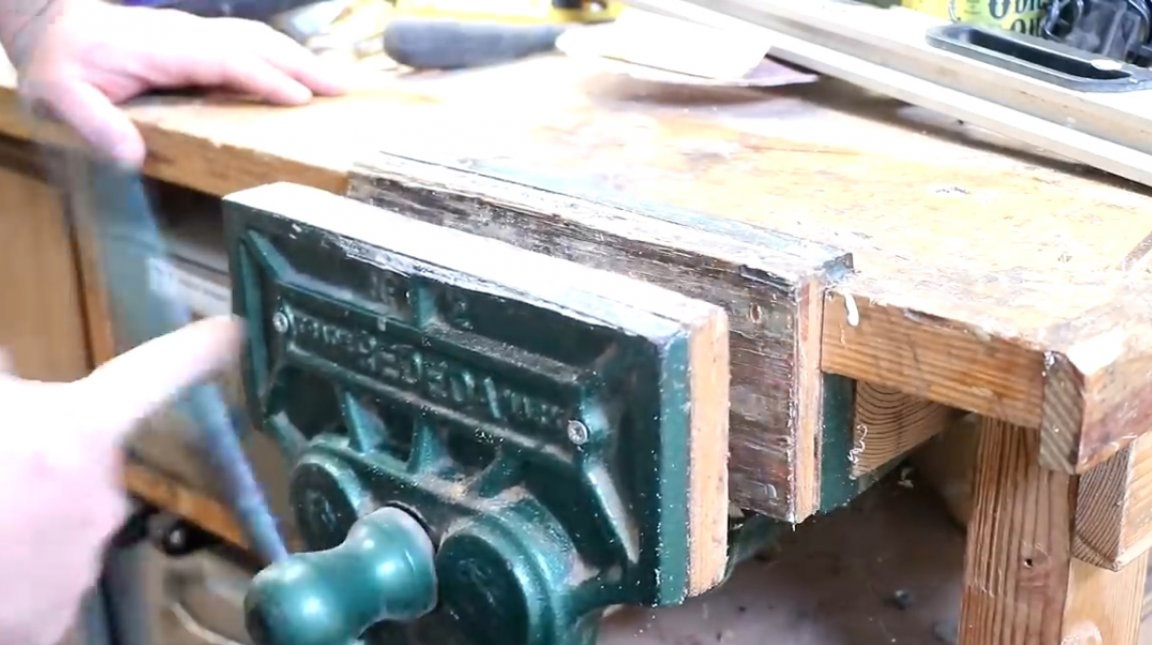
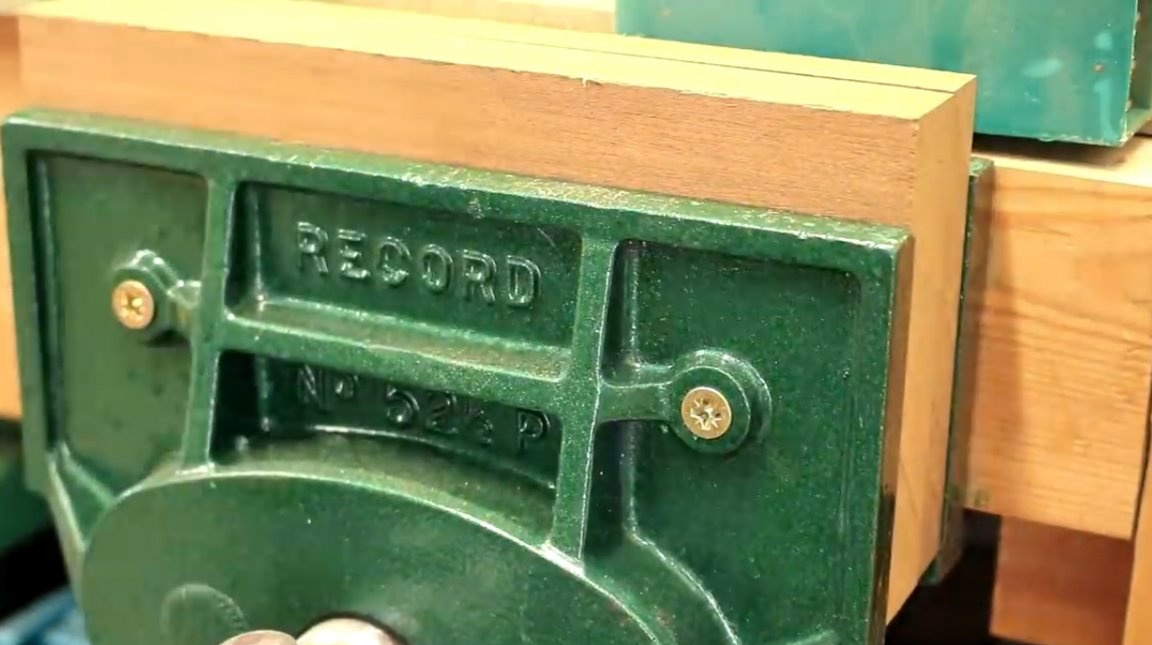
The master has recently restored a vice that now needs to be improved for carpentry. The worktop of the old workbench has also been completely replaced.


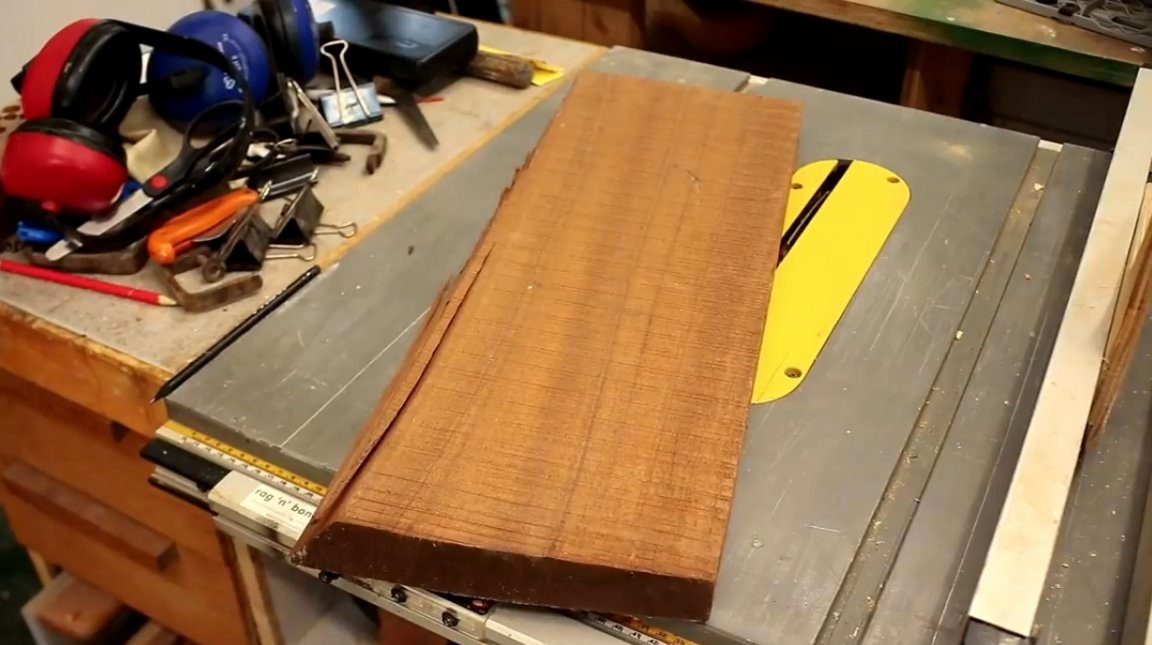
As a material, the author will use the wood of the African mahogany. This is a solid breed of wood that should last long enough. Alternatively, for these purposes, it would be possible to use a furniture plywood plate covered with veneer on both sides.
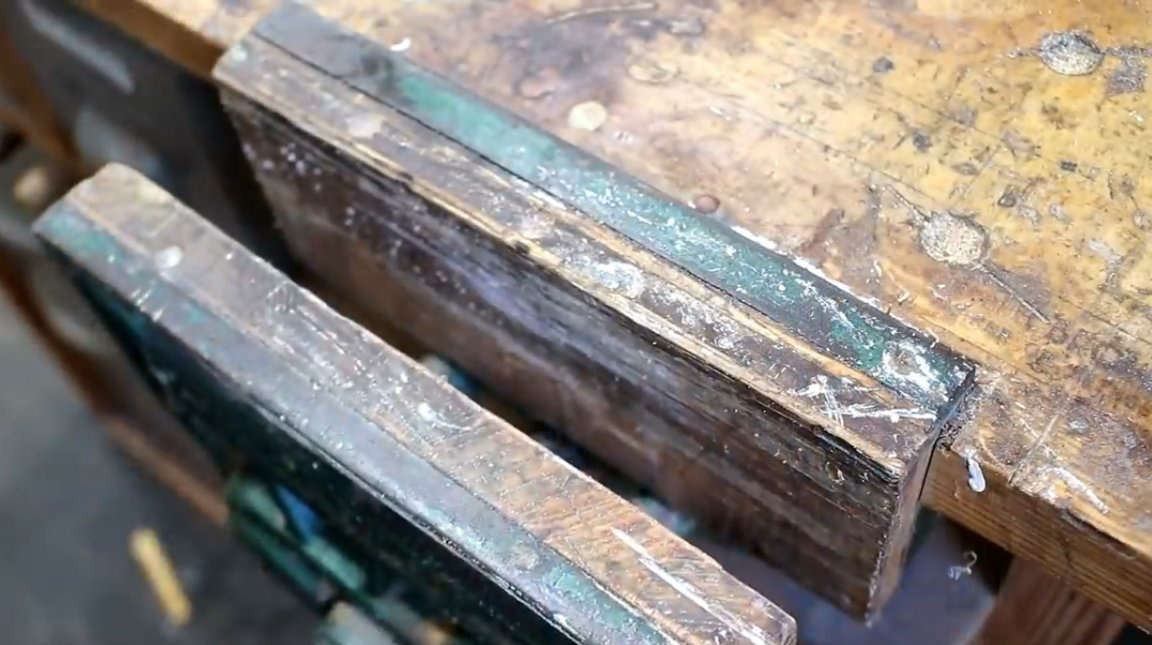
And this is what the vise clamping plates looked like before.
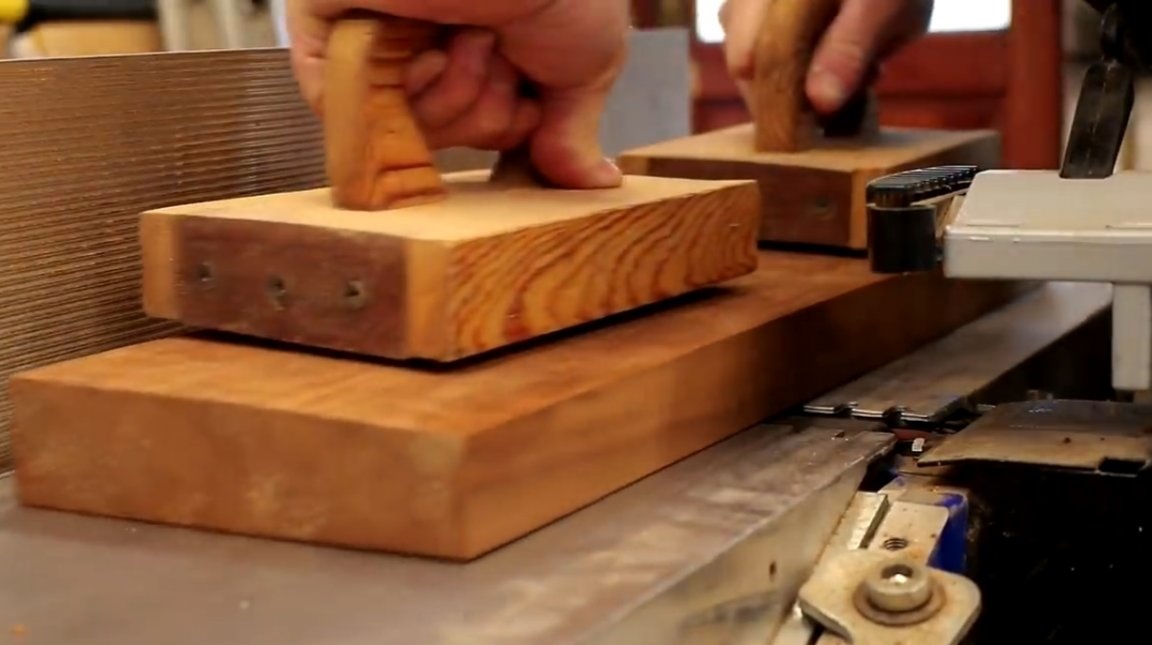
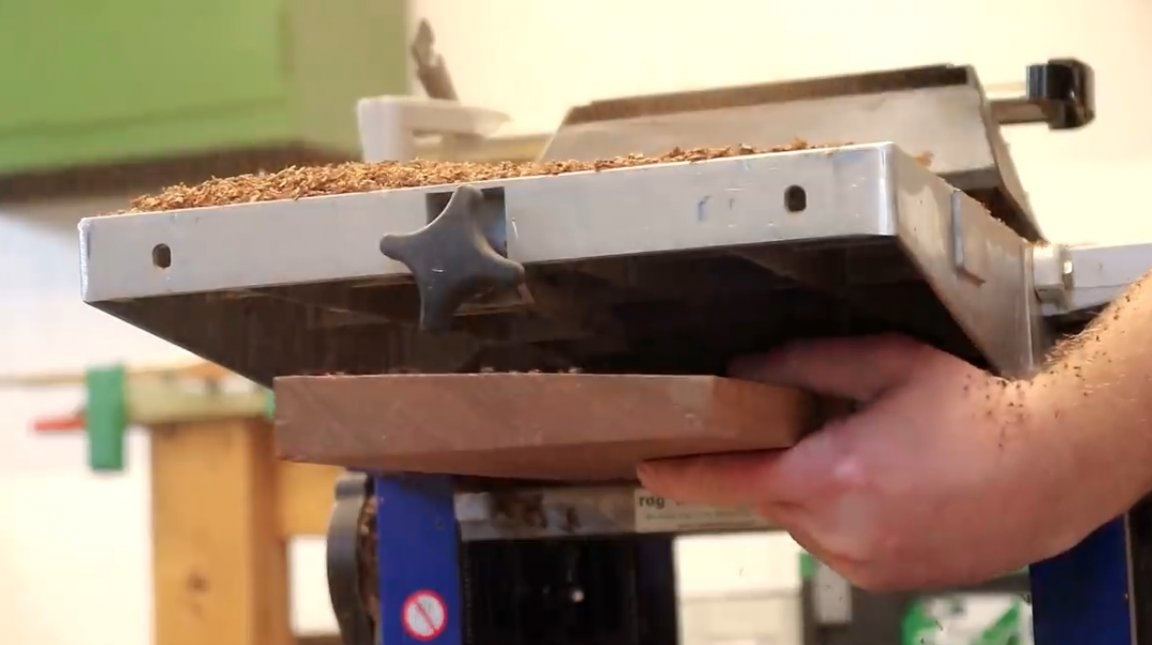
The author begins by aligning the edges of the board, as it was cut rather roughly.

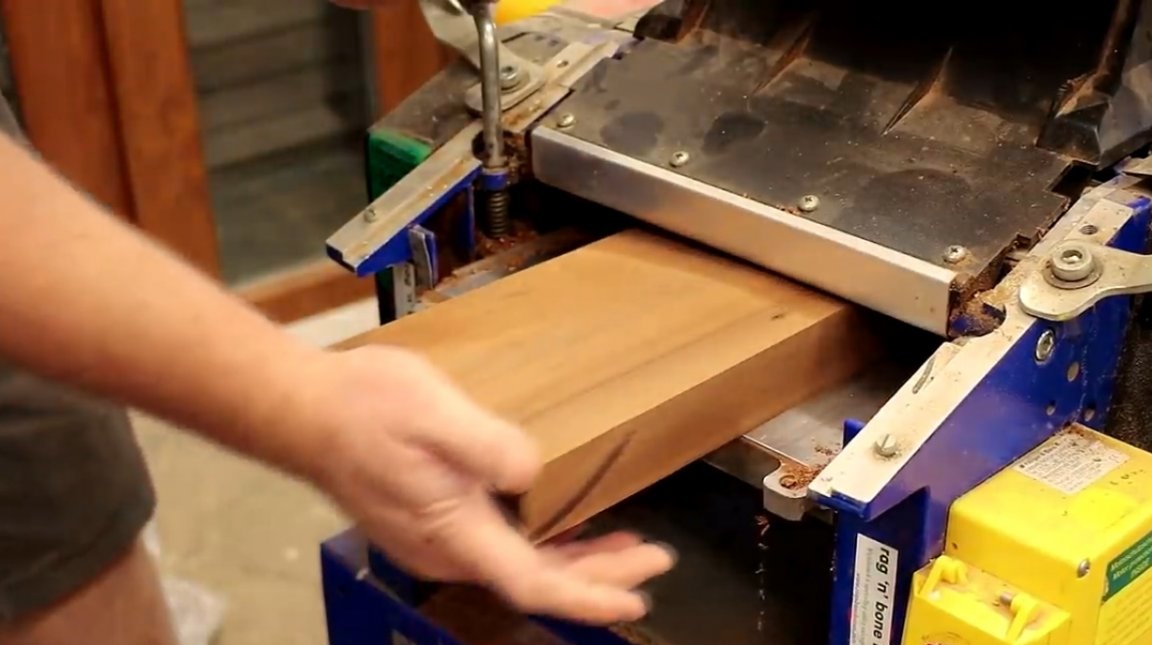
In addition, the board is also curved. To level its surfaces and give the board an even thickness, the author forms the base surface on the jointer, and then passes the material several times through the surface gage. I had to remove pretty chips, while the thickness of the board finally leveled.

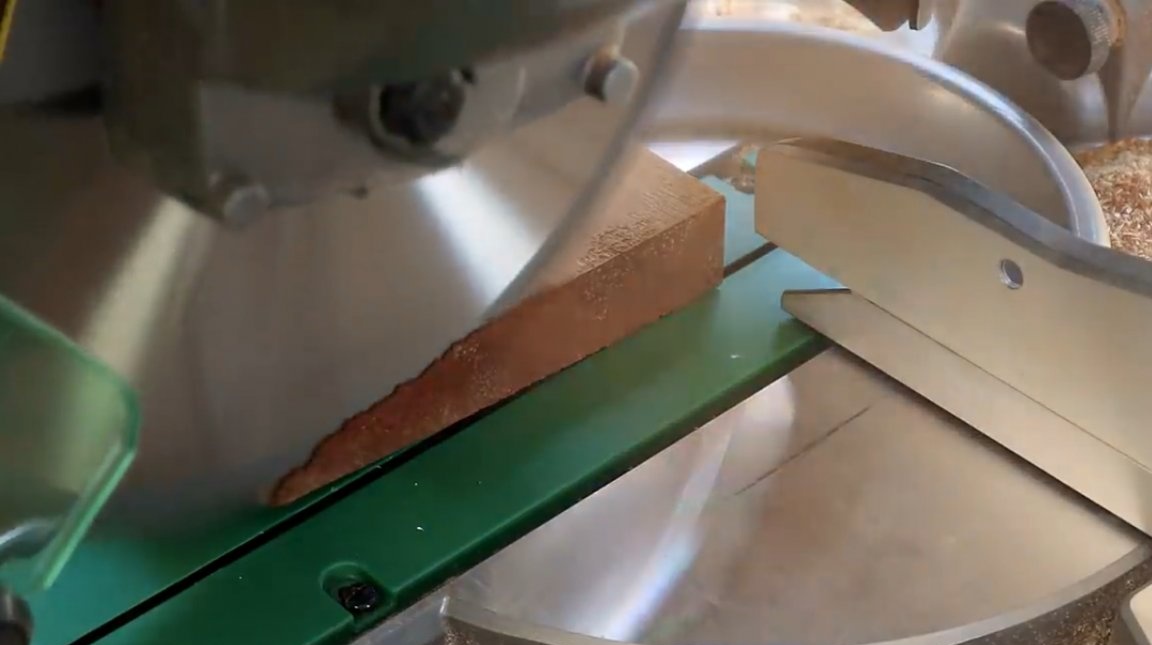
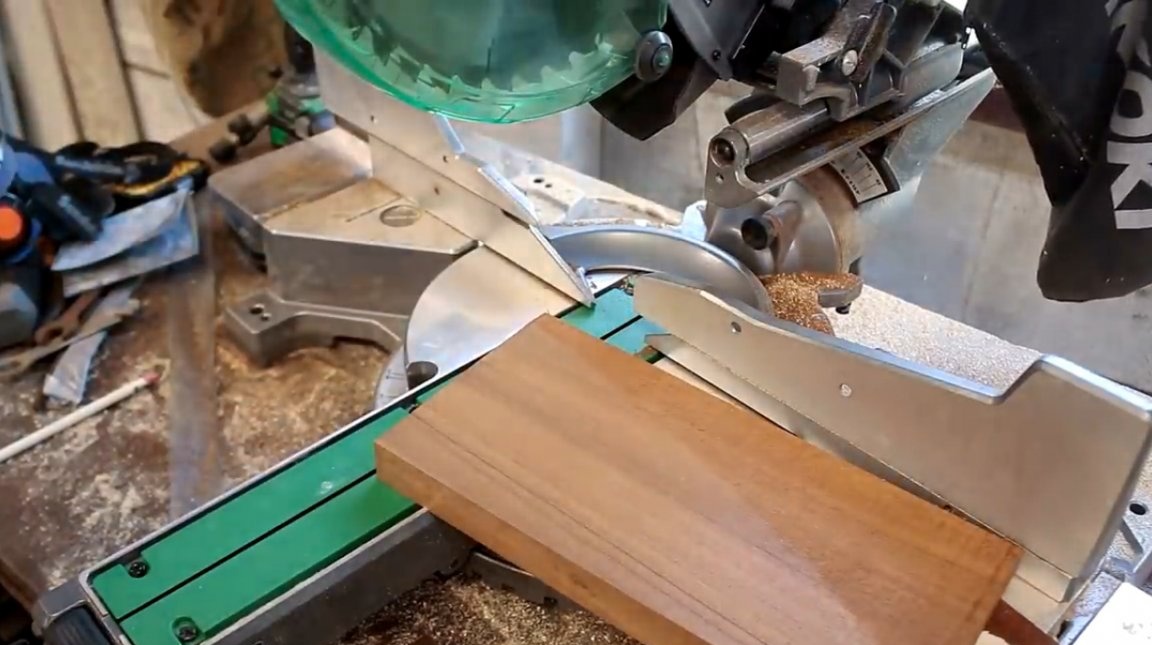
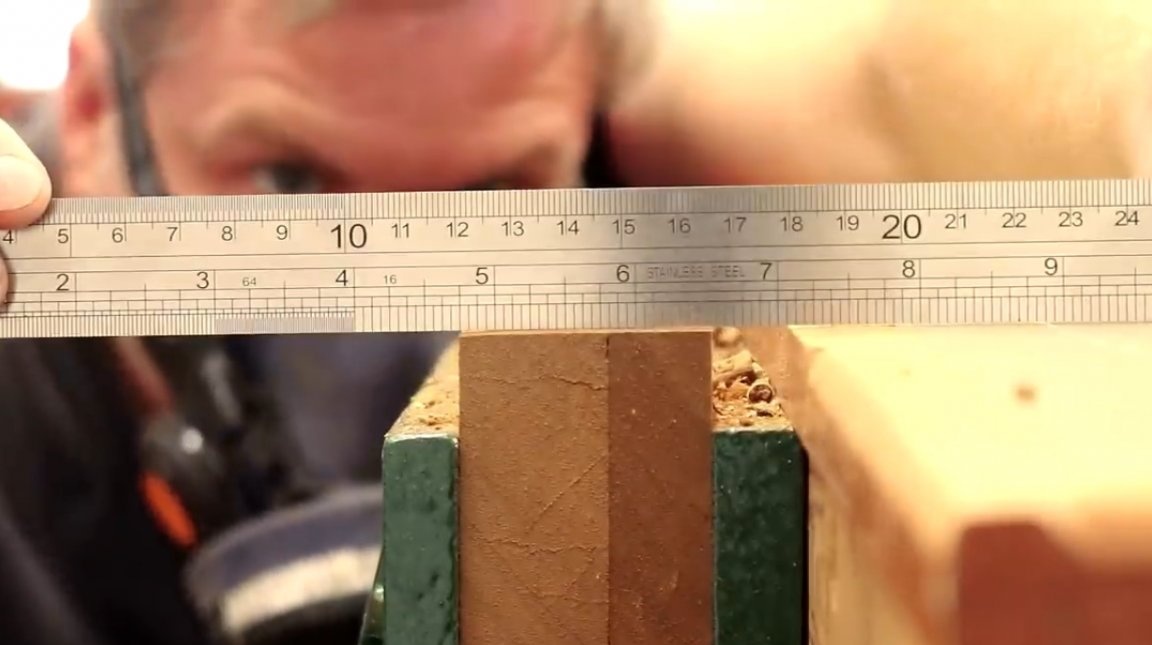
After one end of the board has been trimmed with a miter saw, the master cuts the material into two equal halves. The author calculates the length of each part so that it covers the width of the jaws of a vise. In this case, the front, movable plate should be 25 mm thick so that holes can be made in it under the stops.
The second plate, for a fixed sponge, does not have to be too thick. On the thicknesser, the author removes excess thickness from the board, bringing it to 15 mm. After that, he cuts each wooden blank to its final width.
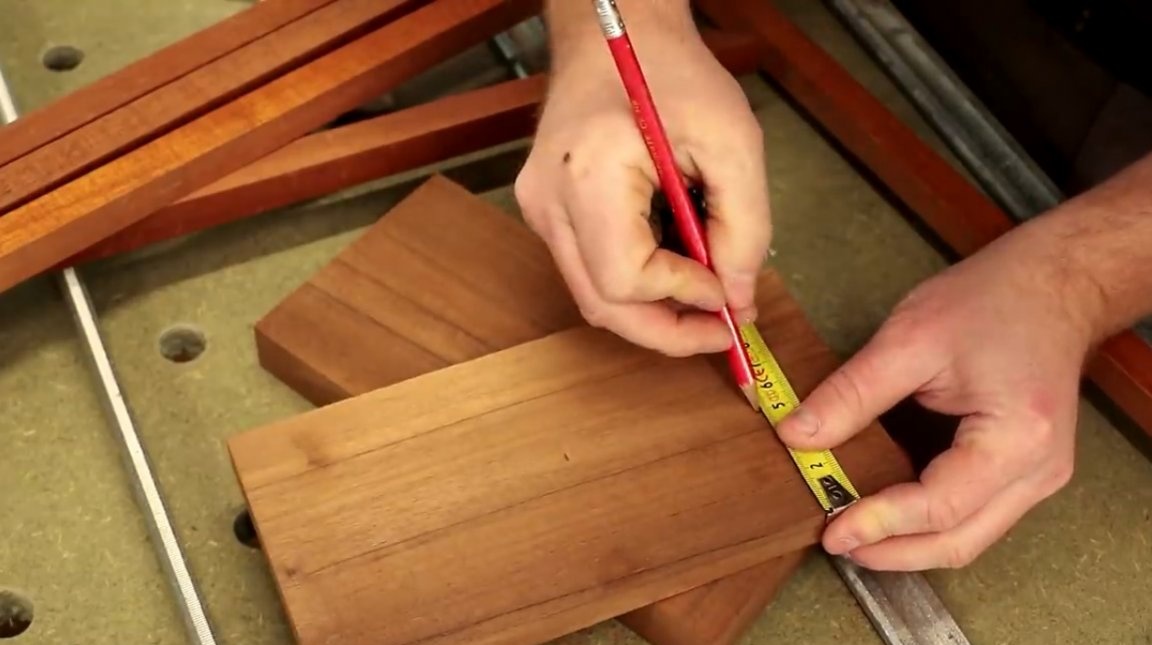
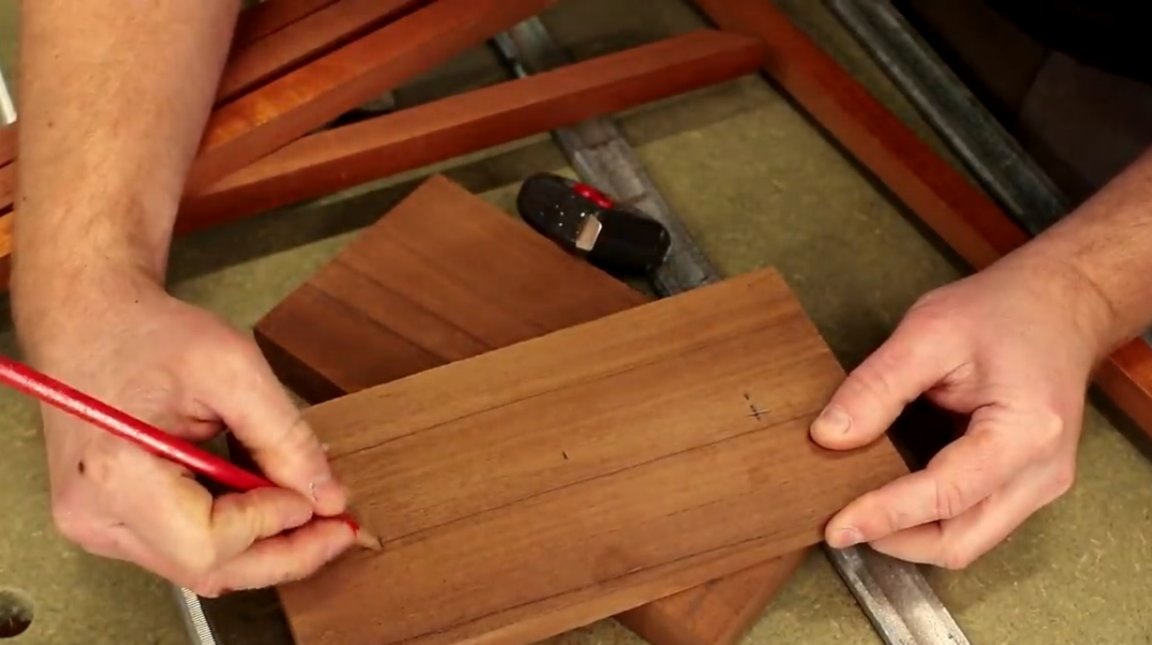
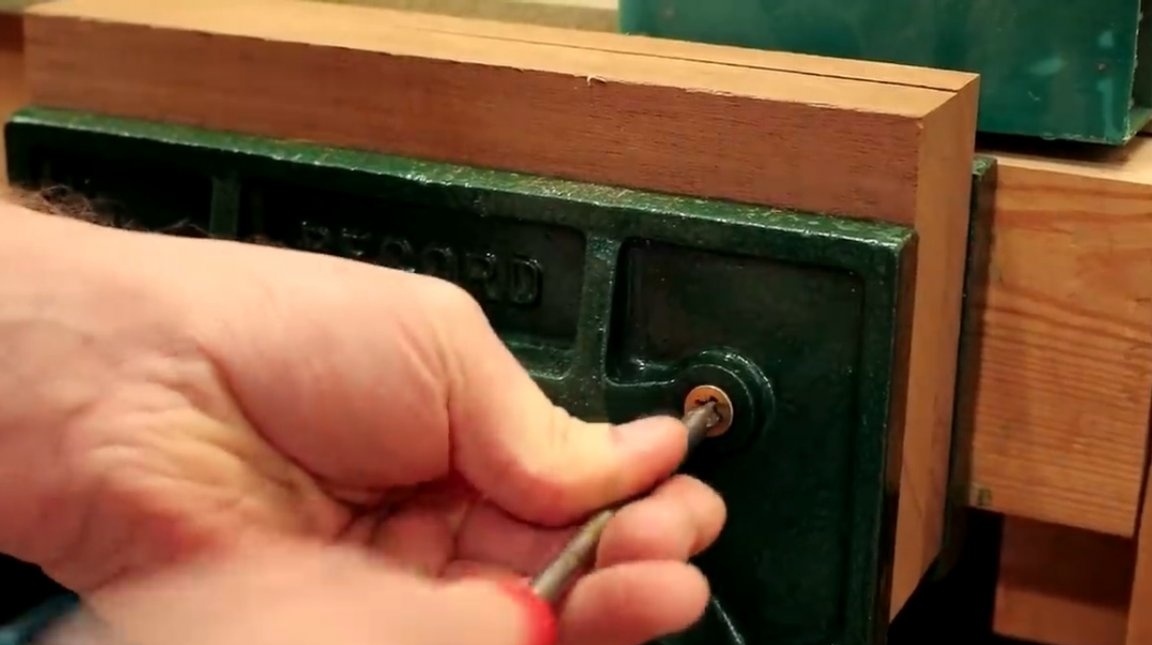
Included with the vise are 4 original mounting screws that secure the plates, 2 screws on each side.The master marks the distances between them, and drills holes with a drill with a diameter of 8 mm.
Then, with a pen drill, he countersinks the holes a little so that the screw heads can sink into them.
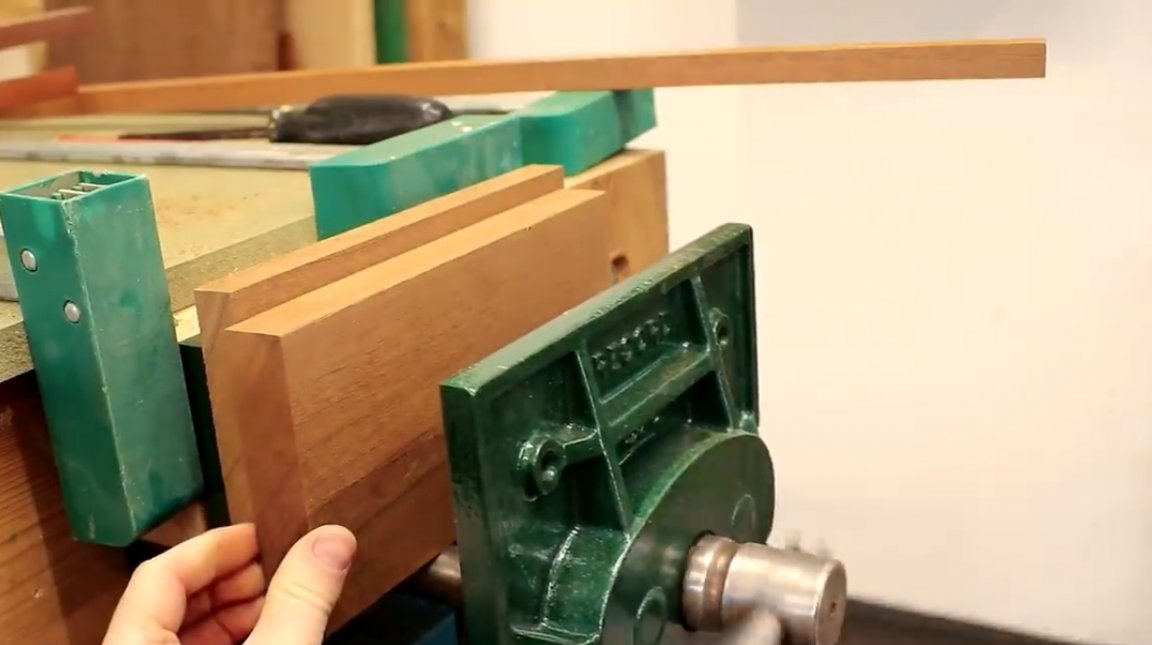
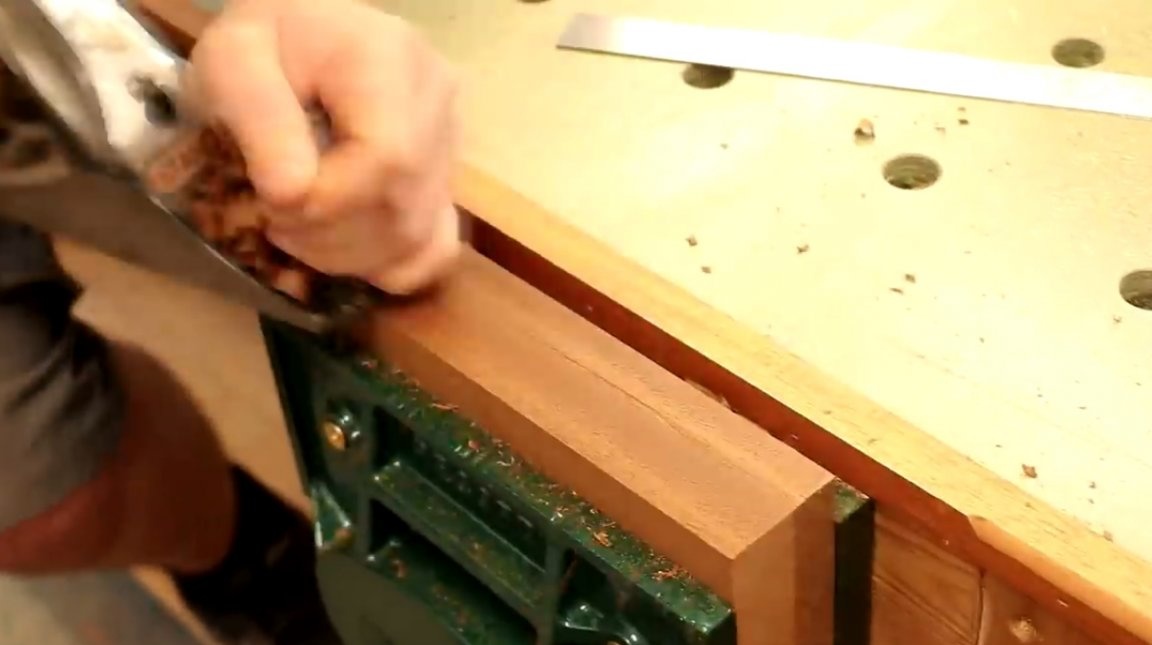
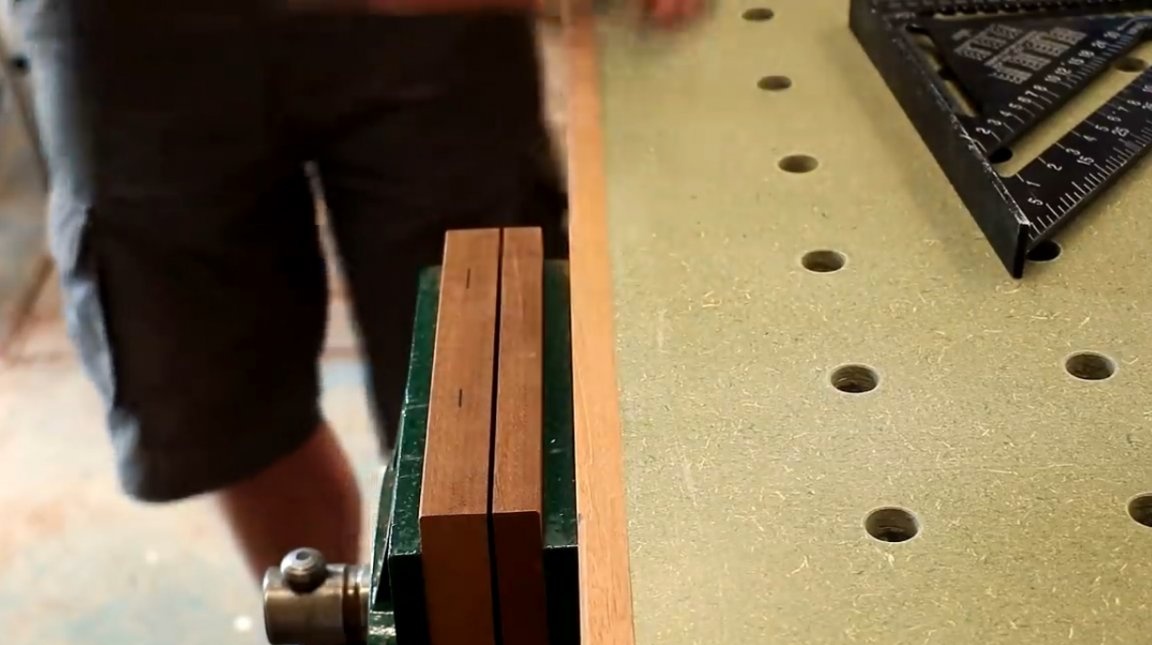
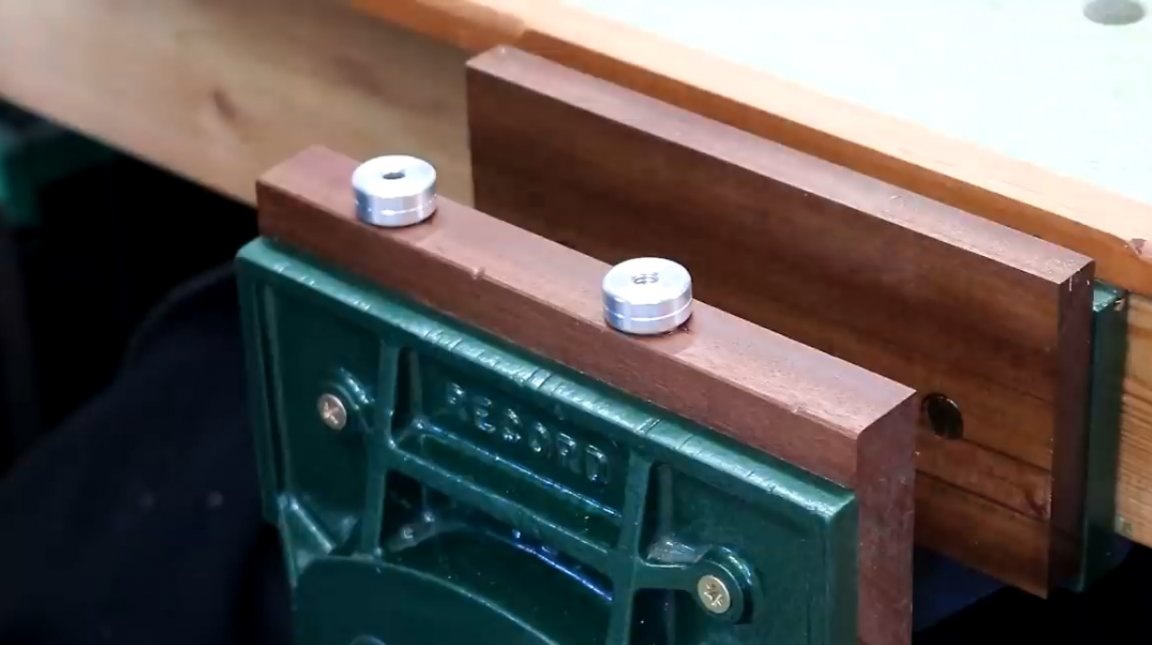
The finished plate is fixed on a fixed jaw of a vice.
Now the author exposes the front plate, for the movable sponge, to the position where it stands flush with the rear sponge, aligns both wooden spacers with respect to each other, and tightens the vice tightly.
Now you can drill the pilot holes in the second plate. The author does this through the mounting holes of the vise, and screws a couple of screws.

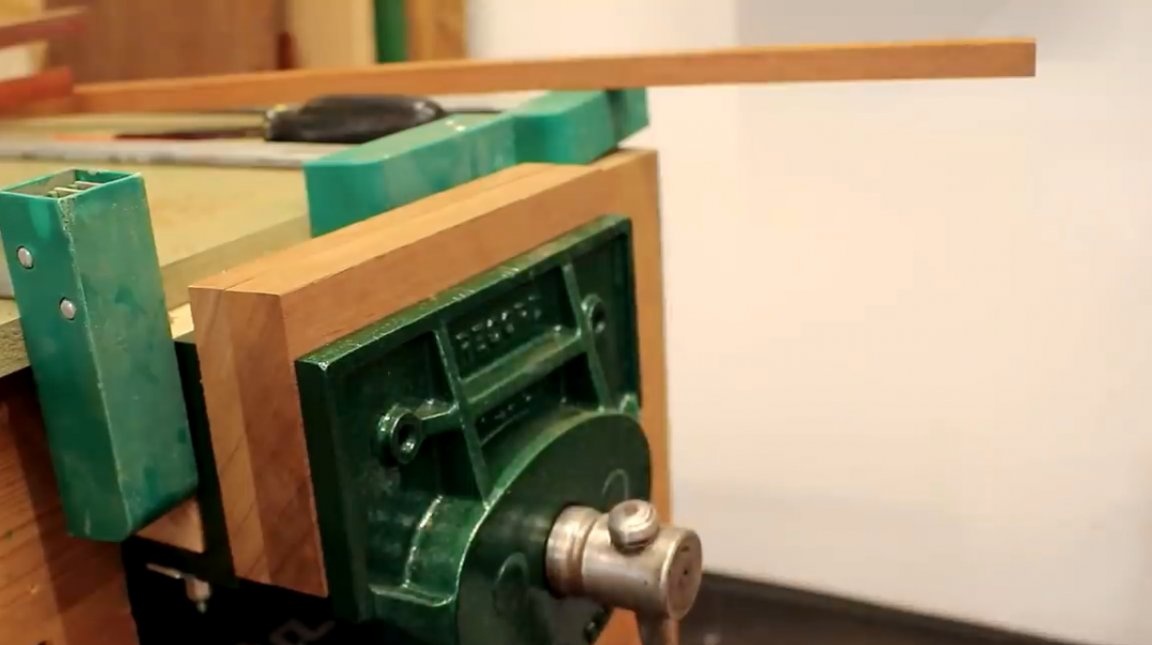
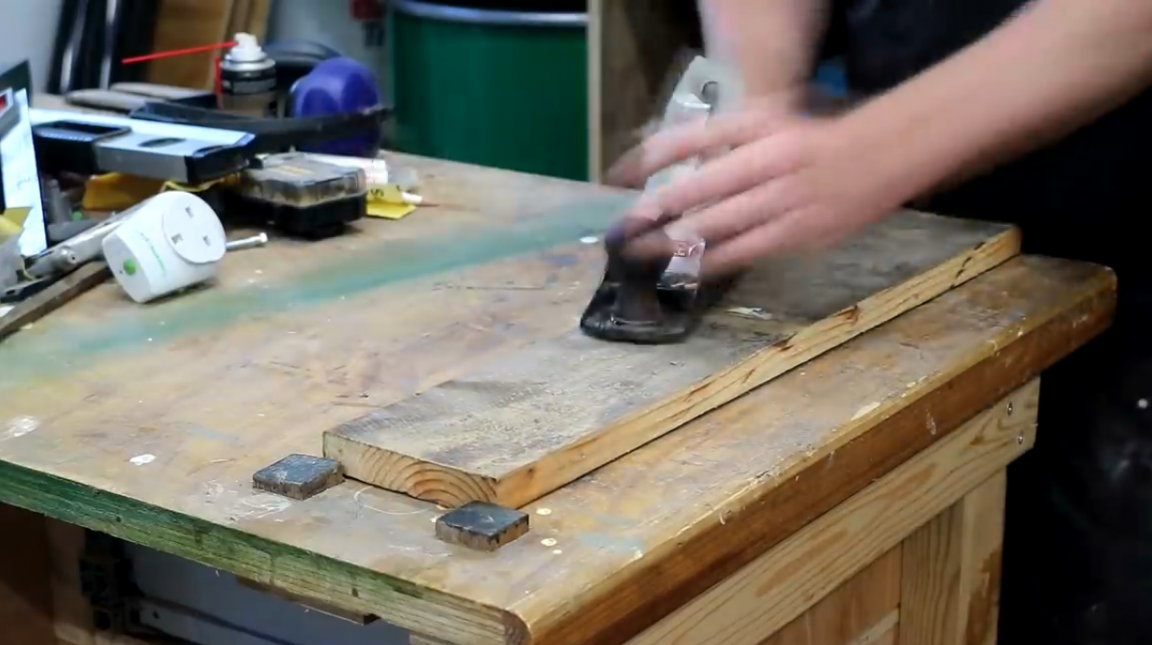
With a manual planer, he slightly improves the shape of wooden gaskets, leveling them in height, and ensuring that they are on the same level with the surface of the workbench.
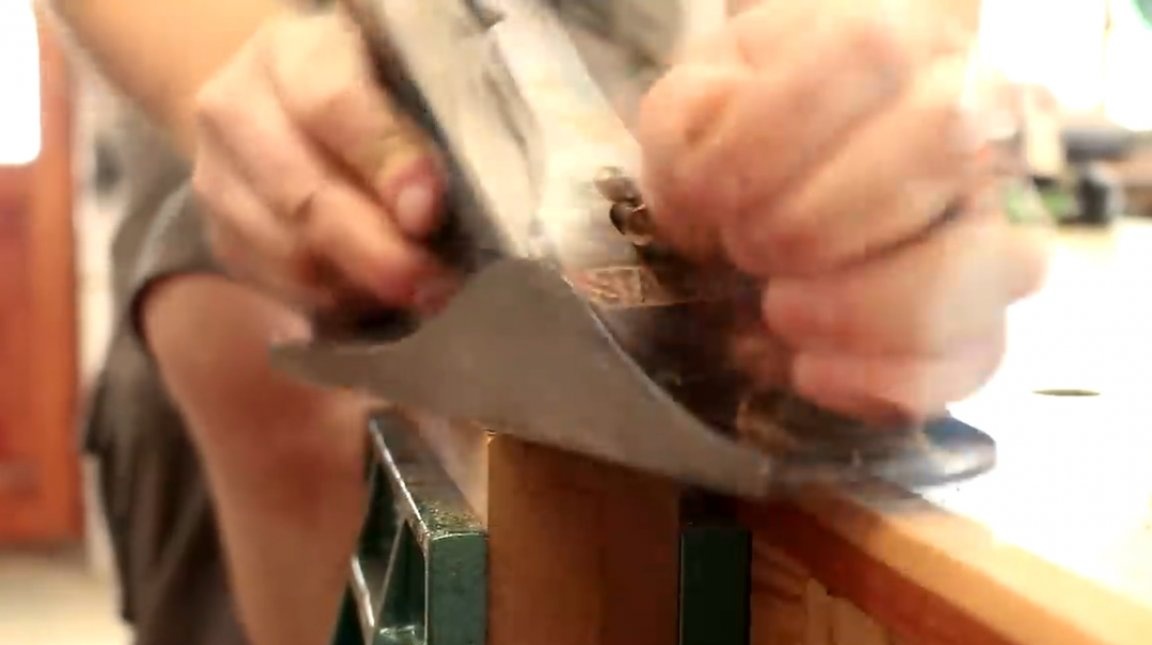
The craftsman slightly smooths the sharp edges of the lips with a miter plane. As a result, the convergence is just perfect.

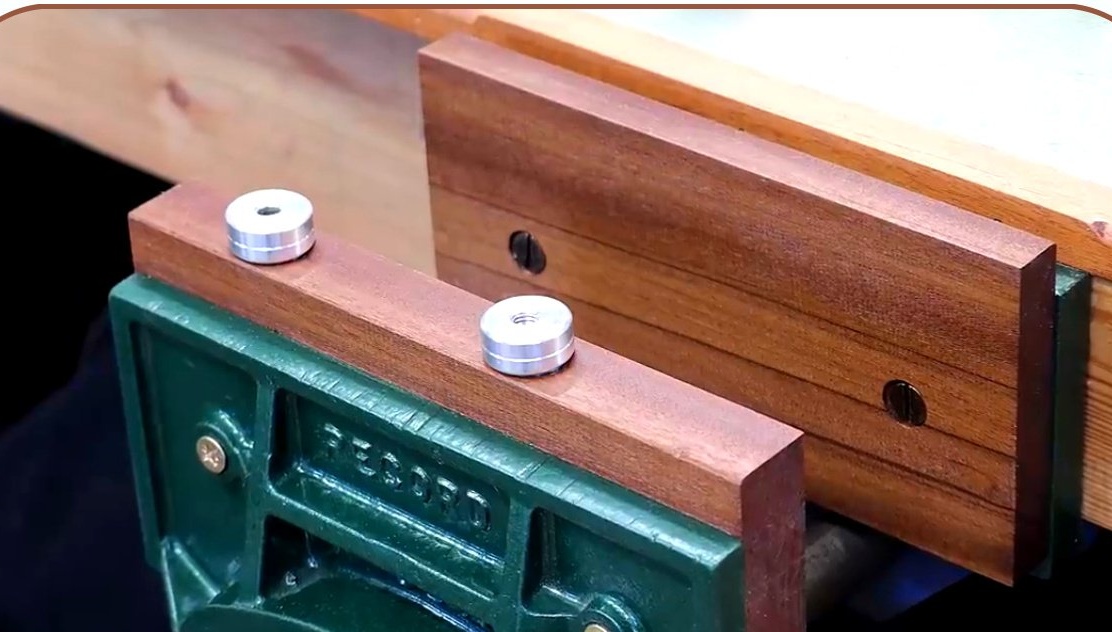
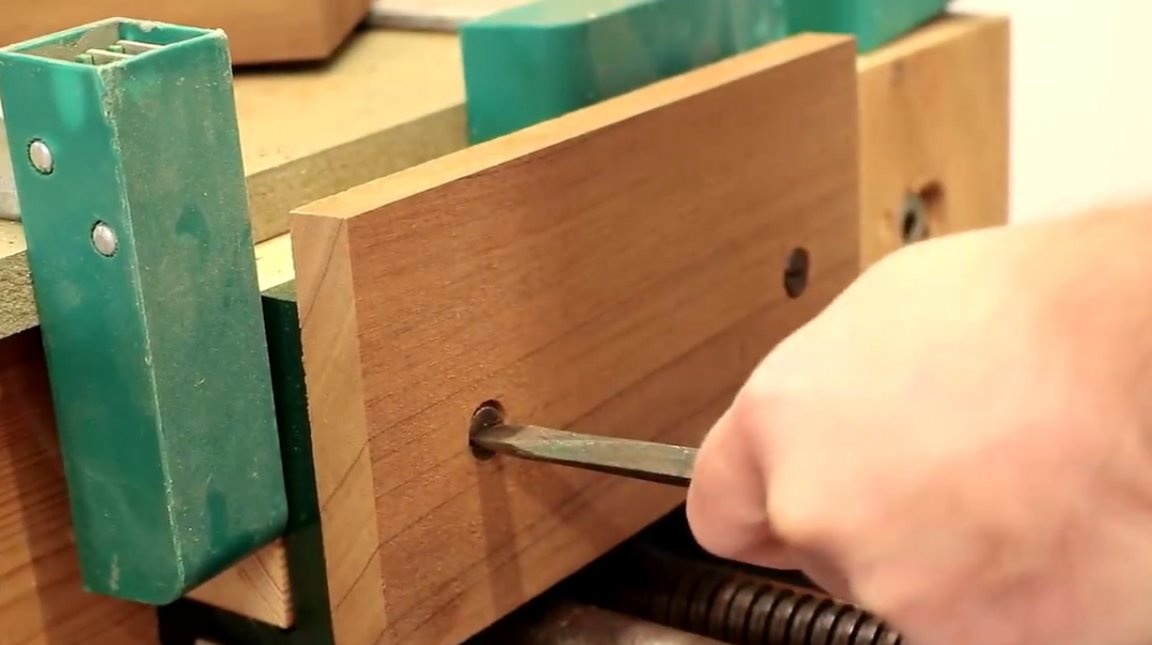
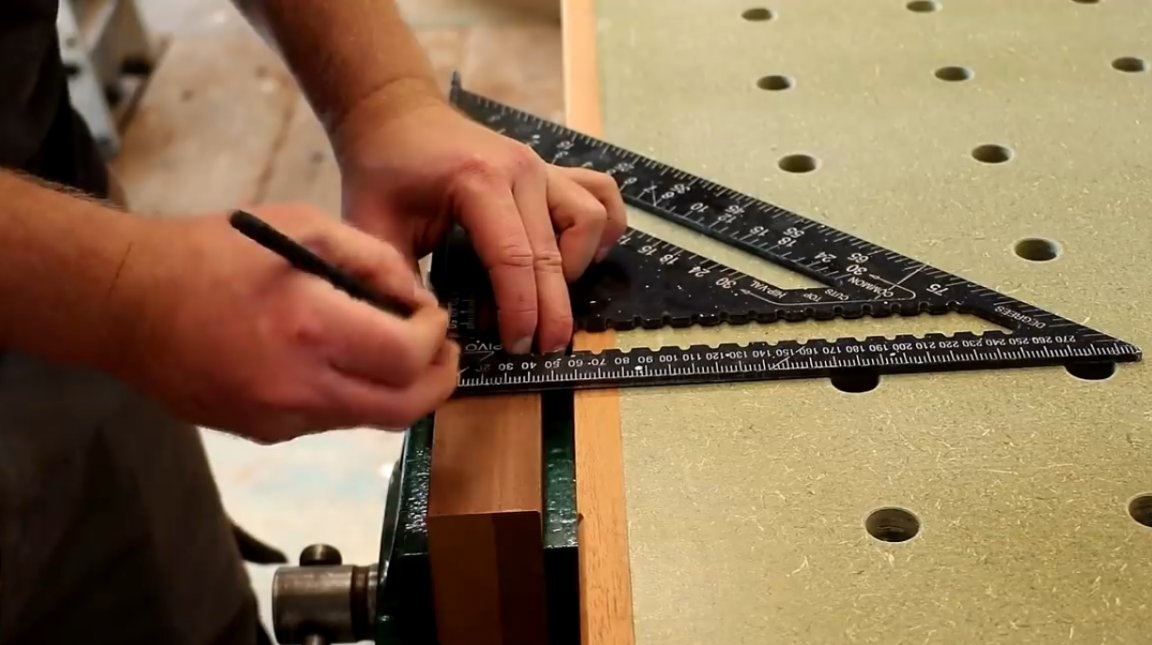
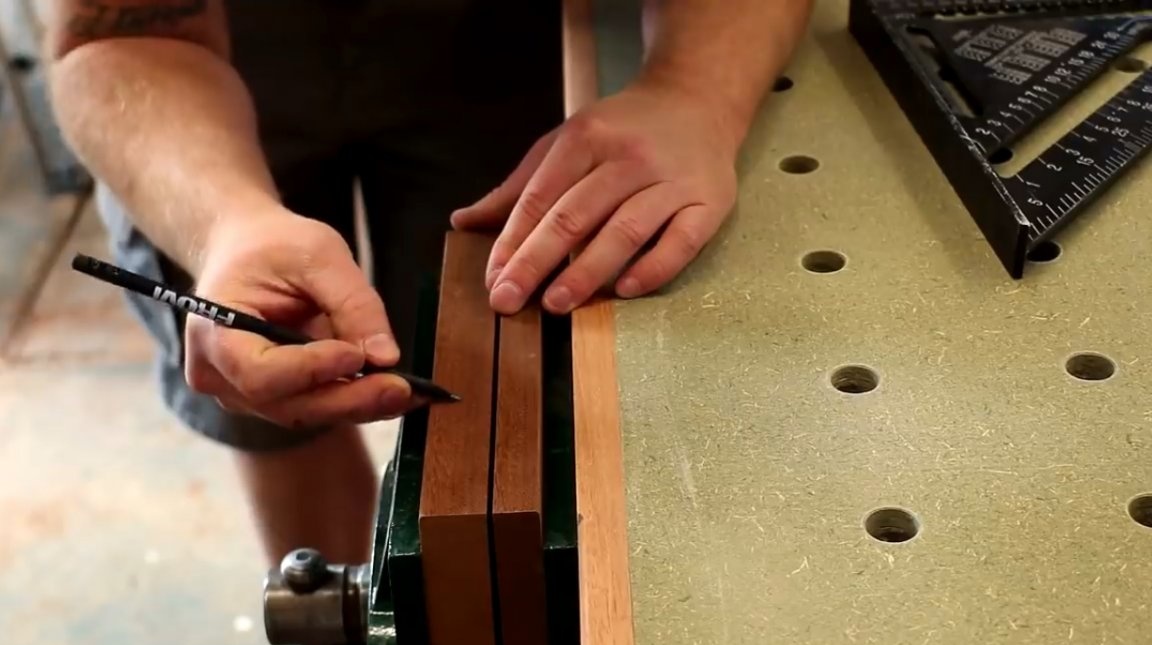
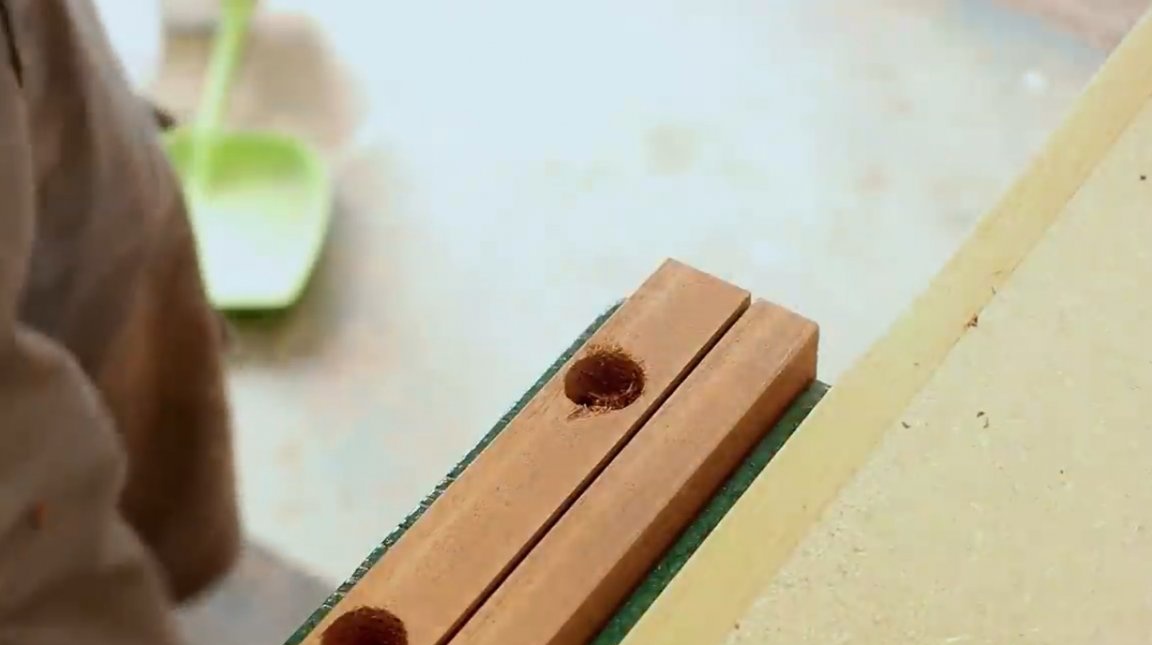
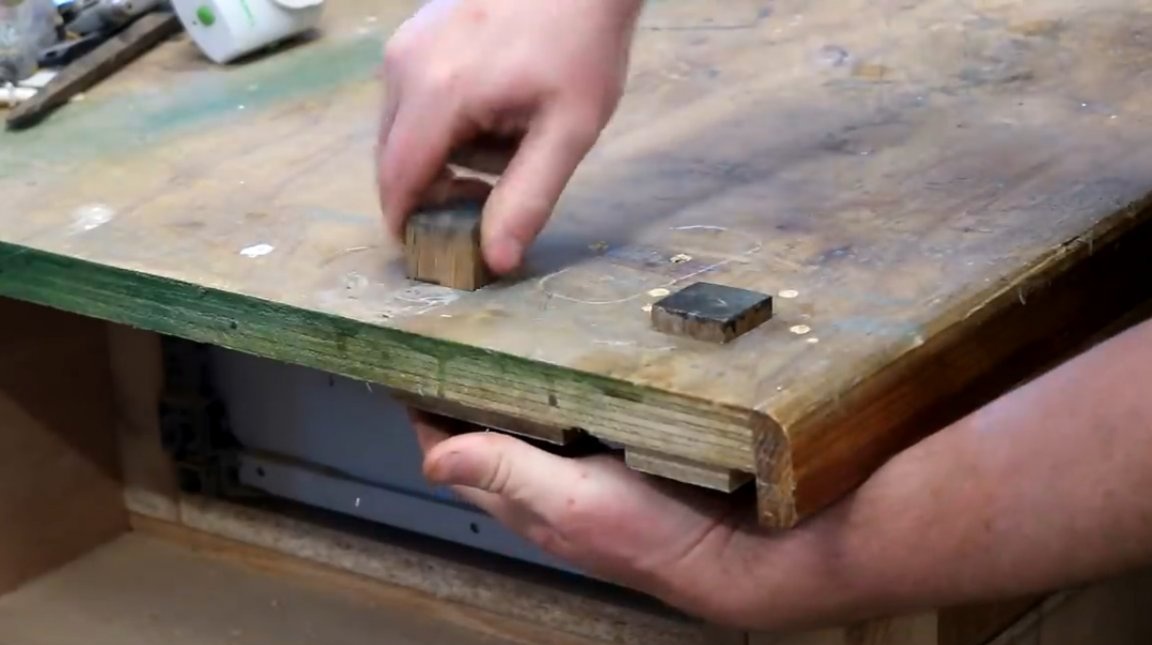
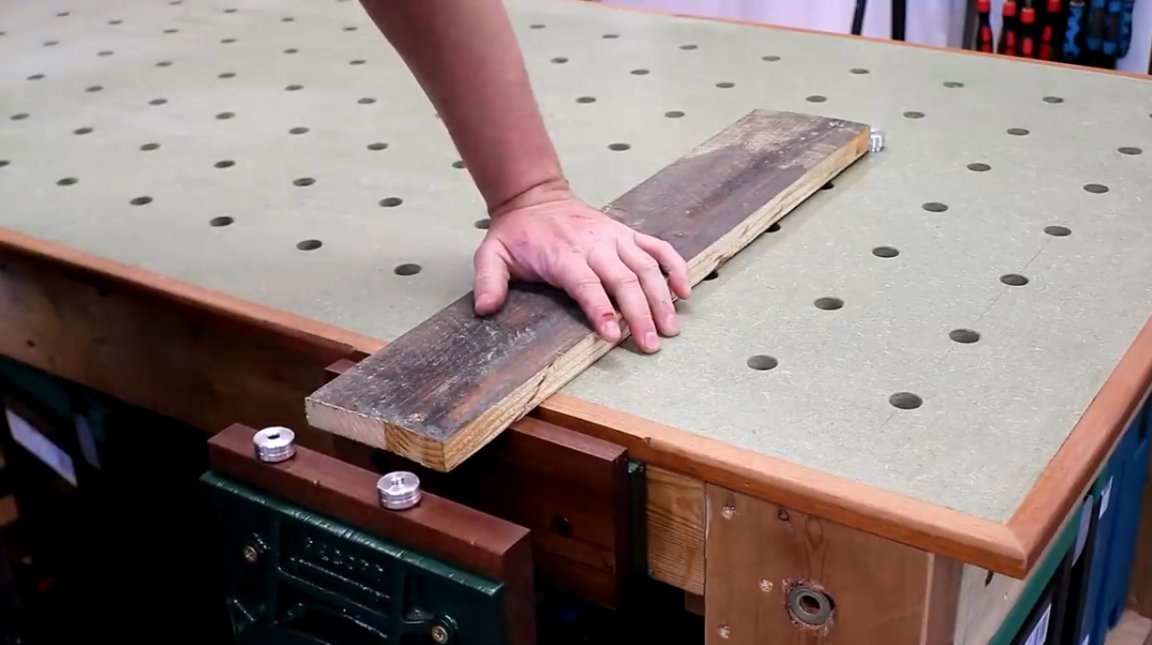
Using the Svenson square, the author marks the centers of the holes for the stops, which should, if possible, coincide with the center lines of the holes on the desktop.
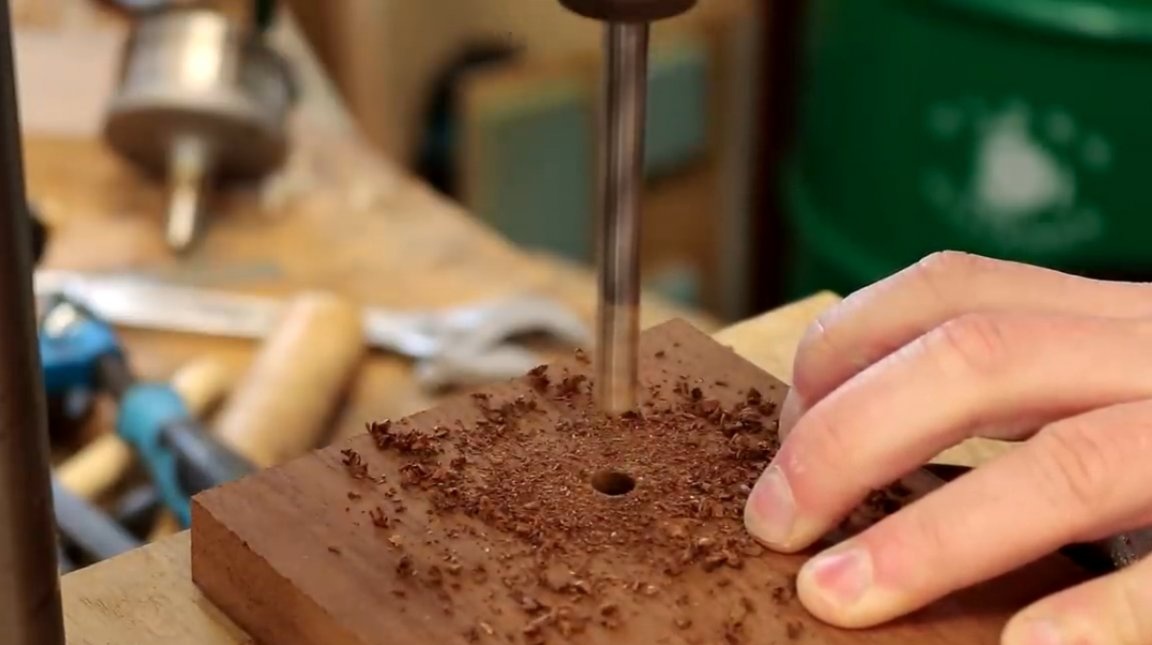
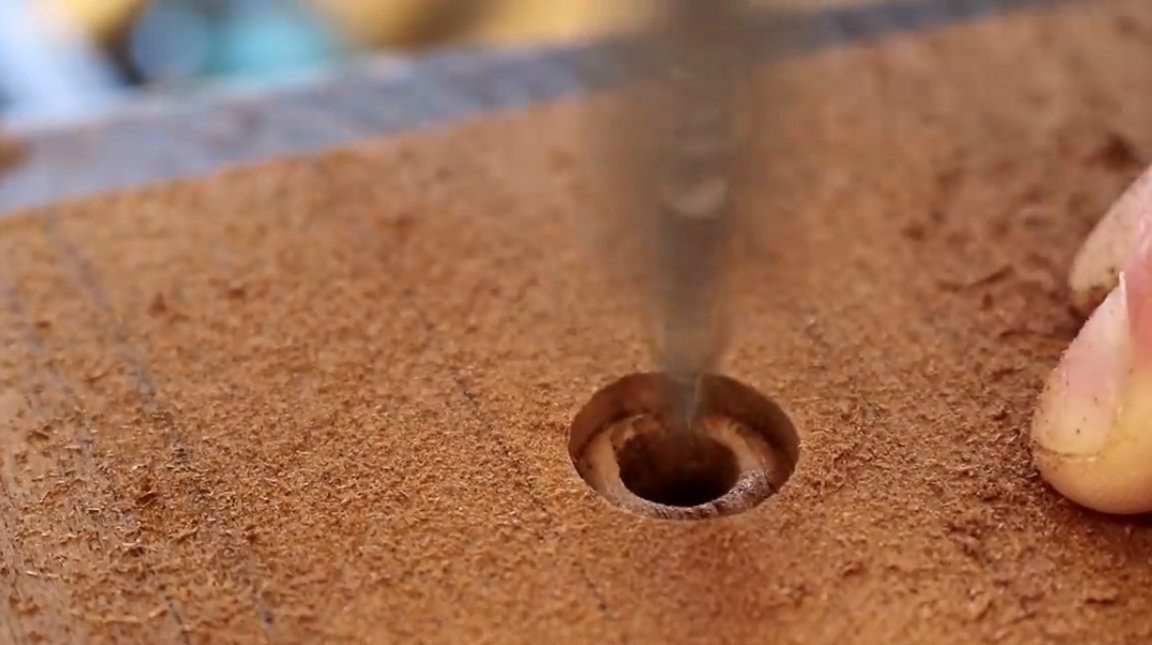
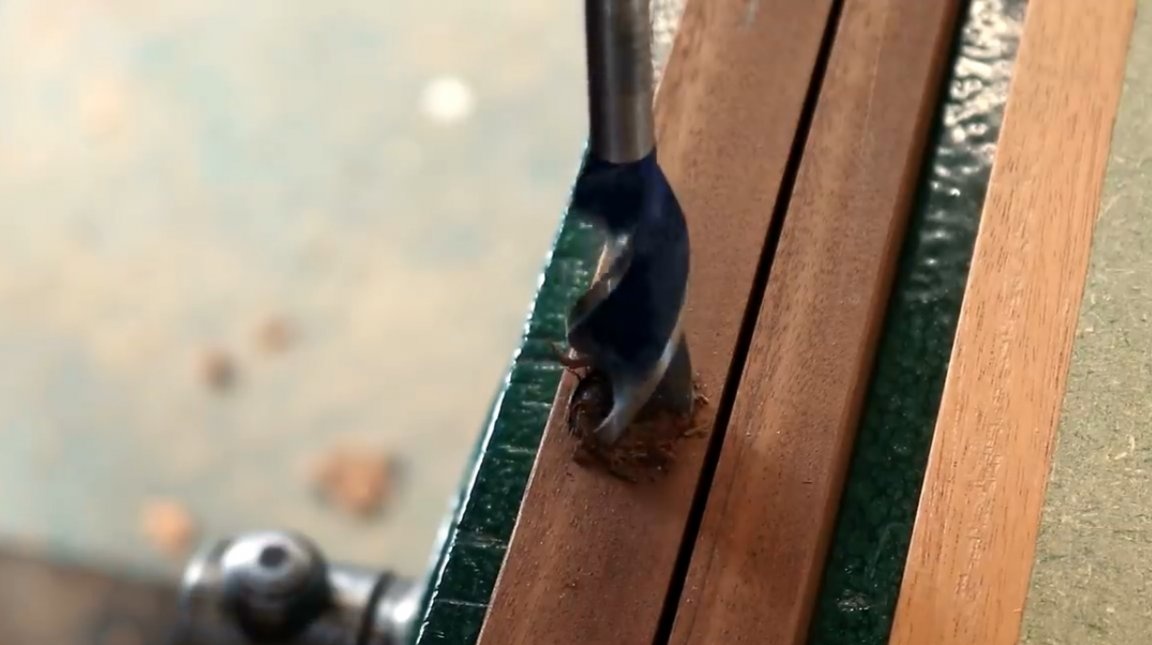
For drilling holes, the master uses a drill on a tree with a diameter of 20 mm. With a drill of the same diameter, he had previously drilled holes in the top cover of the table. This is the ideal diameter for the pin stops available in the author’s arsenal. When drilling, the master tries to keep the drill as vertical as possible. Although special accuracy is not fundamental.
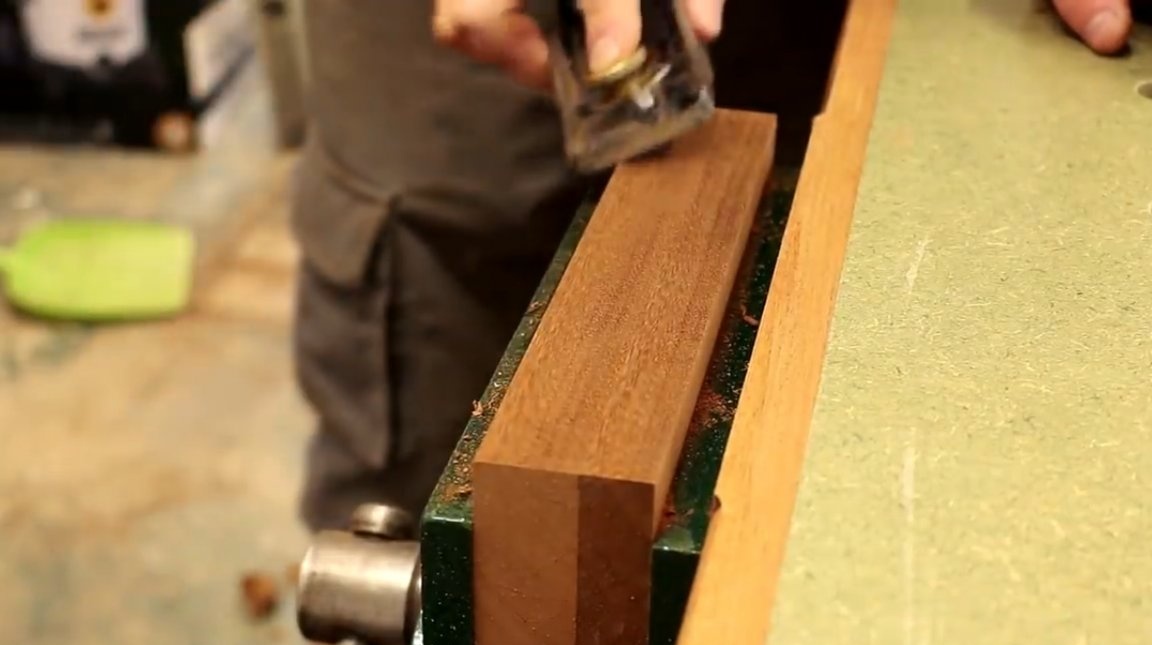
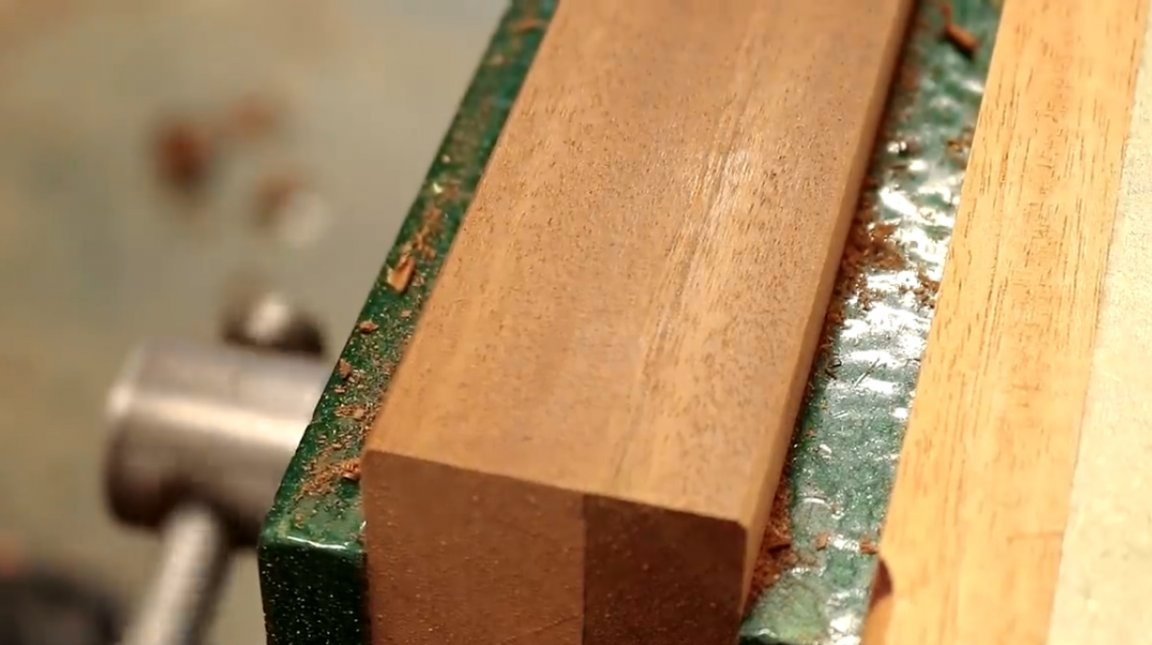
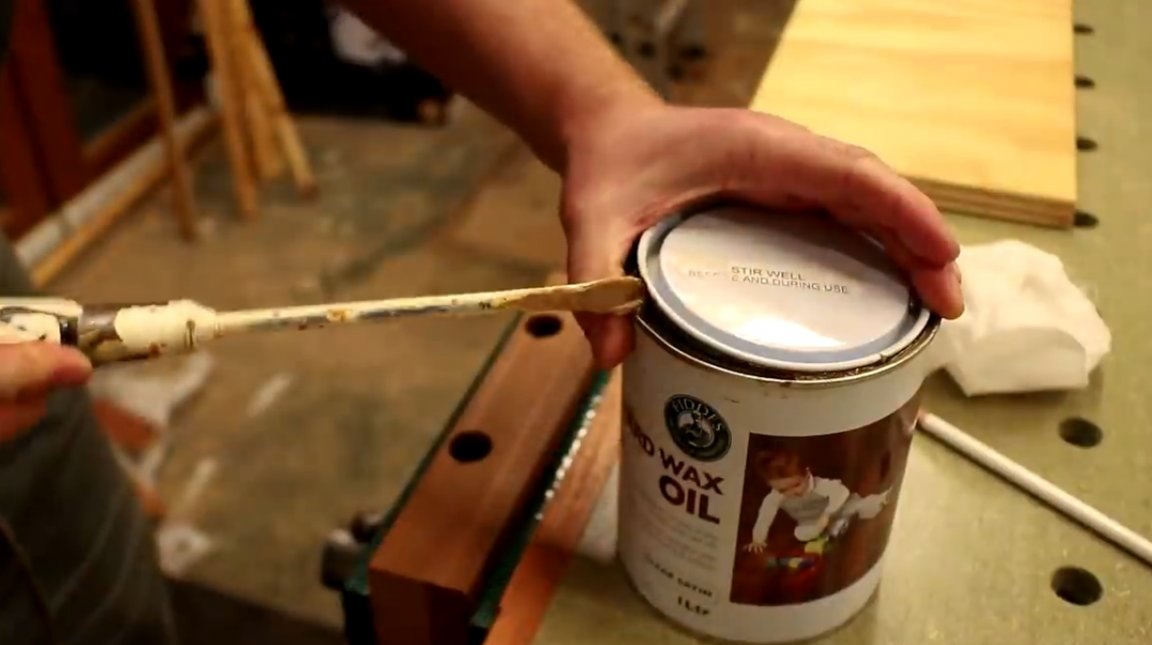
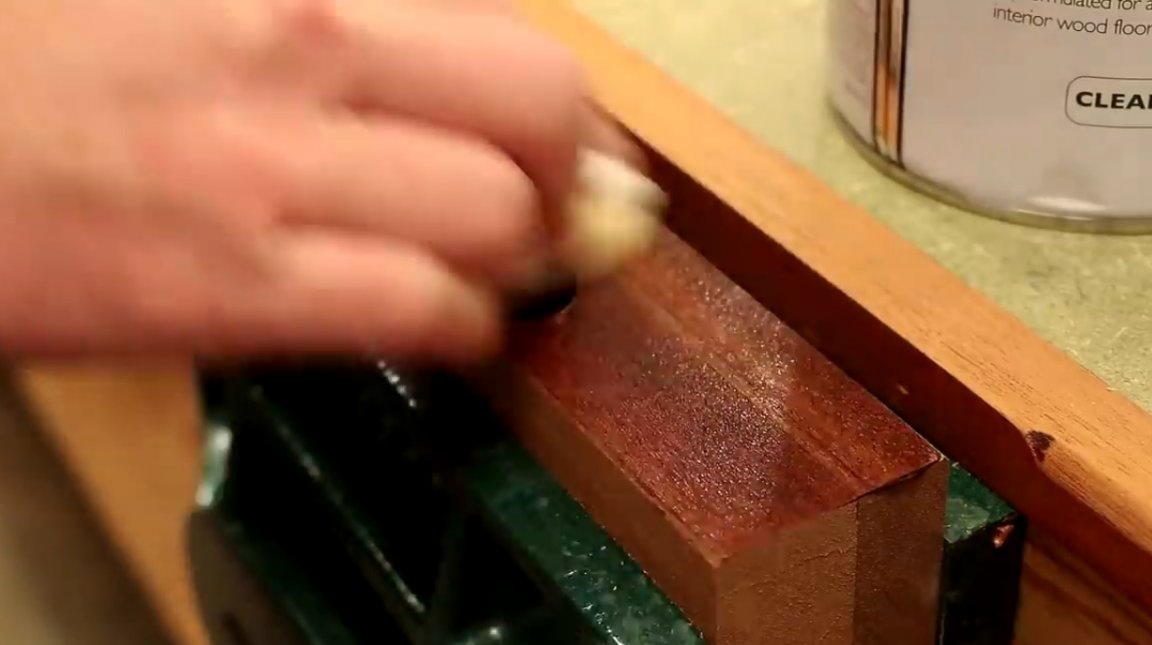
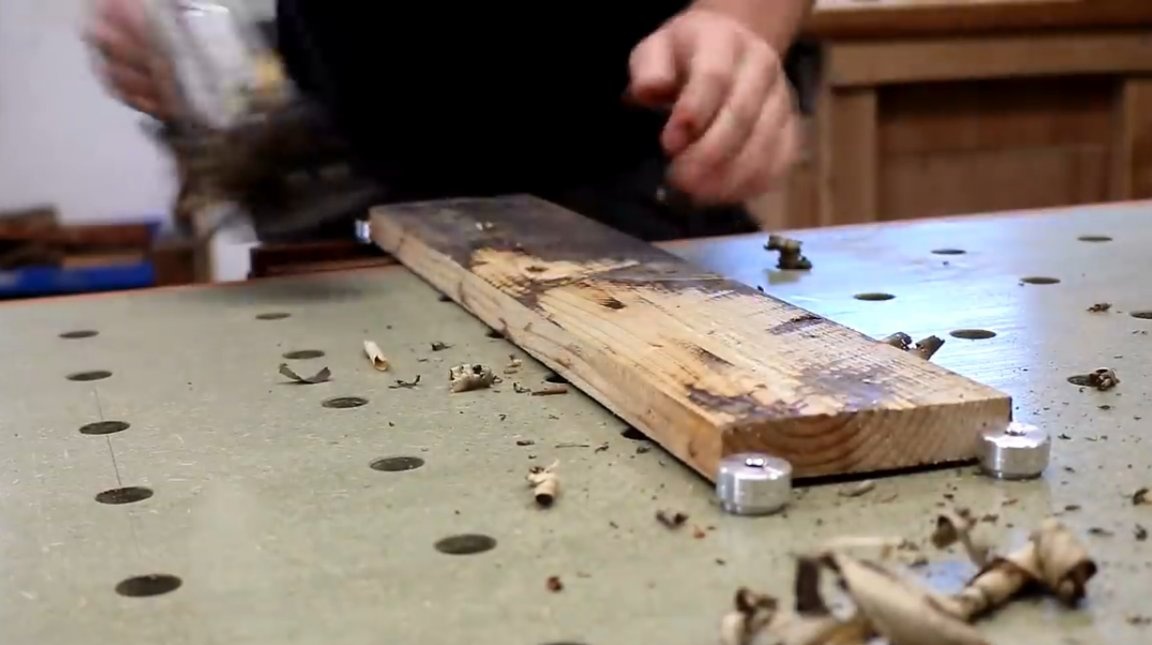
Finishing work on sponges, the master applies a thin layer of oil-wax impregnation on wooden surfaces, gently rubbing it with a piece of cloth. As a result of such processing, the tree darkens somewhat, and the texture of the wood pattern appears. Oil is completely absorbed into the tree. Two thin layers are applied to the products.

Here the master used such wedges for stops, while holding the workpiece to be processed had to be done with his body.
The holes for the pin stops made on the vise are needed in order to be able to hold wide boards, for example, when processing them with a planer, or by grinding with a grinding machine when the board is too wide to fit in a vice.


Now work with blanks will be much more comfortable and safer.


I thank the author for a simple but useful technique for improving the vice for a carpentry workshop!
If you have interesting homemade products, share them on this site. Here you will get a real reward, not a “bunch of green stuff" at the entertainment forum.
All good mood, good luck, and interesting ideas!
Author video can be found here.