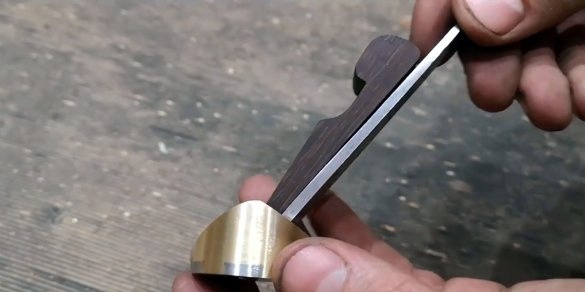
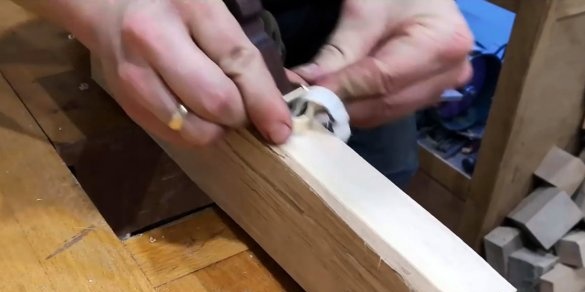
Some of you are engaged in carpentry, and they know how important one of the main tools, namely the planer.
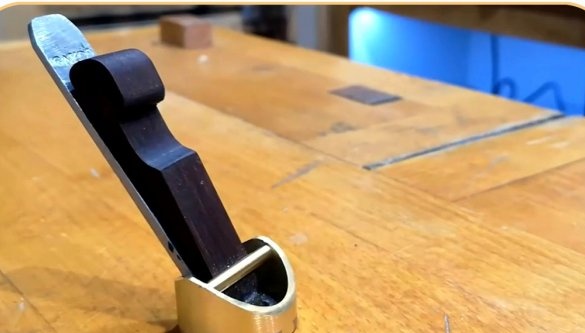
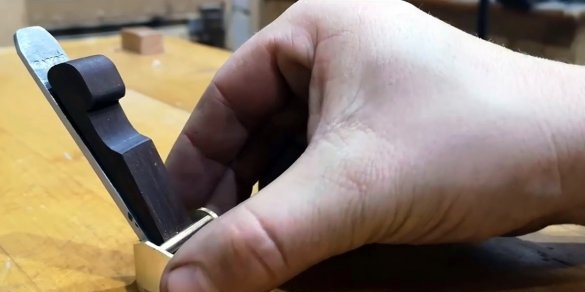
In this article, the author of the YouTube channel "Stavros Gakos" will tell you how to make one of the varieties of planers designed for fine processing of parts.
Such a tool is quite simple to manufacture, and will require a minimum number of tools.
Materials
- Stainless steel plate and pipe
- Brass tube, bar
- Bog oak wood
— Two-component acrylic adhesive
- Sandpaper.
Instruments, used by the author.
— Band-saw
- Drilling machine, drill bits for metal
— Electronic caliper
— Stainless steel probe set
- Belt and belt sander
— Bulgarian
- Lathe
- Manual jigsaw, hacksaw, vice, files, awl, hammer, anvil
- Grinder
— Water grinding stones
— Clamps
- Compass, core, ruler, square, marker.
Manufacturing process.
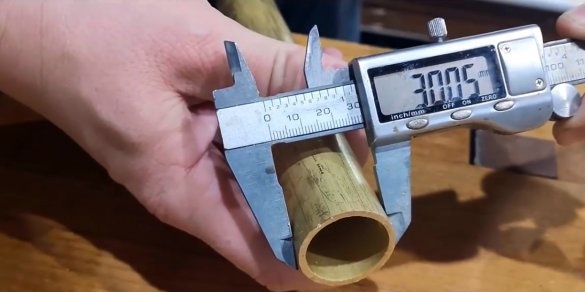
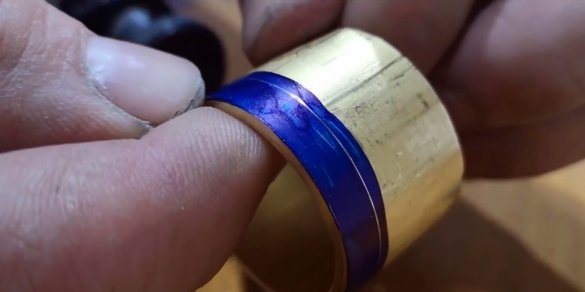
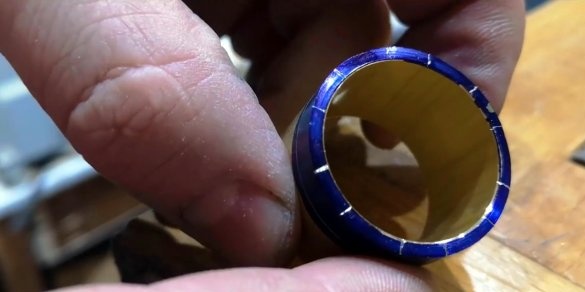
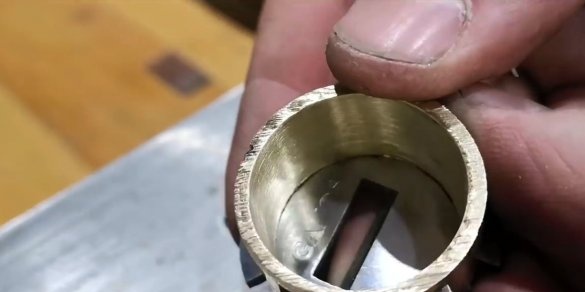
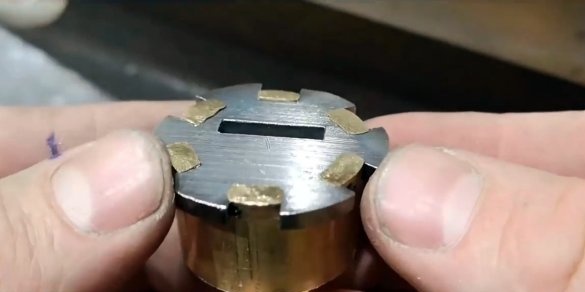
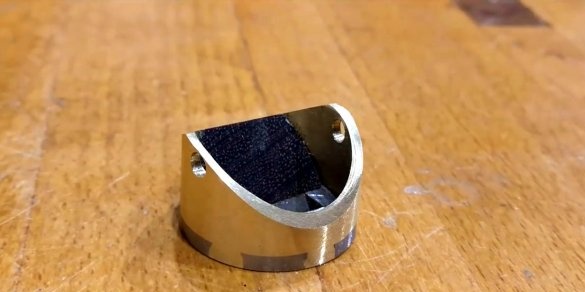
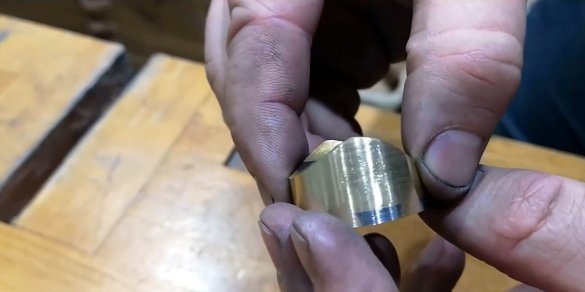
So, the master will use a brass tube with a diameter of 30 mm and a wall thickness of 2 mm for the body of the planer block.
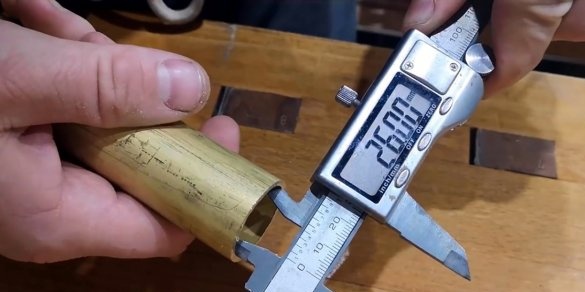
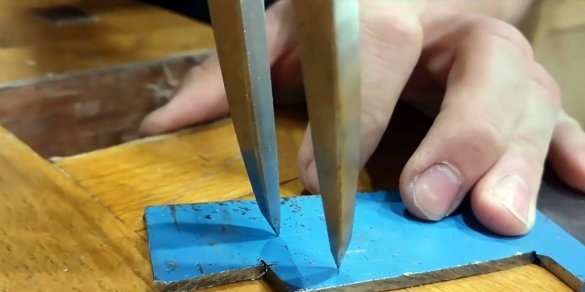
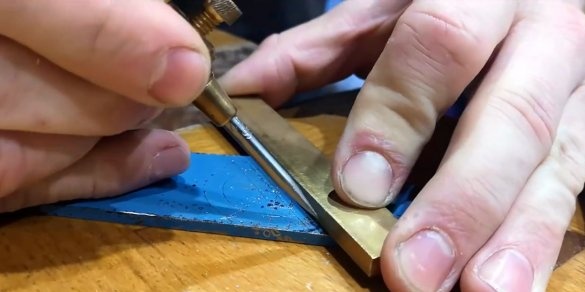
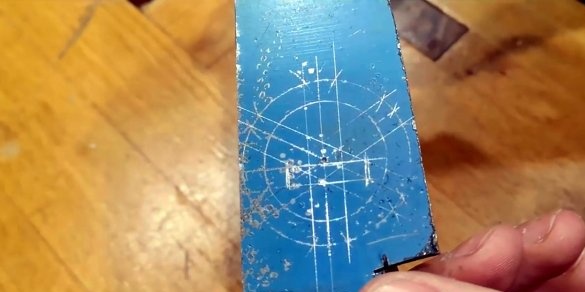
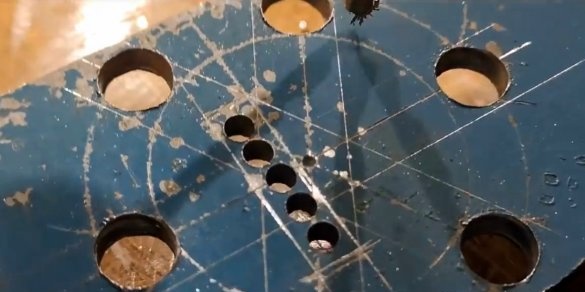
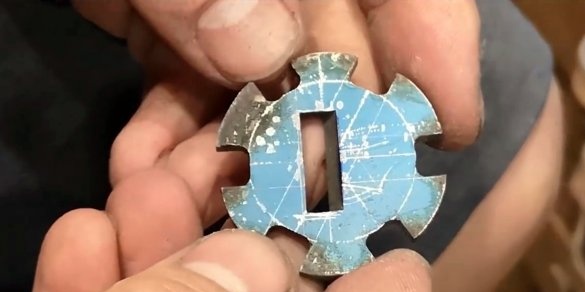
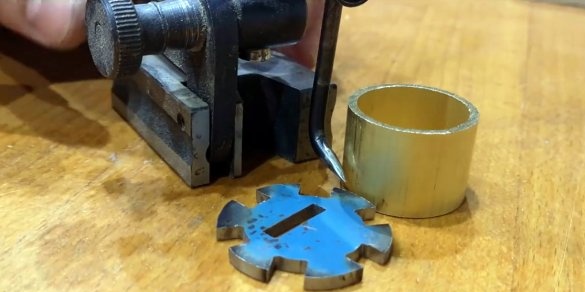
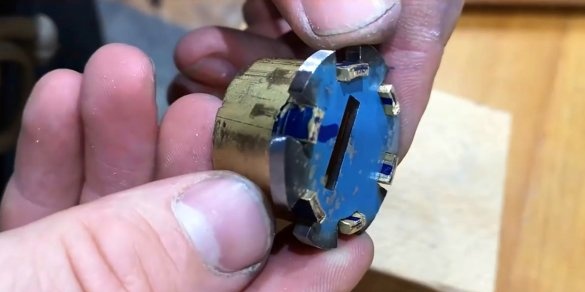
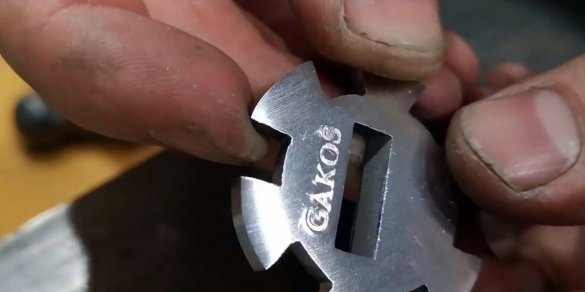
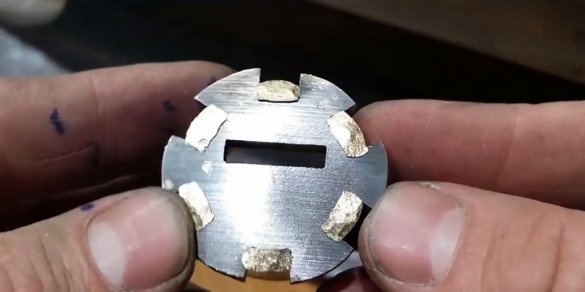
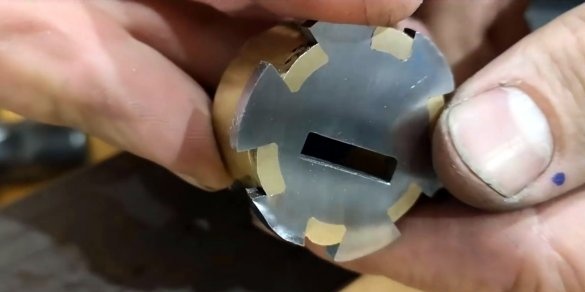
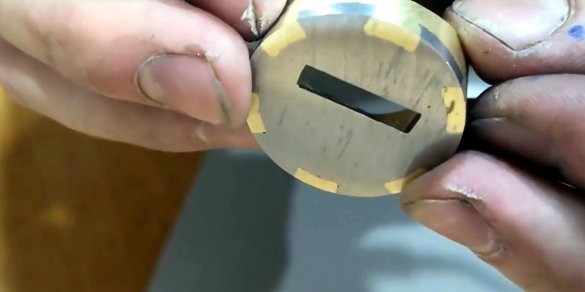
Now you need to make a sole for this tool. On a stainless steel plate, the author marks two circles, the first is equal to the inner diameter of the tube, 26 mm, and the second is done with a margin of 32 mm. Six transverse lines are also marked.
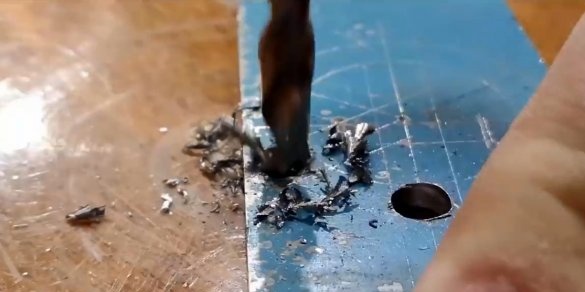
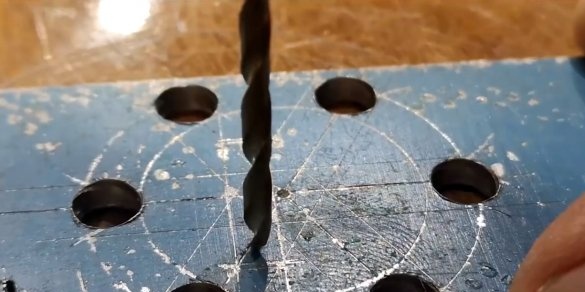
Six holes are drilled between the marked circles.
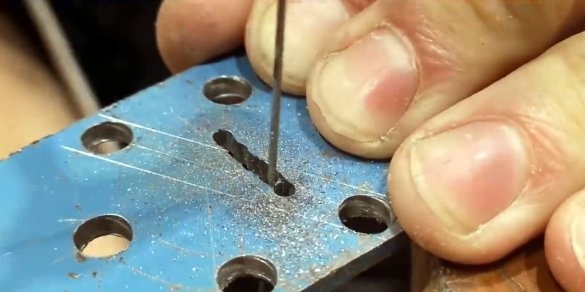
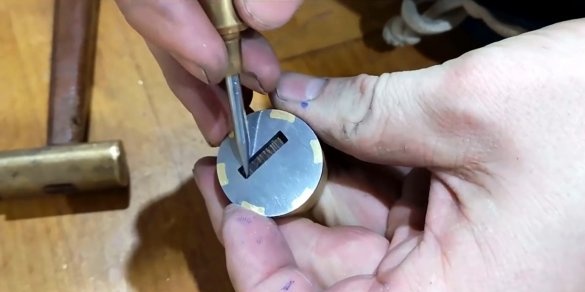
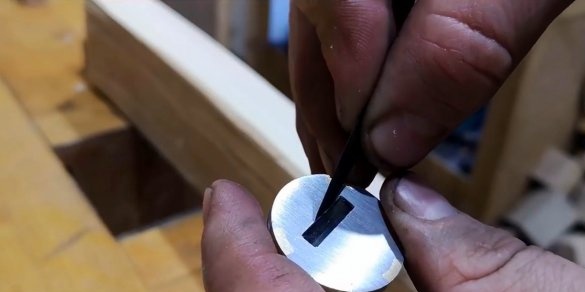
Then the future groove for the knife blade is marked, and holes are also drilled in it.
Excess metal is removed from the groove with a hand jigsaw.
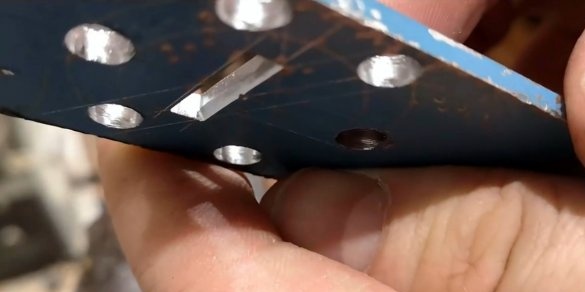
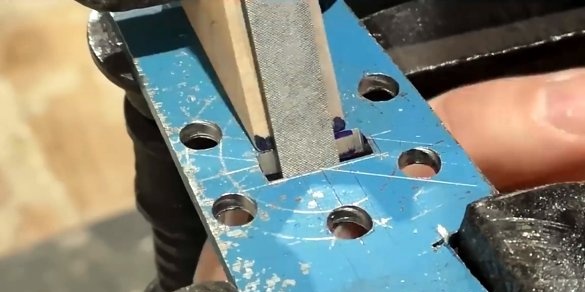
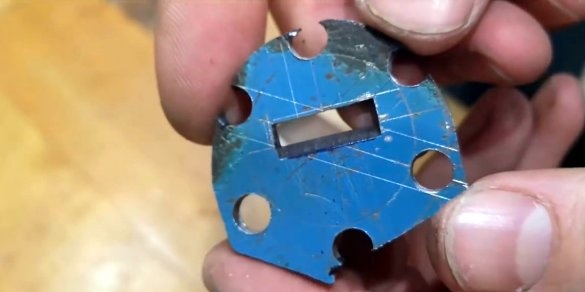
The groove is being finalized with a file to a rectangular shape.
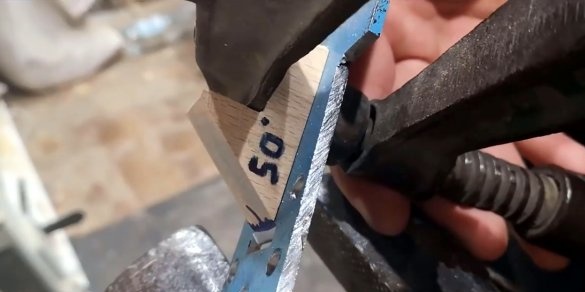
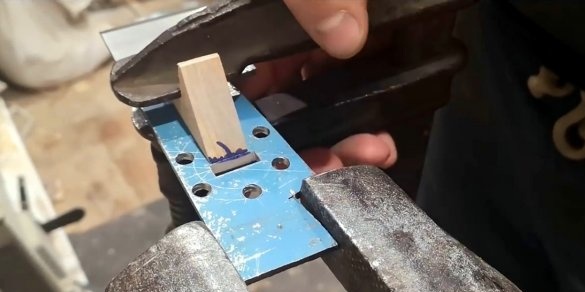
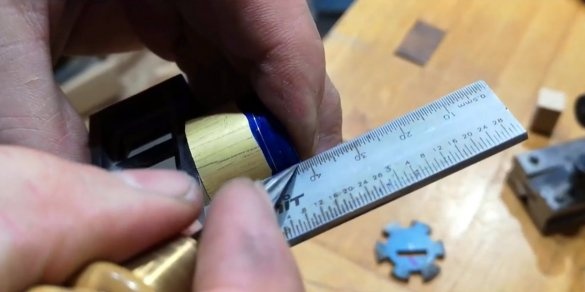
The master fixes a clamp near the groove of the template with a pre-measured angle of 50 degrees. After that, the trailing edge of the groove is ground with a file.
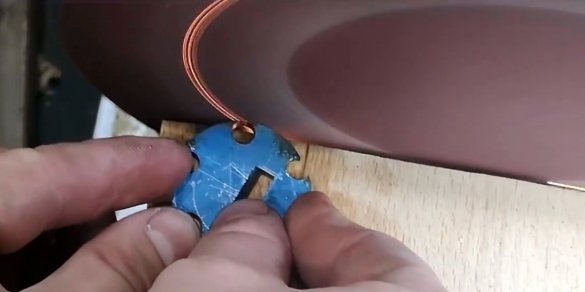
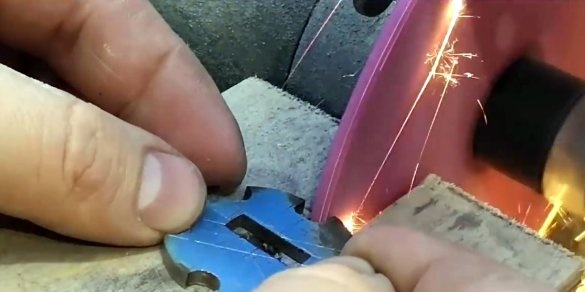
The edges of the workpiece are roughly trimmed by a grinder, and processed on a belt grinder.
Drilled holes are machined using a lathe.
It is also necessary to process the corners of the cutouts with a file.
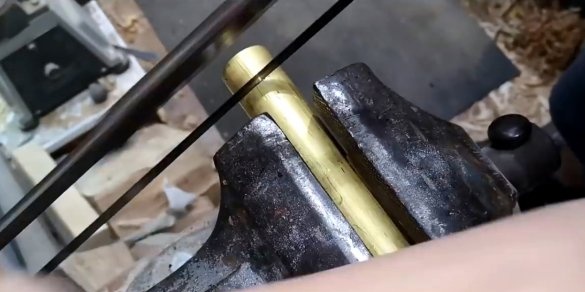
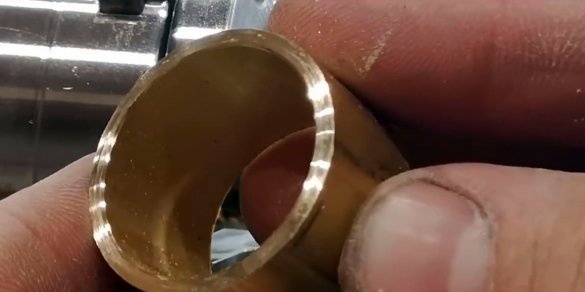
Having fixed a brass tube in a vice, the master cuts off a ring for the block body.
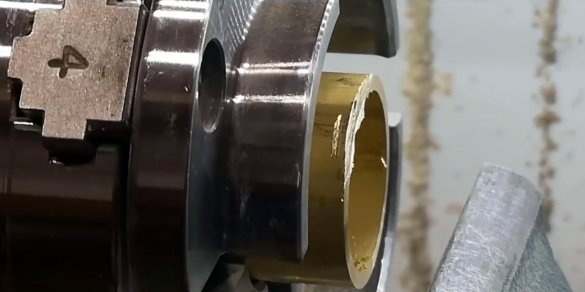
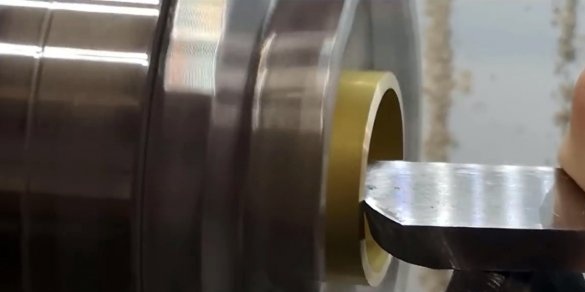
Since the author has a lathe at his disposal, the chamfers from the cylinder are removed on it.
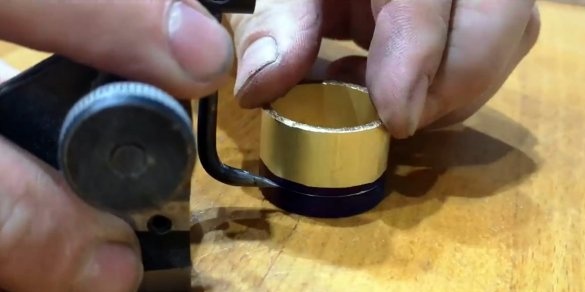
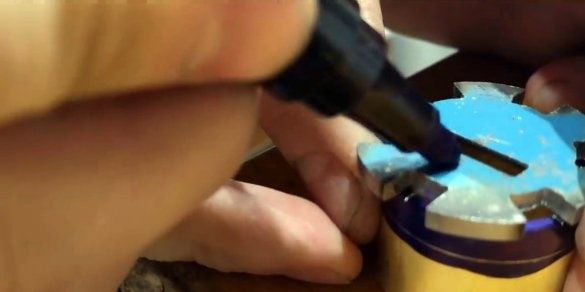
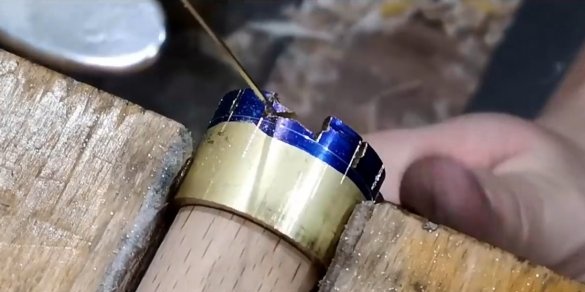
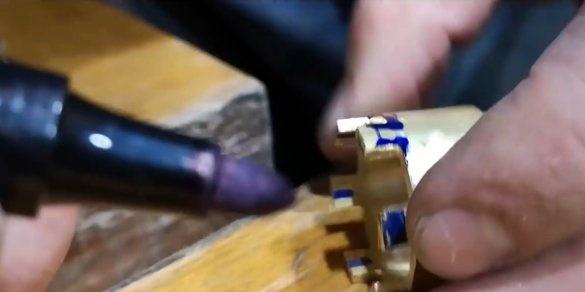
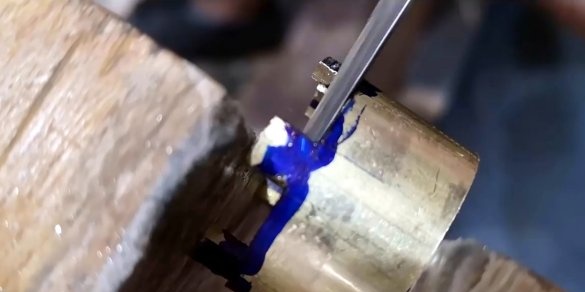
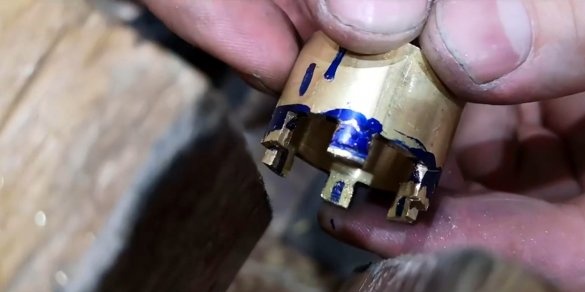
Next, he needs to mark the line to which cutouts will be made. He paints one side of the brass blank with a marker, so that the marking is better visible.
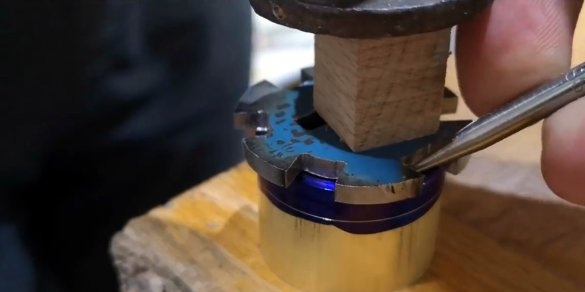
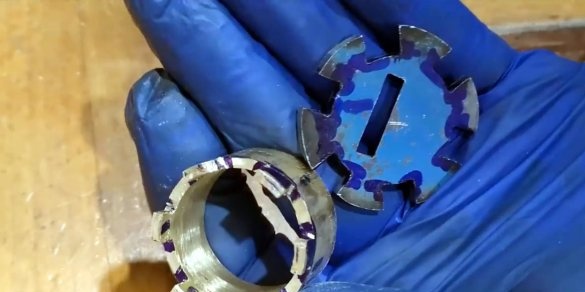
Having pulled both parts together using a clamp, marks are made for cutouts at the end of the cylinder.
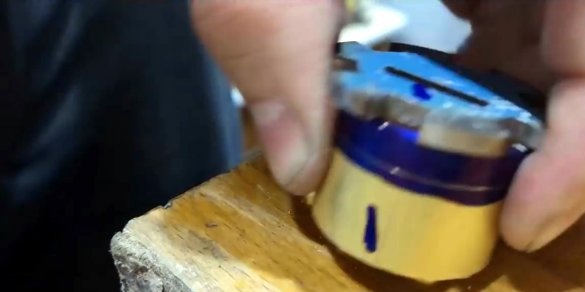
Due to the fact that all cuts were made by hand, and have small deviations in size, the master puts two marks on the sole and body, so as not to confuse the sides.
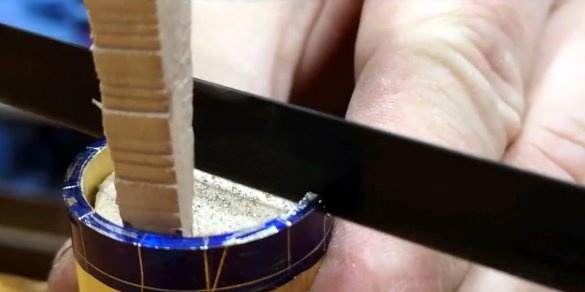
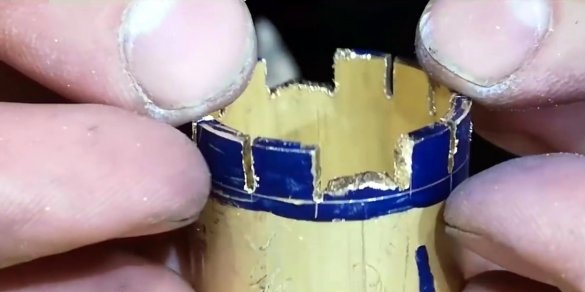
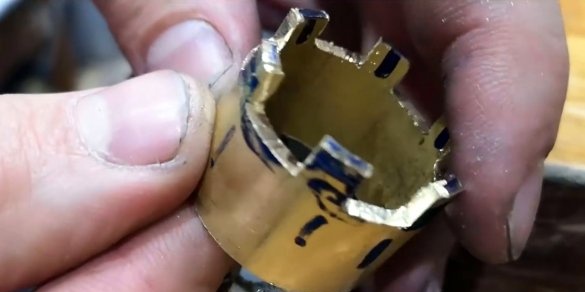
The marking from the end is transferred to the side walls, and cuts are made with a hacksaw for metal.
Excess material is roughly removed with a hand jigsaw.
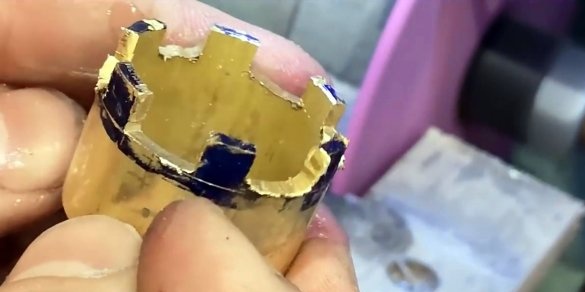
The following is the processing of cutouts on a grinder.
Having fixed the workpiece in a carpenter's vise, the cuts are finalized manually with a file.
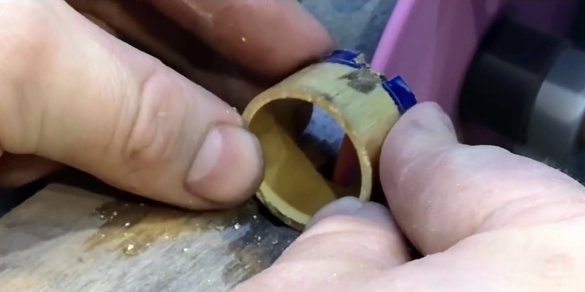
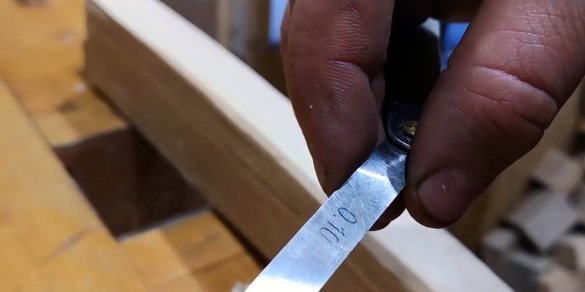
Both parts are interconnected, clamped with a clamp, and the author checks the gaps with micrometer probes, and notes the places where refinement is necessary.
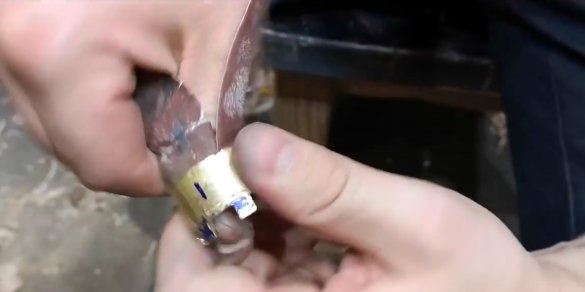
Now follows the final refinement of the cuts, and polishing all the sharp edges with fine sandpaper.
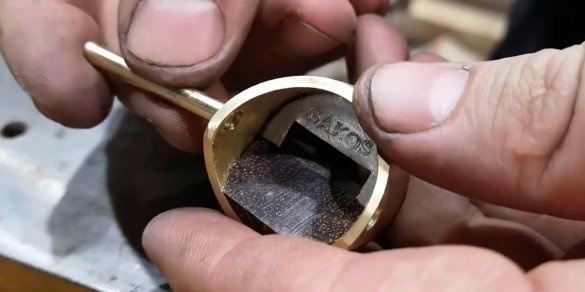
Before joining the parts together, the author puts his signature cliché on the inside of the sole.
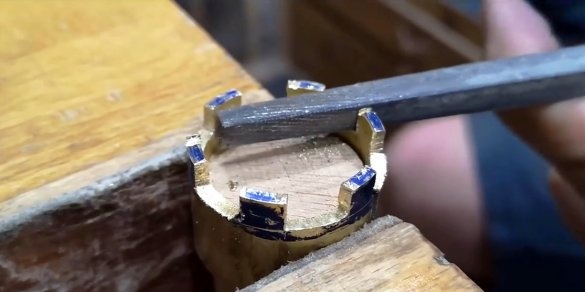
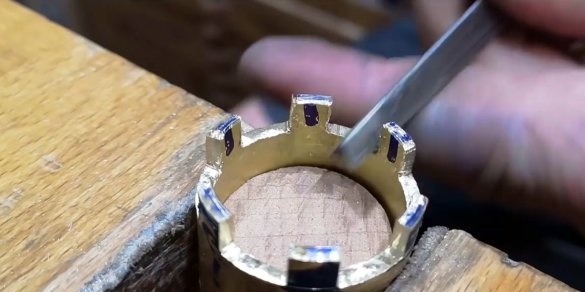
For a more solid fixation of the parts between each other, a small groove is made with a file at the base of the studs.
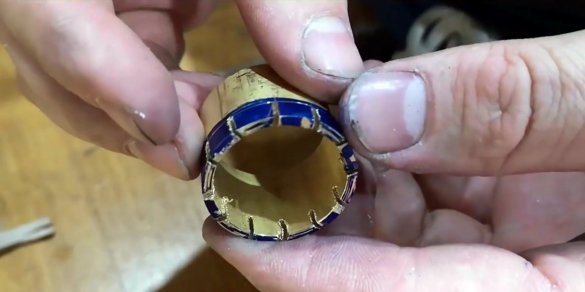
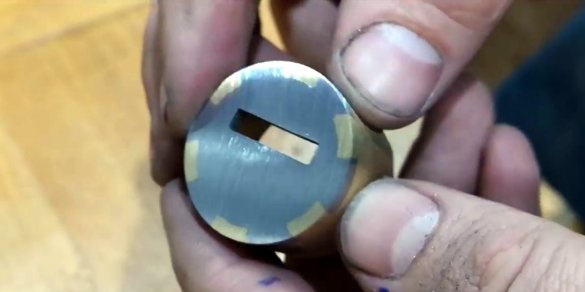
By combining both parts, the master first rivets the brass spikes.
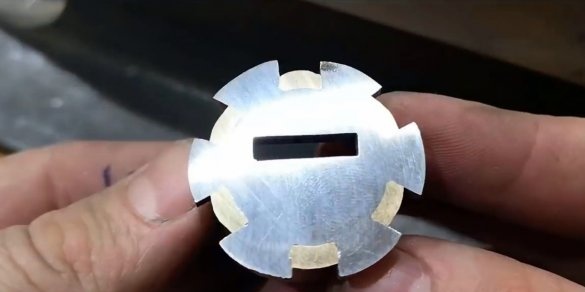
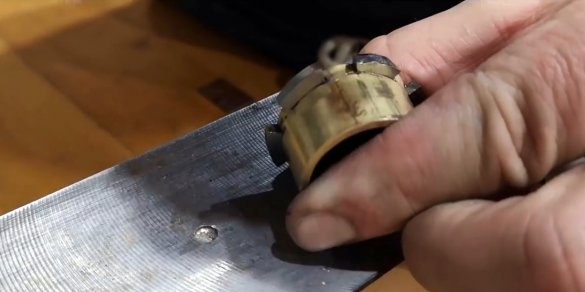
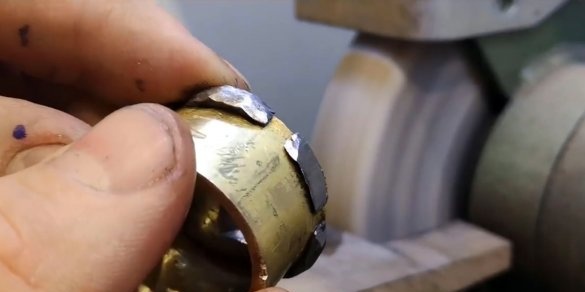
Next is the process of grinding the soles on a belt orbital sander.
Now the spikes of the sole are riveted.
The master grinds the outer part of the block on a grinder, and then grinds it.
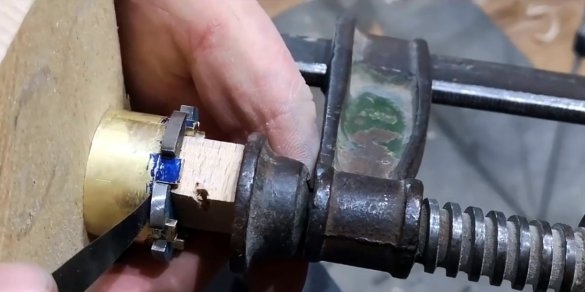
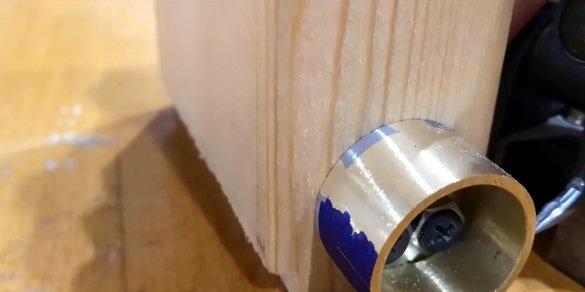
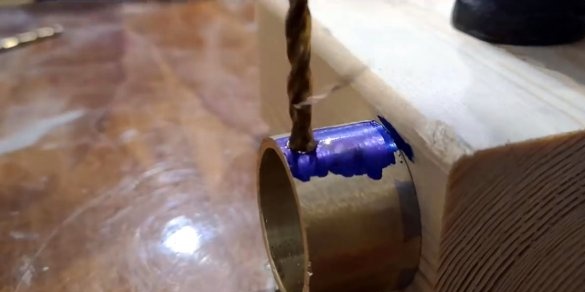
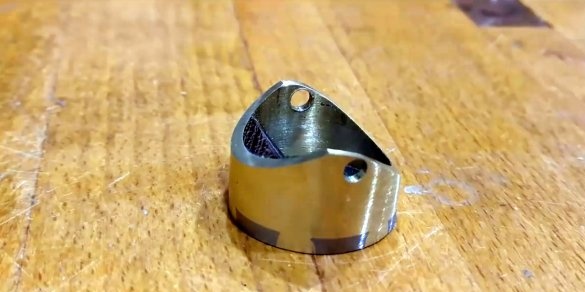
By attaching the block to a wooden block, the author needs to make precise markings for the transverse pin, it should be perfectly aligned with the cutout for the knife. Next, the holes for the pin are drilled.
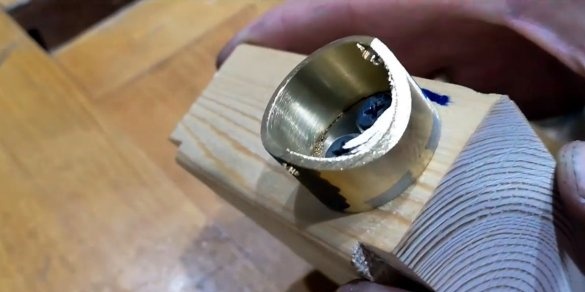
Without removing the case from the bar, the author cuts the sock of the future planer at an angle.
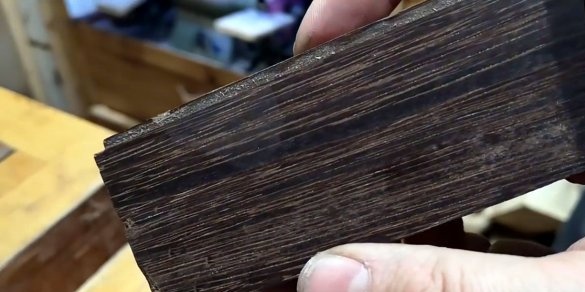
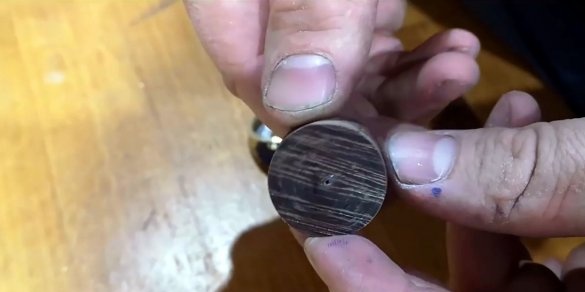
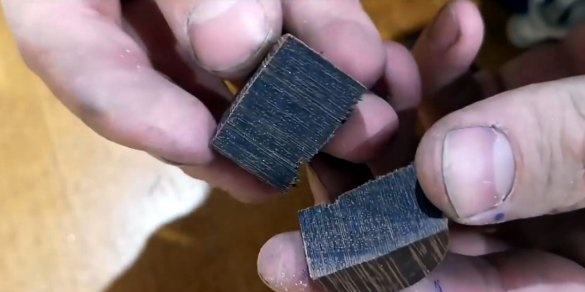
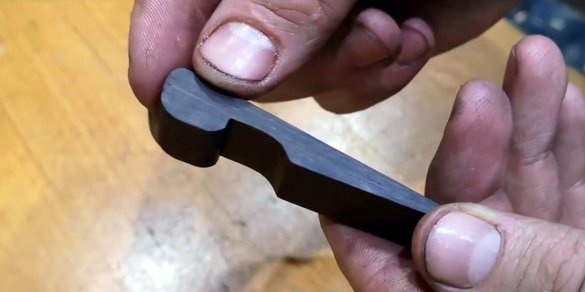
As back emphasis will be used stained oak wood, it is very hard and heavy. First, a wooden cylinder with a diameter of 26 mm is machined. Then mark the edges on its lower part.
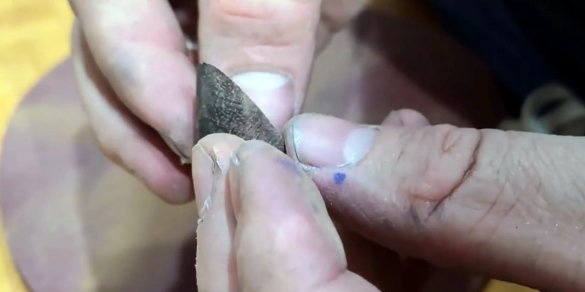
On a band saw, the cylinder is cut according to the marking, and one of the halves is polished manually at an angle of 50 degrees.
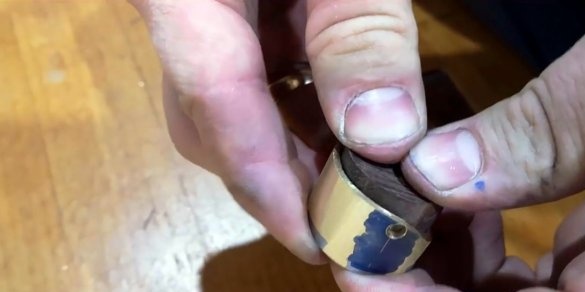
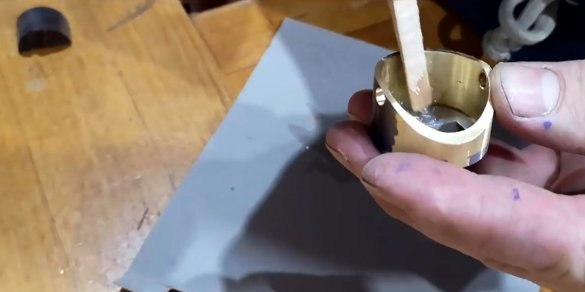
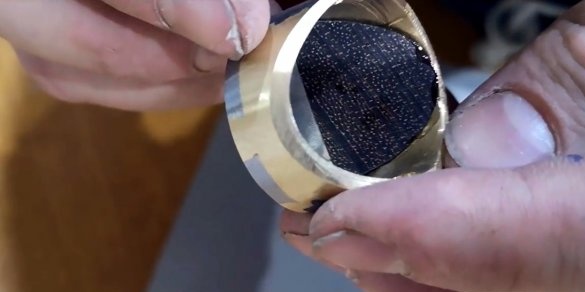
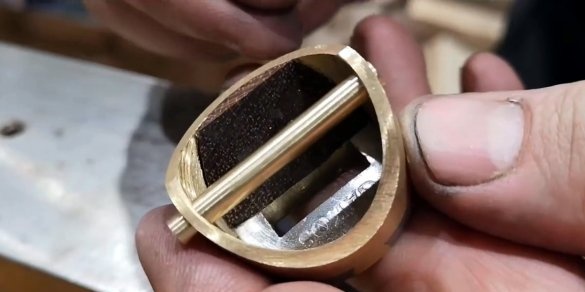
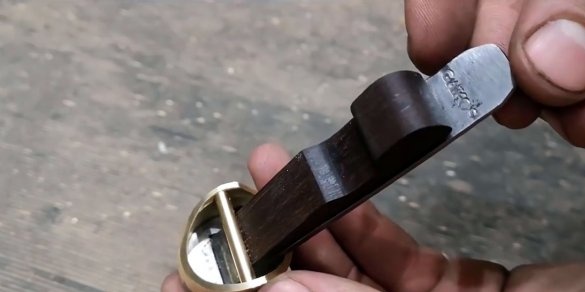
Using an acrylic two-component resin, the back gauge is glued into the block. Here you need to observe the alignment of the stop and cutout for the knife blade as much as possible.
After polymerization of the resin, the master makes a descent on the heel of the pad. Also, all sharp edges are sanded with 160 grit sandpaper.
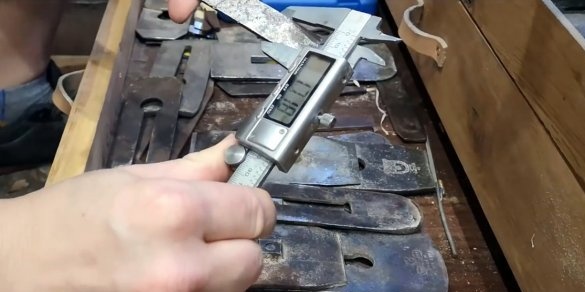
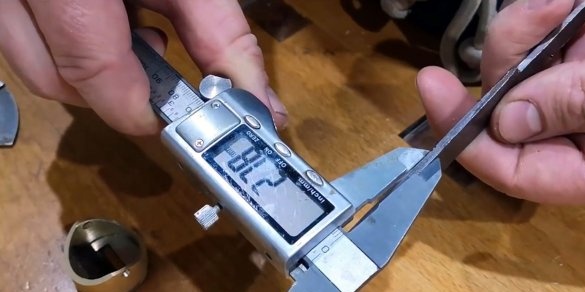
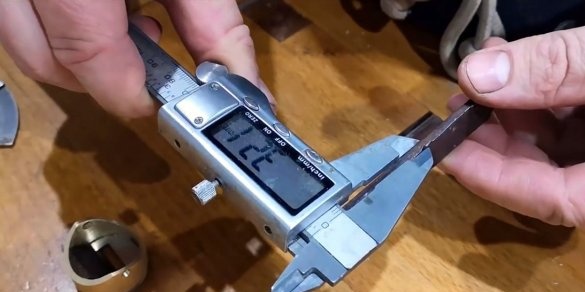
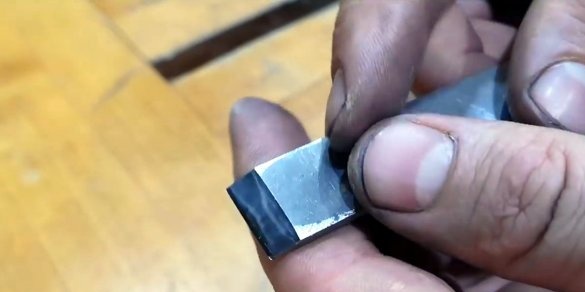
It remains only to choose a blade for a knife of suitable thickness and width. It could be a piece of an old chisel. There is no point in repeating about blade sharpening in this article; it has already been described tool sharpener. I recommend that you familiarize yourself with the method of its manufacture.
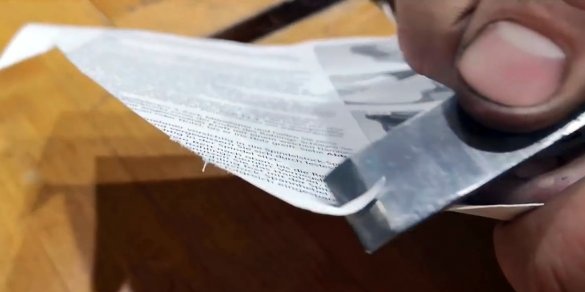
The author processed the blade, and sharpened it with water stones. He demonstrates the quality of sharpening on a regular newspaper page.
As a transverse pin, the master used a brass bar 4 mm in diameter. He cut it a little more than the width of the block, inserted it into the holes, and riveted it from two sides.
After grinding the sides of the pads, it is not even noticeable.
From the same wood remains to make the last, and also an important element - a wedge.
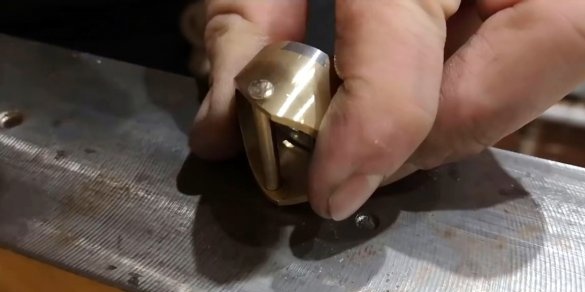
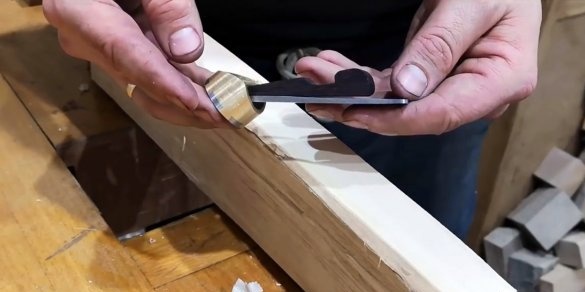
Everything is ready, you can install the knife in its place, adjust it, and fix it with a wedge.
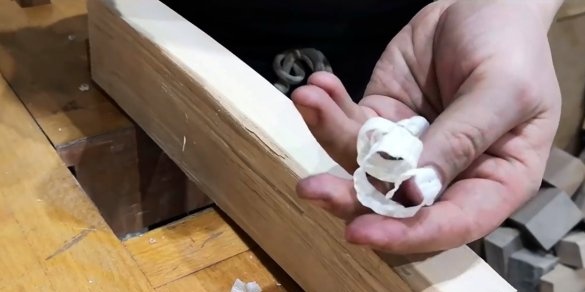
Even the first samples of this tool showed its high efficiency, it gives a very thin even chip.
The master measured the gap between the sole and the blade. micrometer probeand it was only 0.1 mm.
Of course, the external surfaces can also be polished using an abrasive paste, however, this can make the tool's stiffness worse and it will slip in your hands.
I thank the author for the simple and interesting metal construction of a miniature planer!
If you have interesting homemade products, share them on this site. Here you will get a real reward, not a “bunch of green stuff" at the entertainment forum.
All good mood, good luck, and interesting ideas!
Author video can be found here.

