
I welcome all fans to craft, I propose to consider the instructions for the manufacture of a grinding machine do it yourself. The author decided to emphasize safety and convenience in the manufacture of the machine. A reliable guard was made for the grinding wheel, which will remove the main amount of dust harmful to the lungs. The author also made an adjustable emphasis, which can be placed at a distance of several millimeters from the grinding wheel. It is not known which author used the motor; there is already something for anyone. If the project interests you, I propose to study it in more detail!
Materials and tools used by the author:
Material List:
- engine;
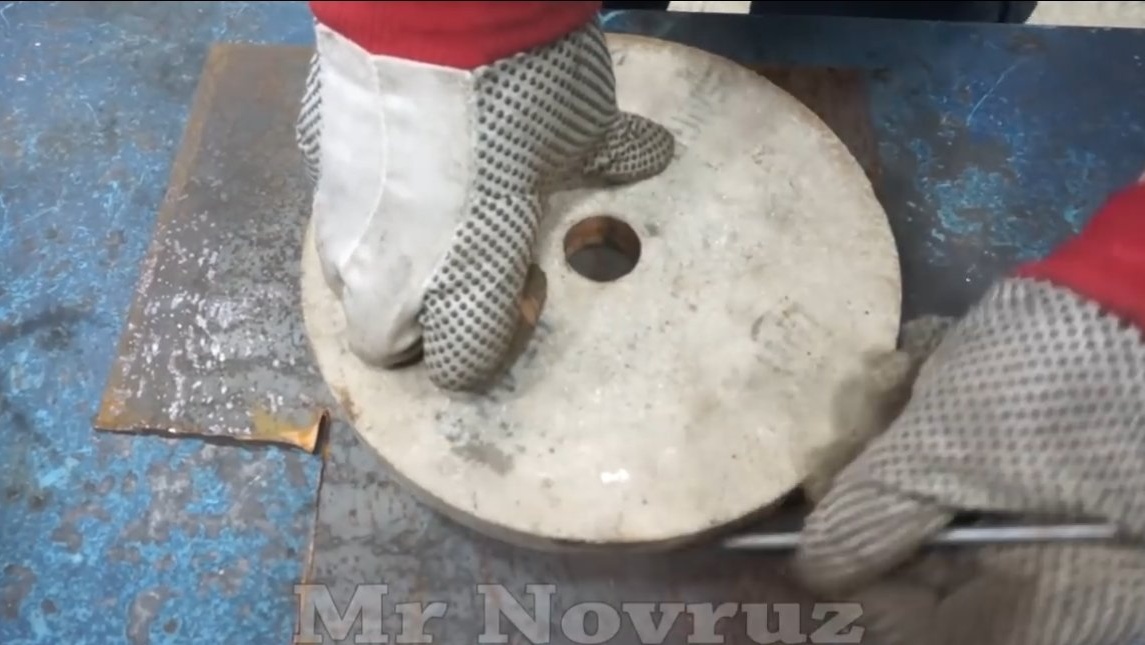
- grinding wheel;
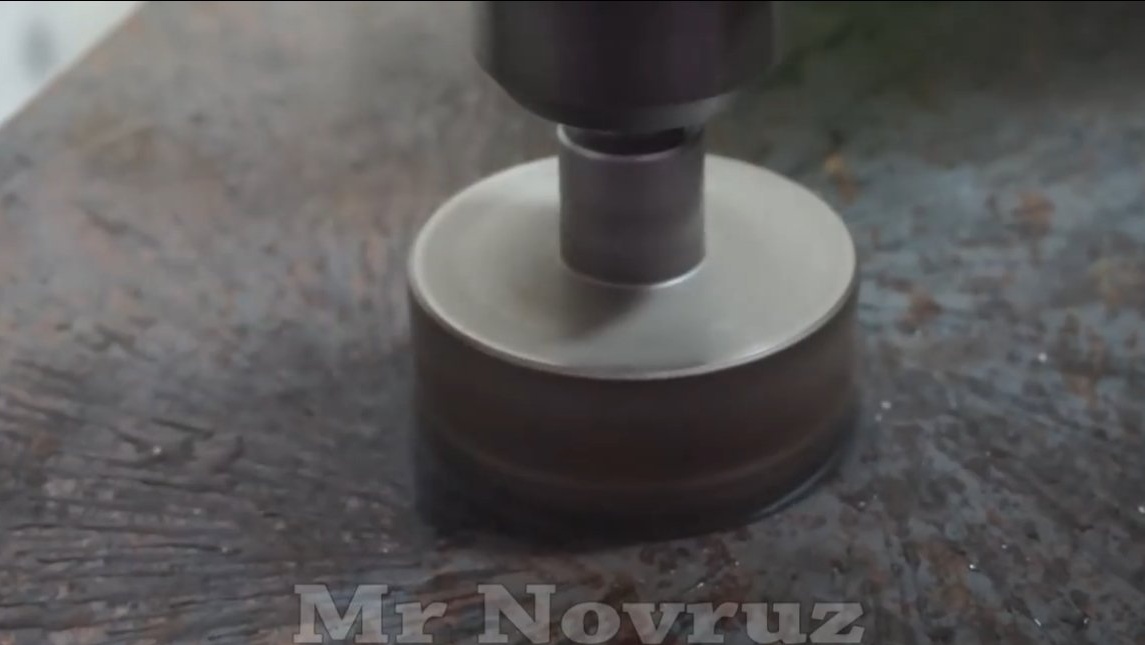
- Details for setting the grinding wheel;
- Sheet steel;
- reliable switch;
- wiring in good insulation;
- corner;
- bolts and nuts.
Tool List:
- grinder;
- drill;
- welding machine;
- tape measure, marker;
- paint for metal.
Manufacturing process homemade:
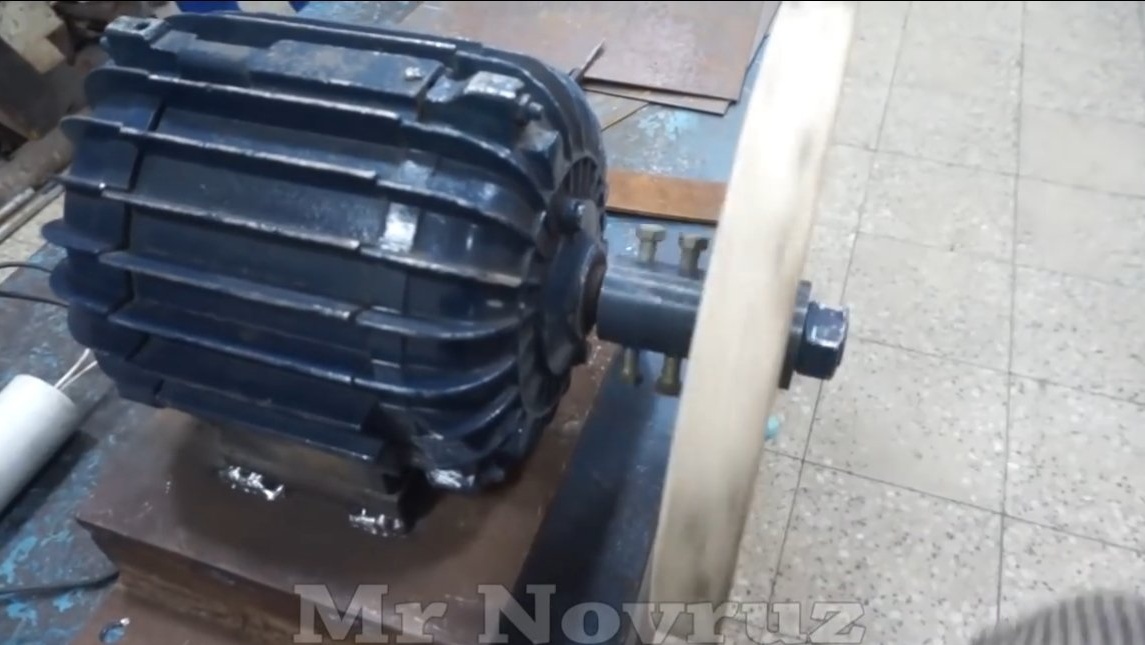
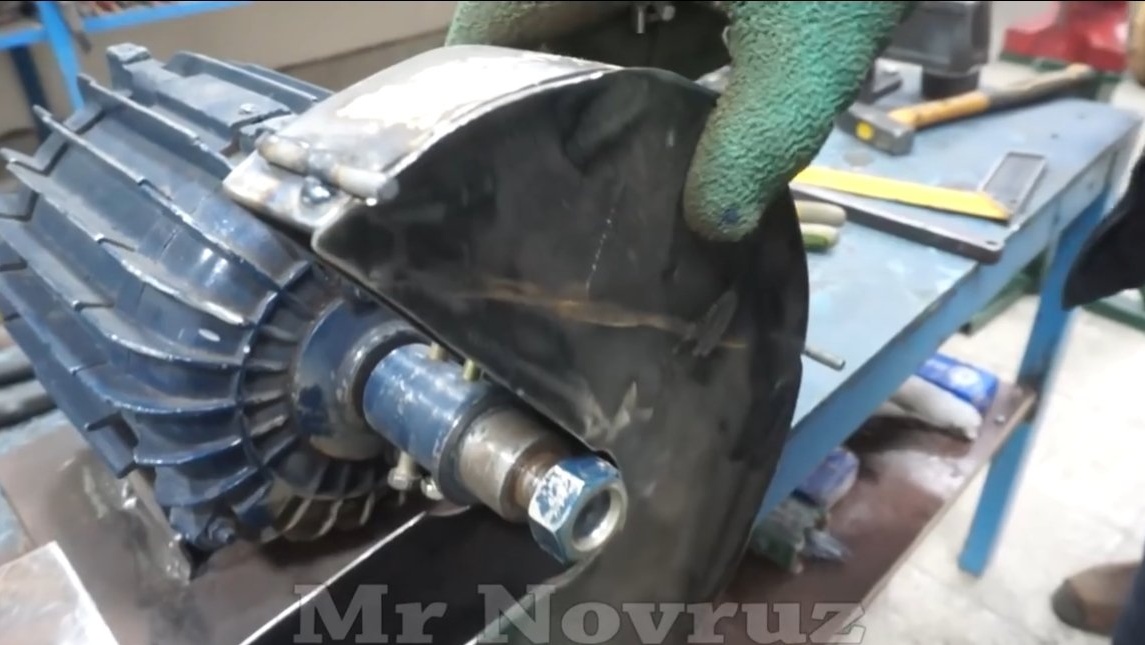
Step one. Engine
For grinders, motors from old washing machines are actively used. When searching for a motor, it is important to consider its power, it must be compared with the diameter of the grinding wheel. The larger the diameter of the circle, the greater the torque that the motor shaft must develop, otherwise the circle may stop under load.
For purchased machine options, a 250-W motor rotates a 200 mm circle, so you can stick to these numbers. Of course, it is better that the machine has a margin of power, but do not forget that the grinding wheel will decrease in diameter as it wears.

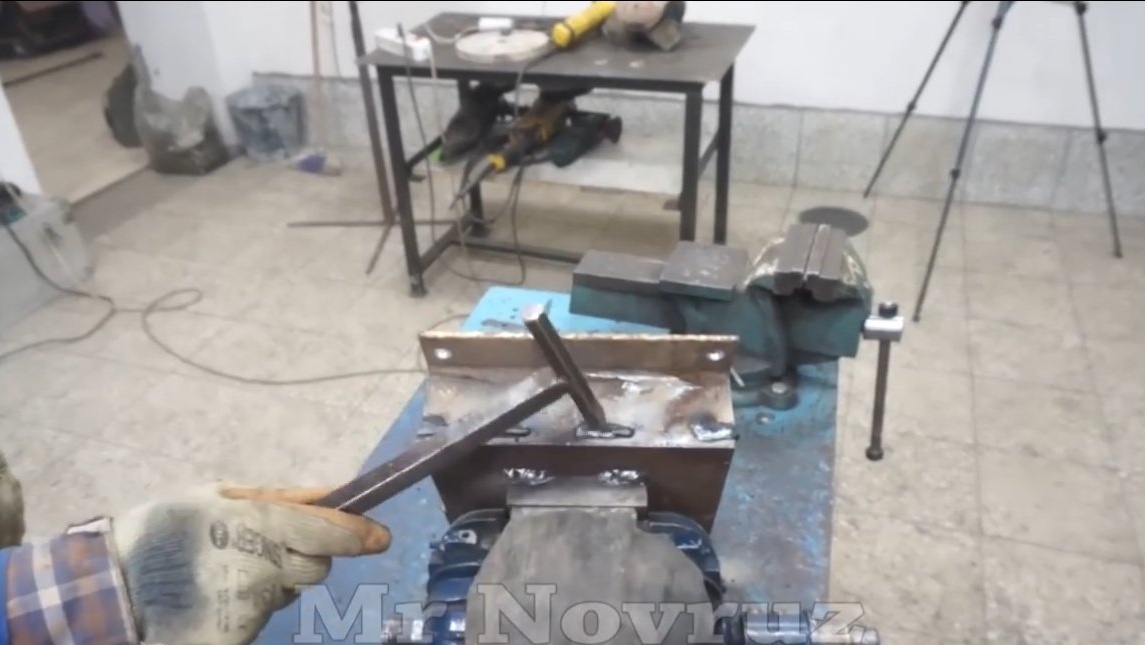
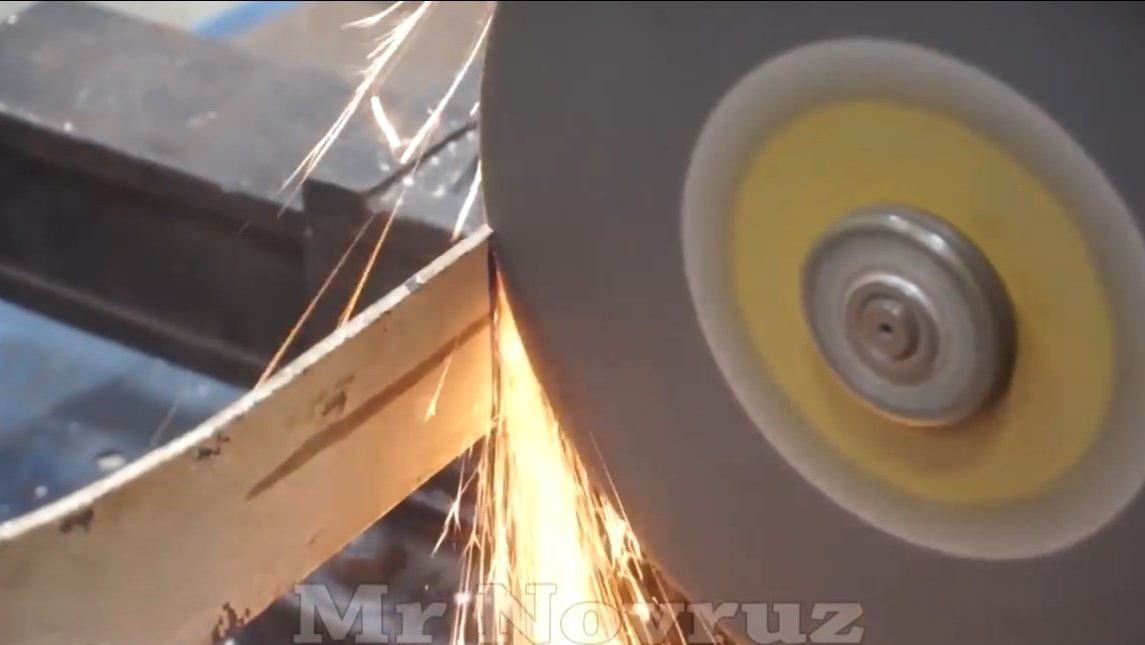
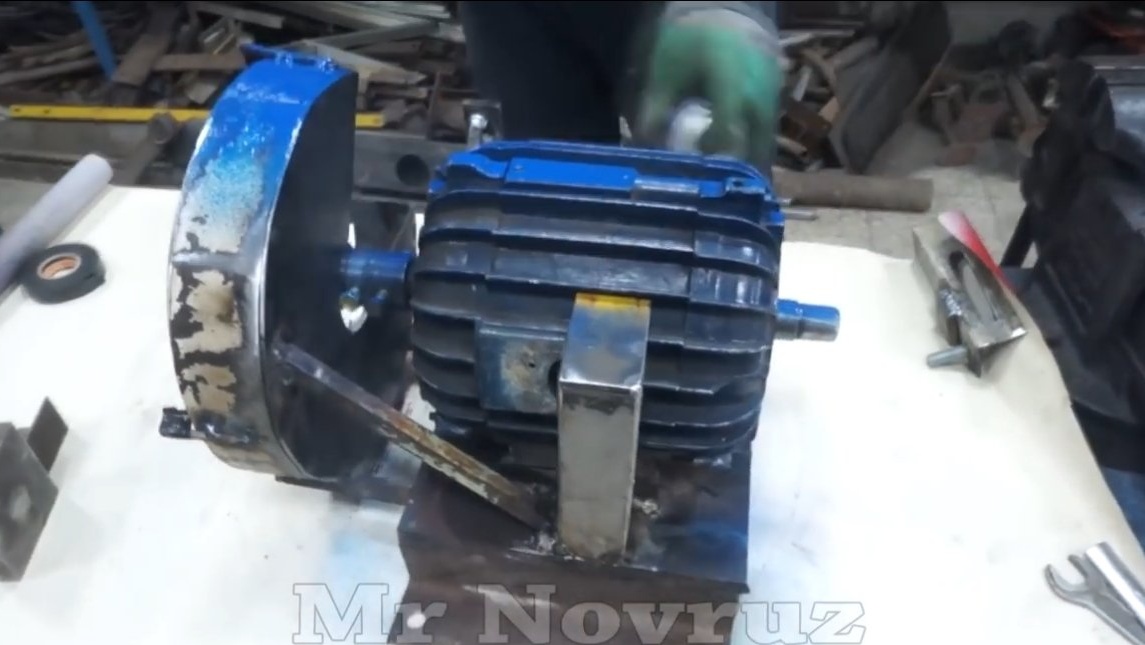
Step Two Base and Circle
We prepare a reliable base for the sharpener, the simplest bed can be welded from a corner and sheet steel. We make reliable fasteners for the motor, it needs to be bolted with bolts and nuts. Grovers or nuts with plastic circlips will not be out of place.
The author also put a grinding wheel on the motor shaft, here you already need to select or make bushings, depending on the diameter of the circle.The circle is usually clamped with large washers on both sides, under the washers it is not superfluous to put gaskets from cardboard.
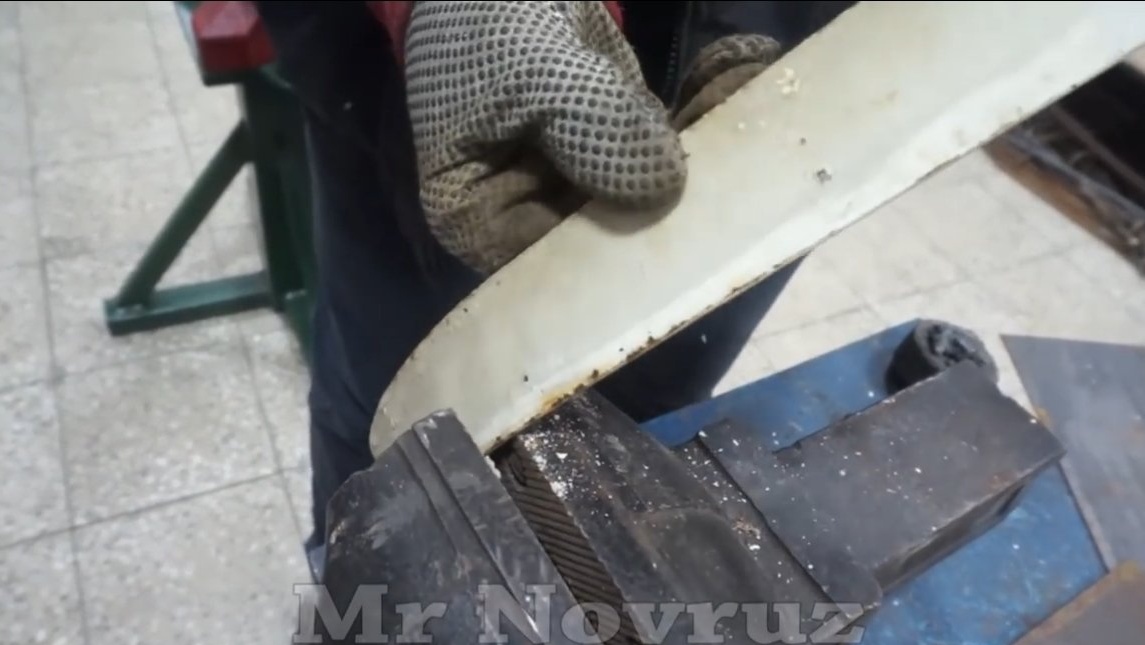
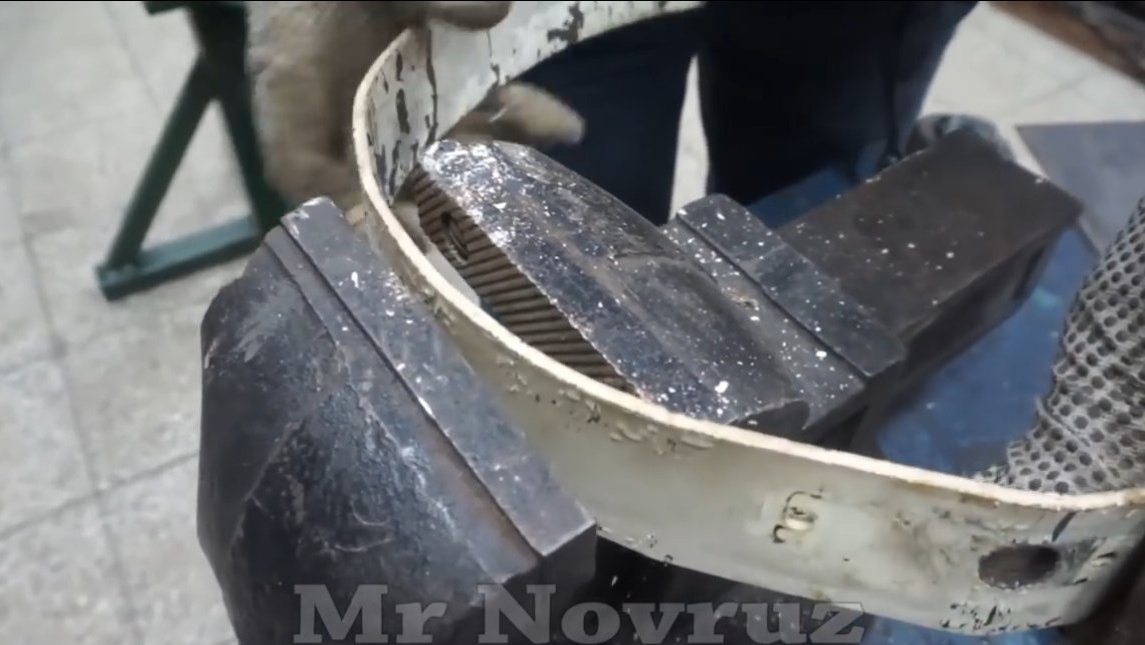
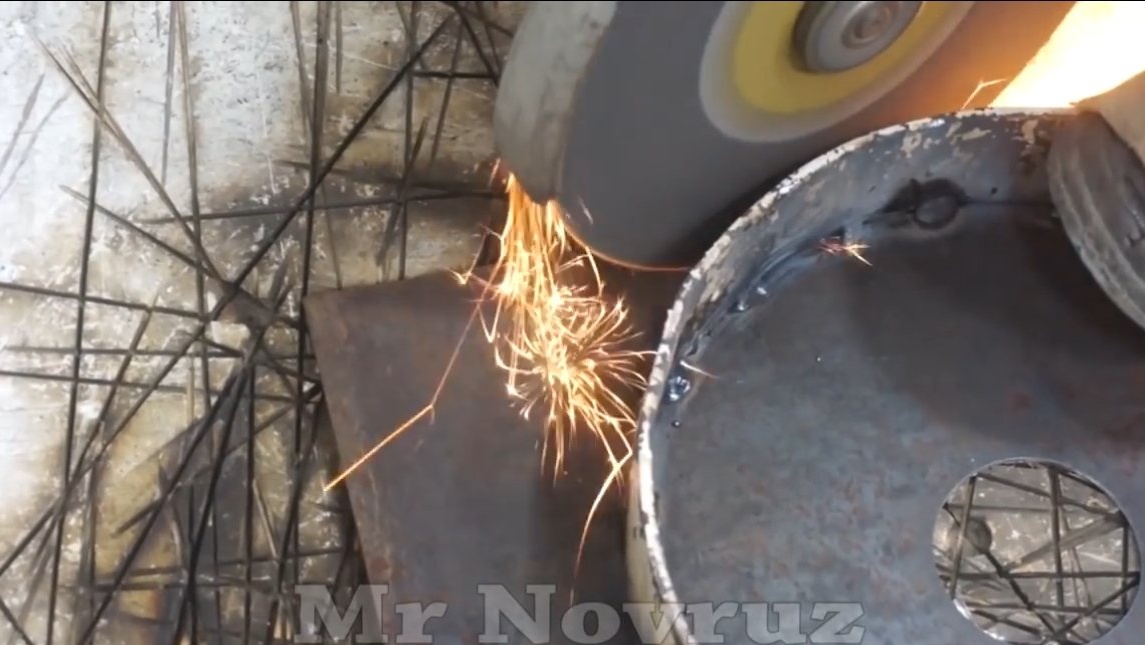
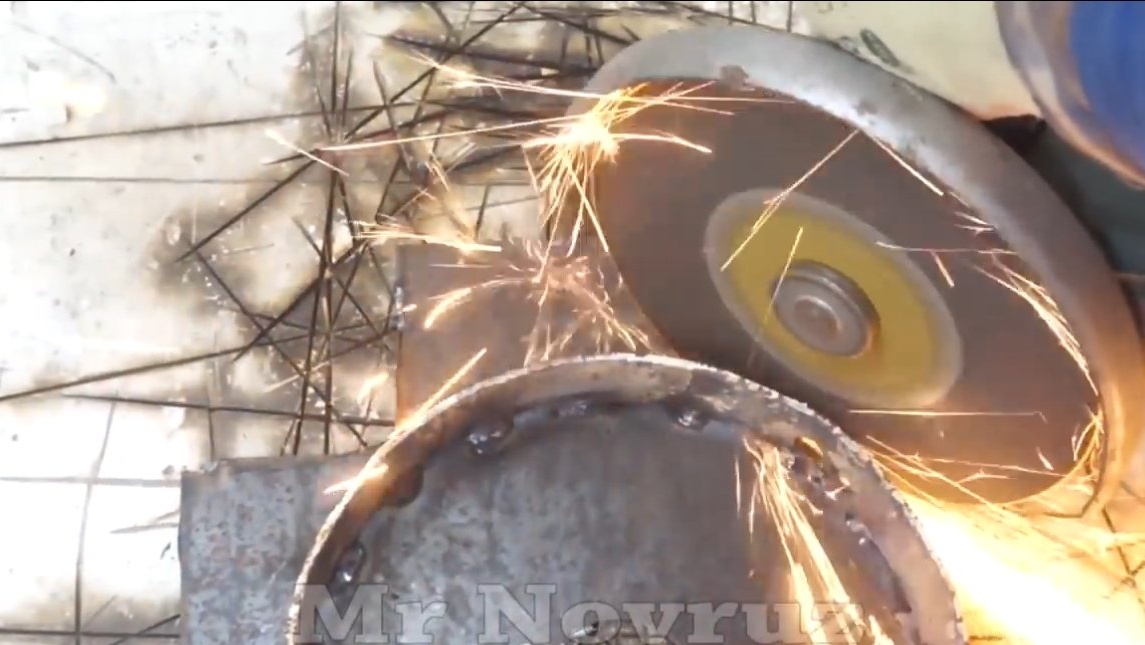
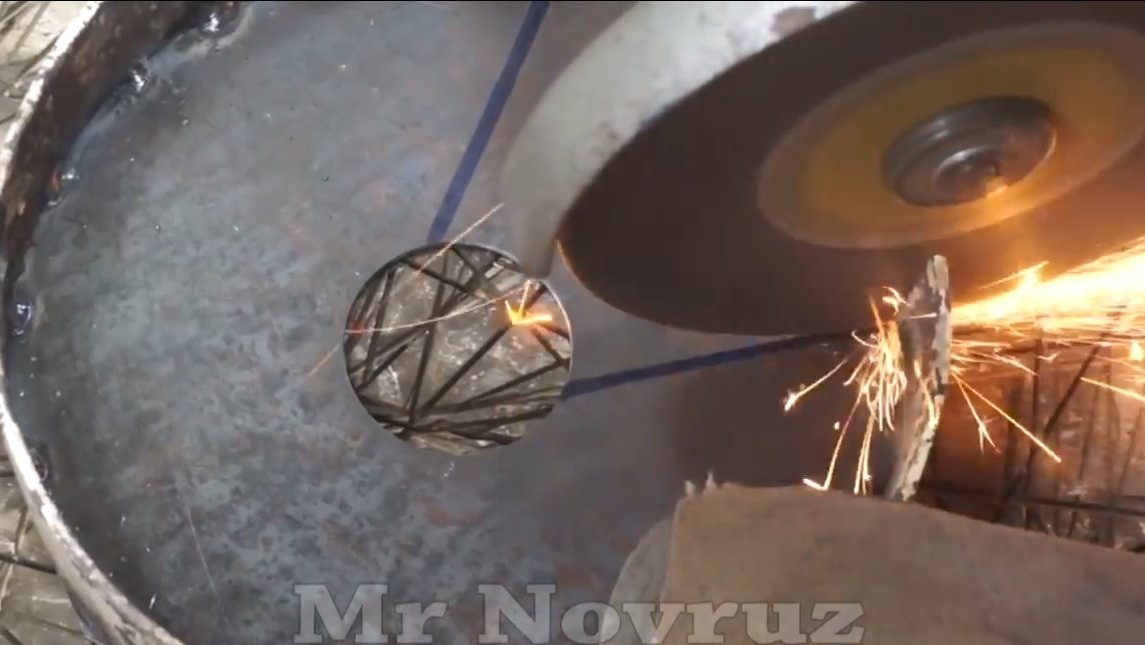
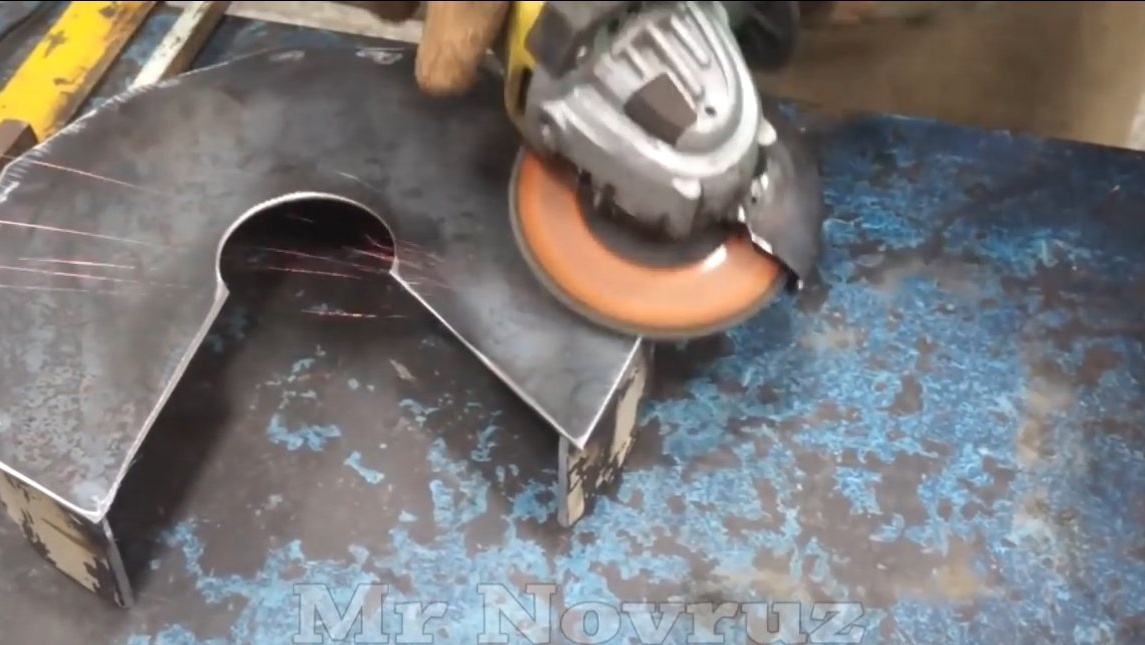
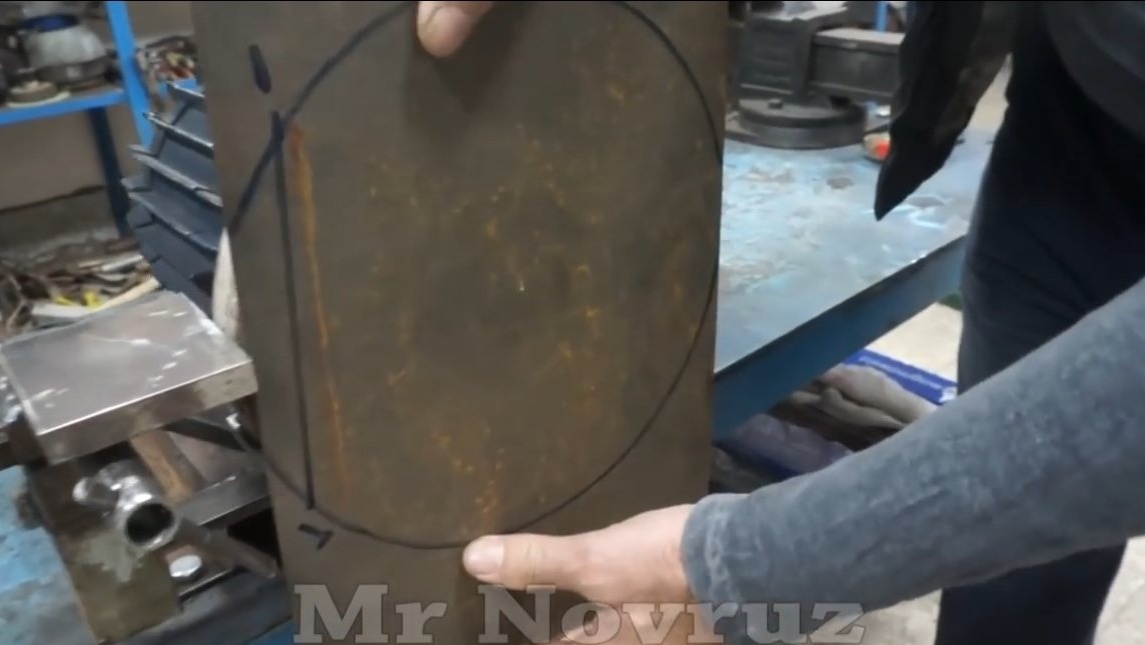
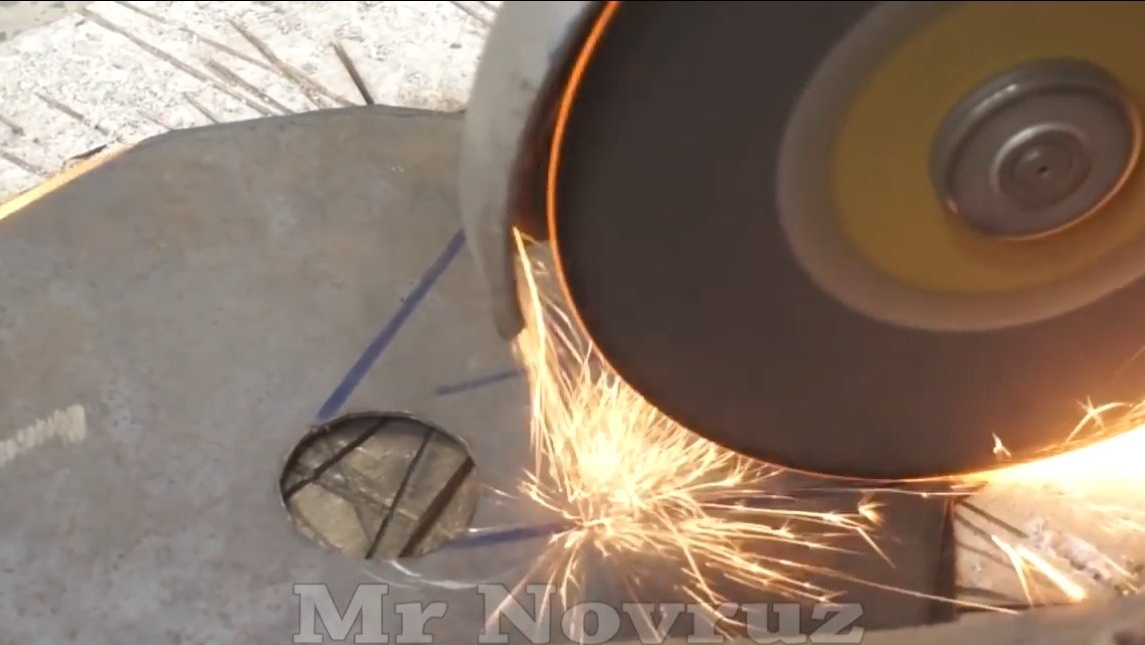
Step Three Shield
The author decided to make a protective shield so that the dirt would not fly throughout the workshop. The rim for the shield is bent from a steel plate, then a wall made of sheet steel is welded to it. We weld the shield to the bed, where necessary, strengthen the fastening with pipes, rods and so on.
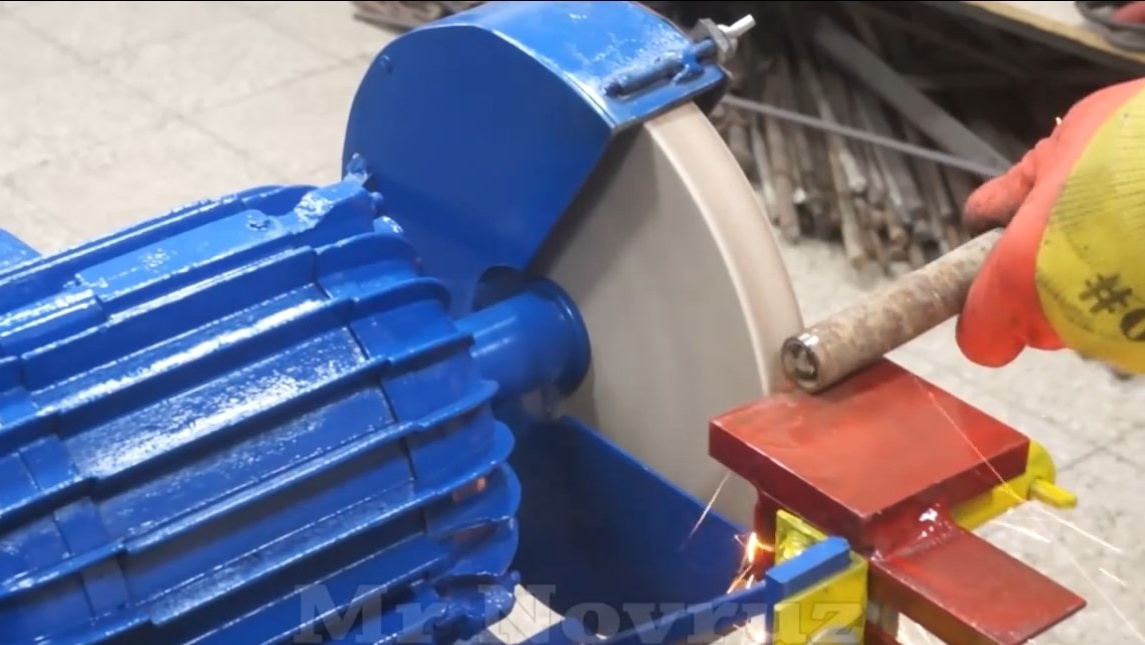
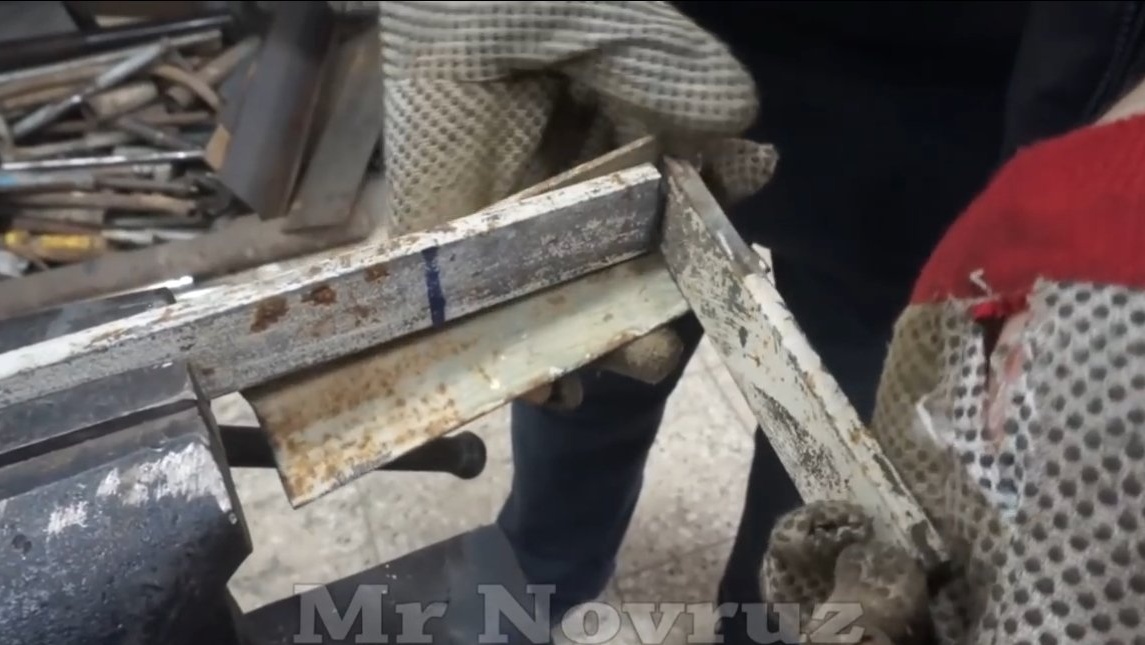
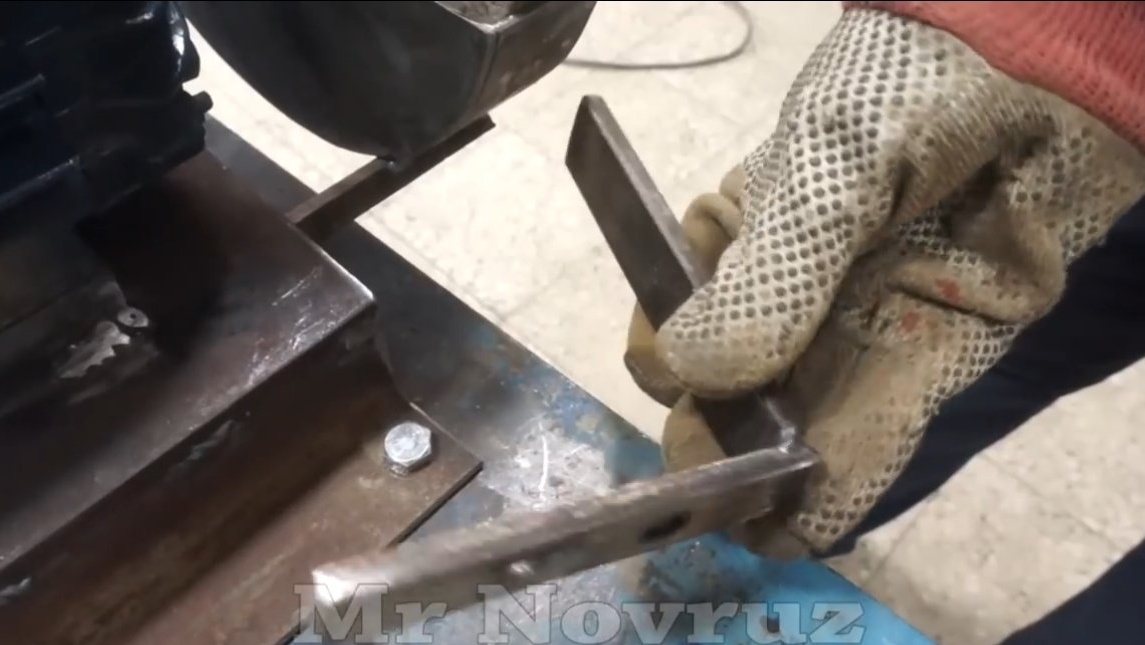
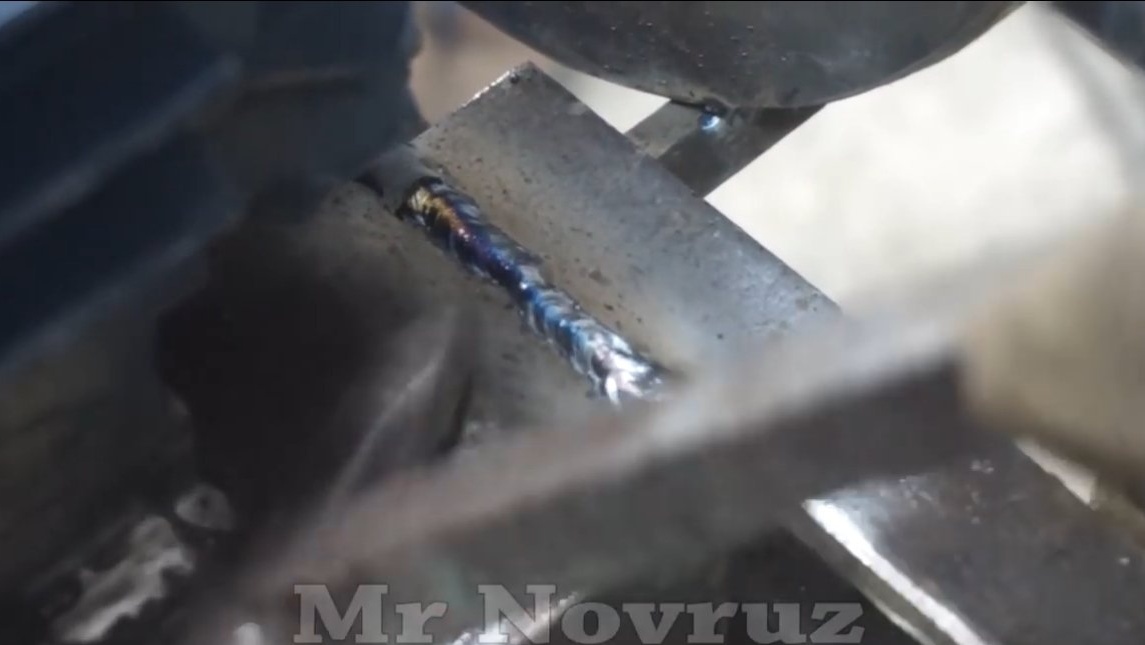
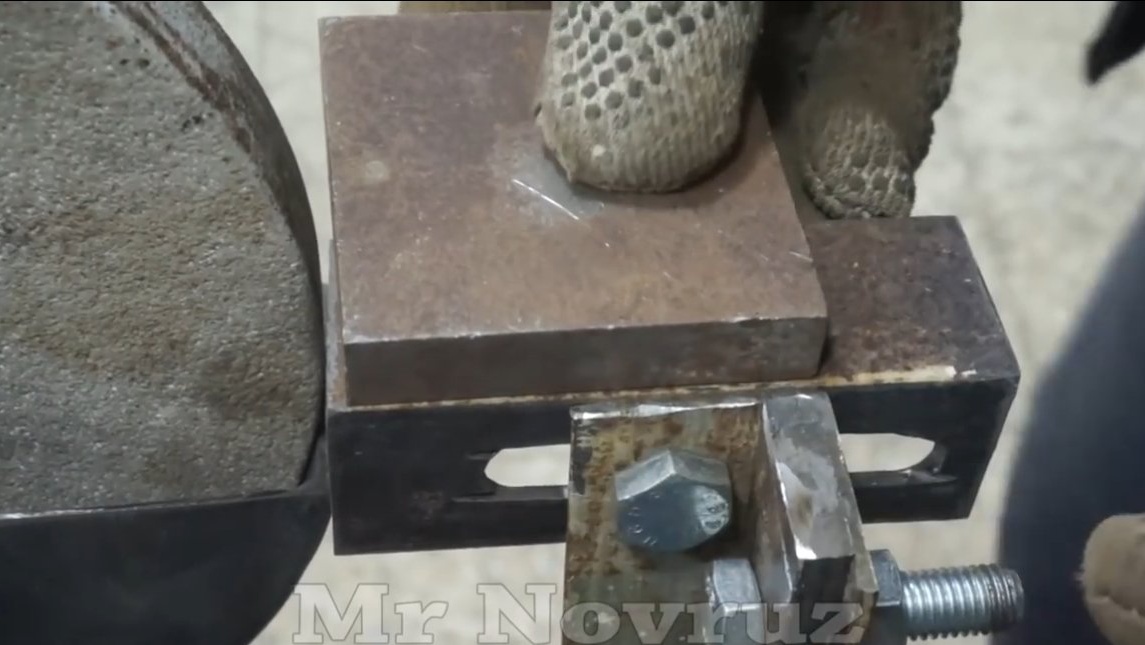
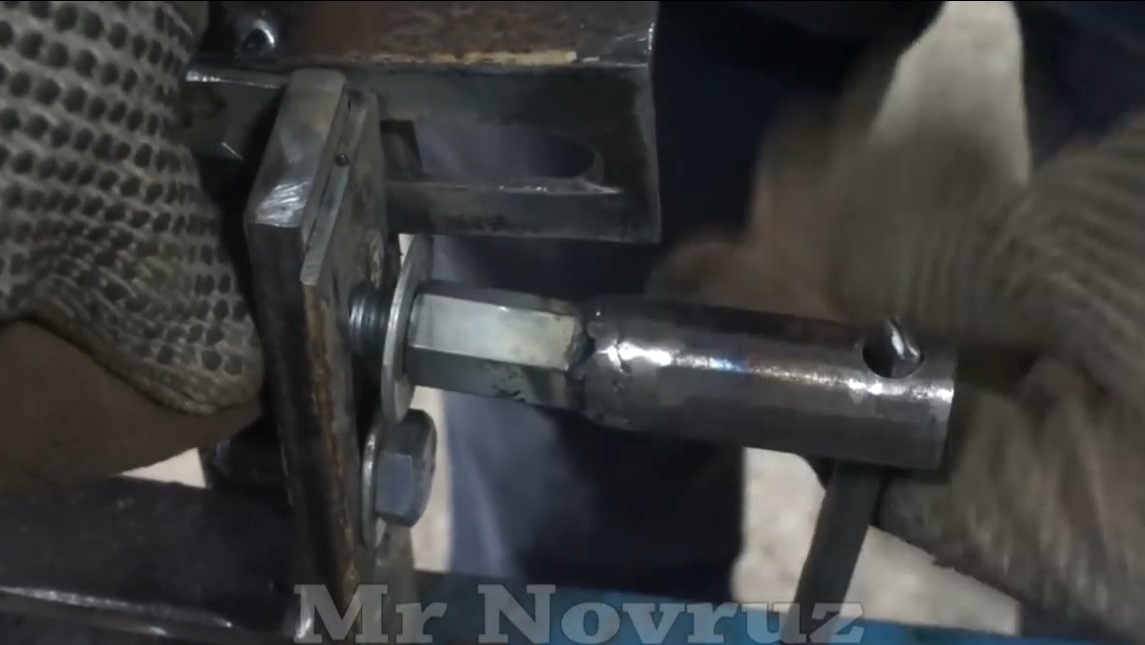
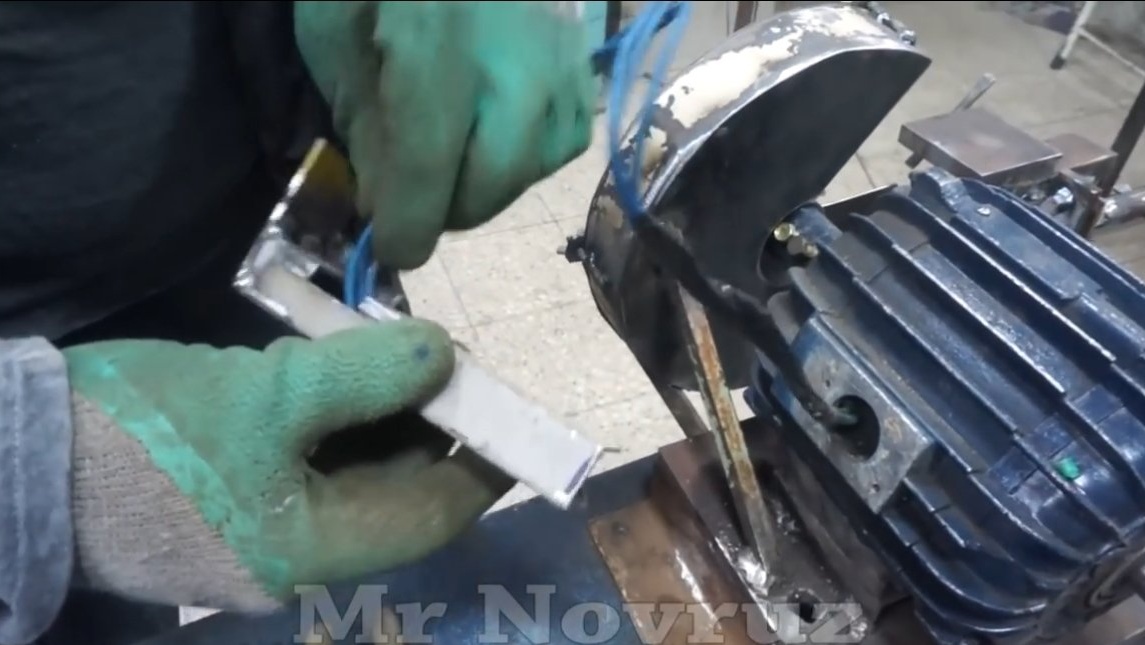
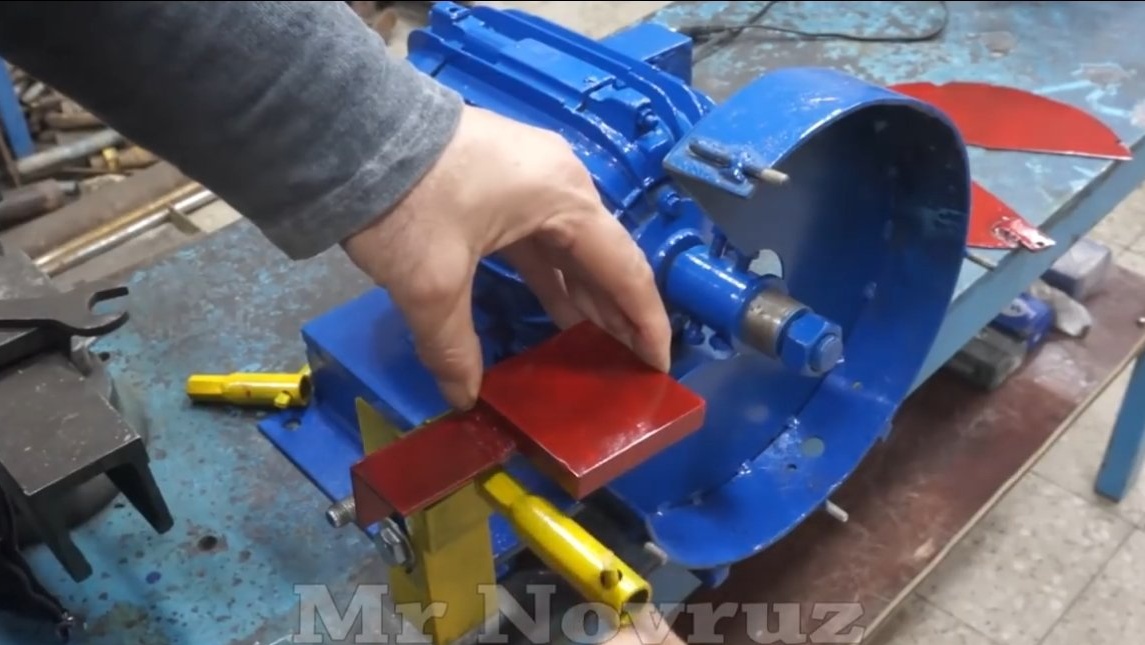
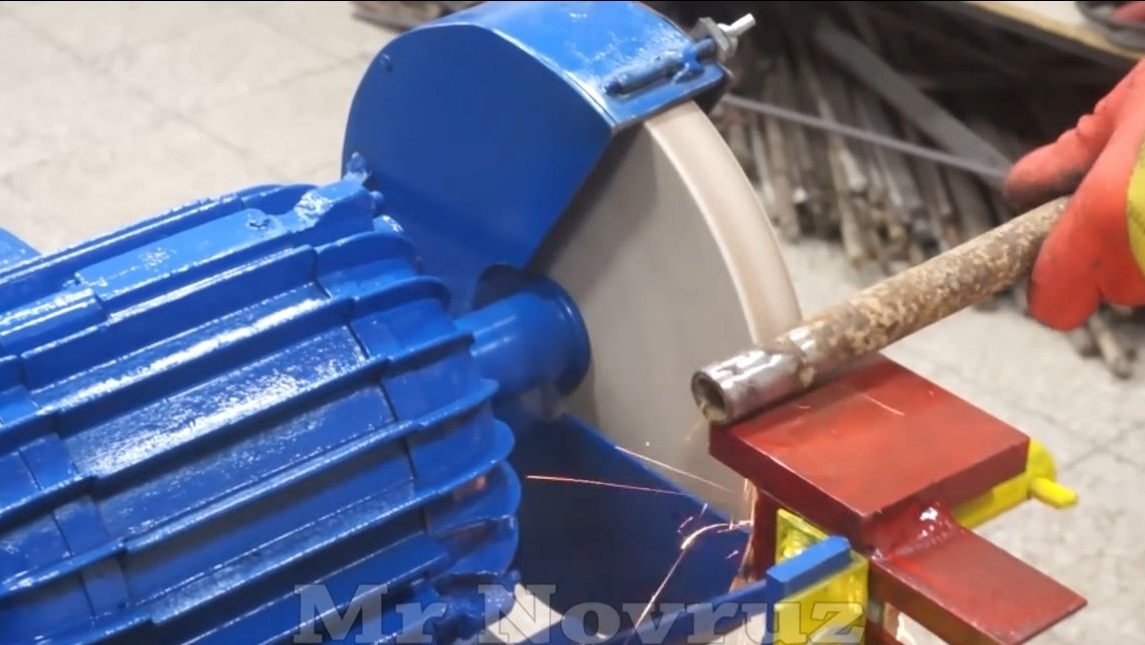
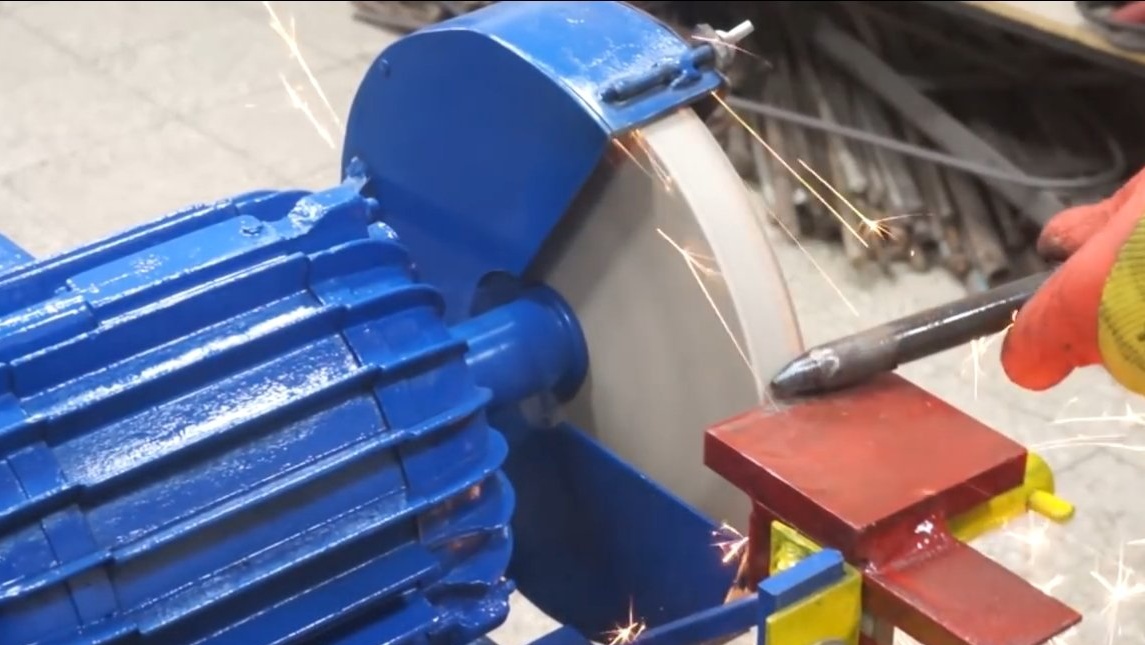
Step Four Emphasis
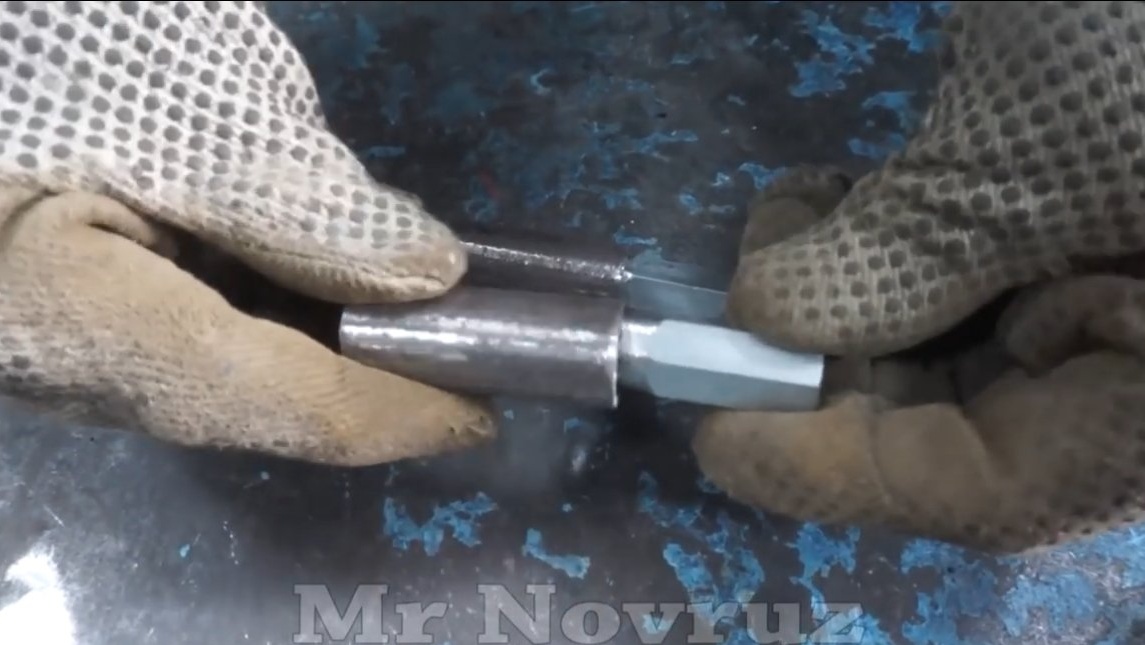
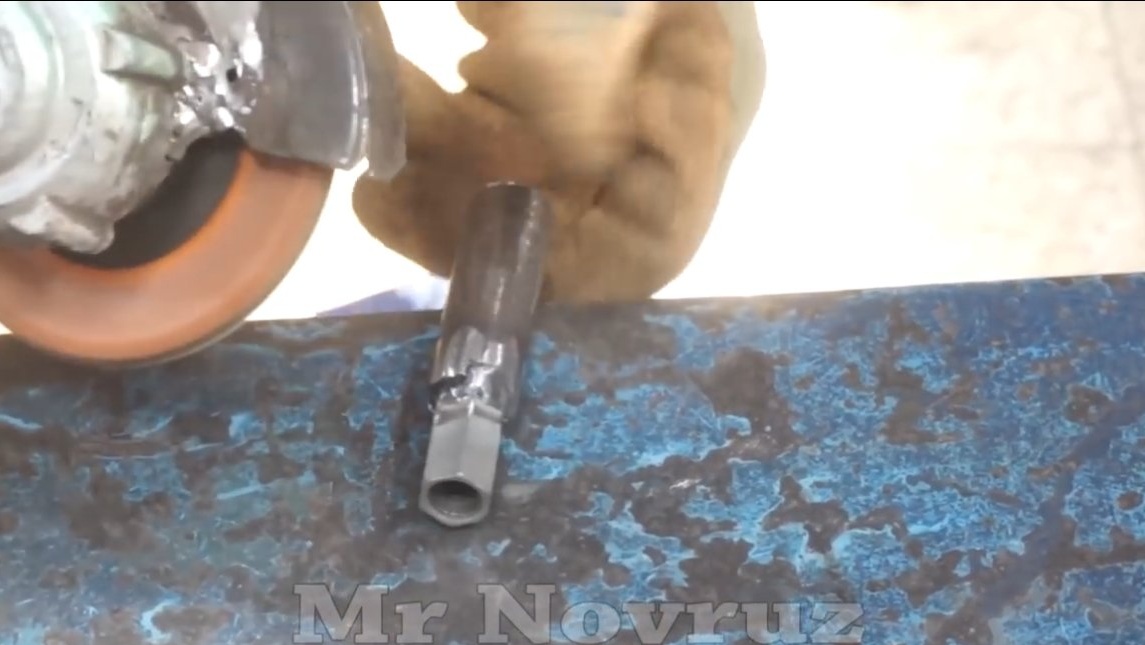
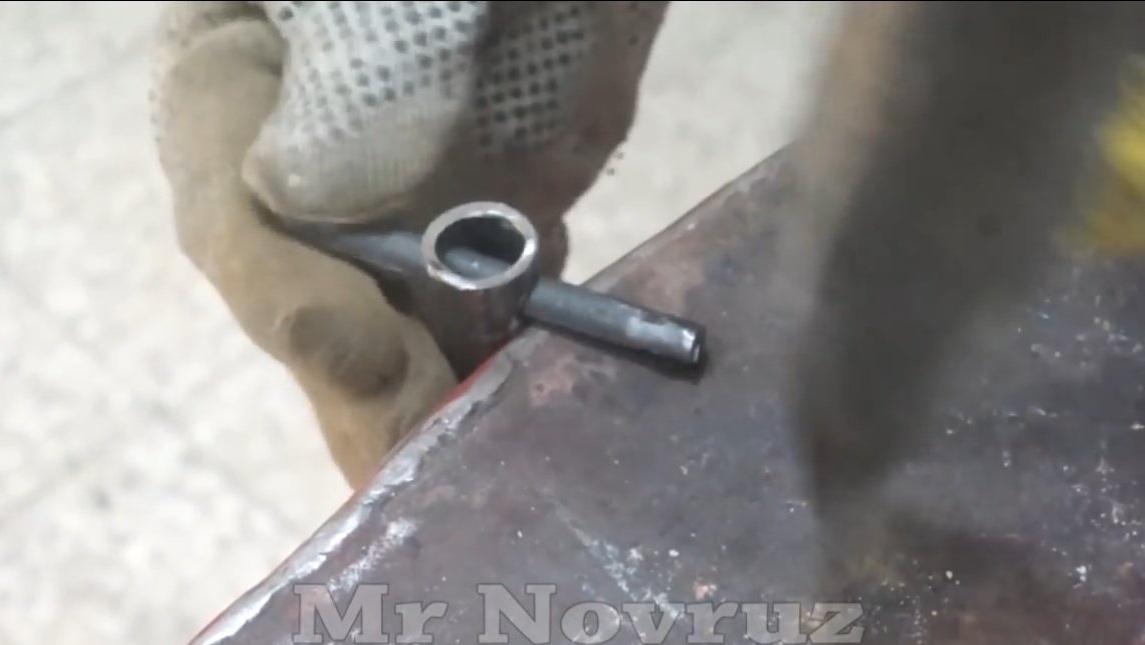
To make the machine work conveniently and safely, we focus. The emphasis must be adjustable in at least two positions, vertically and horizontally. The emphasis will move towards the grinding wheel as it wears out, well, or for other purposes. We assemble an emphasis from a corner, plates and sheet steel. For convenient use, the author welded pipes to the nuts, and inserted steel rods into the pipes as handles.
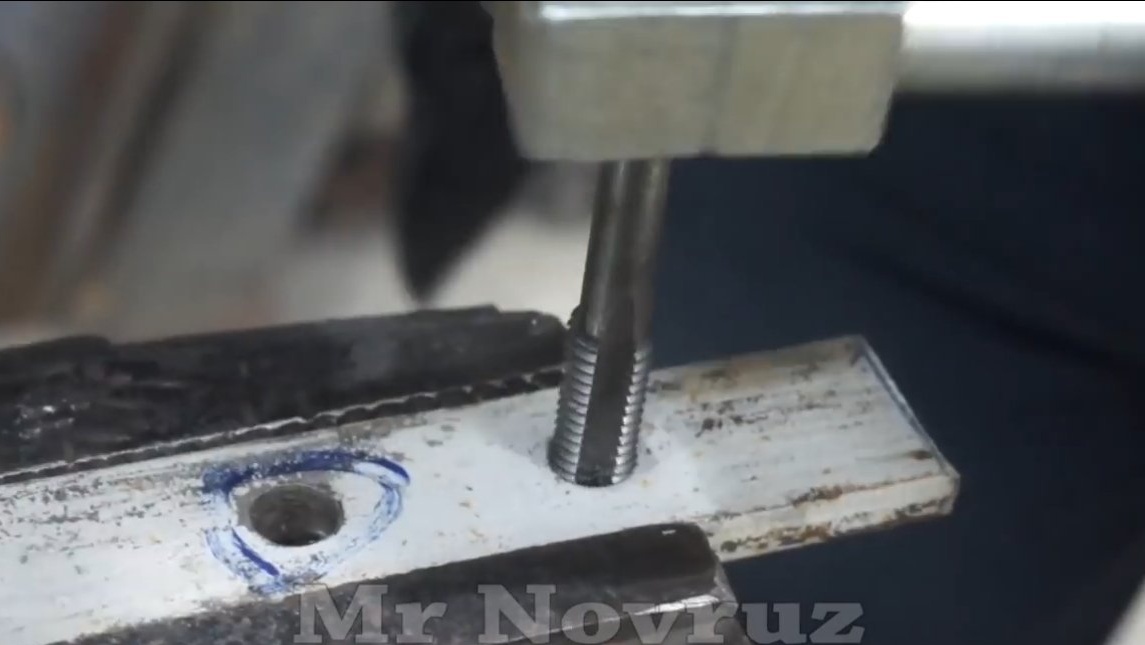


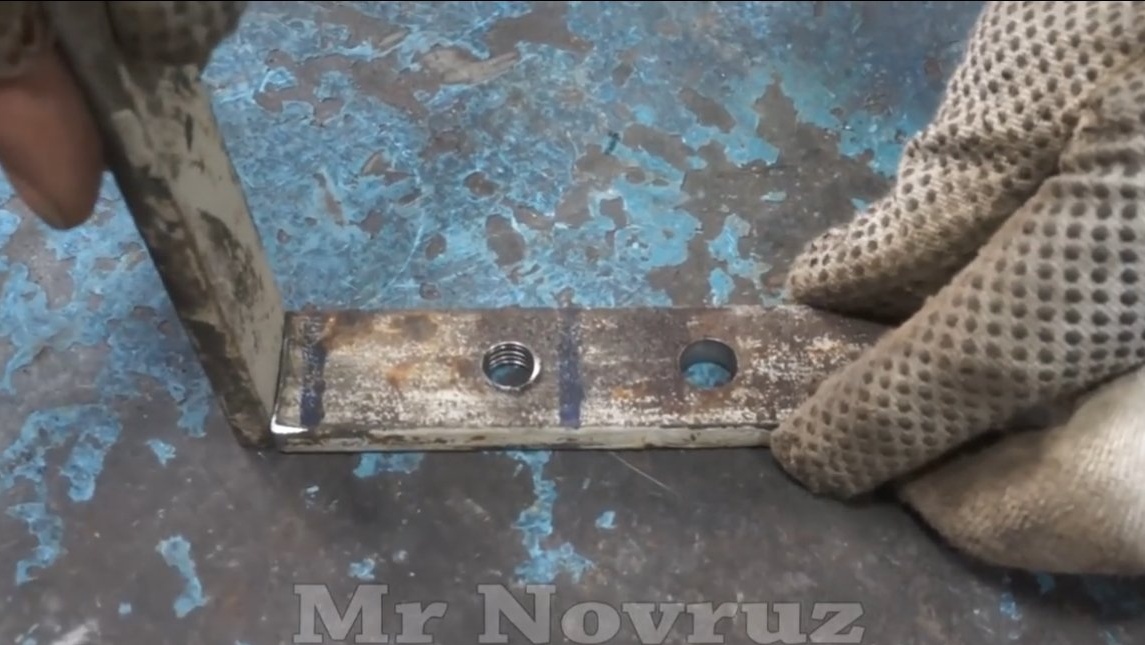
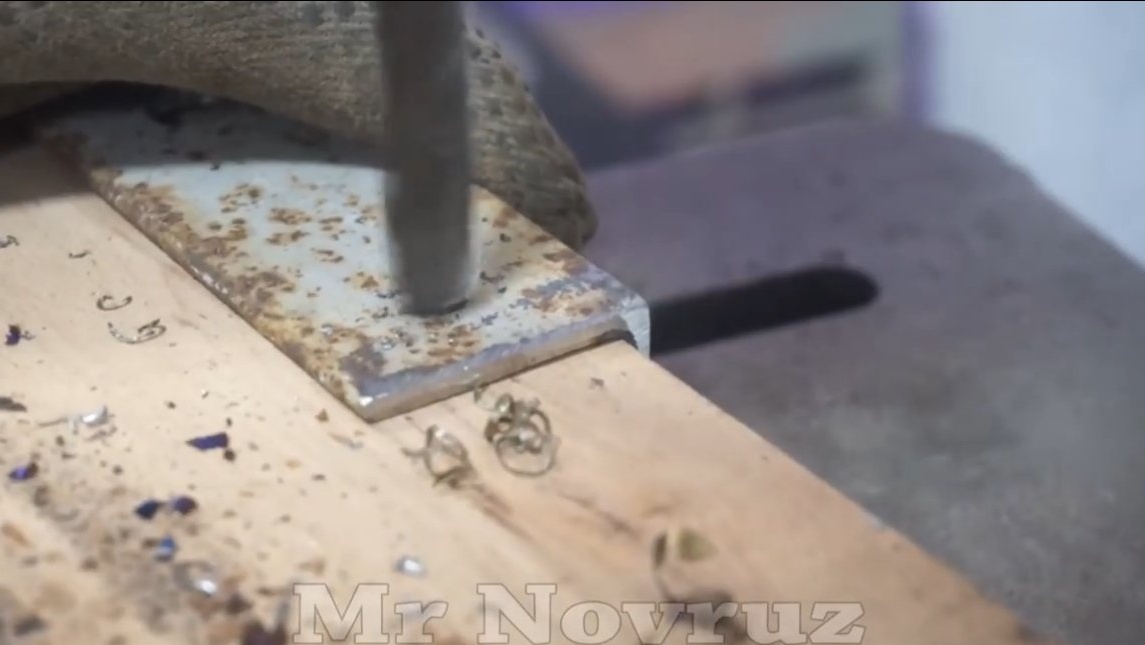
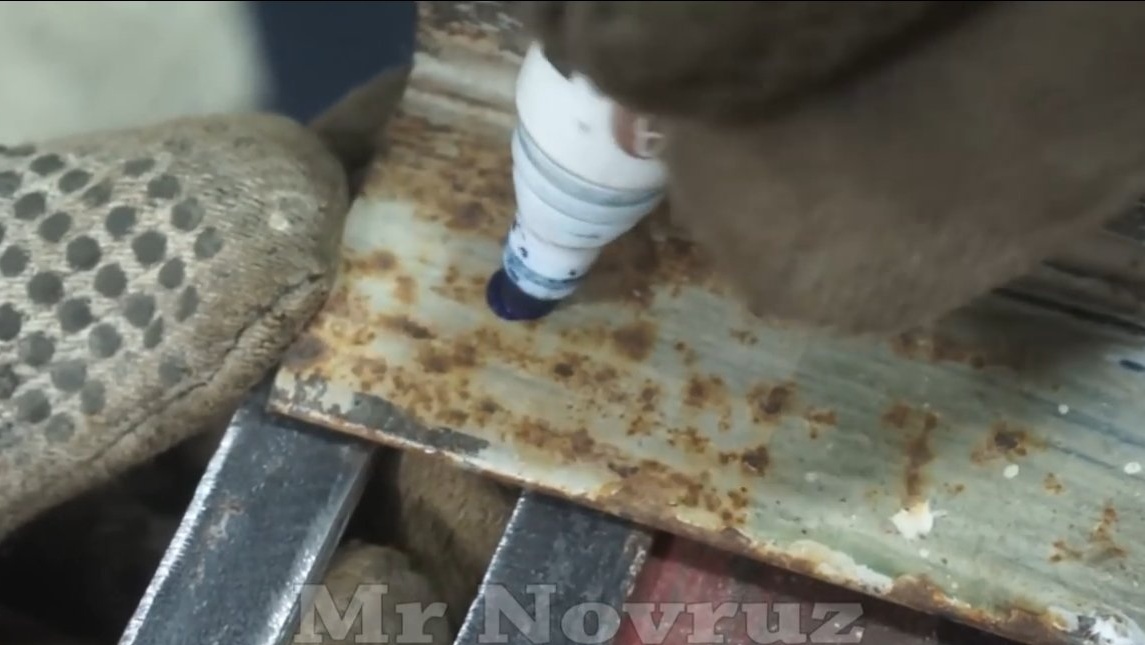
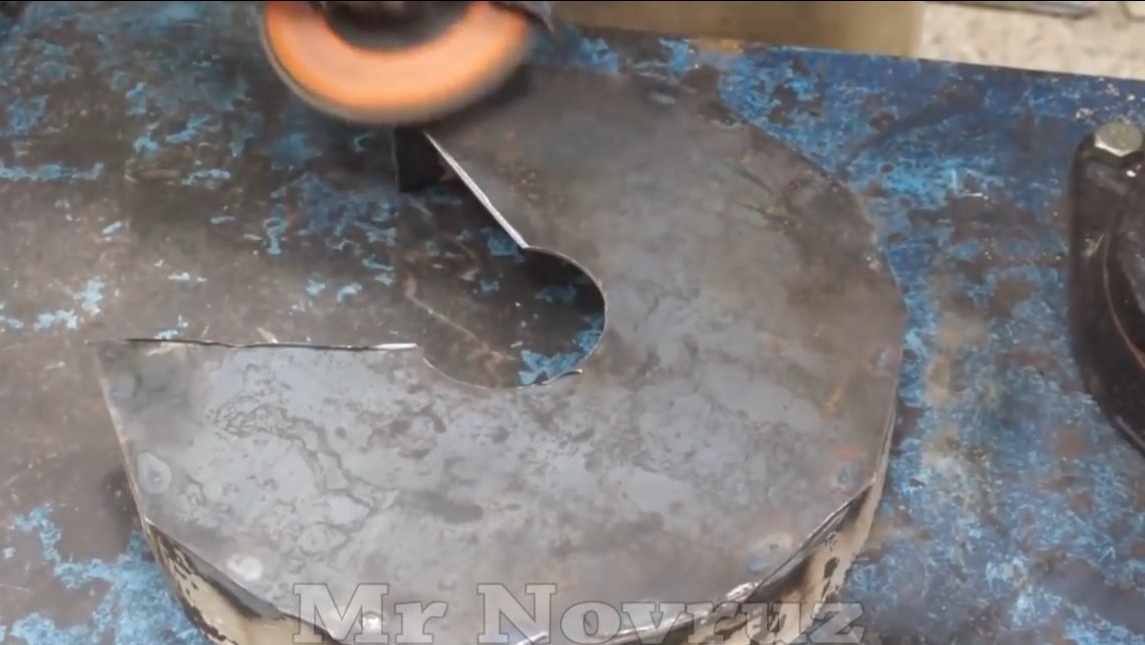
Step Five Cover for flap
We make a cover for the shield, it must be removable so that the circles can be replaced. We cut the lid out of sheet steel, drill holes in it. We weld bolts or threaded rods to the shield itself, as a result, the cover will be fastened with nuts. In the lower part of the shield it will not be out of place to make a window through which garbage will spill out.


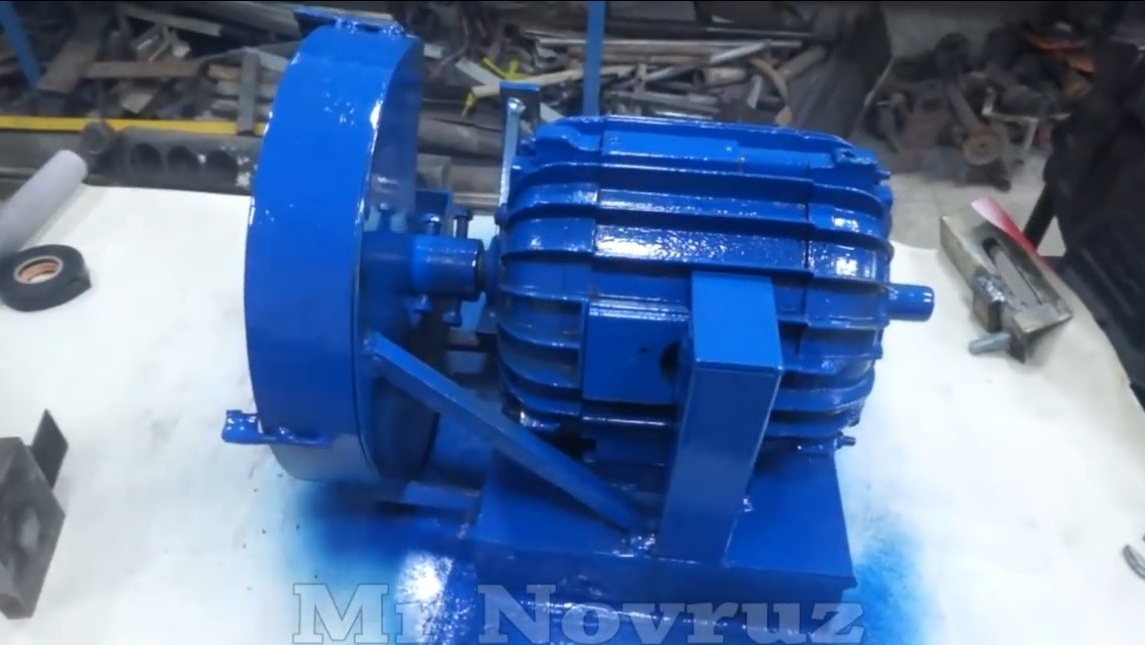
Step Six Final touches
At the end, the author made a sleeve for wiring, set the switch and painted the machine. The homemade product looks great, it also works flawlessly. On the reverse side of the motor there is another axis, here you can put a brush or polishing wheel.


The project is completed on this, I hope you liked the homemade work, and you found useful thoughts. Good luck and creative inspiration, if you decide to repeat this. Do not forget to share your ideas and homemade things with us!