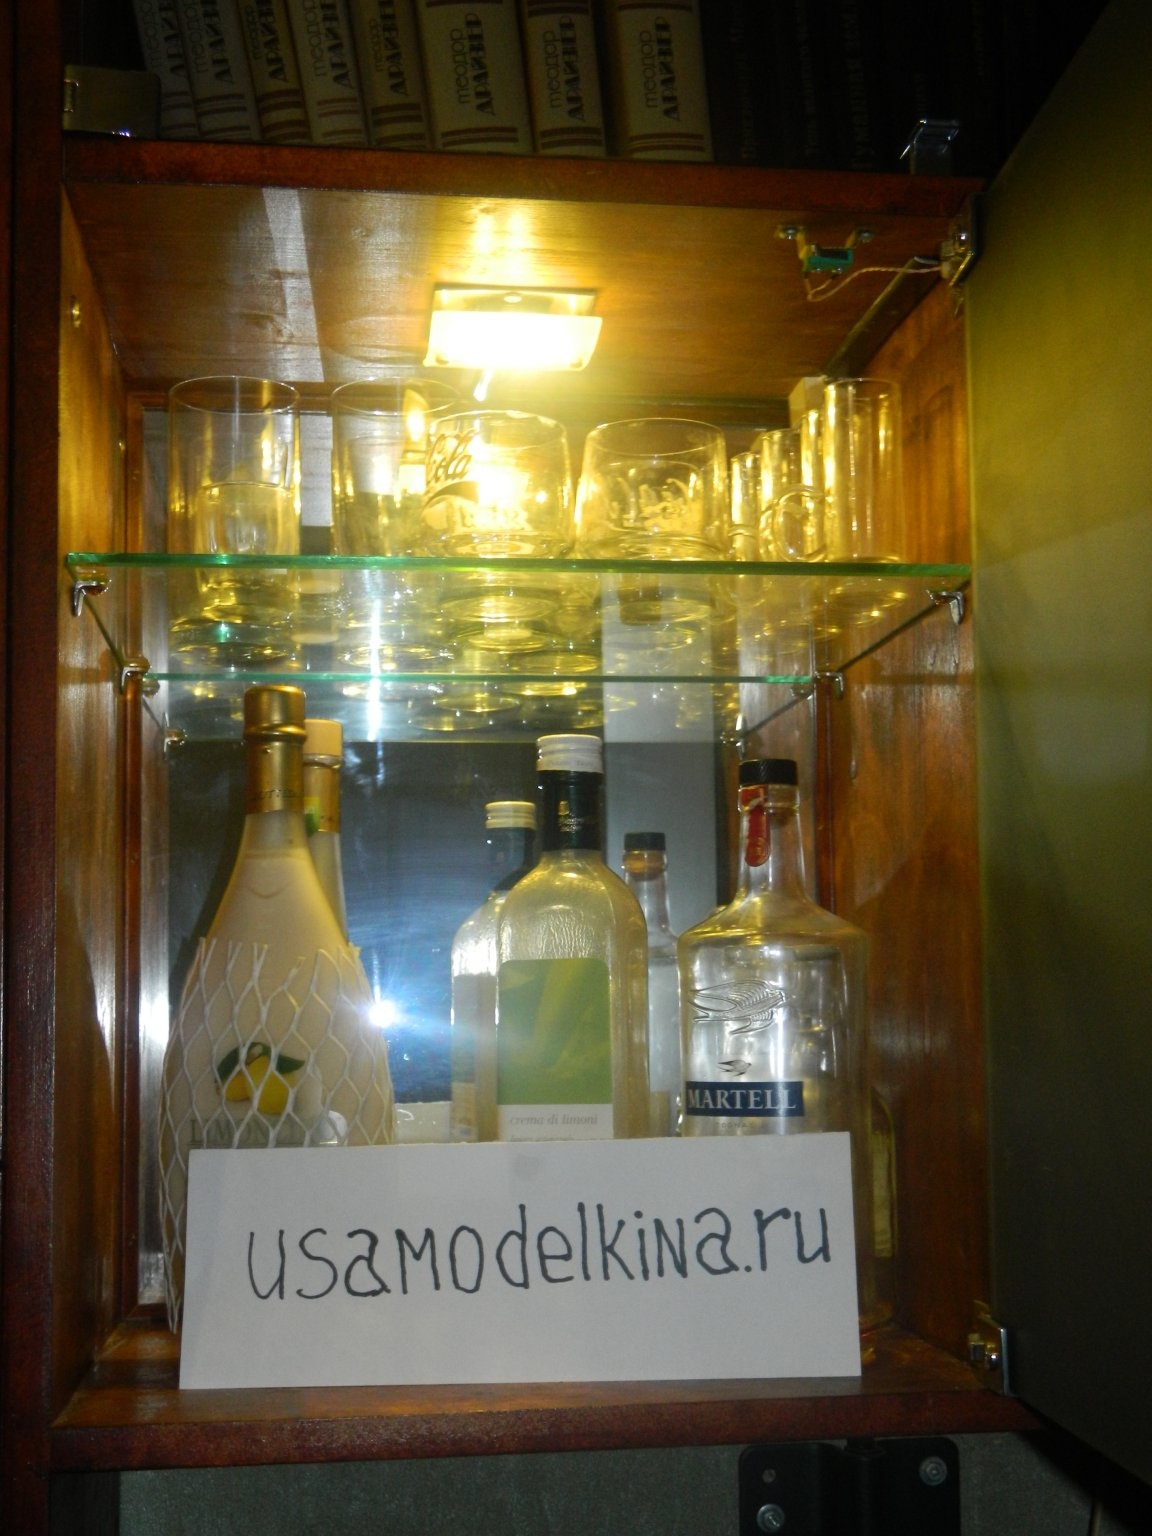
In the office you need not only to work, but also to relax - I think so. Indeed, after a long sitting at the computer, when the brains are already buzzing with tension, I want to shut myself off home, lounging on the sofa alone, watching the news on TV (and not these ladies' series!), relaxing, having a glass of good cognac .... And what do you need to have? That's right - the bar! The niche in the wall to the left of the right audio column was intended for the organization of the bar.
Therefore, it was glazed with an opaque glass of the "satinato" type (frosted on one side) of the same shade (gray) as the rest of the wall. The glass is installed with the frosted side inward. For a niche size (504x393 mm), a mirror with dimensions 500x389x3 mm was ordered in advance. A clear glass shelf was also ordered for glasses and wineglasses.
On the back wall there should have been a mirror, which was fastened with homemade glazing beads. Shtapiki did as follows. At the rail with a cross-section of 9x9 mm remaining from the rear wall of the hanging shelves, the planer partially sheared the rib. The most difficult thing during this operation is to fix the rail in the workbench. He got out of the situation quite simply - on the locking lips of the workbench made two longitudinal slots. He put a rail into the slots and clamped his lips. (By the way, as a consequence, this revision of the workbench was very useful to me.) After gouging, I processed the glazing beads with 180 grit sandpaper and painted it with “Belinka” azure in three layers. Stapiks nailed with studs ø1.2x16 mm.
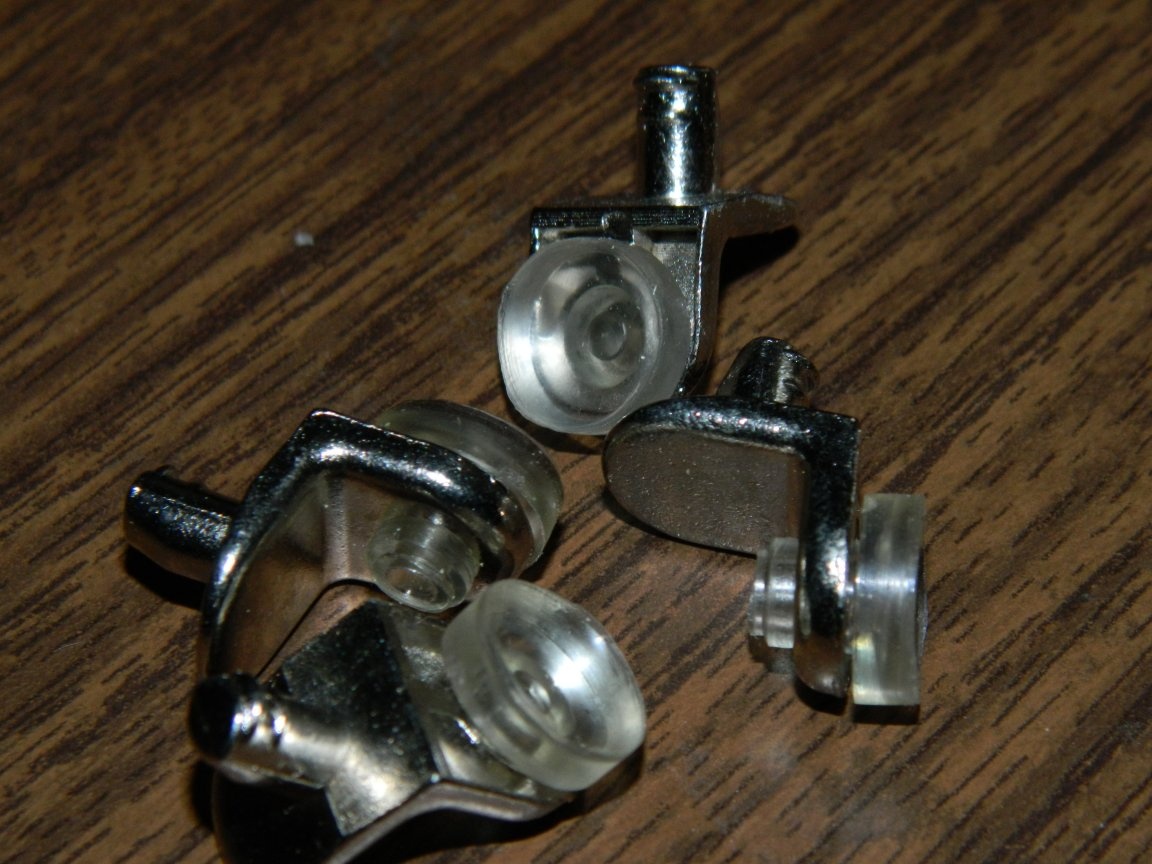
To install a glass shelf in Leroy Merlin, special shelf holders for glass were purchased. The holders were installed in a niche so that a bottle of champagne stood up to the shelf.
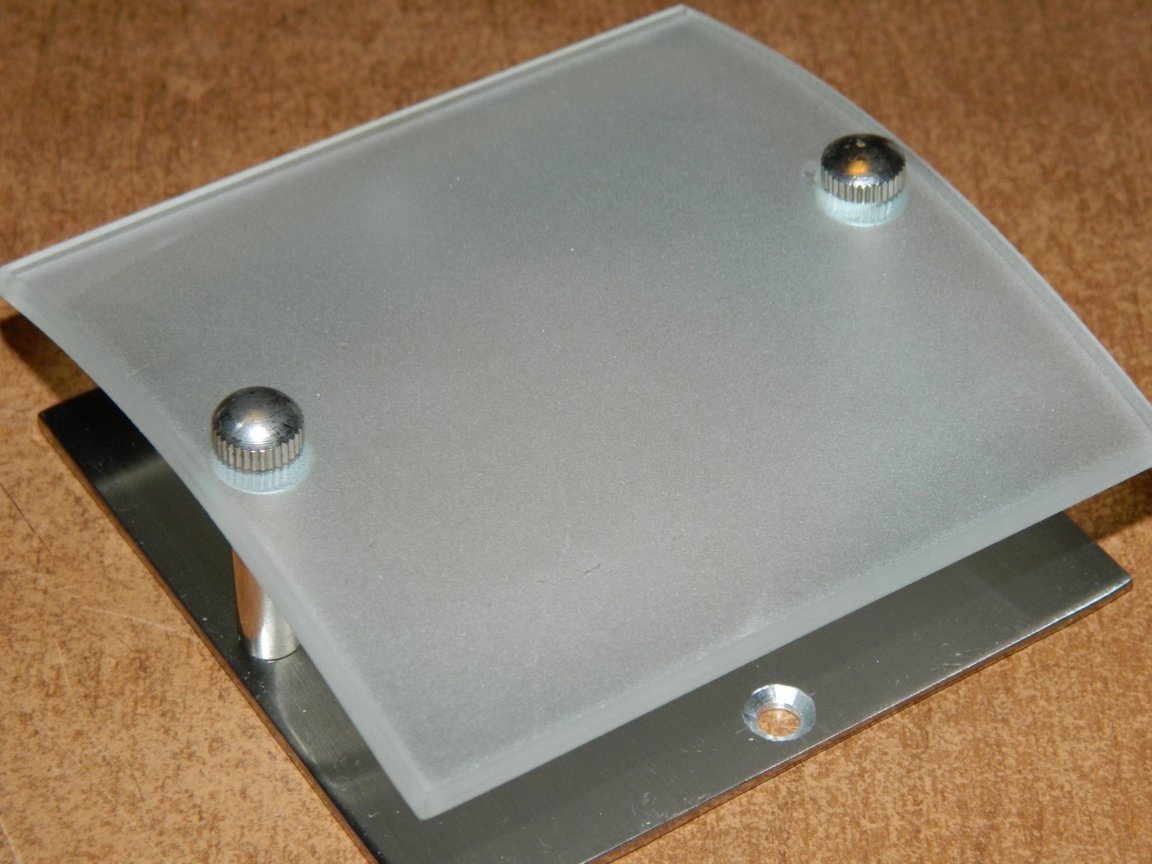
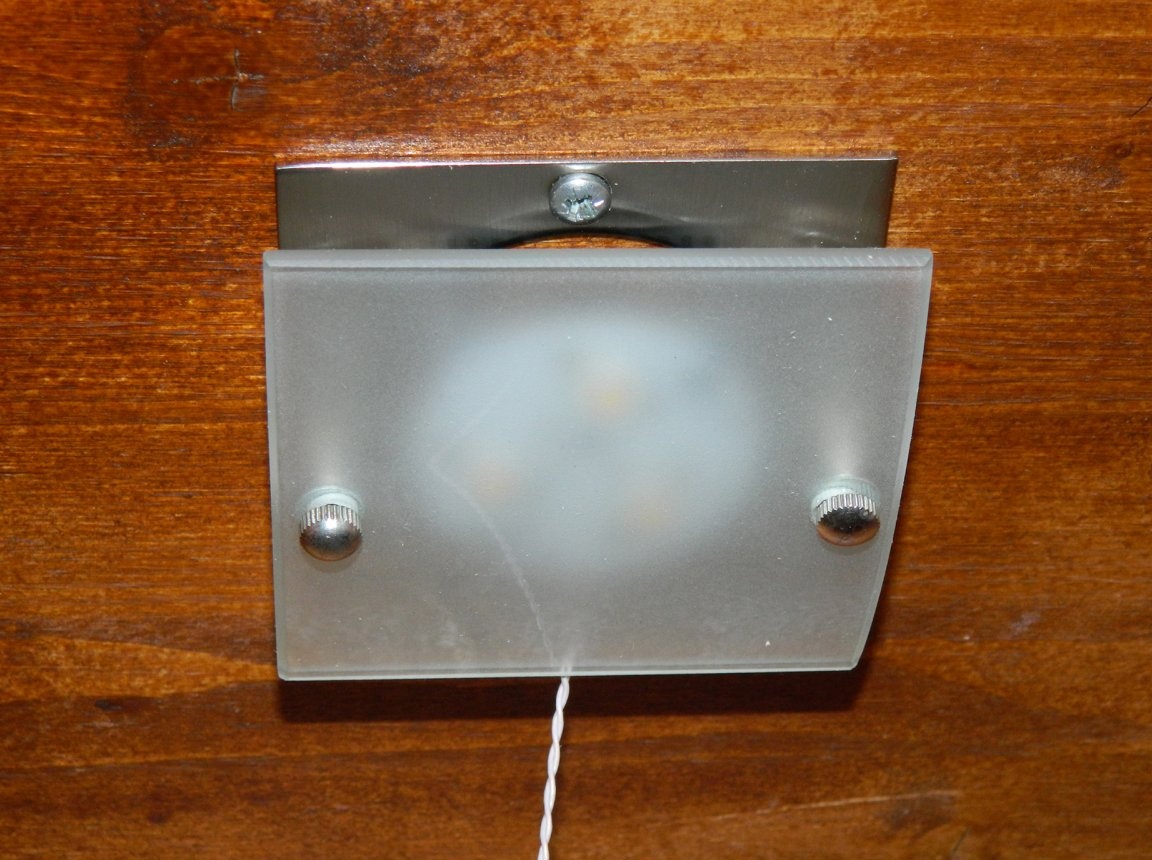
At Plyushkina, a spot with a curved frosted glass intended for use with GU10 halogen lamps was littered in the electric junk.
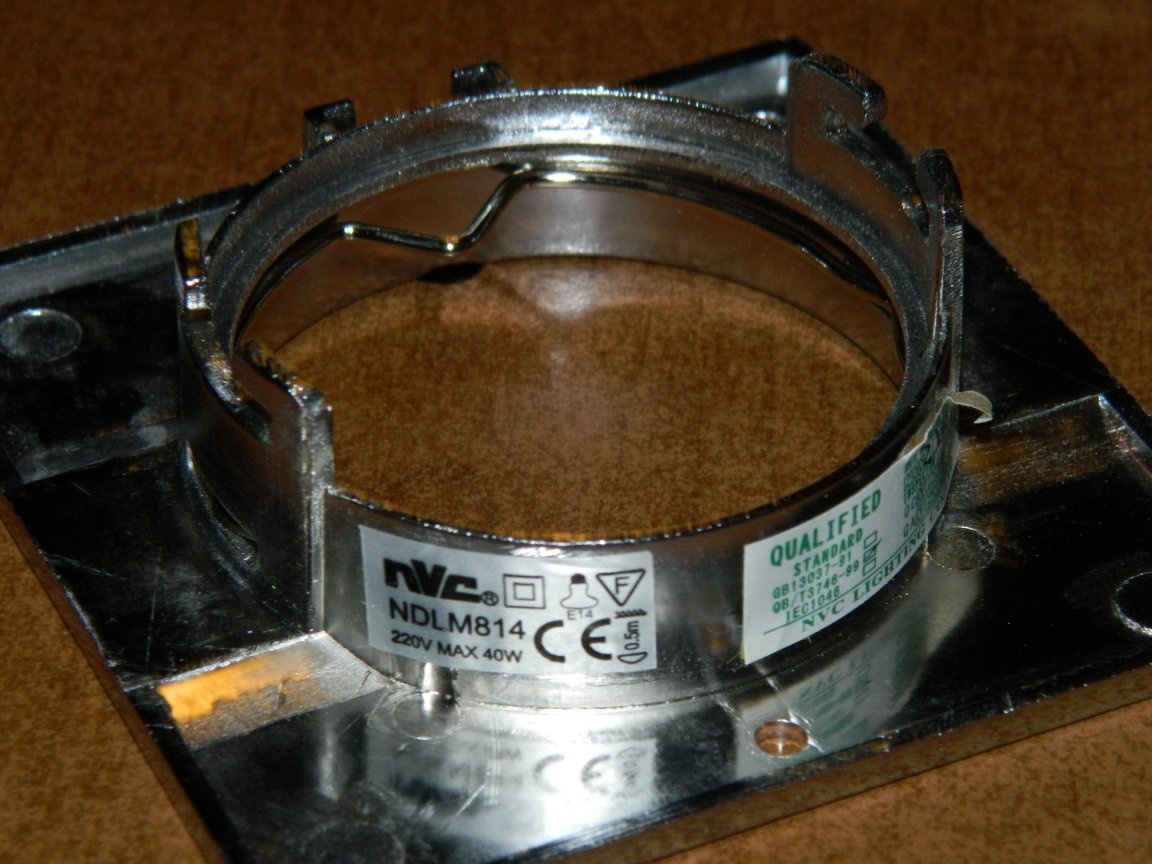
In order not to embed it, I made a spot overhead. To do this, the grinder cut the spot on the back and drilled additional holes ø4 mm for screws ø3.5x16 mm for mounting it in a niche. The racks on which the glass was mounted had to be shortened.
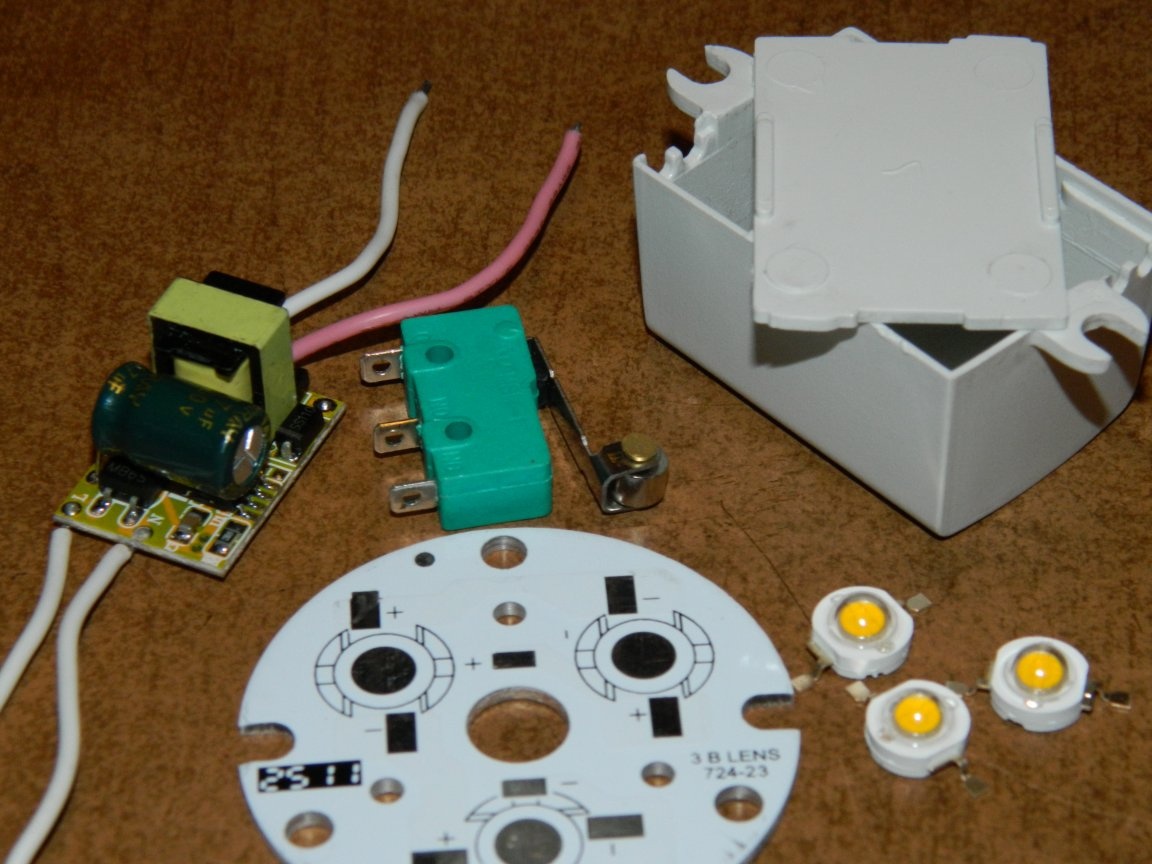
The following accessories are required:
• PSM-330mA-3WS driver.
• 3HPD-1 LEDs.
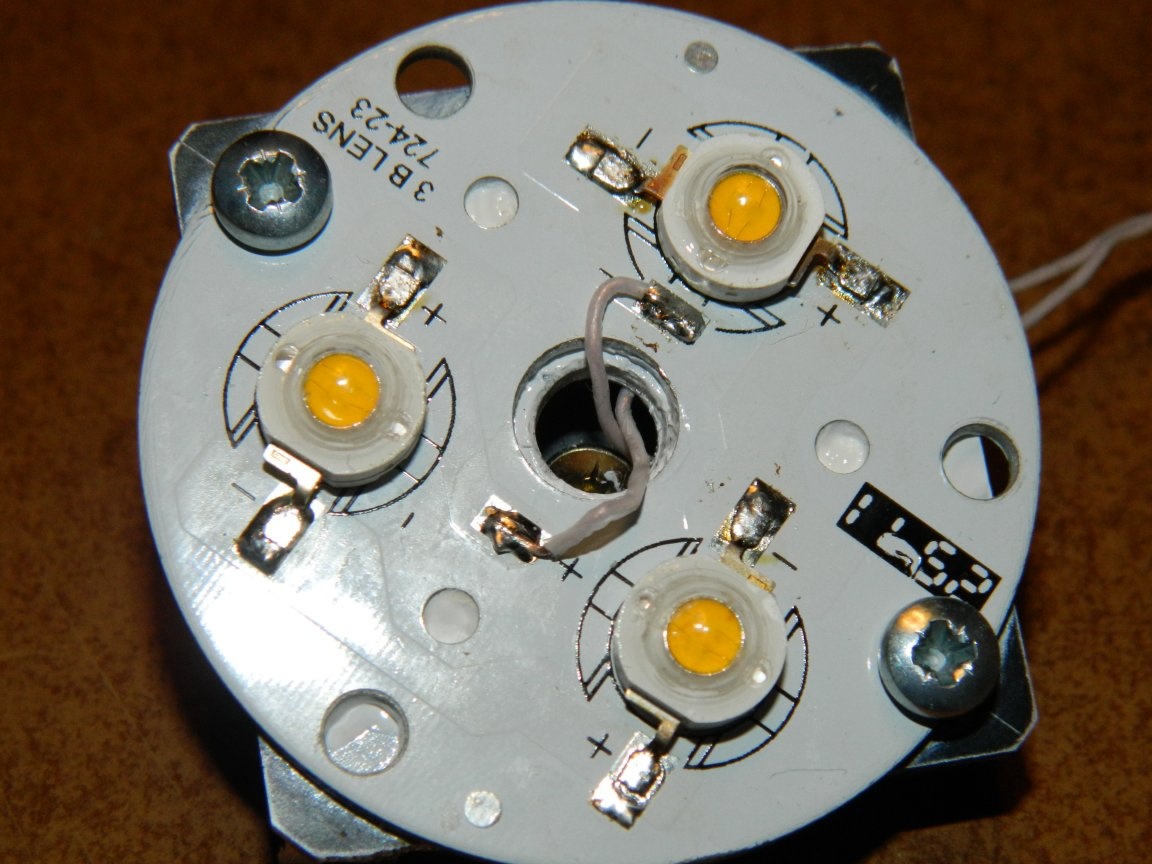
• Board BK724-23 Ø44 mm.
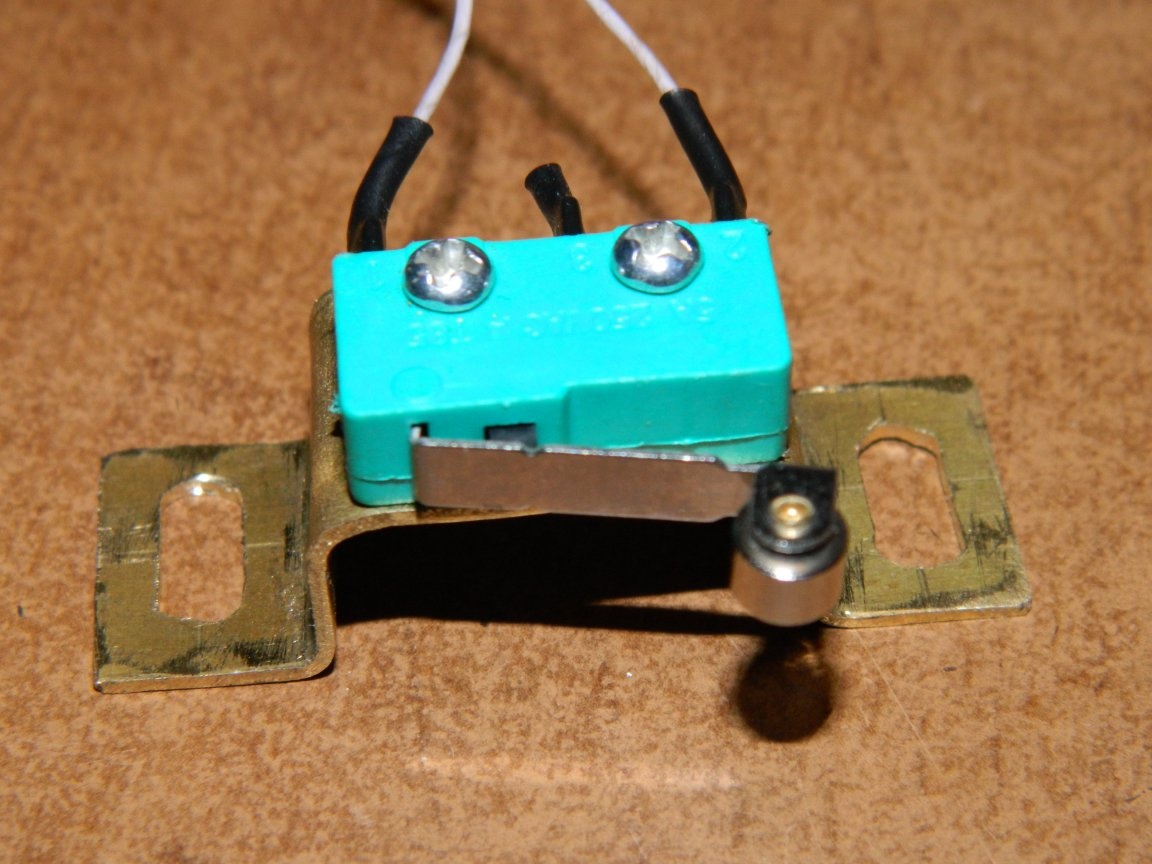
• Limit switch MSW-13 with roller.
• Case for driver.
• A radiator from the computer.
The connection diagram is presented on figure.

MGTF wire with a cross section of 0.17 mm² was used for the entire installation.
First, the LEDs were glued to the board with Radial glue, then (after drying for 12 hours) they were soldered to the board. The radiator was used from computer junk with dimensions 38x38x10 mm. The radiator is ribbed with a highly developed surface, which was enough to cool three one-watt LEDs - it was only necessary to slightly grind it under the hole in the spot and drill holes for attaching the entire module. Through thermal paste, I fixed the board to the radiator and soldered the supply wires to it. The light emitting module is ready.
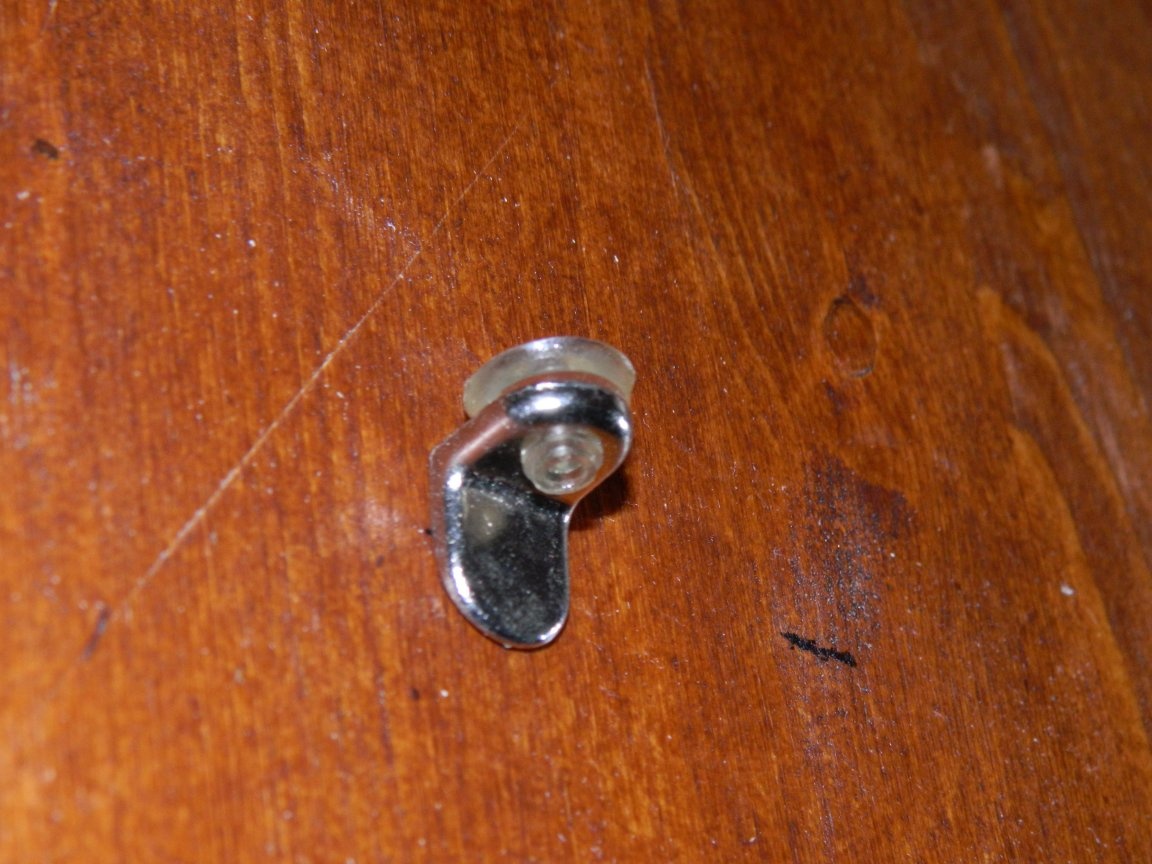
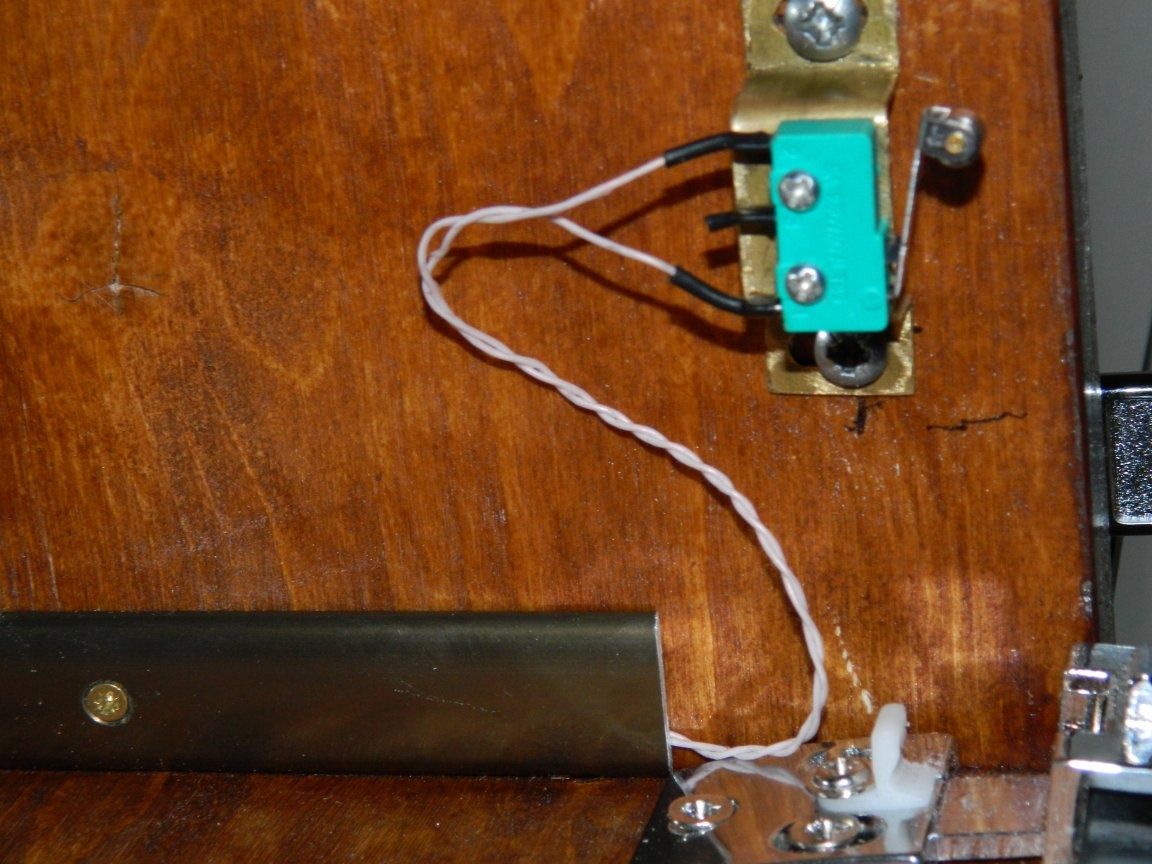
Now let's take a micro switch. The microswitch housing has dimensions of 20x10x6.5 mm. If the microswitch is attached directly to the shelf, the roller will go along the very edge of the glass (the gap between the glass and the shelf is 4 mm), which is not good. The brass U-shaped bracket solved this problem. To adjust the position of the microswitch in the ears of the bracket, oval cuts were made. The microswitch was fixed to the bracket with screws and nuts. Heat-shrink insulated wires were soldered to the switch contacts.
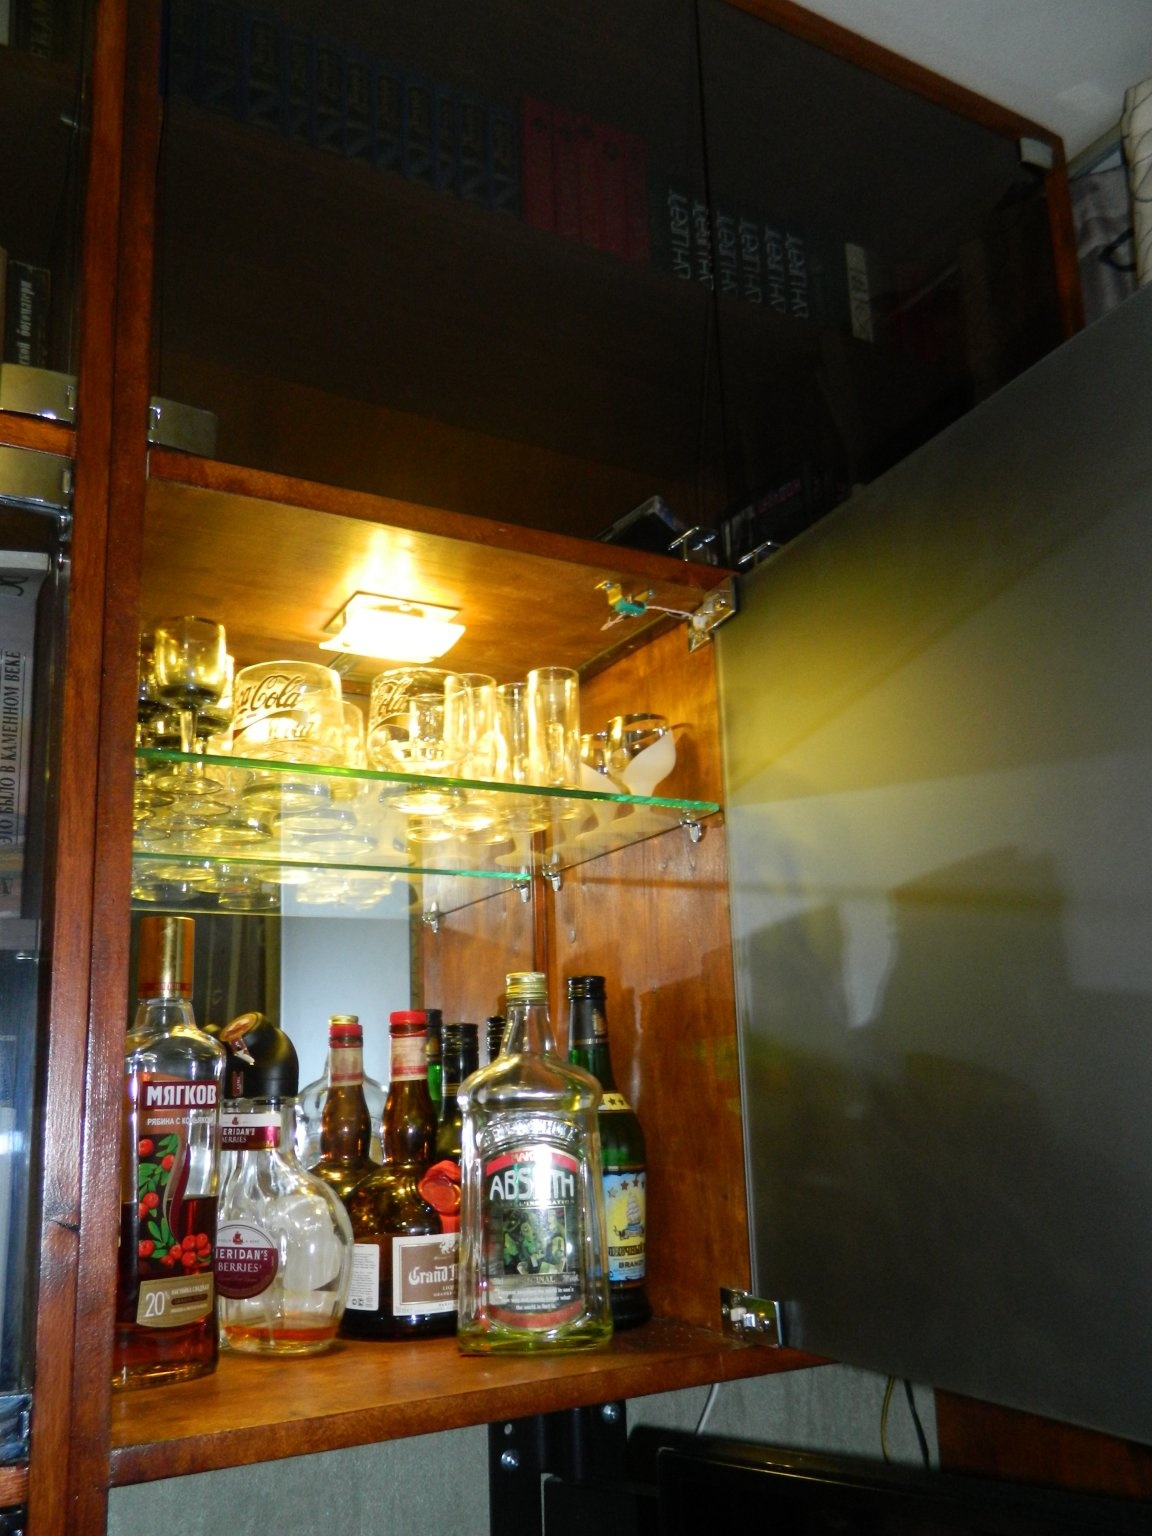
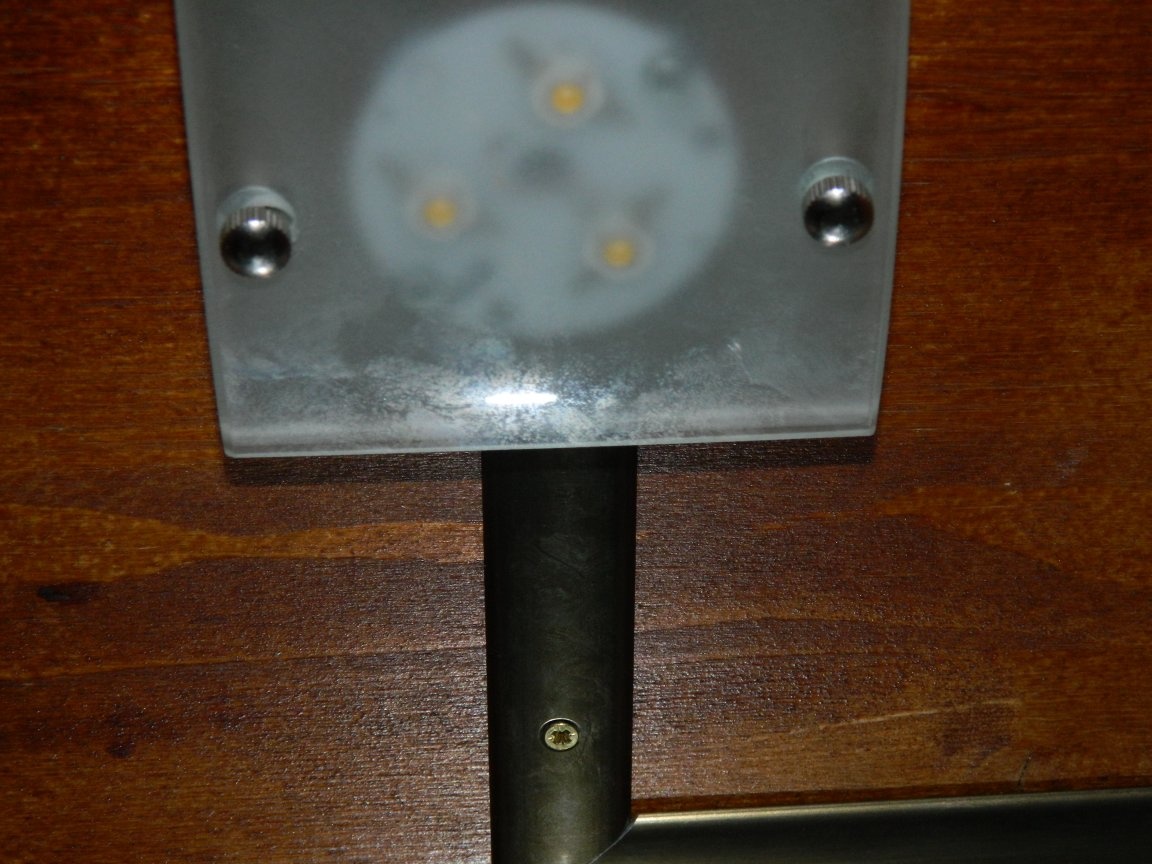
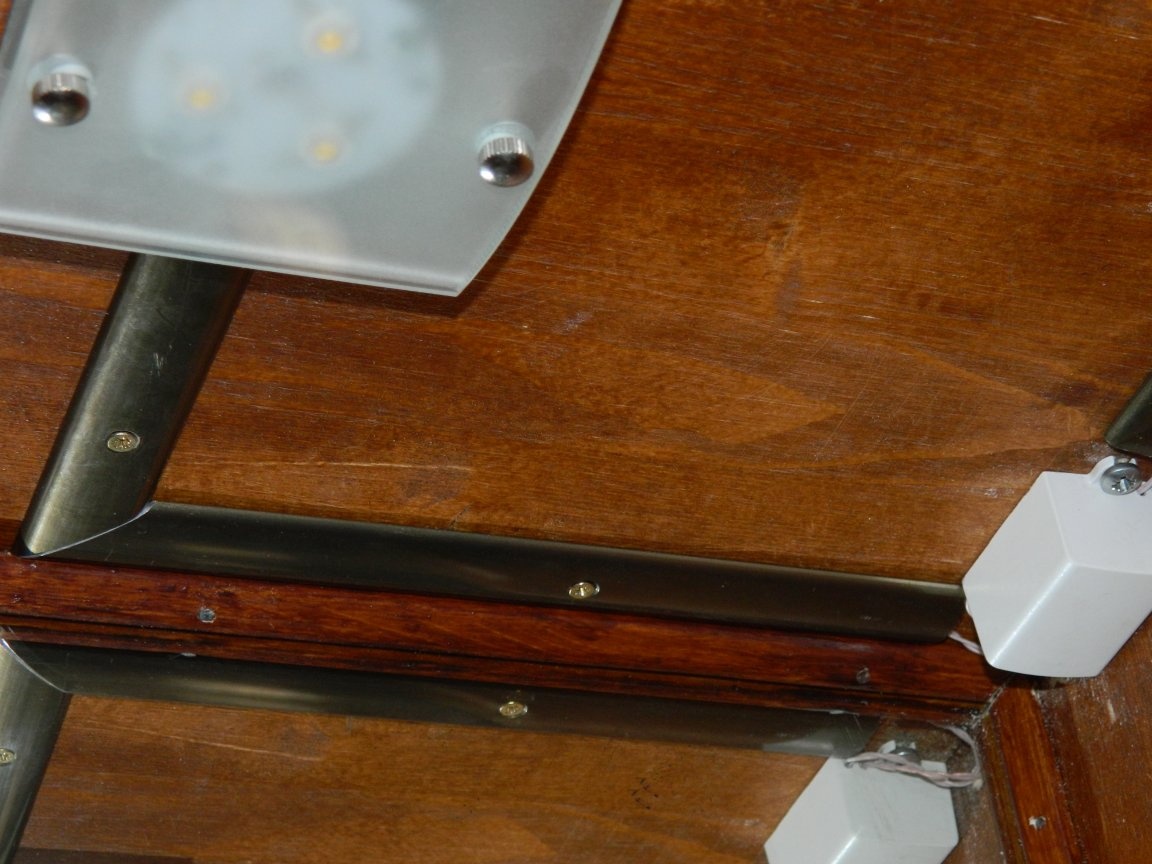
We proceed to install the bar lighting system. A light emitting module was installed on the niche ceiling.
Long thought how to hide the wires. Found in the garage a narrow duralumin threshold, (suitable for the color of the bar) remaining from the initial repair of the apartment (did not throw out "Plyushkin" - it came in handy!). This nut was used as an electrical box. He fastened to the ceiling on small screws.
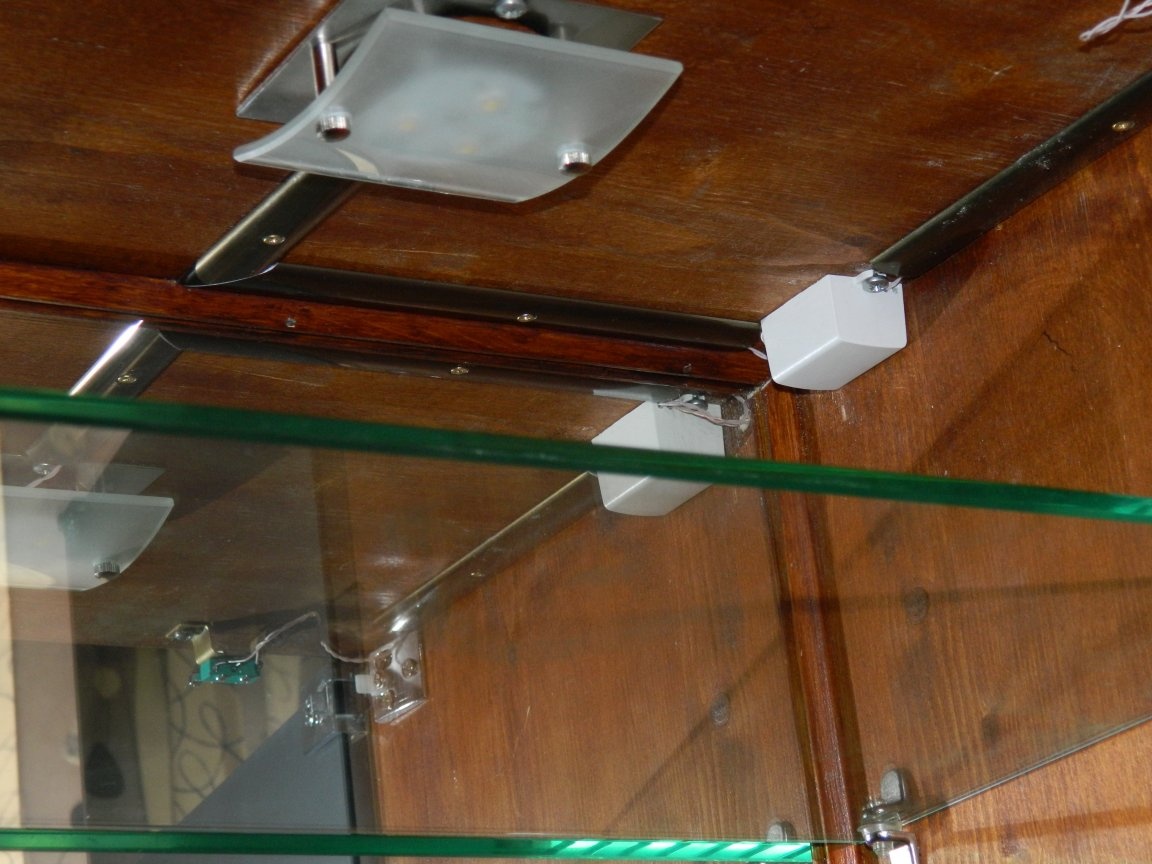
You should set the switch as close to the loop as possible. Then adjust its position so that a characteristic click is heard when closing the door. In the upper corner I installed the driver in a box.
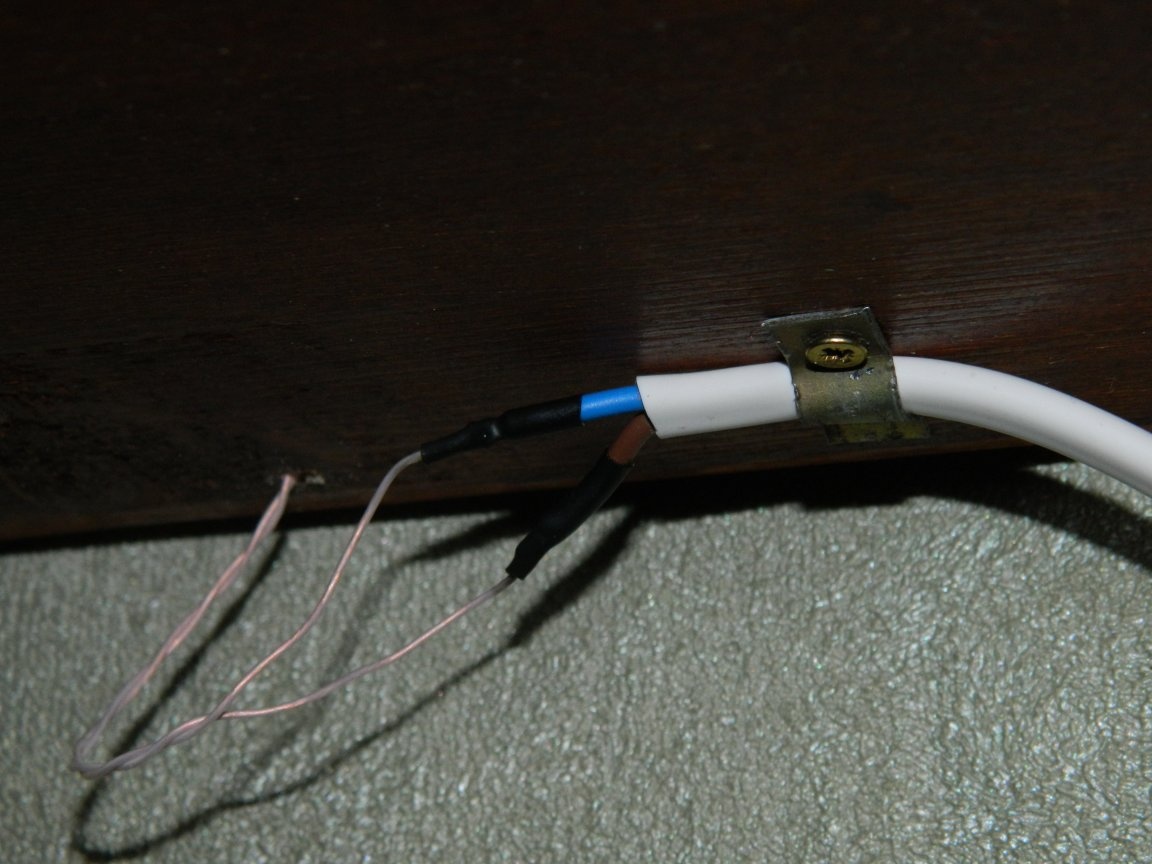
After all the mechanical manipulations, I unzipped the wires according to the diagram and drilled a hole ø2.5 mm in the side wall. Through this hole, he brought the power wires out of the speaker and lowered them down into the TV niche. Spliced MGTF wires with a network wire and secured with a bracket. The installation of the bar lighting system is completed.
Put a glass shelf
and plugged the power plug into a power outlet.

I must say that the bar turned out great. The backlight consumes about 3 watts, and produces a luminous flux of about 350 lm. This is enough to illuminate the bar.