
Many of you prefer to carry out repairs in your home on your own. In this case, a number of different tasks always arise, the solution of which requires a special tool. This happens, for example, when sheathing window slopes with plastic, wood, or other materials.
In this article, the author of the YouTube channel "Joinery do it yourself»Will tell you how to make a special ruler, with which you can measure the length of the necessary part, taking into account the slopes of the surfaces.
Such device It may come in handy for various other tasks, and making it yourself is quite simple.
Materials
- 6 mm thick sheet plywood
- Wing nuts, M6 conical head screws
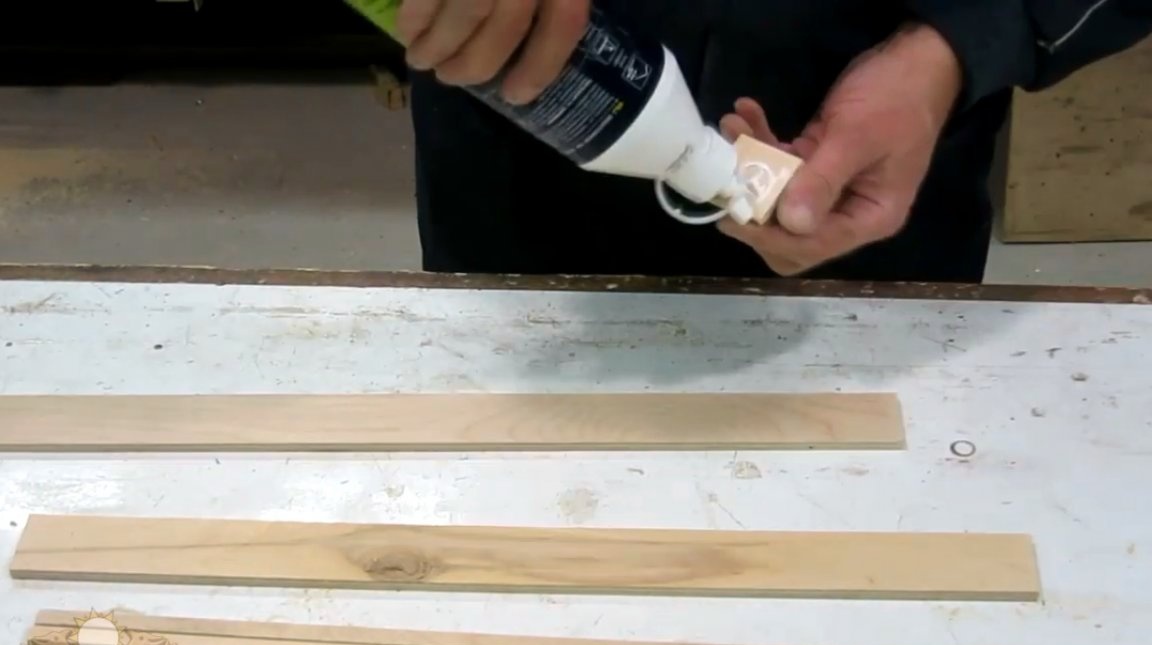
- Two-component epoxy adhesive
- PVA glue, paraffin candle, wood impregnation
- Sandpaper.
Instruments, used by the author.
— Screwdriver
— A circular saw
— Milling machine
- Belt sander
- Dovetail mill
- Marking planer
— Clamps
— Japanese saw
- Pencil, square, compass, ruler, hammer, Phillips screwdriver, pliers.
Manufacturing process.
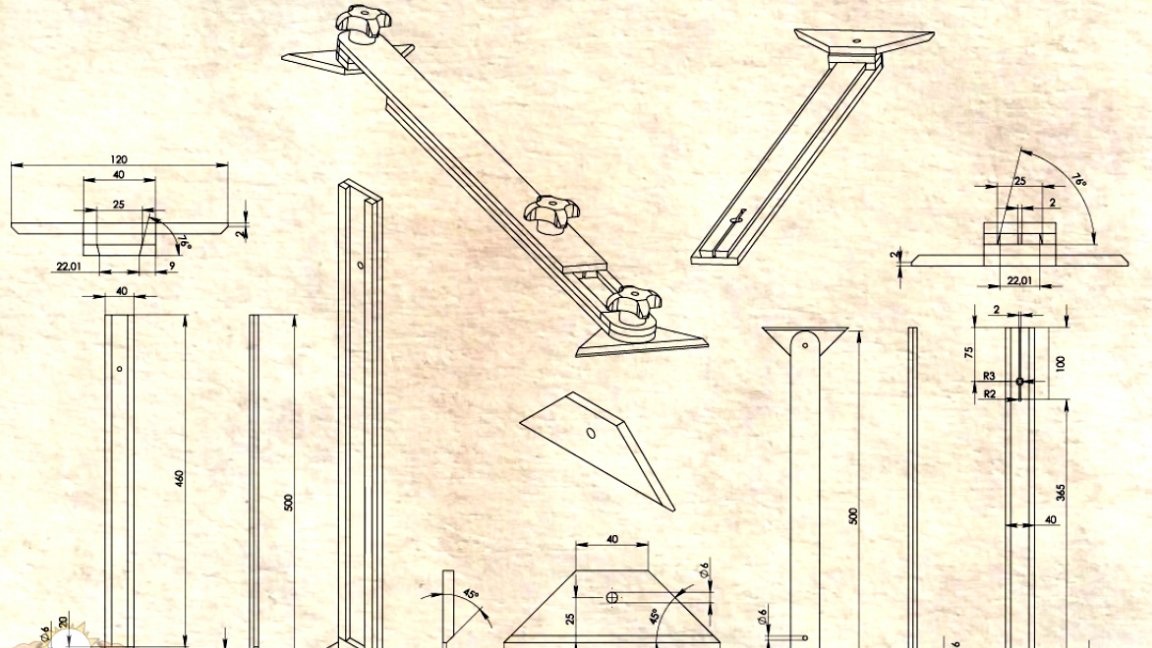
So, the master previously drafted a drawing of the future tool, and according to him, he proceeds to manufacture all the necessary parts.
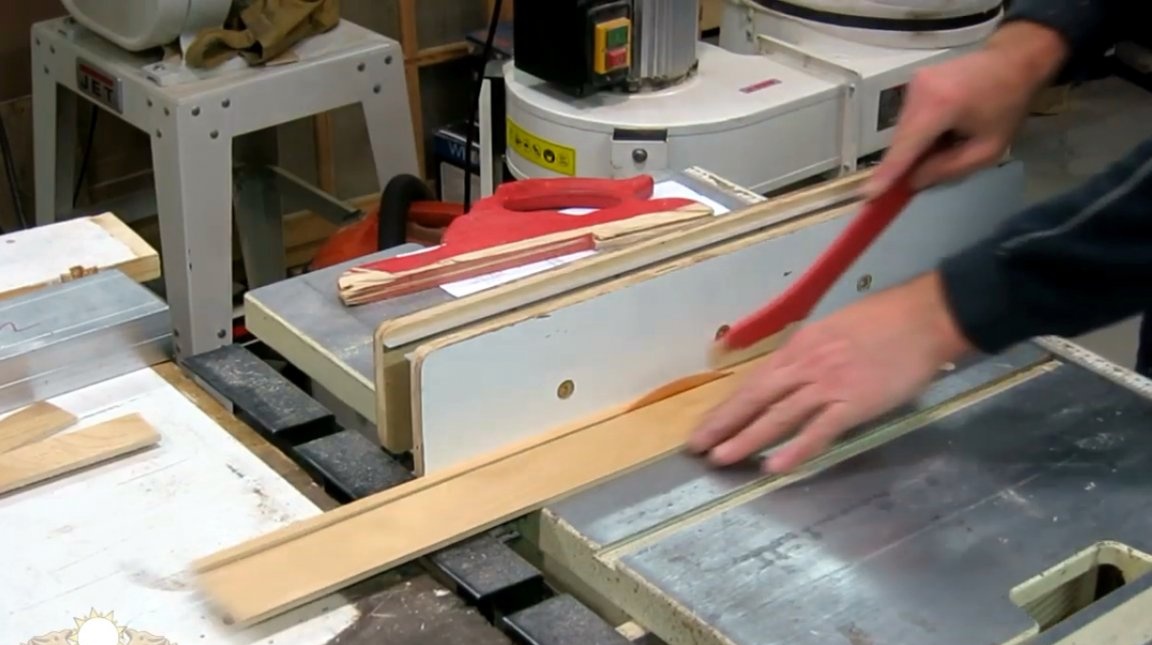
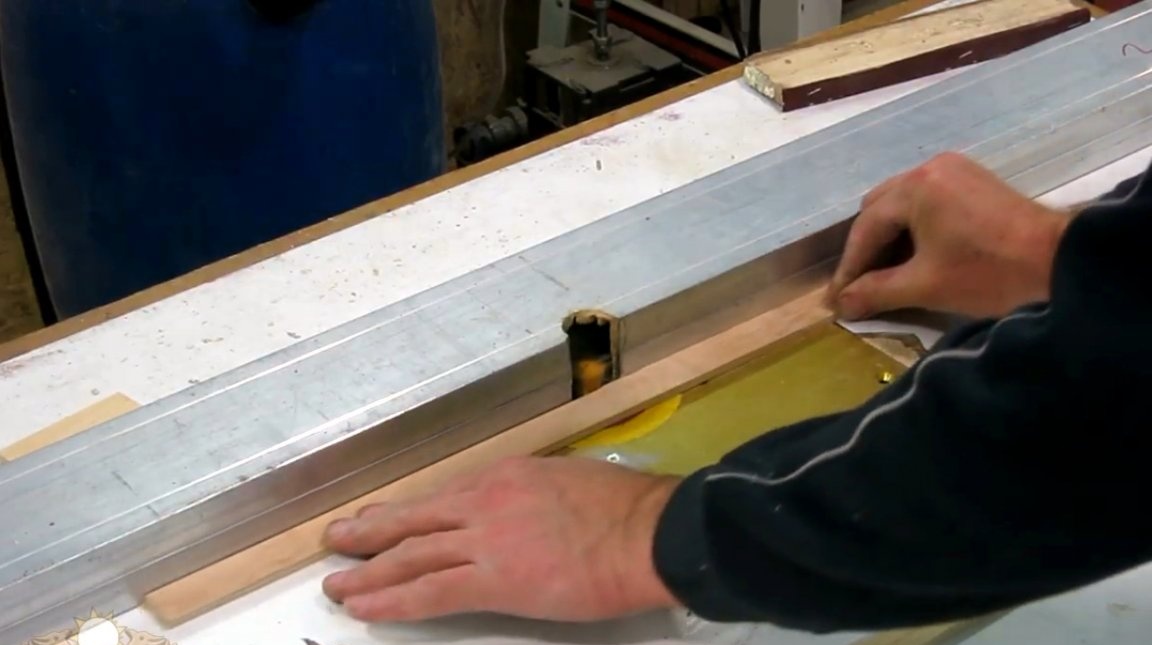
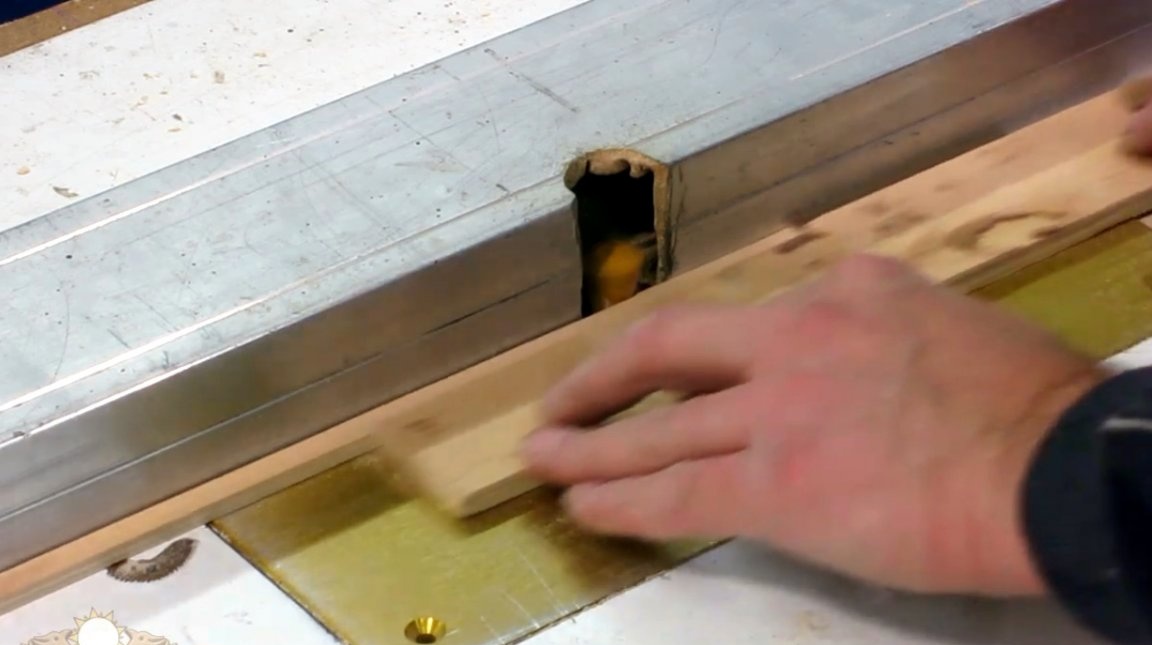
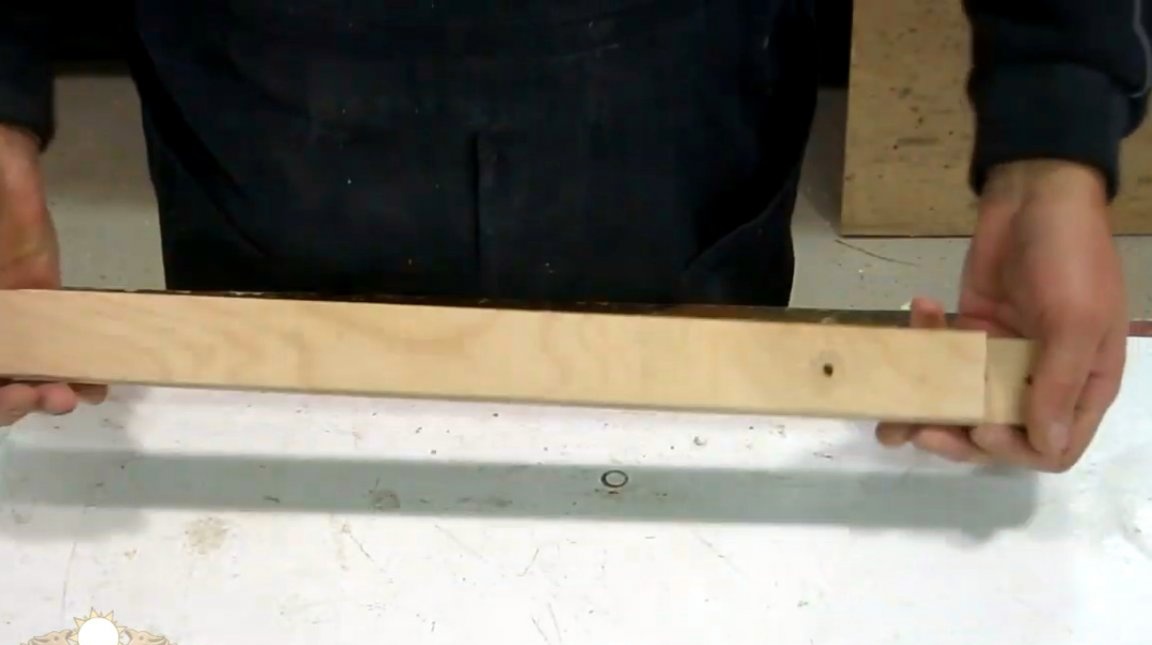
First of all, he cuts the base of the ruler, the slider, and two side guides with a circular saw. The material used is sheet plywood 6 mm thick.
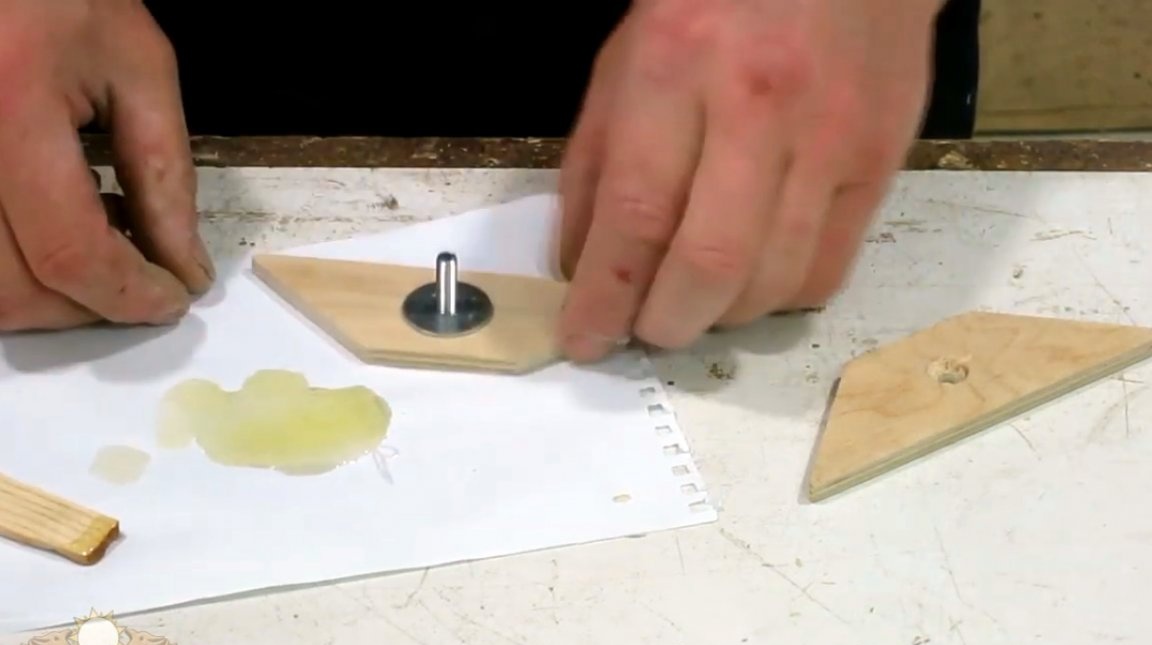
Next, you need to cut two stops in the form of a trapezoid.
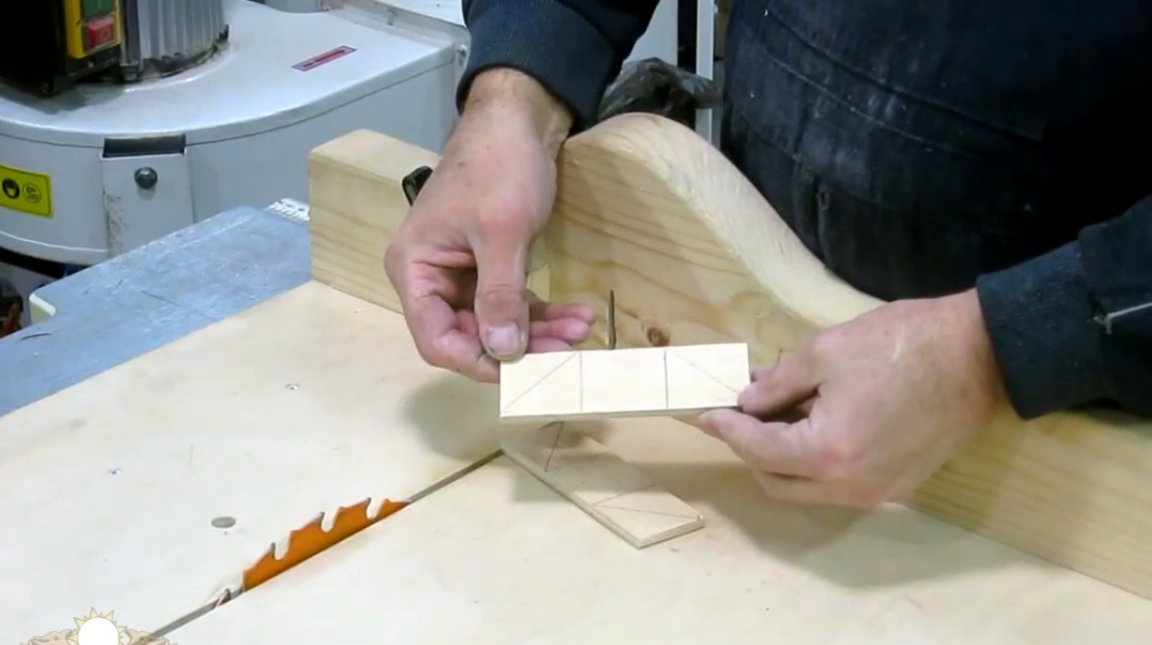
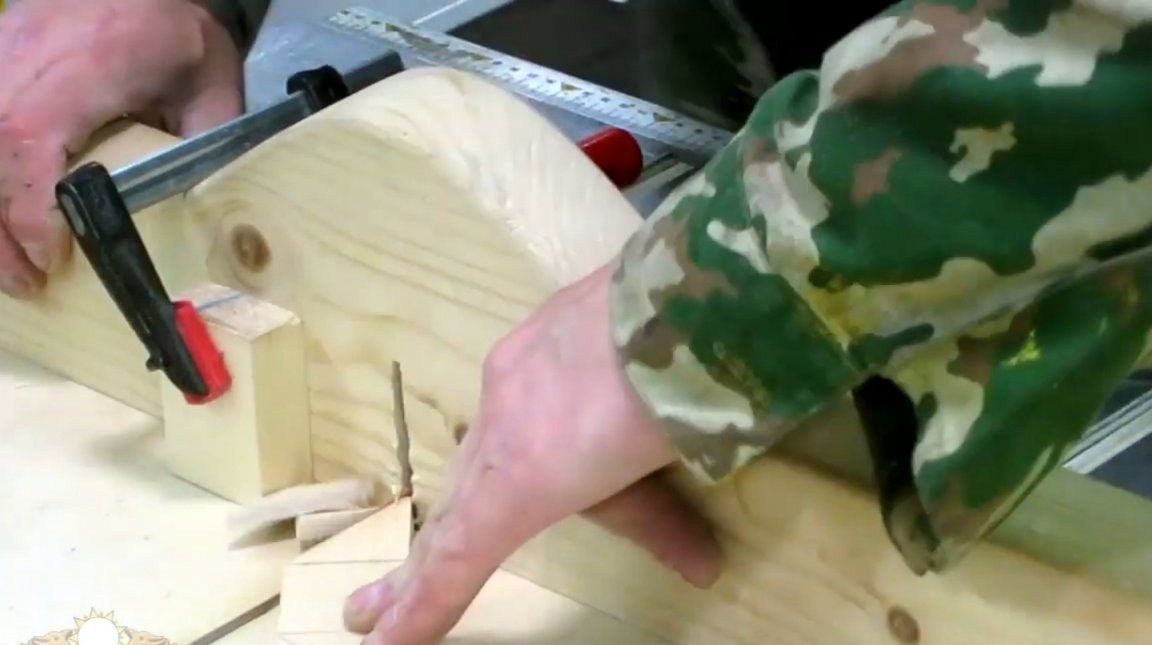
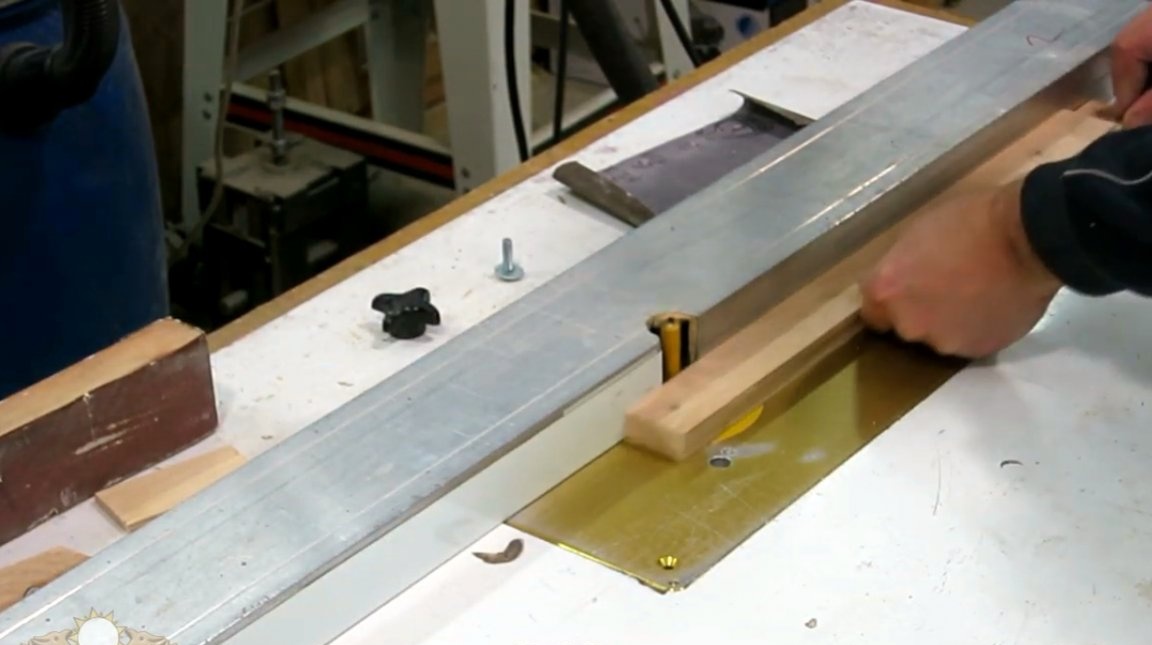
Now you need to use the dovetail cutter to make a bevel on two lateral edges of the slider and one edge of the guides at an angle of 14 degrees.

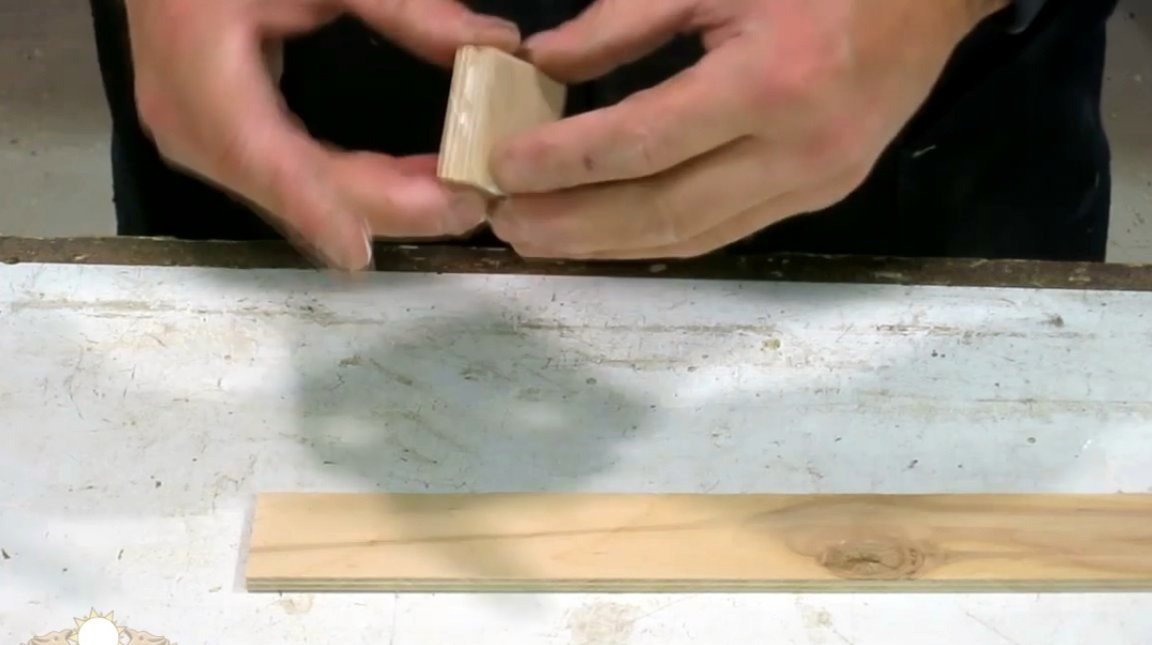
So, all the details for the project are prepared, the master also cut out three small squares.

One such square is glued to the edge of the base of the ruler, and the workpieces are pulled together with a clamp.
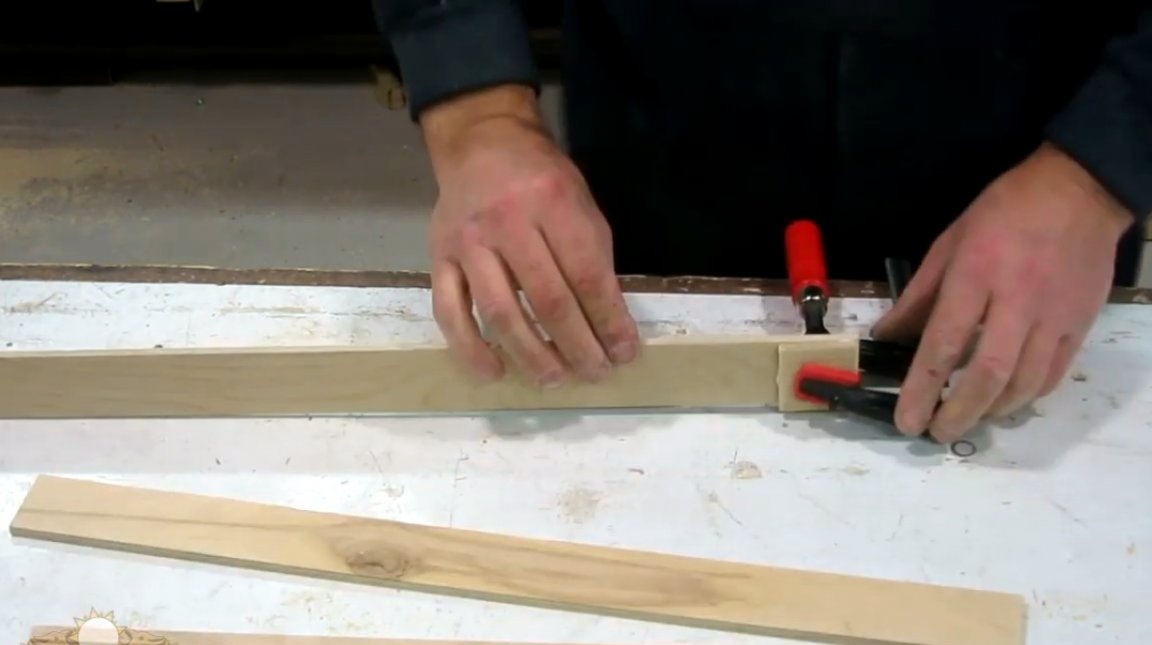
Also, two of the same squares equal to its width are glued to the opposite edge of the base of the slider.
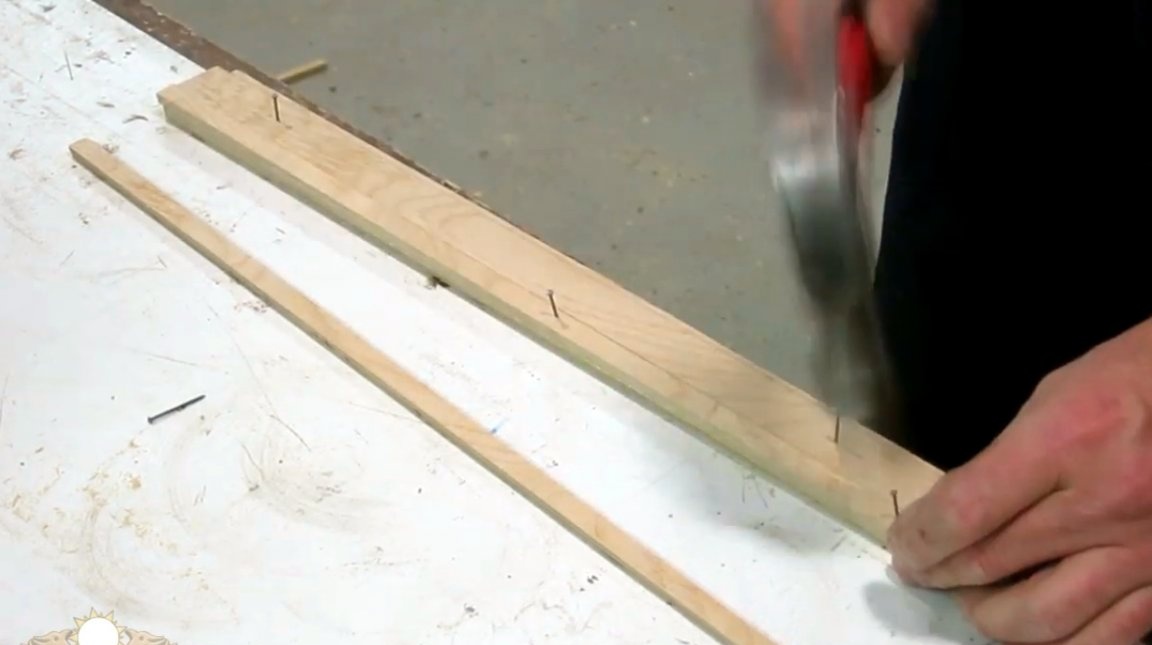
Further, without waiting for the glue to dry, you can perform another operation. The author fixes the slider with carnations to the base of the ruler, positioning it so that its wide part is located at the top.

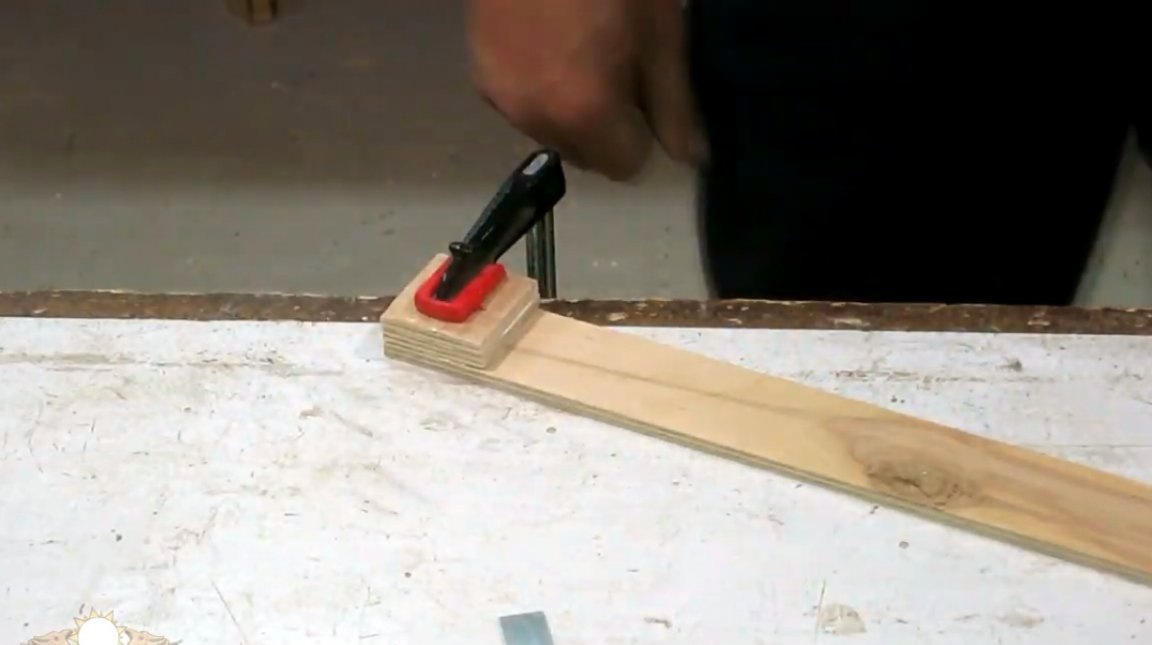
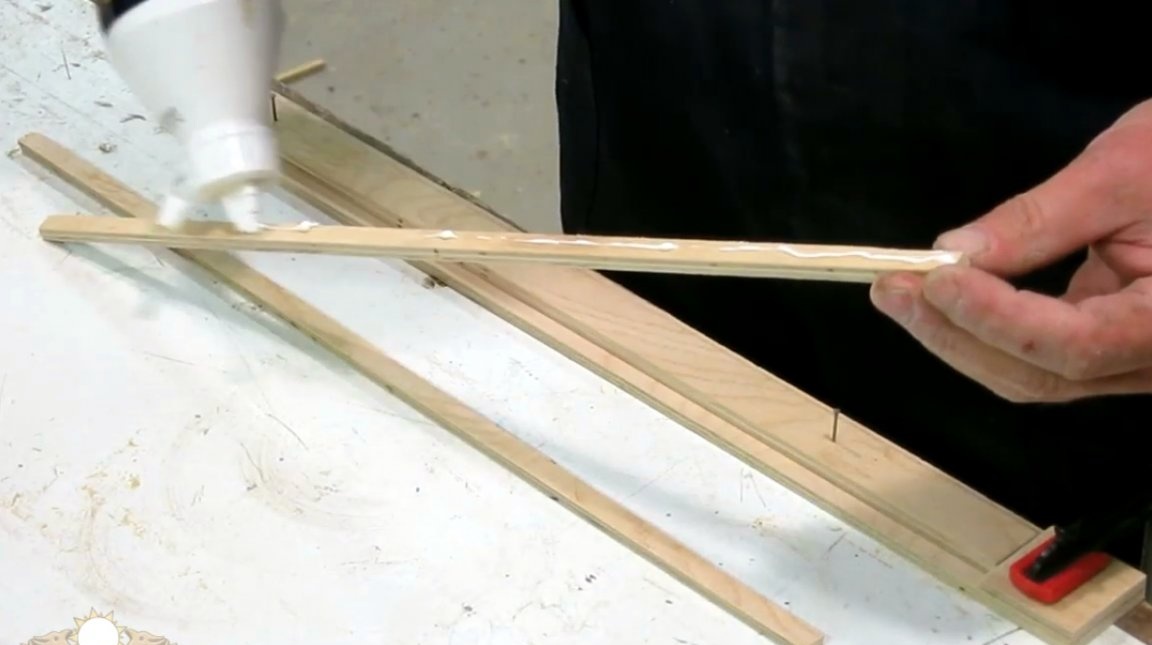
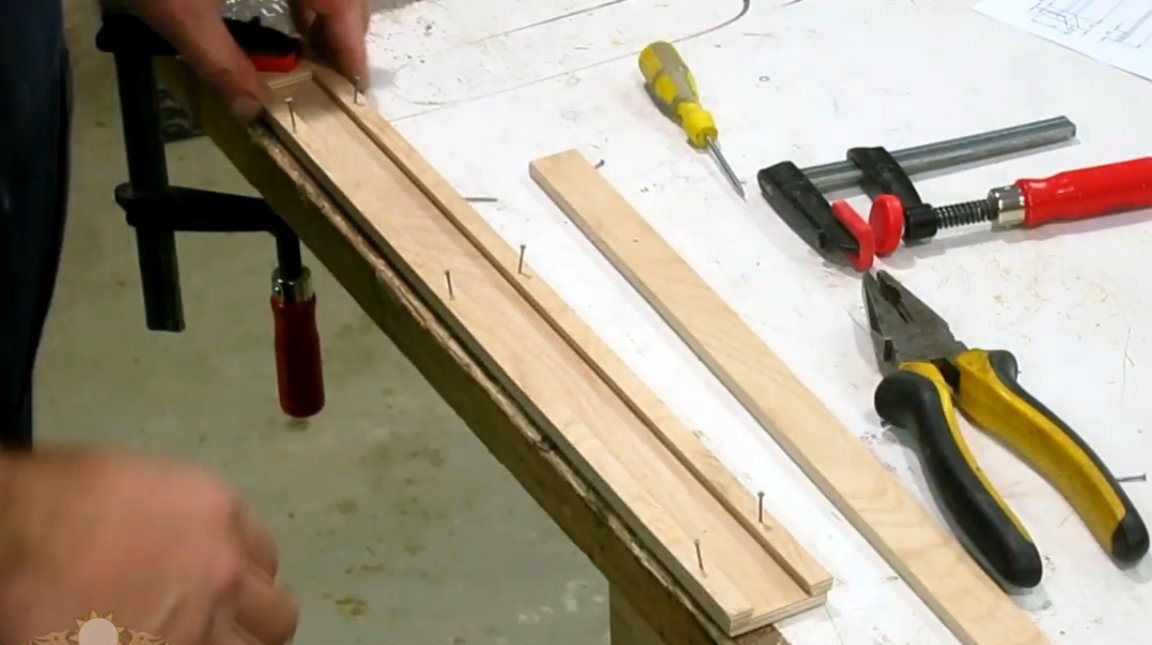
Now the guides themselves are glued and fixed with carnations along the edges of the base.
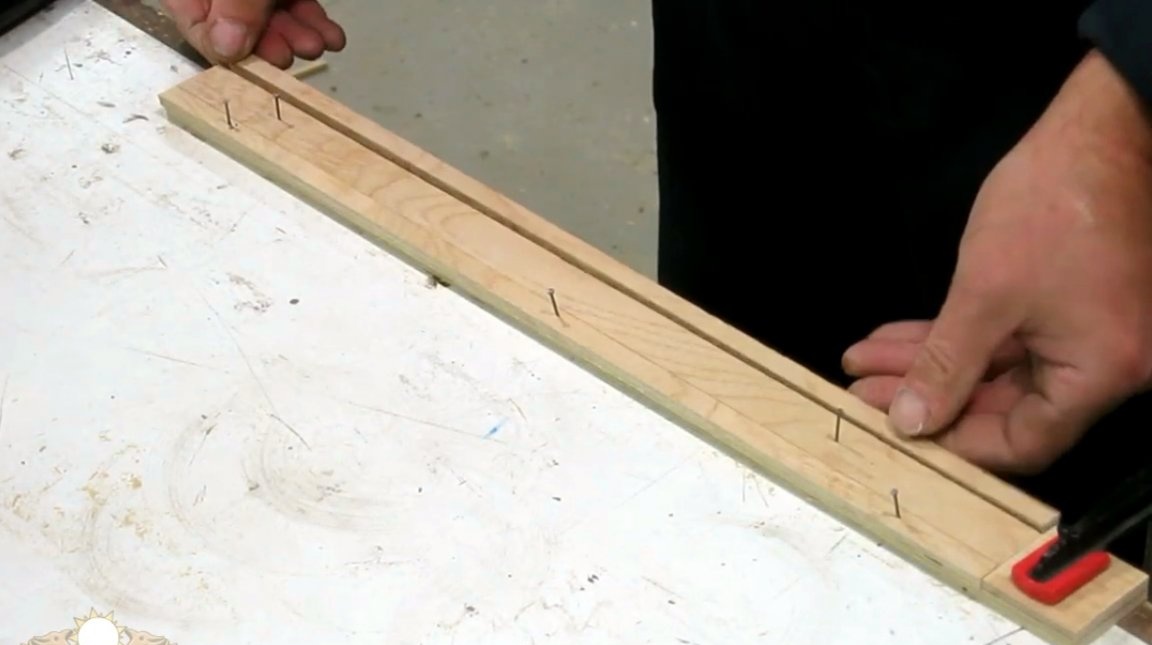
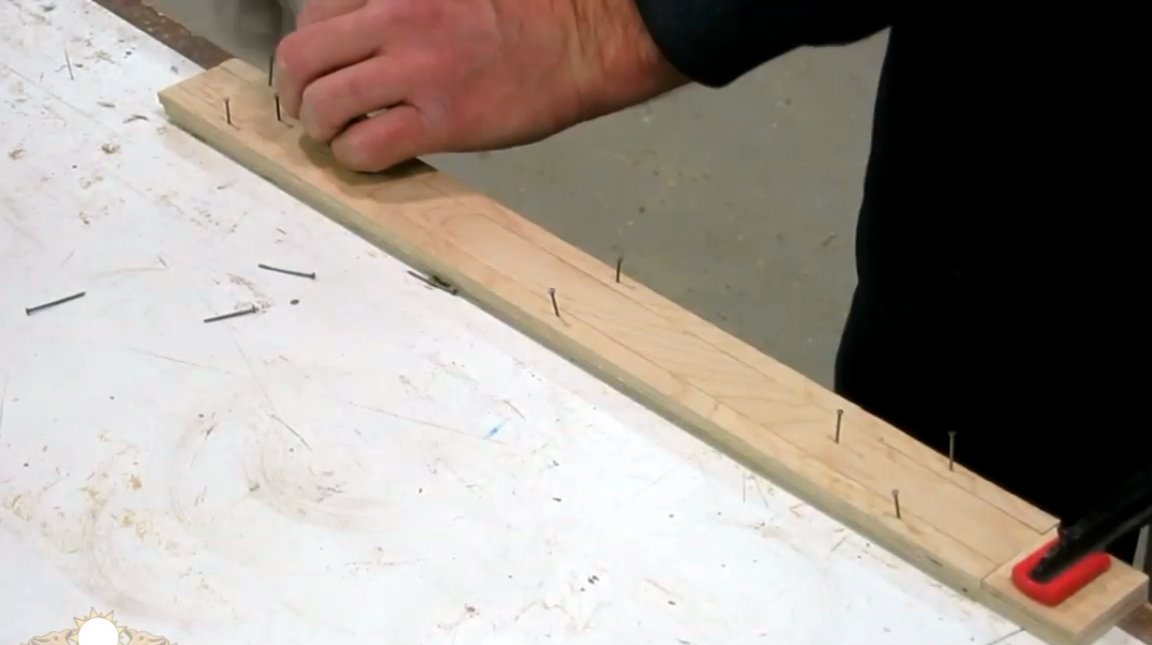
Since the slider is no longer needed and the guides are aligned, the fixing nails are removed and the slider is carefully pulled out of the base.
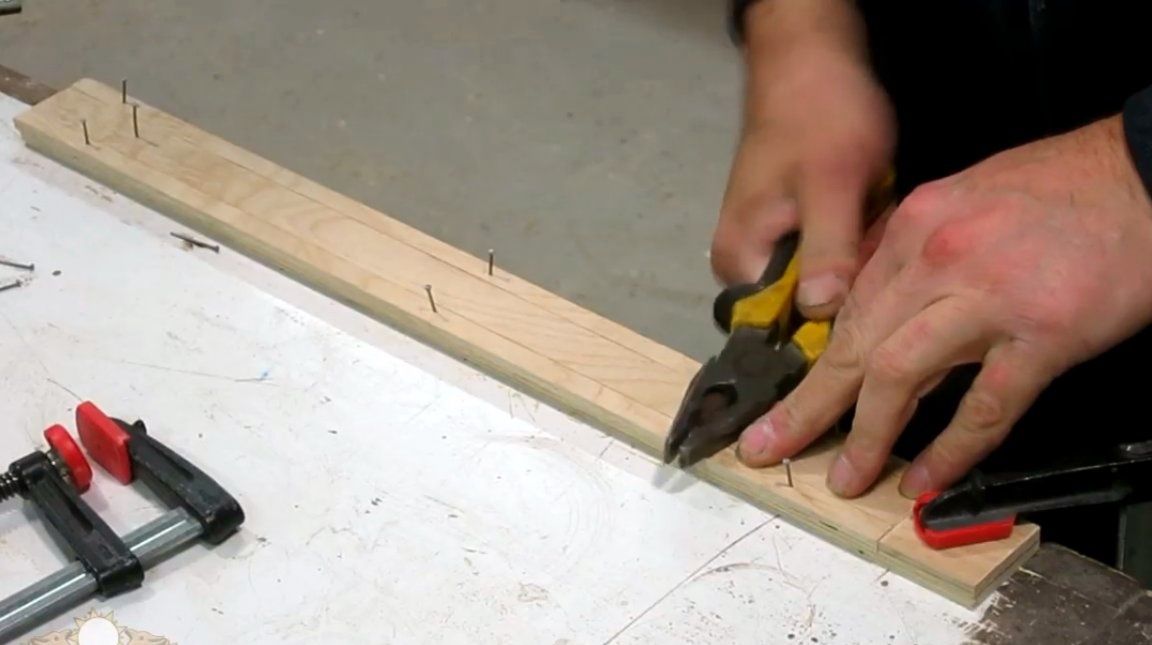
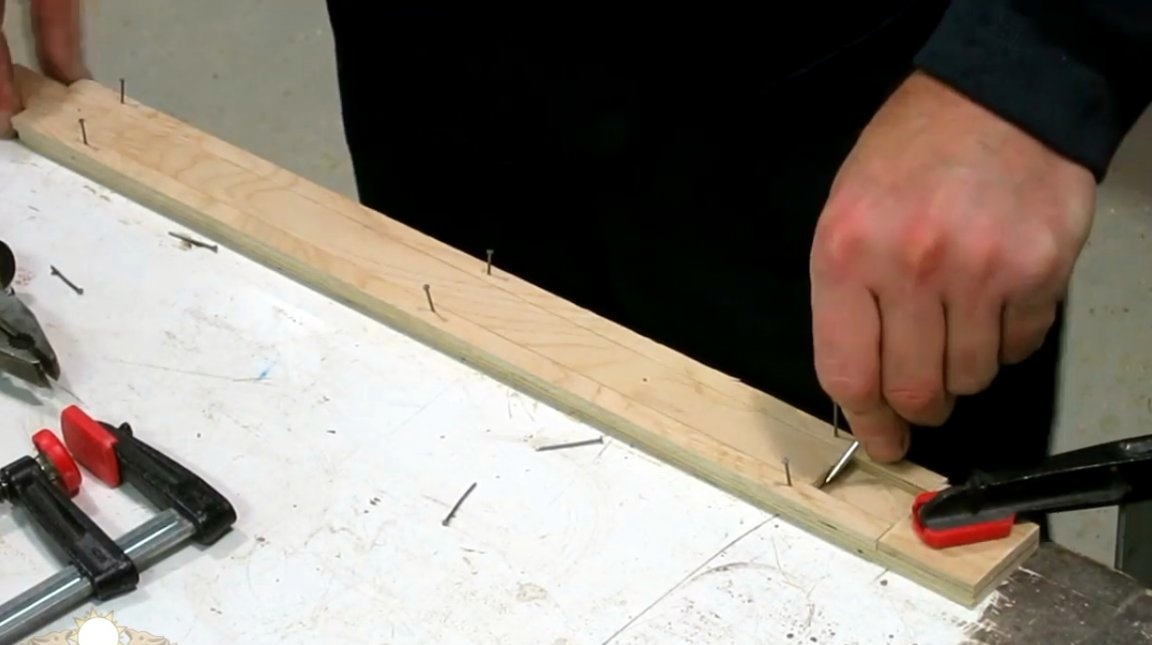
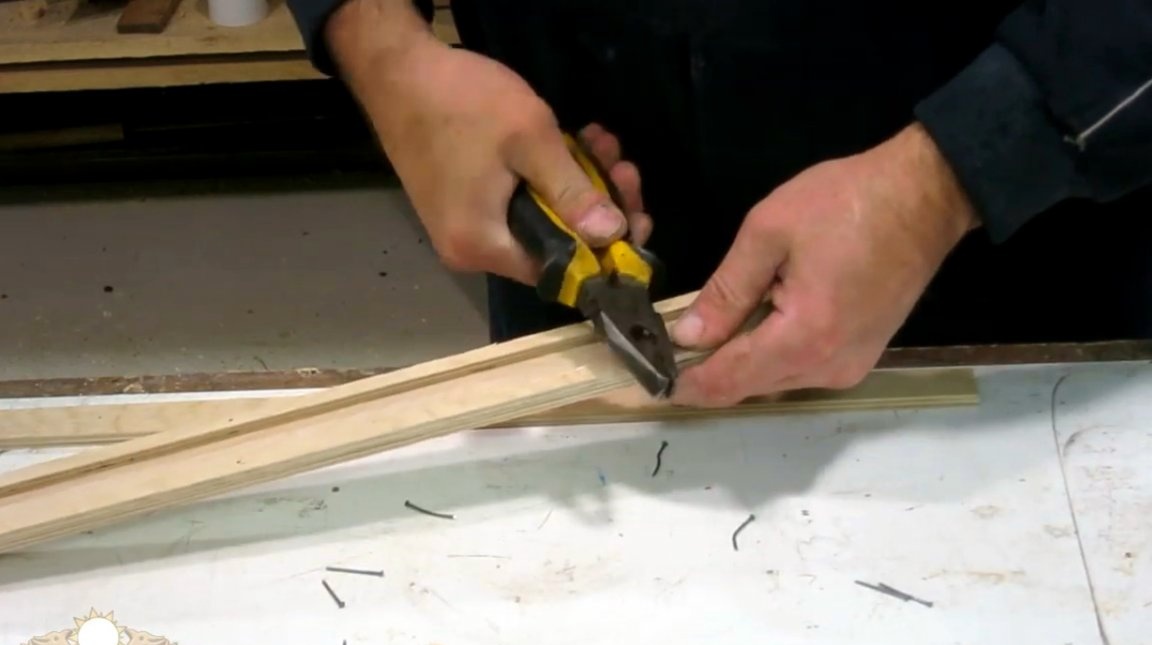
After the glue dries, all nails are removed from the base.
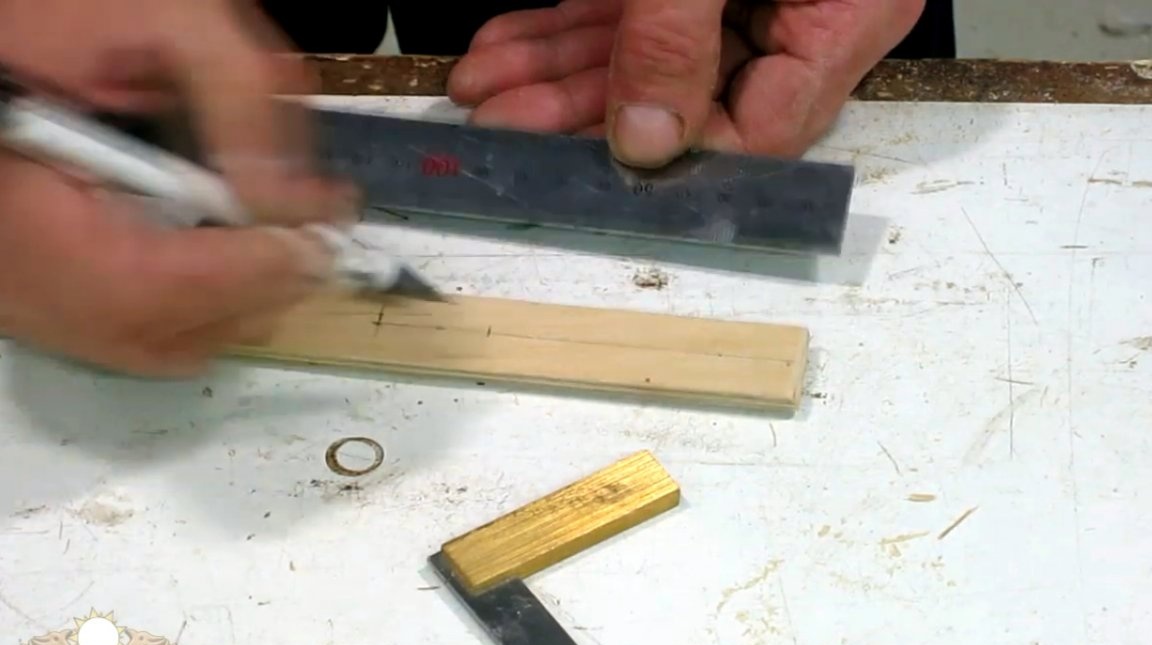
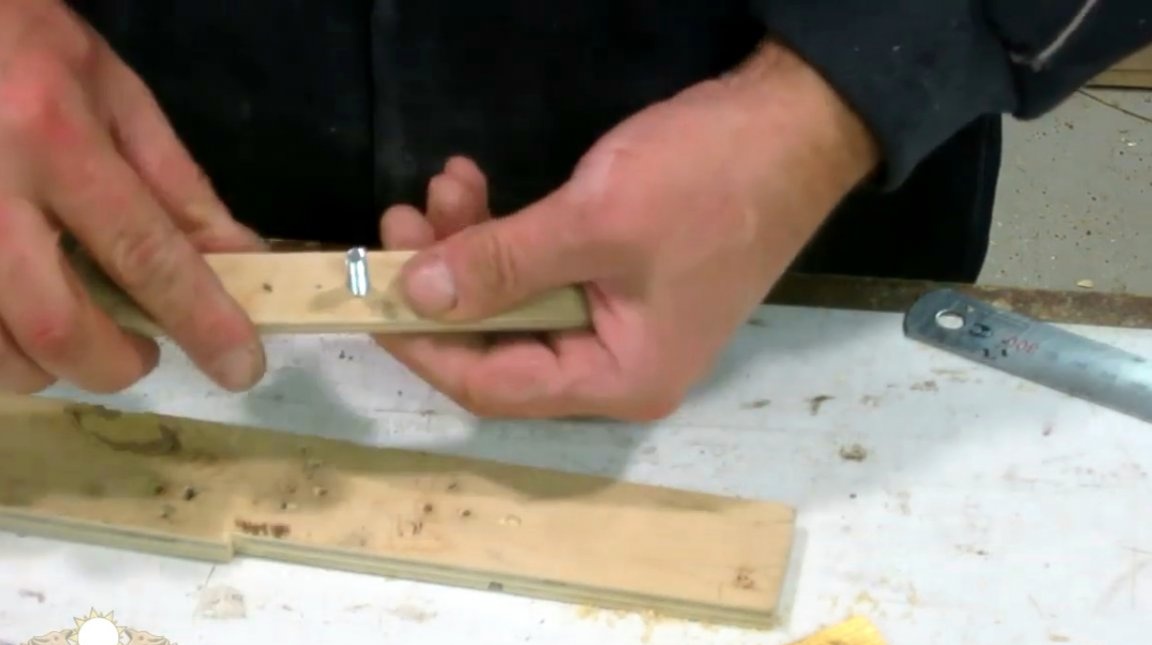
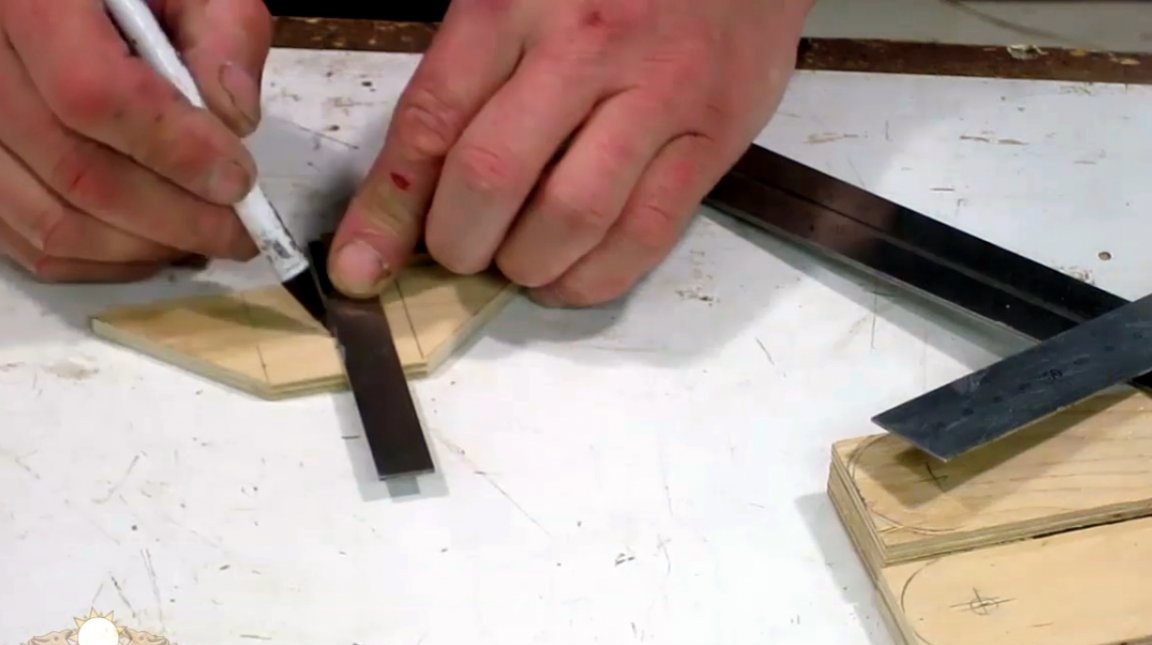
At the edge of the slider, the master marks out the places for two holes and the slots of the fork clamp.

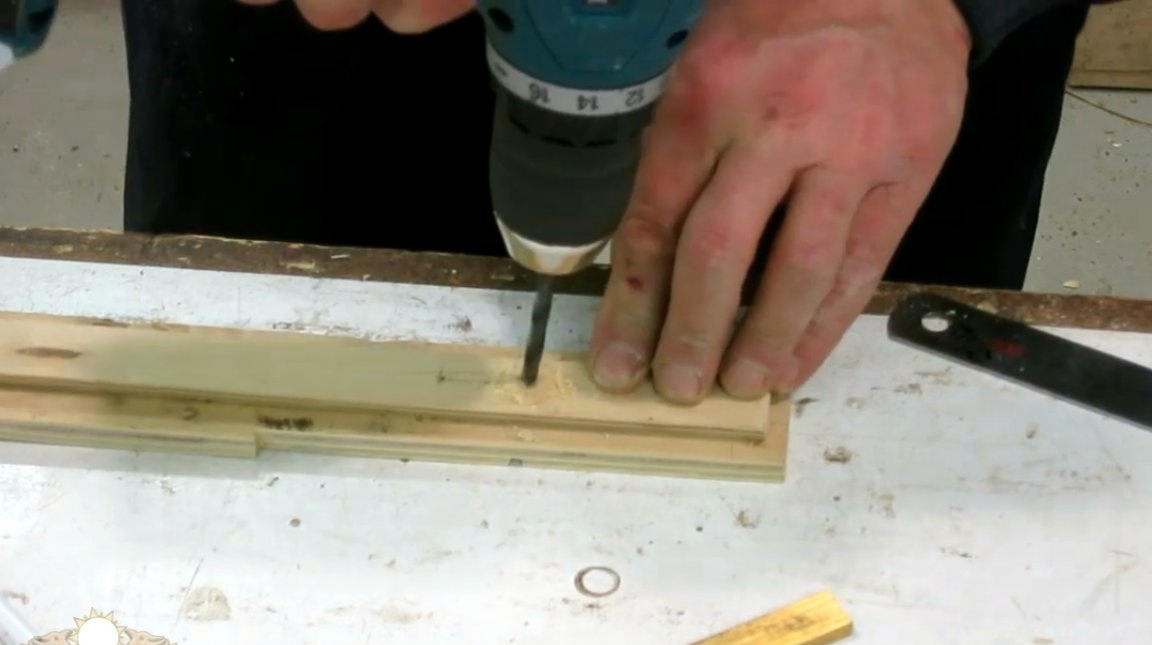
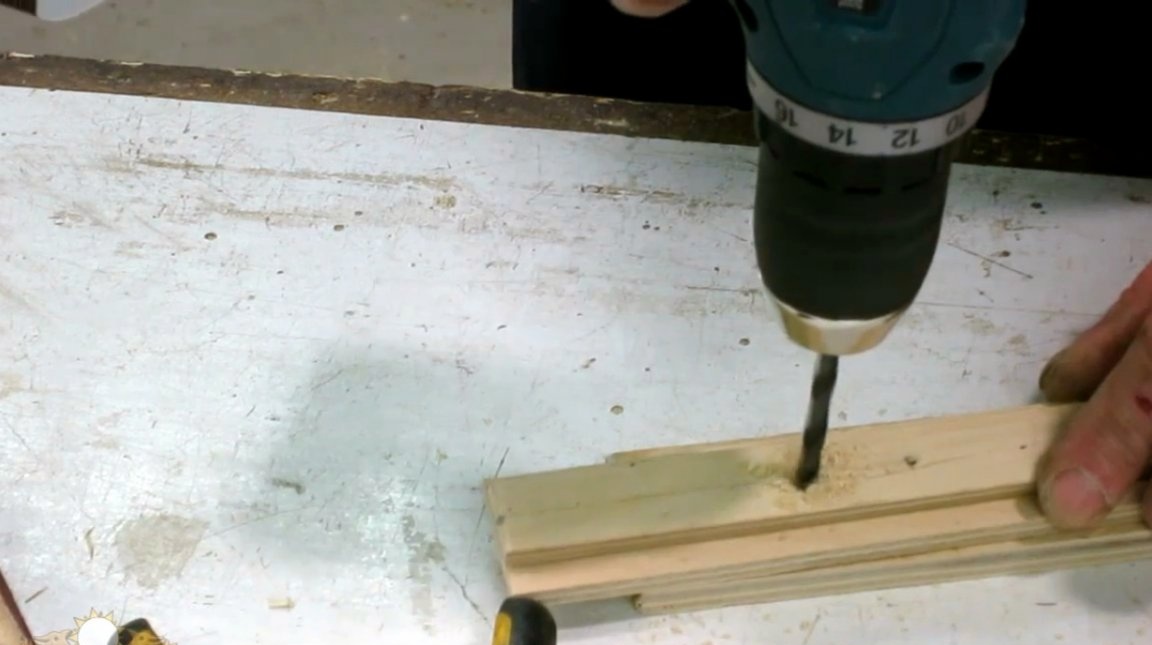
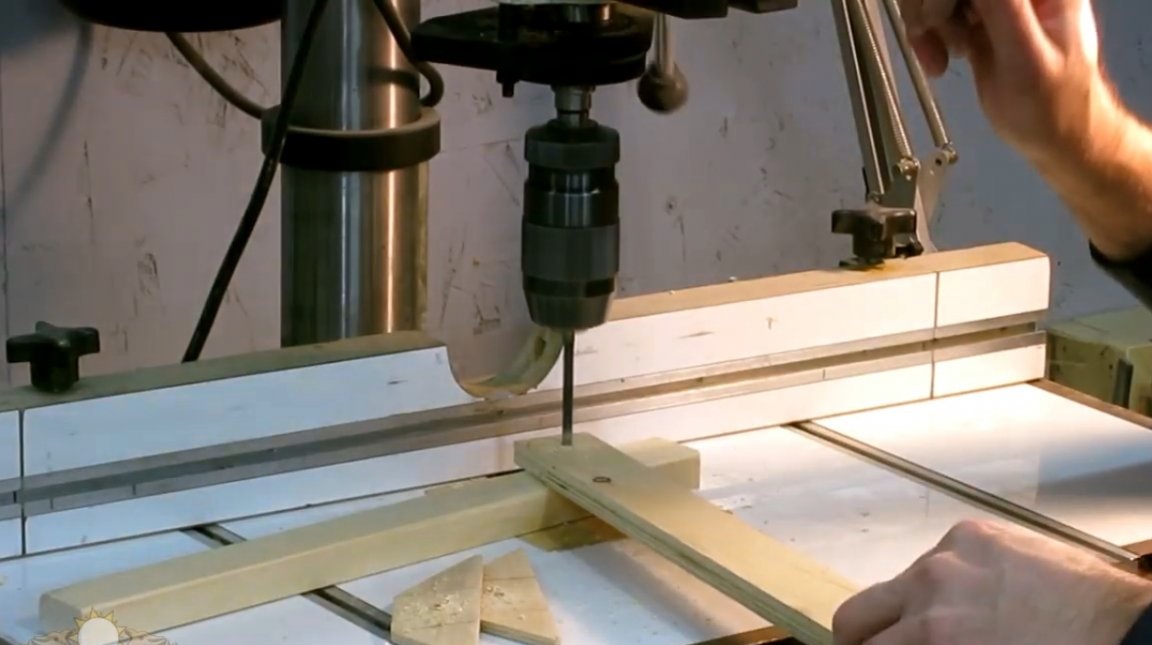
A hole is made with a thin drill at the edge of the marking, it is necessary so that the material does not crack.
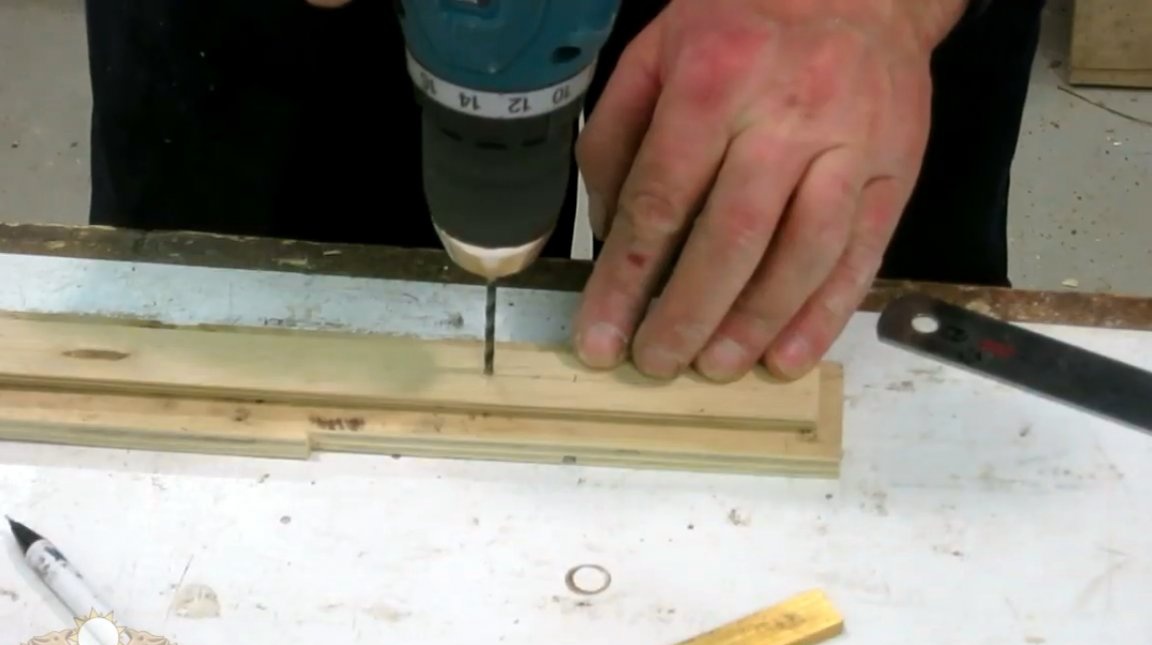
Then the hole for the M6 screw is drilled, and countersinked so that the screw head does not cling to the base of the ruler.

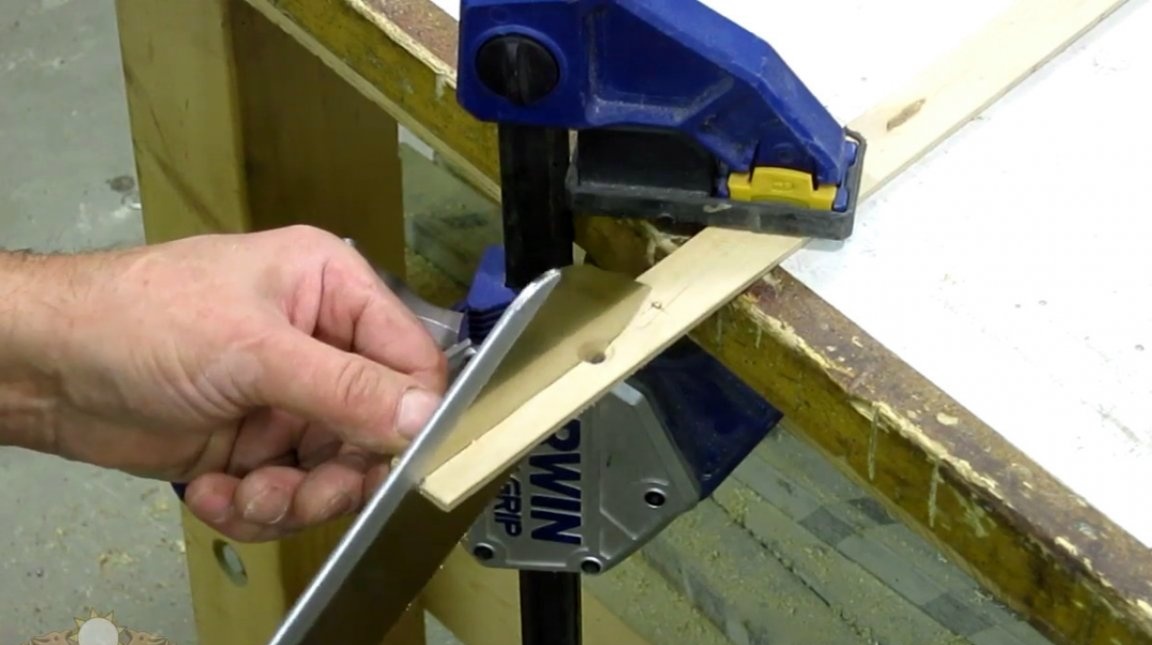
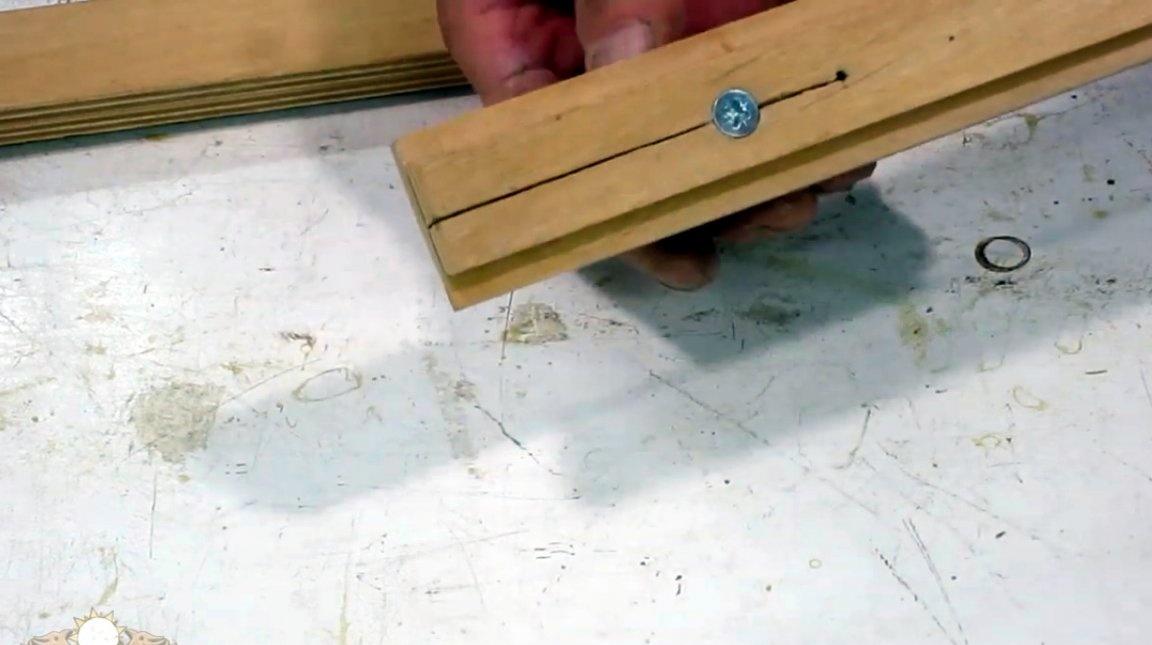
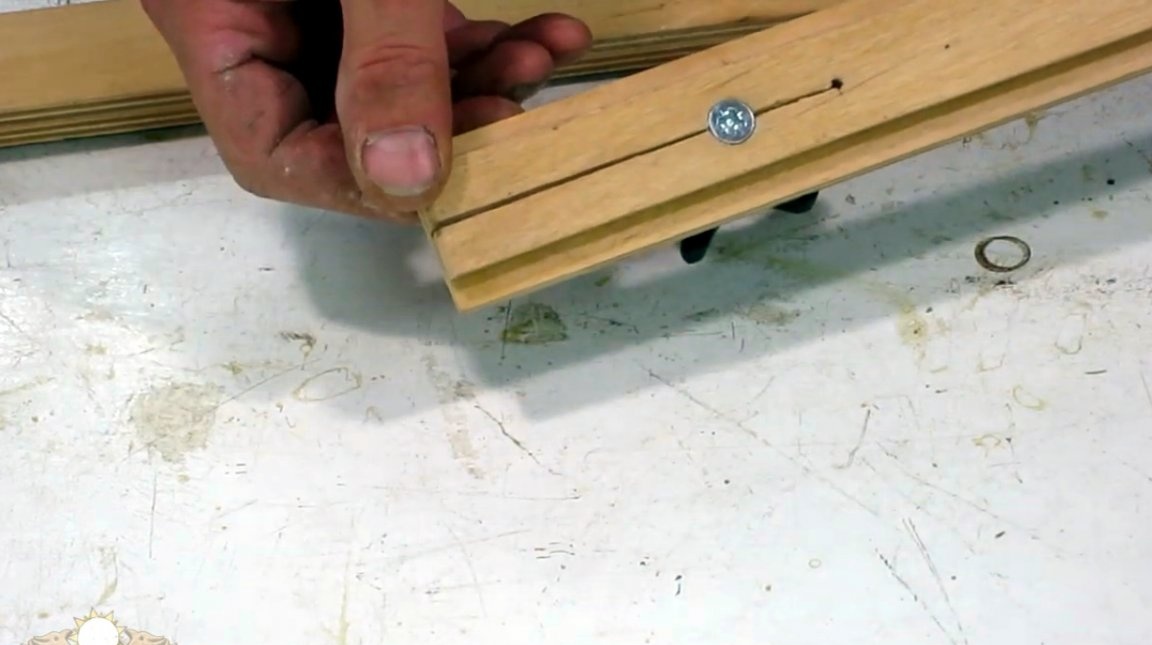
Having fixed the slider with a clamp on a workbench, the author makes a thin cut with the help of a Japanese saw.
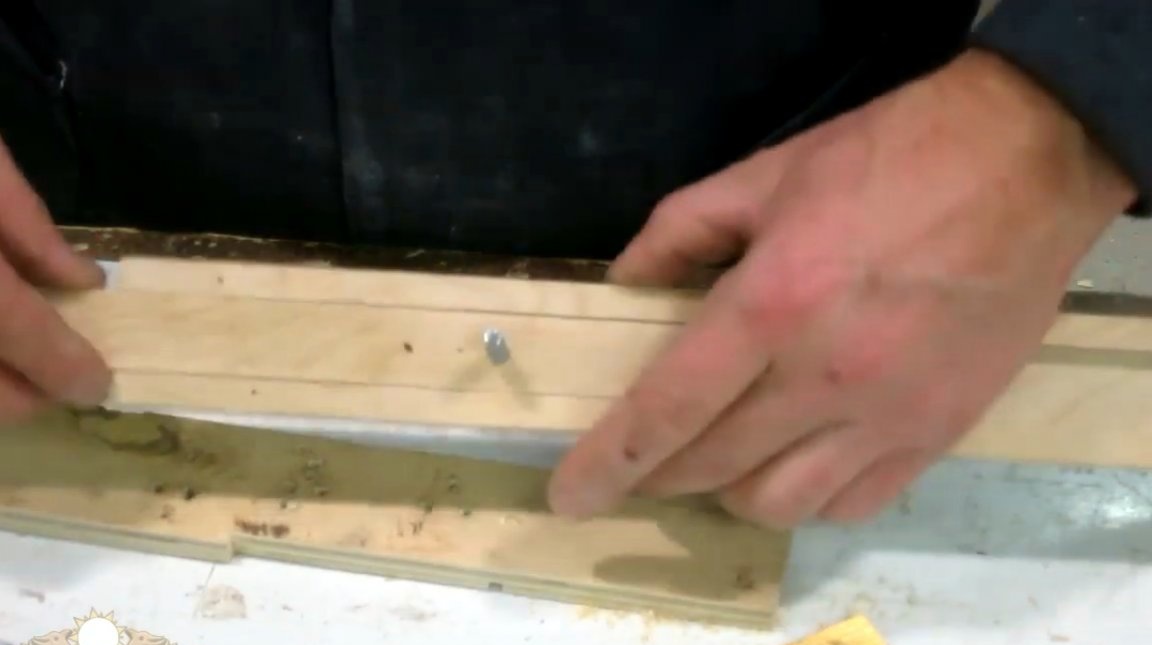
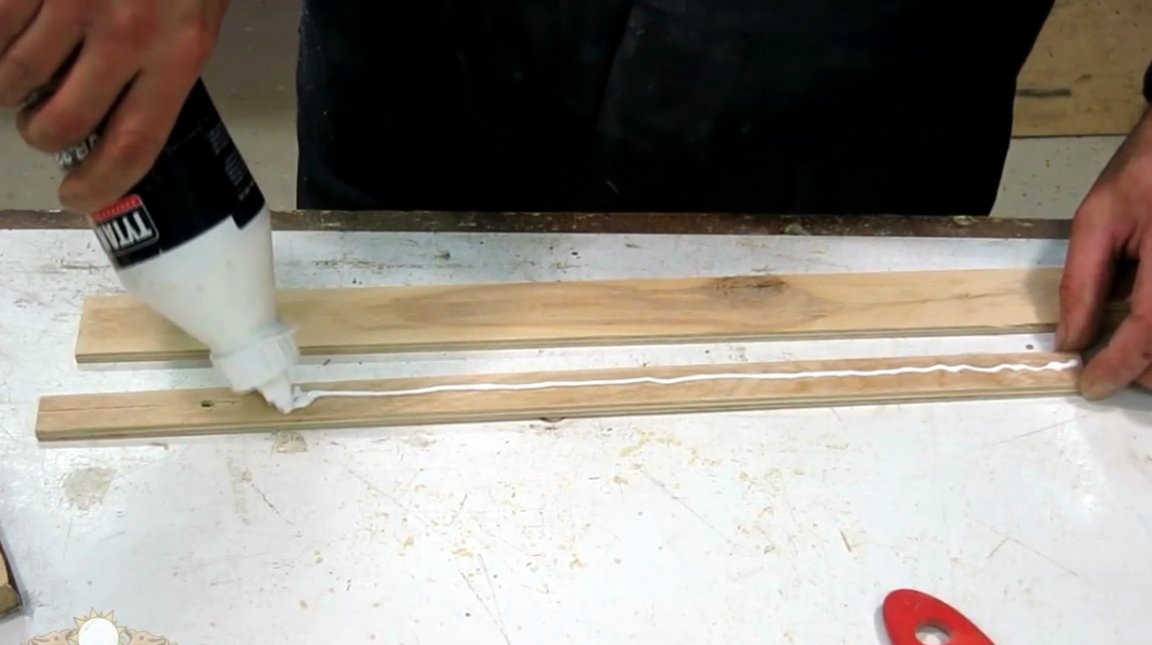
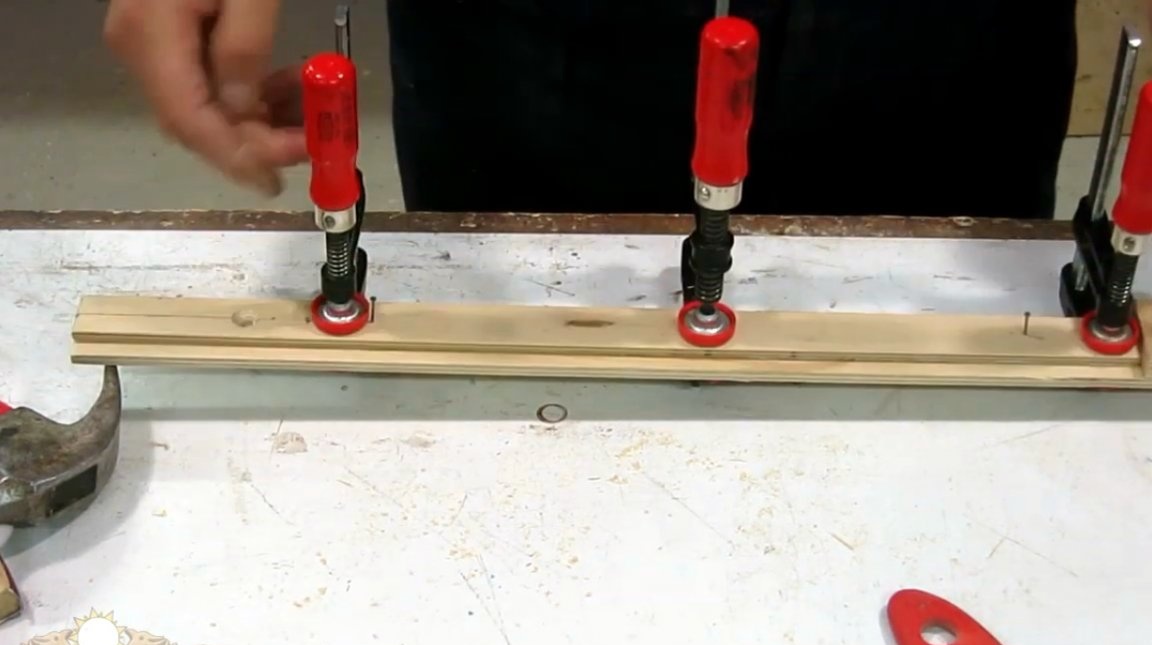
Now you need to glue the slider to its base, it is important to apply glue only to the edge of the slot, the antennae should not stick to the base! You also need to accurately orient it parallel to the edges, fix it with studs, and then tighten with clamps.
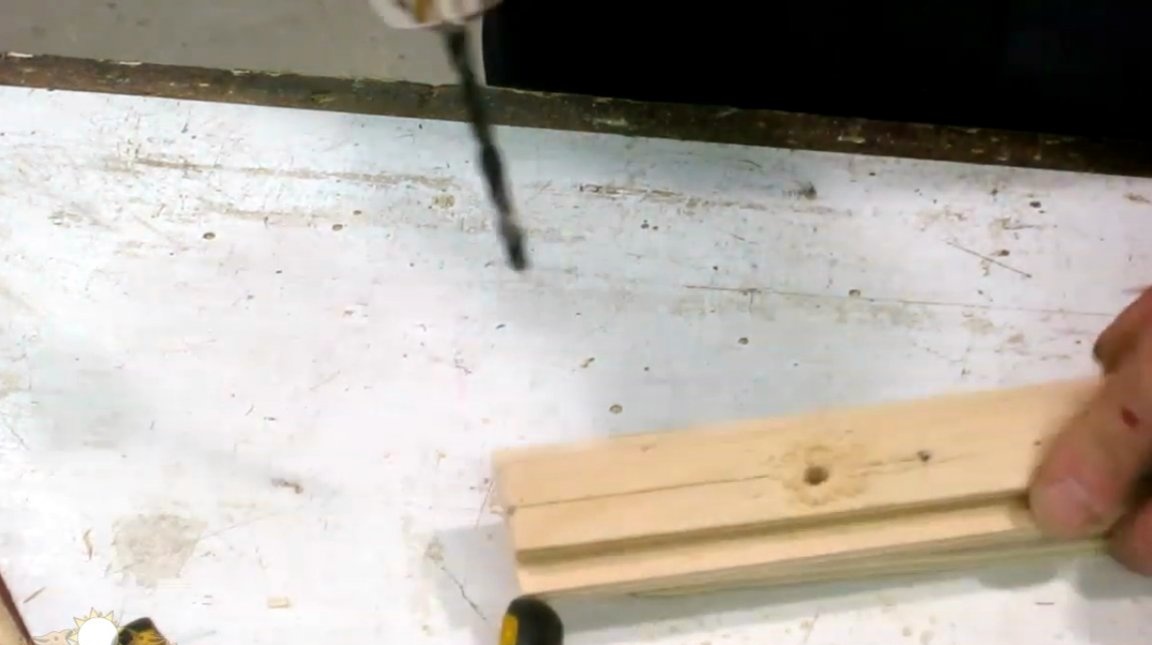
After gluing the details of the slider, the hole for the clamping screw is drilled at the base of the slider.
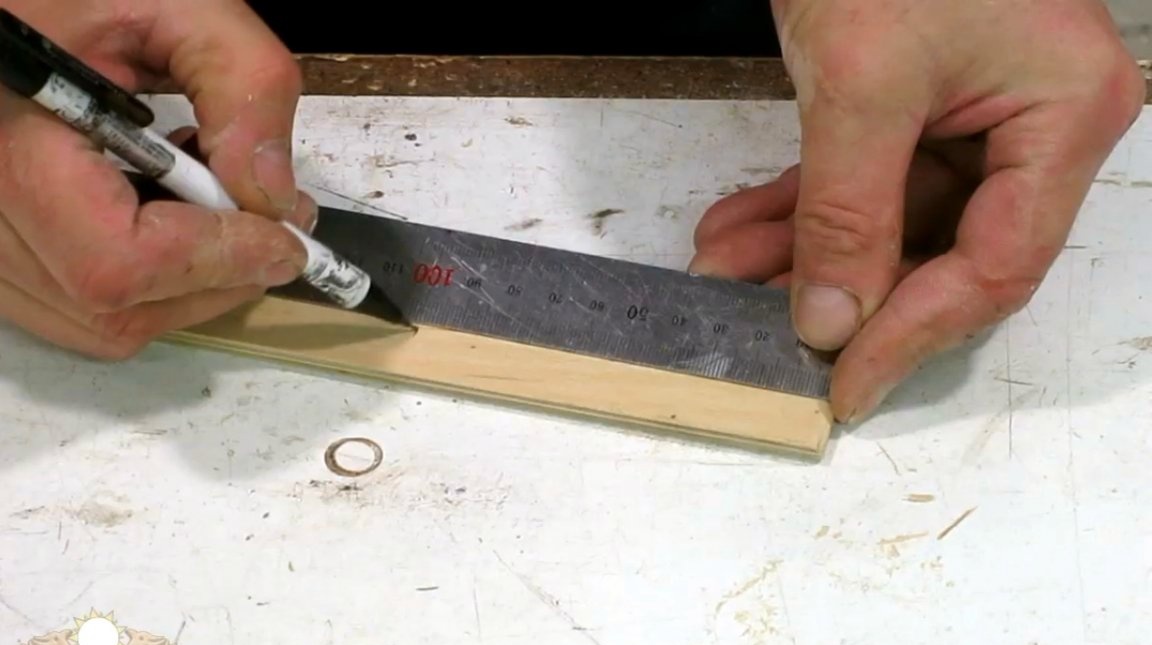
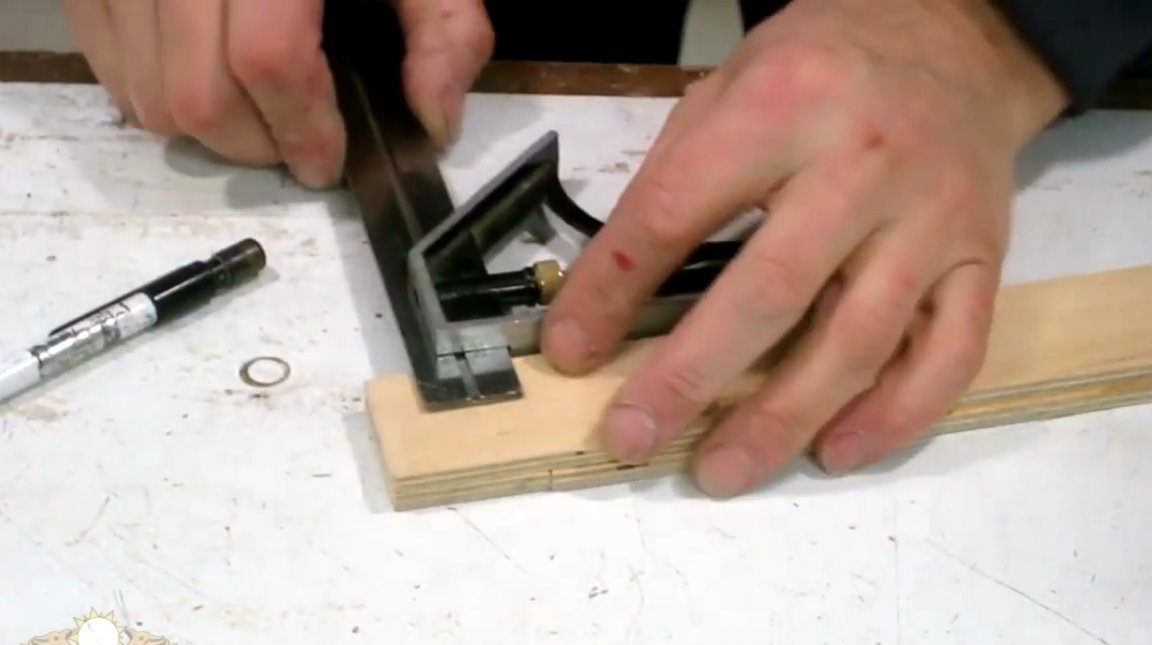
The wizard marks the centers for the screws that will press the stops, and also marks the curves at the edges of the ruler.

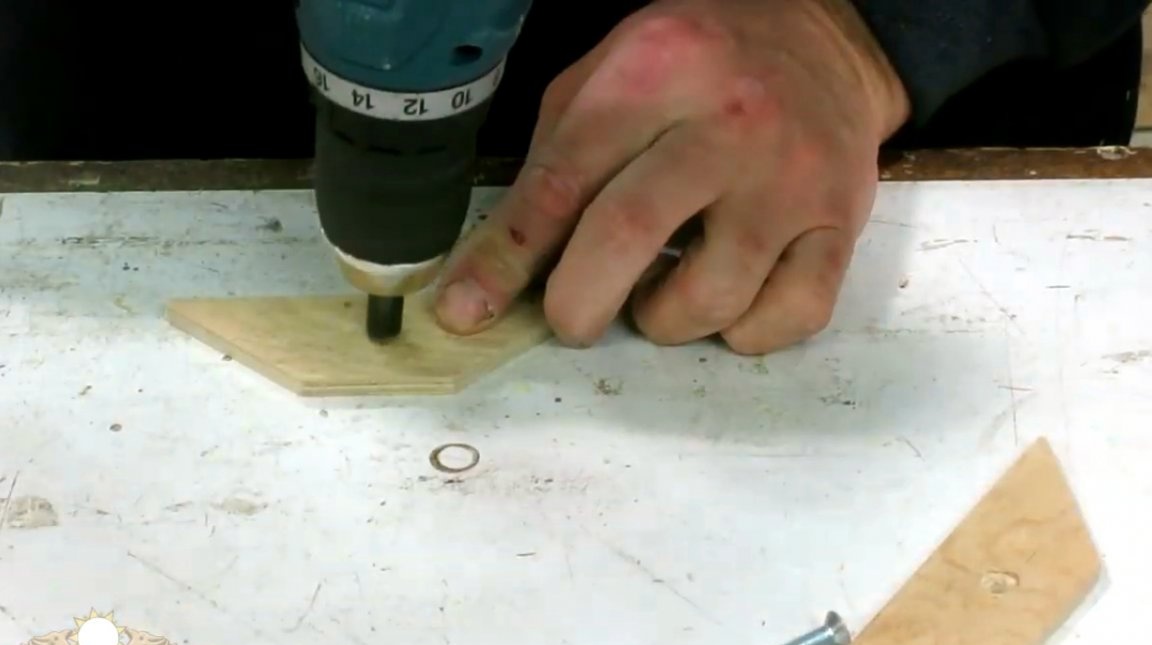
After drilling holes in the parts for M6 screws, countersink is made in the stops.
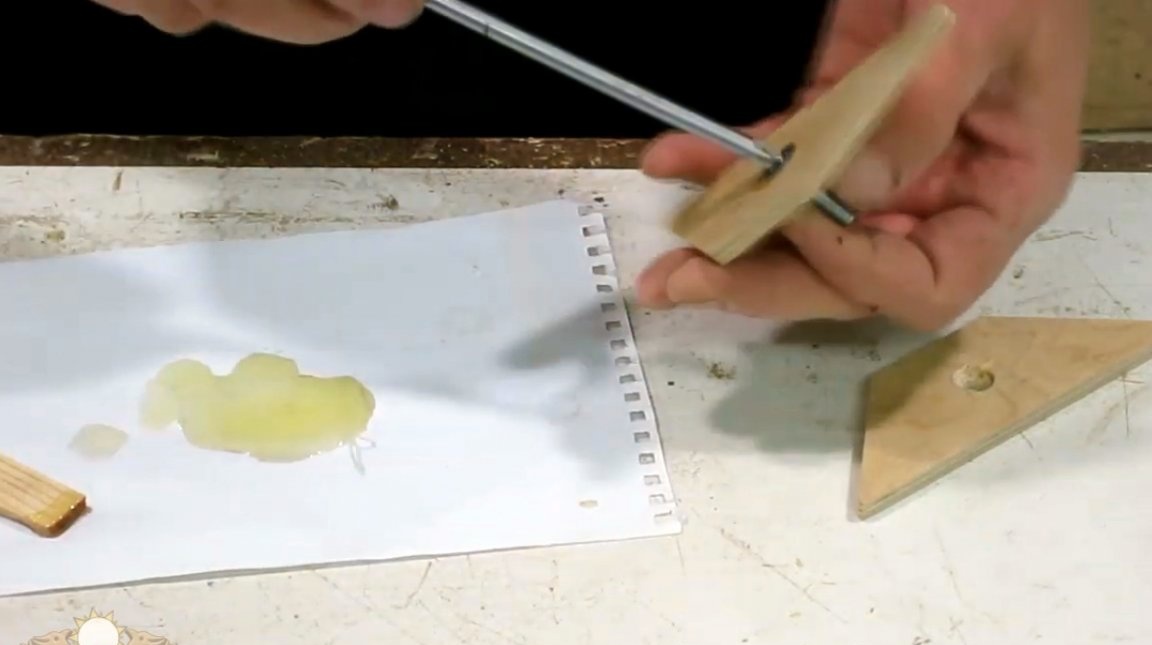
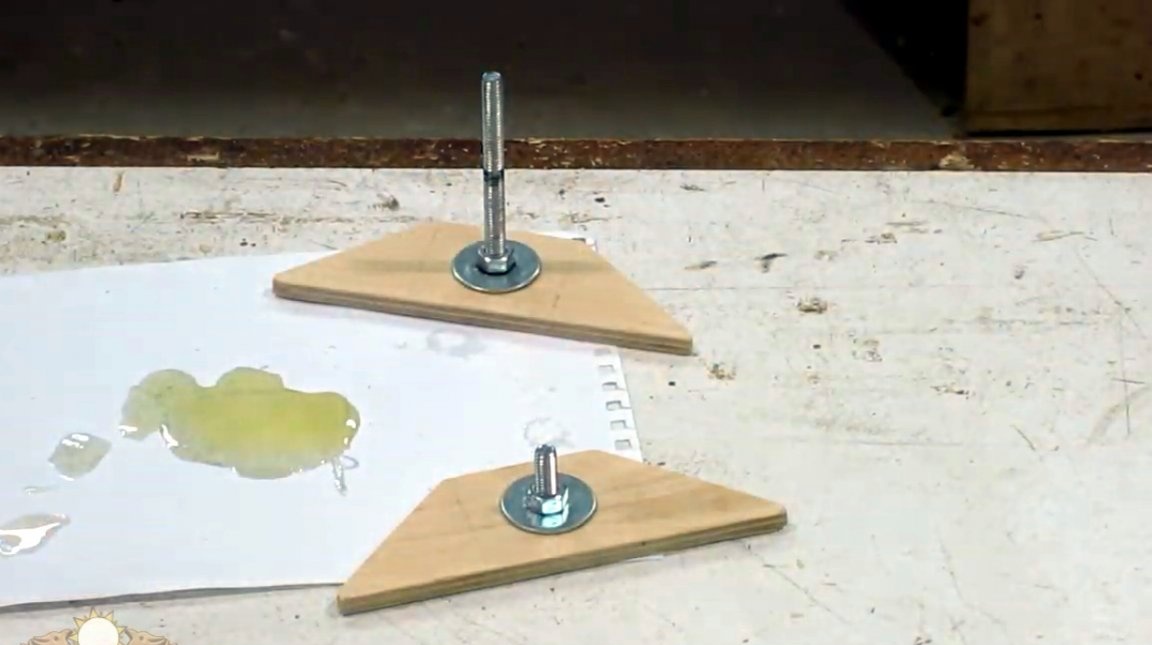
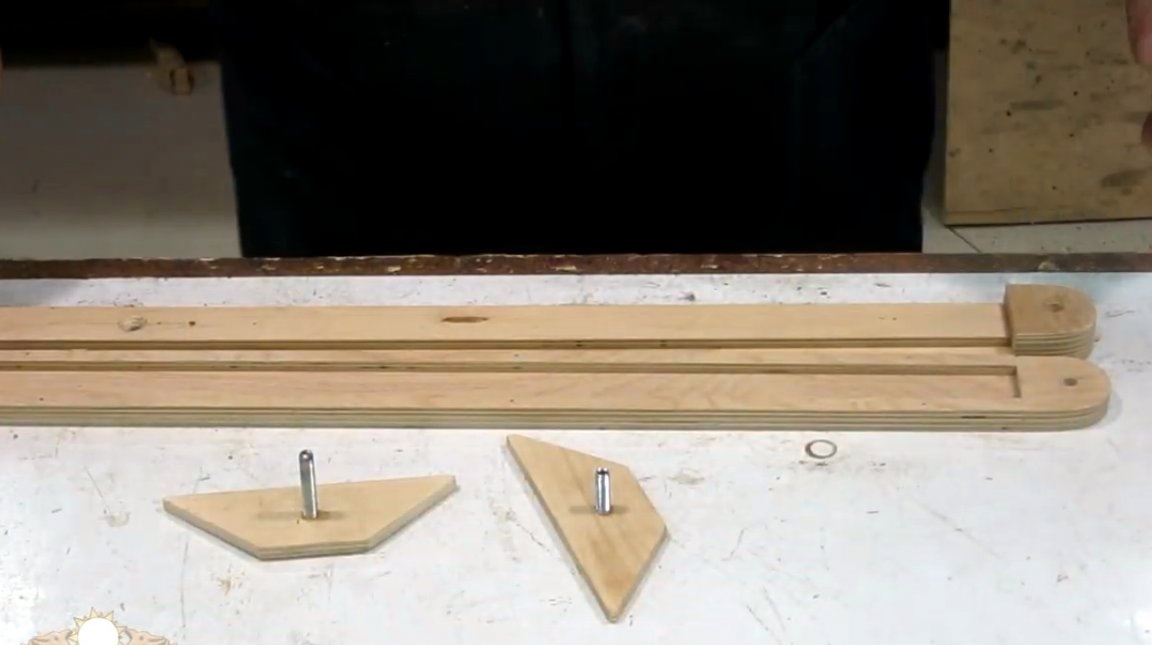
The screws are glued to the stops on two-component epoxy glue, and pressed with nuts and washers. After polymerization of the resin, the screws are cut to the desired length.
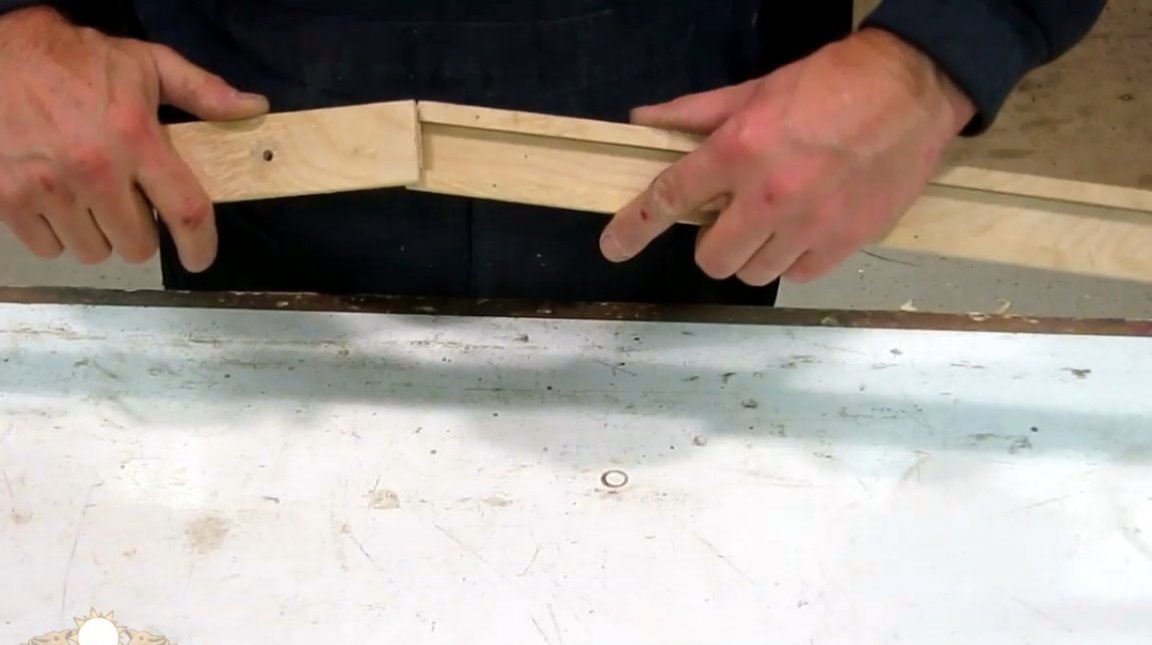
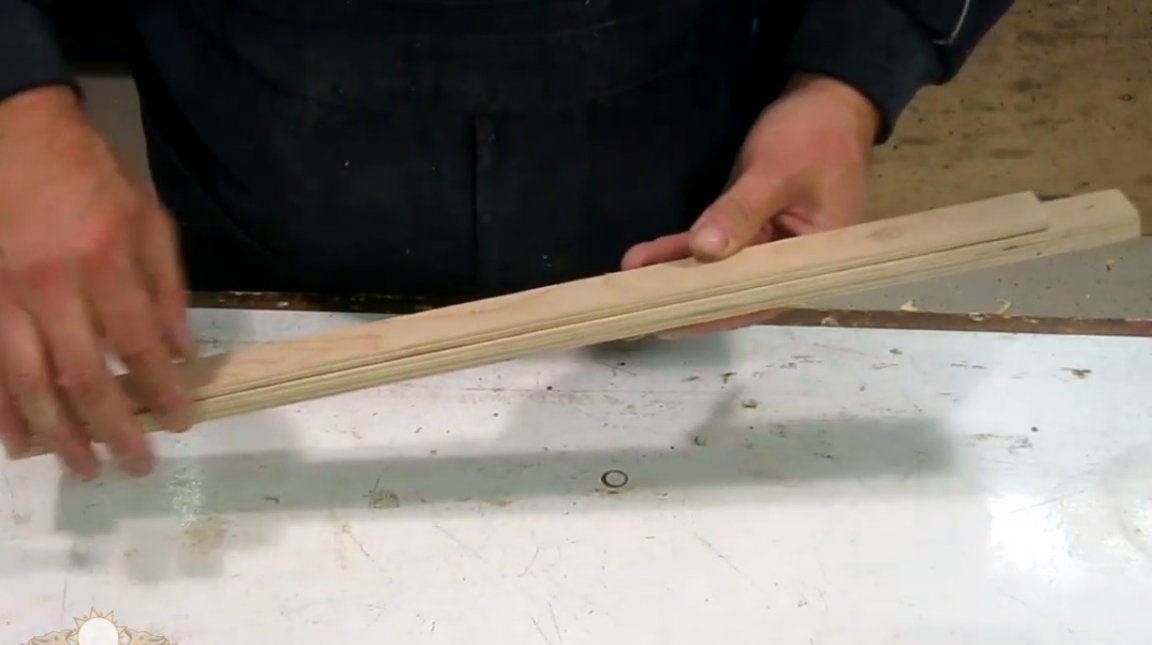
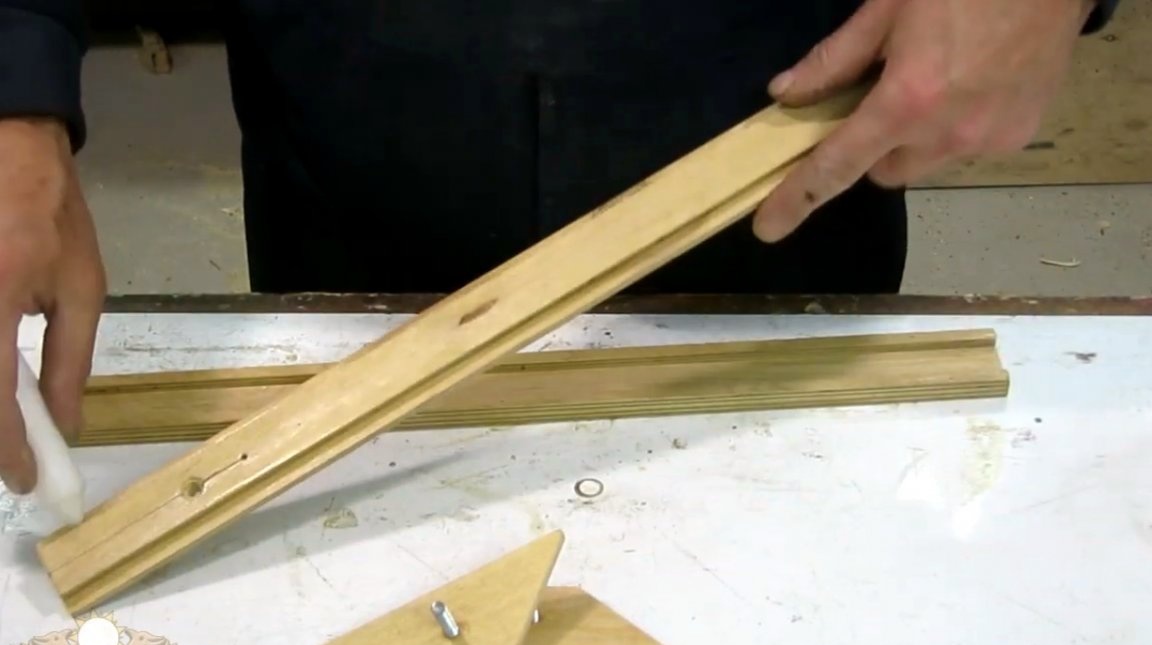
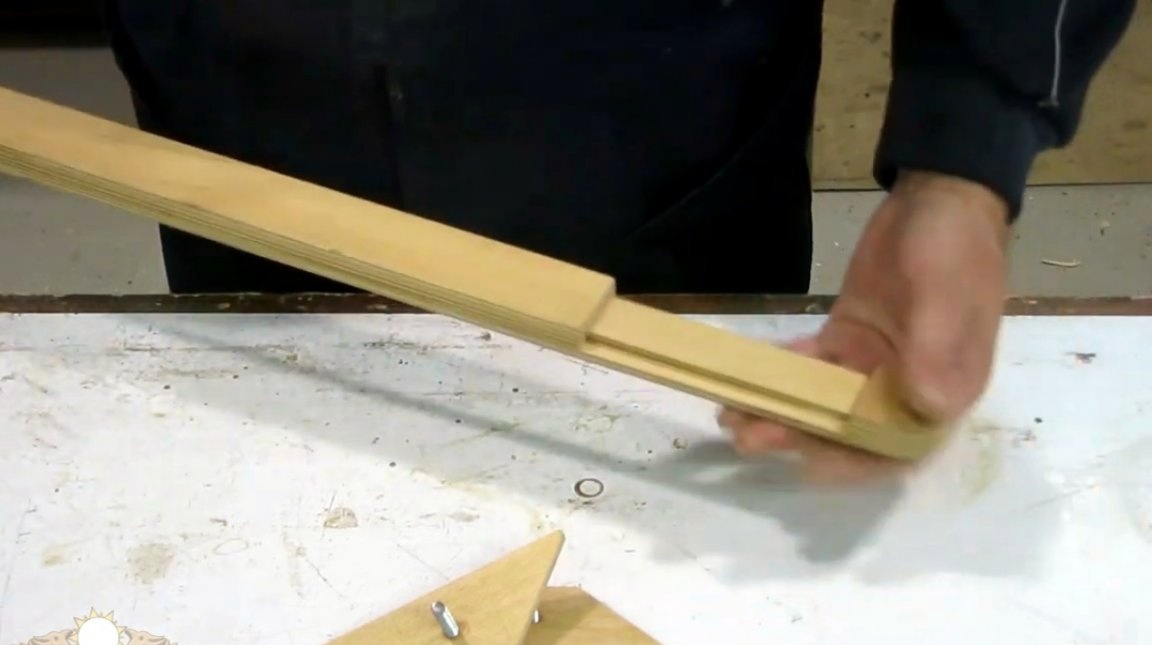
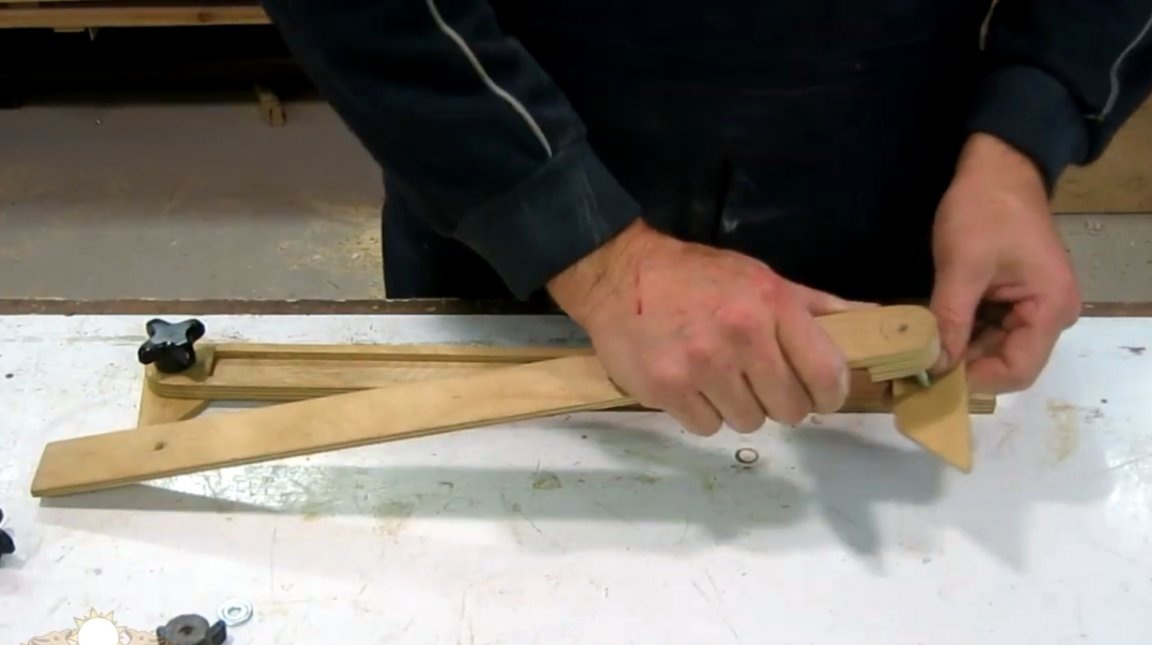
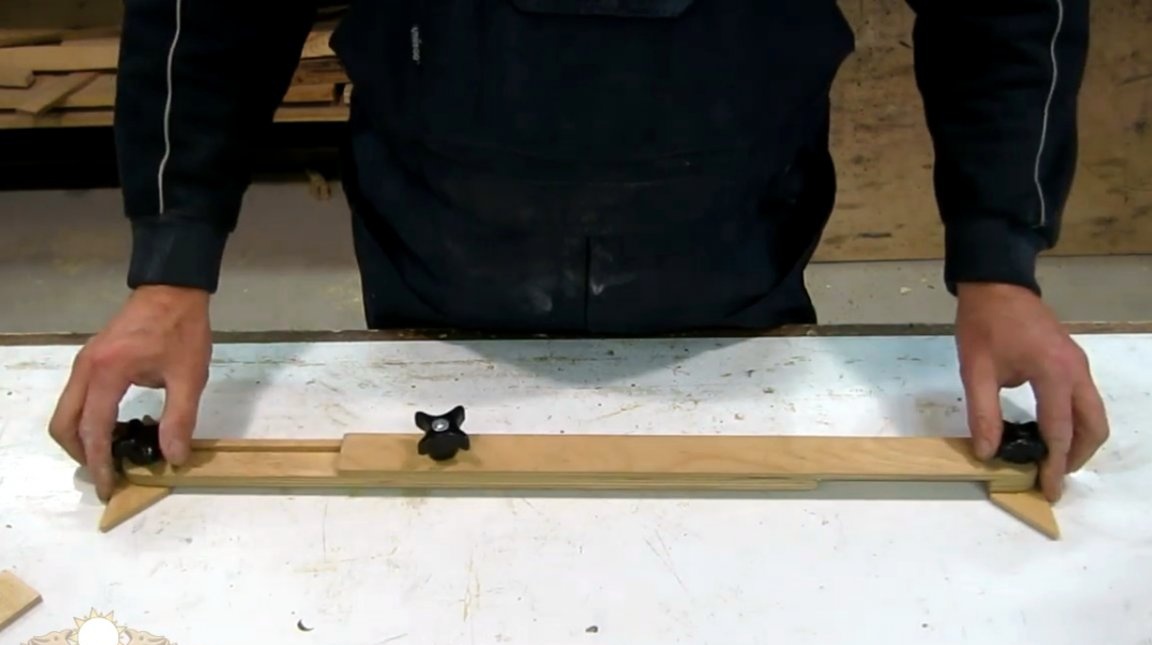
Both parts of the ruler are interconnected, it resembles the principle of a logarithmic ruler. Further, the author mills the edges of the ruler, aligning them with each other.
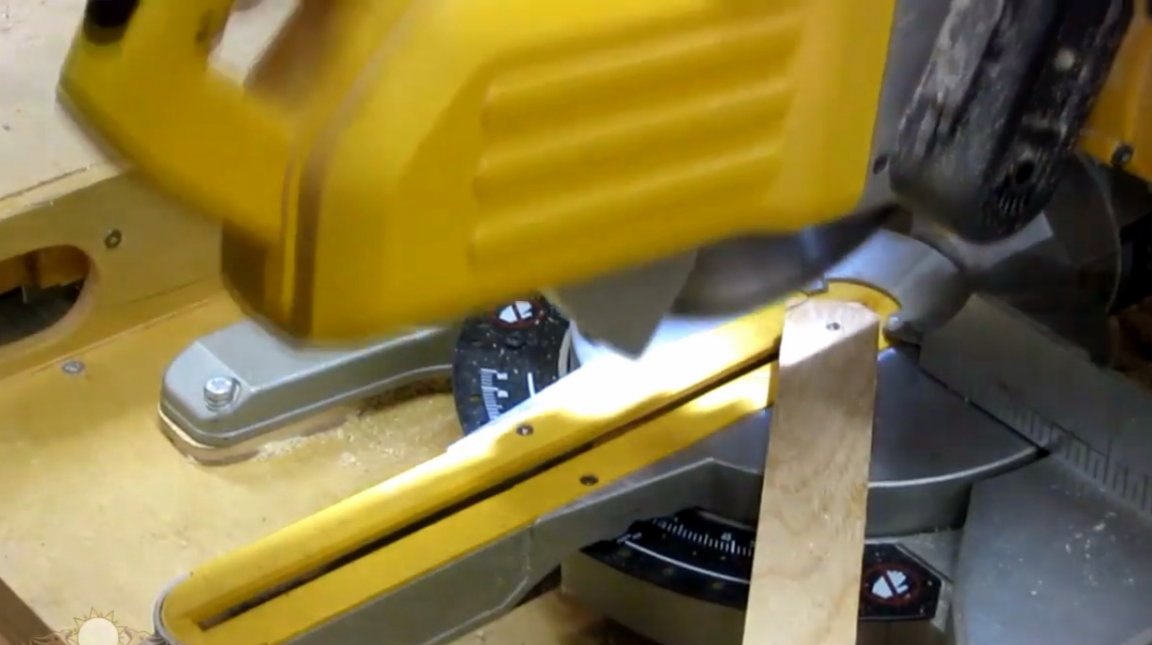
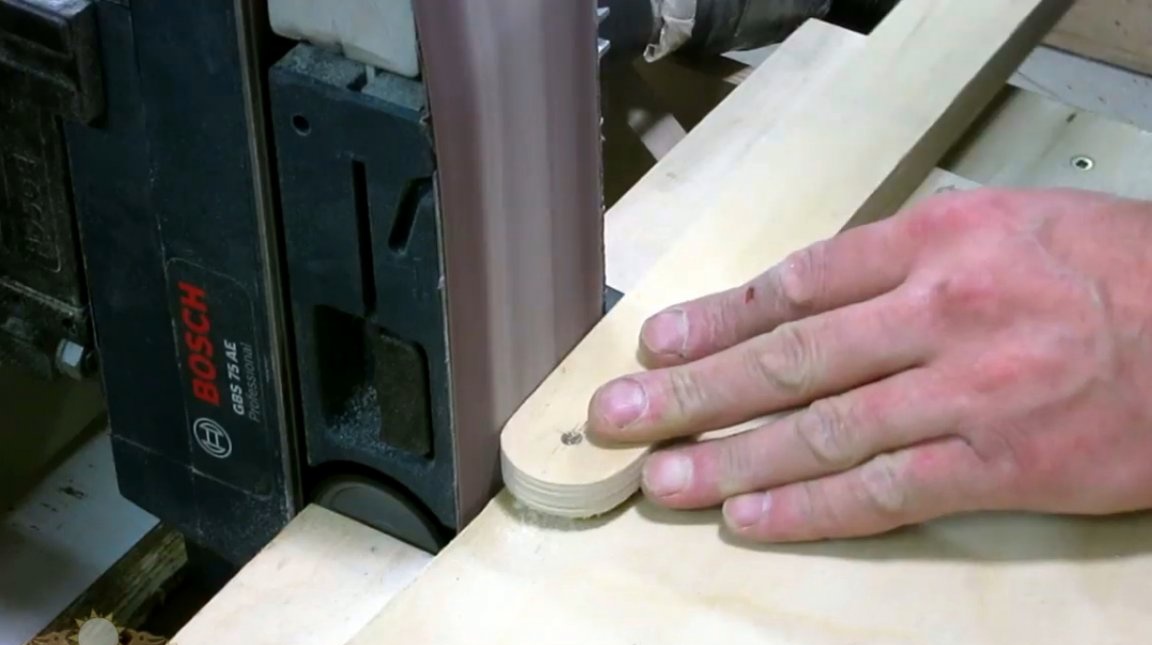
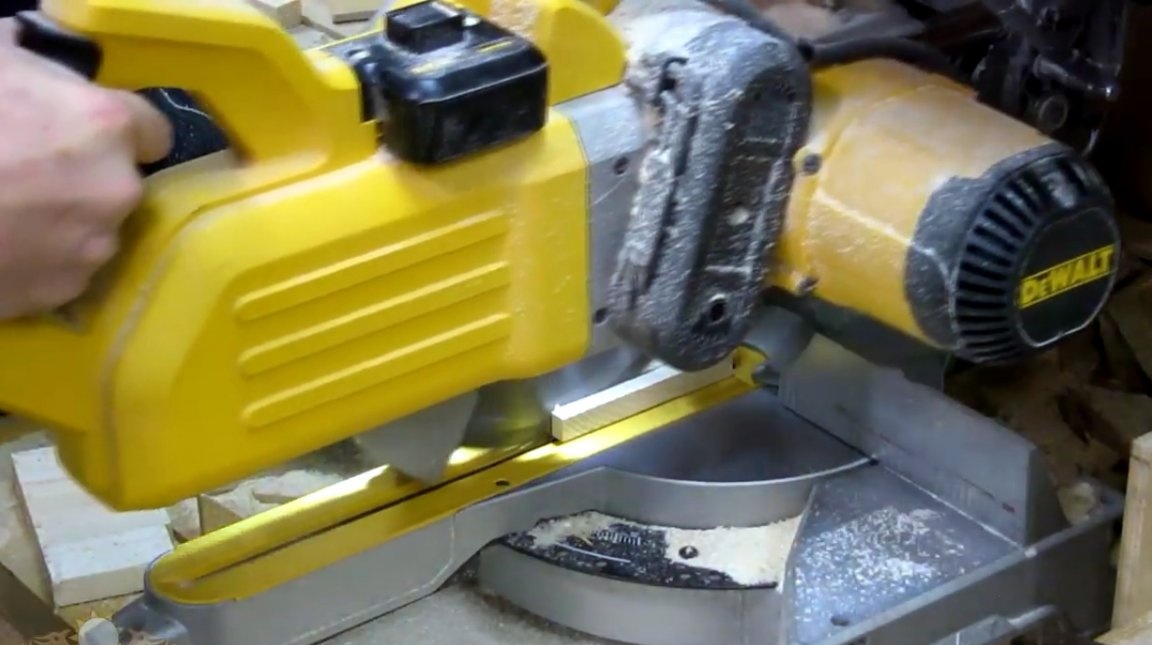
At the ends of the line, he cuts part of the material at an angle of 45 degrees with a miter saw, and then polishes it with a tape machine, rounding them off.
So, all the details are sanded with sandpaper, and prepared for assembly.
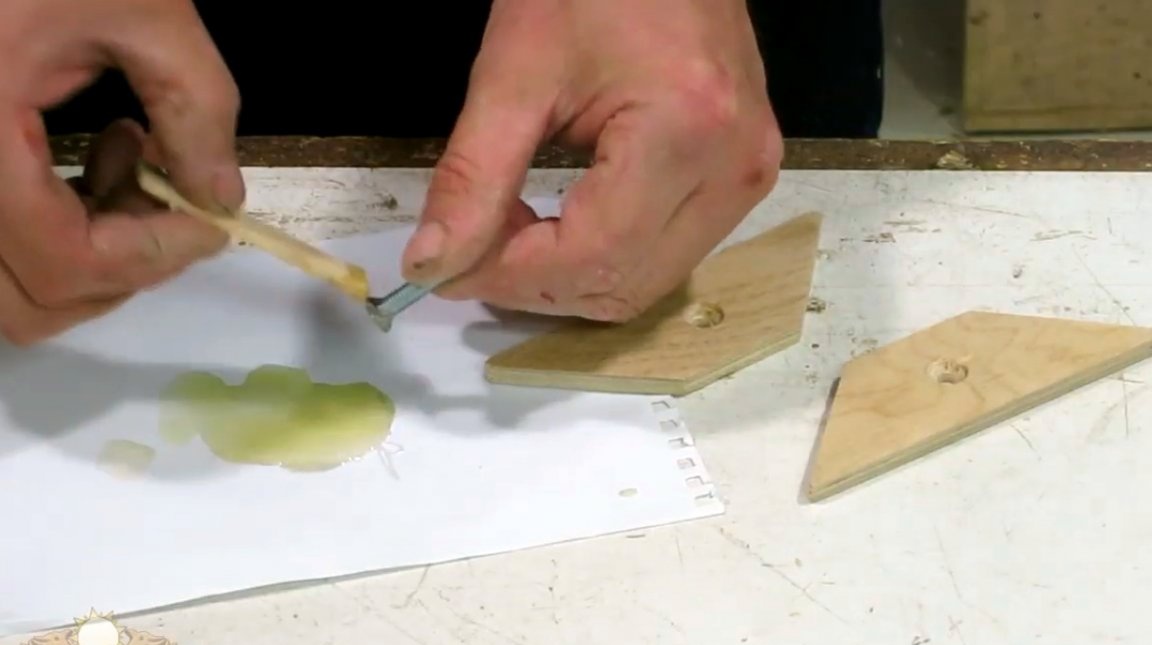
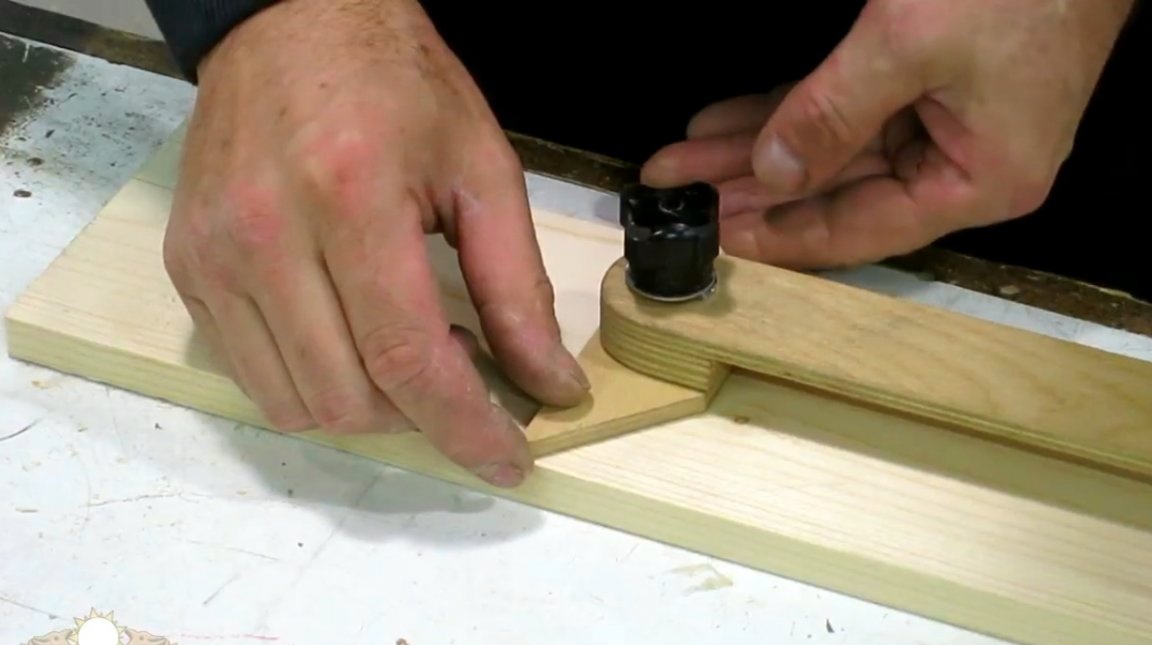
In order for the slider to easily slide inside the base, the author lubricates the rubbing parts of the structure with paraffin, an ordinary candle will do.

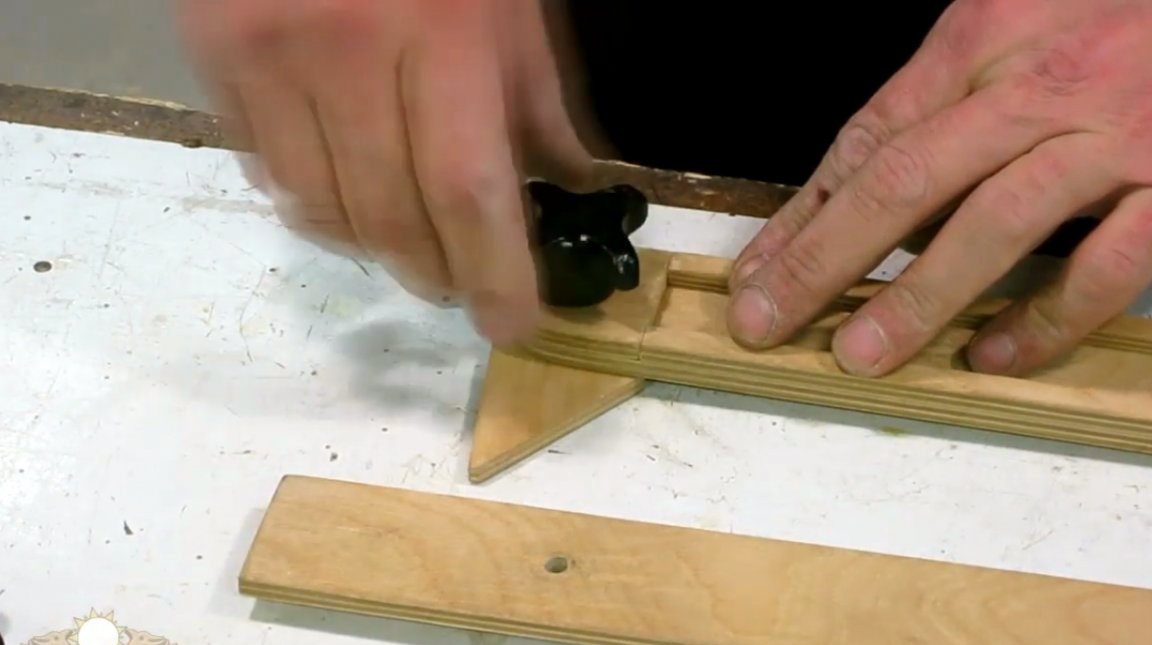
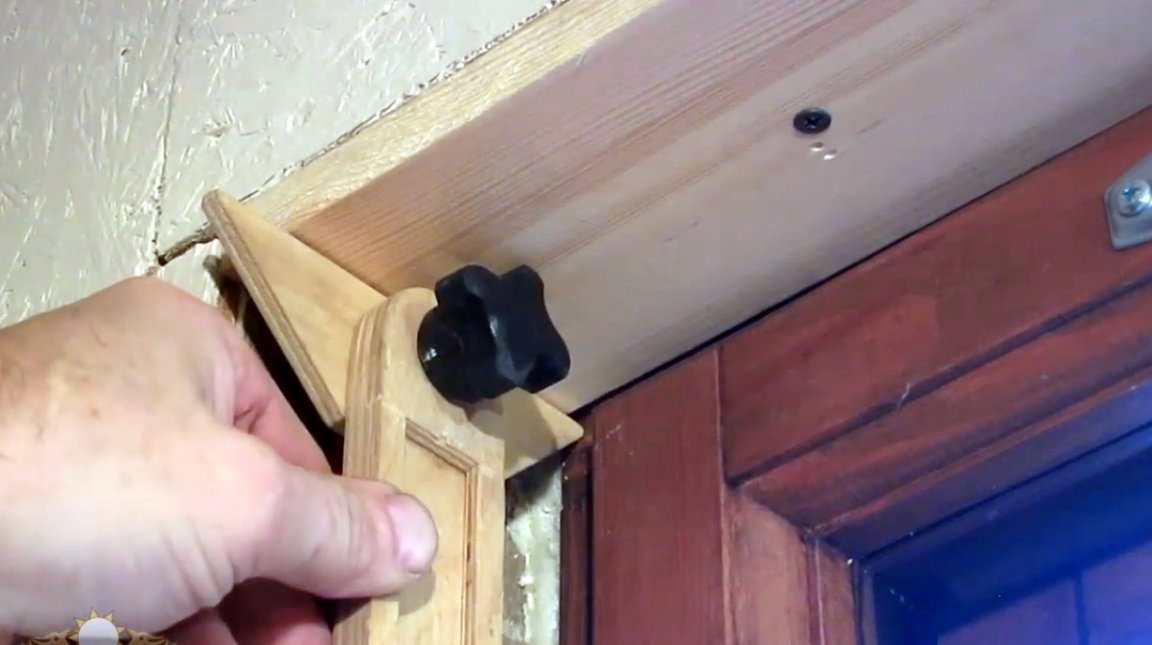
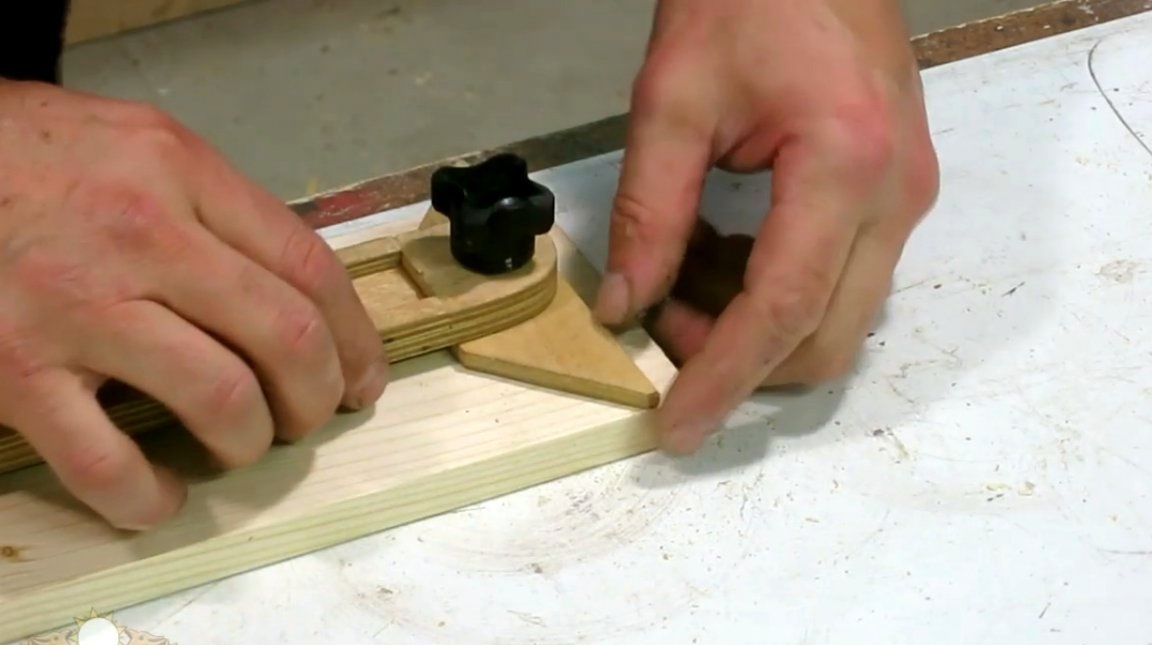
Now the stops are screwed to the base of the ruler and the slider with the wing nuts. So they will be easy and convenient to fix in the desired position.
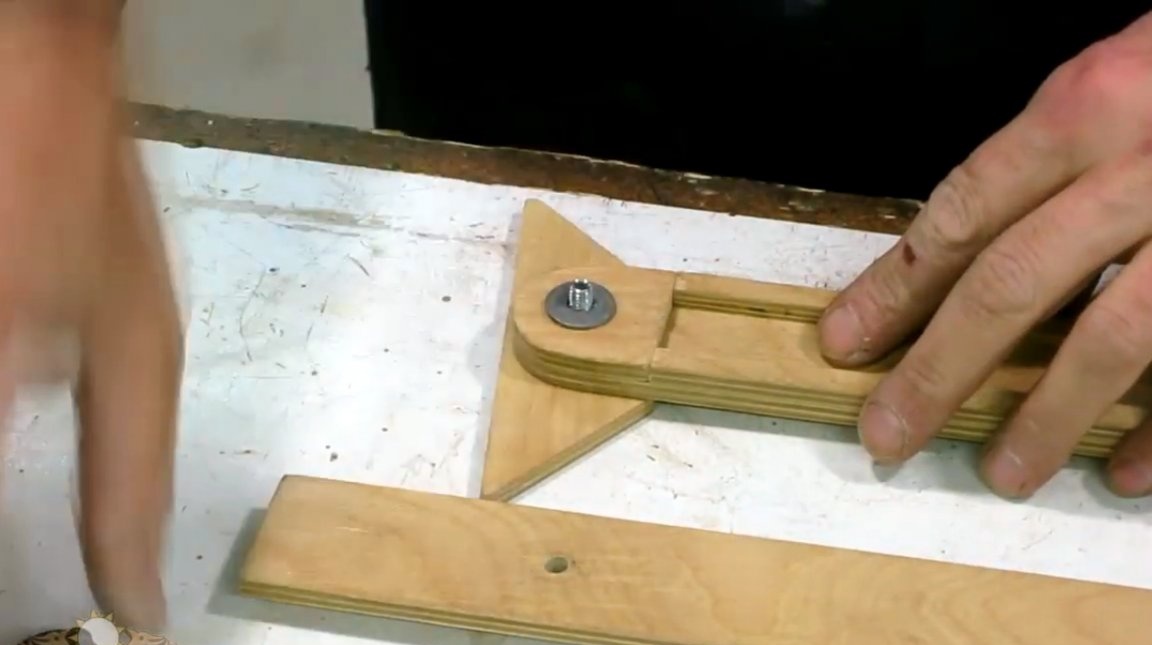
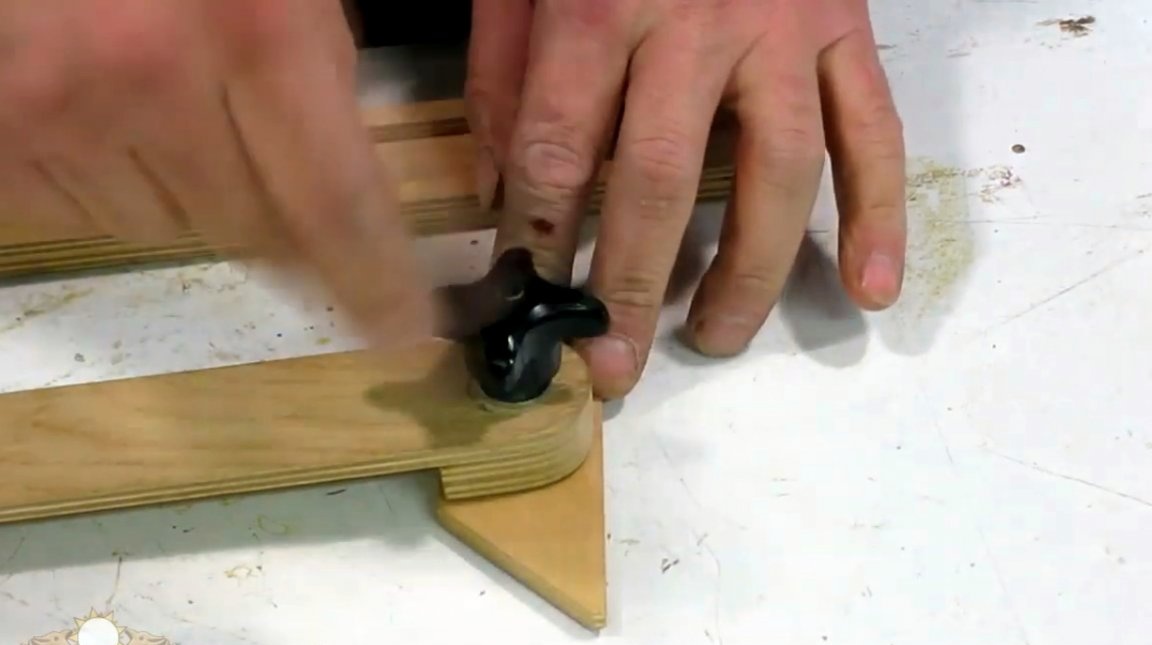
A screw M6 with a conical head is also inserted into the hole near the fork of the slider, and a wing nut is screwed on it.
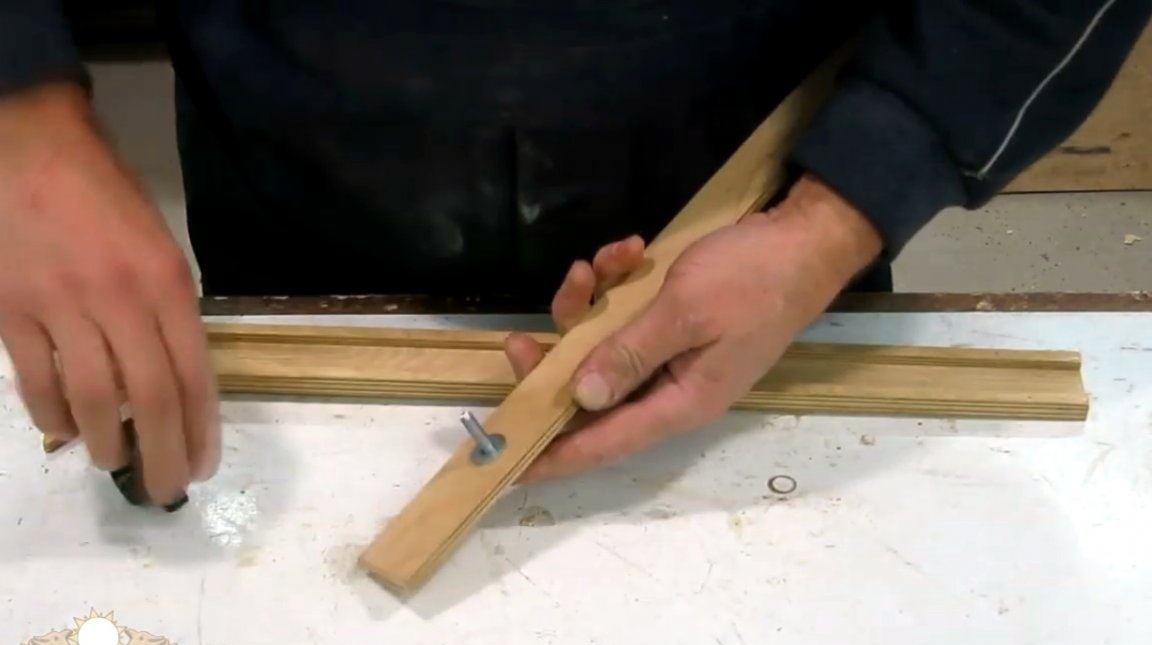
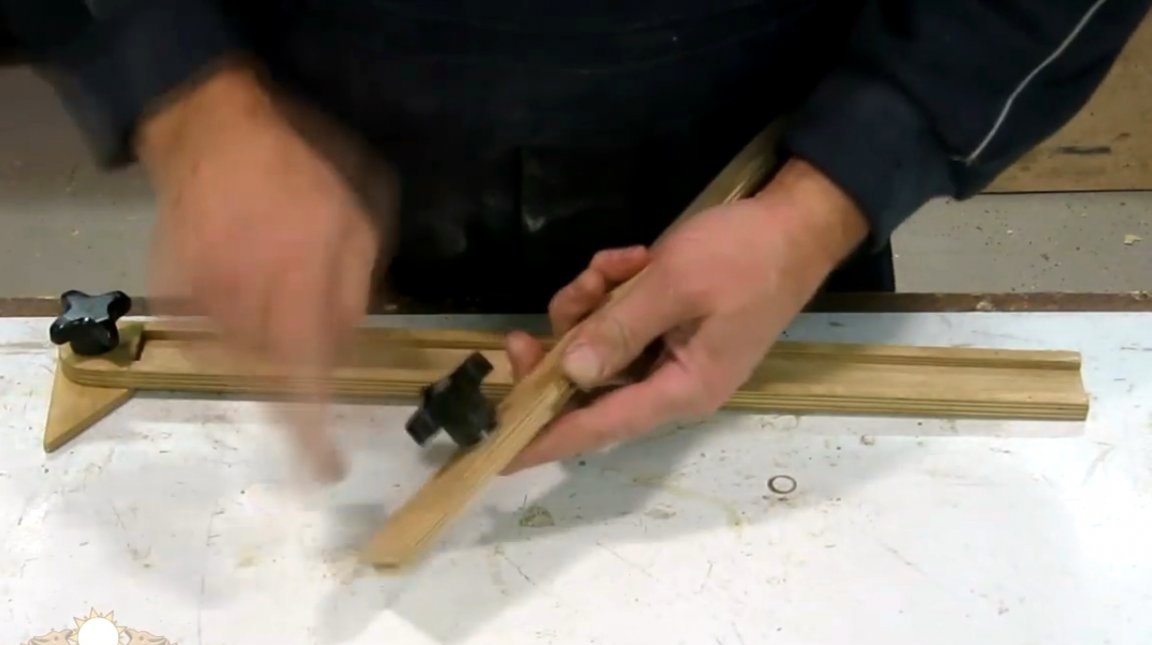
How does such a clamp work? Everything is simple. When tightening the nut, the screw slightly unclenches the antennae with its hat in different directions, and they block the slider at the base of the ruler.
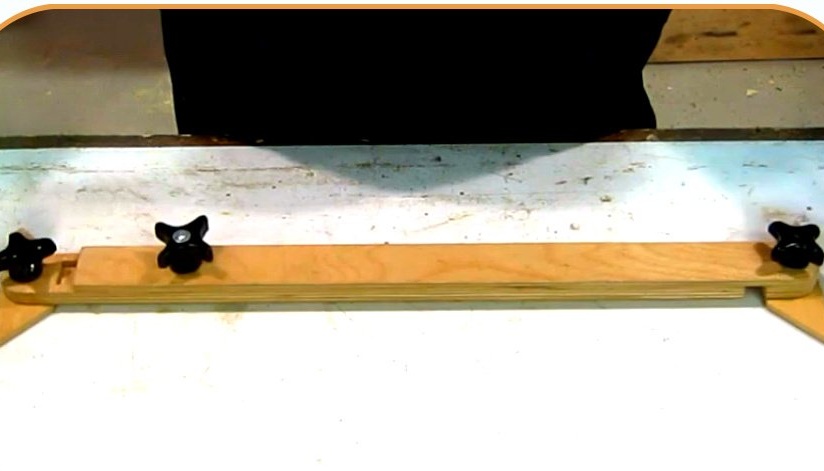
So, the tool is assembled, and the author tells how to use it.
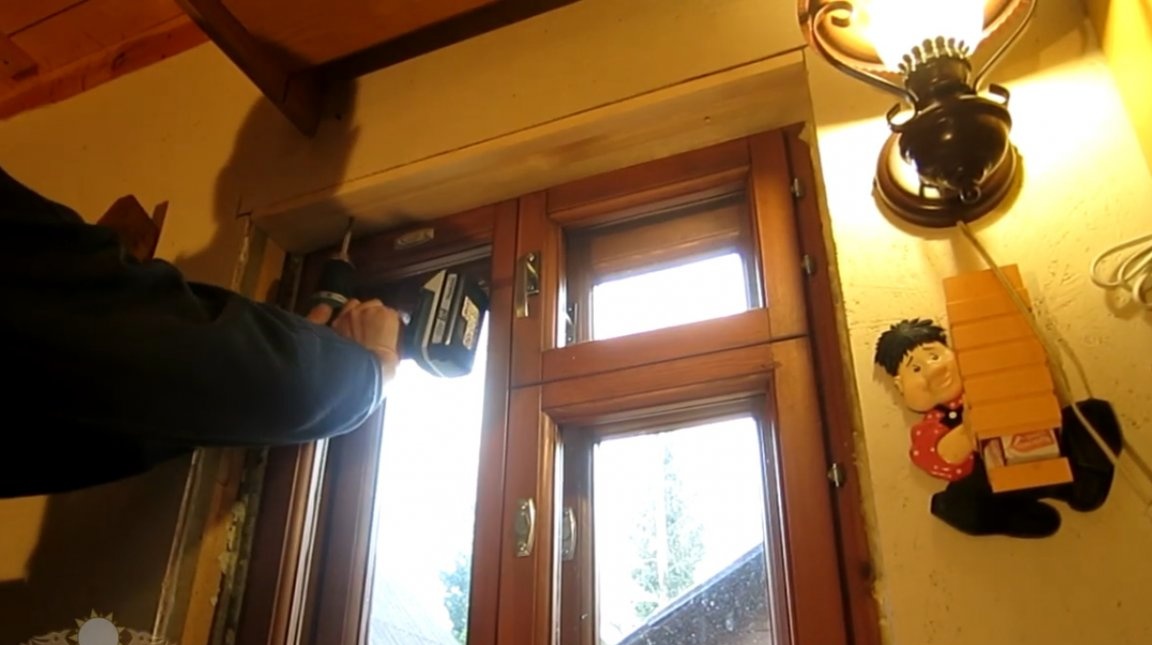
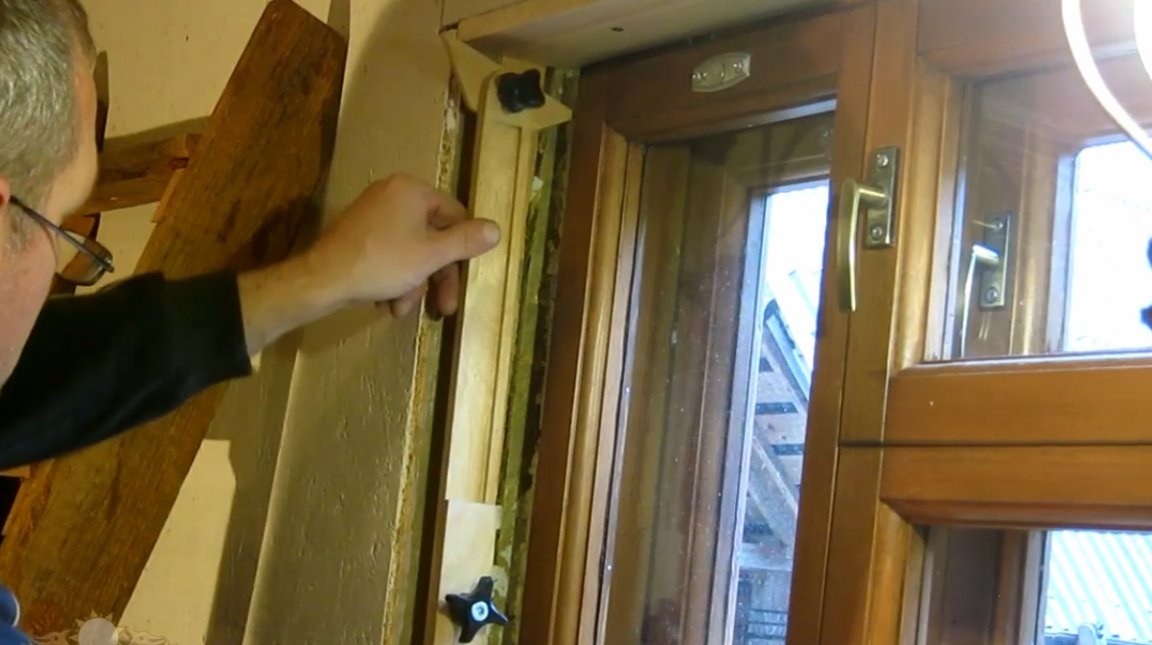
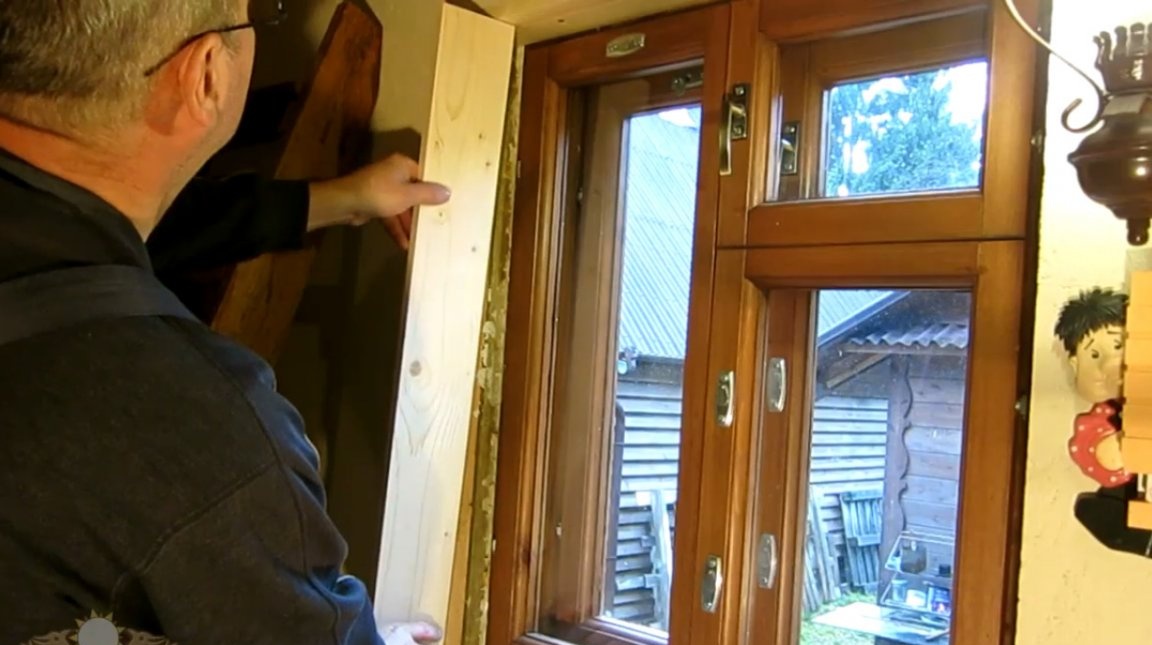
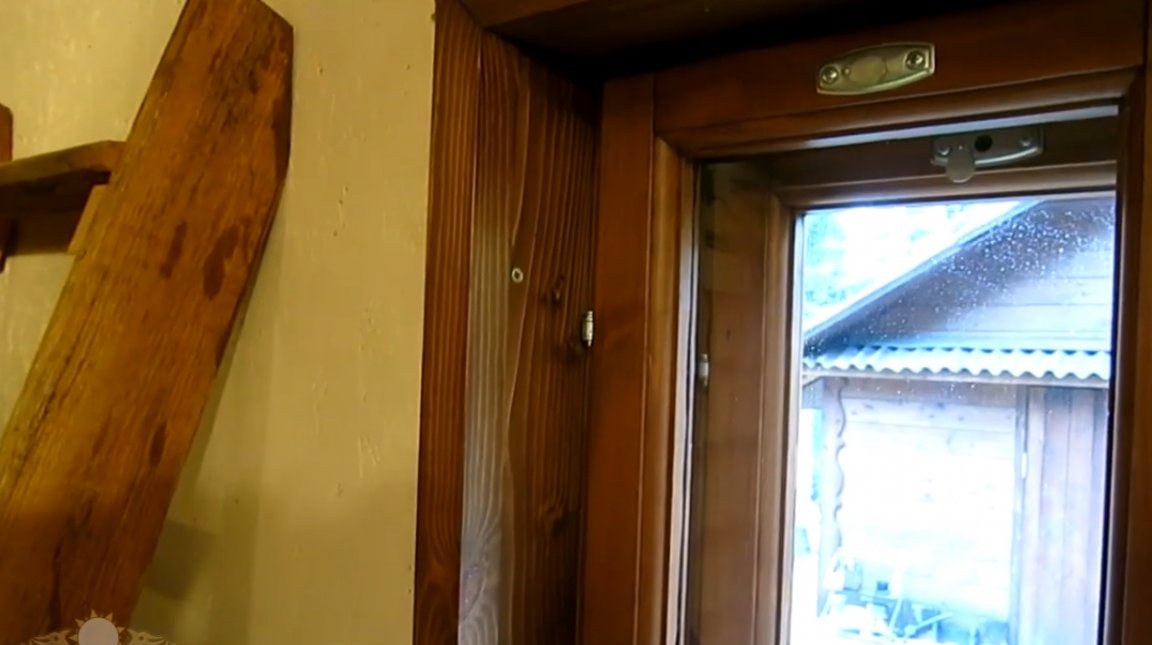
He fixes on the slope of the window its upper part and window sill.

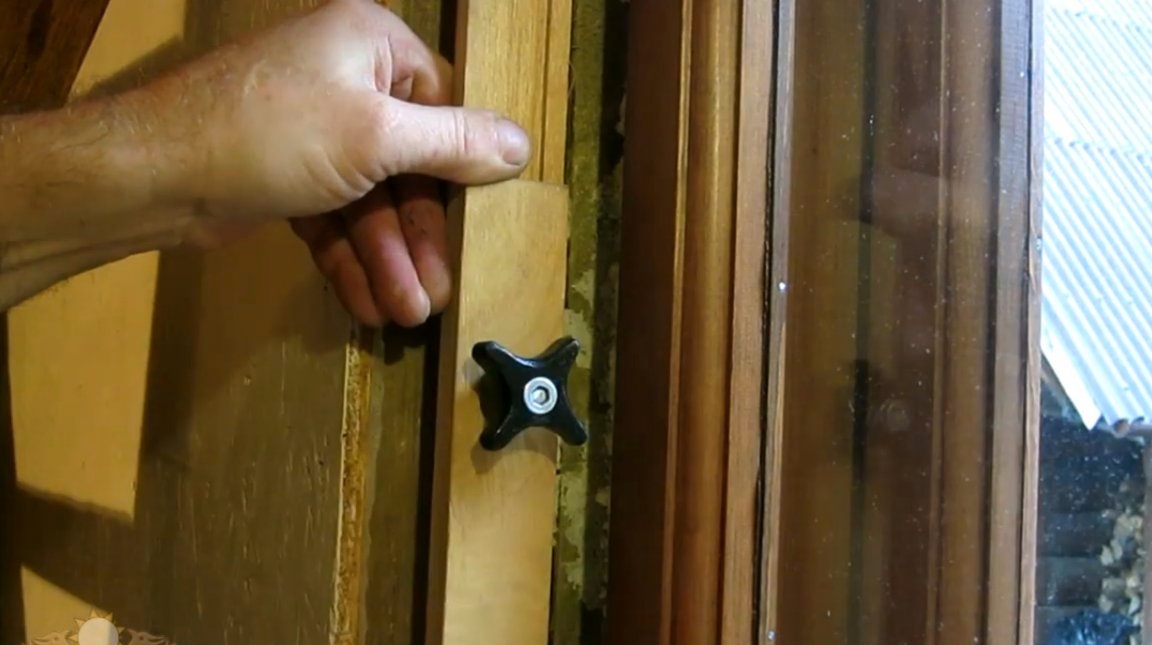
In order to accurately cut the sides and need such a ruler. The bottom stop is pressed with its edge to the window frame, then the nut is tightened.
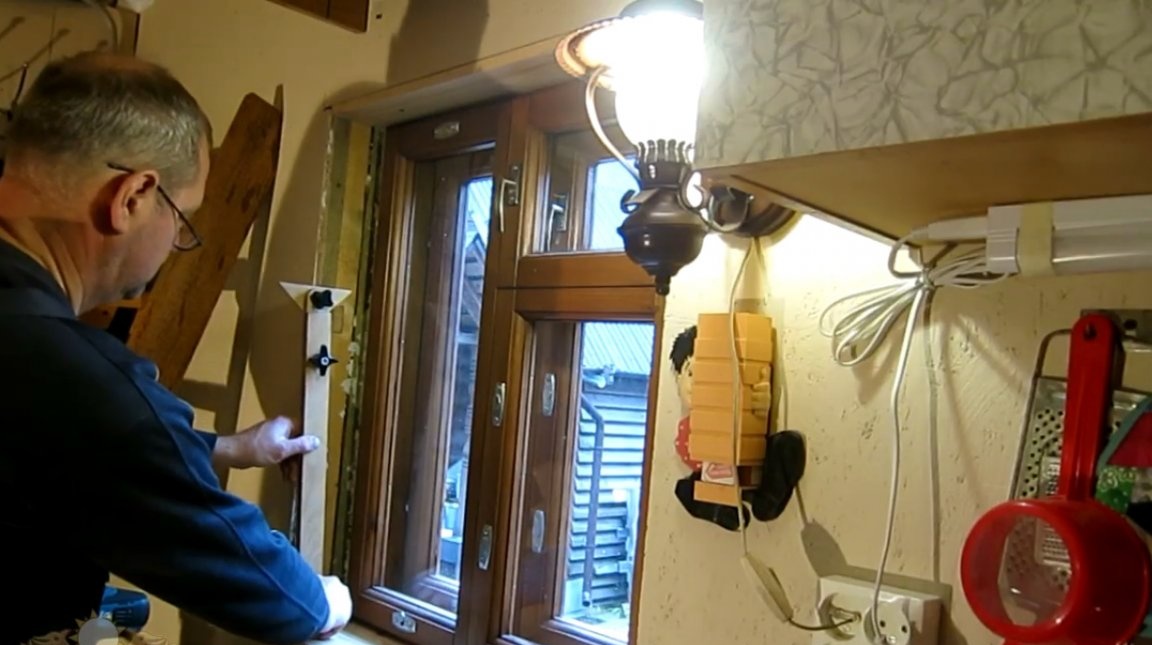
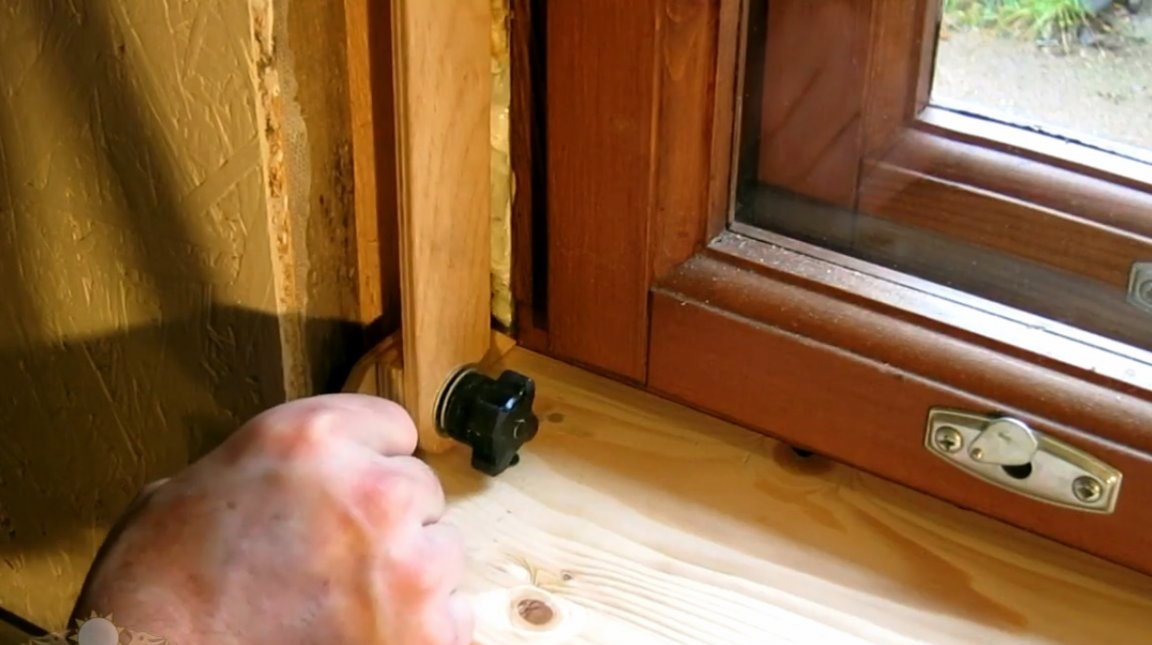
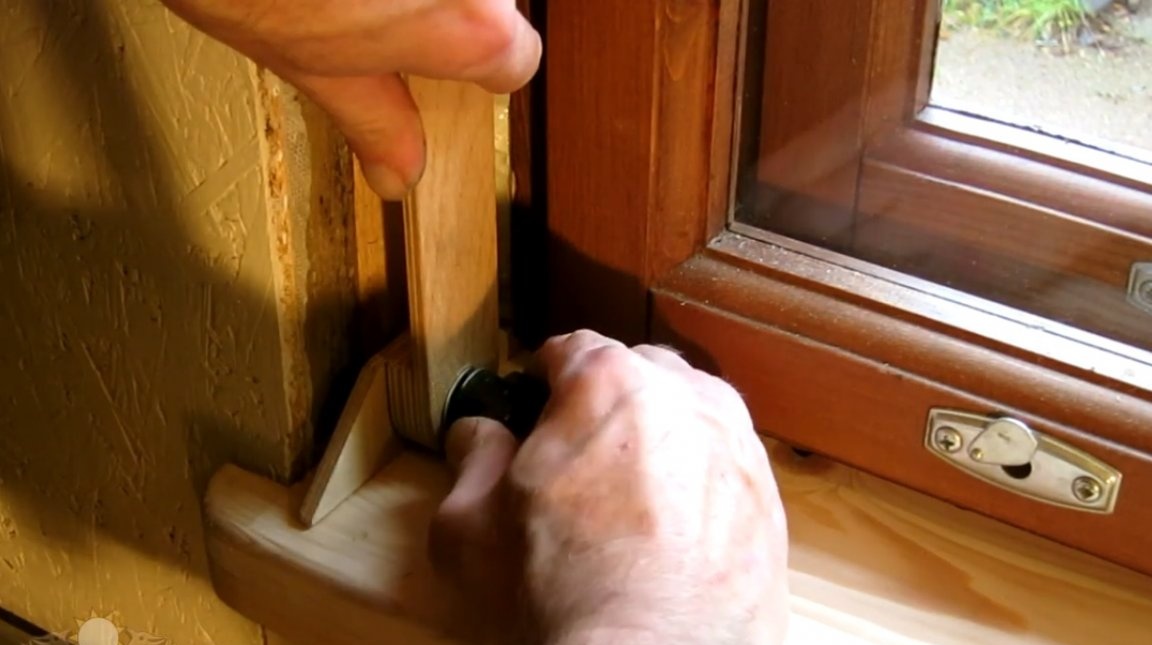
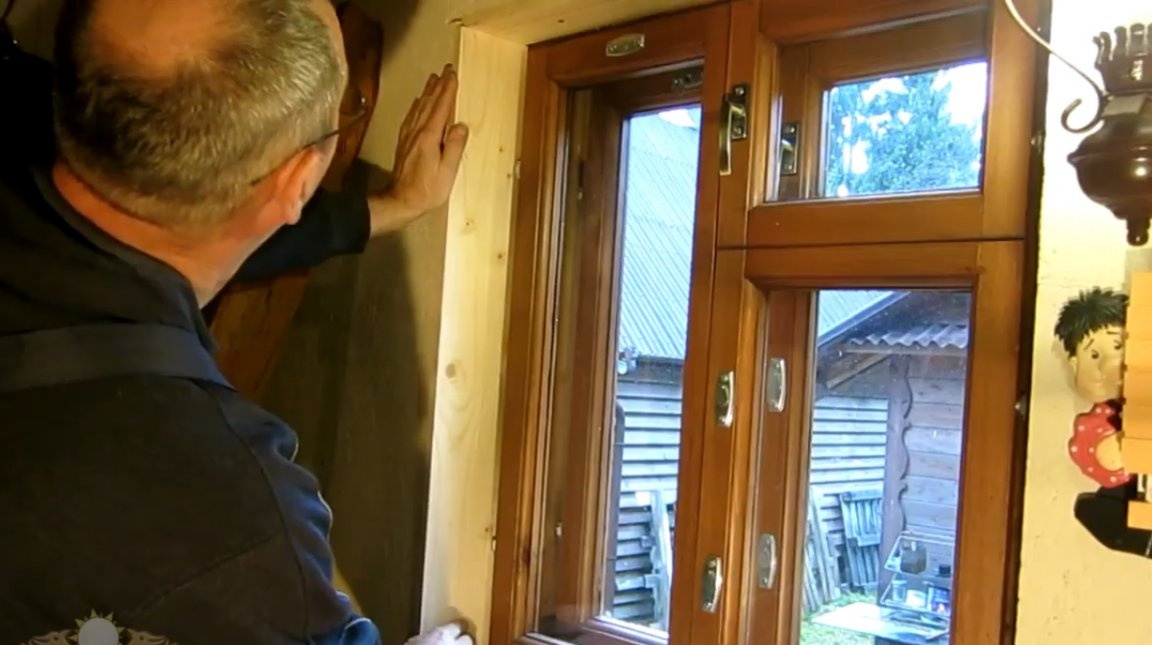
The line extends until the upper stop is aligned with the surface of the slope. Its edge also needs to rest against the frame, and fix the position with a screw.

Last fixed central clamping screw, blocking the ruler in length.

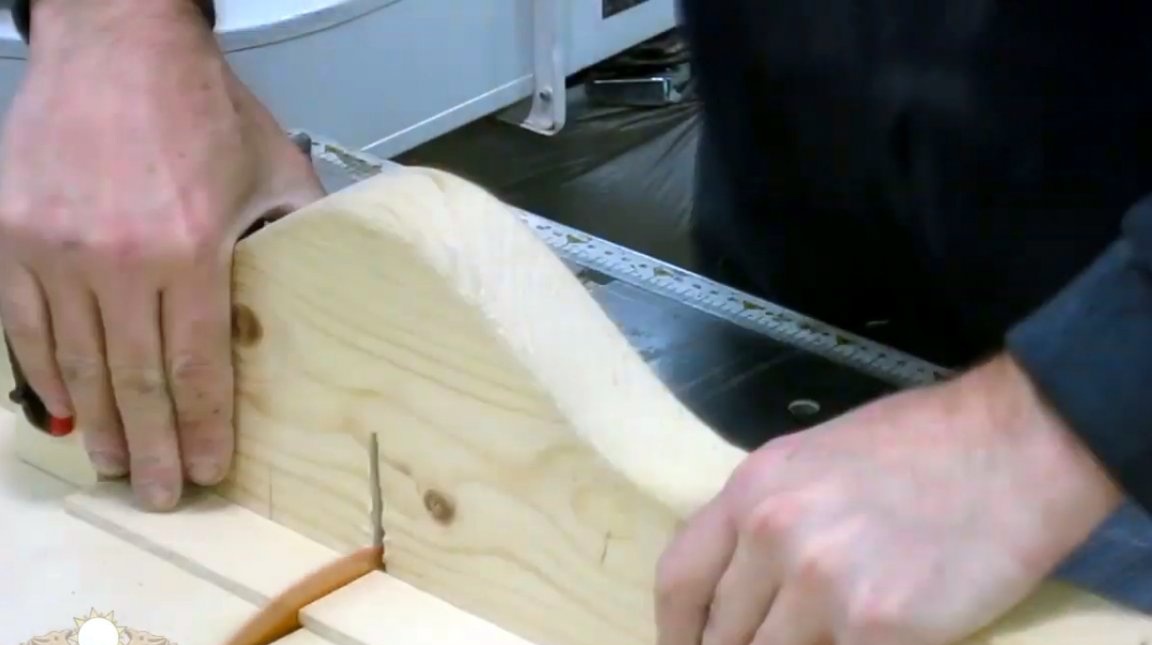
It remains only to attach a ruler to the workpiece for slope, precisely align the edges of the stops with the edge of the workpiece, and apply marking.

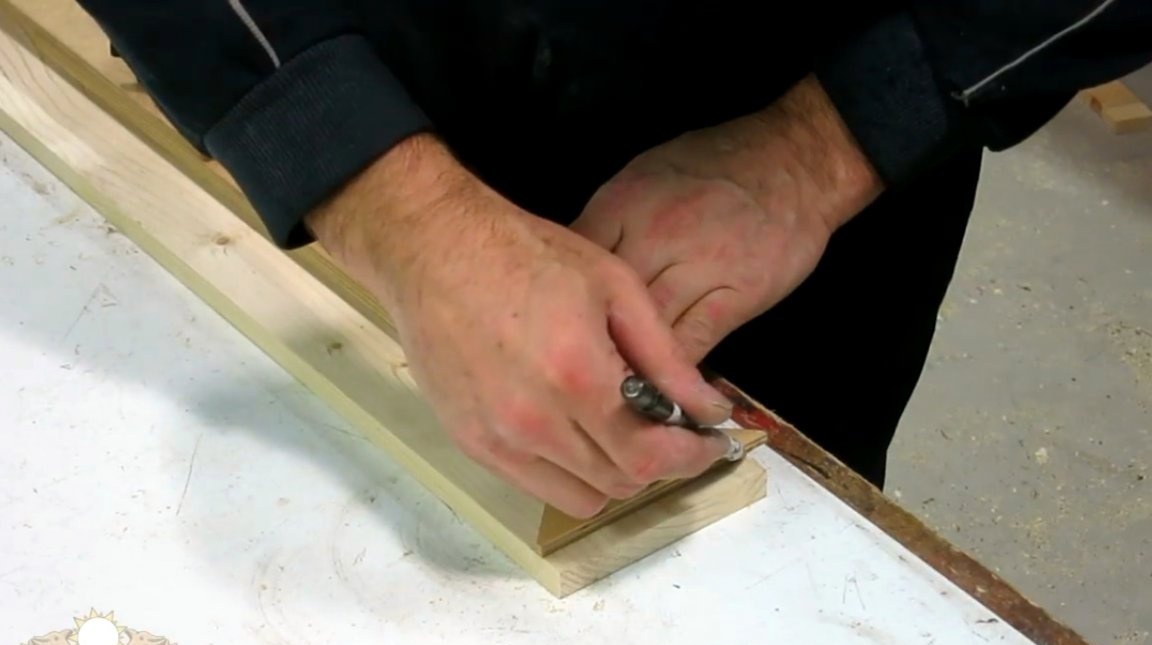
Excess material is cut with a saw, given that the cut should be done along the edge of the mark.
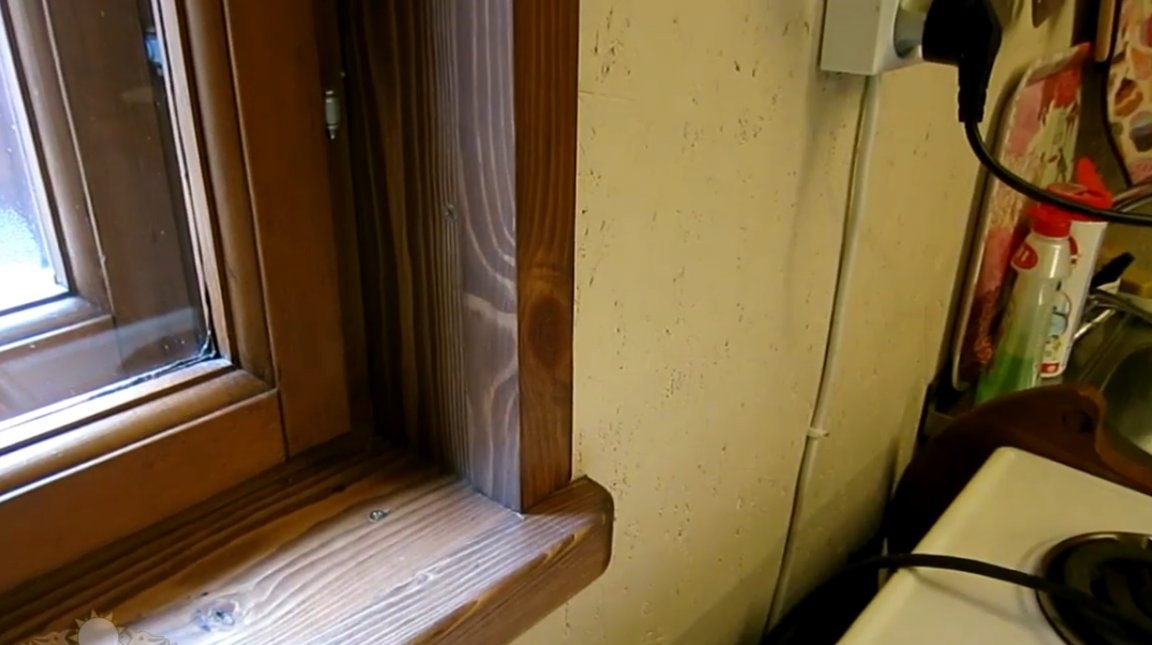
Now the part is installed in its place, and there are no gaps or distortions.
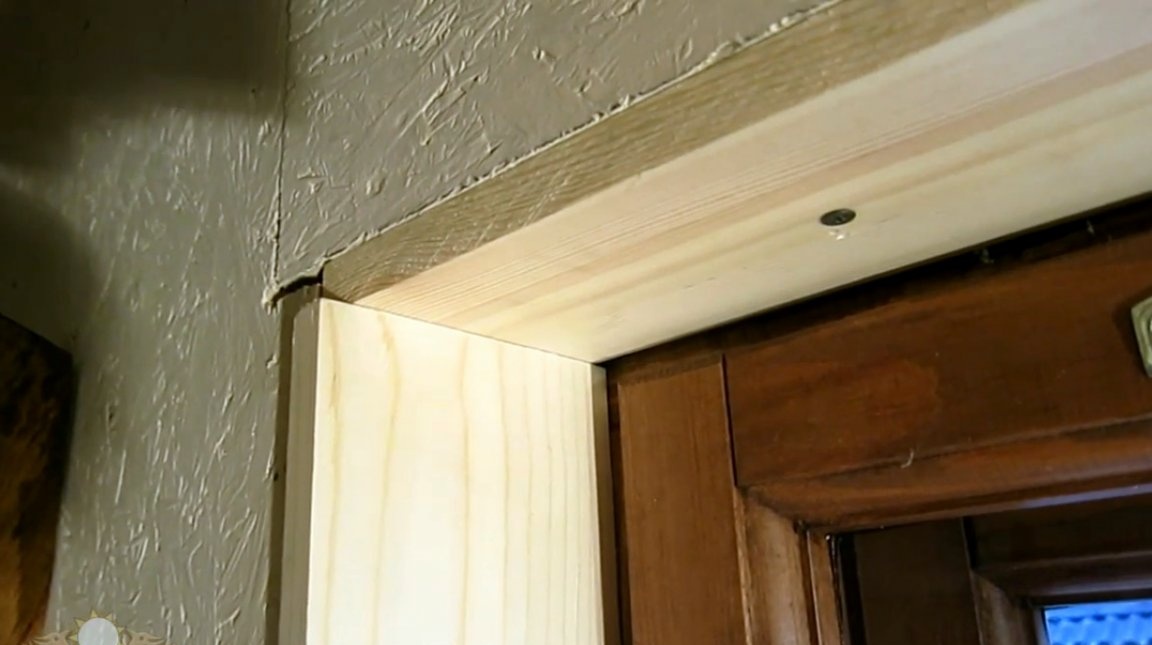
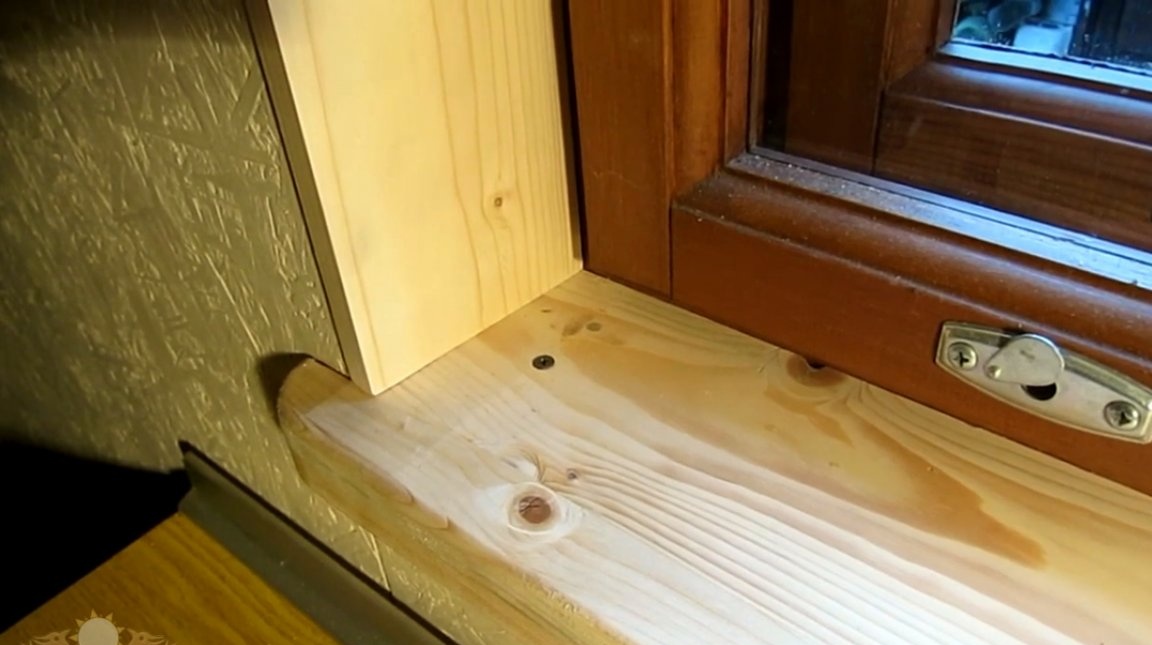
After finishing the wood, the slopes look perfect (except that the screw caps could be masked).
The master also kindly provided a drawing of his homemade line, which can be downloaded from the following the link. Specifically this model the ruler can measure from 400 to 900 mm, but no one bothers to make it either longer or shorter.
Of course, this tool can also be useful for performing other similar tasks, for example, transferring templates of parts with beveled ends to workpieces to be processed.
I thank the author for a simple but useful measuring device!
All good mood, good luck, and interesting ideas!
Author video can be found here.
Want to know your zip code, but only the recipient’s address? The index and post office search engine will help you with this. - information is provided by the Federal Information Address System.