
Good day! For those who are too lazy to read;) here is a video of the manufacturing process
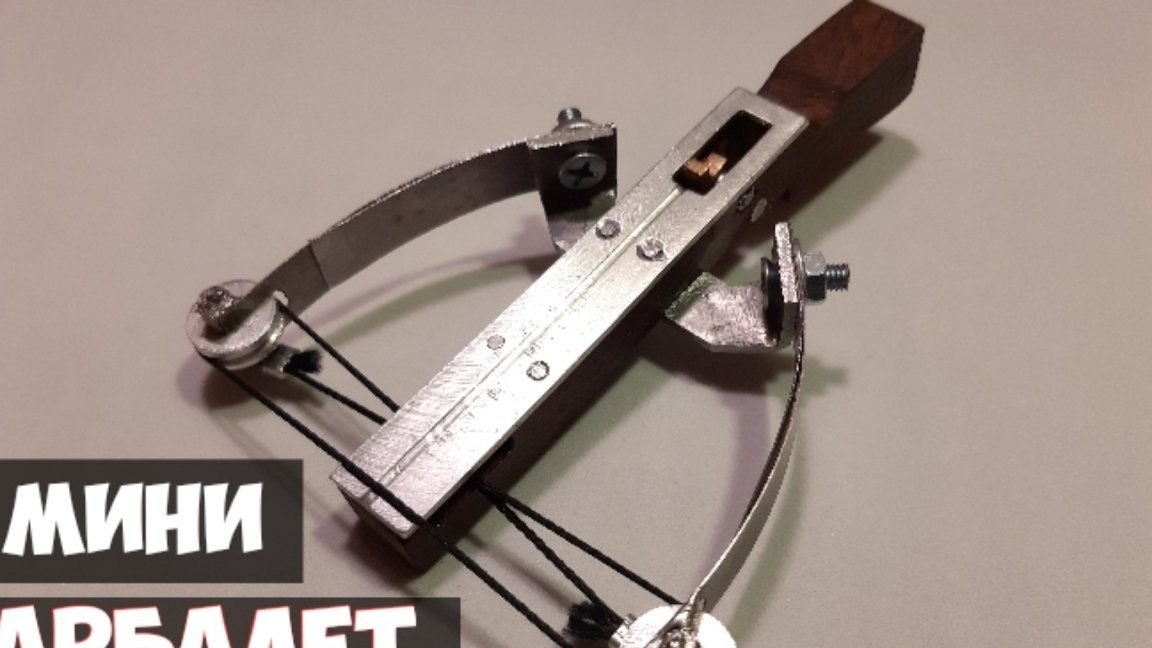
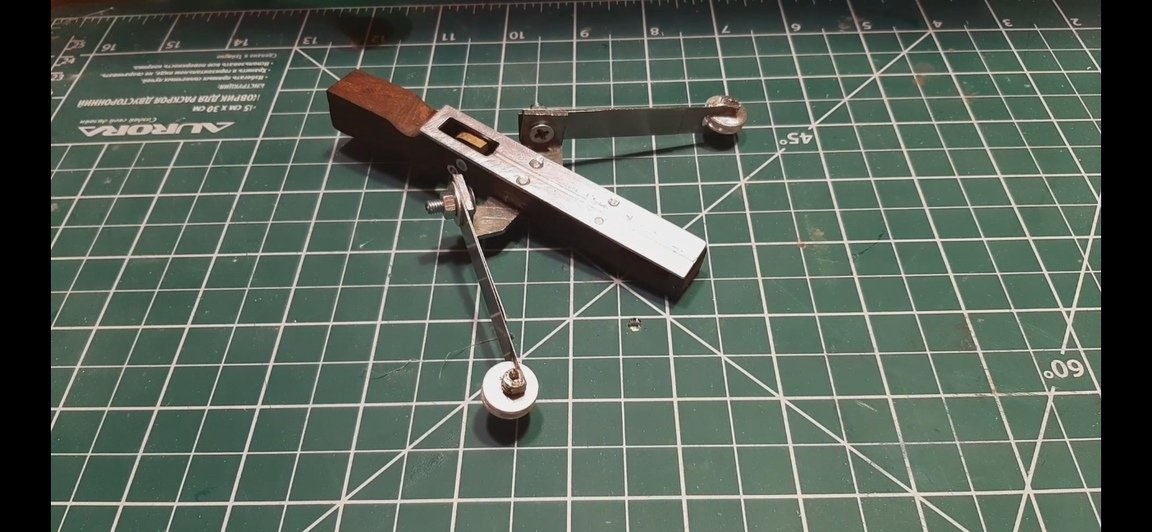
Recently I got excited about the idea of creating a miniature version of a block crossbow, a piece of mahogany was left at hand from the main hobby and a little tool, as in general it happens - I got everything else on flea markets, the idea is not new and the authorship does not rest on my shoulders - I’m just a little bit changed the design of this device, so it turned out pretty not a bad unit can be considered a collection - a keychain! though it still needs to be brought to the ideal with sandpaper and polishing, but in general, you have to judge!
And for this I painted below a more detailed manufacturing instructions and so let's get started!
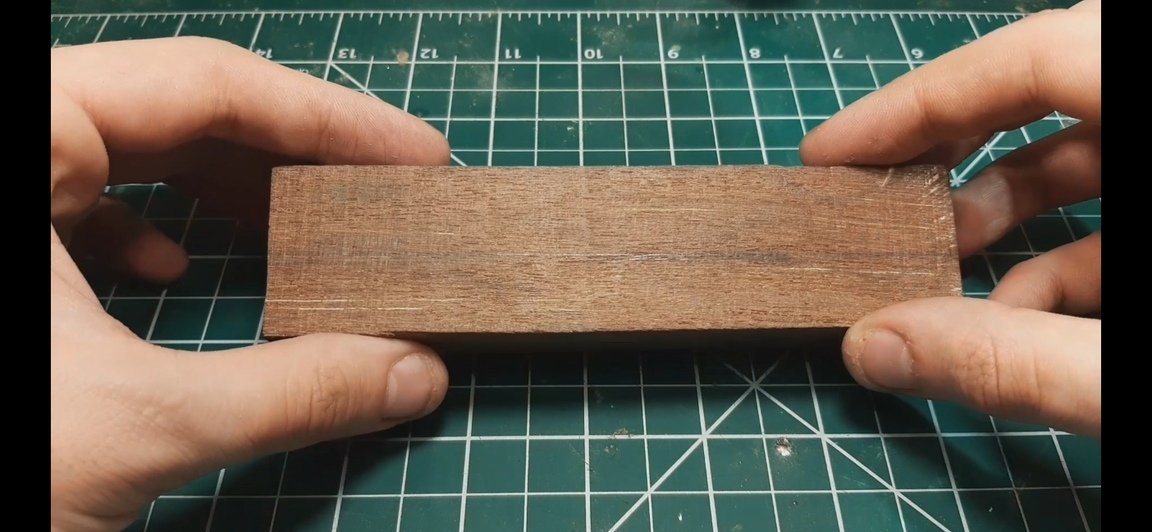
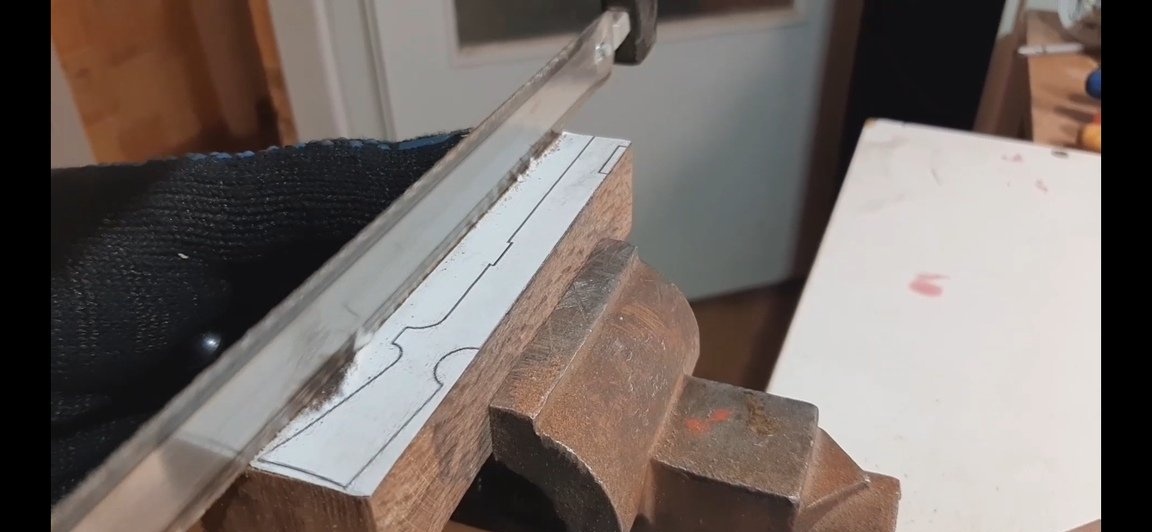
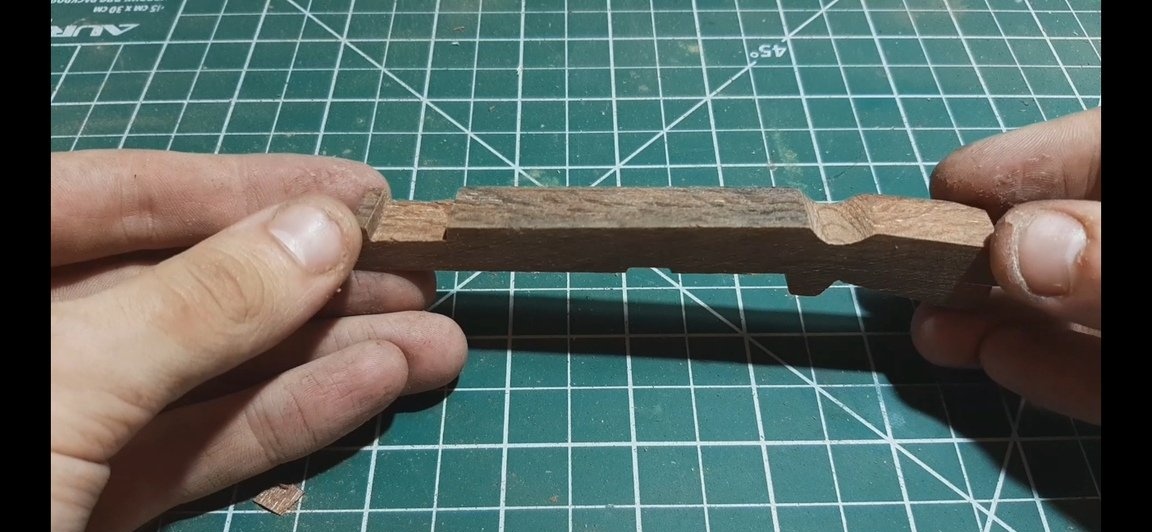
1 - Mahogany wood block
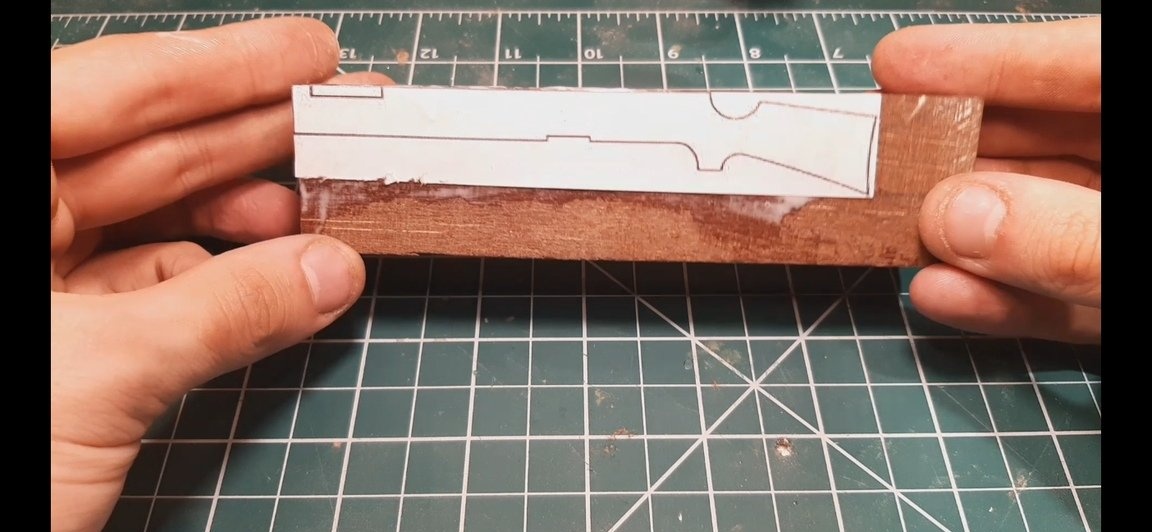
the first step is to prepare the surface and stick the template
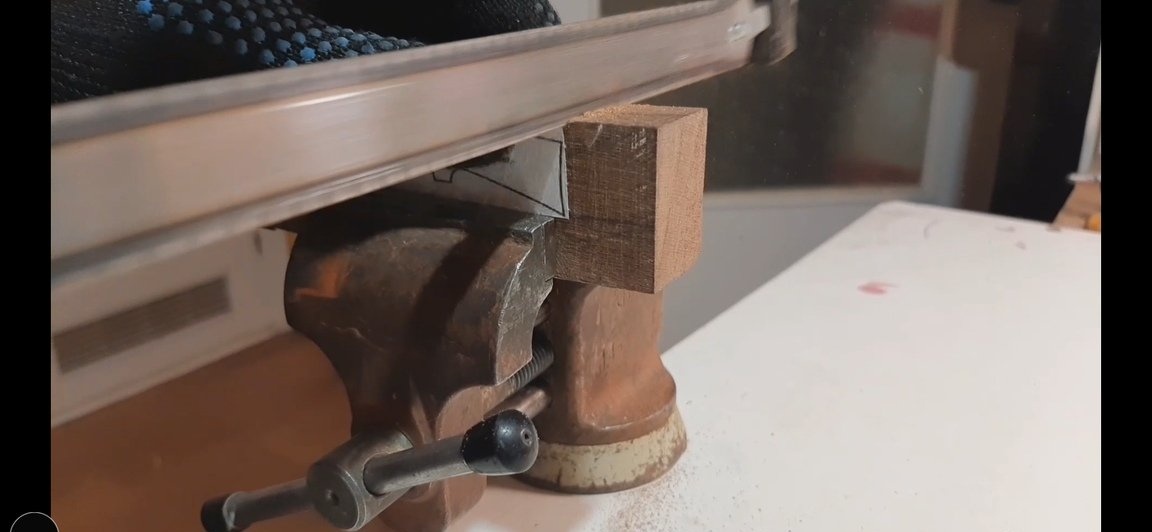
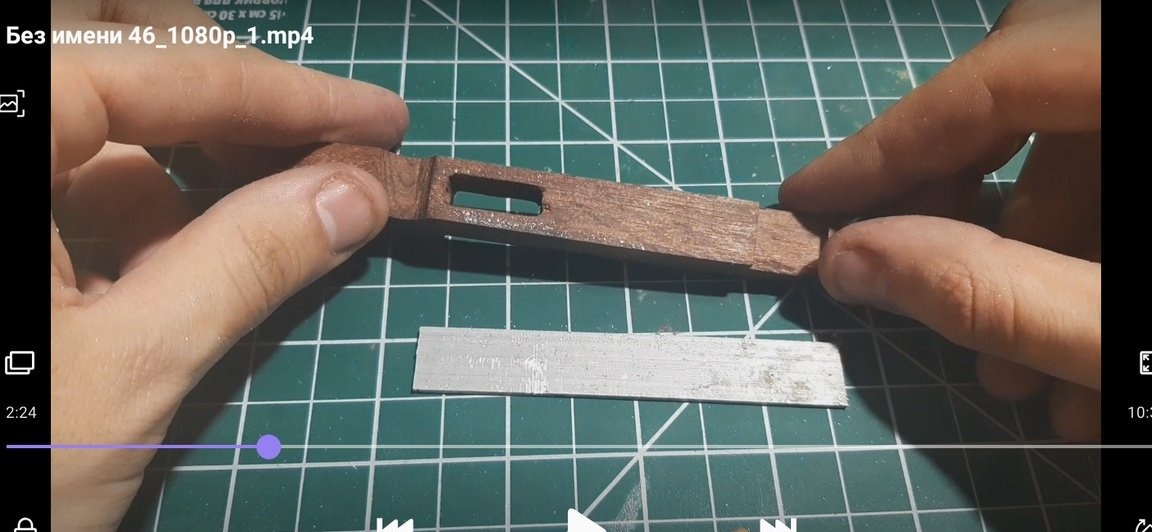
2 - Using a saw or a jigsaw, we cut out the necessary part for the subsequent giving the necessary outlines according to the template
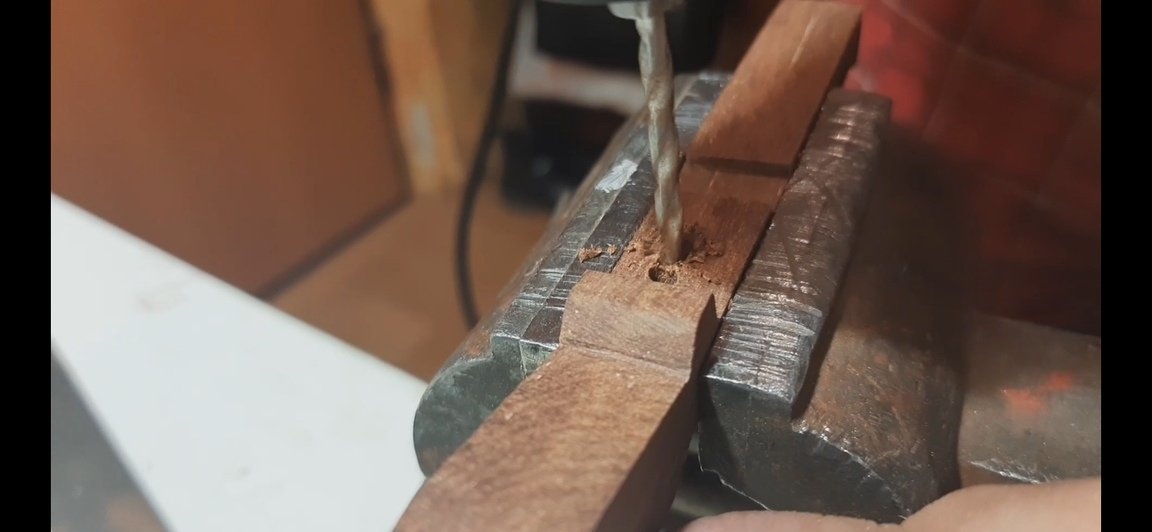
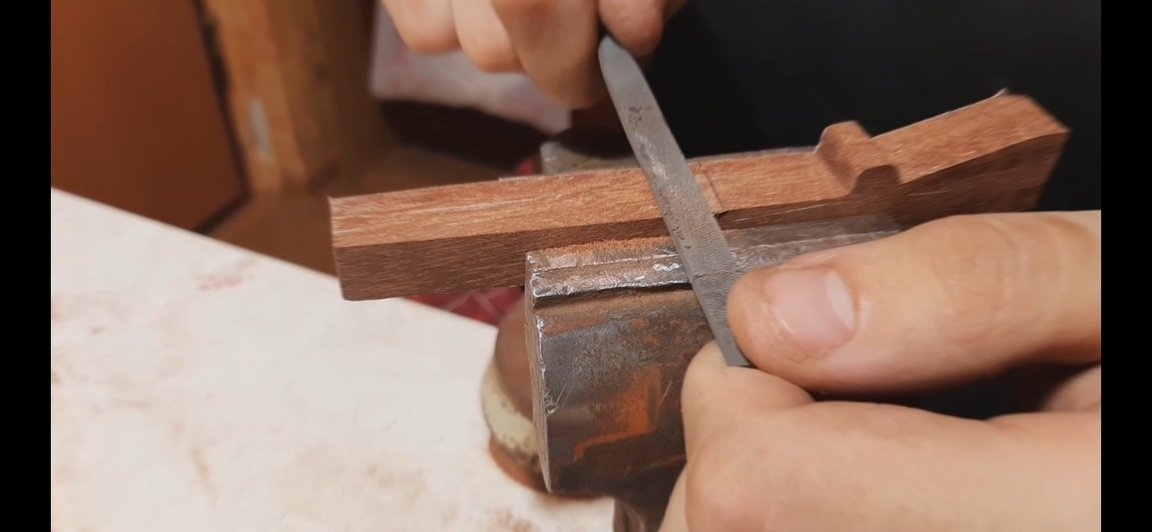
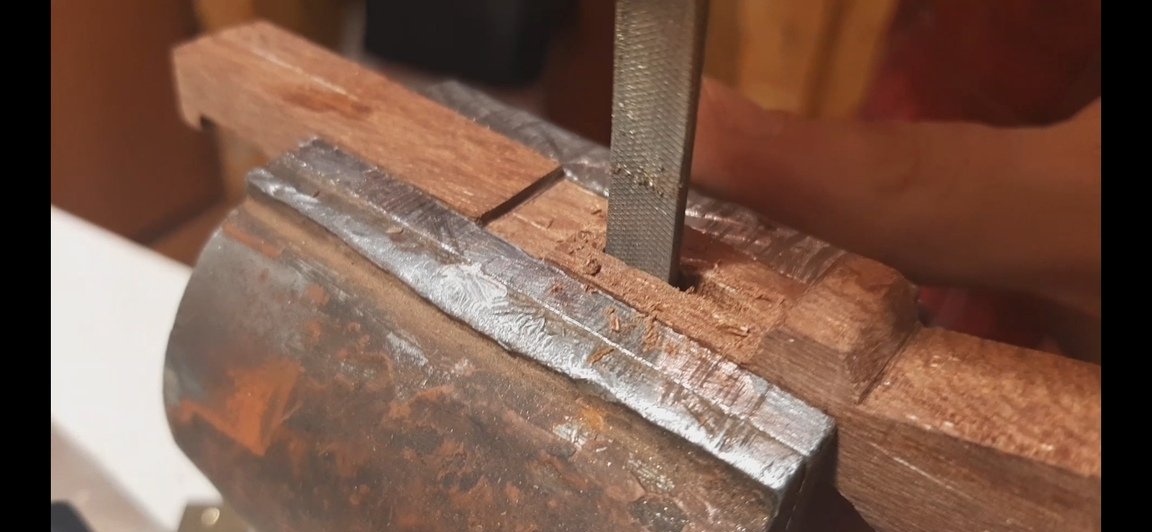
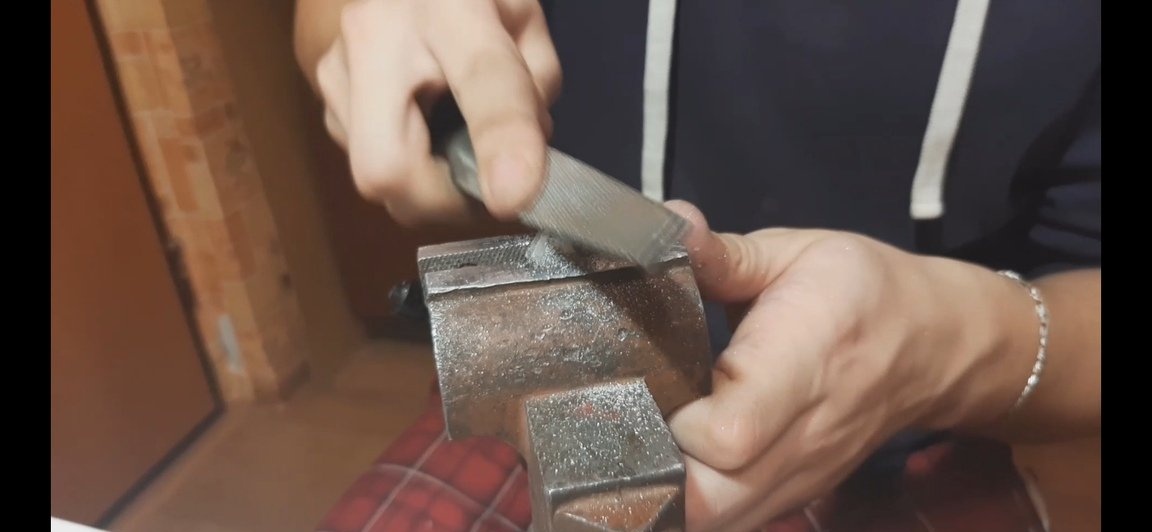
3 - with the help of a drill and files, we make refinement according to the template
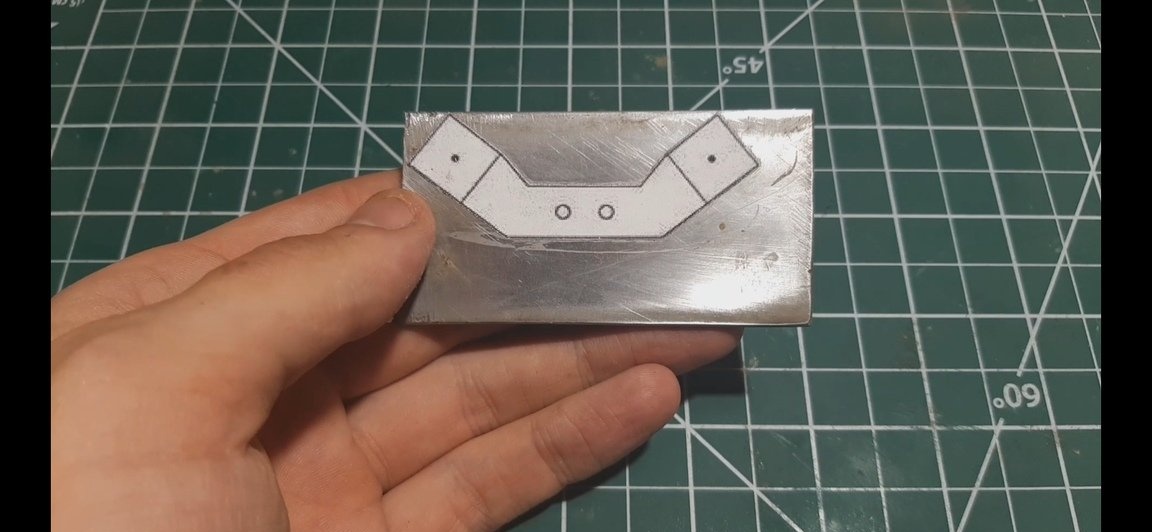
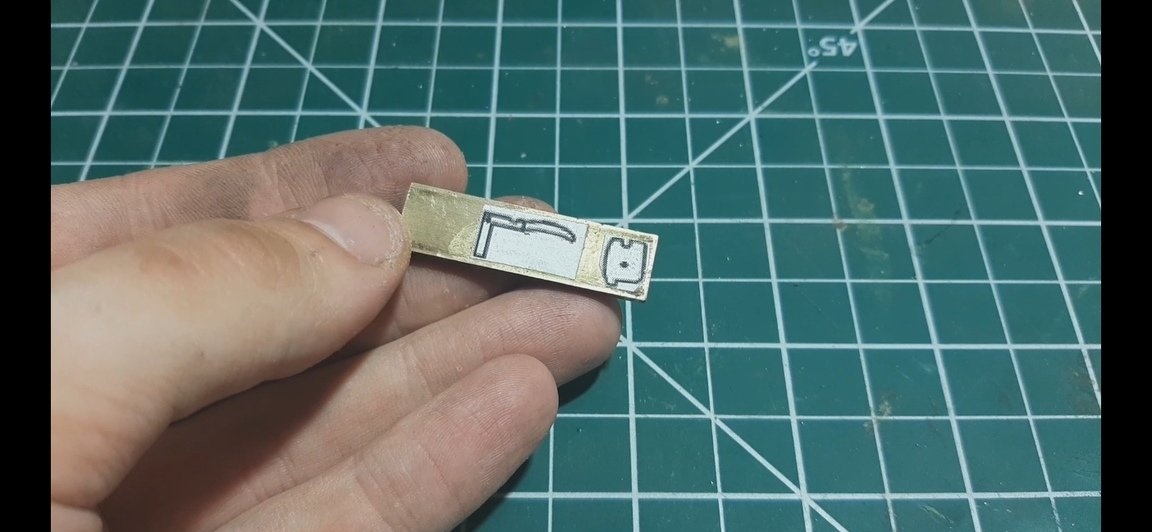
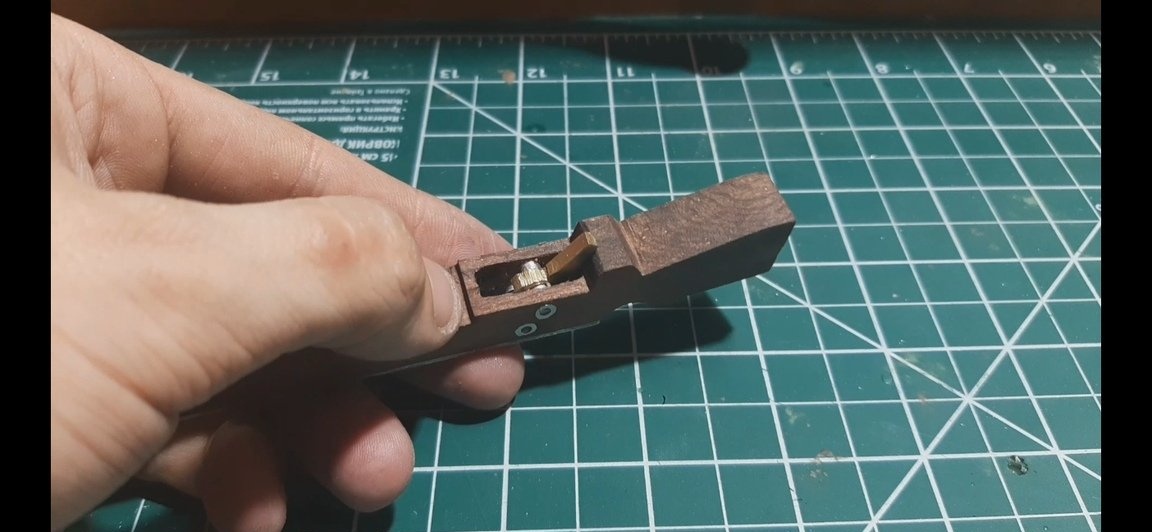
4 - Next, it is necessary to stick the templates in my case on 2 mm steel and 3 mm brass bar
drill technological holes with metal drills in steel, 4 mm each and 2 mm brass
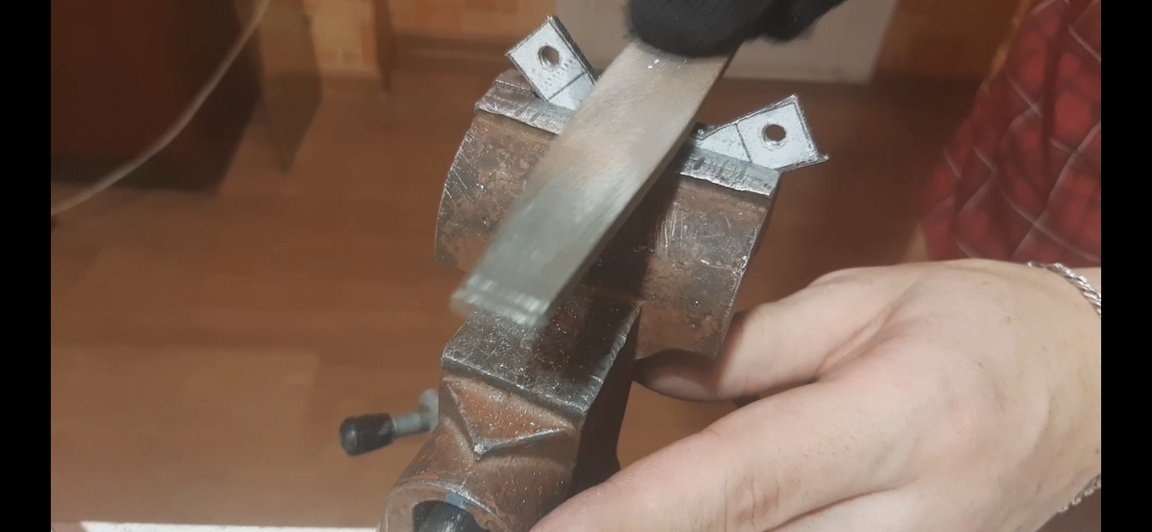
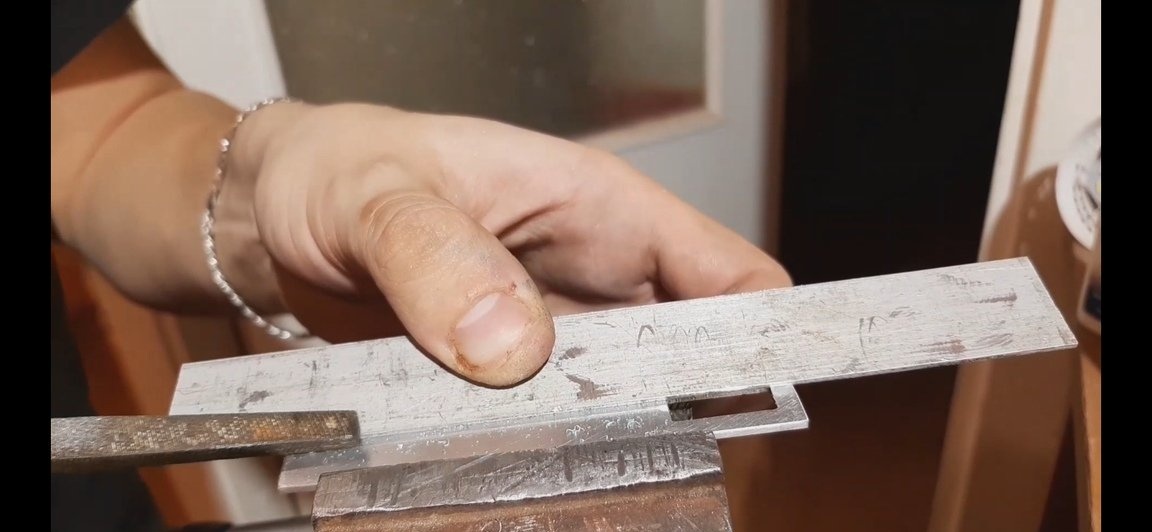
5 - From aluminum 1 mm thick (corner), we cut out a plate to the size of the upper part of the crossbow bed, then grind it and also cut out a rectangular hole for the trigger, using a file or a triangular file we carefully make a groove for laying bolts
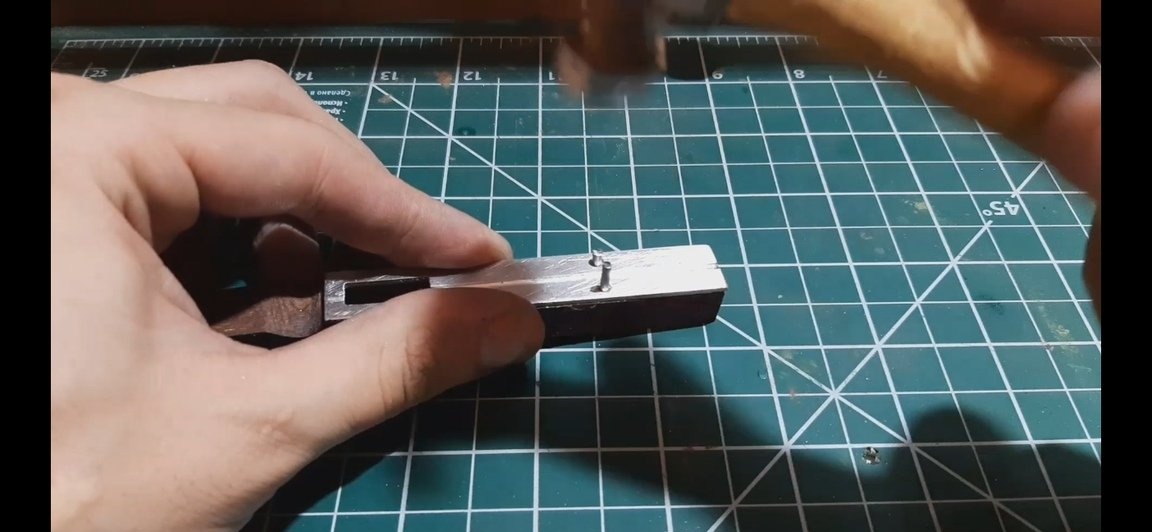
6 - We drill a few holes in the pad of aluminum and dumb in the bed, with segments of 1 cm from the rivet nail, hammer and process with a file
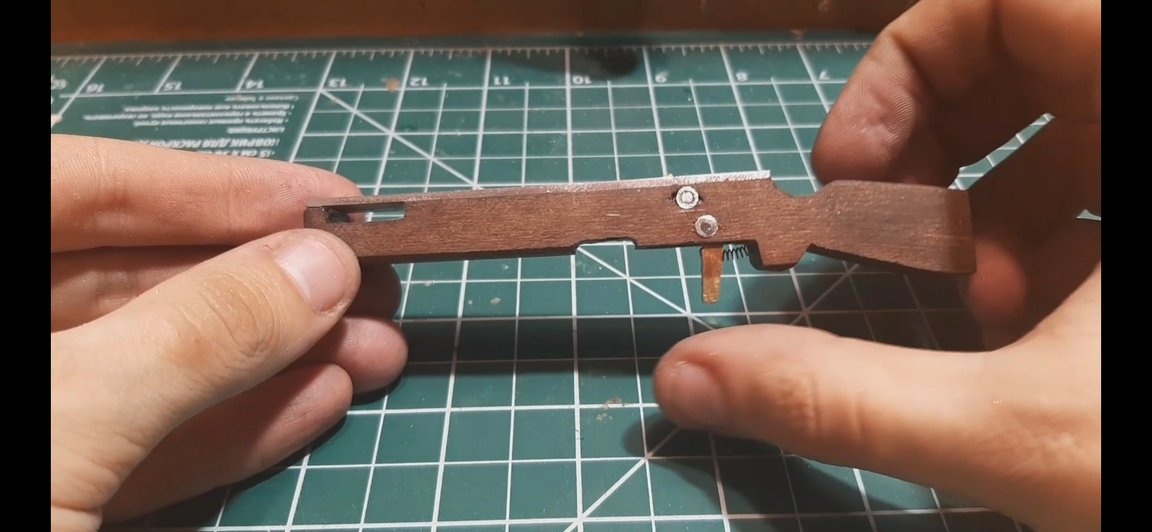
7 - by arranging a sawn-off brass mechanism near a rectangular hole previously done, you can try on and make 2 holes for the pins, first 4 mm, and already a segment from the hat part of the rivet is inserted into this hole - the tubes are glued to epoxy in my case
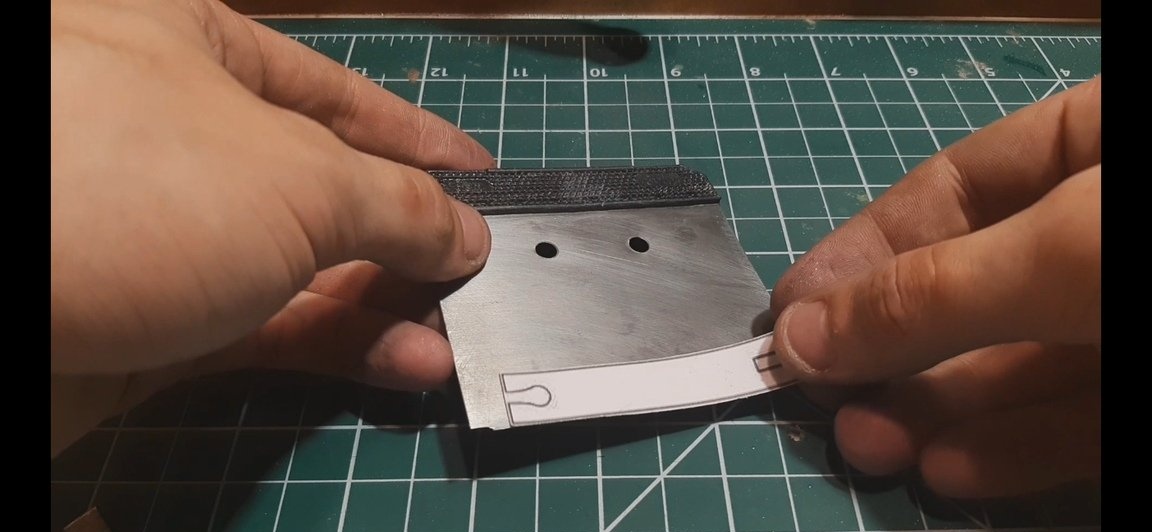
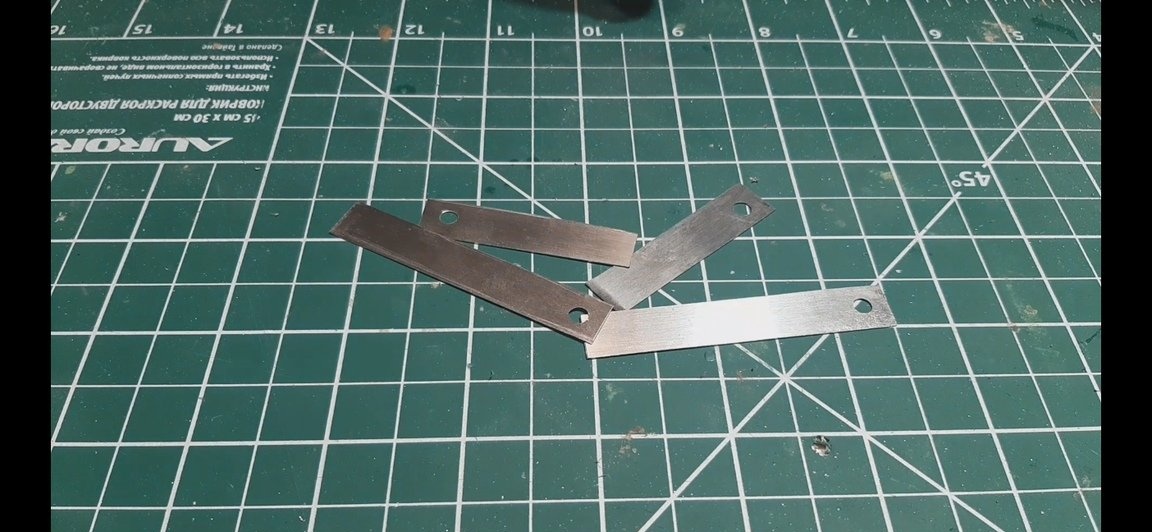
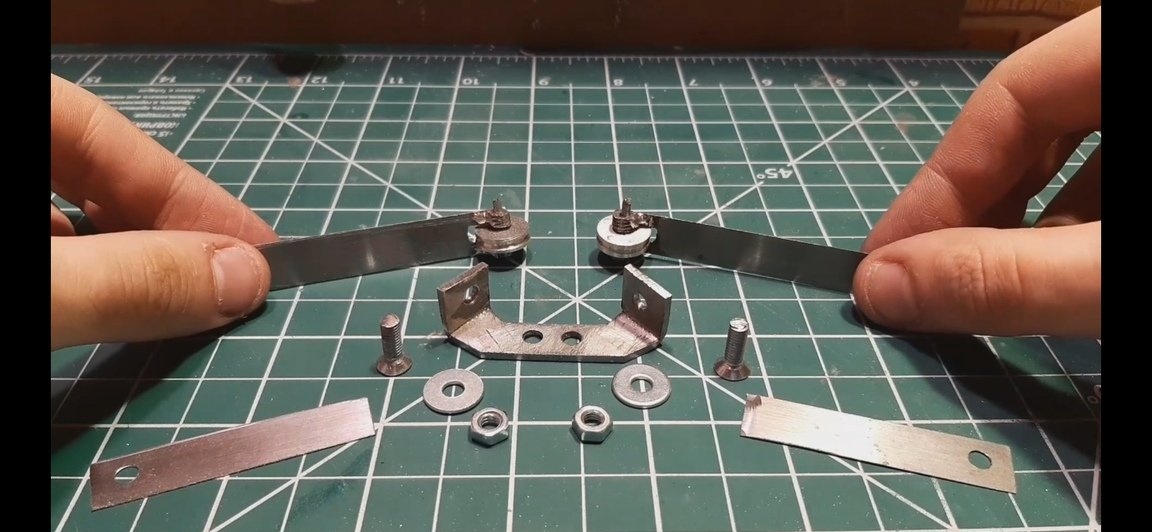
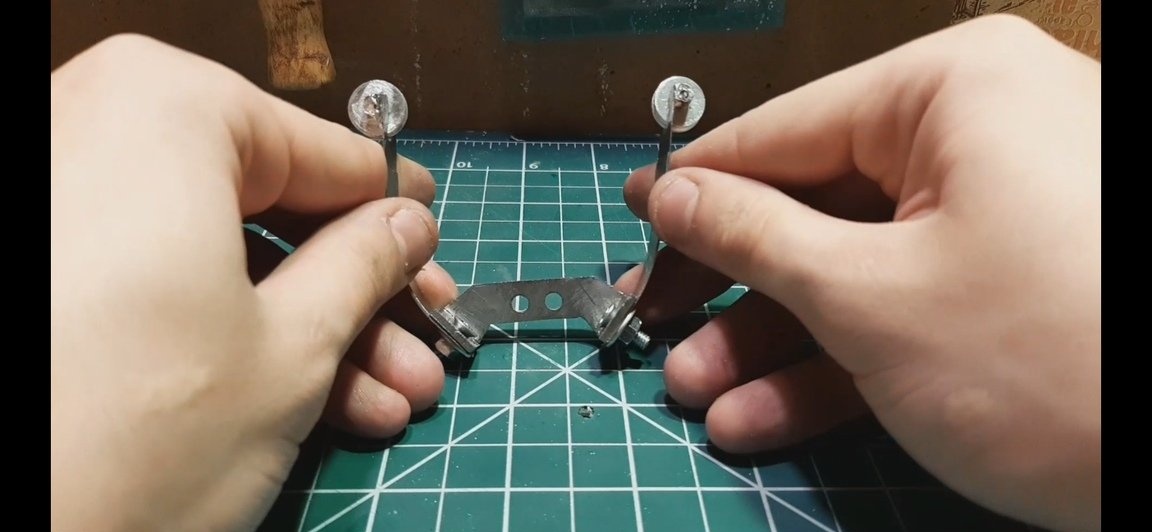
8 - To create arcs, we need a spatula made of fix price - made of elastic steel (which surprised me at this price) - according to the template, it is necessary to cut 4 segments 2 long and 2 shorter to strengthen the tensile force
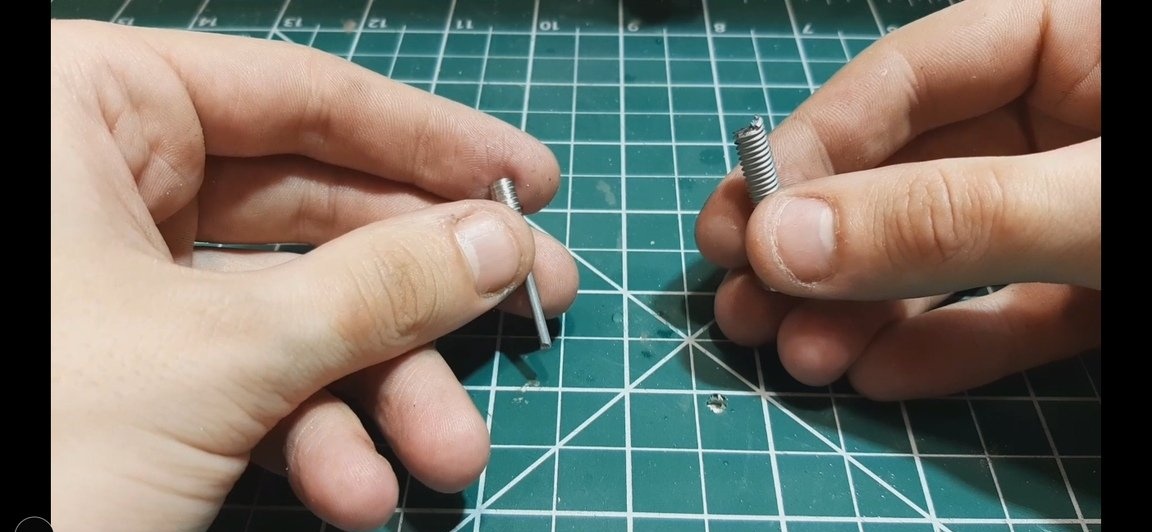
drill holes for the m4 - 4mm screw and make a slot for the block holders, it is also necessary to drill a bolt (in my case m6 - strip the thread with a piece equal to the width of the arc and solder it as shown in the photo - then the middle is cut off and put in place on the pin block
 [/ center]
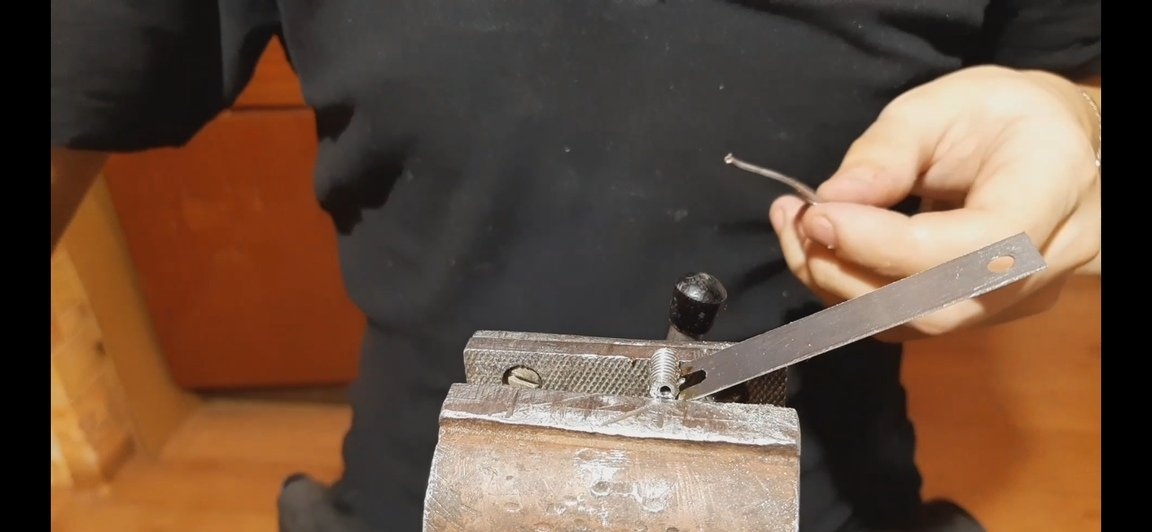
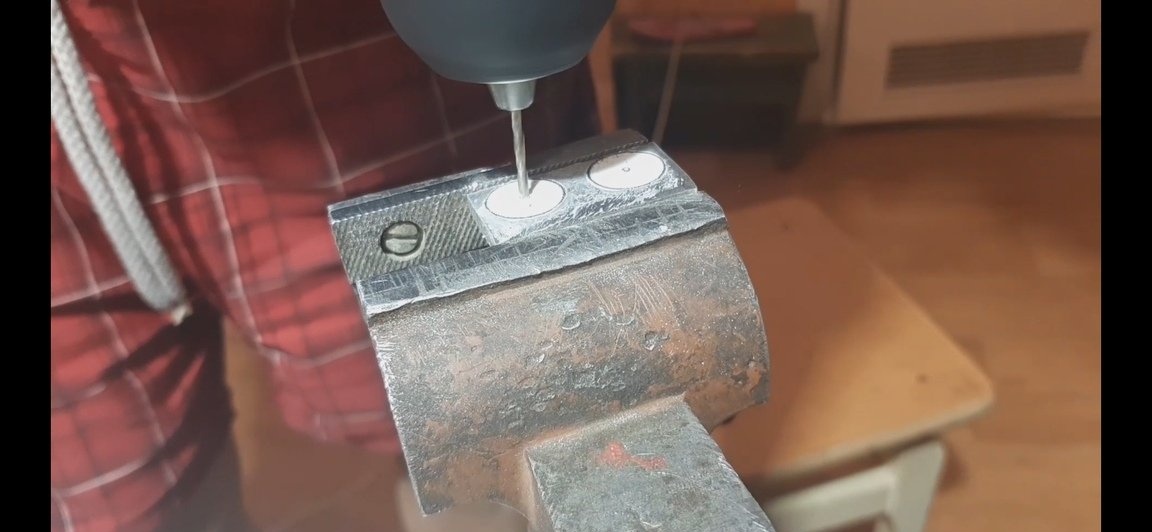
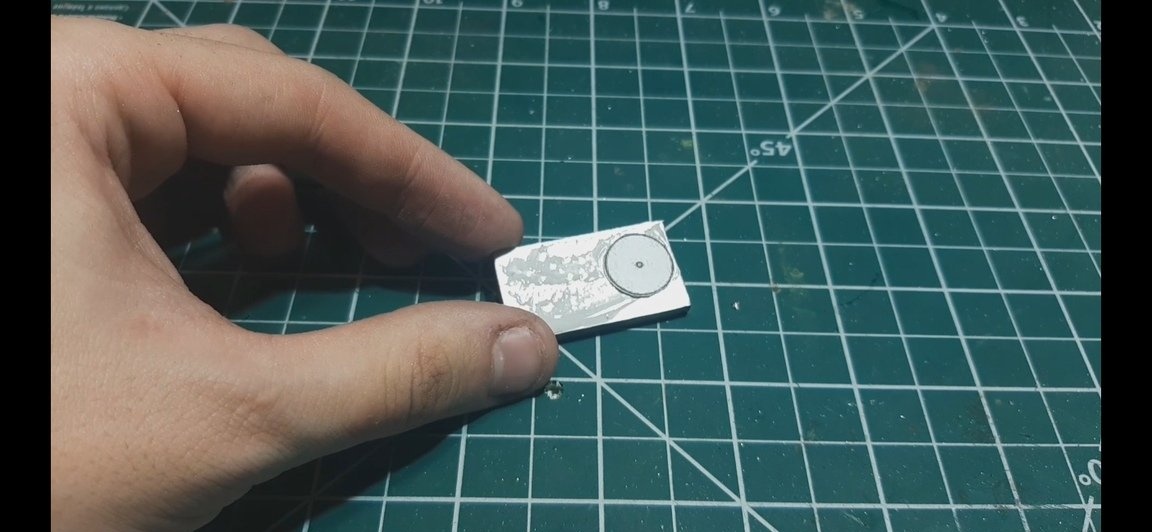
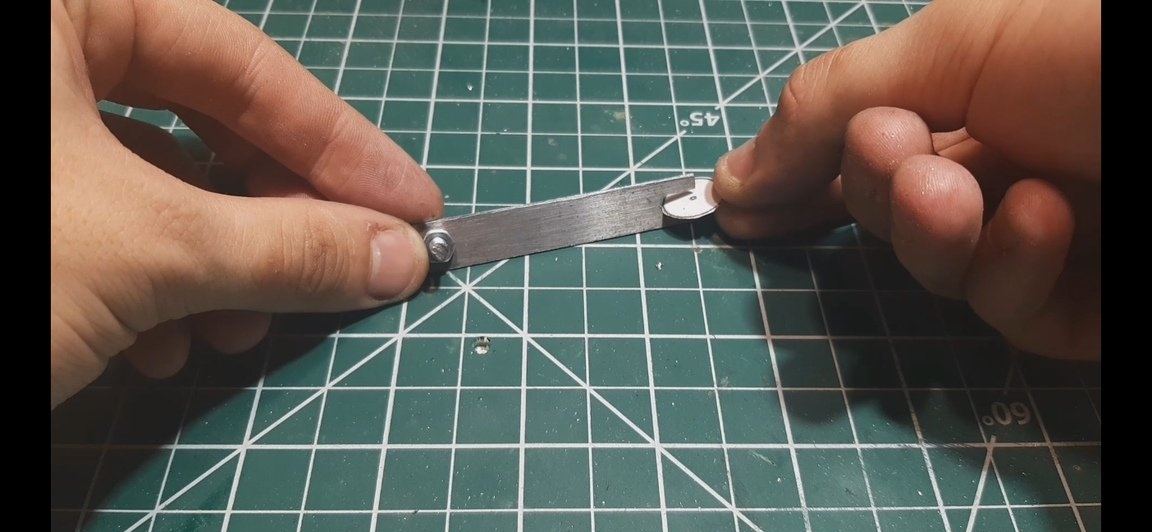
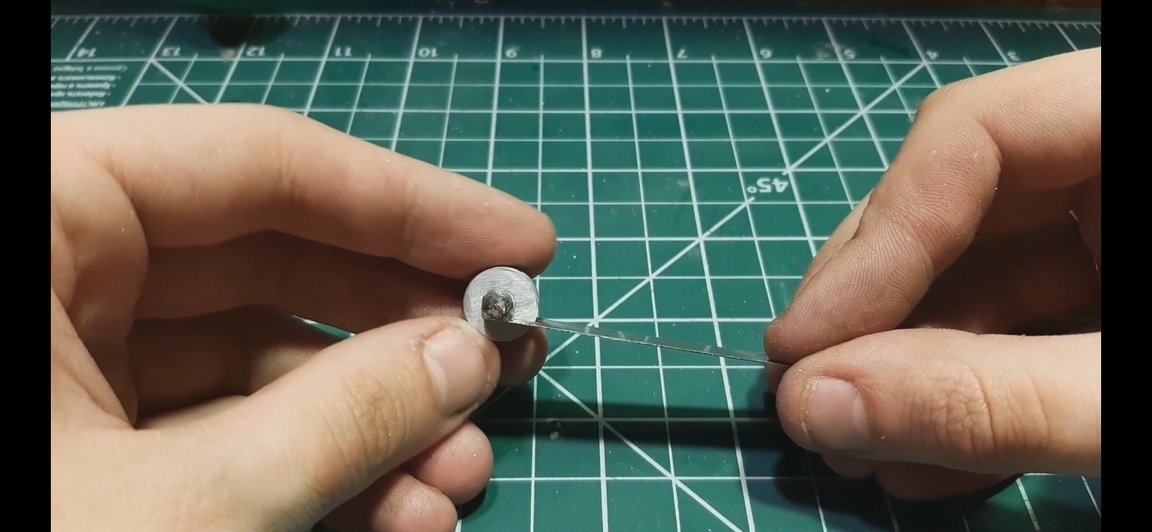
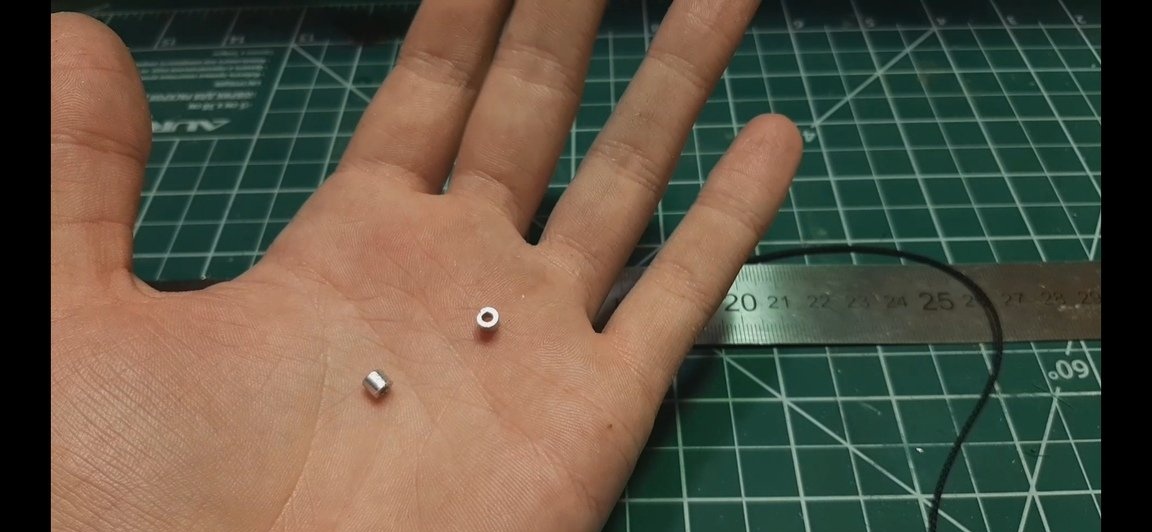
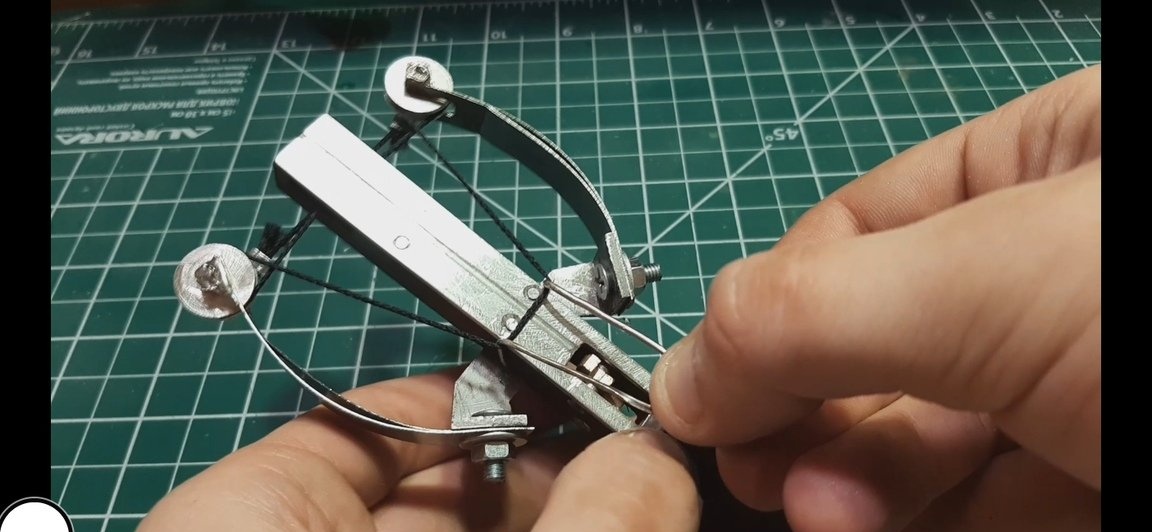
9 - Blocks - in my case they have the shape of a circle with a furrow in the center of the thickness, it is best to make 2.5-3 mm thick aluminum with the same pattern, a furrow for a bowstring can be made using a file
10 - bait blocks in place
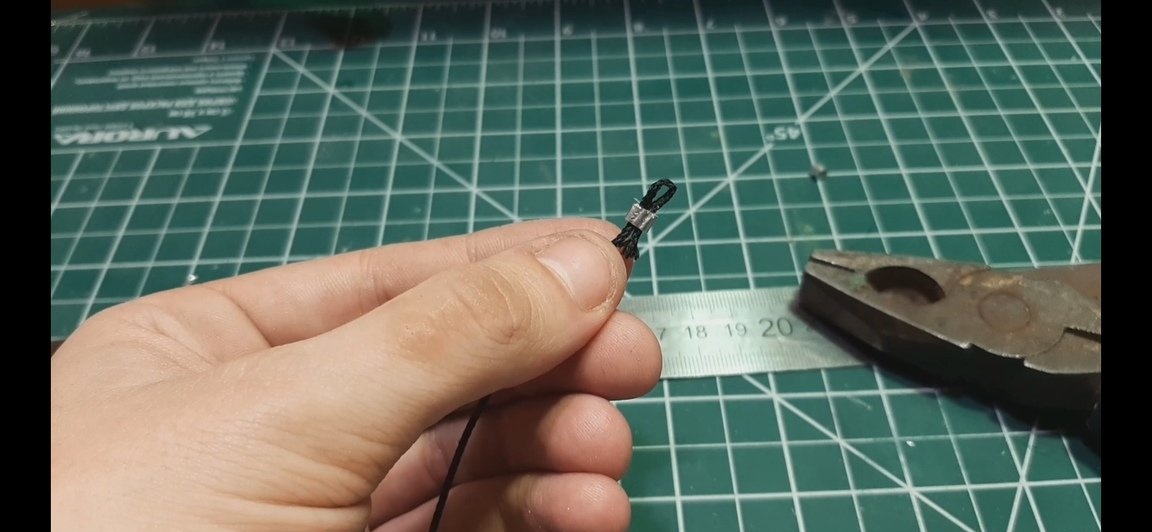
11 - the final assembly with a bowstring is the following
 [/ center]
[center]
Homemade not difficult but requires some perseverance)