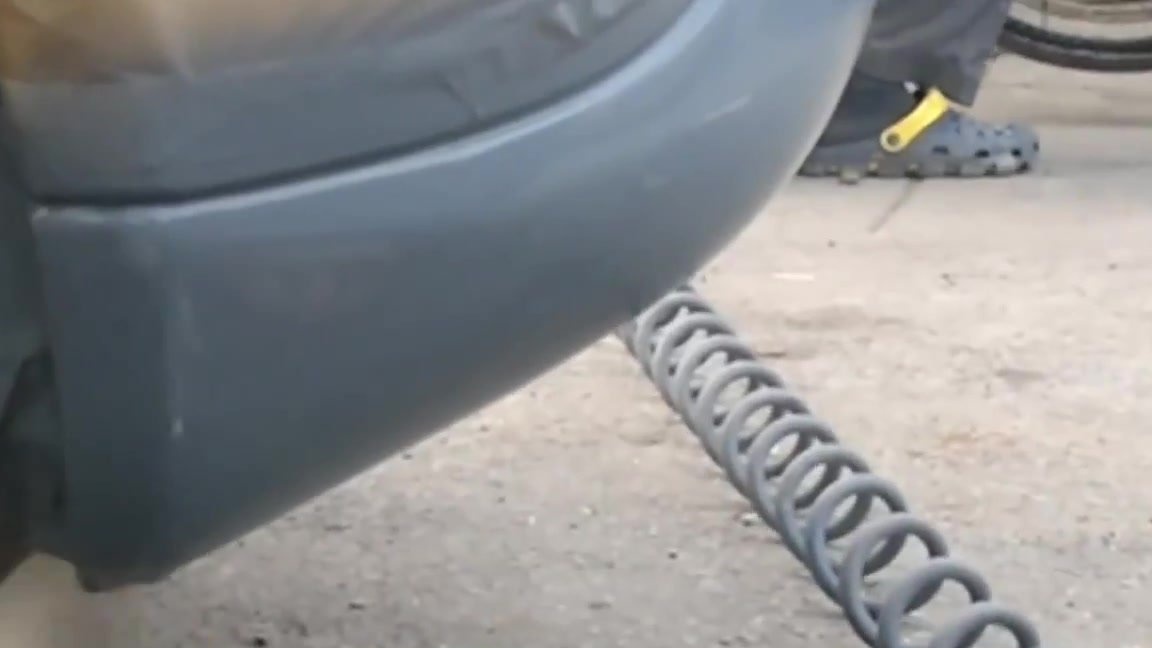
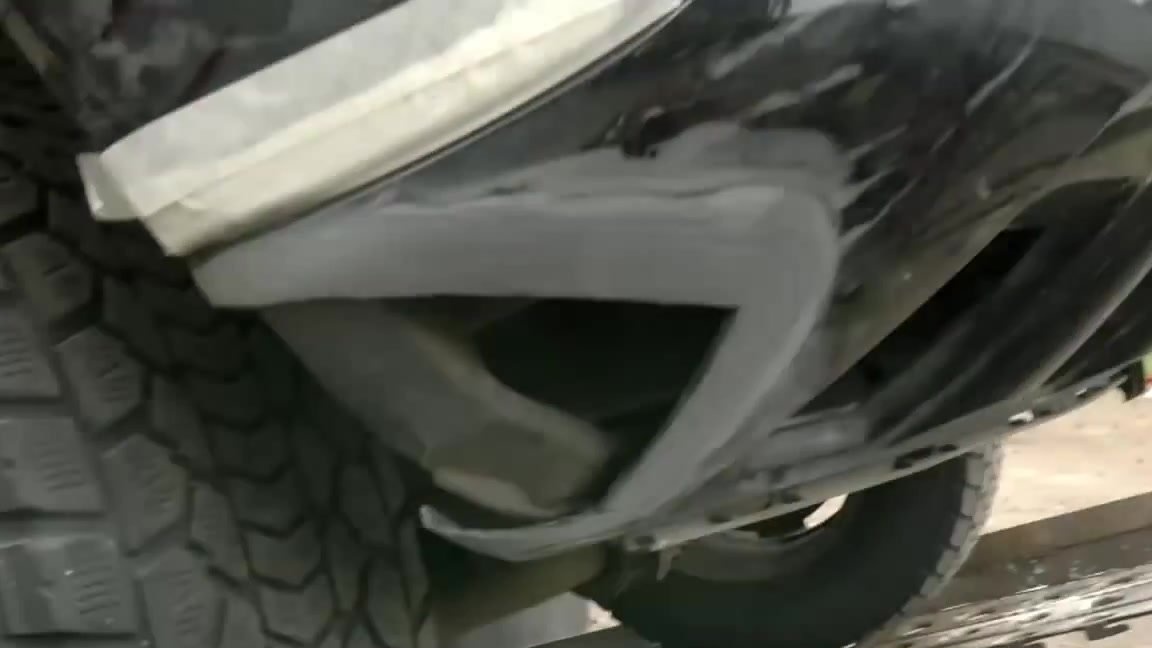
Often, when driving on the road or accidentally entering the curb, you can damage the bumper of the car. Pieces may break away from it or there may be some dent, in any case, this trouble needs to be removed somehow. And the less you spend money on it the better. In order not to go to a car dealership, it is better to make repairs at home.
You can see how to do this on the video:
In order to seal the hole, you need to prepare:
- gloves;
- grinder;
- knife;
- adhesive tape;
- mesh;
- putty;
- putty knife.
If you are a lucky person, then for sure you can find a similar old bumper, in which the desired piece will be completely preserved. It can be cut and tried on a hole in the bumper of the car. You need to cut it with a trimmer, not forgetting to wear gloves and long-sleeved clothes, because hot plastic can burn the skin.
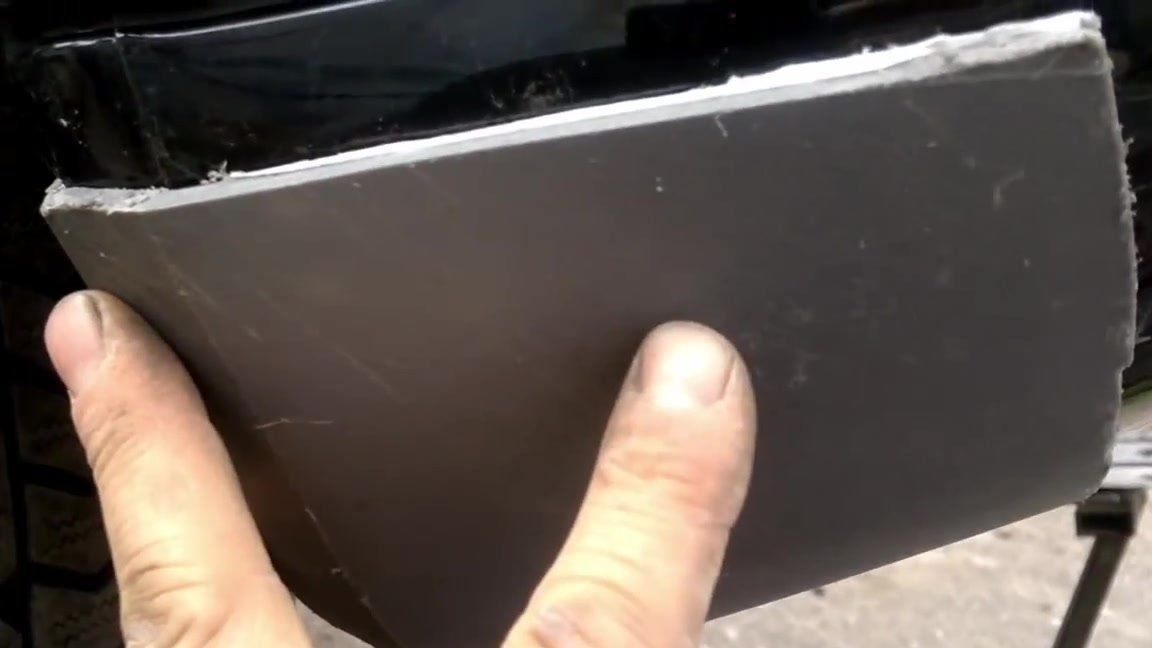
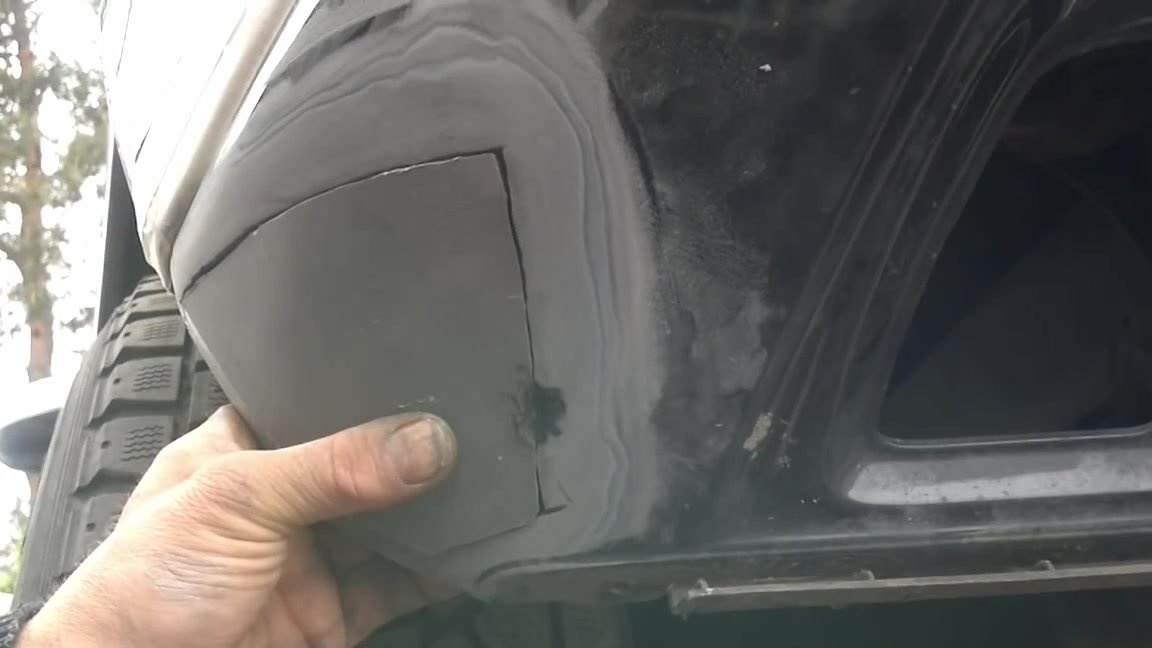
Apply the cut piece to the hole. If everything fits very well, then it's time to completely cut out the gap on the bumper of the machine so that the edges of the cut are as even as possible.
To do this, first of all, you should mark the future slice at the highest break points. After the marking is done, we cut out the grinder along the drawn lines. Remove the cut pieces. If something is not cut, we cut it with a knife, and we also cut off the melted parts.
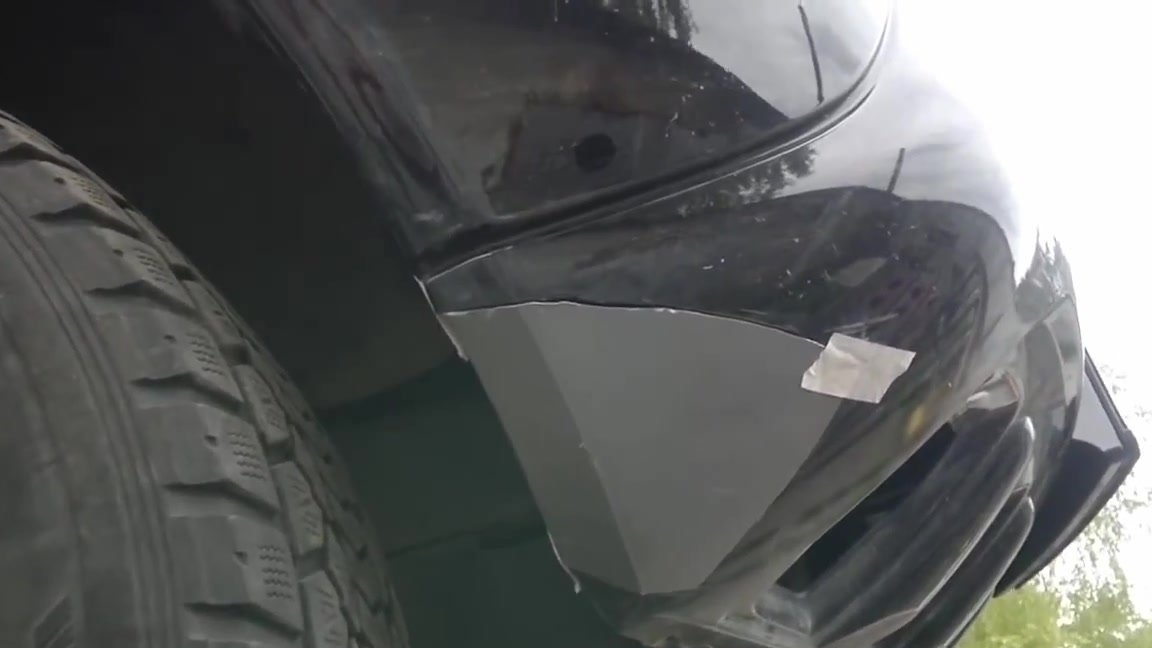
Now we apply the cut piece, which will serve as a patch and proceed to its marking. To make it more convenient to work, we grab it with tape to the body. We draw on it exactly the same piece that was sawn so that it coincides with a hole after a millimeter by a millimeter.
If a new piece protrudes slightly or does not quite match the desired shape, it should be filed.
We erase the edges of the bumper hole with 2-3 cm of sandpaper, this is necessary so that it is convenient to solder. The rest of the bumper should be protected with construction tape so as not to be damaged during stripping.
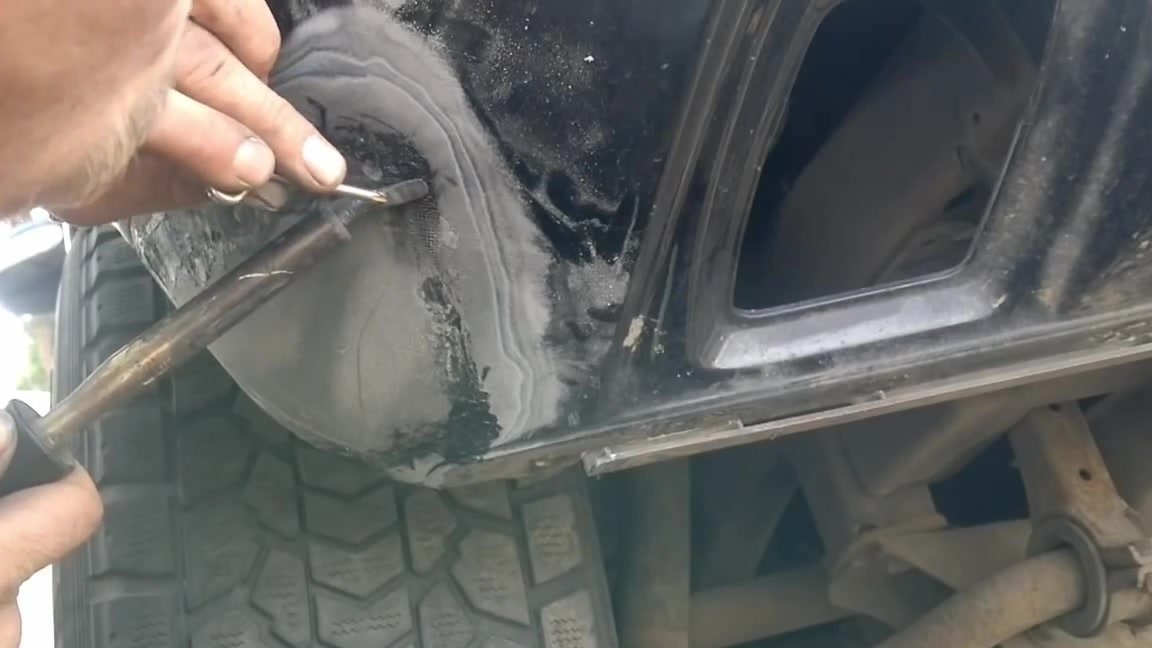
We heat the soldering iron.
We put the part in place and begin to grab it with a soldering iron. While the sticking point has not cooled, it is better to hold the part, otherwise it may shift.In order for the stick to be strong, the plastic should be melted deeper, but not through and through.
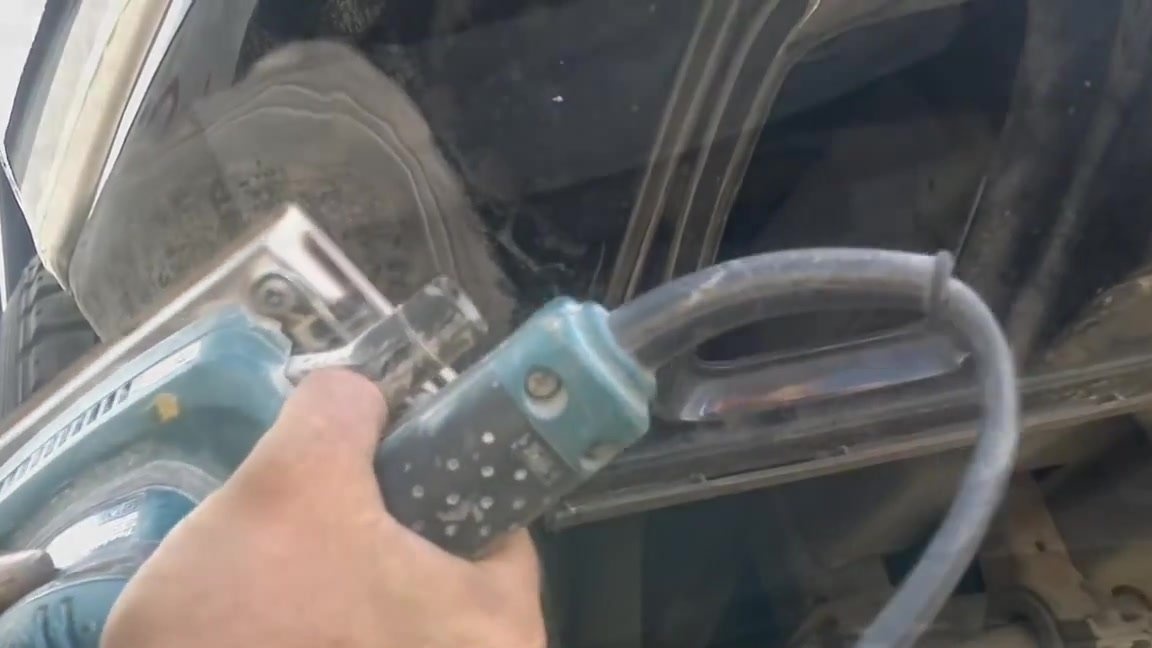
After that, we begin to melt and fasten the part with plastic, fixing them together as much as possible. Level the surface. Then we melt the seam, apply the mesh and weave it inside the plastic.
We clean the machine for evenness.
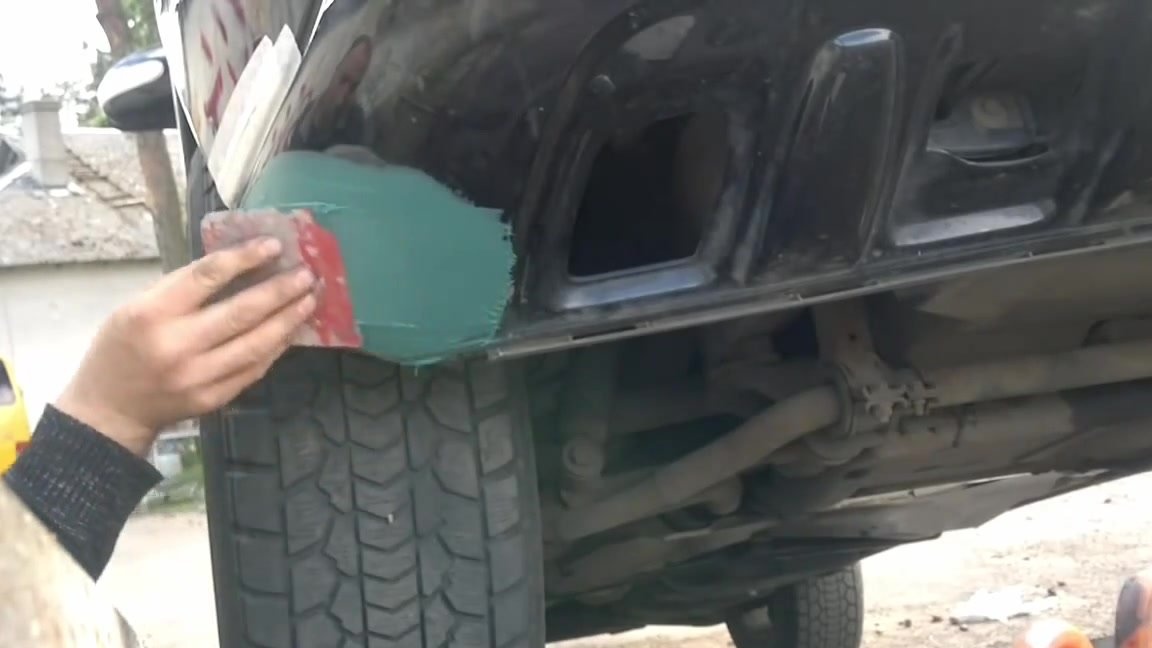
Degrease the surface. After that we apply fiberglass putty to the places that will be painted.
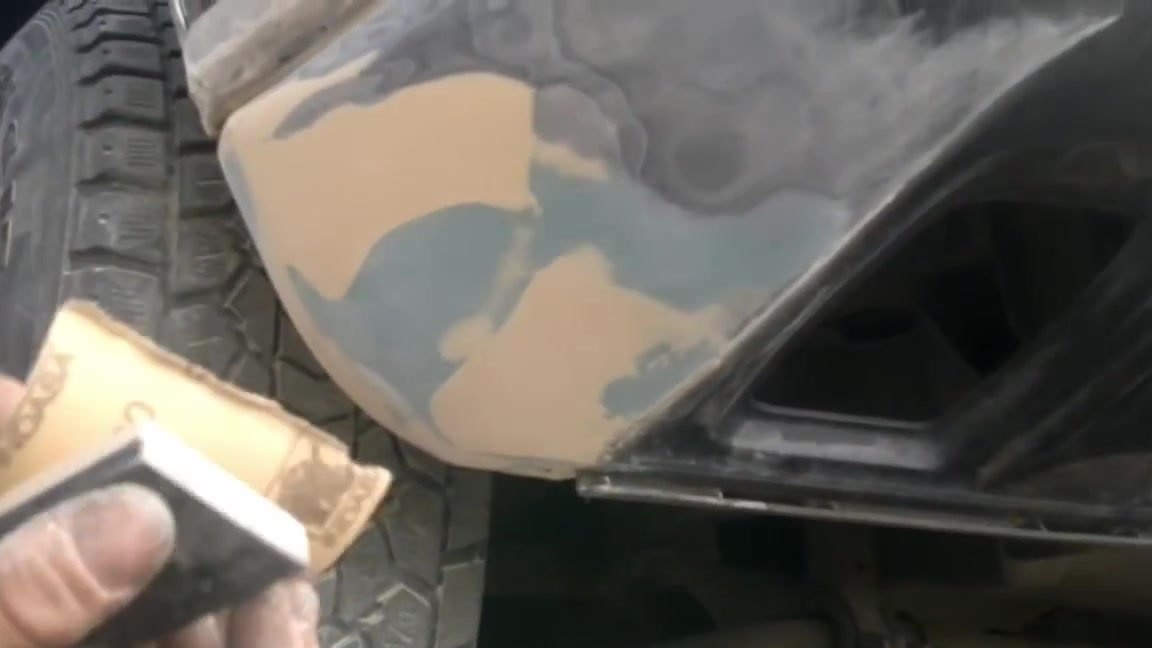
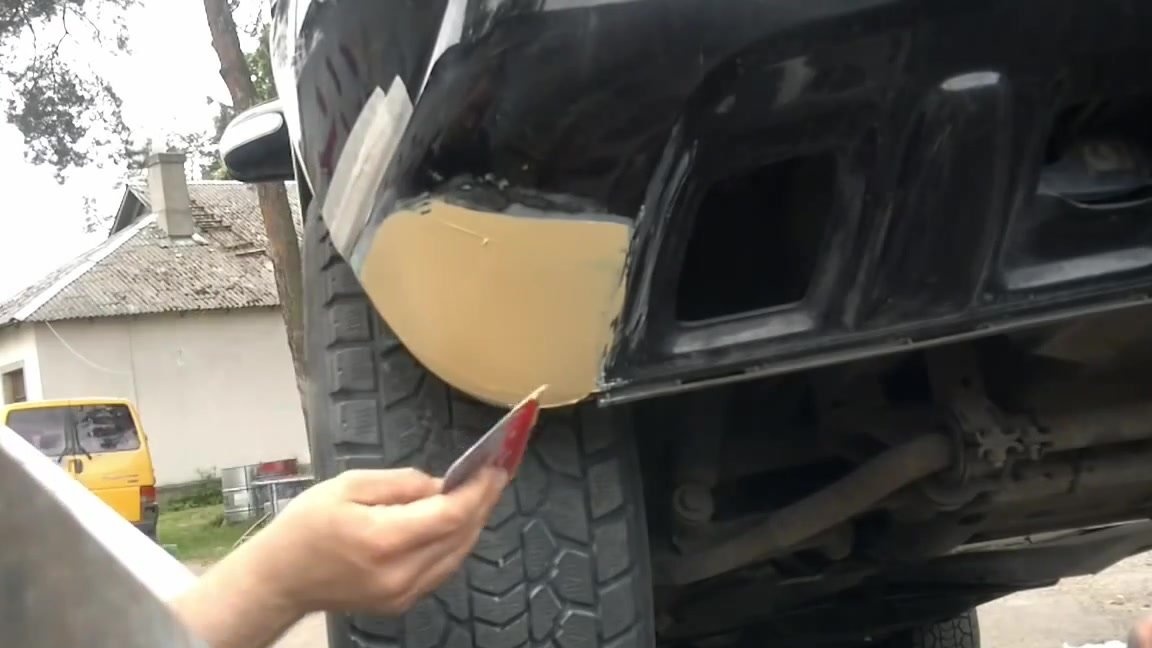
We clean the dried putty and put the top putty on top, which will remove all the formed pits and irregularities. We leave to dry, after which we sanded and displayed the desired shape.
We apply soil from a spray. After it has completely dried, apply the paint.