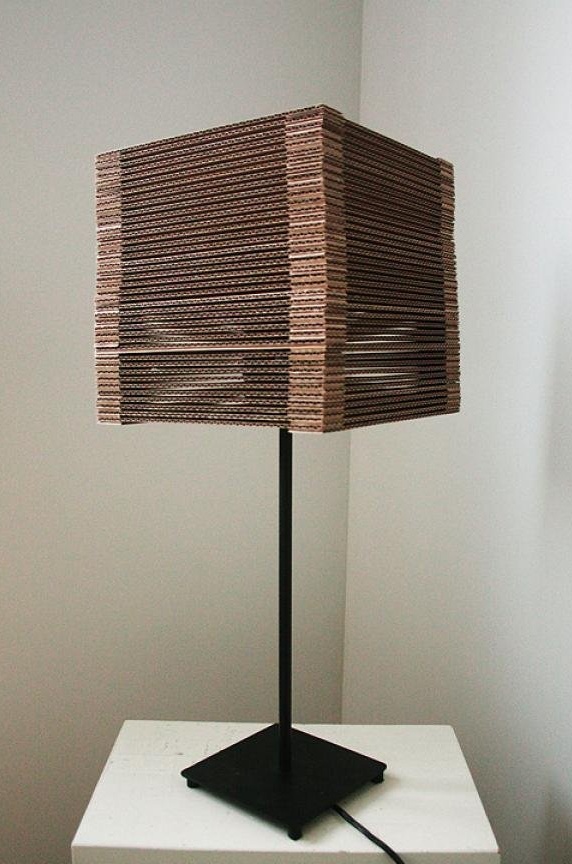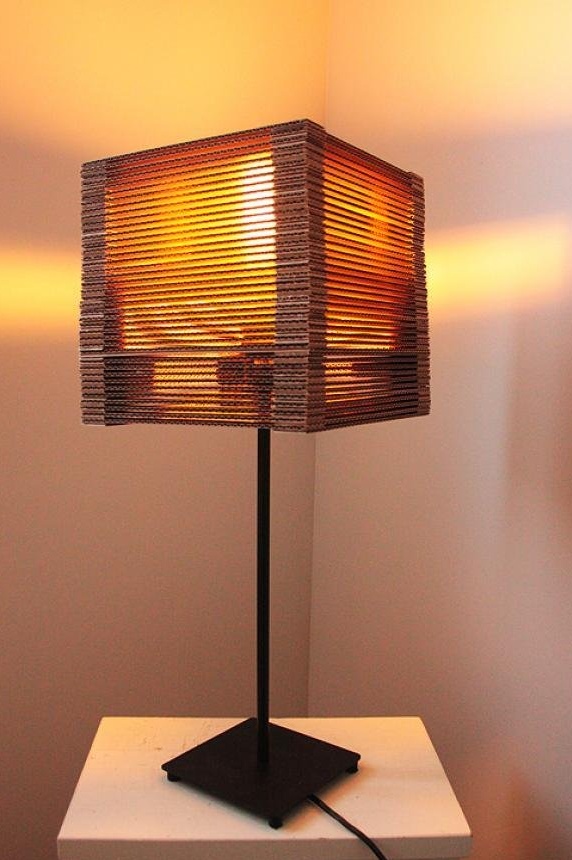
One of the important design aspects of your home is the light source. It can support the general design concept, or be an original, bright design sophistication, which will attract the attention of guests. In this workshop we will discuss how to independently make a stylish - and at the same time unusually simple lamp - from a corrugated cardboard.
For work, we will need the following:
1. Corrugated cardboard - a lot of it will be needed. For example, you can use a large package from the refrigerator. It is necessary to build on the desired size of the lamp shade.
2. The glue "moment joiner" - a quick-drying, odorless glue that quickly glues cardboard.
3. Ruler, pencil and clerical knife.
4. The basis for the lamp.
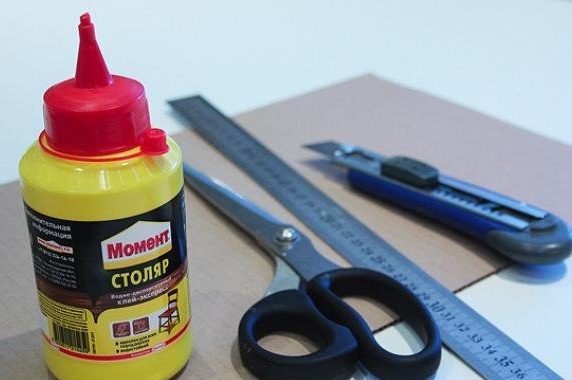
Is everything you need in stock? Great, let's get started!


First we make the base for the lampshade. Cut a square out of cardboard. In size, it should be equal to the size of the lampshade. In my case, this is a 24x24 centimeter square.
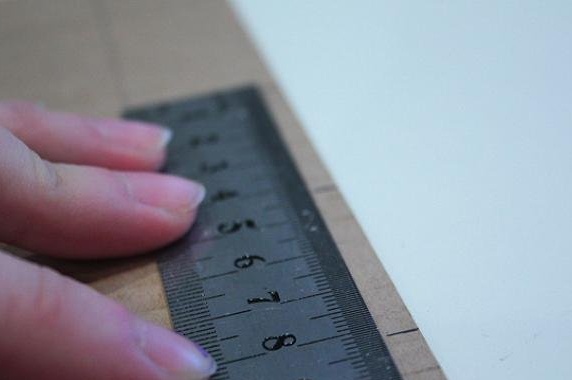
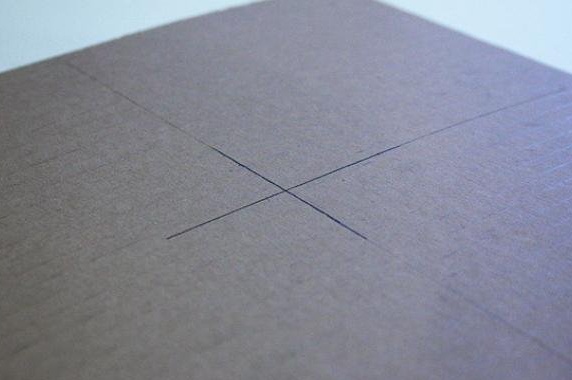
Now we find the middle of the square and mark it for each side, then connect it to each other.
Put a cross in the center.
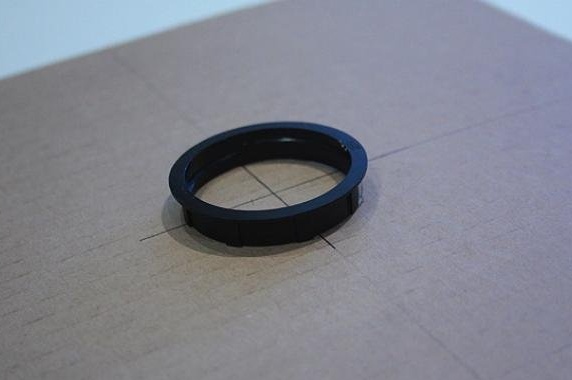
Now we take the part from the lamp holder (this part is unscrewed), we put it exactly in the center of the marked cross and circle it with a pencil. Thus, in the future we can get a circle to combine the base of the lamp with the lampshade.
Now we need to draw the next gibberish.
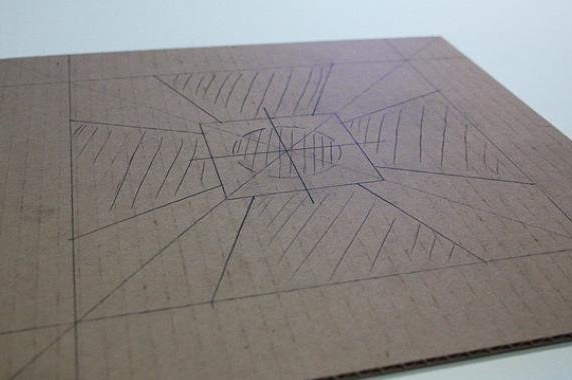
We’ll immediately expose the hatched parts to destruction - we’ll cut them with a clerical knife. To cut evenly, it is imperative to use a sharp knife. But even if you didn’t succeed in cutting out the unnecessary pieces perfectly smoothly, you should not start over - no one will see this part of the lamp.
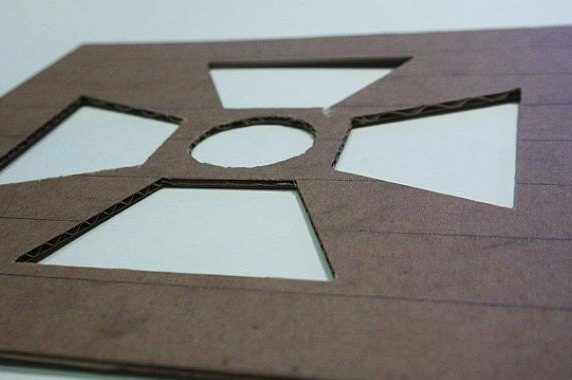
As a result of our manipulations, we should get such a detail.
Now try the base of the lamp. If all goes well, move on.
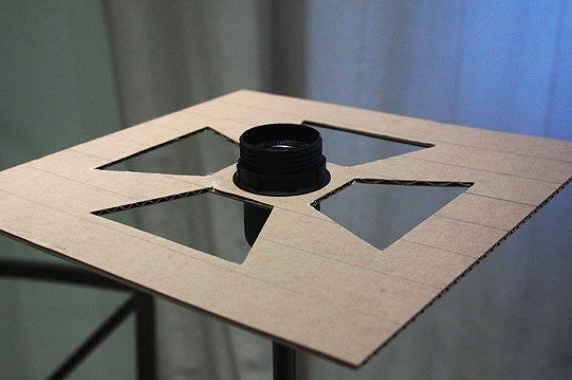
It's time to move on to preparing the rectangular parts of the lampshade. Length - according to the length of the square, width - to your taste. The part that I will use is 3x24 centimeters in size.

Now cut it out.
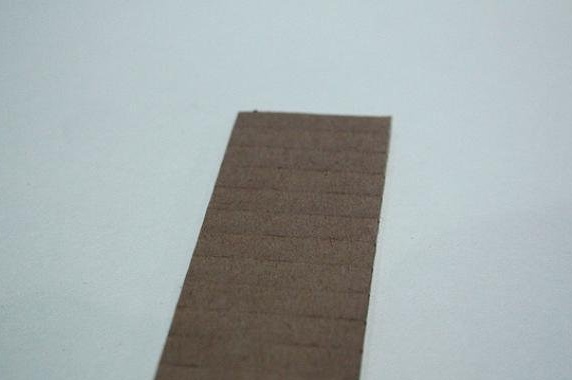
And again, and again. :)
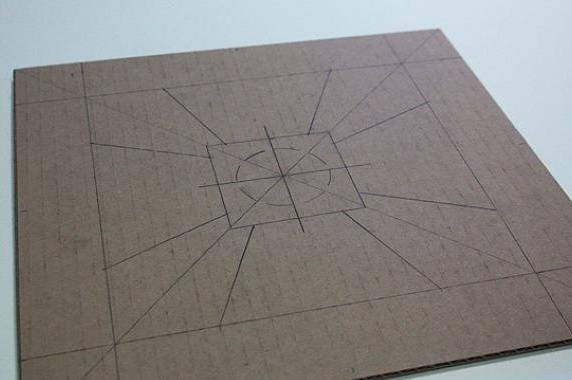
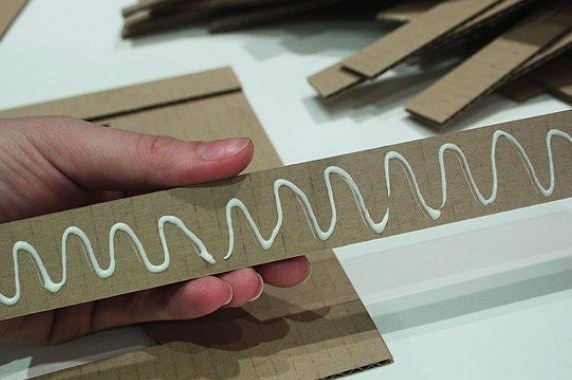
When the parts become enough for assembly, we proceed to it.First, glue the details on one side of the square, then on the opposite.
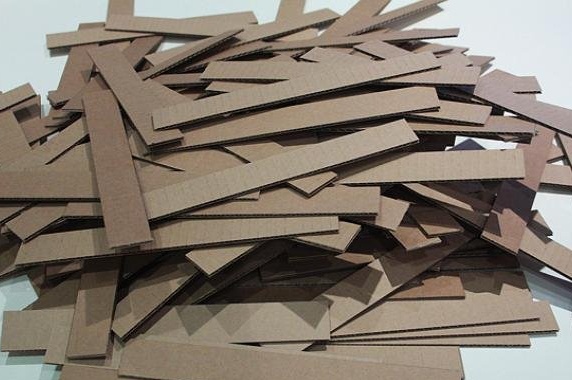
Turning the base clockwise - repeat.
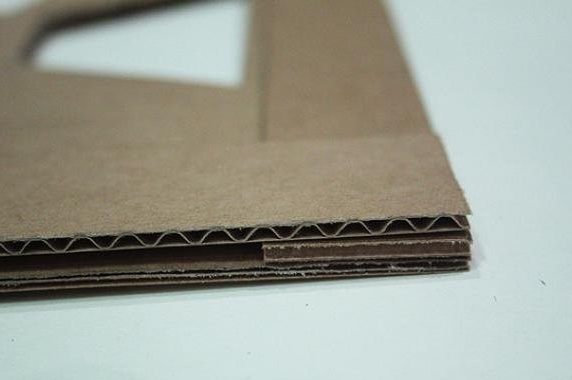
Once again.
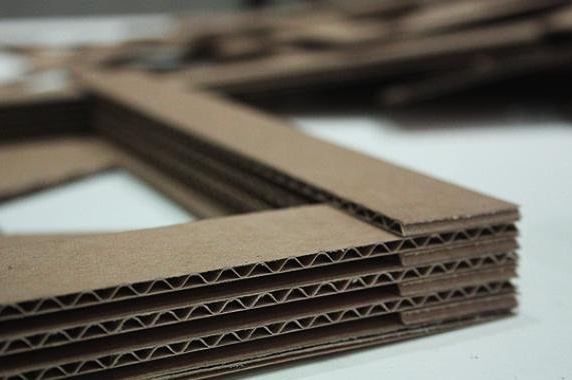
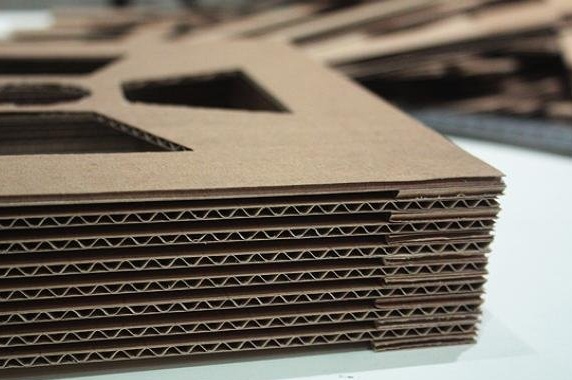
And again.
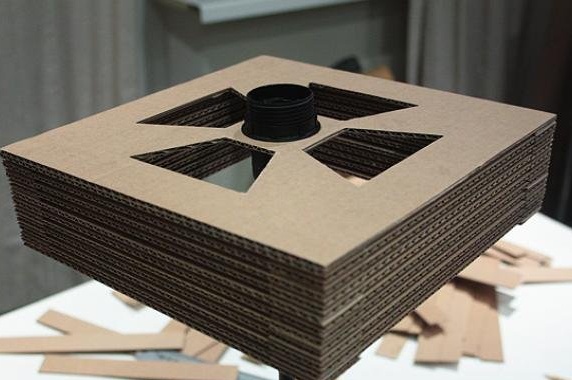
As soon as the height of the lampshade that we glued becomes high enough to hide the cartridge ...
... we turn the cardboard base over and start gluing the parts again - on the other hand.
We will continue until the height is sufficient to realize our idea, after which we proceed to the most pleasant part: we take the base, the light bulb and the lampshade ... But first, advice: use an energy-saving lamp - it does not heat up as much as ordinary.
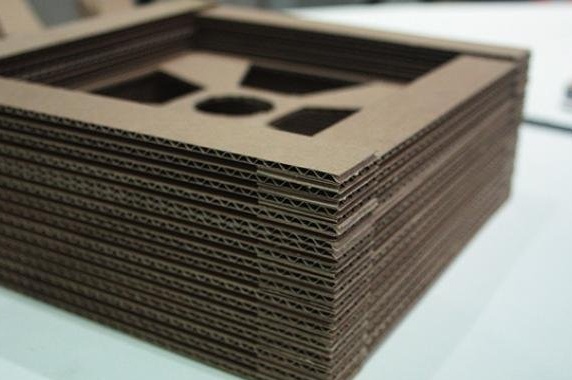
It is time to connect the base, lampshade and lamp.

We find a place for the assembled lamp, plug it into the network and enjoy its pleasant soft light that pours through our corrugated lampshade.

By the way, such a lamp looks very good during the day.
