
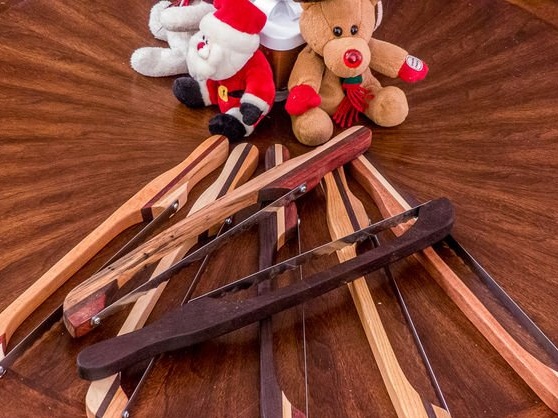
An excellent knife for cutting fresh bread can be made do it yourself. The blade is held tight enough, in addition, you can choose the appropriate thickness of the slices. Of course, in order to make such a knife, you will need appropriate tools and certain carpentry skills.
For a knife you will need:
• wood
• waterproof carpentry glue
• mineral oil
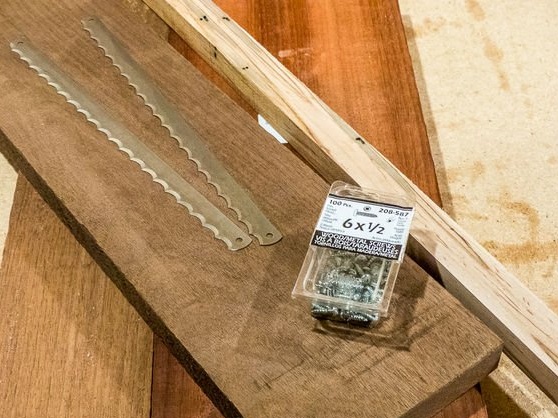
• blade of knife
• screws for wood and metal
• protective glasses
• dust mask
• circular saw
• planer
• five clamps
• jigsaw
• drilling machine or hand drill
• drill
• sandpaper
• roulette
• paper towels
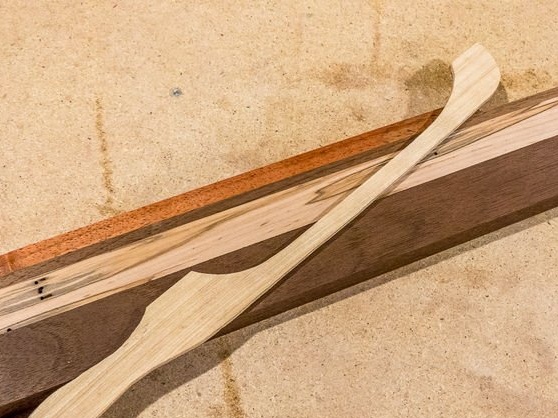
Step 1 Base cutting
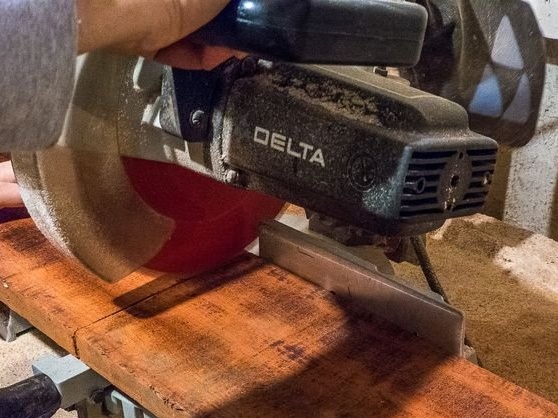
The total length of the knife will be about 20 centimeters. The blade runs along a wooden base. Accordingly, the handle must be 20 centimeters long. You can make it by combining different types of wood, or use one species and shade of wood.
For a knife, one piece of wood should be cut one piece about 4 centimeters wide. A circular saw is suitable for this work.
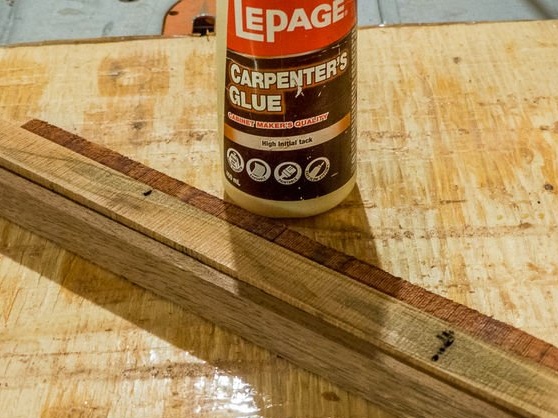
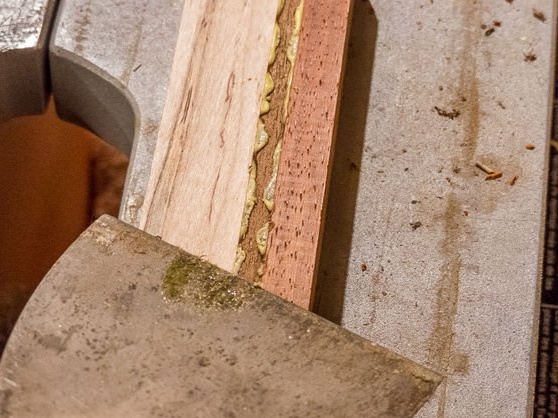
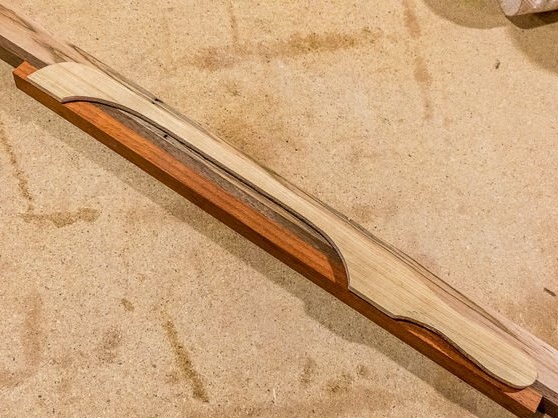
Step 2 Bonding wood elements
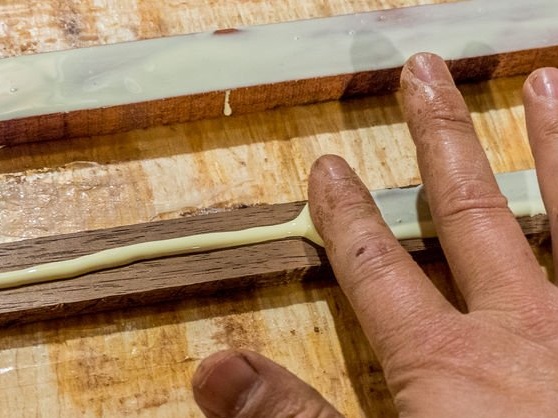
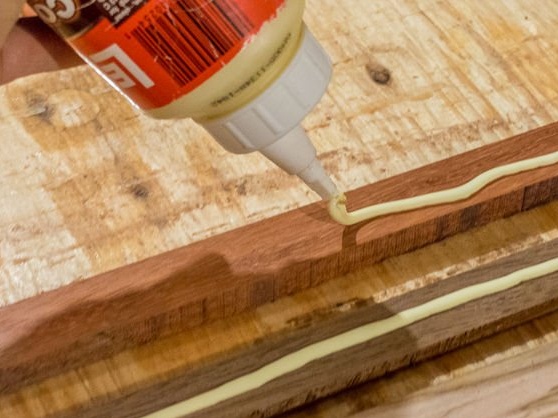
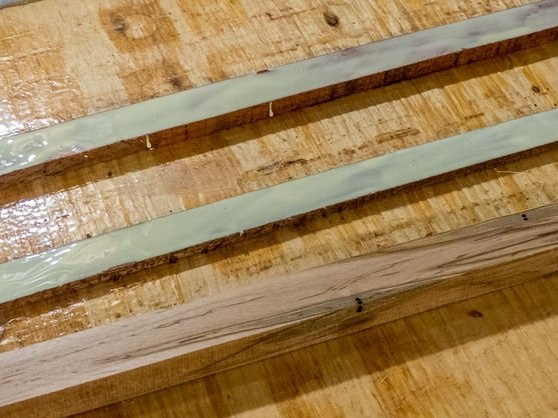
In the event that several types of wood will be used for combination, subsequently the elements will need to be glued together with the help of wood glue. The glue is distributed neatly and evenly, held to a sufficient setting in the clamps. If the knife is made from one type of wood, this stage of work is excluded.
Step 3 Marking and shaping
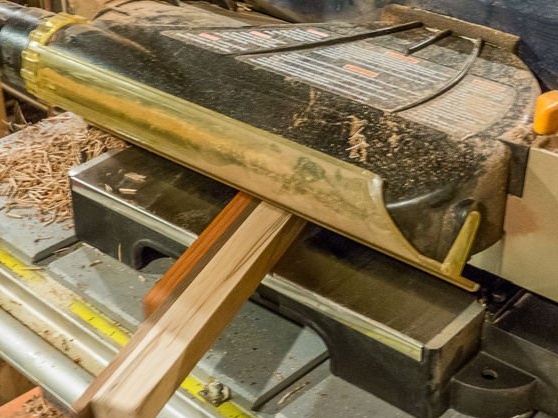
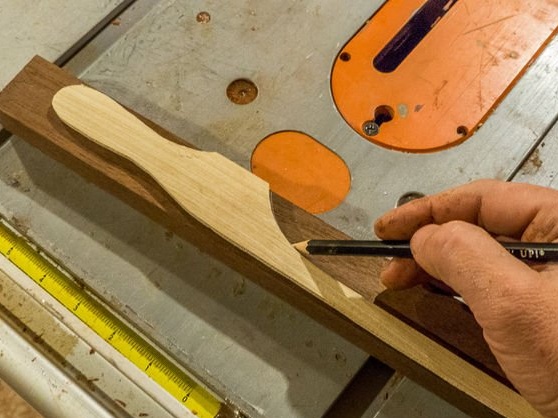
Once the base is ready, it is time to cut the required shape. Initially, it is necessary to cut a tree in the area where the knife blade will subsequently be located. With a planer, the tree is processed quickly and easily. Required knife parameters: 4 centimeters - maximum width, 2 centimeters - thickness and 20 centimeters - length. On the finished wooden canvas, mark with the pencil the contours of the future bread knife. You can make a template by which the contours will be cut.

Step 4 Knife shape cutting
To cut the contours on the handle of the knife, it is recommended to use a jigsaw, however, you can perform this work with a tool for manual cutting.
Step 5 Marking and drilling holes
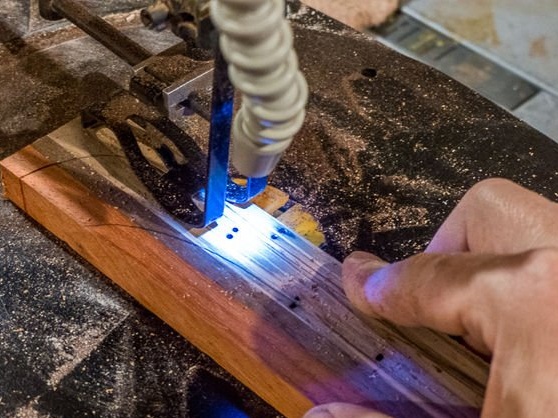
A blade is attached to the knife handle, holes are made in the necessary places. Holes are made in metal and wood using a drill. You can also use a drilling machine for these purposes.
Step 6 Grinding
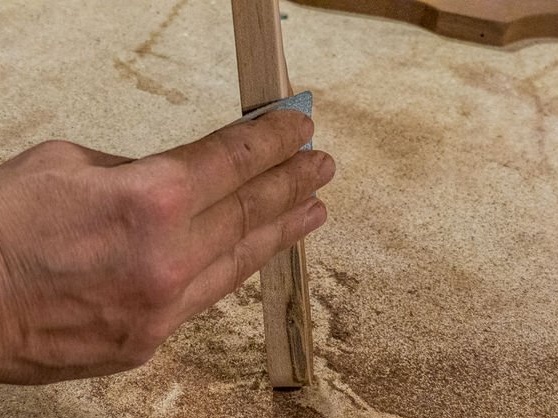
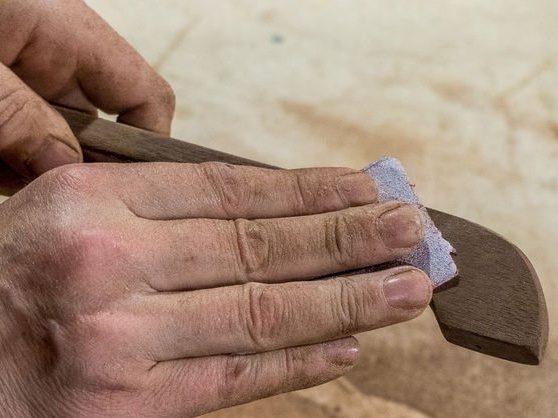
Grinding is a process that allows you to make the surface of the future knife beautiful and smooth. You can use a grinder, but in its absence, you can also quickly cope with ordinary sandpaper.
Step 7 Wood processing
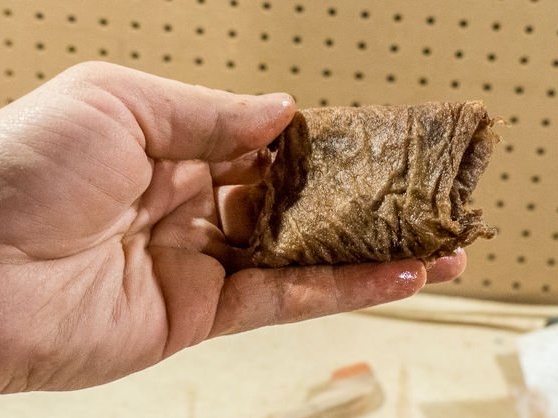
In order for the tree to be protected, it is necessary to treat it with mineral oil. It can be purchased at any pharmacy. You can use beeswax for these purposes. The composition is applied to the wood for 15 minutes with a towel, and then it is necessary to wet the surface with a dry, clean cloth.
Step 8 Blade fixing
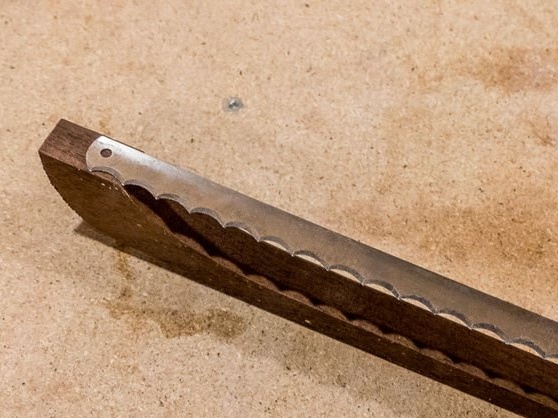
Use the screws to secure the knife blade on both sides of the wooden handle.
The work is completed, the bread knife is ready to use. It can be washed manually with a dishwashing detergent, dried immediately. Do not wash such knives in the dishwasher. Once every two to three months it is recommended to handle the handle with mineral oil: this will avoid cracking the wood and keep the knife operational for a long time.