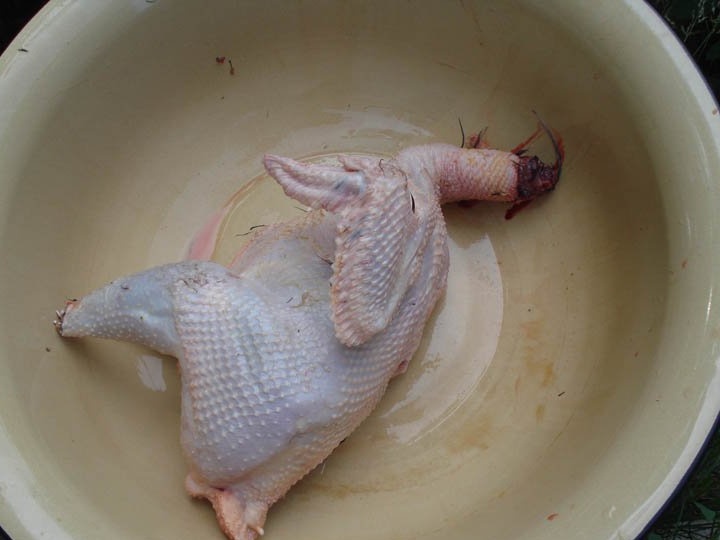
Homemade pinch pinch from the pan.
Test Video:
To make the device we need:
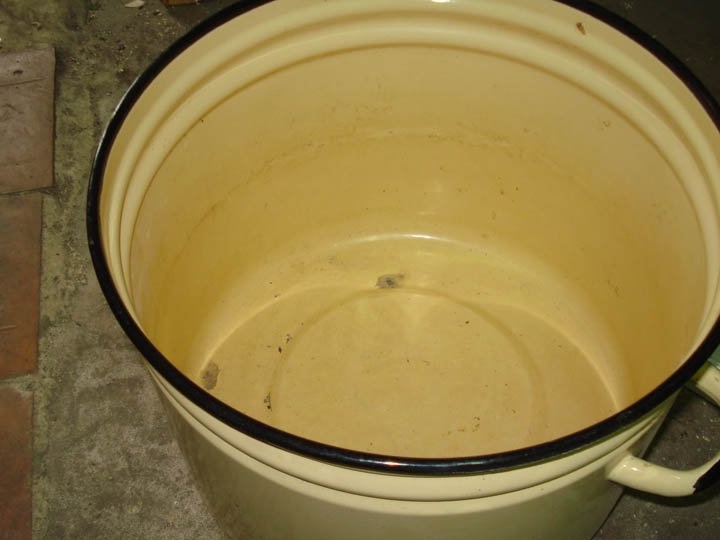
A pan of suitable sizes, depending on who you pinch (chickens, geese, ducks or quails, etc.).
Electric motor for 800-1500 rpm. preferably not less than 1 kW., starting capacitors (20-100 microfarads)
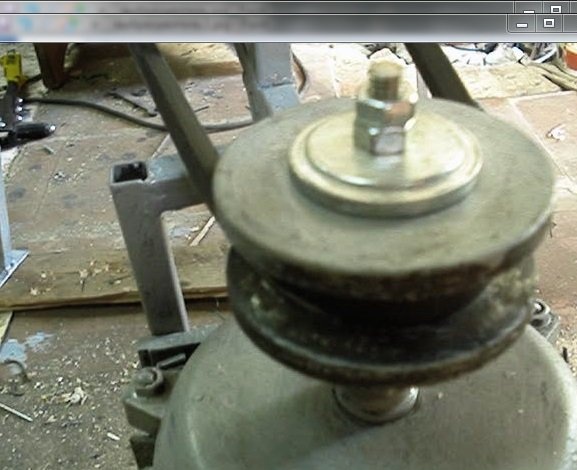
A pair of pulleys from an old washing machine or others, to lower the engine speed and increase the power on the working shaft, a pin of suitable length ~ 10-12 cm and a diameter of ~ D10, with thread on one side (hereinafter referred to as the rotation transmission pin), for connecting a large pulley to working disk.
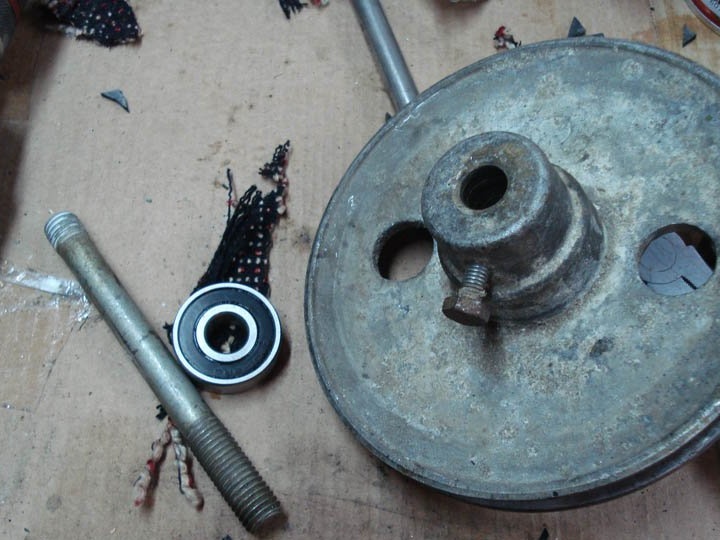
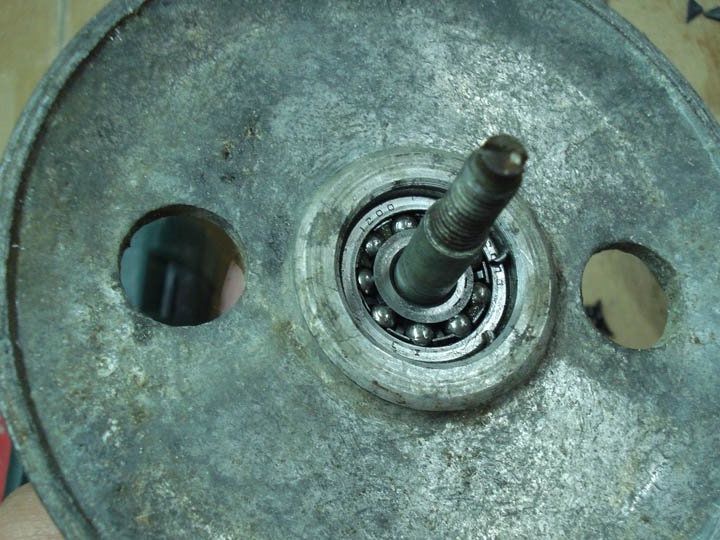
Suitable bearing on rotation transmission pin.
Transmission belt (suitable size).
Metal: profile pipe 15 * 15 * 1.5mm for the manufacture of the machine frame, a piece of sheet metal ~ 500 * 500 * 2mm for the working disk, under rubber fingers, tin for the ejector pen.
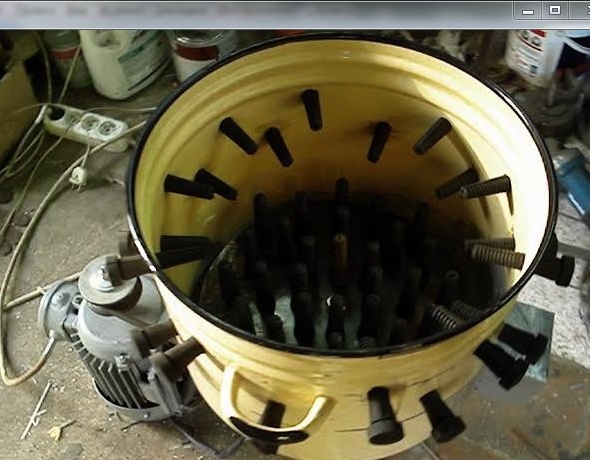
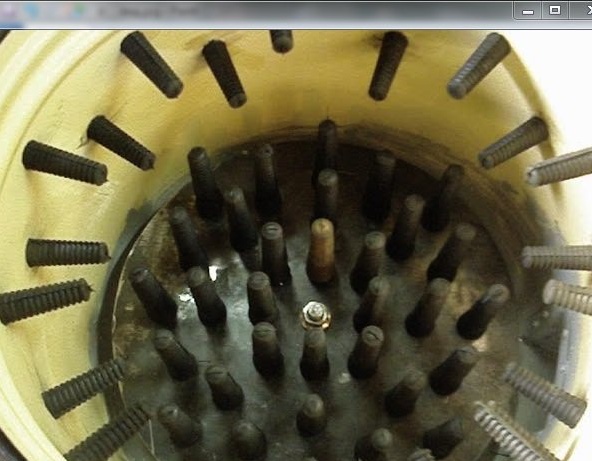
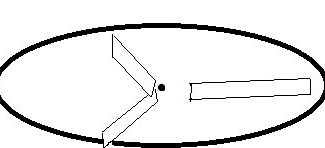
Rubber fingers (peroschipalny bits) from 60 pieces and more.
Instruments:
Welding machine, drill, different drills (3, 6, 12, 18mm), keys, bolts, rivet with rivets
Manufacture:
We weld the frame to the size of our pan and motor mount, drill fasteners, paint.

We drill in the center of the bottom of the pan a hole for the rotation transfer stud. We drill in the sides of the pan, according to the marking outlined in advance, the holes ~ D18 for the picking bits and set them in place. We cut out the hatch for blowing the pen, make a casing of tin and fasten it with rivets.

We drill holes for the bolts of the pan to the frame, installs and fastens the pan in place, fastens the motor in place. We install the pulleys and the belt at the same time, otherwise we can’t insert the belt later, insert the thread up and tighten the fastening screw for transferring the working disk rotation into place.
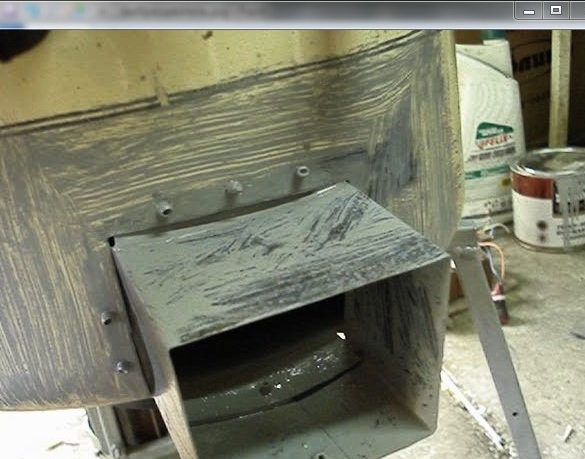
We cut the sheet of metal around the grinder and make the working disk according to the size of your pan, weld three strips on the bottom of the disk, we get a fan (for blowing the pen from the pan), drill holes according to the marking of the required diameter ~ D18 for the bits, paint and set the bits in place.
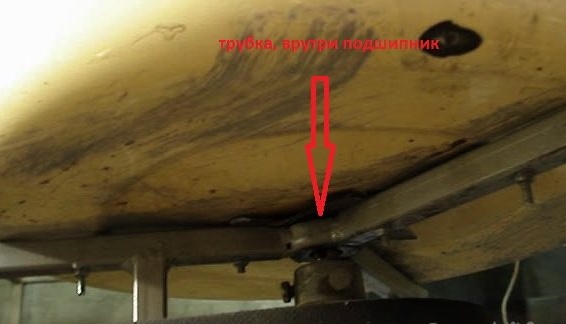
We wind the first nut onto the rotation transfer stud, put on the washer, then our working disk with fingers, the washer and nut again, tighten everything tightly.
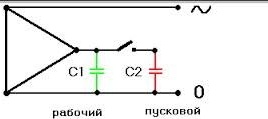
We assemble the starting circuit for the motor from the capacitors and buttons, select the direction of rotation so that the nut of the working disk self-tightens. We start everything for verification in work. If everything turns smoothly, without bumps and friction, then you can check on the bird or adjust the gaps or trim the grinder where necessary.