

Good day to all those who love homemade, especially such homemade products that at first glance may not be easy. In this article I will tell you how to make your homemade sound amplifier without any difficulties and financial costs.
Many beginners in the radio business know that a sound amplifier, whether it be in a music center or radio, consists of a main element, such as a microcircuit.
Amplifier integrated circuits are widely used in household appliances, such as televisions and computer speakers. But the fact is that the amplifier in such cases is weak, and it will cost more, since it has already been assembled.
In order to assemble a sound amplifier, it feeds by the way from 12 to the power supply, you need:
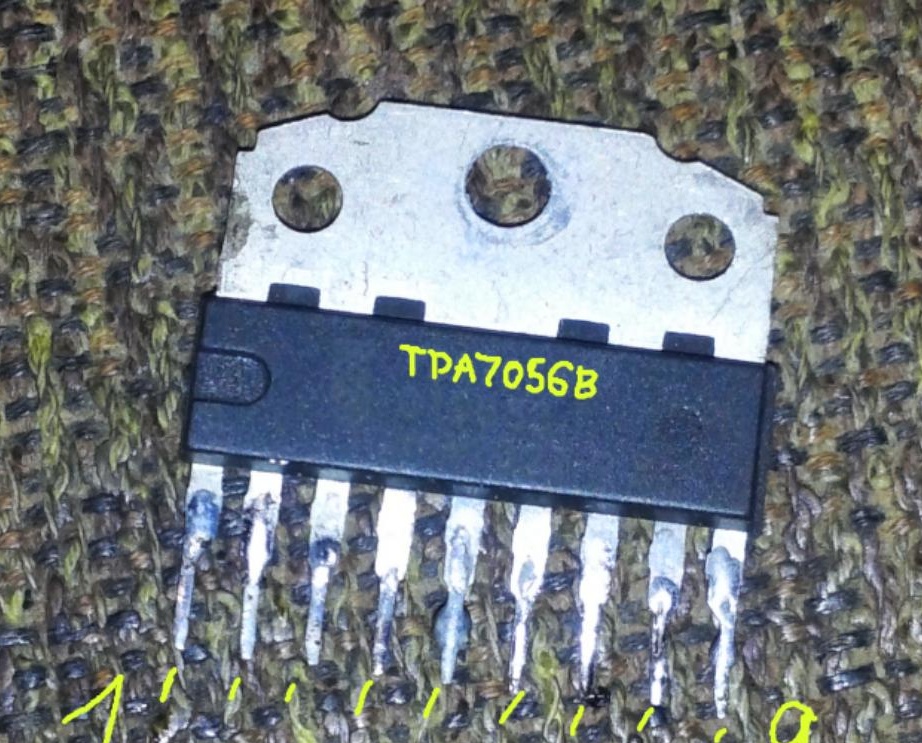
• The amplifier microcircuit, purchased it at a radio store for 56 rubles
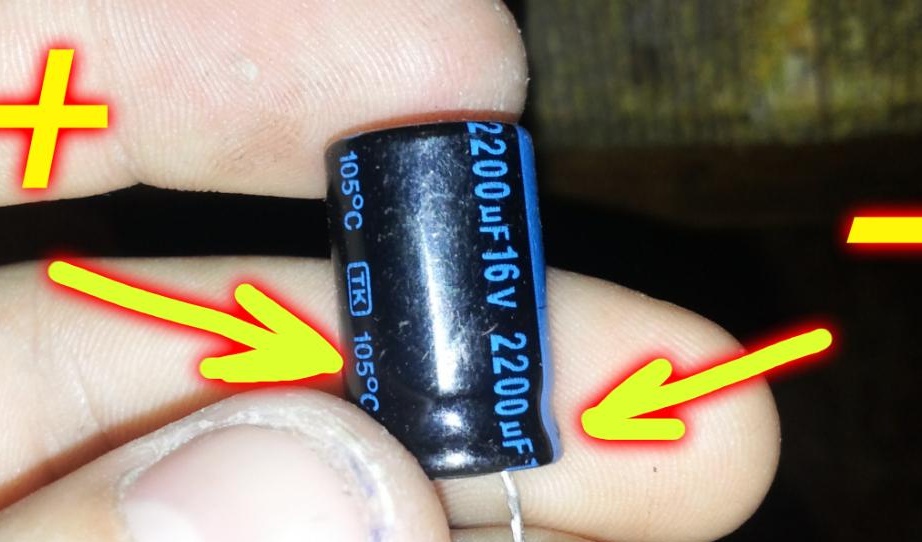
• Capacitors, one at 2200 microfarads, the other at 100 microfarads
• Fiberglass, a small piece is enough for our microcircuit
• Box for the case.
• Plug for connecting a tulip
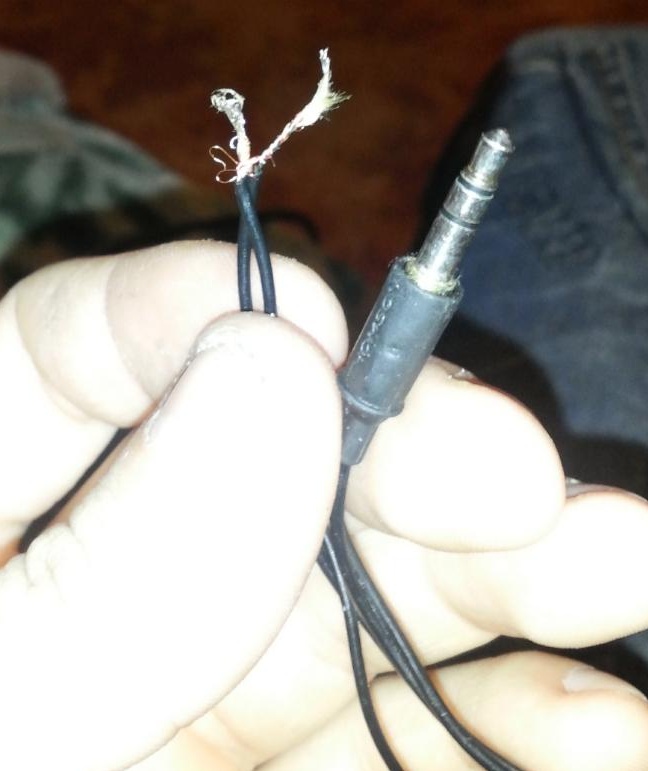
• A plug for inputting sound from broken headphones or from computer speakers, no matter where
• Switch
• Five wires
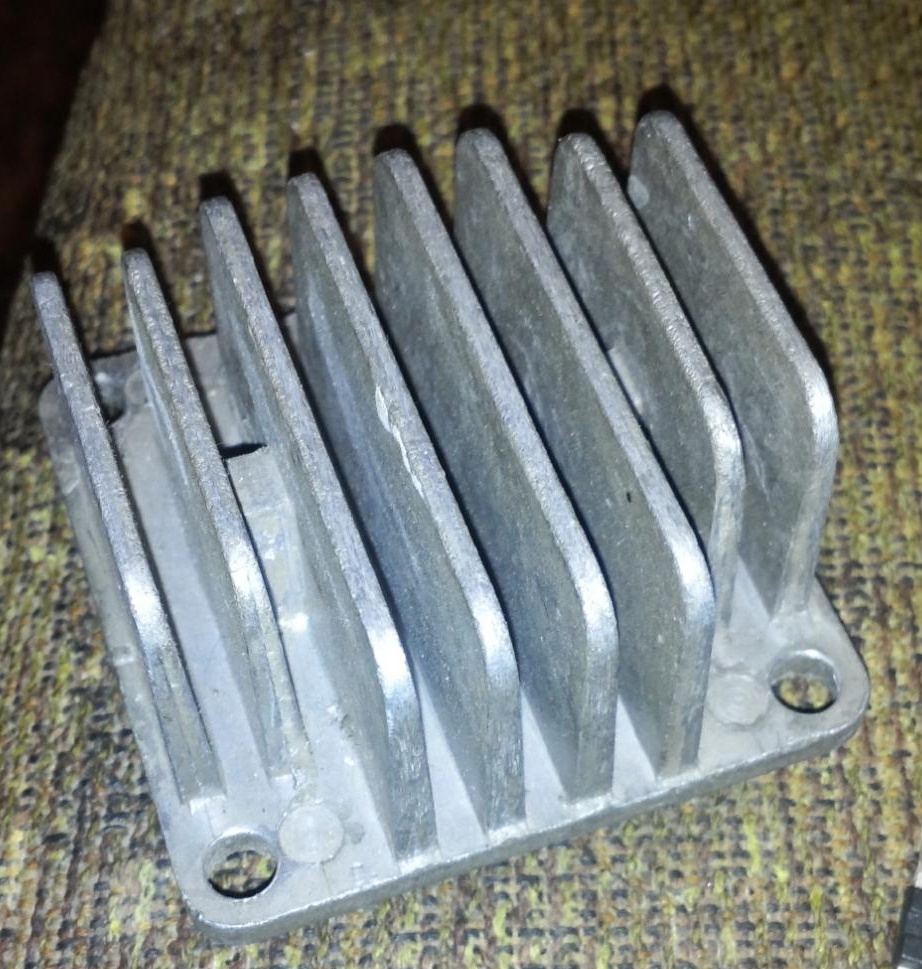
• cooling radiator
• Four screws
• Hot glue
• Stationery knife
• Soldering iron, for convenience, watts at 20-40
• Rosin
• Thermal grease
• Varnish, solvent, hydrogen peroxide, citric acid, salt.
All components are ready and they cost no more than 150 rubles in total, so that the microcircuit can be pulled out of the TV, which is even less common on the market, there will not be such an amplifier in an old-style TV.
We will arm for starters with fiberglass, hydrogen peroxide, citric acid and salt. All this solution must be kneaded in a bowl with a wall height of 10 - 20 mm, we mix in the proportion of 50 ml peroxide per 15 grams of citric acid, add a pinch of salt there, 5 grams is enough.
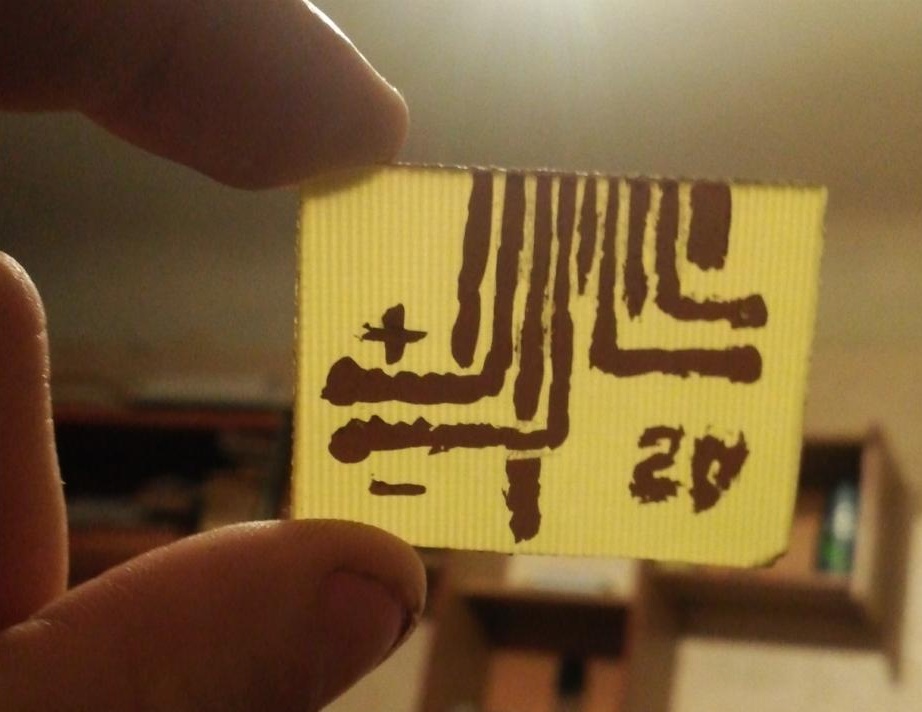
The next step is to paint the future tracks of the board with nail polish. We do it carefully, wipe the excess with a solvent. Our microcircuit needs this arrangement of tracks.

We wait 5 minutes and lower the board into the solution, on average, the board should be etched in 30-40 minutes. After the time has passed it is necessary to remove the varnish.
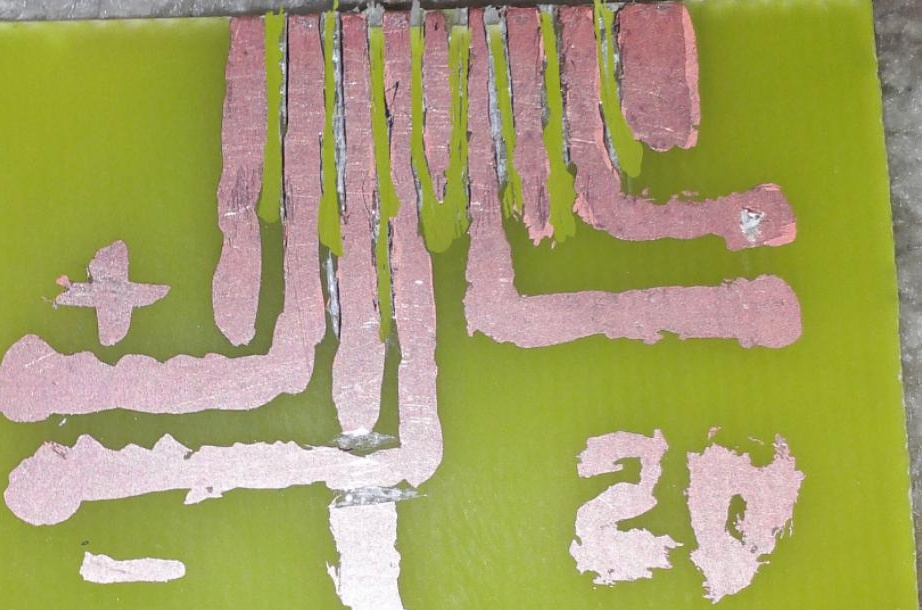
When the varnish is wiped away (you can use any solvent), you need to check in the light whether there are any displacements and errors, such as sticking one leg to another, if you make a mistake, this can be fixed with a clerical knife.
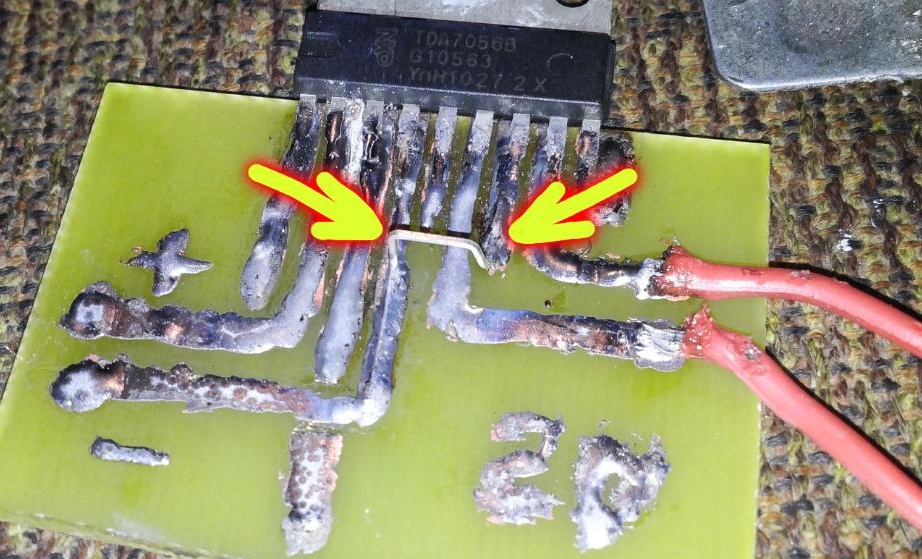
Now the board needs to be covered with a layer of tin, first coat the tracks with rosin, then we tackle all the tracks with a soldering iron. Then we attach the microcircuit and solder it strictly to the legs. It is impossible to overheat the chip, it may not be working.
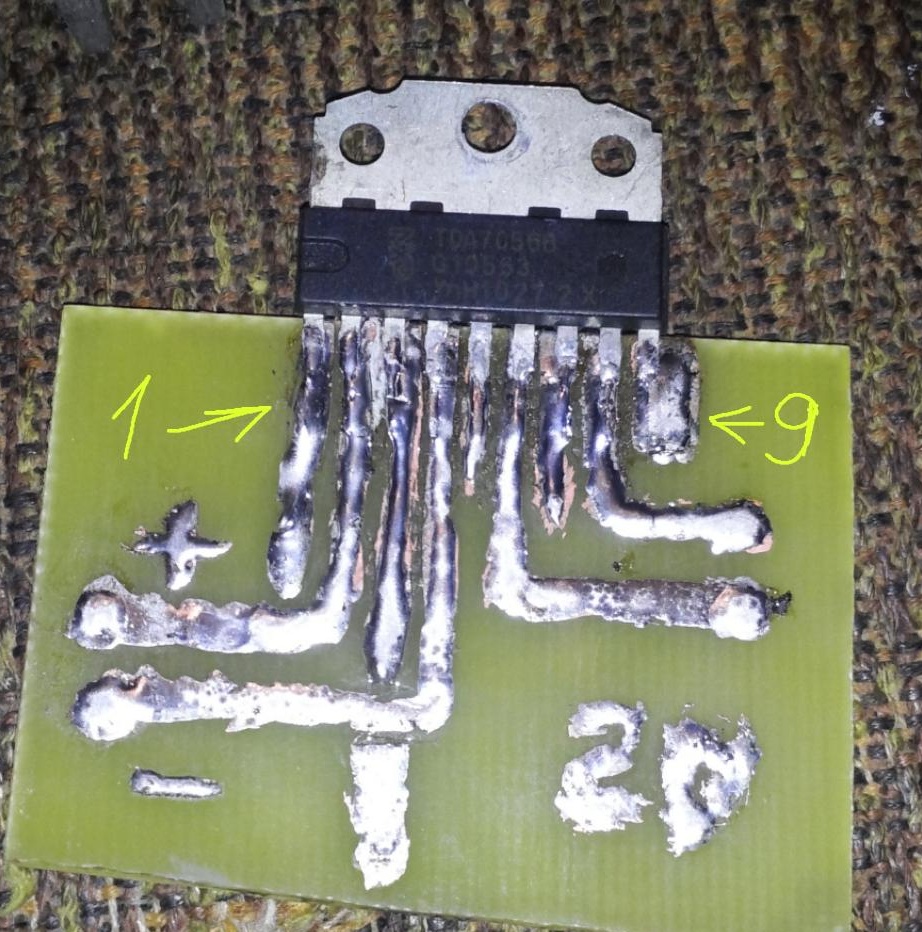
Then you can solder the wires, first solder the sound output, take two wires and solder with our plug for connecting the tulip. We have one sound output.

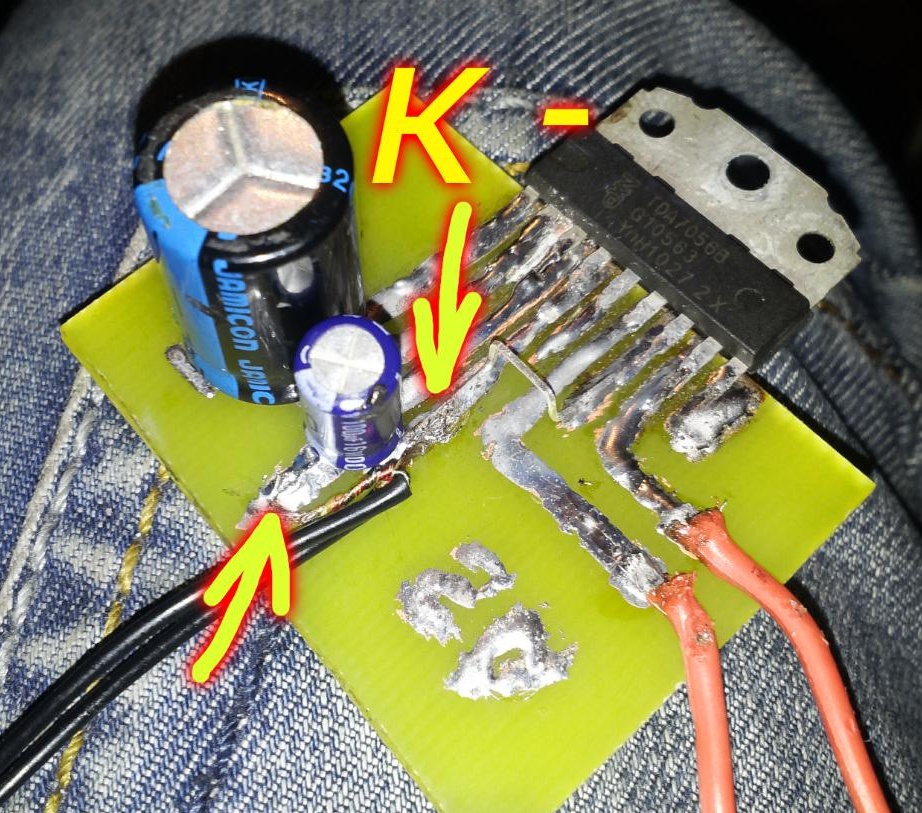
After the sound comes out, solder the jumper between the 4 leg and 7, this is a minus.

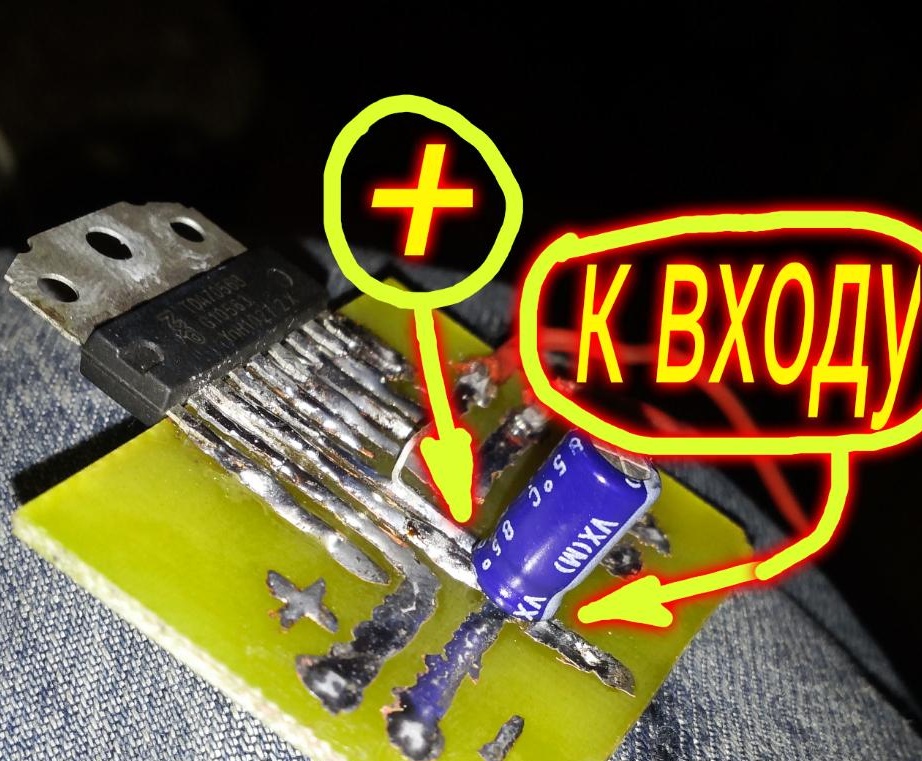
Then to the third track we solder the capacitor at 100 microfarads.
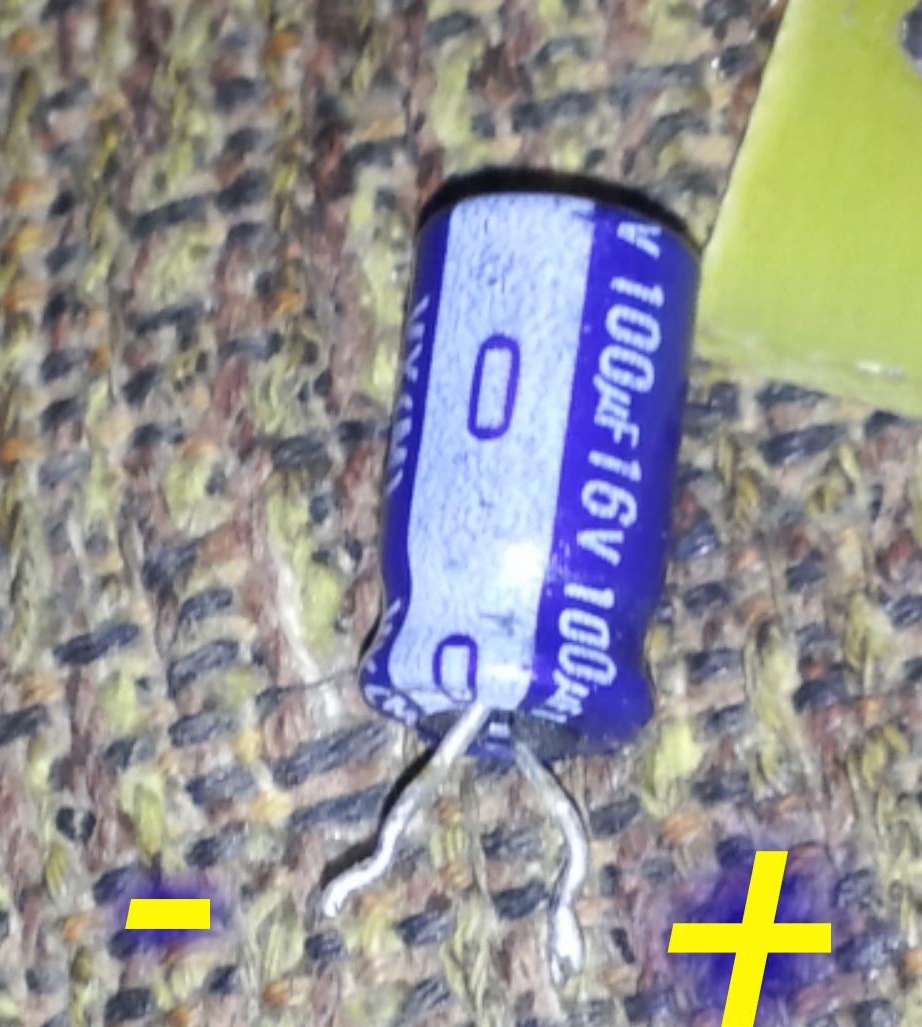
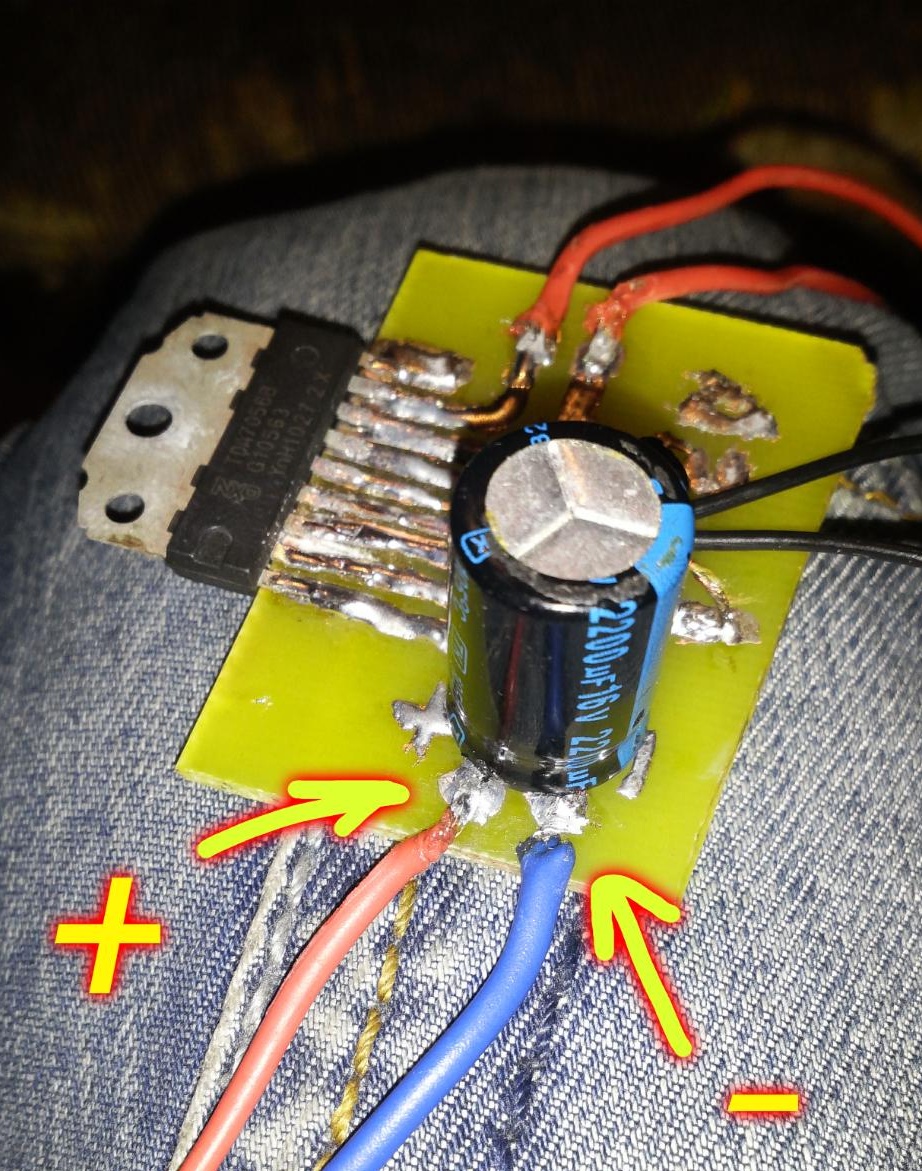
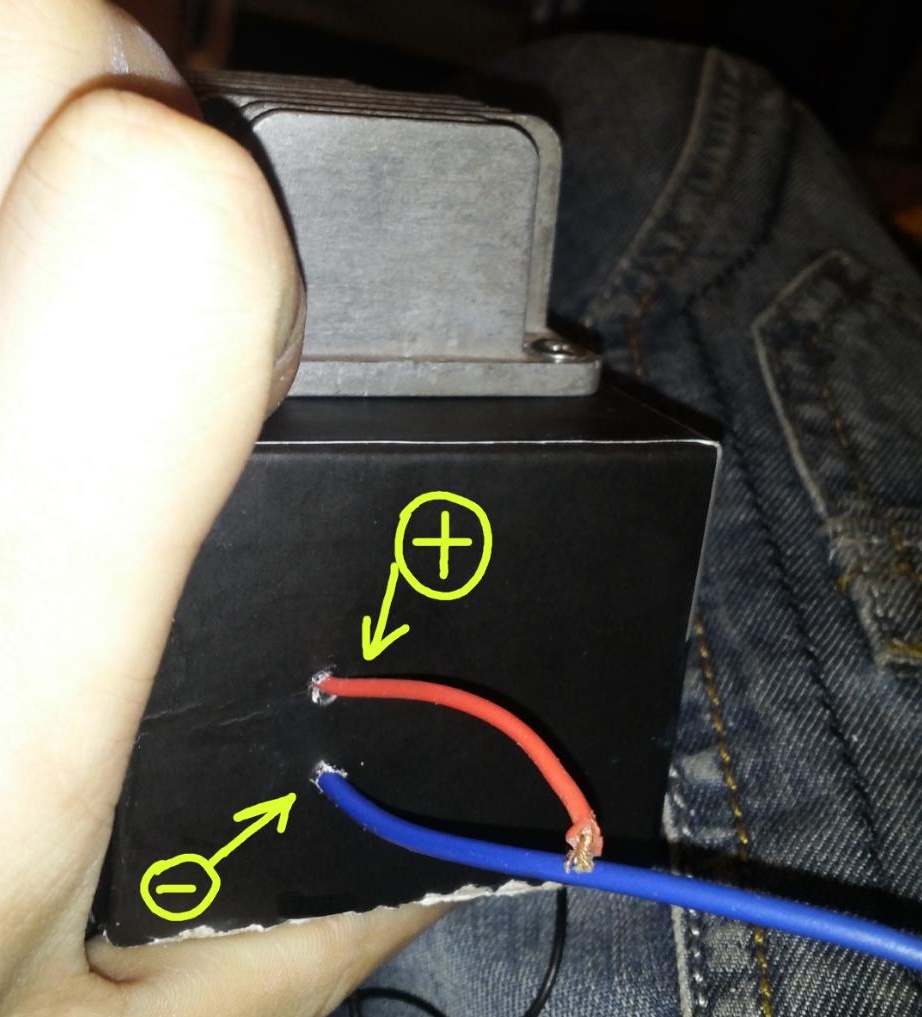
Plus, we solder it to the track and the minus is already to the other side of the track, as in the photo.
For power, you need a filter, it will be a 2200 microfarad capacitor. Solder it to the plus and minus power.
We solder two wires to the power paths.
The next step is soldering the audio input plug.
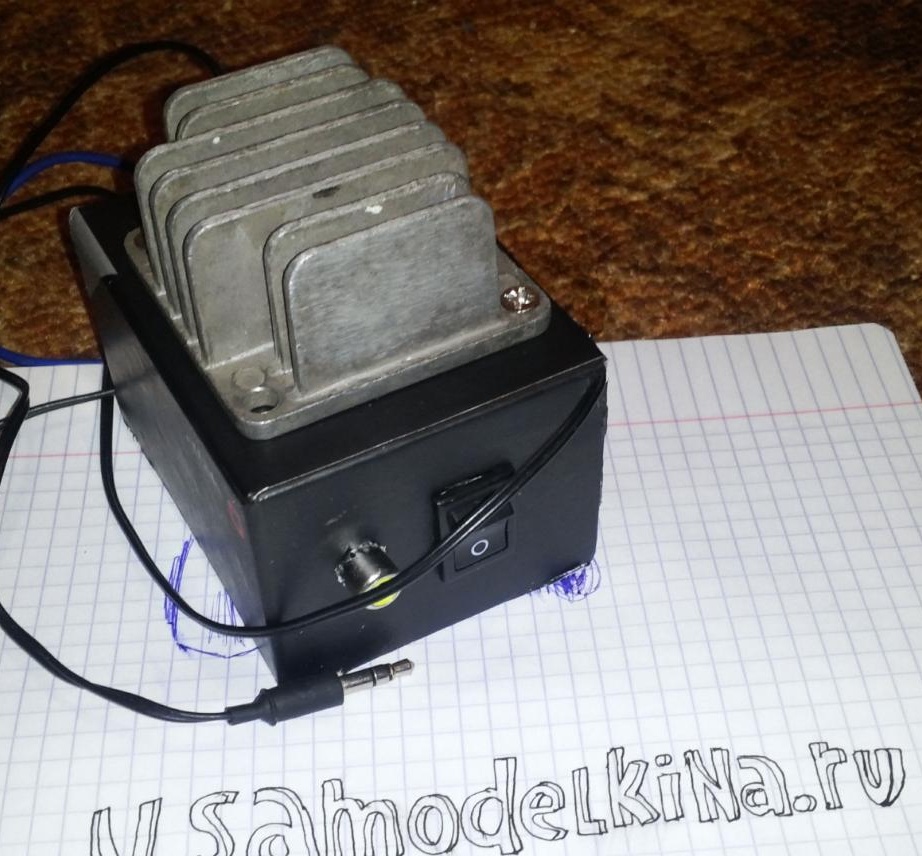
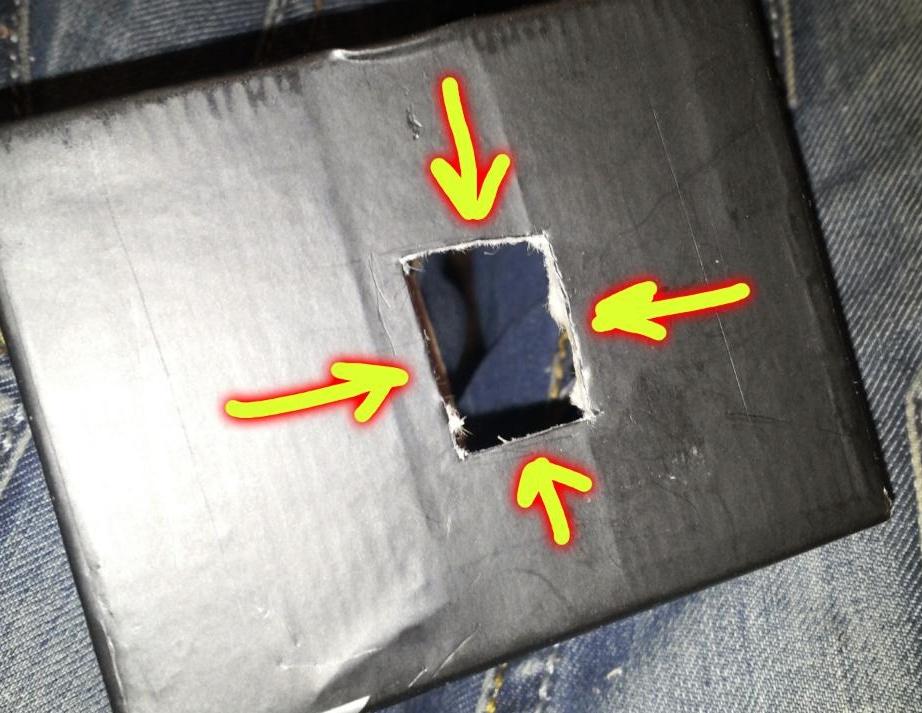
The amplifier is completely ready for this, before installation in the case it is better to check it by fixing it on the radiator in advance. After checking, you can install everything in the case. To begin, cut holes for installing a radiator using an office knife.
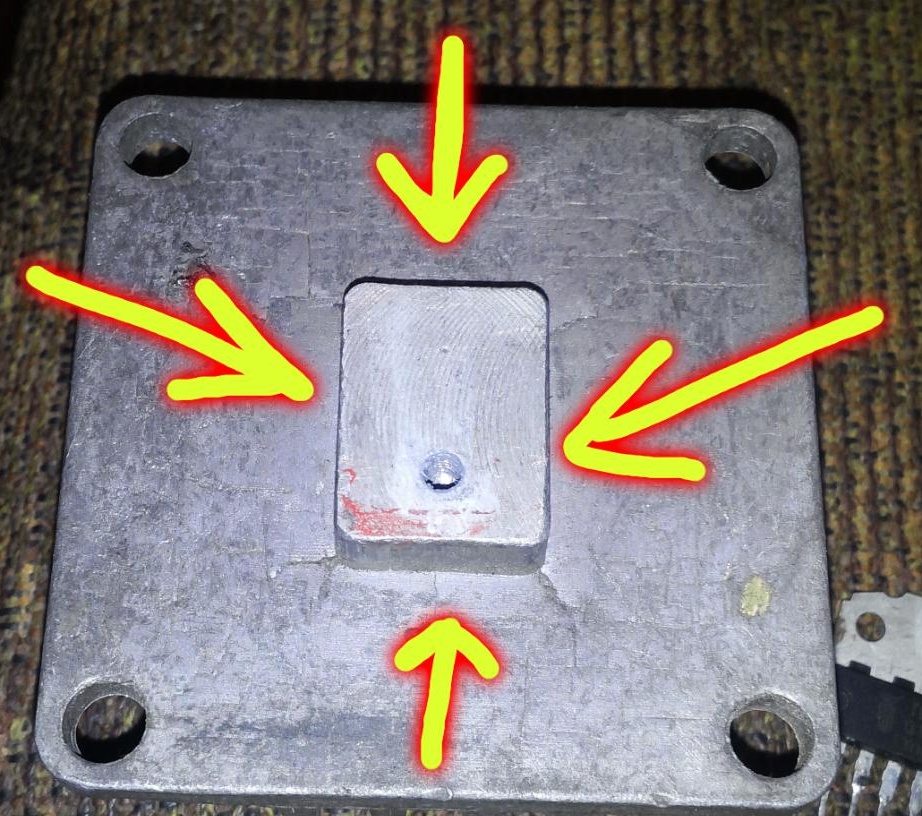
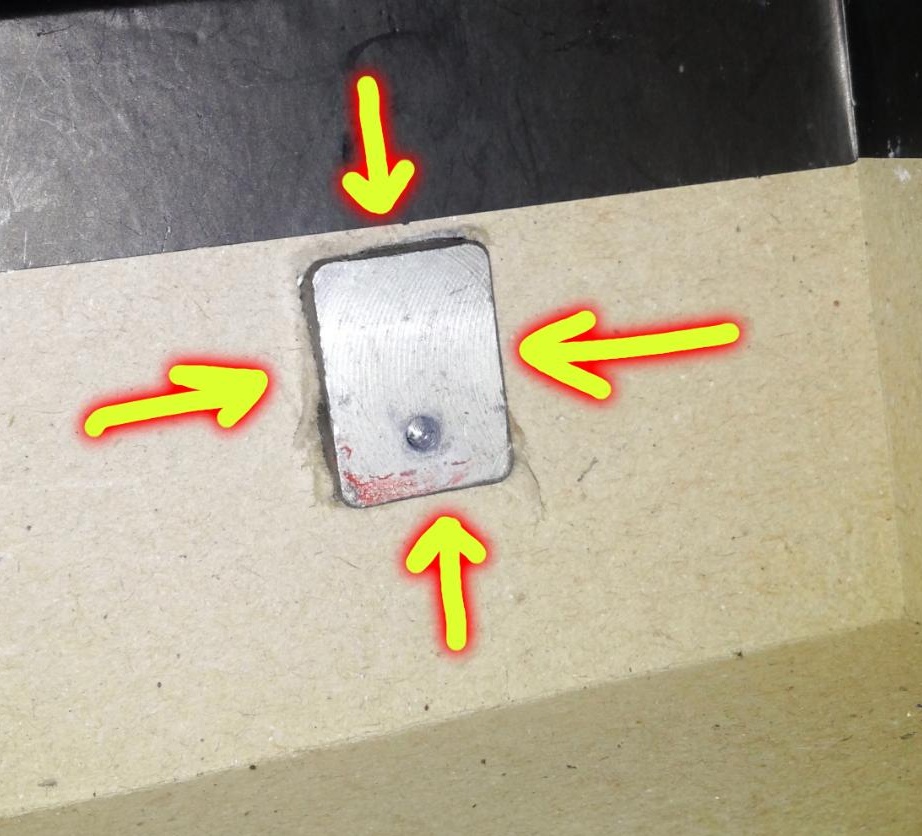
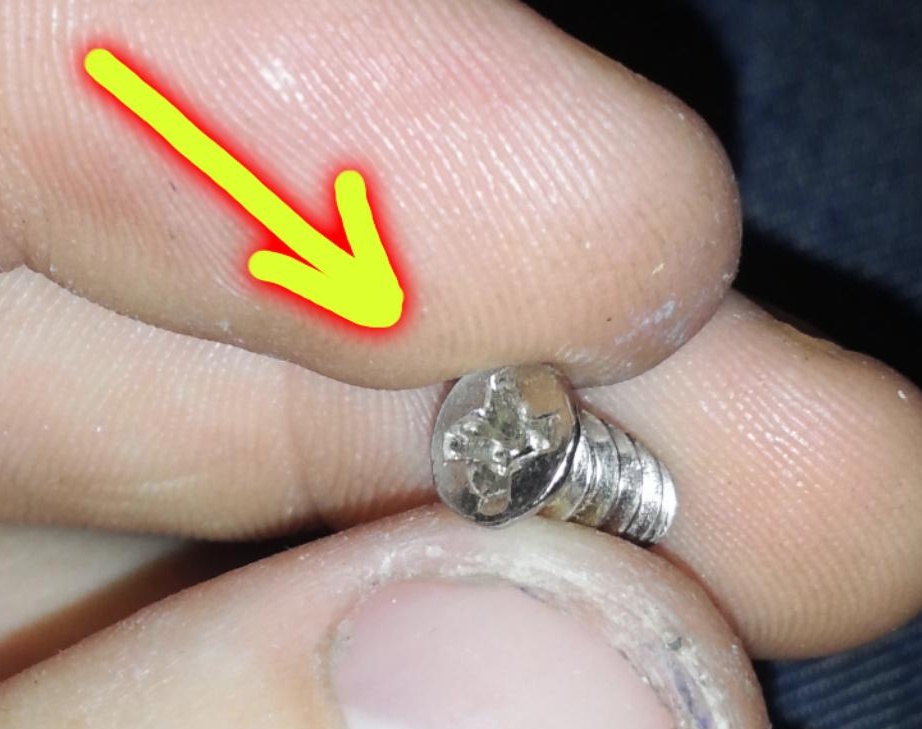
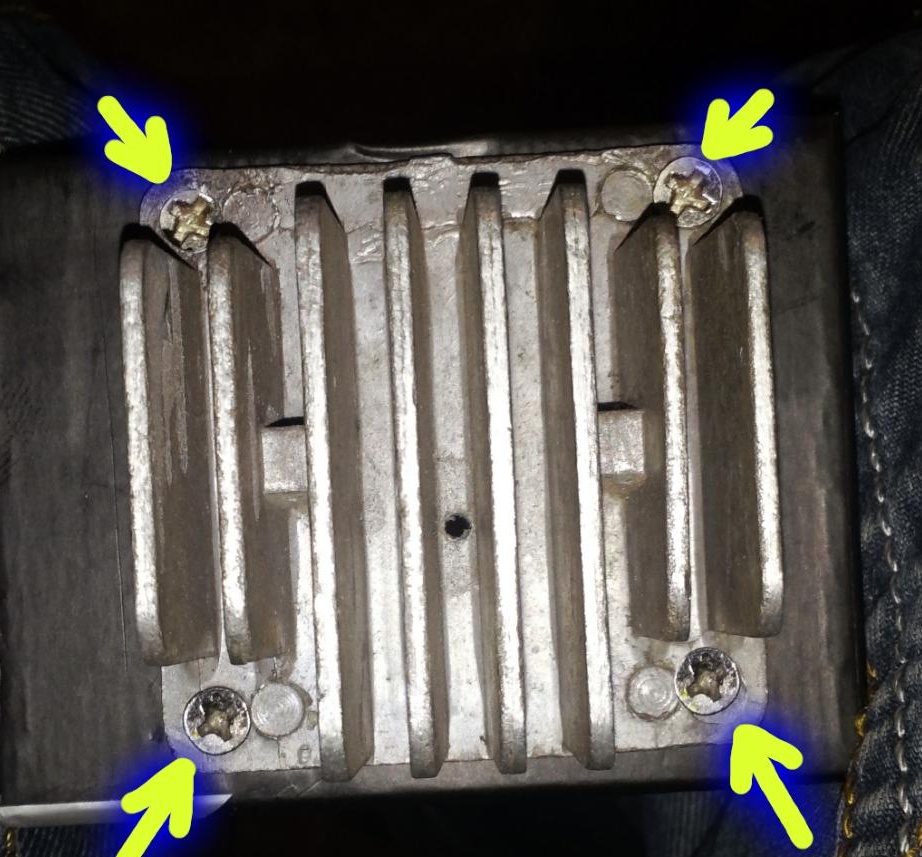
The photo shows that everything went well. Then you need to fix the radiator with four screws.
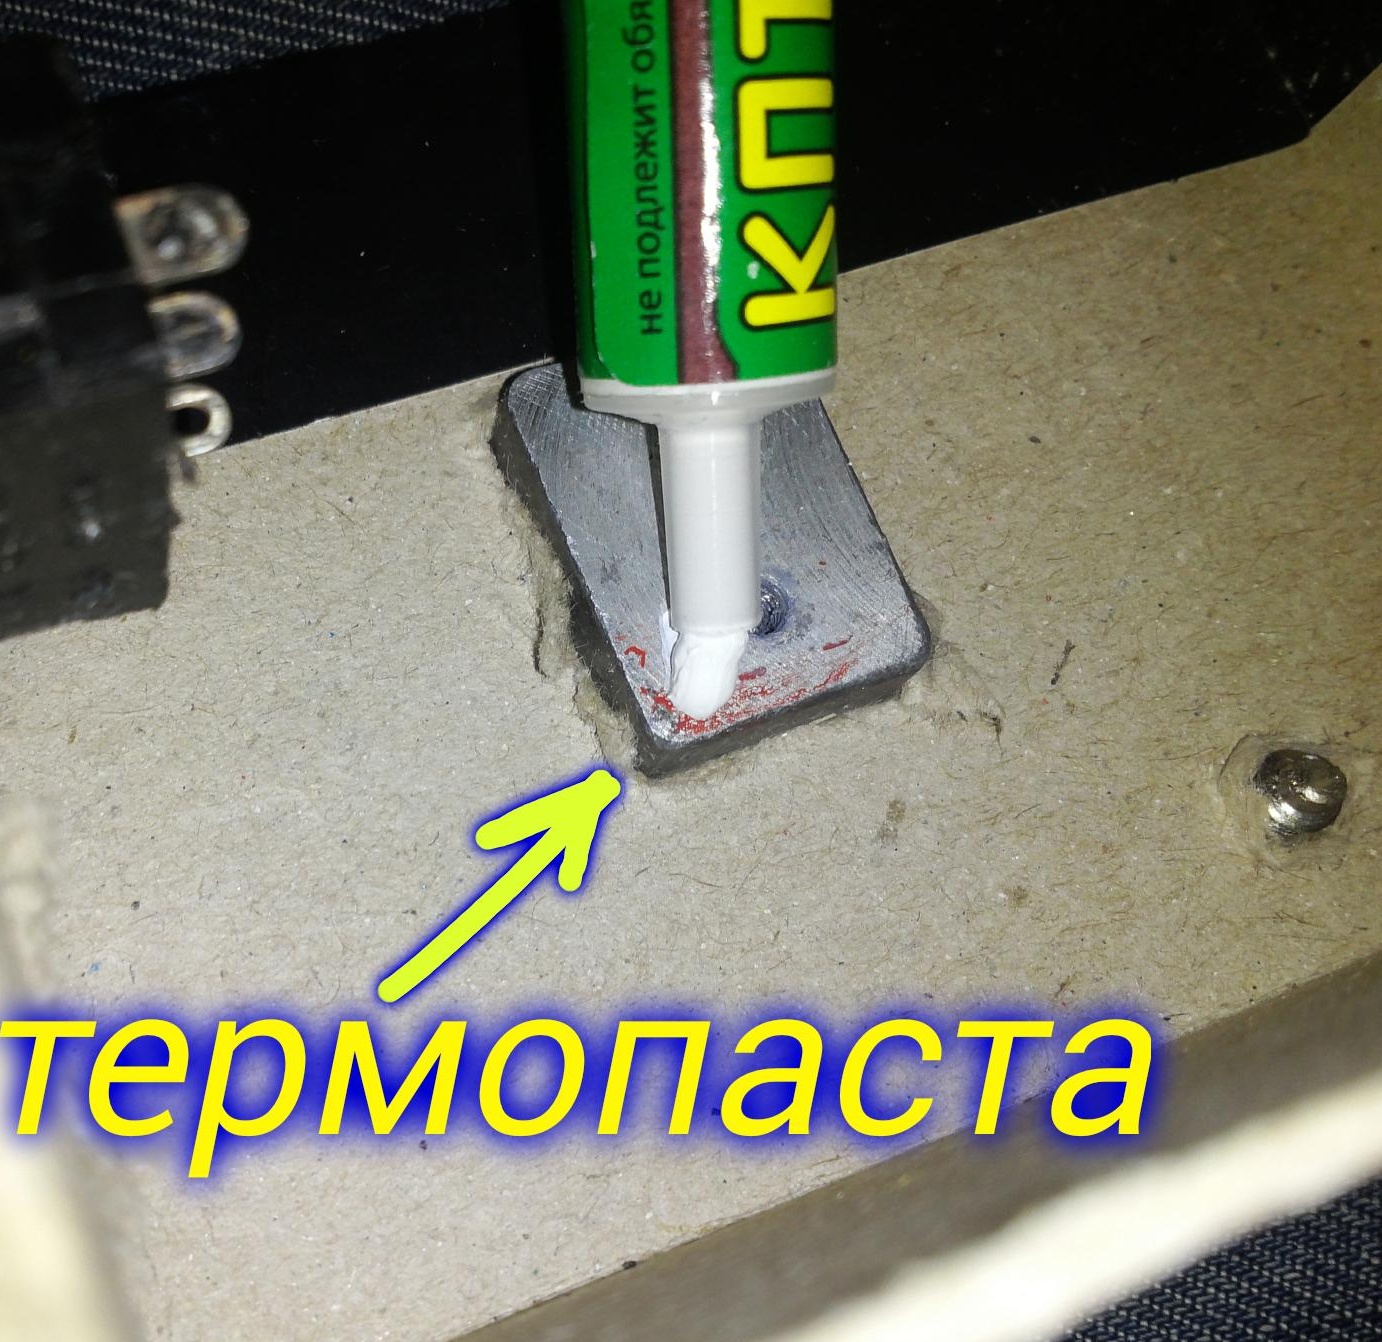
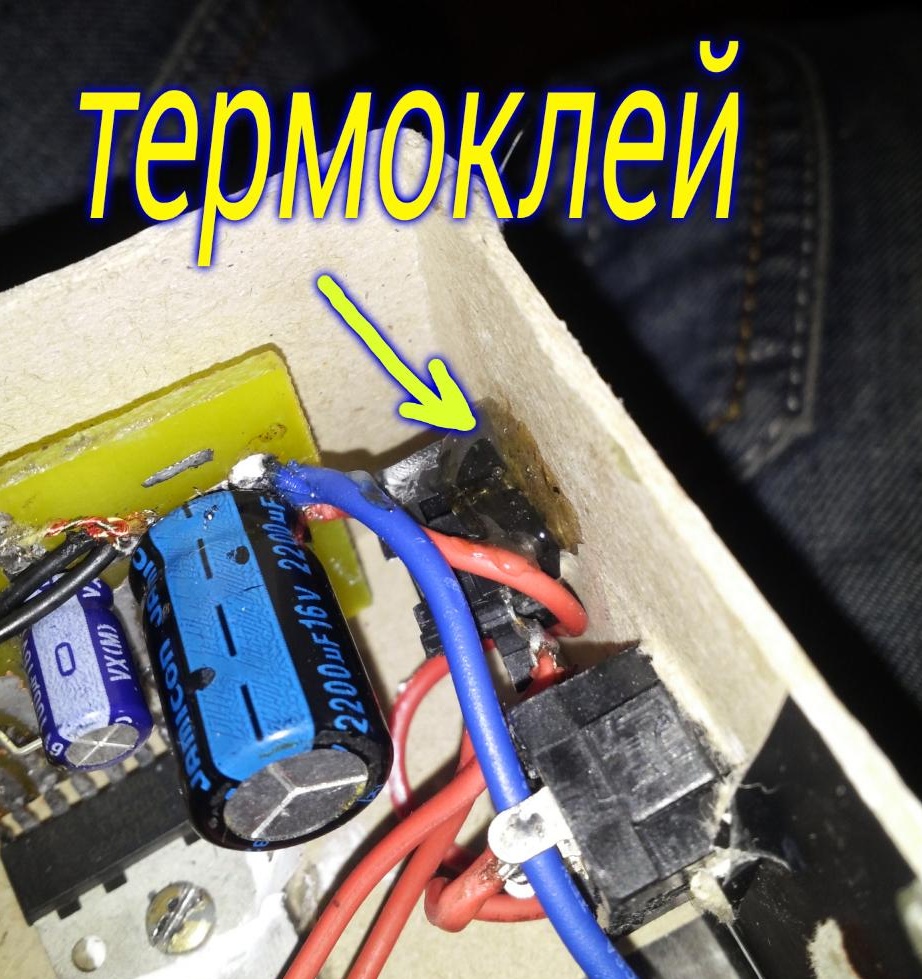
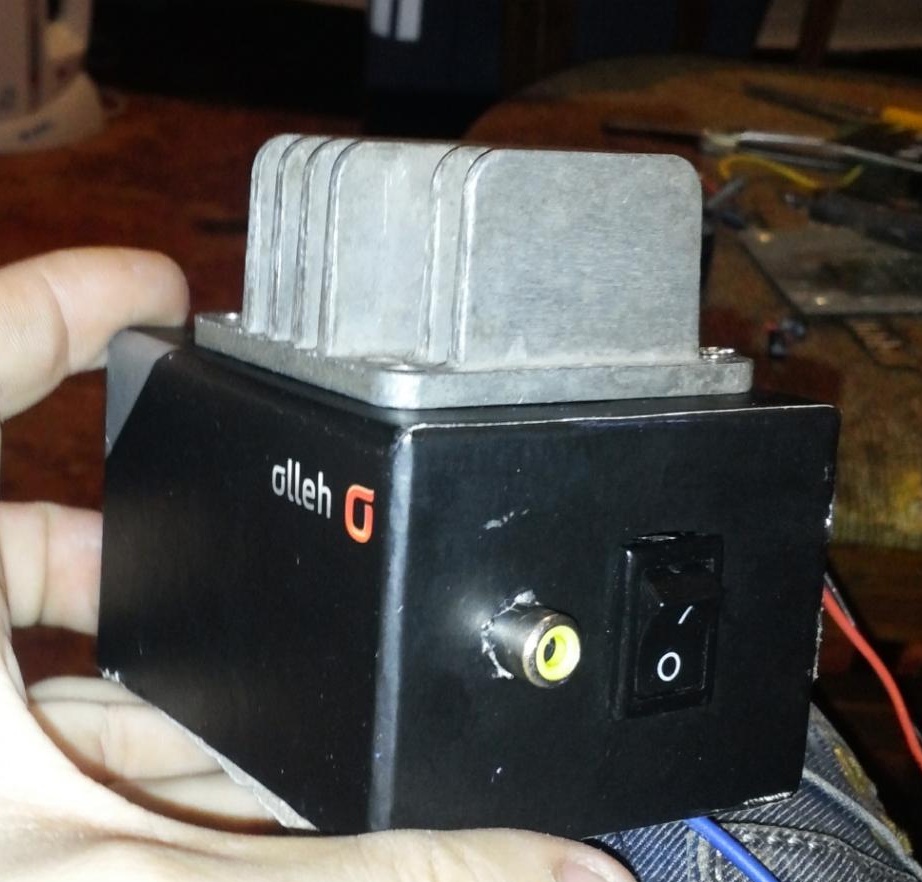
When the radiator sits firmly, you can make holes for connecting to the speaker through the tulip and the power switch. All glued to hot melt. Then you can install the amplifier on the radiator through thermal grease.

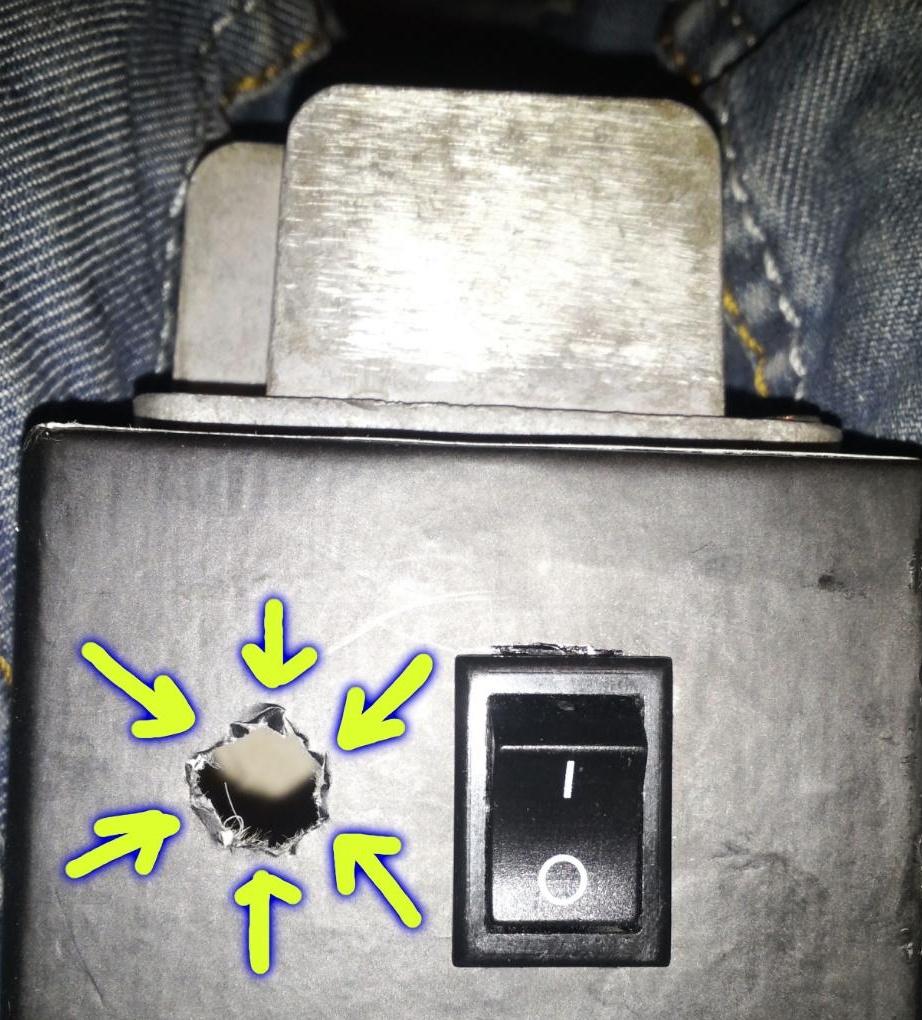
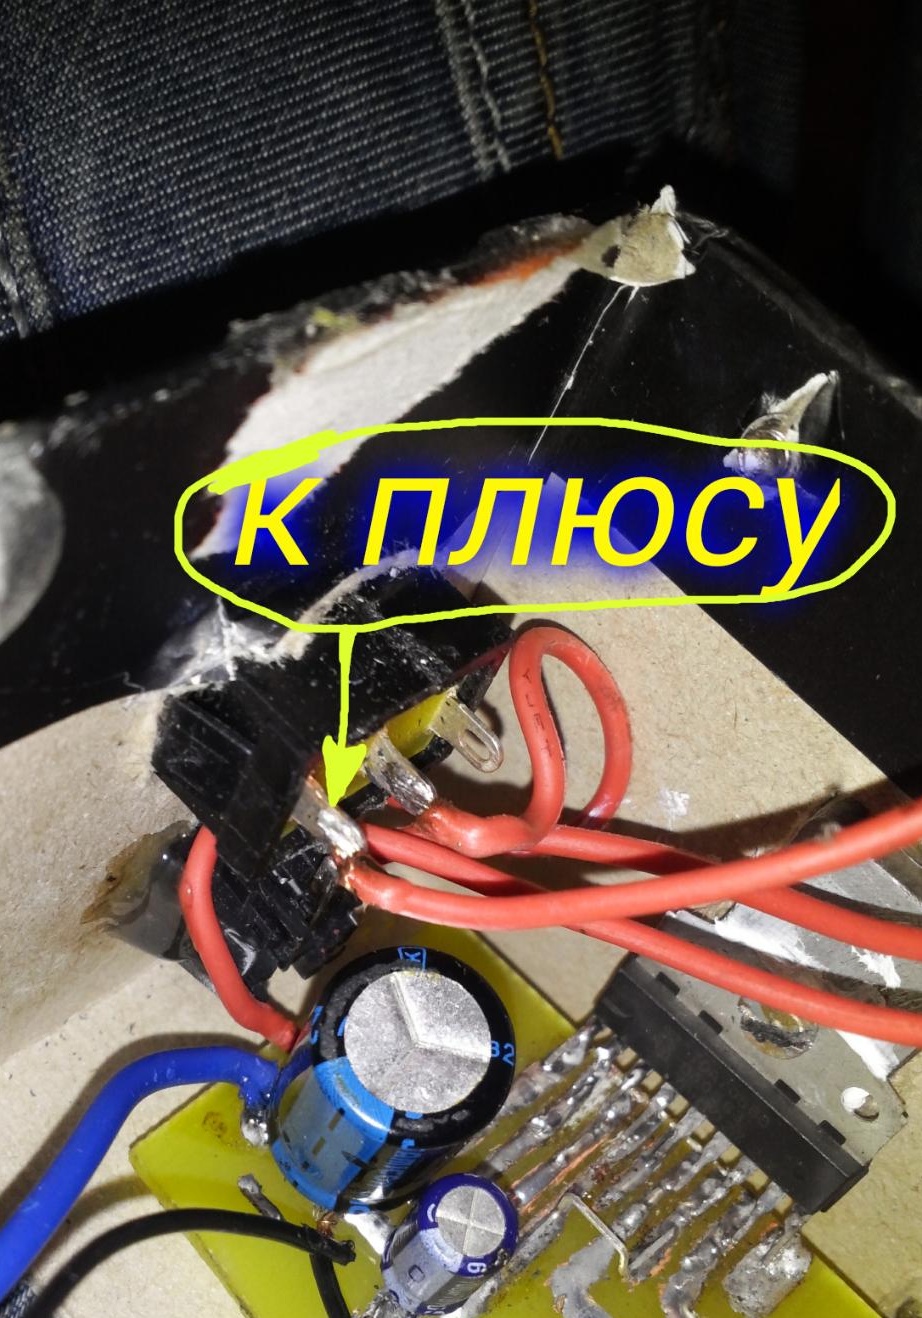
In the gap of the power plus, we solder the switch.
The amplifier is ready for this, it remains to glue the side and bring the wires out for power.
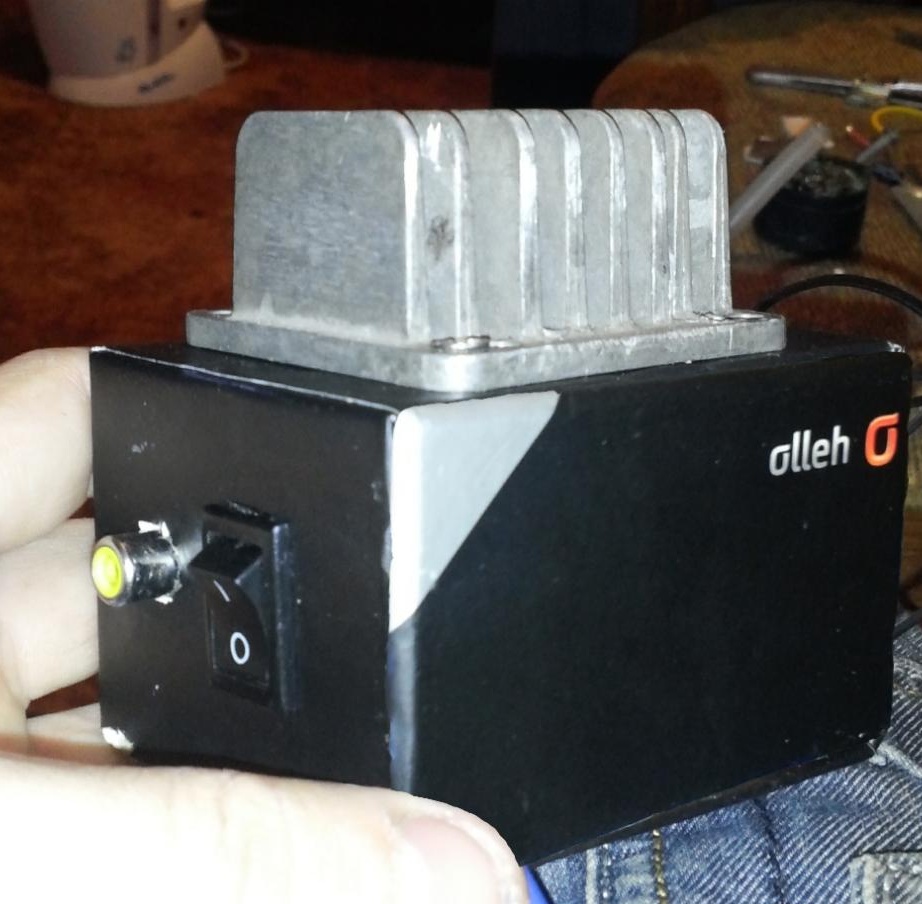
On this, the amplifier is completely ready for operation. Its power is 10 watts per 8 ohm load at 12 volts of power and 2 amperes, which is enough for a home.
All successful homemade products.