
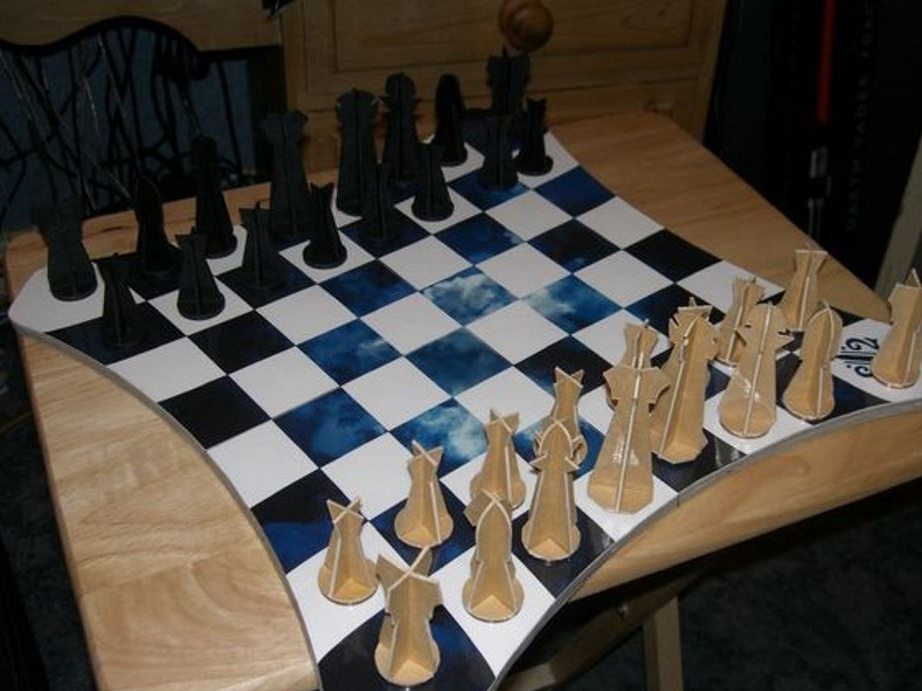
A non-standard approach to the implementation of chess set will not only save space, but also take your favorite game with you on travel.
Magnetic chess is presented to your attention.
Step # 1: Equipment and Materials


You will need:
• Cutting board - the more the better
• Sharp clerical knife
• Lots of spare blades
• Jet printer
• Laminator (optional, but recommended)
• PVA or wood glue
• Two sheets of a dense card
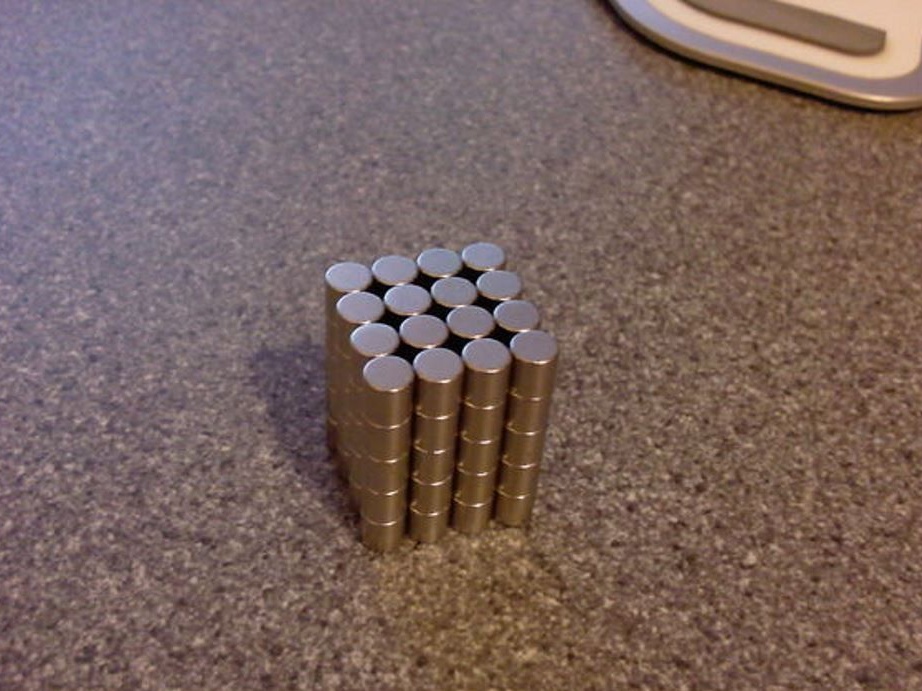
• 64 neomagnets
• Paper
• 32 magnetic washers or coins
Step # 2: Cutting

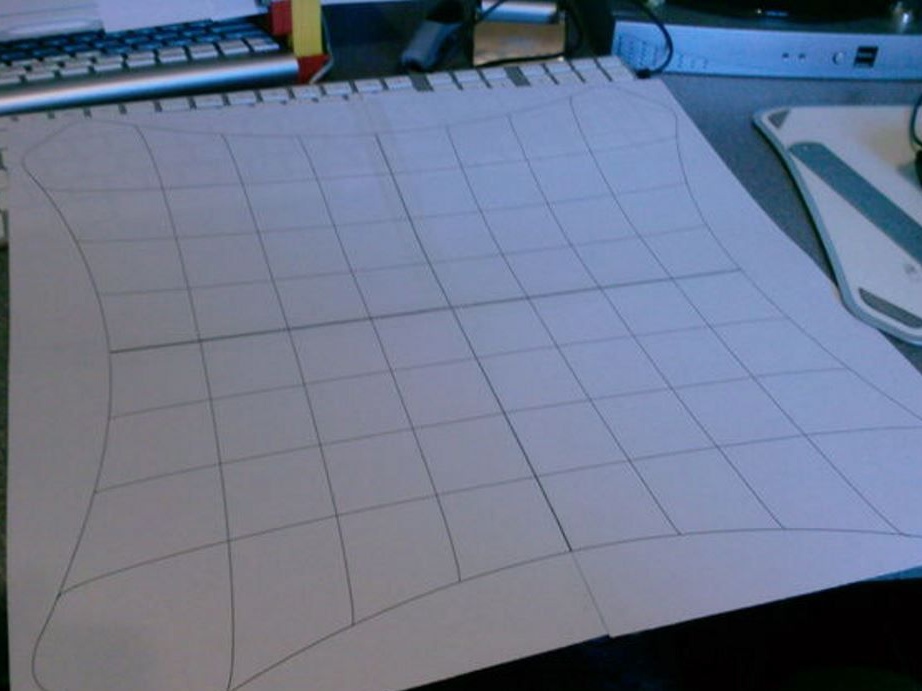
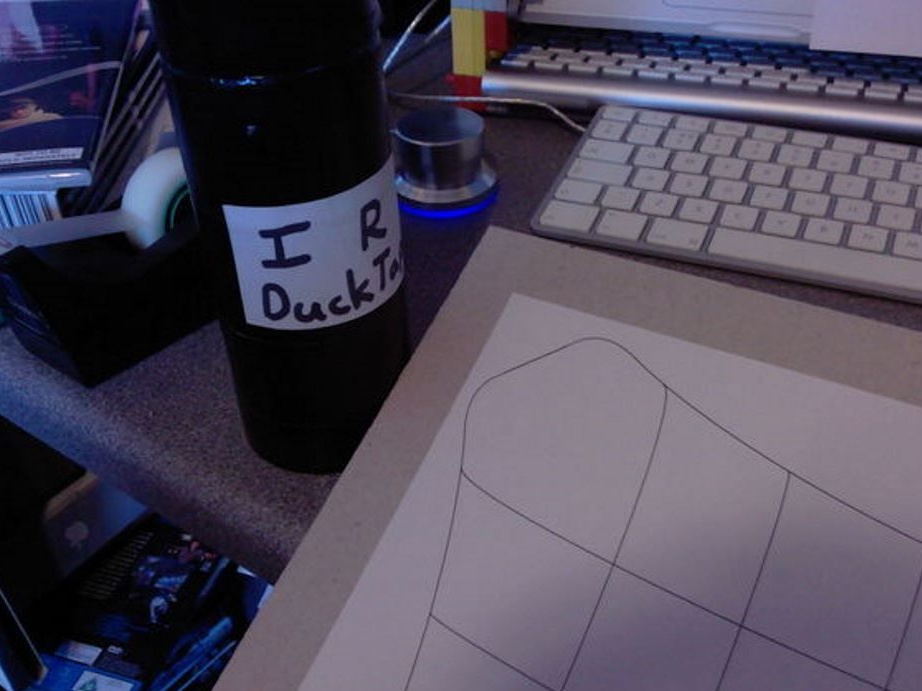
First, you need to print the templates.
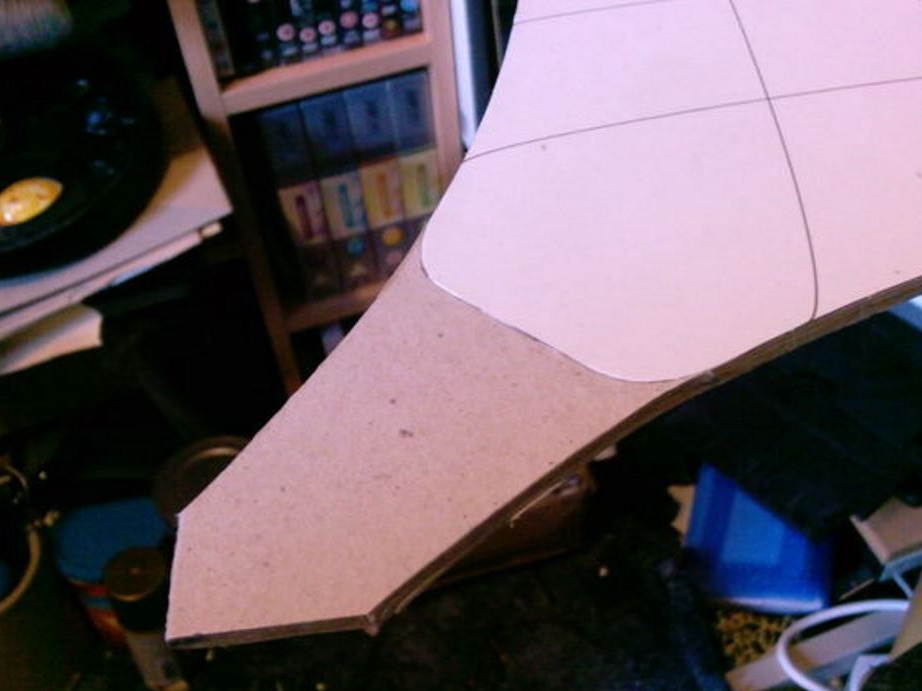
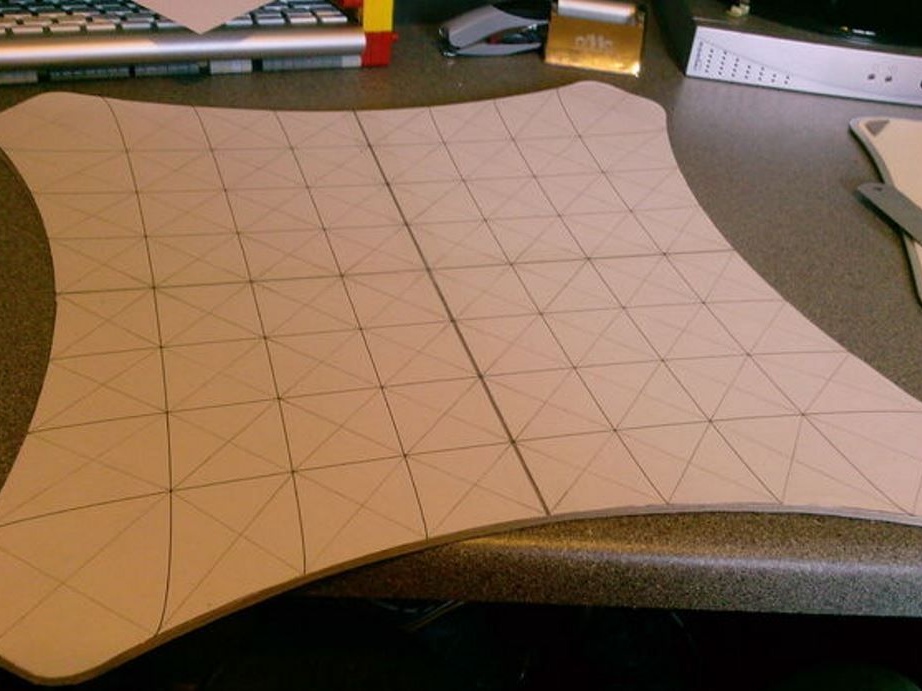
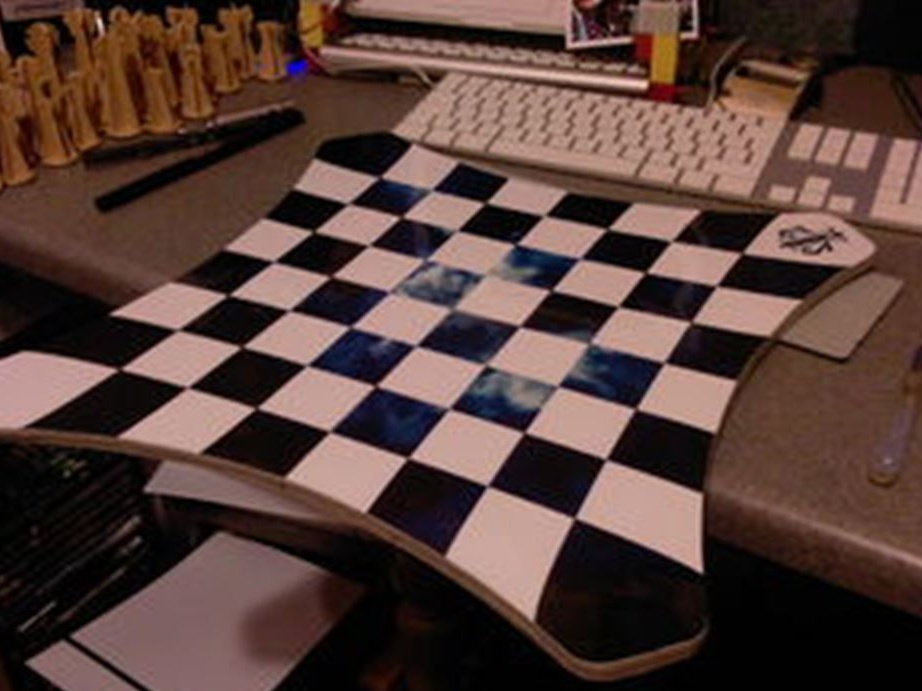
Photo No. 1: four parts - 4 corners, which are then connected to each other. Just this process is clearly demonstrated in photo No. 2 and 3, the corners are glued to the board. We cut off the corners remaining after pasting and get the figure shown in the last photo.
Cut another one exactly the same board.
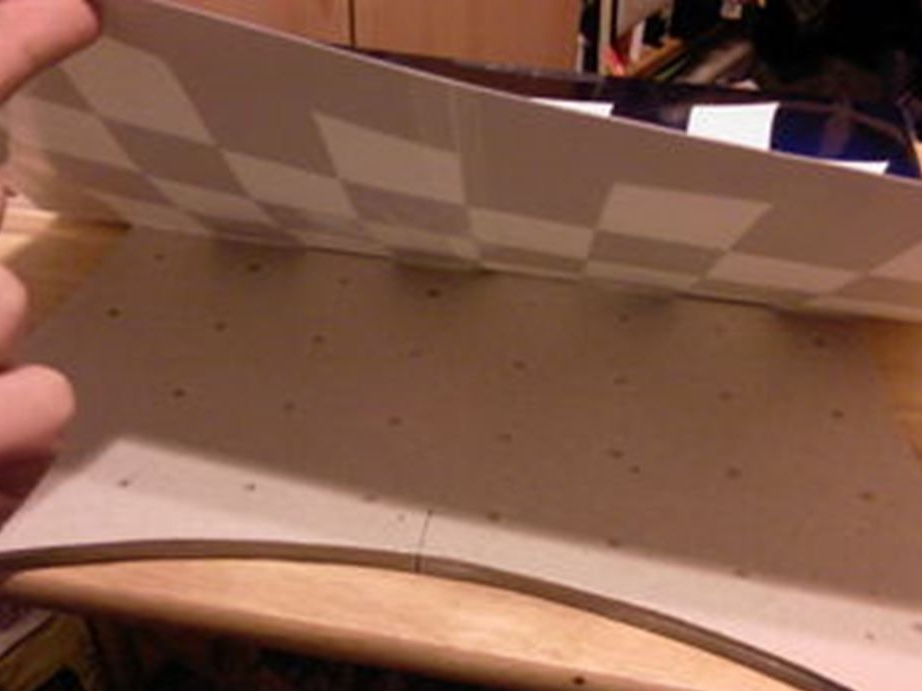
Step # 3: Drill Magnet Holes
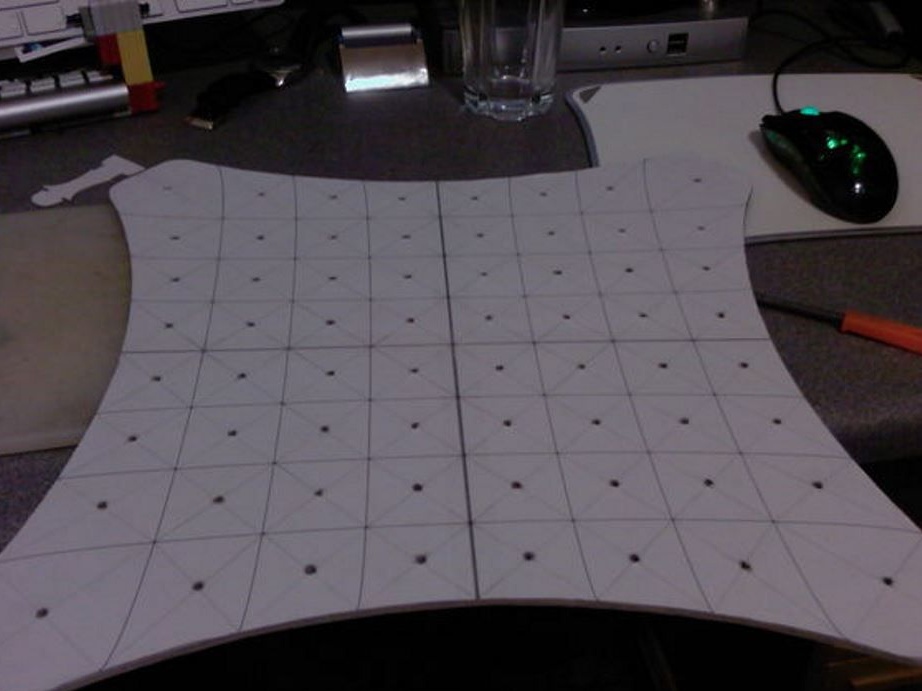

The marking of the center of each square can be done at the moment when the drawing is still under development. If this was not done, then you have to tinker with an already finished board.
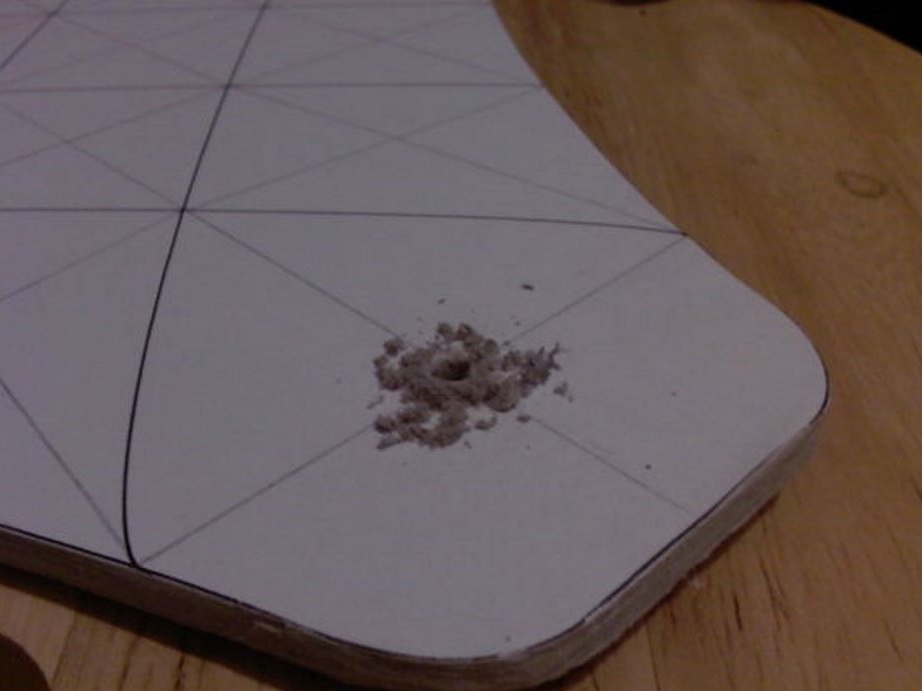
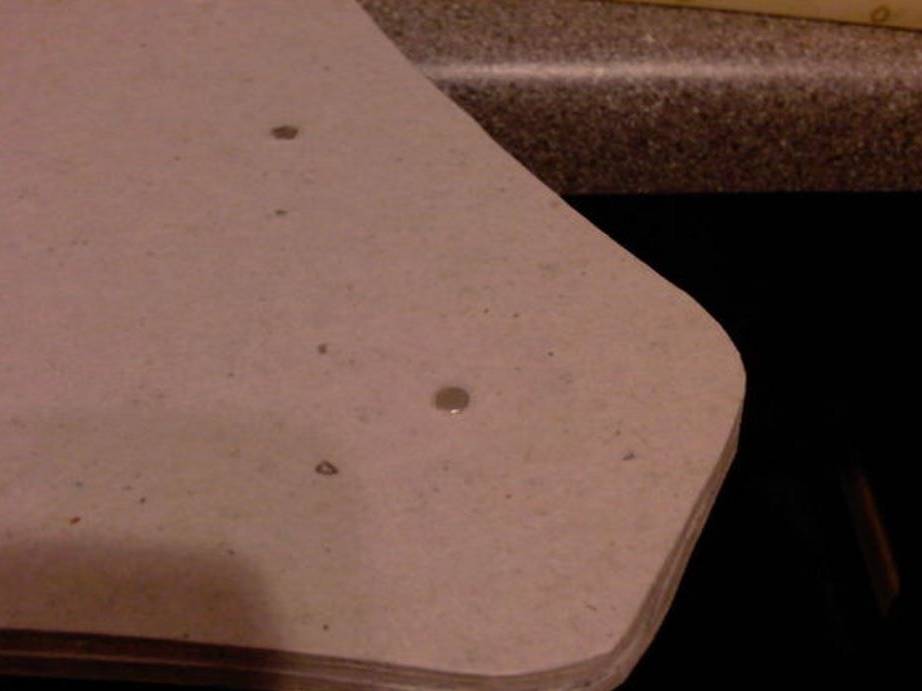
Mark the middle of each square. Measure the width of the magnets and make 4 mm deep in each of them. Strip the finished holes with a sharp scalpel, removing all unnecessary. After you finish this work, you will have two boards, one with holes, one without.
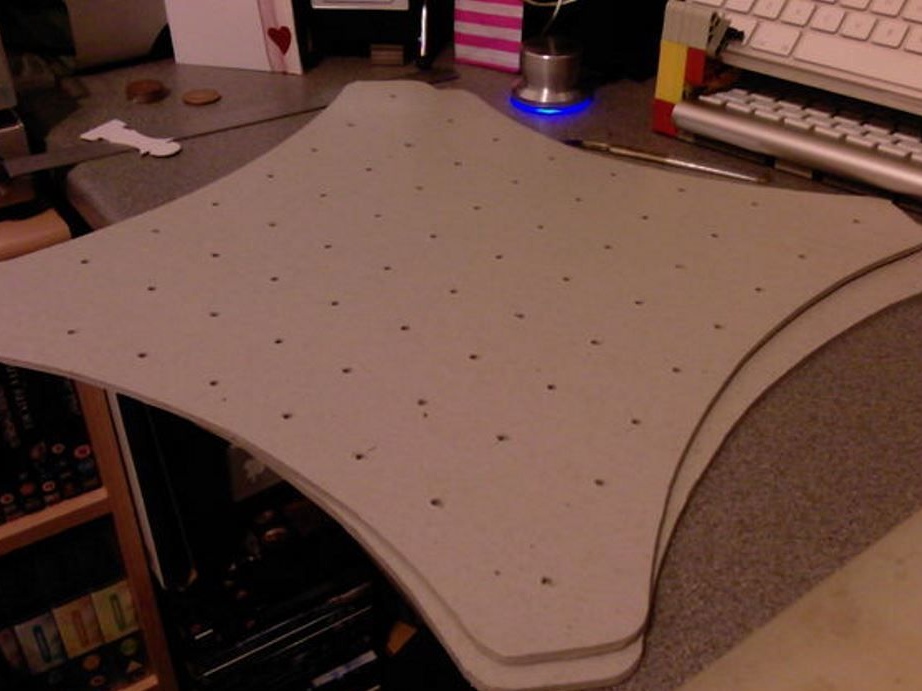
Step number 4: A lot of glue!
Apply glue evenly throughout the board so that it does not get into the holes. Align the two boards together and let them dry, pressing them first, with something heavy.
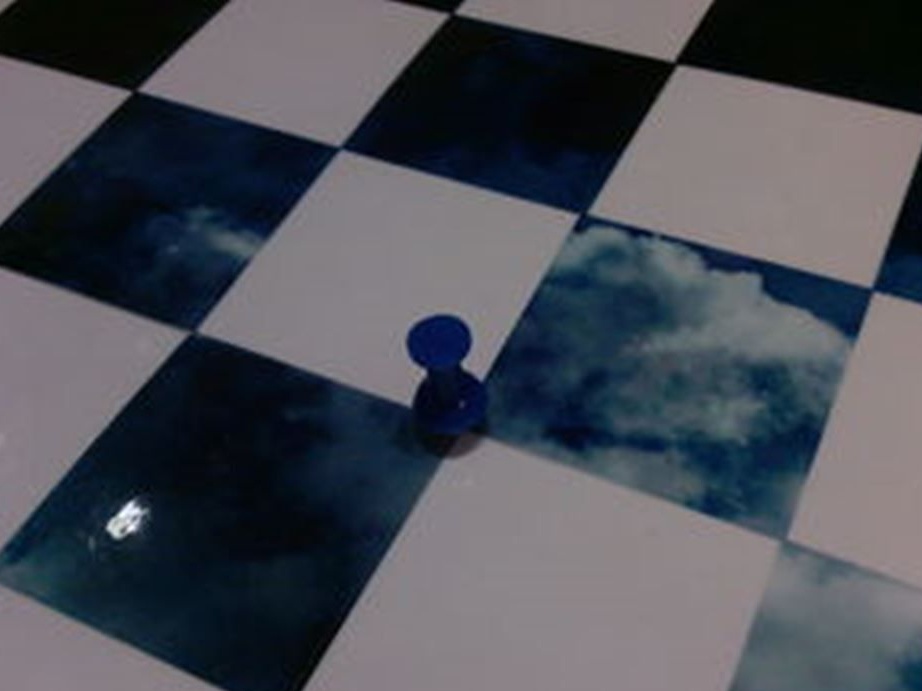
Step # 5: Magnets
When attaching magnets, pay attention to the pole, they should be facing up with the same sides.
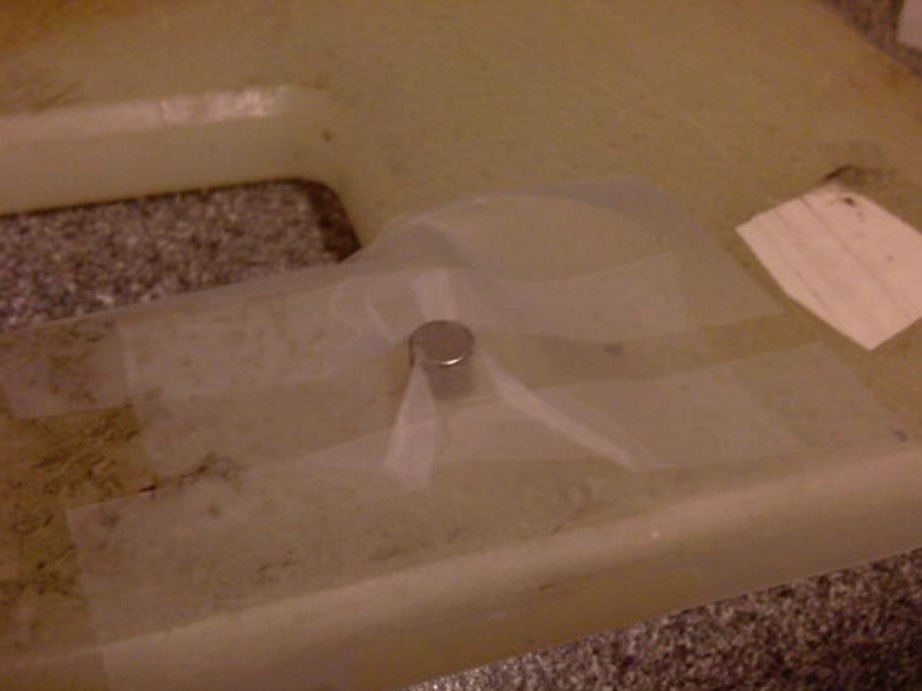
Insert all magnets into the slots. Additionally (optional), they can be fixed on top with a transparent film.
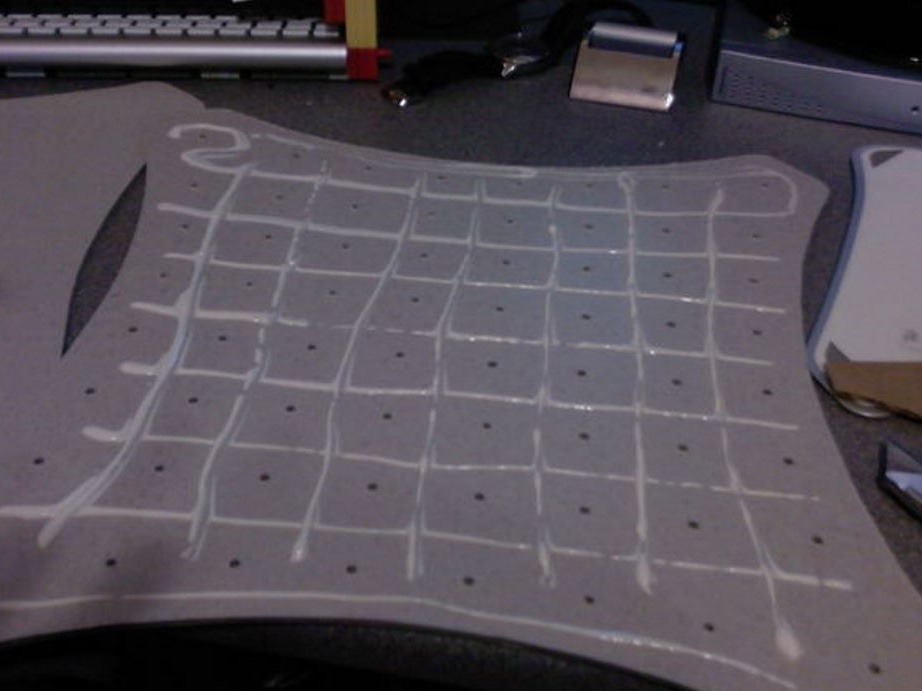
Step # 6: Adding a Mesh
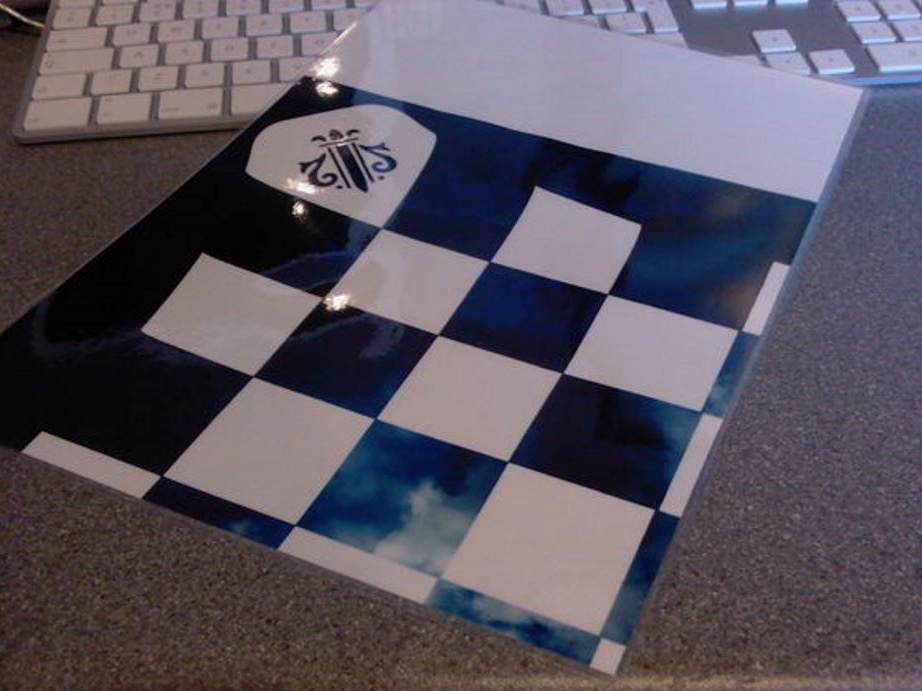
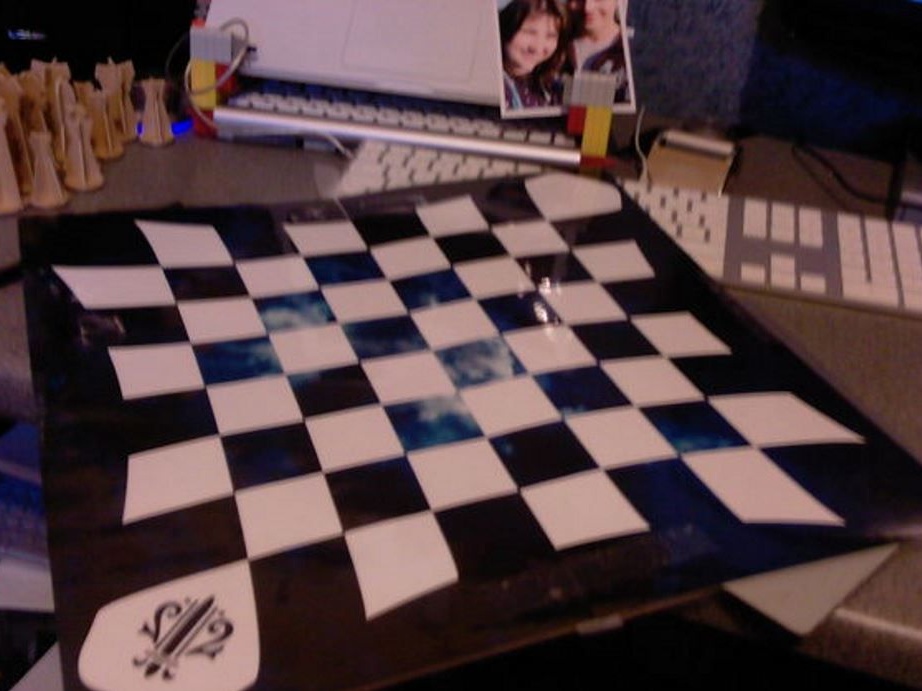
Print black and white grid patterns. If possible, laminate the sheets with the grid: this way the magnets will be better kept and the playing surface will retain its attractive appearance for longer.
Stick the templates onto the board using double-sided tape.
Find and mark the center of the checkerboard. After the grid is pasted, turn the board over and cut off all the excess. Pieces of felt or small legs can be glued on the underside.
Step 7: Chess Pieces
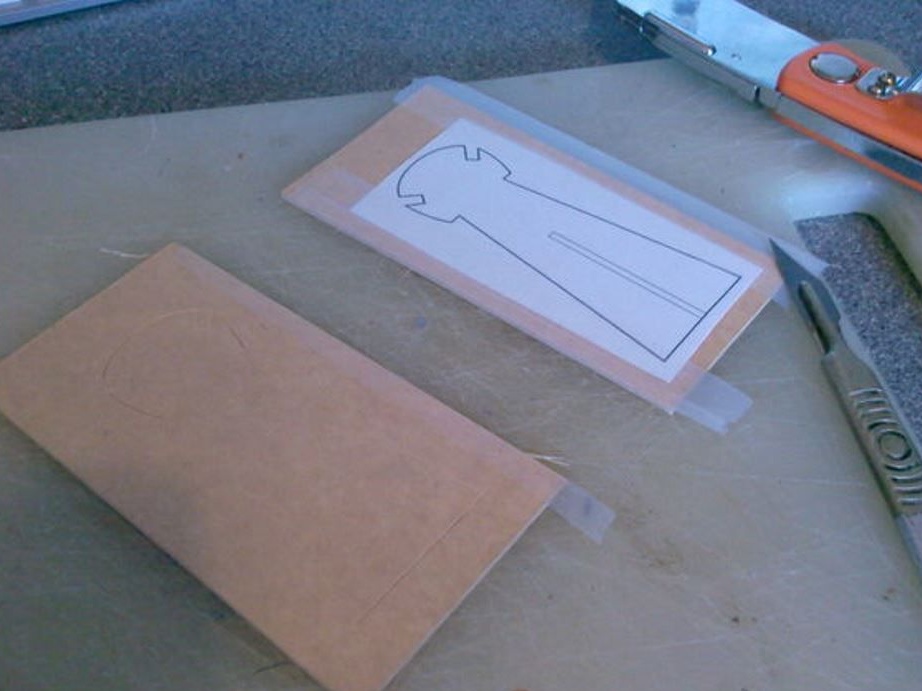
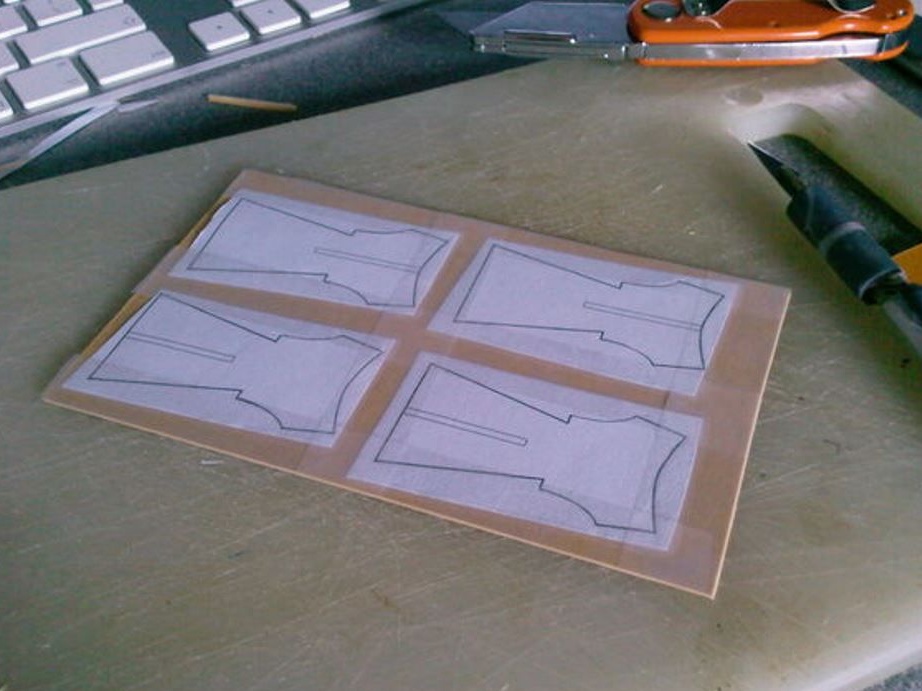
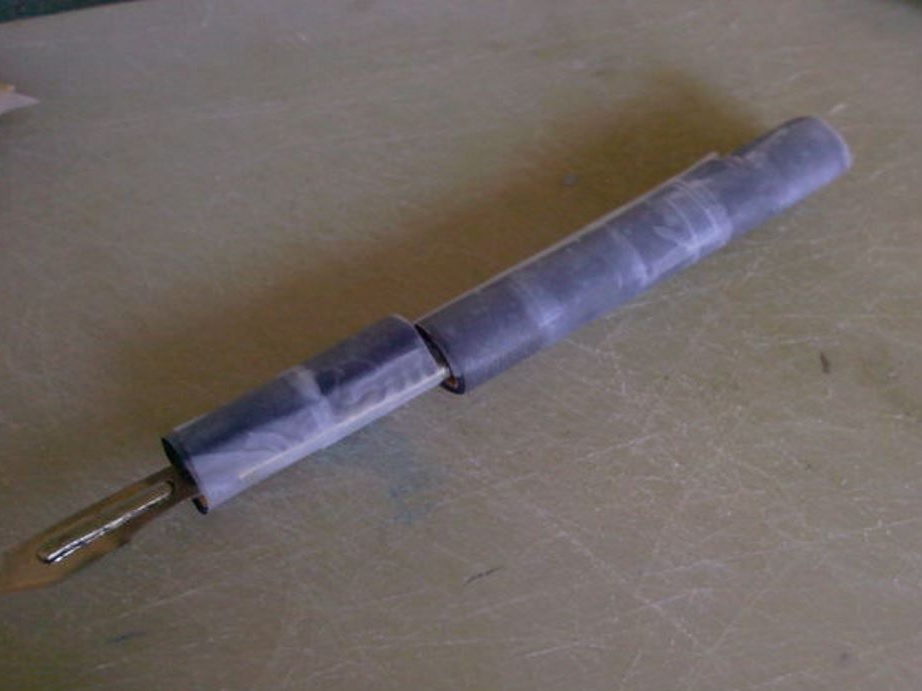
Chess pieces consist of two parts. Cut the patterns with a sharp knife and connect the parts together.
Step # 8: Installing Shapes
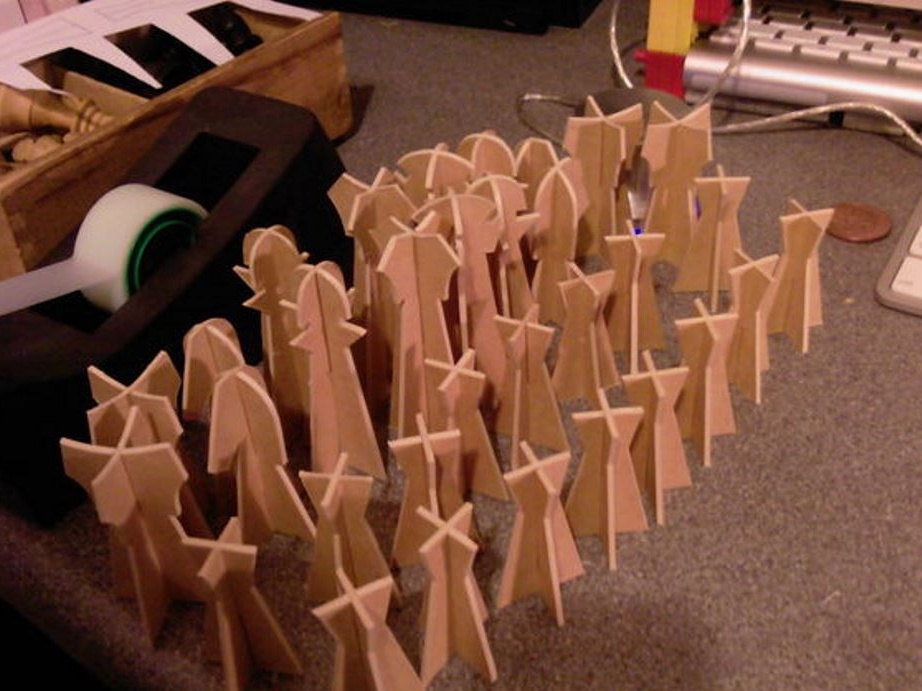
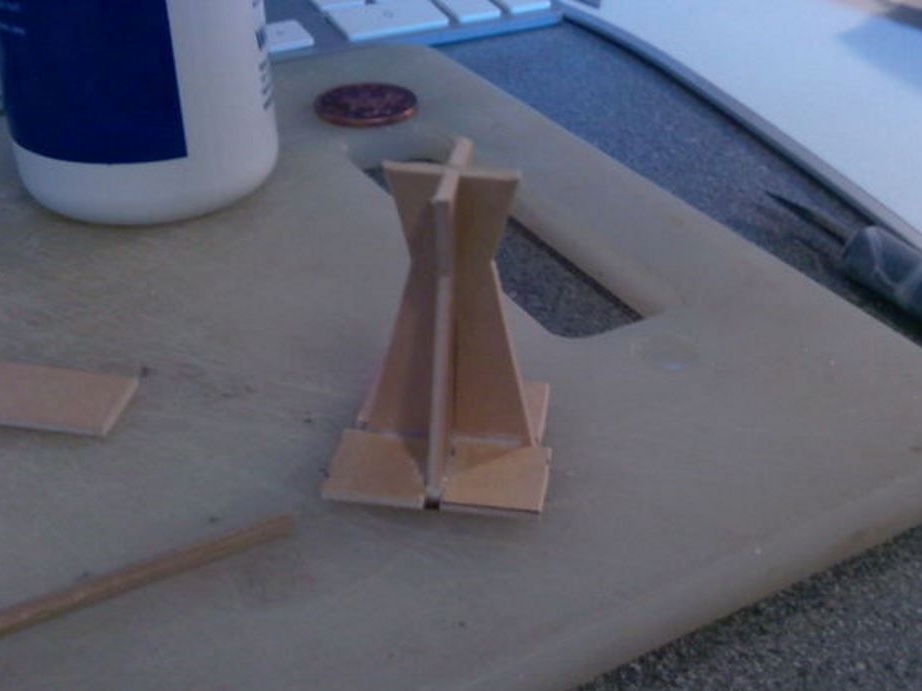
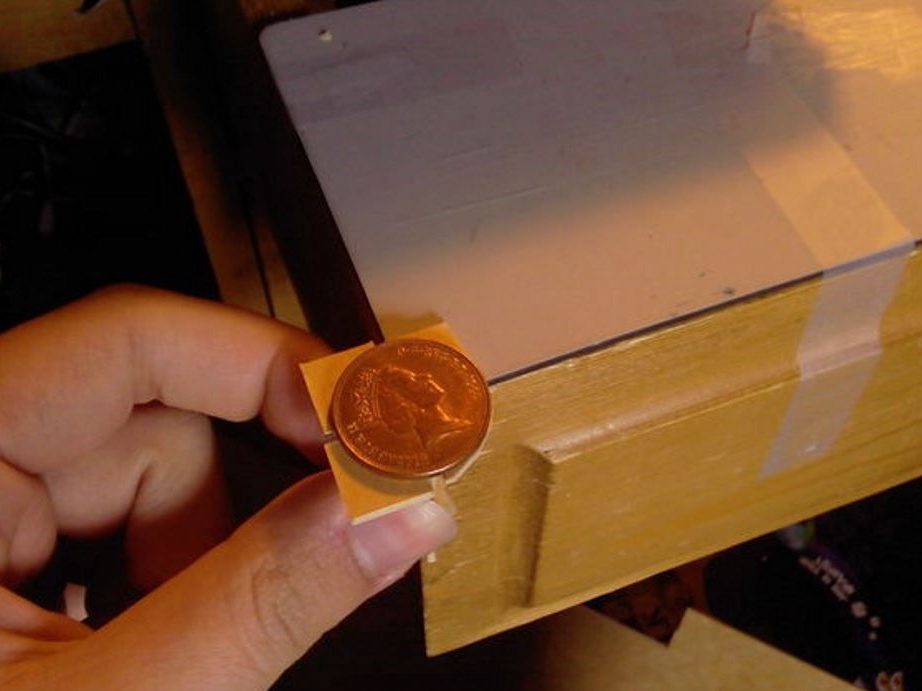
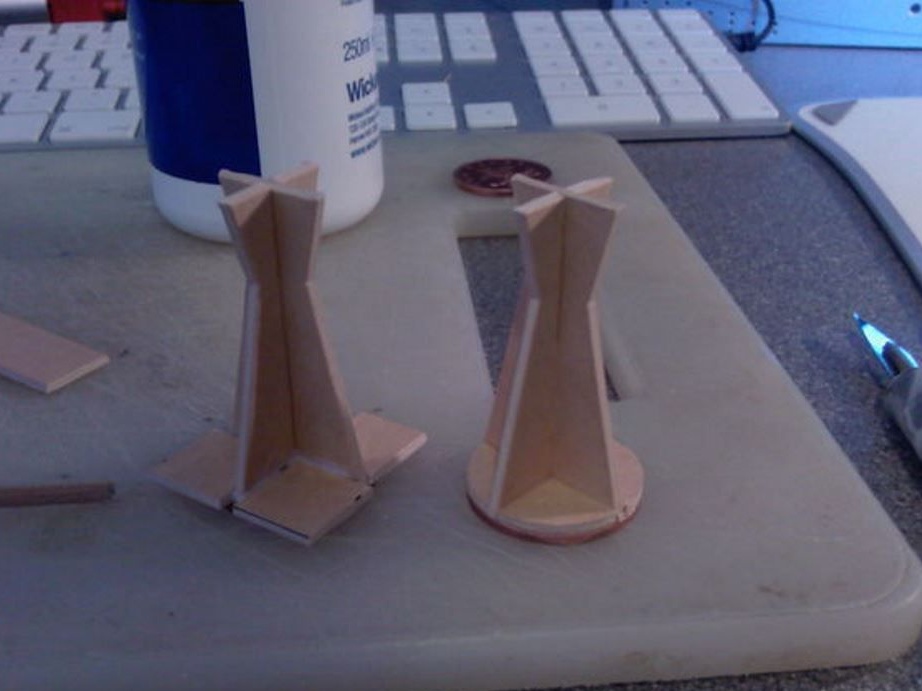
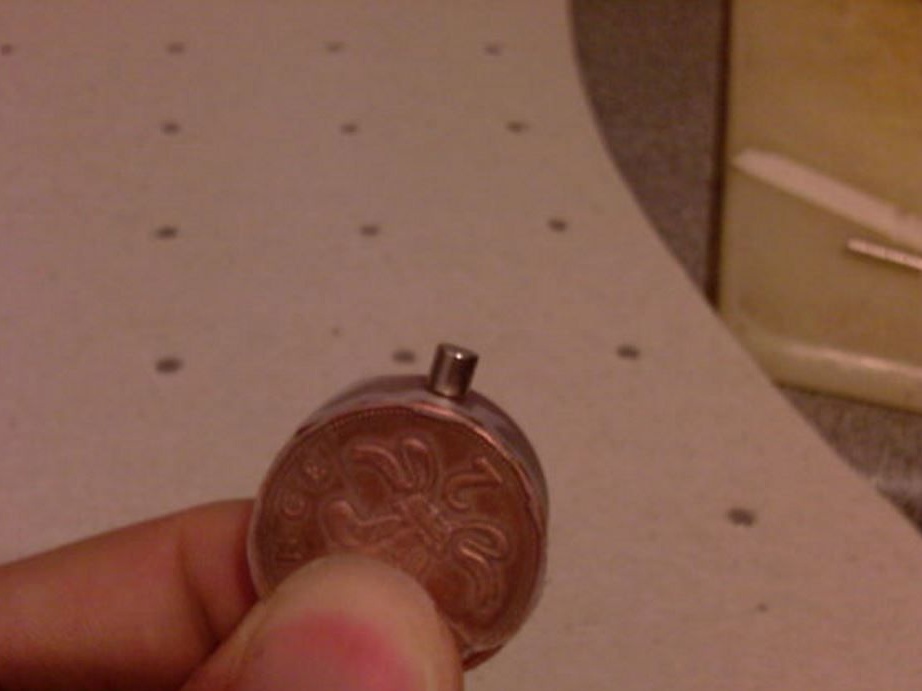
After the army of cardboard figures is ready, it is time to make support for them. To do this, cut out small squares and stick coins on them. After the structure has dried, cut off all the excess around the coins.
Step # 9: The finishing touches
Paint half of the figures with black paint, the other half, if desired, can be painted white or left as they are.
Since it was originally intended to hang the board on the wall, you need to think about fastening: for example, using a bracket.